Search the Community
Showing results for tags 'VF-171'.
-
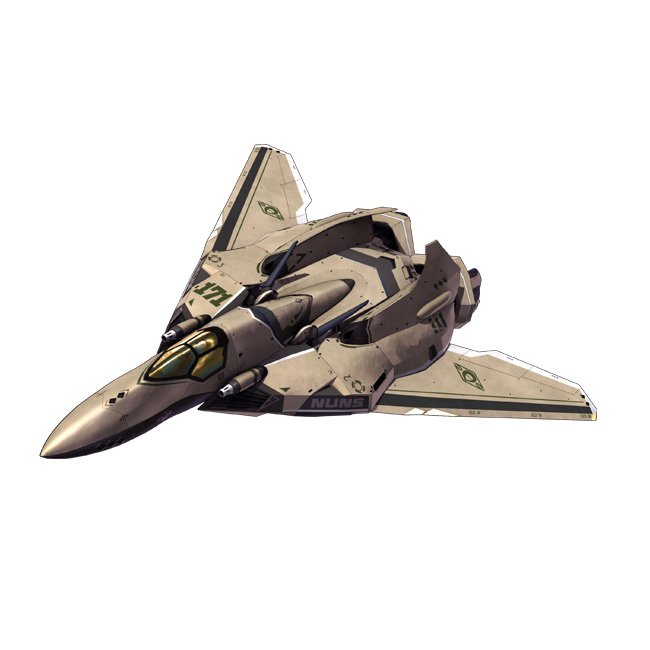
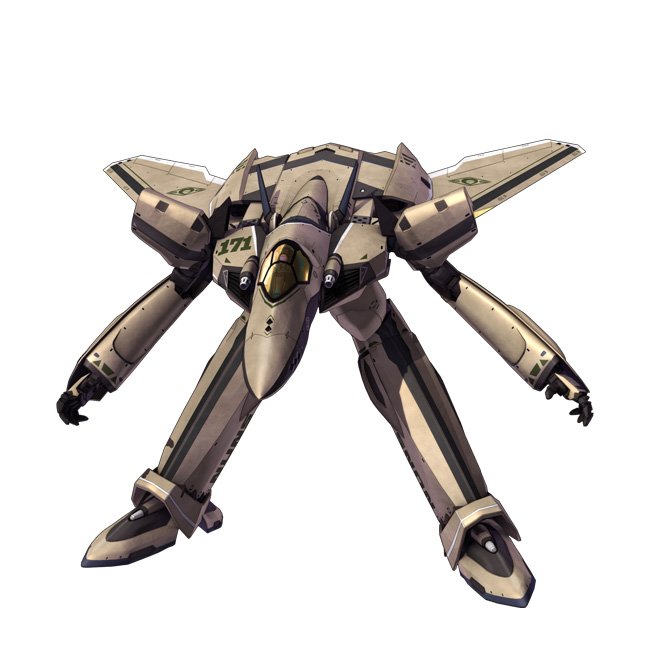
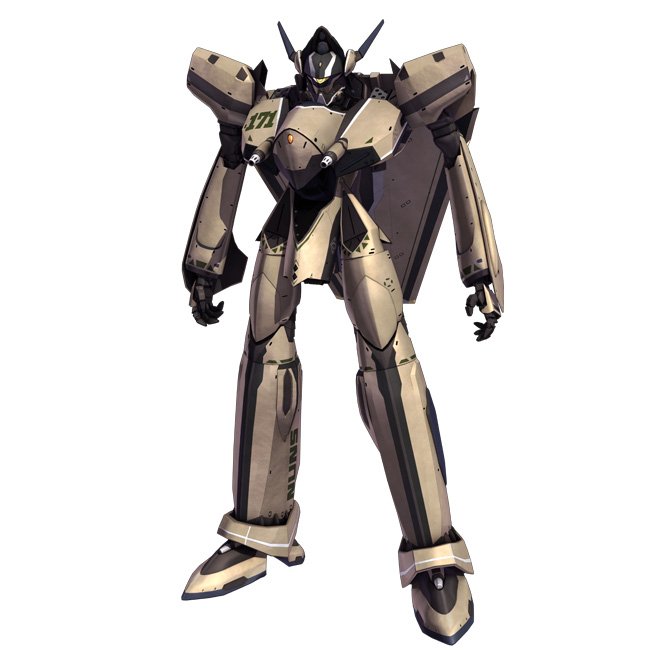
Bandai Collector site announced Macross F fans rejoice! 2012年6月發售: DX超合金 Macross F VF-171EX(早乙女機) Visuals from Tamashii Web Small Battroid Mode Image
- 2673 replies
-
- 2868 replies
-
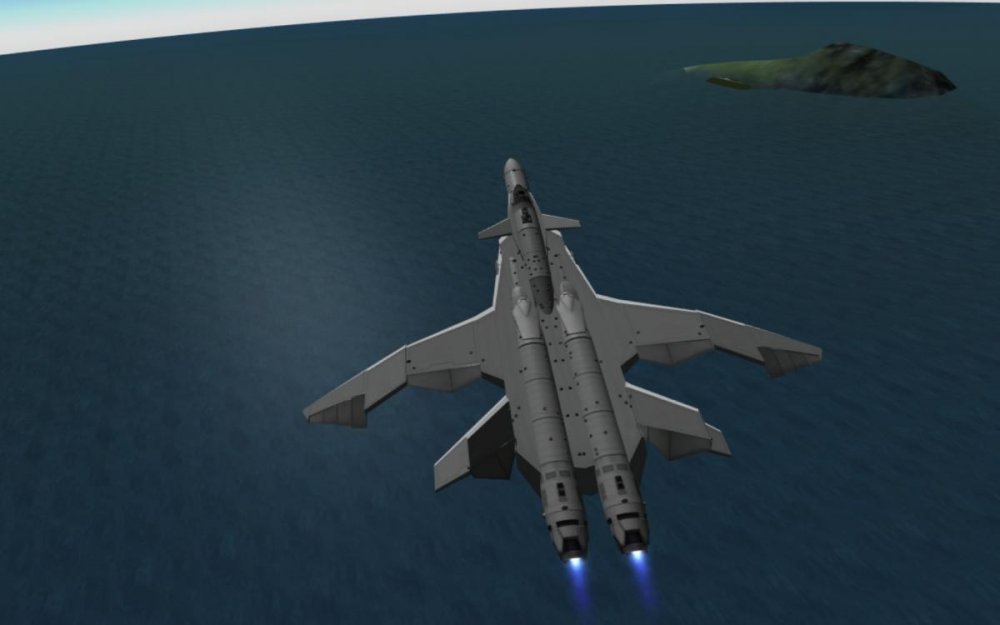
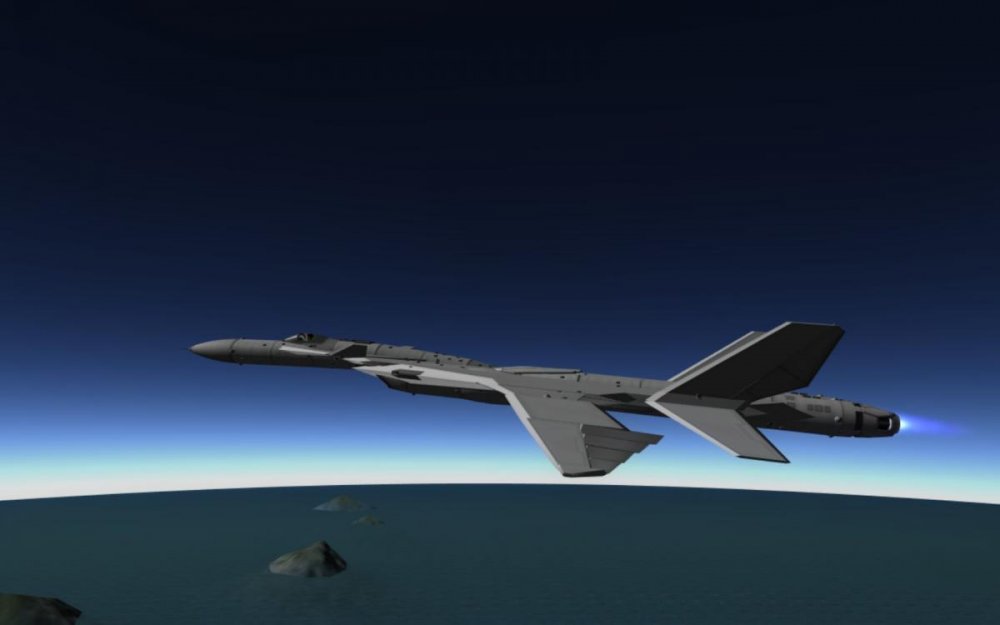
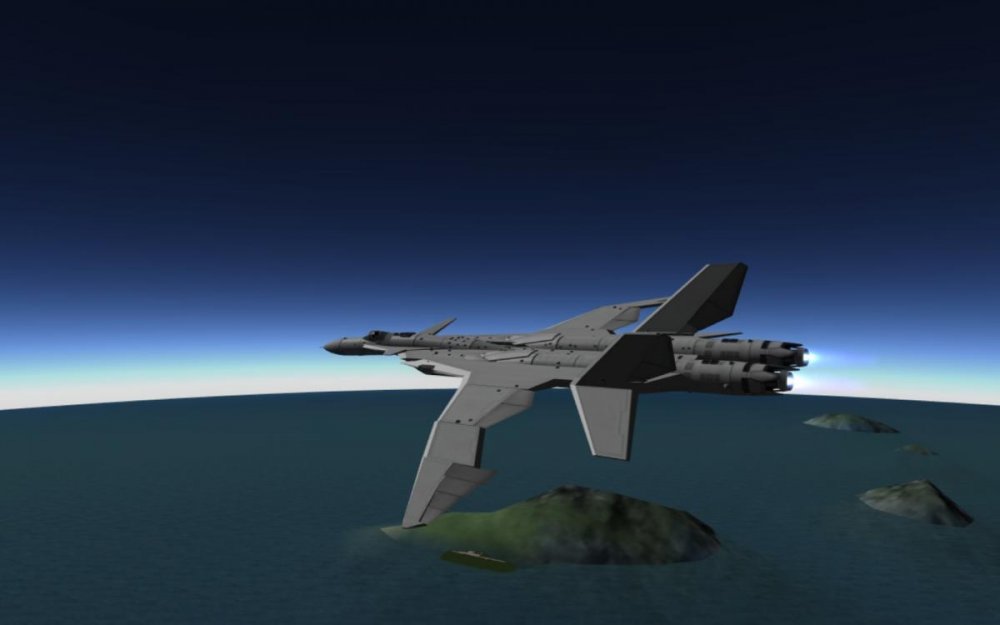
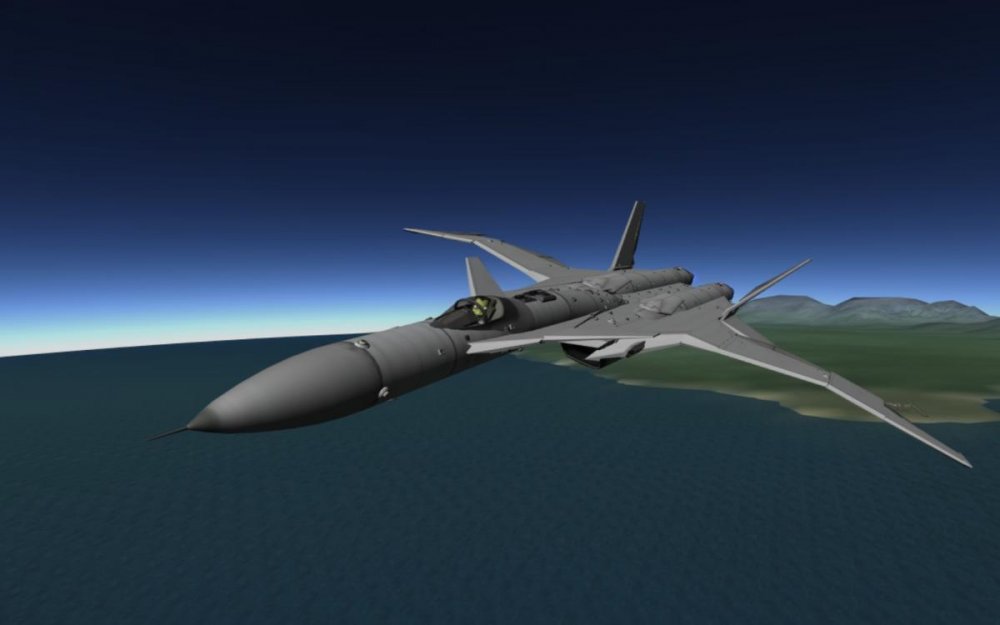
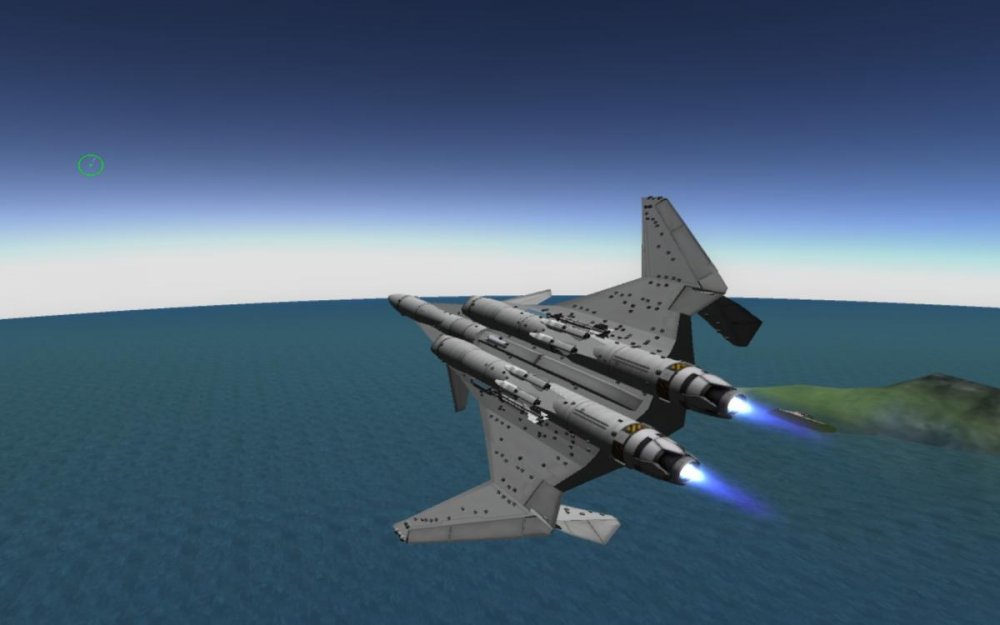
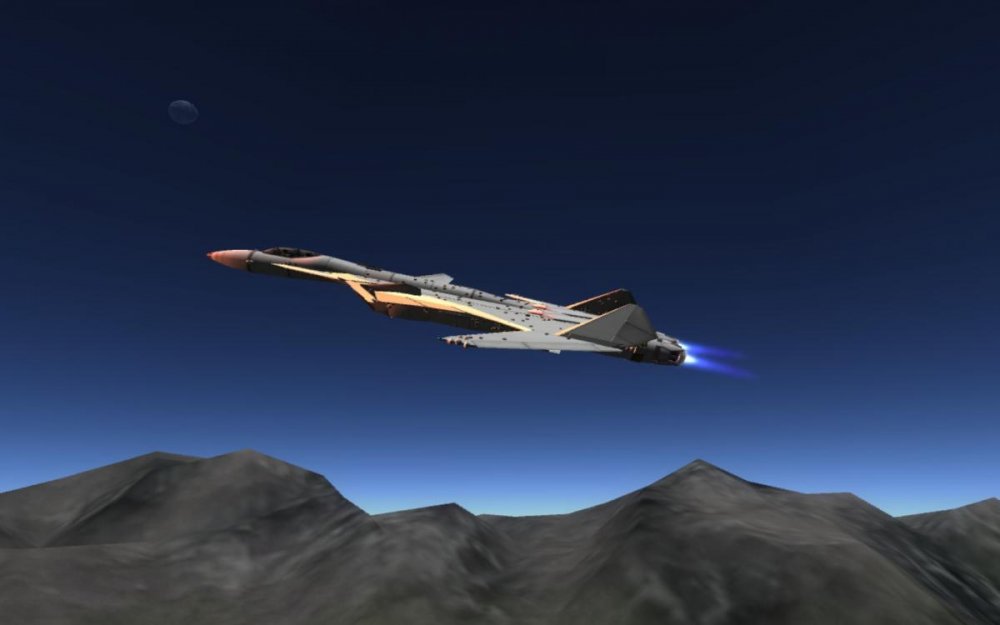
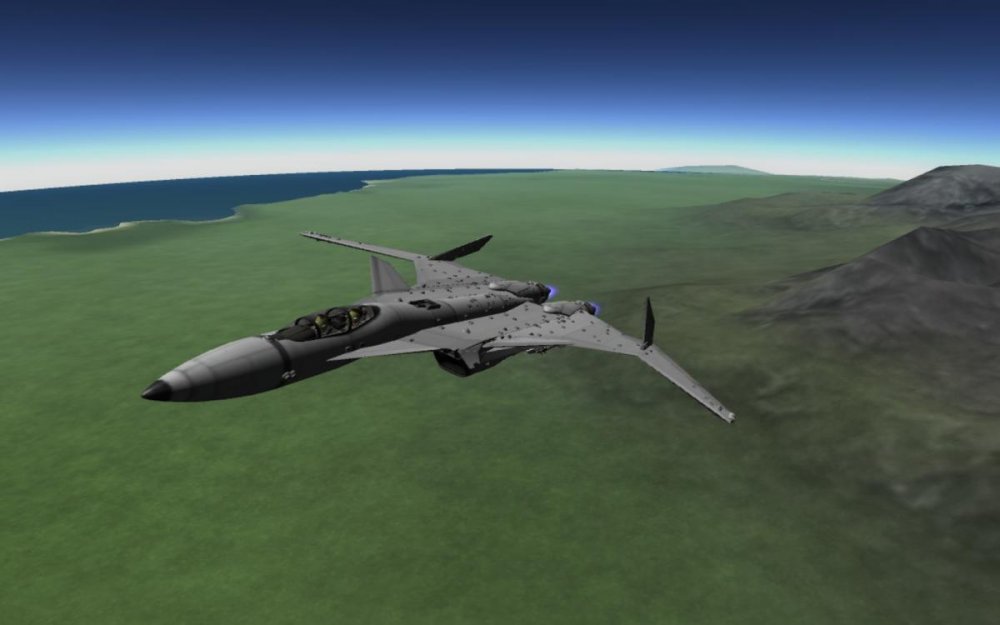
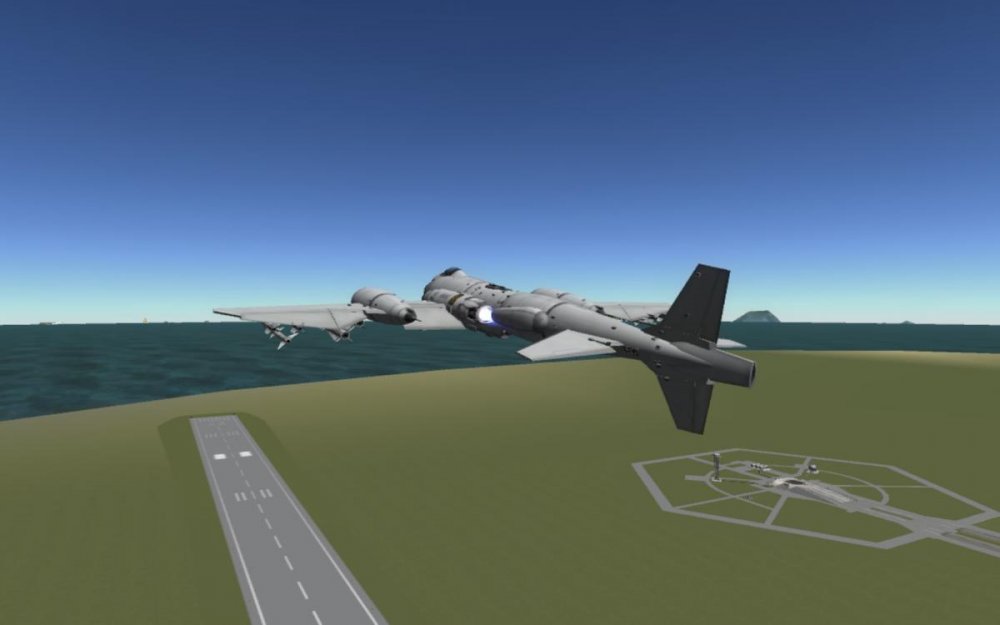
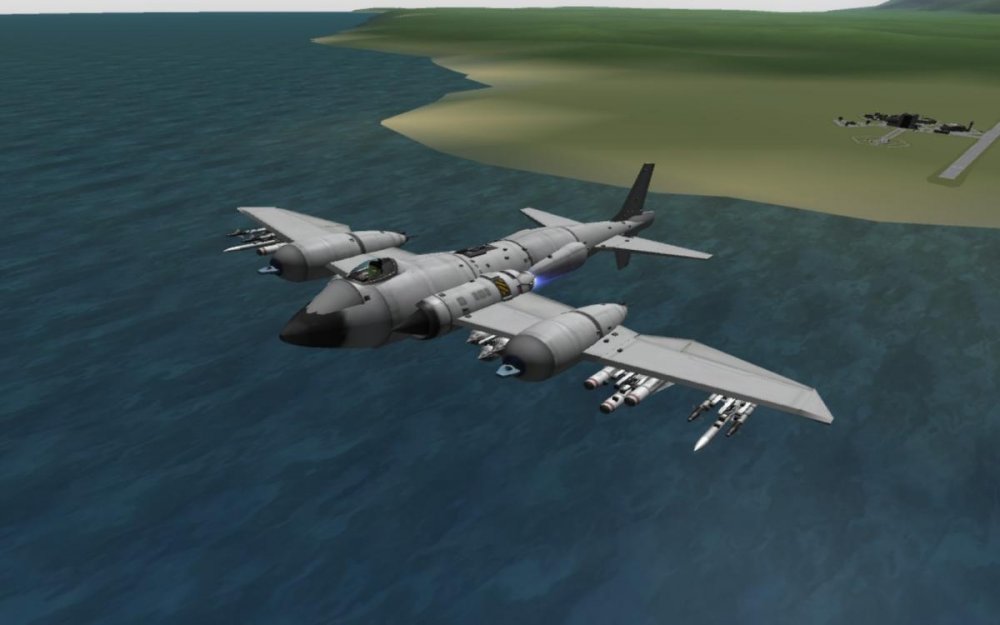
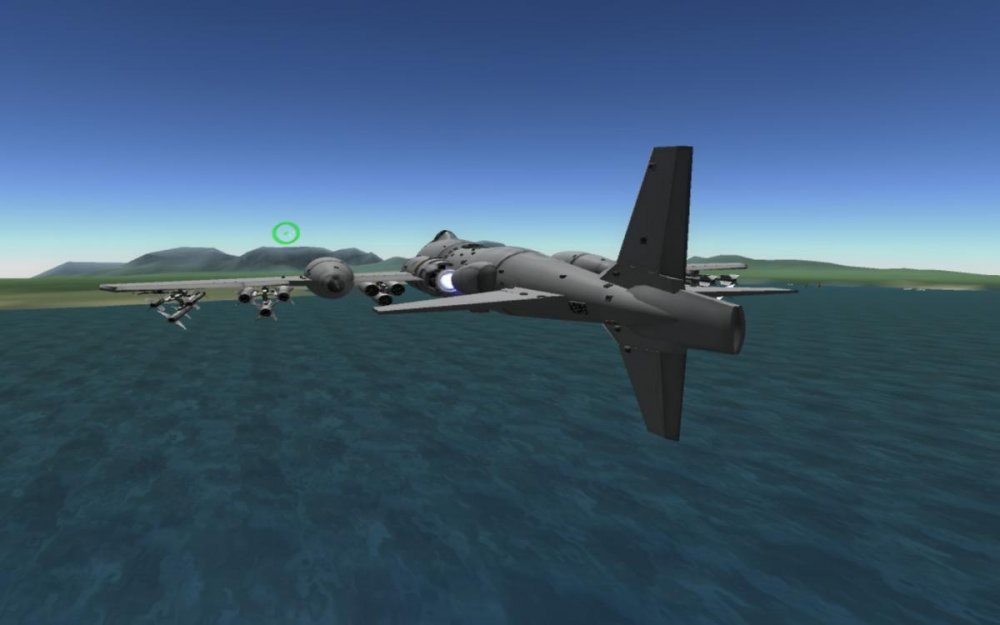
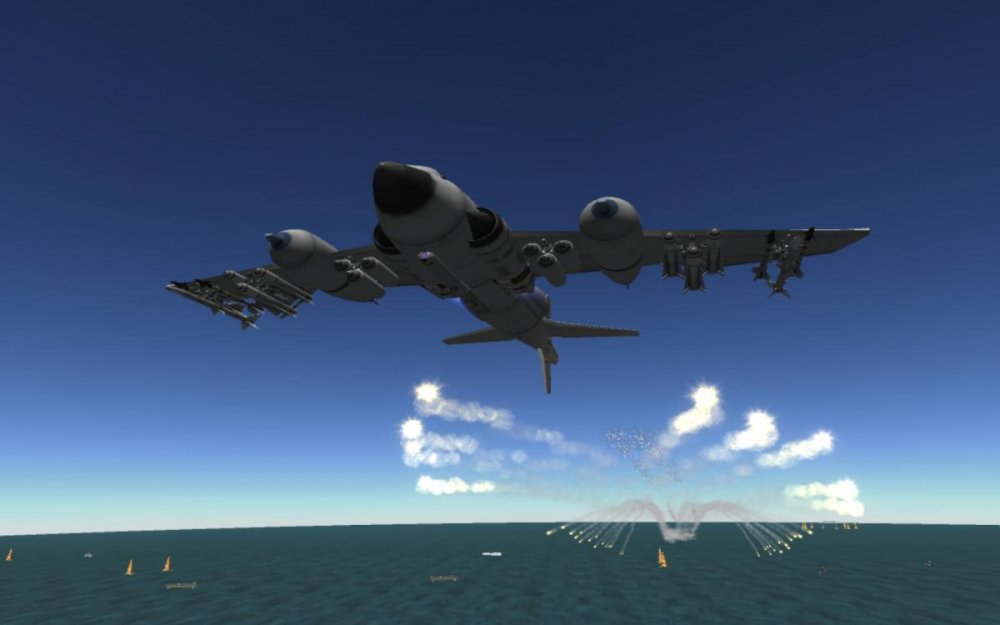
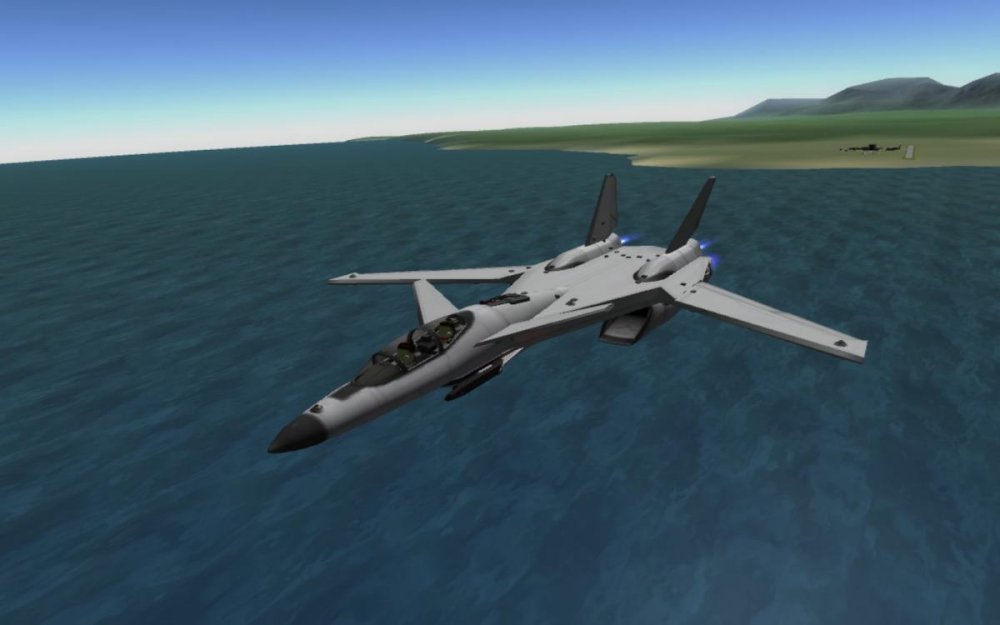
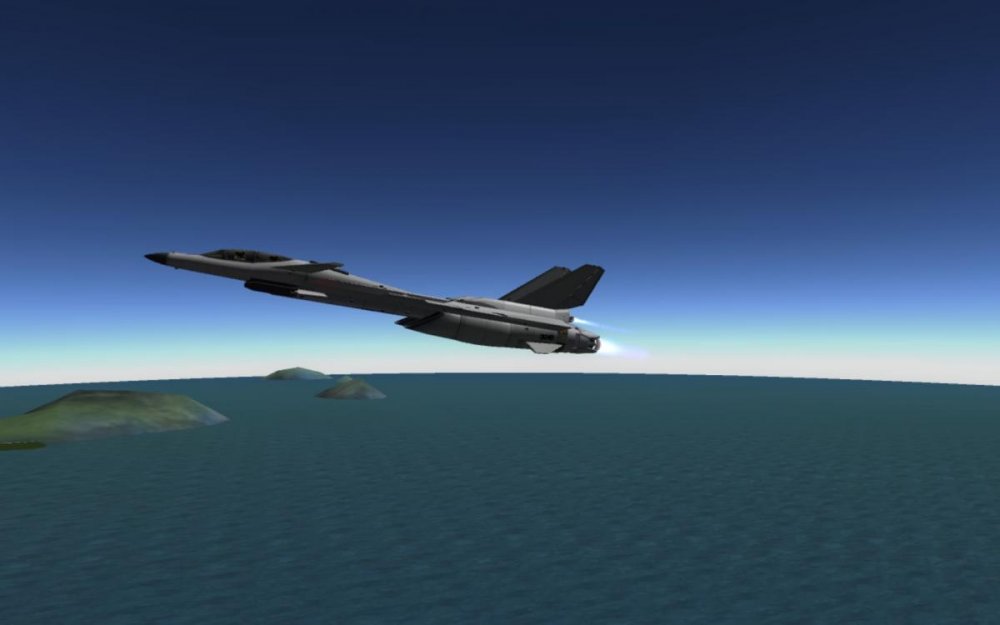
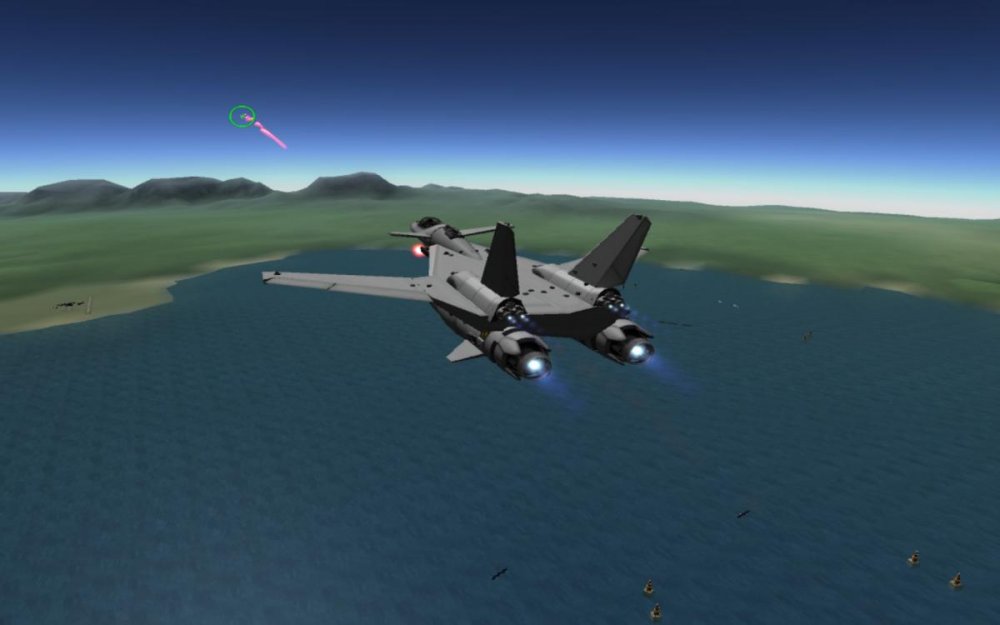
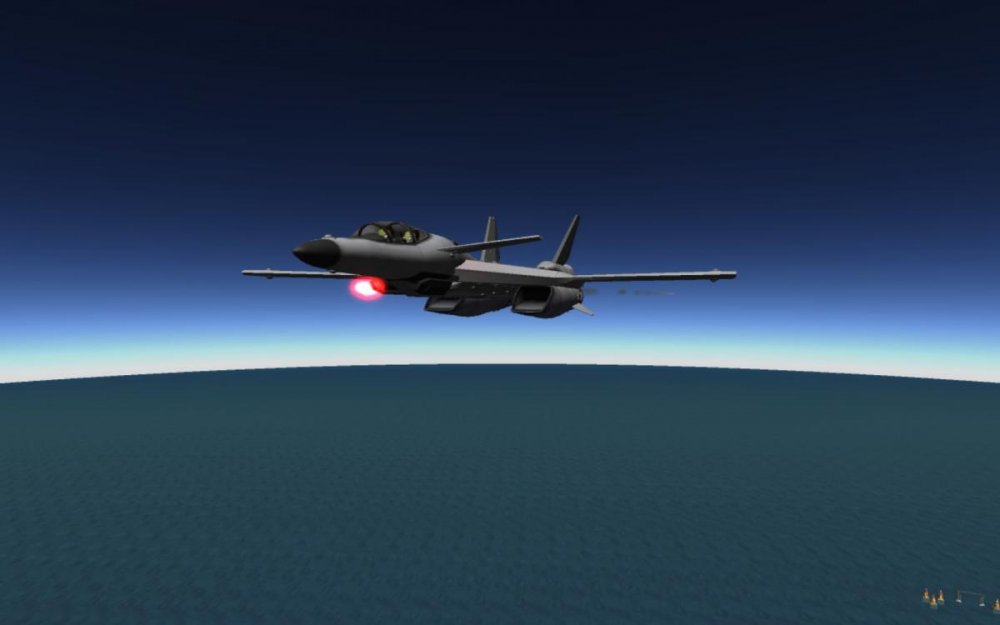
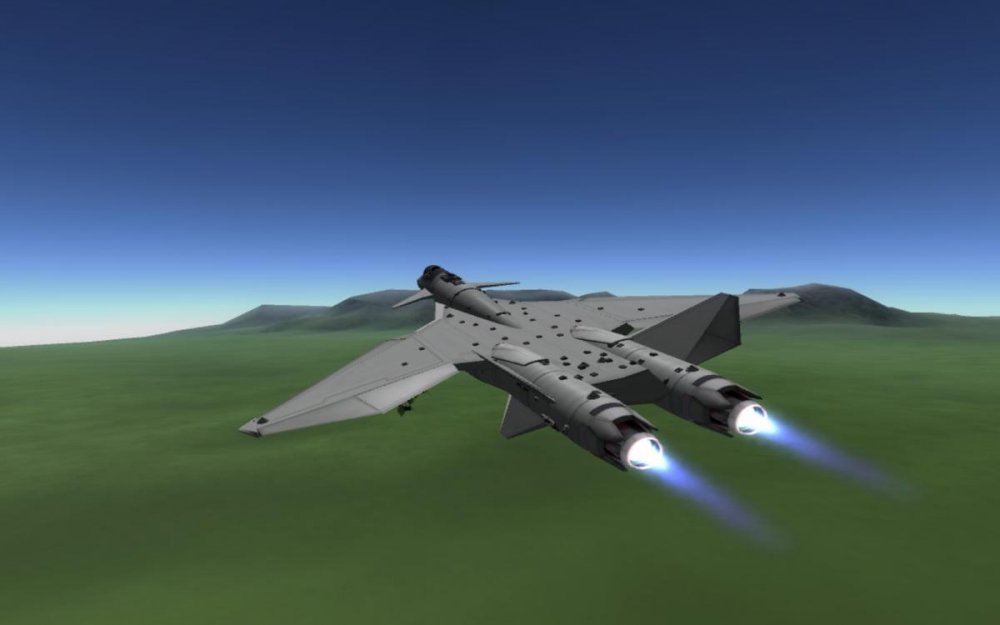
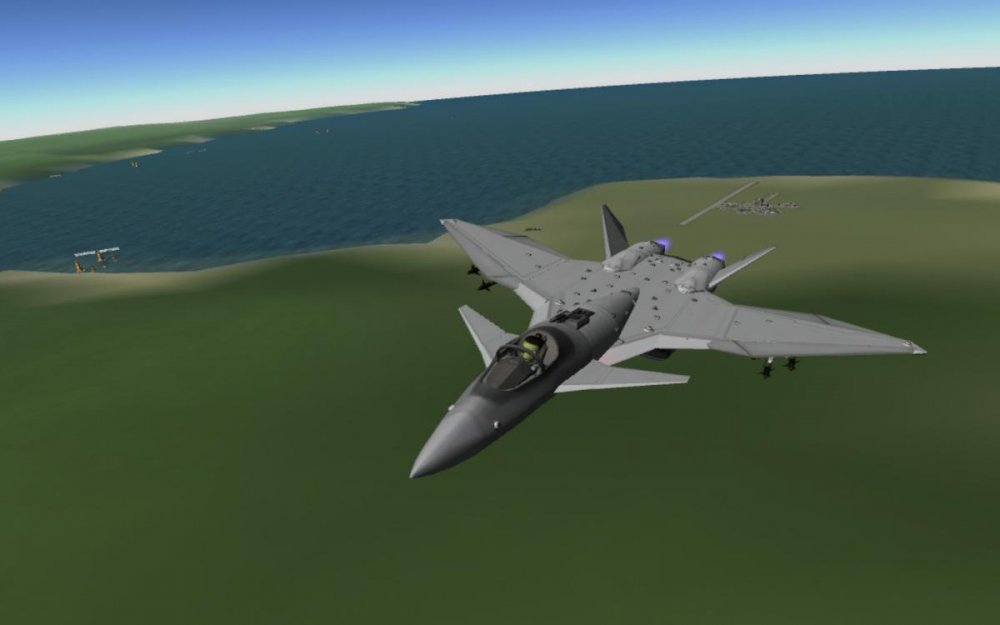
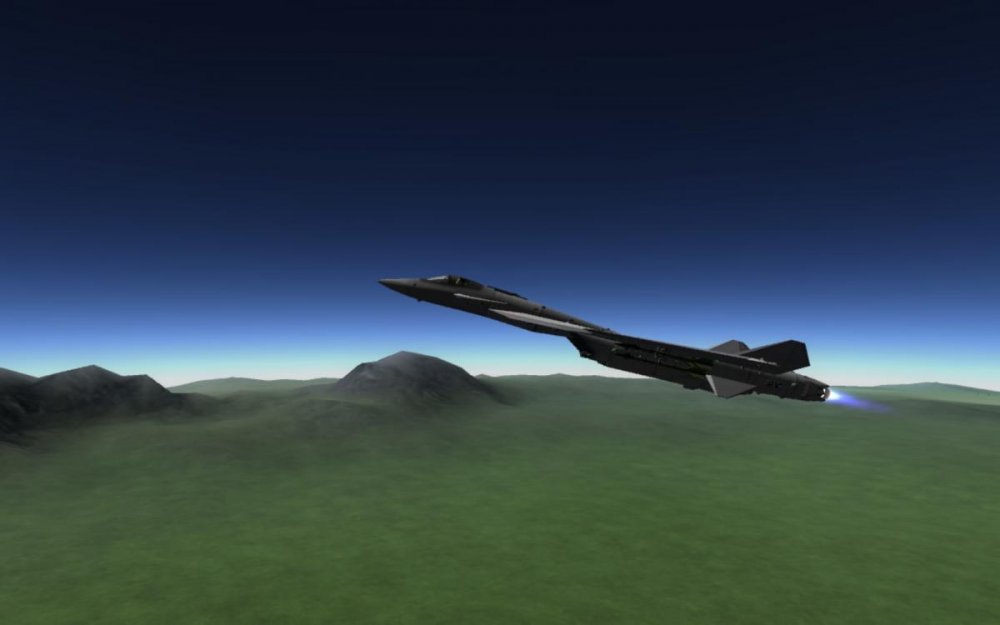
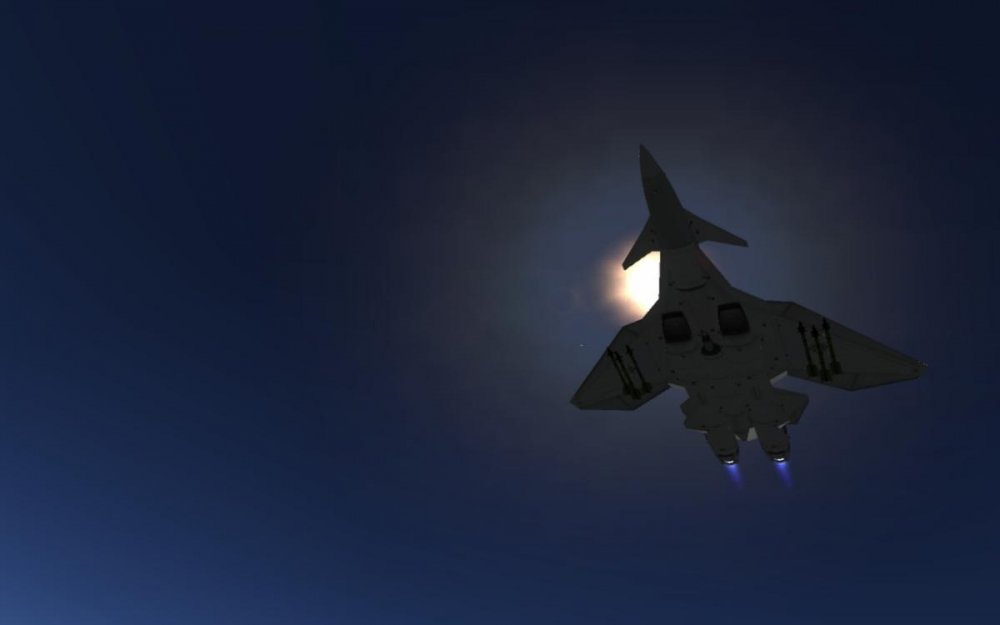
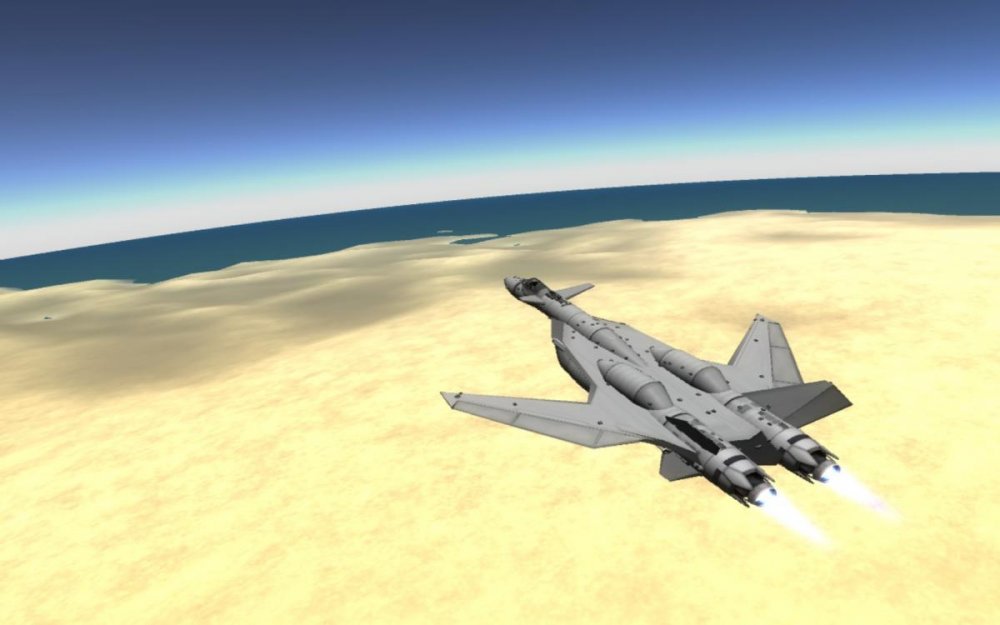
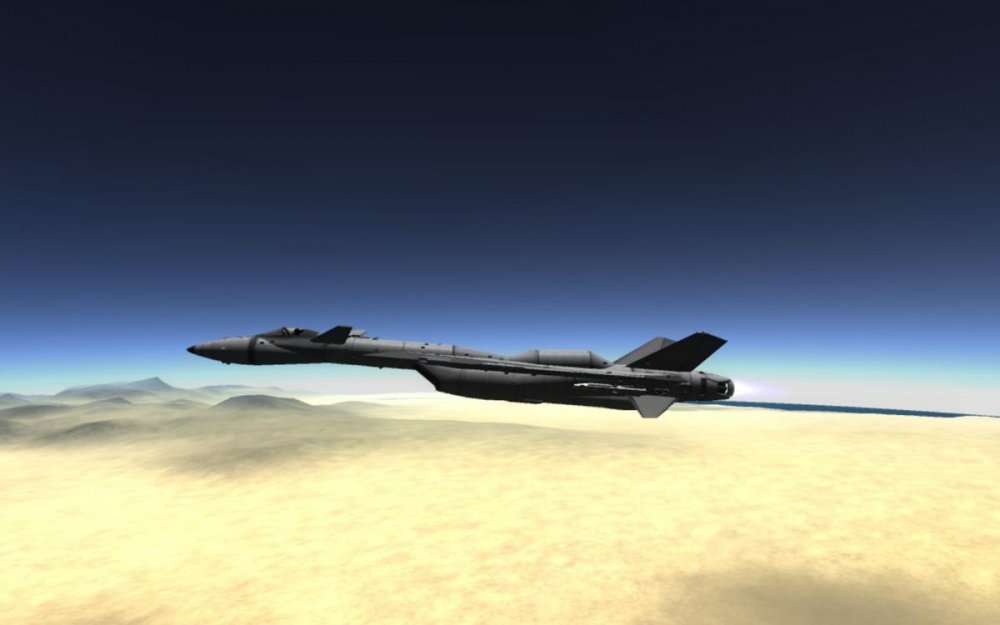
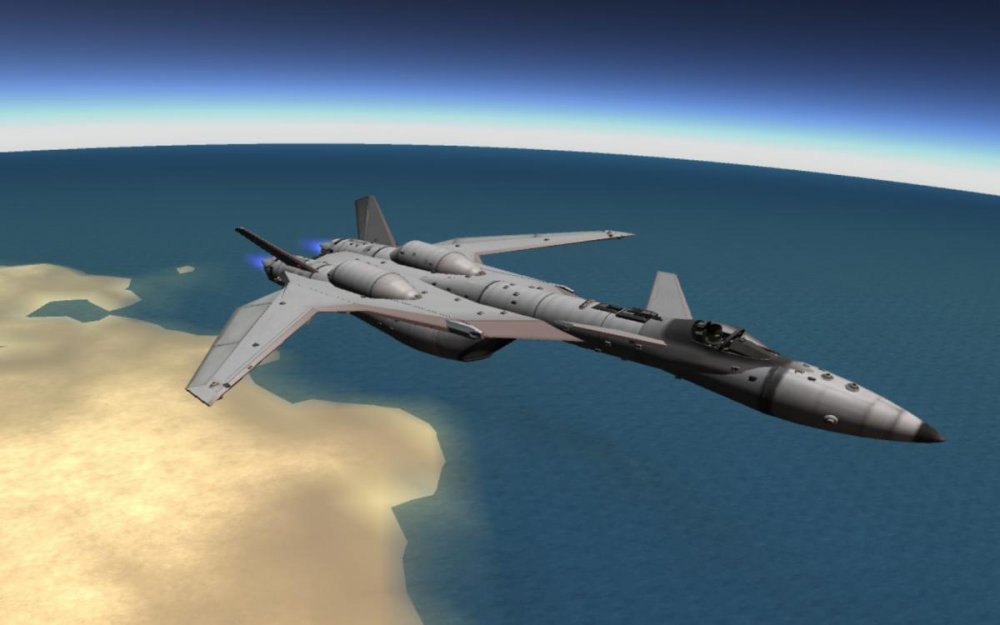
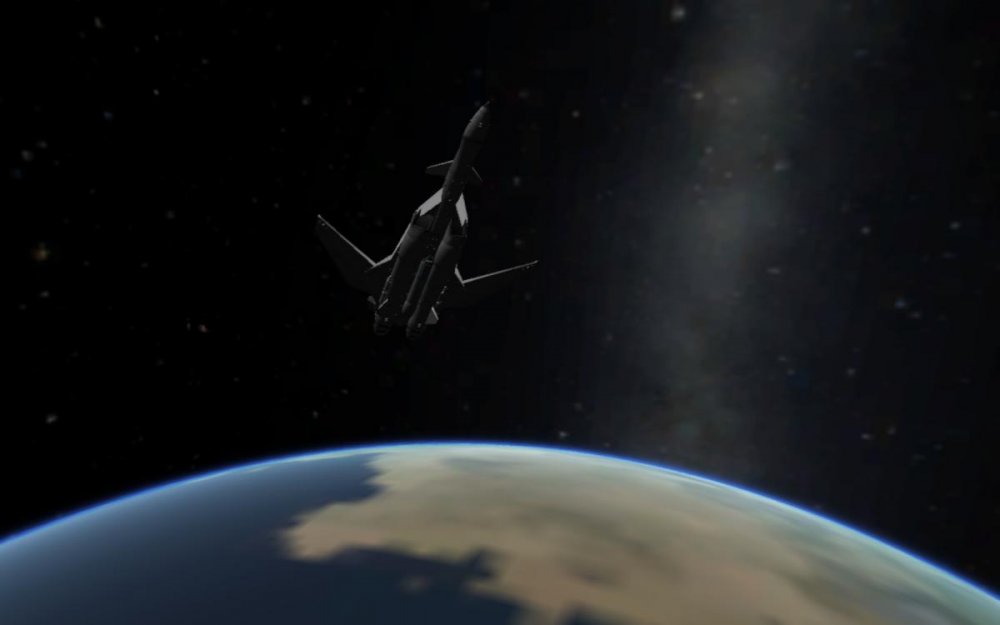
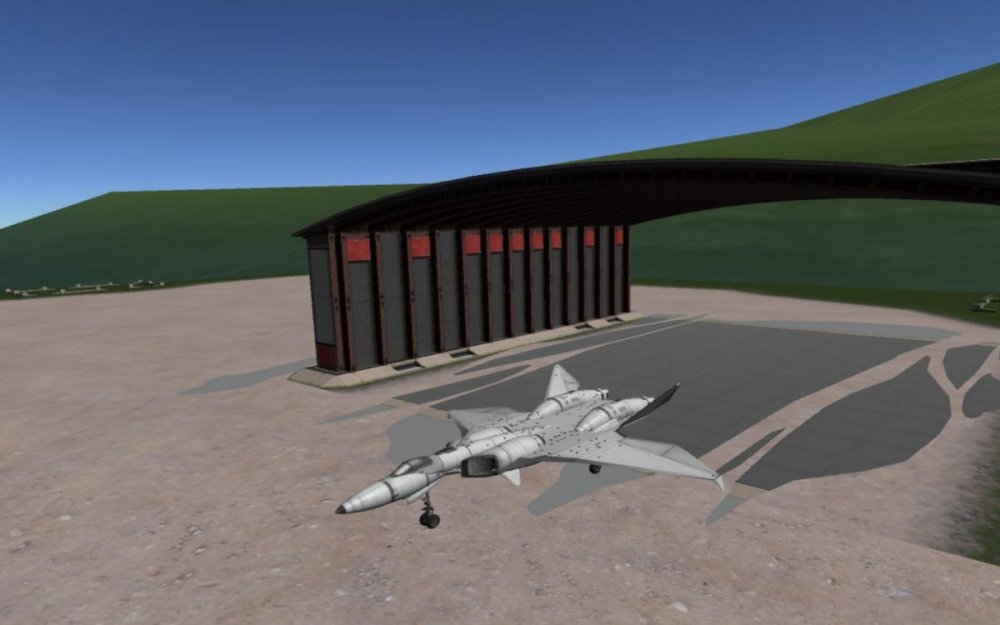
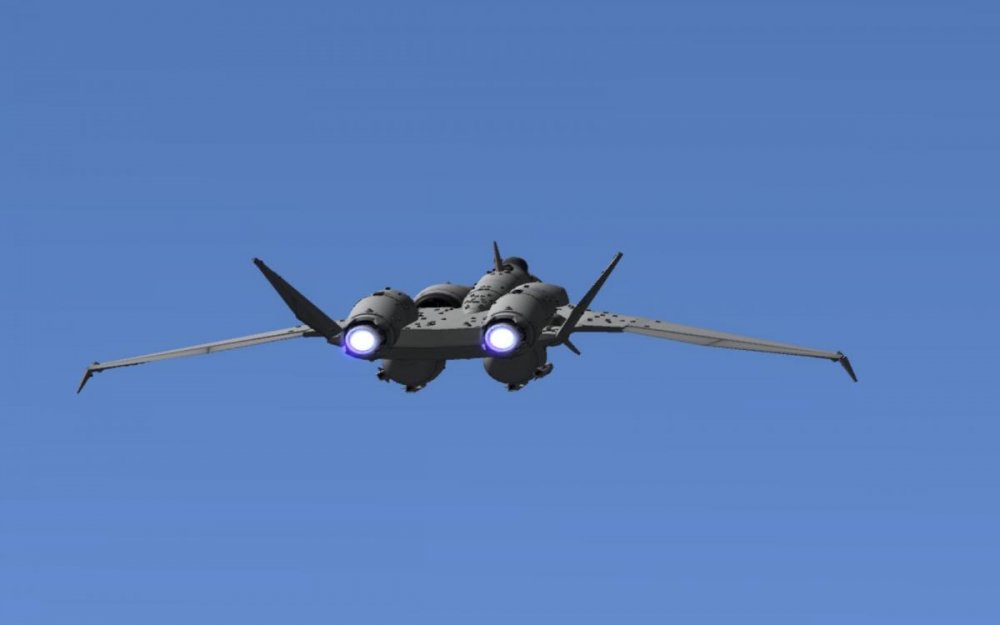
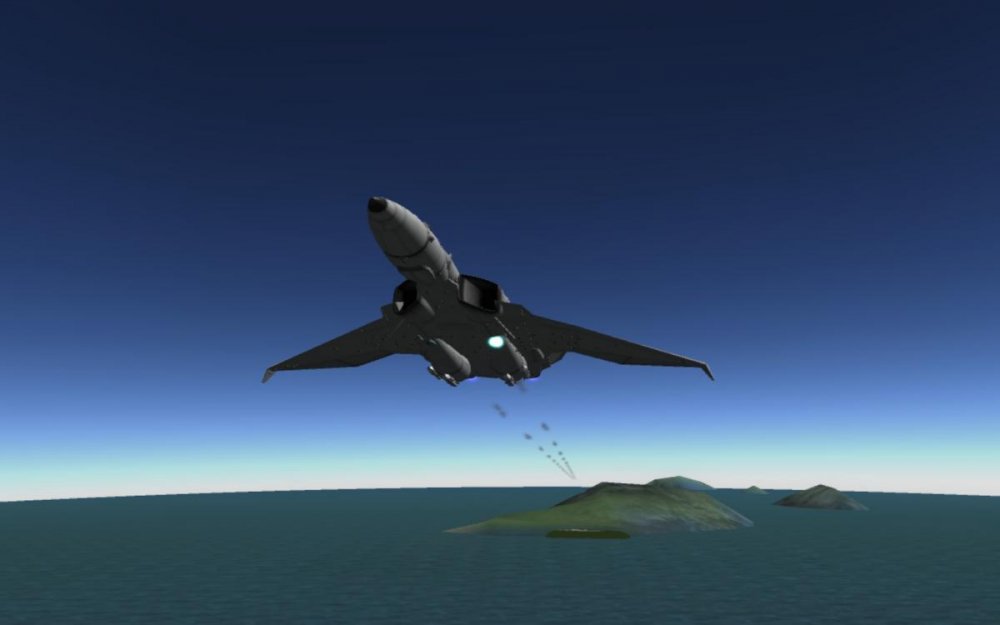
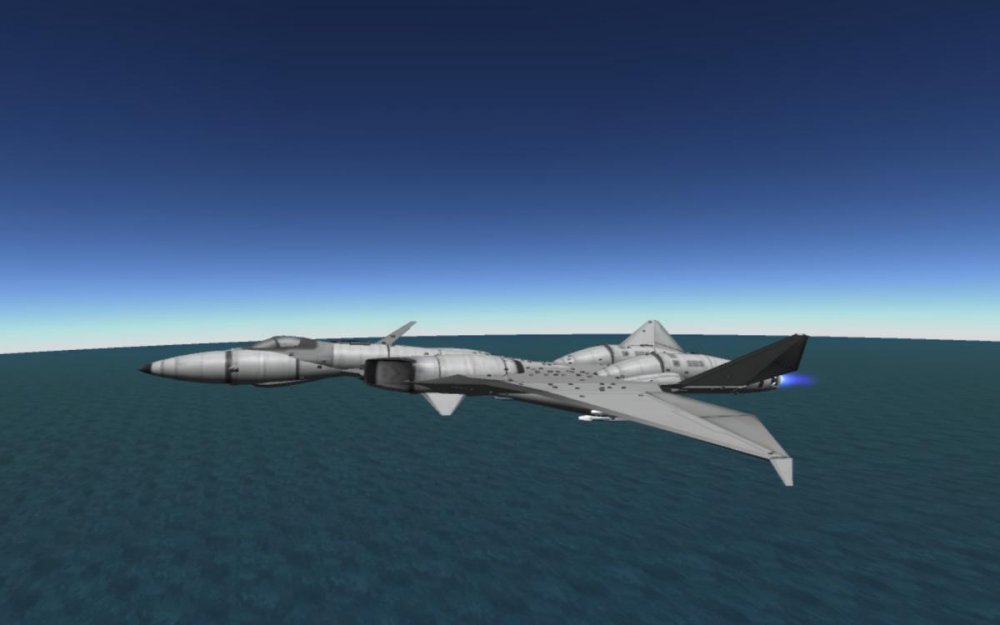
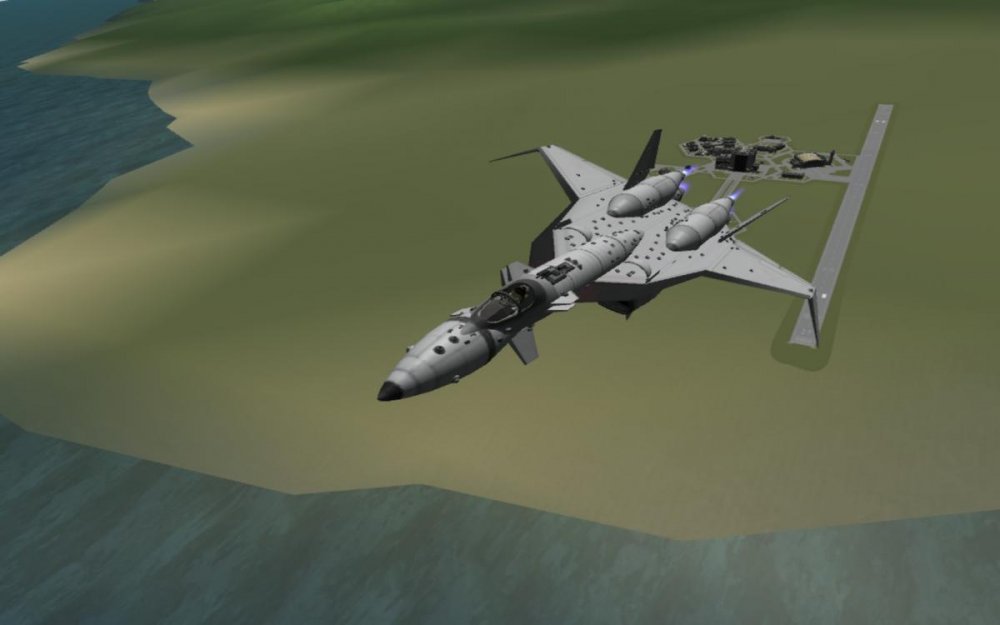
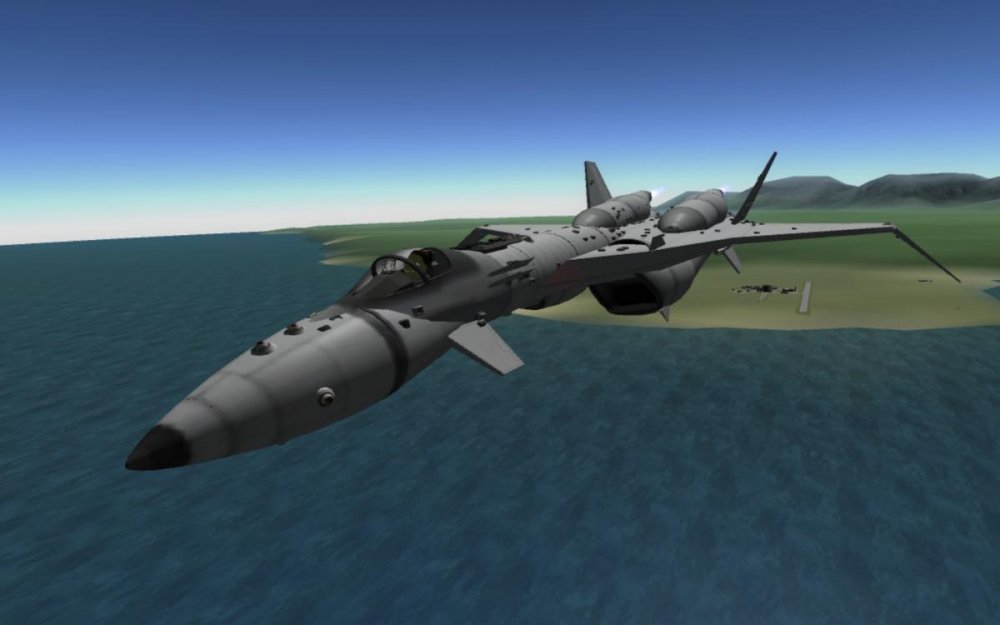
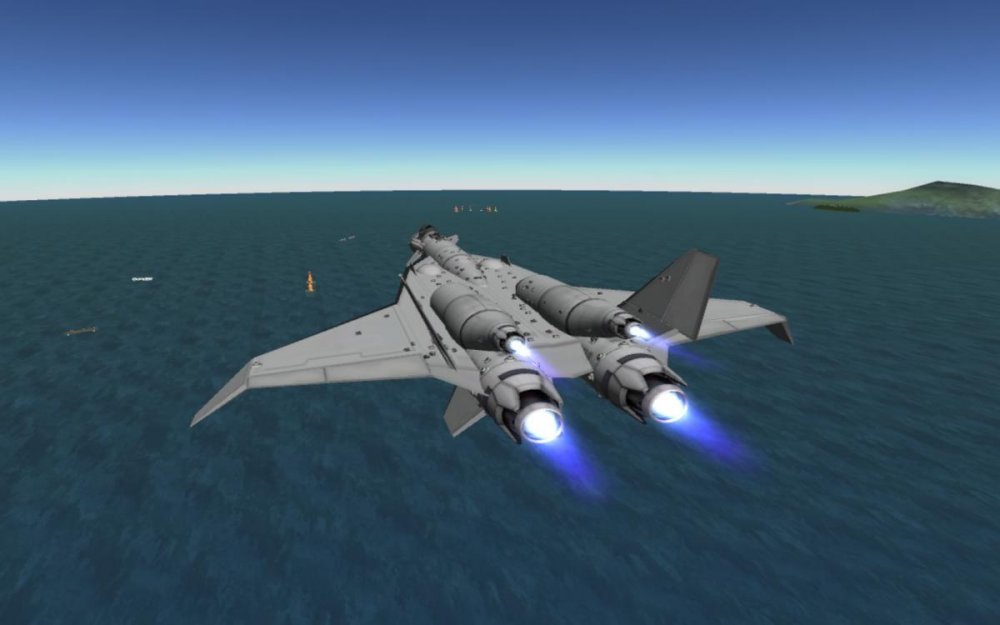
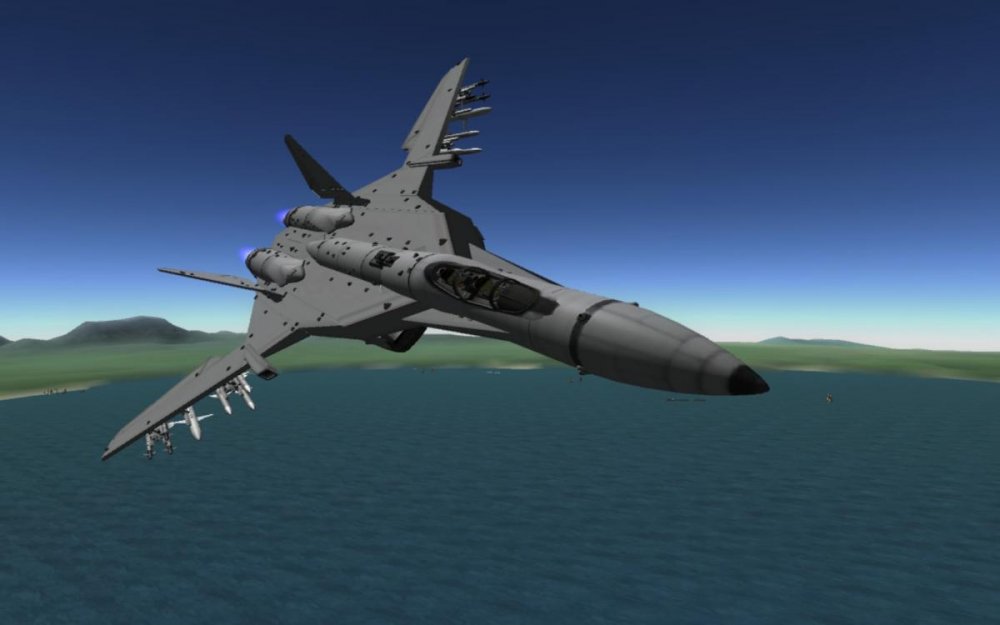
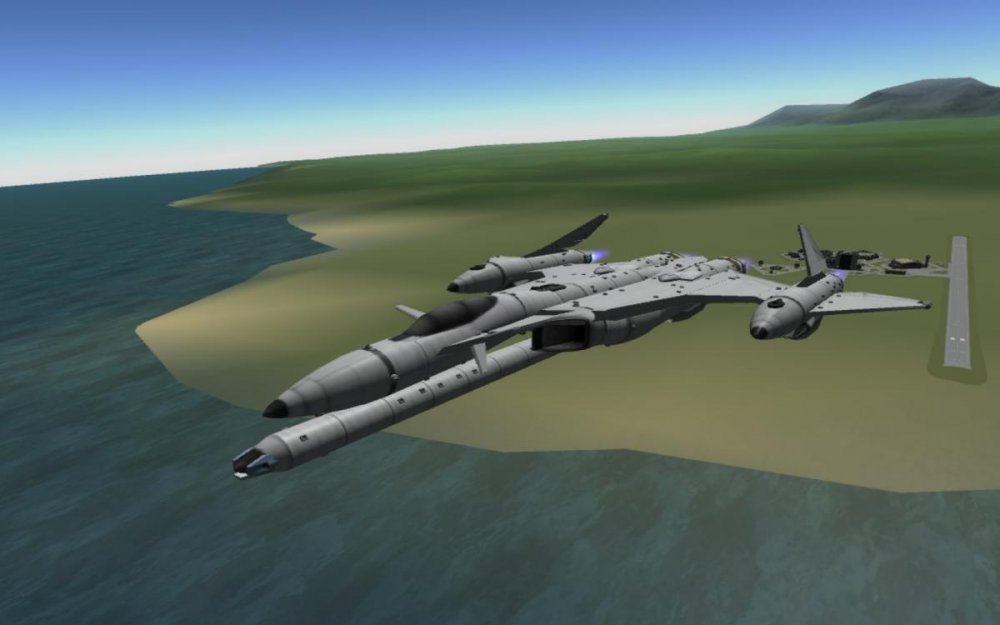
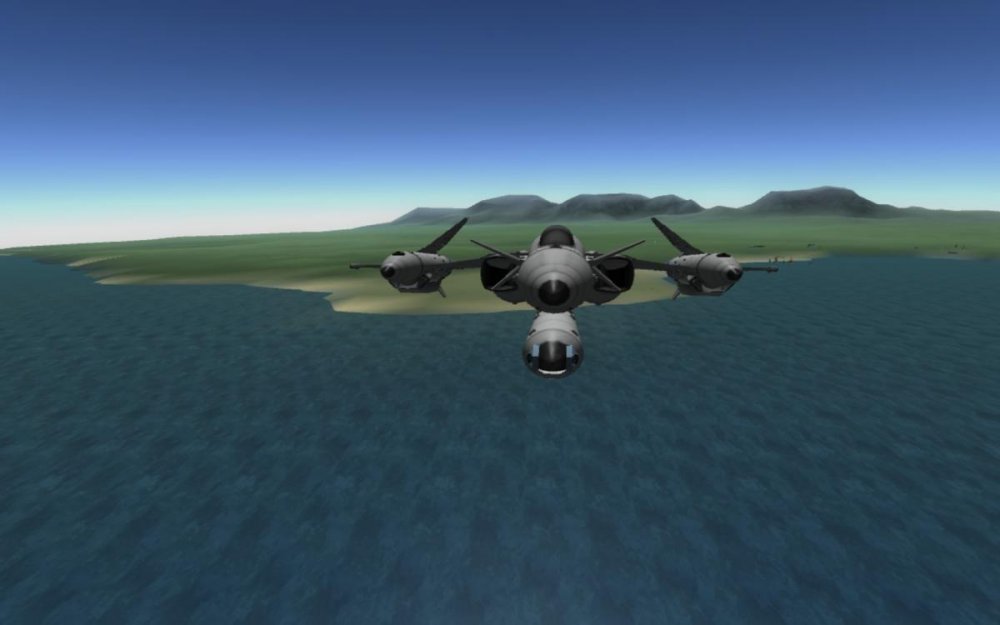
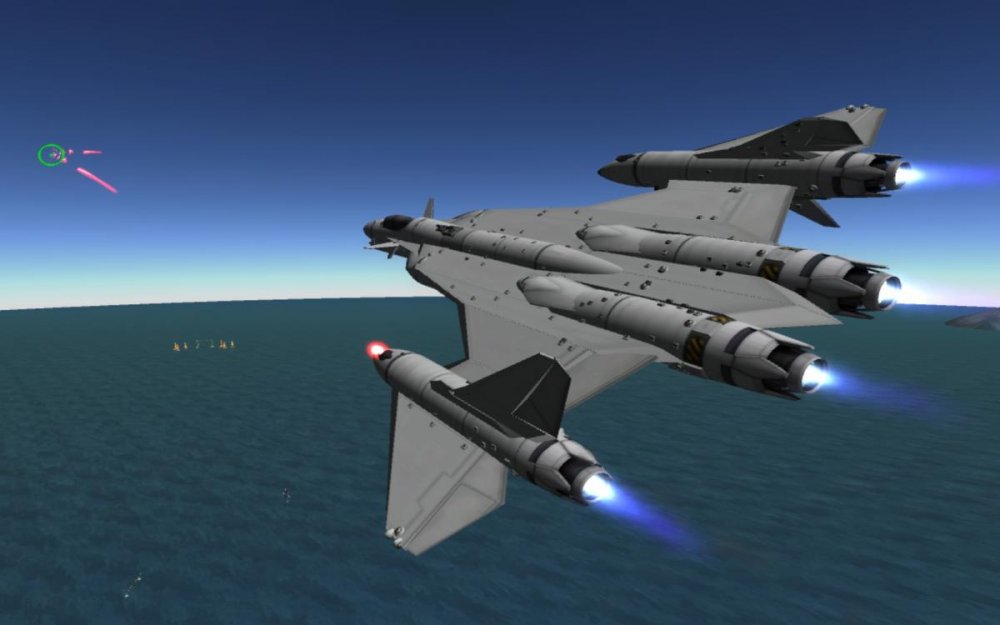
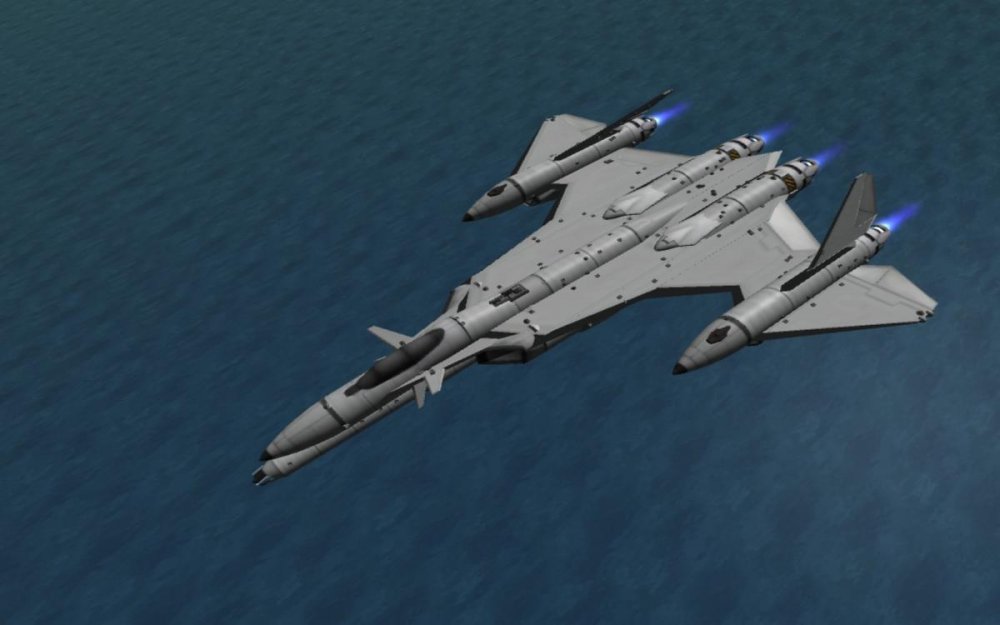
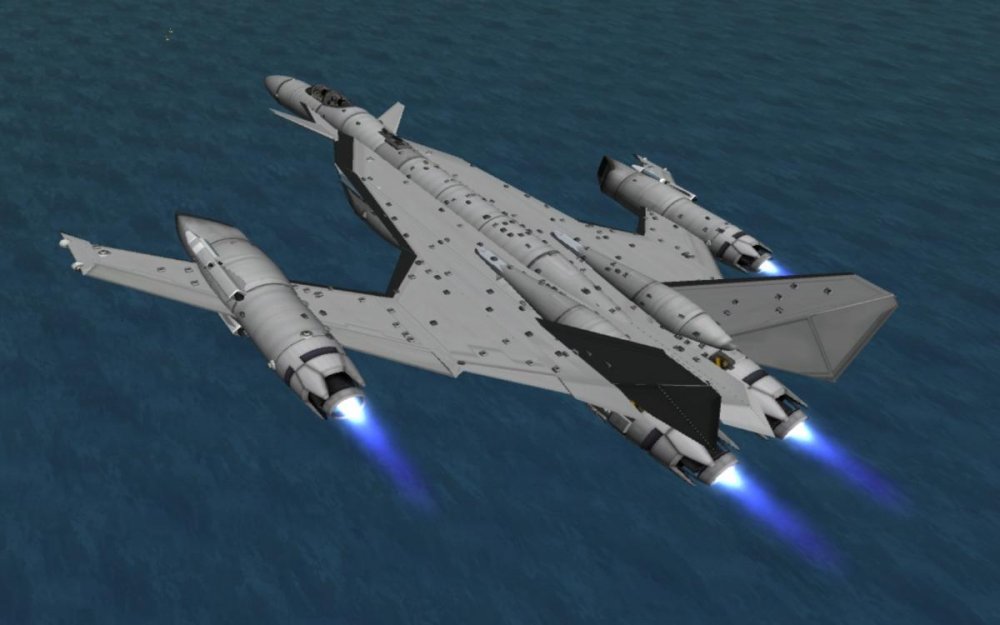
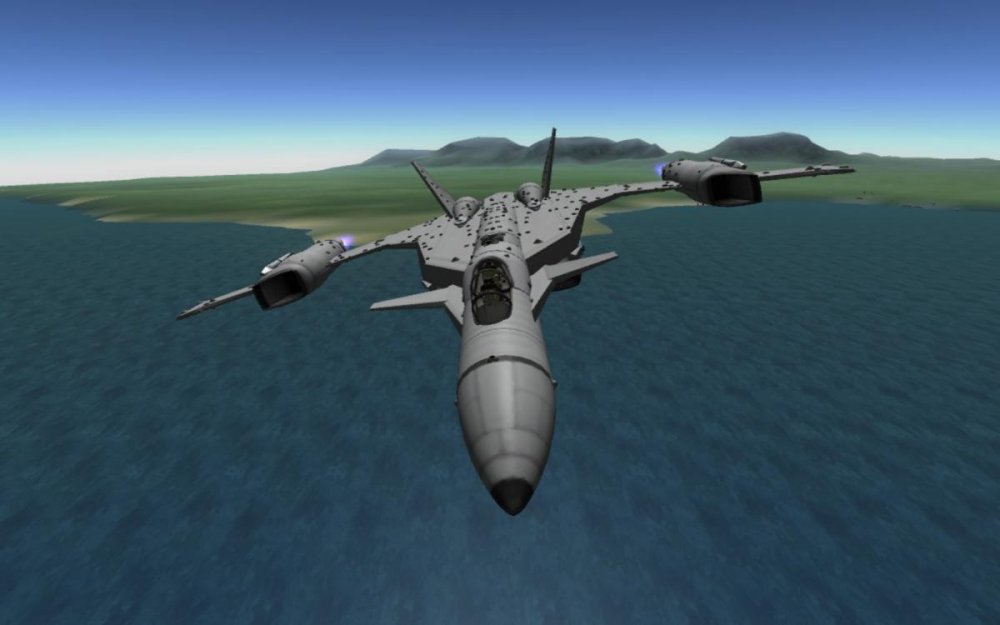
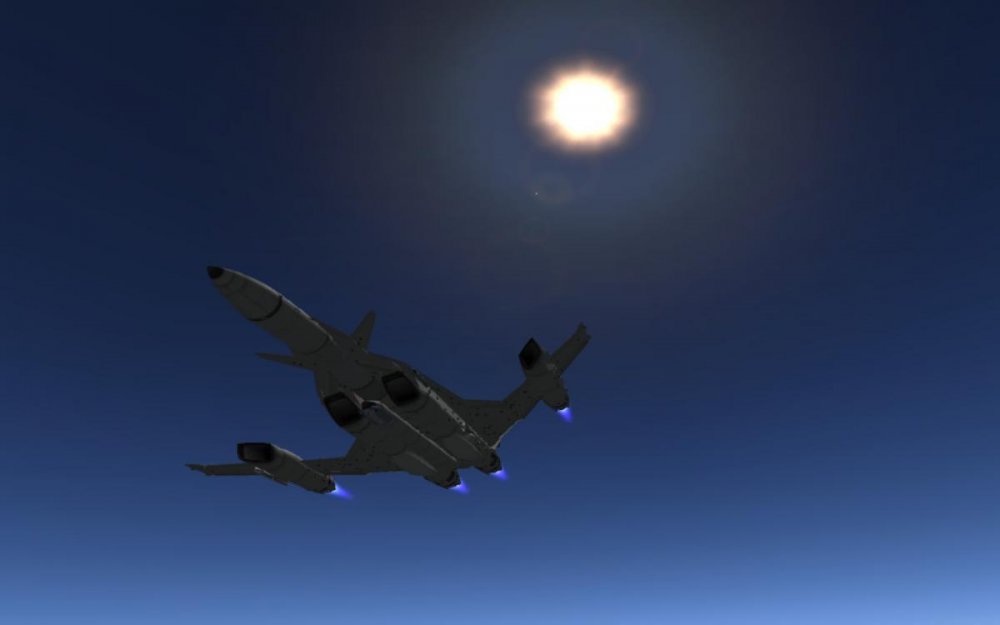
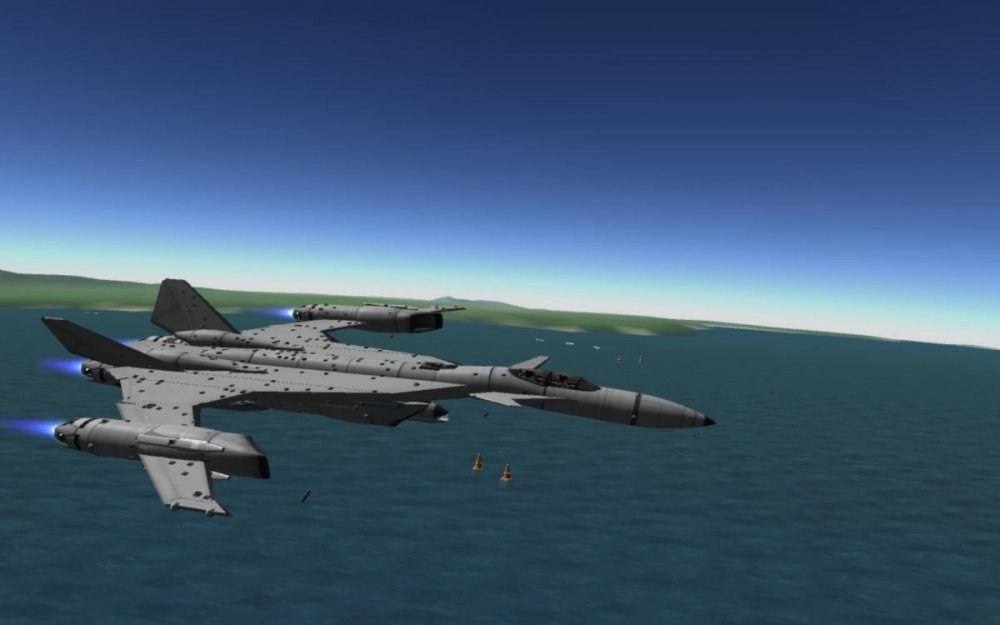
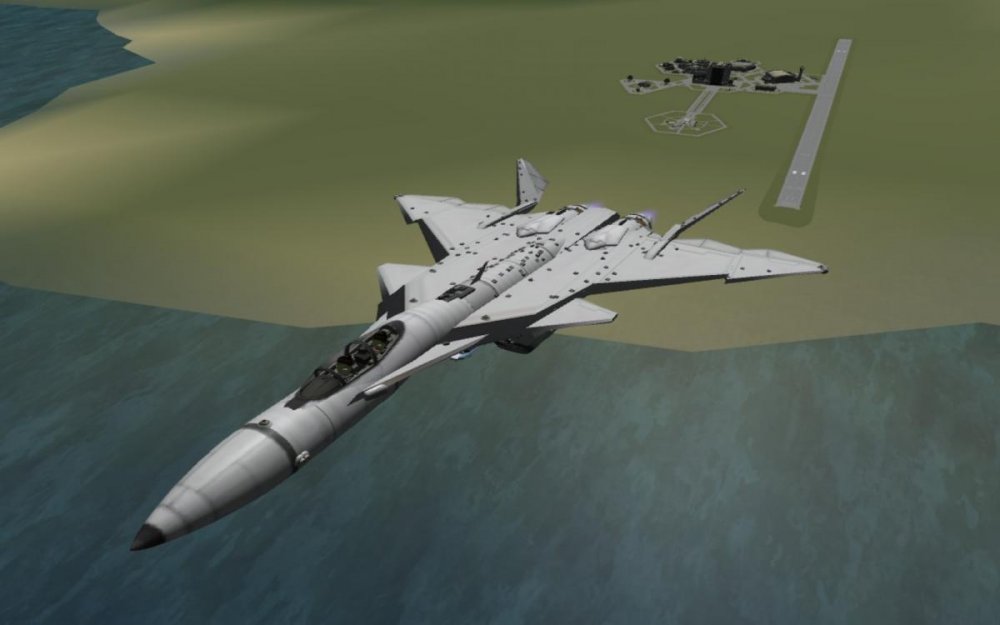
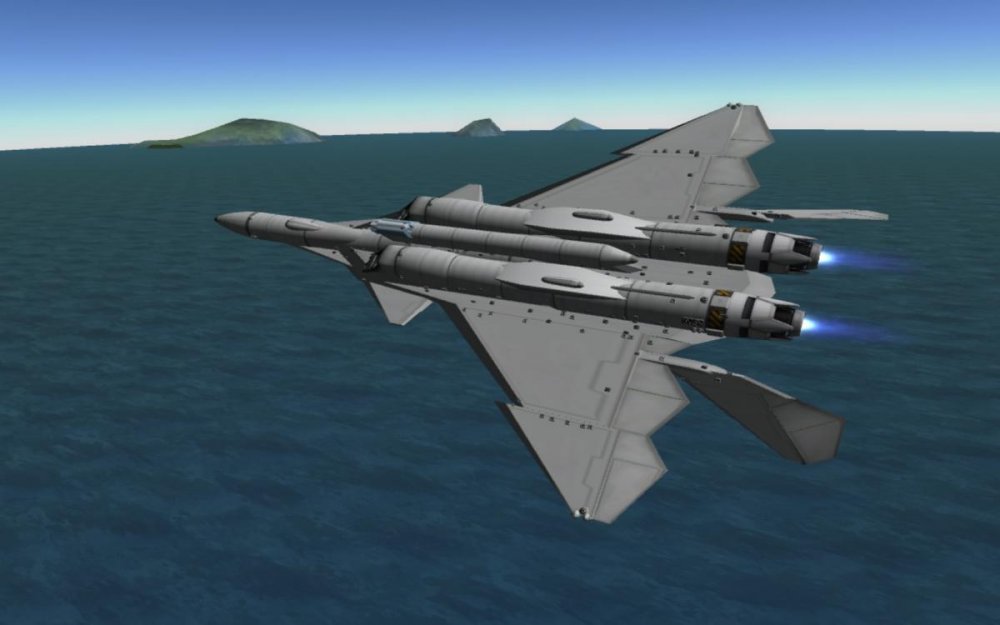
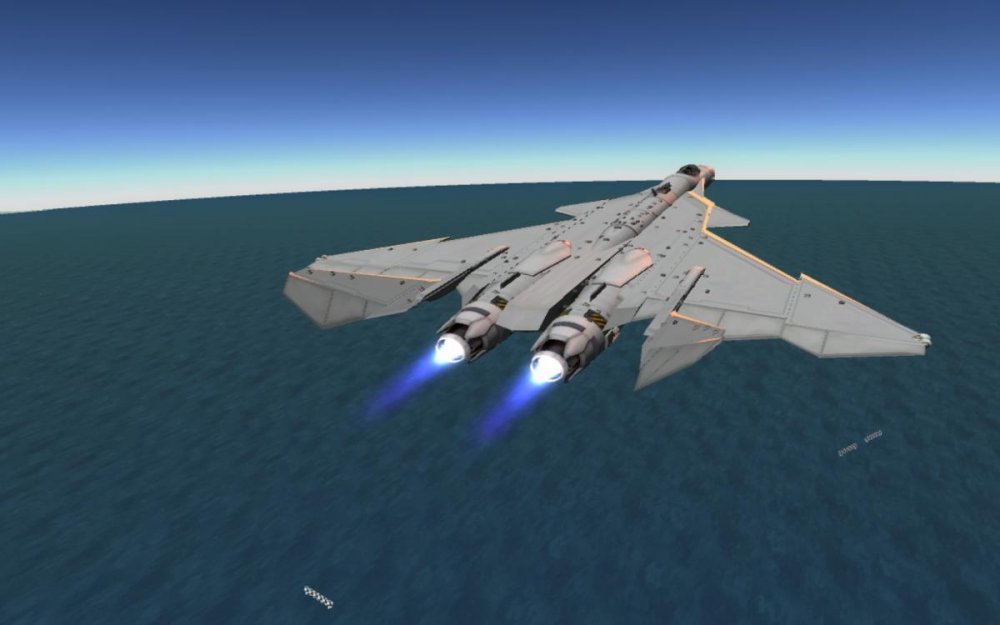
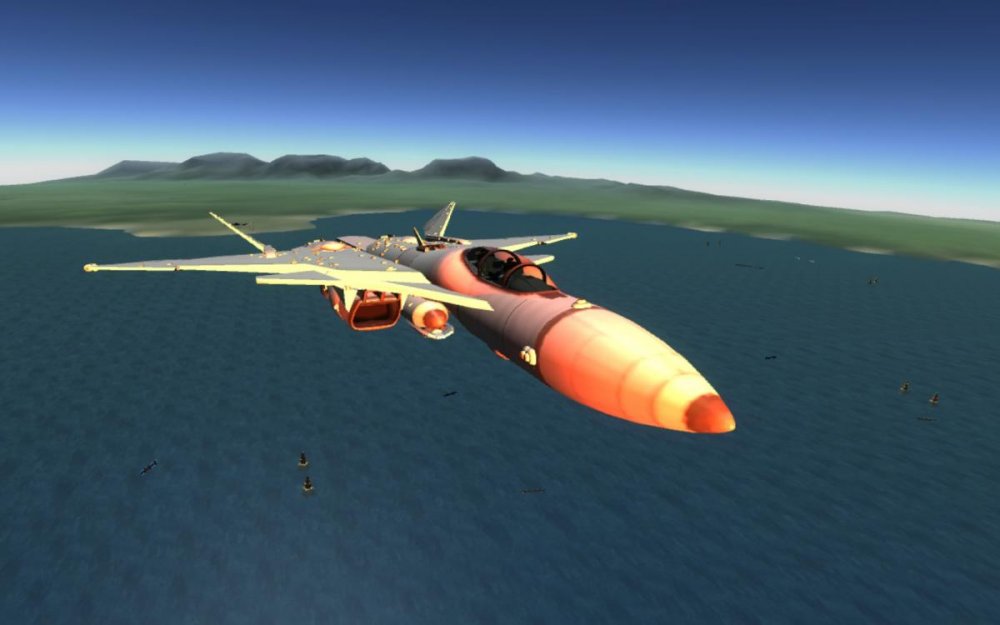
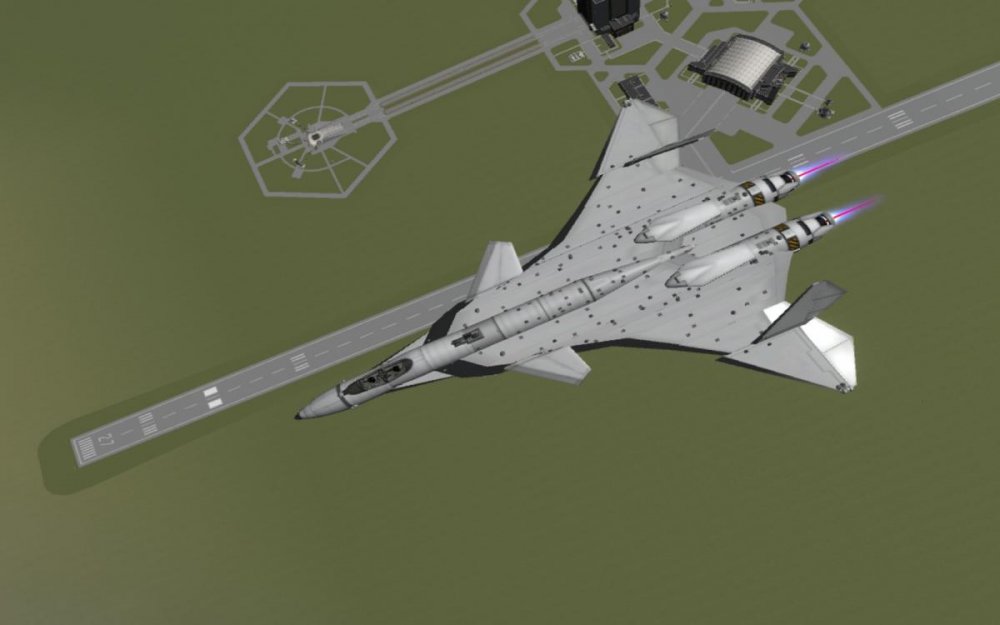
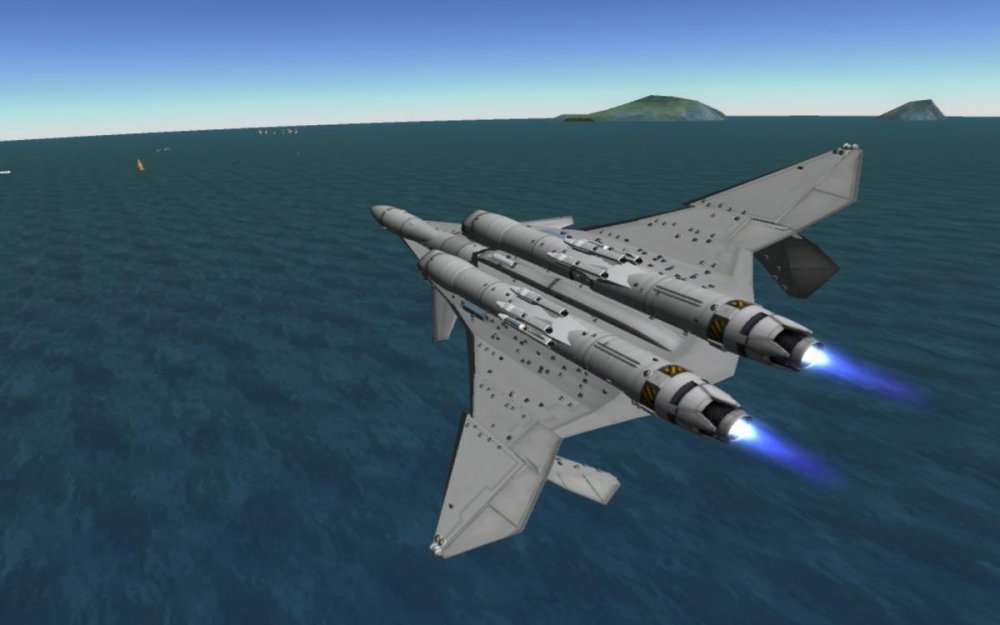
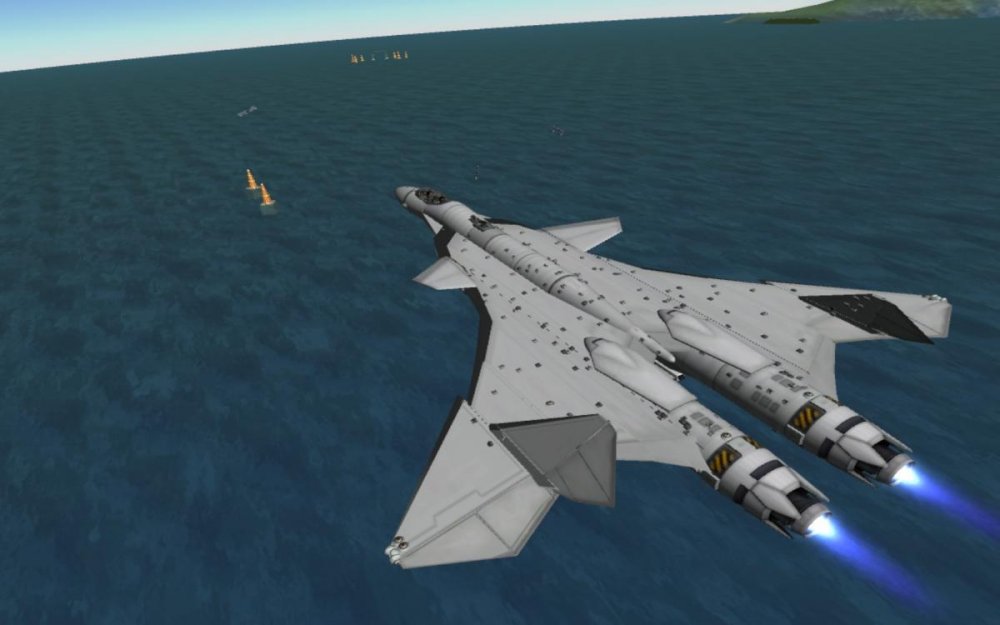
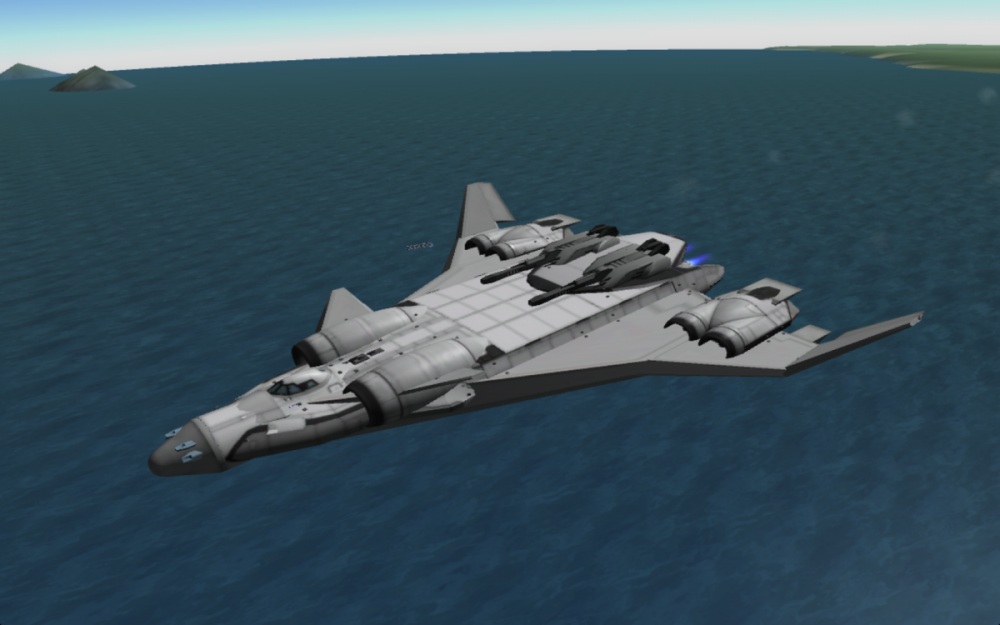
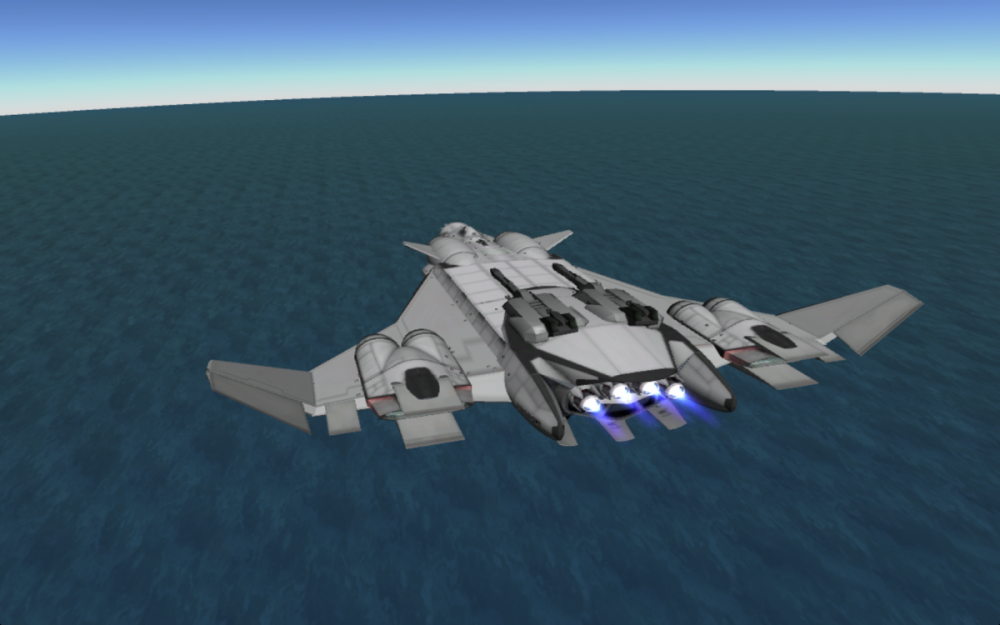
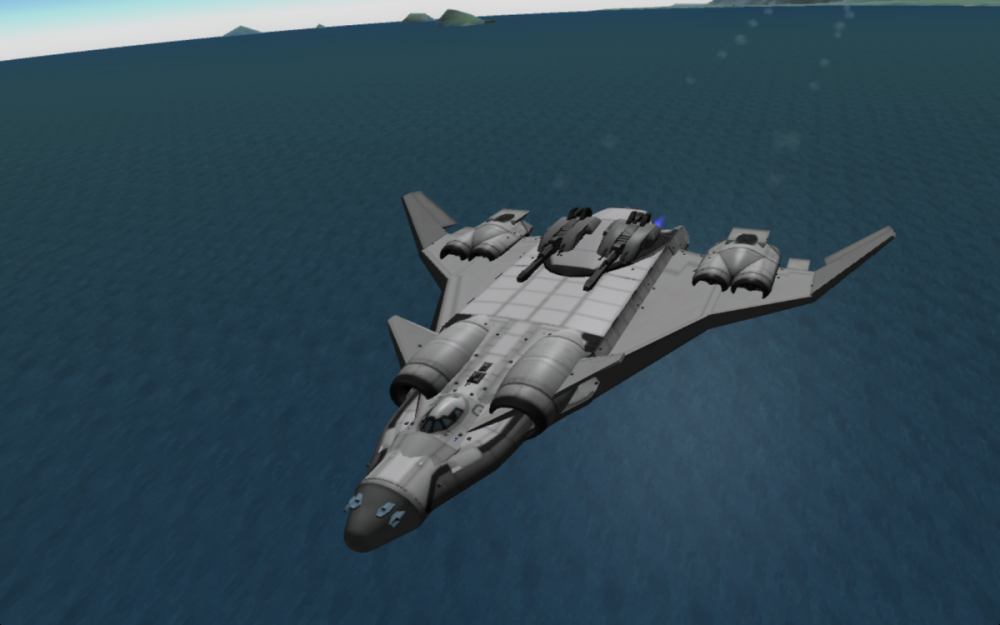
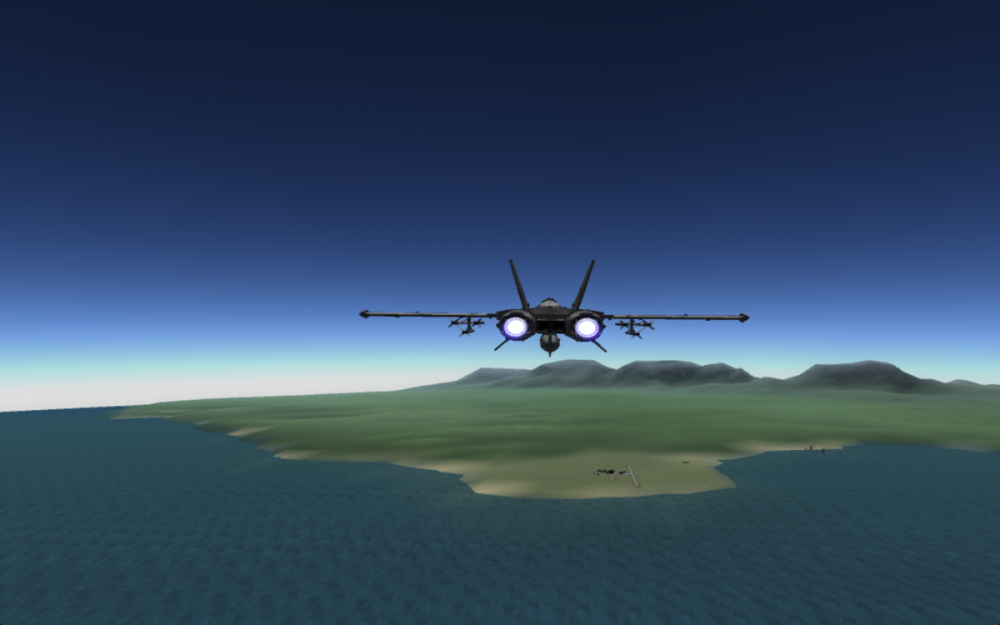
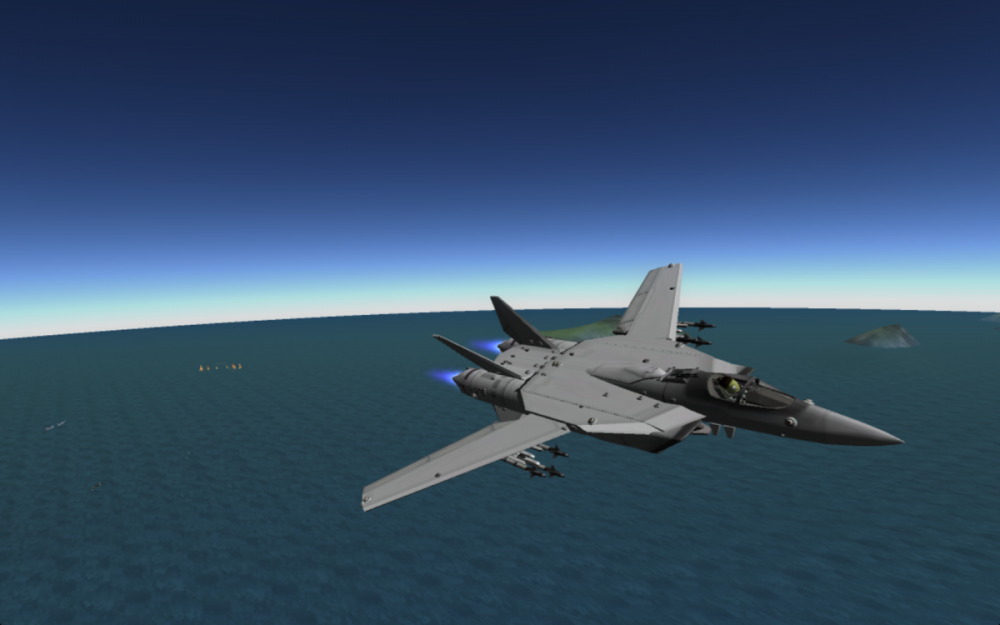
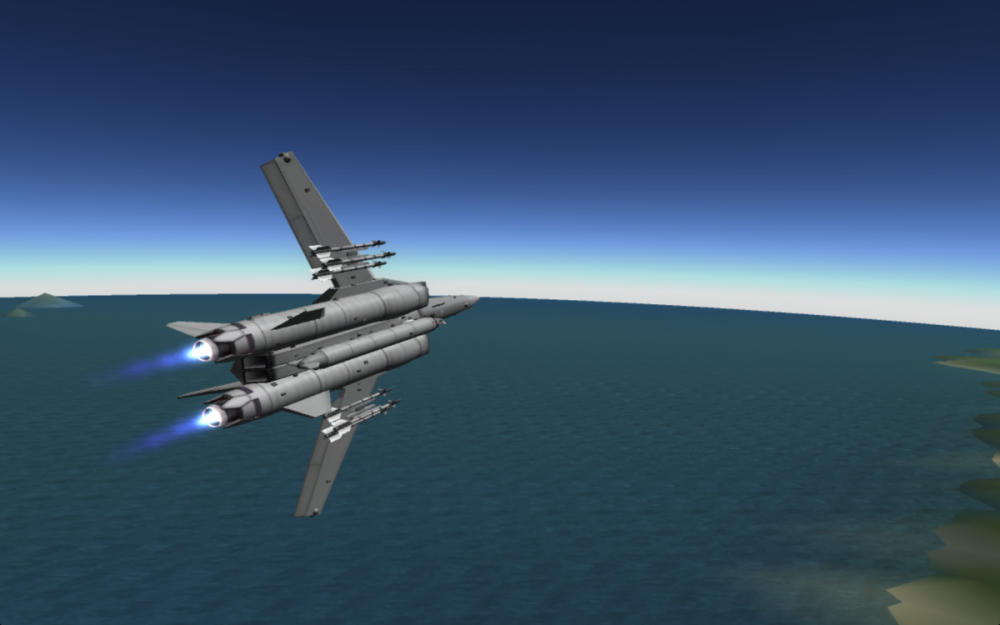
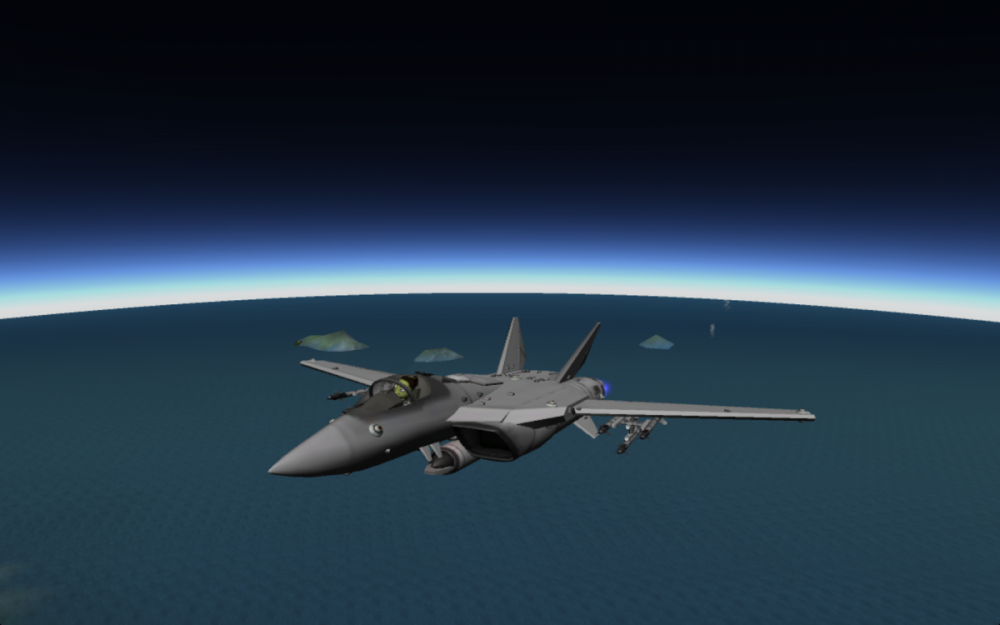
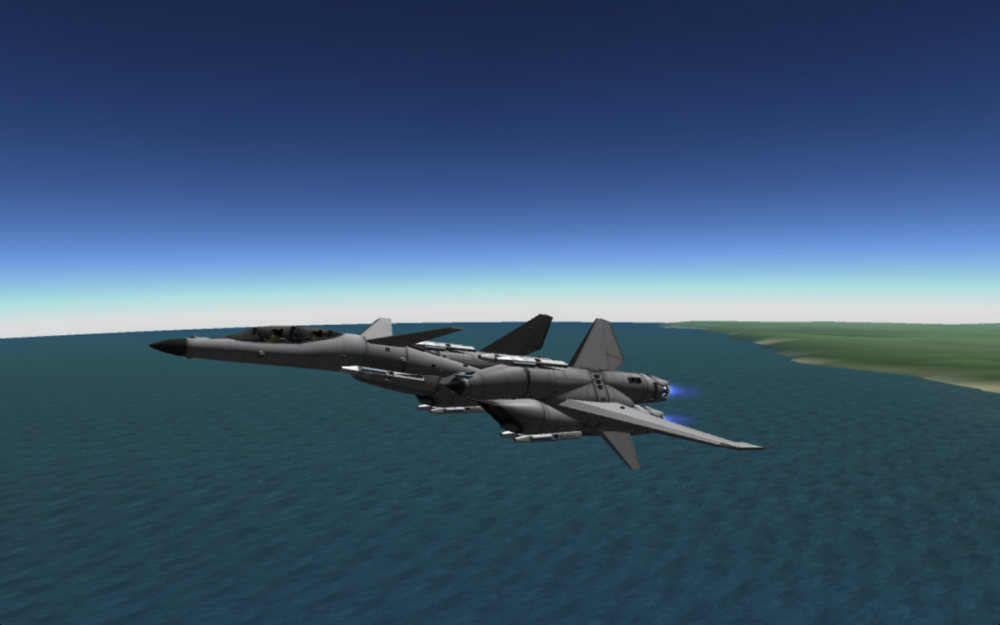
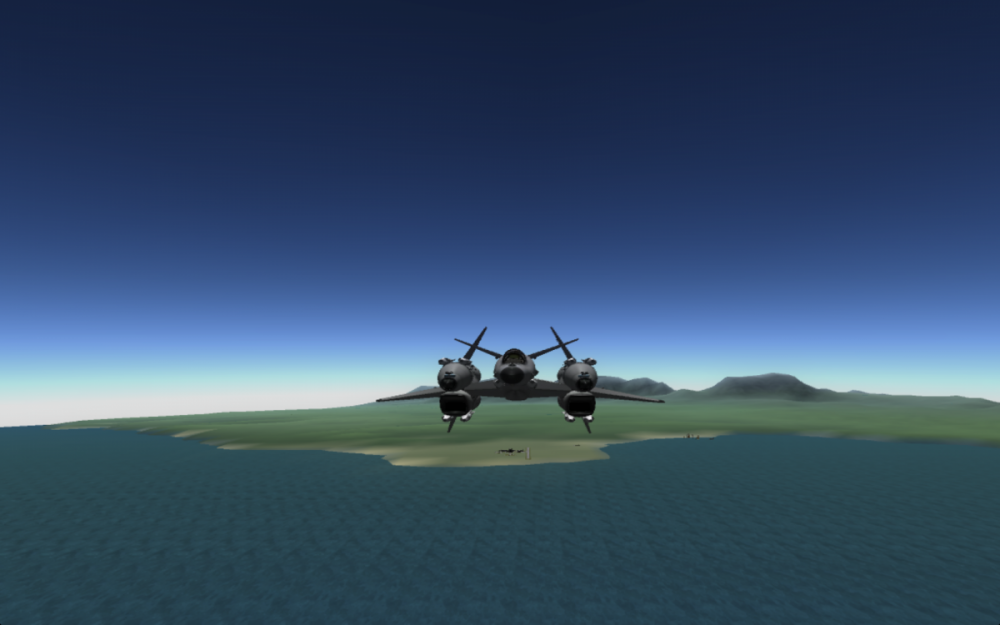
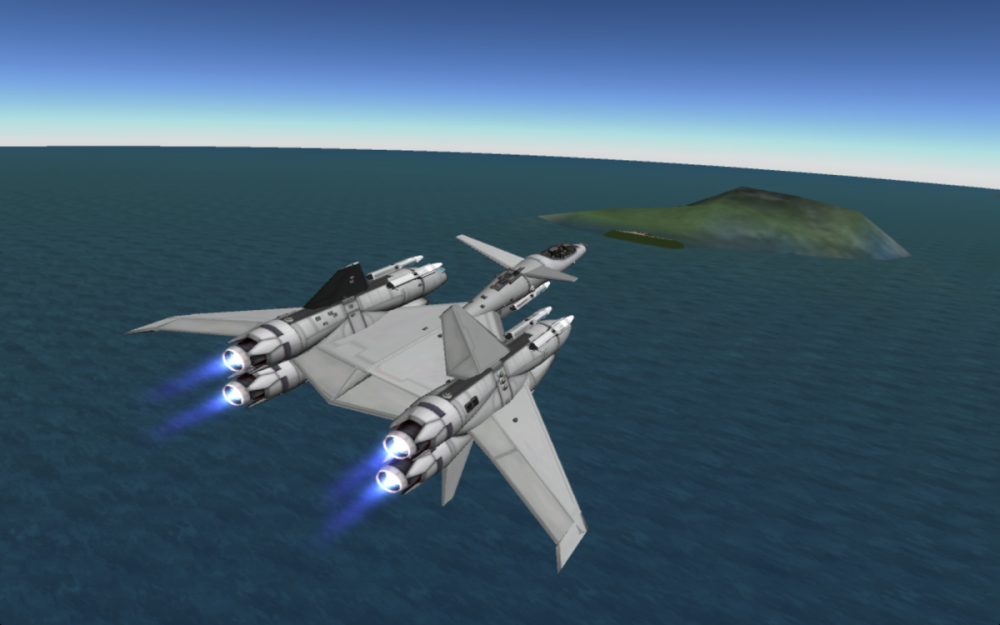
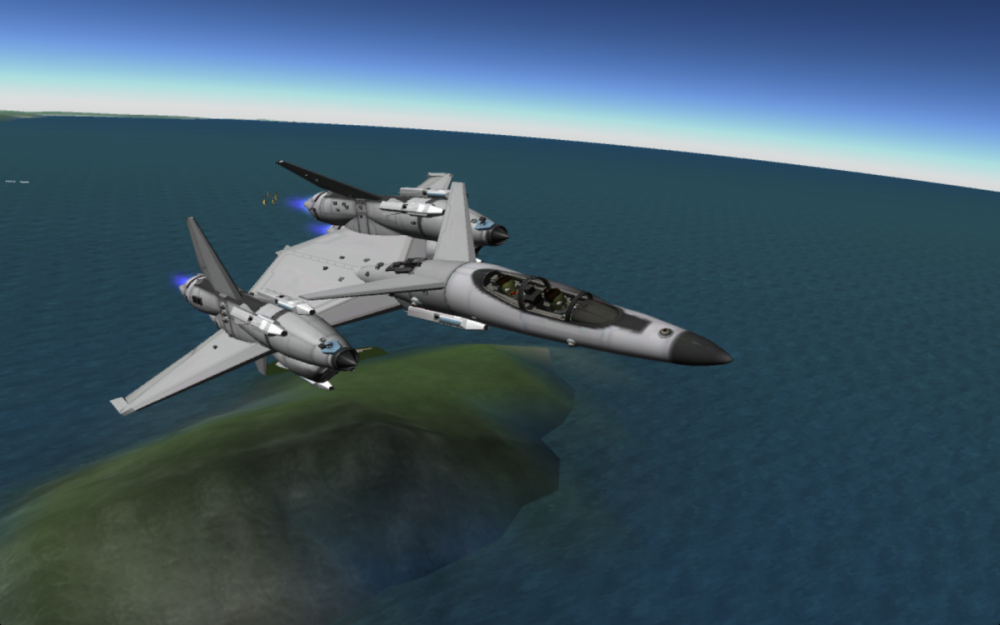
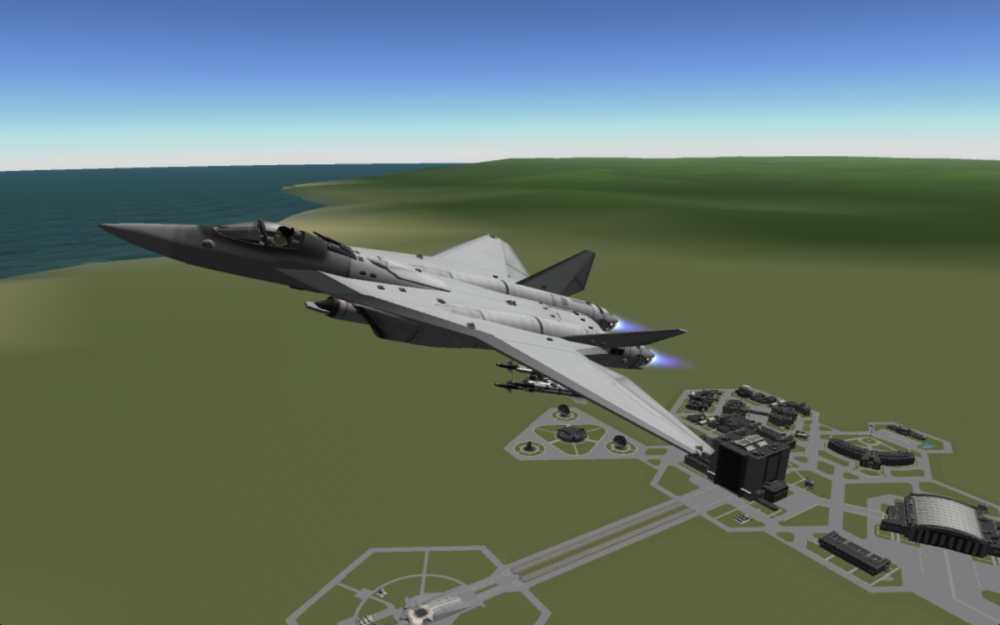
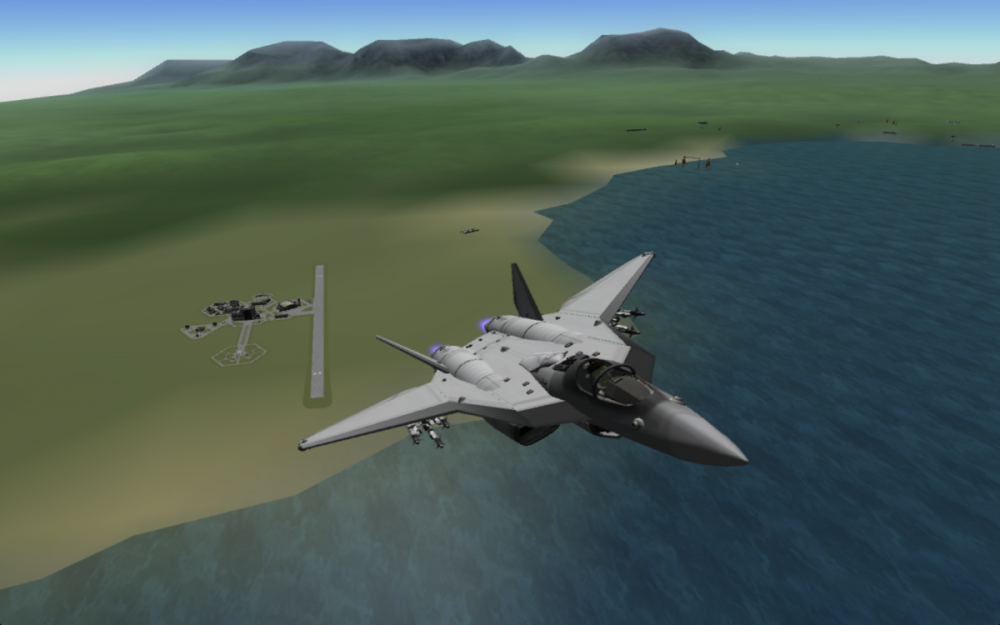
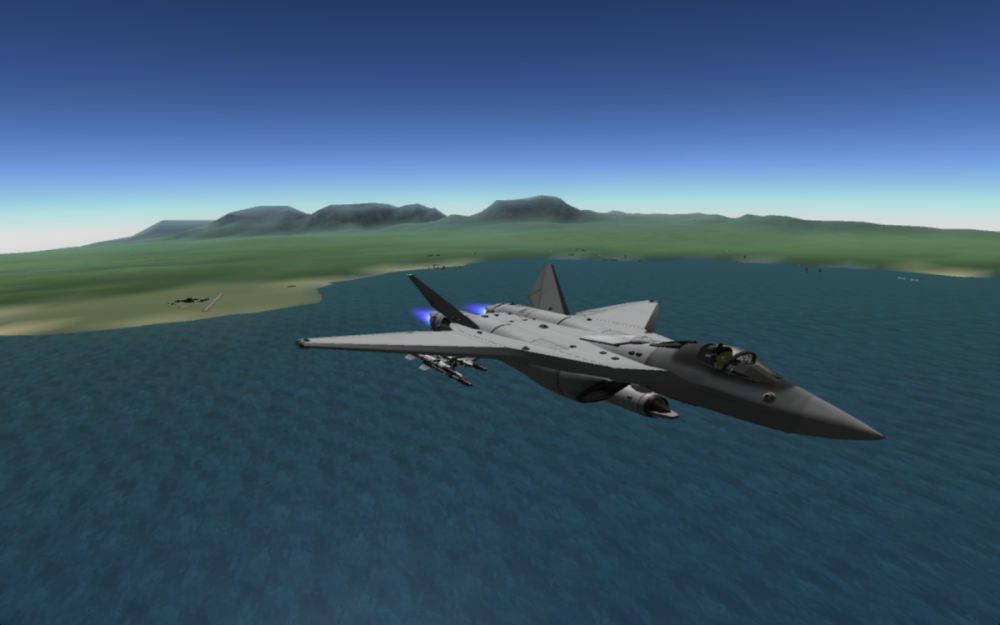
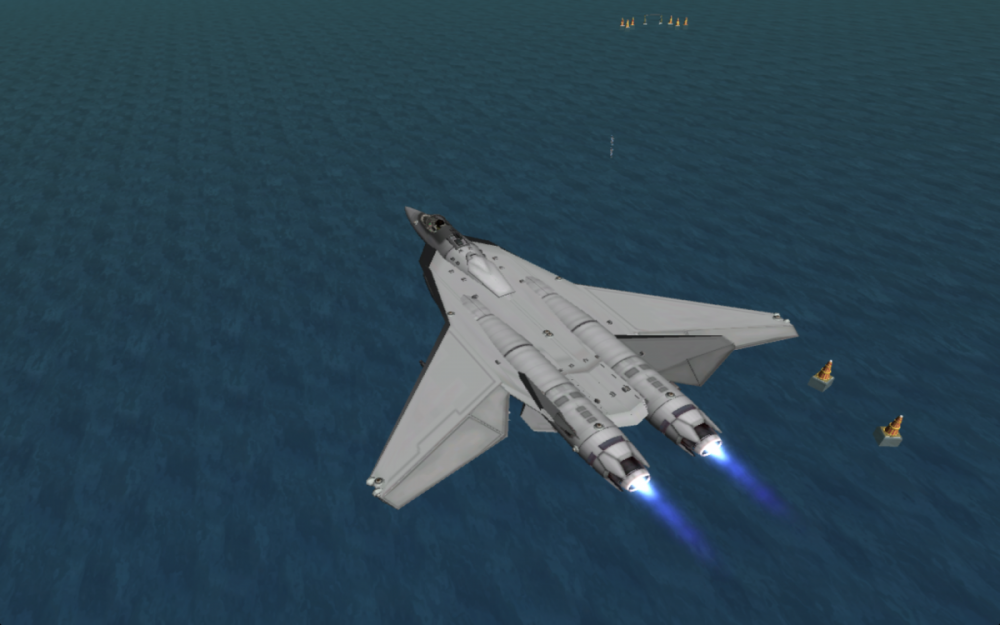
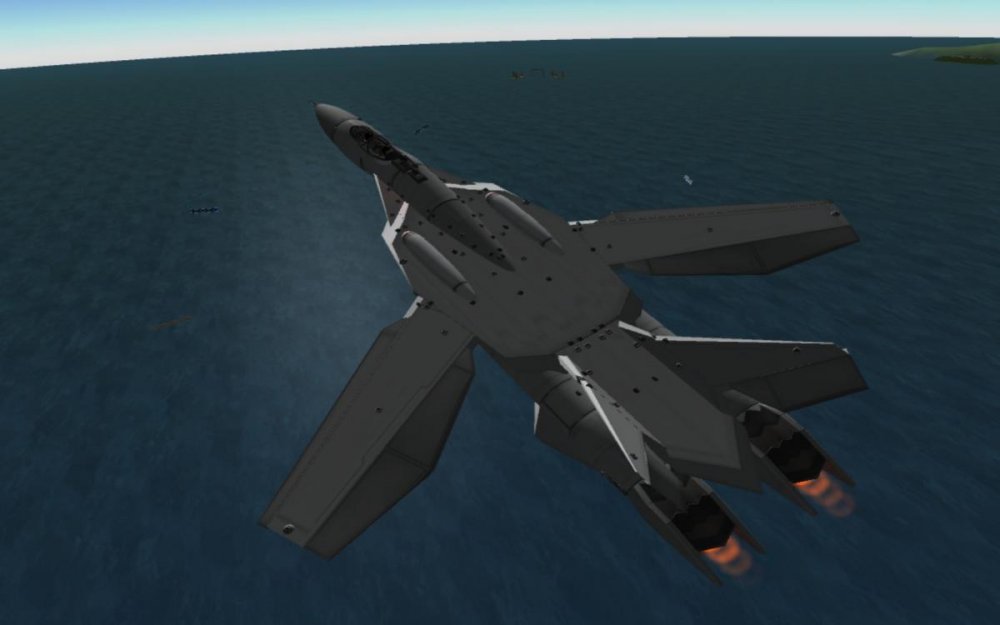
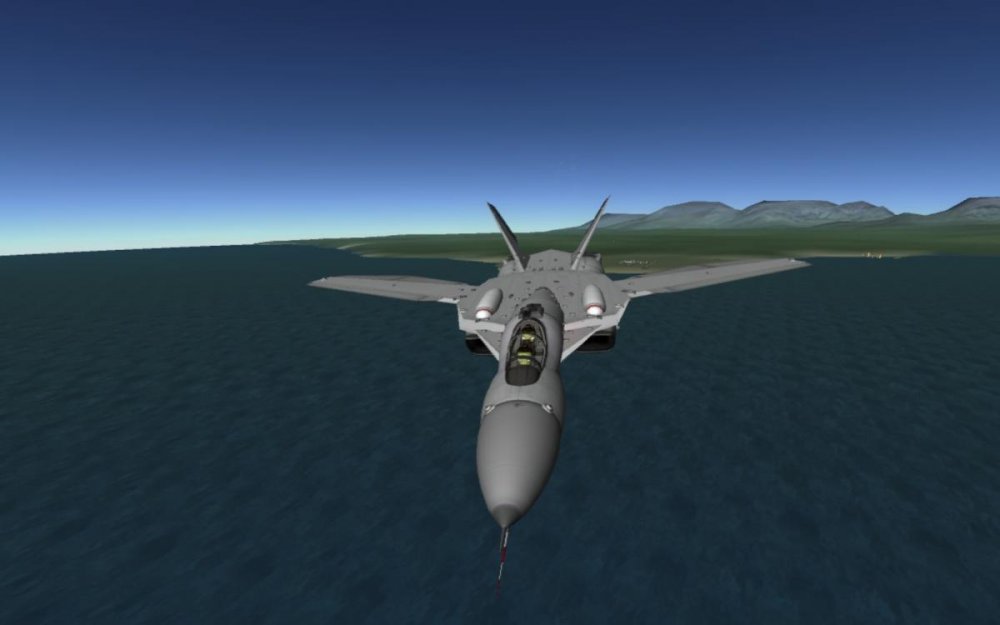
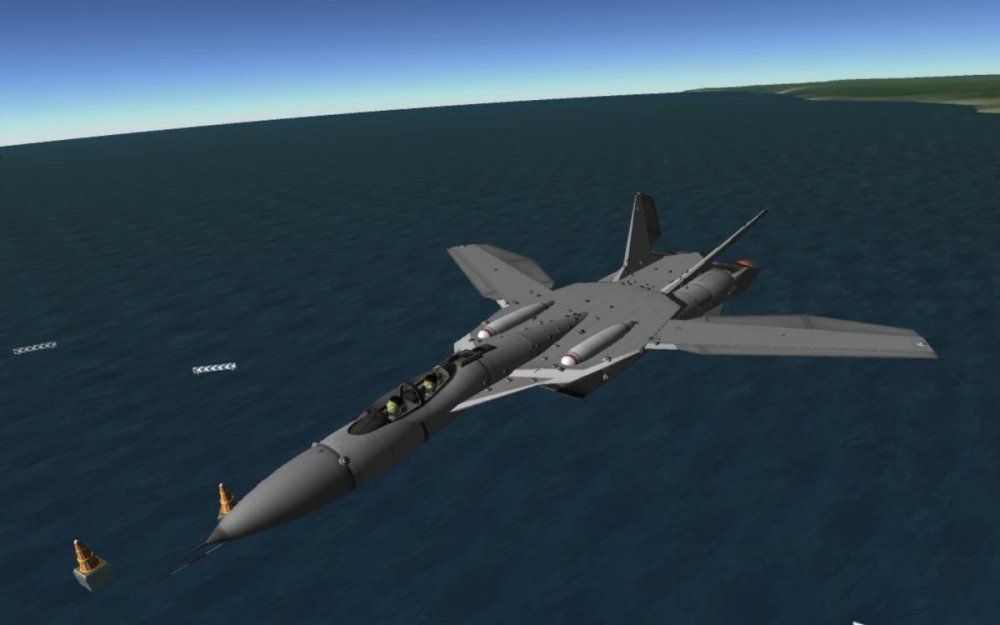
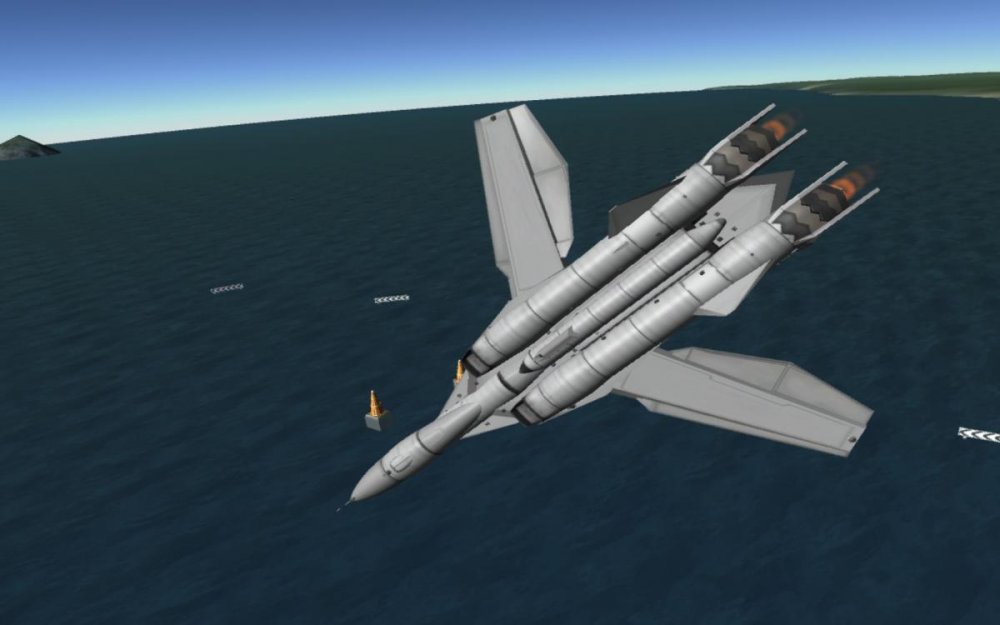
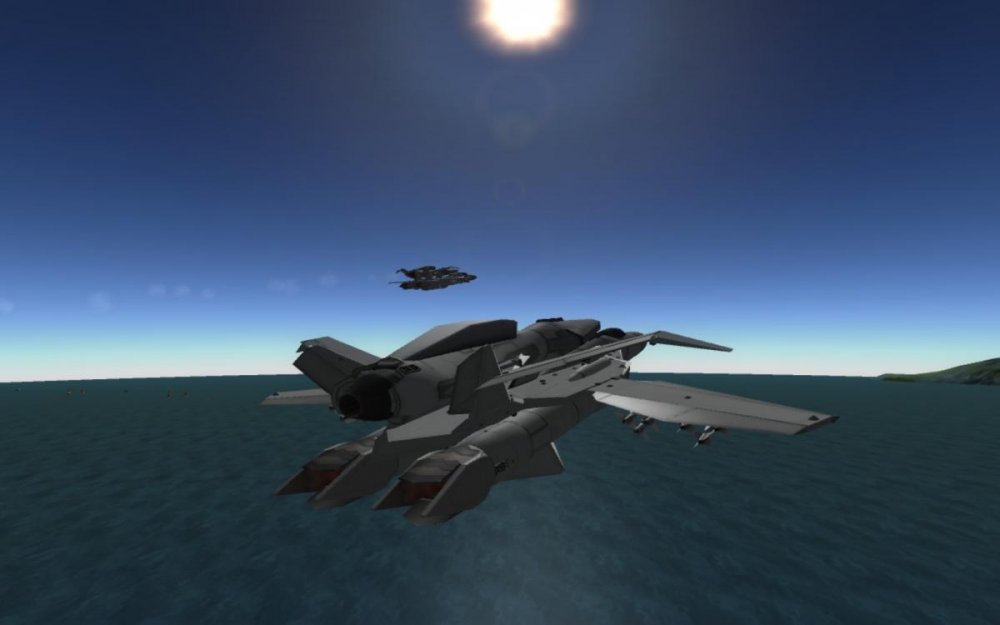
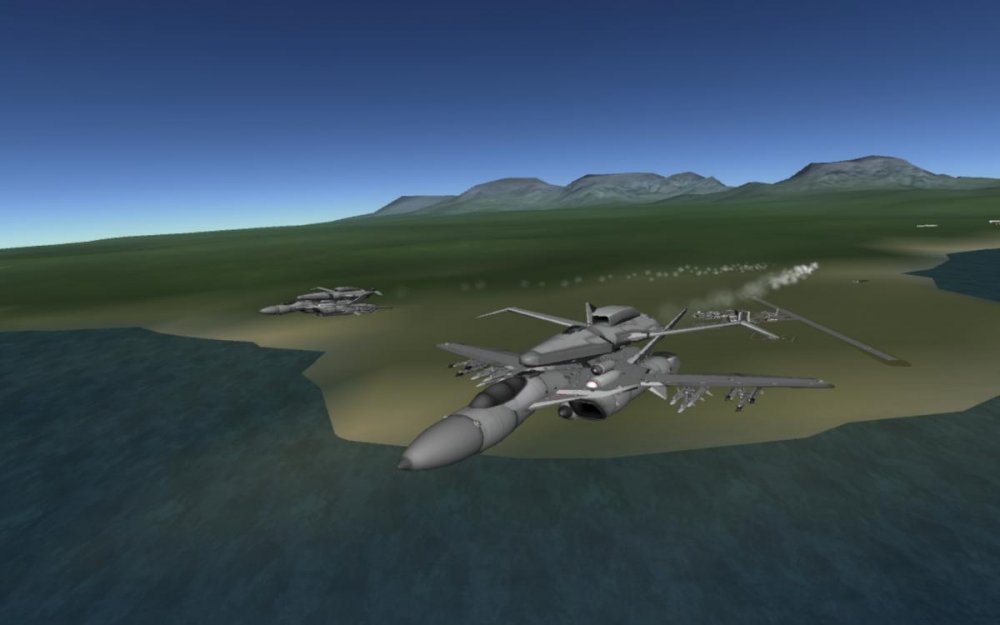
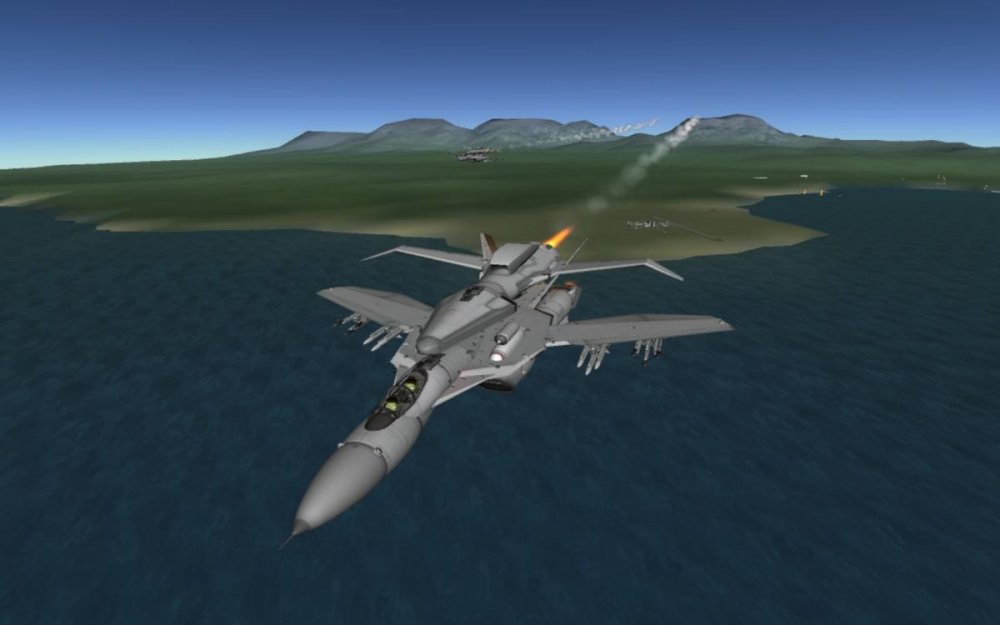
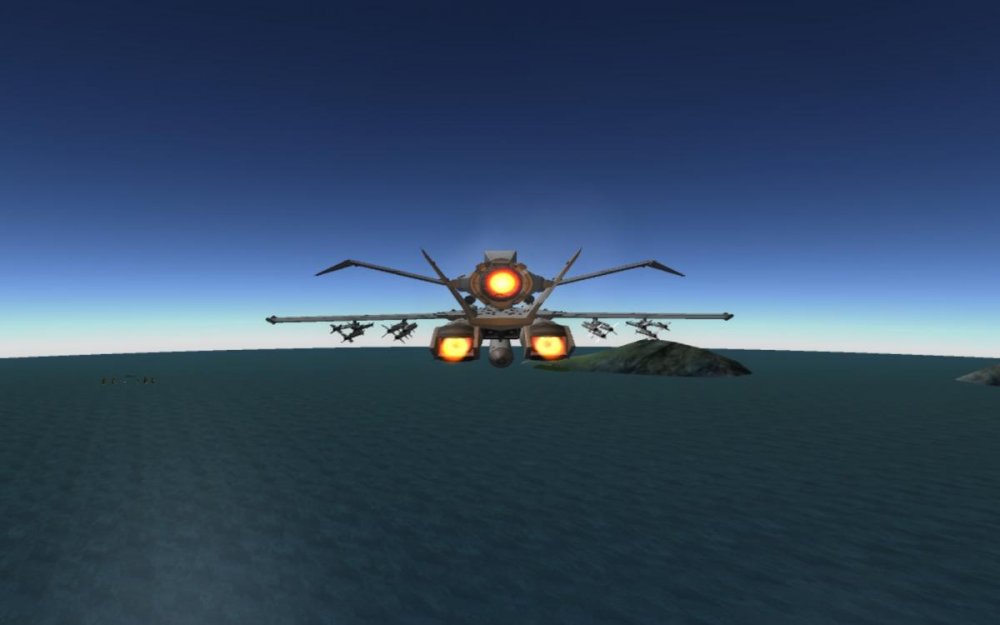
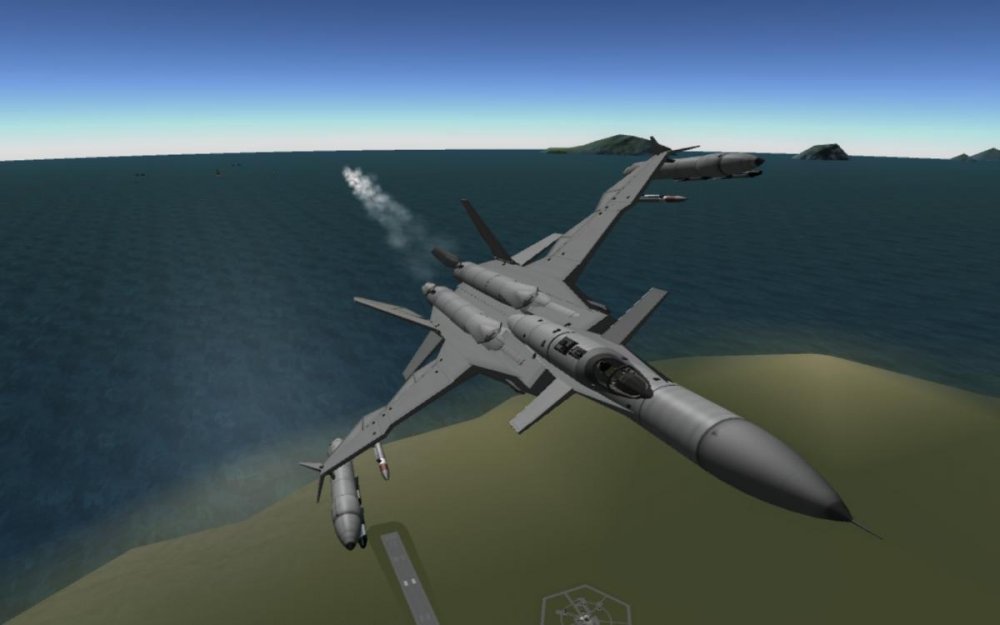
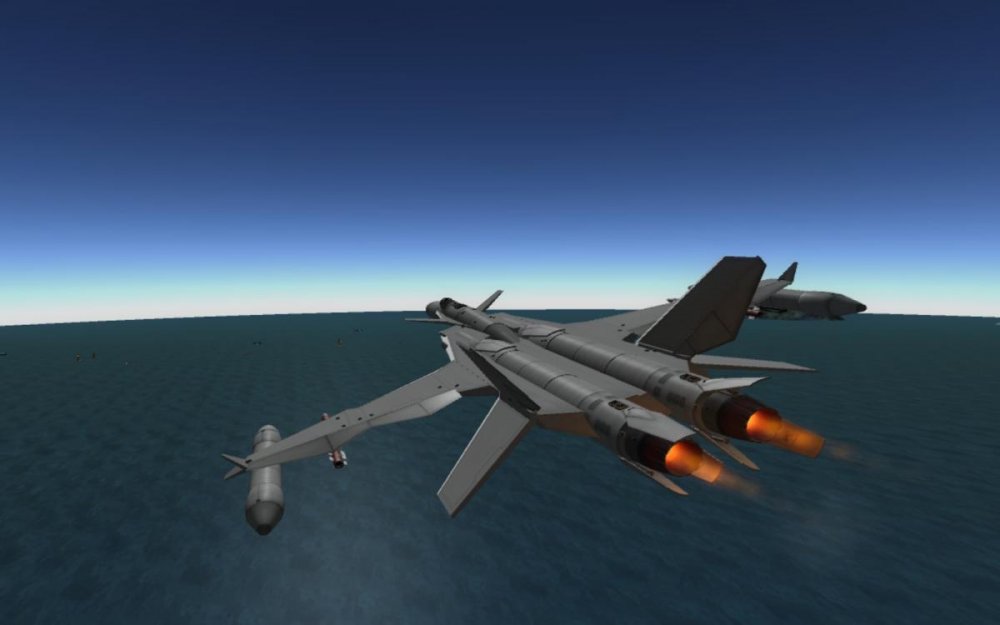
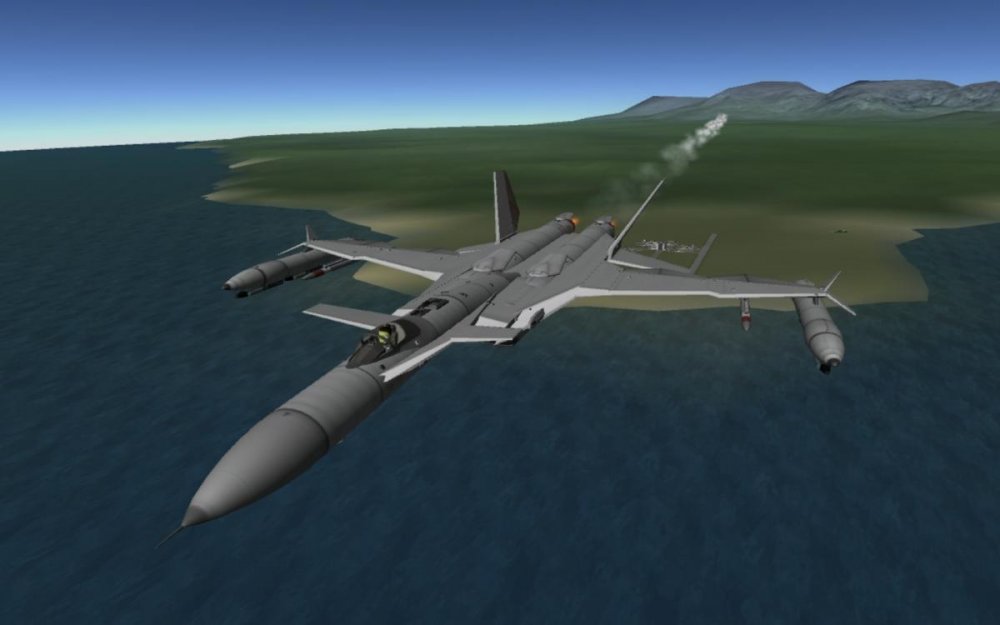
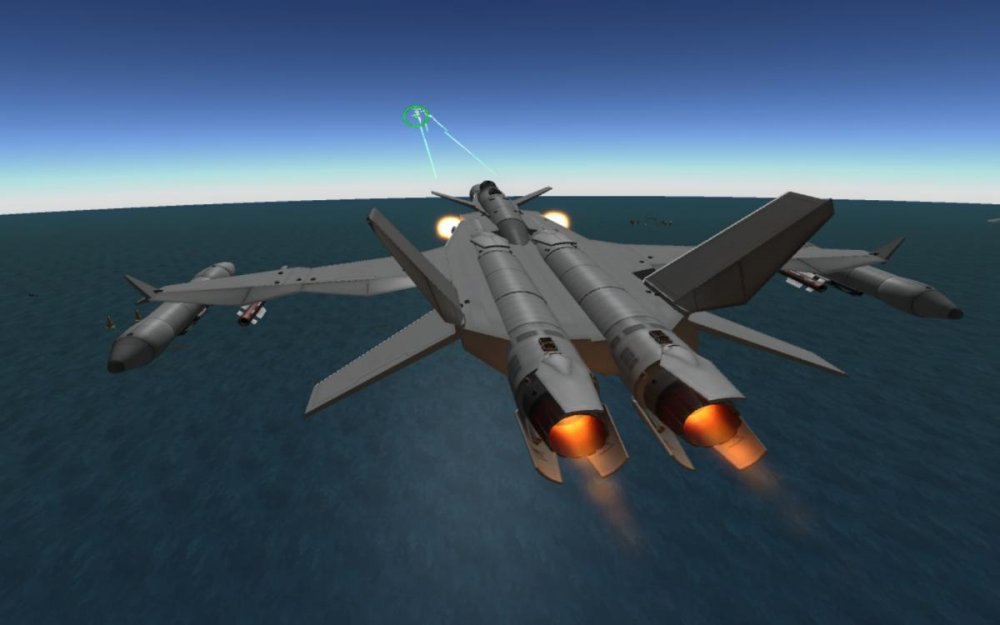
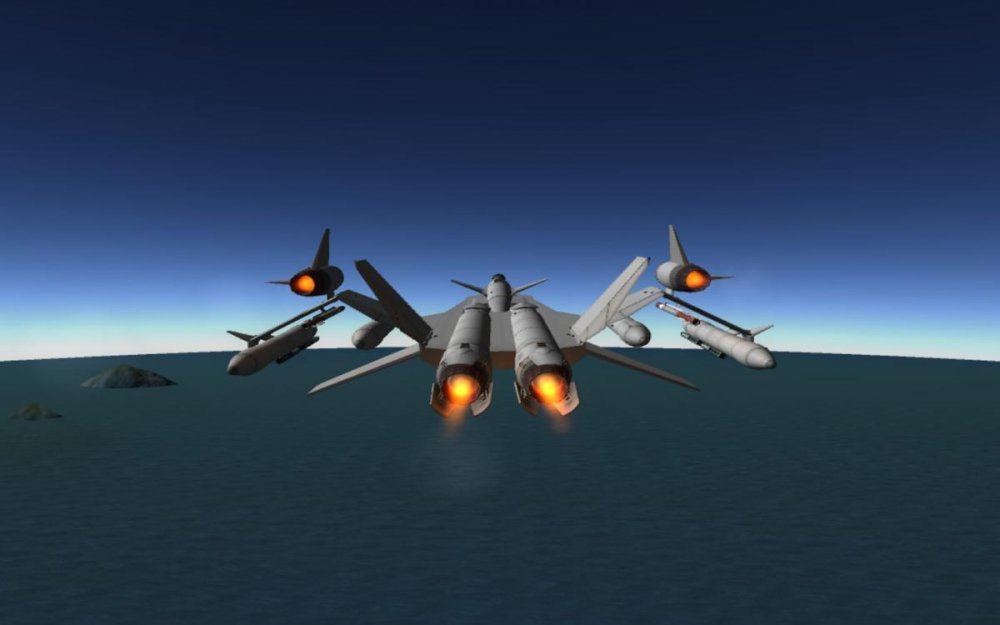
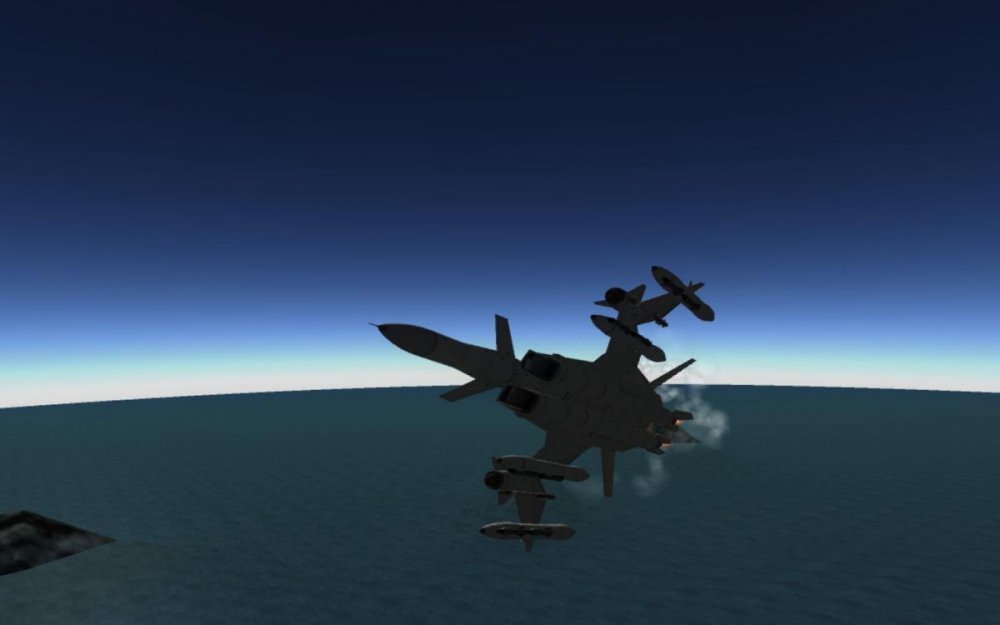
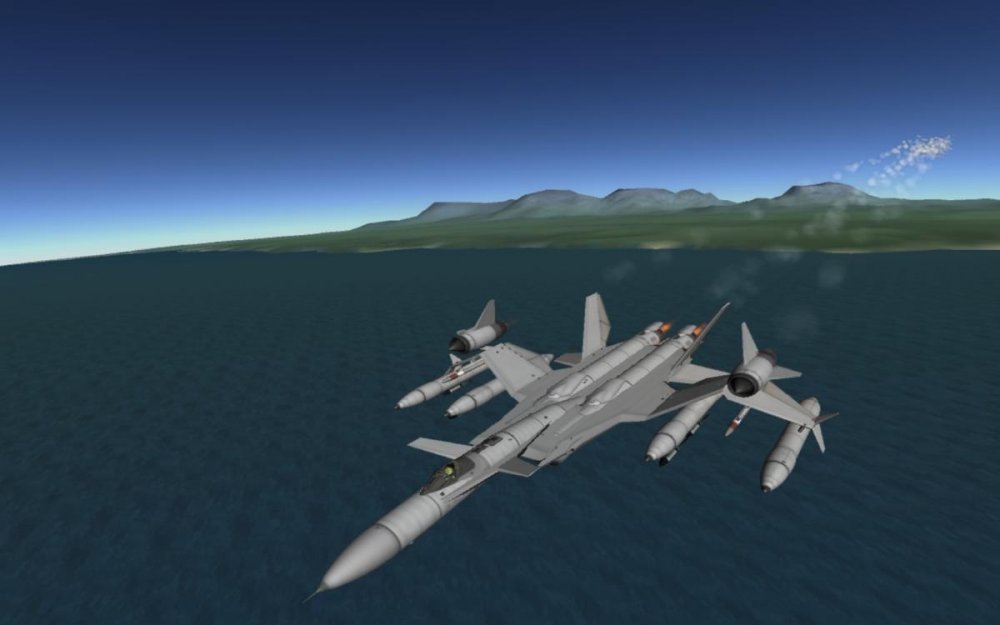
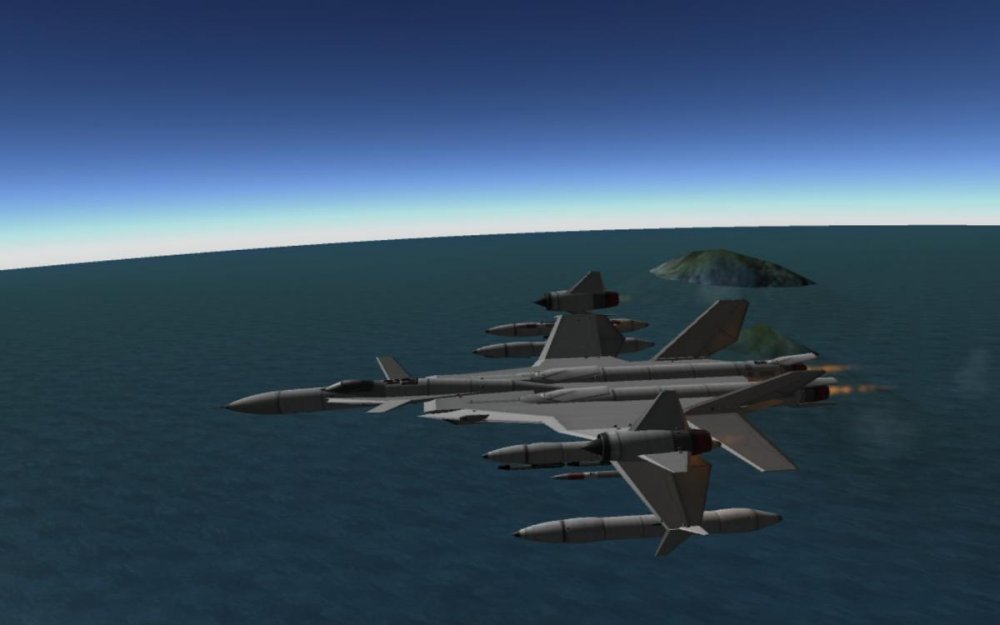
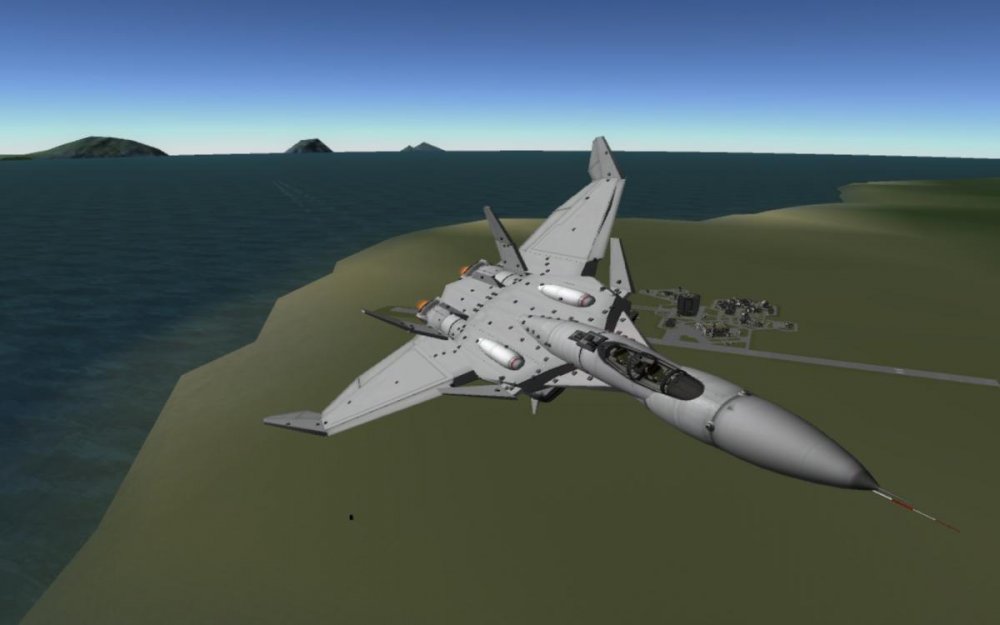
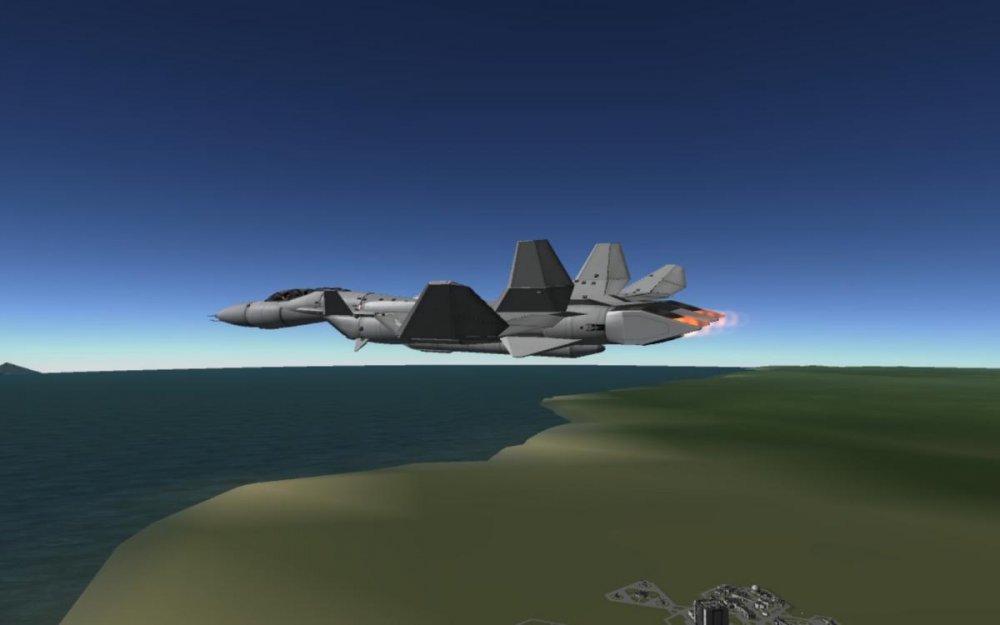
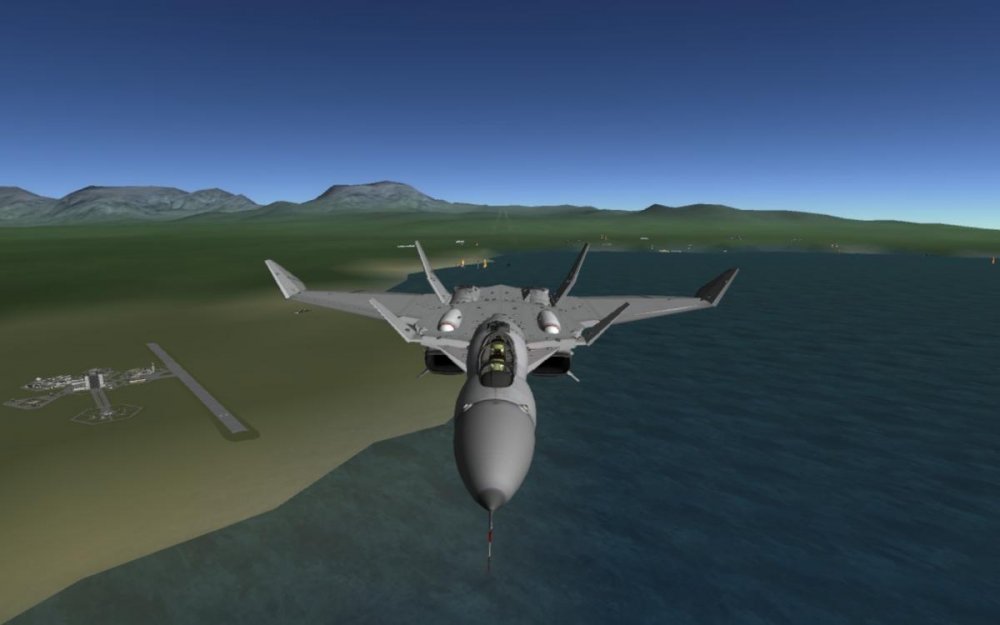
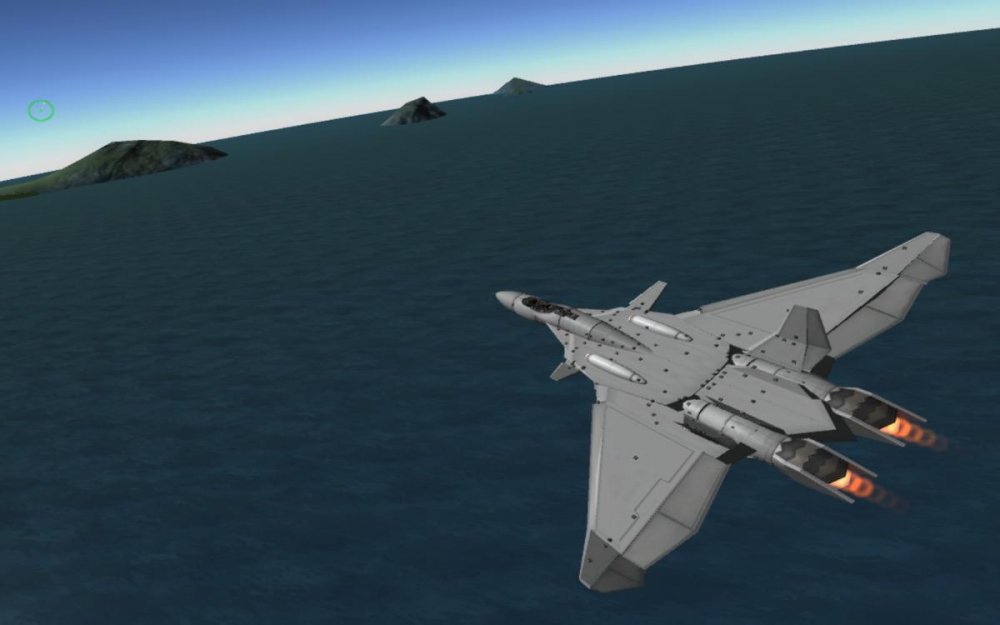
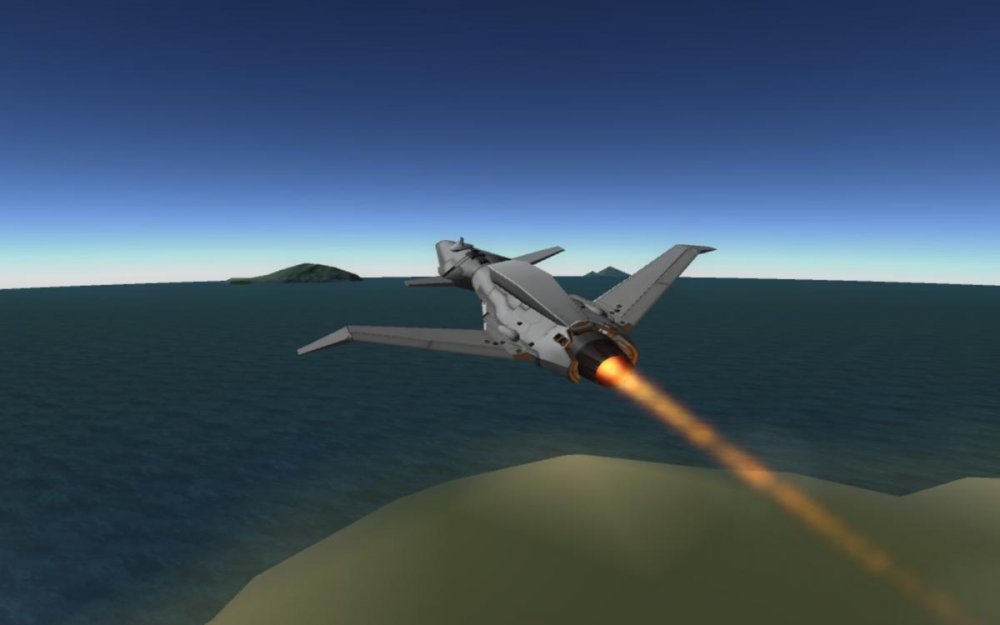
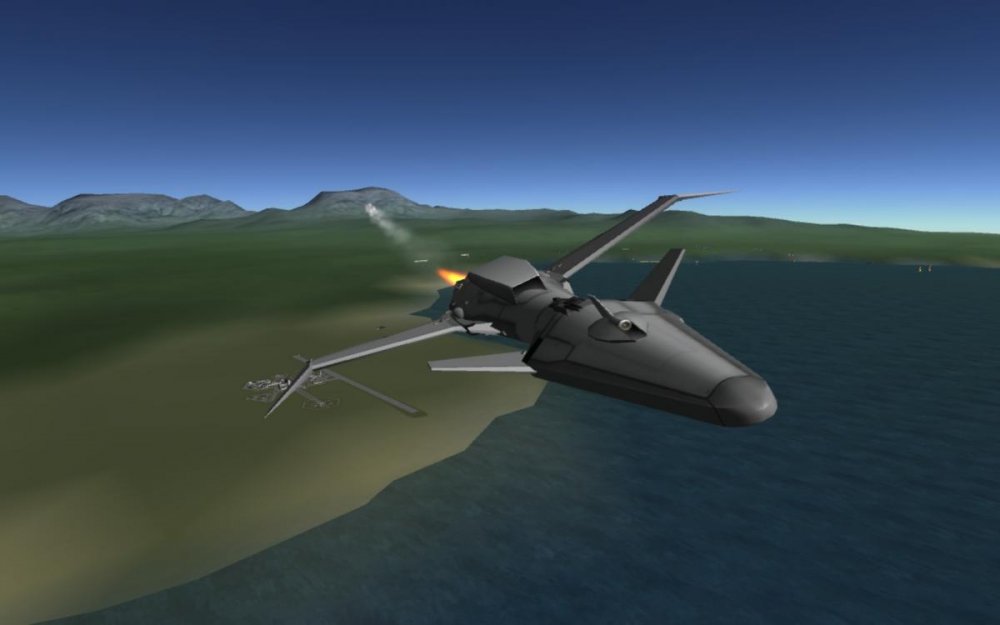
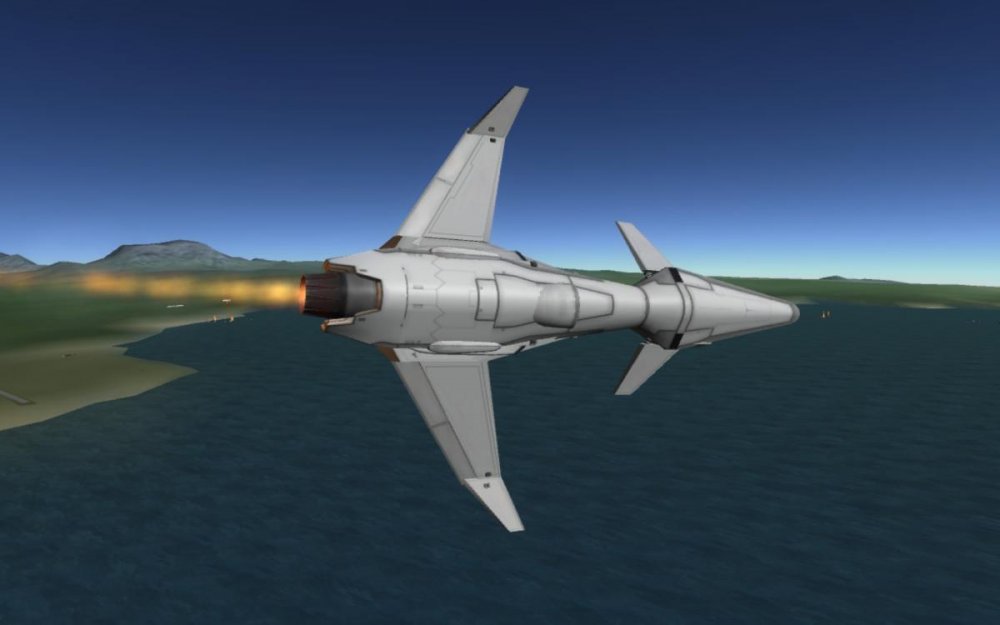
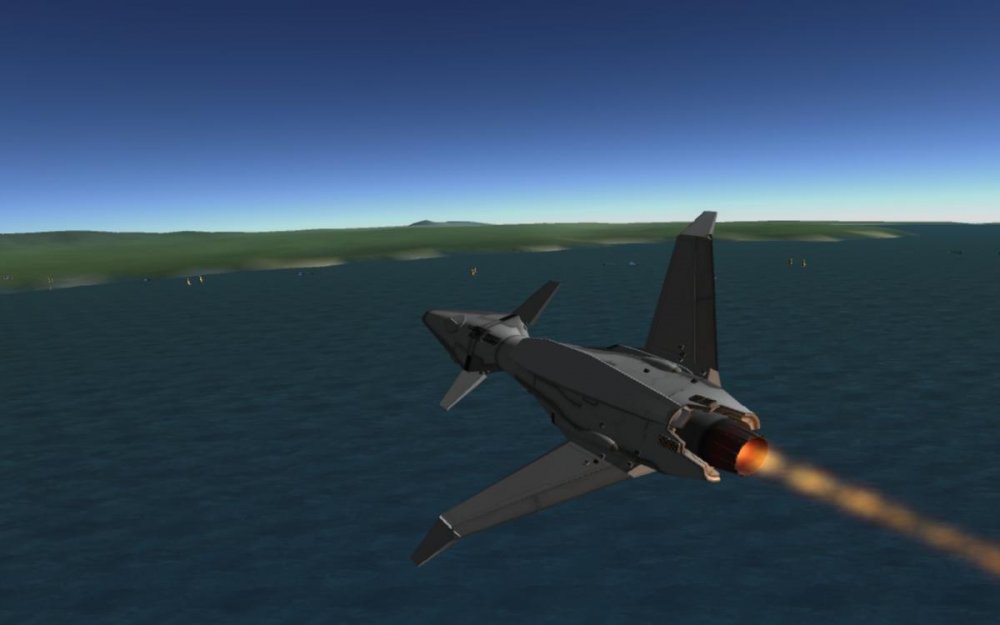
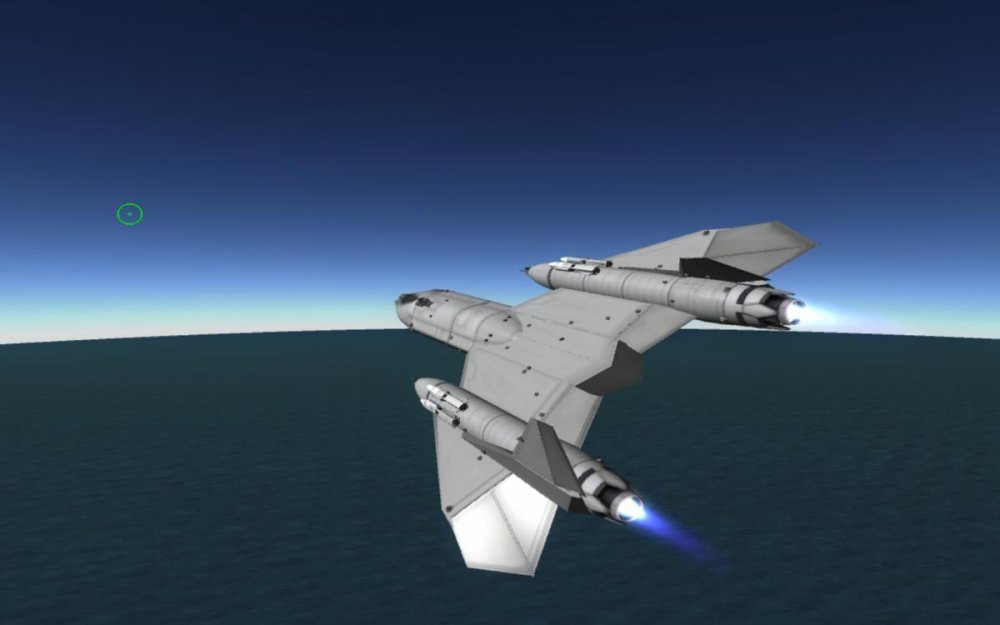
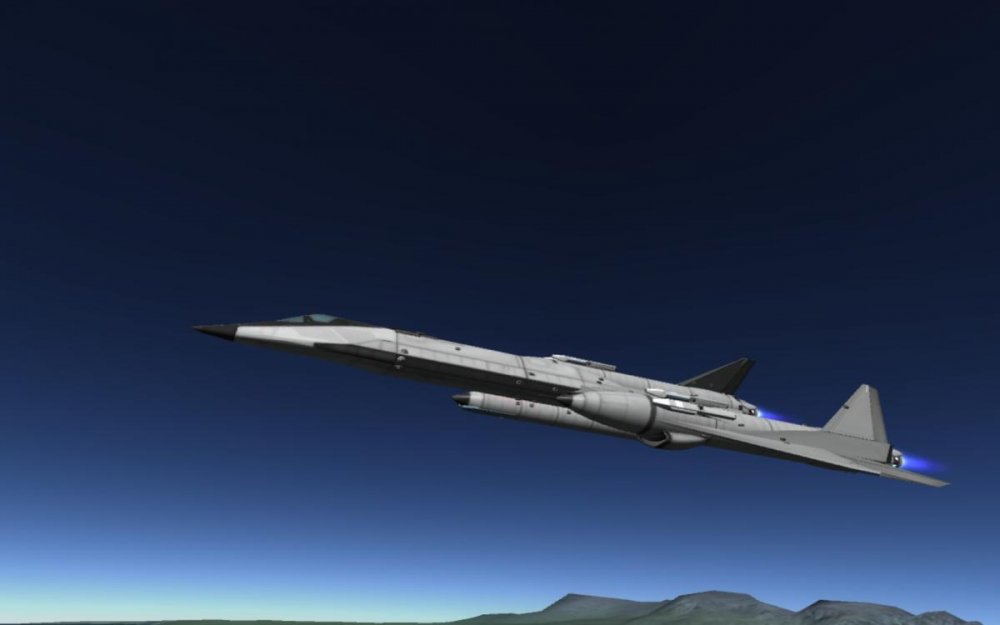
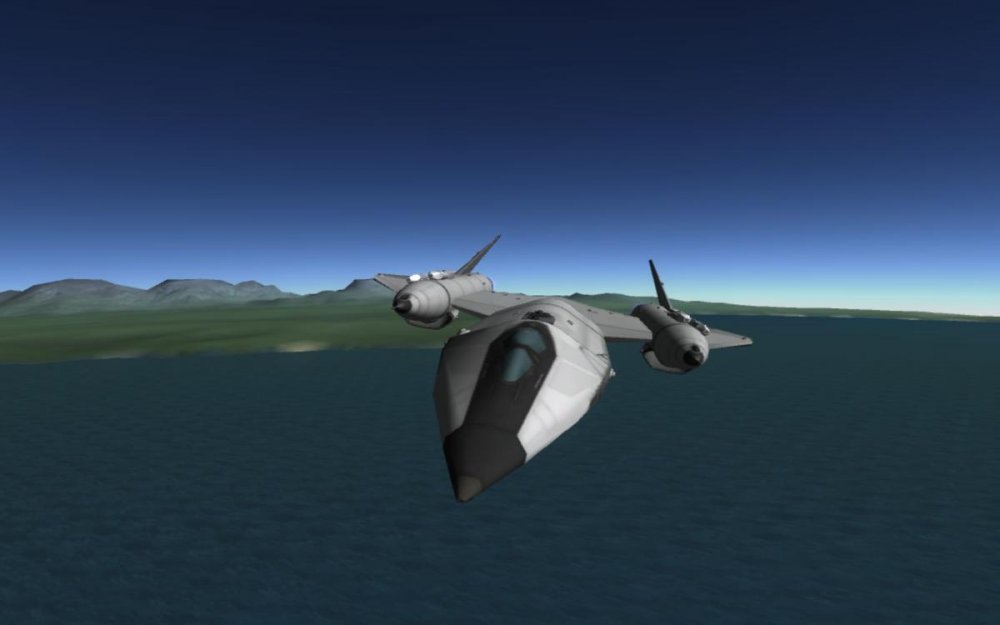
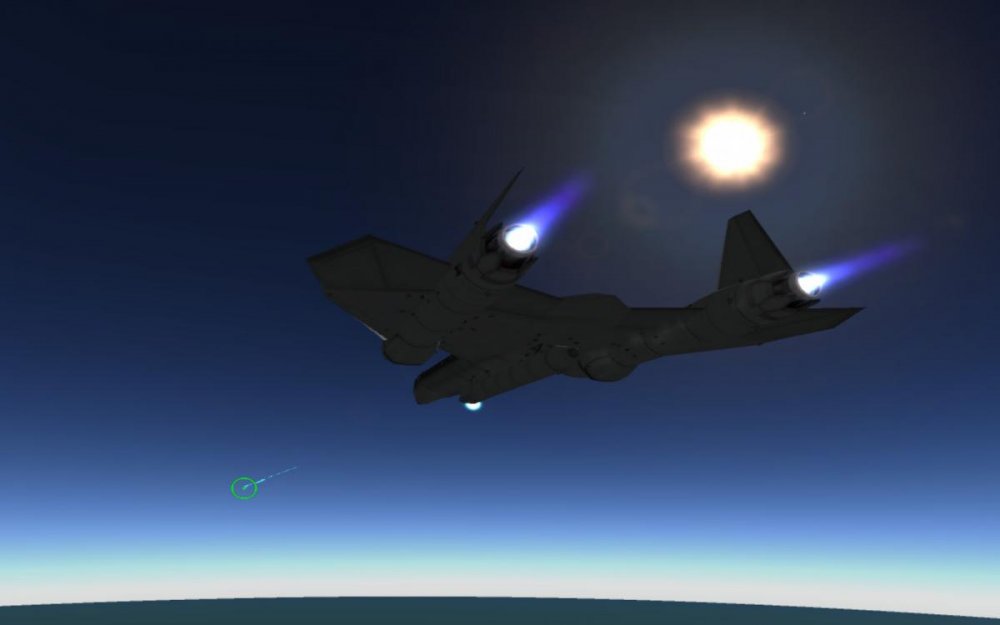
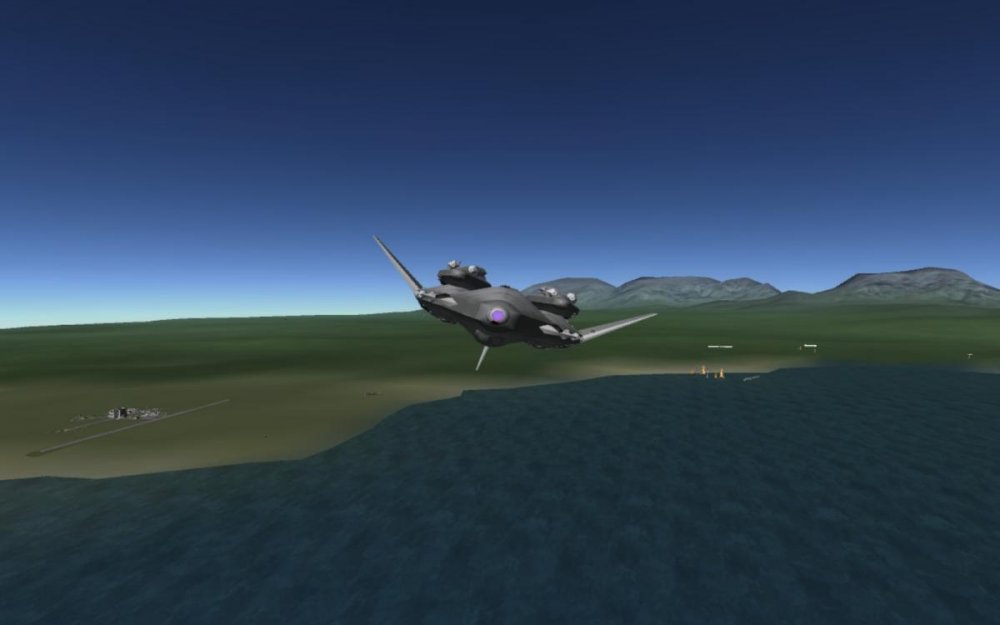
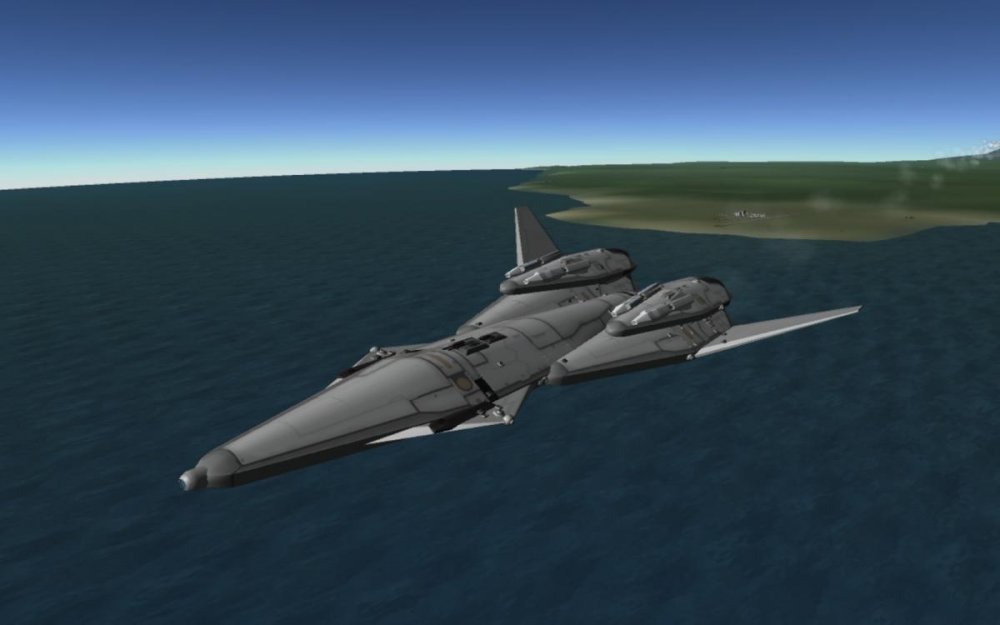
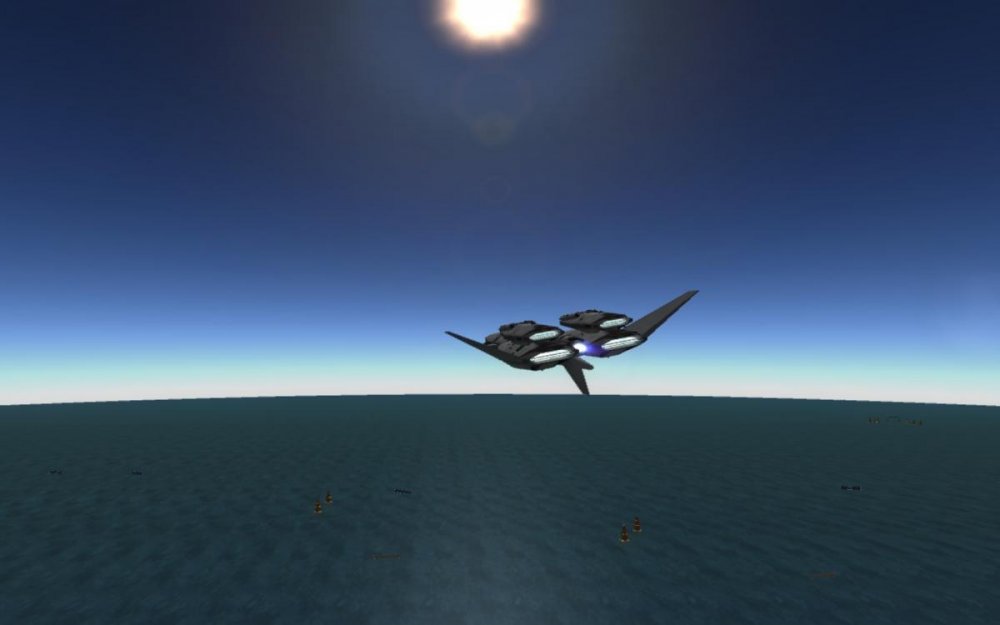
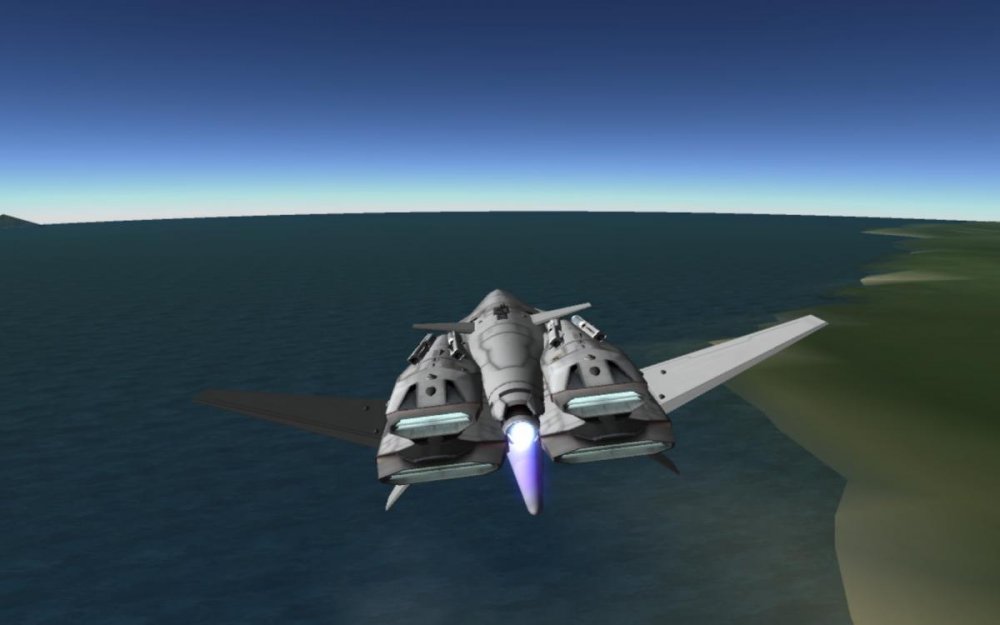
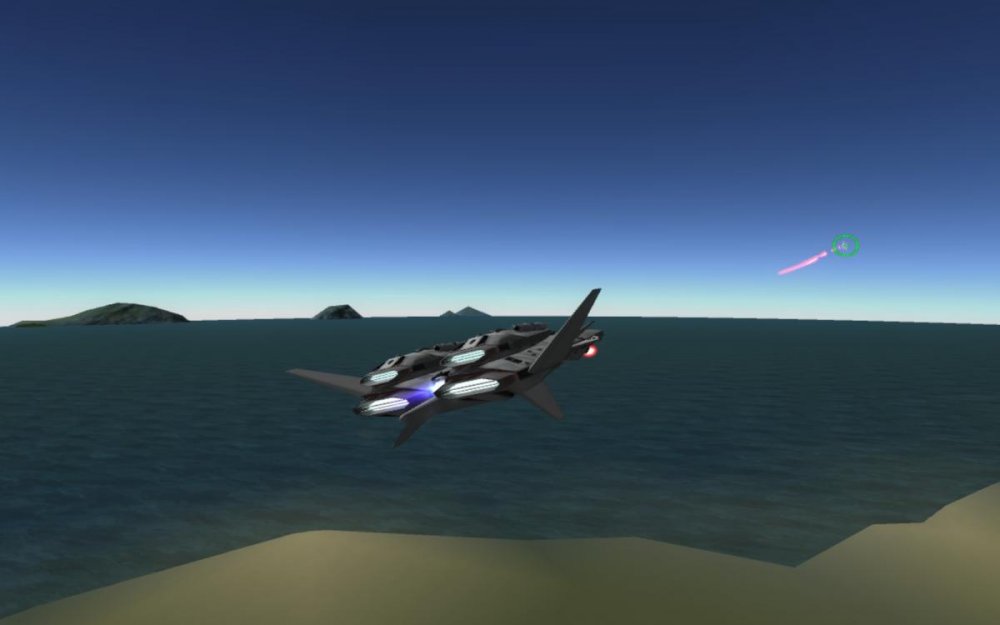
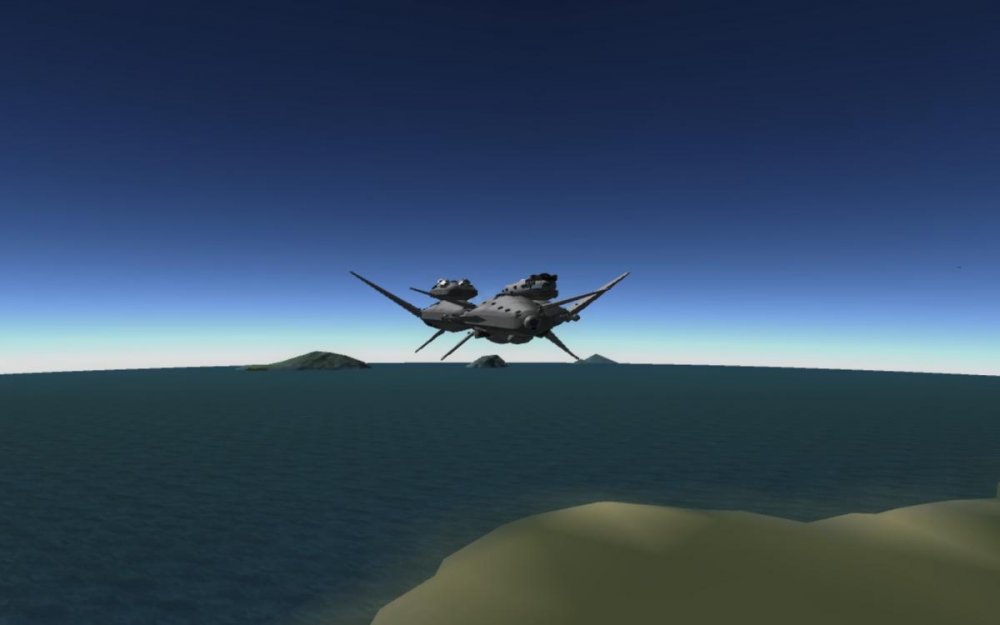
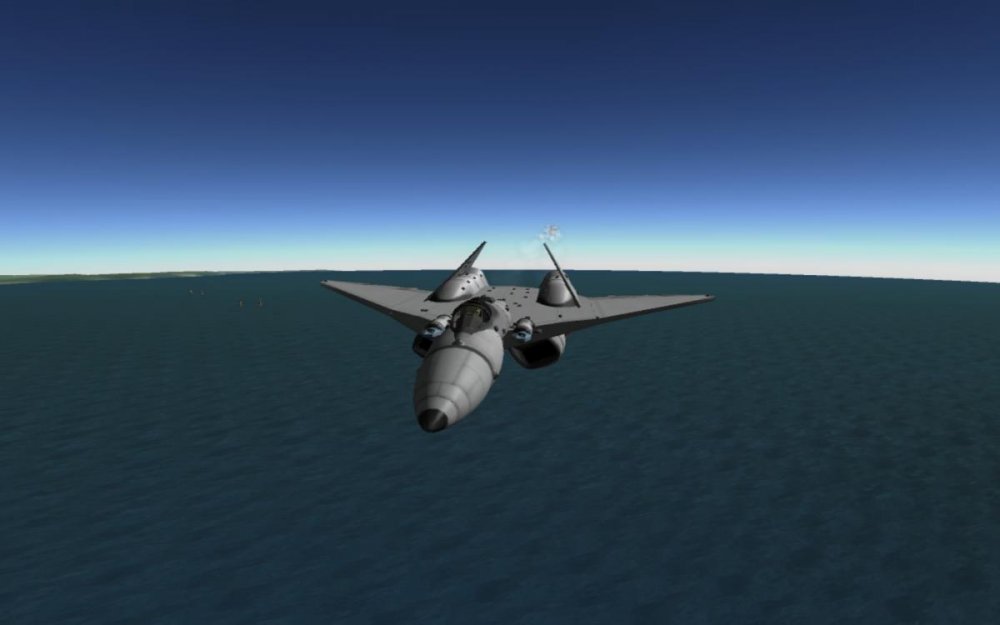
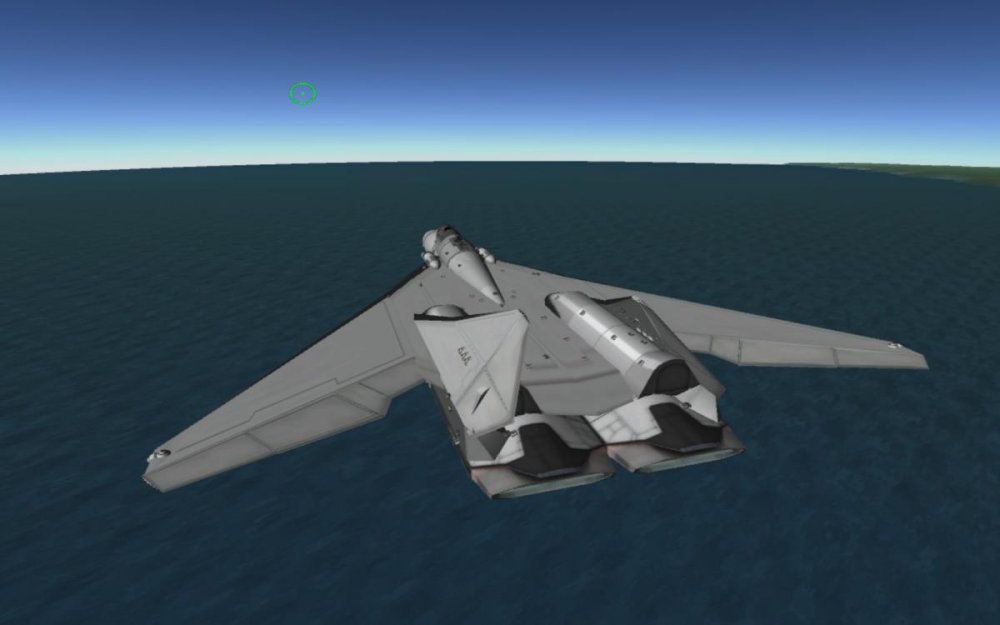
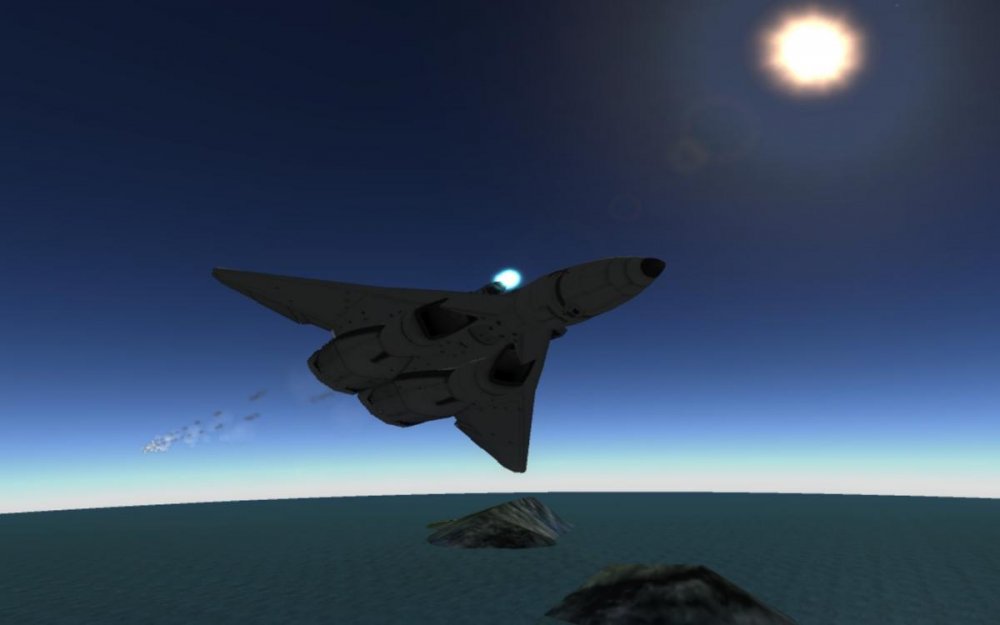
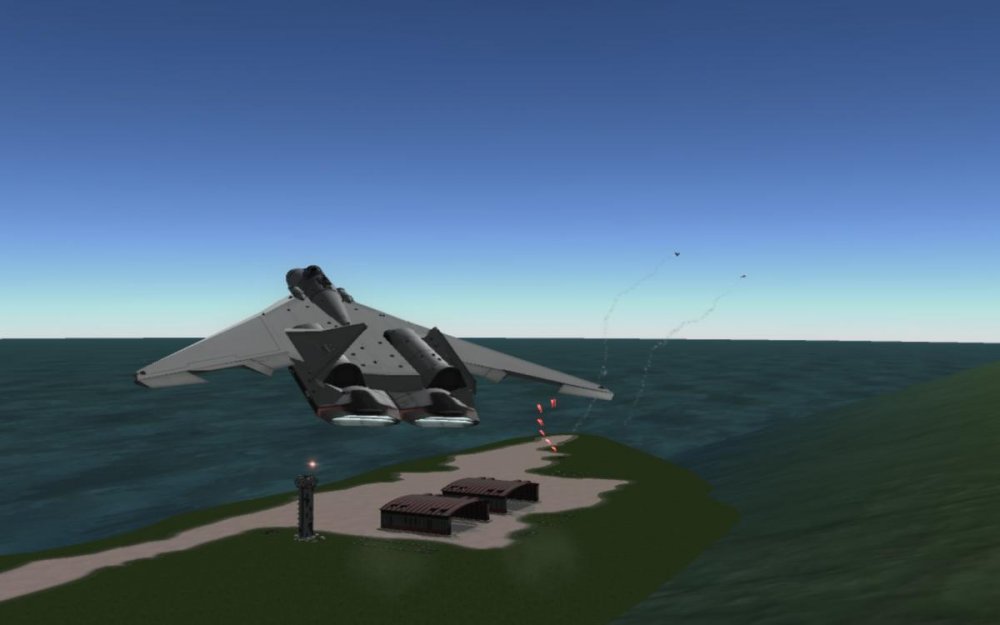
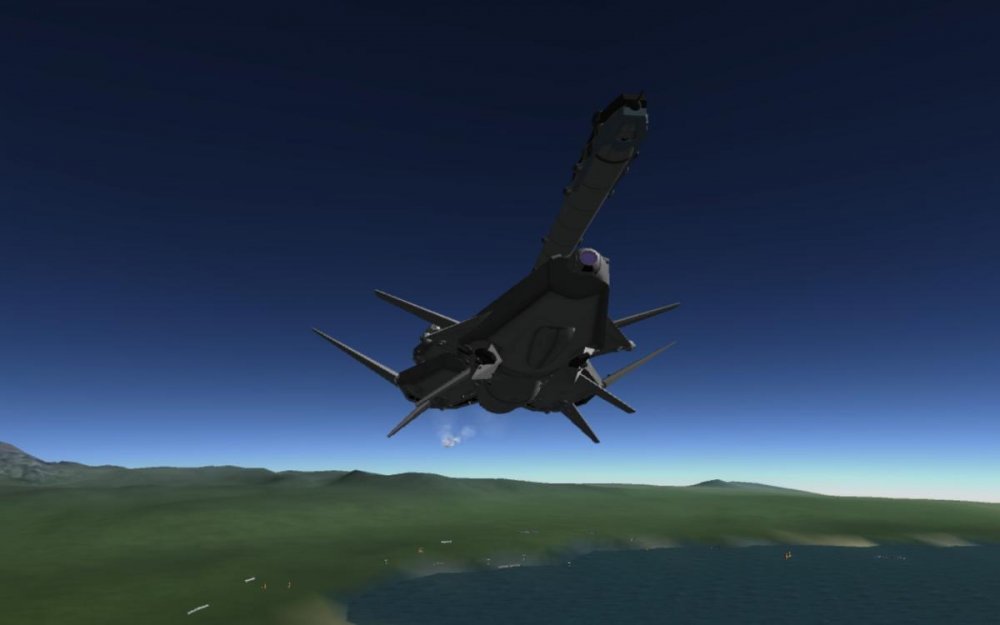
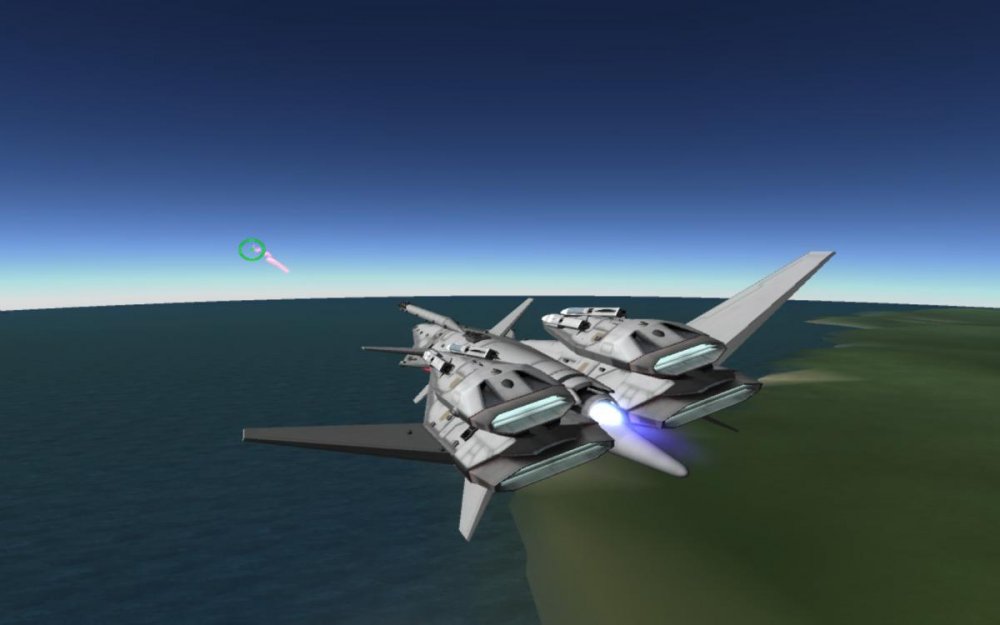
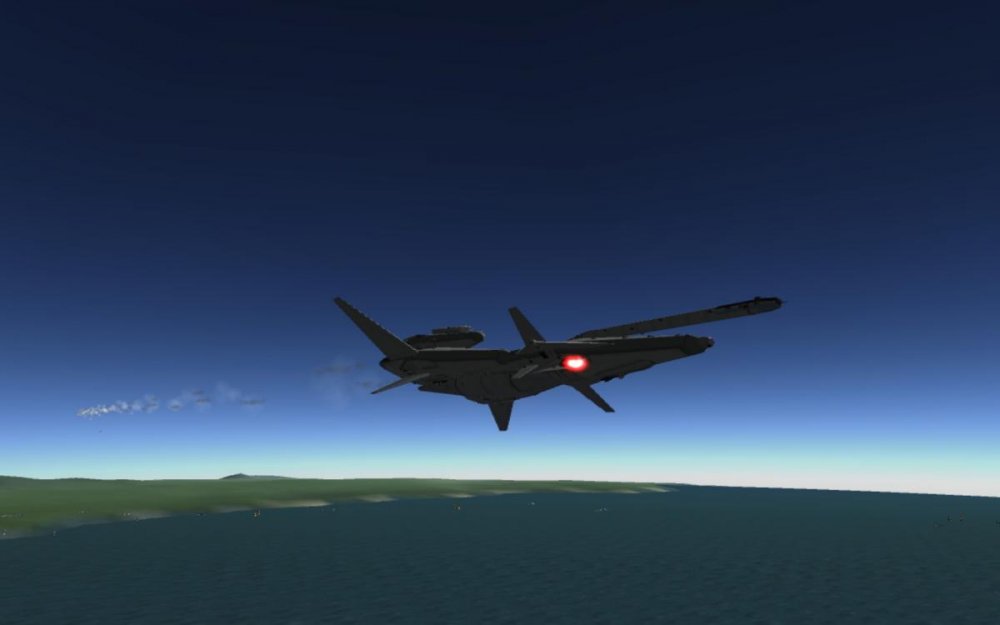
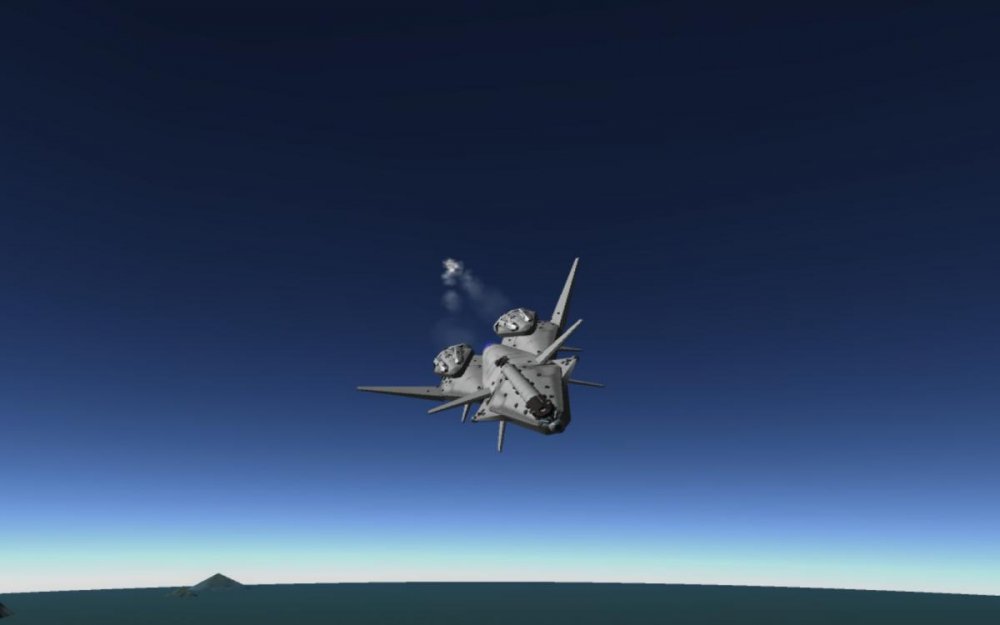
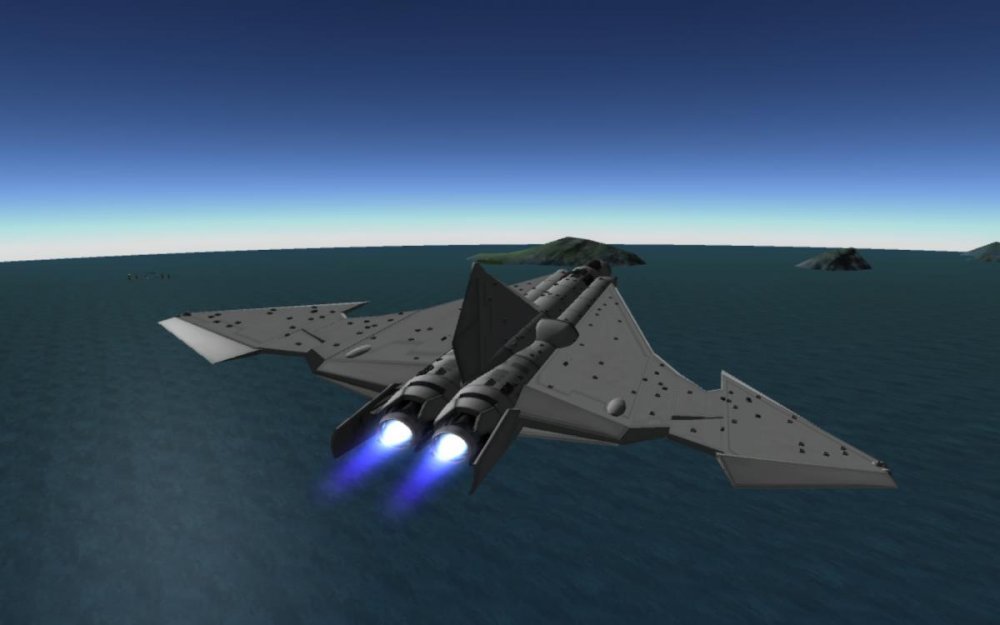
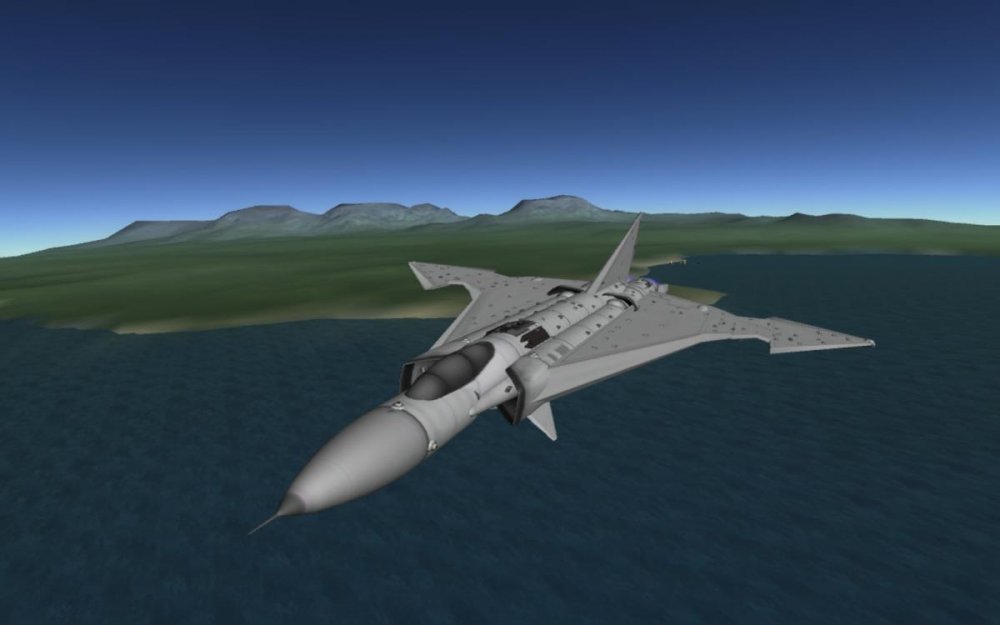
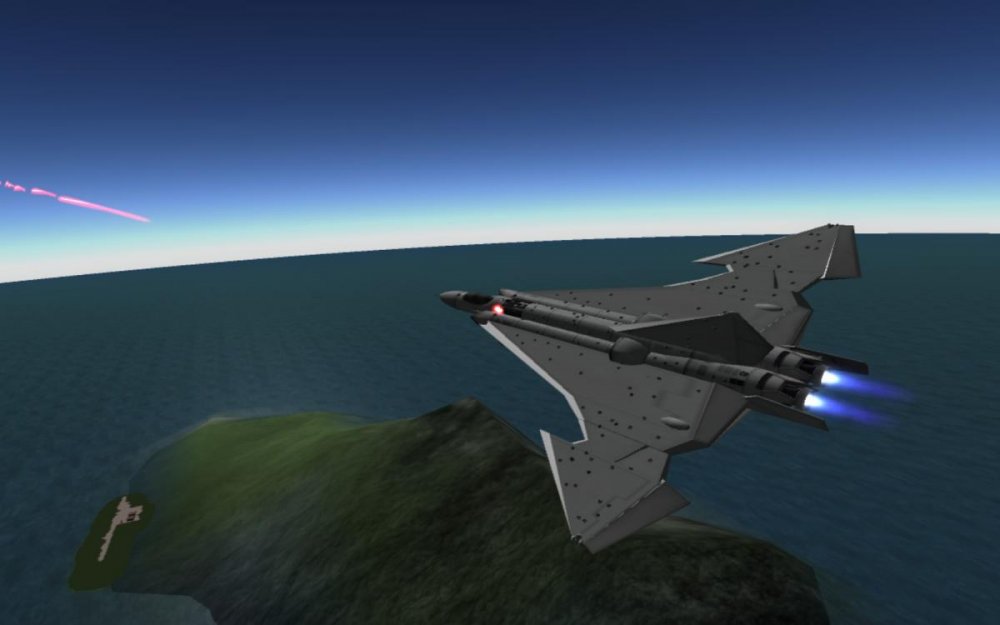
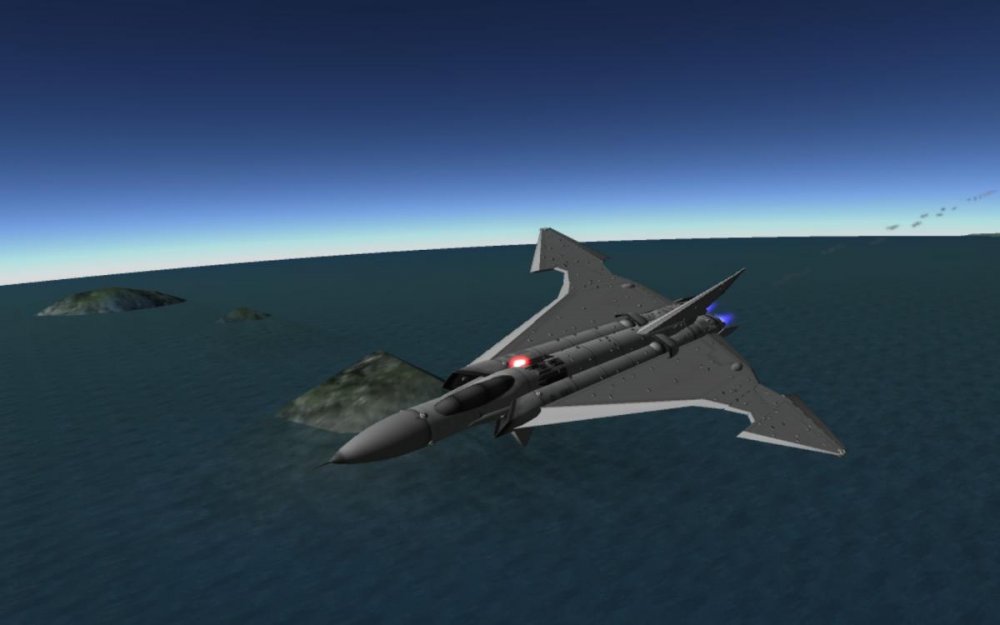
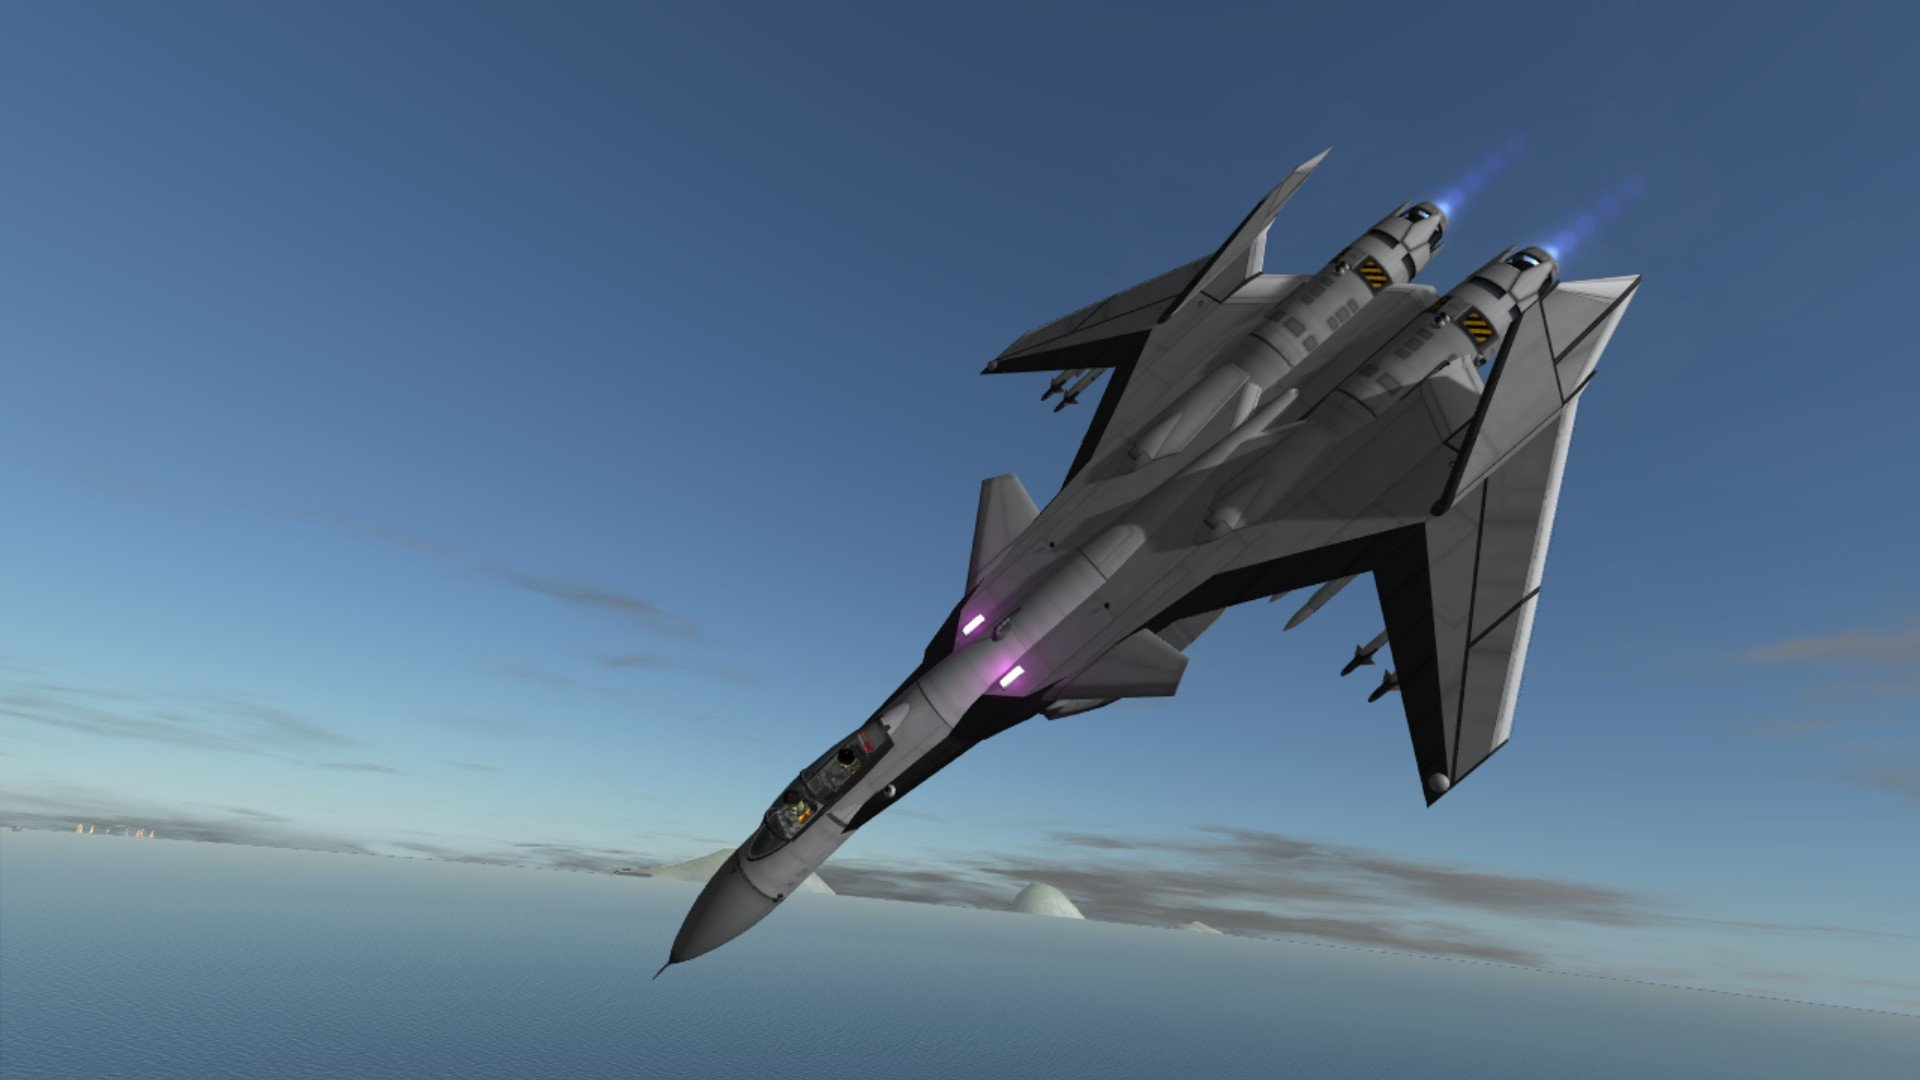
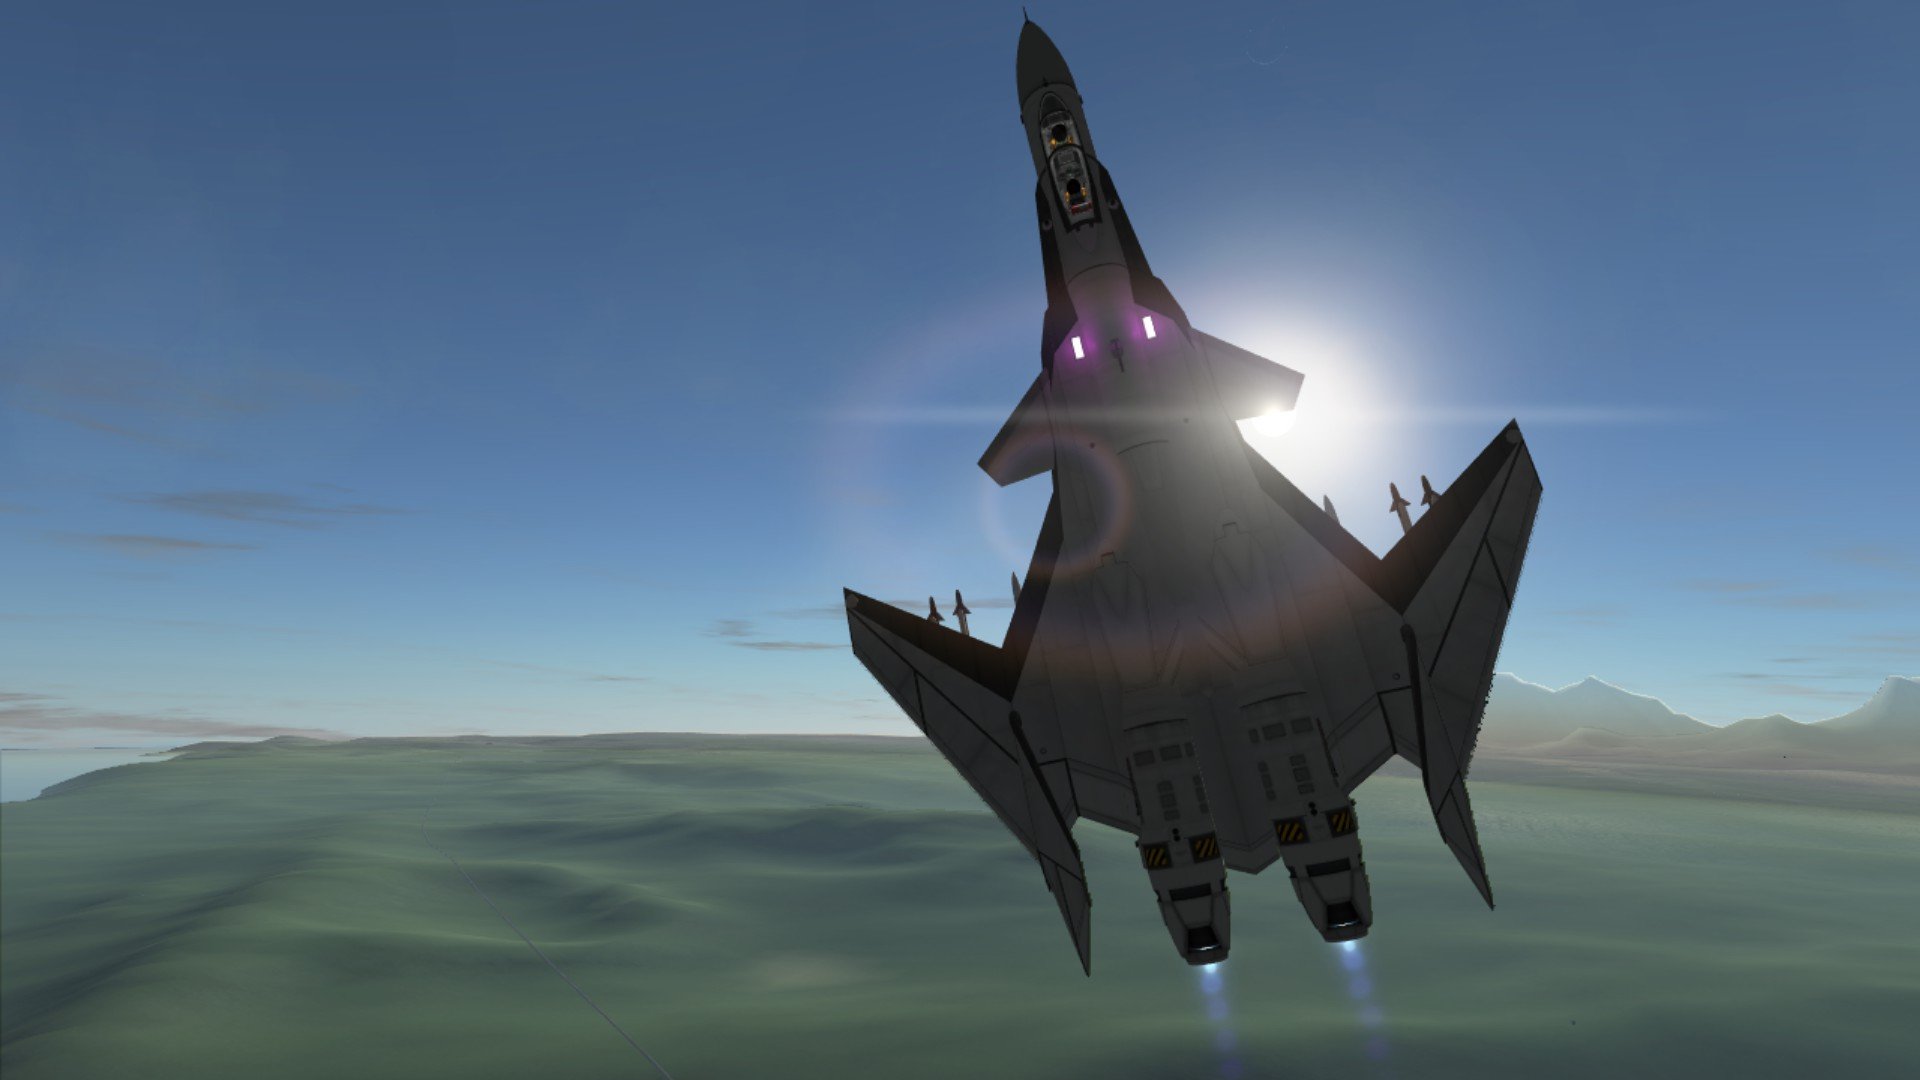
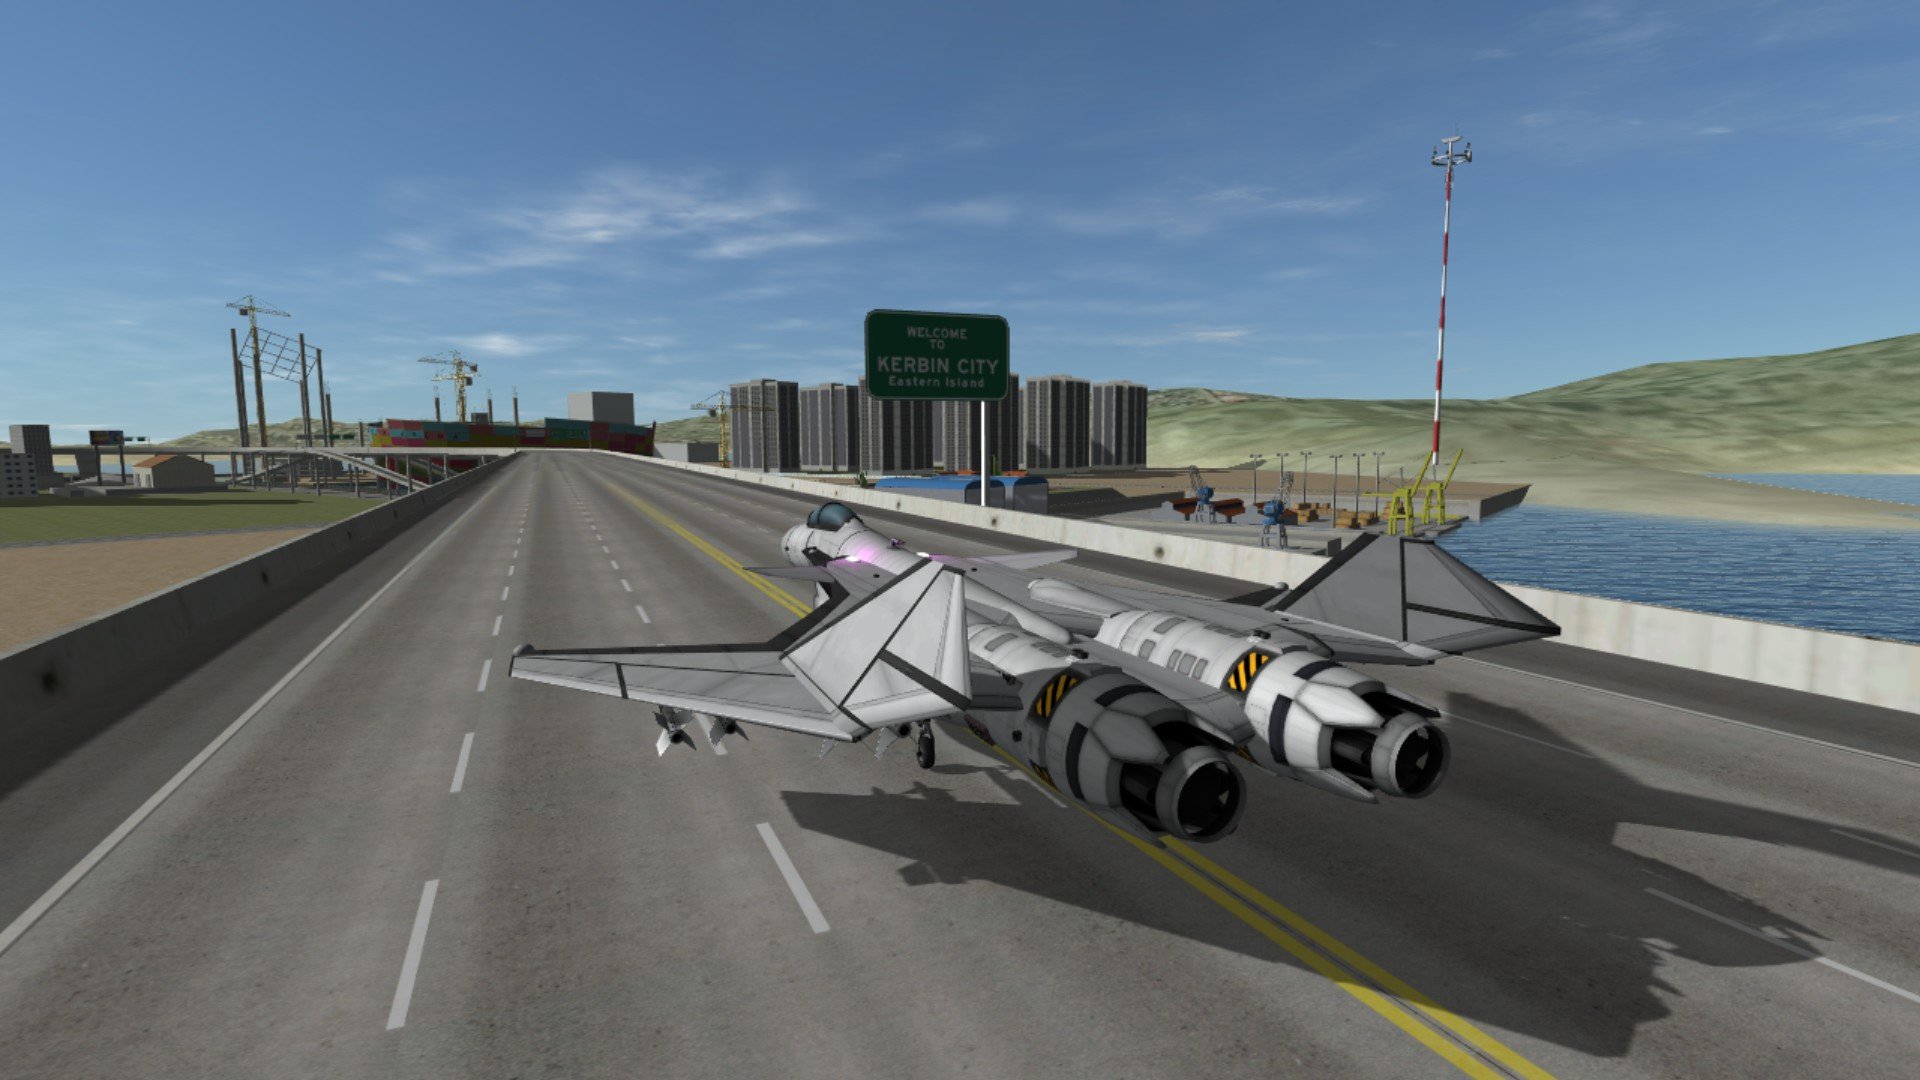
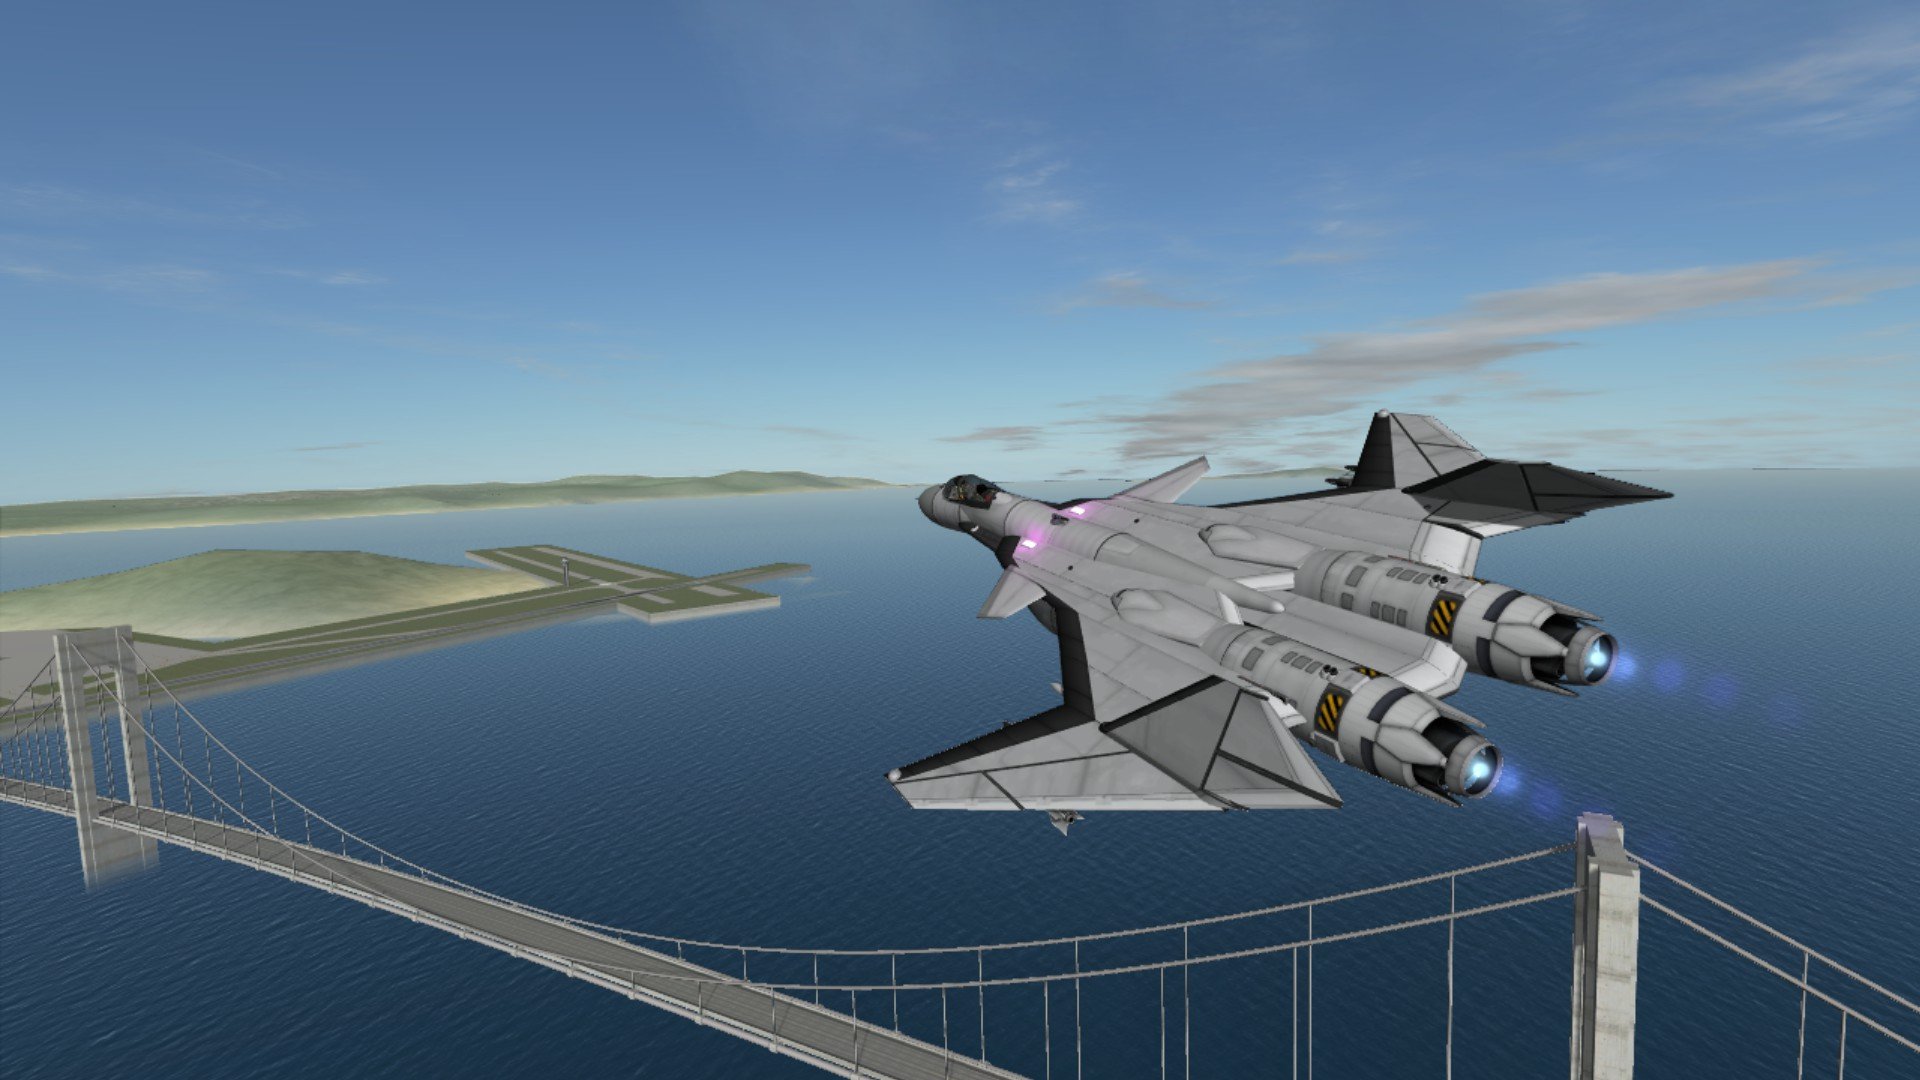
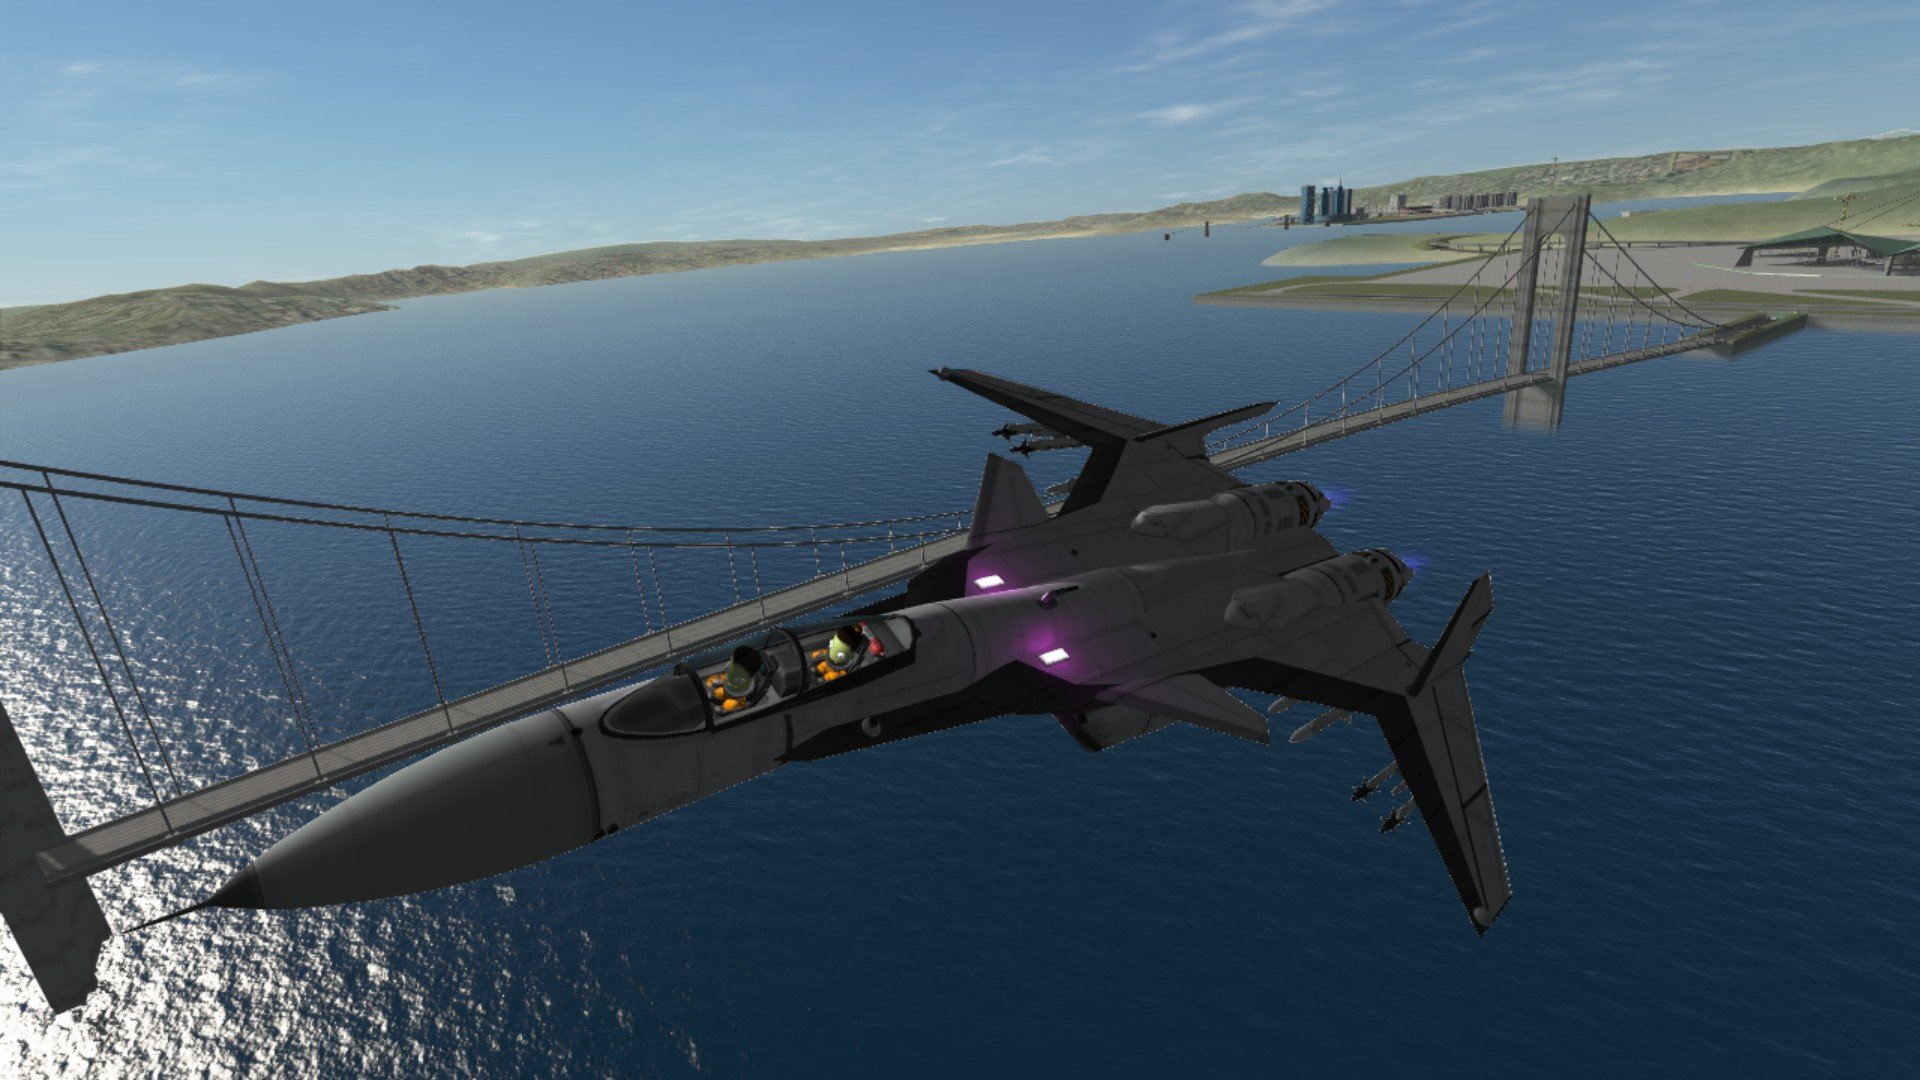
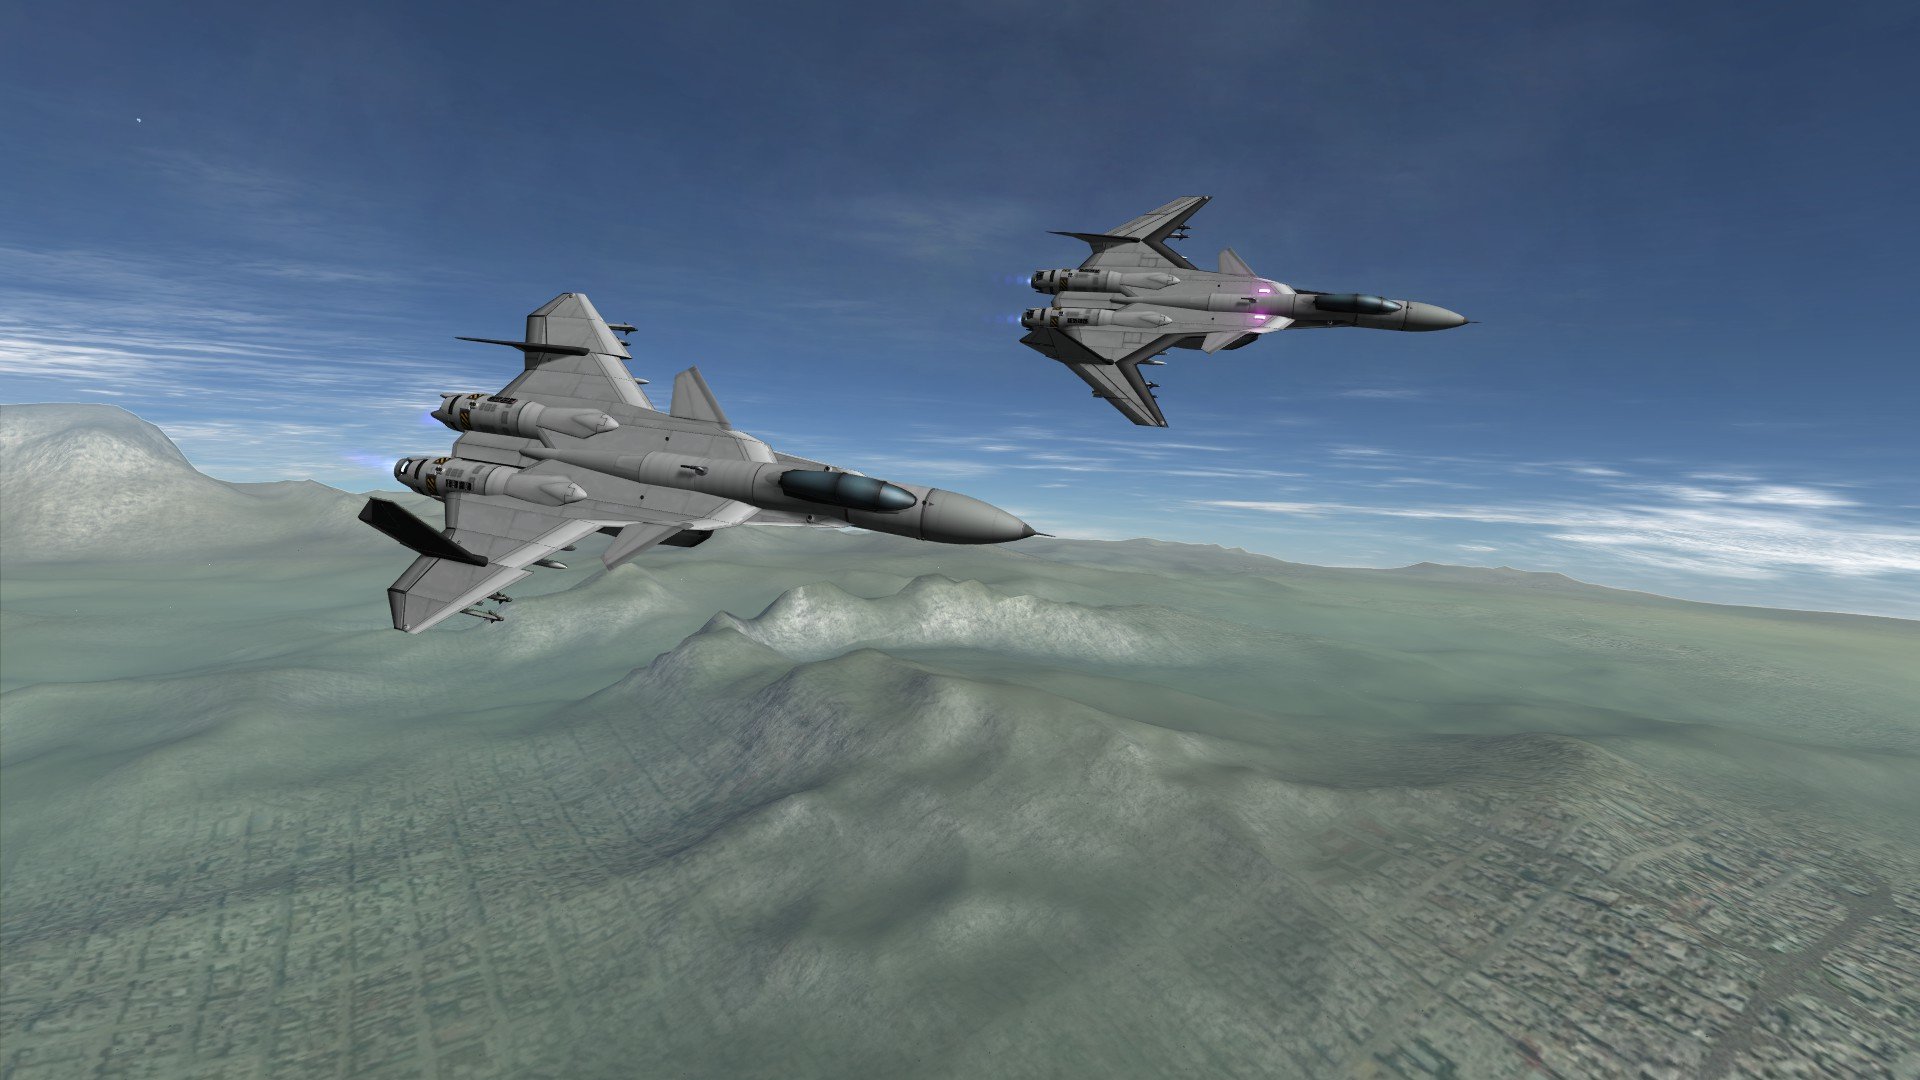
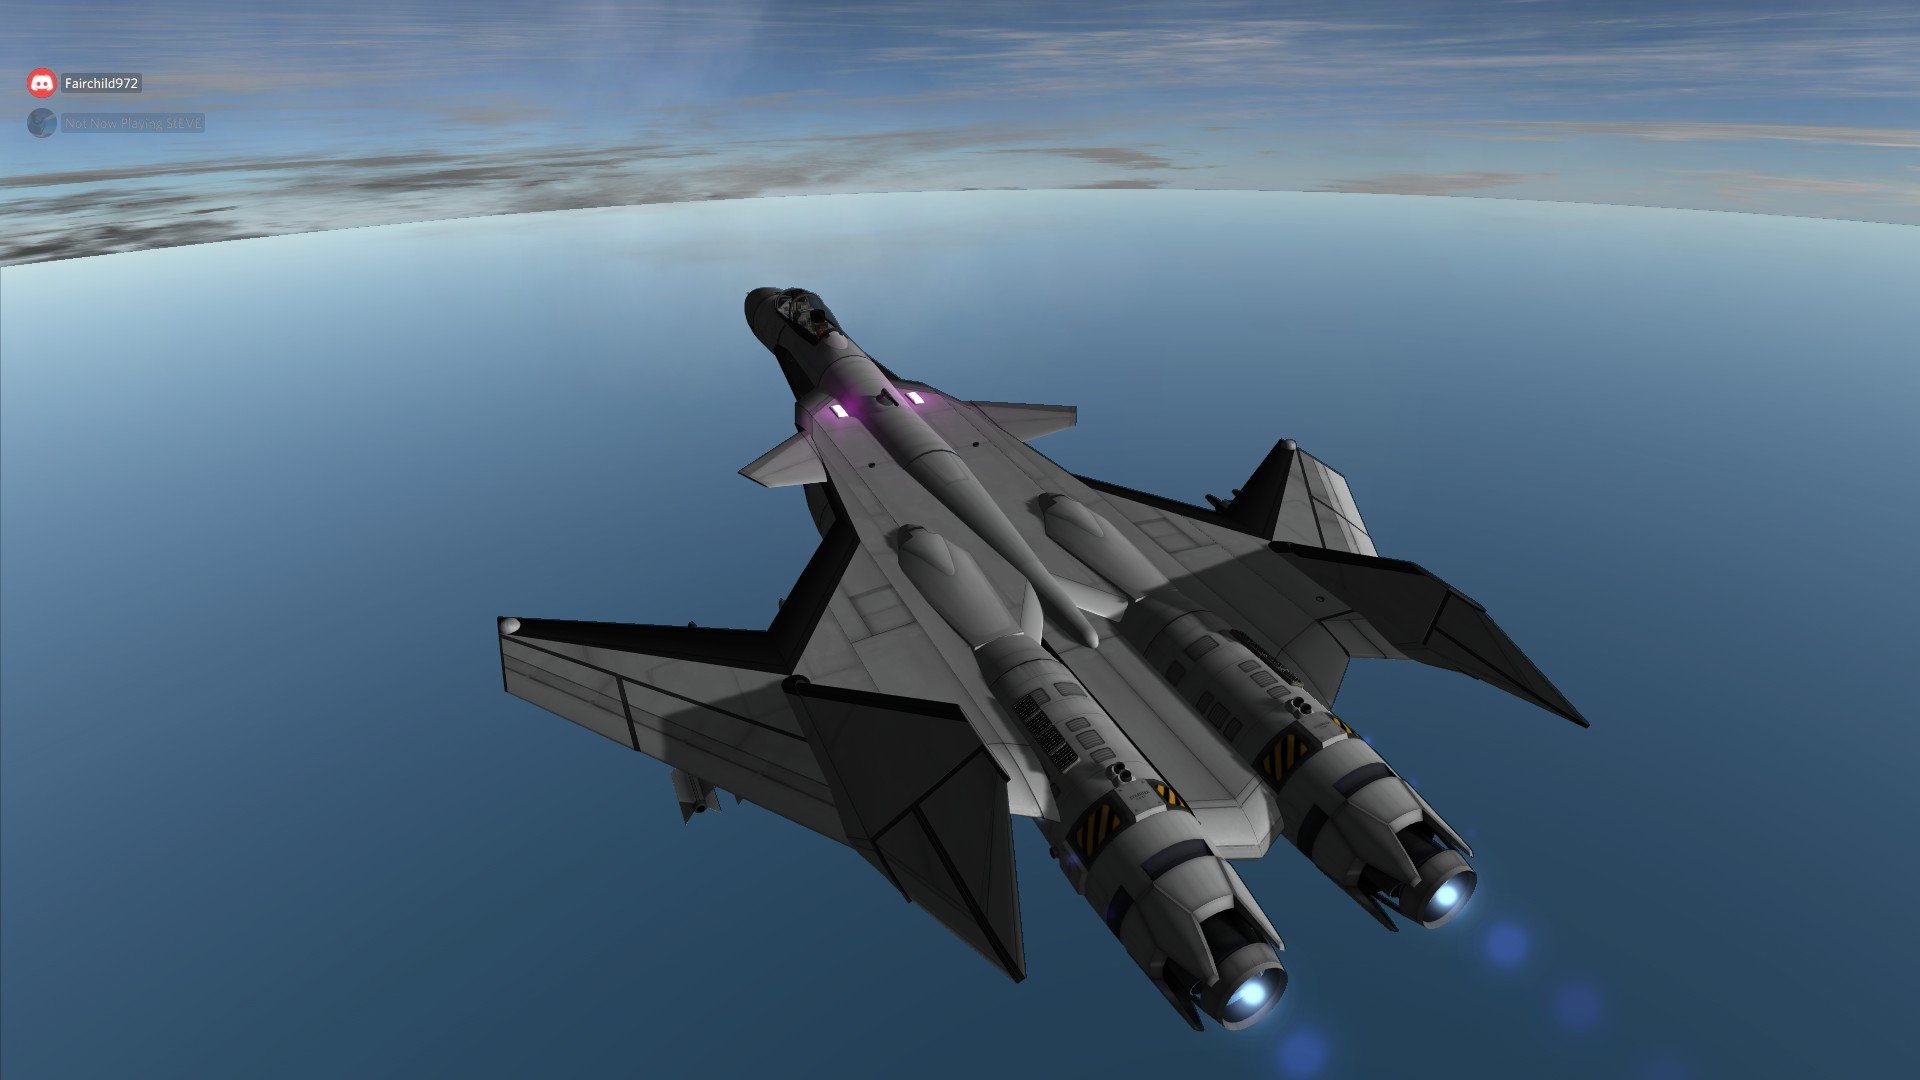
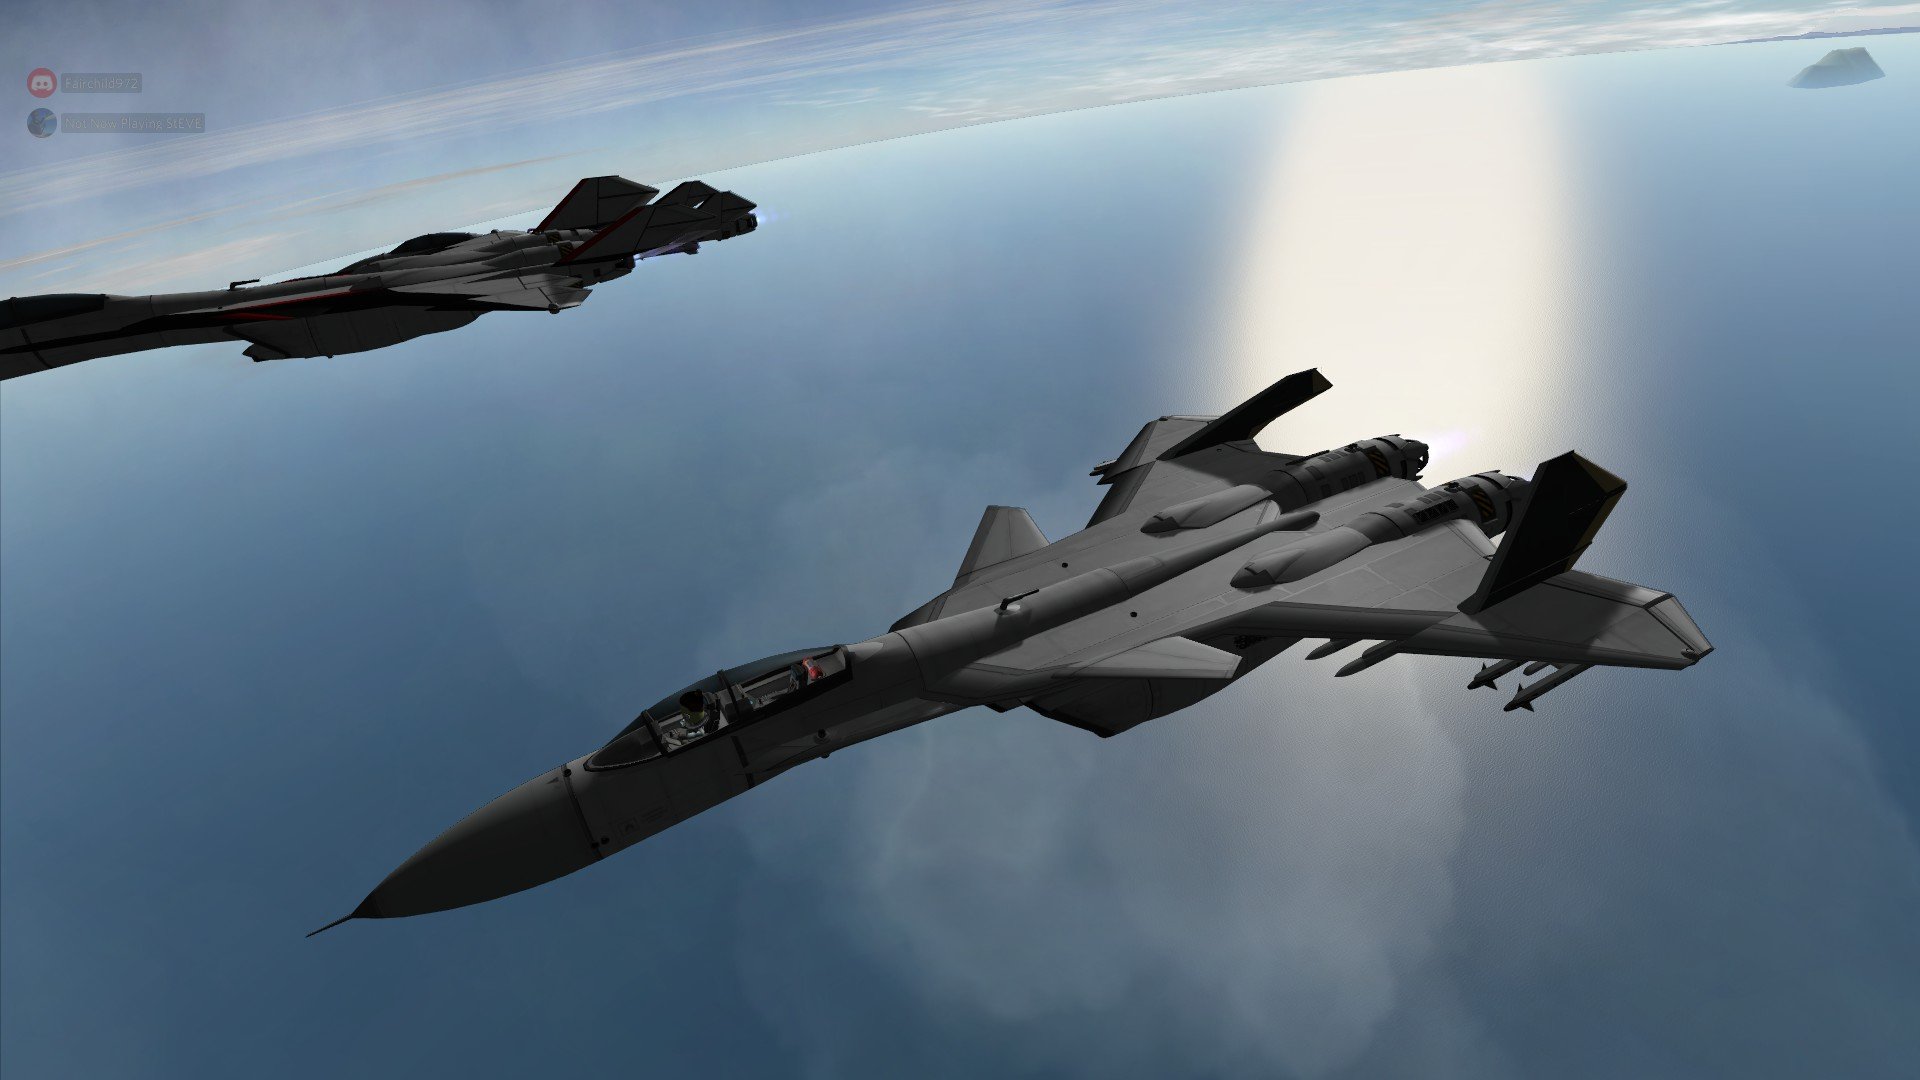
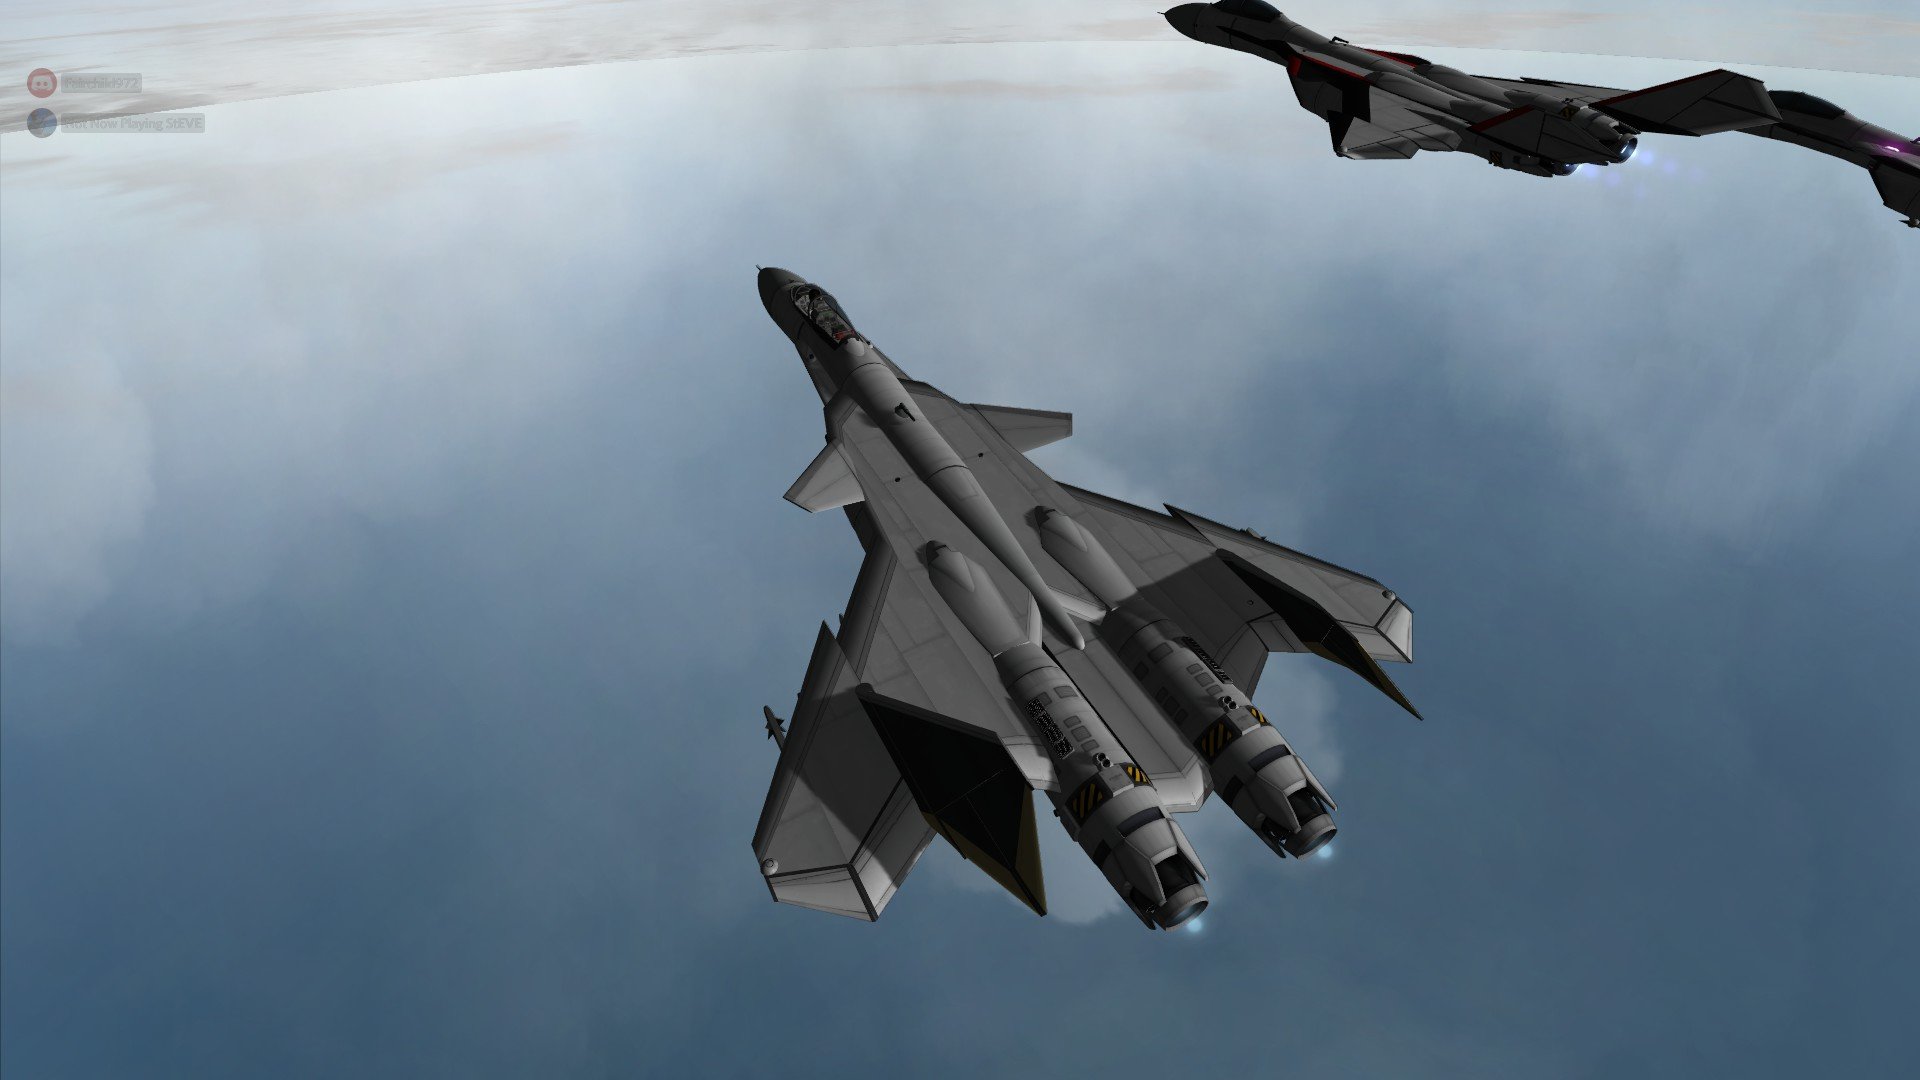
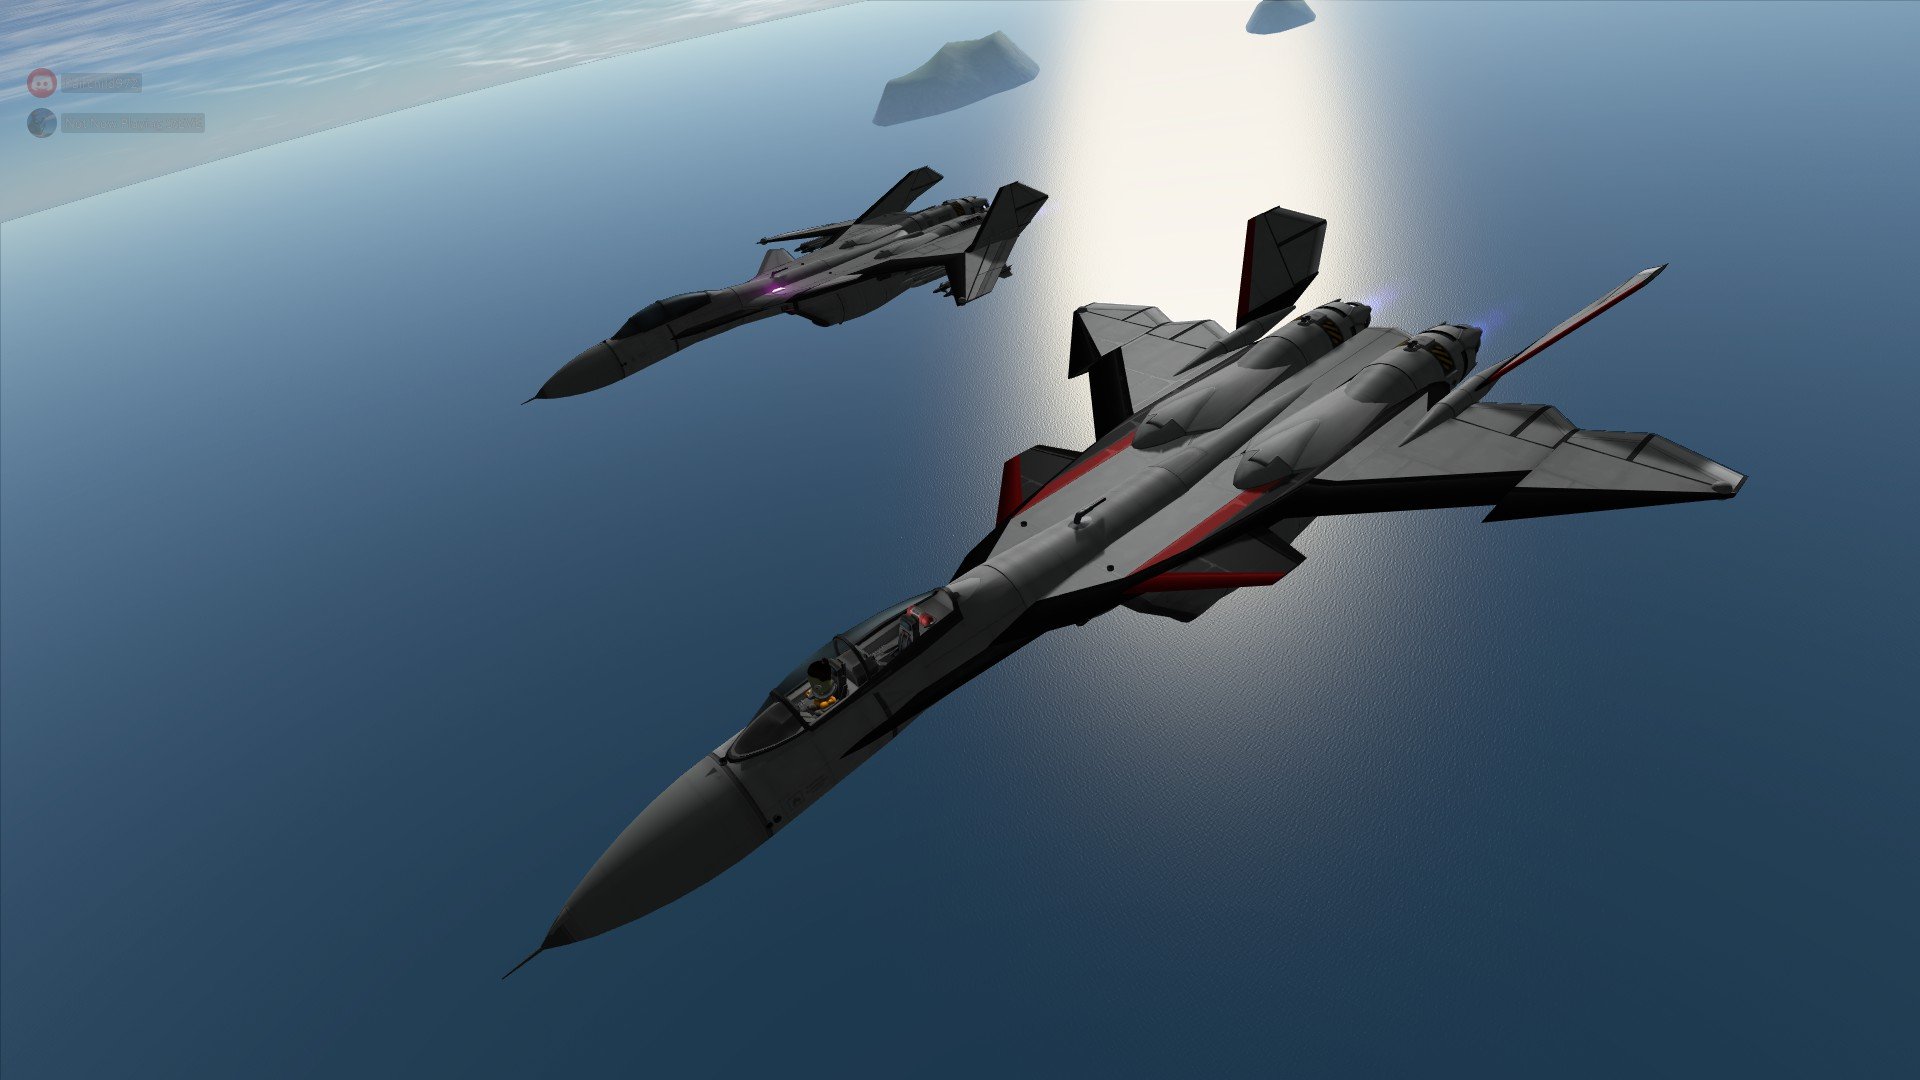
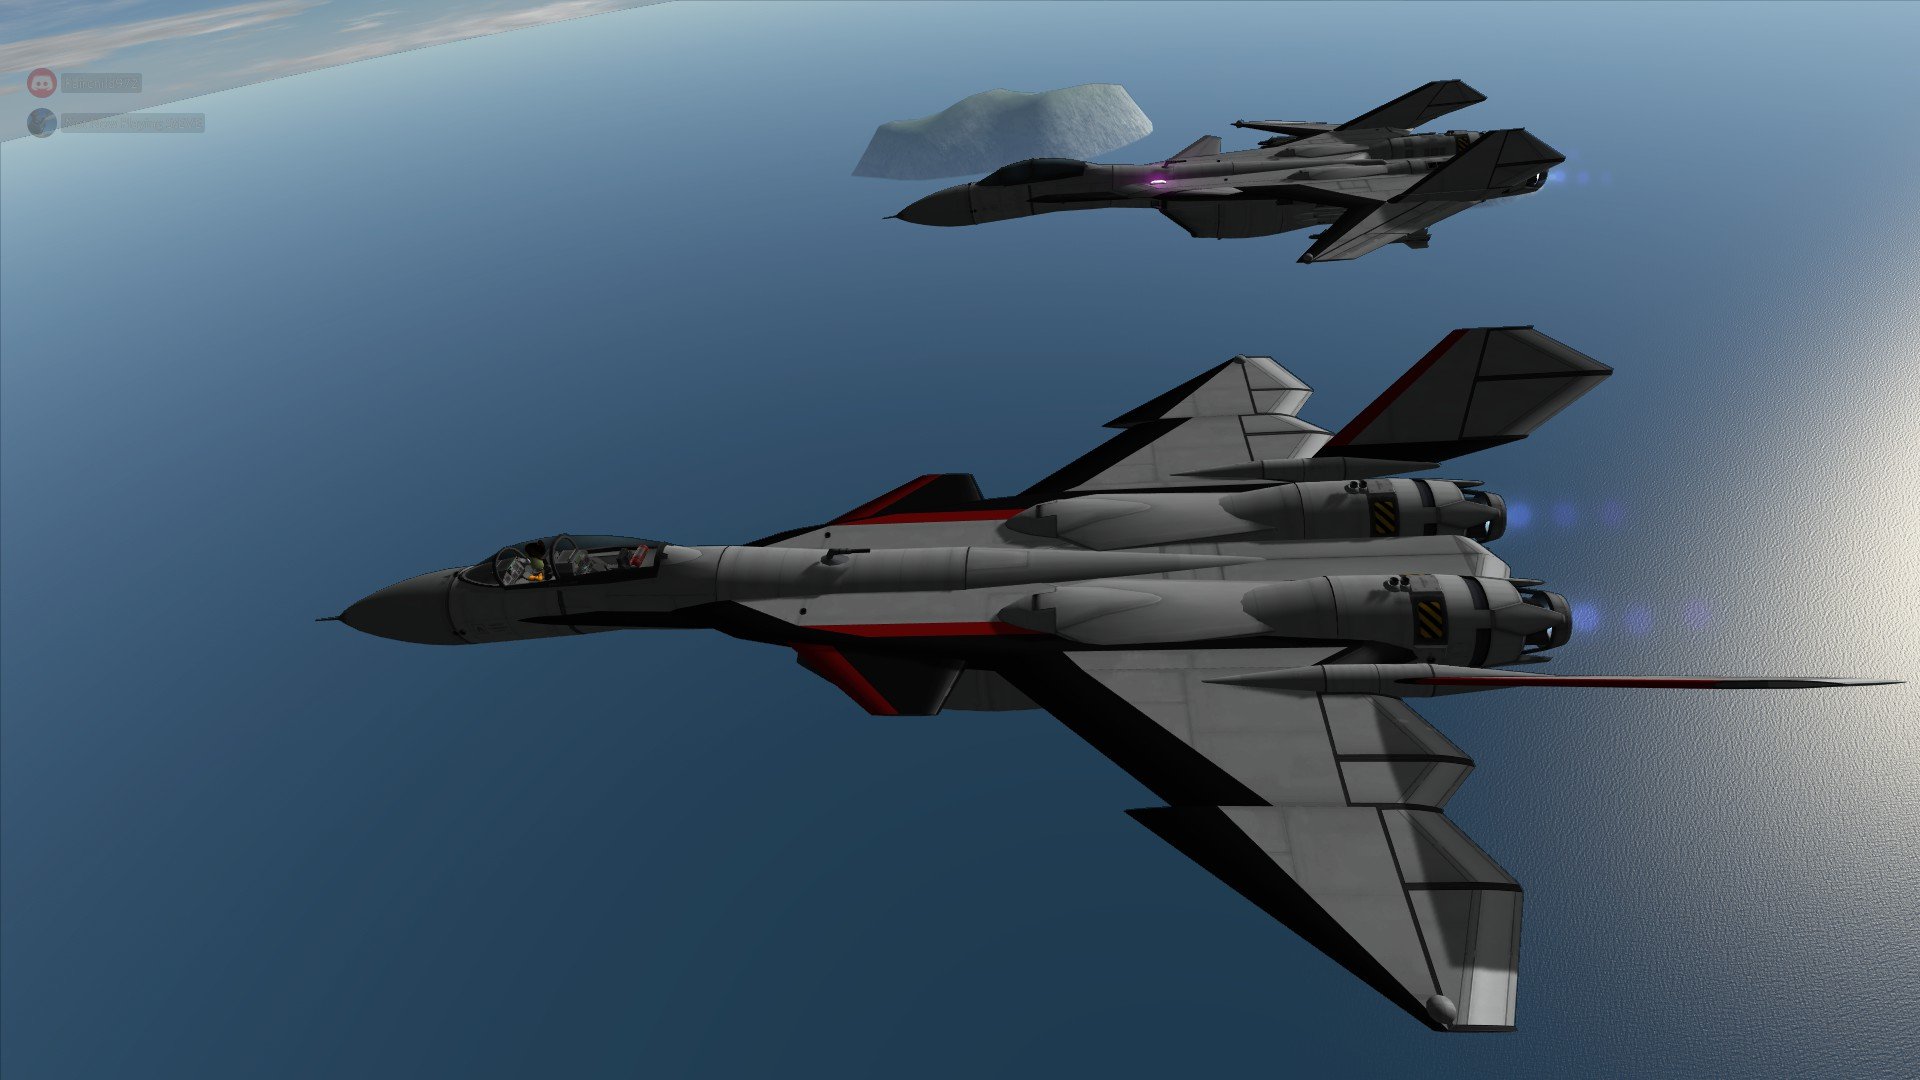
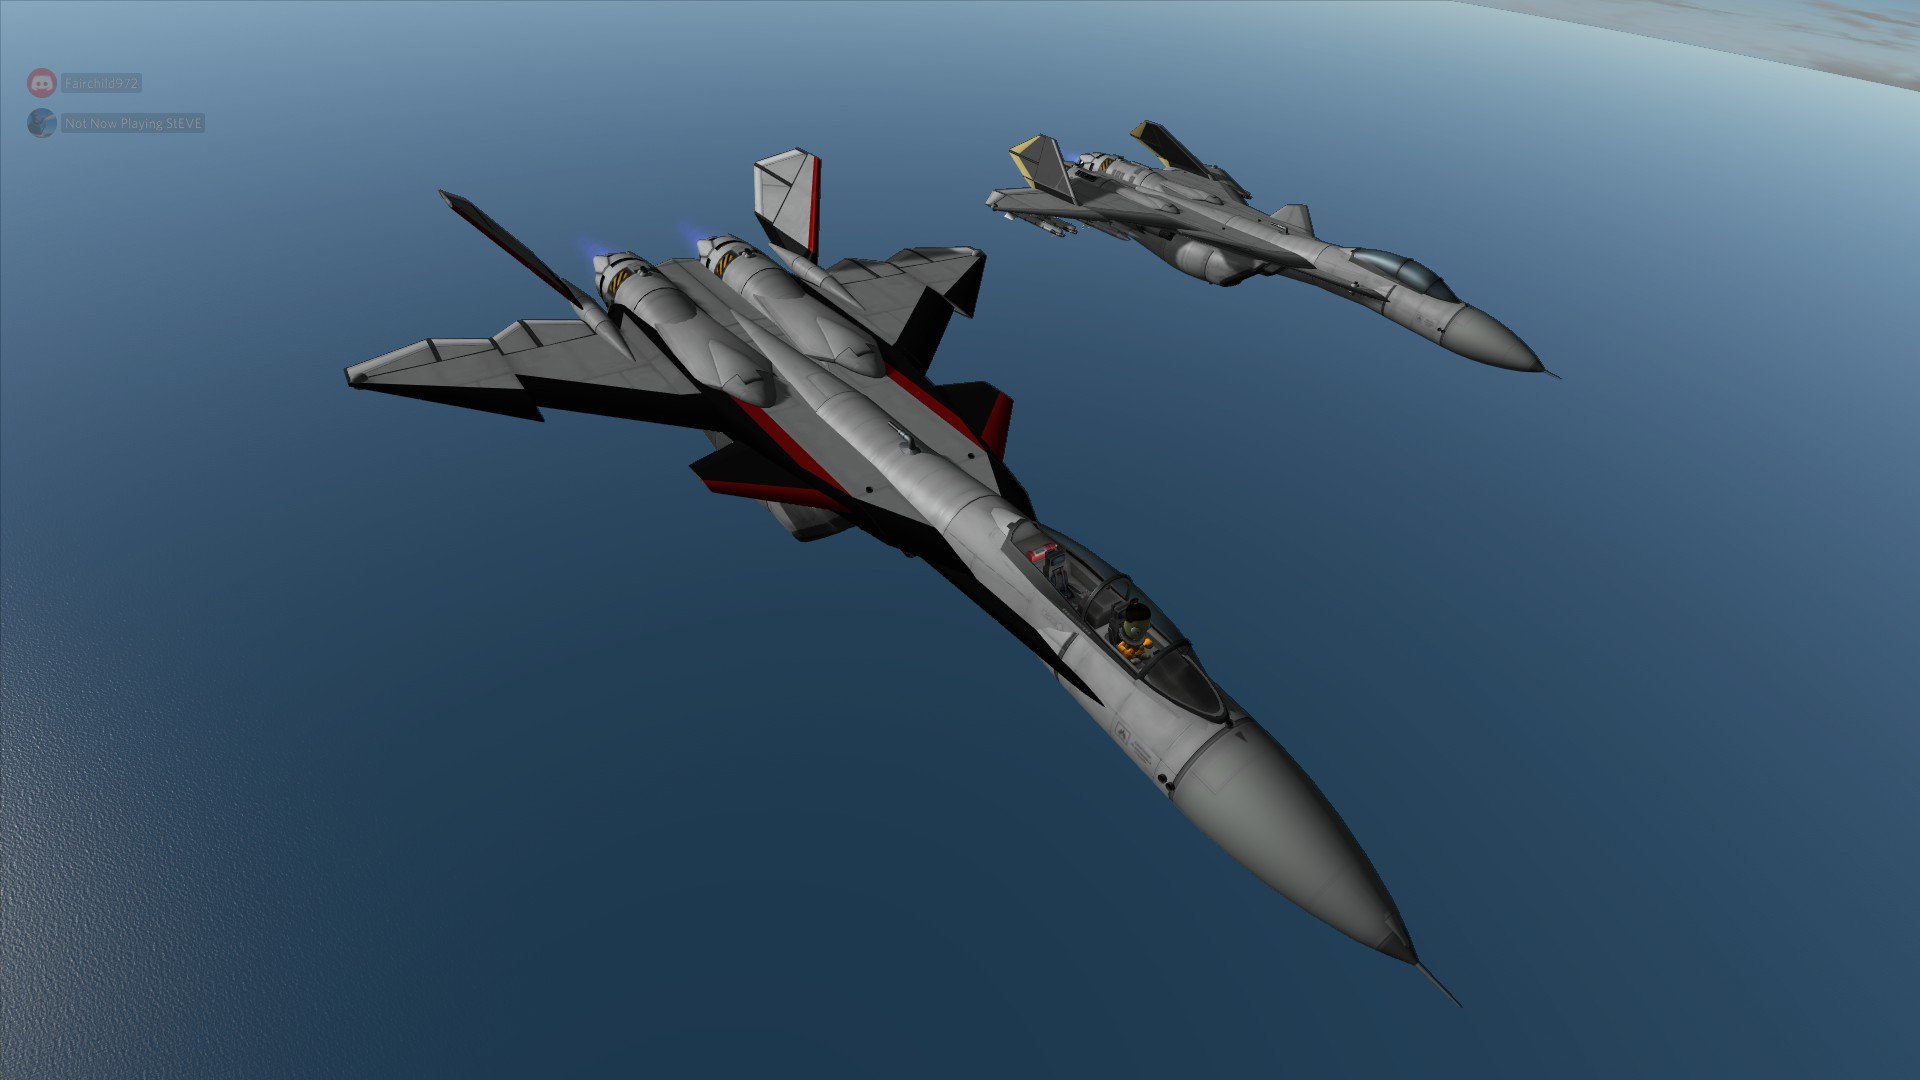
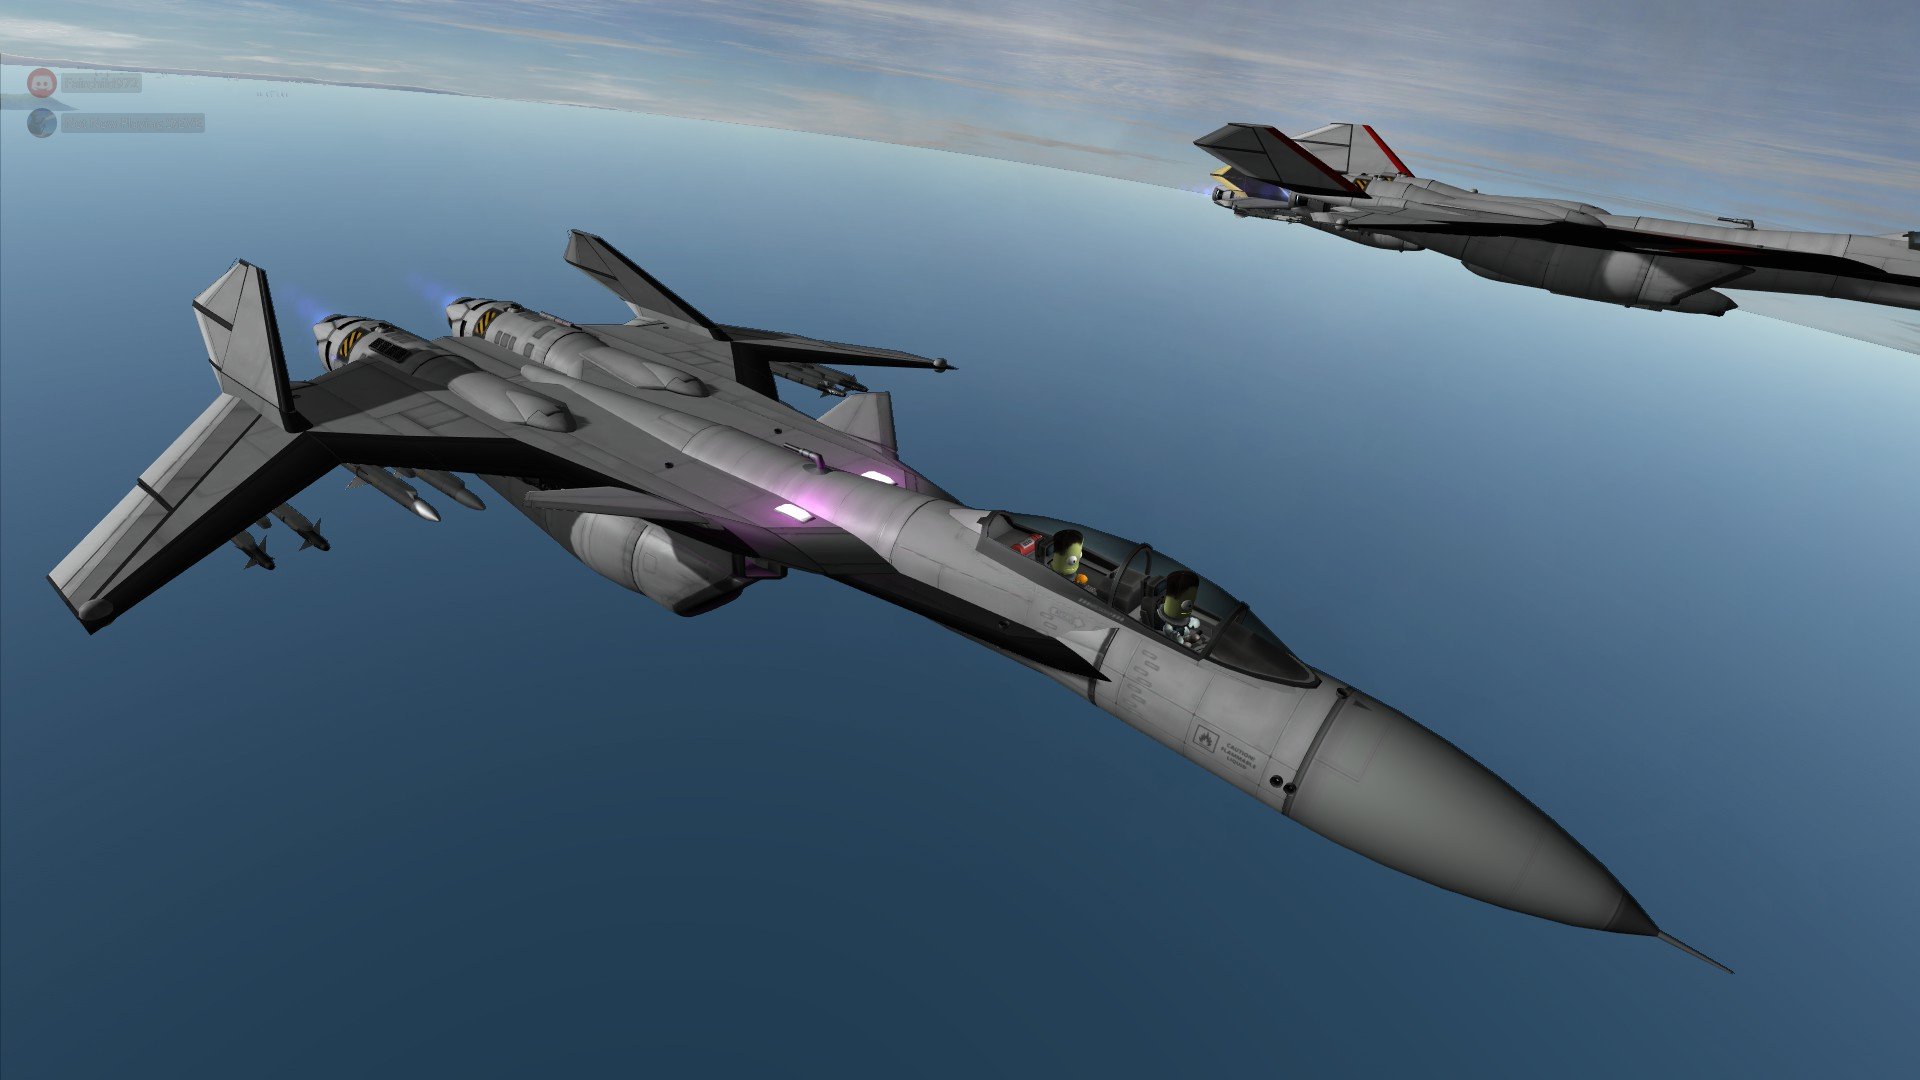
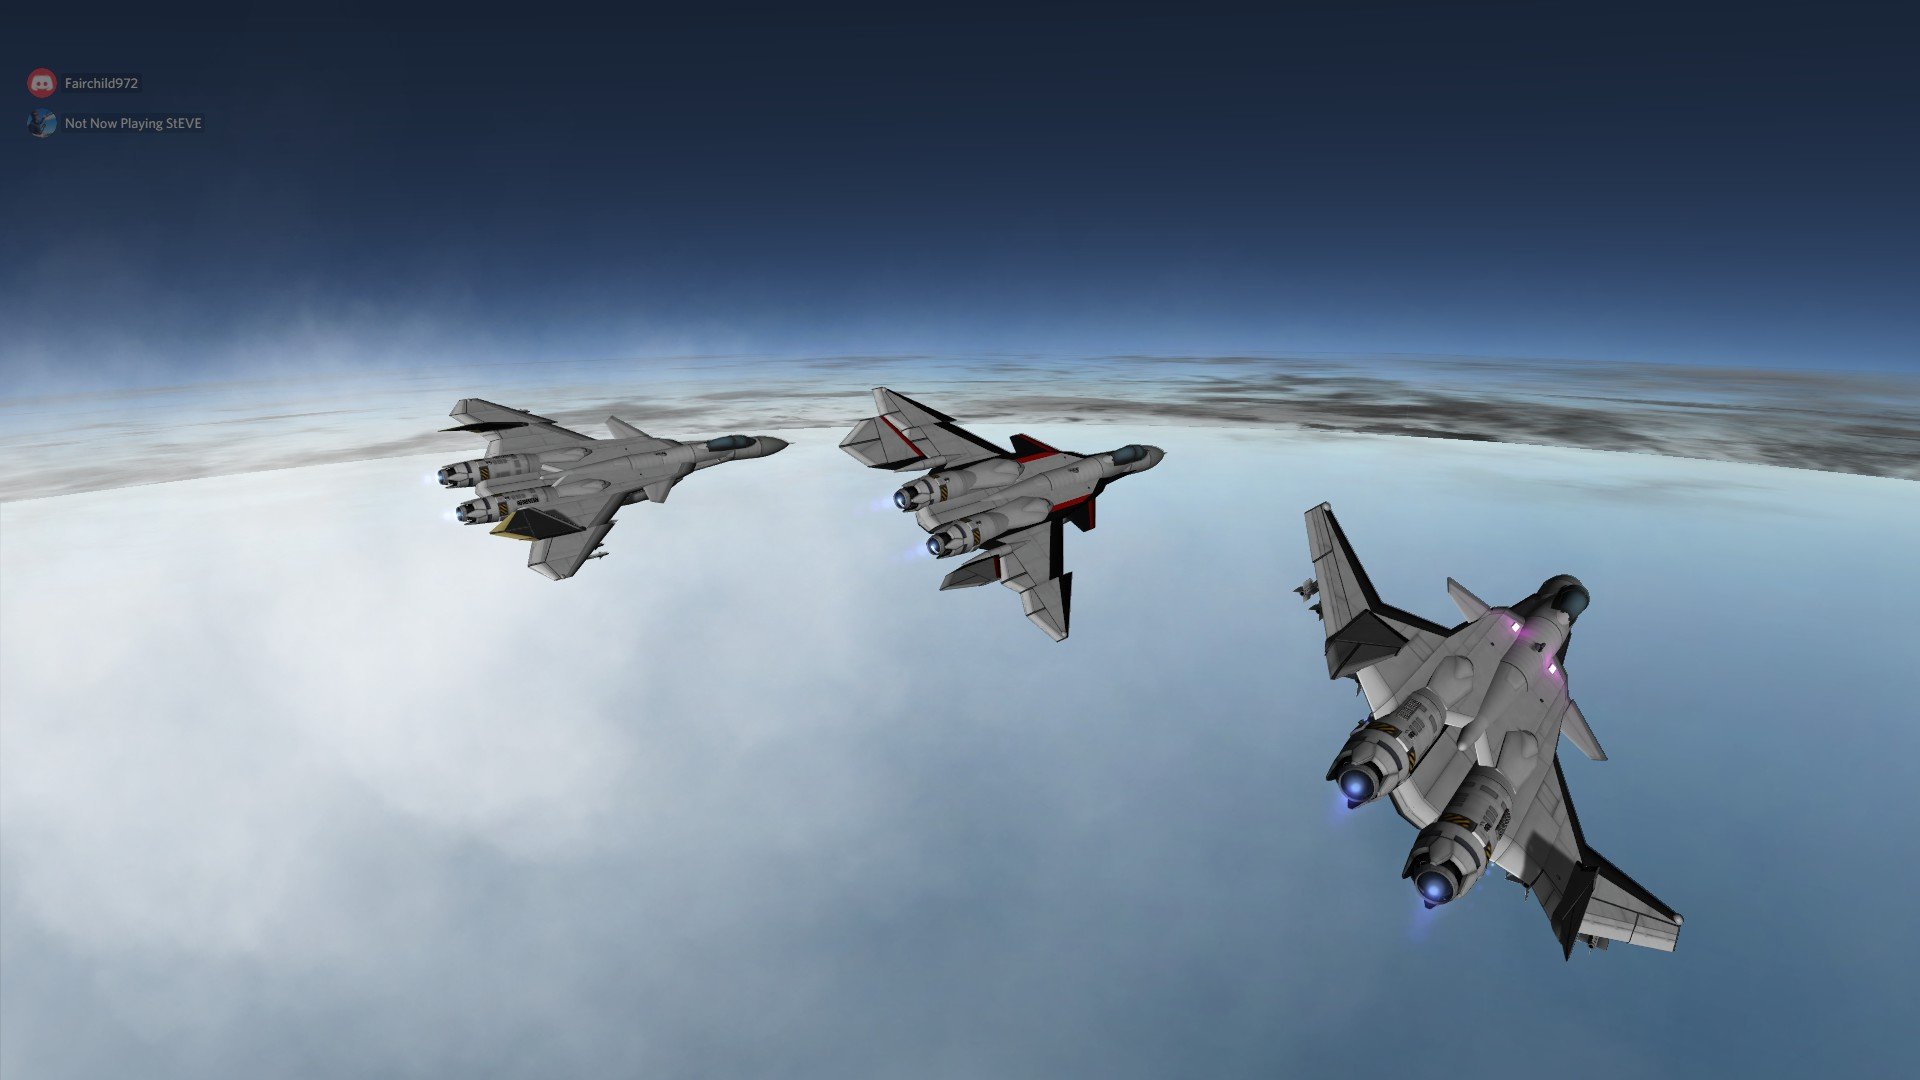
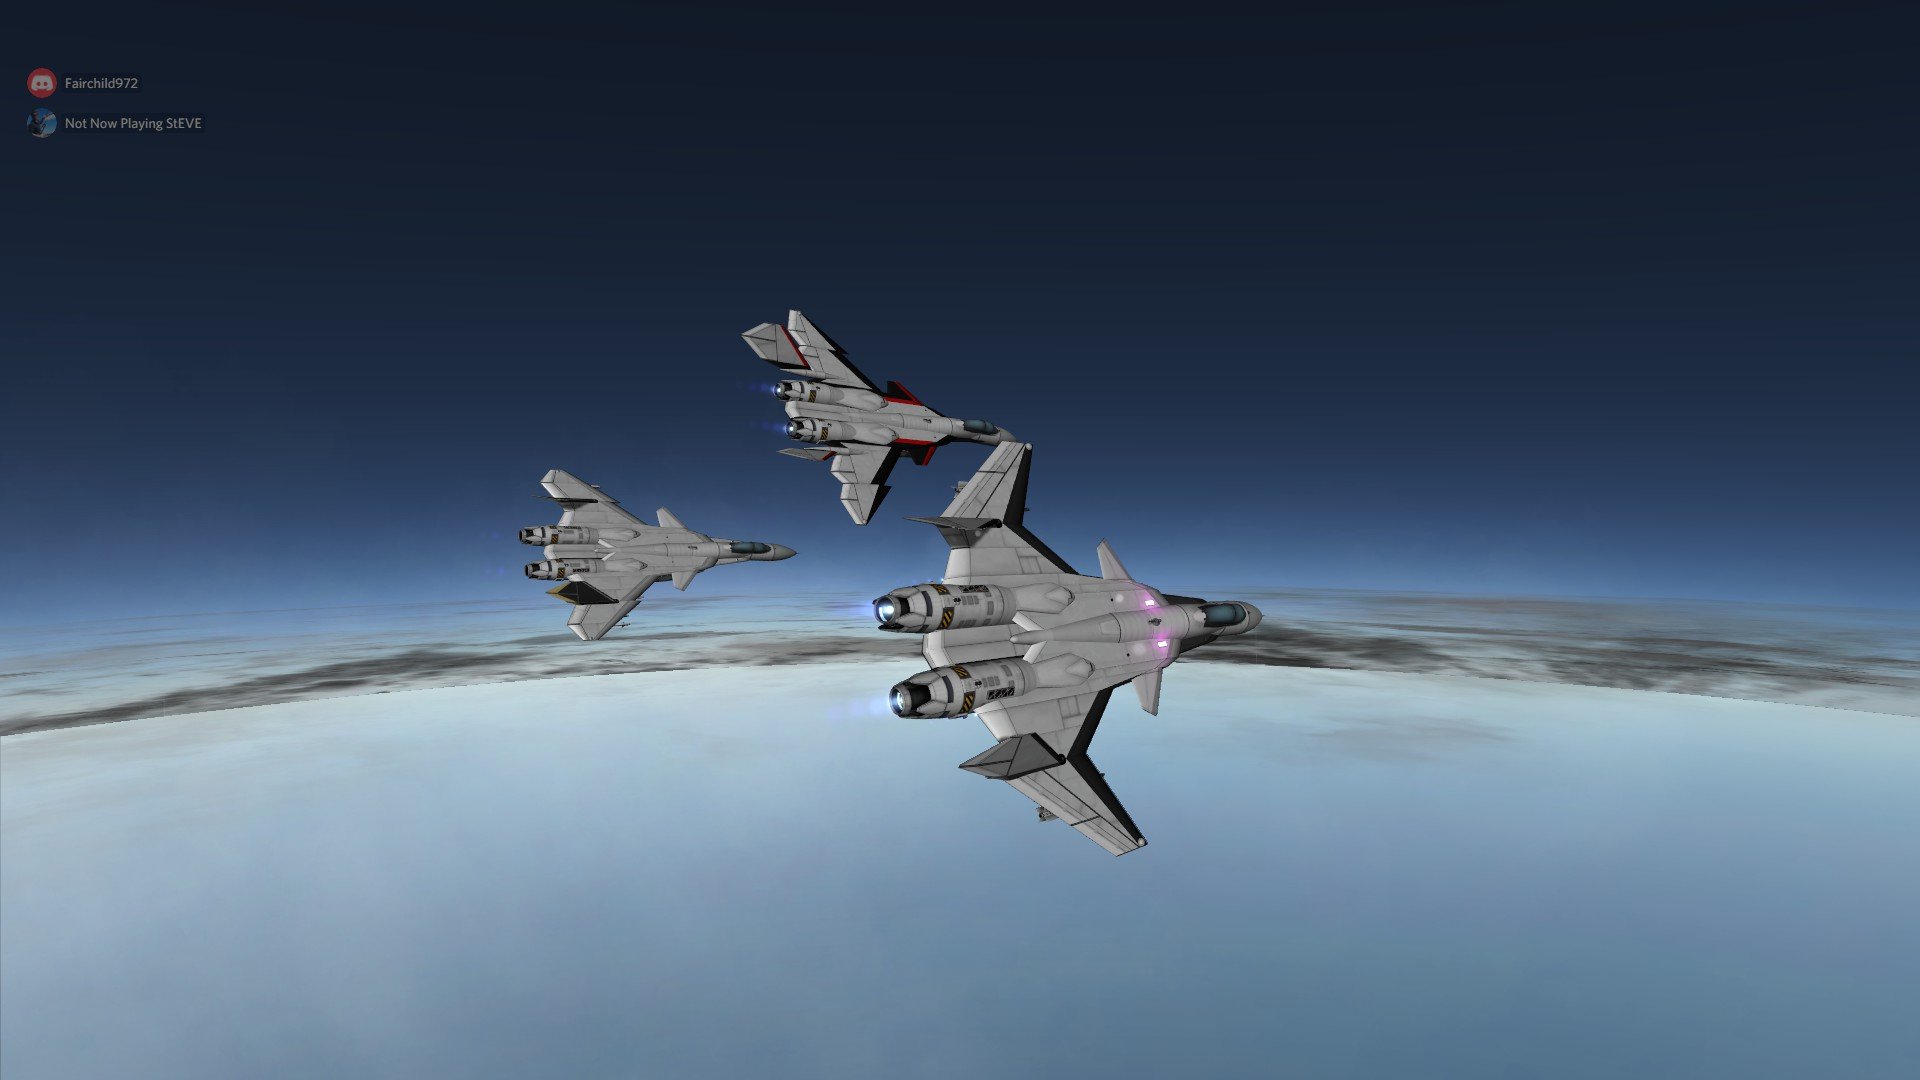
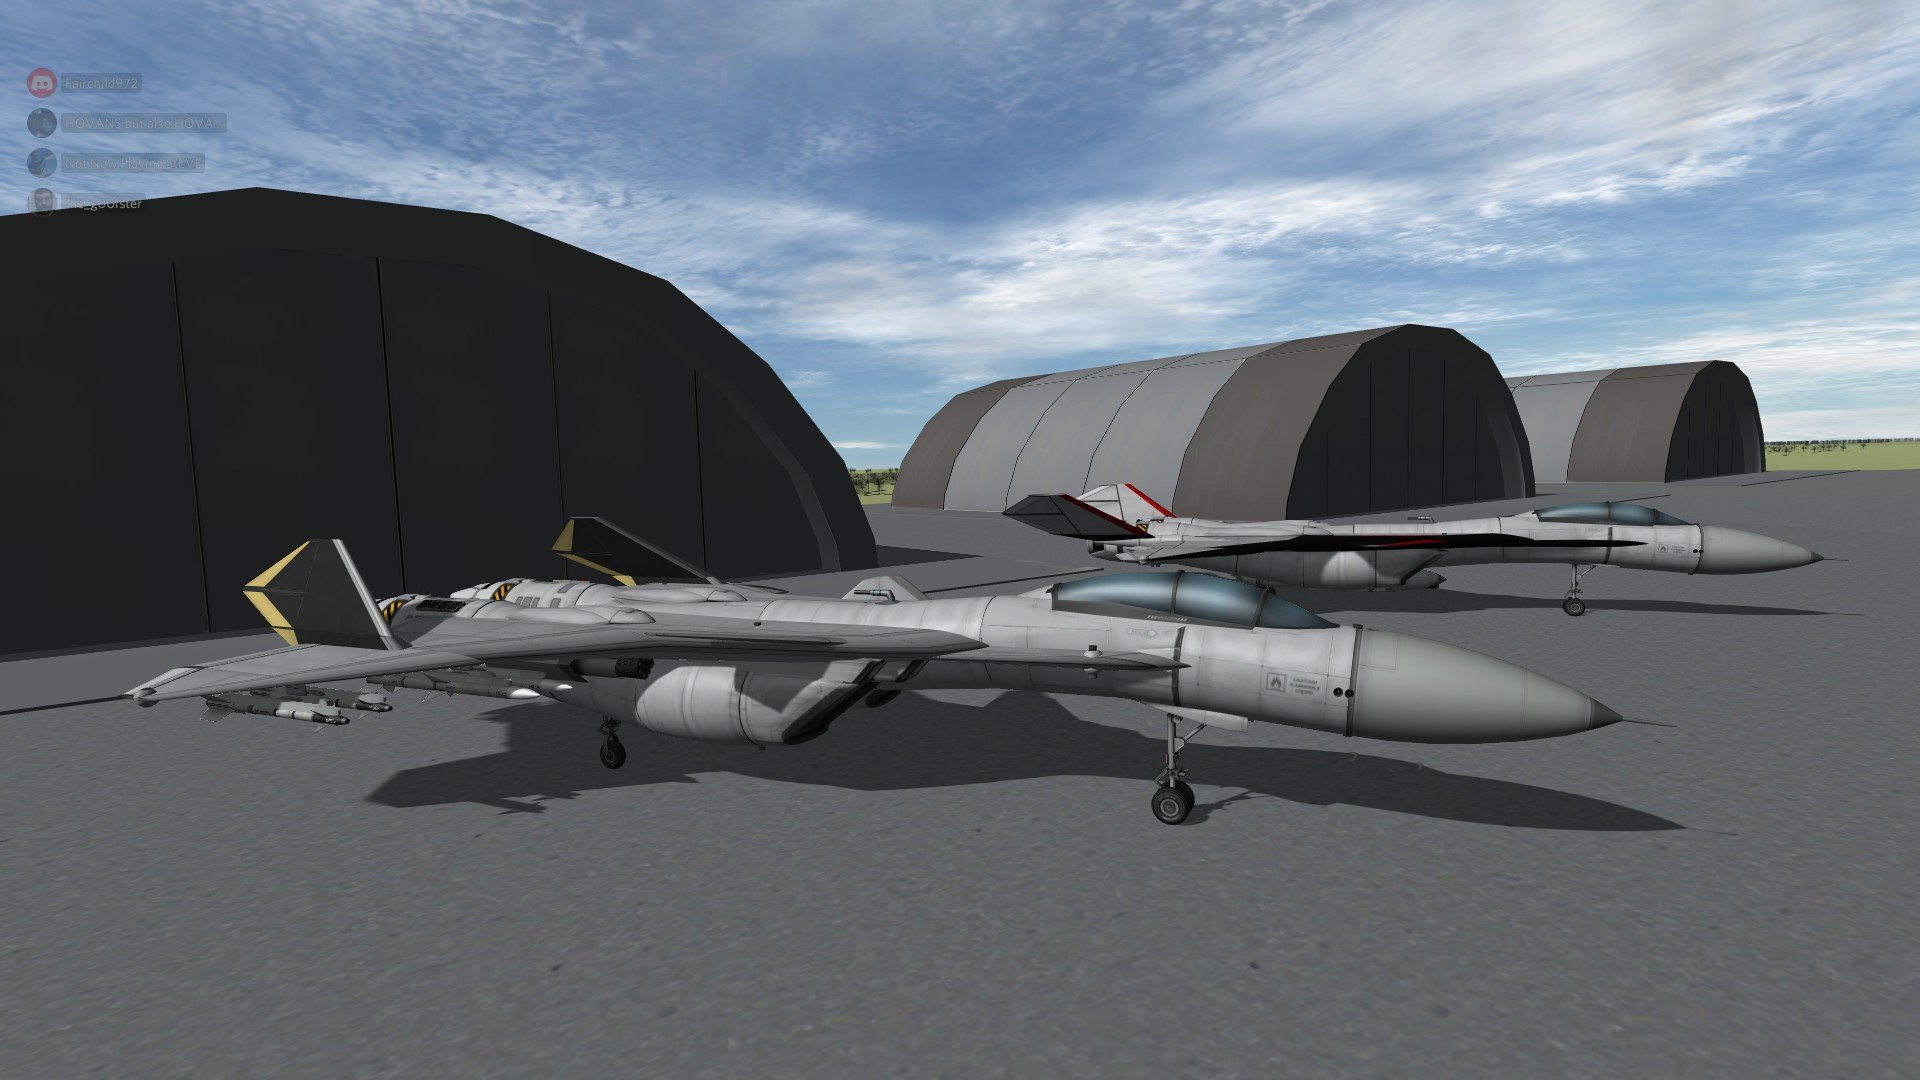
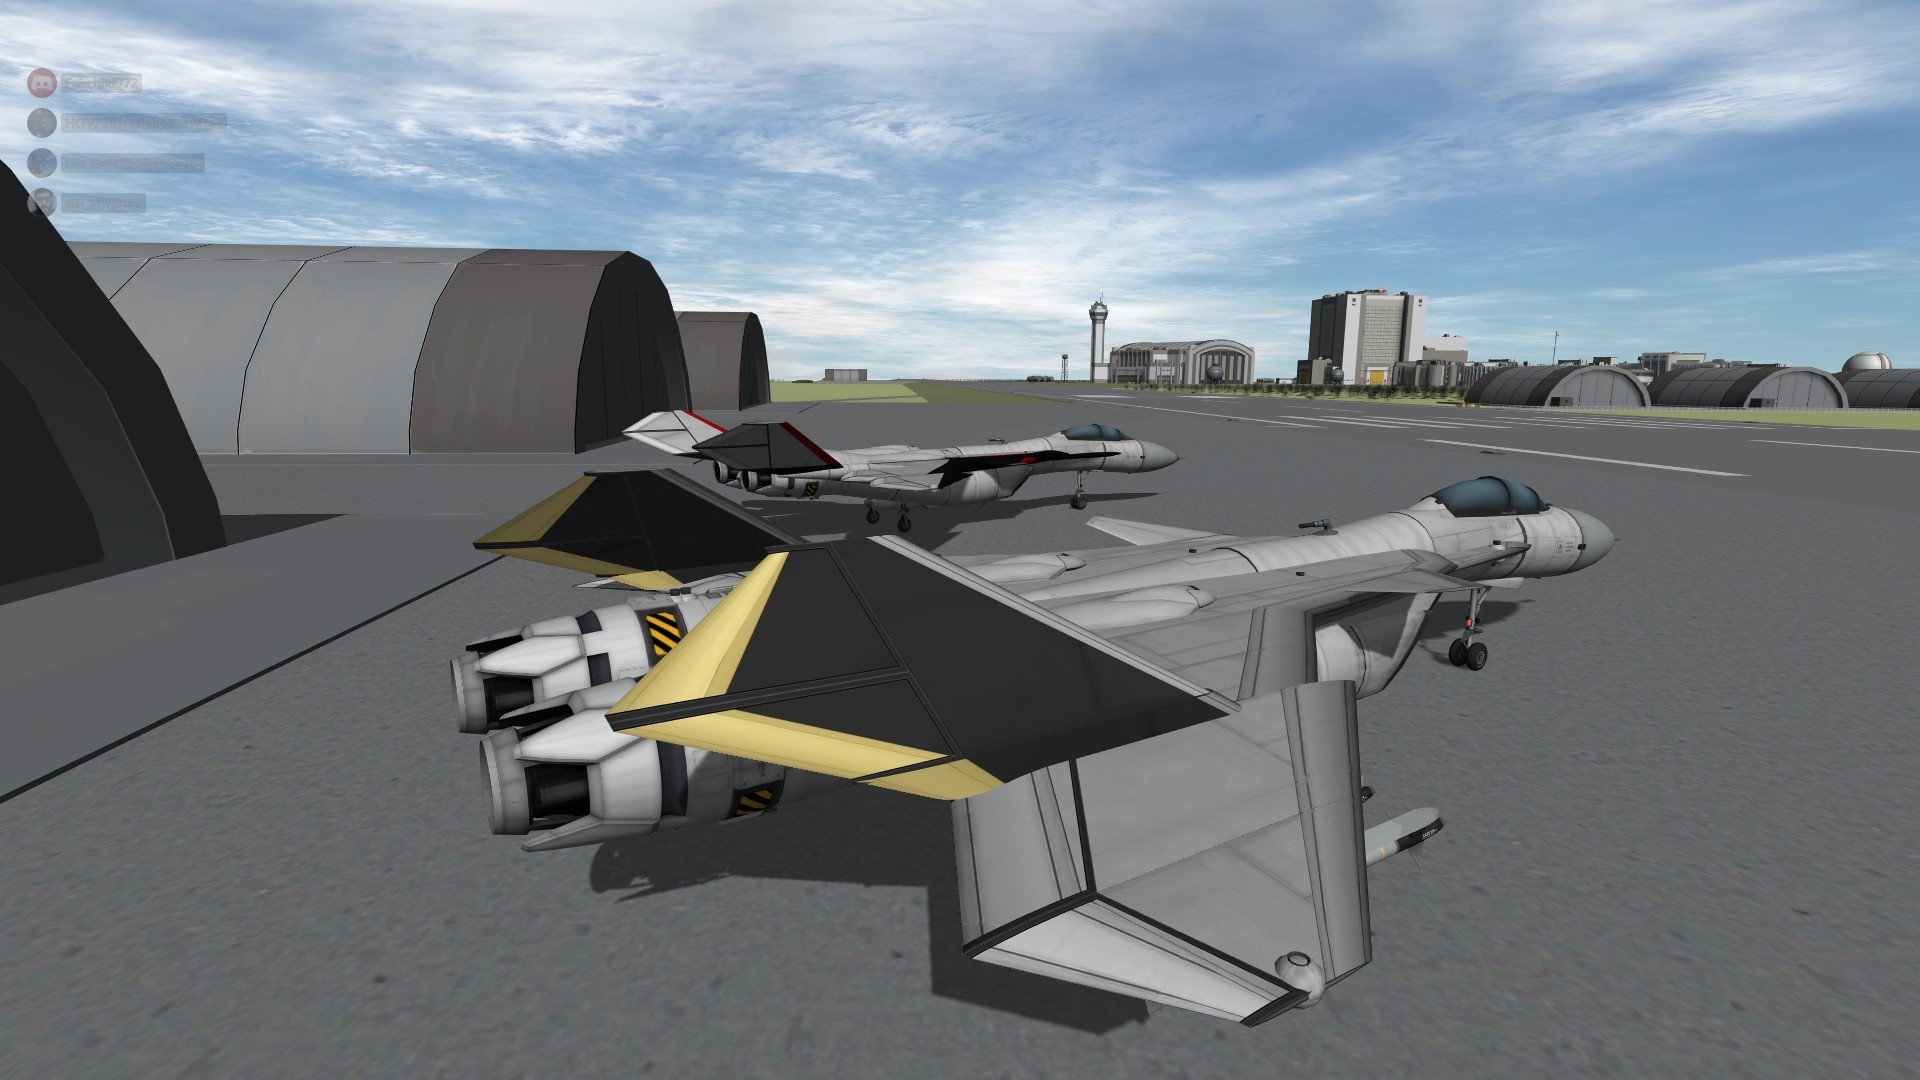
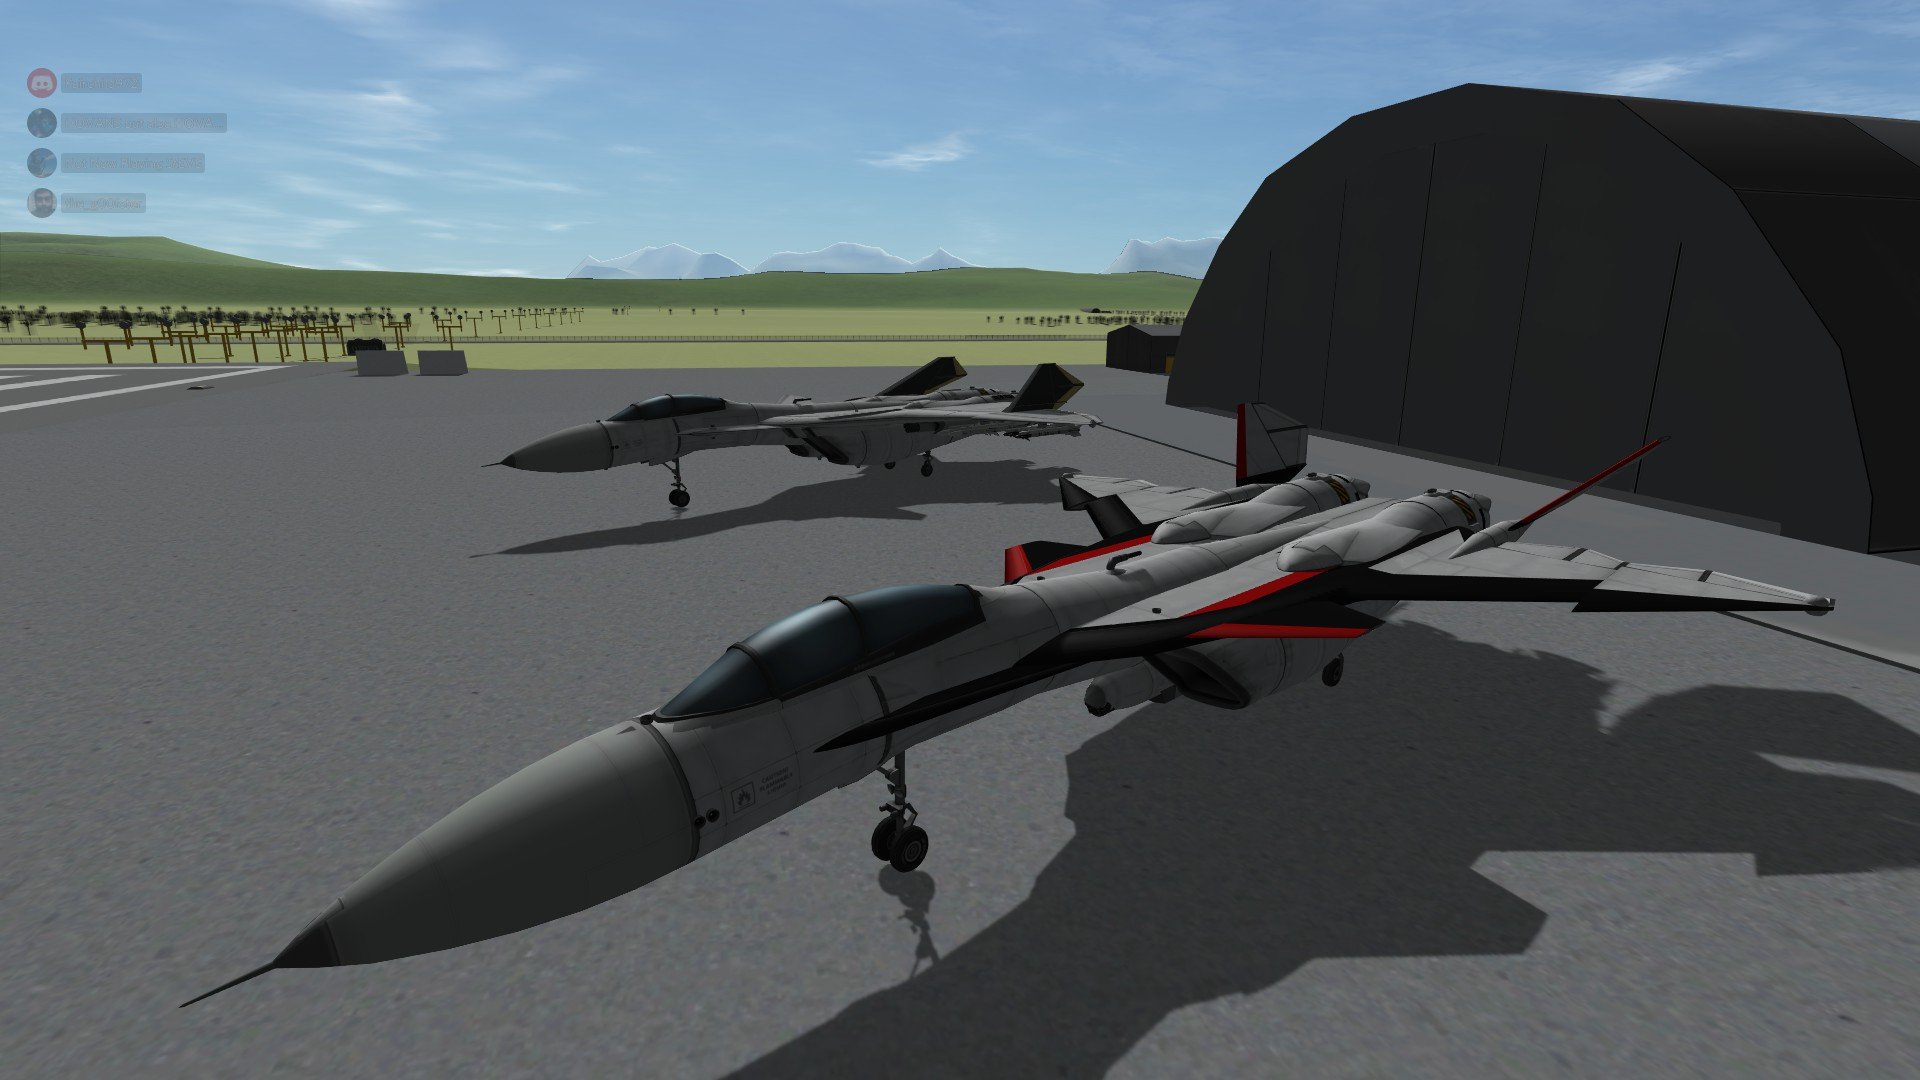
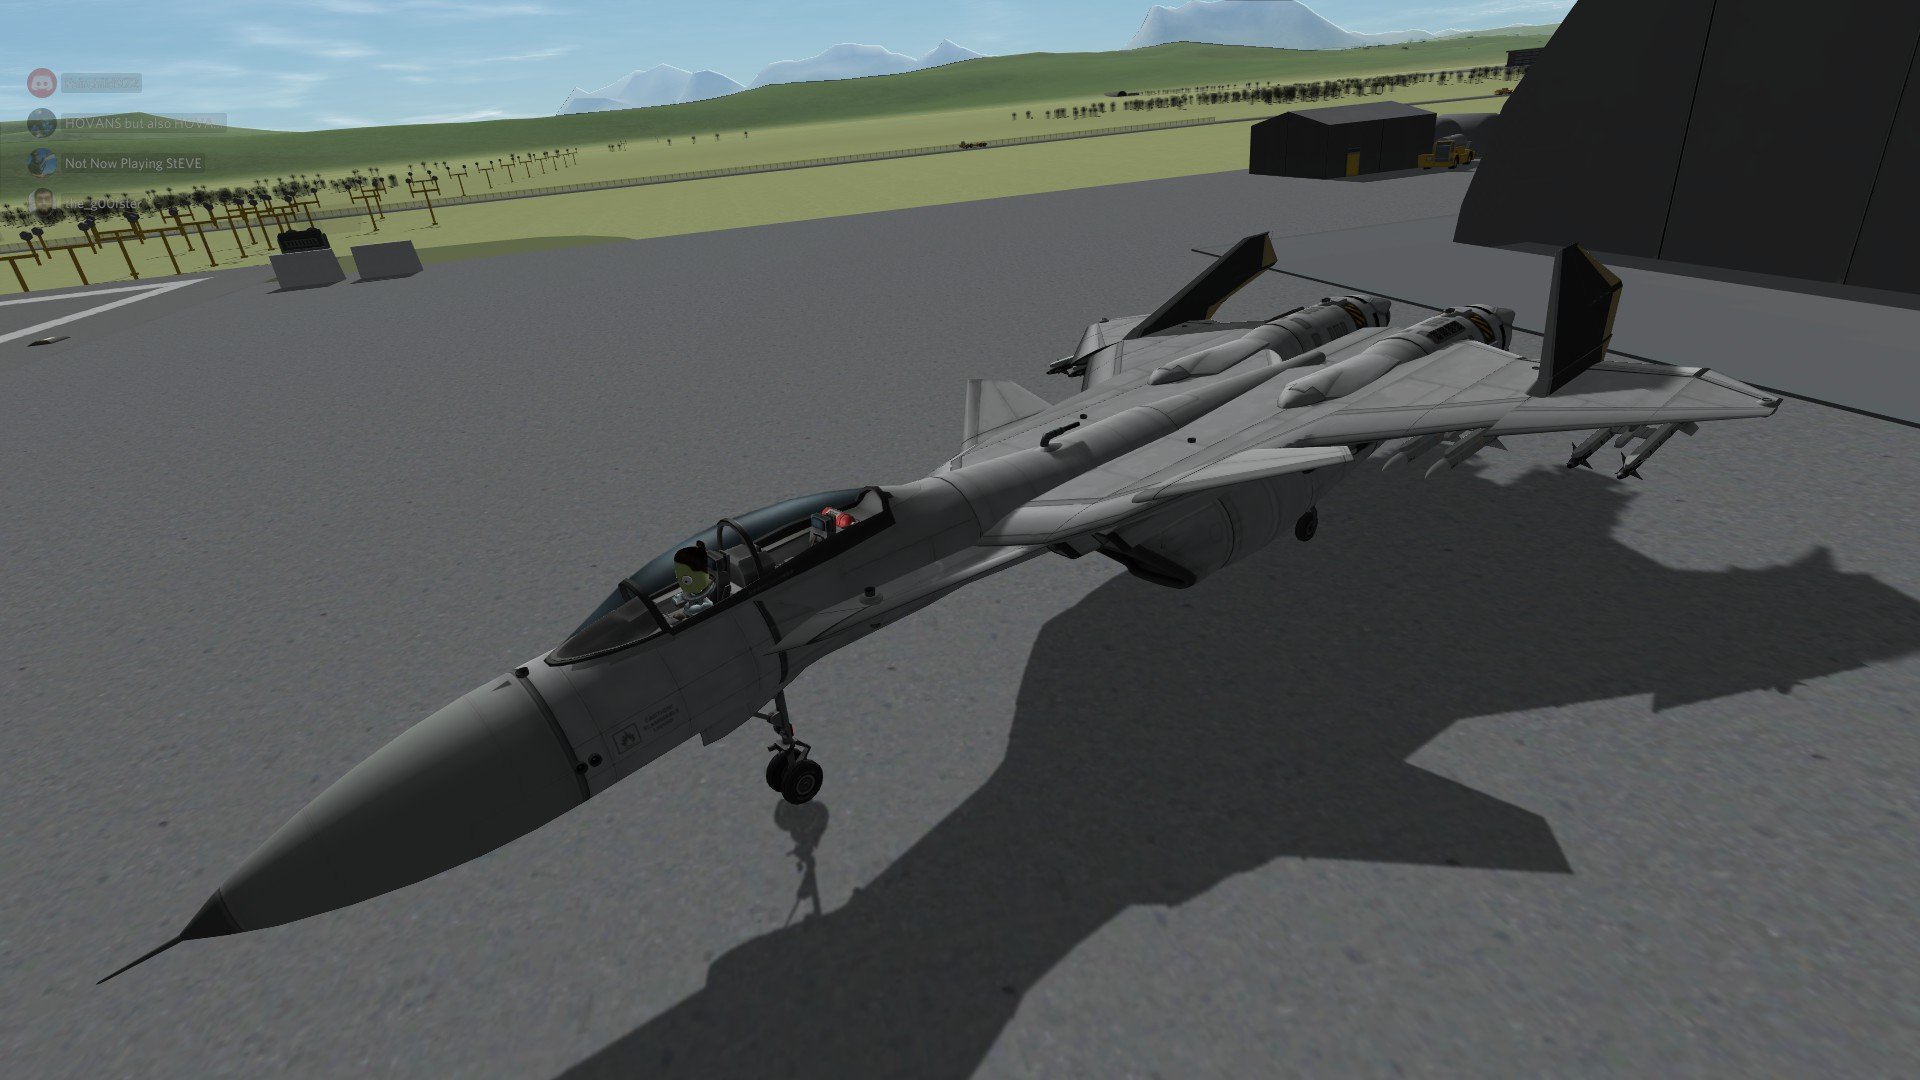
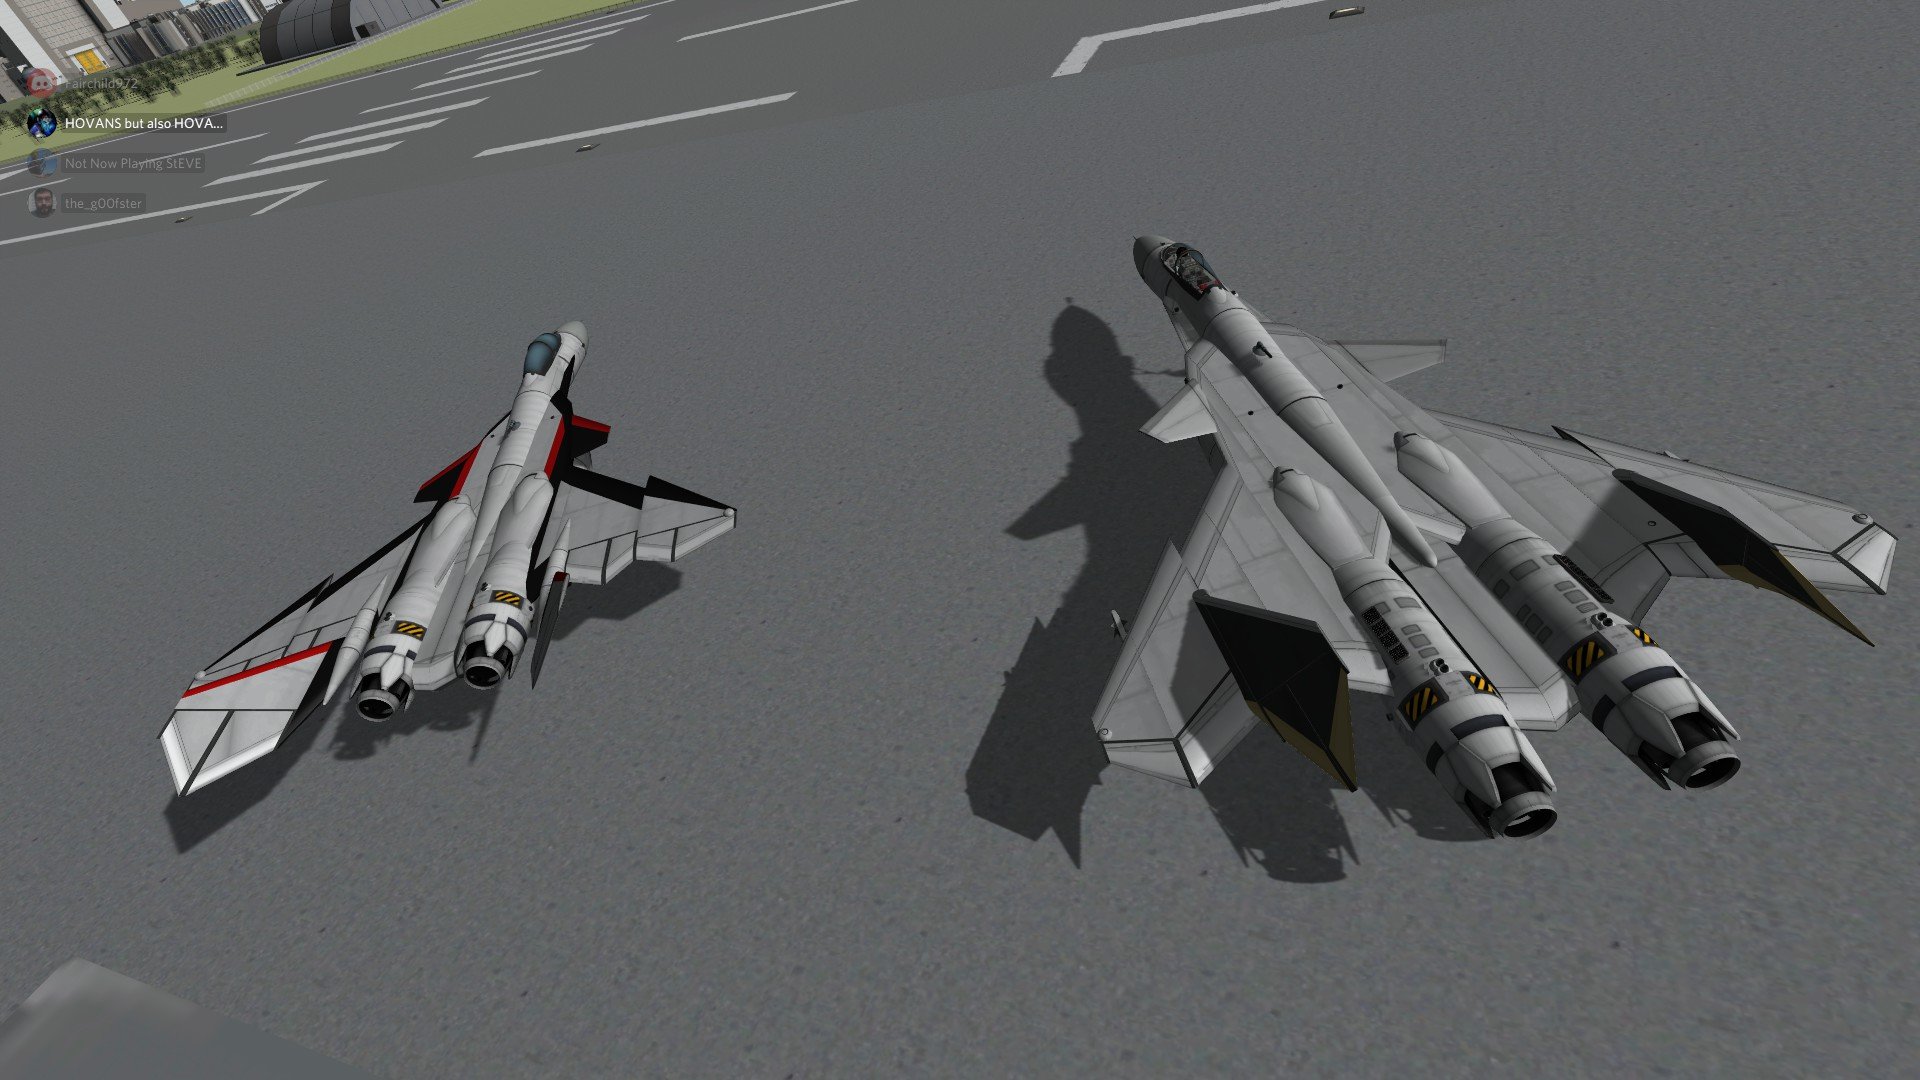
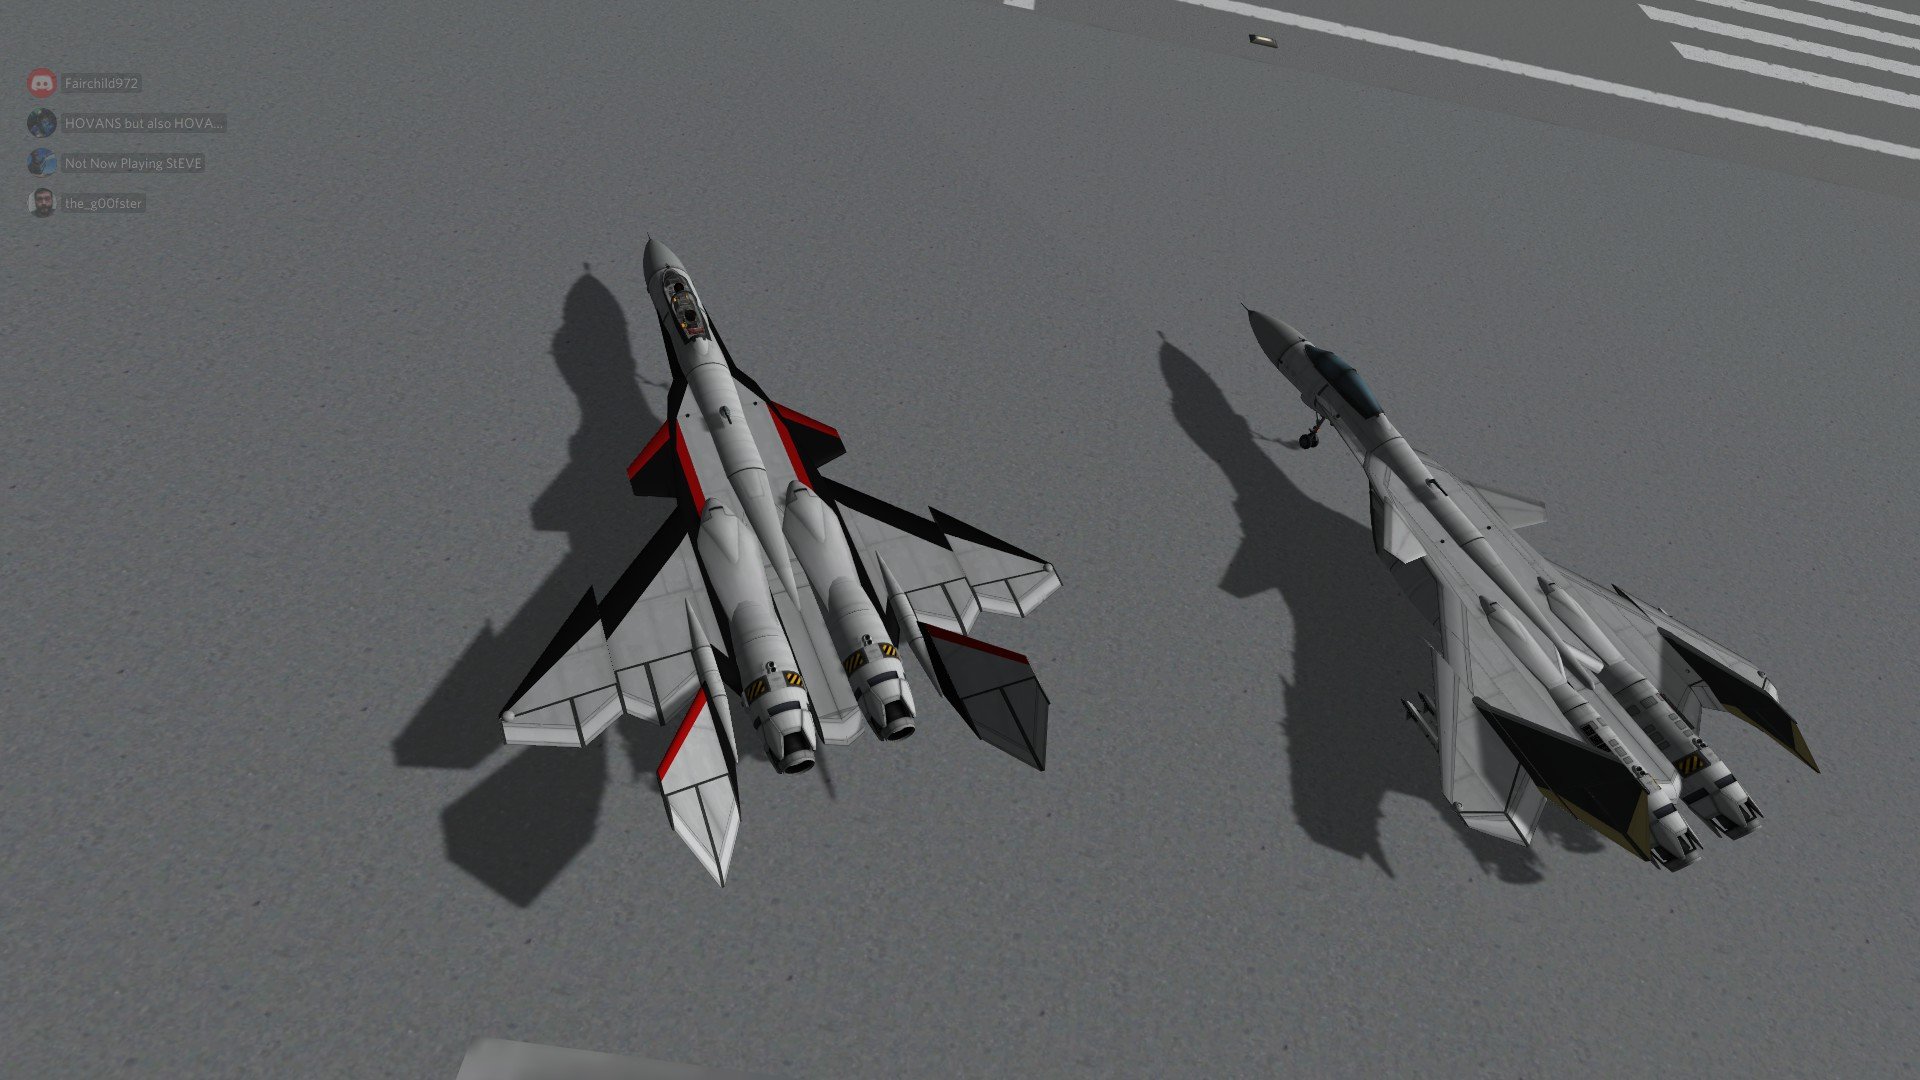
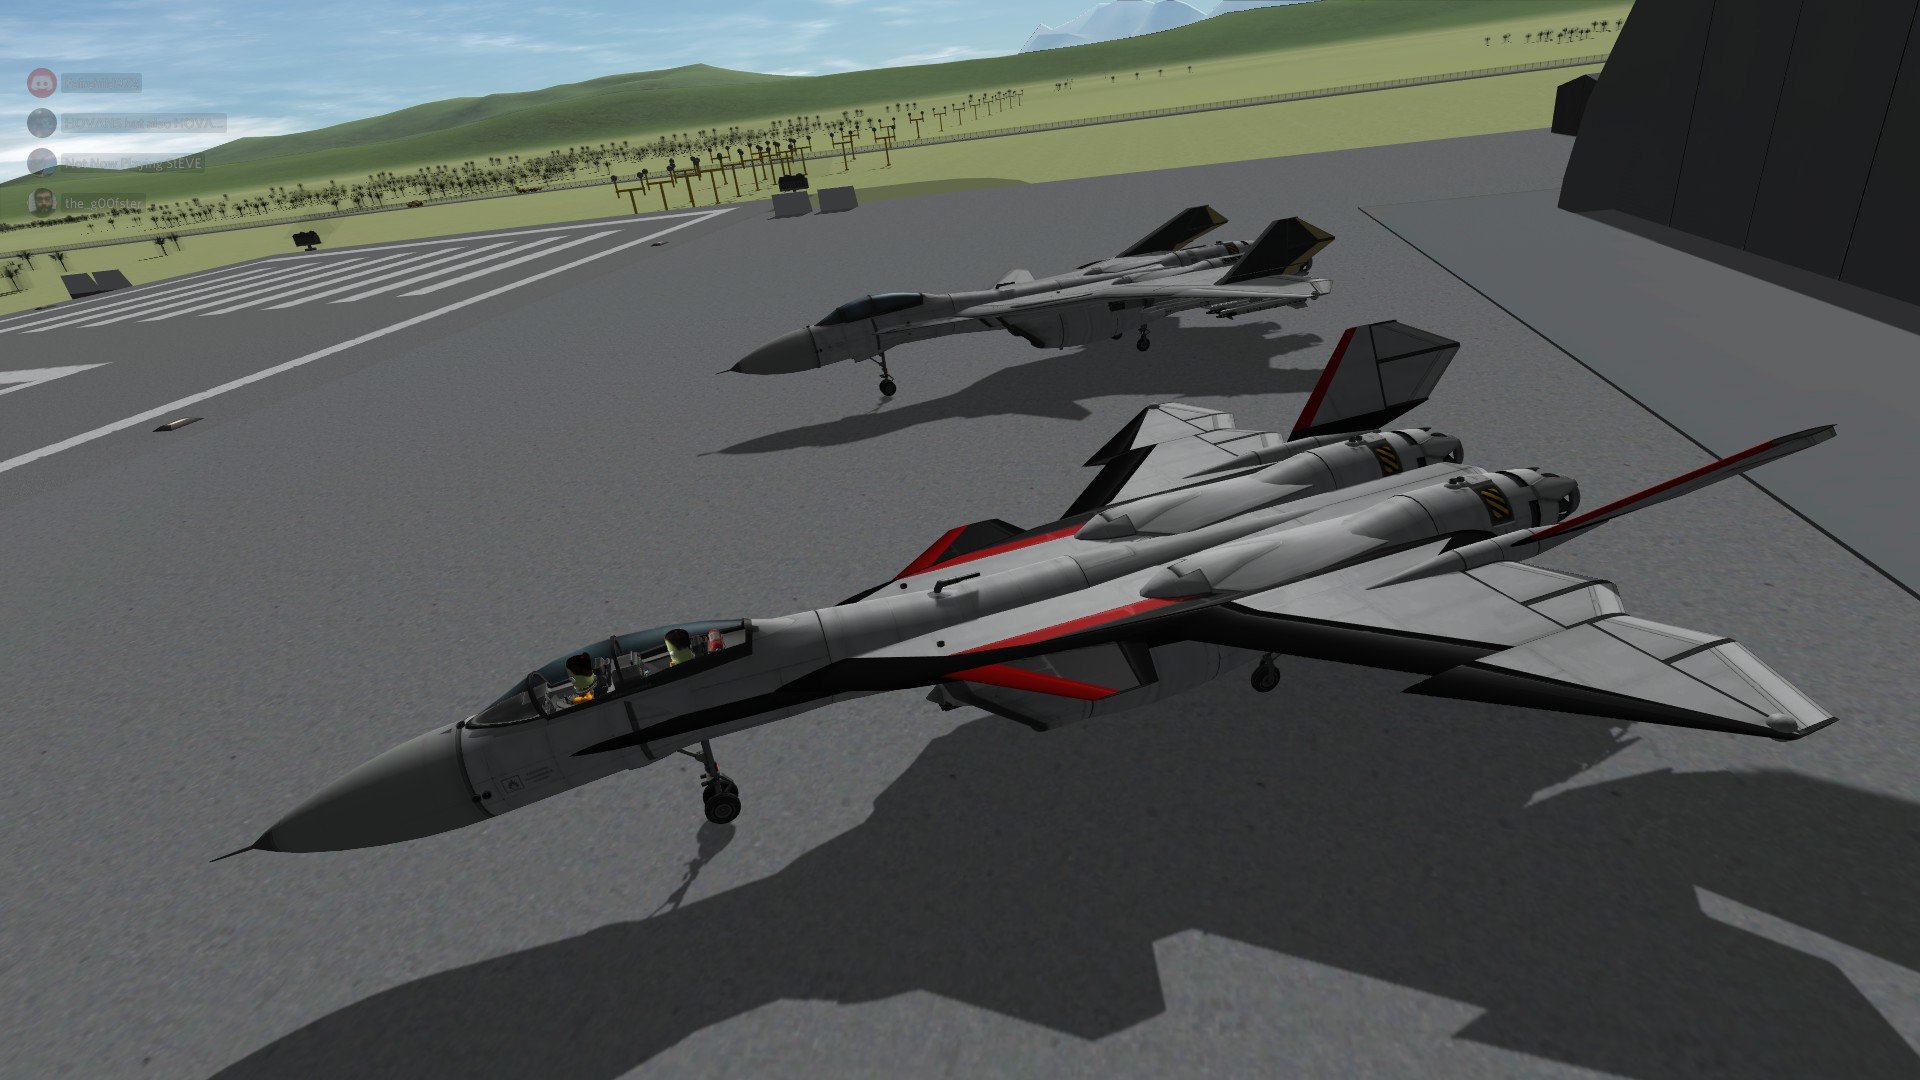
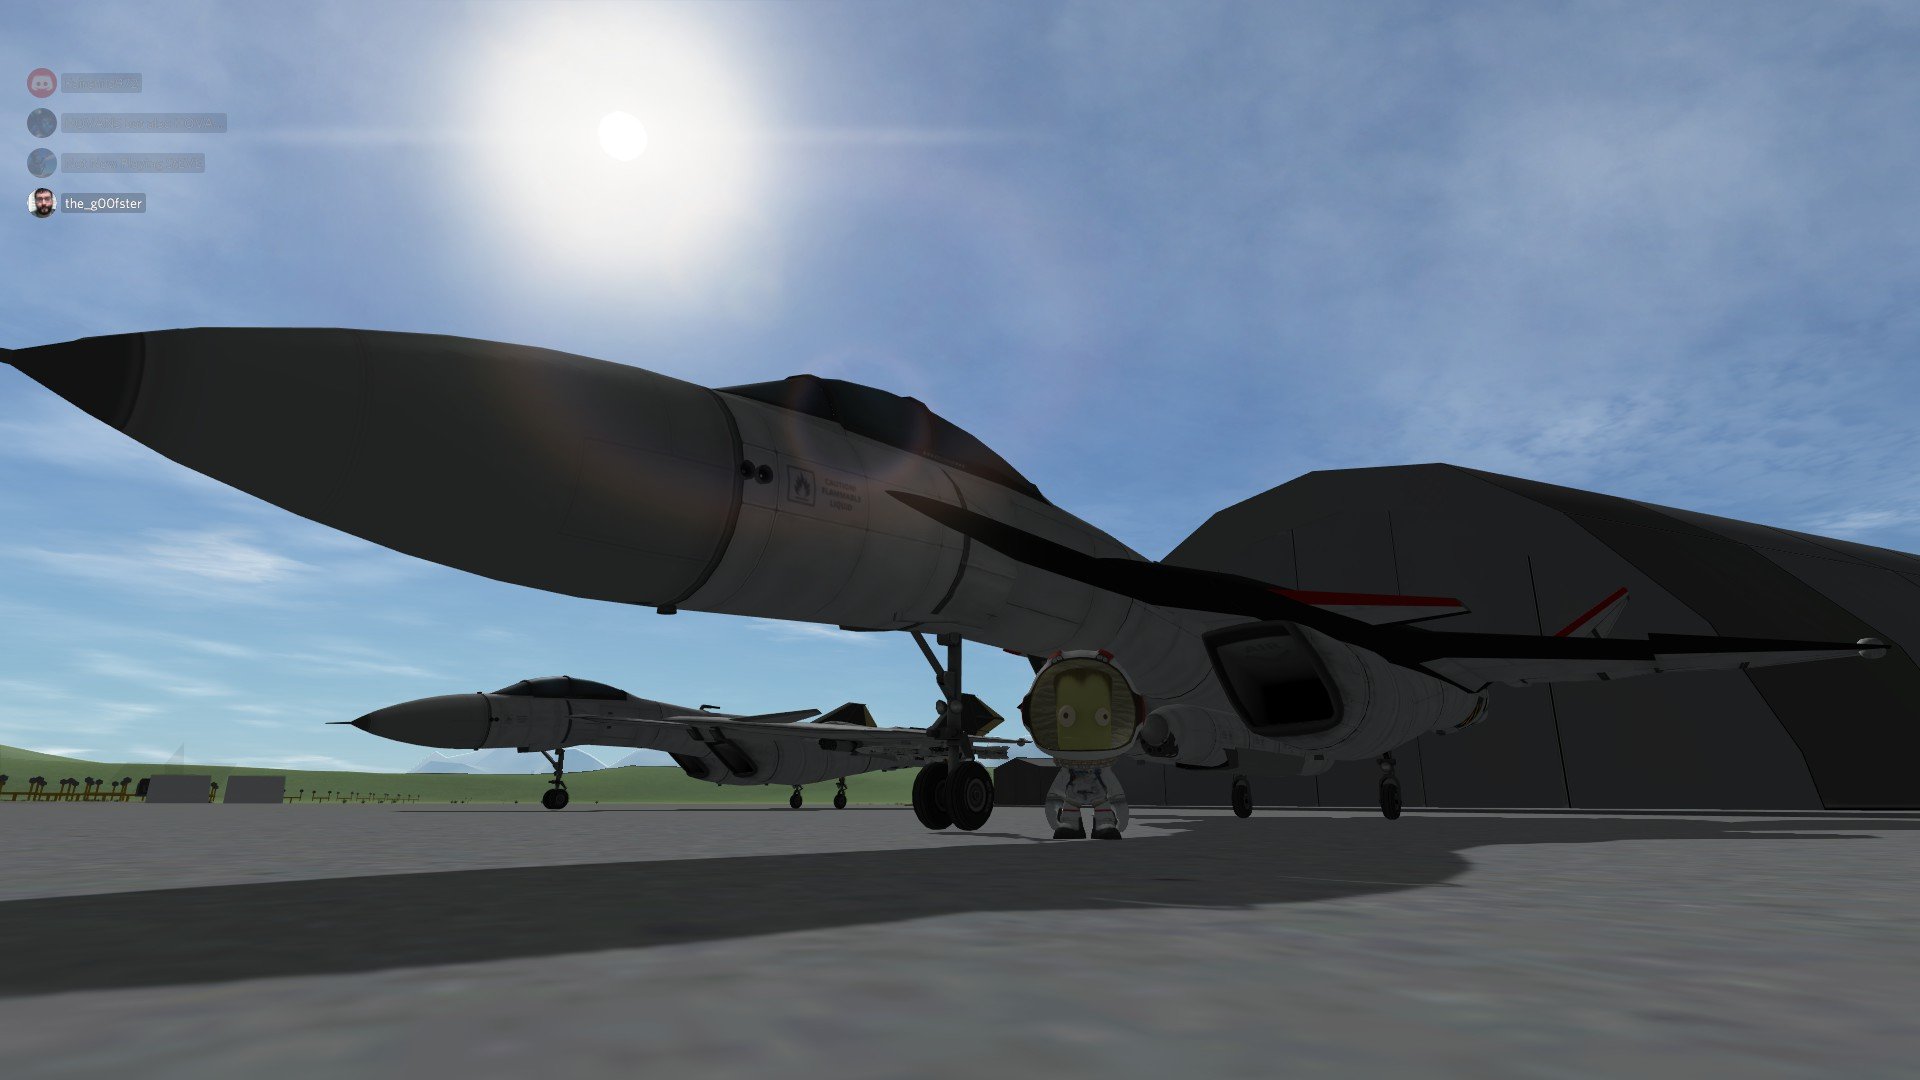
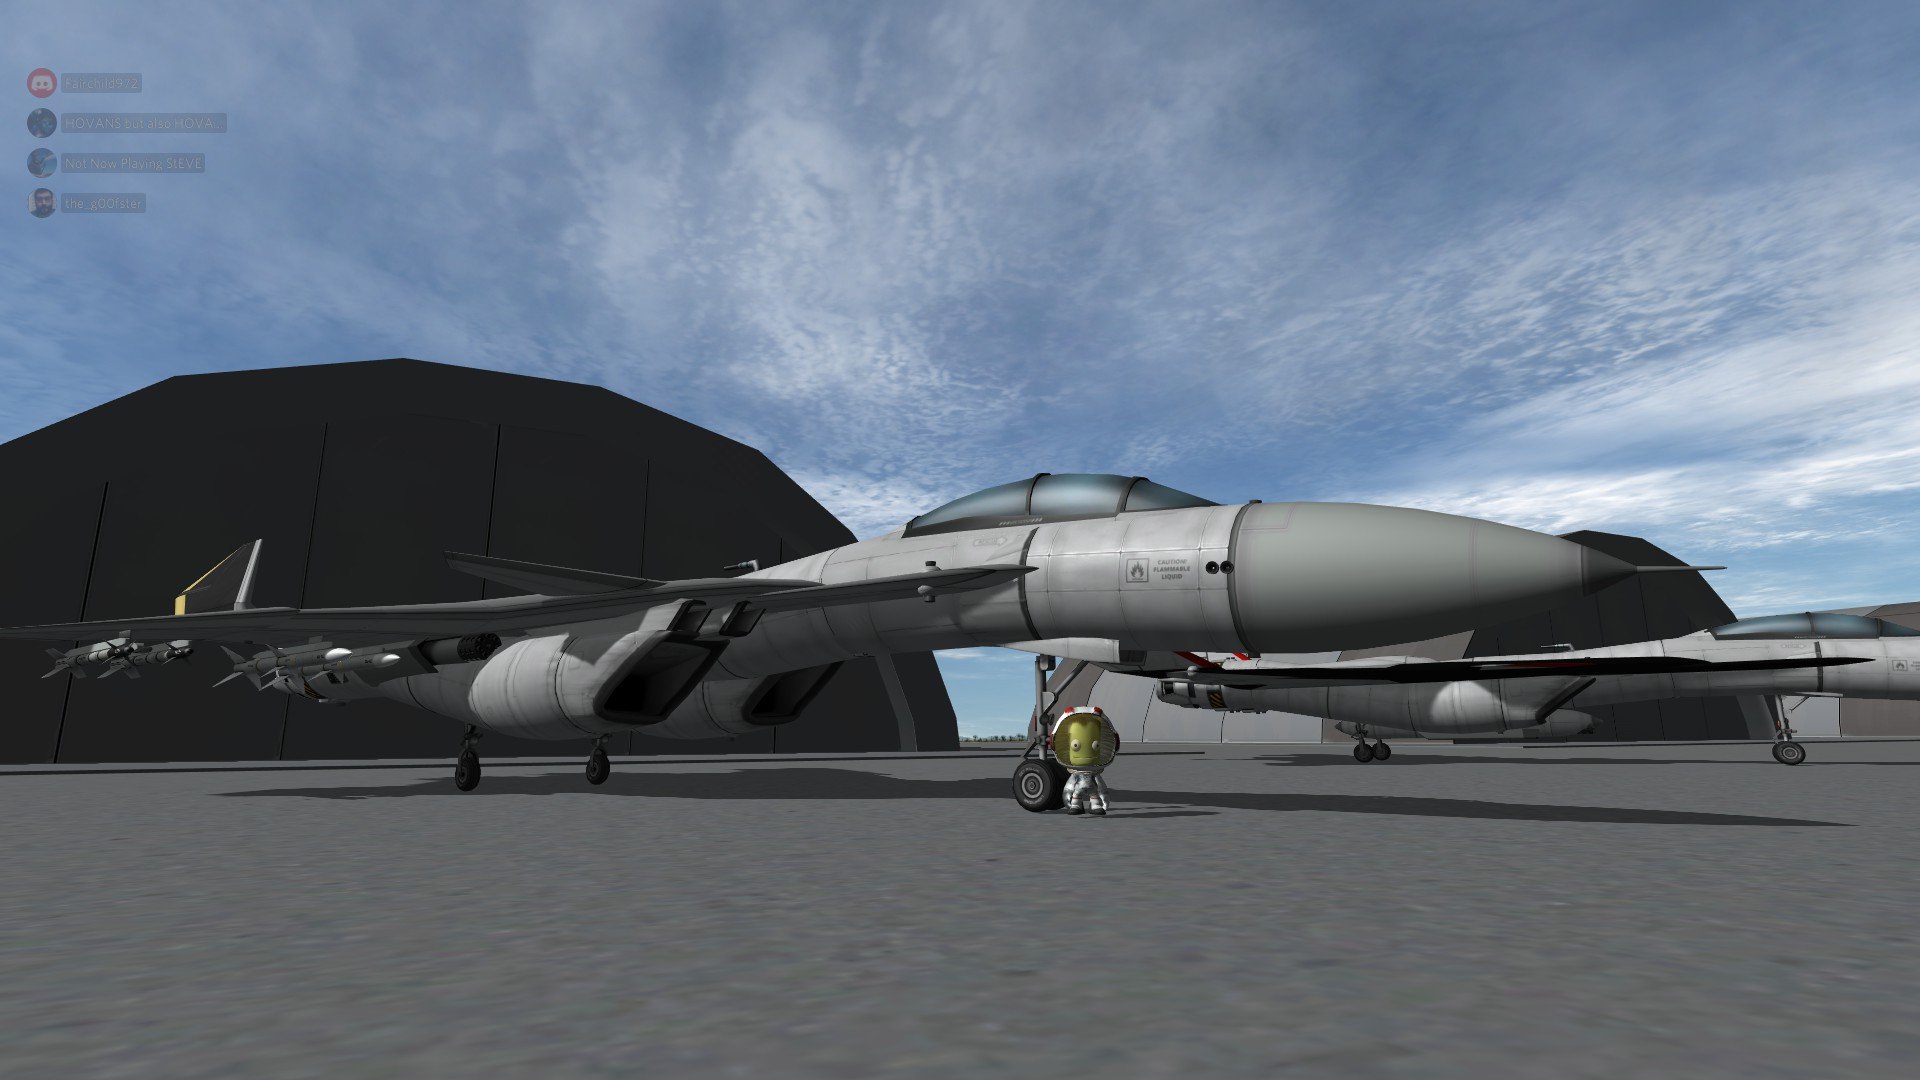
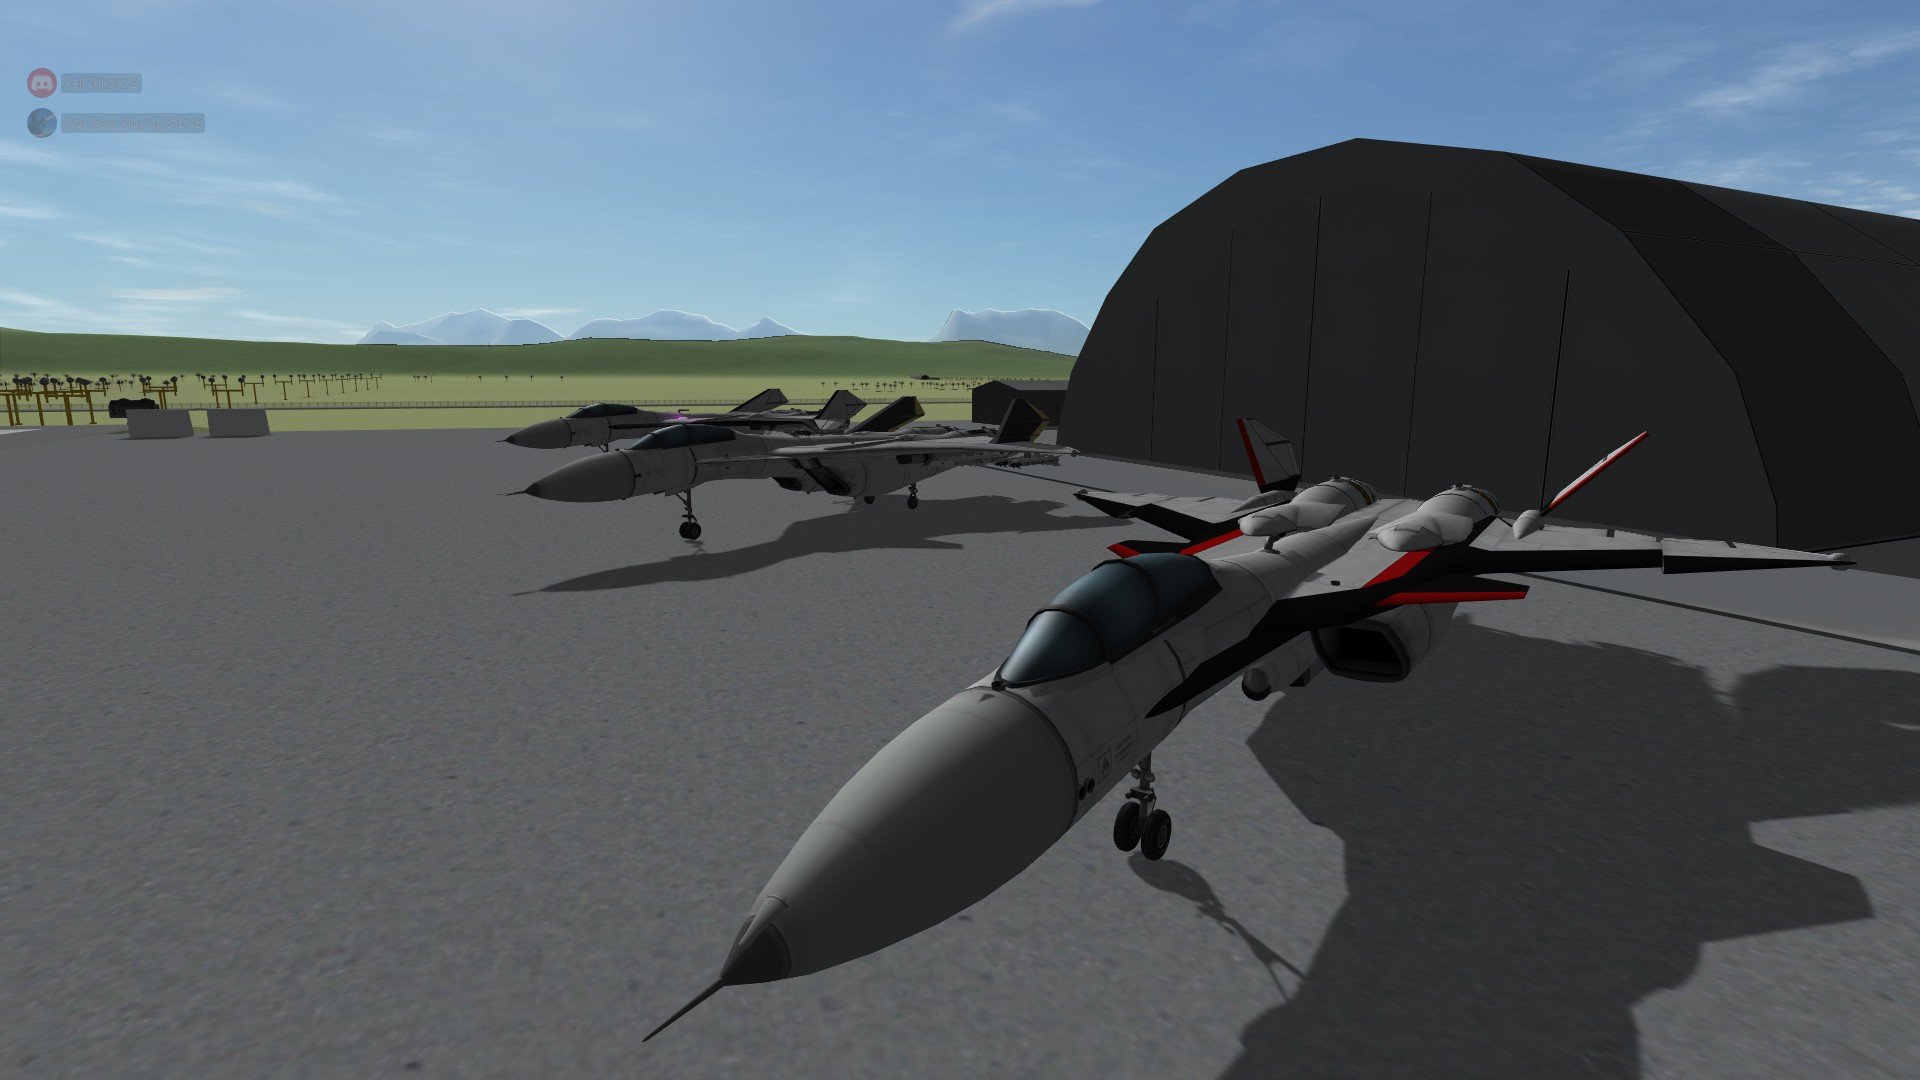
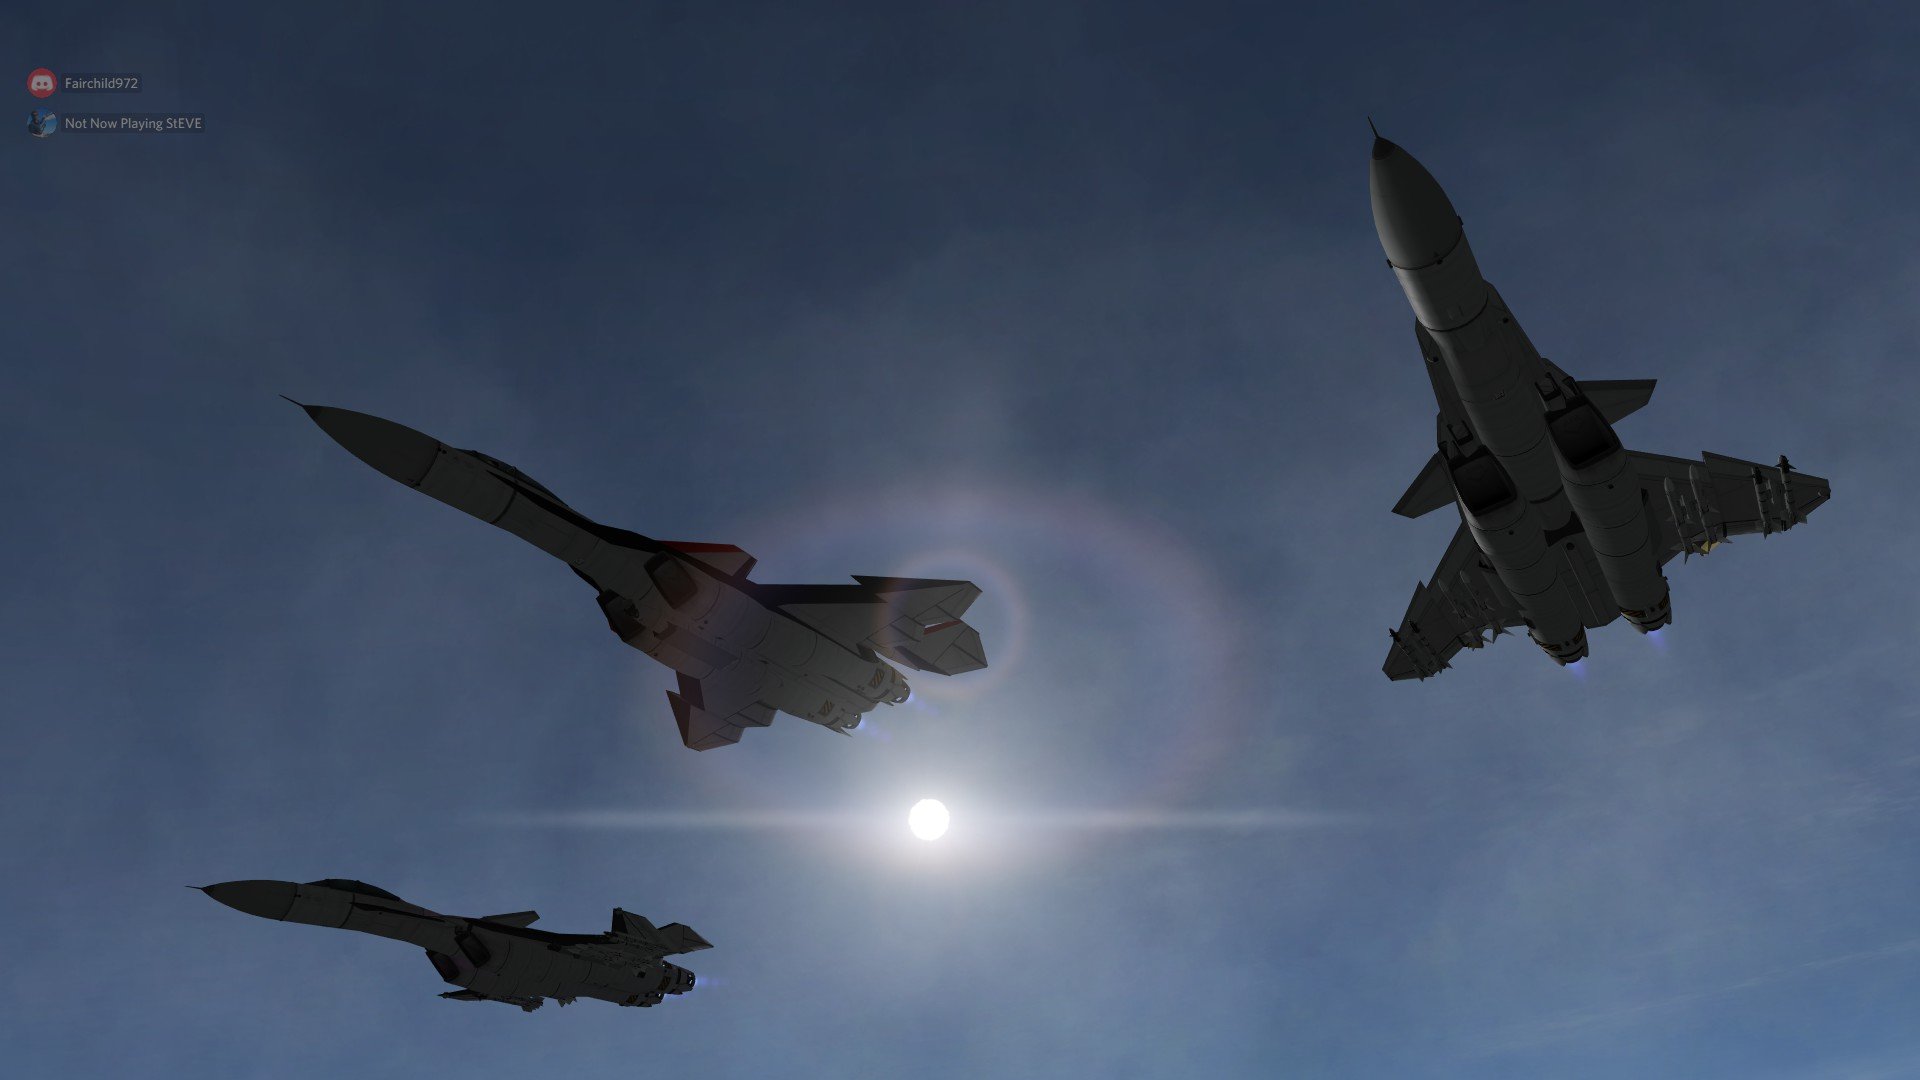
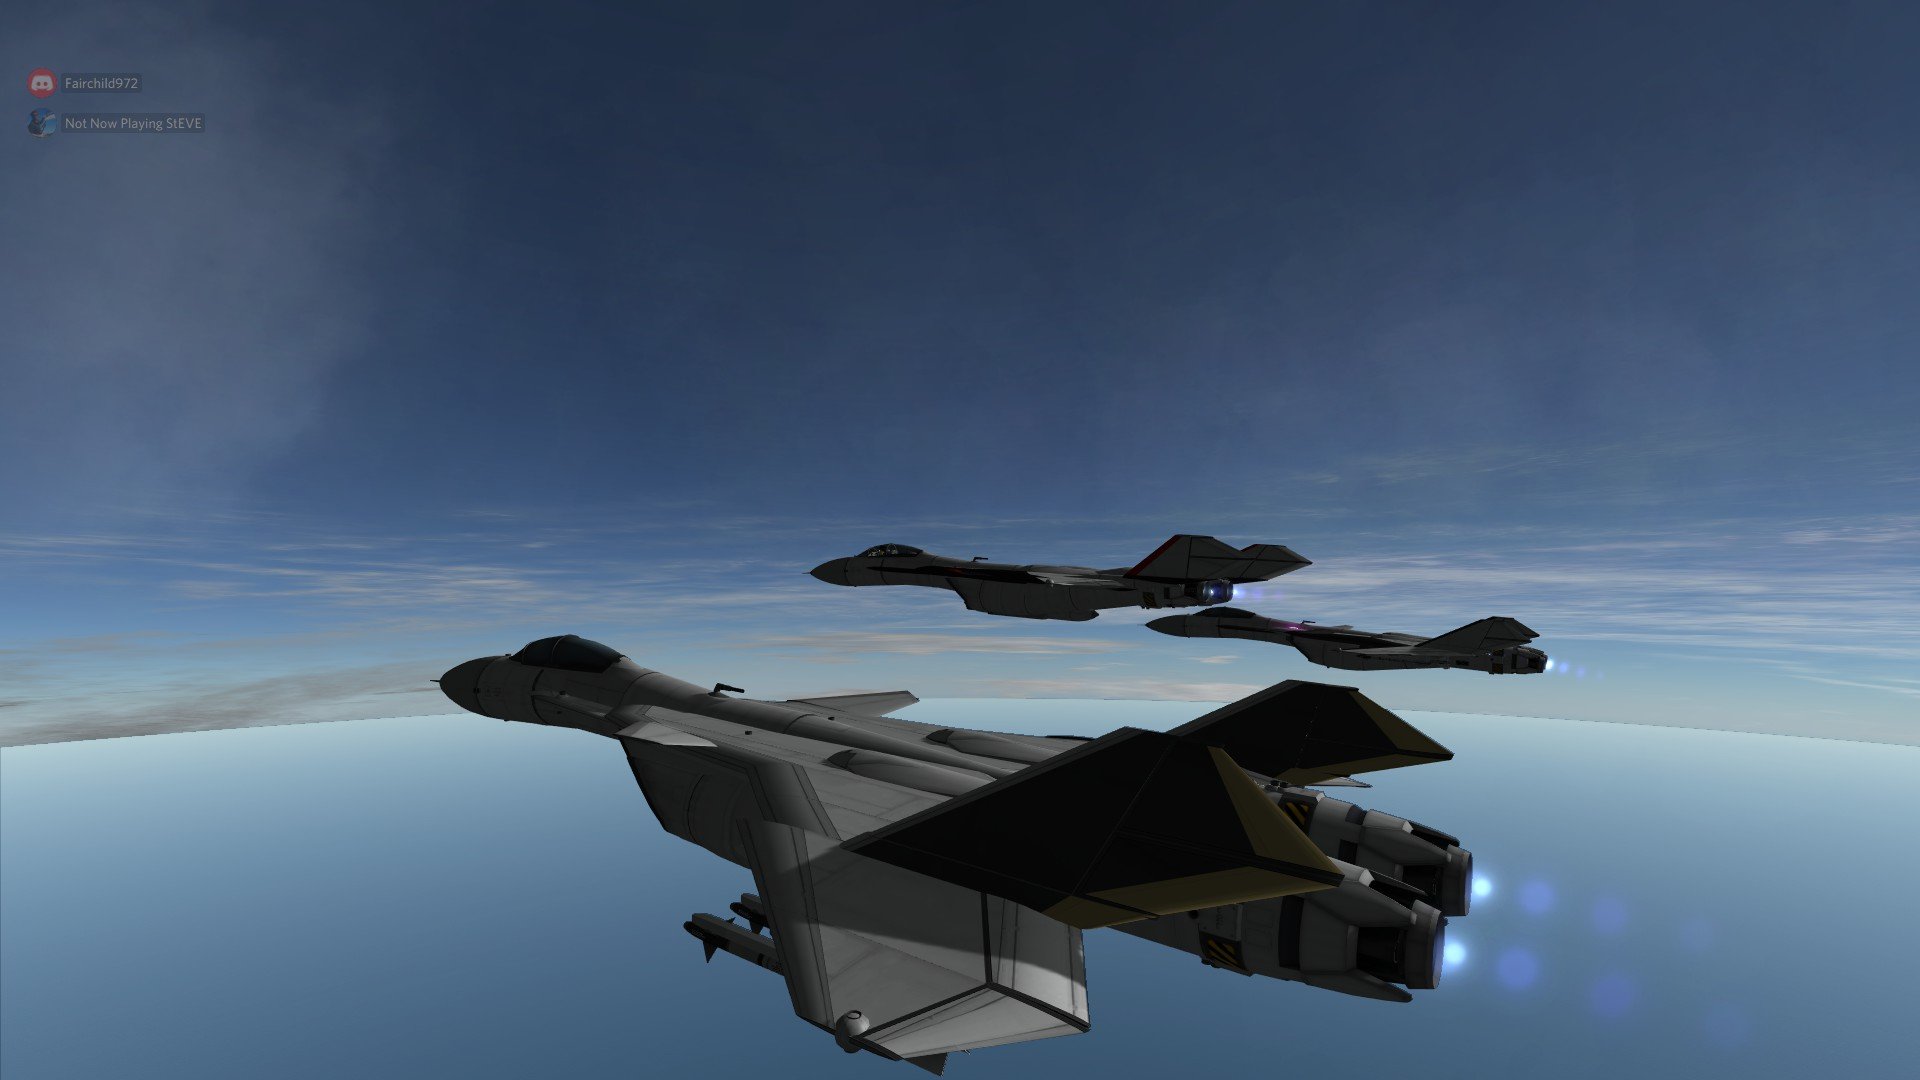
In order to vent my excitement for Delta just around the corner I put together these Valk Replicas in KSP. Tell me what you guys think, did I even come close? Sorry for the potato like quality my computer is crap. VF-31F Siegfried old version VF-31A Kairos SV-262Hs Drakken III old version, new one TBA SV-51y old version VF-0B Phoenix VF-0D Phoenix SV-51y w/Boosters VF-0 Phoenix "Angel" QF-2200D-A Ghost VF-1J Valkyrie VF-4G Lightning III VA-3C Invader VB-6 König Monster VF-5000 Star Mirage VF-9 Cutlass VF-11C Thunderbolt VF-14 Vampire (Macross7 P*L*U*S* Version) YF-19 Alpha1 YF-21 Omega1 X-9 Ghost VF-19ACTIVE Nothung SV-52 Oryol QF-4000 Ghost VF-171 Nightmare Plus VF-25F Messiah VF-27y Lucifer AIF-9V Ghost YF-29 Durandal YF-30 Chronos old version (Heres a couple of the old albums with more pics) http://imgur.com/a/a3laY http://imgur.com/a/IL2LO http://imgur.com/a/d39cL Heres my Steam Screenshot page for a good portion of my KSP creations ranging from WWII prop planes and bombers to F-15's and the superplanes from the Ace Combat universe to of course Macross Valkyries. http://steamcommunity.com/profiles/76561198074068035/screenshots/?appid=220200 Just updated with new Pics
-
VF-31J Siegfried (Hayate Custom) and VF-171 Nightmare Plus Both to be released in April. 540 yen each.
-
Is it too presumptious or too soon to ask will this be chogokinized? The nuns eye looks like a low visibility US insignia...if u squint..
-
http://www.macrossworld.com/mwf/index.php?showtopic=41848&p=1165820 Another image from the Tamashii Super Dimension Chogokin Exhibition (22-23 Nov)
- 230 replies
-
- DX Chogokin
- VF-171
-
(and 1 more)
Tagged with:
-
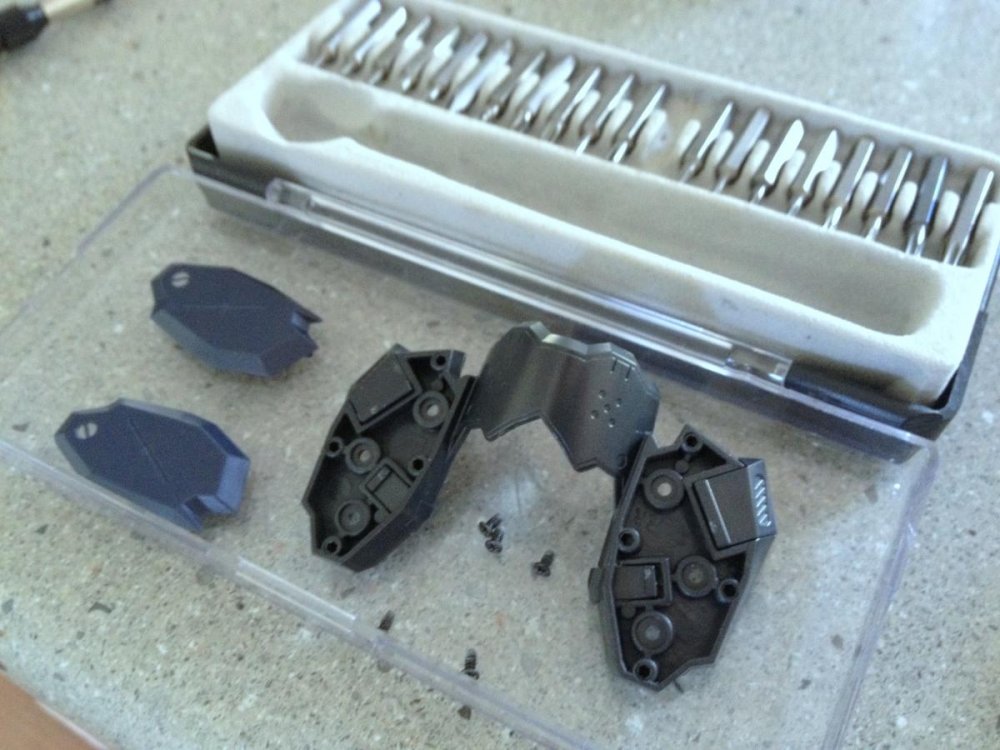
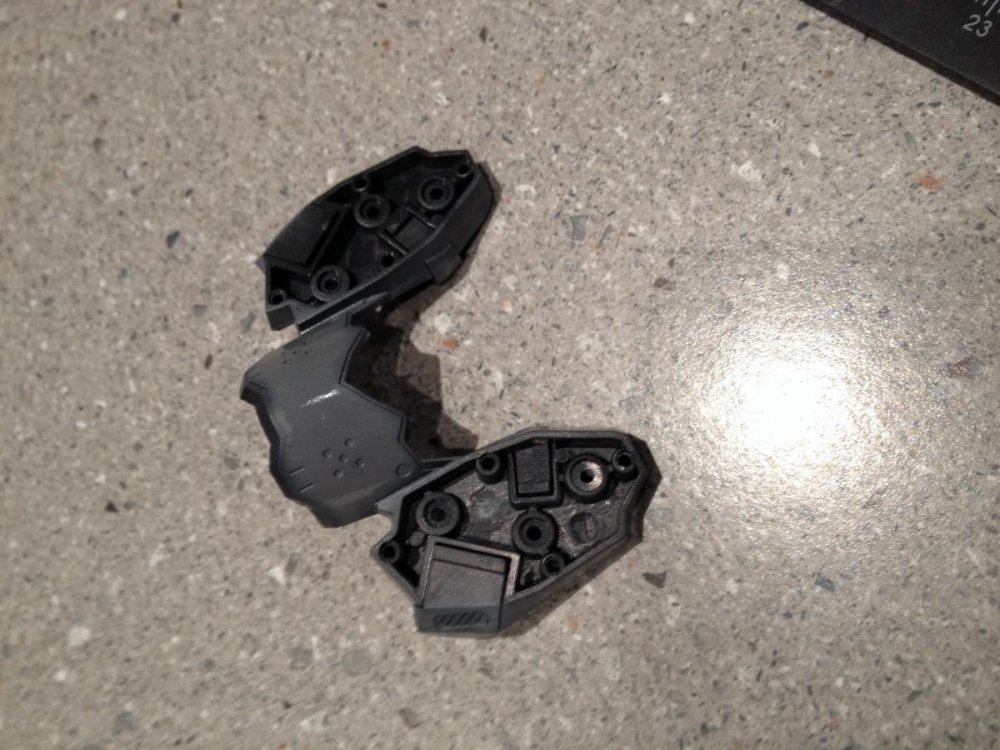
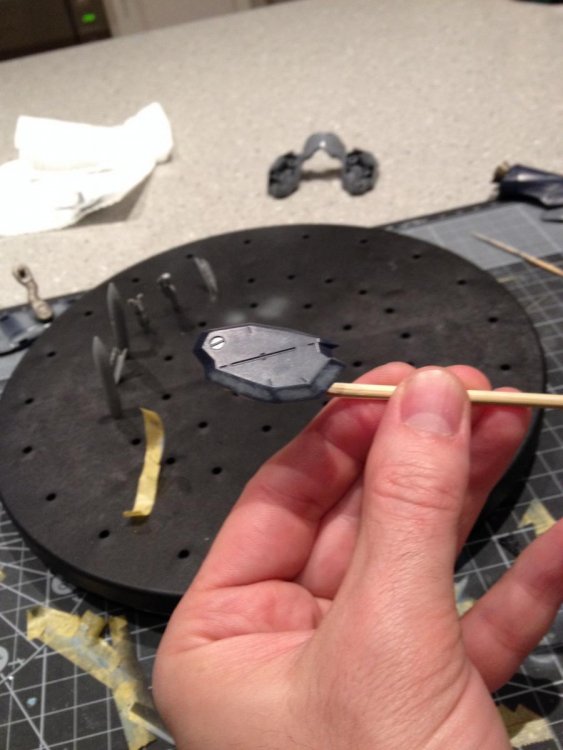
I've been meaning to do a quick and dirty review of these guys for a while now and finally had time to take a few photos to go along with it. So without further delay, here's my introduction to the answer to the problem of the (otherwise) wonderful Bandai VF-171 toys. After seeing Macross Frontier, I was smitten by the new VF-171 and actually liked it even more than the VF-25 that was central to the story. Something about the lines, the colors, the shimmery way it often exploded... Sadly, a toy or even a model of this thing seemed to be nothing more than a pipe dream. There were model companies hinting at it (Experten, I believe) but we never saw anything real materialize. And then, out of the blue, Bandai announced the VF-171EX and there seemed to be hope! The "normal" version arrived a bit later but finally, we had a toy! I waited until after the armor parts were released before I jumped on the 171 bandwagon and really had no idea what I was getting myself into. Like most of you who own this toy, I was shocked to find out how terribly made some of the black parts were; like many here, my shoulder pieces had some serious issues. Look no further than this topic: http://www.macrossworld.com/mwf/index.php?showtopic=37652&page=1 for similar stories. Broken shoulders, broken legs, broken internal pieces. This thing has grown into almost legendary status for how unreliable it is. But for most, the shoulders remain the real issue. Until now... Resident Macross World member Xigfrid provided the answer, in the form of a Shapeways produced part. He offers a few variations, which I'll describe in more detail shortly. But suffice to say, for those of you with broken shoulder triangles, there is now a solution! I purchased a few sets from him as a "just in case" measure. But also in the hopes of spreading the word about this little fix and hopefully providing other 171 owners with a means of enjoying their little green (and sometimes white) engineering marvels again. The parts I'll be showing you are the basic versions, printed in one solid color. Two types are offered, a "no triangle" version and a "with lower triangle" type. Click the links for a look at the Shapeways site for more details and to place your order. Xigfrid also offers a pre-printed logo version, where the NUNS logo and stripe are represented by two colors of printed plastic. I didn't opt for these because they were more expensive, the colors weren't "exactly" right, and I wanted to experiment with painting myself. I asked Xigfrid a lot of questions before ordering and this guy is a top bloke. Very helpful, very patient, and very easy to deal with. So, here's a look at what you get: The parts come printed as one "tree" with only the end bits anchored. Both left and right triangles are on the one tree. It's quite an impressive thing to see the inner parts just sort of hanging on the spindle down the middle and understand they were printed like this. The parts I chose were finished in "White, Strong & Flexible, Polished" material (WSFP). They're very strong, but there is some printing edges that are obvious when looking closely at the parts. The surface reminds me of velvet. You'll notice in the image above, there's a slight difference between the left and right parts, with the left side being the "without triangle" and the right one being "with lower triangle" type. The only difference is a notch cut into the bottom of one of the parts, for each side. I'll show why this is important a bit later. Here are some close ups: The parts assembly is very easy, and the only advice is to cut down on the post that attaches the two outer sides together. If you use it as is, the fit is a little too tight. Trimming a few mm off the end is advisable so the post doesn't bottom out in the hole. So, what exactly are we replacing? Here's an old picture I took of the part in question: And a typical shot of the damage one is likely to see when it breaks (if you can remove all the pieces without losing anything): Now, for some irony... I fixed this part with super glue a few years ago. I then promptly put it back in the box in disgust and didn't even look at it until I saw these new Shapeways parts were available. And when I did look, it was purely to figure out if I needed "with or without triangle" type parts. Imagine my surprise when I got the replacement part in, dismantled the part to do a test fit, and discovered the fix was still in place! And to make things even more surprising, the other seemed to be fine, with no signs of stress or breakage. Seems I got very lucky with my sample. Moving on, here's the lower triangle, so you can determine which type of part you should order: The thin, black, hinged in the middle thing in the bottom of the wing root. It's easy to forget about when going from any mode back to fighter and WILL be the thing that prevents you from popping the legs into fighter position, because you forgot to fold it back into position beforehand. Ask me how I know... See those little white lines coming from the pin? That's not hair, those are cracks. Both of mine have this but for now they're still intact. If yours are broken, you may do well to remove them entirely. They're held on by that screw through the teal colored piece, just next to the triangle in the above image. They don't really do much, and honestly, they're annoying. They never sit right, they're always in the way, and even if you do get them perfectly aligned, they look like they weren't designed to be the right shape to fill the gap they're there for. Here's what's behind the part when you swing it out of the way: That notch (notice the repair marks on my example) allows the pivot pin hinge in the triangle to sit up against the top triangle. If you don't have the bottom pivot triangle, don't get the replacement part for the "with triangle" type. It'll have a hole in it and it'll be noticeable. Instead, opt for the standard type. Simple. I haven't fit my parts because I didn't need to, as mentioned. But disassembly is fairly straight forward. You can pry the whole shoulder open and pop the arm out, followed by the triangle. If you're very careful, that is. Otherwise, there's a screw cover that will most likely be glued in, hiding a small screw that keeps the shoulder together. Removing this will allow the shoulder to come apart much easier. One side on mine was easy, the other was glued in so completely that I wasn't able to remove the screw. Your mileage may vary. Prep of the parts is up to the person doing the installation. But note that none of the parts are terribly smooth unless you opt for the much more expensive translucent material. And even then, sanding is recommended. I'd planned to prime, sand, smooth and then paint these things black. The intention for the NUNS lettering was to print a mask or maybe do some decals. Given my part is still OK, that's a decision I'll leave for somewhere down the track. Check out Xigfrid's store. He's got some great stuff on offer: http://www.shapeways.com/shops/xigfrid3dshop If a mod happens by this, mind adding that missing 'w' to the end of my topic title?
- 11 replies
-
- VF-171
- Nightmare Plus
- (and 8 more)
-
From the album: Macross Bandai
-
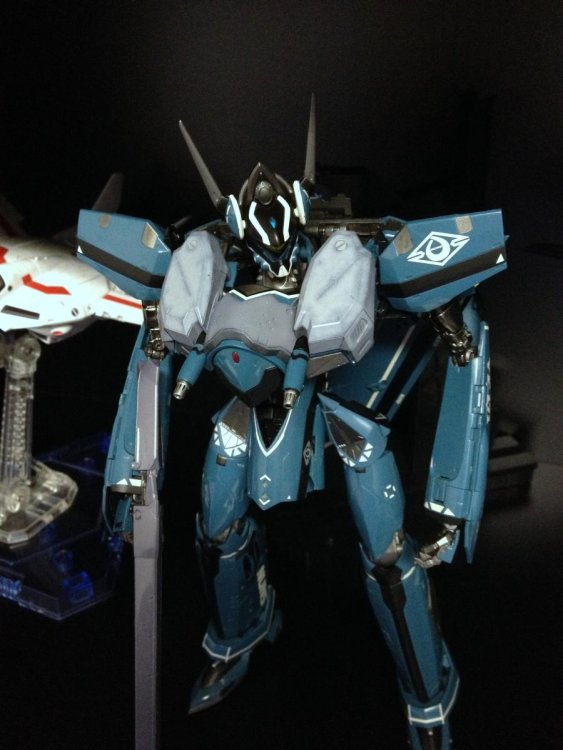
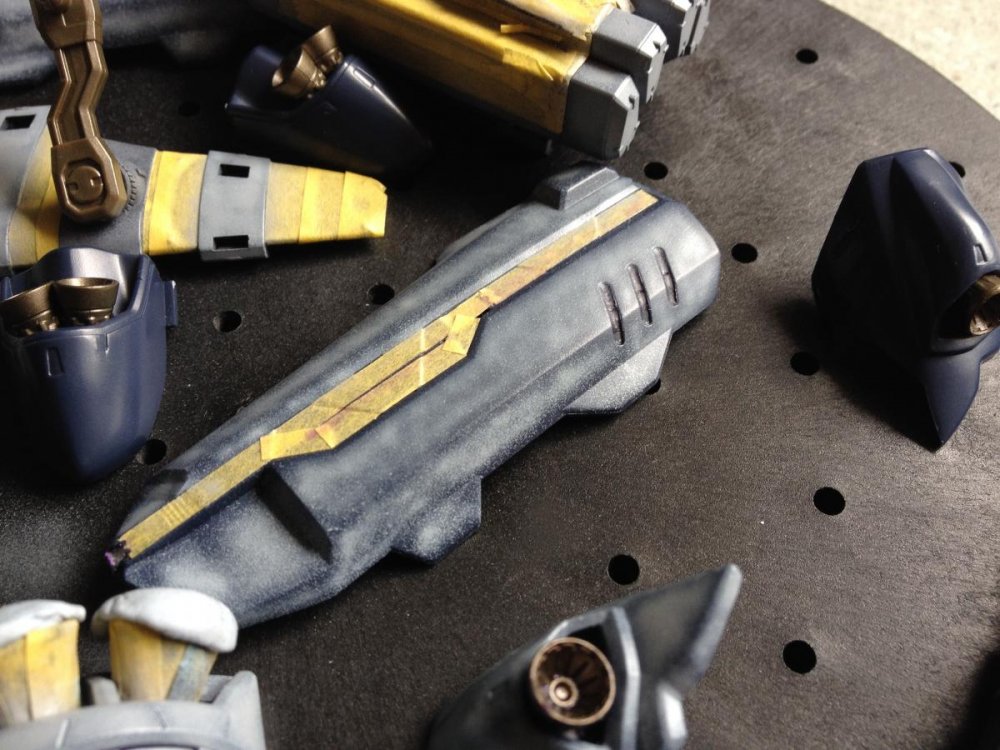
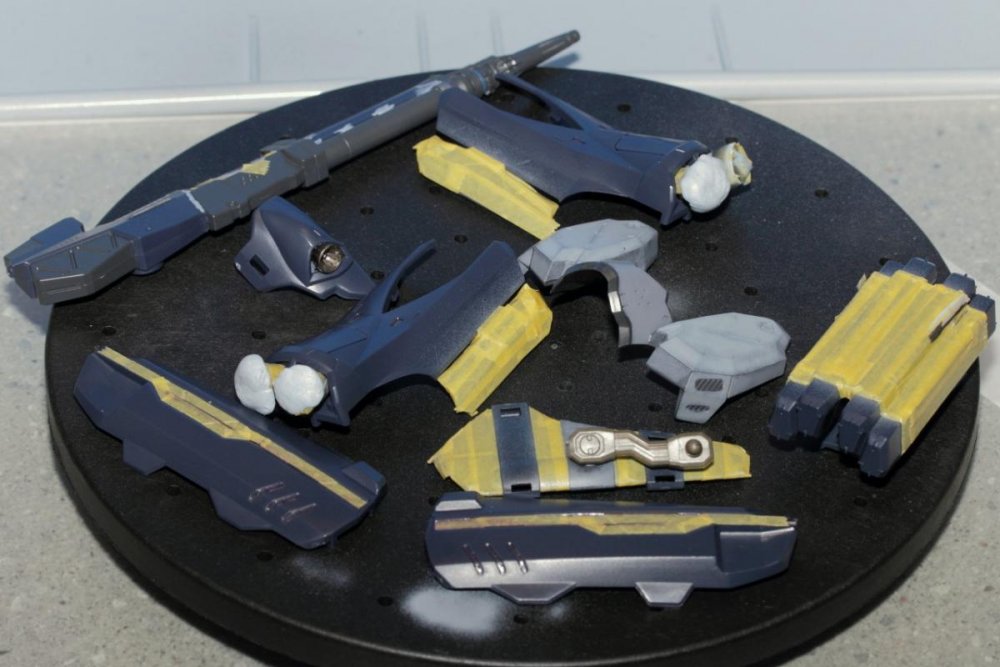
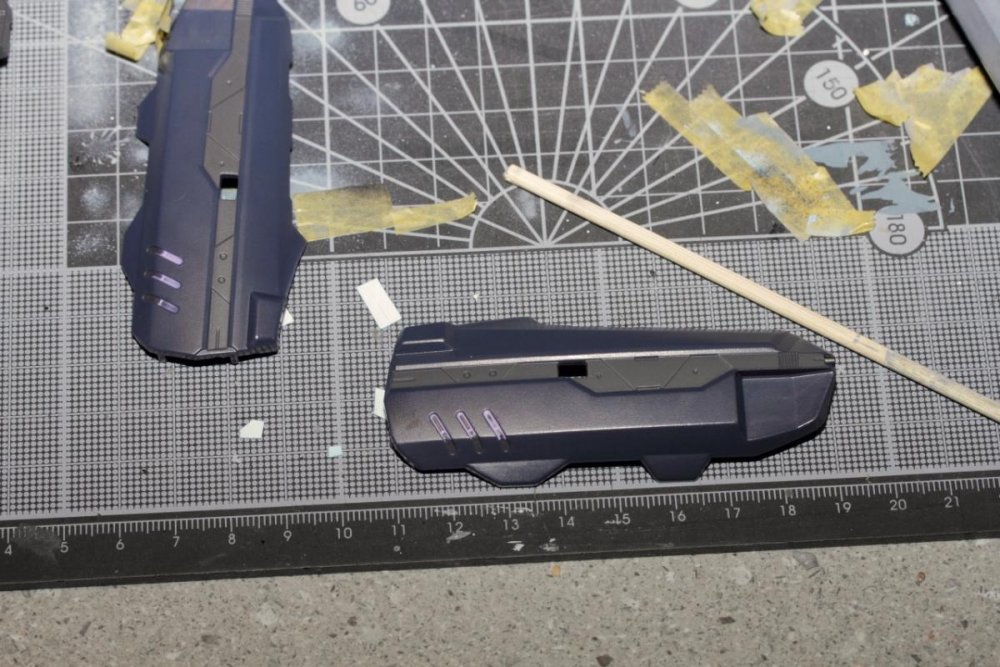
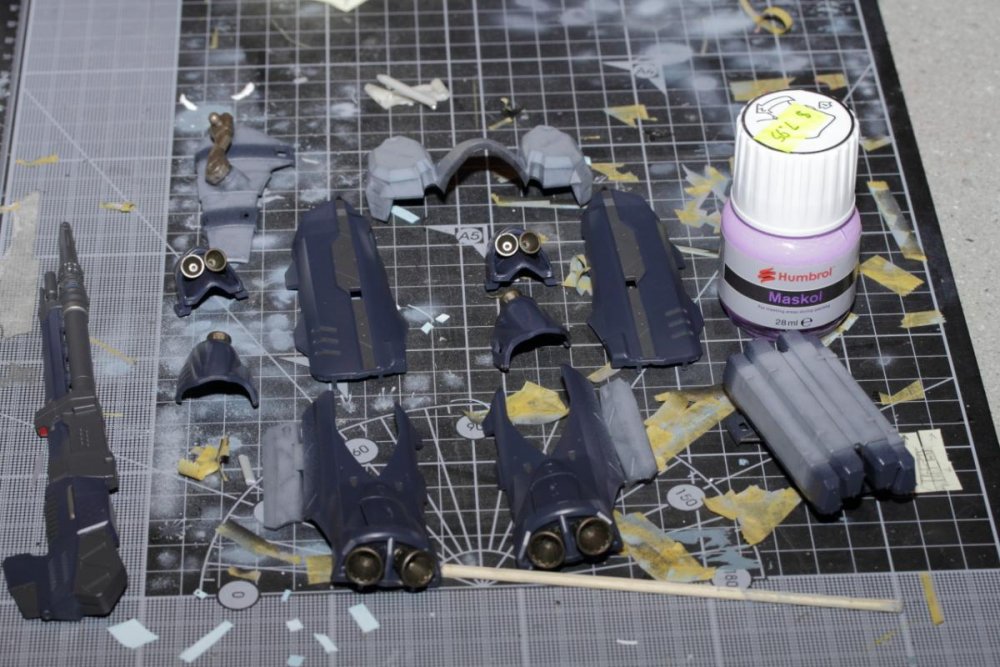
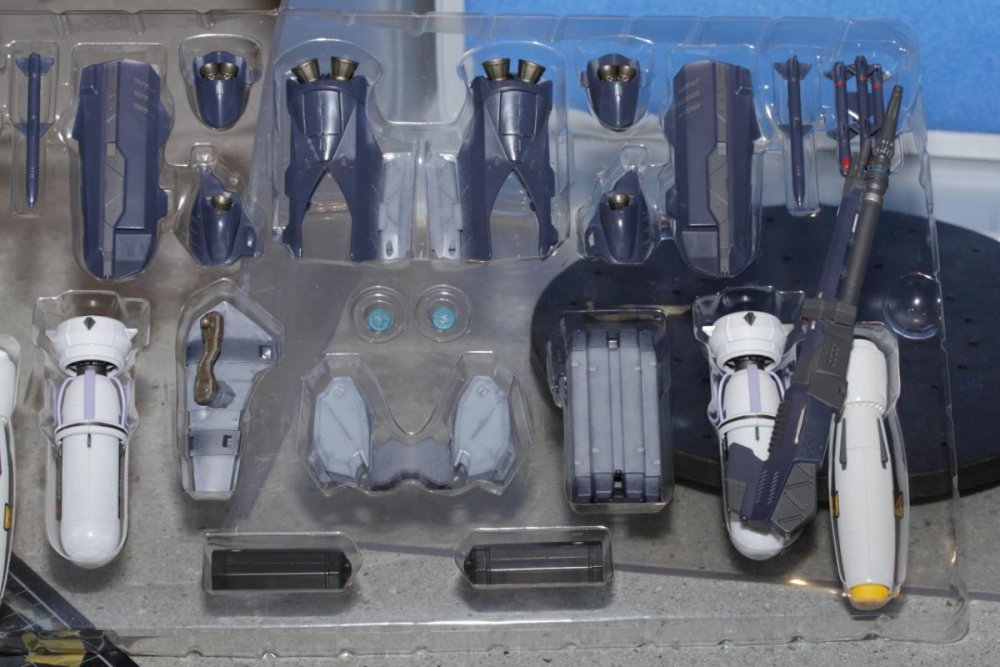
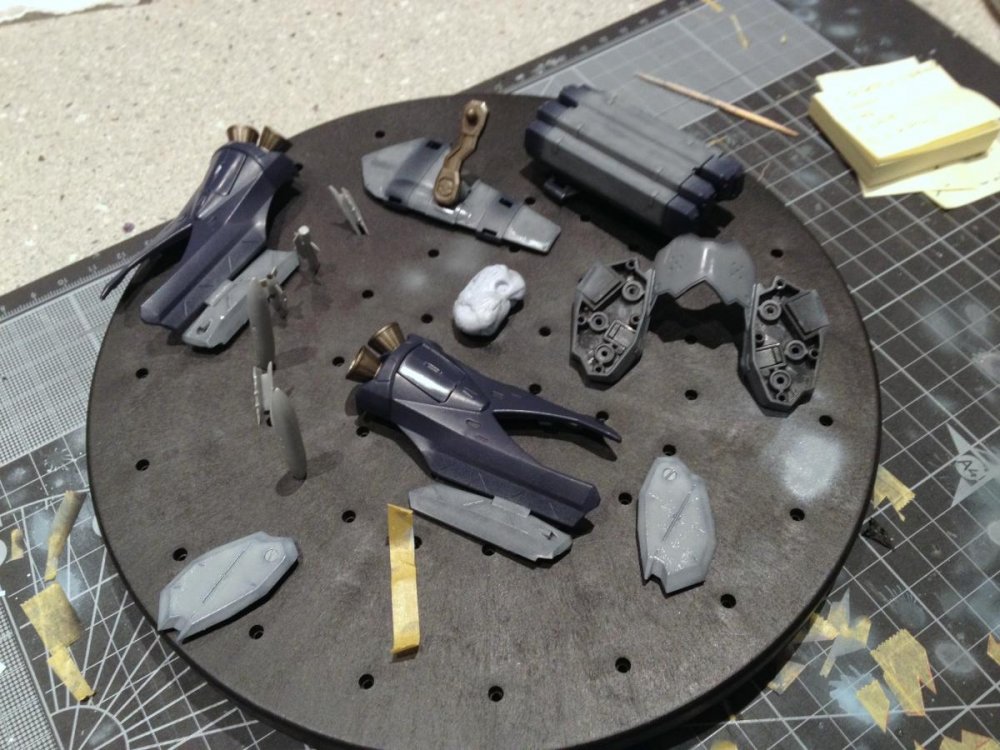
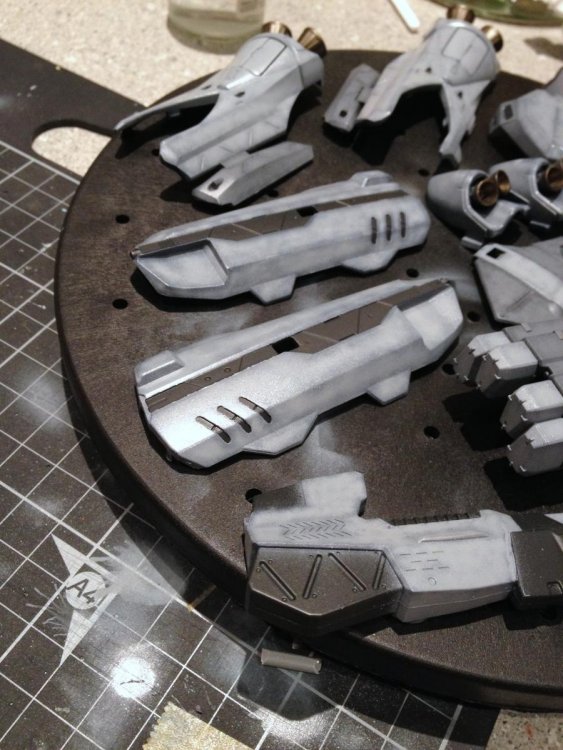
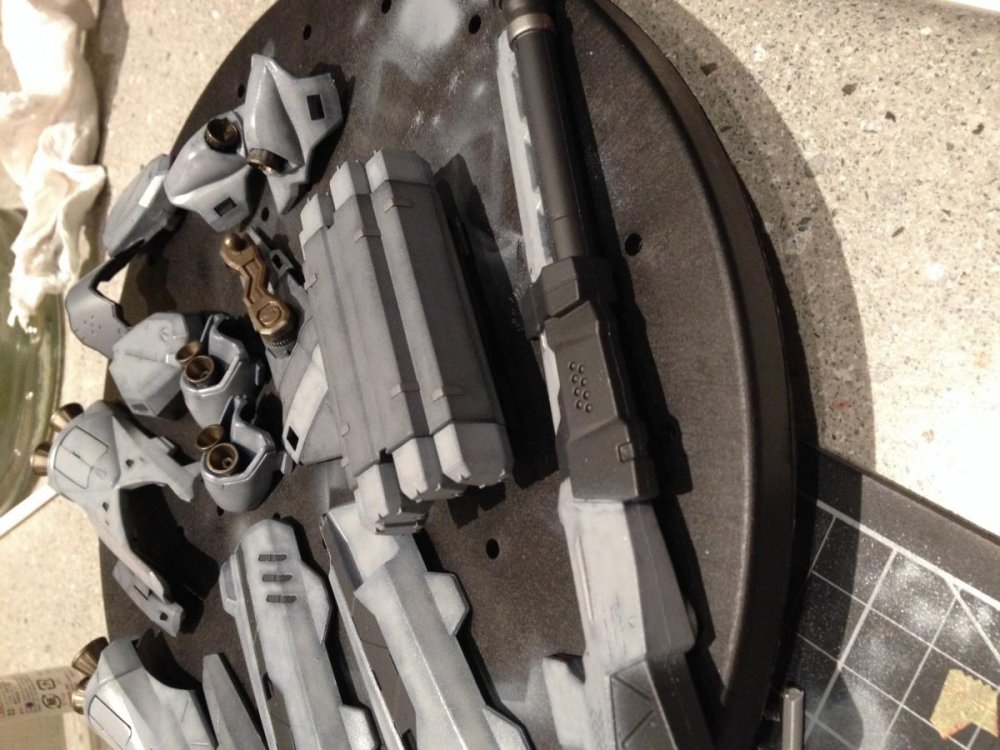
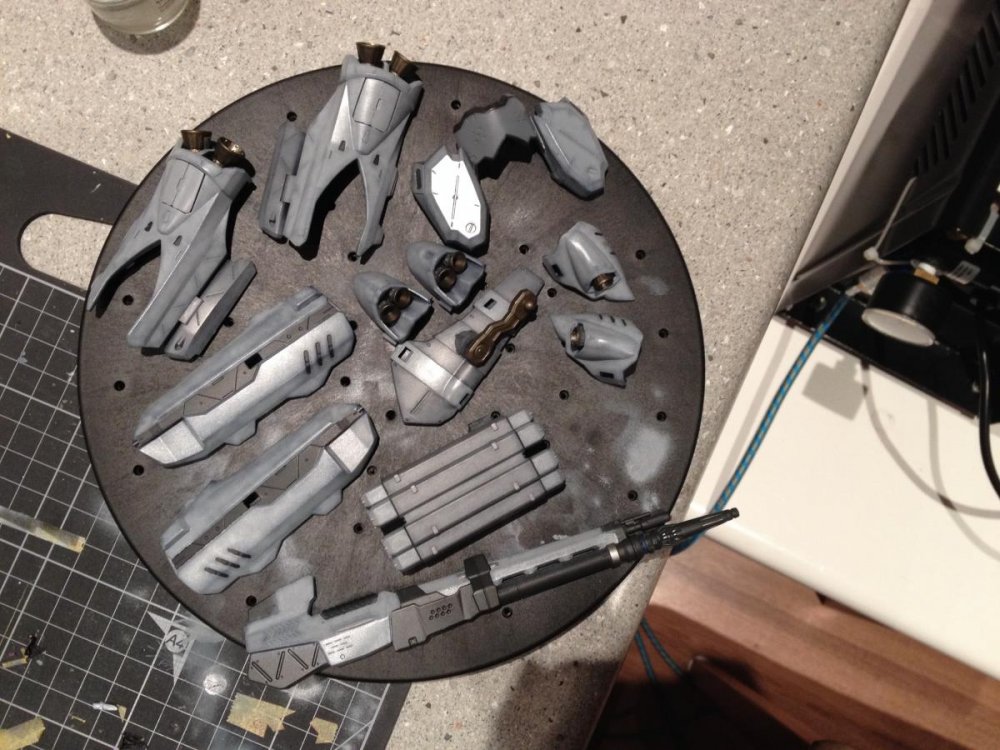
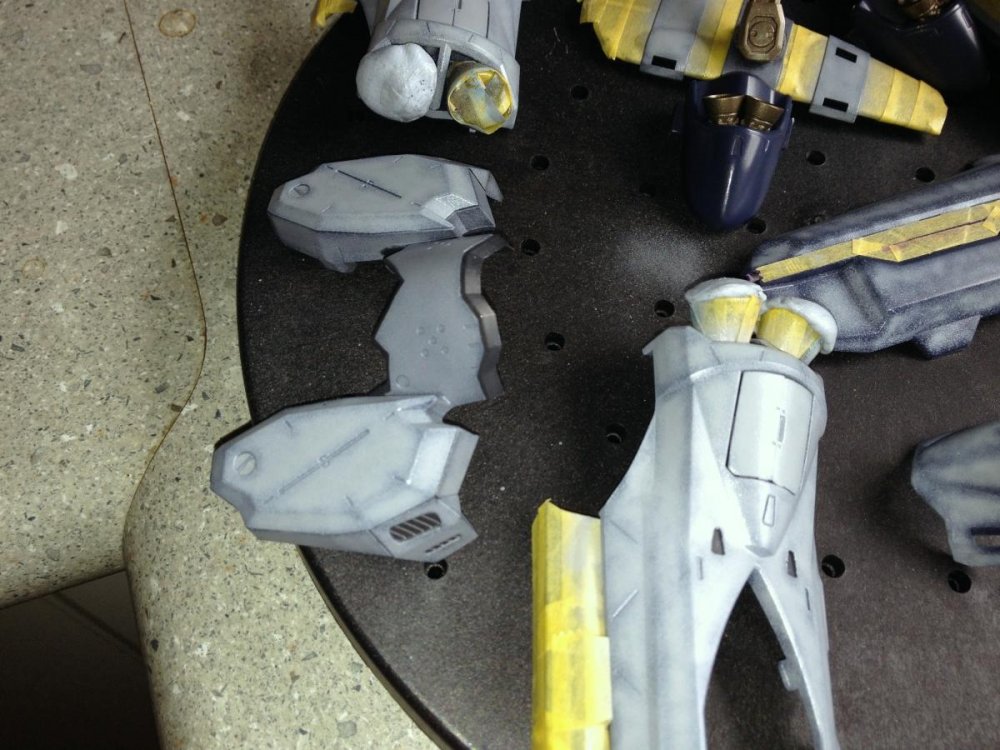
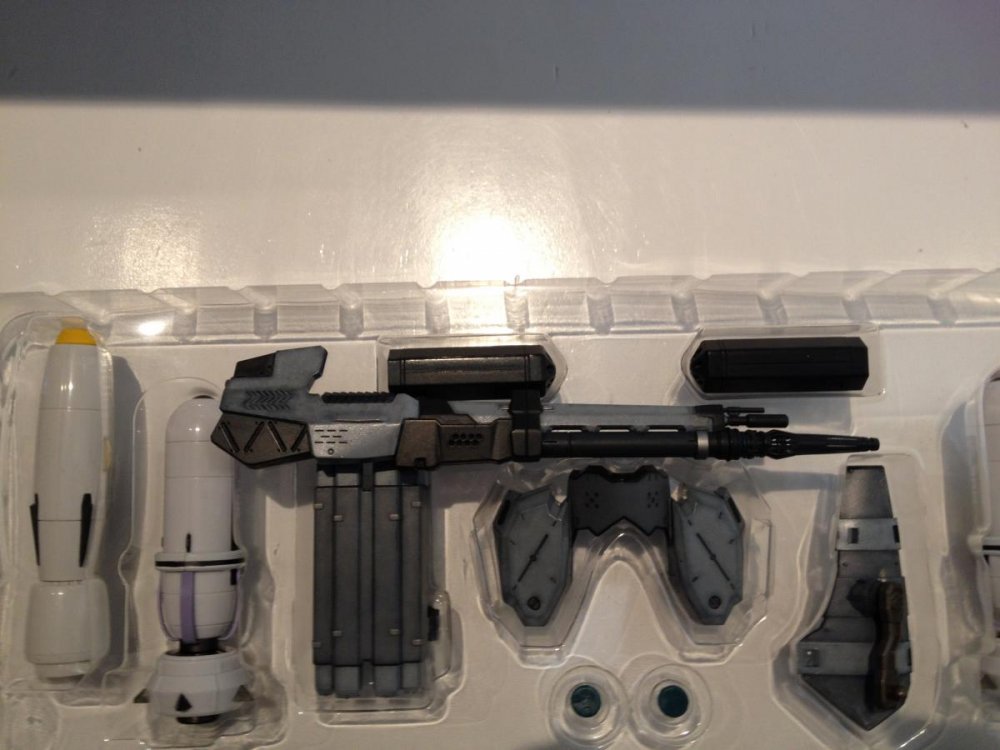
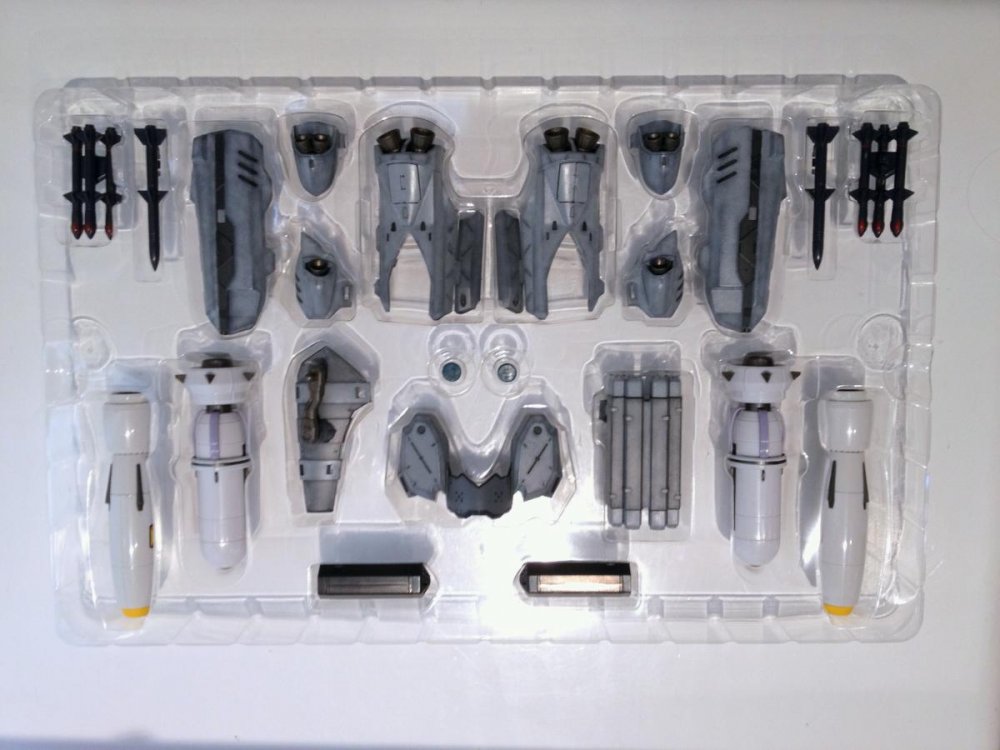
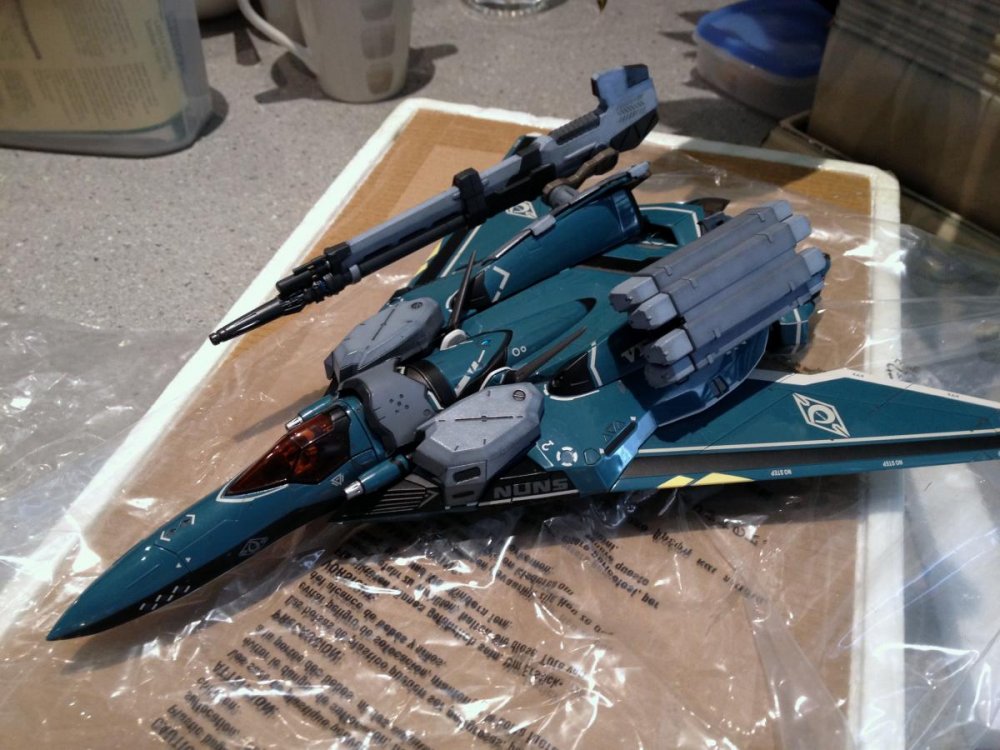
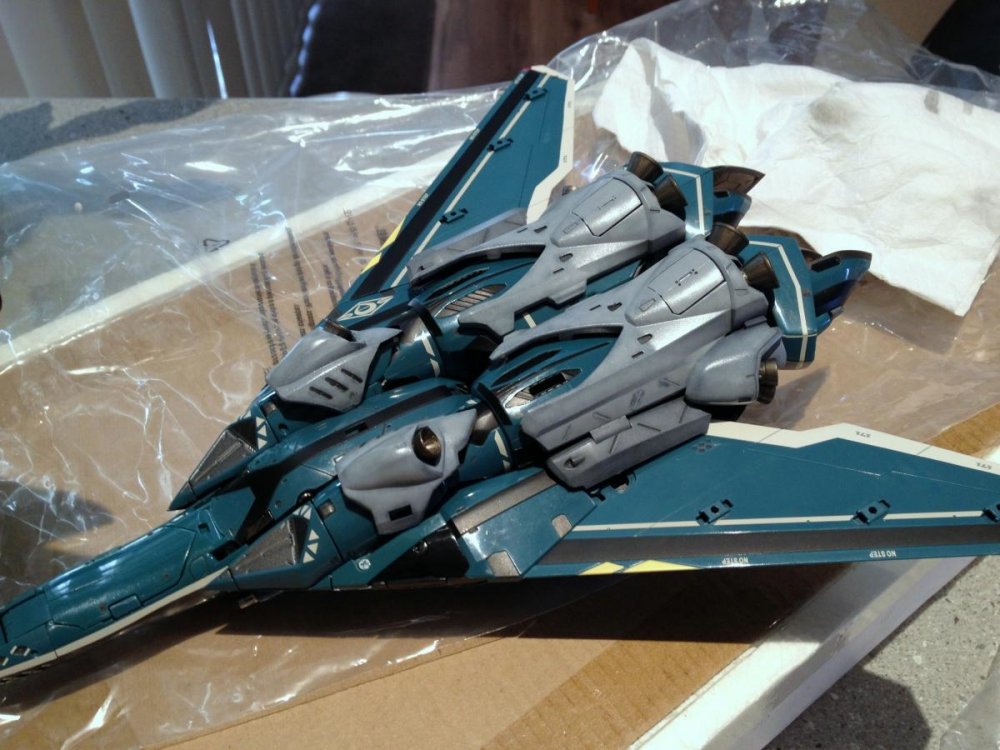
I recently bought a VF-171 (CF Version) and Amored Parts set from a member here (thanks again Kurisama!) and decided to get to work on making it “Accurate” according to the second Macross Frontier movie. The TV version never shows the Nightmare “dressed up” unless it’s the EX version. While the movie version shows the CF version all armored up, but the colours are always grey. What to do? I figured I’ve got plenty of grey paints and an airbrush, so why not paint them? Here’s how I did it. After extensive screen caps of the movie, I made an educated guess that what's seen is basically a light and a dark grey. Easy enough. For the light grey, I went with “Light Ghost Gray” or FS36375 and for the darker gray, “Gunship Gray” or FS36118. The darker grey only got used on the chest armour, the "missile box" on the forearm/vertical stabilizer, and hinge parts for the shin armor, as the rest of the parts seemed to offer enough contrast with the darker plastic already there. Figuring disassembly would be the easiest approach to painting seperate colours, I hit my first hurtle - the chest piece was the only part I had any success breaking down. Luckily the rest of the parts were not terribly tricky to mask. I painted the bottom portion dark gray, and the top part light gray, being careful to incorporate the darker plastic for a “preshade” effect in the overall paint application. This may not be movie accurate but I like the look and contrast. I'm almost certain the middle chest piece should be the same as the outer parts, but decided to keep it as is. And then “tried it on” to see what I thought. Not bad… So here's what I had, after a bit of playing around, showing some parts painted, others in their natural "Blue" colour. Moving on to the other parts, I used Humbrol Maskol for the fine vents and grills, and thinly cut strips of Tamiya masking tape for everything else. A combination of tape and blue tac was used for the rocket nozzles (and they were a pain). Paint was applied in various coats, always being careful to use heavily thinned, semi transparent layers to give me a lot of leeway in the degree of “preshade” that came through. This was a good thing, because I had a lot of trouble getting the paint to spray properly. I ended up with a lot of spatter, which seems to come from not thinning the paint enough, and it drying on the tip. I usually get the paint consistency right, about halfway through my painting process. This time was no different. With it finally all painted, I concentrated on applying a very thinned wash of lightened black acrylic paint. I managed to thin a bit too “hot” with windex on one application, and removed some of the base paint on one leg armour piece. The rest went without too much problem, as I started thinning with plain water instead. I also applied a dark grey wash to the Valk itself, to help bring out some of the panel detail. Here it is, all properly dressed up now (with the parts just sitting on the Valk, not snapped in). While I'm not completely satisfied "it's done" I do feel it looks a lot more movie like now. Maybe some dry brushing with a lighter colour on the edges of the armor would be something worth trying? Any thoughts?
- 12 replies
-
- Macross Frontier
- VF-171
-
(and 4 more)
Tagged with:

