Search the Community
Showing results for tags 'Arii'.
-
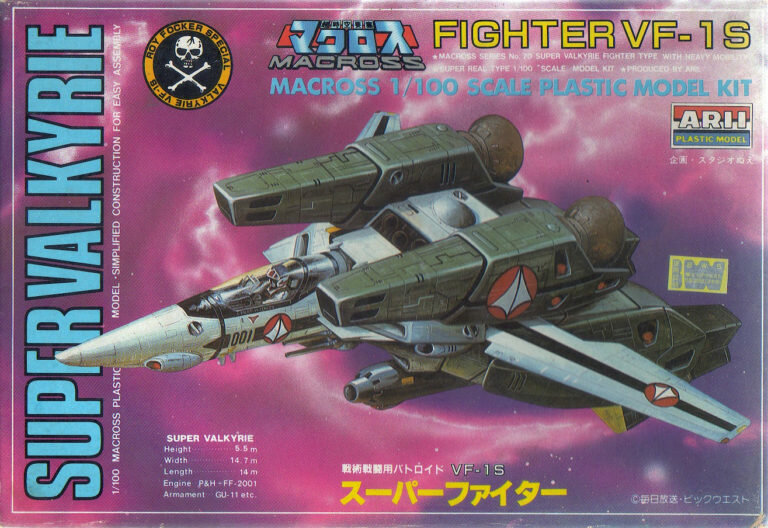
Last night I started working on this old kit. The decals have aged poorly and they maybe unusable. My plan is to use my sheet of Autobot decals and build it as Jetfire from Transformers. I don't forsee spending a ton of time on this, hoping that it might be a quick build. I'll post pics later as I go along. I never noticed this until last night, but while the box art looks nice, the artist made a big mistake. Look at the central thruster pod. It's facing the wrong direction! That's supposed to be an intake, but the thruster nozzles are pointed forwards instead of being in back. Oops!
- 28 replies
-
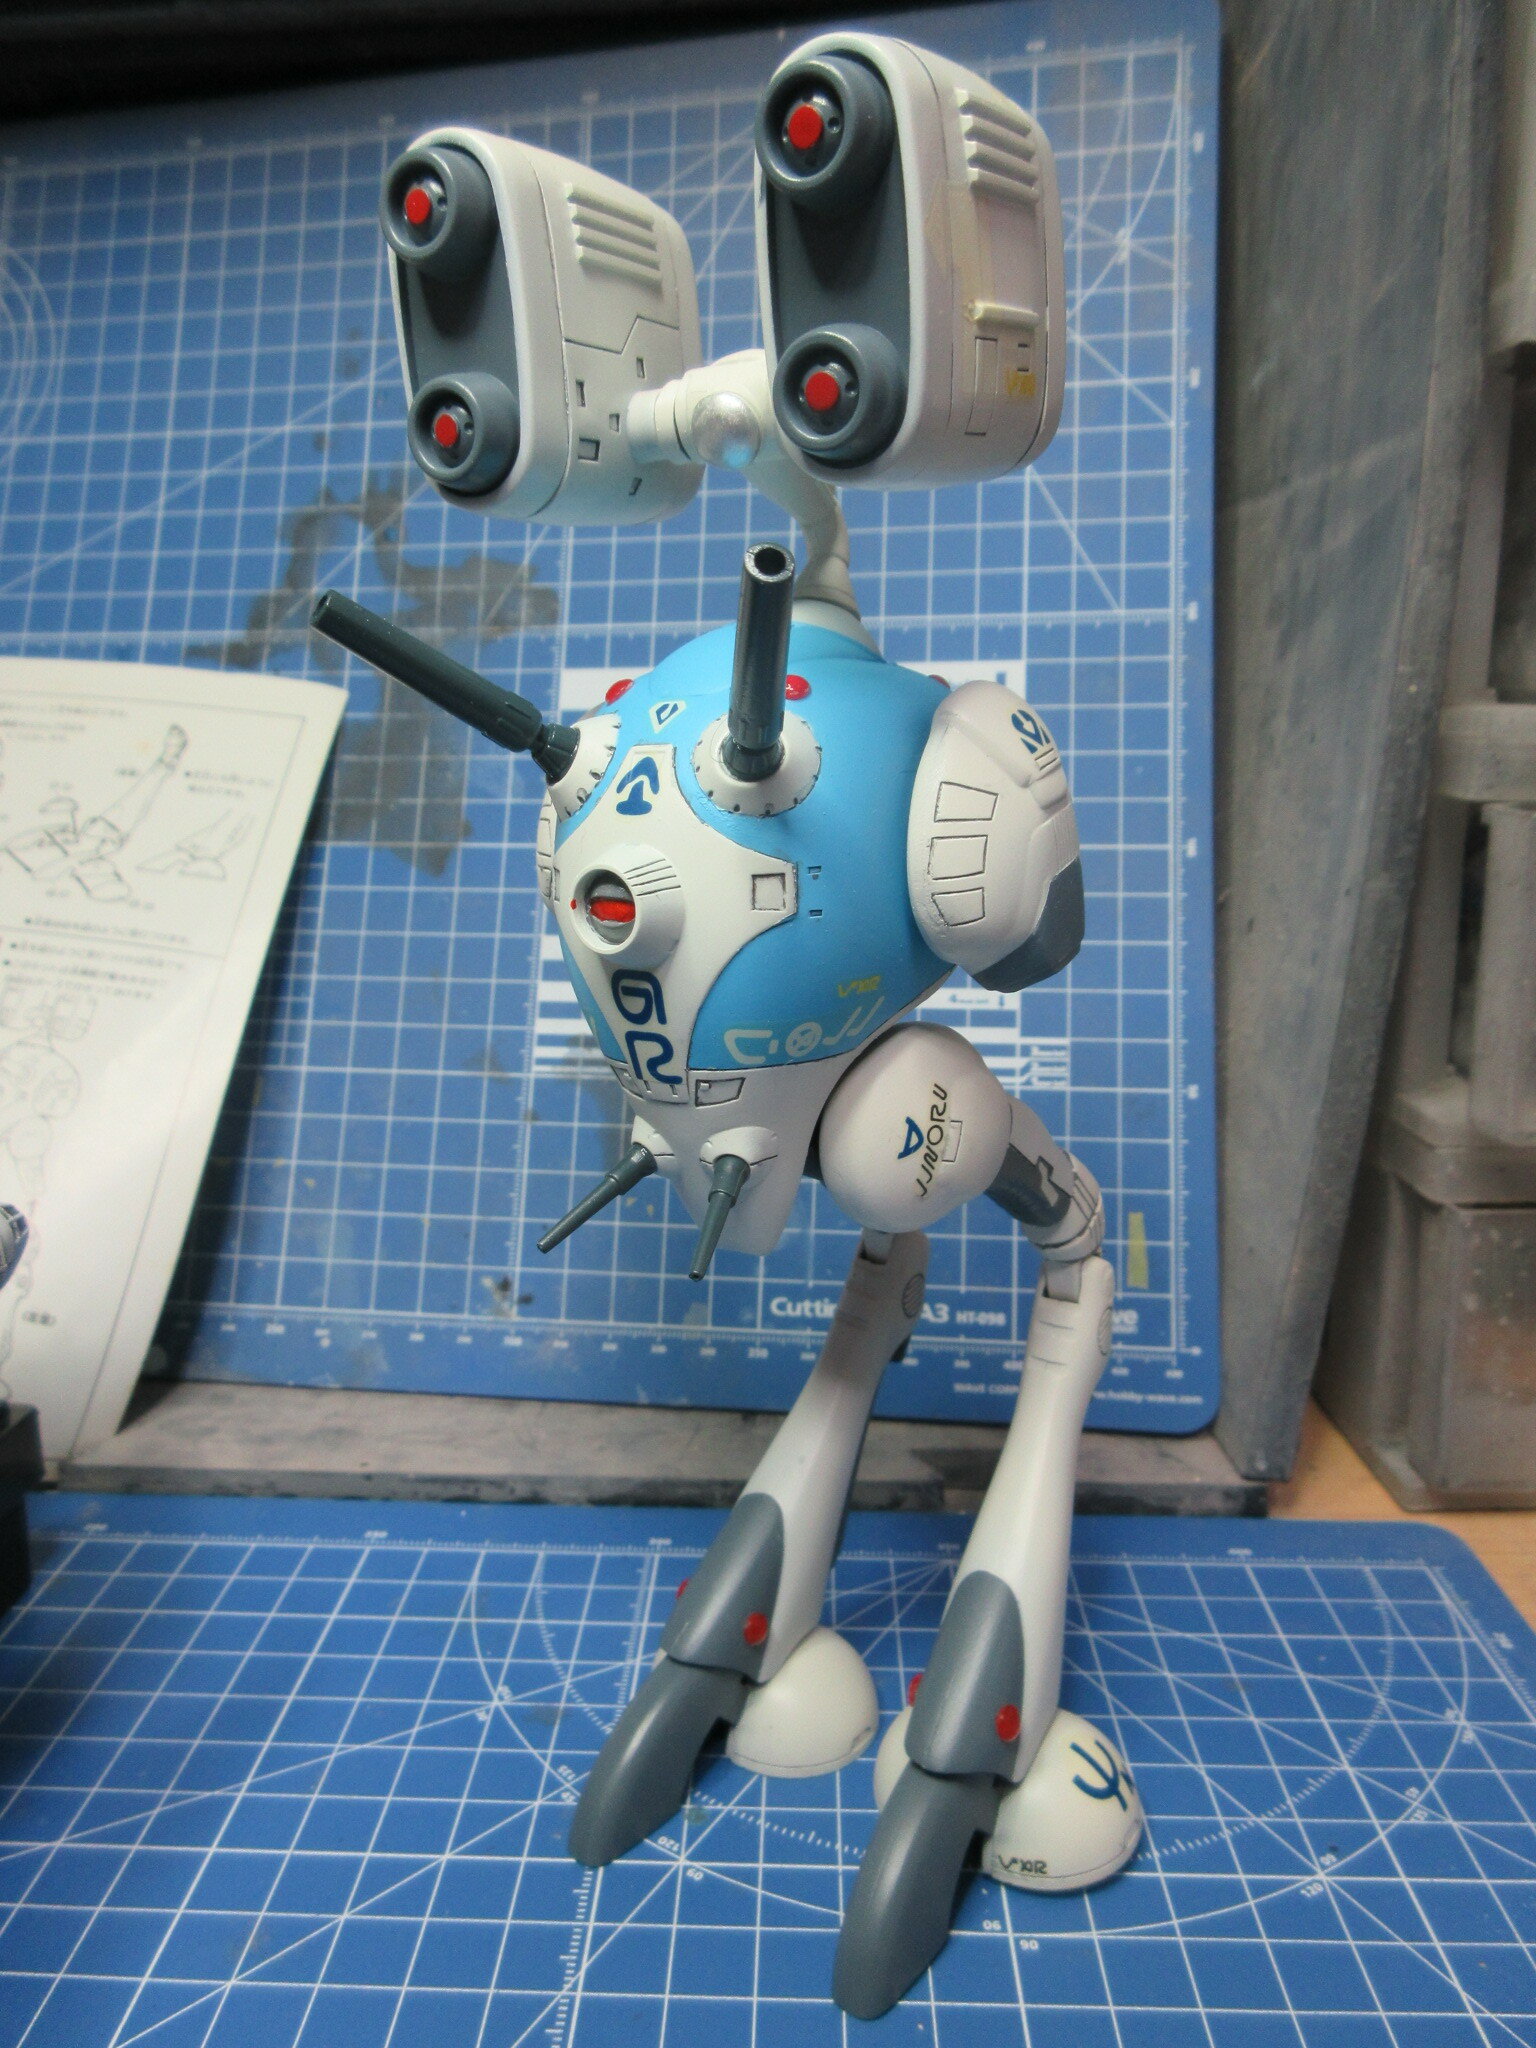
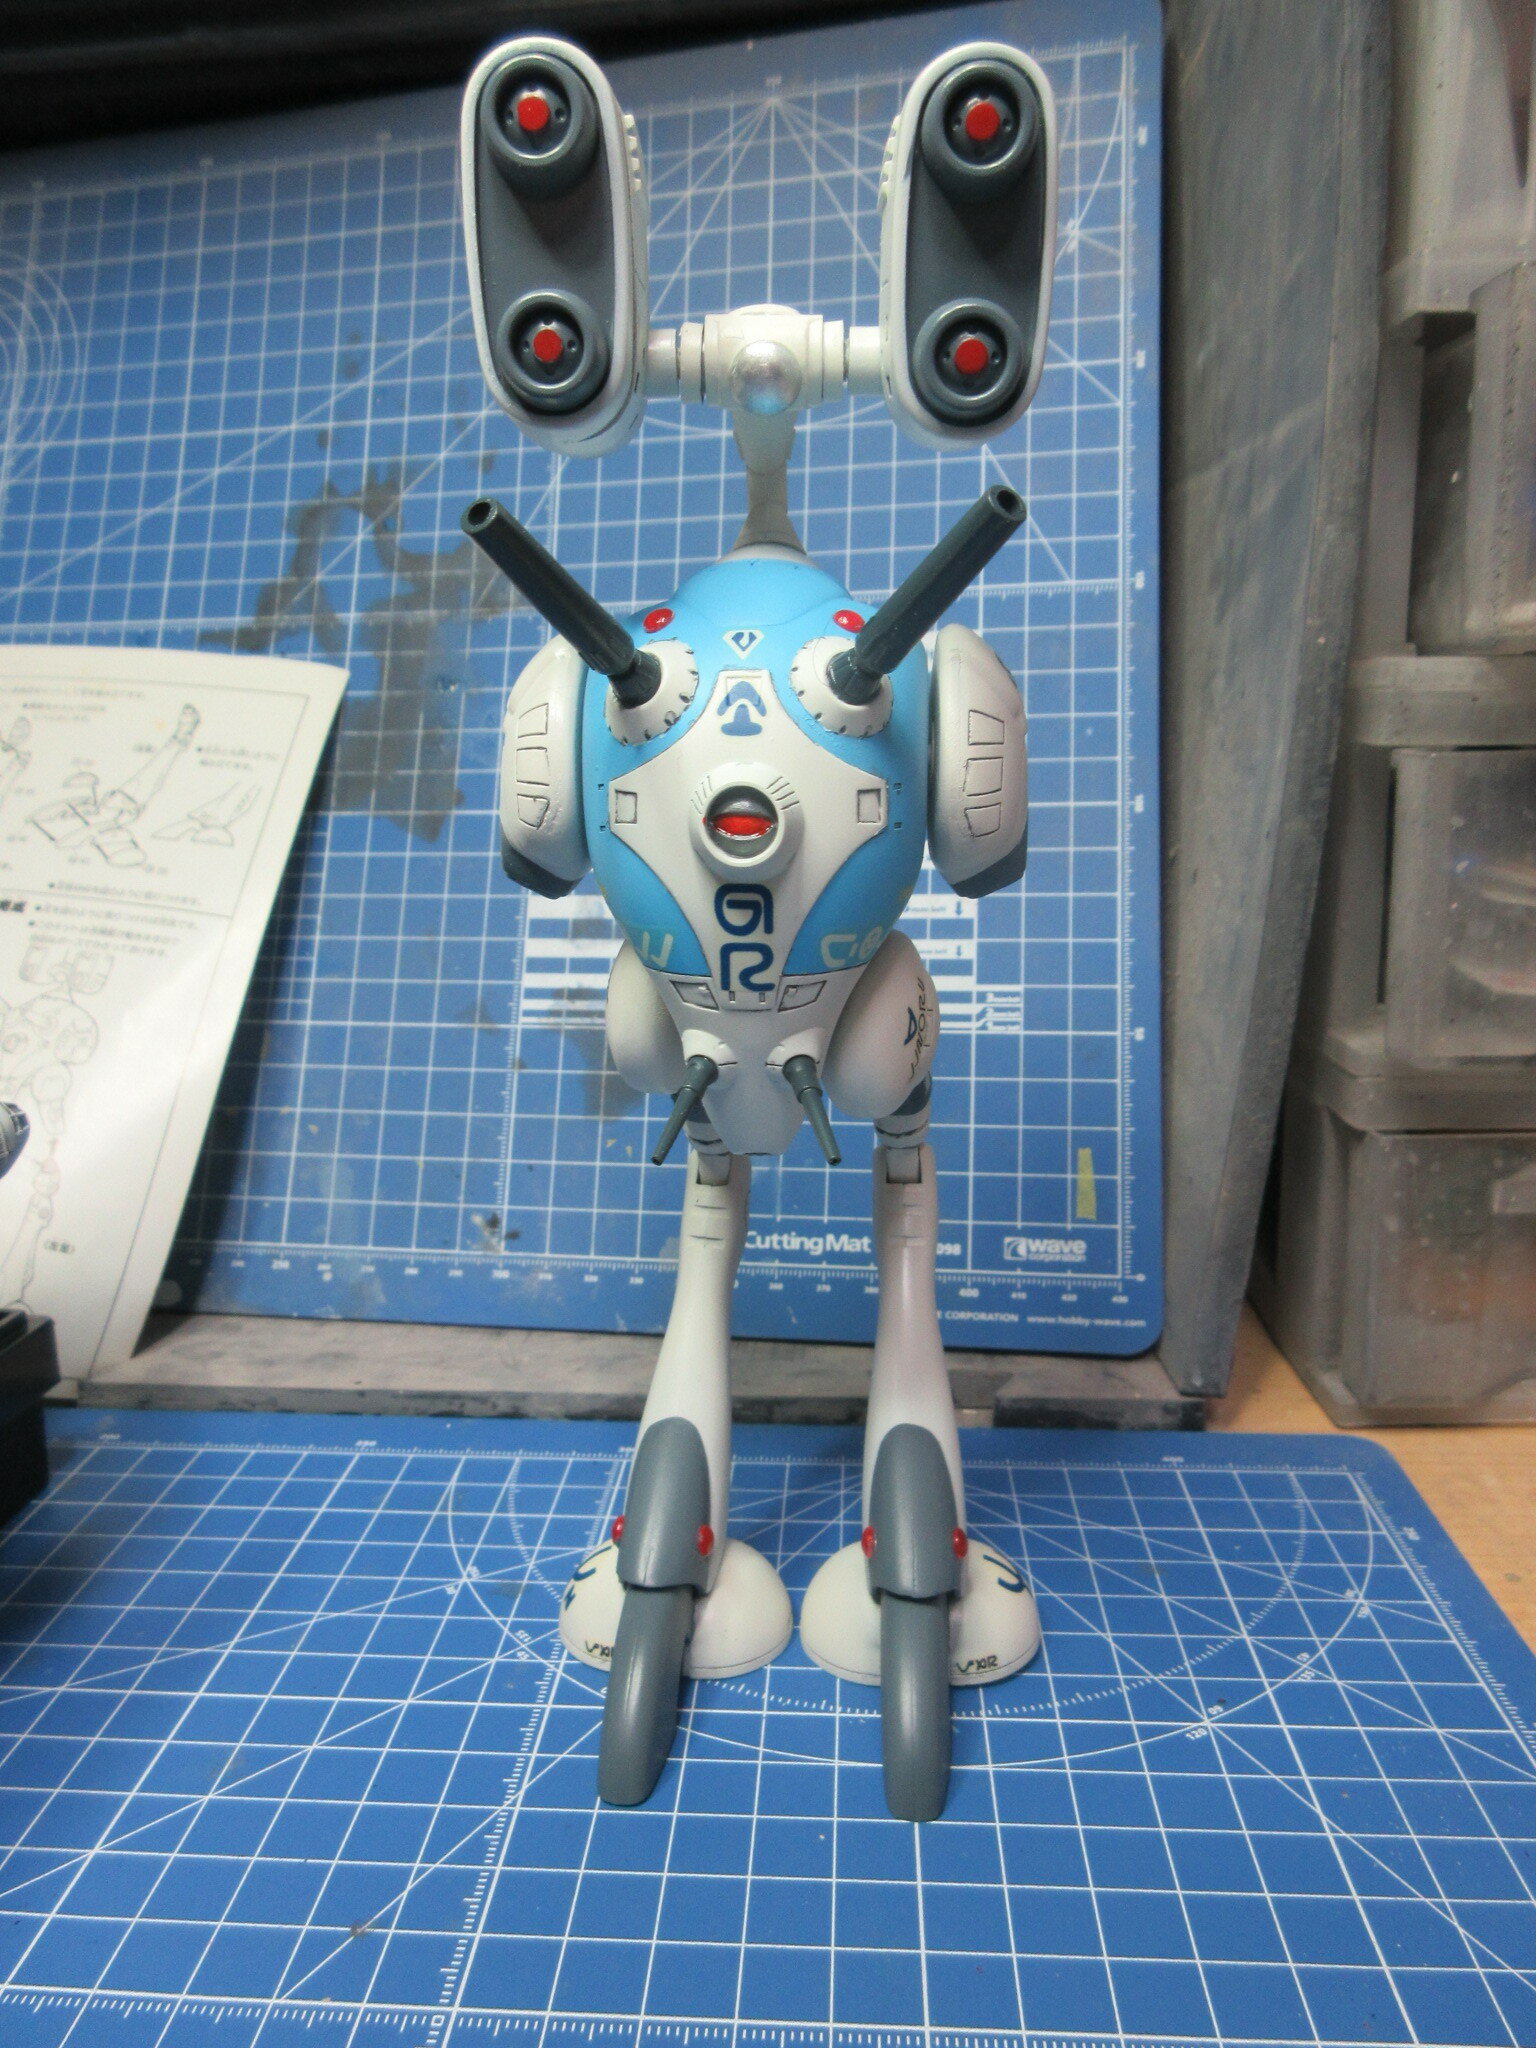
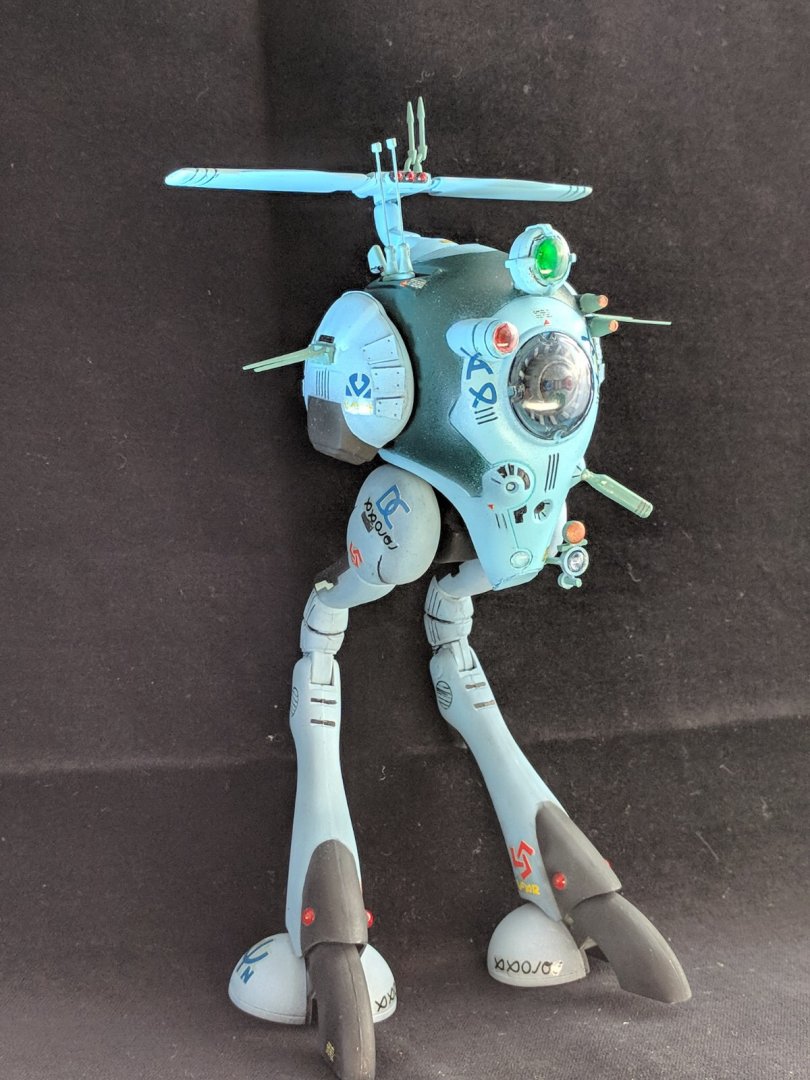
Hi, I'm new here. I've occasionally lurked for many years, but never created an account. I see a few familiar users from the Starship Modeler Forum (hi Thom and VF-1 Grunt), where I go by TurkeyVolumeGuessingMan. Anyhow, I'll share this build here. This is the old 1:100 Heavy Missile Regult battle pod by Arii. Proportions for the Regult itself are great, but the missile pods are a bit top-heavy. It makes the model look a bit awkward. I have a Toynami sofubi toy which I assume is 1:72 scale and with them side-by-side, the Arii's missile pods are nearly as tall. I used Wave's H-Eyes parts for lenses and Kotobukiya's MSG for the thrusters. I used Mr. Color 323 Light Blue and 311 Gray for the white parts. The gray was a mixture of 32 Dark Gray and 72 Intermediate Blue. the decals were still usable after all these years. They were a bit yellowed, but I taped them to my window for several days to bleach them. They went on fairly well. I also used my pinvise to drill out the cannons because out of the box, they had protruding parts that look more like bottle nipples than gun barrels. I believe I used a 2.5mm drill bit for the larger cannons. There is no ball socket articulation with the cannons. They must be glued into place. Comparing Macross models between Arii and Imai, the Imai kits had better overall proportions, but Arii implemented polycaps and has better molded surface detail and decals. Case in point, the red lenses on the top of the head are represented in Arii's molding, but these details are merely decals for Imai's 1:72 Regult. Arii has raised detail for the Regult's foot lamps, but they protrude too far. I cut them off and affixed those Wave lenses instead. I have a pre-order for the 1:72 Hasegawa version of this kit, which will be released next week.
-
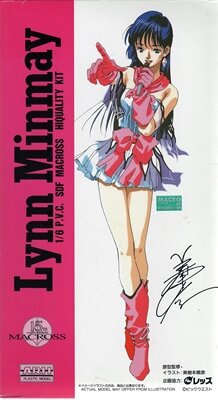
A little-known aspect of the legacy Macross models from the '80s were the figure kits. Imai made several plastic kits of the figures, but they were not very well-detailed. Tsukuda made a few figure models from that heavy plastic they used (perhaps it was ABS?). Arii made a few sofubi (soft vinyl) kits. Misa in a swimsuit, Hikaru in his flight suit, and at least three Minmay figures; schoolgirl, concert dress (TV), and this DYRL concert dress from the end of the movie. She comes in her iconic pose. At first it seems like a cool kit, but actually it is lacking. First of all, her eyes are too wide and big, resembling the TV version Minmay rather than the older, more mature Minmay from the movie. She doesn't come with earrings, her skirt is too short, and they didn't sculpt any panties. Fortunately, my good friend in America used to work as a sculptor for McFarlane toys. He gave her better eyes, he made earrings to use with fiber optics to help give them their anti-gravity attached look, and he sculpted some panties on her. I painted Minmay with V-Color vinyl paints, which are specifically made for such sofubi kits. I also went over her outfit with glow-in-the-dark, fluorescent Blue Steel Arpeggio lacquer paints by Gaia Notes. Minmay's concert dresses glow in the movies, so I wanted to capture that with this figure. I painted her eyes with Tamiya and Mr. Hobby acrylics. For these photos, I've used blacklights to make her dress glow. You can see a photoset of this build here: https://stevethefishdotnet.tumblr.com/search/minmay arii And here is the final reveal on YouTube: I do not consider this done yet. I have trusses by Plum I have constructed. My plan is to wire it up with concert lighting and have UV LEDs shining on her dress to light her up.
-
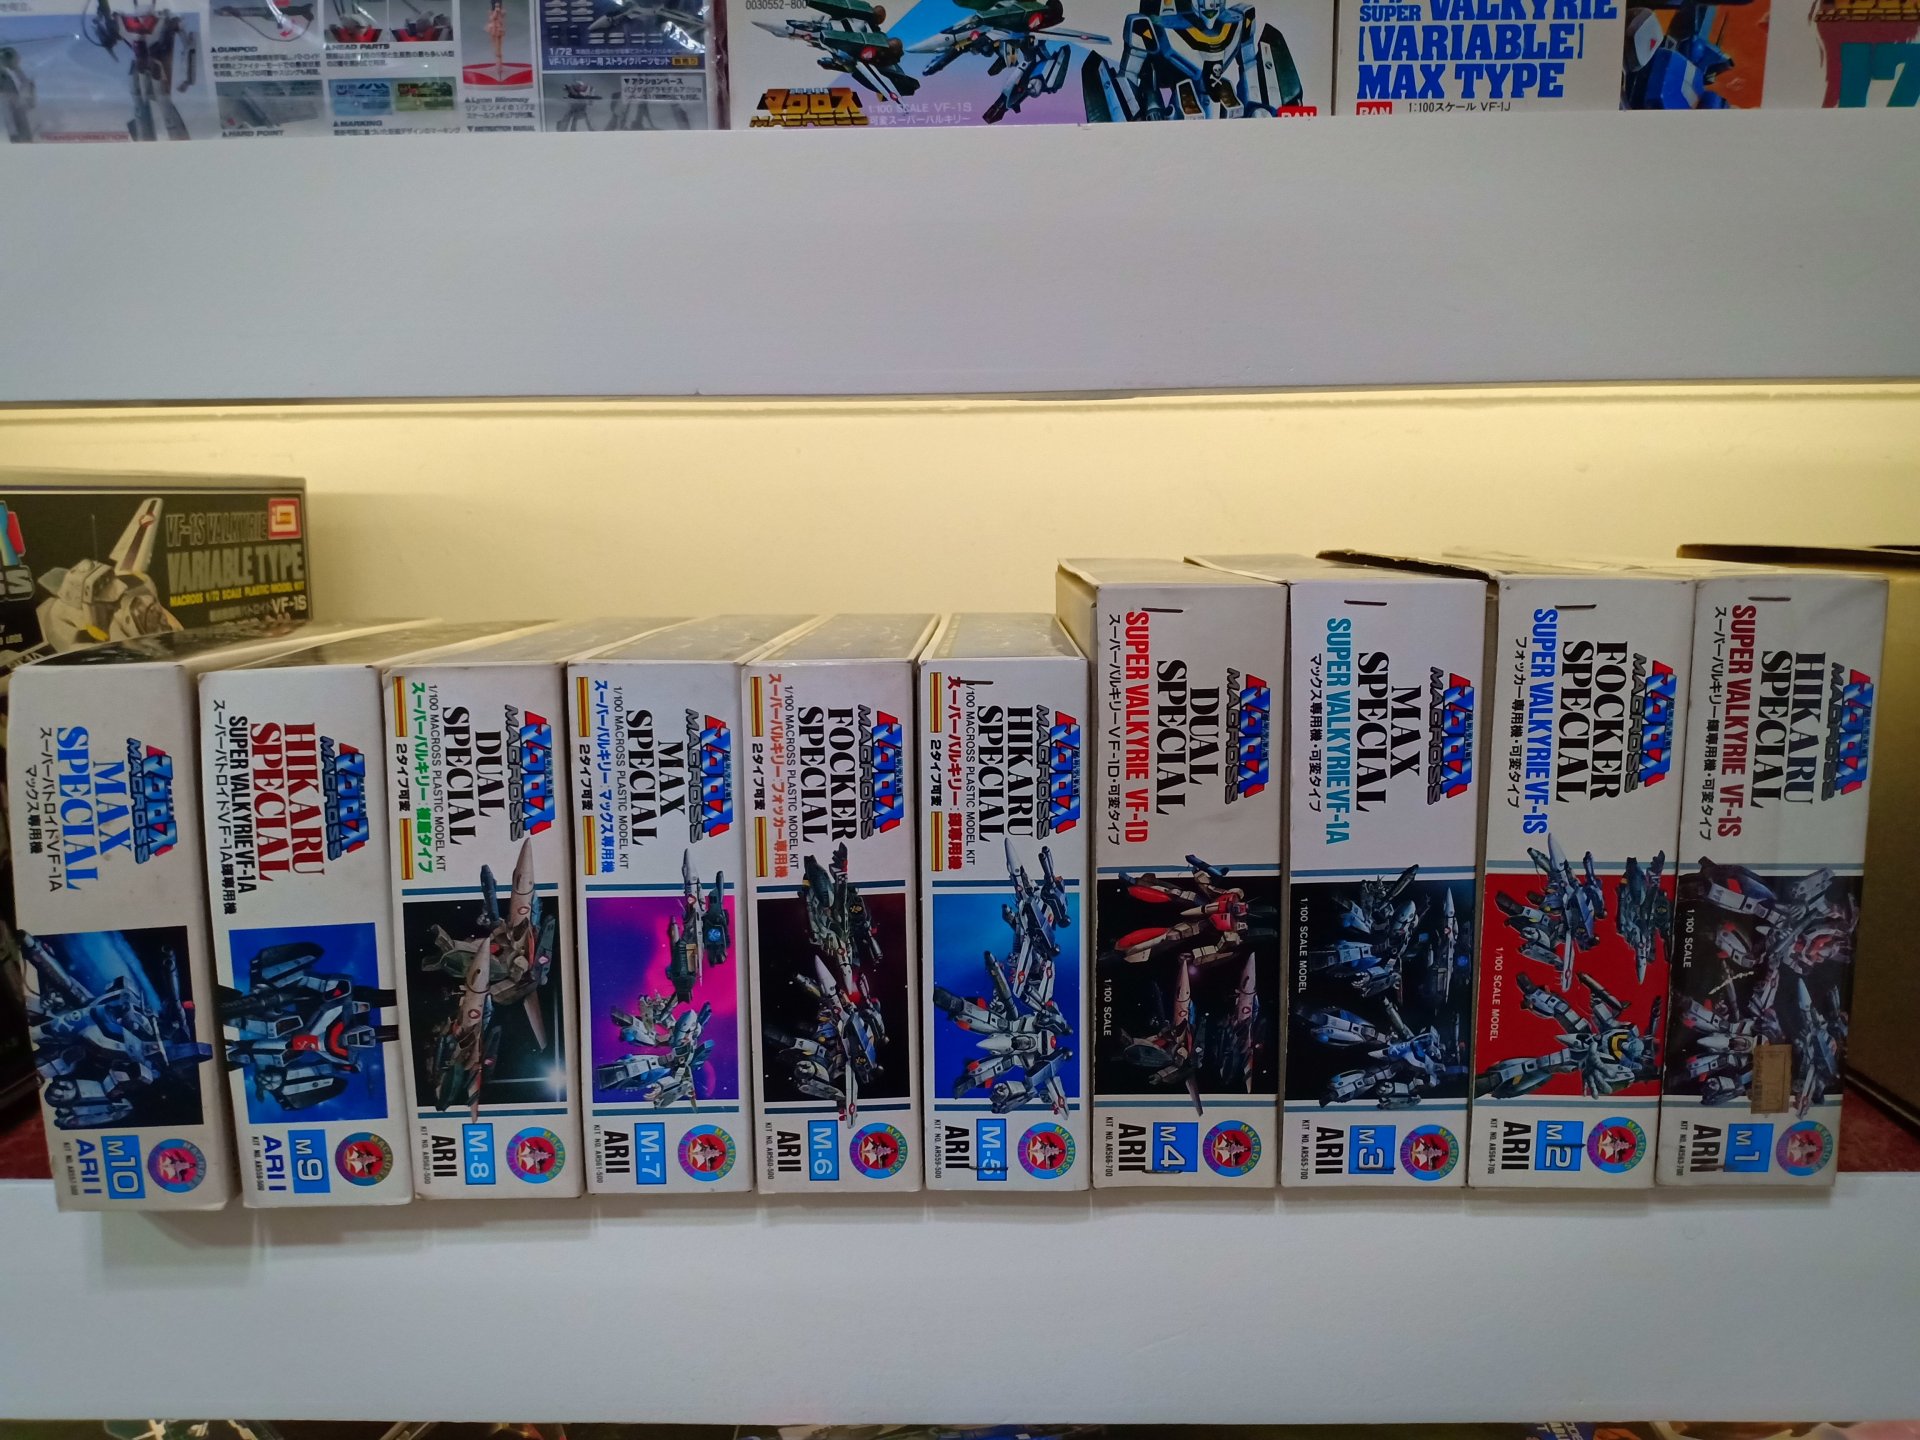
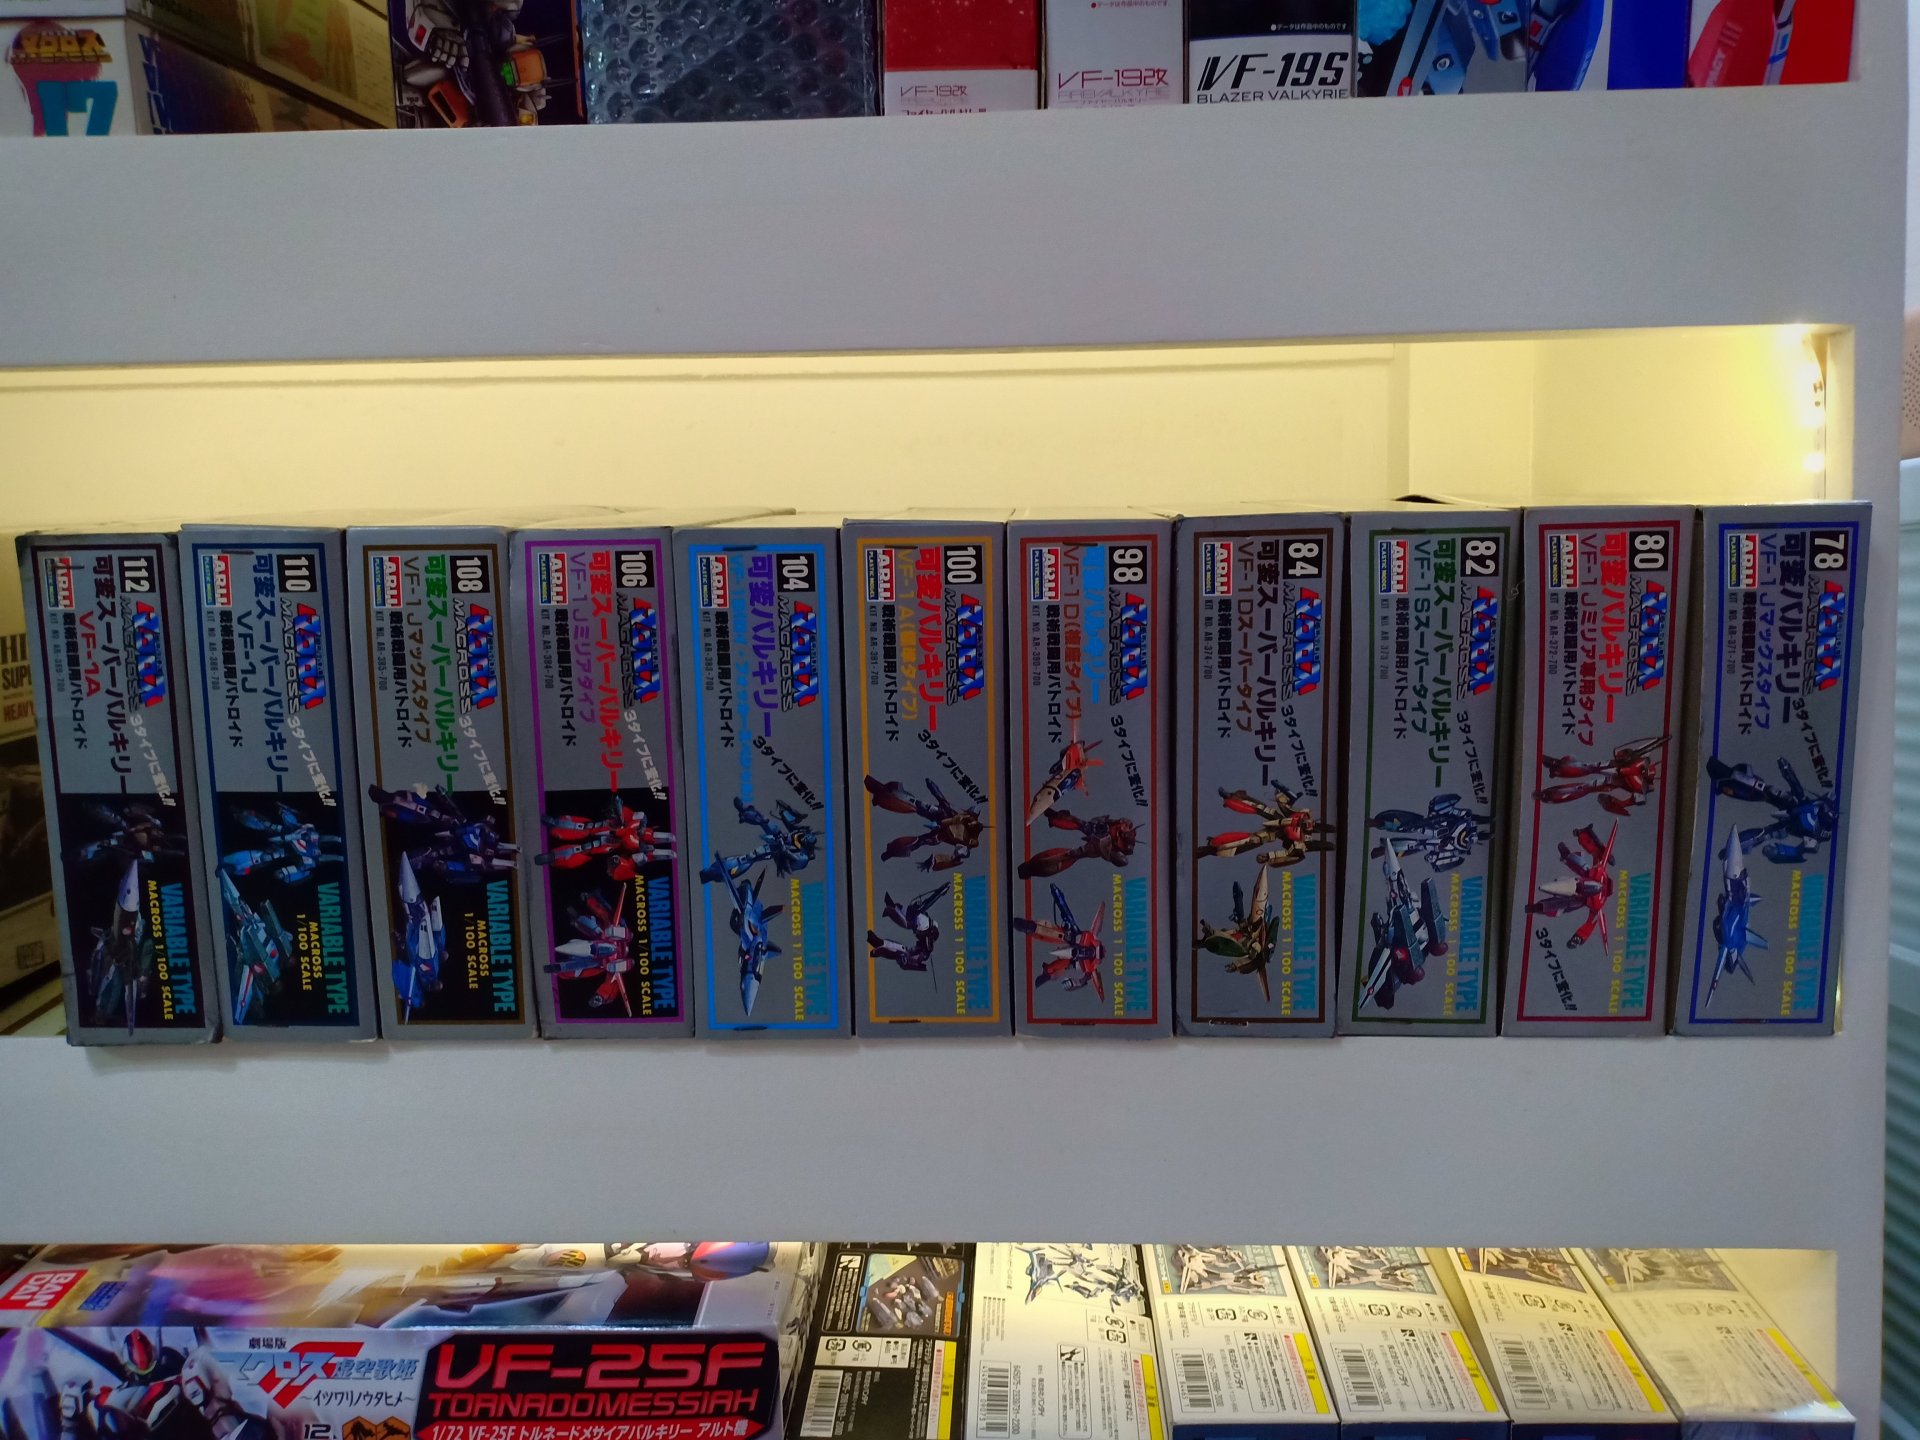
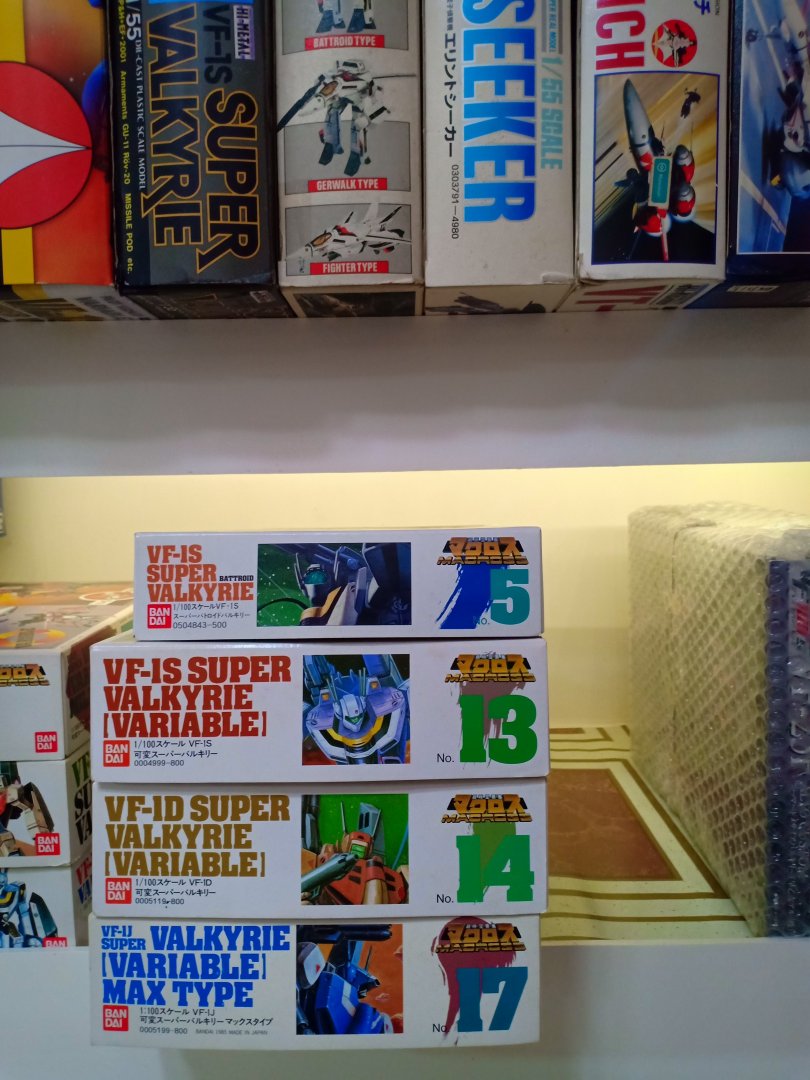
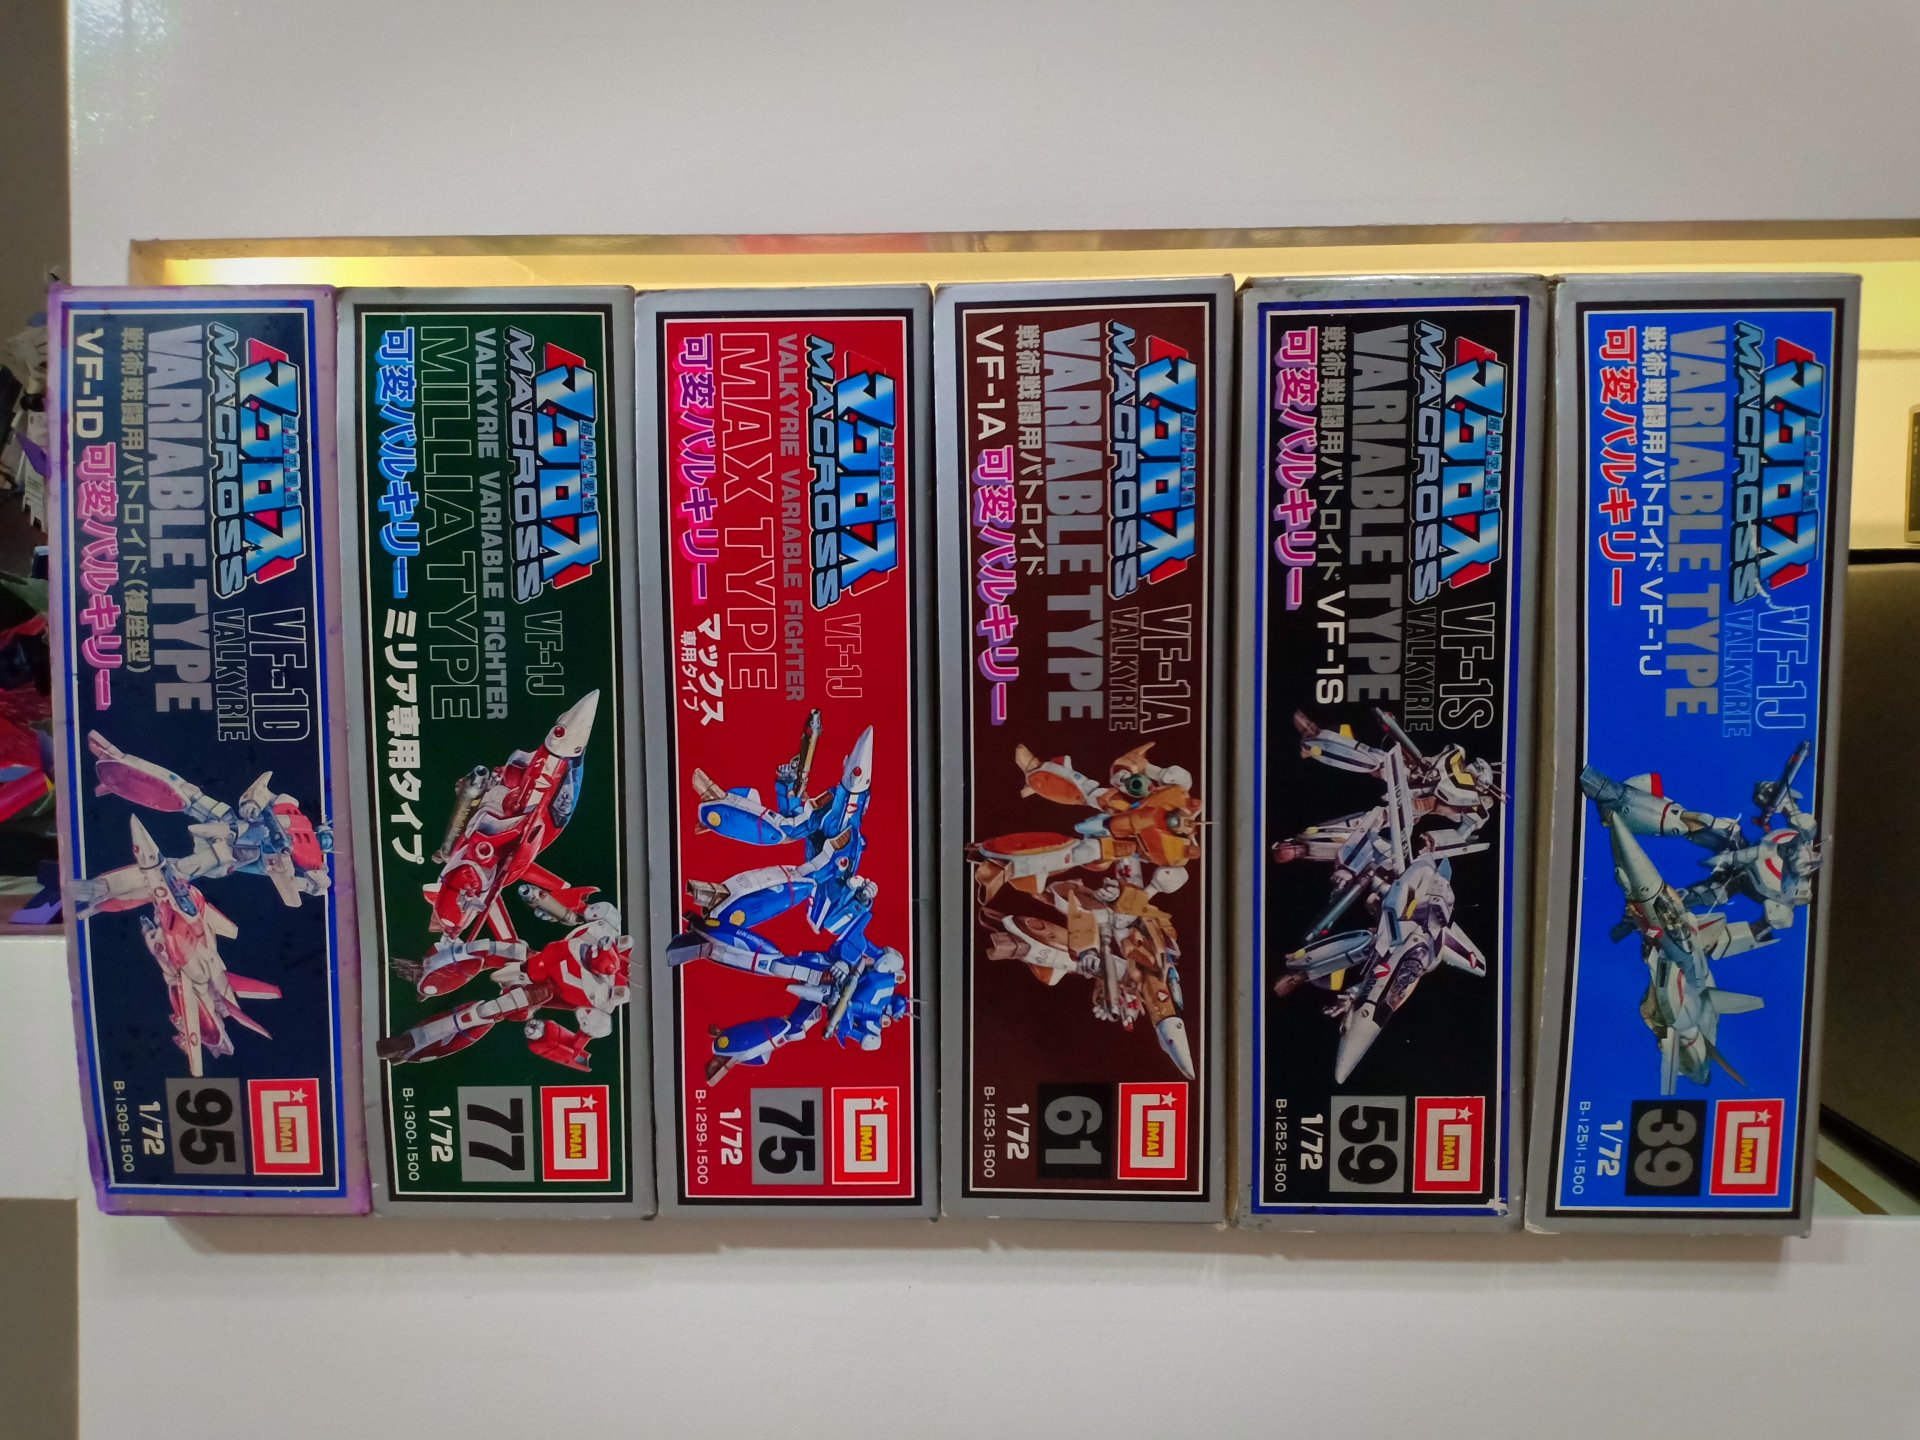
Happy Holidays: I've been working on creating a list of every single Macross kit in all scales (1/144, 1/100, 1/72, 1/48, etc) and materials (plastic, resin, vinyl, etc). The last (2) years were spent compiling links to every website/thread containing information/pictures about Macross kits. Anyone interested in assisting, please let me know. The ultimate goal will be to update the MW Model Section. http://www.macrossworld.com/mwf/topic/10945-macross-172-scale-complete-list/ * If you have a list of your Macross model collection please send it to me via MW messenger to see if there's anything missing. (Shawn, Chad, Carl, etc.) * If you own more than (10) kits or have any rare ones but no list, please consider to take a picture and send it me or create a list yourself. * If you have any background information about the origins of rare manufactures (Experten, I.H.P., Liquid Stone, D-Stance, etc.) please contact me or post in the thread. First off, I need feedback on the numbering system for the following kits. If you own any of these kits that have numbers on the side, please help me fill in the blanks. These pictures are from my personal collection. (Please be specific what you're referring to, or pictures will be awesome.) 1.) Arii 1/100 HEWAT Model Collection Question: Does anything come after #10, or other numbered Arii collections you know of? 2.) Arii 1/100 Silver Box Model Collection (I'm only missing #102 VF-1J Hikaru if anyone can help.) Question: Does anything come before #78, after #112, or between #84 and #98? 3.) Bandai 1/100 Model Collection The VF-1S, VF-1D, and VF-1J Max each have two different box art available. (Picture forthcoming) Question: How many releases were there? (Original, 15th Anniversary, and 30th Anniversary) Question: Which release had numbers on the side? (Original most likely) Question: What's the missing numbers? 4.) Imai 1/72 Model Collection Question: What's the missing numbers? (Very strange numbering system, they jump around a lot..before, after and in between unknown.) 5.) Hasegawa 1/72 and 1/48 Model Collection Question: They use a numbering system, anyone have a large collection that could provide a picture with them in order? 6.) Bandai 1/72 Model Collection Question: Did the original variable kits use a numbering system for the 1st release like the Bandai 1/100 1st release did? Question: How many releases were there? (Original, 15th Anniversary, and 30th Anniversary) Will update as we go, Christopher
- 5 replies
-
- 2
-

-
- studio halfeye
- tect
- (and 12 more)
-
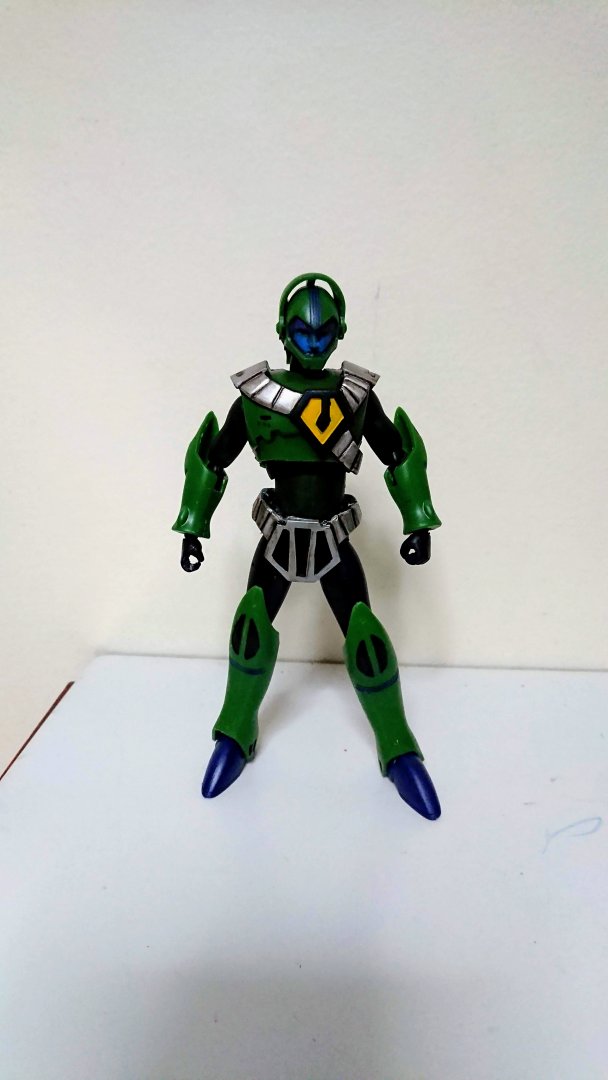
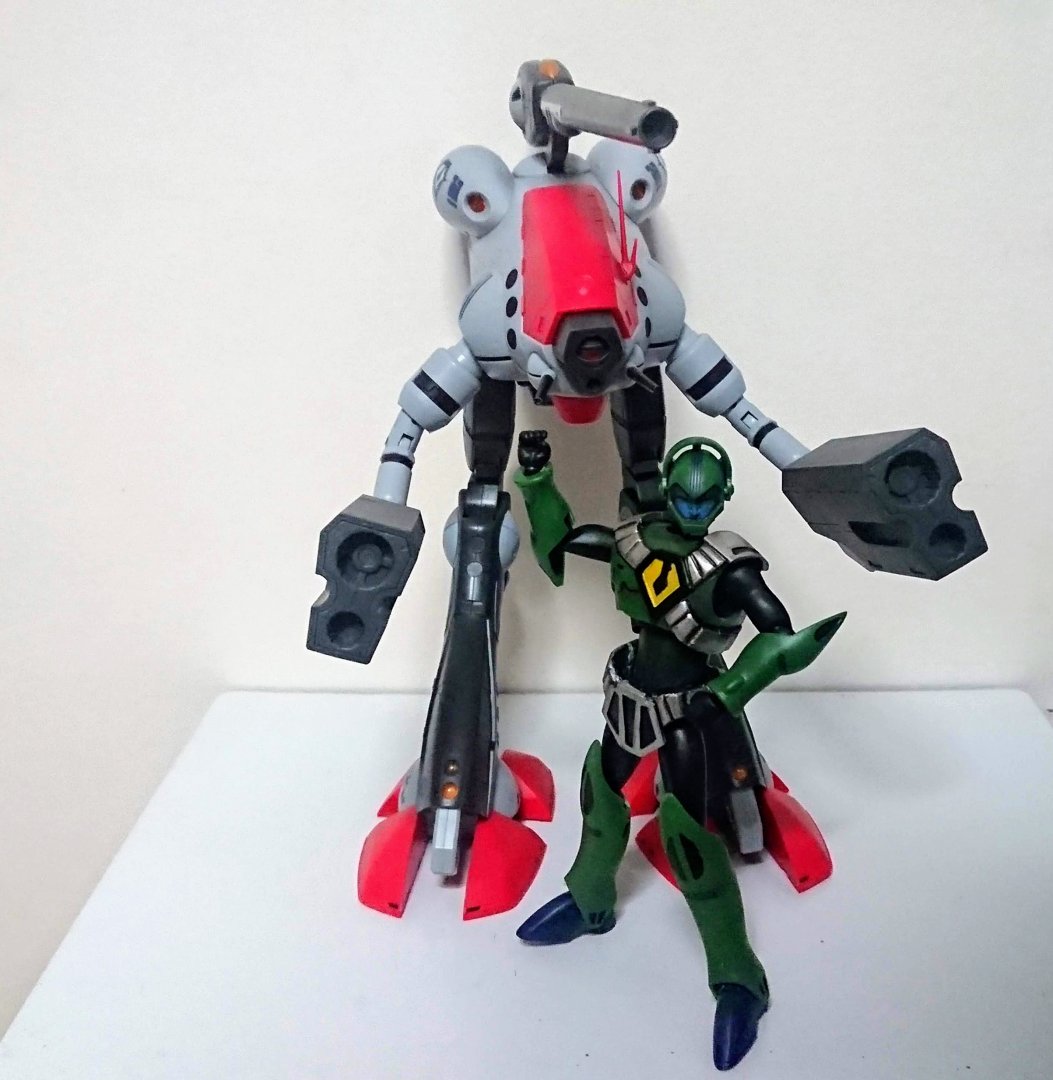
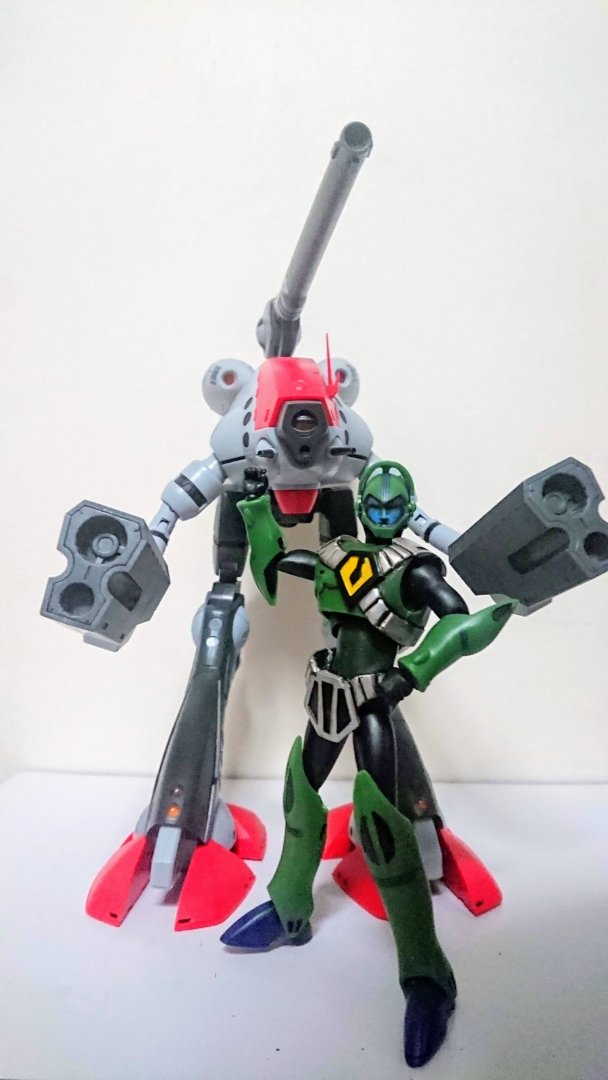
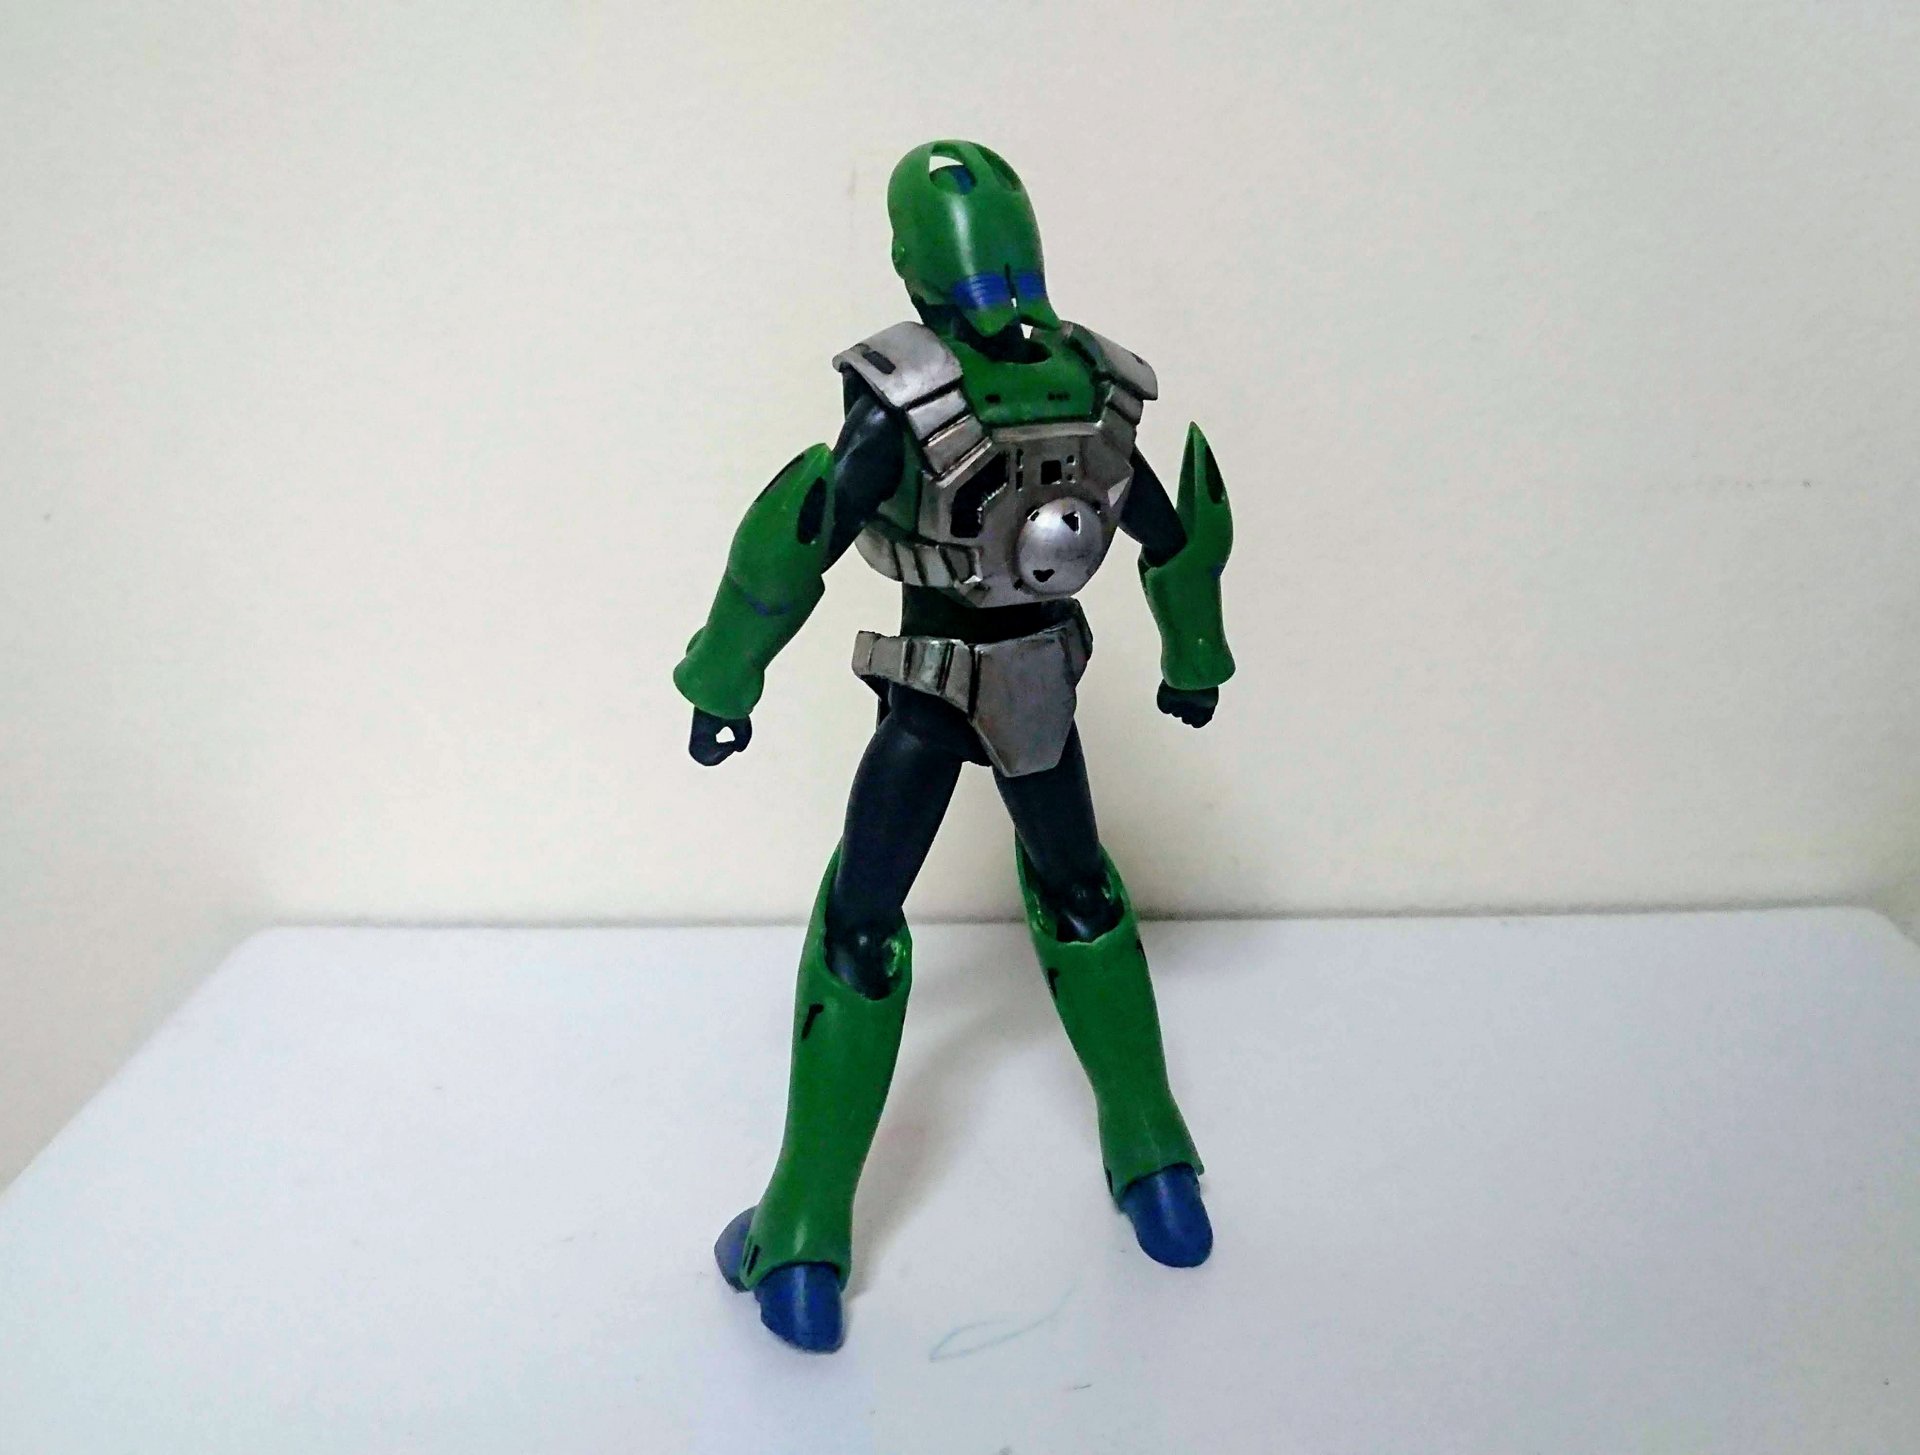
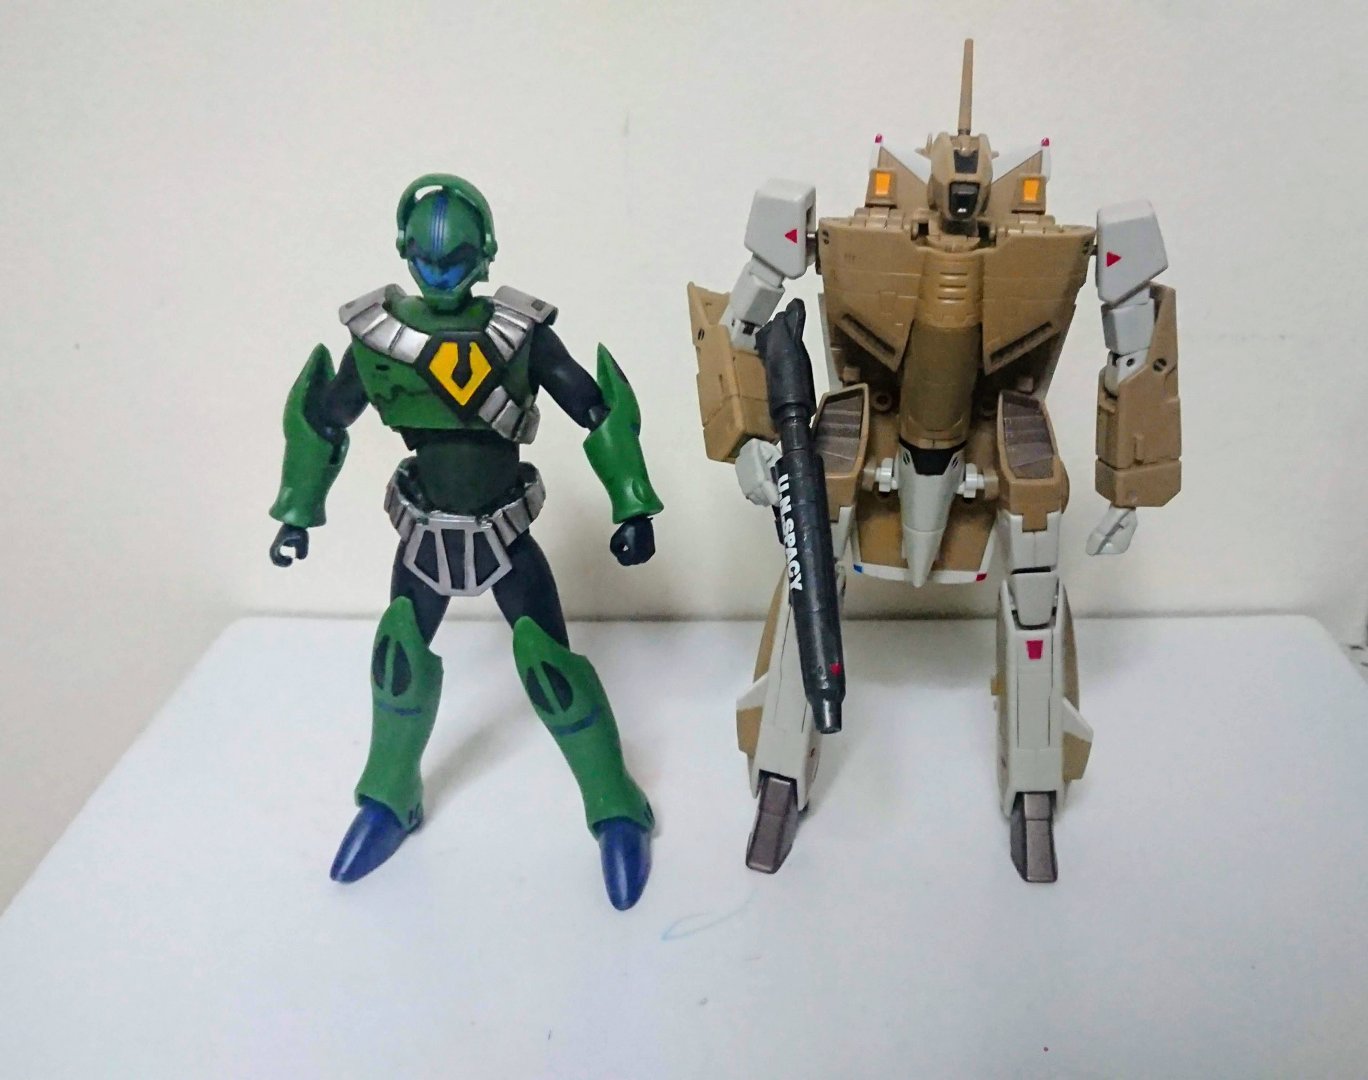
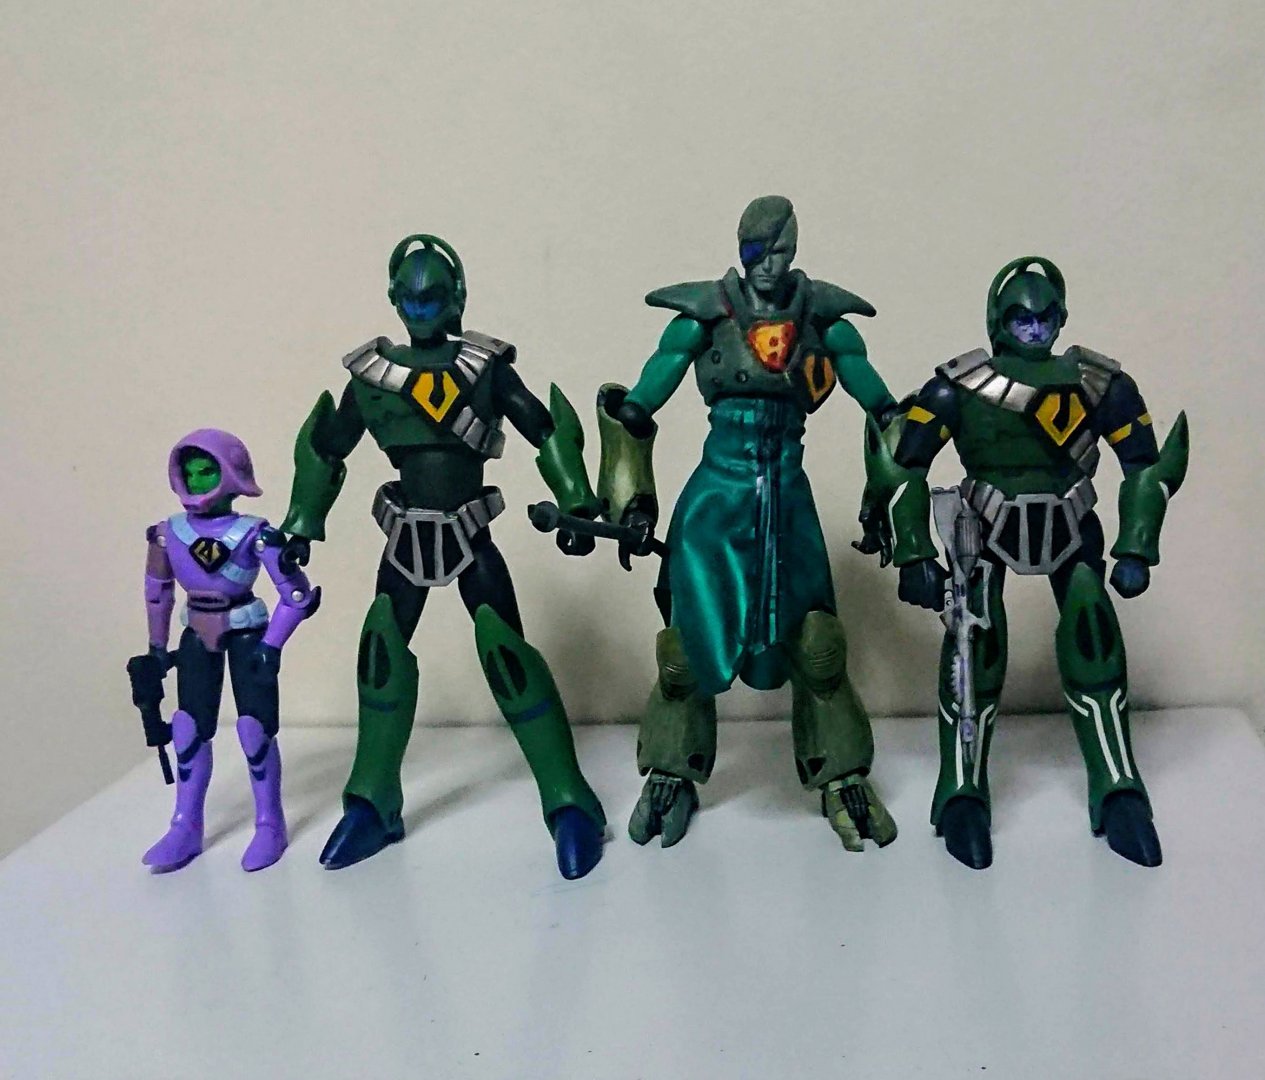
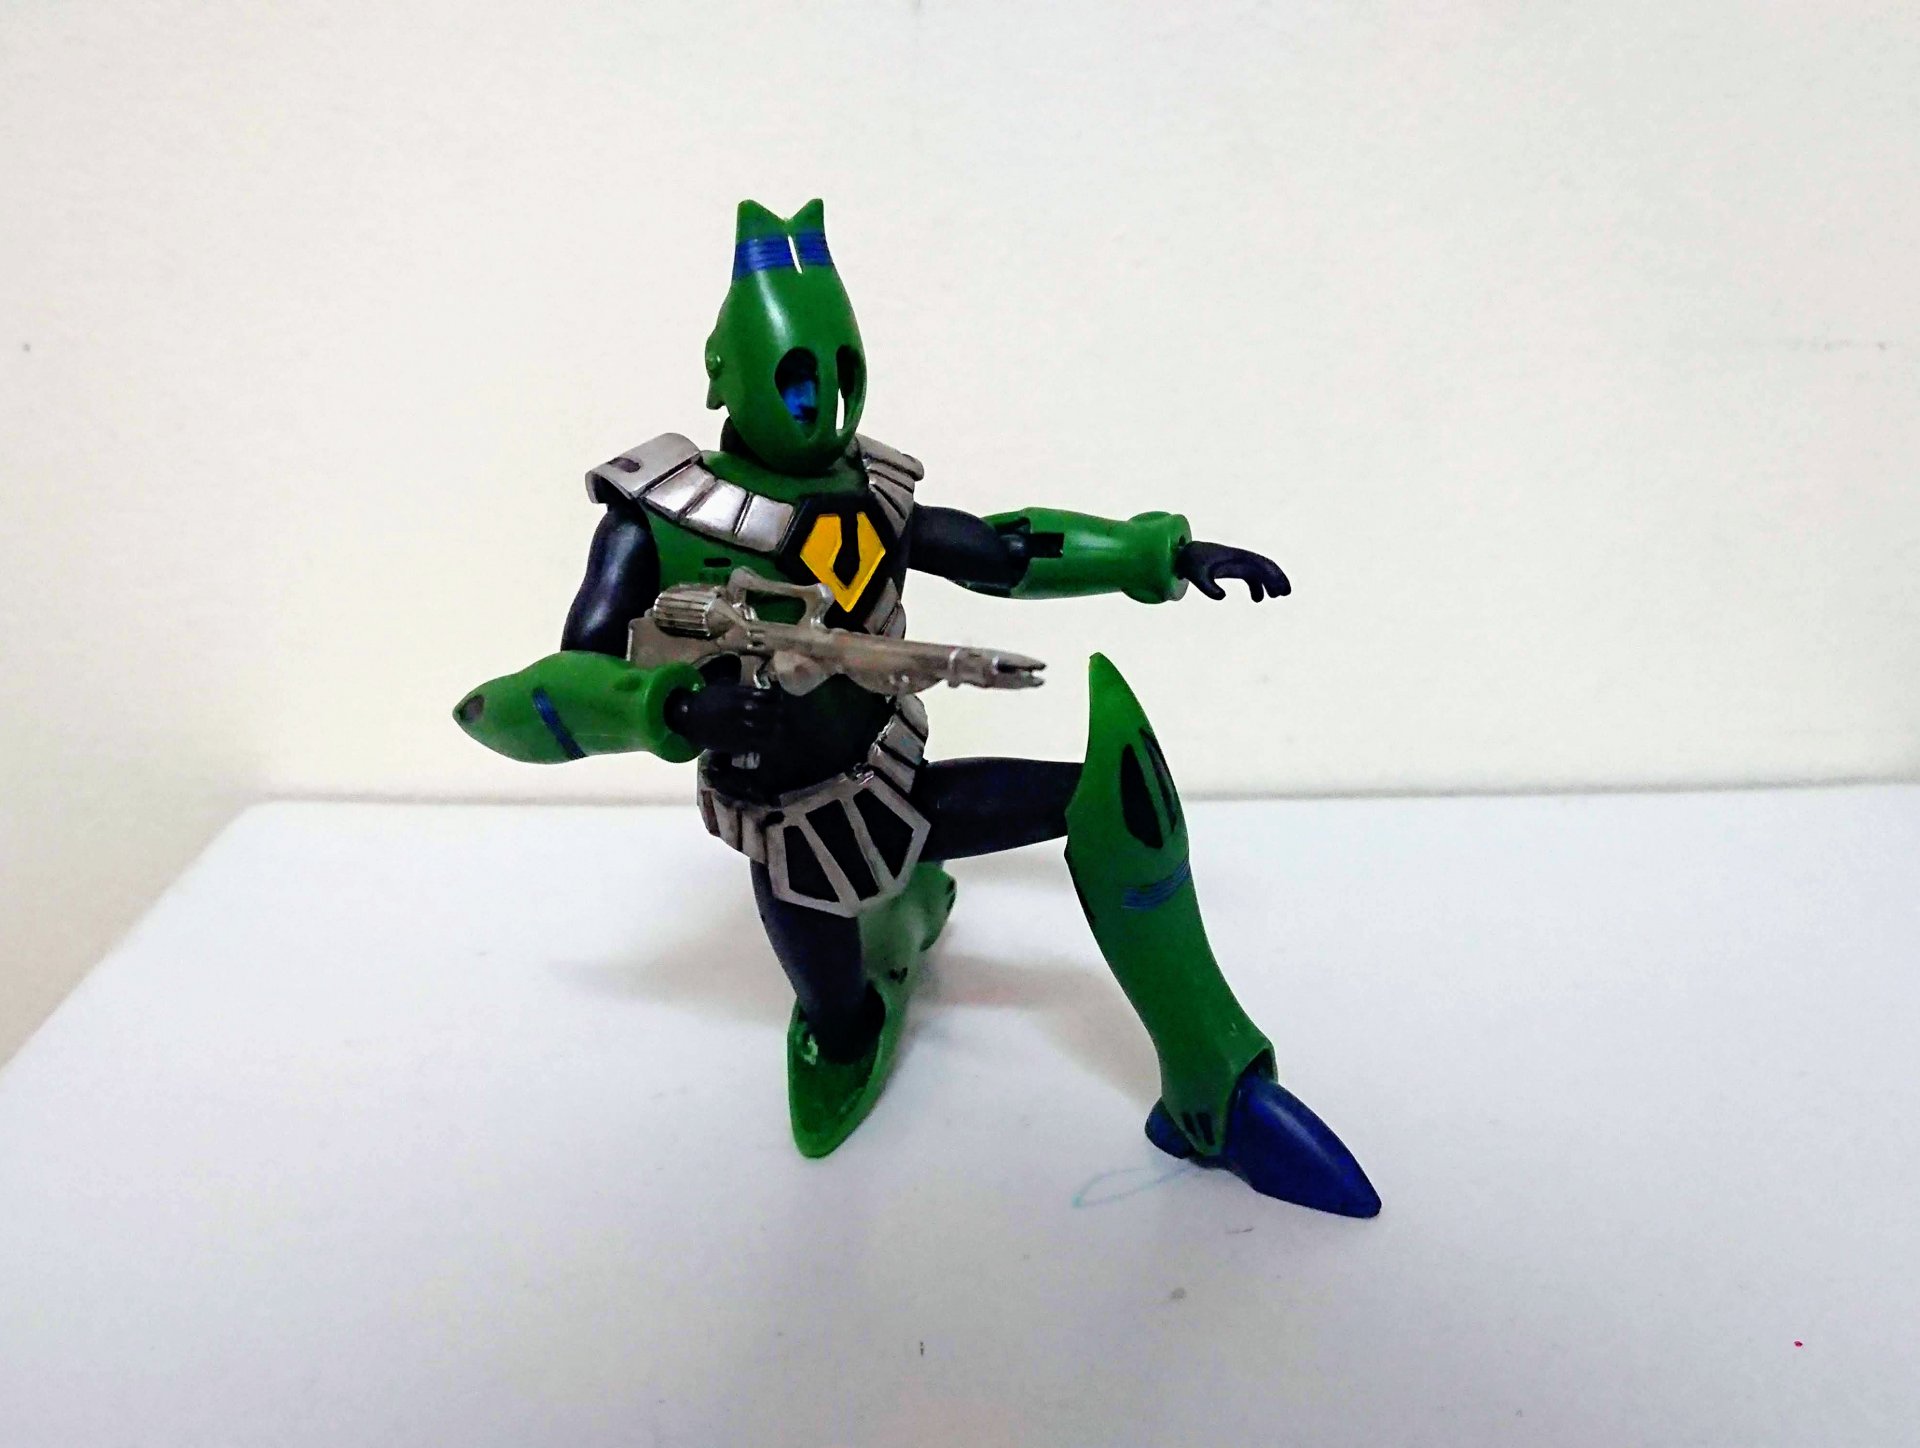
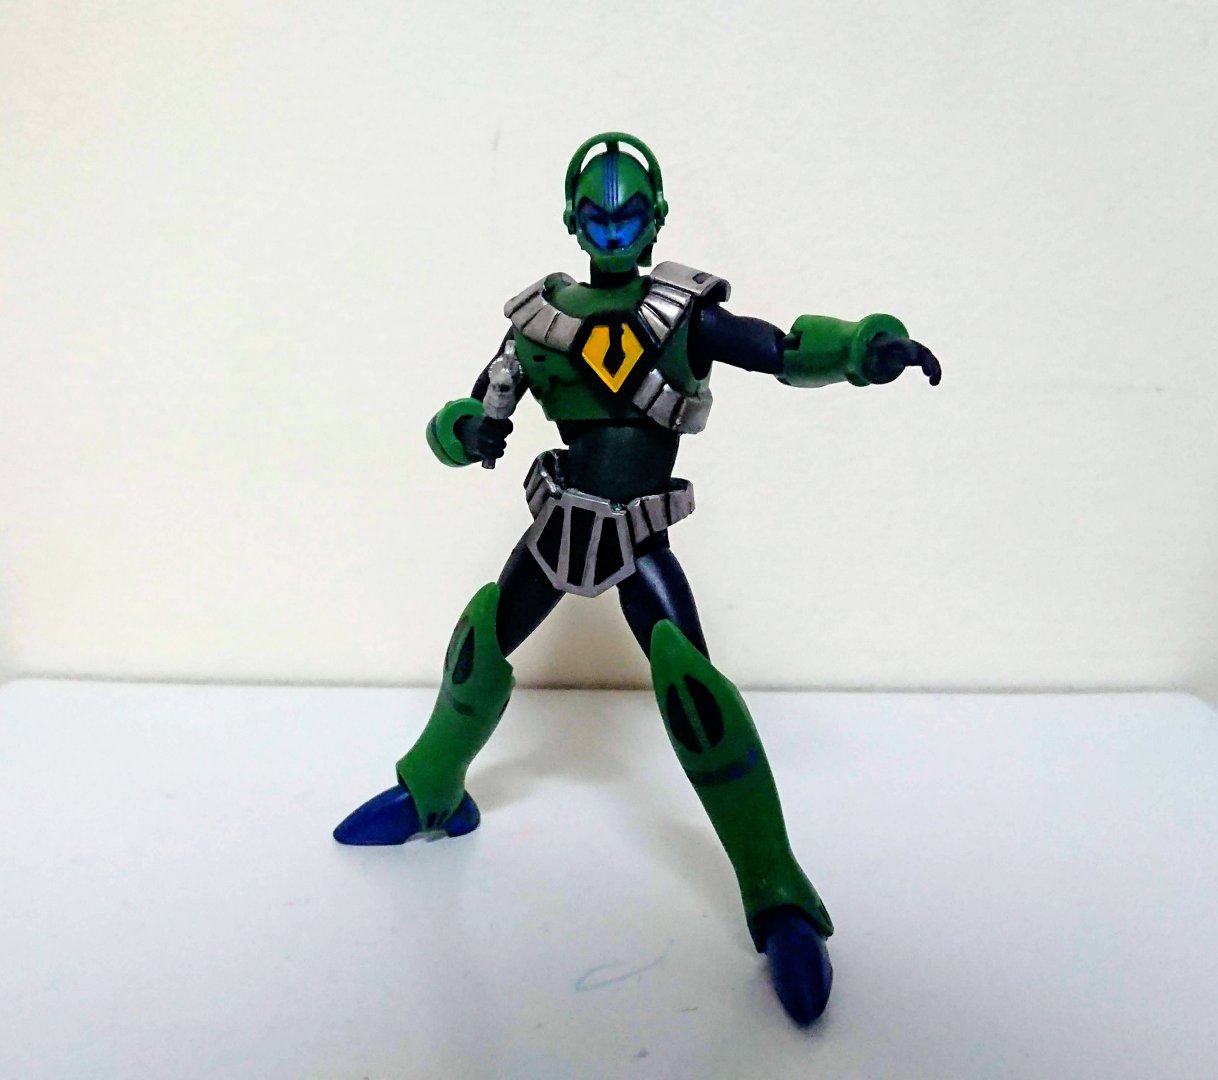
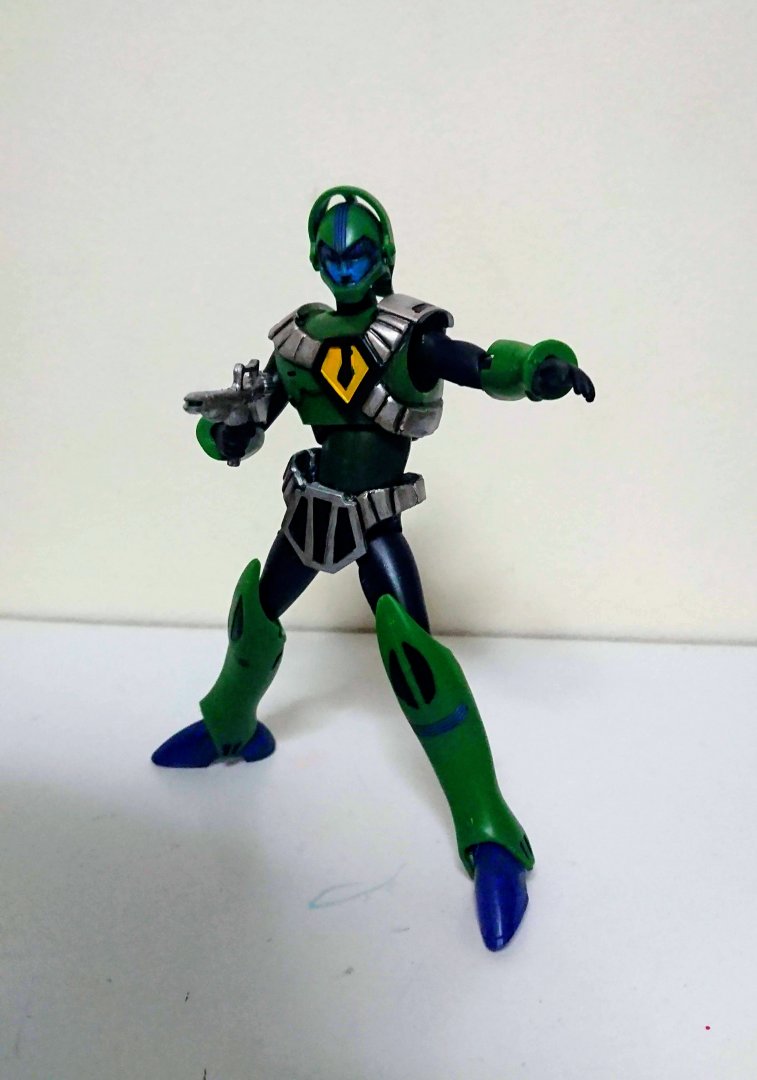
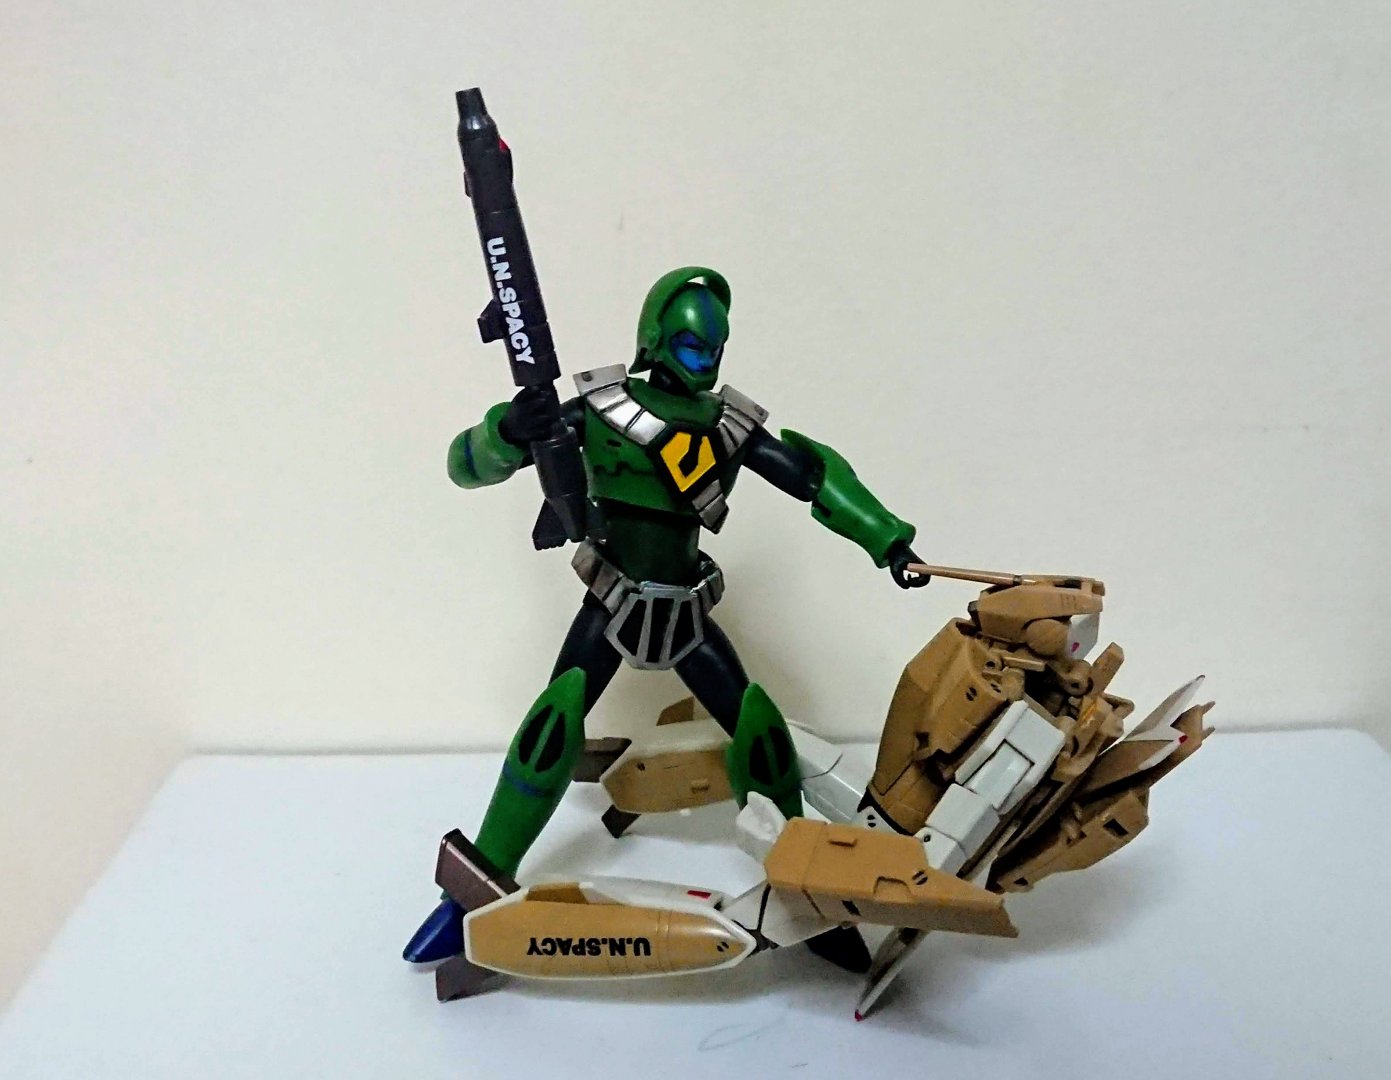
I adapted the armor of and old ARII model of the 1/100 Zentraedi soldier / Kamujin to display with my HMR valks, This was my cheap solution to not being able to buy the one at Wonfest
- 5 replies
-
- 1
-

-
- zentraedi
- action figure
-
(and 4 more)
Tagged with:
-
My take on the DYRL zentran mecha scheme on 1/144 scale .. Like, really old models. Arii and Bandai brittle plastic and decals to pull my hair at every turn
-
From the album: Collection Sale
-
From the album: Collection Sale
-
From the album: Collection Sale
-
From the album: Collection Sale
-
From the album: Collection Sale
-
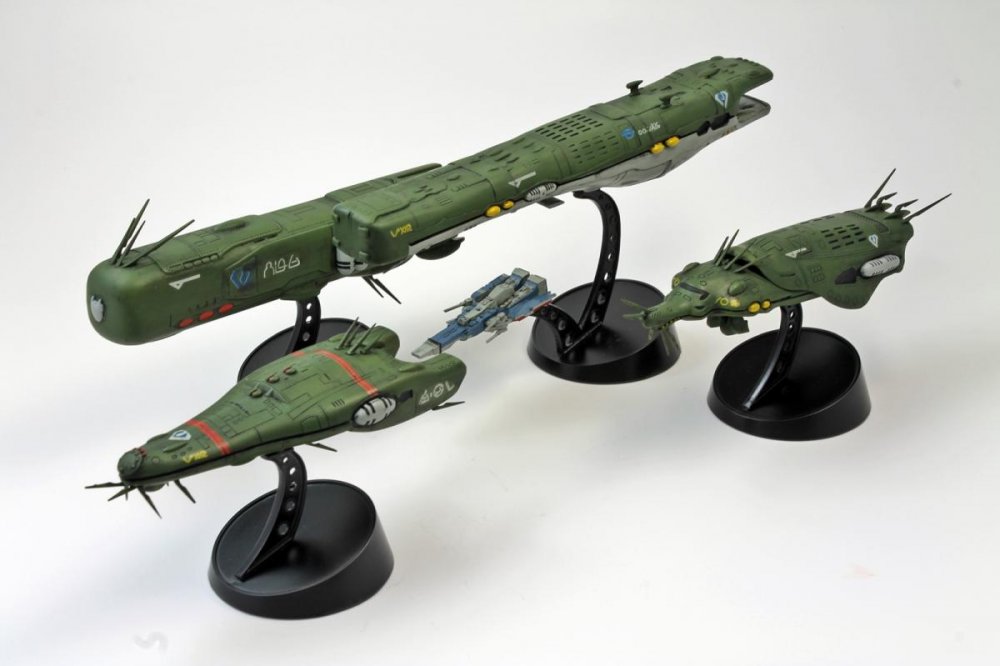
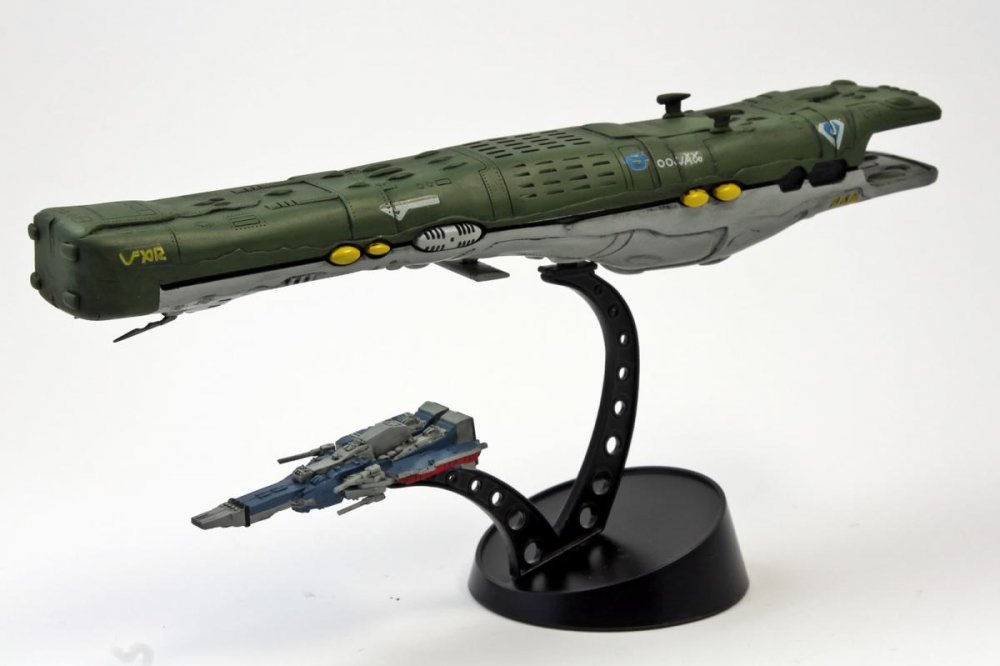
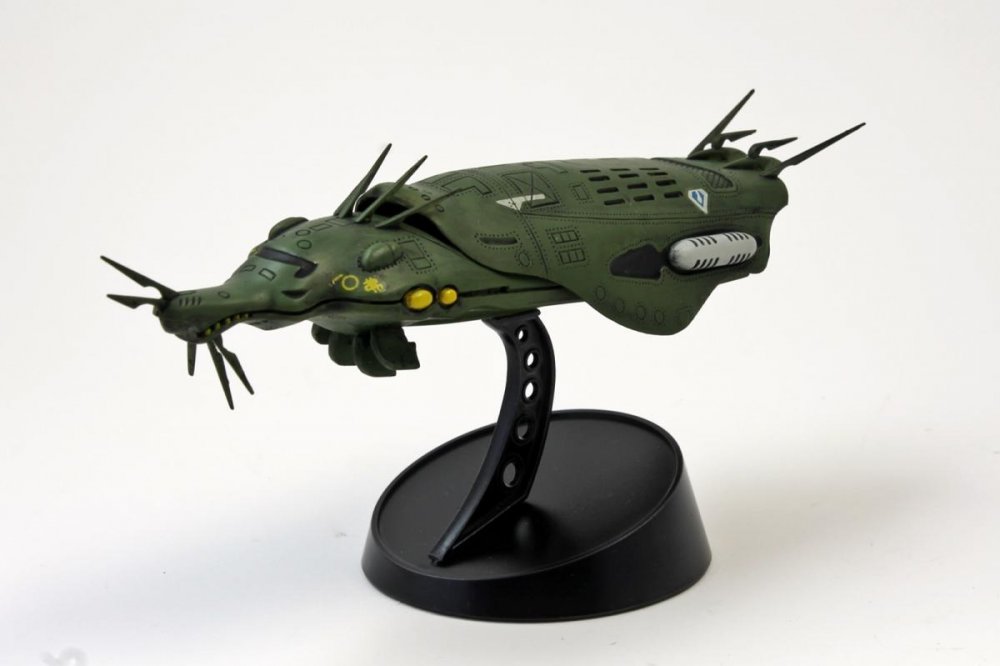
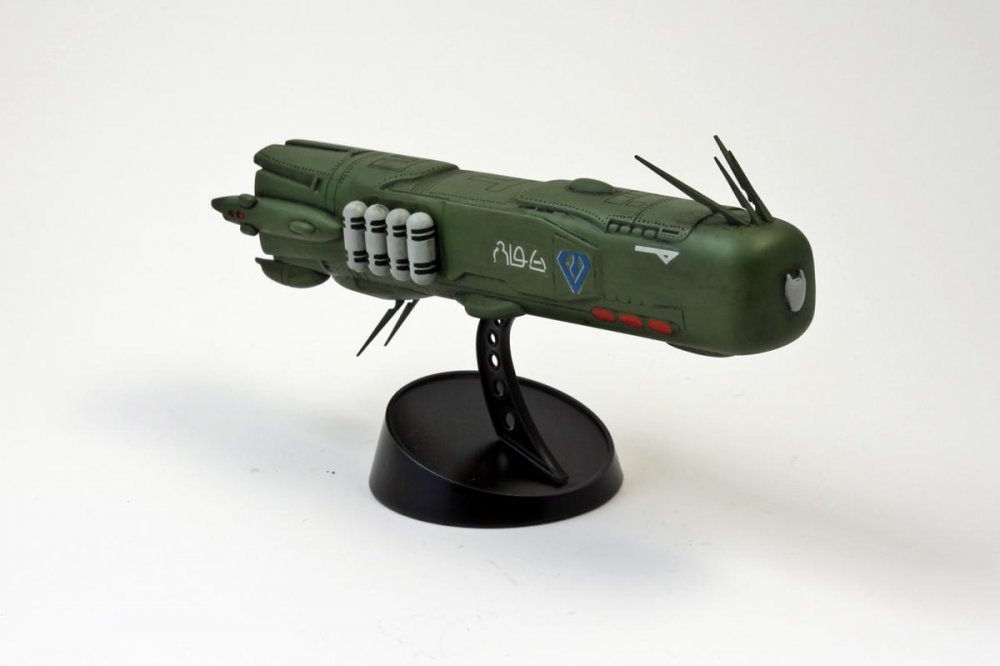
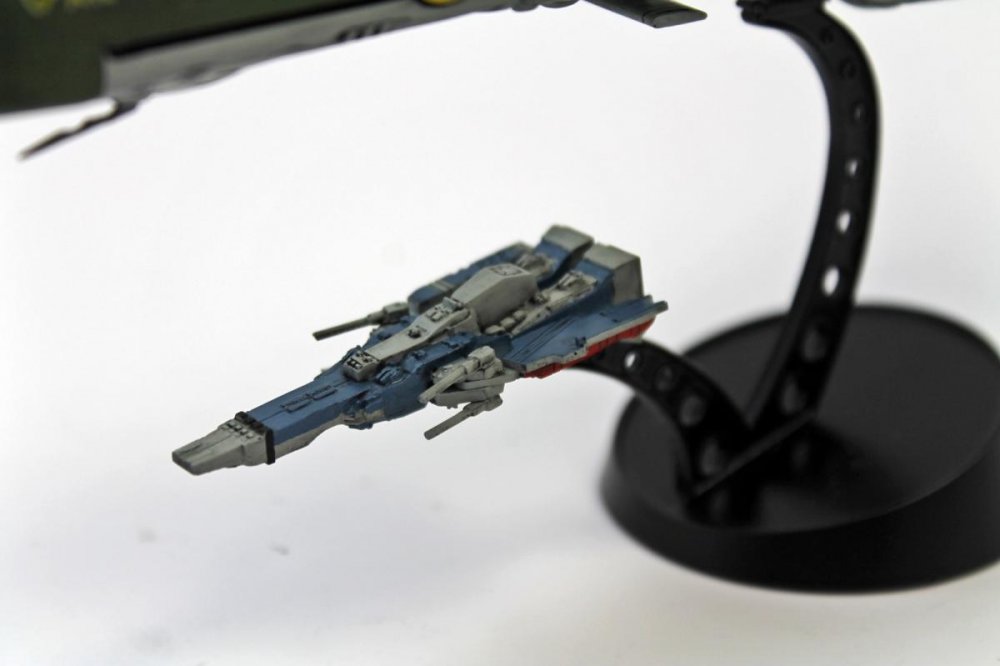
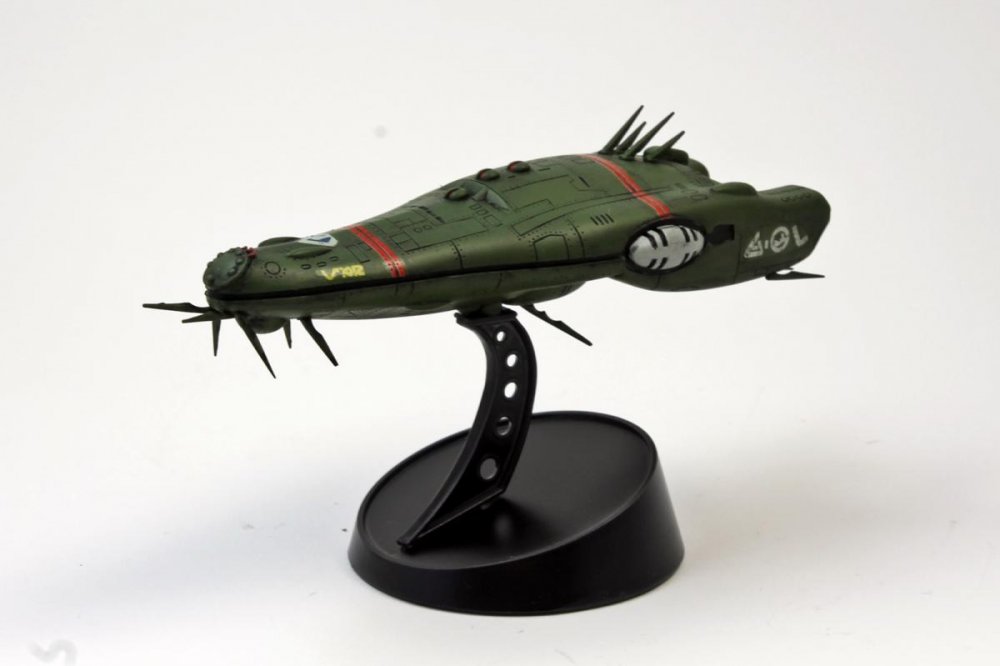
Or, as I liked to call it while building, Pickle Squadron. All are 1/20000 scale plastic kits from Arii. They're old, but went together pretty easily, and look pretty nice considering their size. The fleet Nupetiet-Vergnitzs 5731 Queadol-Magdomilla 10107 Quiltra-Queleual Thuverl-Salan Tiny SDF-1 As usual, more can been seen here.
- 12 replies
-
From the album: Personal Macross Kits
Aqueous Macross Color Set 3 Destroid Defender. Aqueous Macross Color box in comparison to 1/72 Defender kit box. The 1/72 Defender was actually my first ever Macross kit, so the paint set makes a nice companion piece.© Ray "AcroRay" Miller
-
From the album: Personal Macross Kits
Aqueous Macross Color Set 3 Destroid Defender. The three little jars seem like they would barely have enough paint for the job. Oddly enough, each jar has no label or unique marking. You get a sheet of them to apply yourself - 1, 2 & 3. Hopefully you're not color-blind! My sample's base medium had migrated out of the lid of each jar, collecting like dried amber inside the box. One jar is actually tightly glued into the box.© Ray "AcroRay" Miller
-
From the album: Personal Macross Kits
Aqueous Macross Color Set 3 Destroid Defender. Color placement notes.© Ray "AcroRay" Miller
-
From the album: Personal Macross Kits
Aqueous Macross Color Set 3 Destroid Defender. Vintage water-based acrylic paint set for Imai & Arii Destroid Defender kits. I had wondered about these sets for a long time, so I bought a dried-up but unused set cheaply via eBay.© Ray "AcroRay" Miller
-
From the album: Personal Macross Kits
My recent buildup of Arii's "Metalize Custom" 1/100 Destroid Spartan kit. A rubbing with a #2 pencil against the cut-off gate points touched up the lack of chrome in those spots. -
From the album: Personal Macross Kits
Vintage kit from Arii's "Metalize" sub-line. These are a unique challenge to build! -
From the album: Personal Macross Kits
A nice example of the beautiful box art Arii created for their kits. -
From the album: Personal Macross Kits
Haven't decided if I'll build this or not. The base kit is terrible. I've got two other Metalize kits that I WILL build, but I didn't much like this design to begin with.... -
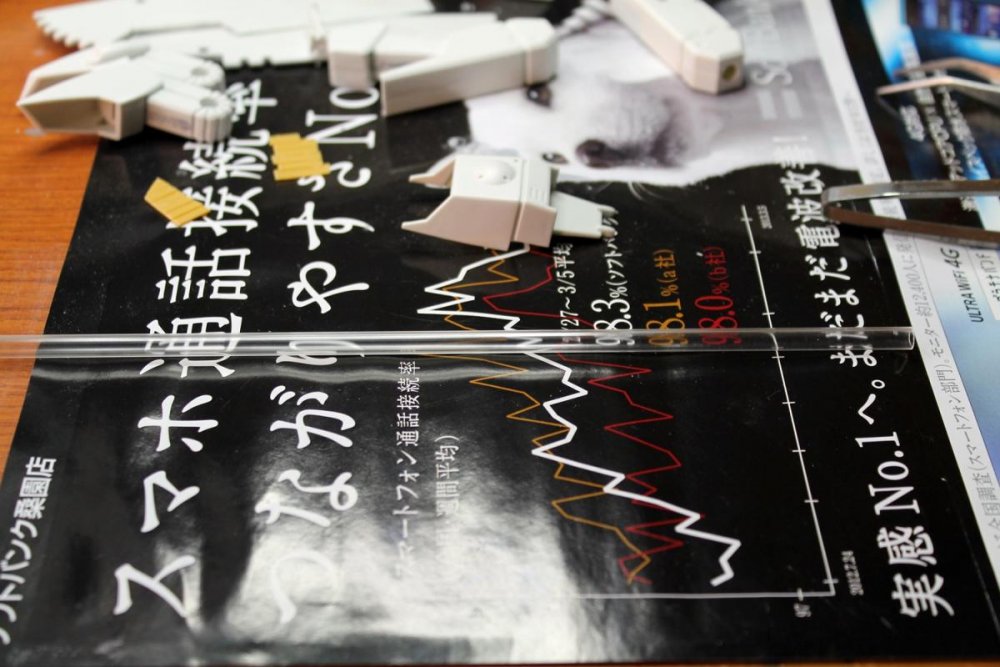
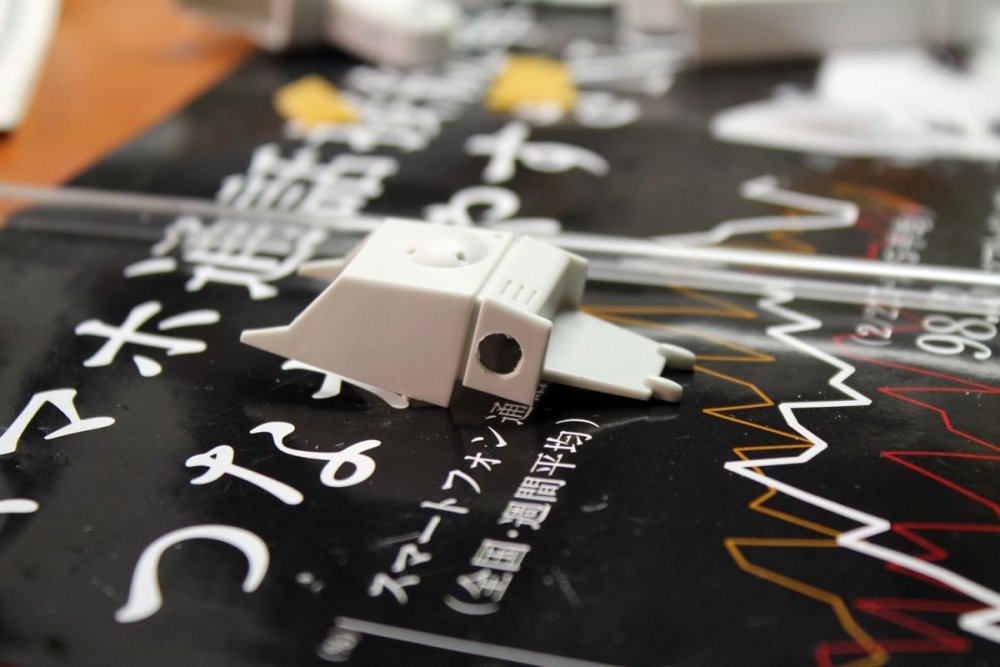
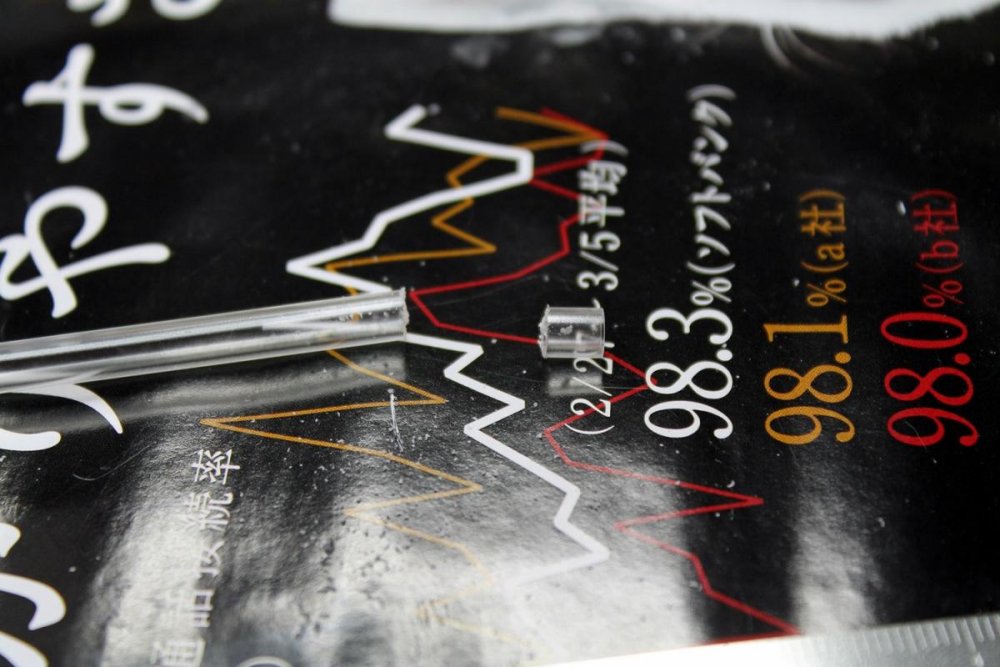
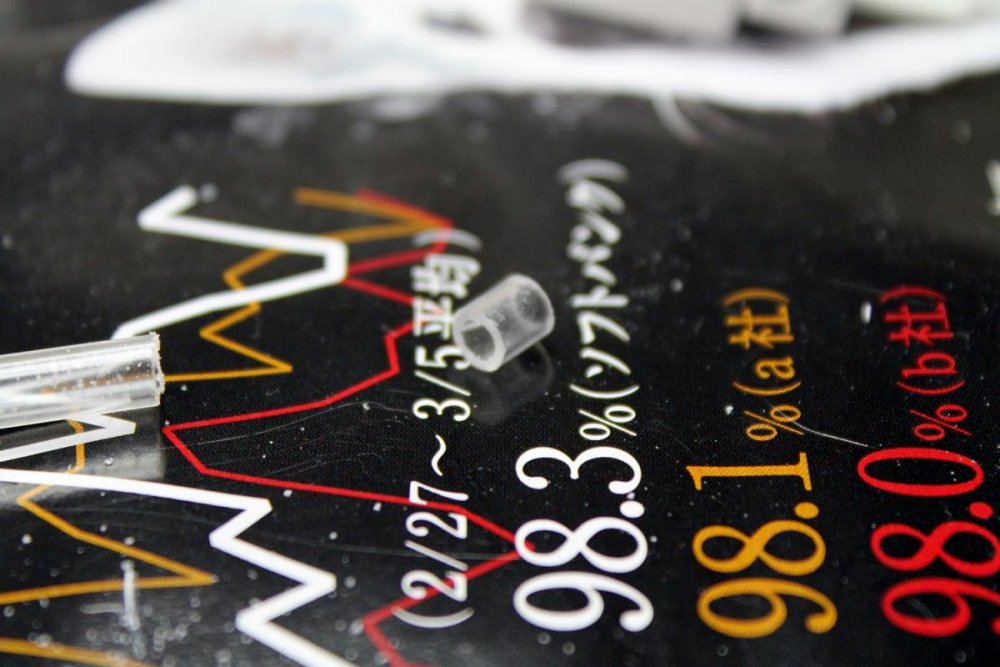
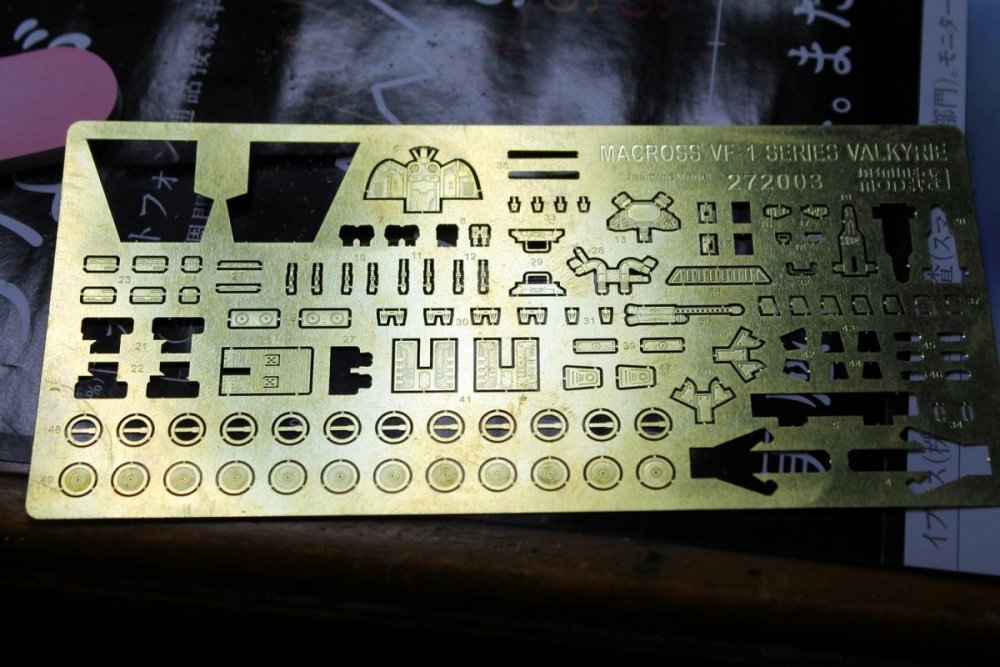
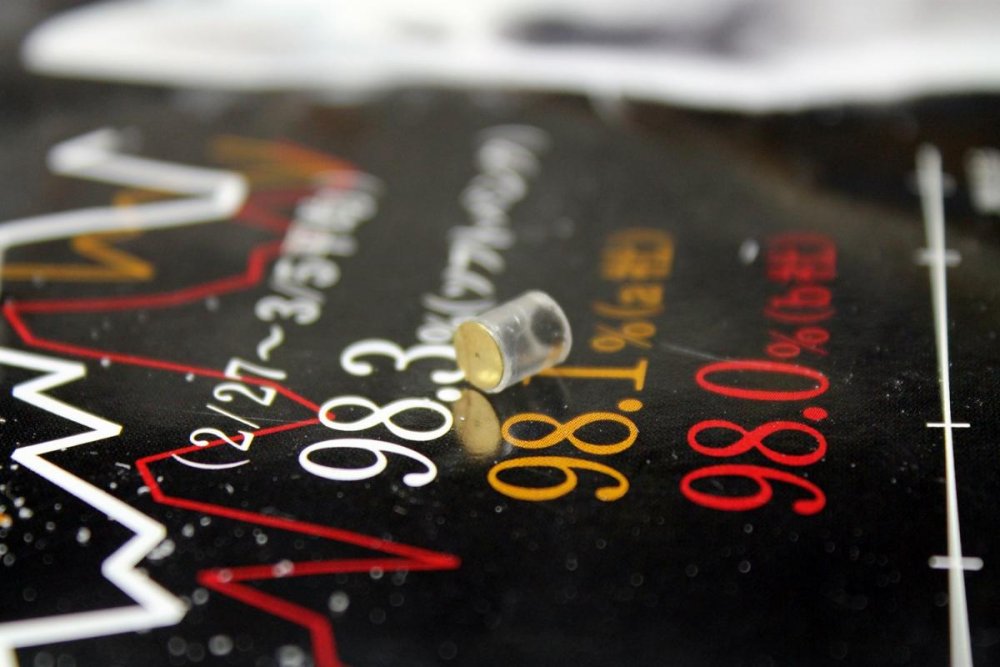
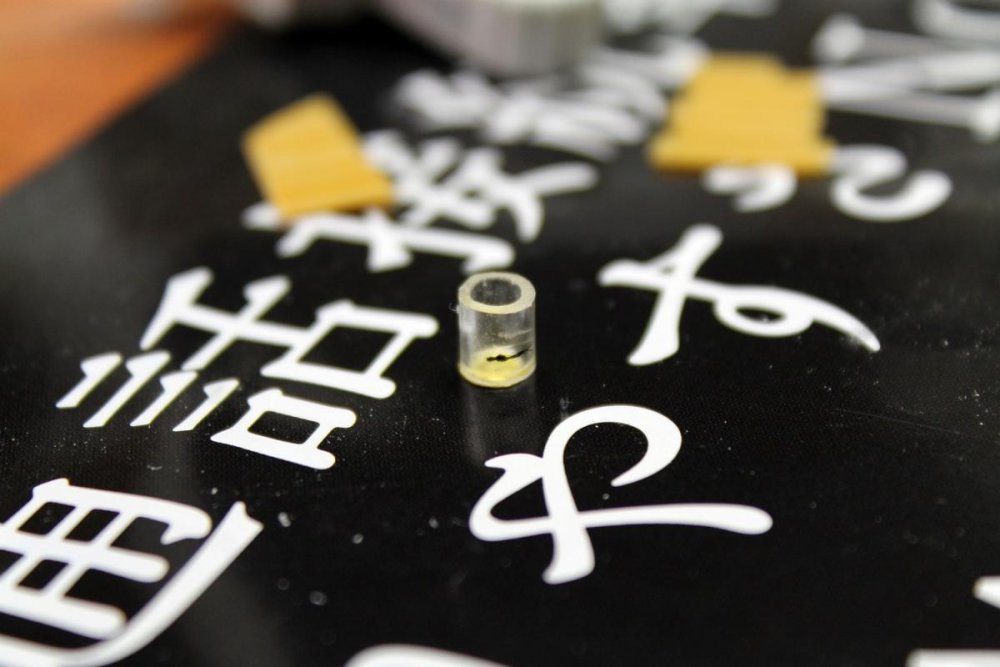
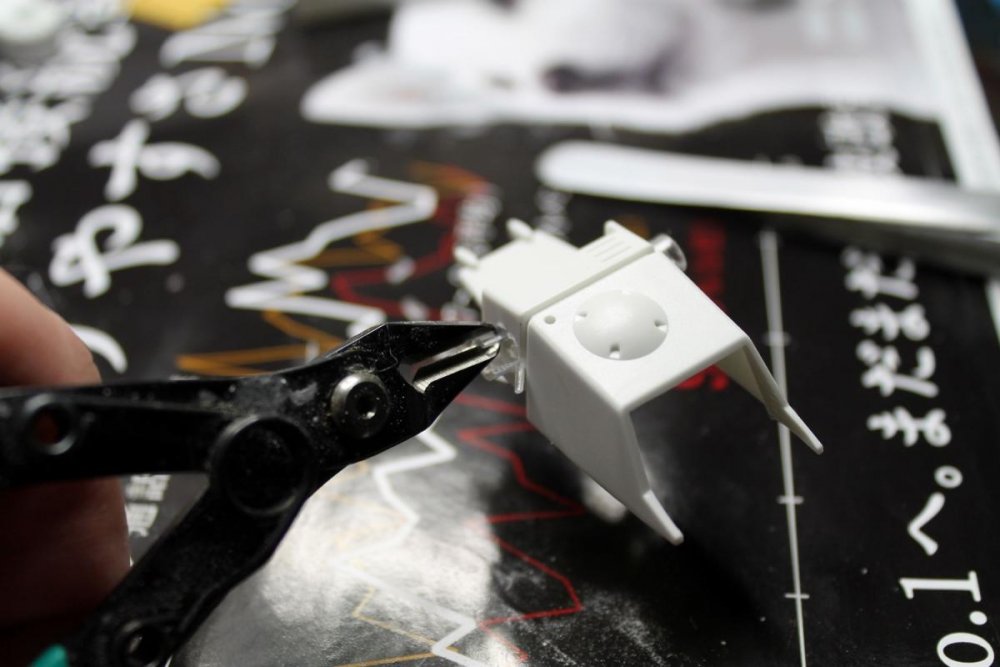
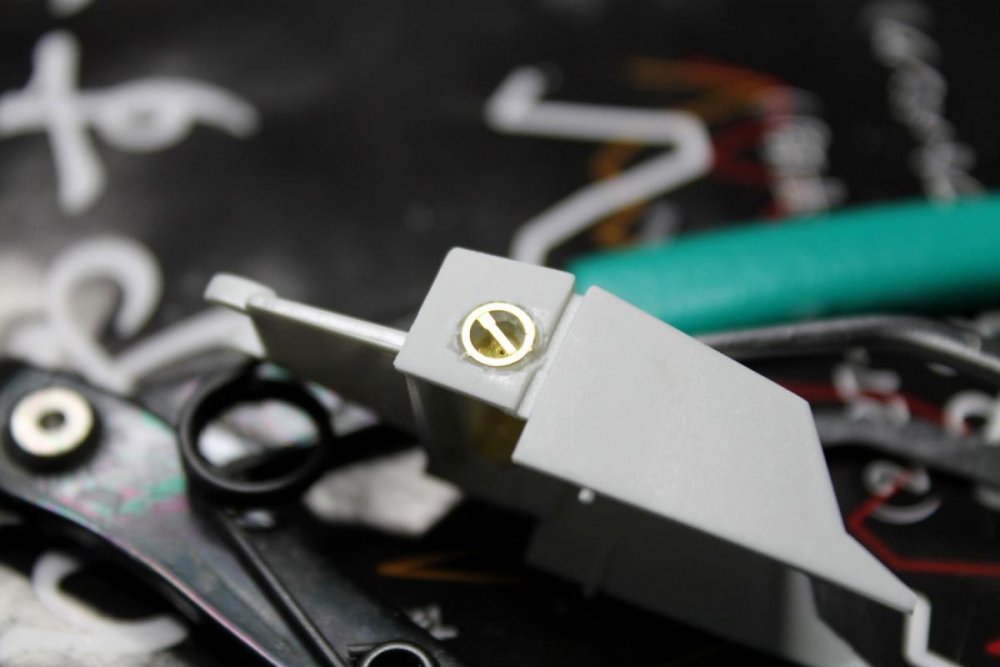
Some of you (hopefully) noticed that I recently got the book VF Modeling Manual. In there, they give a description on how to do a recessed vernier for your 1/72 kit. As I am building an old Imai Gerwalk now, and trying to pep it up a bit, here's what I did to make the vernier. Start by getting yourself some 5 mm plastic pipe. I'm using Tamiya. No special reason for it being clear, that's just what the hobby shop happened to have in stock. Next, take the part you want, and drill a 5 mm hole (obviously, on the Hasegawa kits, just remove the original casted vernier area. Cut a small piece of the rod. I did around 4 mm long. Then, smooth out the rough edge. Now, here is where I'm deviating from the Modeling Manual plans, since I've got some extra parts from Jasmine Models lovely VF-1 PE set. I'm using the round pieces in the lower left. Glue the round piece onto one end of the short tube. Draw a mark on the tube for how far you want to insert it into your kit. You only want to go 2 mm or so. Put it, and glue it. Once the glue has set, trim off the excess, and sand it flat. Put on the top piece, and you're finished! (actually, wait to do this until you've primed and painted. much easier to get the inside black with no cover) Now, if you don't have the PE set, use a small disk of plaplate (5 mm, natch), and a small strip over the top of it. You'll also want to get a circle scribing template (probably around 6 mm) to go around the outside of the hole.

