ZeroStriker
-
Posts
7 -
Joined
-
Last visited
ZeroStriker's Achievements
Cannon Fodder (1/15)
0
Reputation
-
Hey, thanks! =D Hopefully it'll come in handy in some way. Yeah, it's transformable like the others. I'm kinda too chicken to transform it at the moment though, haha. Paint/polish-wise, I didn't apply anything. Just pretty much panel lines, some stickers, and construction. XD Not really that experienced to apply those kinda stuff yet. Alas. Thanks. =D
-
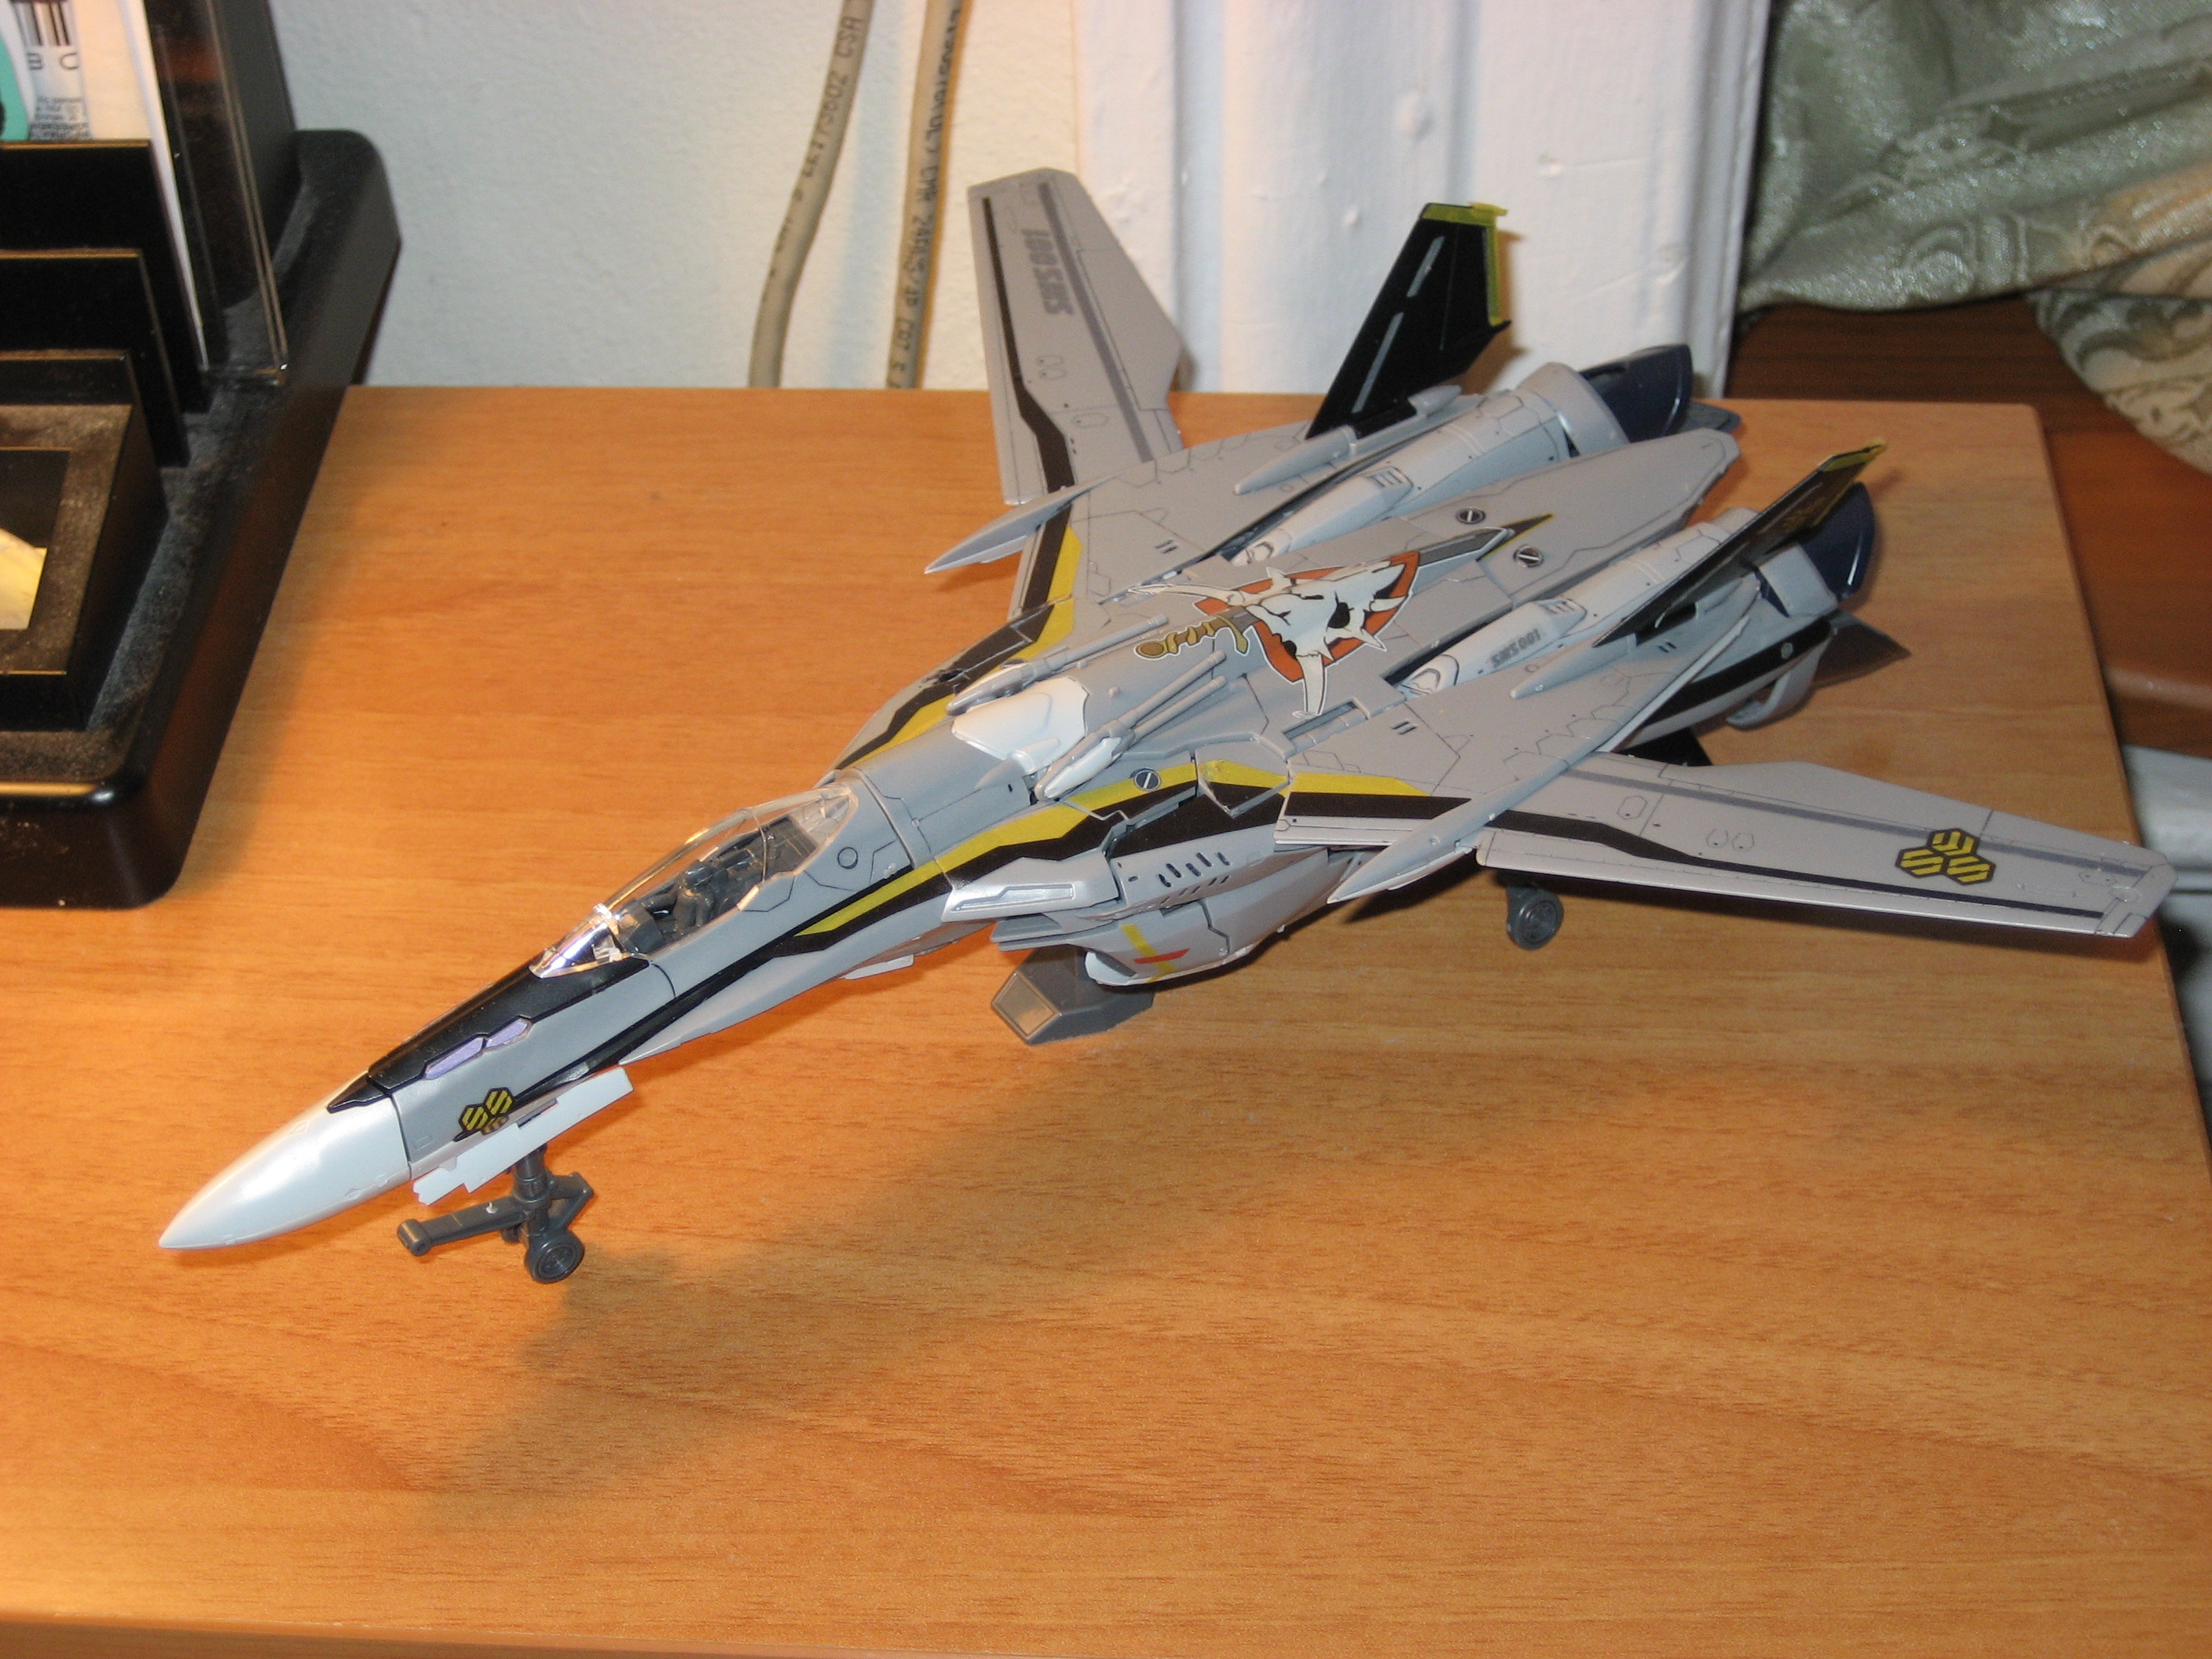
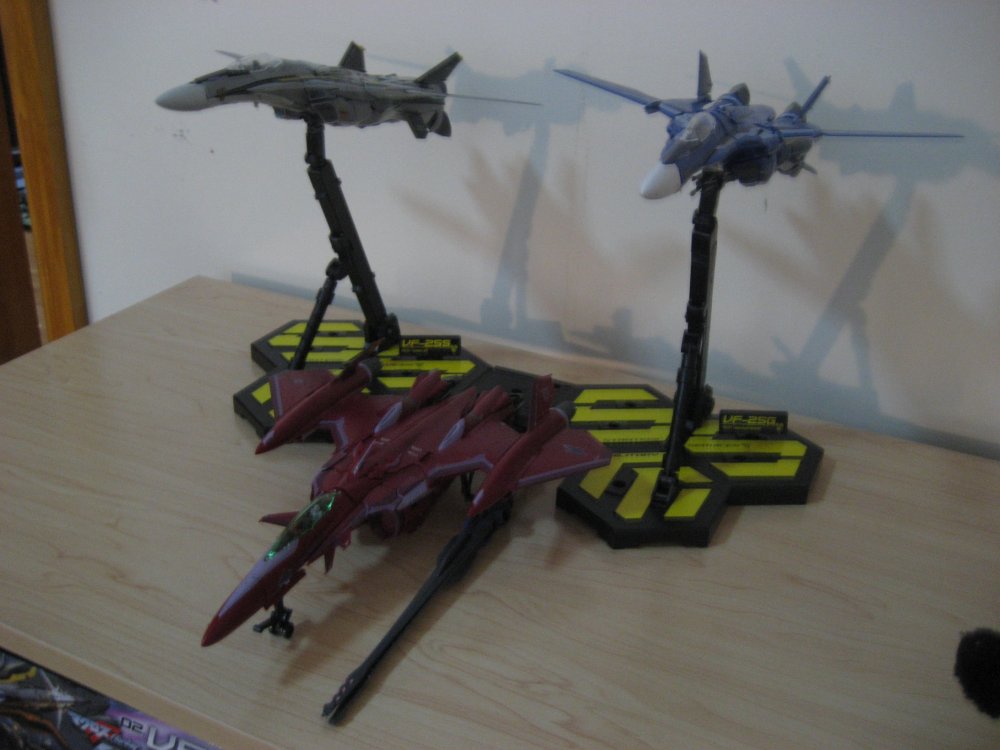
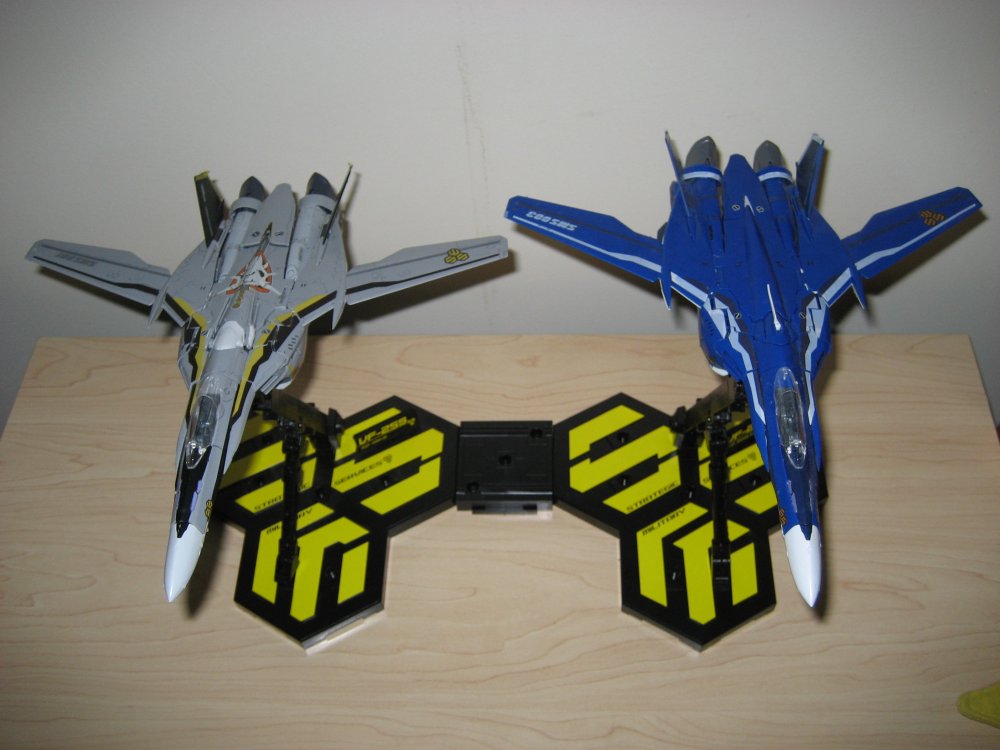
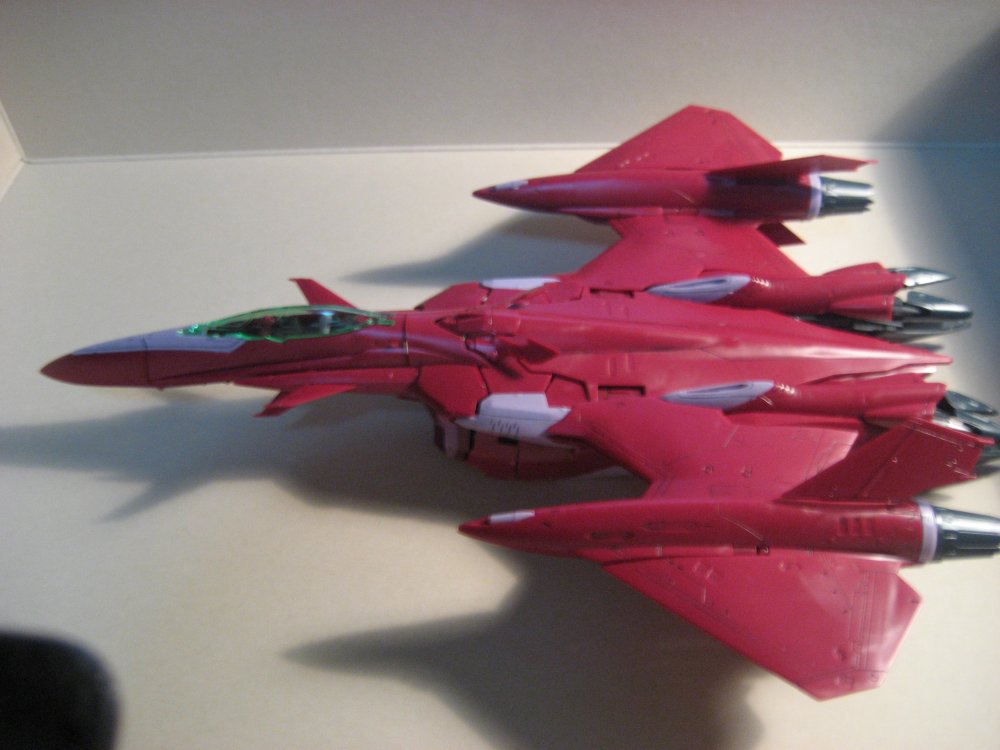
Phew* That took quite a while. Still gotta get a stand** Final Impressions: - The kit was something I was waiting for pretty much since I saw it in the show, and the kit does very well in its capturing the overall image. For a 9.5 hour project, it was worth it, albeit the price for the kit itself could be kinda lower, haha. But anyway, previously, my VF-25G was my best work, sturdy etc., and this VF-27 is definitely equally as sturdy and generally easy to make and panel line. With the key addition of the tabs to hold the legs high in place and the addition of a new tab on the lower side of the main fuselage for connection to the rifle and stand, make this arguably the most efficient, sturdy, and easy to make model comparing to the previous VF-25's. I wasn't able to make it "perfectly fit," but it's definitely something that I'm satisfied with. - Alas, for all you amateur modelers out there, it's a place to start if you wish, and it's something that you can do with minimal supplies (just a sprue cutter and a fine point marker/pen, and/or tweezers will do) and can finish within a day or two. Have at it! Questions, Comments, Requests for additional commentary/pictures of certain places, of the alternate art box, or of any of my other two VF-25's, feel free to reply here or private message. =D


-
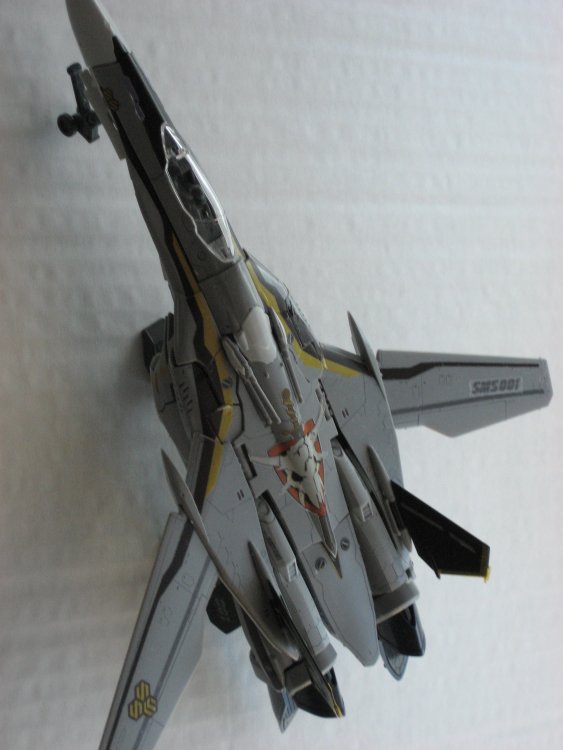
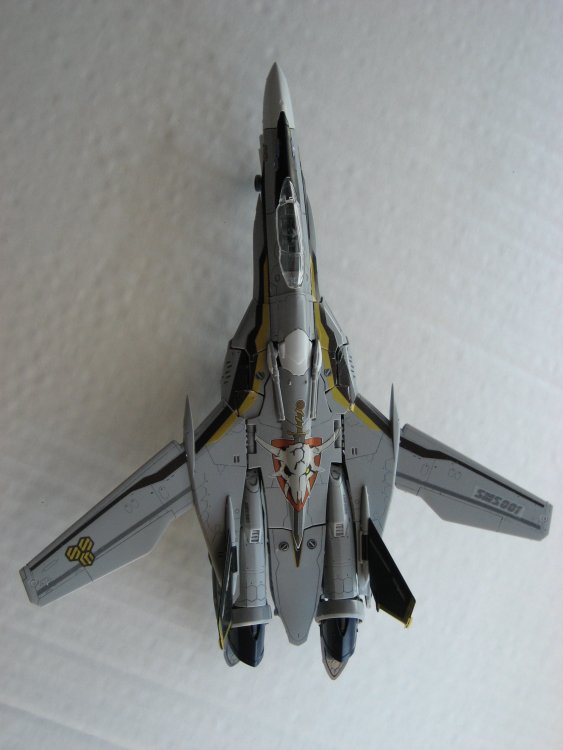
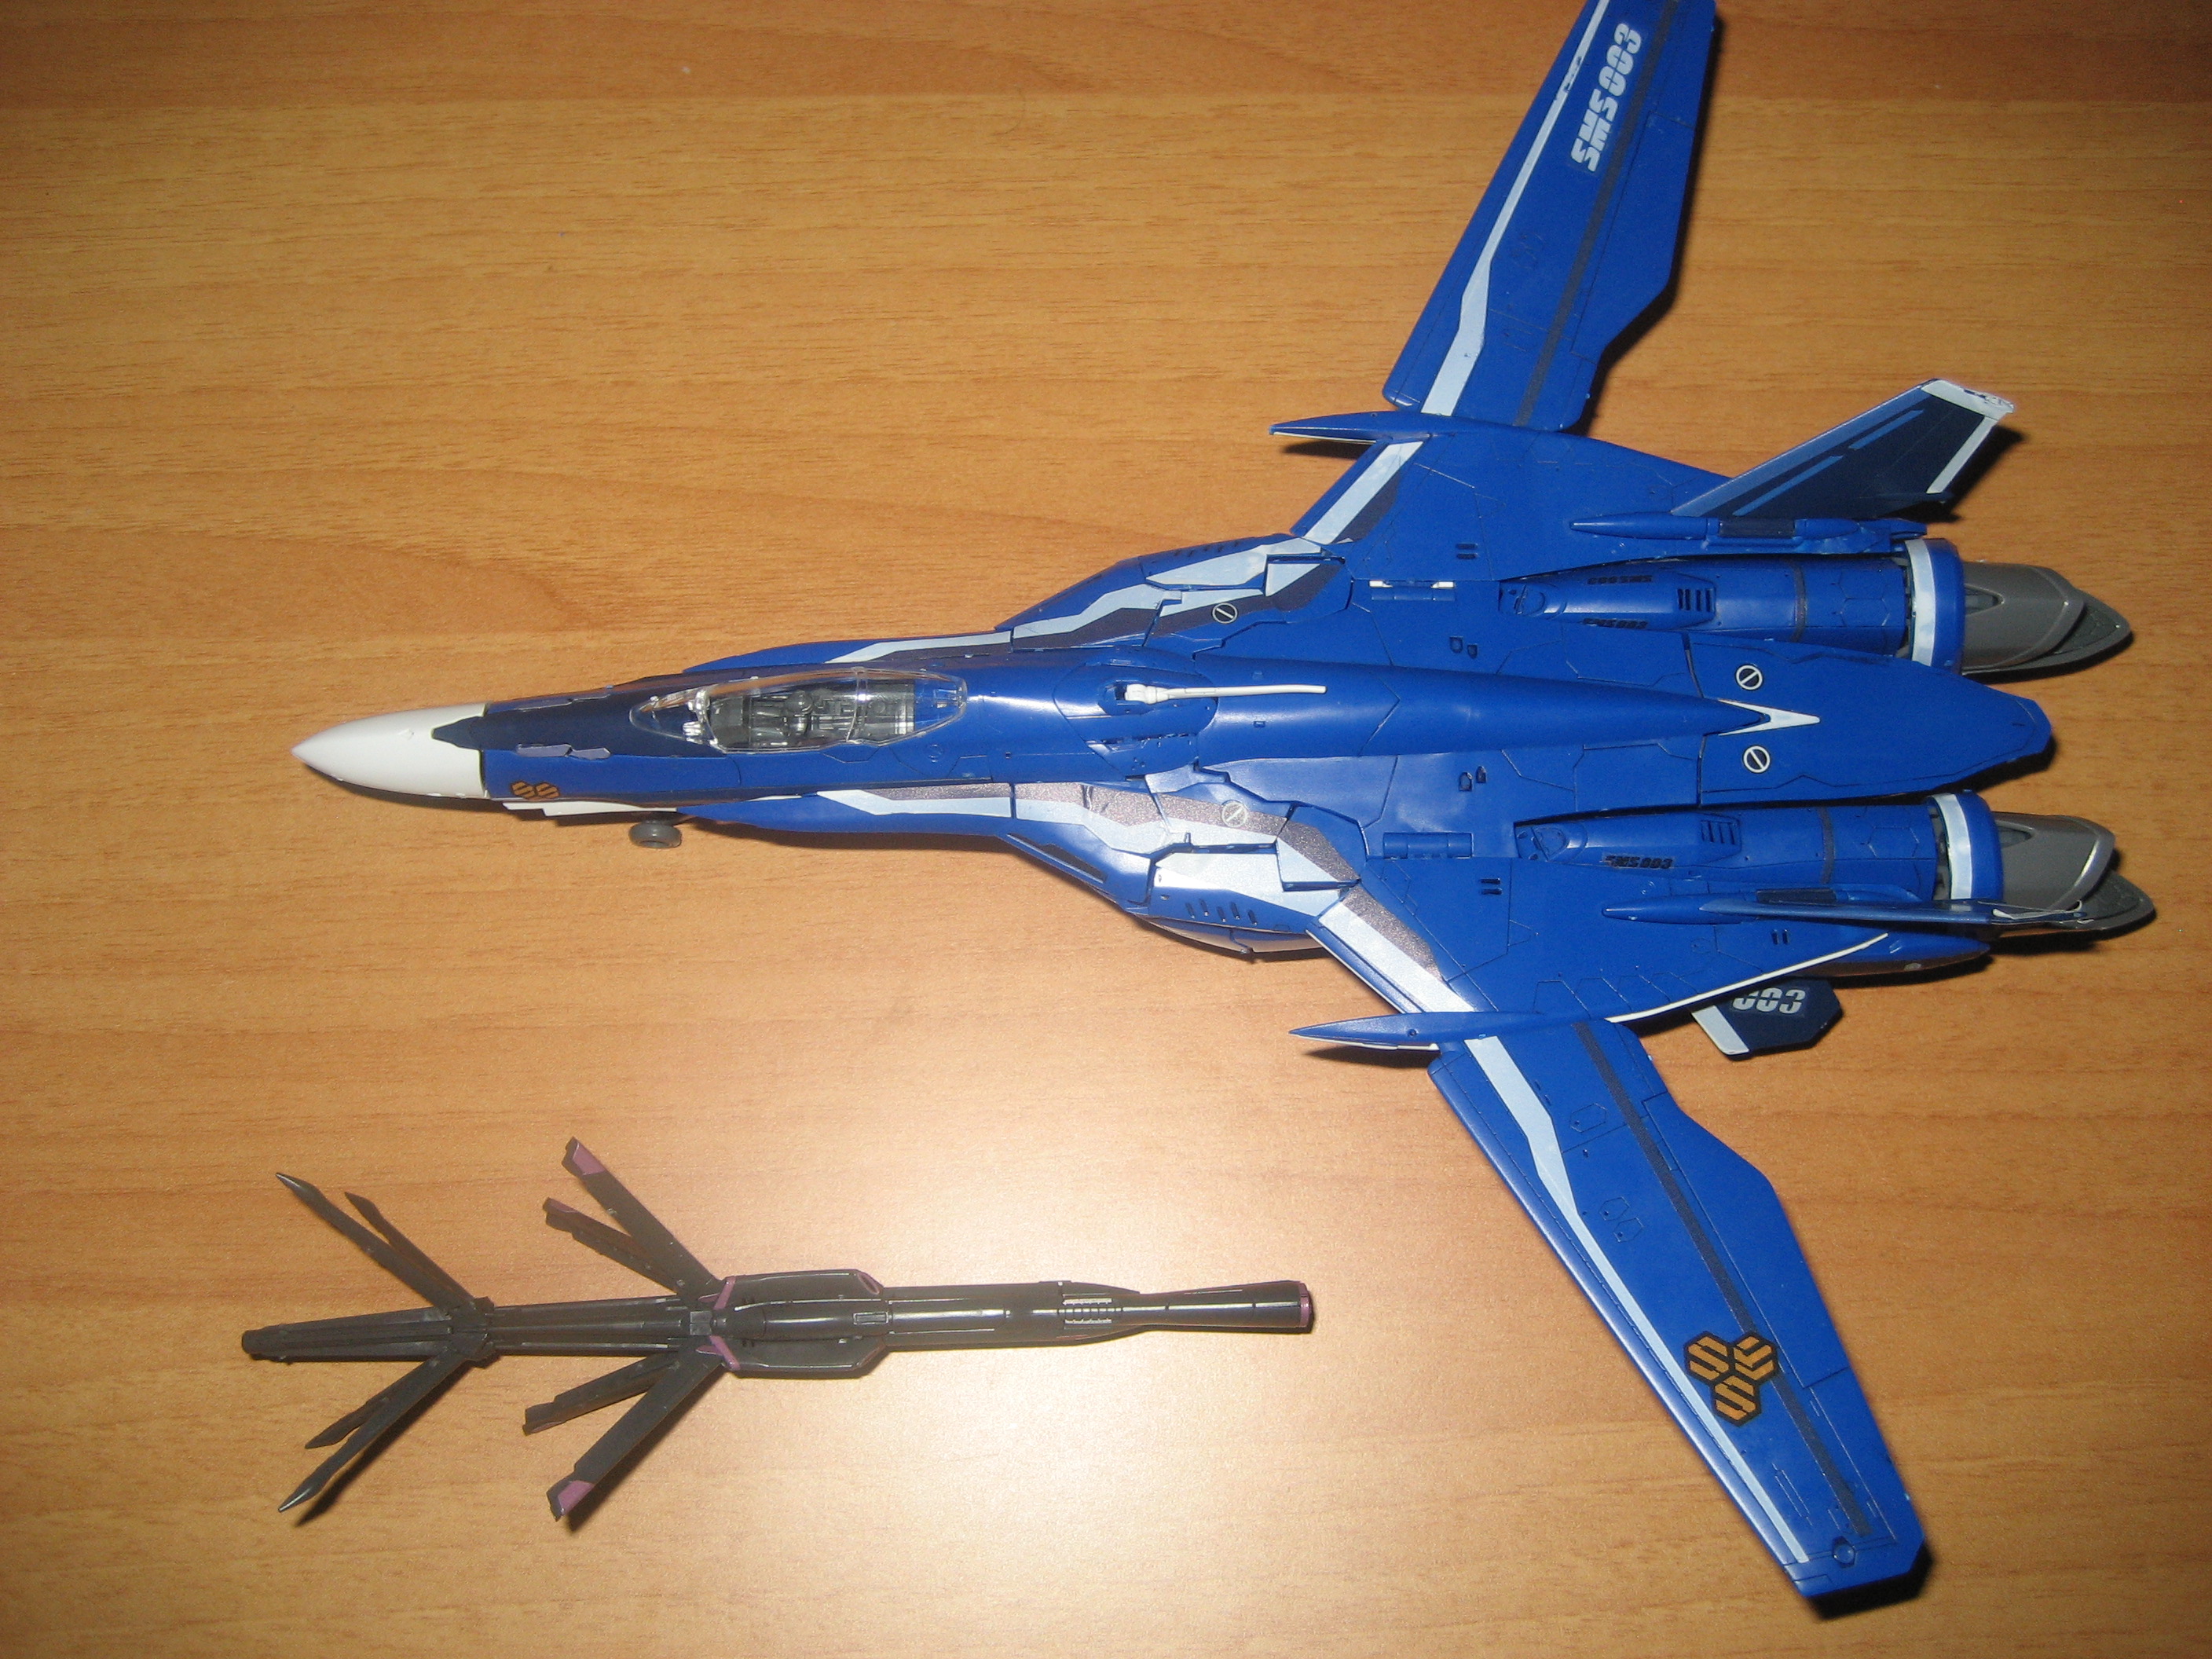
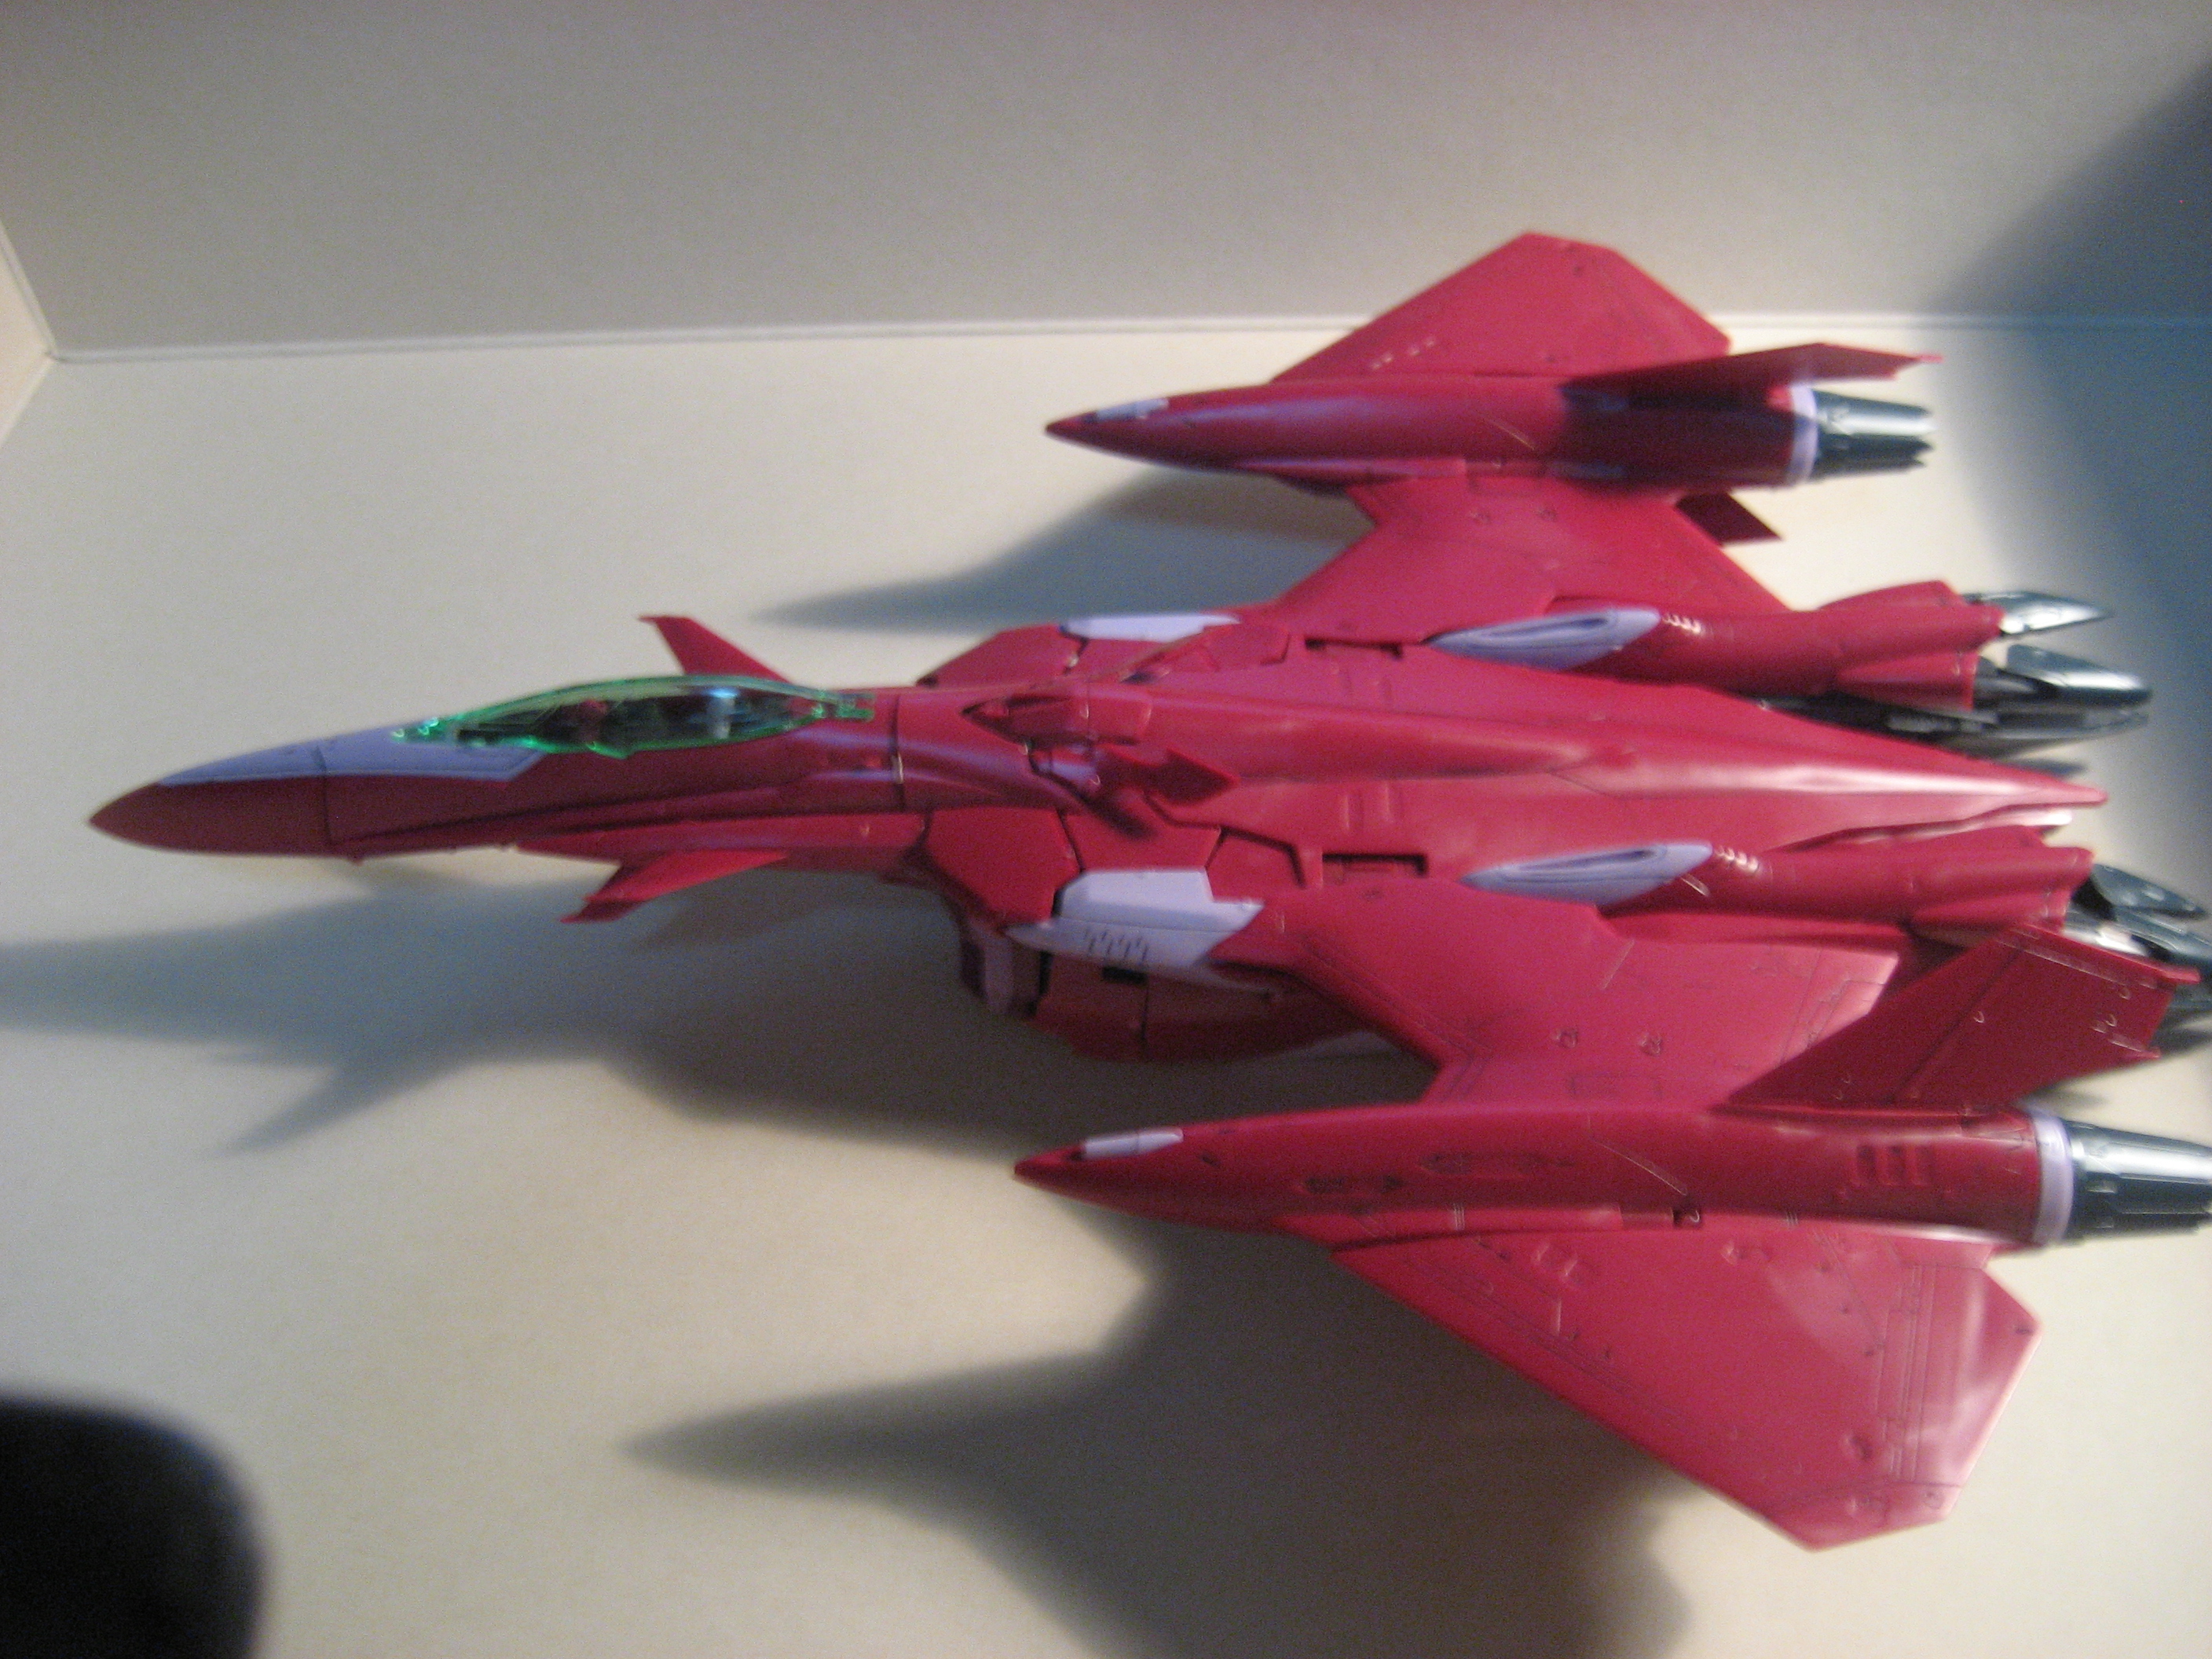
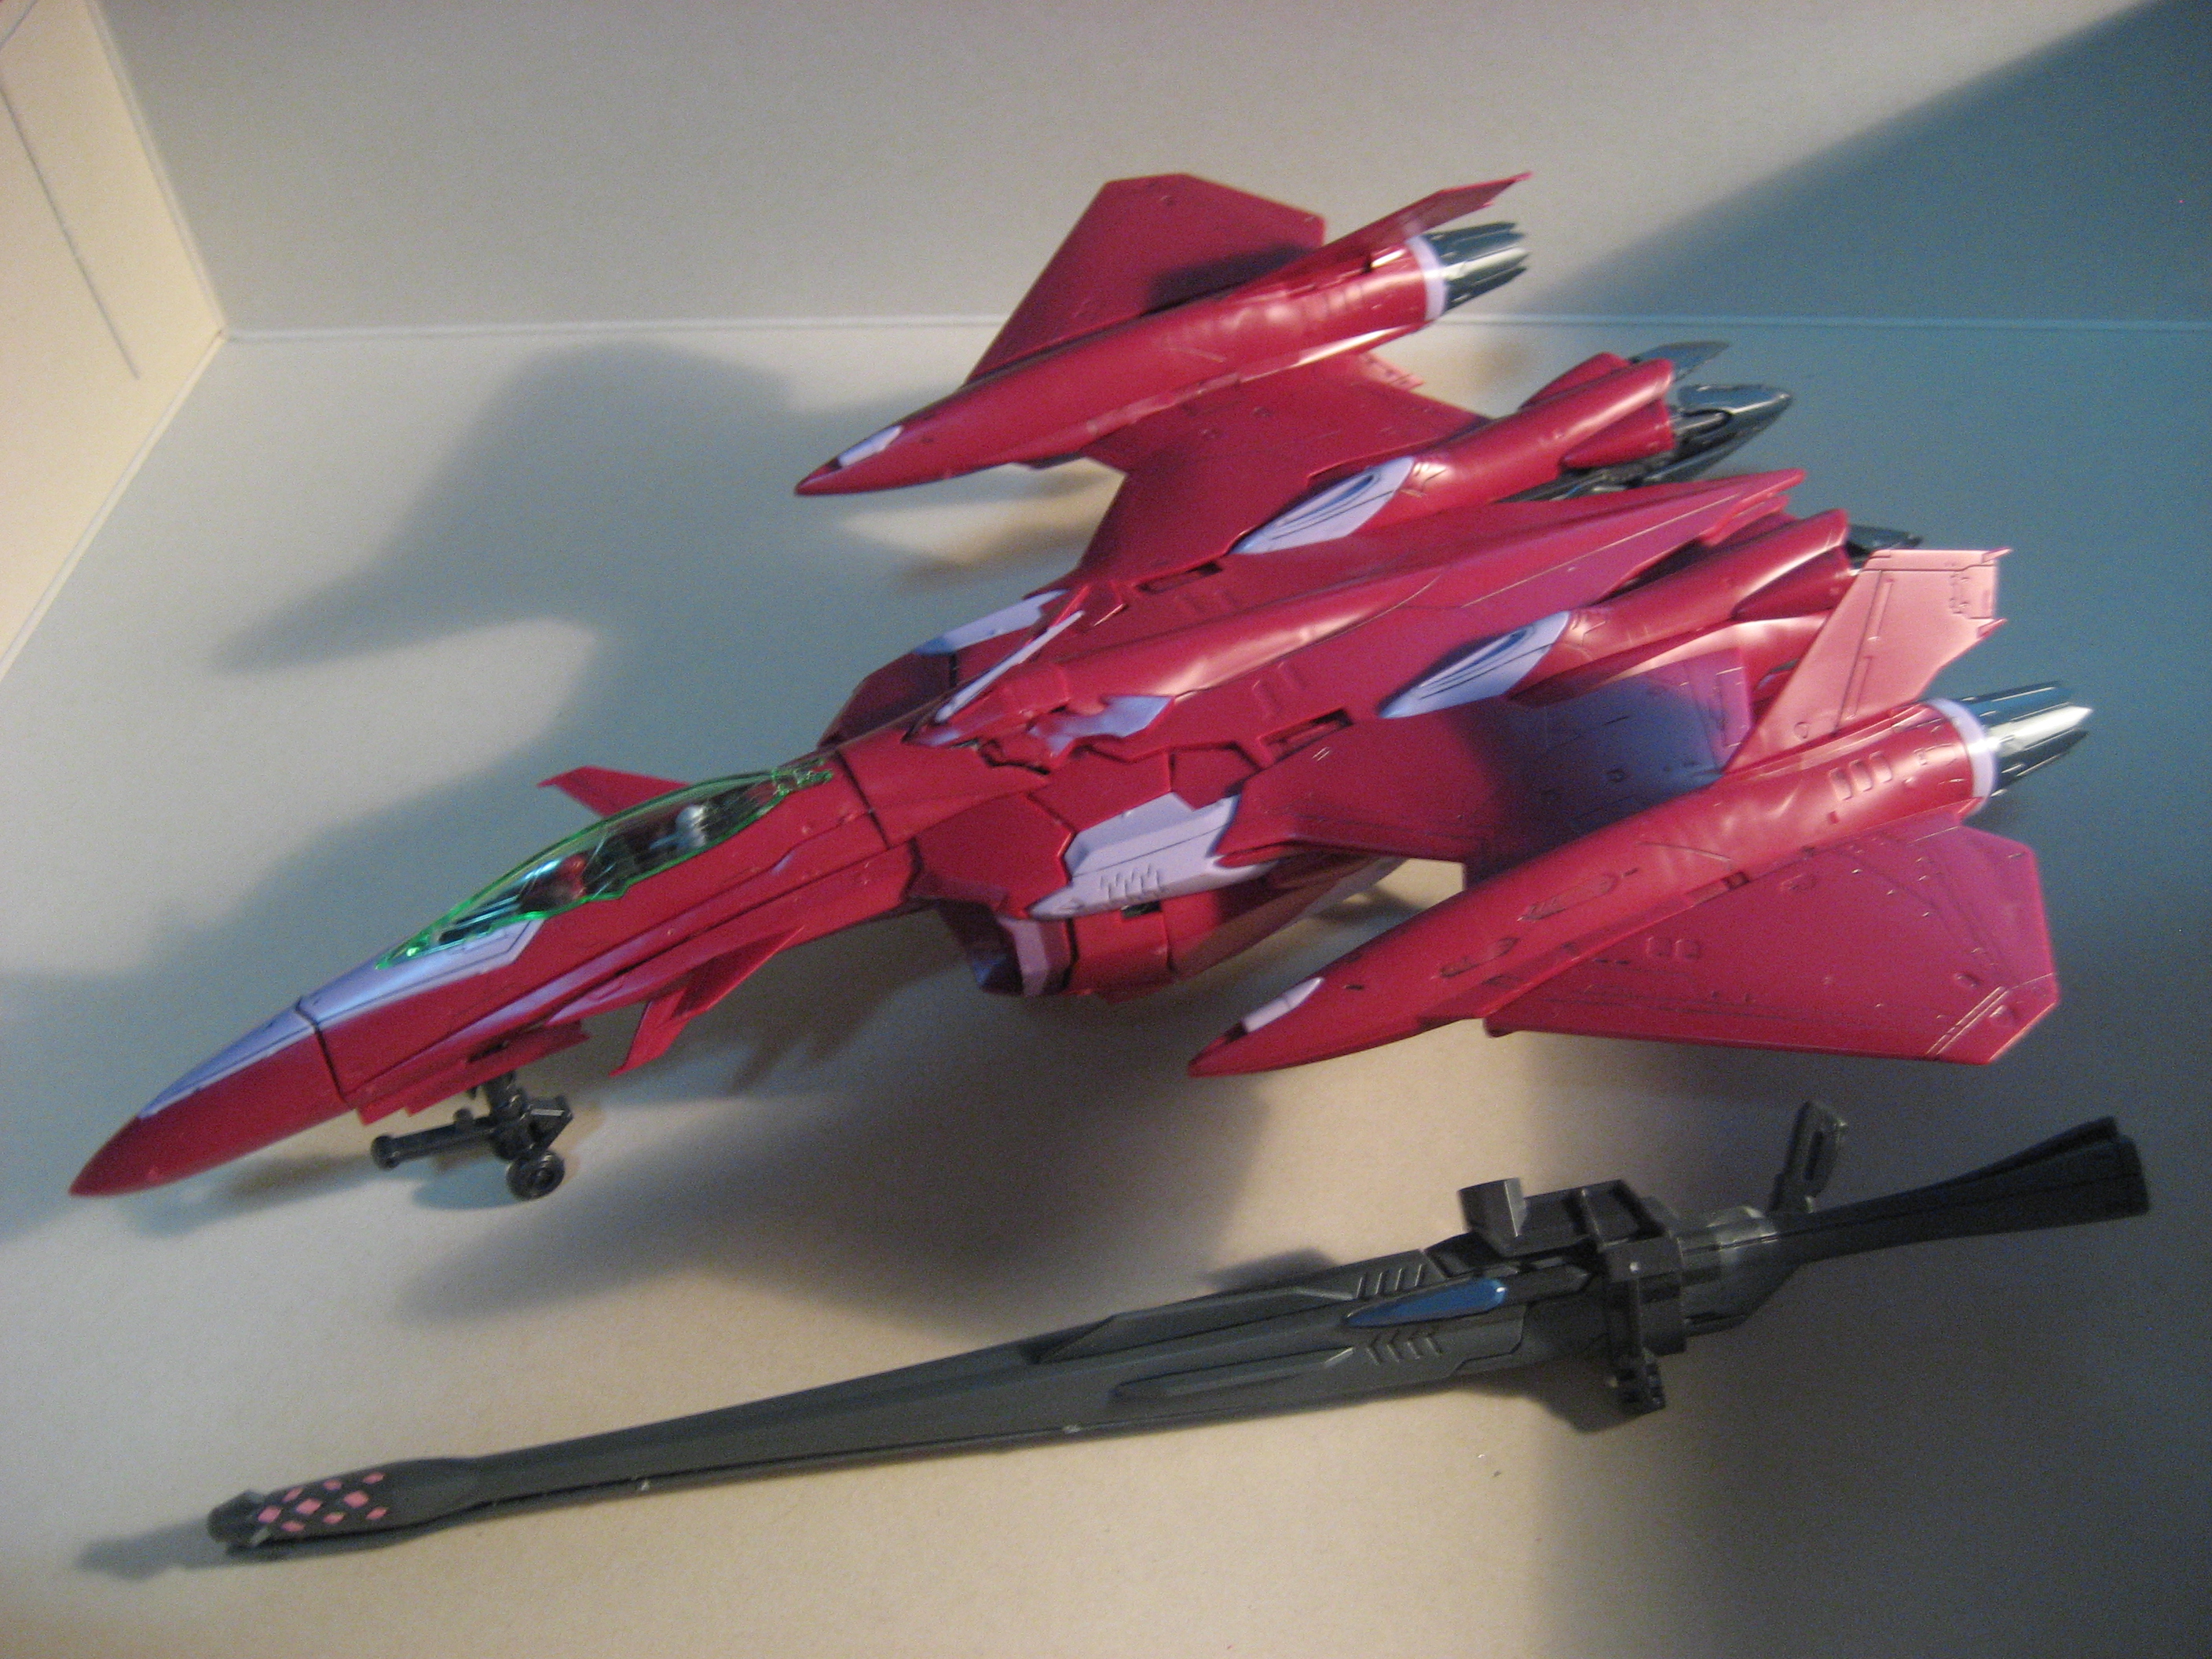
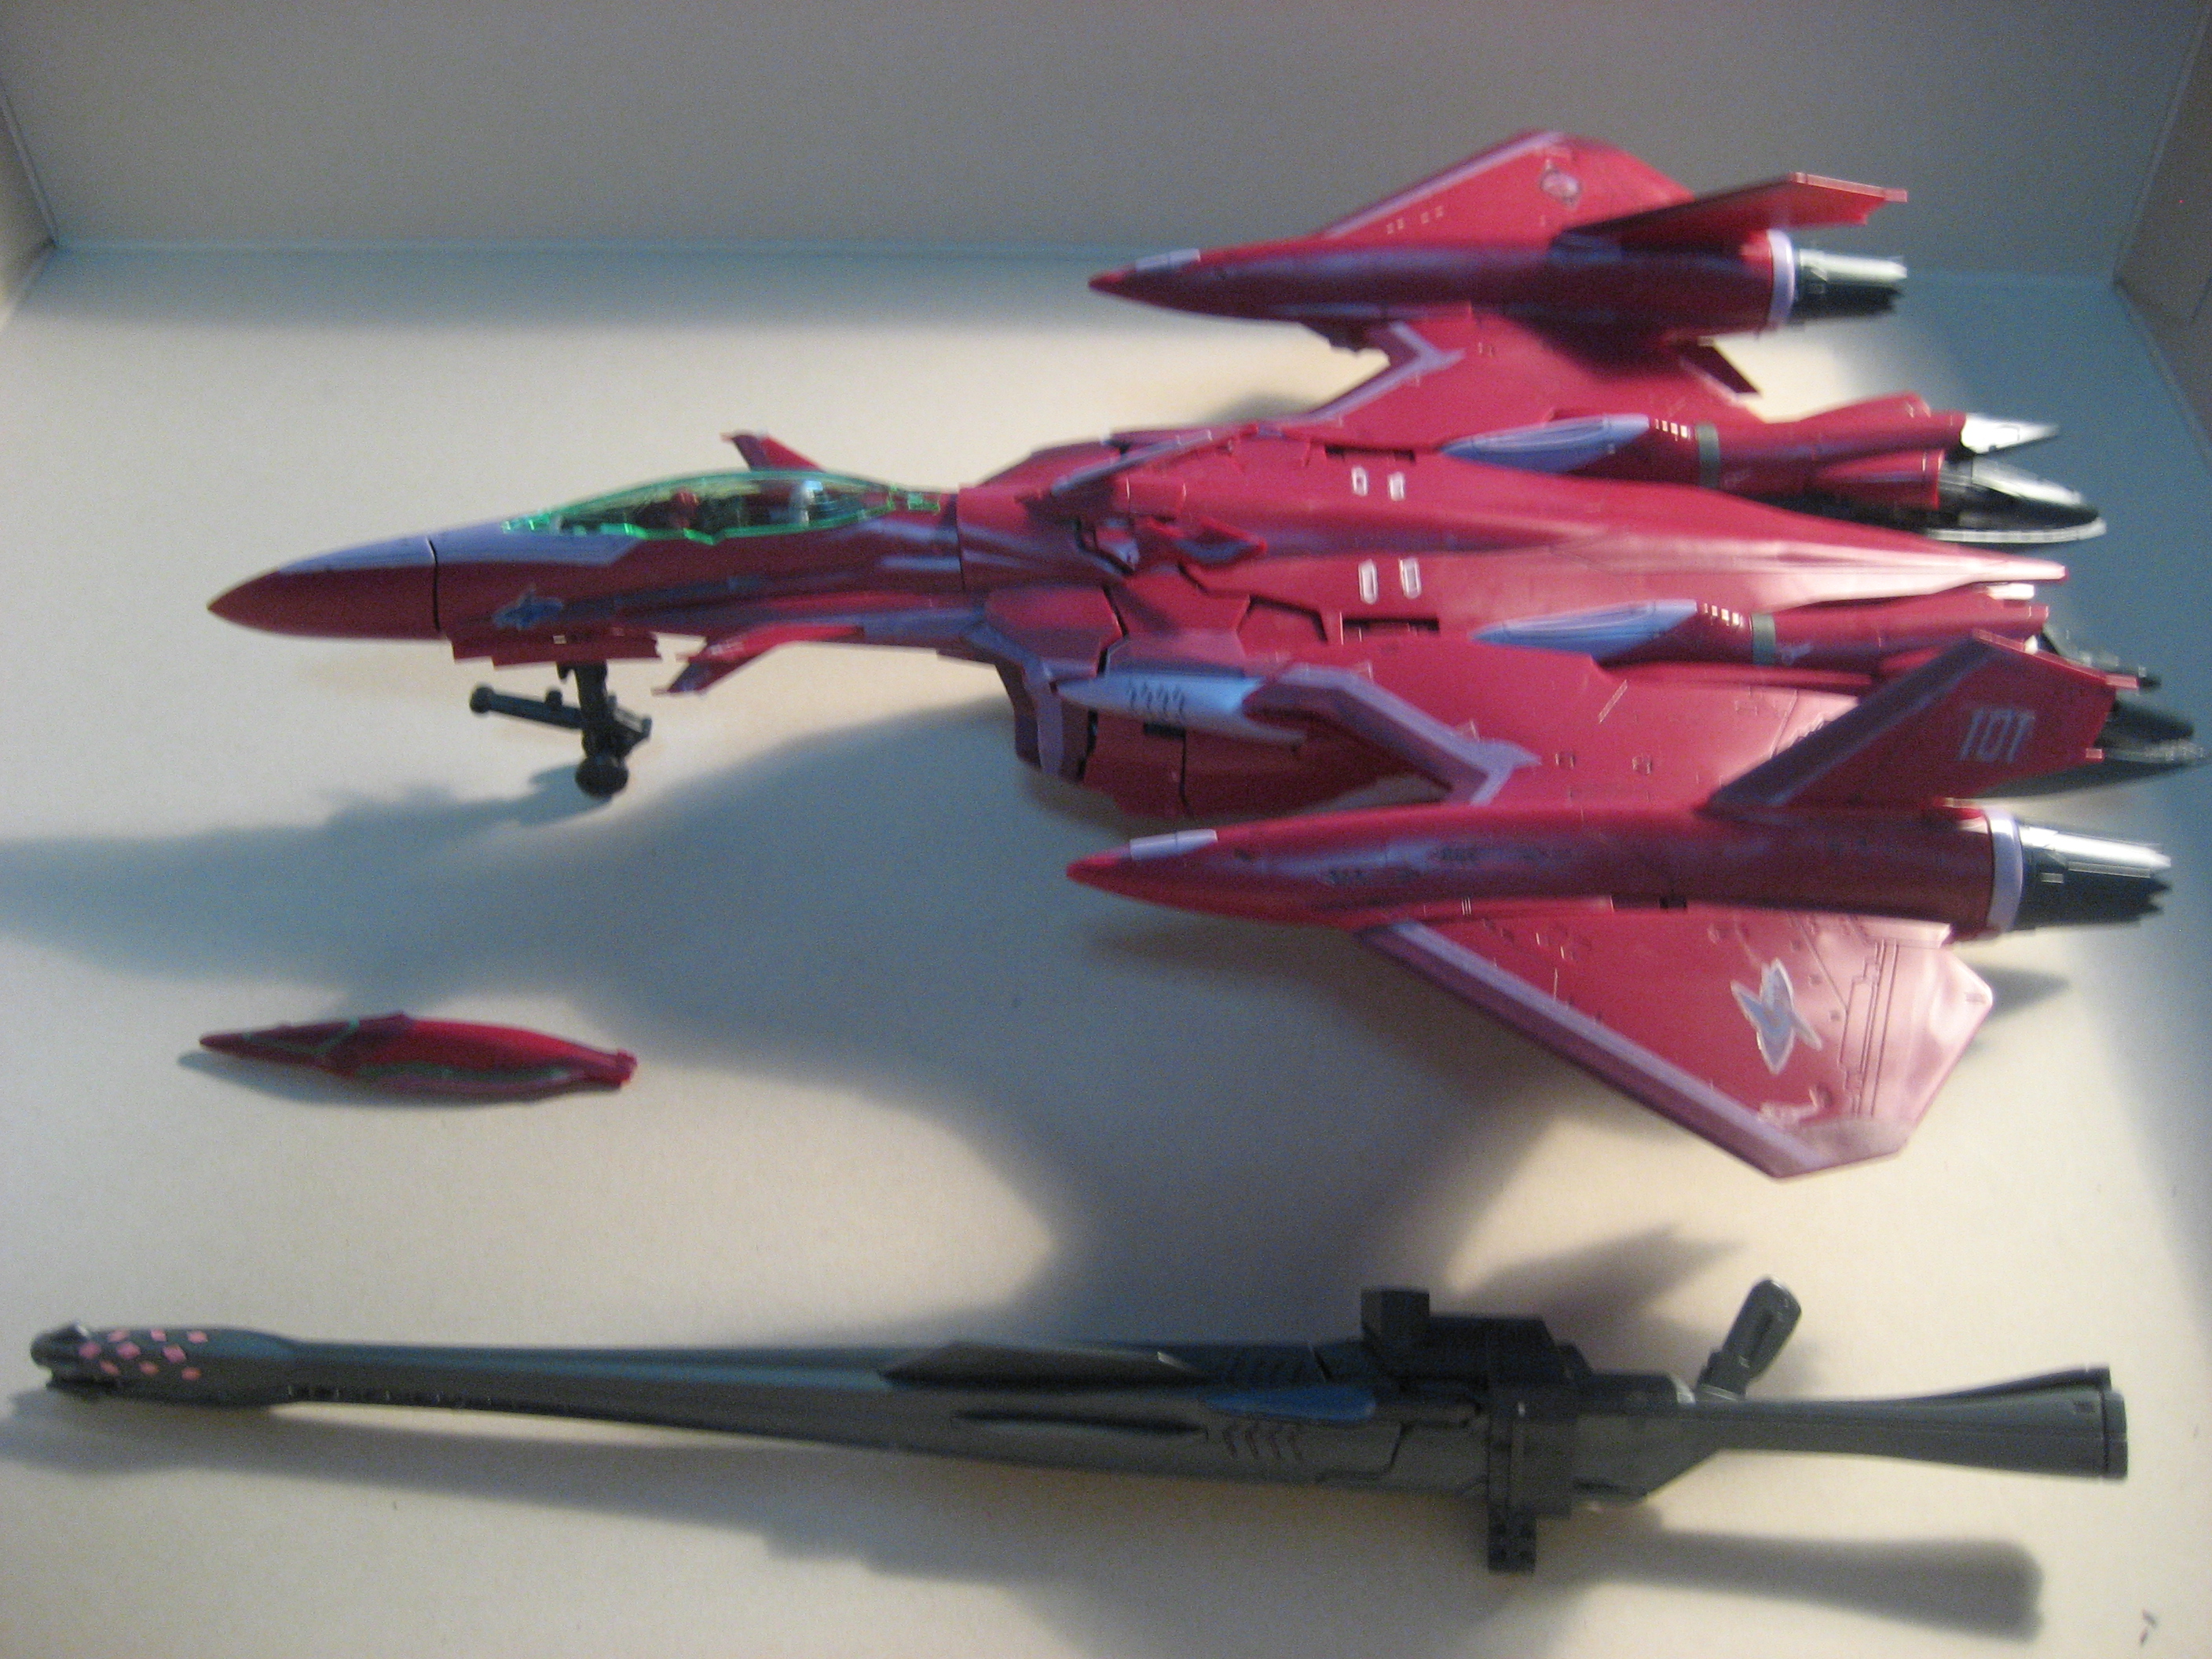
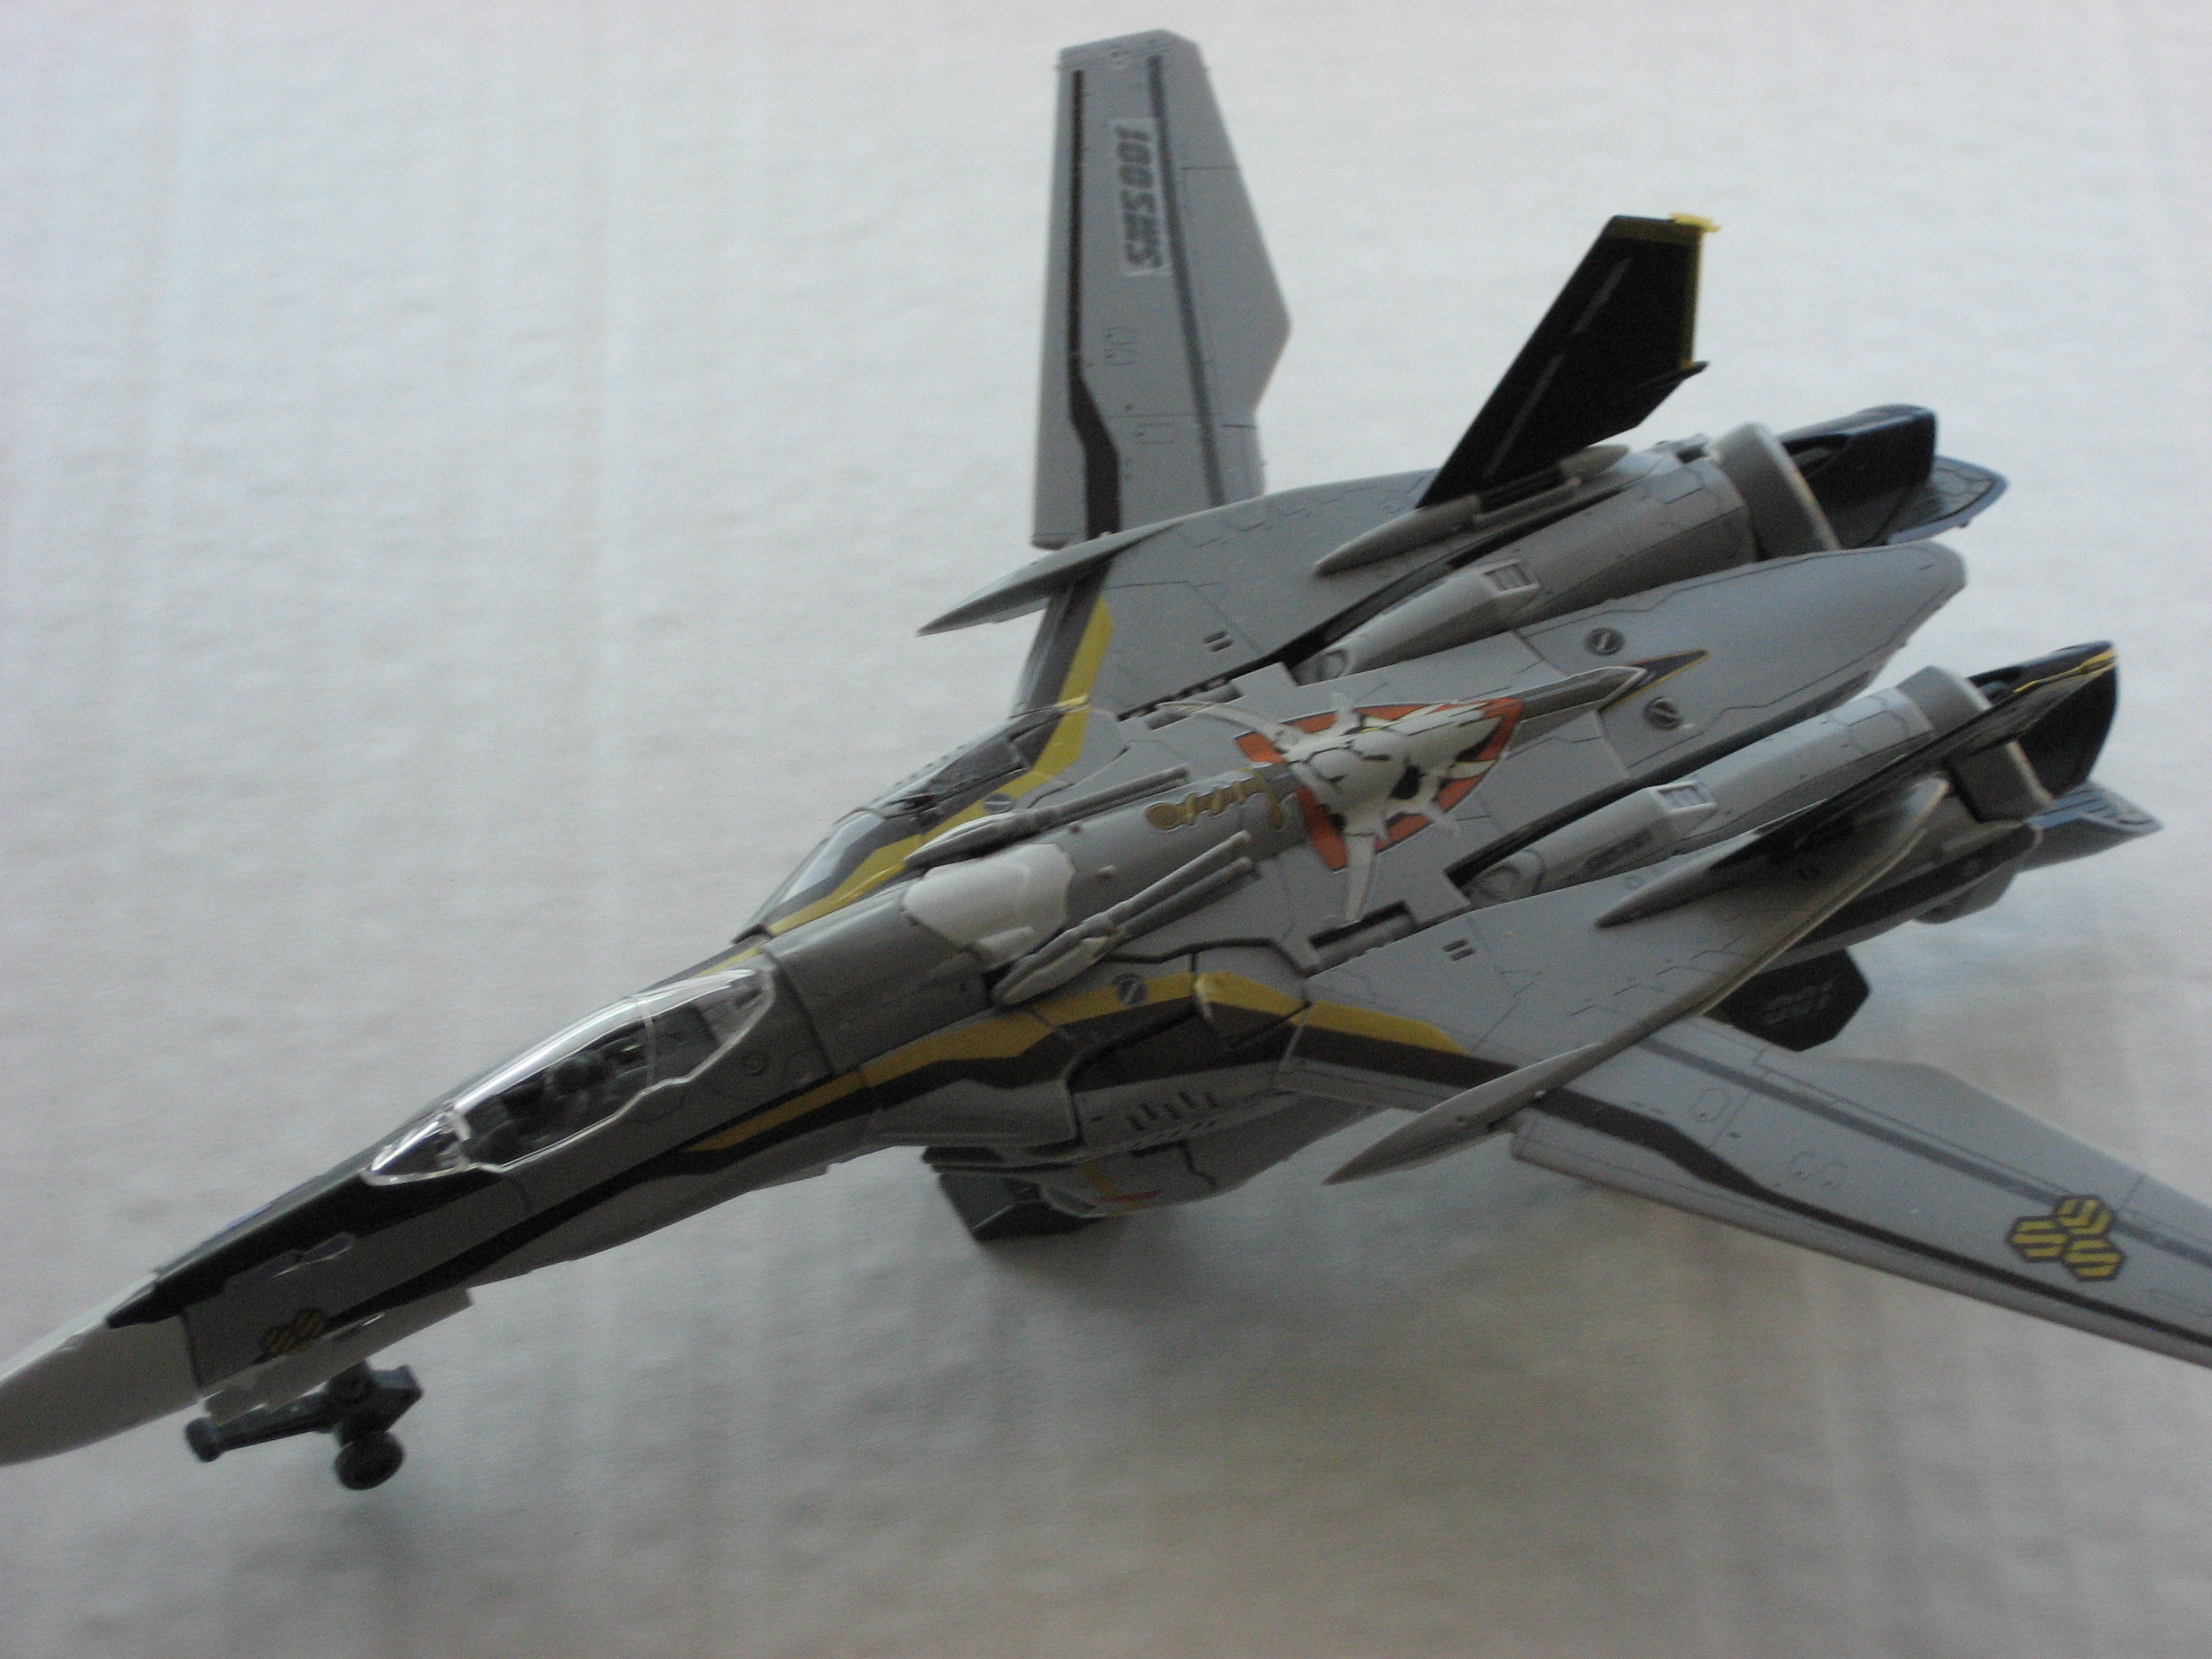
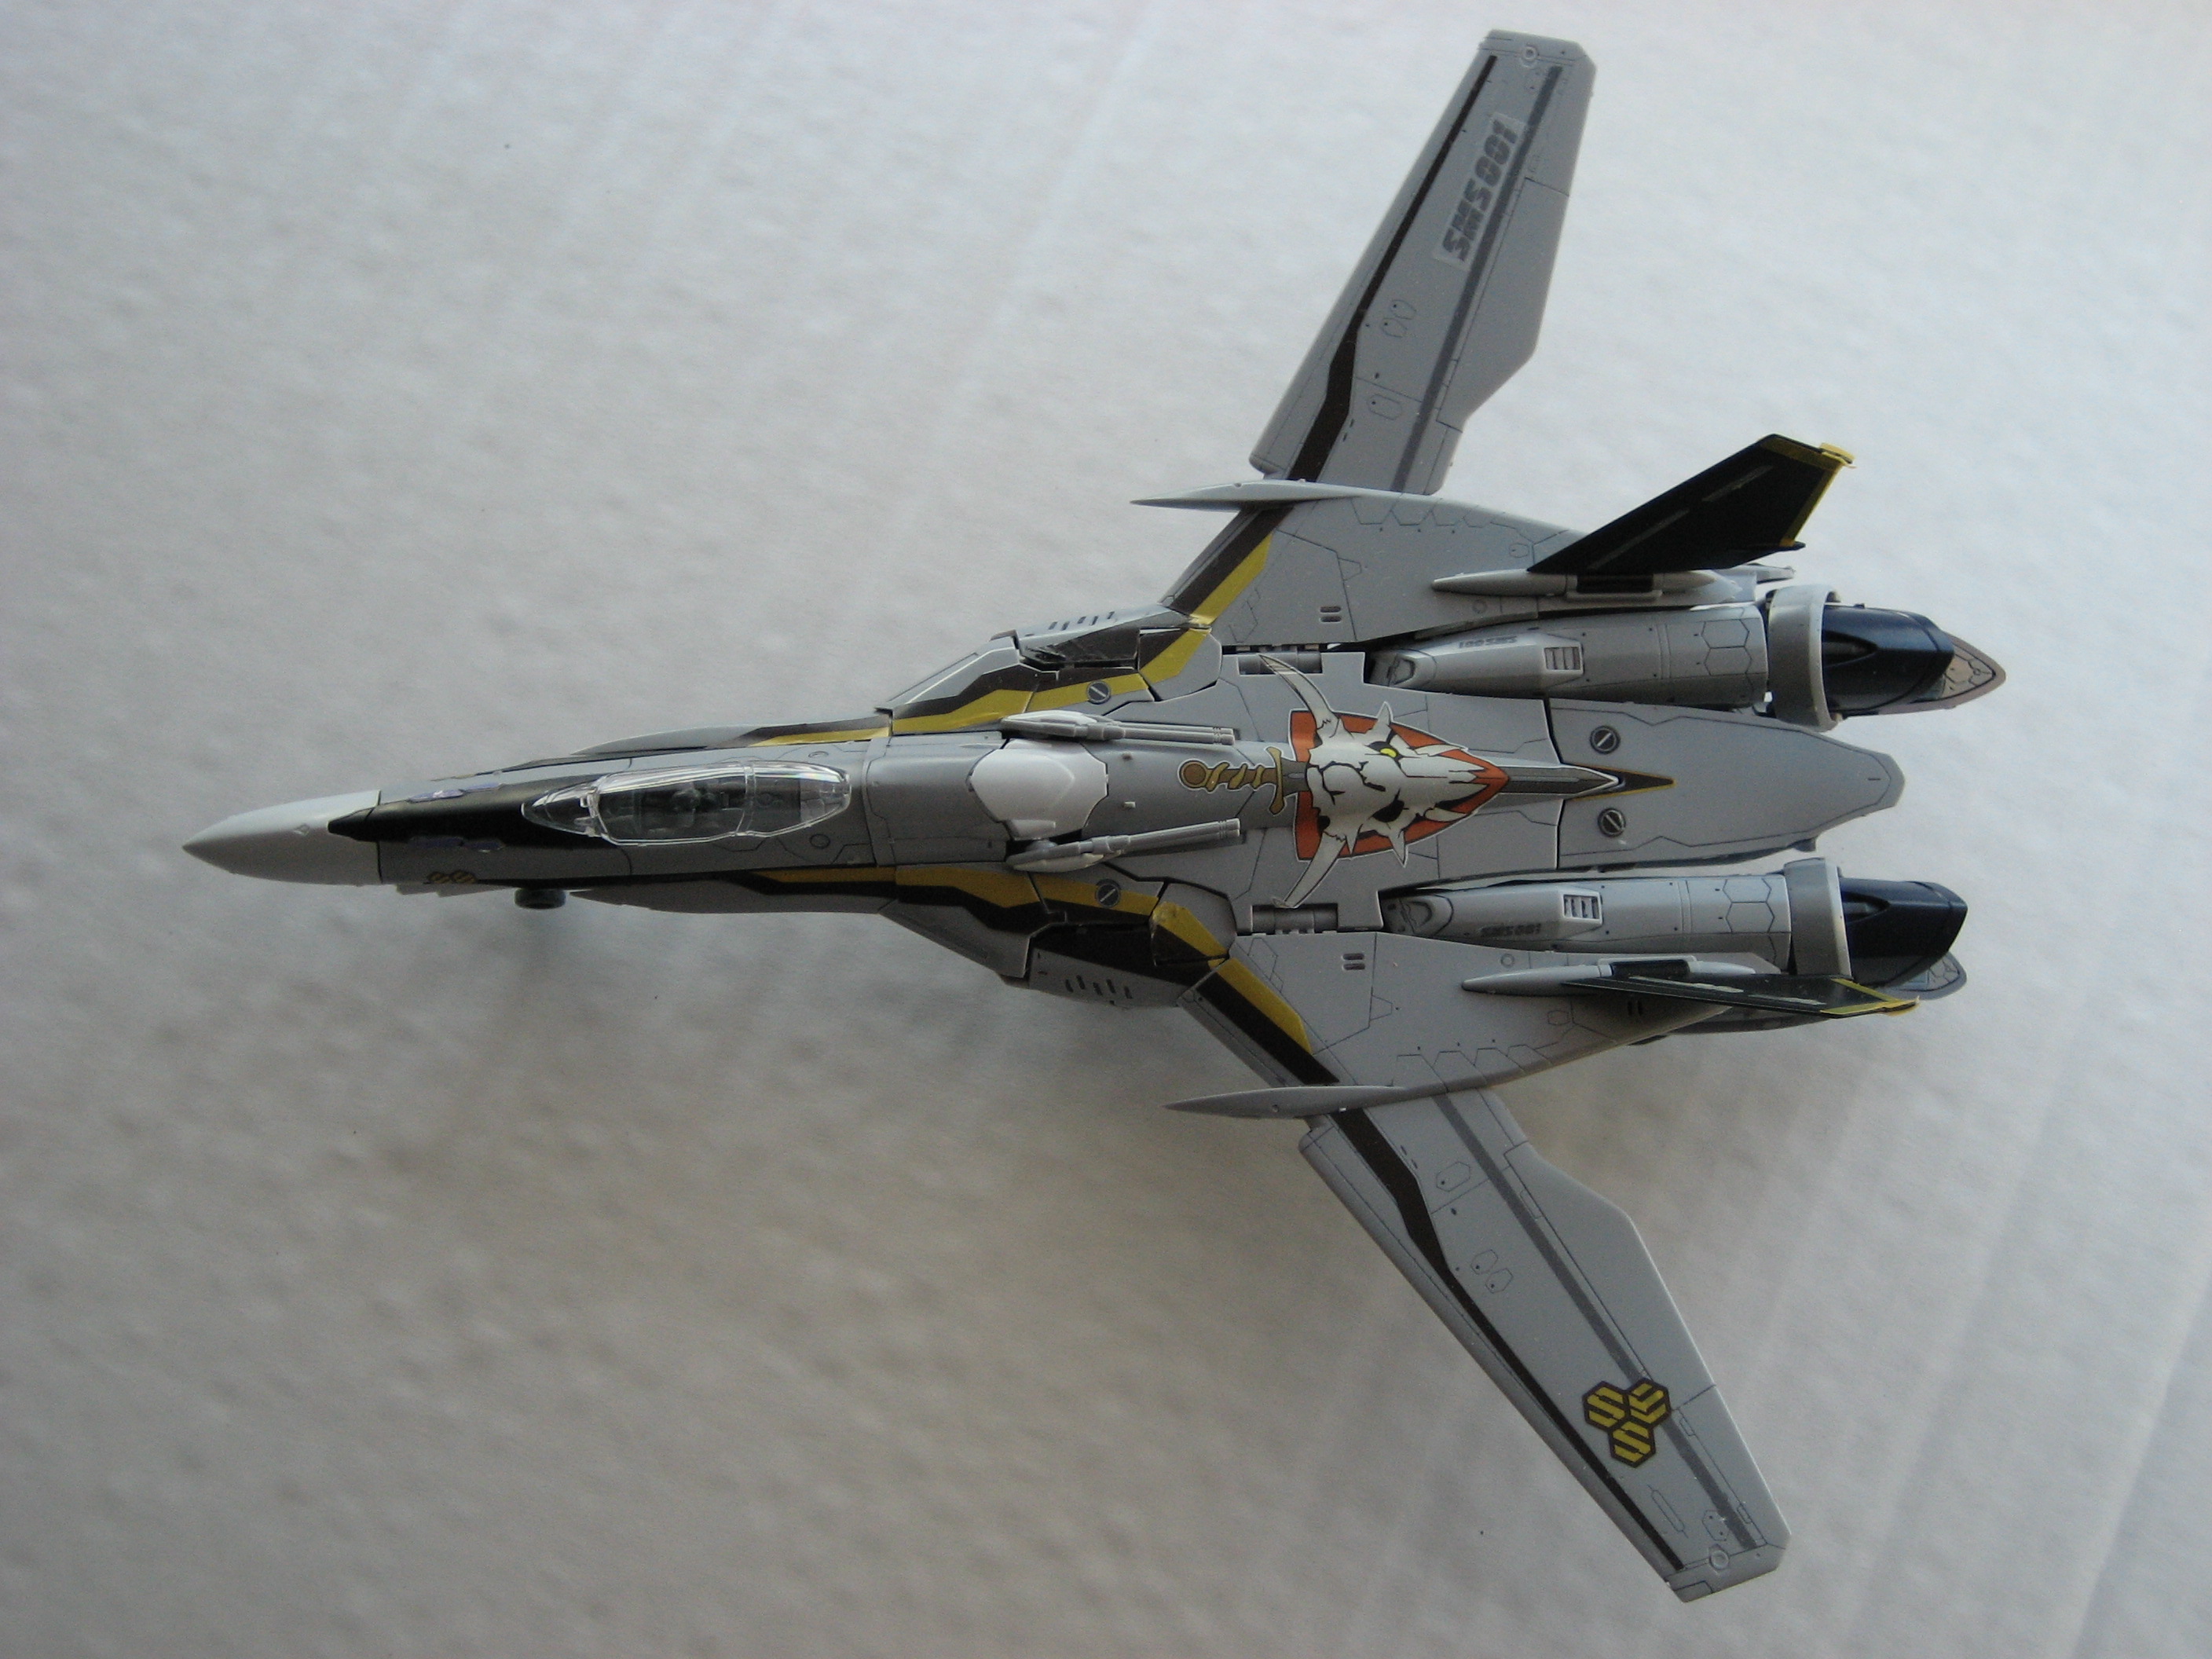
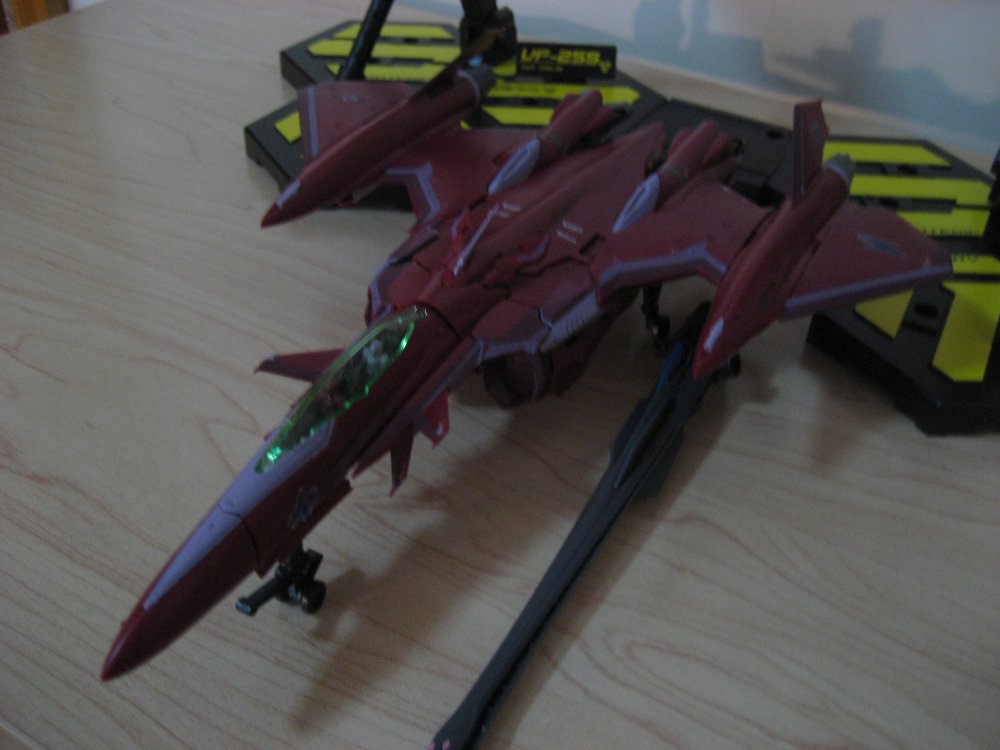
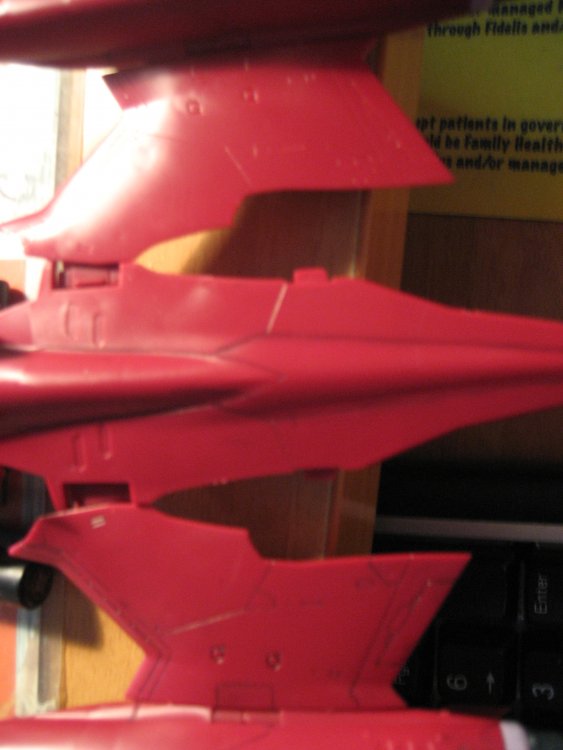
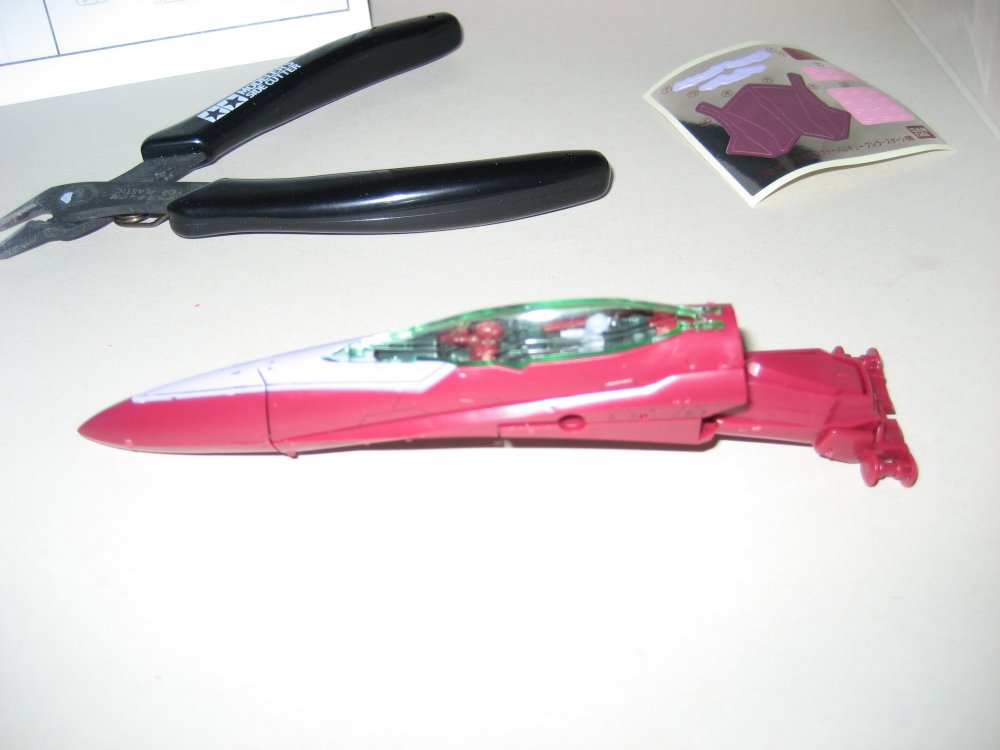
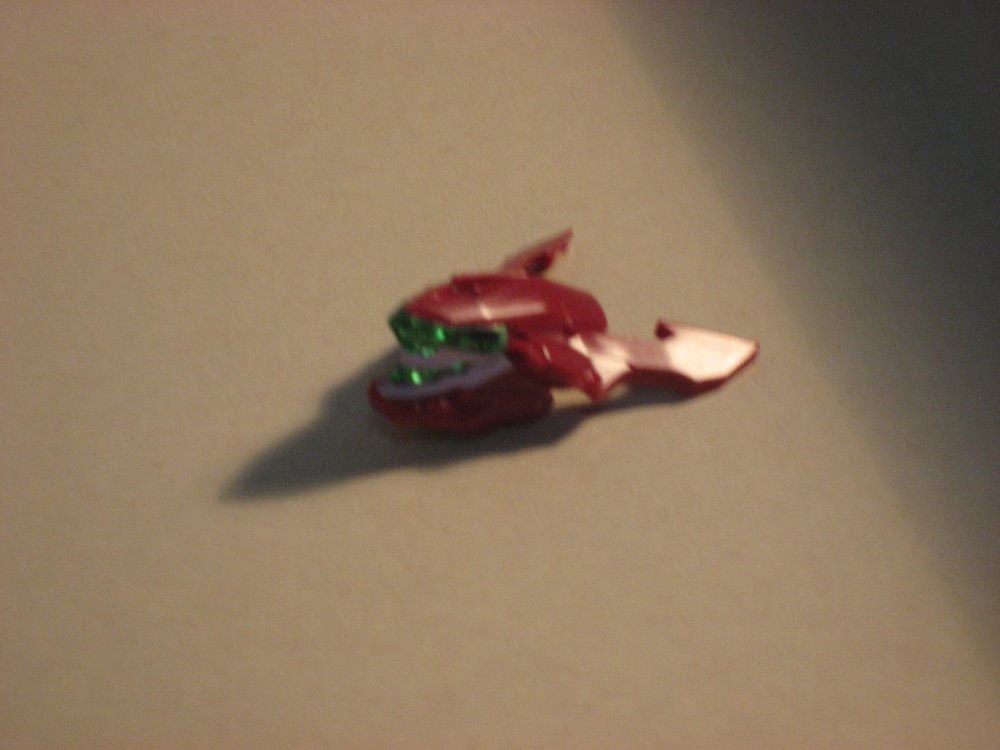
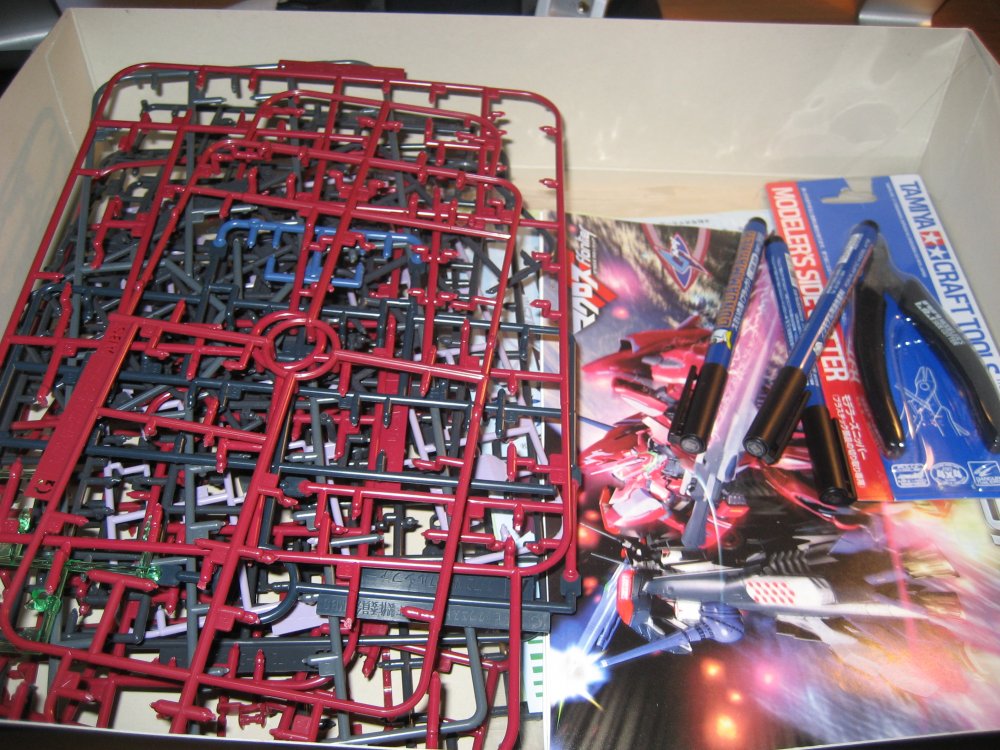
Alrighty, at this point, we're up to the Main Fuselage and Final Assembly. Main Fuselage + Final Assembly - 3 hours 20 minutes - Alas, the main part of the plane is here. Step 8 starts off with the building of the head joint and connection with the Cockpit to form the main fuselage. The side armor and vents are also added, along with the side fins. There are some small panel lines and stickers/decals you may wish to put in prior to final attachment. Following this step, you get to the connections with the wings, which is done by two attachments to the center fuselage that stick out and are attached via two small metal bars. I took quite a while myself to get the bars to fit in perfectly into the slot and even then they still stick out about 1mm out, slightly interfering with the wings placement, but otherwise okay. This was perhaps the most annoying and time consuming part. - Afterwards, you get to the section of wing connection, which is a series of rather simple, yet effective snap togethers of top and bottom parts. Note that if you're panel lining, you should do it at this point prior to connecting them together, as it is much, much easier to do so. Personally I accidentally skipped the panel lining here and had to go backwards and do it after, which was much more tedious. Finally, you add on the actual rocket boosters, which are straight forward, and also simple, yet effective. There are a fair amount of panel lines on them by the way. - Final Assembly itself has definitely been streamlined compared to the other VF-25's. There's no trouble fitting in pieces to their respective sockets, and all the pieces hold together stably and easily, quite the source of relief. The addition of two tabs around each wing and leg area ensure this, as well as proper alignment of the parts, and overall sleekness and sturdiness not previously found w/ other VF-25's. Finishing off with the shield/hand connection nets you the end of this very long, but very satisfying main assembly. Step 9-10 - Rifle, Attachment - 20 minutes / Landing Gear - 20 minutes. - Step 9 covers the rifle, for which while straight forward, it is to be noted how tedious it is if you were to use the small pink stickers supplied (18 OF THEM) to decorate the front of the rifle. That feat took no less than 10 minutes of the 20 it took to build the rifle and fill in the few panel lines there were. Overall the rifle is notably molded pretty much in gray. Attachments for the opening the rifle are slightly suspect though... and tend to fall off somewhat easily. This combined with the weirdness resulting from having to open the rifle to place it under the plane is why I've left it off the plane entirely, to wait until I get the display stand. Notably, the attachement to attach to the plane and the stand seems extremely sturdy. - Landing Gear is a quick thing, you might want to fill in the small panel lines there, but it's straight forward and is extremely sturdy in its connection to the plane and support of its weight. Extra Step - Stickers and the Like - 1 hour and 30 minutes - Alas, I could seriously use a pair of tweezers, as otherwise it's extremely annoying to place stickers on, hence why it took so long. Whachamacallit, I found it slightly irritating trying to locate exactly where to put each sticker, and with the multitude of small stickers, I resolved to pretty much forego those and place the main important ones only, and some smaller ones where there are a seeming lack of stuff. Note: This picture also demonstrates the ALTERNATE CANOPY. Final Impressions... some random pictures to follow. There is an uploaded picture of panel line demo, note the left wing compared to the right.


-
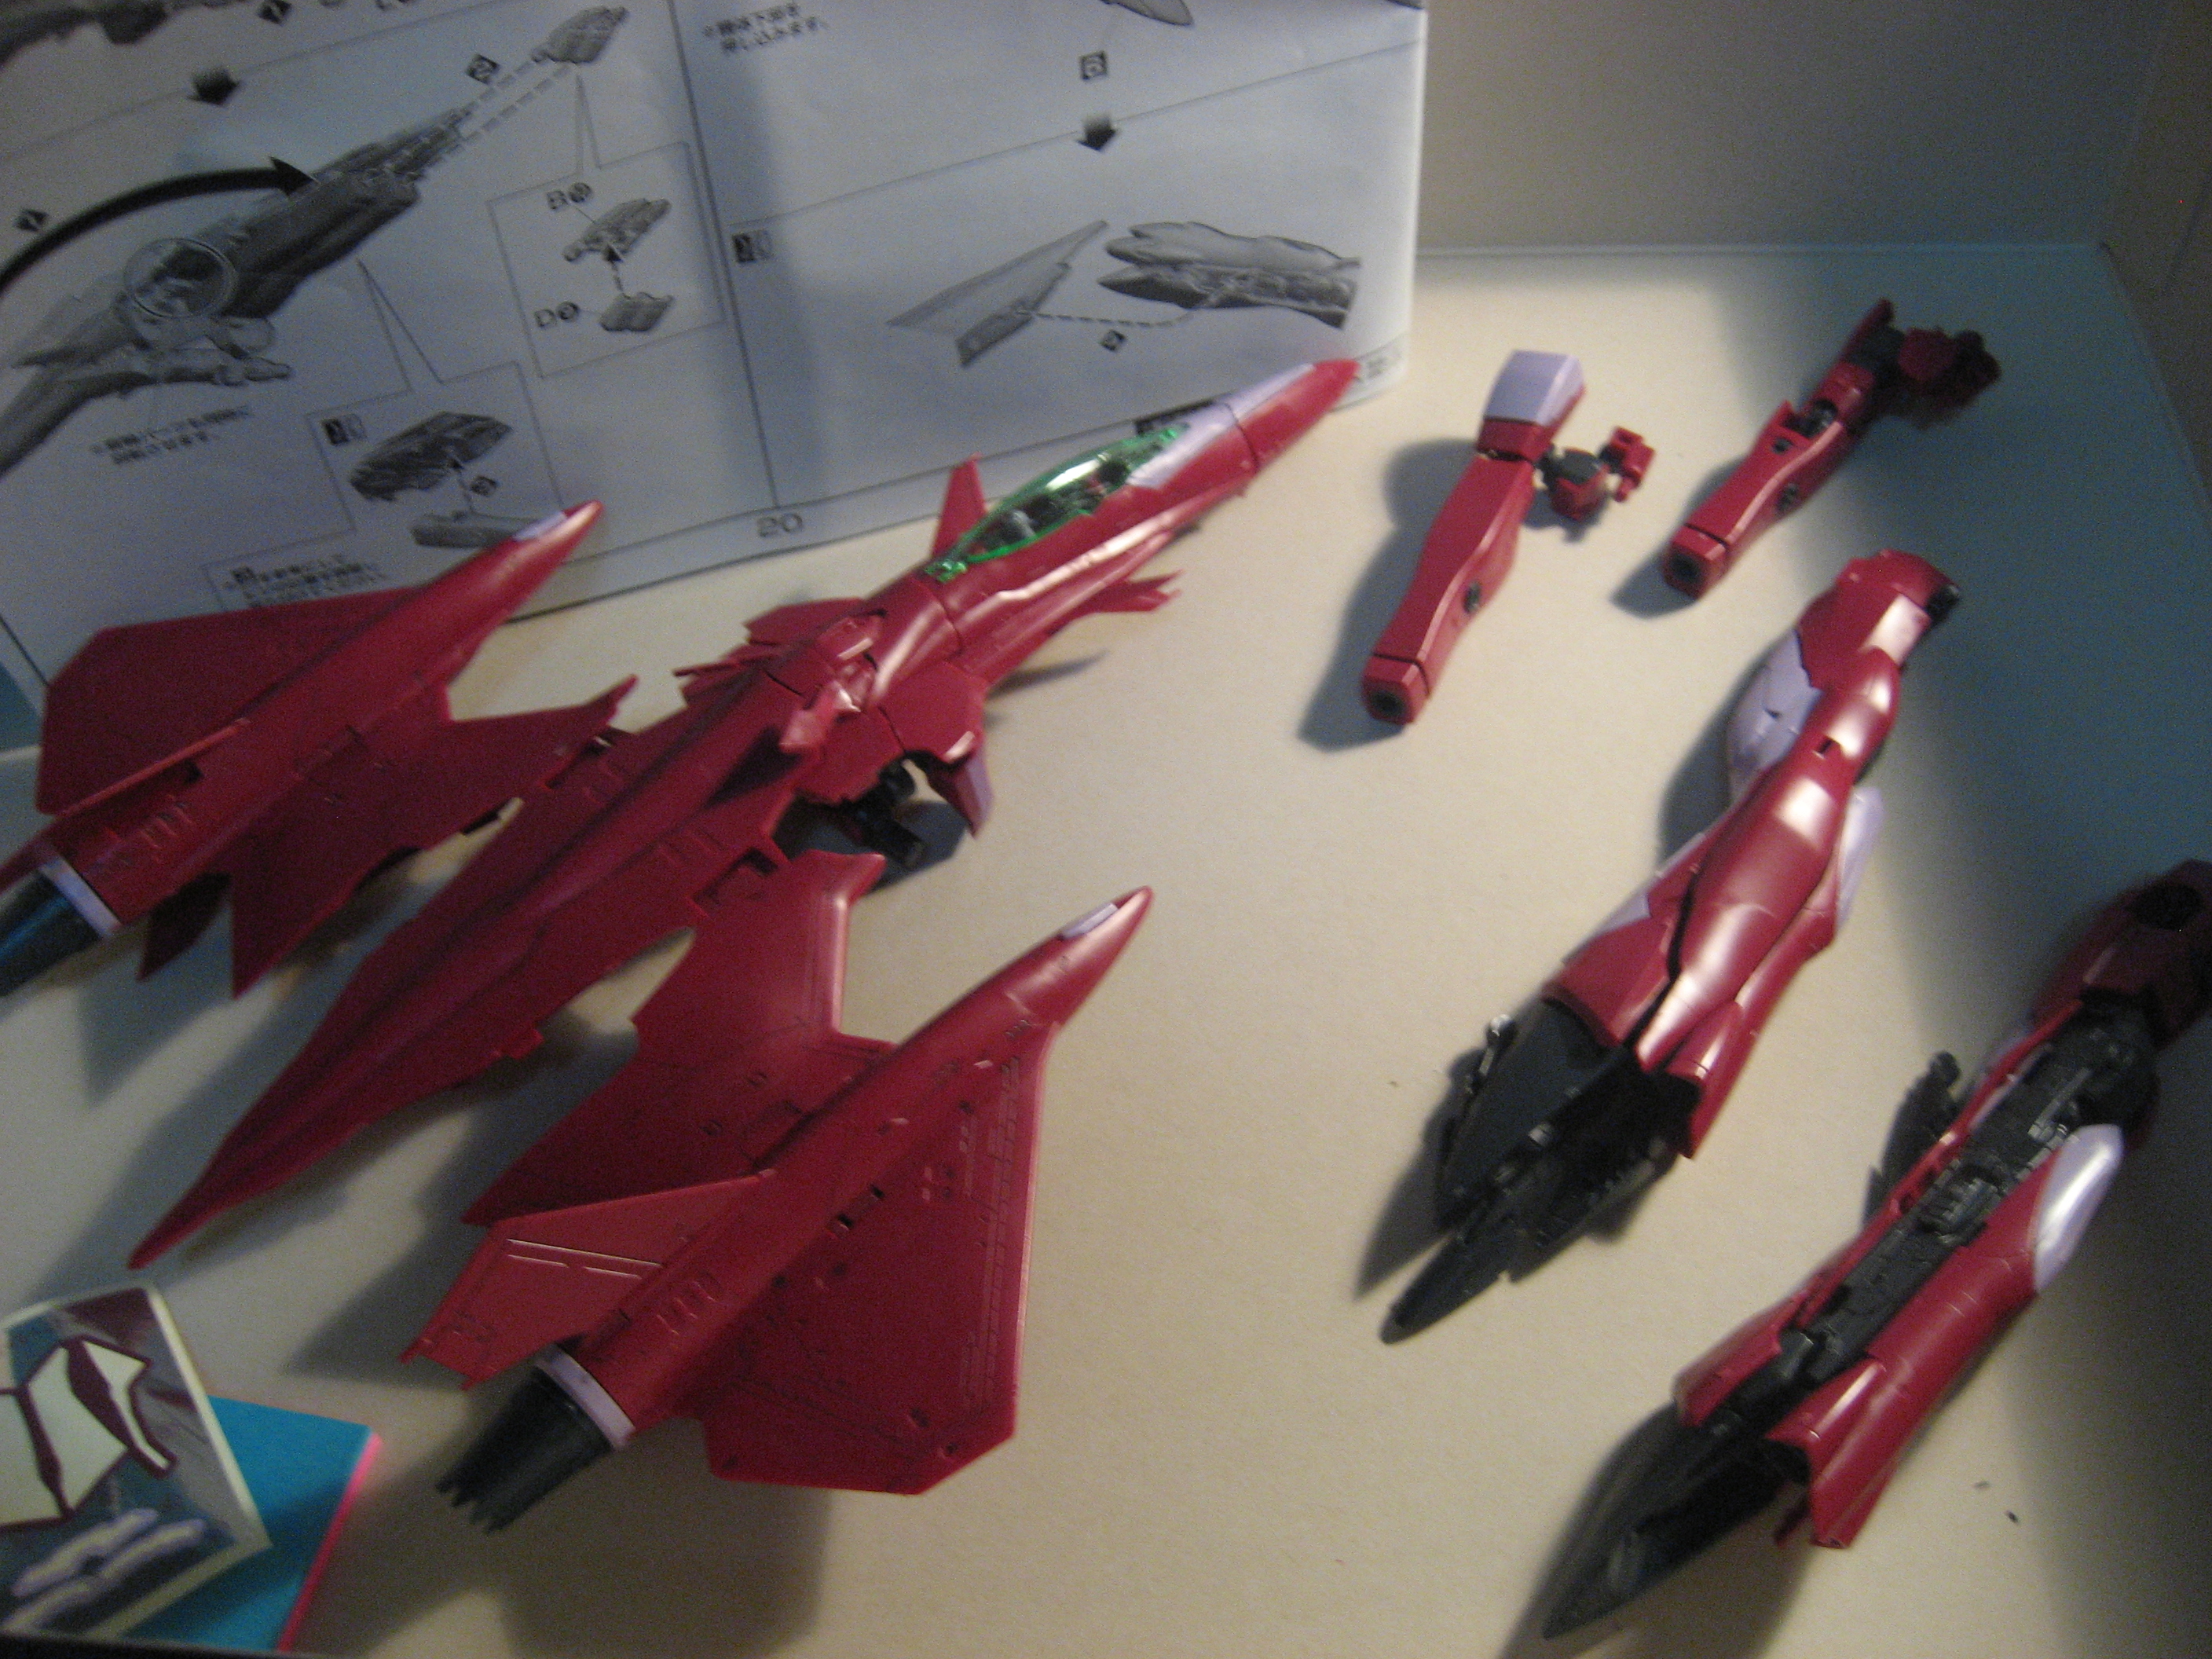
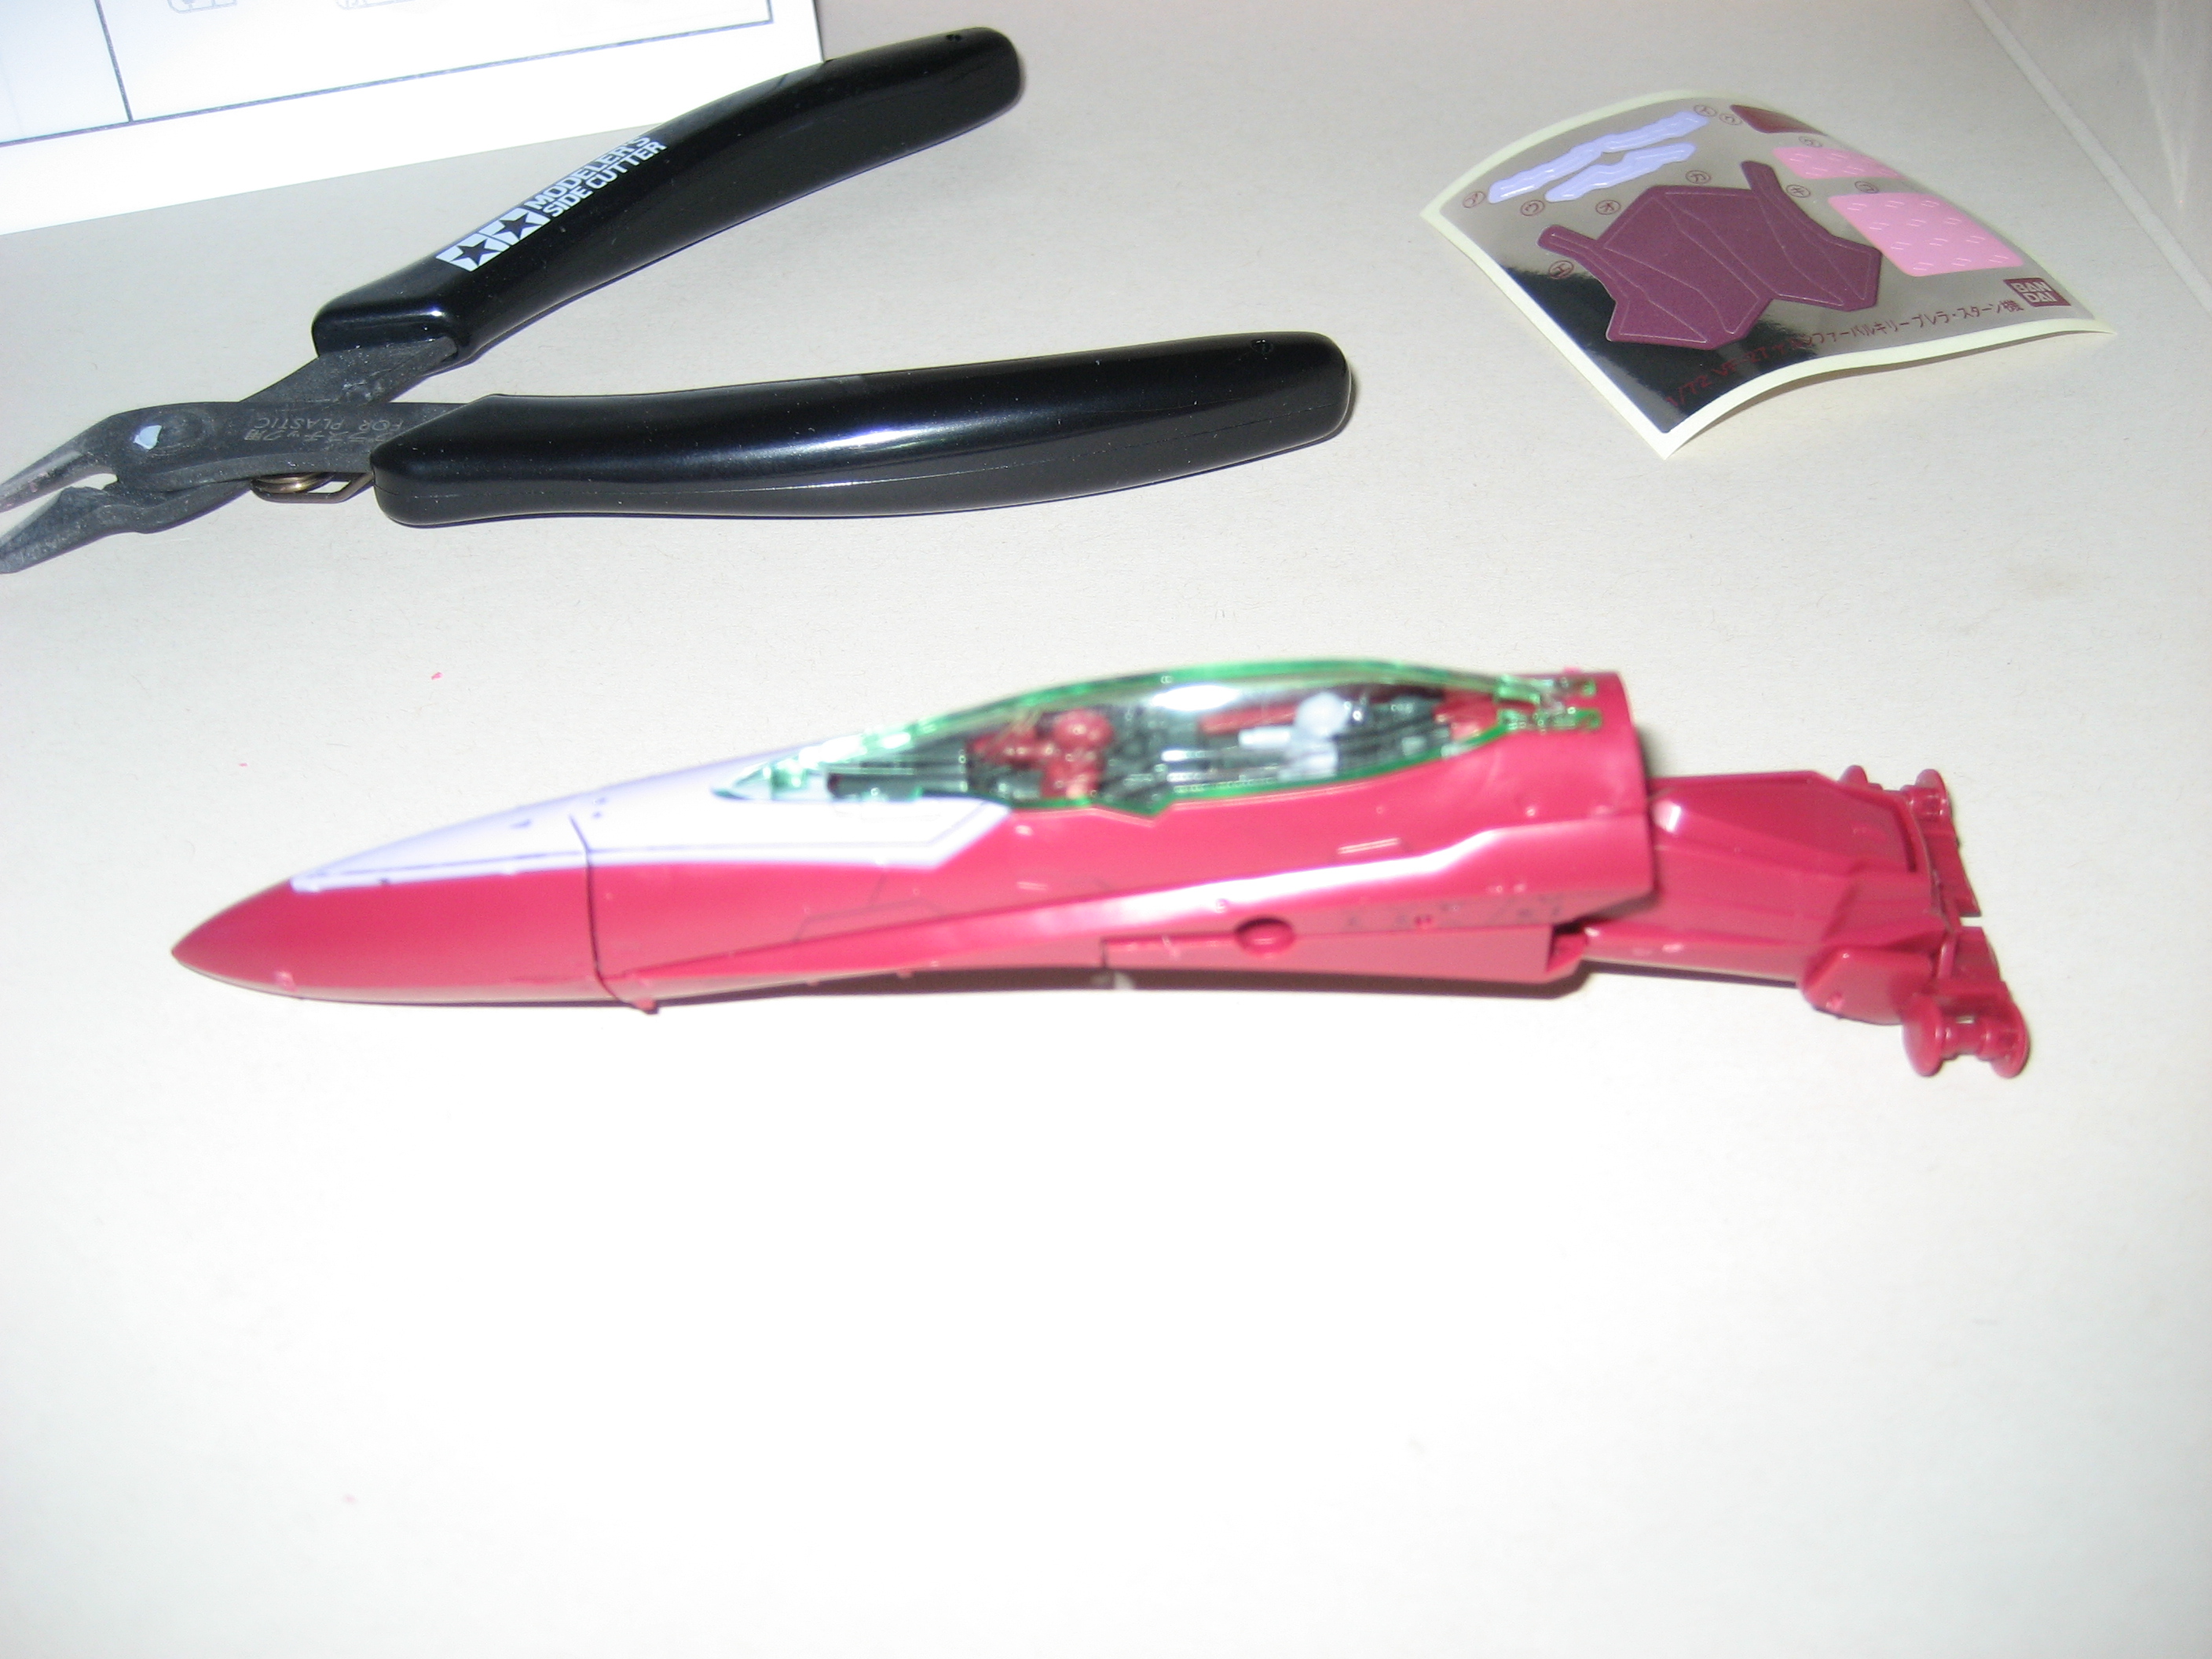
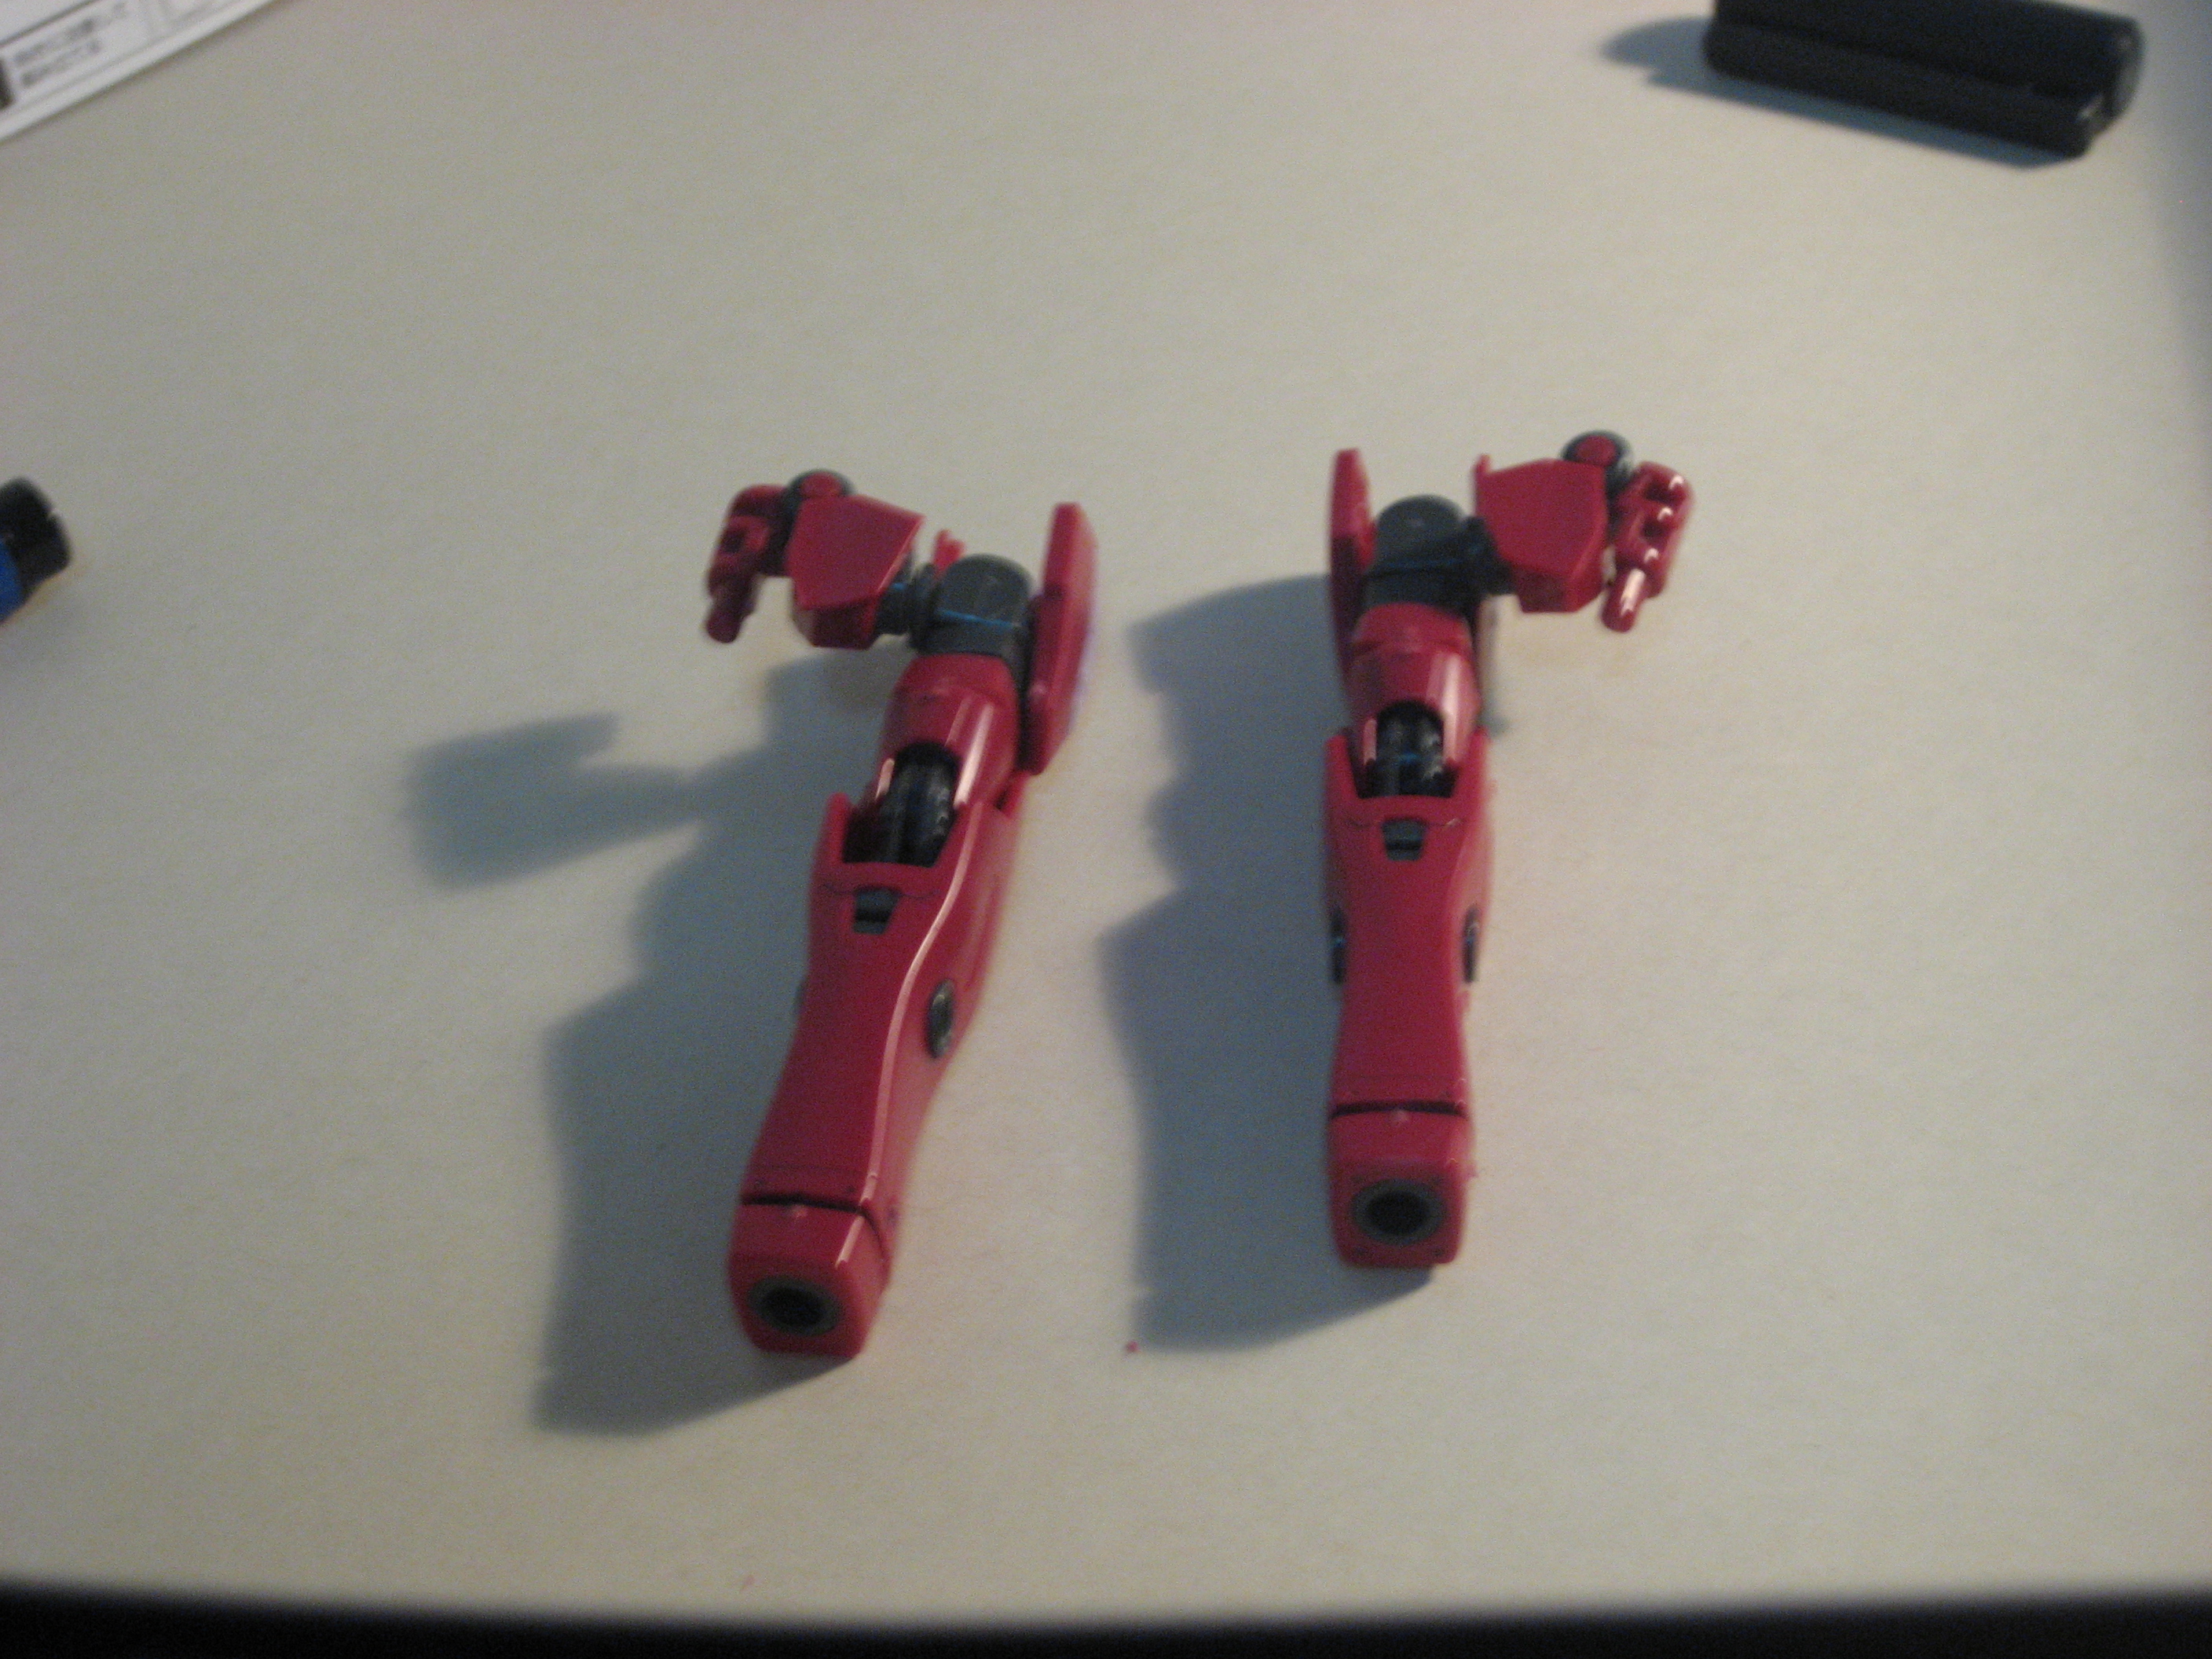
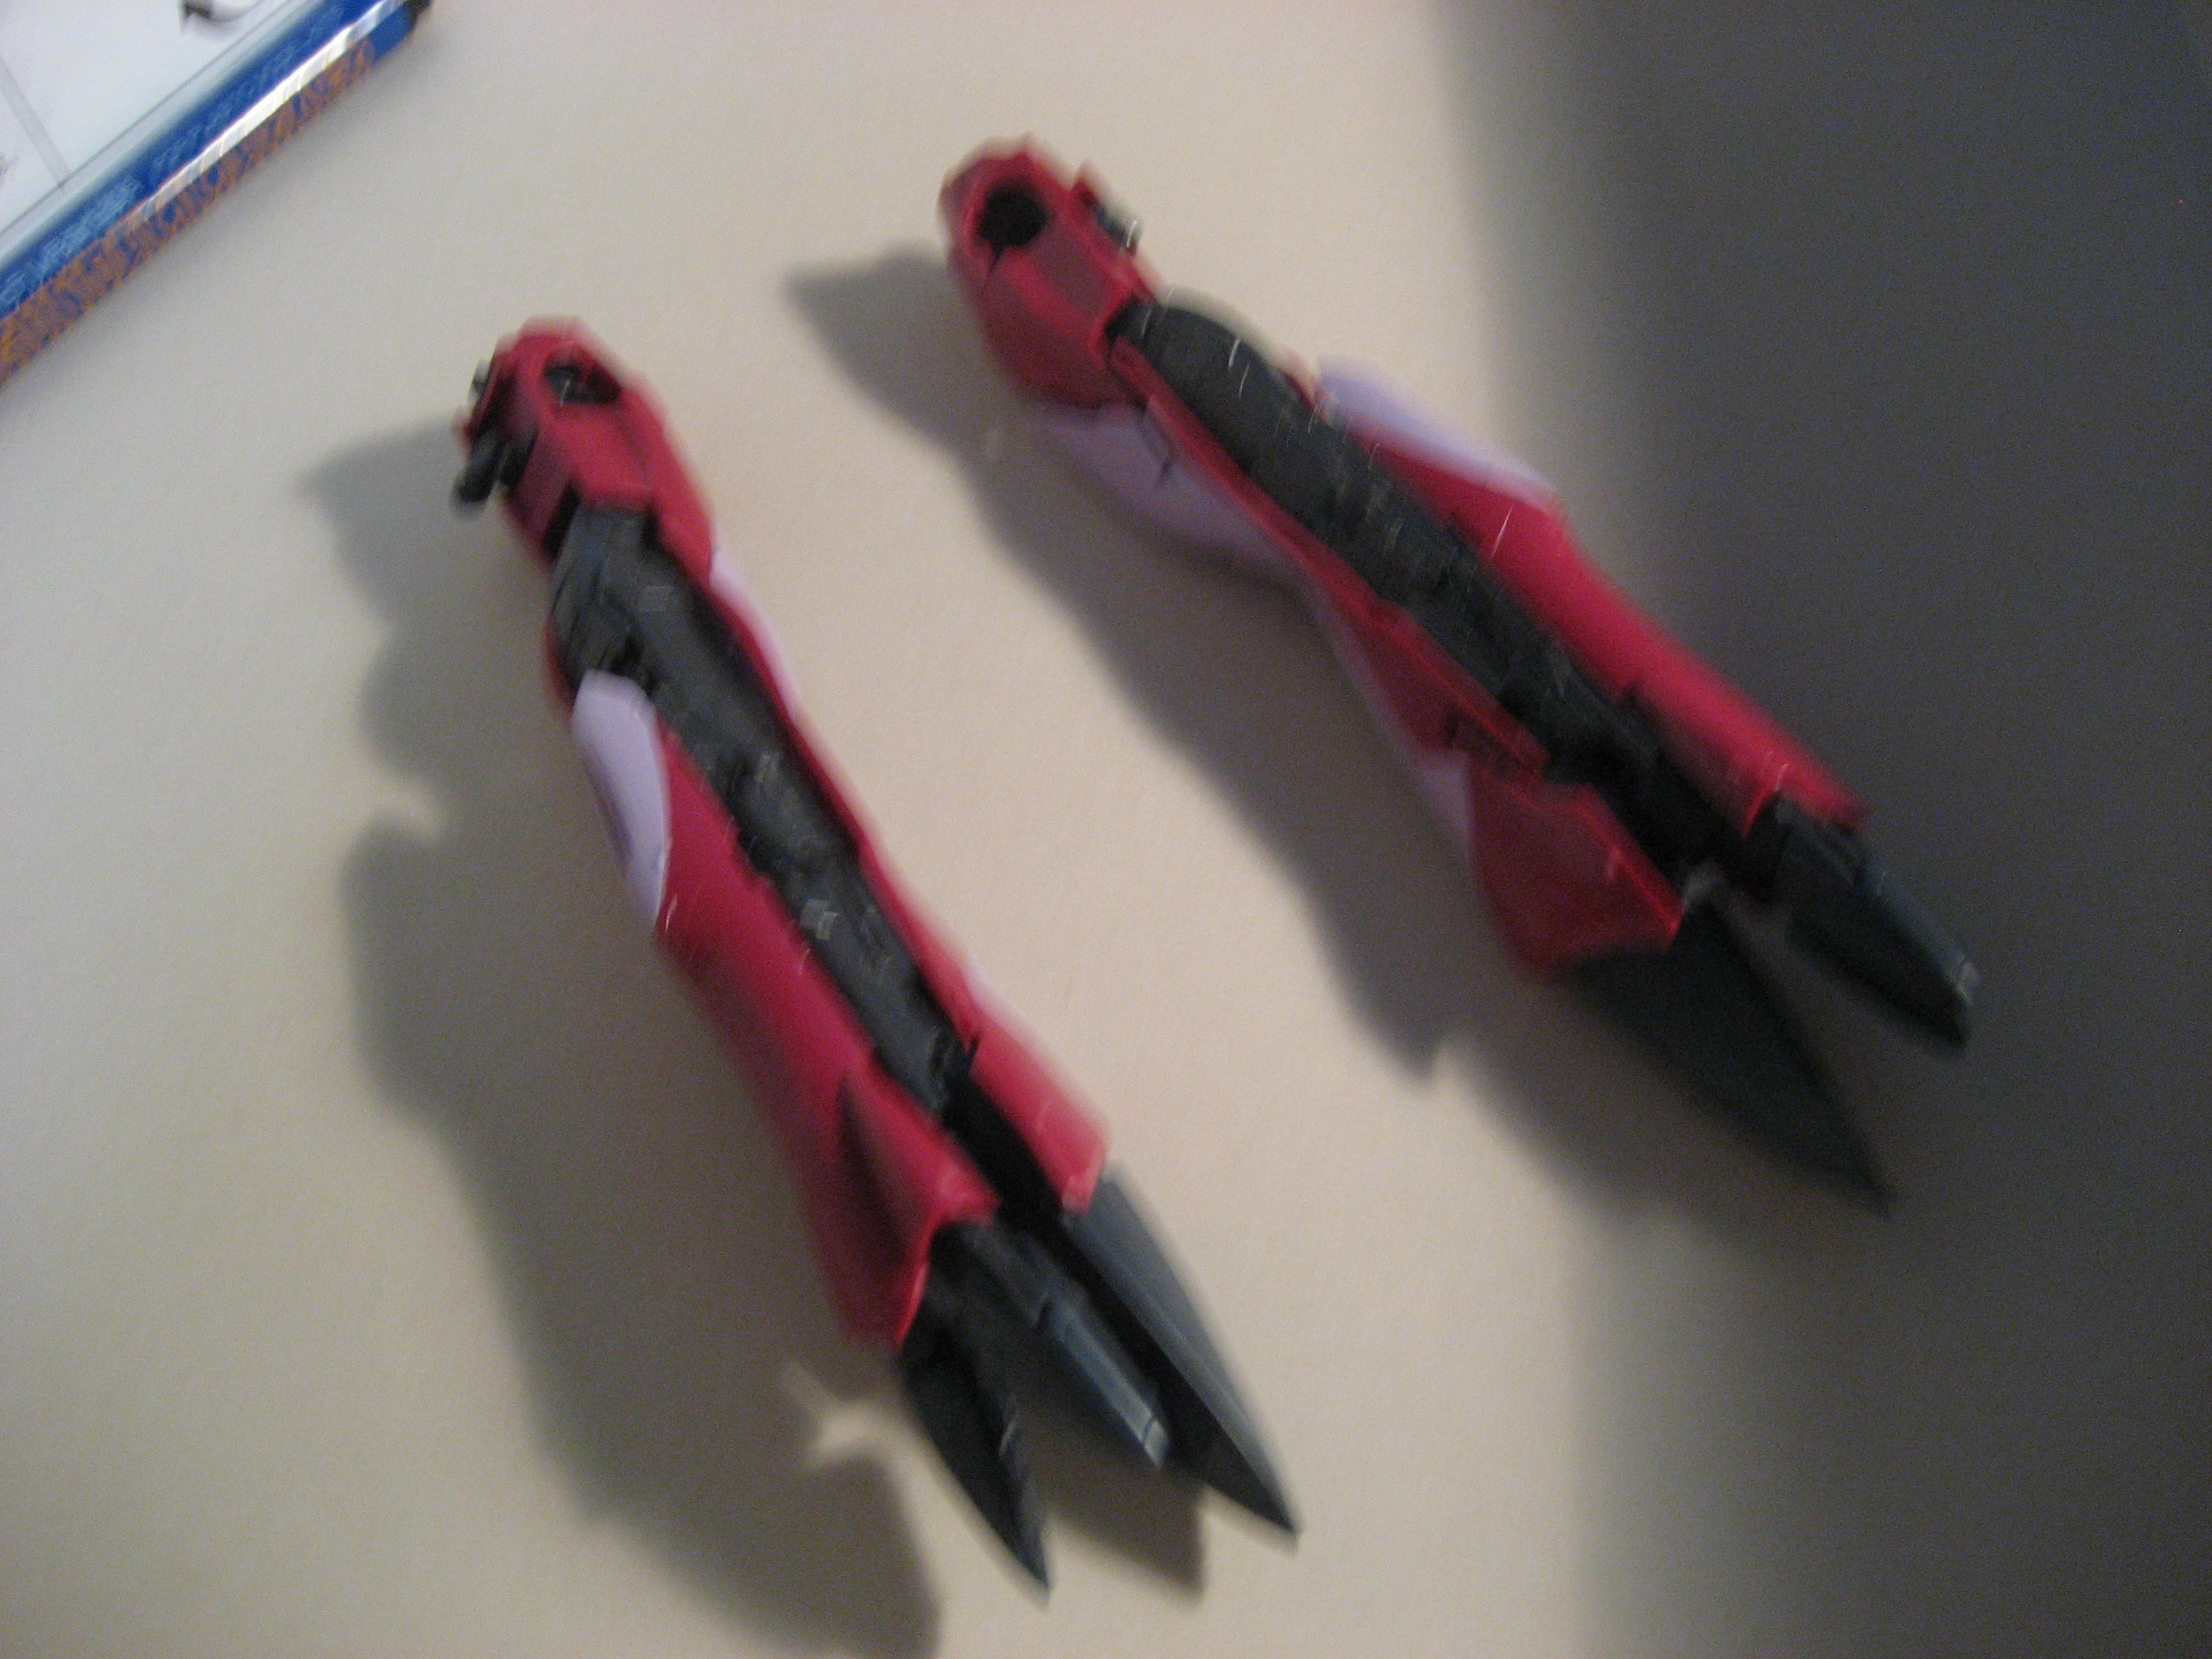
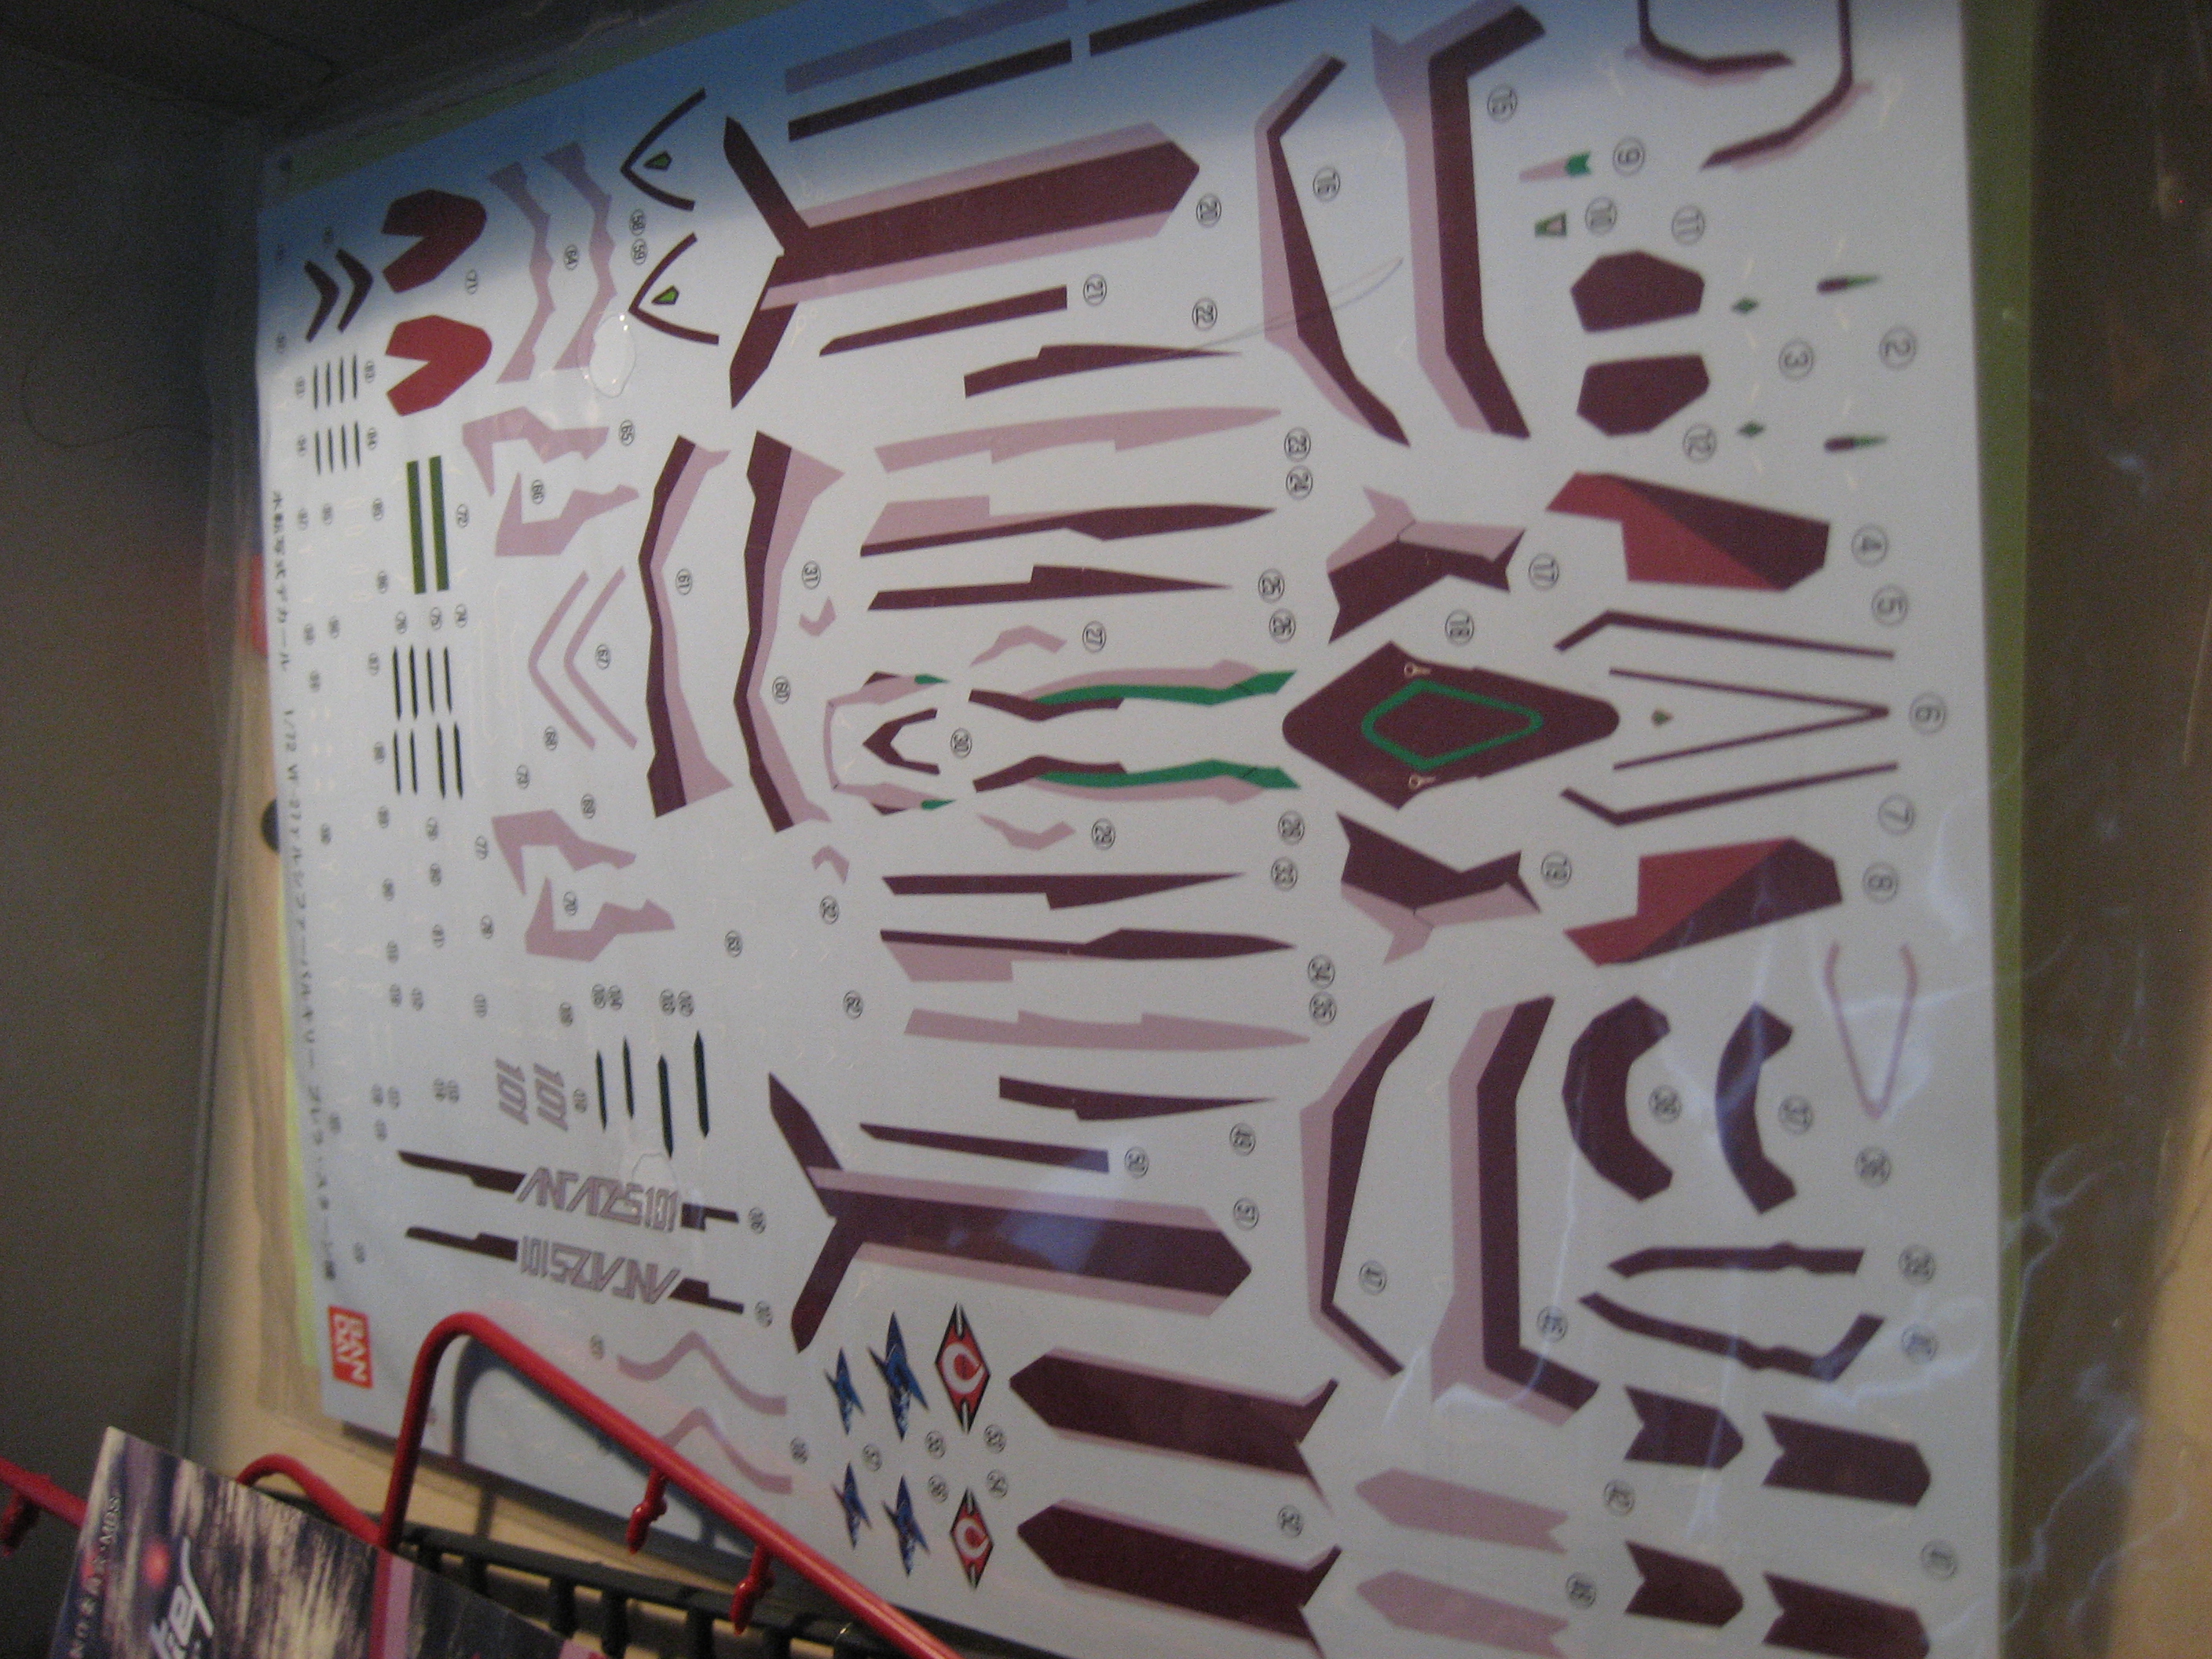
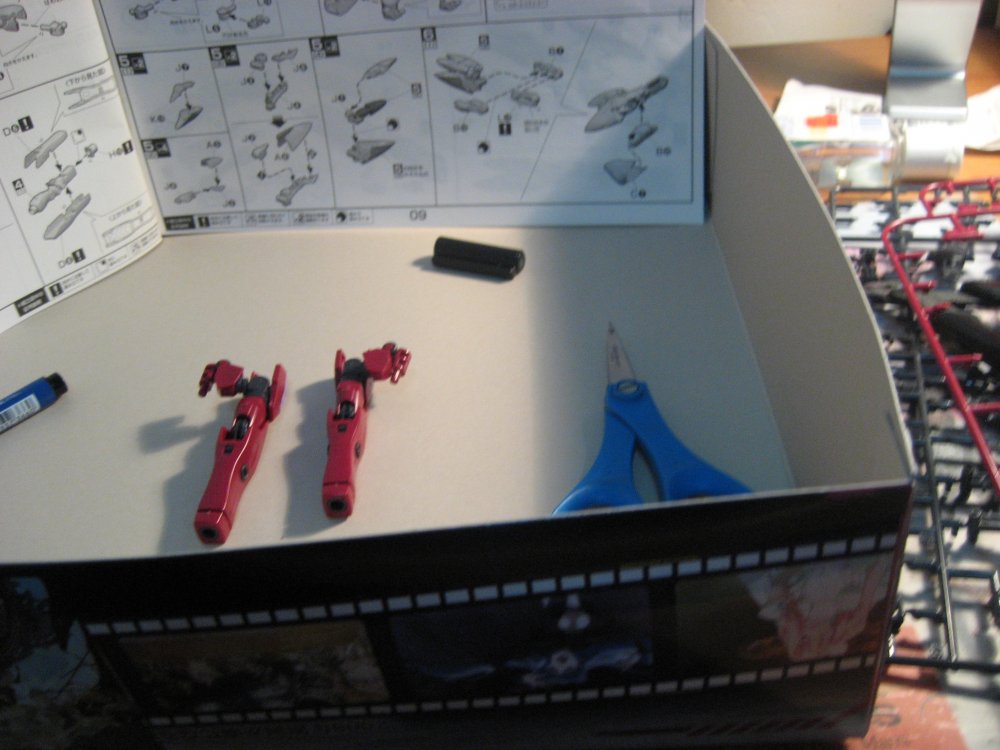
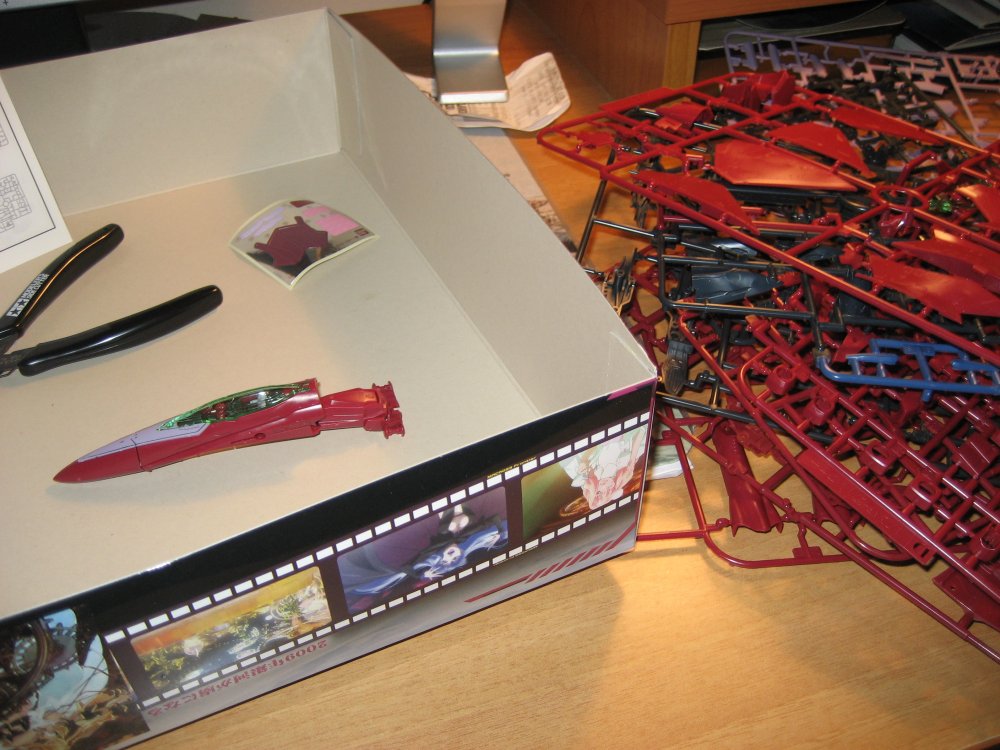
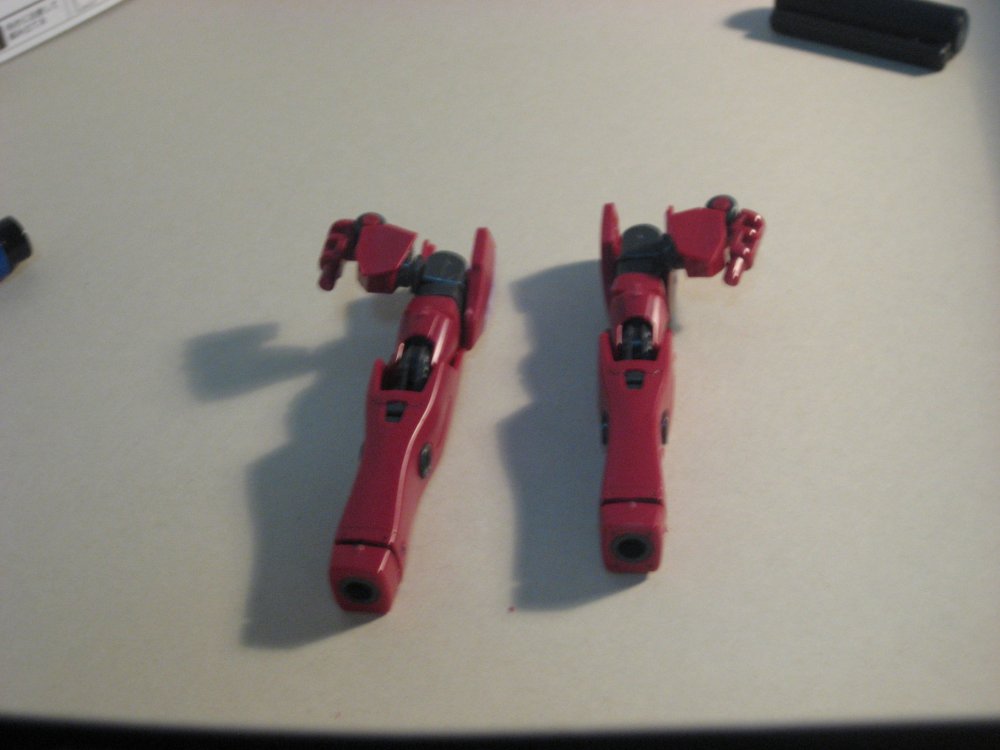
Out of the box, there were 14 sprues in total, 2 of the J labeled one. Note: I used stickers instead of decals. Step 1 - Cockpit - 1 hour. - This part was fairly straight forward, all the parts fit together easily and there shouldn't be much difficulty here for the average modeler. Those of you that have made the VF-25 will notice that it's pretty much the same for this step compared to the others. Few panel lines to work with here. Most notable part here is the choice of two cockpits, the see-through green-tinted one and another canopy in solid purple. The instructions will have you put a load of stickers to decorate this canopy into the ones shown on the instruction booklets and in the pictures of the finished model around the box, those with slightly more experience will most likely paint this. Alas, I stuck with the clear canopy. A later picture showing the final assembly will detail the different canopy selections. SHOWN IN THE LAST STEP PICTURE** Step 2 - Head - 10 minutes. - Similar to previous heads in construction, if not actually slightly easier to make. Stickers are somewhat easy to place, though some would like to paint this section... You might want to put on the end stickers/decals on it at this point (on the antenna on the side), but it's up to you. Slight panel lining if you wish to. Step 3/4 - Left/Right Arms - 50 minutes. - Straight forward, albeit there is a place here and there where it's important to note the orientation of the pieces before putting them together. A few panel lines here as well. Notably, pieces fit together easier and better than the previous VF-25's I've built, though they resemble each other almost exactly. Step 5-7 - Rocket Boosters (Leg) - 30 minutes. / Left + Right Leg - 1 hour 20 minutes. - Rocket boosters were a bit of a hassle as there were a few pieces that pretty much refused to stay in. Mainly the top two smaller rocket boosters on the bottom of the leg, which are connected view a snap in and rotation-allowed joint. I ended up using a small bit of normal white glue to just strengthen the connection here so they don't keep falling out, while also not being permanent in case I want to transform it. - Left/Right legs were smooth as always to make, and it's just amazing how these pieces come together. Large resemblance to the other VF-25 kits in terms of how to make, just a few design changes here and there. ** Apologies, came out blurrier than anticipated.

-
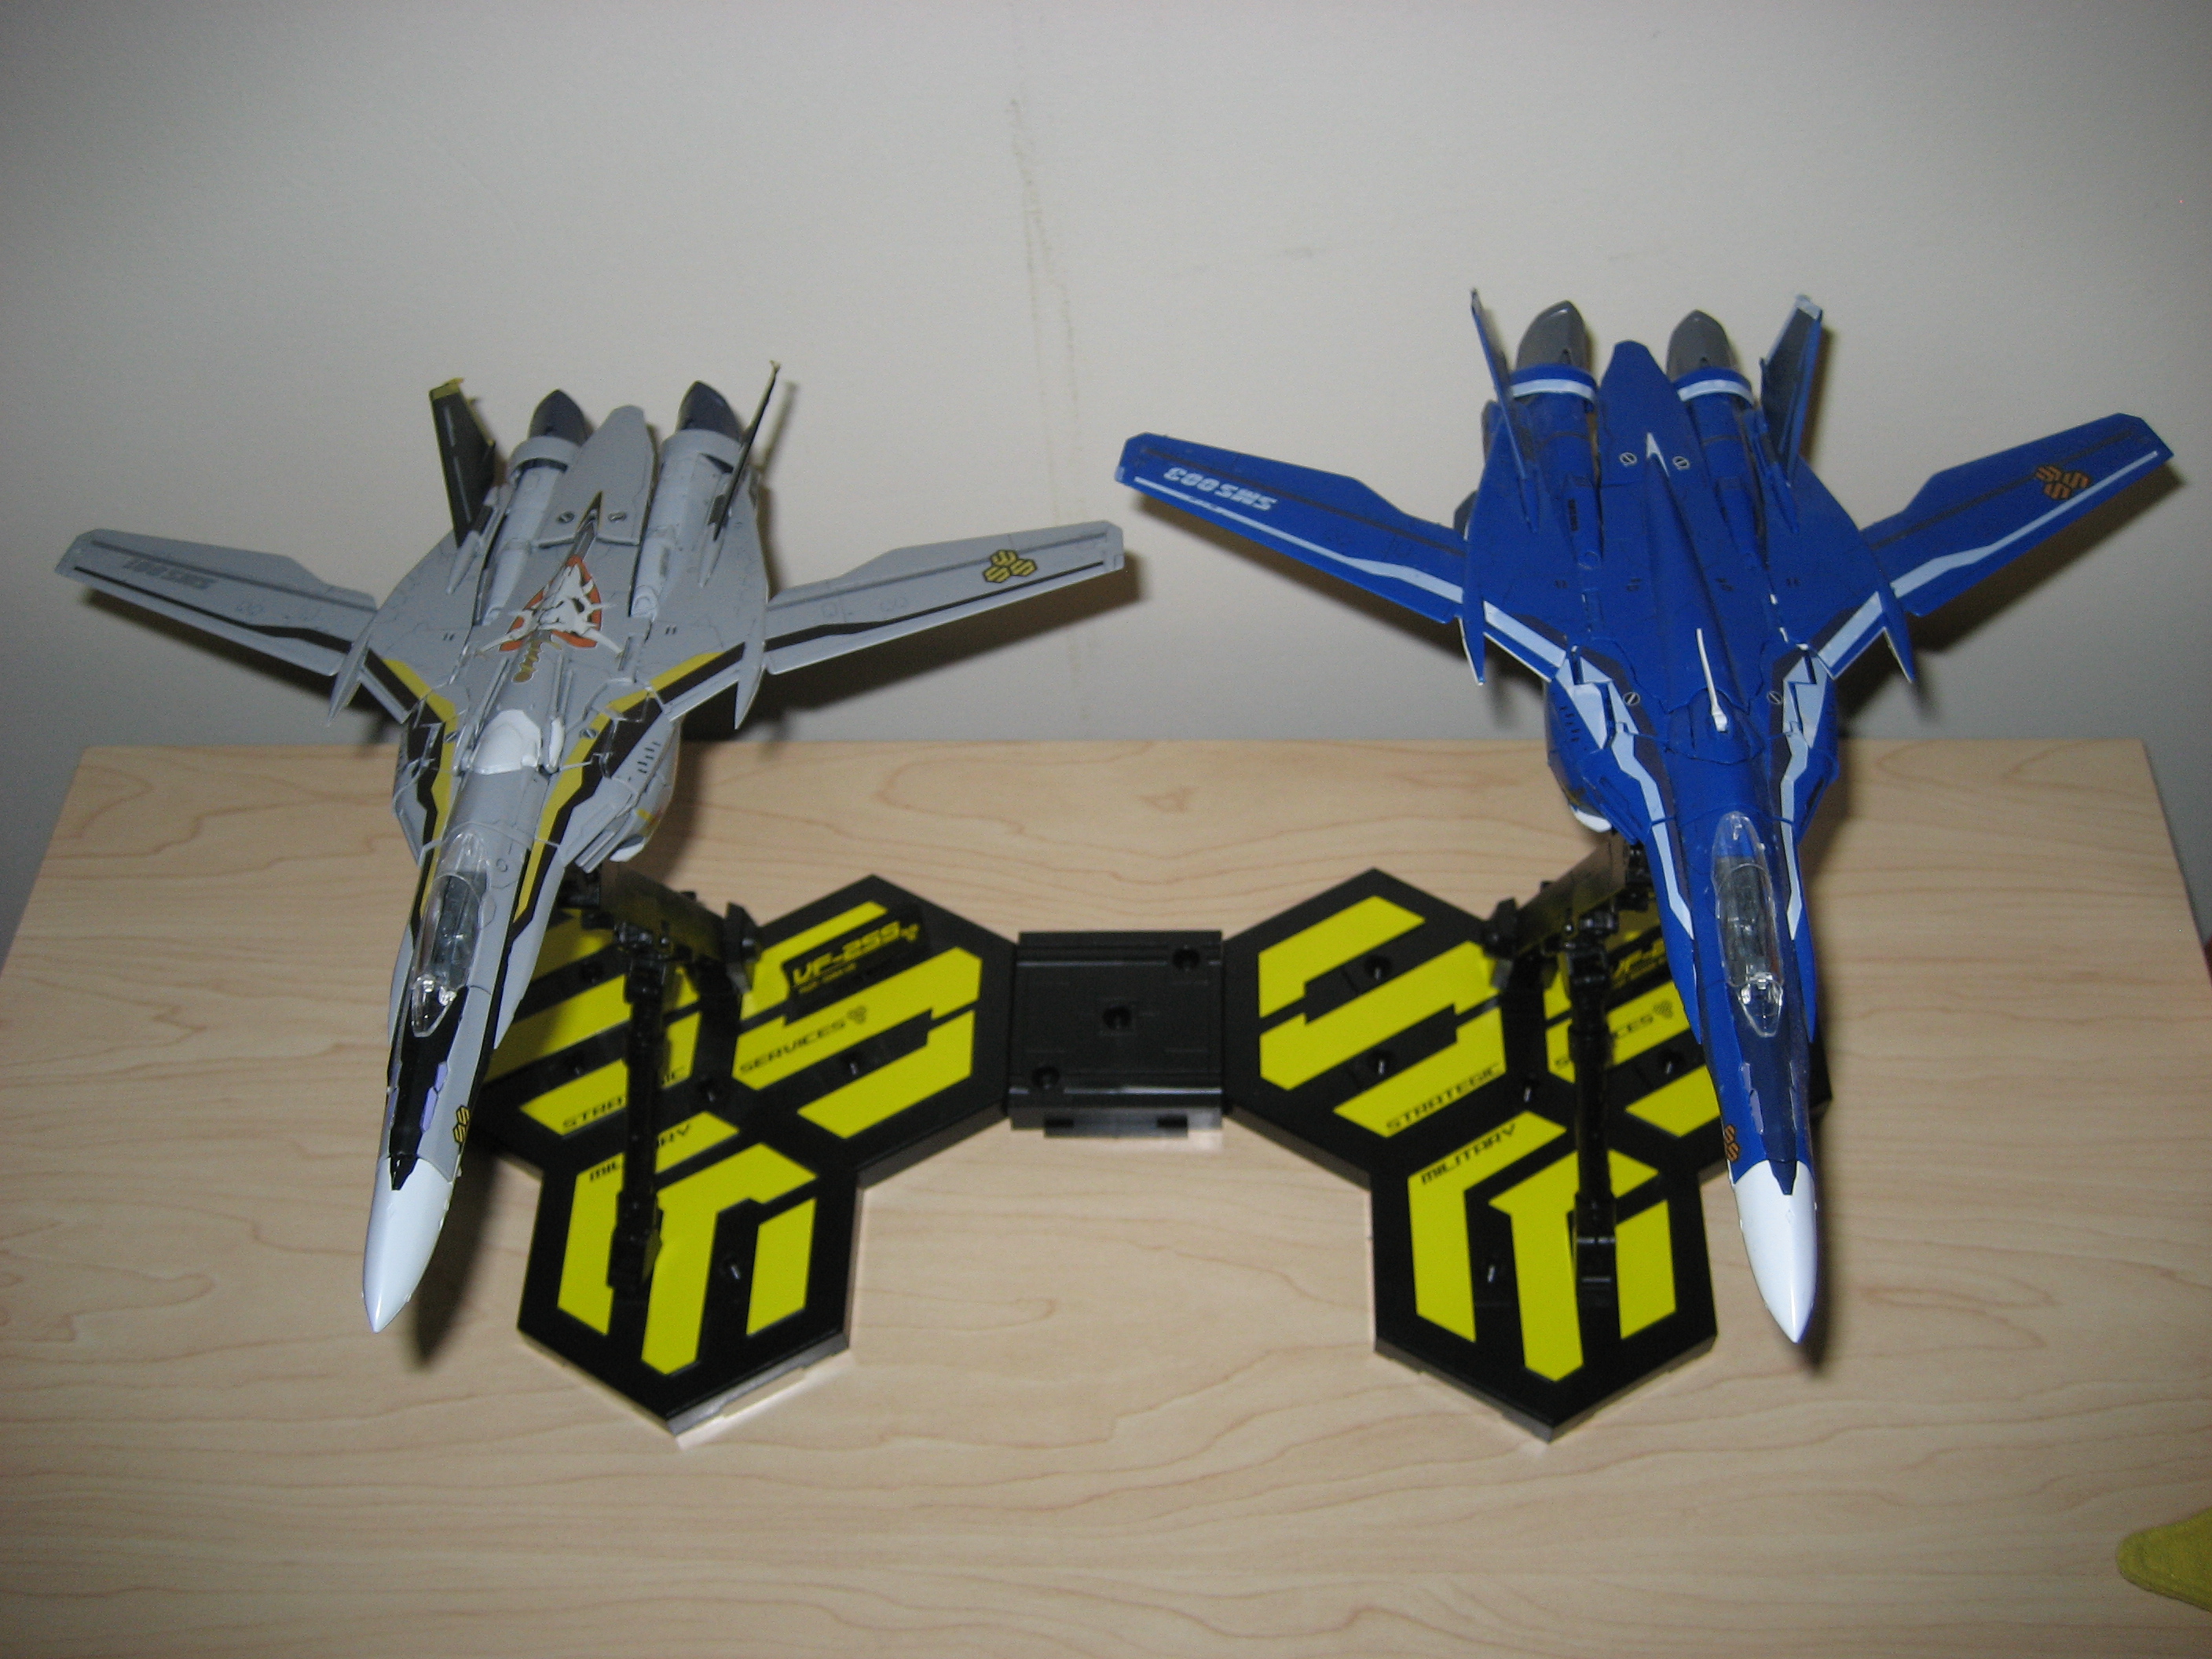
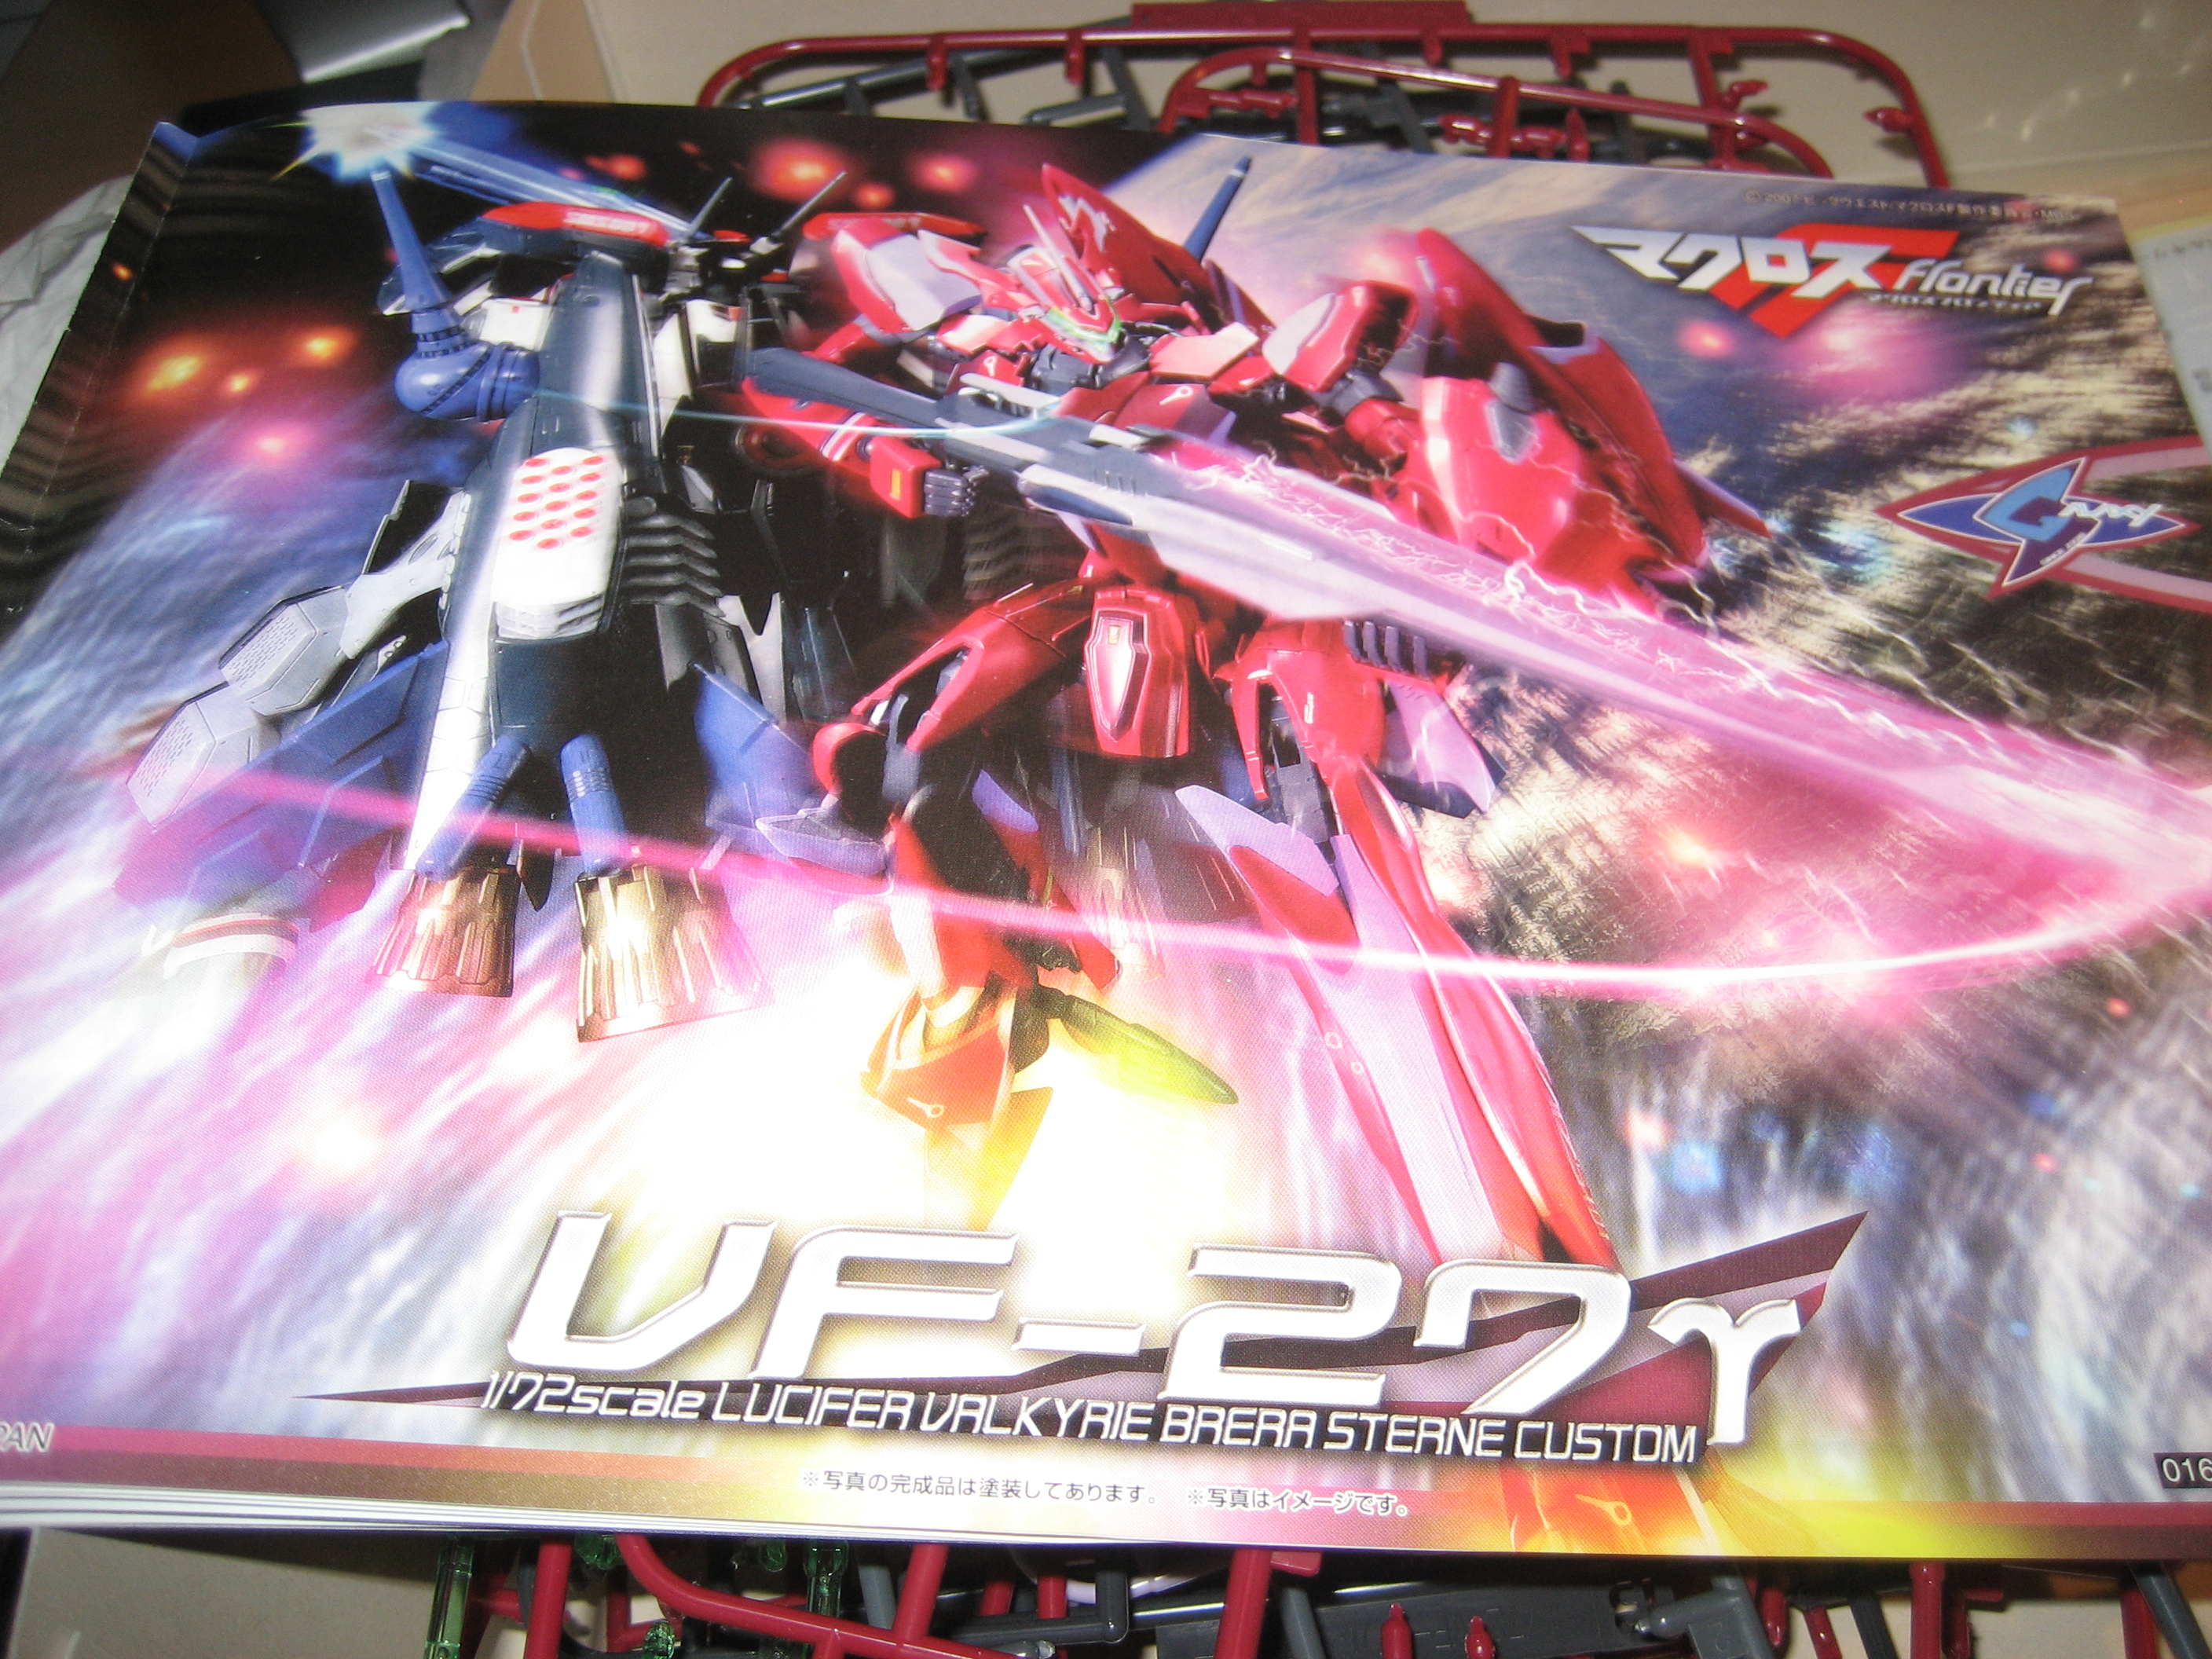
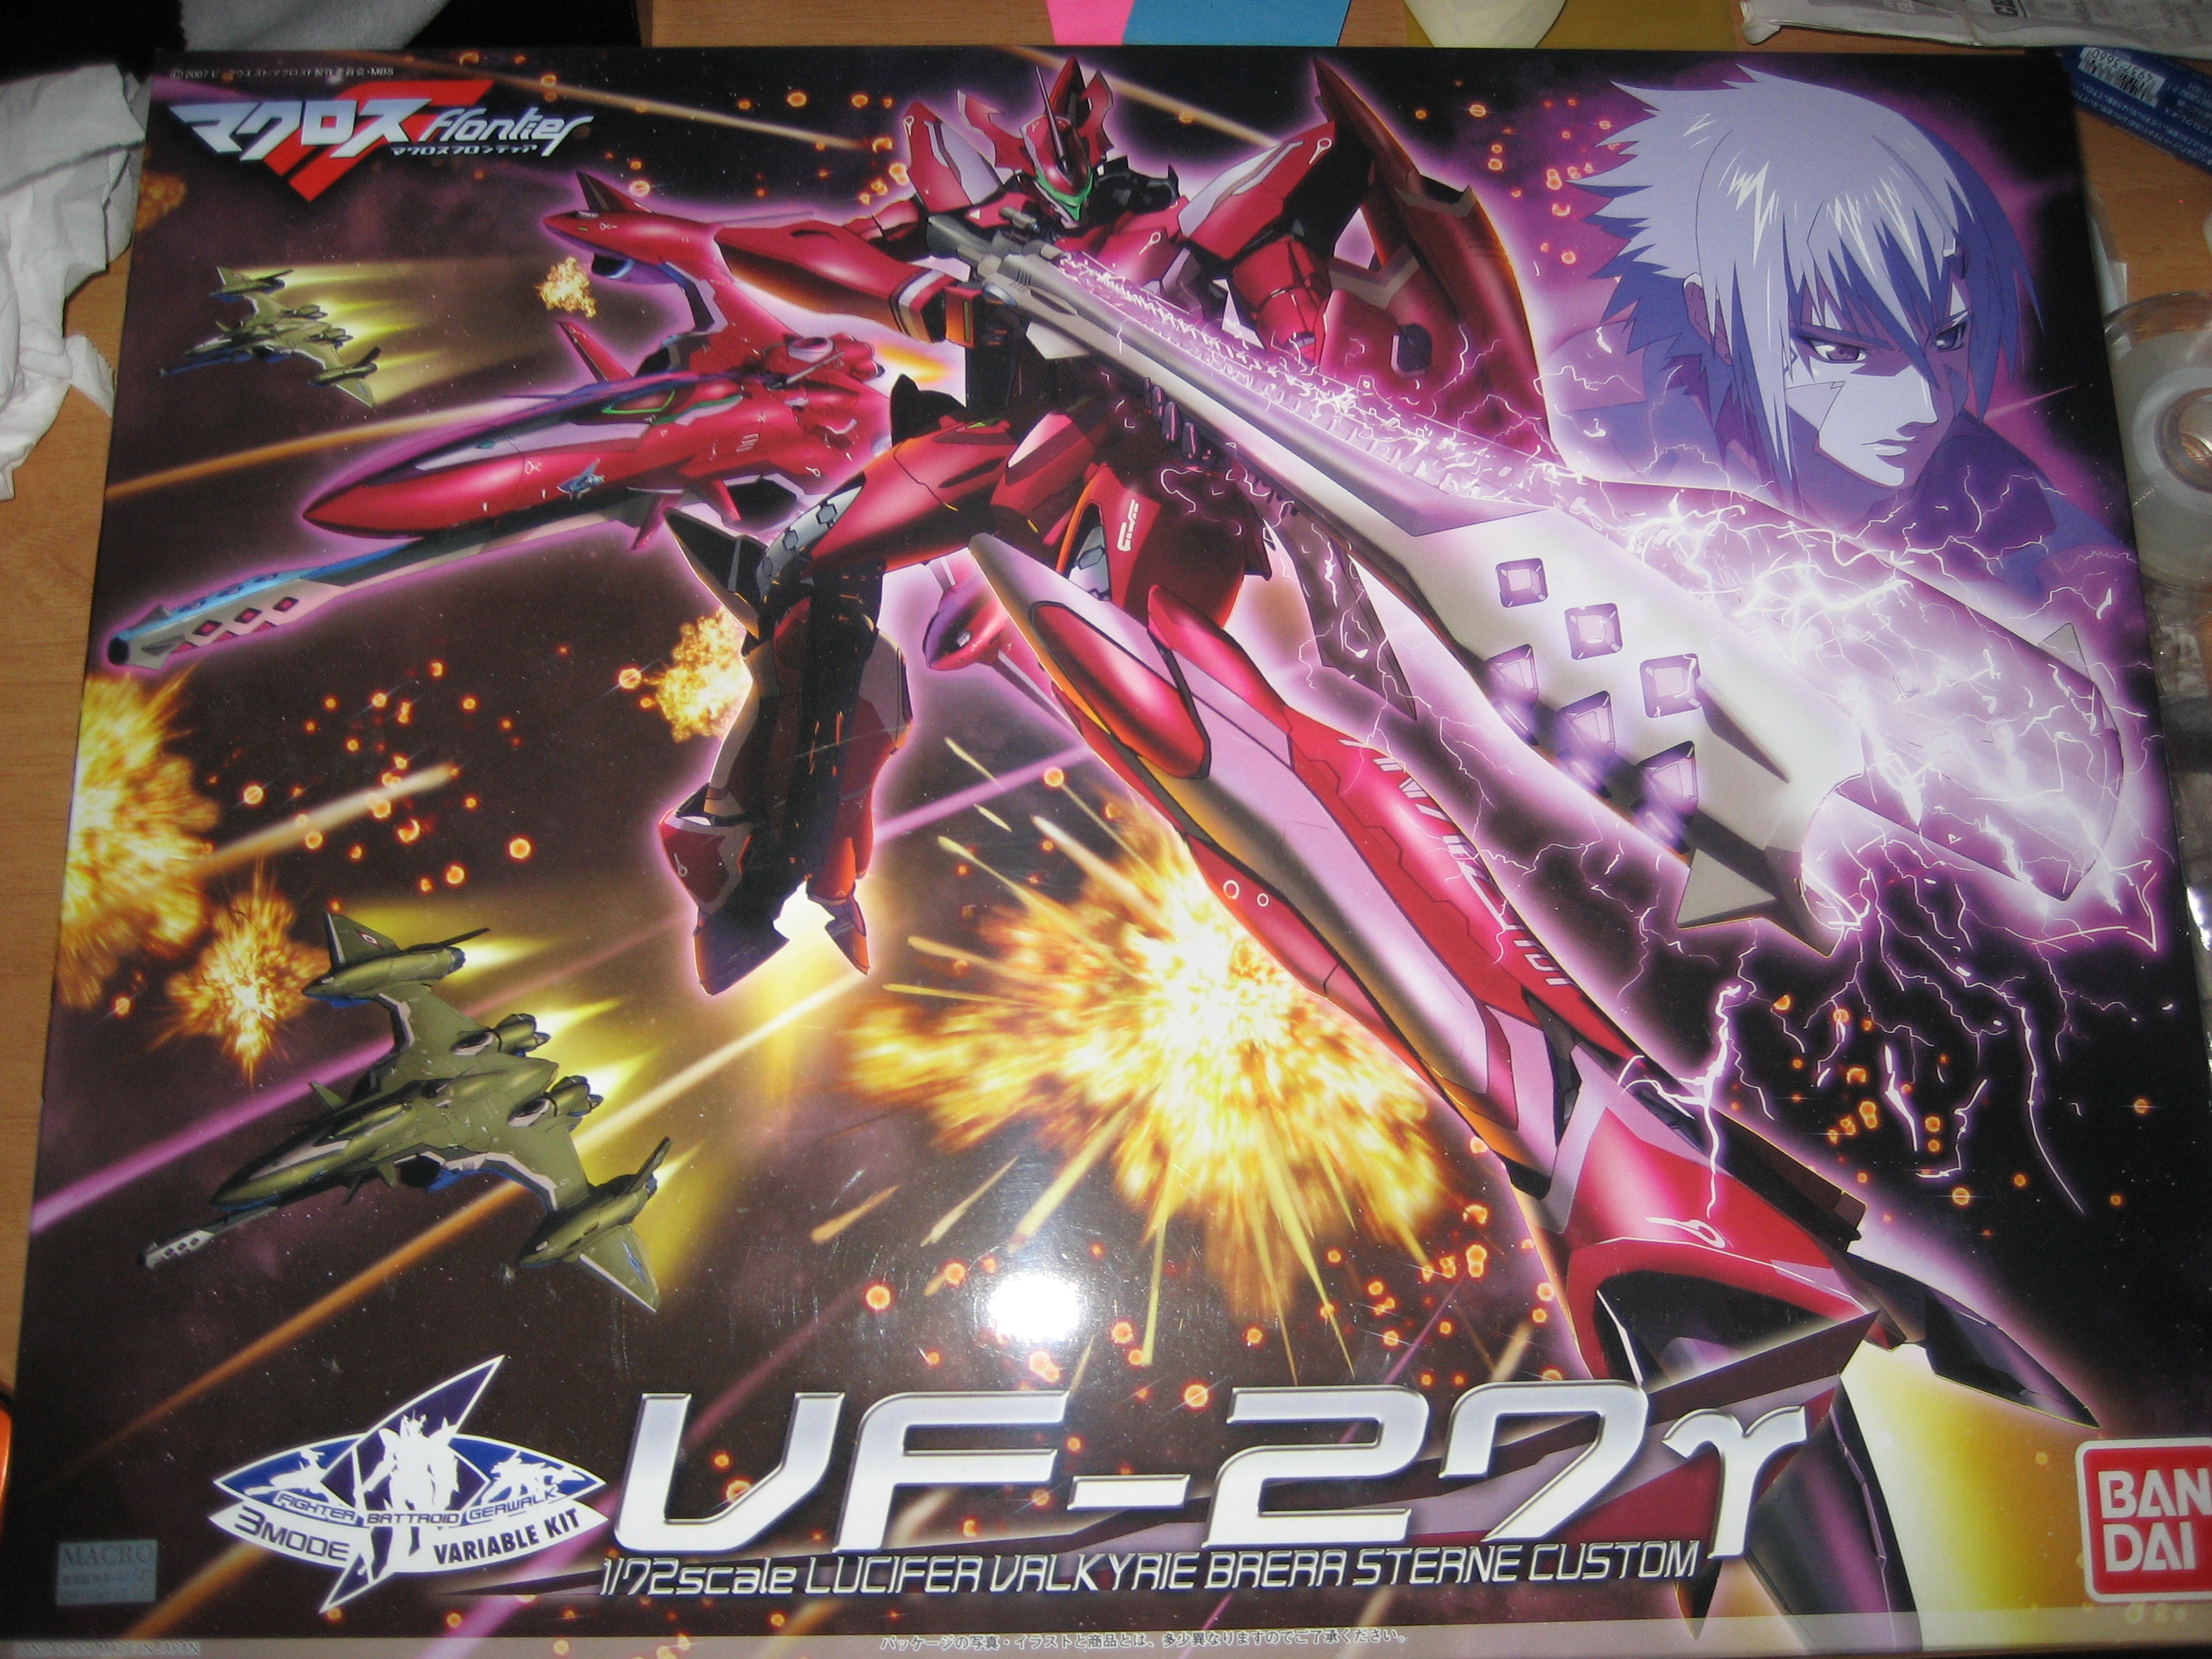
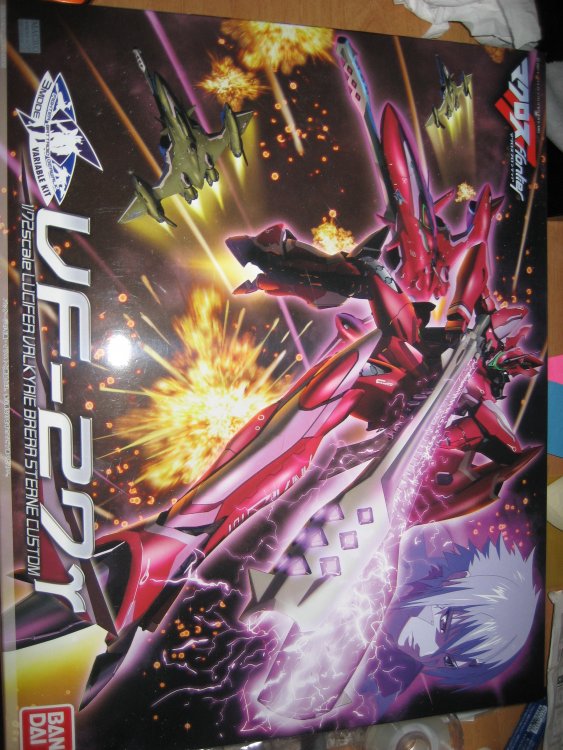
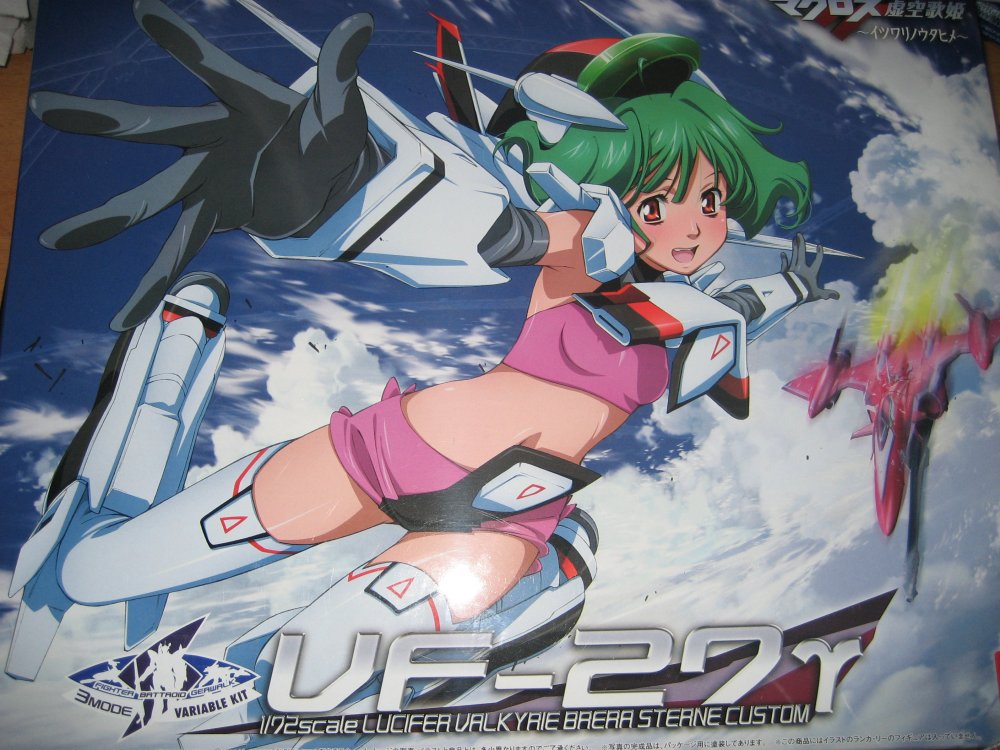
Well, first thread, figured I'd post something at least similar to a step-by-step of the VF-27. Not quite that detailed and the finished product is nothing like the expert builds out there, but alas, here's hoping at the very least it'll inspire other first-time or amateur modelers to take a chance. =D My apologies as well for crappy camera. _ _ _ Anyway, I guess first off, the basics: After years of taking a break from model kit building (pretty much the old 1/144 Gundam Wing Kits, where I pretty much just twisted them off the sprue and snapped them together)... got into Macross and decided to take a chance on the kits. My first kit was the 1/72 VF-25S, which while decent, was slightly fragile on certain parts. I followed this up with the VF-25G, which was spectacular, and now the VF-27, which ended up good from my point of view. Purchased VF-27 from Image Anime in NYC. _ _ _ VF-27 came with a special two-sided box art cover, one with the standard VF-27 w/ Brera and the other one with the Ranka Valk. Girl and promotional movie scenes around the sides of the box. Supplies used were: Modeler's Side Cutter from Tamiya, Gundam Marker Fine Point, and Scissors.


-
Yeah, at this point, I'd think I'll leave the kit as is, Lol, to avoid some mishandling or anything from poppin anything into place too hard or improperly. I'll definately take a look at the VF-25G perhaps, hopefully doing a better job with that now that I got the basic construction down. =D
-
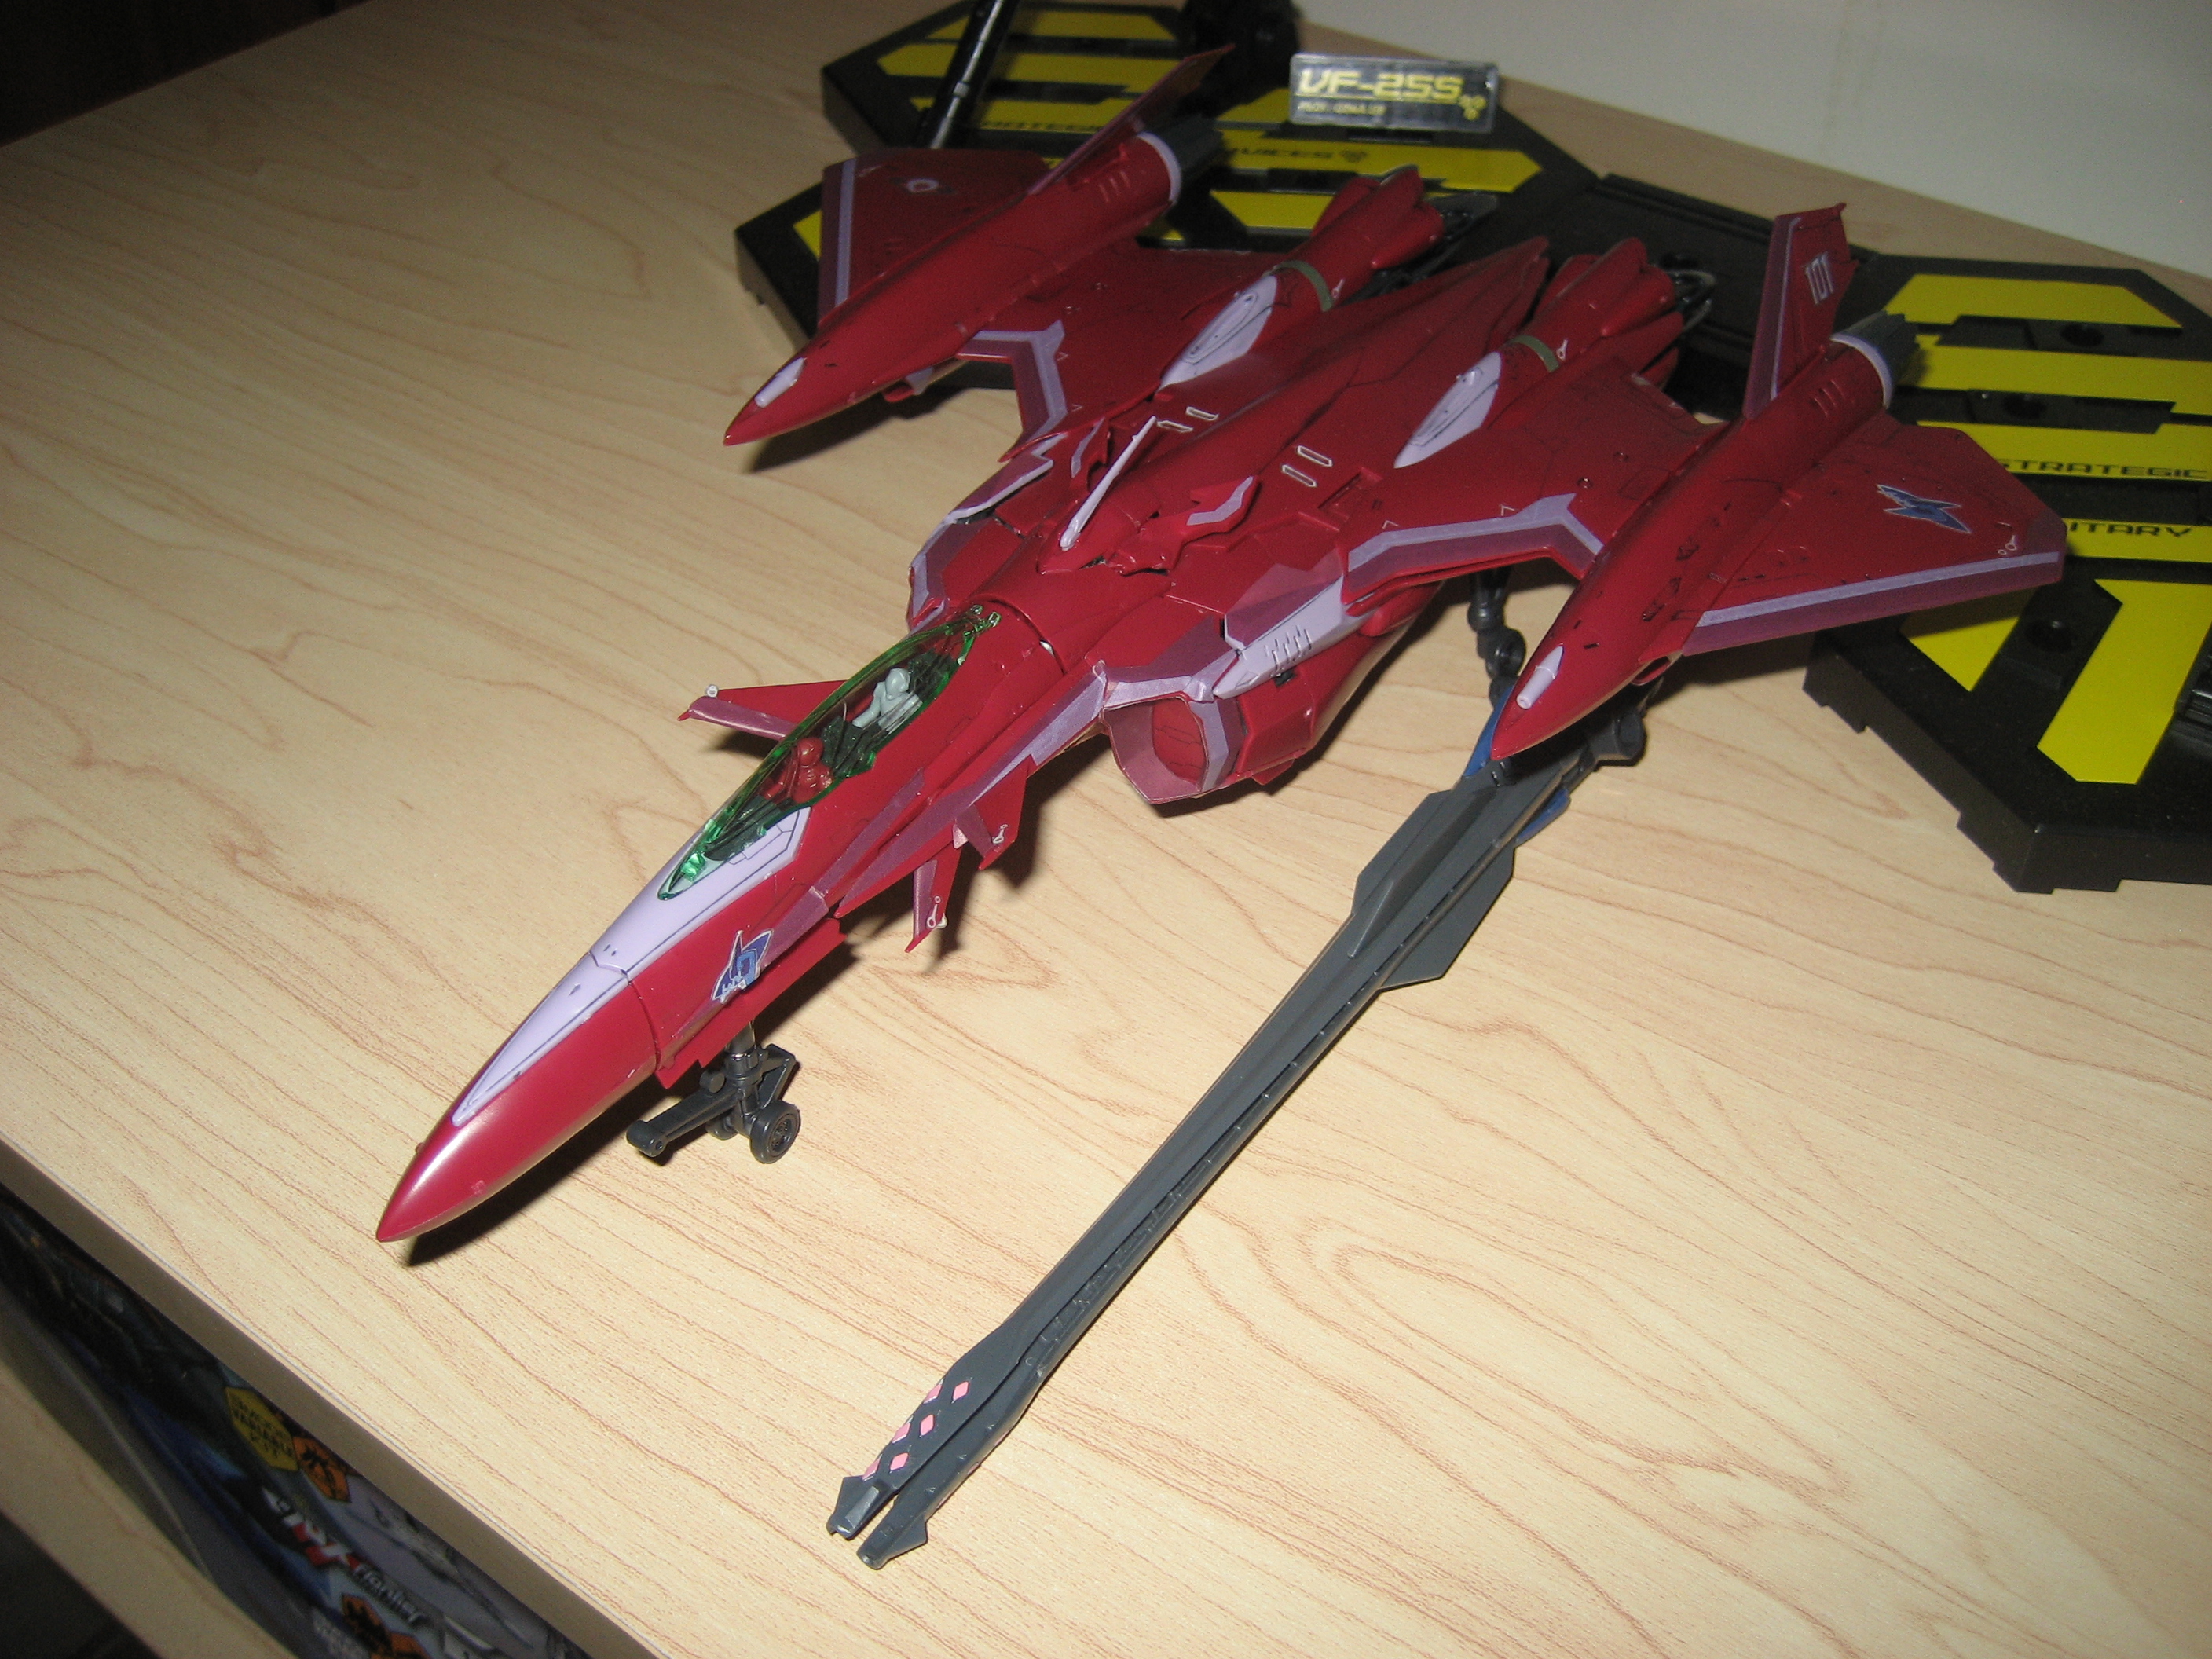
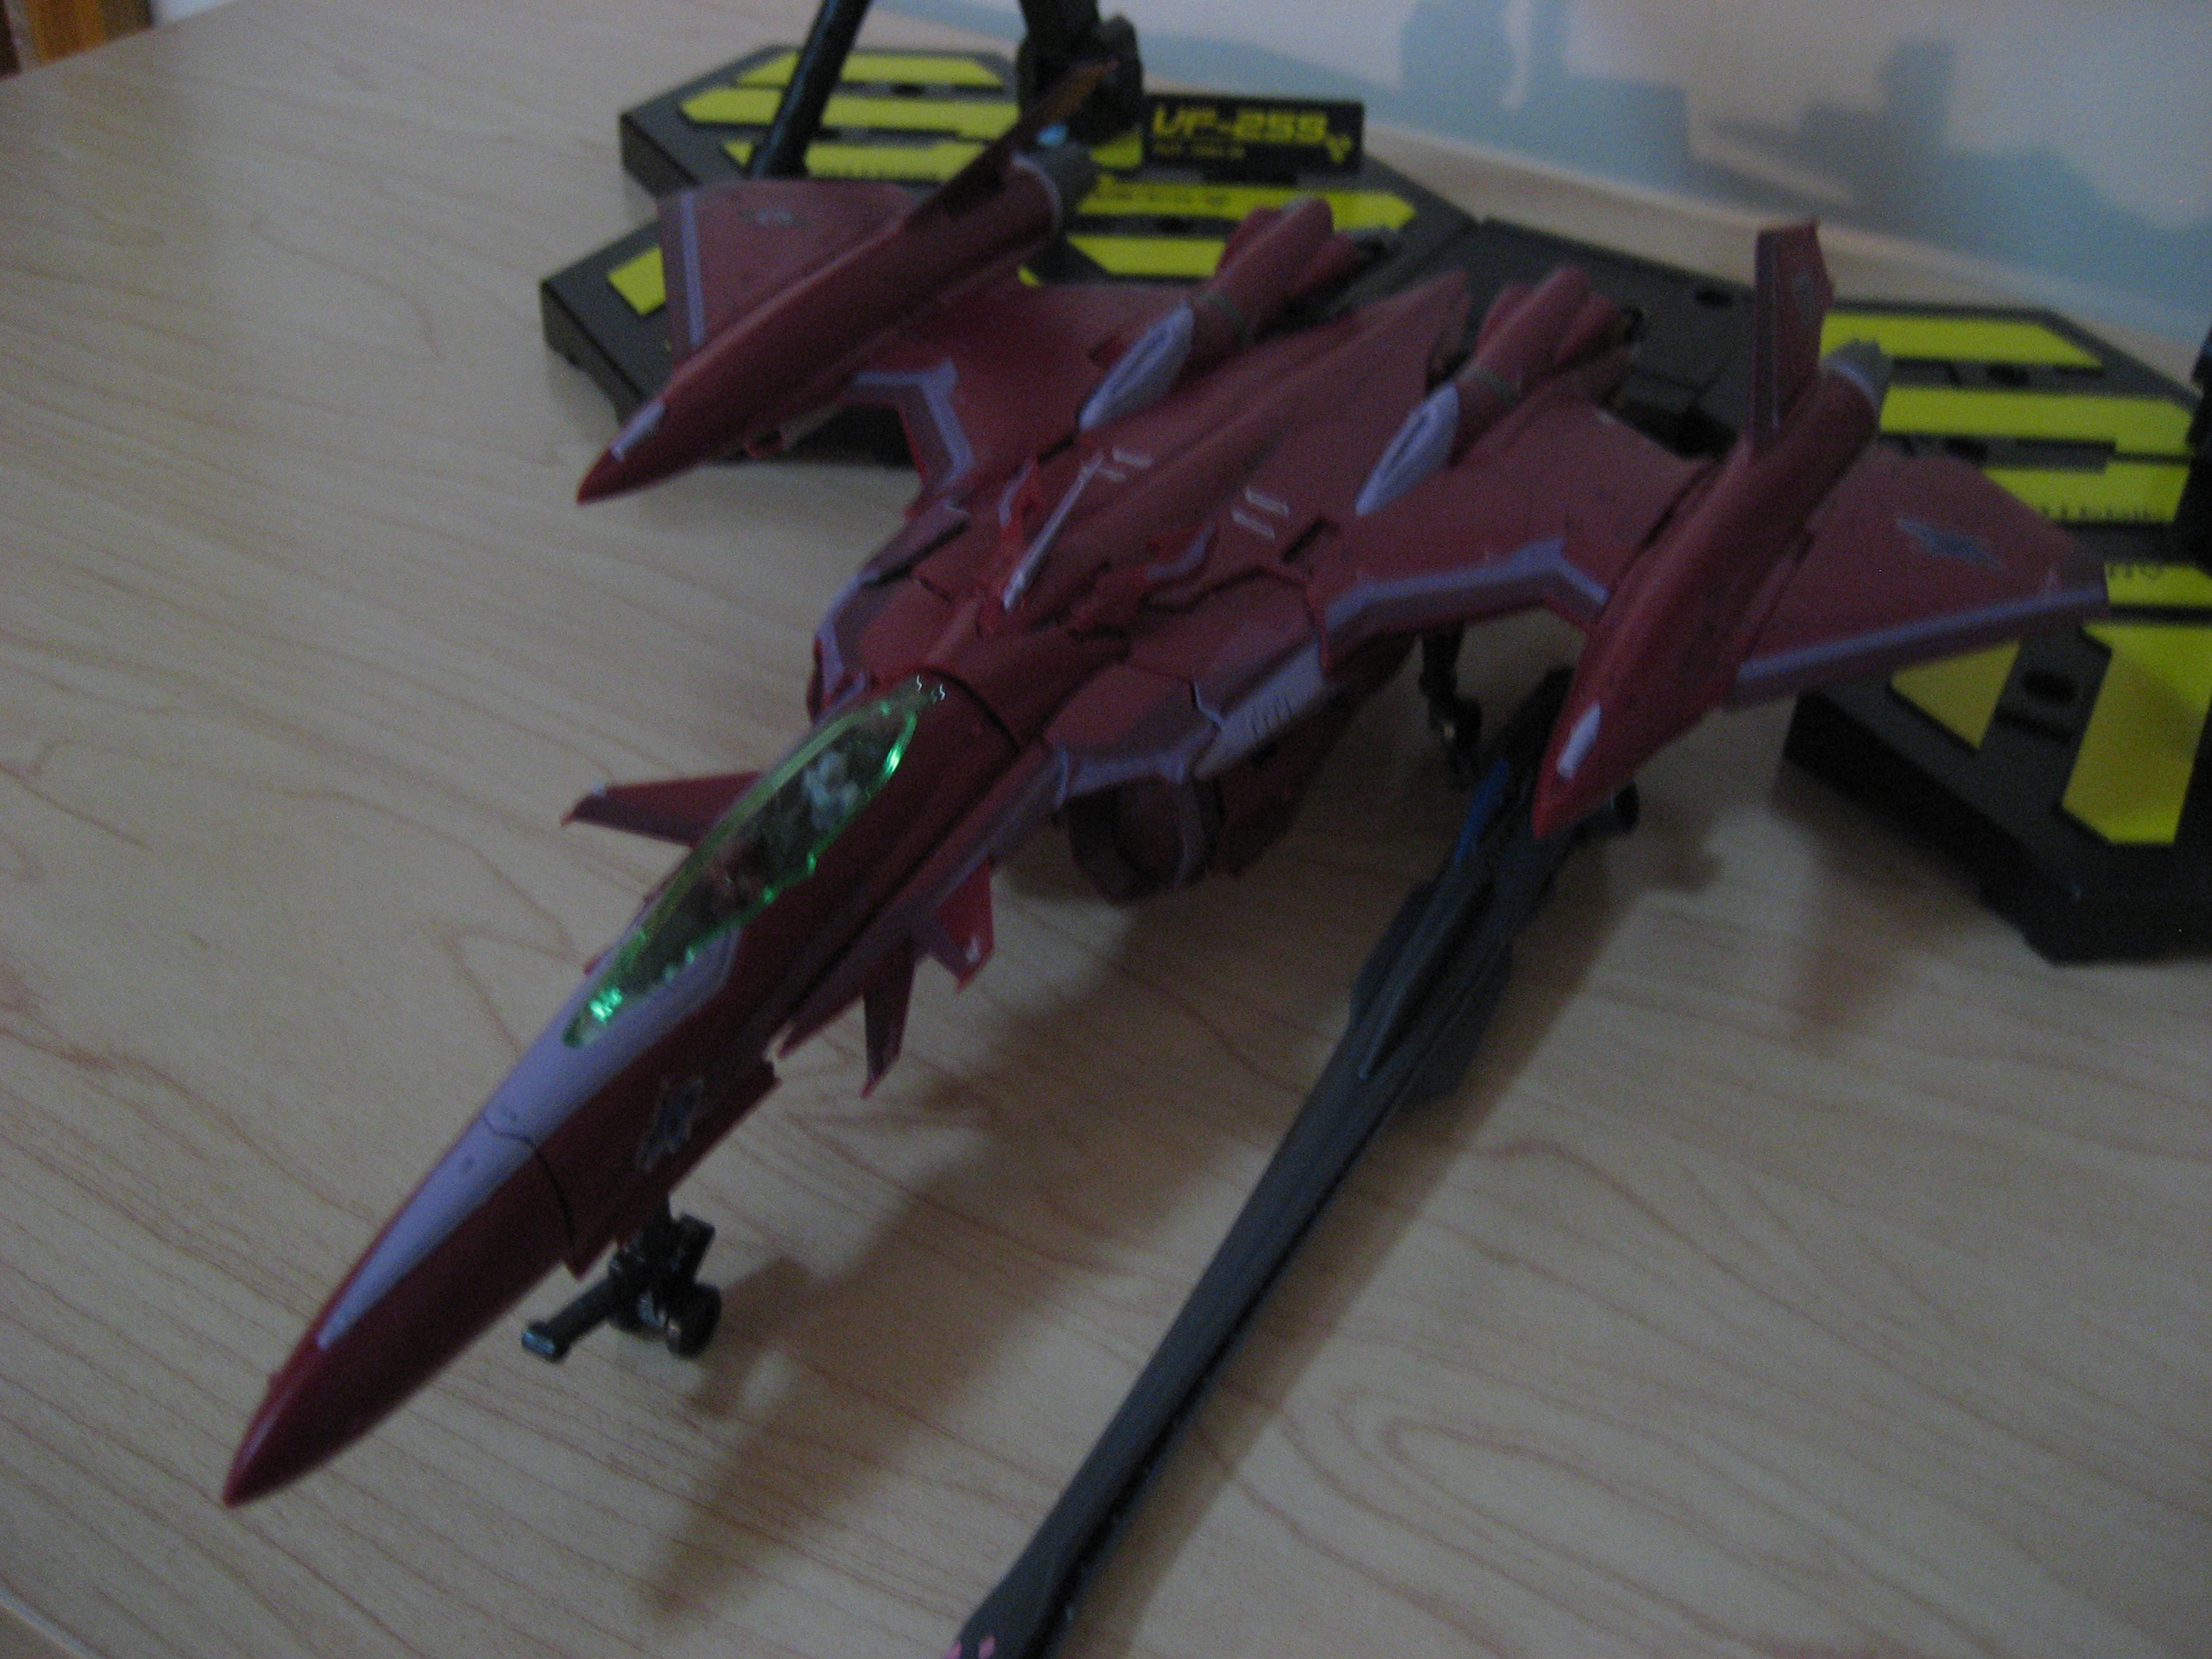
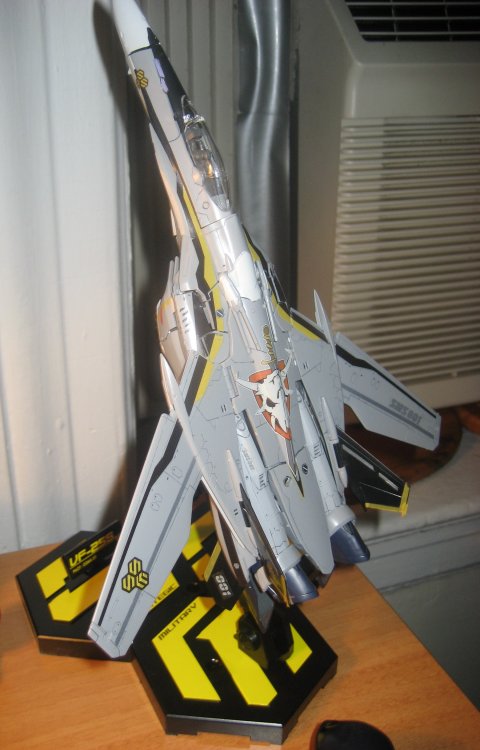
Meh, I'm not quite sure whether or not to put this here, but I figured since there are a lot of first time modelers and the like that end up looking here and since I'm not going to like do some comprehensive review... In any case, yeah, I'm pretty much a guy who hasn't done any models (and even when I did, I was pretty much only doing the old Gundam 1/144 scale and a plane or two here and there and usually without any additional things other than just snapping it together and leaving it there) for a couple of years now. Looking over the reviews and the comments, I decided to pretty much just go what the heck and go have a go at the VF-25S Ozma Custom. Used a Tamiya Side Cutter + Gundam Black Markers for a light shade of panel lines (sadly, they went lighter than anticipated, but I felt they were decent enough for a first time job. X_x) and planned on a clear coat, but decided against it. Attached are some pics. Alas, I'd say the instructions look harder than it really is, and that I felt that the kit was pretty straight forward, even for those peeps who haven't done any modeling for a bit. From time to time there was the typical "hard to fit in part," and one or two steps that took a few minutes to get the hang of, but yeah. As anticipated, my plane didn't quite come out perfect, I struggled slightly with the head assembly area (fitting it in and the likes), so my plane parts aren't perfectly aligned per say and not all the parts "fit snugly" (you guys'll probably see that, it's mostly the side and wing area + the gun on the bottom seems to make it slightly tilted). I'll get the SMS stand in the coming weeks. In any case, I took about 16 hours on the kit and well, while I won't be transforming it anytime soon per say, overall, I'm quite satisfied and just wanted to say to those people that look to this post and wonder to get this or not because of no/little modeling experience, shouldn't be scared off by it. Ums, yeah. Oh, and perhaps I wasn't the only one with a slight piece popping out a bit on the side? O_o