GunnerX
-
Posts
241 -
Joined
-
Last visited
Content Type
Profiles
Forums
Events
Gallery
Everything posted by GunnerX
-
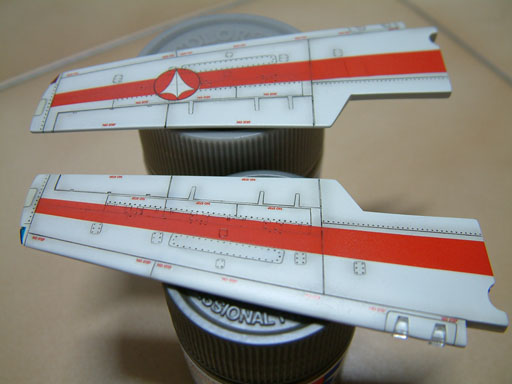
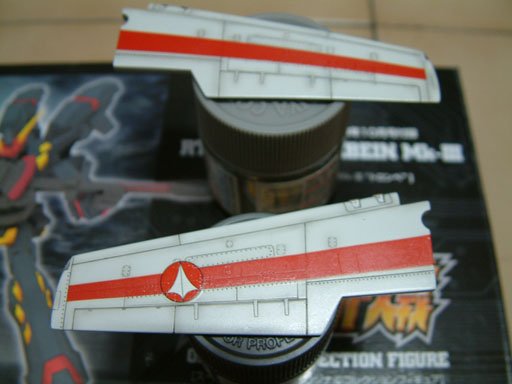
And finally with all wing decals laid down! I coated the wing with another clear coat before doing the wash over the decals. Man! Those "No step" decals are tedious!

-
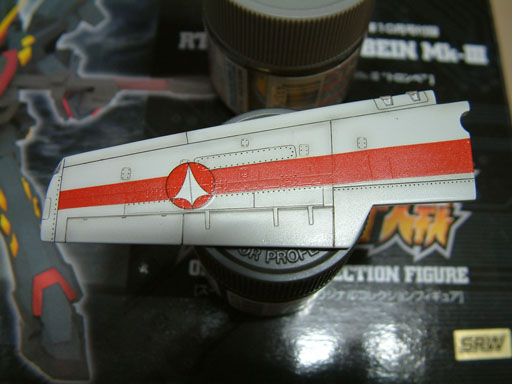
... and here are both wings with the red stripe layed down... lotsa MICROSOL to get it to conform to the surface.
-
Here i've applied the decal on the wing.. Aiieeeeeeee! You can see that one part of it has kinda shrivelled up and bunched together, this even after i've laid the decal down flat... maybe i put on too much microSET?

-
Ok! Here's how i do my shading: I use Gunze acrylics as for my paint all the way, the basic color for the 1J i used off-white. As for the shading, i mixed a bit of Tamiya acrylic sky grey with the off-white to get the slightly weathered look. As for the panel lining, i mixed Tamiya enamel black and thinner until relatively "diluted" (transparent) then i just dipped the bit of the paint into the linings and the "capillary effect" will take over, ie. the paint will flow into the panel lines. You wouldn't have to worry about the paint smudging the base coat or wiping it off actually, it's kinda like oil and water; they don't mix! So you can happily rub off the excess paint with tissue paper or a soft cloth! BUT... The finishing has to be smooth! otherwise the wash will tend to seep into the rough areas and become hard to remove! Mechleader - > i sprayed a layer of clear coat after i did the panel lining Not before though, cos the clear coat is acrylic also, so i didn't see the need to. However, i sealed in the lines afterwards with a clear coat, so no chance of removing then anymore! Well, that's my technique ( picked up from HobbyJ! ) My previous experience was with Gundam models, so this is my first valk. Next update when i get home : Decalling the wing!
-
.. and finally the excess paint wiped off!

-
... Oops! Forgot to add picture here...
-
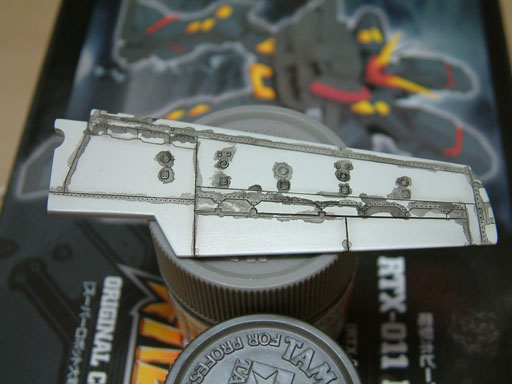
And now for the messy panel lining! I used Tamiya enamels for the wash.

-
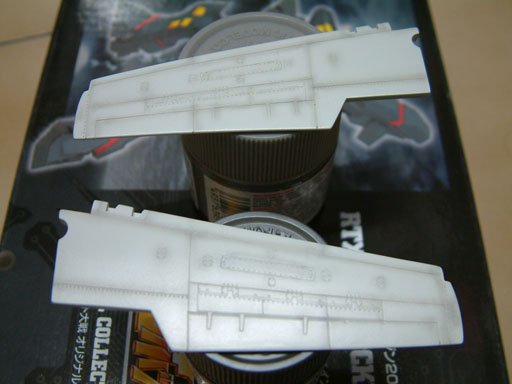
I've done some shading on the wings, had to switch my airbrush head and needle to 'fine' for this!
-
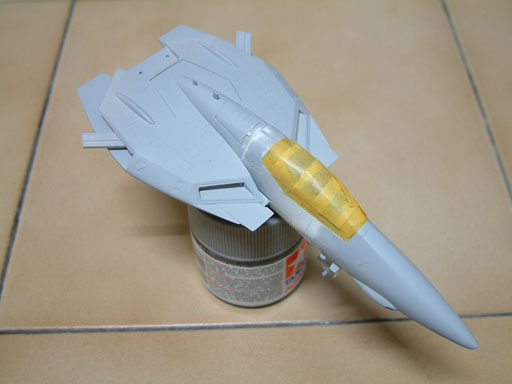
The next step was to paint the body off-white...

-
And here's the fin glued in place!

-
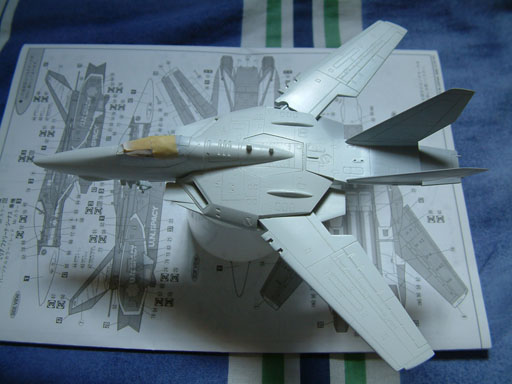
Hi! Sorry for the long delay! Had to do a project, so had hardly any time for the 1J Here's a shot from below :
-
I know what you mean! But i think ( or i hope!) i should be able to squeeze the decal in.... I gotta stop for a while cos of a project, but i'll update in a week or so! Cheers!
-
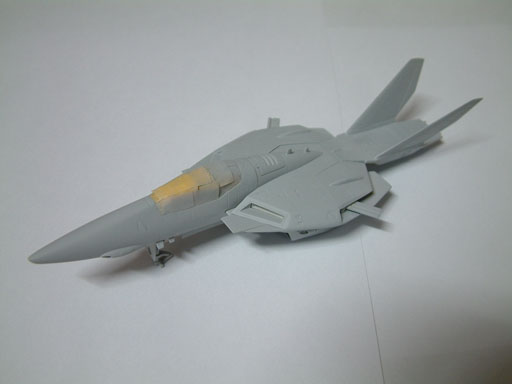
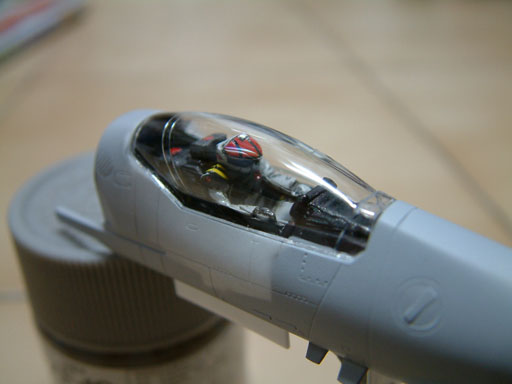
Here i've glued the front fuselage and the body together... Ok, i masked off the canopy so that i could repaint the other areas... hopefully the tape won't yank off the surface of the canopy!!!

-
Ok! Finally glued the canopy on! I used some sort of liquid glue from Humbrol meant for canopies.... but i don't think it's good for small clear pieces. I saw a canopy glue from the maker's of the MicroSET/SOL stuff... anyone used it before?

-
Oops! Ignore this! Duplicate post!
-
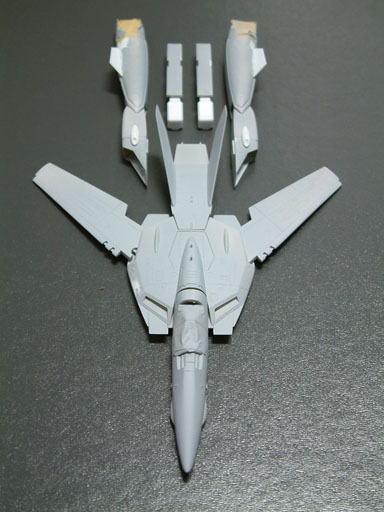
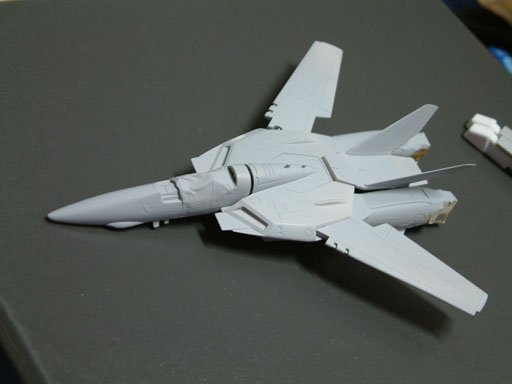
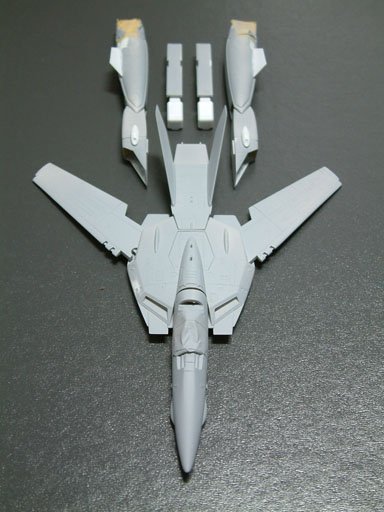
Hi all! Another test fit pic!
-
Hmmm.. good idea! I'll upload a pic to show you what i currently did with the canopy!
-
Of course, there's always my favorite, the Su-32. It maintains the performance of the standard Su-27, but adds a two seat, side-by-side, cockpit, with standing room inside, a sleeping area, an oven, and a toilet!!!! And it has all the usual fighter perks, plus some new ones, like a rear radar allowing it to shoot missiles at pursuers!!! No way! I like the Su-37 myself, with those crazy vectoring nozzles! I saw it do a full 360 in a airshow video once!
-
Whew! That's it for tonite! But i wonder, are jet cockpits really THAT cramped?
-
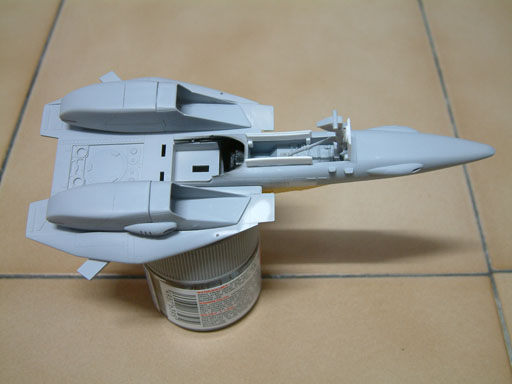
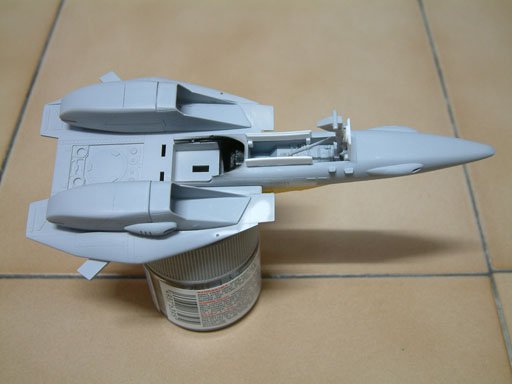
A test fit for the kit! Wanted to see roughly how big it was!
-
I decided to mask the cockpit area then base-coat the rest, wasn't very comfortable with using the canopy cover as a mask!

-
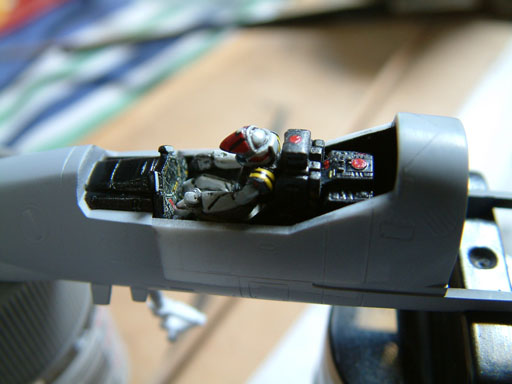
Thanks recon! Gotta... keep... going! Here's a shot of the cockpit area. Admittedly i had to use a lot of sanding and putty to get the seam for the coclpit halves filled (again they didn't fit very well). I didn't glue the pilot in until later too!

-
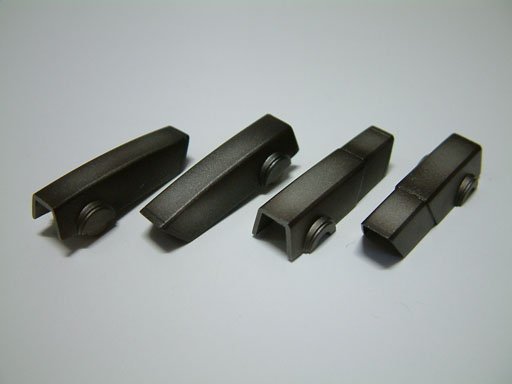
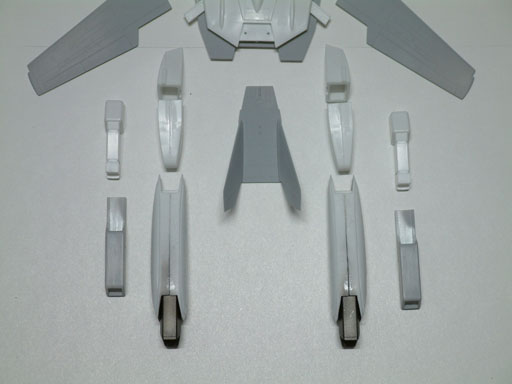
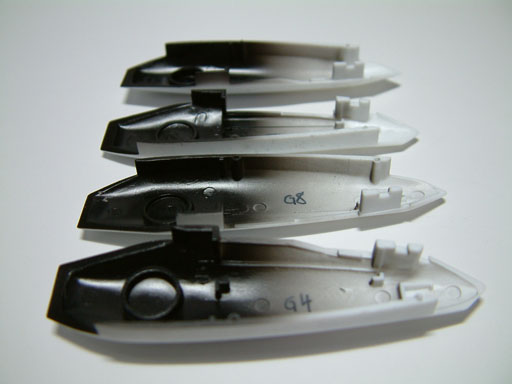
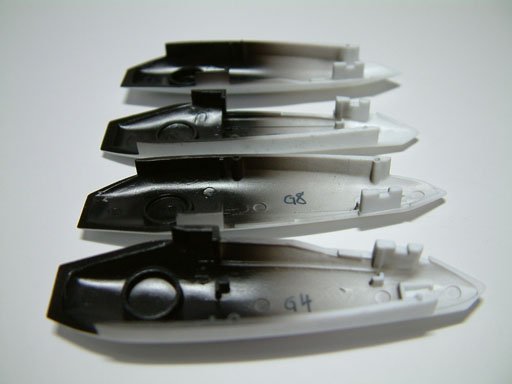
Here i joined the foot/thrusters and the leg portions together. The fit wasn't very good! You can see the large gaps in the legs. Well, that's more puttying to do!

-
Internal area of the leg painted black! Another hint i took from WM cheng.
-
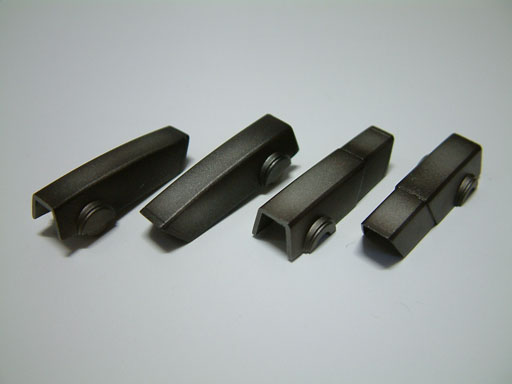
Here's the feet shaded. I used Metallic grey highlight with metal black. Might need to do some touchup later anyway, it doesn't look right yet!