-
Posts
570 -
Joined
-
Last visited
Content Type
Profiles
Forums
Events
Gallery
Everything posted by tundrayeti
-

Anyone willing to copy/cast a single small piece for me?
tundrayeti replied to David Hingtgen's topic in The Workshop!
I may be able to reproduce it on my CNC machine -

Macross Military vehicle kit in 1/72 and 1/48 scale
tundrayeti replied to tundrayeti's topic in Model kits
Finally got the kits from the caster. And now the bad news... another last minute business trip. I will be in Nashville next week,I will start shipping as soon as I get back. For those of you who have prepaid, I will be contacting you individually. I apologize again everyone, but on the bright side I may have enough frequent flyer miles to come to the next MWCON! -
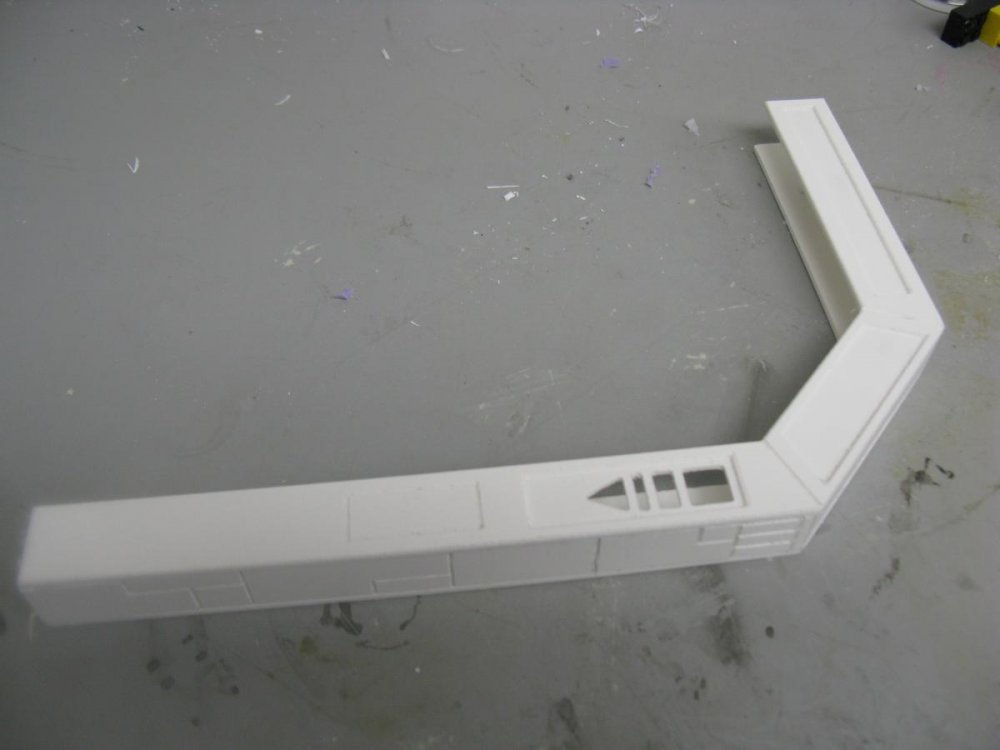
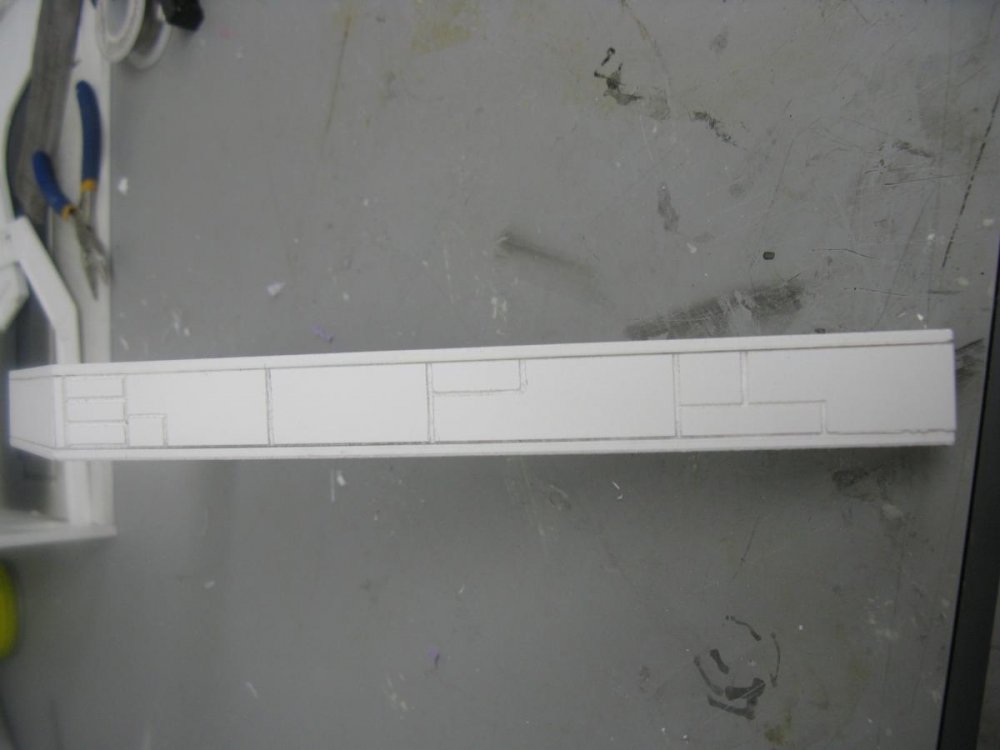
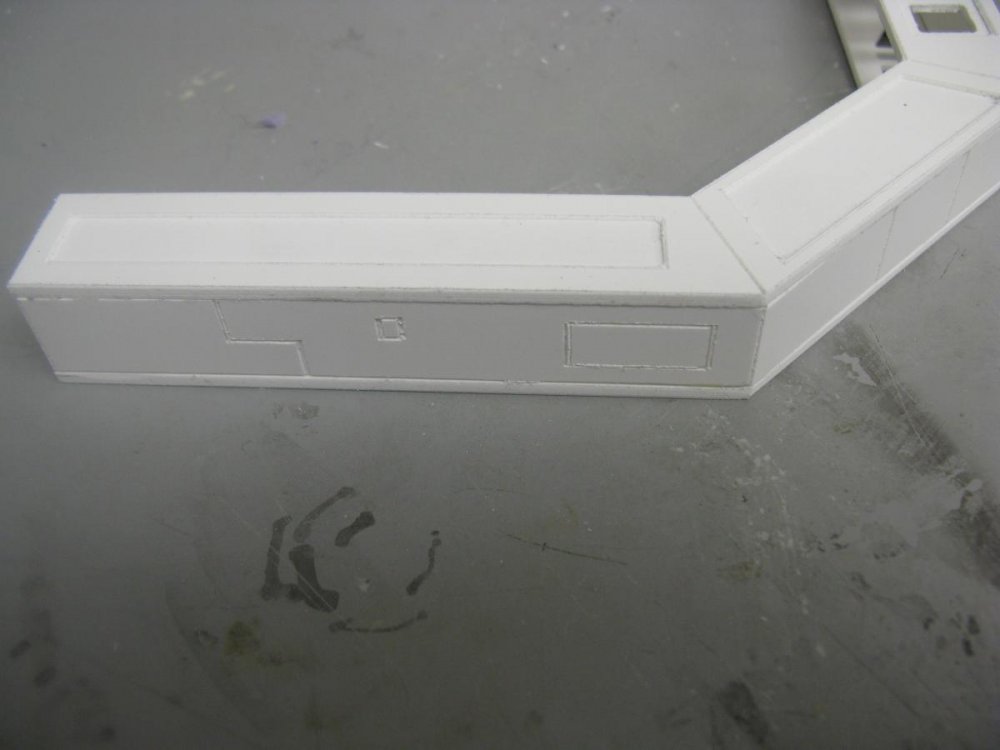
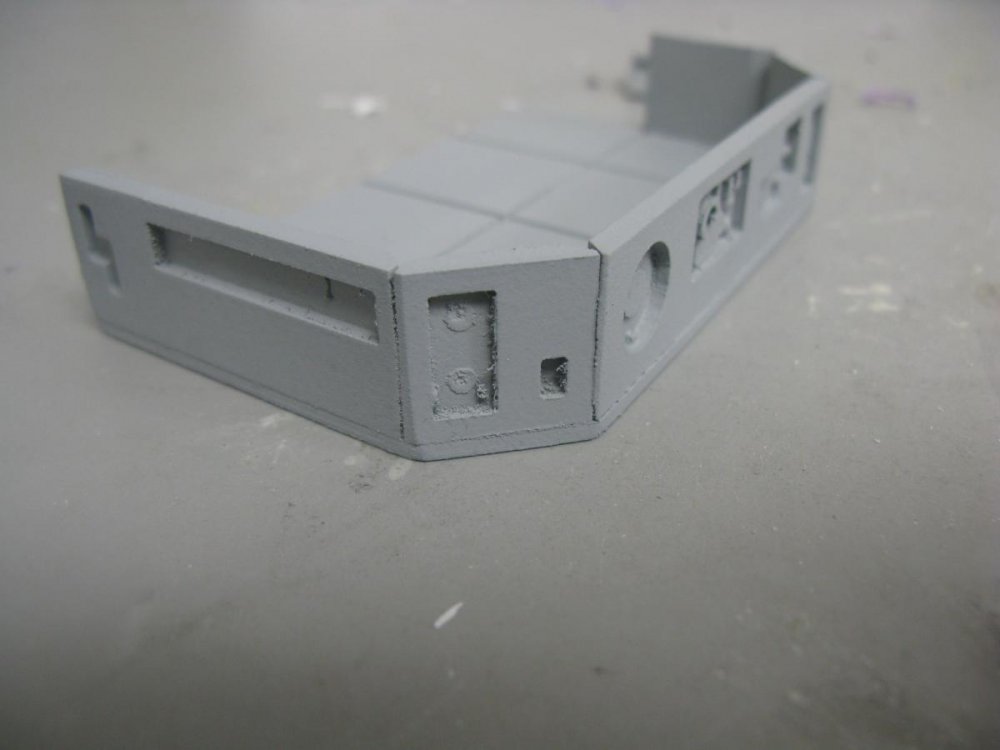
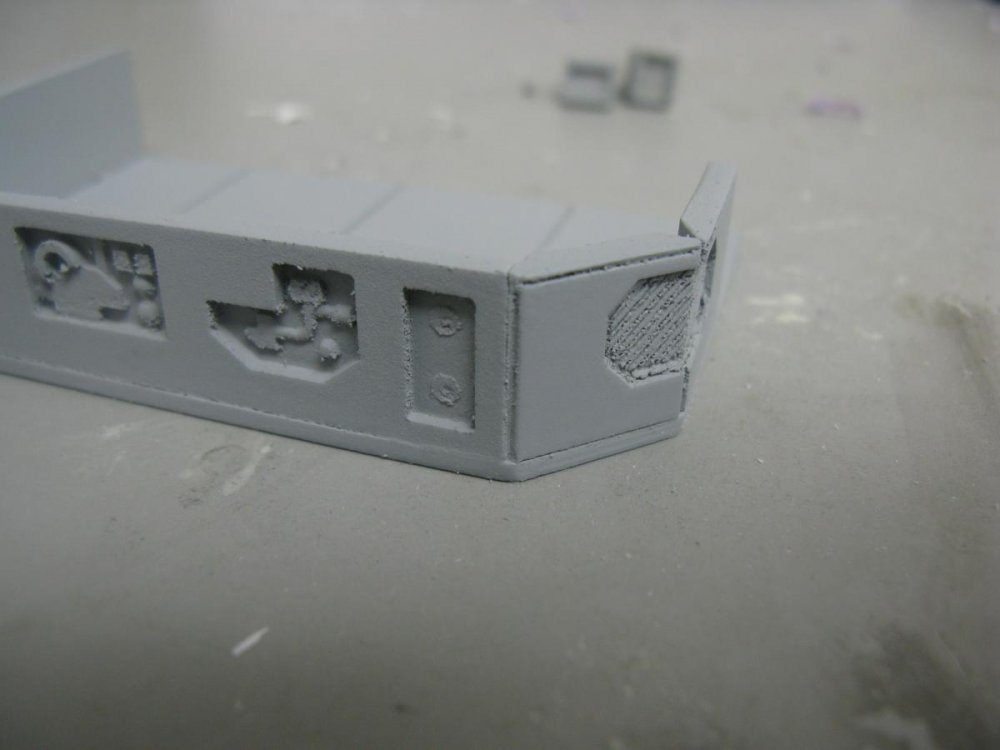
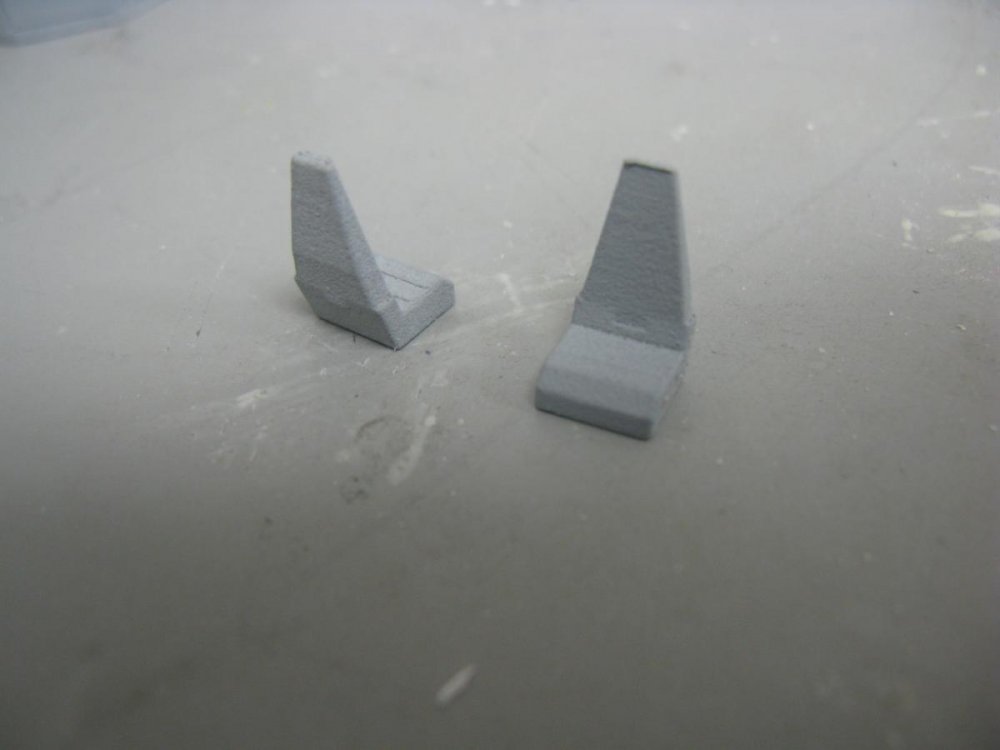
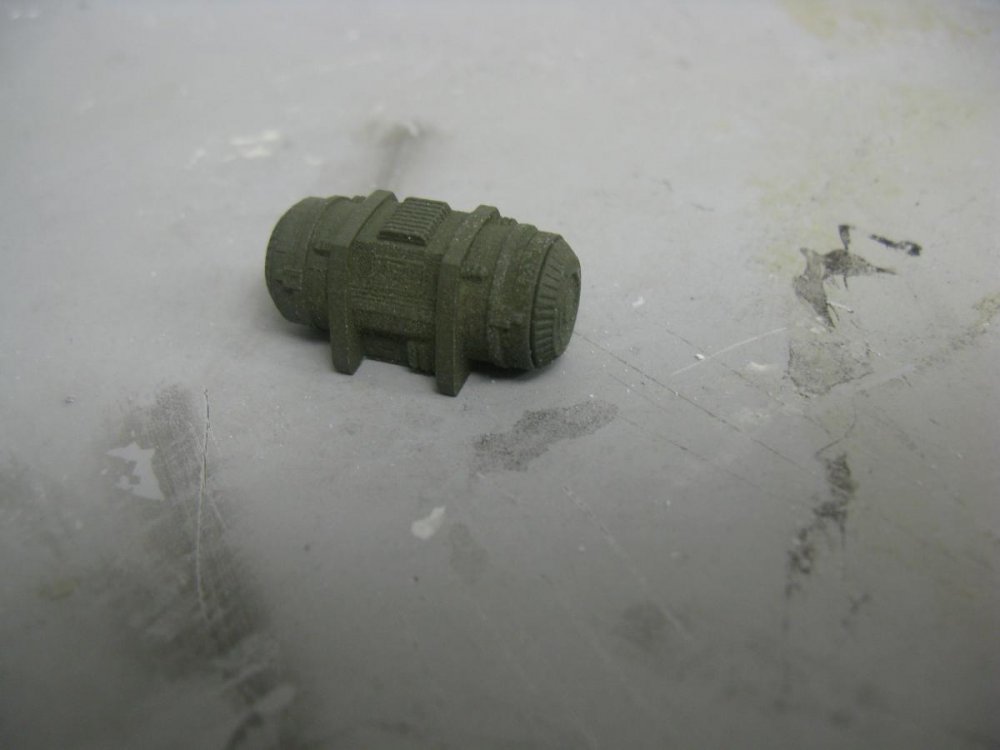
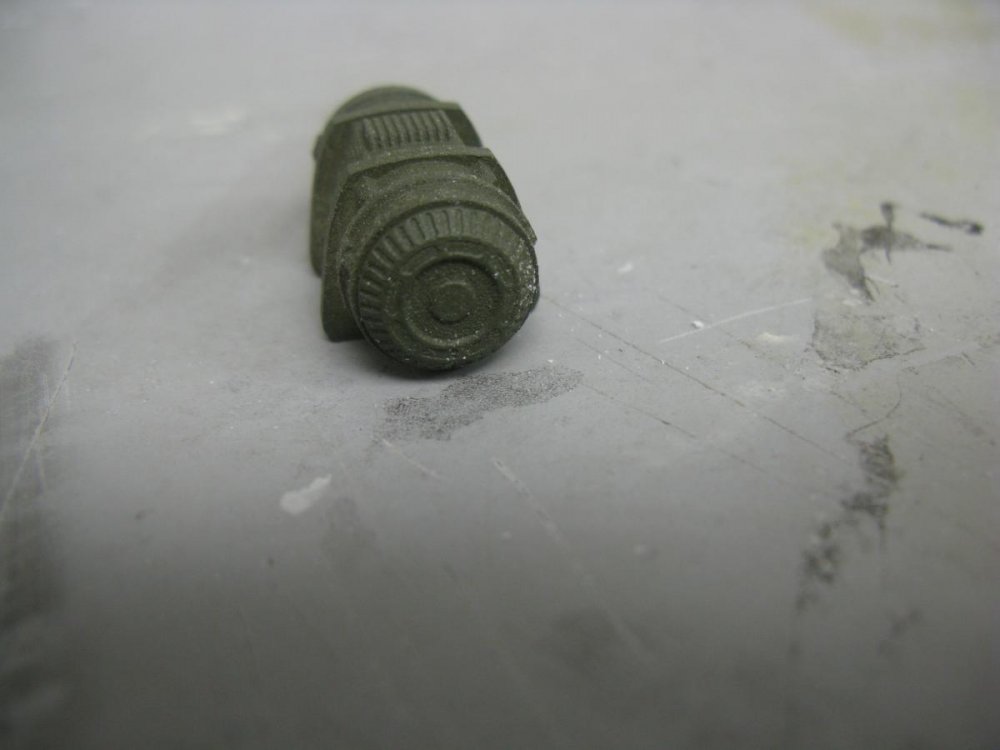
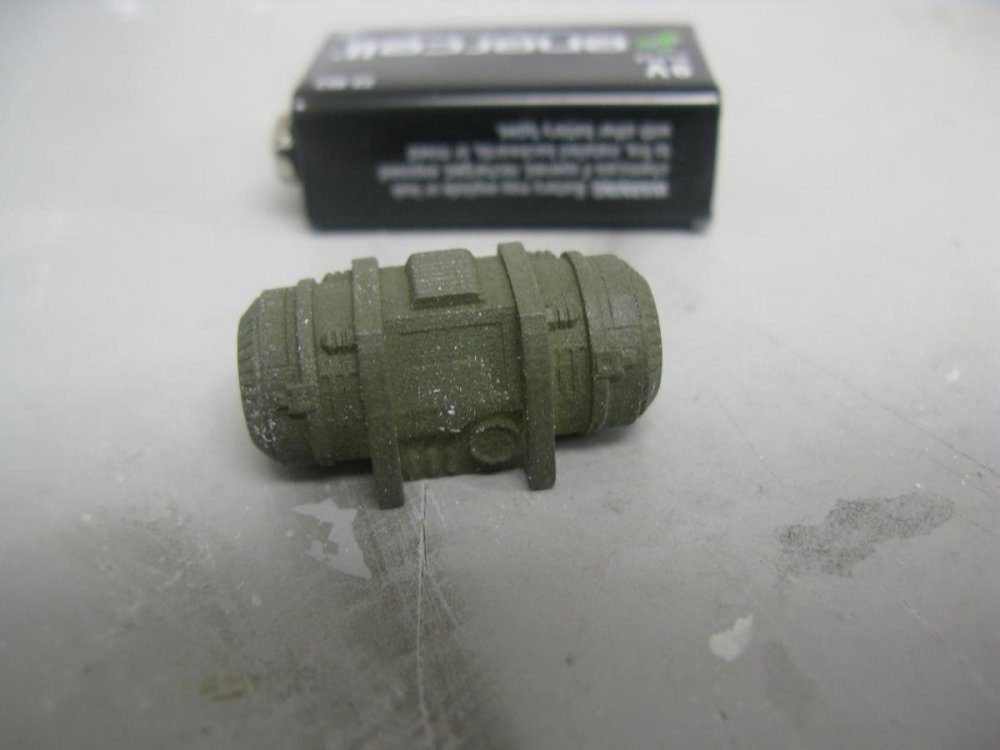
Okay this thread is long overdue for an update. I have been traveling on business, but I finally got to spend more time with this. Here are some shots of the gantries that are under construction. They still need some clean up work and they will have lights installed that will light up a diffusion filter. The cut out symbols on the sides will be the graphics. I have also included initial assembly of the control station and the seats. These also need some cleanup and detail added, but it is just the start. I have also included some shots of a new greeble that will be added to the hangar, a "generator" of some type. It will also need some cleanup, I have added the battery for scale. Thanks!
-

Macross Military vehicle kit in 1/72 and 1/48 scale
tundrayeti replied to tundrayeti's topic in Model kits
Yes. I still have to pick them up from the caster. We keep missing each other due to our schedules. It will be soon because i have prototypes he needs to finish one of his projects. I will notify each of you once i ship your kits. I apologize for the delay, again. I will have them soon. -
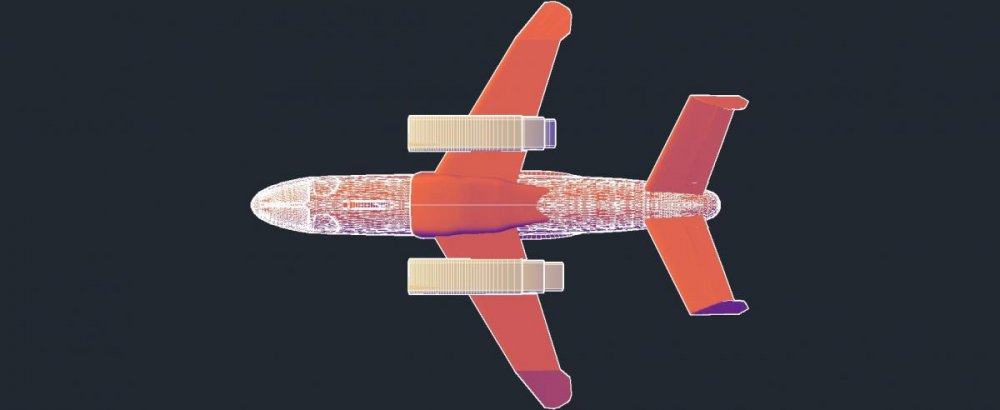
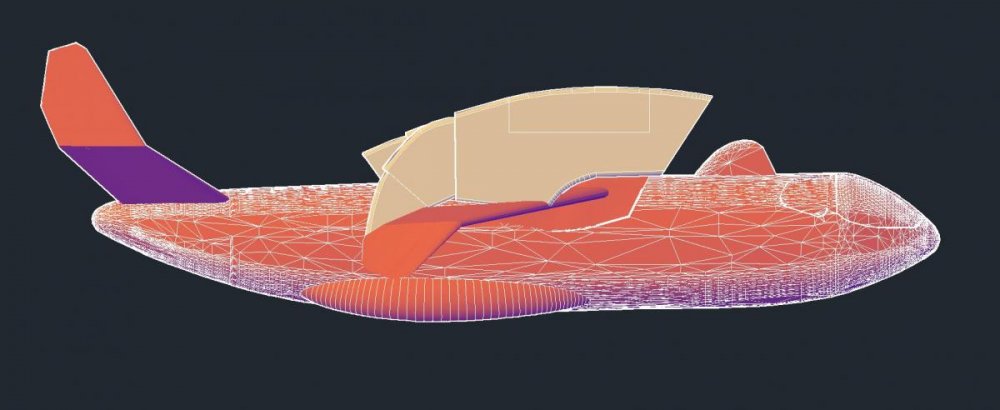
Thanks for the compliments guys. Here's another update. The wingspan was just a bit short and I was not entirely happy with the wings anyway, so i redid them. Still have details to add, but i'm happy with the overall shape. I also lowered the engines and wings. I'm compromising between the views here so they aren't flush with the top of the fuselage, but they aren't too high up either. I also moved the further from the fuselage, just a bit to line up a bit more with the front view. I'm keeping the vents slightly tilted, because I think they look better that way. Haven't really gotten any objections to sizes, etc so I'm keeping the rear vents as is, as well as the engines. moving on to the tail stabilizers, and then panel lining. Enjoy!
-
The Makerbot printer has horrible resolution. If you check out any of the videos of their models, the layers are very prominent. I have found that a couple coats of sandable primer on a high resolution model with some light sanding work wonders. Also polishing them in a vibration tumbler with polishing grit really takes those print layers out. The technology keeps getting better, I have seen some prints that are so detailed you cant see the printed layers without using a magnifying glass.
-
Nice work so far Cap! I love this ship design. I will be watching this build.
-
I agree with you about the wings. I did say in a previous post that I had moved them to line up more with the side view. I am not happy with th results either. The wings themselves were made by extruding lines drawn from the front view so The angle should be okay, this model has been a give and take of compromise between the different views. It is still very much a work in progress, I plan on redoing the tail as well. I really want to focus on the details I am presently working on till everyone is happy with those(the engines, and the rear VTOL vents.) It much easier than jumping around to different elements. I will most likely move the wings down more. Thanks for the input, i agree with you on a lot of those points. Thanks MT, I also plan on having 1 pr 2 areas that will have removable panels with avionics, etc. I'll see where I want to put it when I start panel lining this baby! At any rate thanks for all your input ! I'm back home now and Hoping to get some more stuff done.
-
Okay here's another update. I scaled the engines down a bit. I'll do it gradually so that i don't go too far. So let me know your opinion, after all you guys are the one's who have to be happy with them, I also remodeled the rear vents, I'm much happier with them now. I did do 2 versions though, One with the exhaust going straight down so it's parrallel with the ground and one slightly angle to conform more to the "bulge" of the nacelle. Let me know your opinions and I'll keep the one that everyone likes the best. Keep the comments coming, I'm going to start panel lining and other details soon. But I'll be traveling tonight cause I"M FINALLY GOING HOME!!!! I'll take a short break to spend time with the family, but i will try to update this and all my other projects this weekend. Thanks Everyone!
-
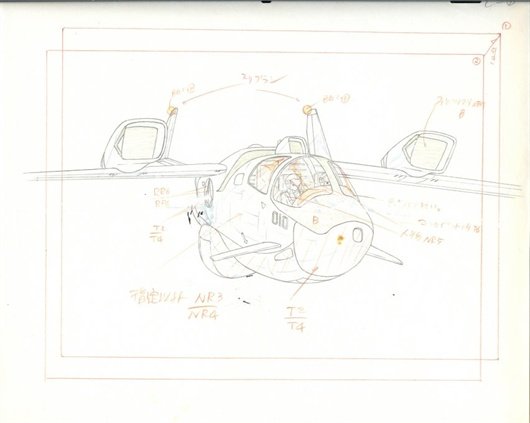
I did a little googling and found a couple sites that put the length at 19.2 meters, or about 63 feet. I double checked that with the height of the figure, (like you do) using an average human height of 5 foot 9 inches. The 19.2 meter length is about right if anyone has better data, please let me know. I think there are some dimensions on some of the lineart pictures, if anyone can translate, I would be very appreciative. I spent 3 years in Japan and I could never get the hang of kanji or katagana. Good thing the street signs were also in english.
-
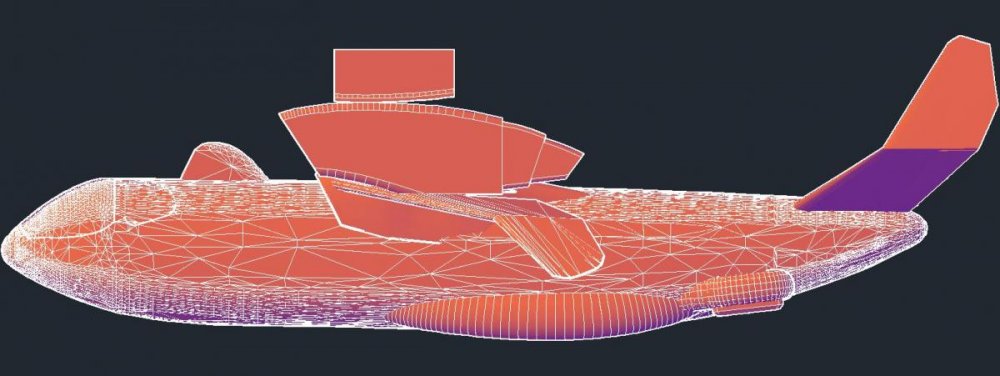
Very true, The isometric views on this one are a bit tricky. Wish I had a top view, it would make things so much easier. I really appreciate your input though, I should have kept them at the original width i calculated which was a little over 4 feet wide on the engines. Another frustration is that when you look at the lineart for the side view, the top of the engines are far above the top of the fuselage, but the front view shows them almost at the same height. So even the iso views are off. Well I'll just shorten the width and see how it looks I have no problem with that. That is why the input i get here is so important. Thanks Ahiachris for your observations, I really do appreciate them! That goes for everyone else too!
-
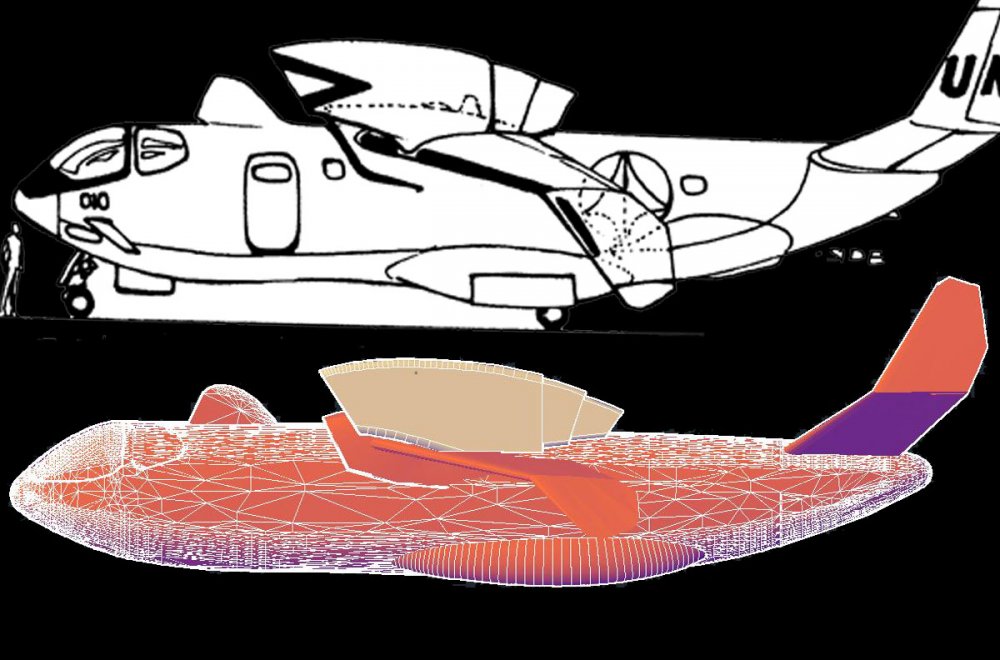
actual 3d object is alwaystricky. When I look at the lineart frontal view, It looks as though the engines ar more boxy with the edges rounded off. Then you have images like this that show the engine intakes as more square. What I do is import the lieart into a cad program and scale it so that the side view is 1:1. I trace the engine profile and then extrude it. I will admit that I did make the a little wider than what is on the frontal view, but added the little extra width so that it looks more "square." You can drive yourself crazy trying to get you 3d model to look right at every angle you see in the lineart. Well I can try shortening the width and see how it looks. that's not a problem at all.
-
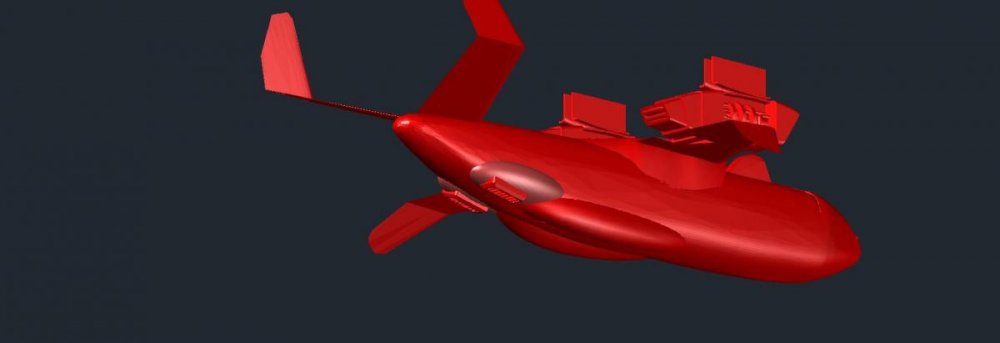
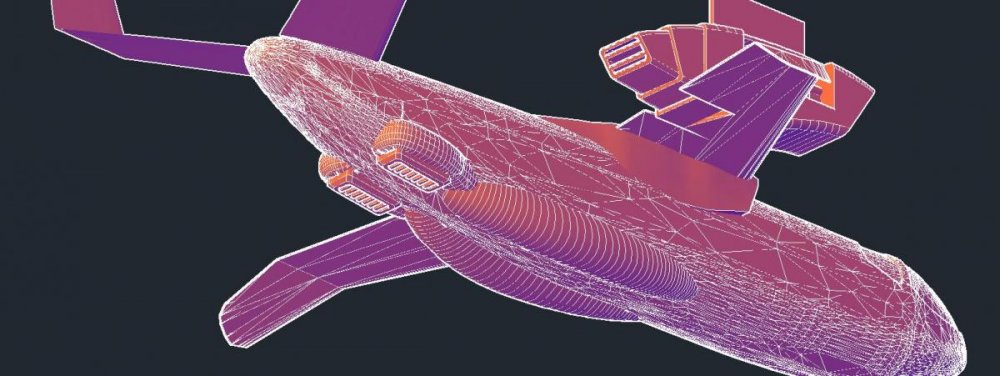
Okay here's another update. I added the back VTOL jet vents. This one was tougher than I thought. This another one of those "lineart" issues. I got it looking right from the side and it looked off in the other views, so I had to compromise. I'm on the fence on this on, I'm not entirely happy with it yet, but I would like everyone's opinion. Let me know what you think. I also took pictures in a "realistic view". This view eliminates the highlighted edges and gives more of an idea of what it might look like in red plastic. Anyway please add your opinions and comments.
-
There are other methods. I have gotten excellent results with my 3d CNC machine. Smaller parts would be tricky, but not impossible
-
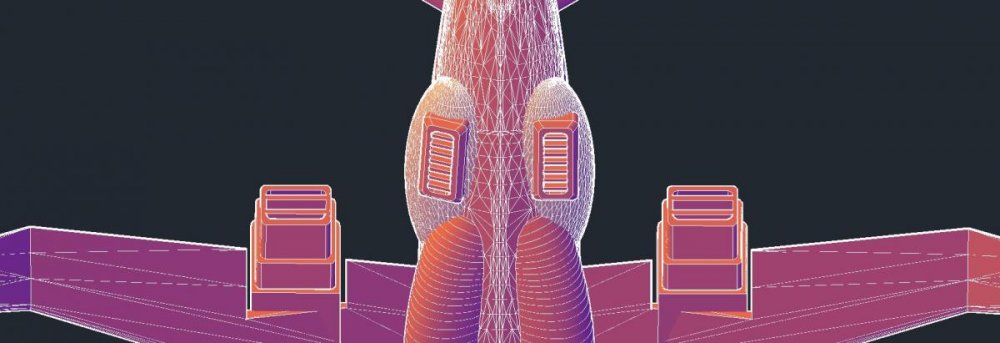
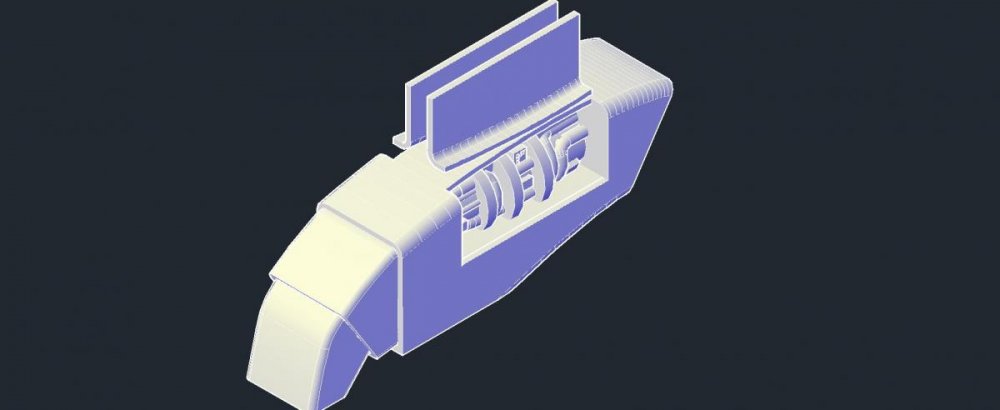
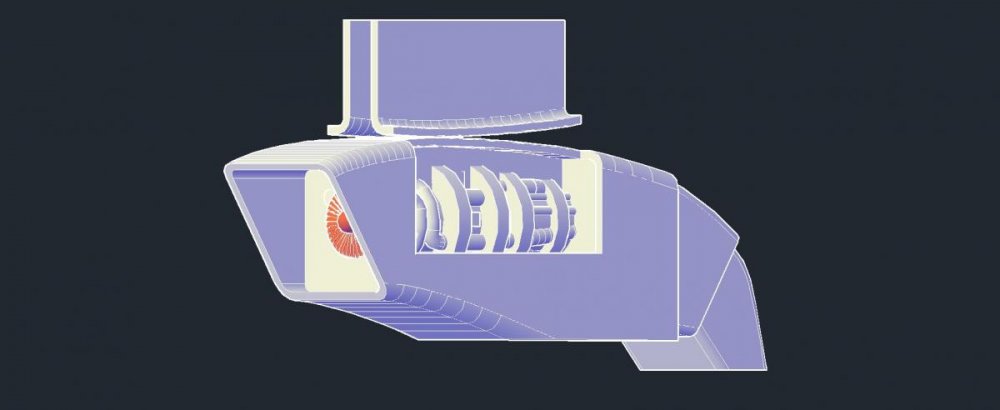
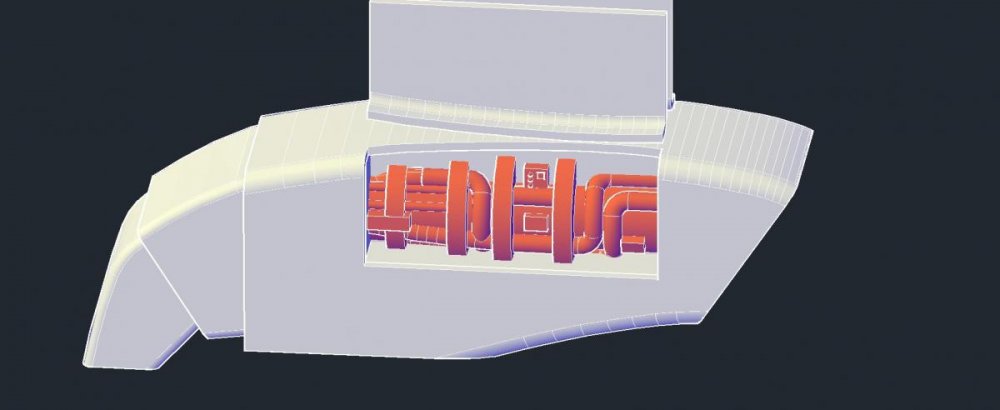
Okay here's another update. Easy to get some 3d modeling done when you're stuck in a hotel room. Well I'm taking a little creative license here since there are no reference pics or lineart. Here are some of the engine detail I have in mind. There will be panels on the sides of the engine that will allow the builder to open the panels up and have some "maintainence" done. Wires can be added for more detail. Or the panels can be glued in place for flight mode. So please give me your opinions or suggestions. I like the turbine idea, but i can remove it and add a mesh screen pattern to the intake. Let me know any opinions or thoughts on this. Thanks!
-
Thanks for looking. I started this model in Max, but i use autocad 2012 to make my models for 3d printing. Max is an awesome program, but there are tools in Autocad that are very useful for 3d modeling for cnc and 3d printing purposes. The fuselage is tessellated for Smoothness, there will be small facets in the printed model, but a couple coats of sandable primer and some sanding takes them right out. Also the printing method helps as well. Autocad and Solidworks are good programs for 3d printing and can import models from other formats. Another good tip is to hollow out your model. Both autocad and solidworks have tools that will help you acheive this. It really helps keep printing costs down and you can always use bondo or some other filler to make your model more solid. Please feel free to pm me if you have any more questions.
-
Pretty quick. I gotta move a few things around but these engines look much better. Have a side by side for comparison. Looks like i'll have to move the wings up and foreward as well but that is an easy fix. Keep that feedback coming everyone. I also redid the VTOL exhaust vents. I think they look much better, but please add your opinion.
-

Macross Military vehicle kit in 1/72 and 1/48 scale
tundrayeti replied to tundrayeti's topic in Model kits
Thanks for the patience everyone, I would love nothing more than to be able to do nothing but Macross models, but I gotta make a living. My kids like to eat. . Unfortunately it's a necessary evil. They will be done soon guys, thanks for understanding. -

Macross Military vehicle kit in 1/72 and 1/48 scale
tundrayeti replied to tundrayeti's topic in Model kits
Just an update for everyone who has ordered the military sets in 1/72 and 1/48. Talked to the caster and I will be picking them up next weekend. I will start shipping soon after. If anything changes I'll let everyone know. I apologize for the delay but I've been traveling a lot for my job. Thanks and feel free to pm me with questions. -
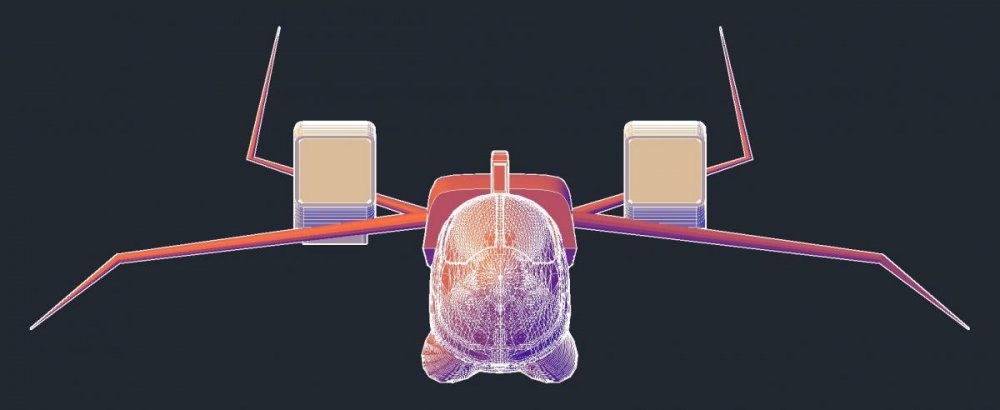
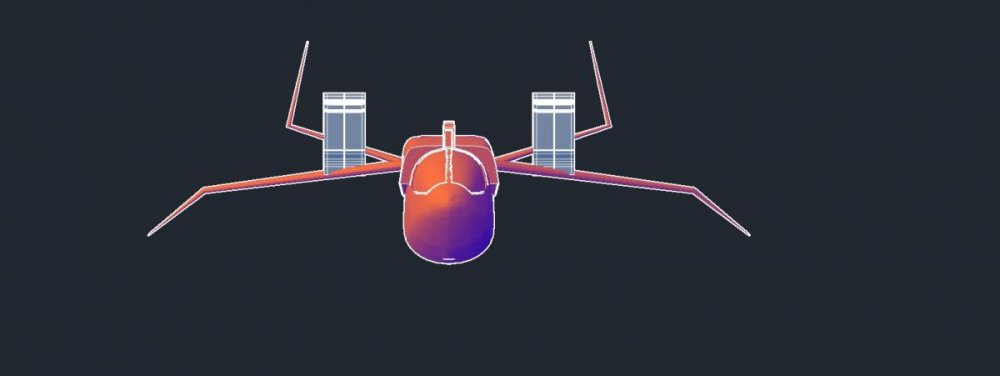
I have been checking with the lineart. and I actually imported it into my 3d software and as I suspected and you guys confirmed, the engines are a little too big. I think I'm just going to redo them from scratch. I used some old drawings I was doing from awhile back when I was going to use my CNC machine. Thanks for the input guys! I really appreciate it!
-
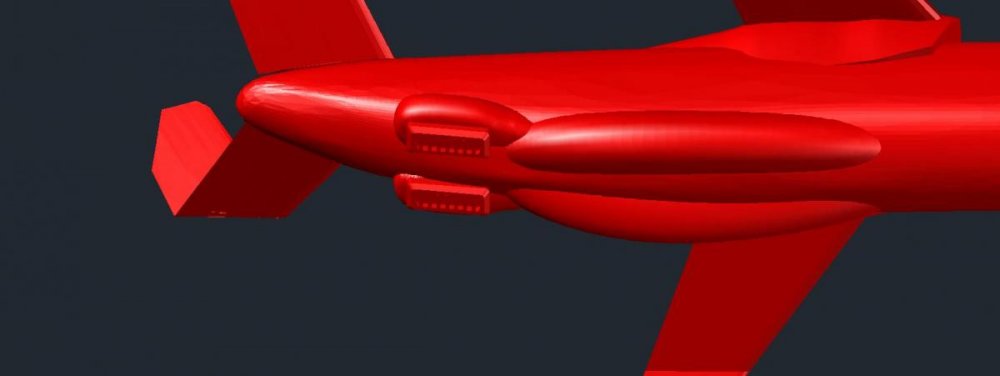
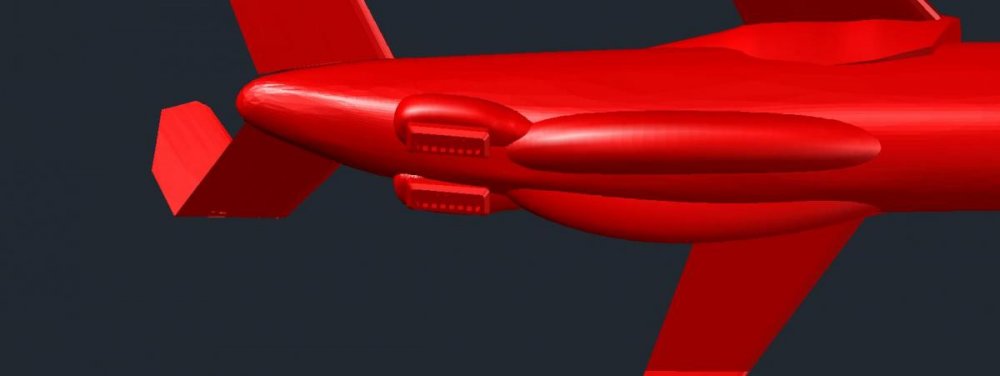
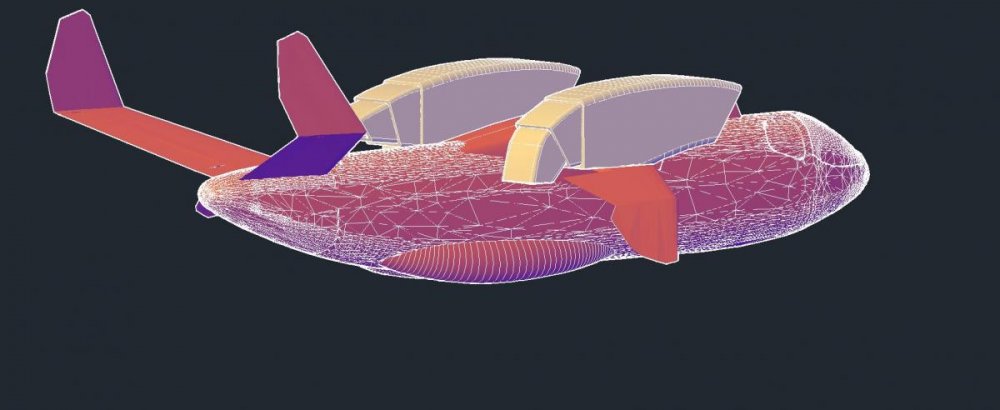
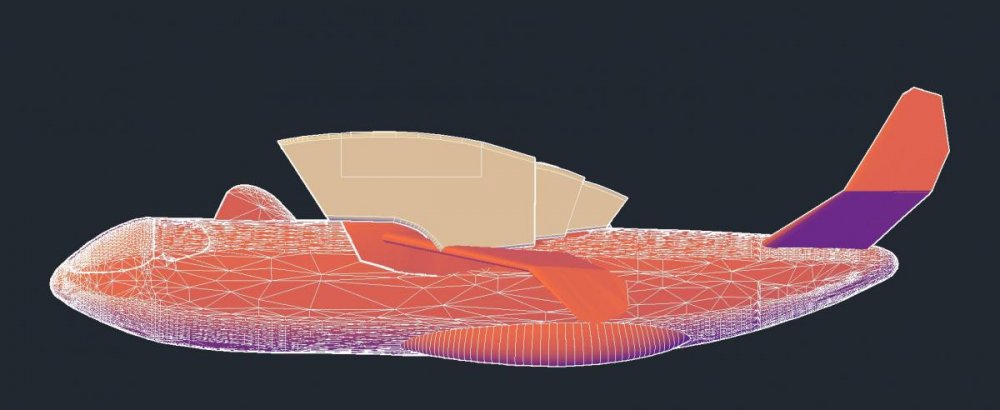
Well so far 1/72, seems to be the popular choice. I want this for myself in 1/100 scale, so I will do at least one or 2 in that scale. If Enough folks are interested in a 1/100, i may do a small run of maybe 10 kits. But the 1/72 looks like it will be going to prototype for WF! All I can say for the 1/60 scale people is please be patient, if I can pull this off in 1/72, and 1/100, I'll give 1/60 a go. Well guys here is a quick update. Showing off the VTOL feature of the engine. I'm not sure if I'm happy with how that looks, but it's one of those "hard to translate from Lineart to reality" things. The side views match the lineart, but I'm still thinking that the engines are too tall. Please give me some feedback on this guys, I really need input on this one. I also added the landing grear "nacelles" on the bottom sides. Thanks for all your votes and comment guys, Keep them coming!
-
It's possible, I would most likely have to have it printed directly. I could check on the price and see how much it would be. I have done some of my vehicles for members that were in 1/100 scales and smaller and they were awesome. 3d printing keeps advancing in great strides and the prices for high detail printing keeps going down. PM me and I can get a rough estimate of cost when I get the model where I like it.
-
Of course 1/60 is always a possibility. As with anything it is proportional to wallet size . I'm starting with the smaller scales as it will be easier to get started and gauge how much the bigger sizes will cost. I'm trying to make this as detailed as possible, while keeping the cost to a minimum. I will be posting my progress, so since everyone will have a chance to affect how this product looks, please comment on detail, any suggestions you guys may have, etc. The model is in a very rough stage right now, the main fuselage is looking good, just trying to get the detail in
-
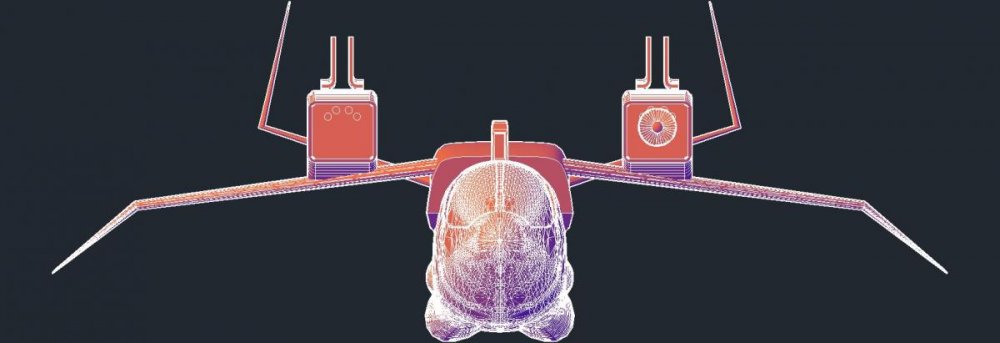
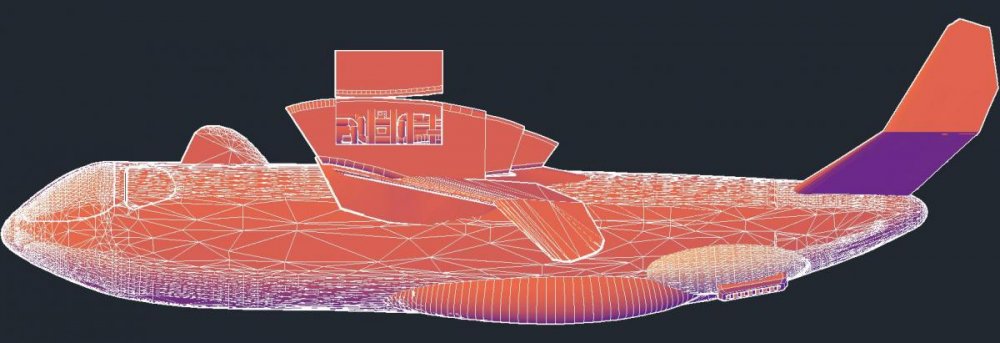
Okay everyone, here is my next kit I hope to have ready by Wonderfest in the US. The VC-33 Mom's kitchen. This baby has always been one of my favorite non transforming Macross designs and I'm bringing it to life!! (insert crazy maniacal laugh here). I have had this on the back burner for a couple years and it's time to bring it to life. I personally want one in 1/100 scale for myself and I know the 1/72 guys are gonna go crazy, but I'm putting it up in a poll and let's see where it goes. It's all up to you the fans! I may do both if there is enough interest, if it goes to 1/72, I'll try to keep it under $200. I will have the capability of having the engine vents in flight or VTOL position, and I will also be adding landing gear so you can have it in flight or grounded. Other goodies panned are engine details and maybe a few popped off panels so you can have your ground crews work on it. At any rate, here are the preliminary 3d model pics, just to give everyone the idea. I should have the details wrapped up in about 4-6 weeks. I hope to havethis baby ready for Wonderfest, so fire away people!
-
Blue, I sent you the info you requested. I have standard 16" x 16" panels that I sell for $30 each plus shipping. They were on one of my old posts i'll put the link to it here. there are 4 styles to choose from, I may add more based on some feedback I have received. I had a couple on display at Wonderfest last year. I'll have to take some pics when I get back home!

