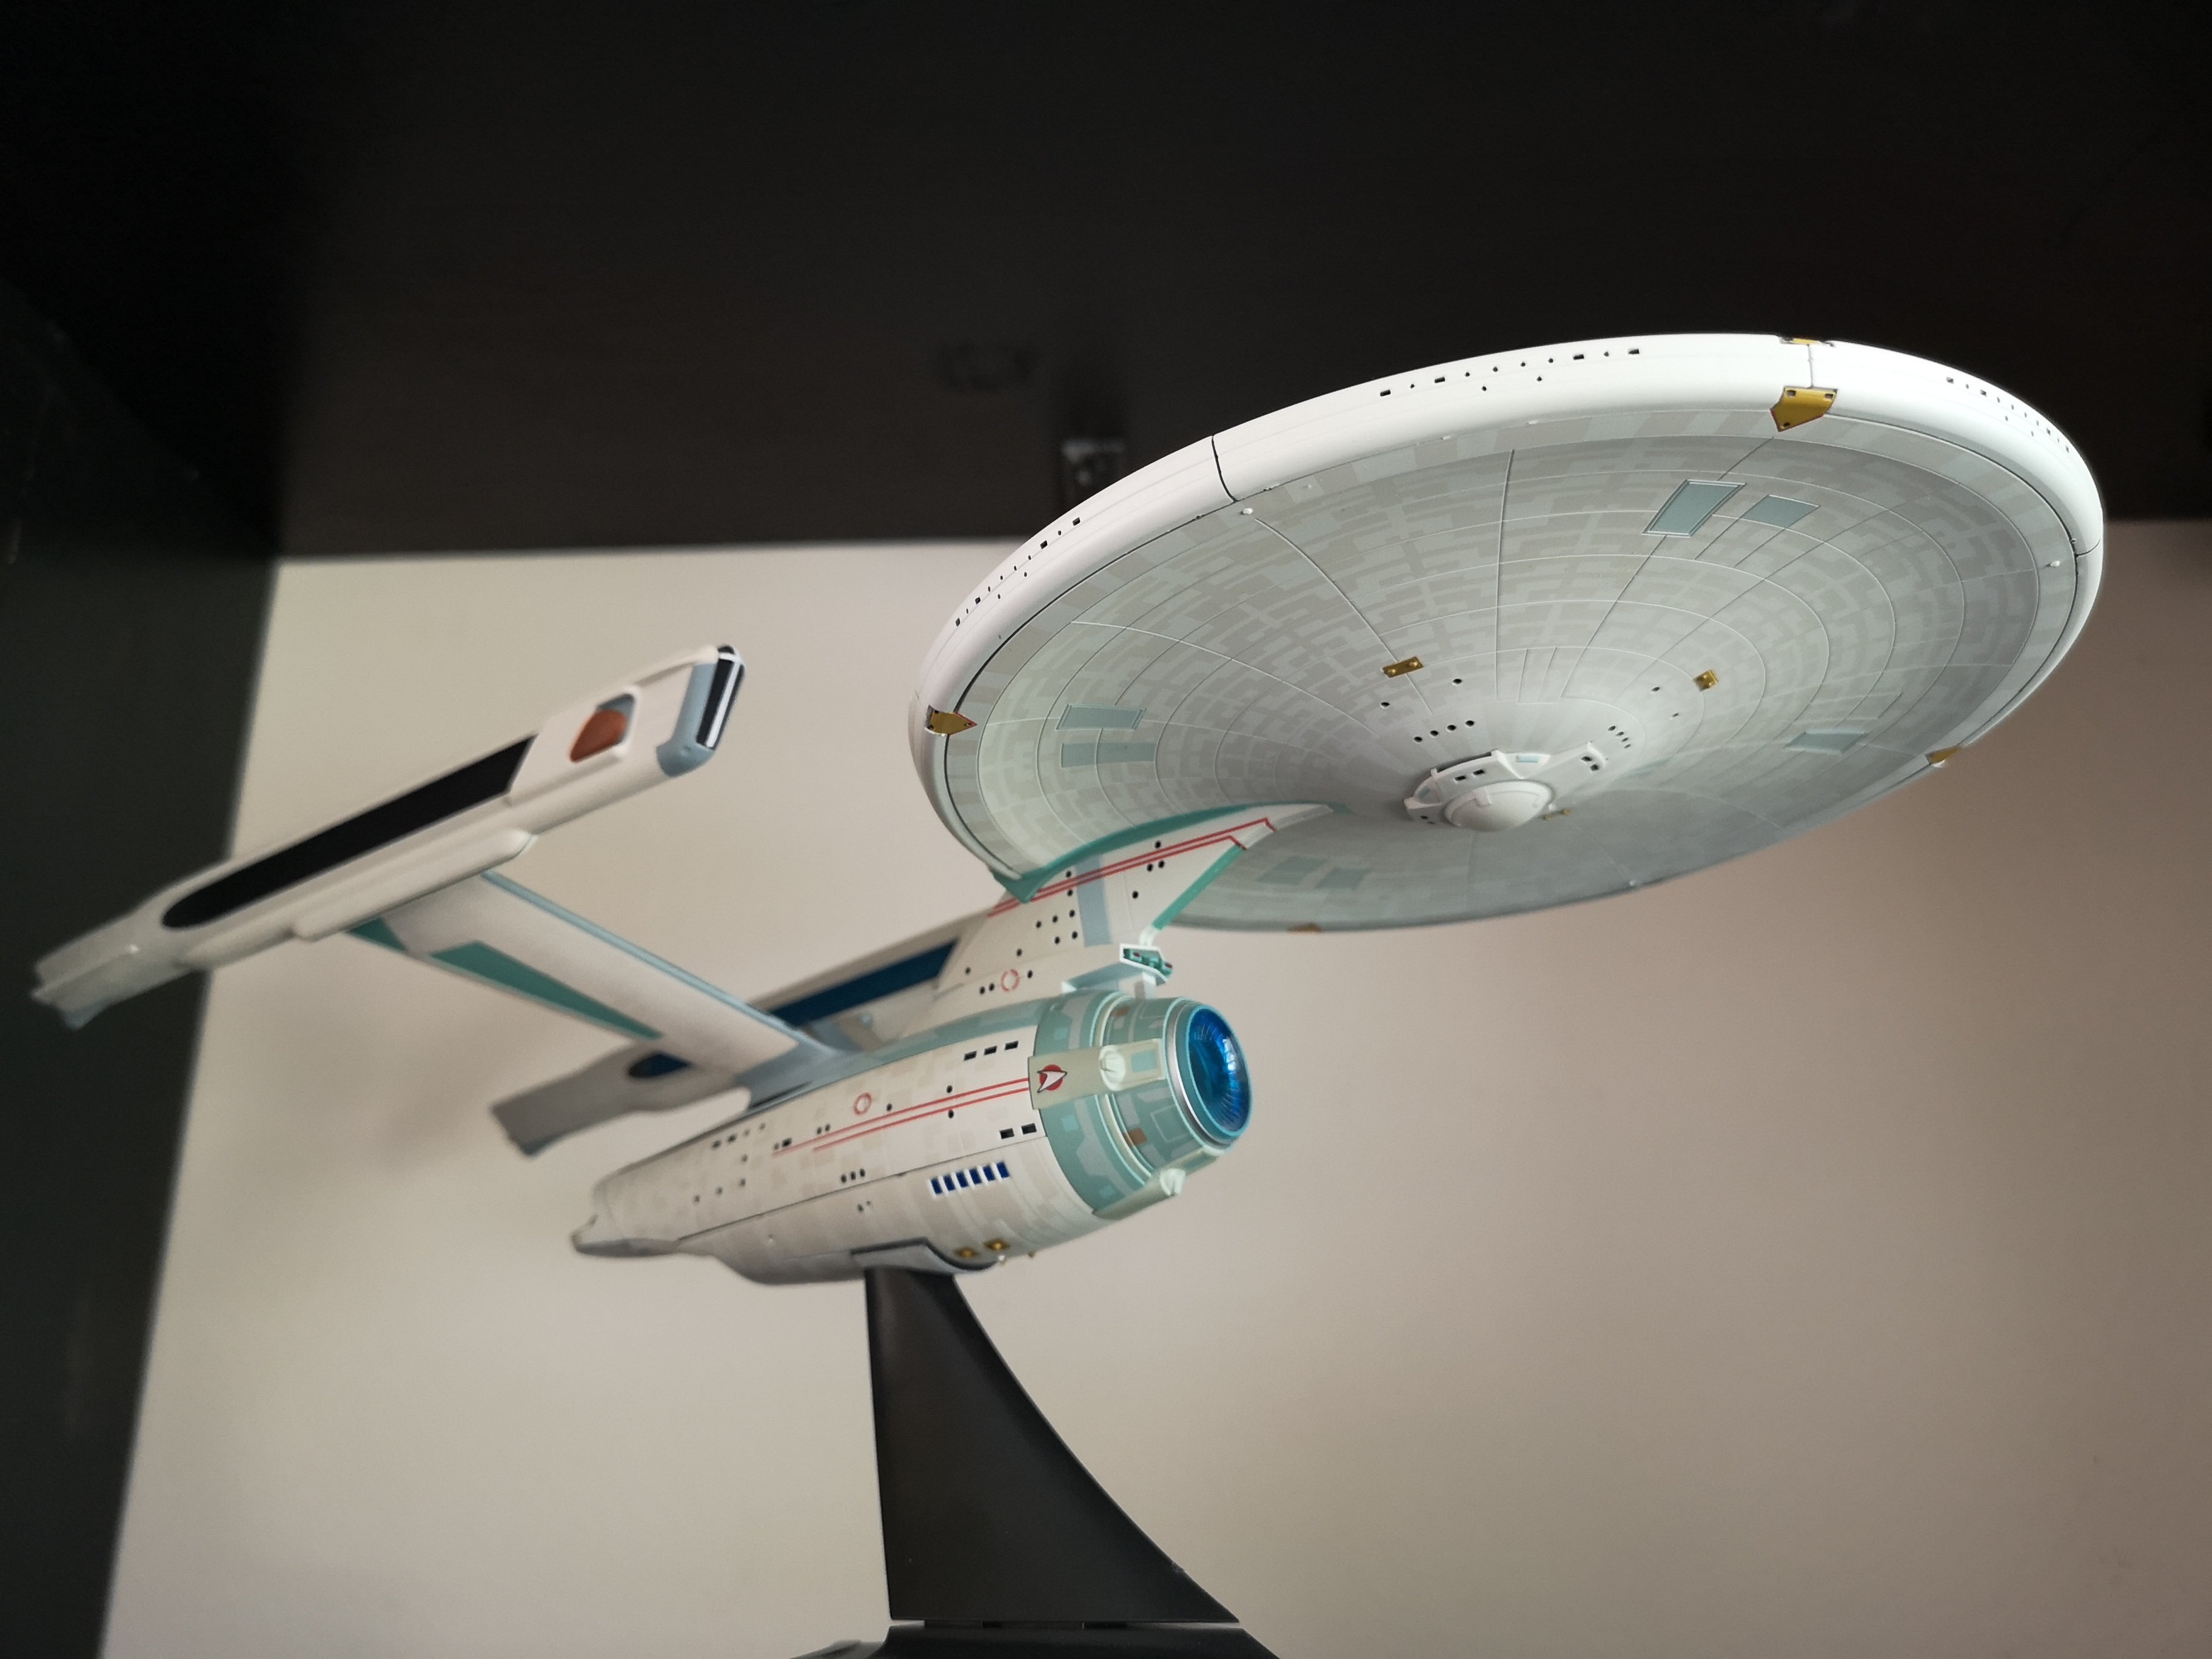
-
Posts
4487 -
Joined
-
Last visited
Content Type
Profiles
Forums
Events
Gallery
Everything posted by peter
-
Lol, my latest build may end up like another STIII auto destruct version if it goes bad.
-
Lol, will do.
-
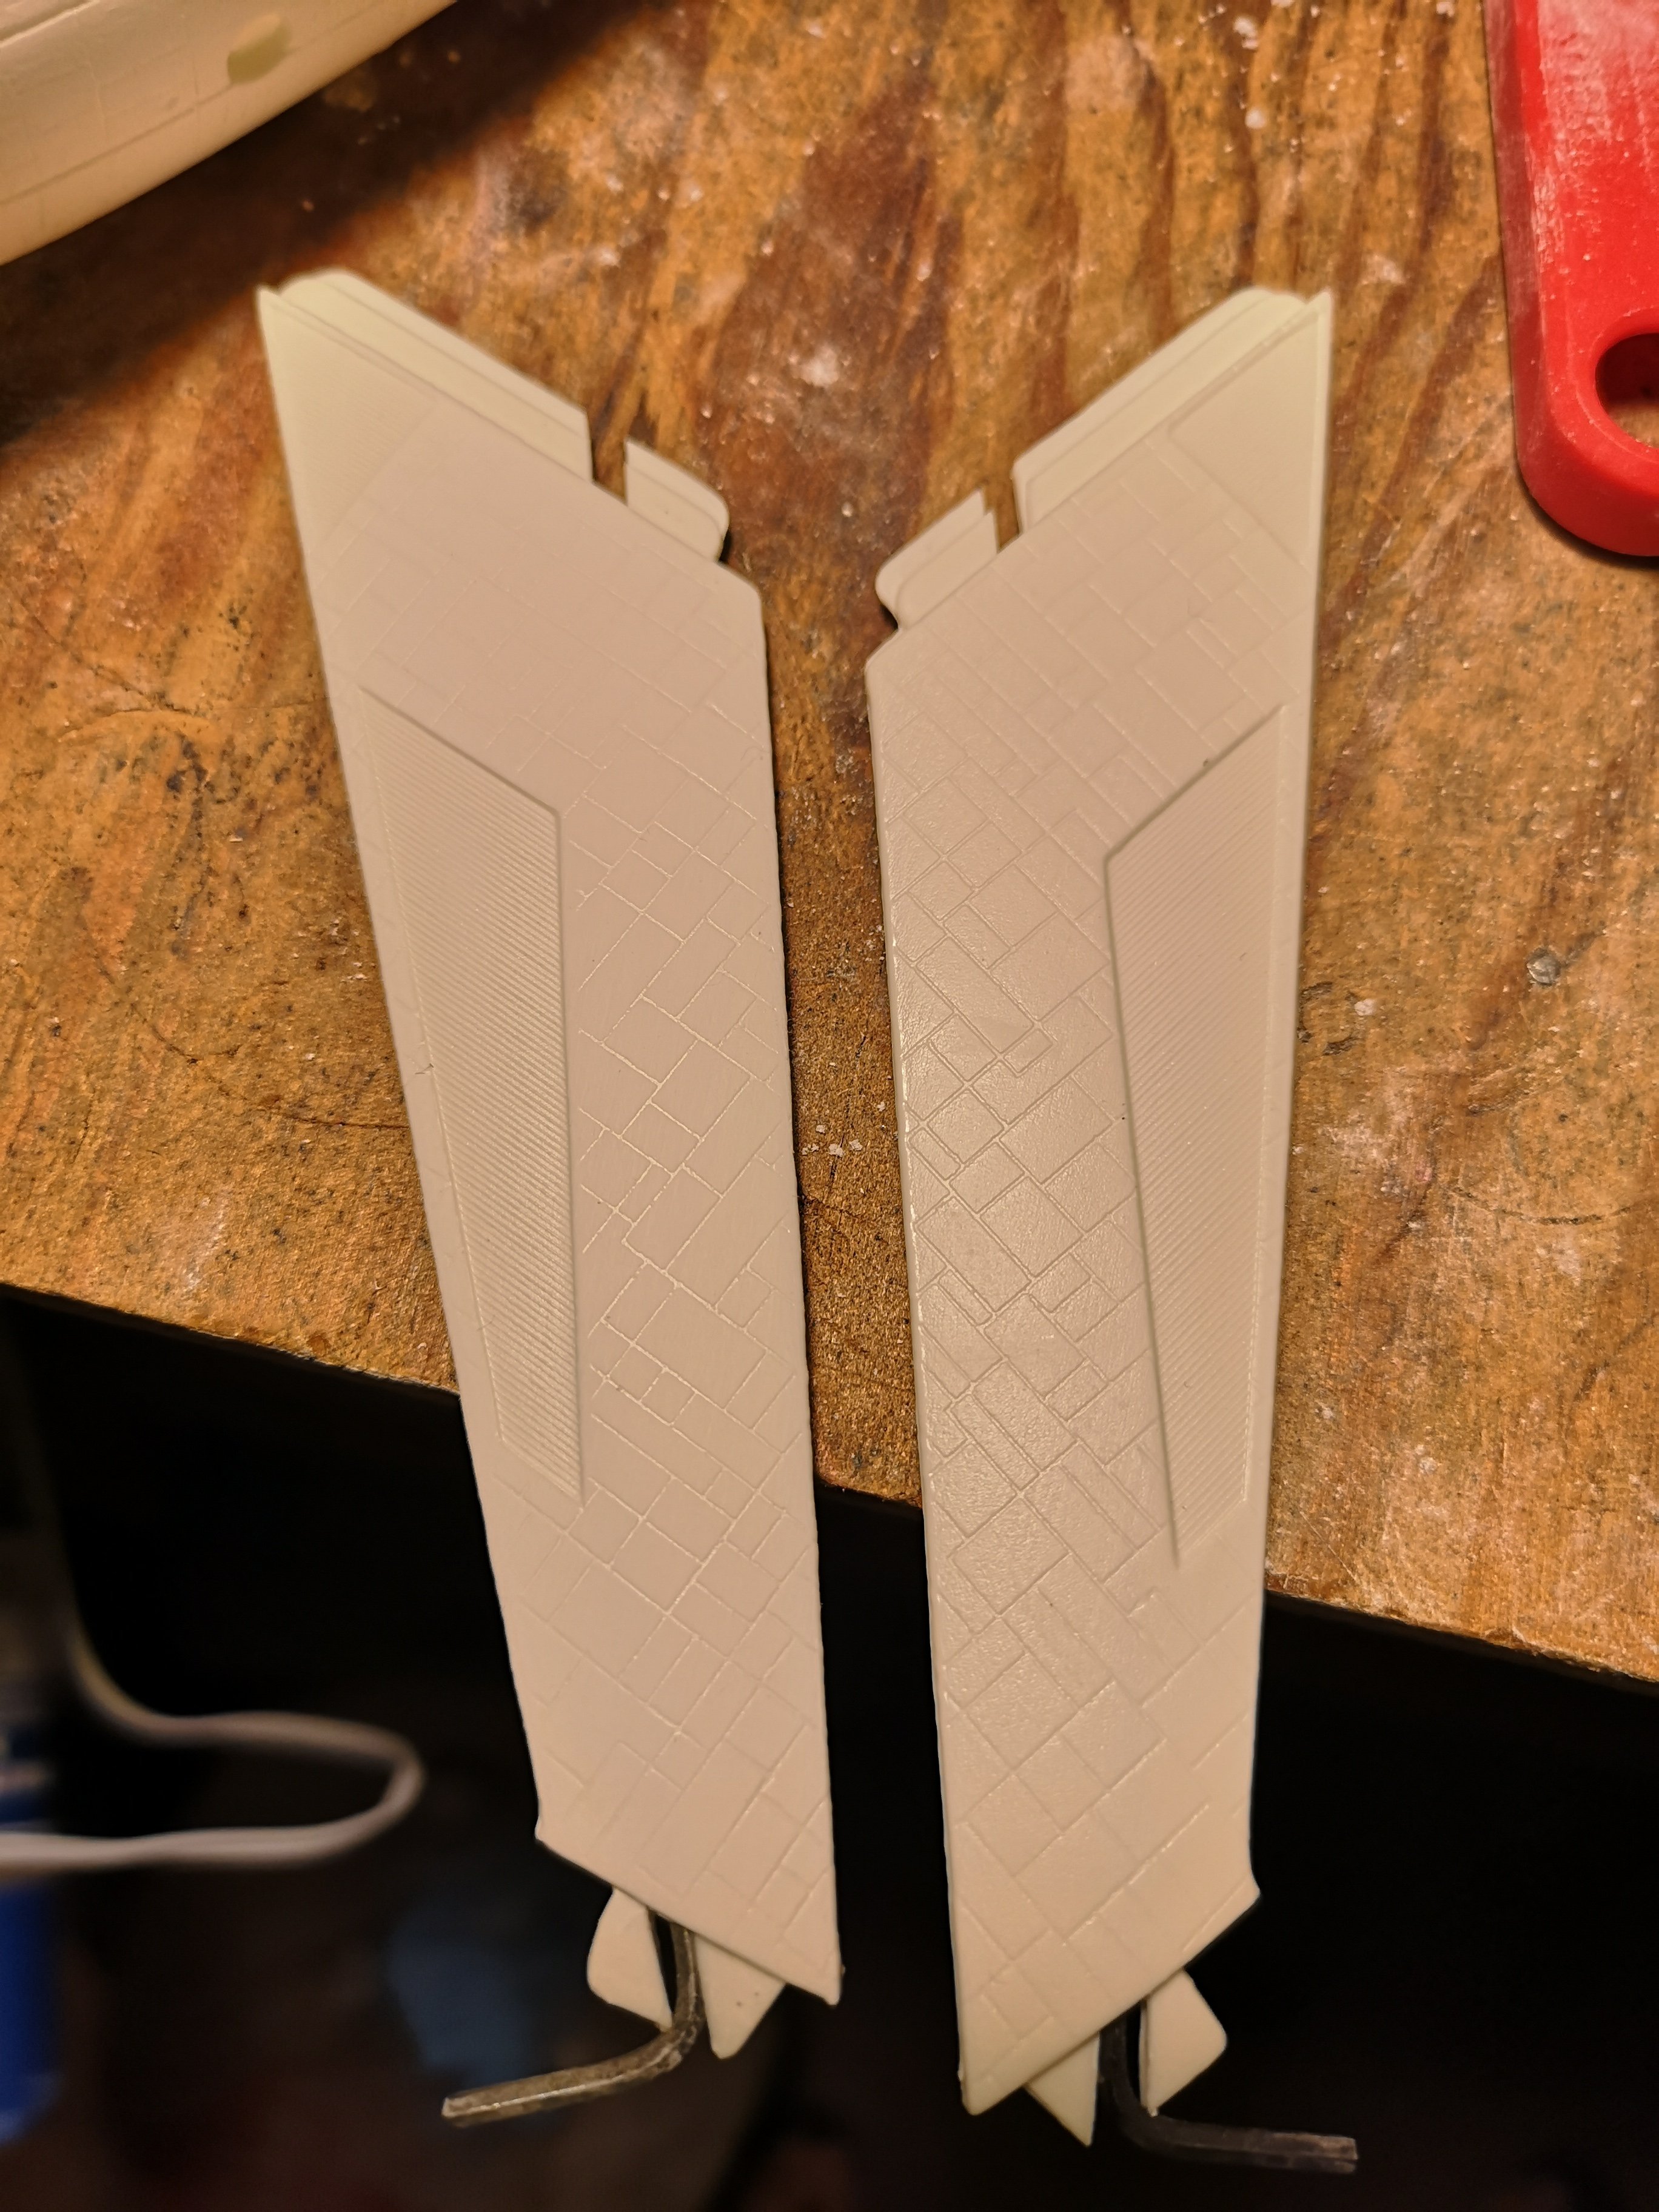
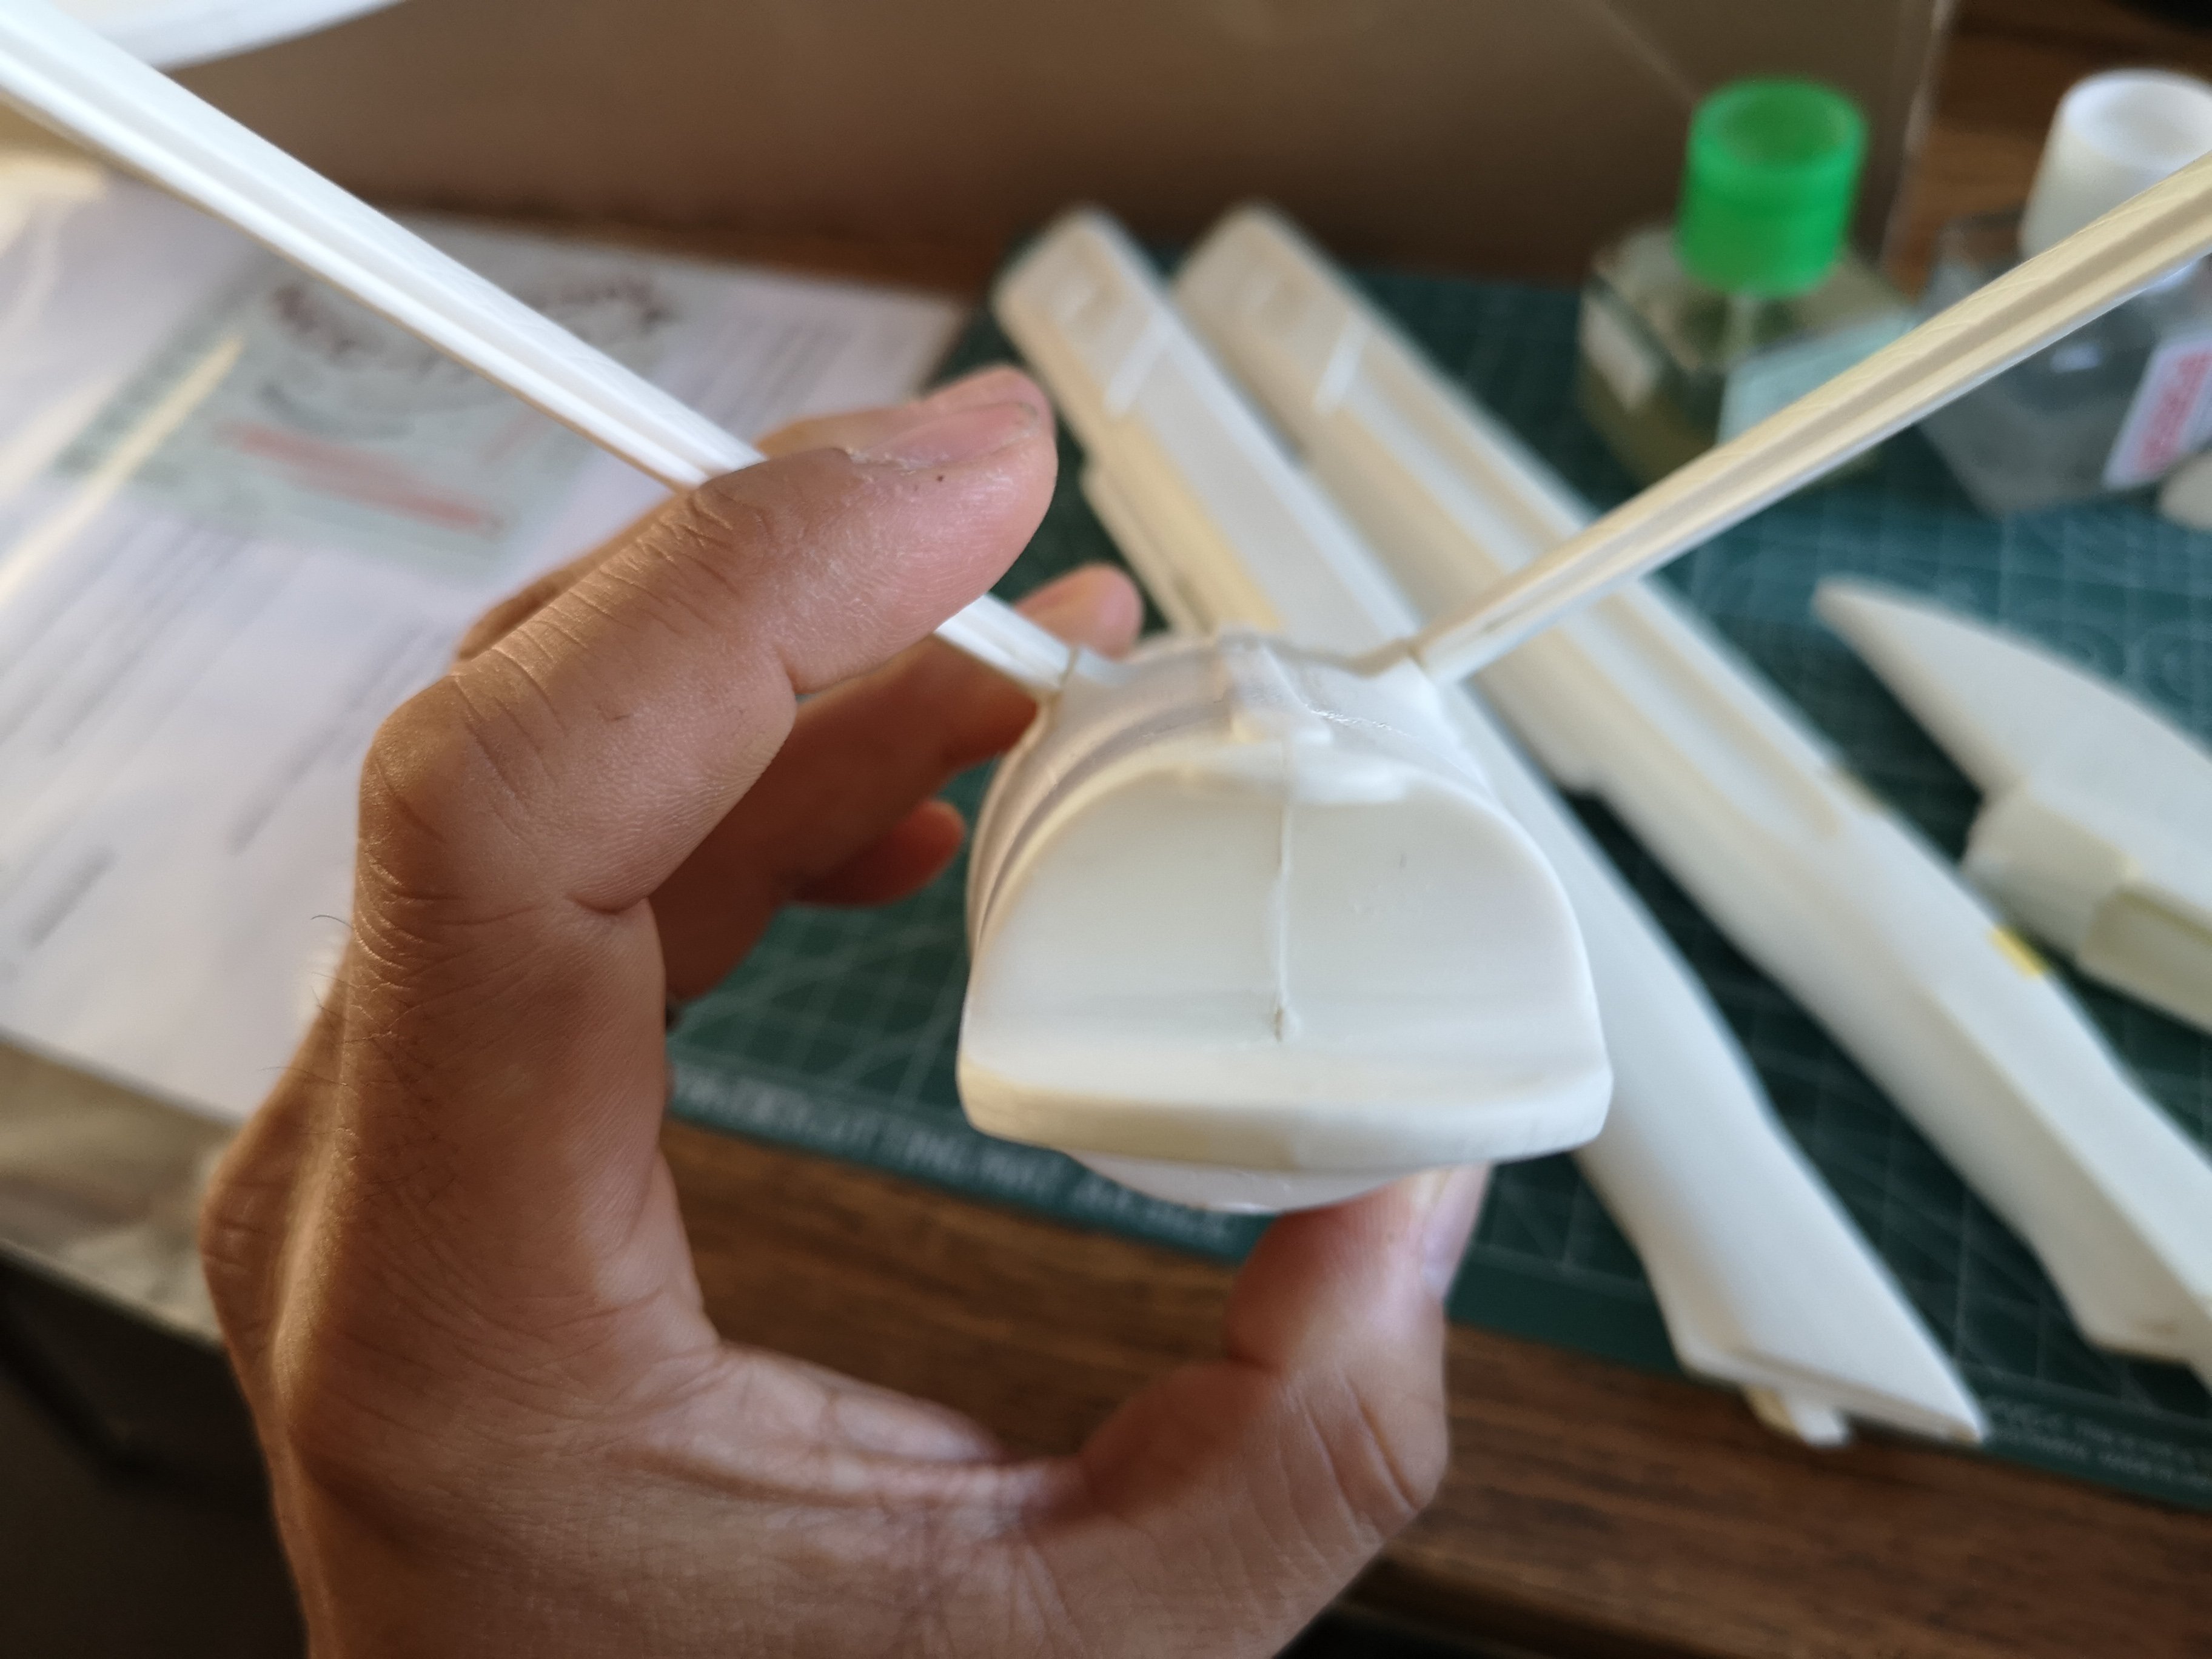
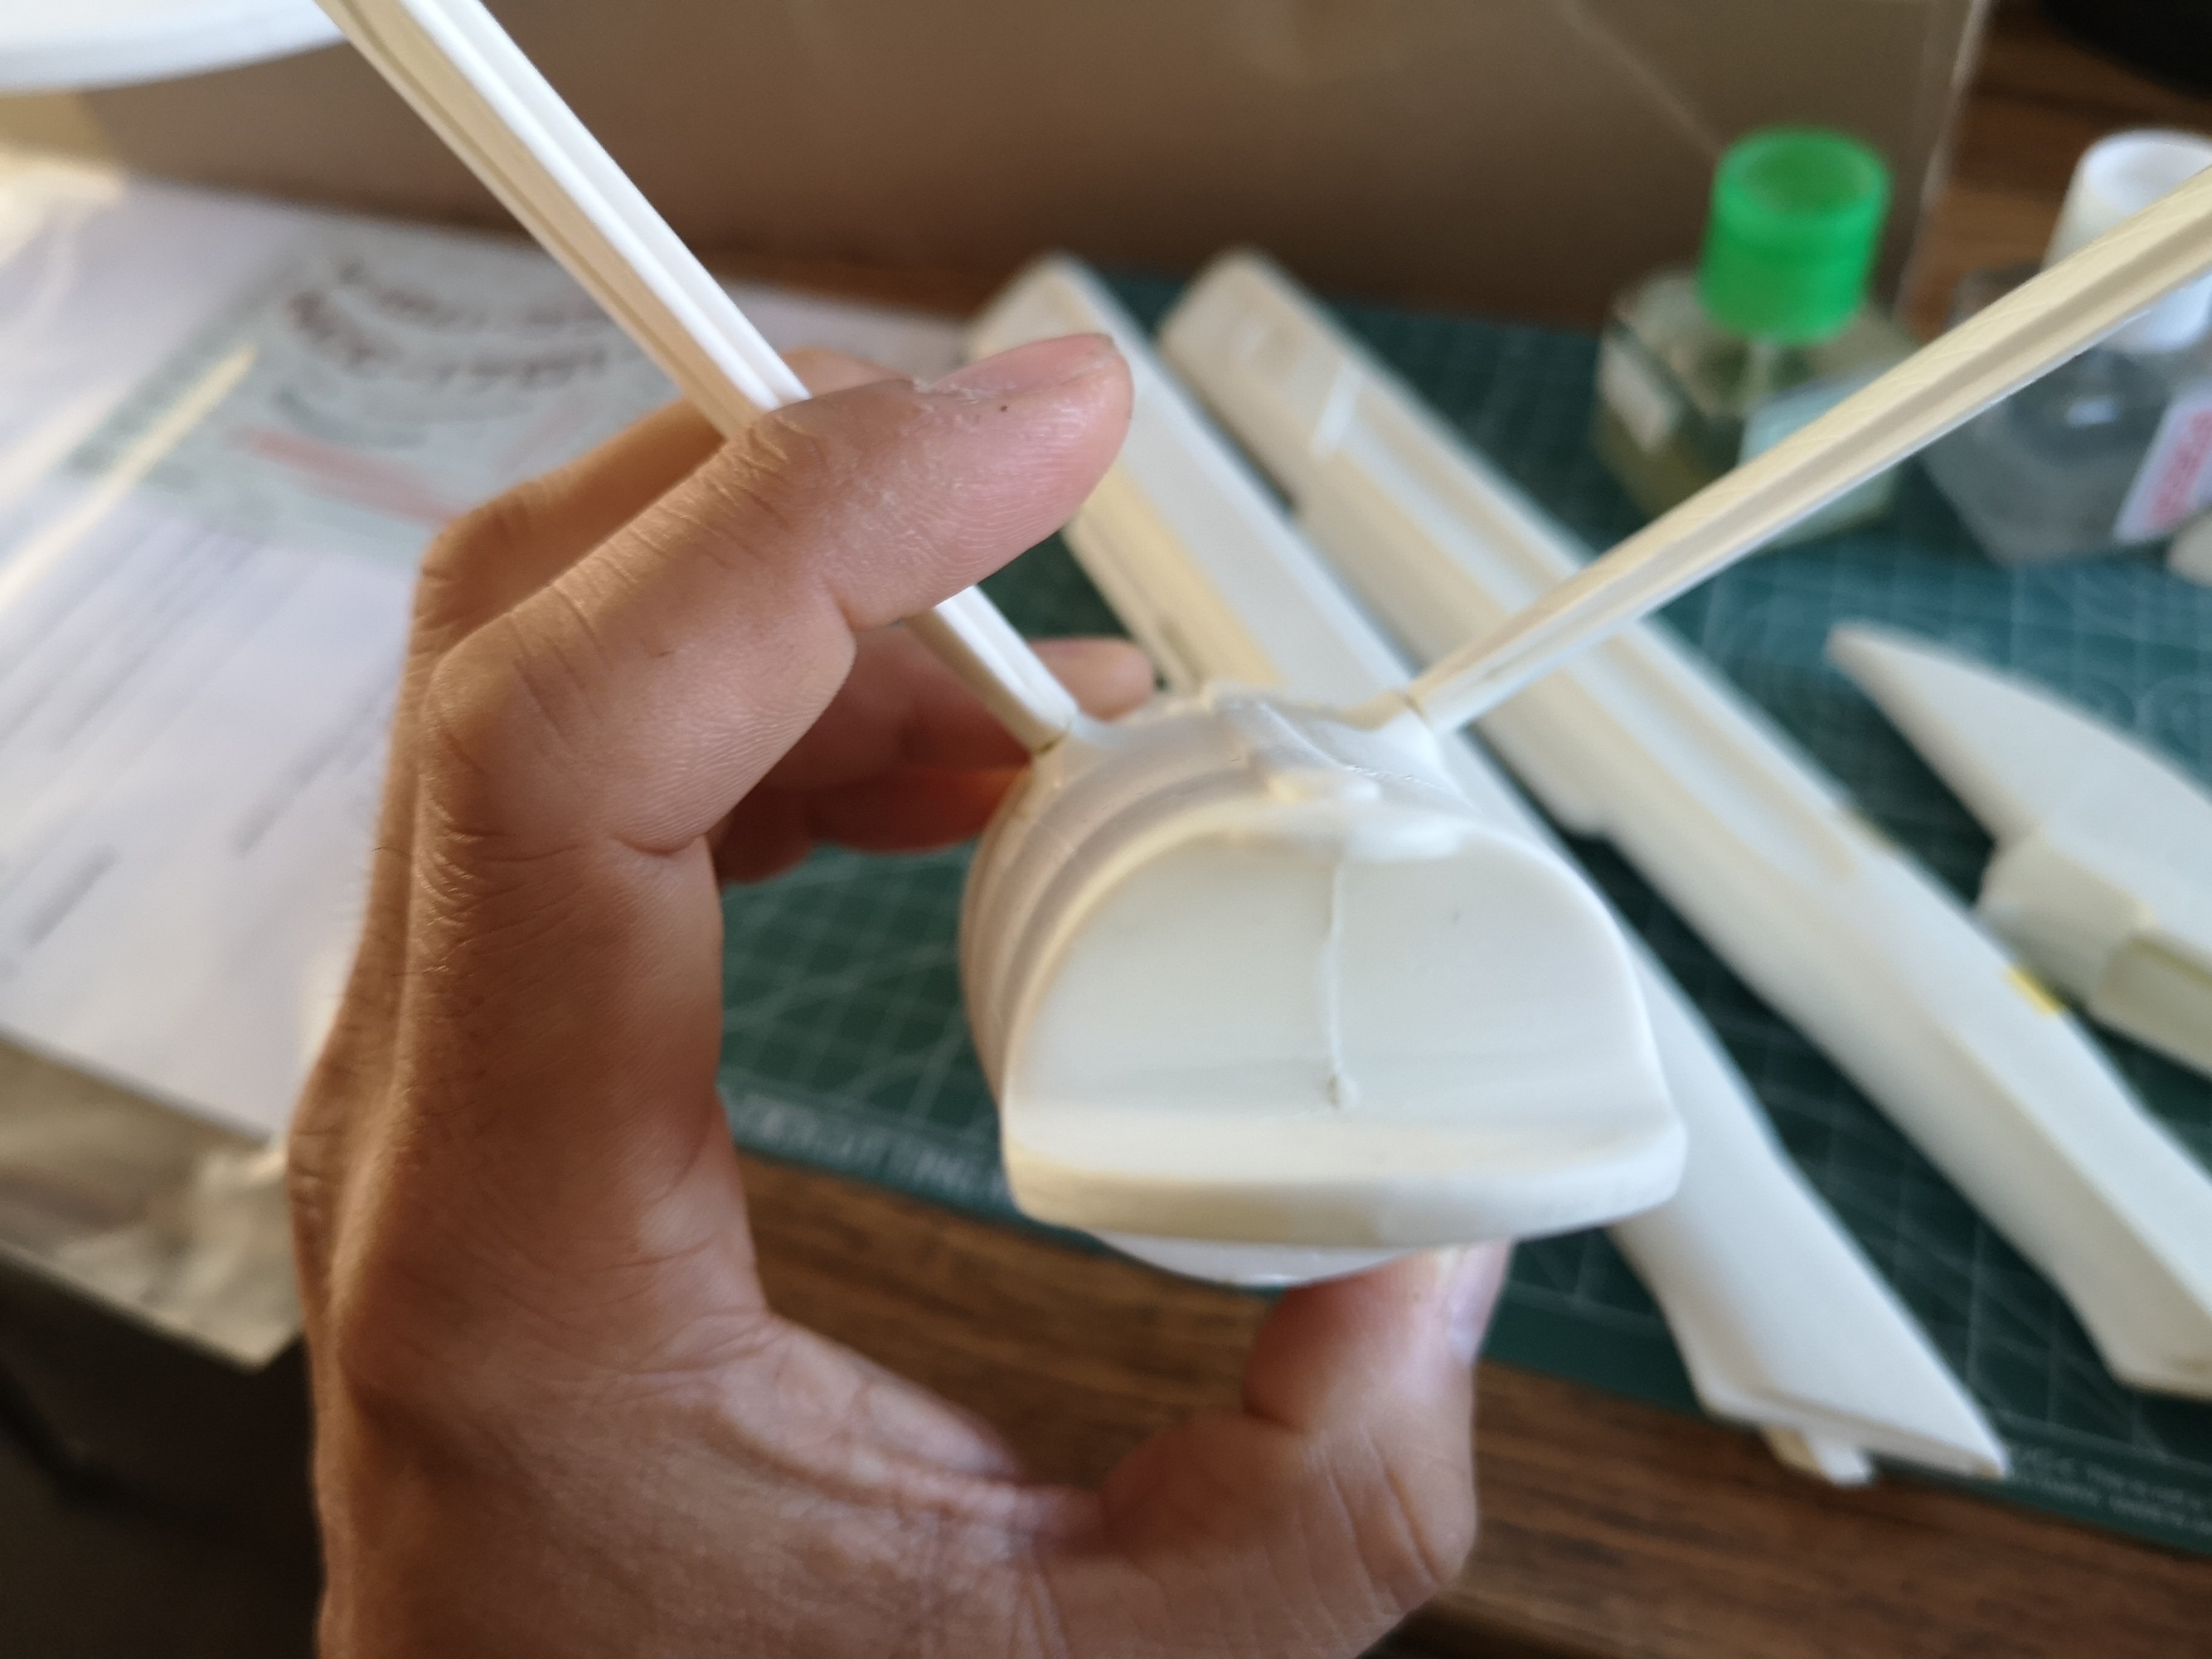
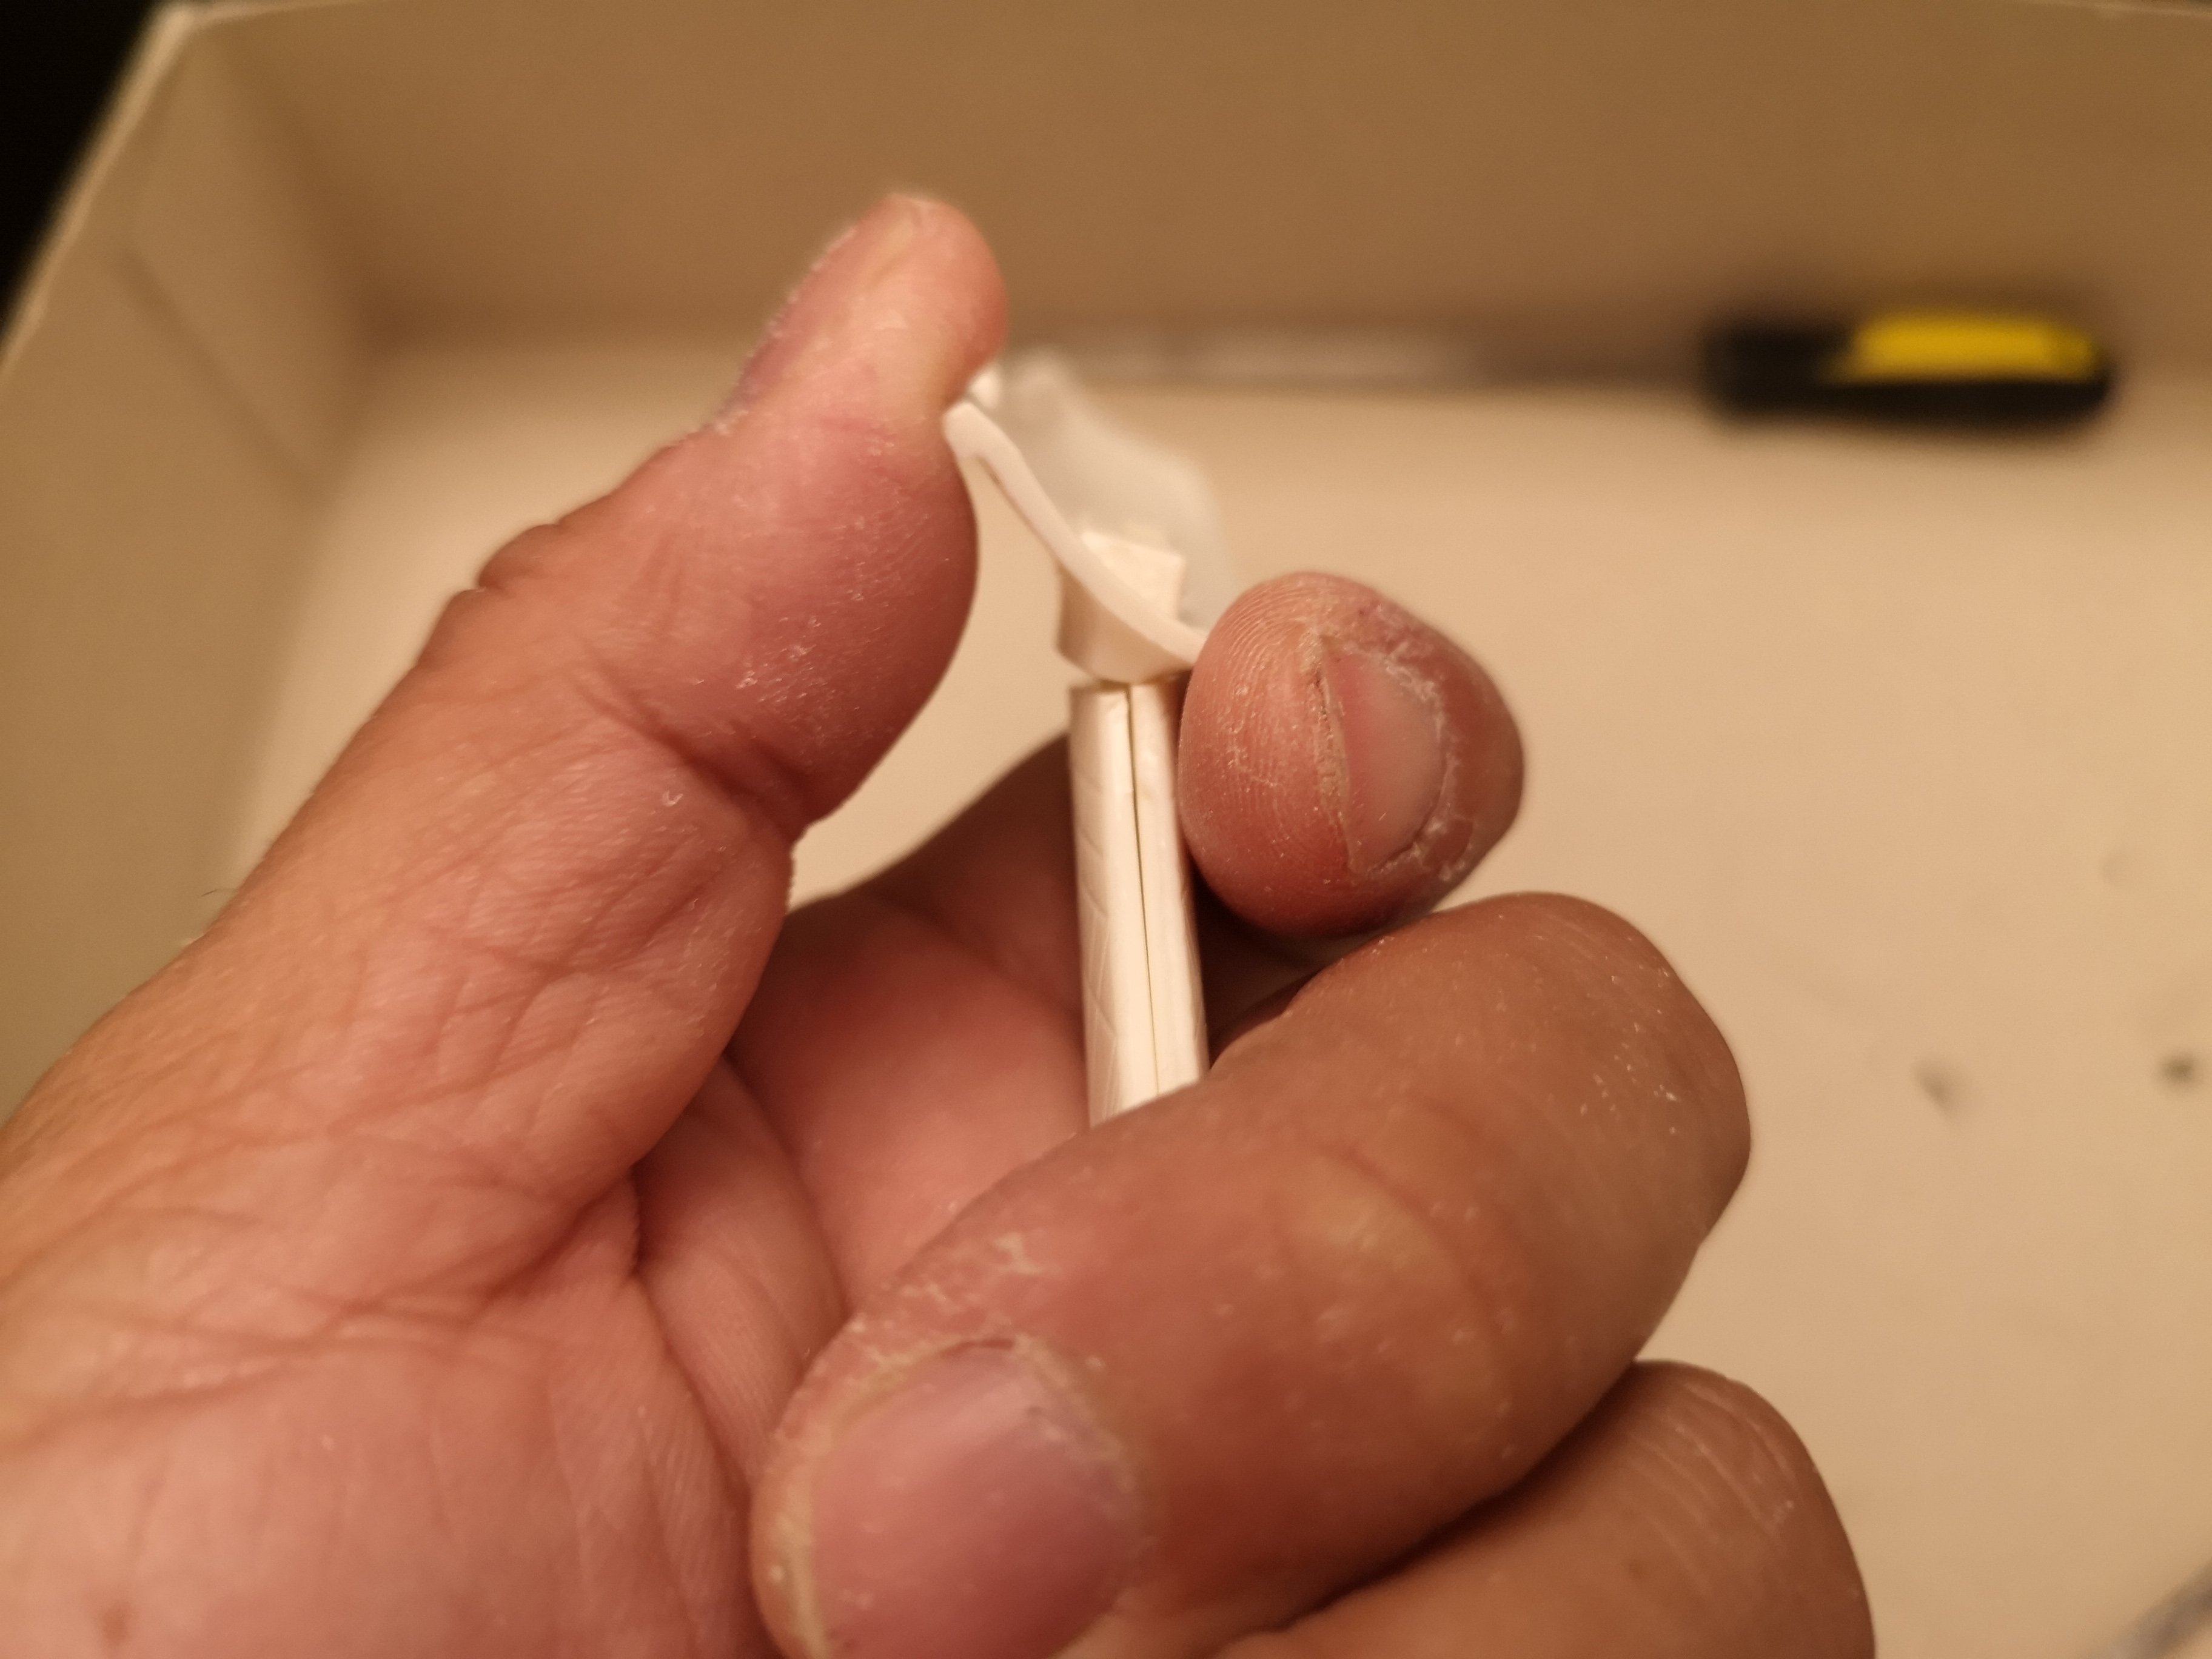
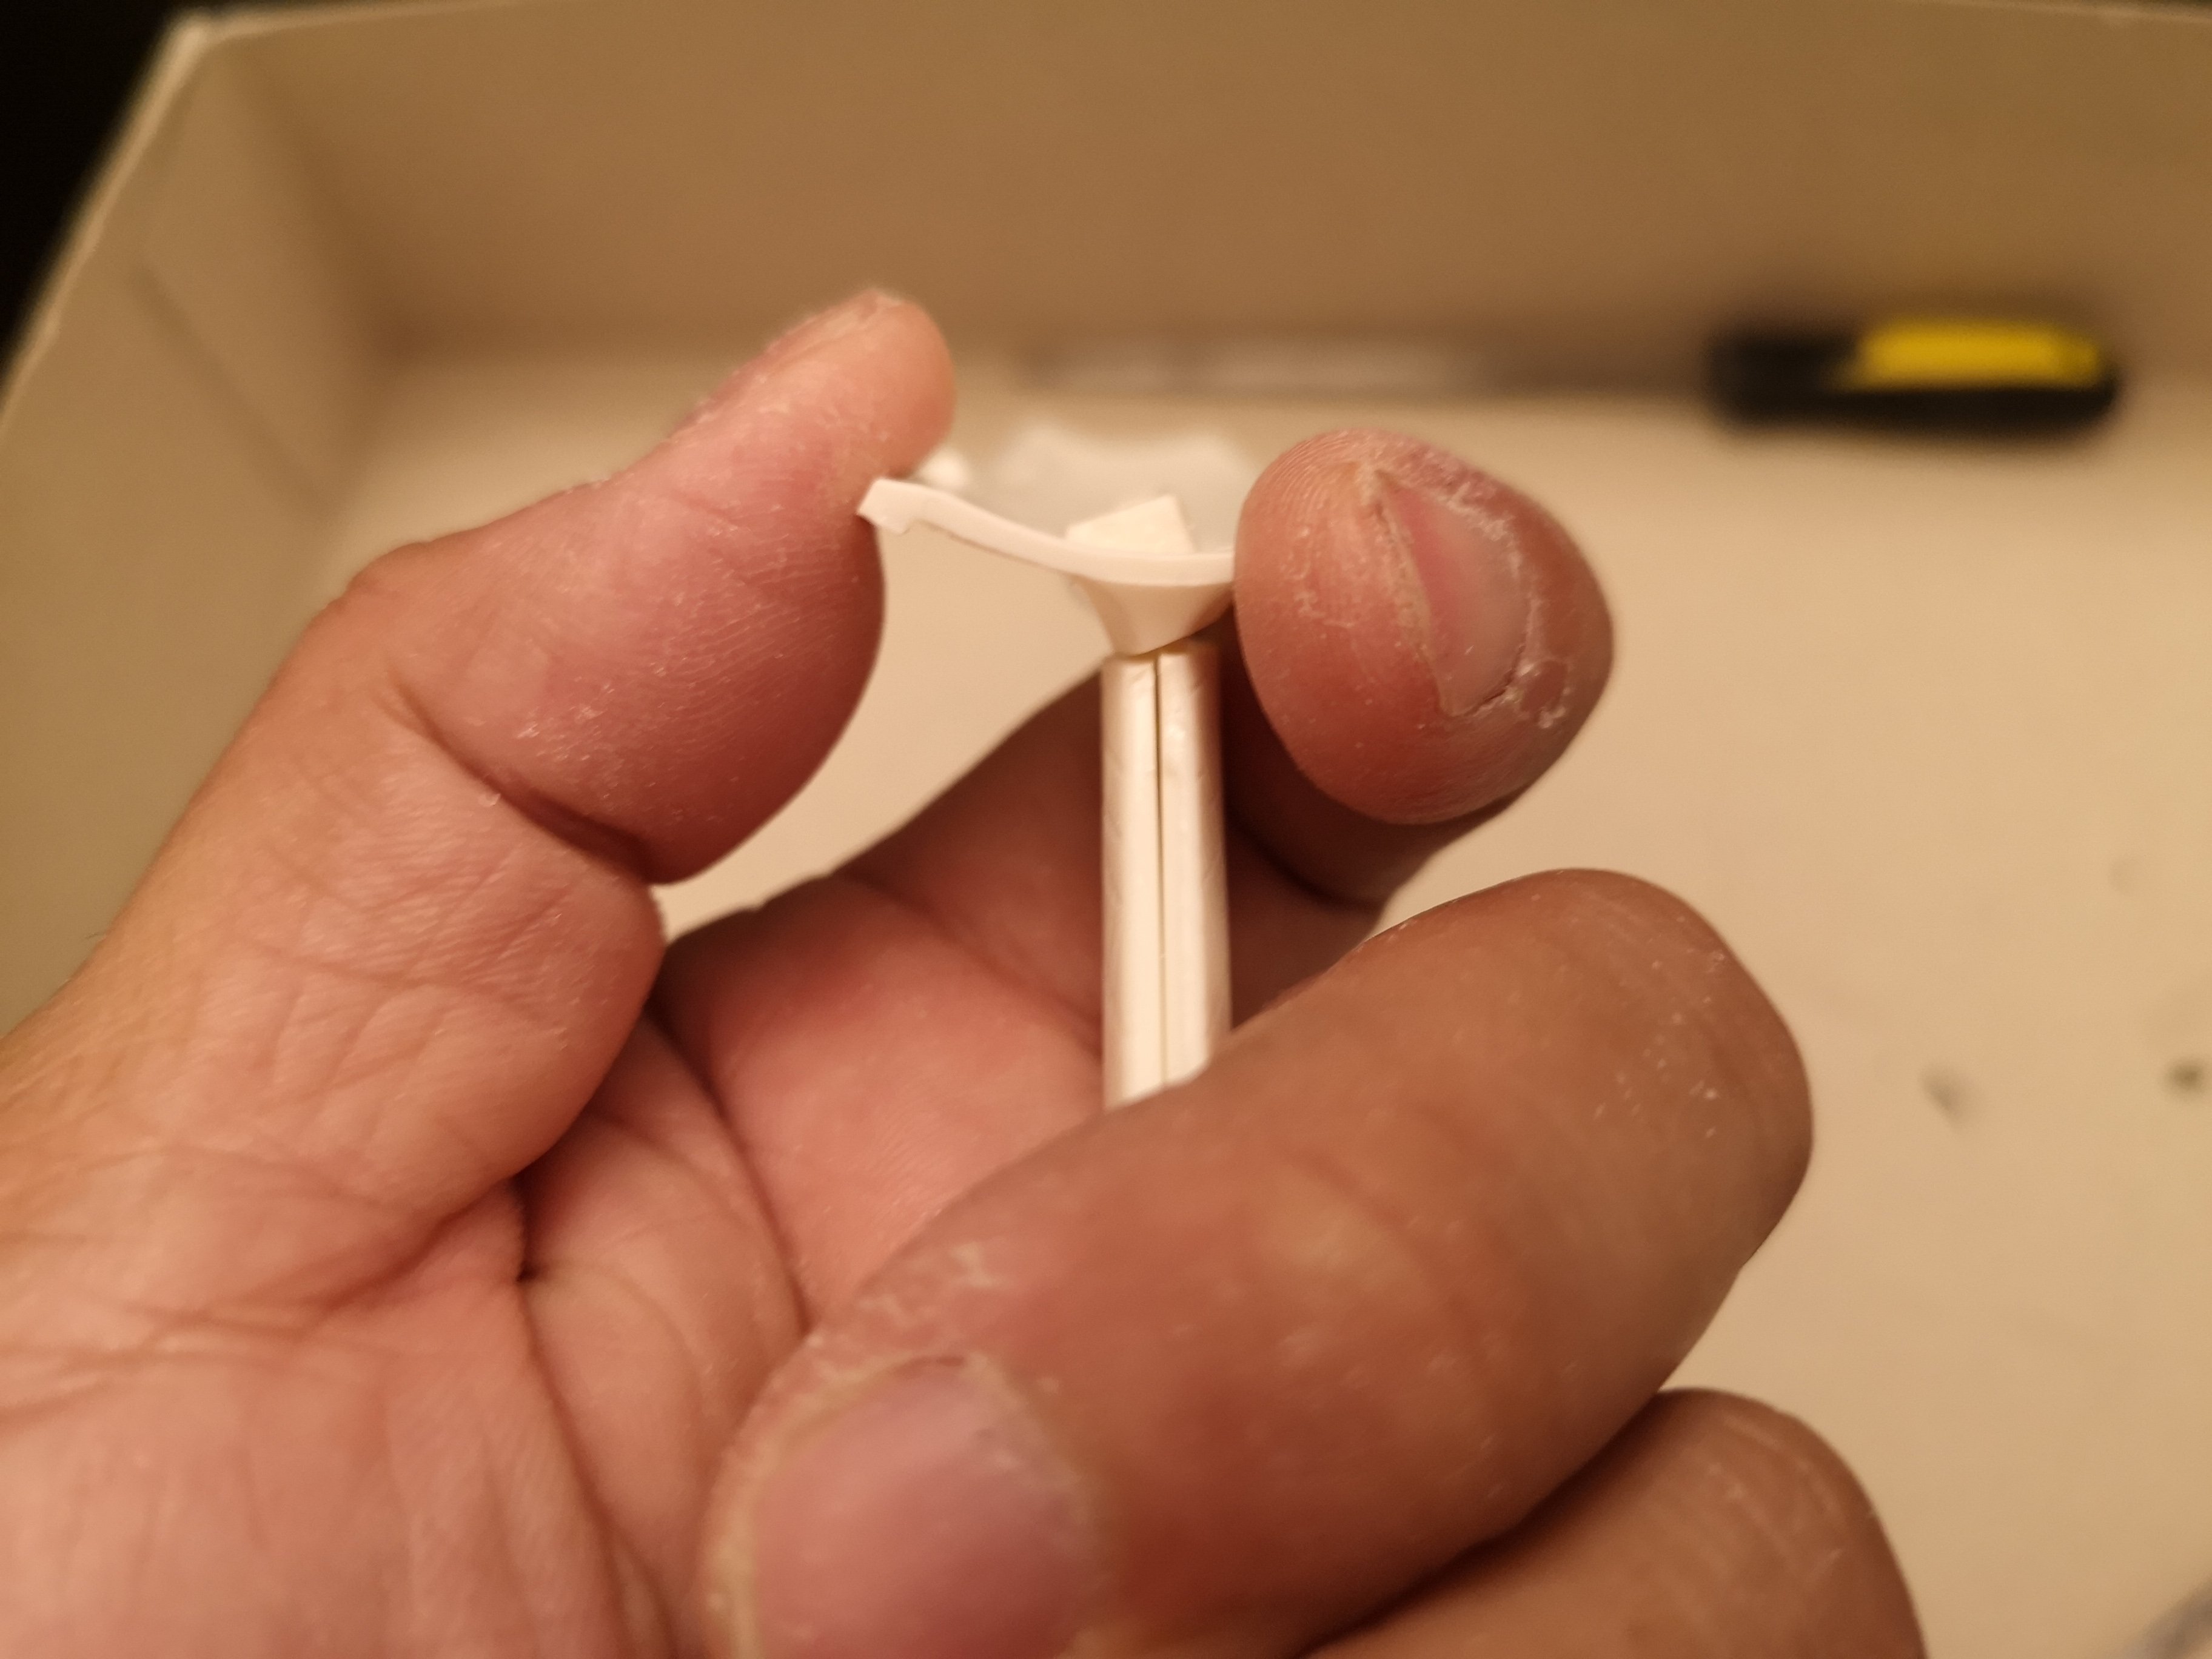
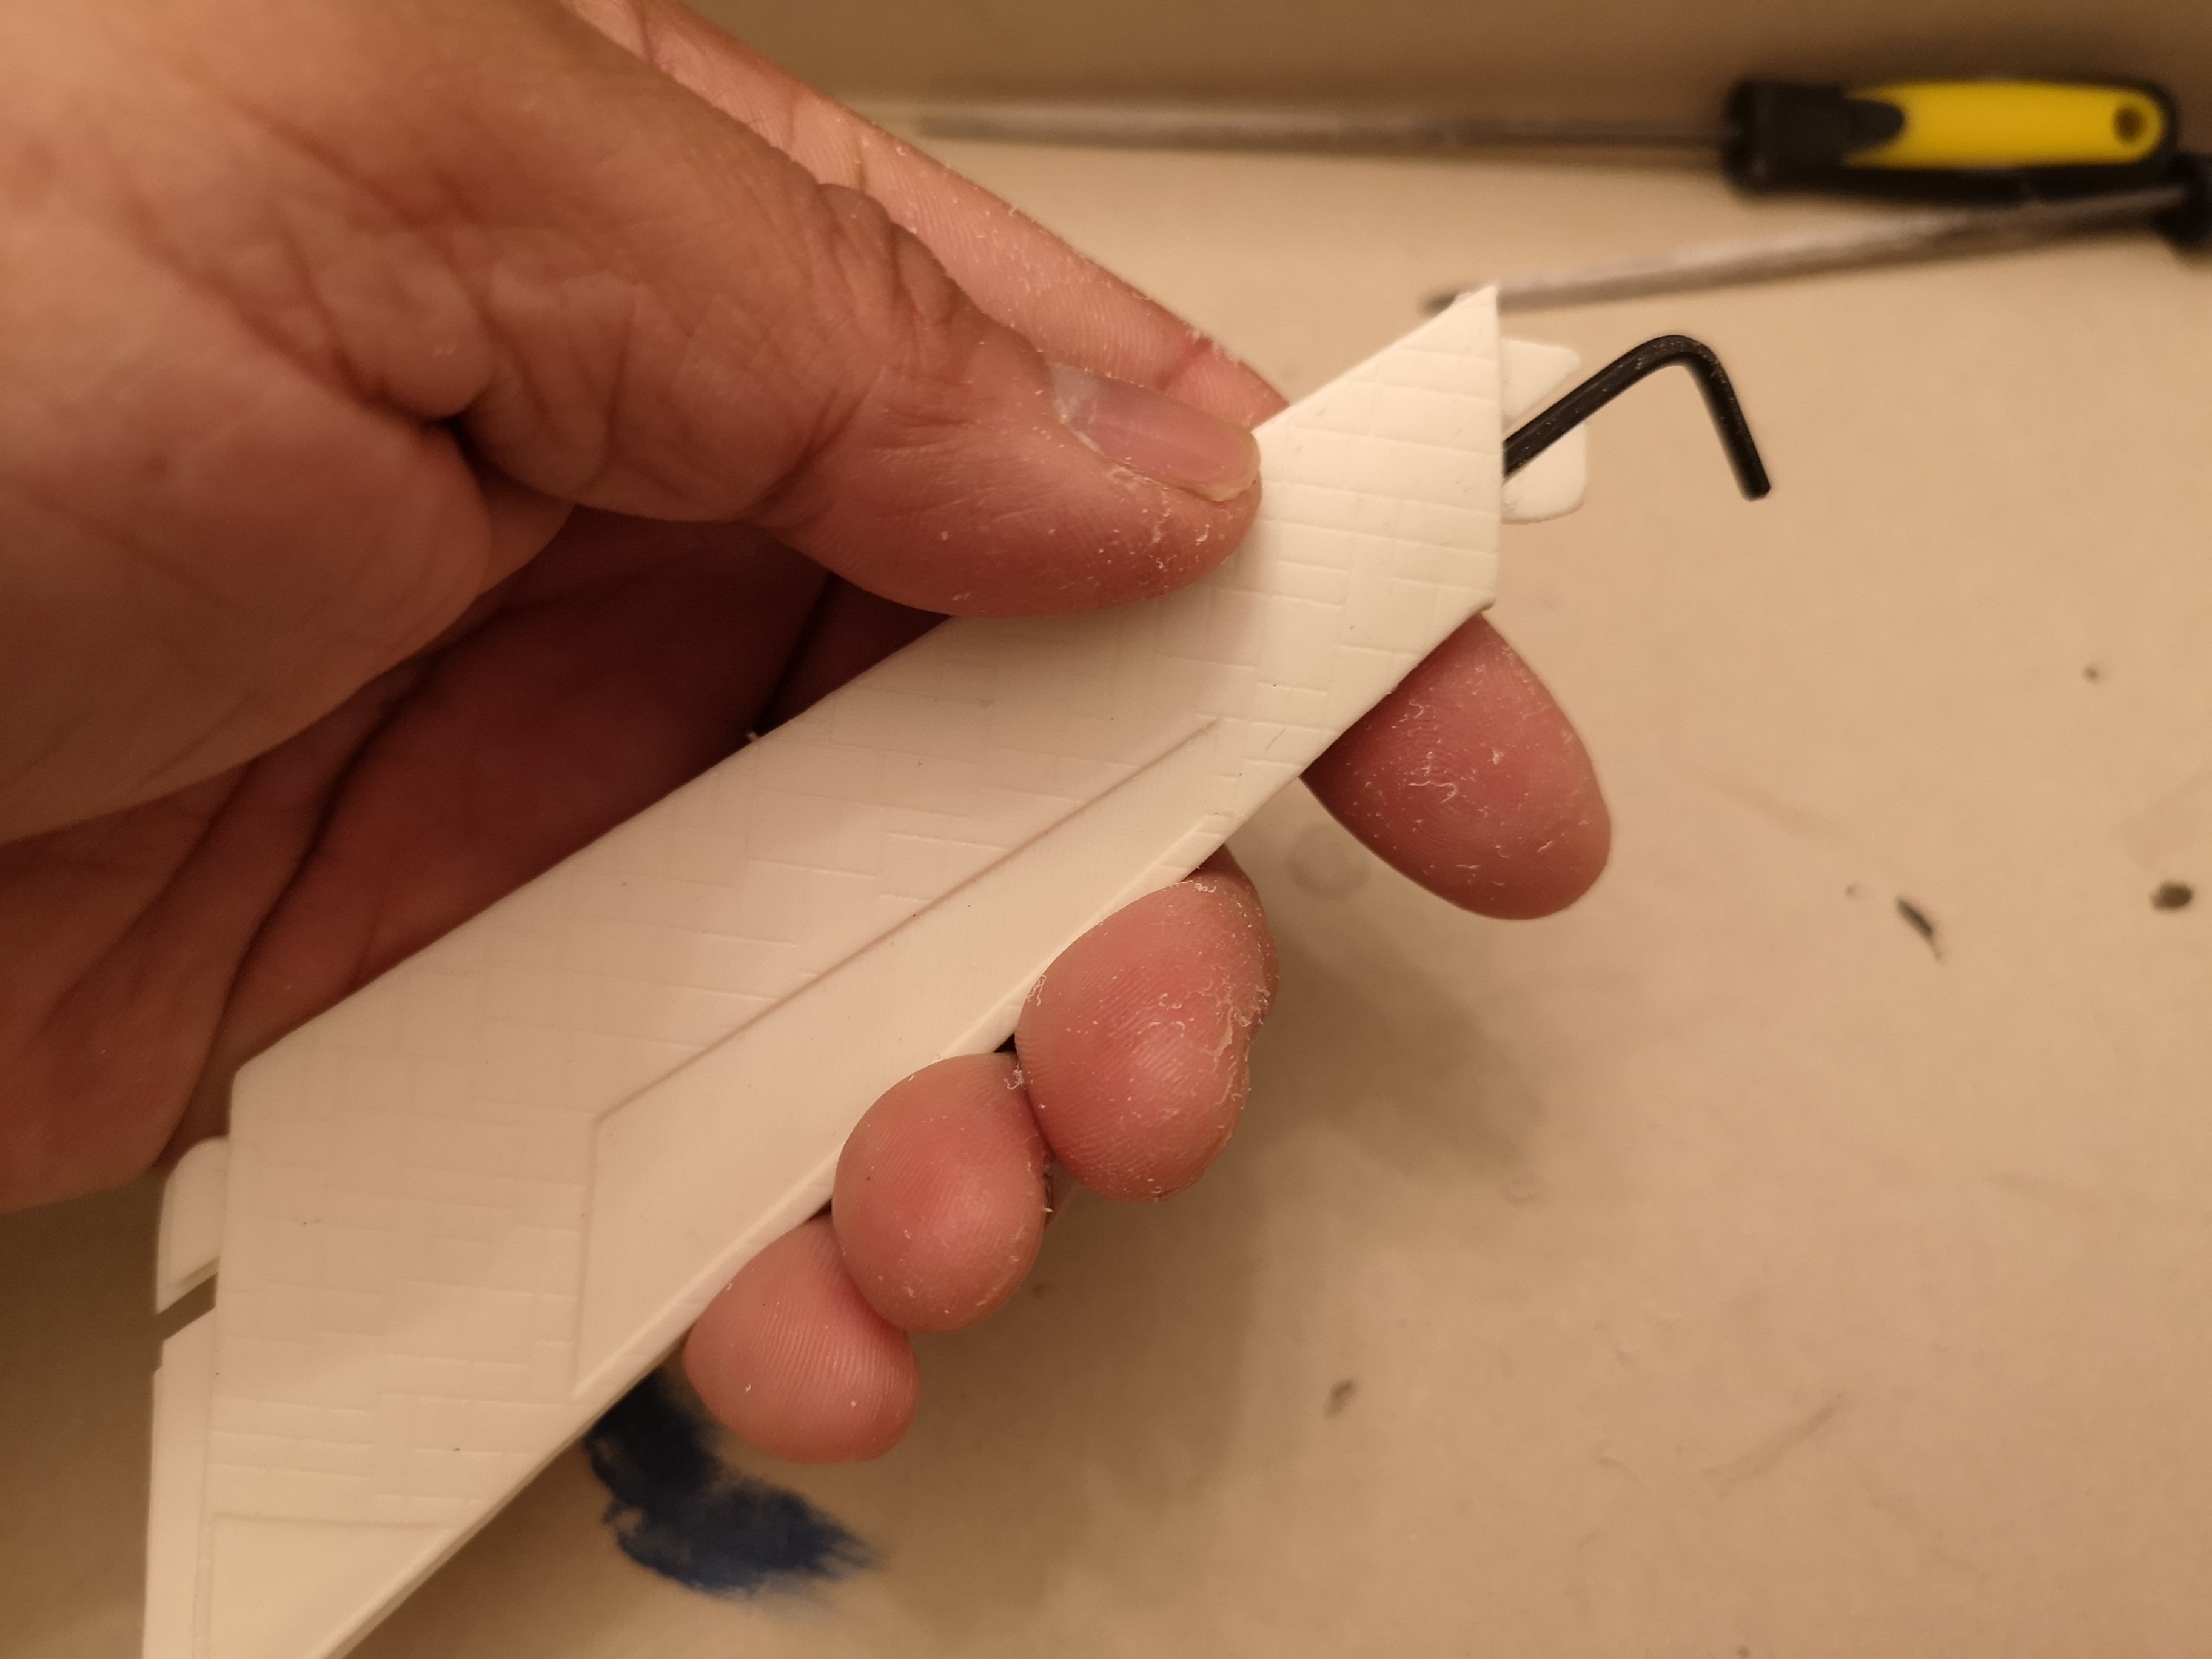
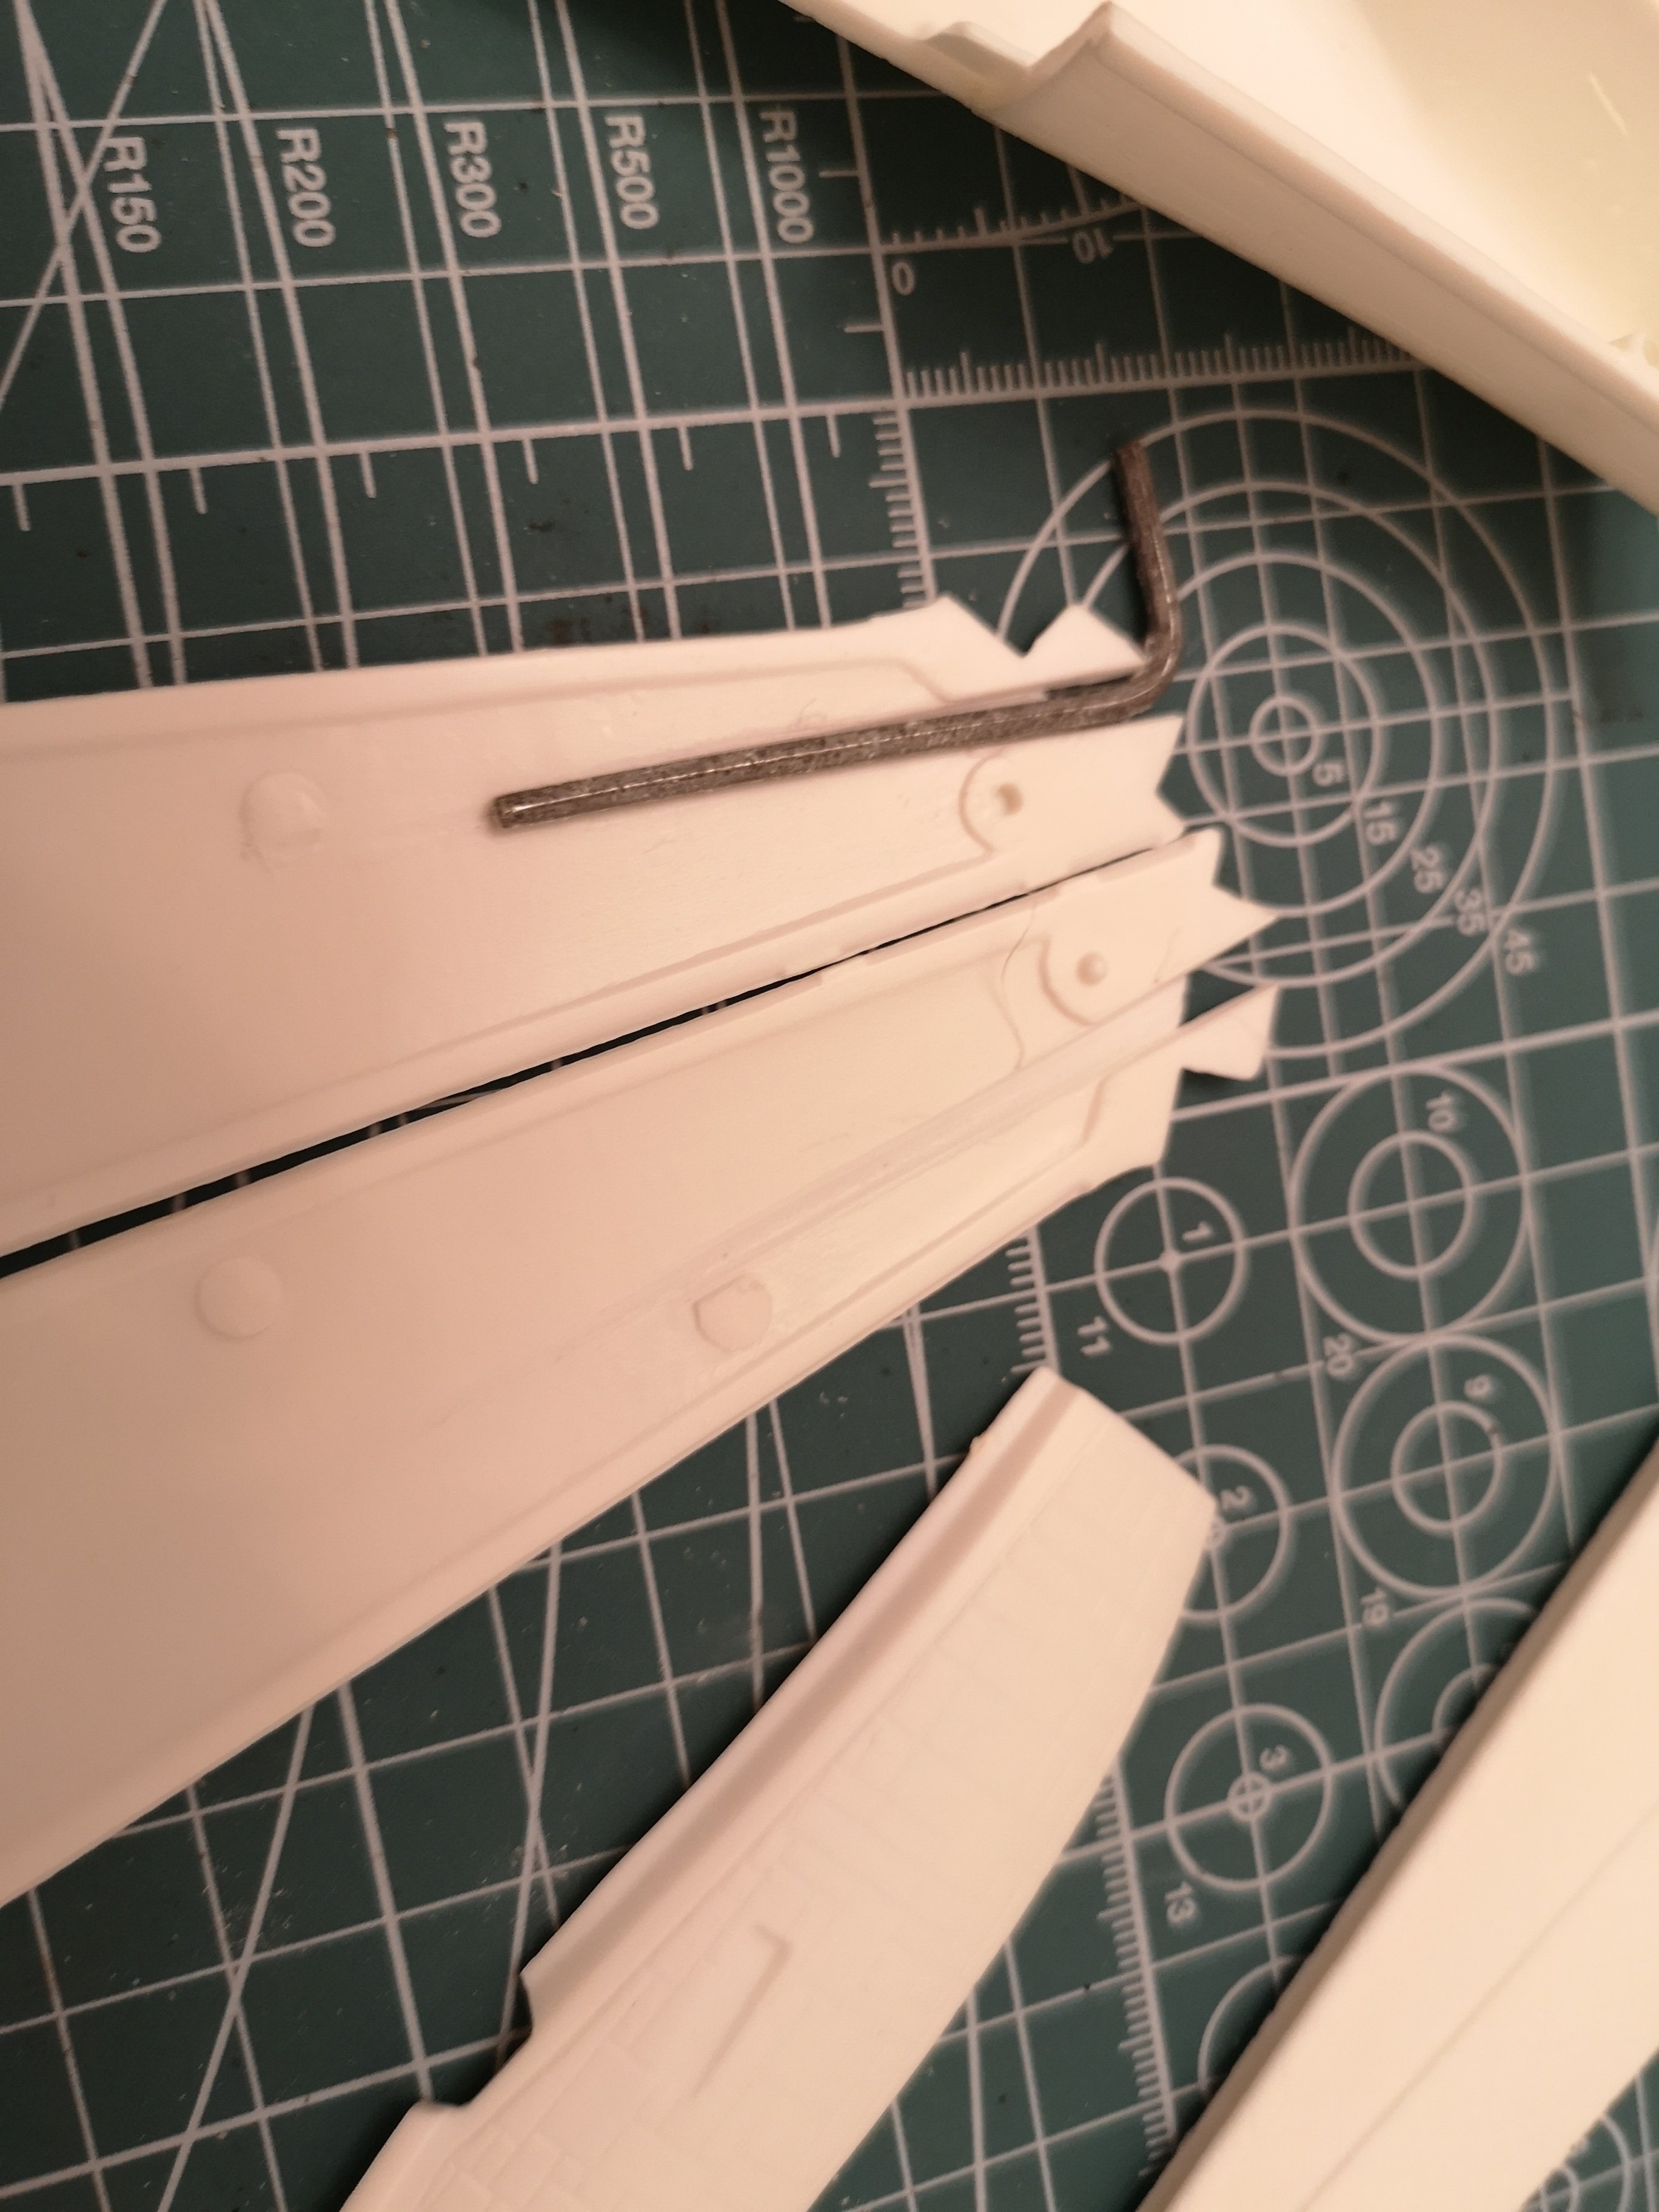
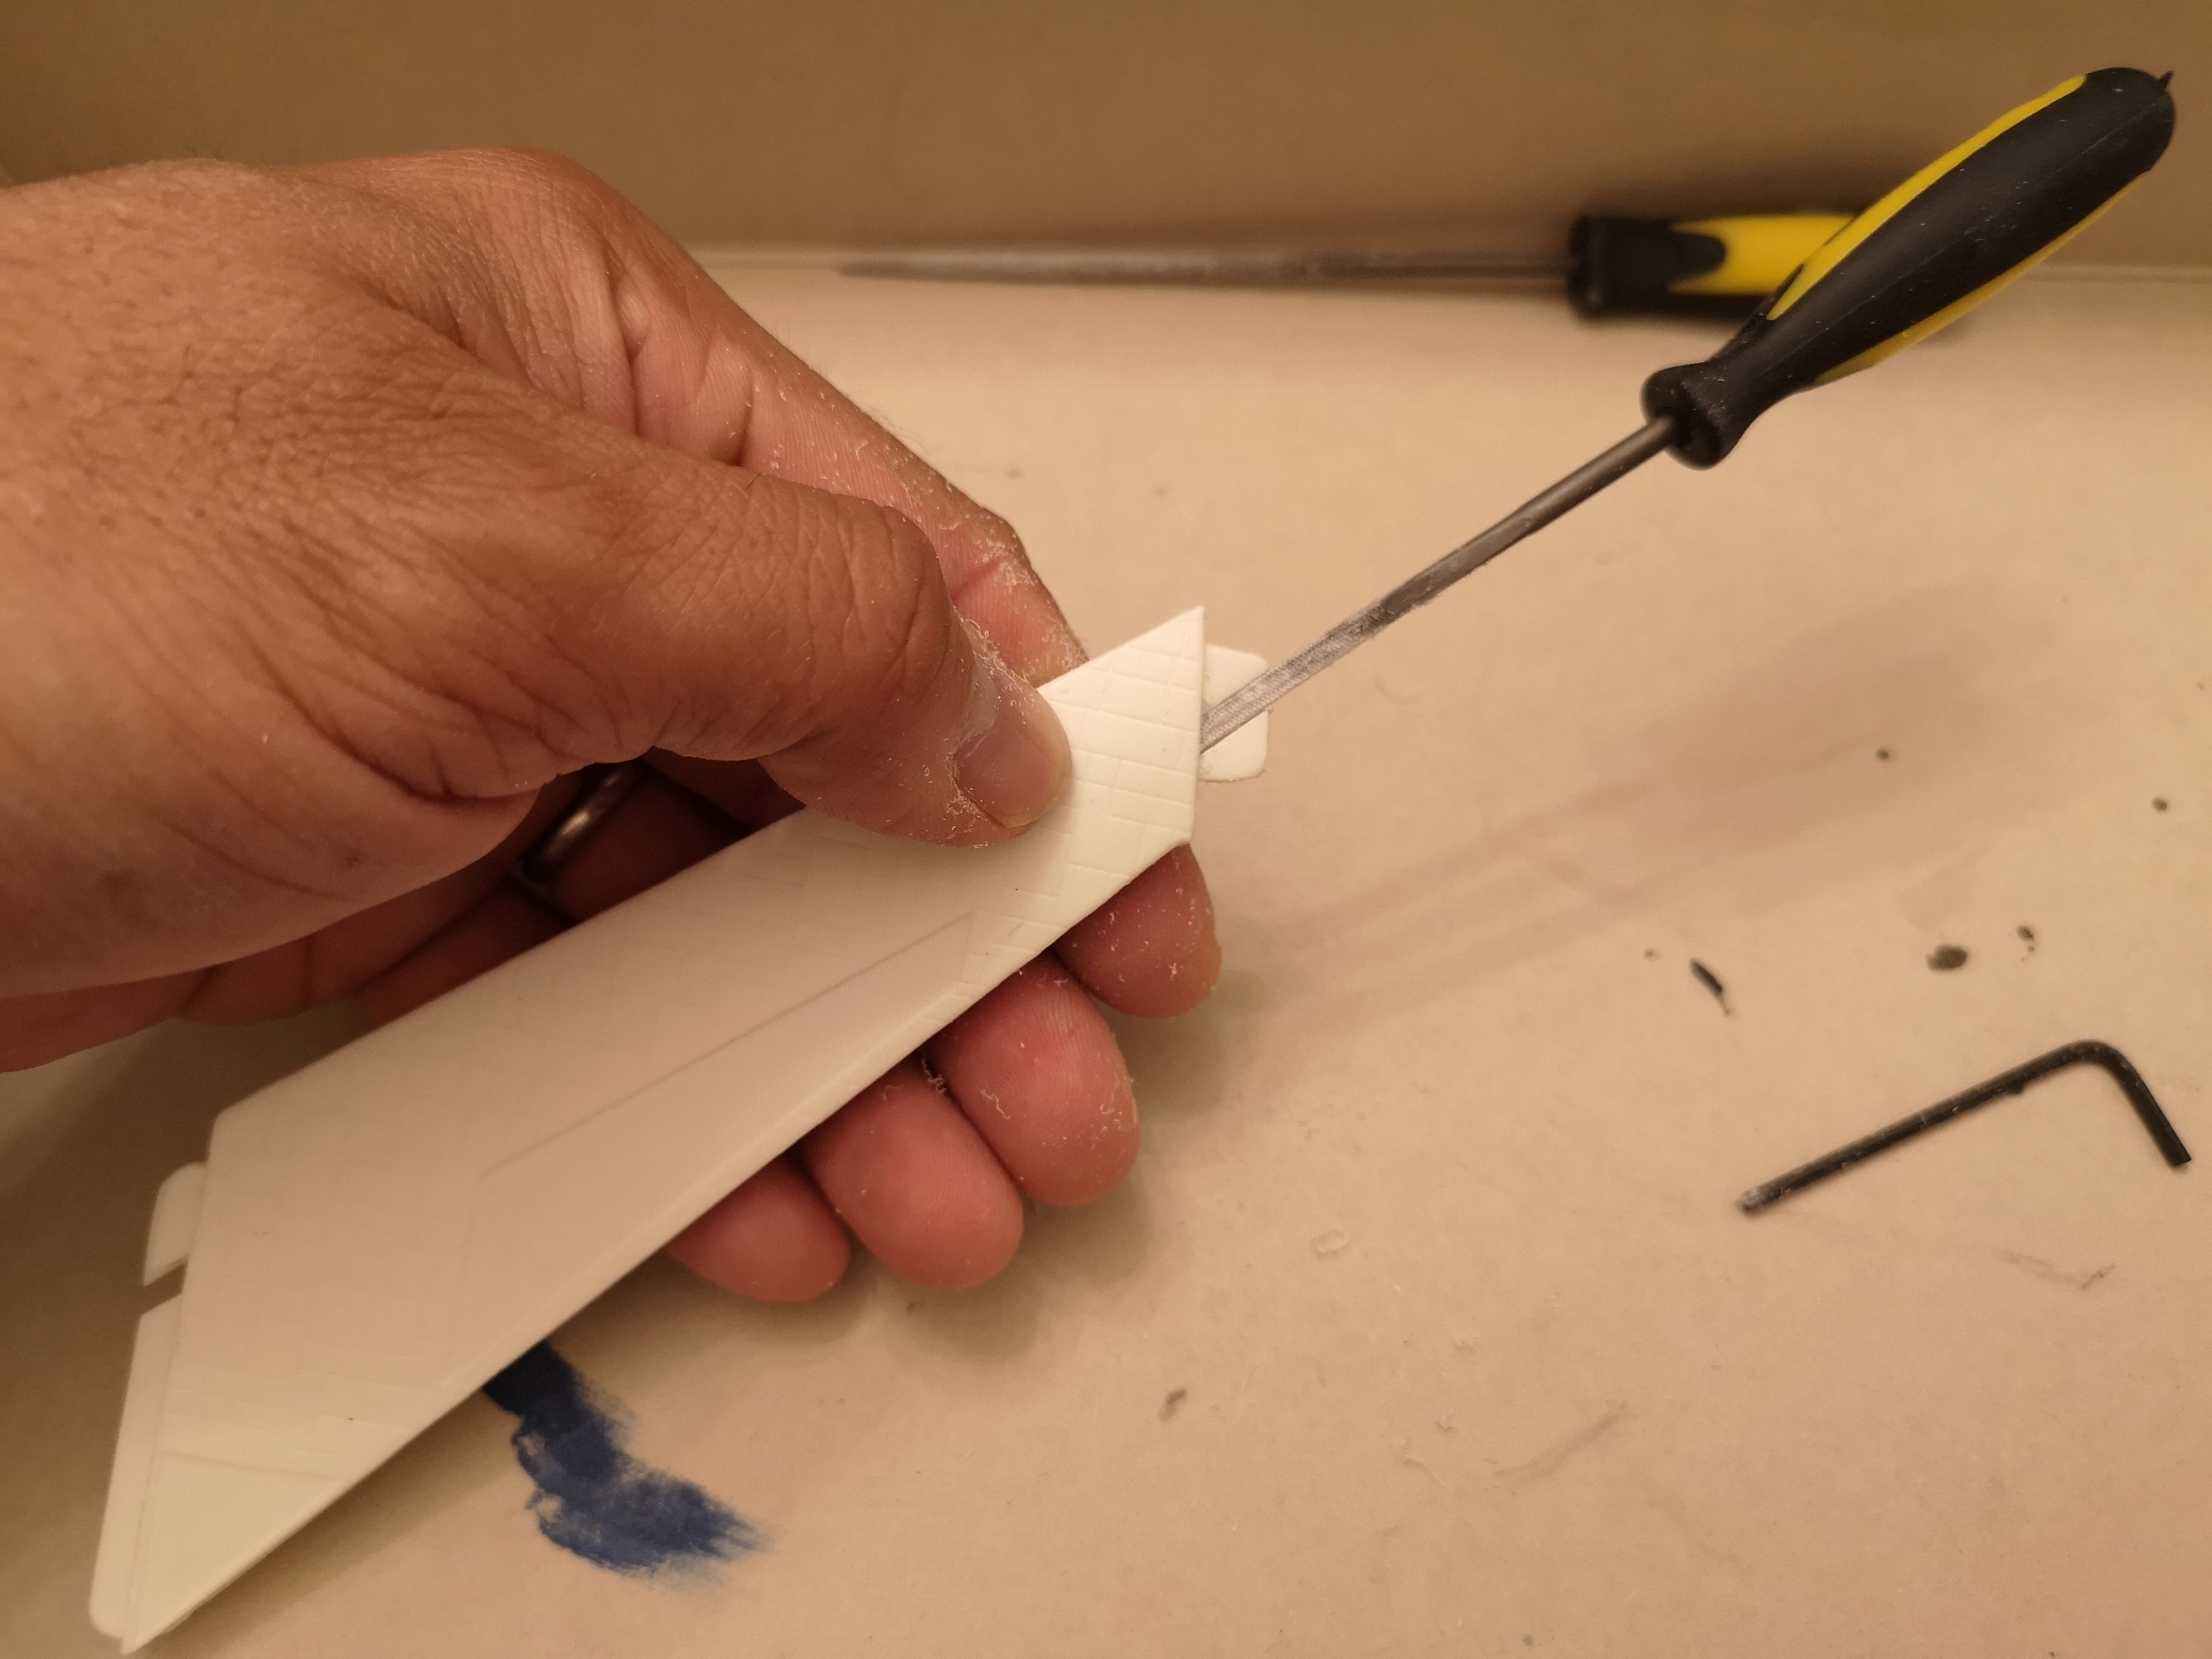
Yeah, lol, I will definitely reinforce the pylons. Filed a channel and glued a hex key into each pylon, definitely stronger than those flimsy tabs, but yeah, will have to goop on epoxy and let it set properly. Lol, back when I was a kid, I probably bashed out this kit in less than two days.
-
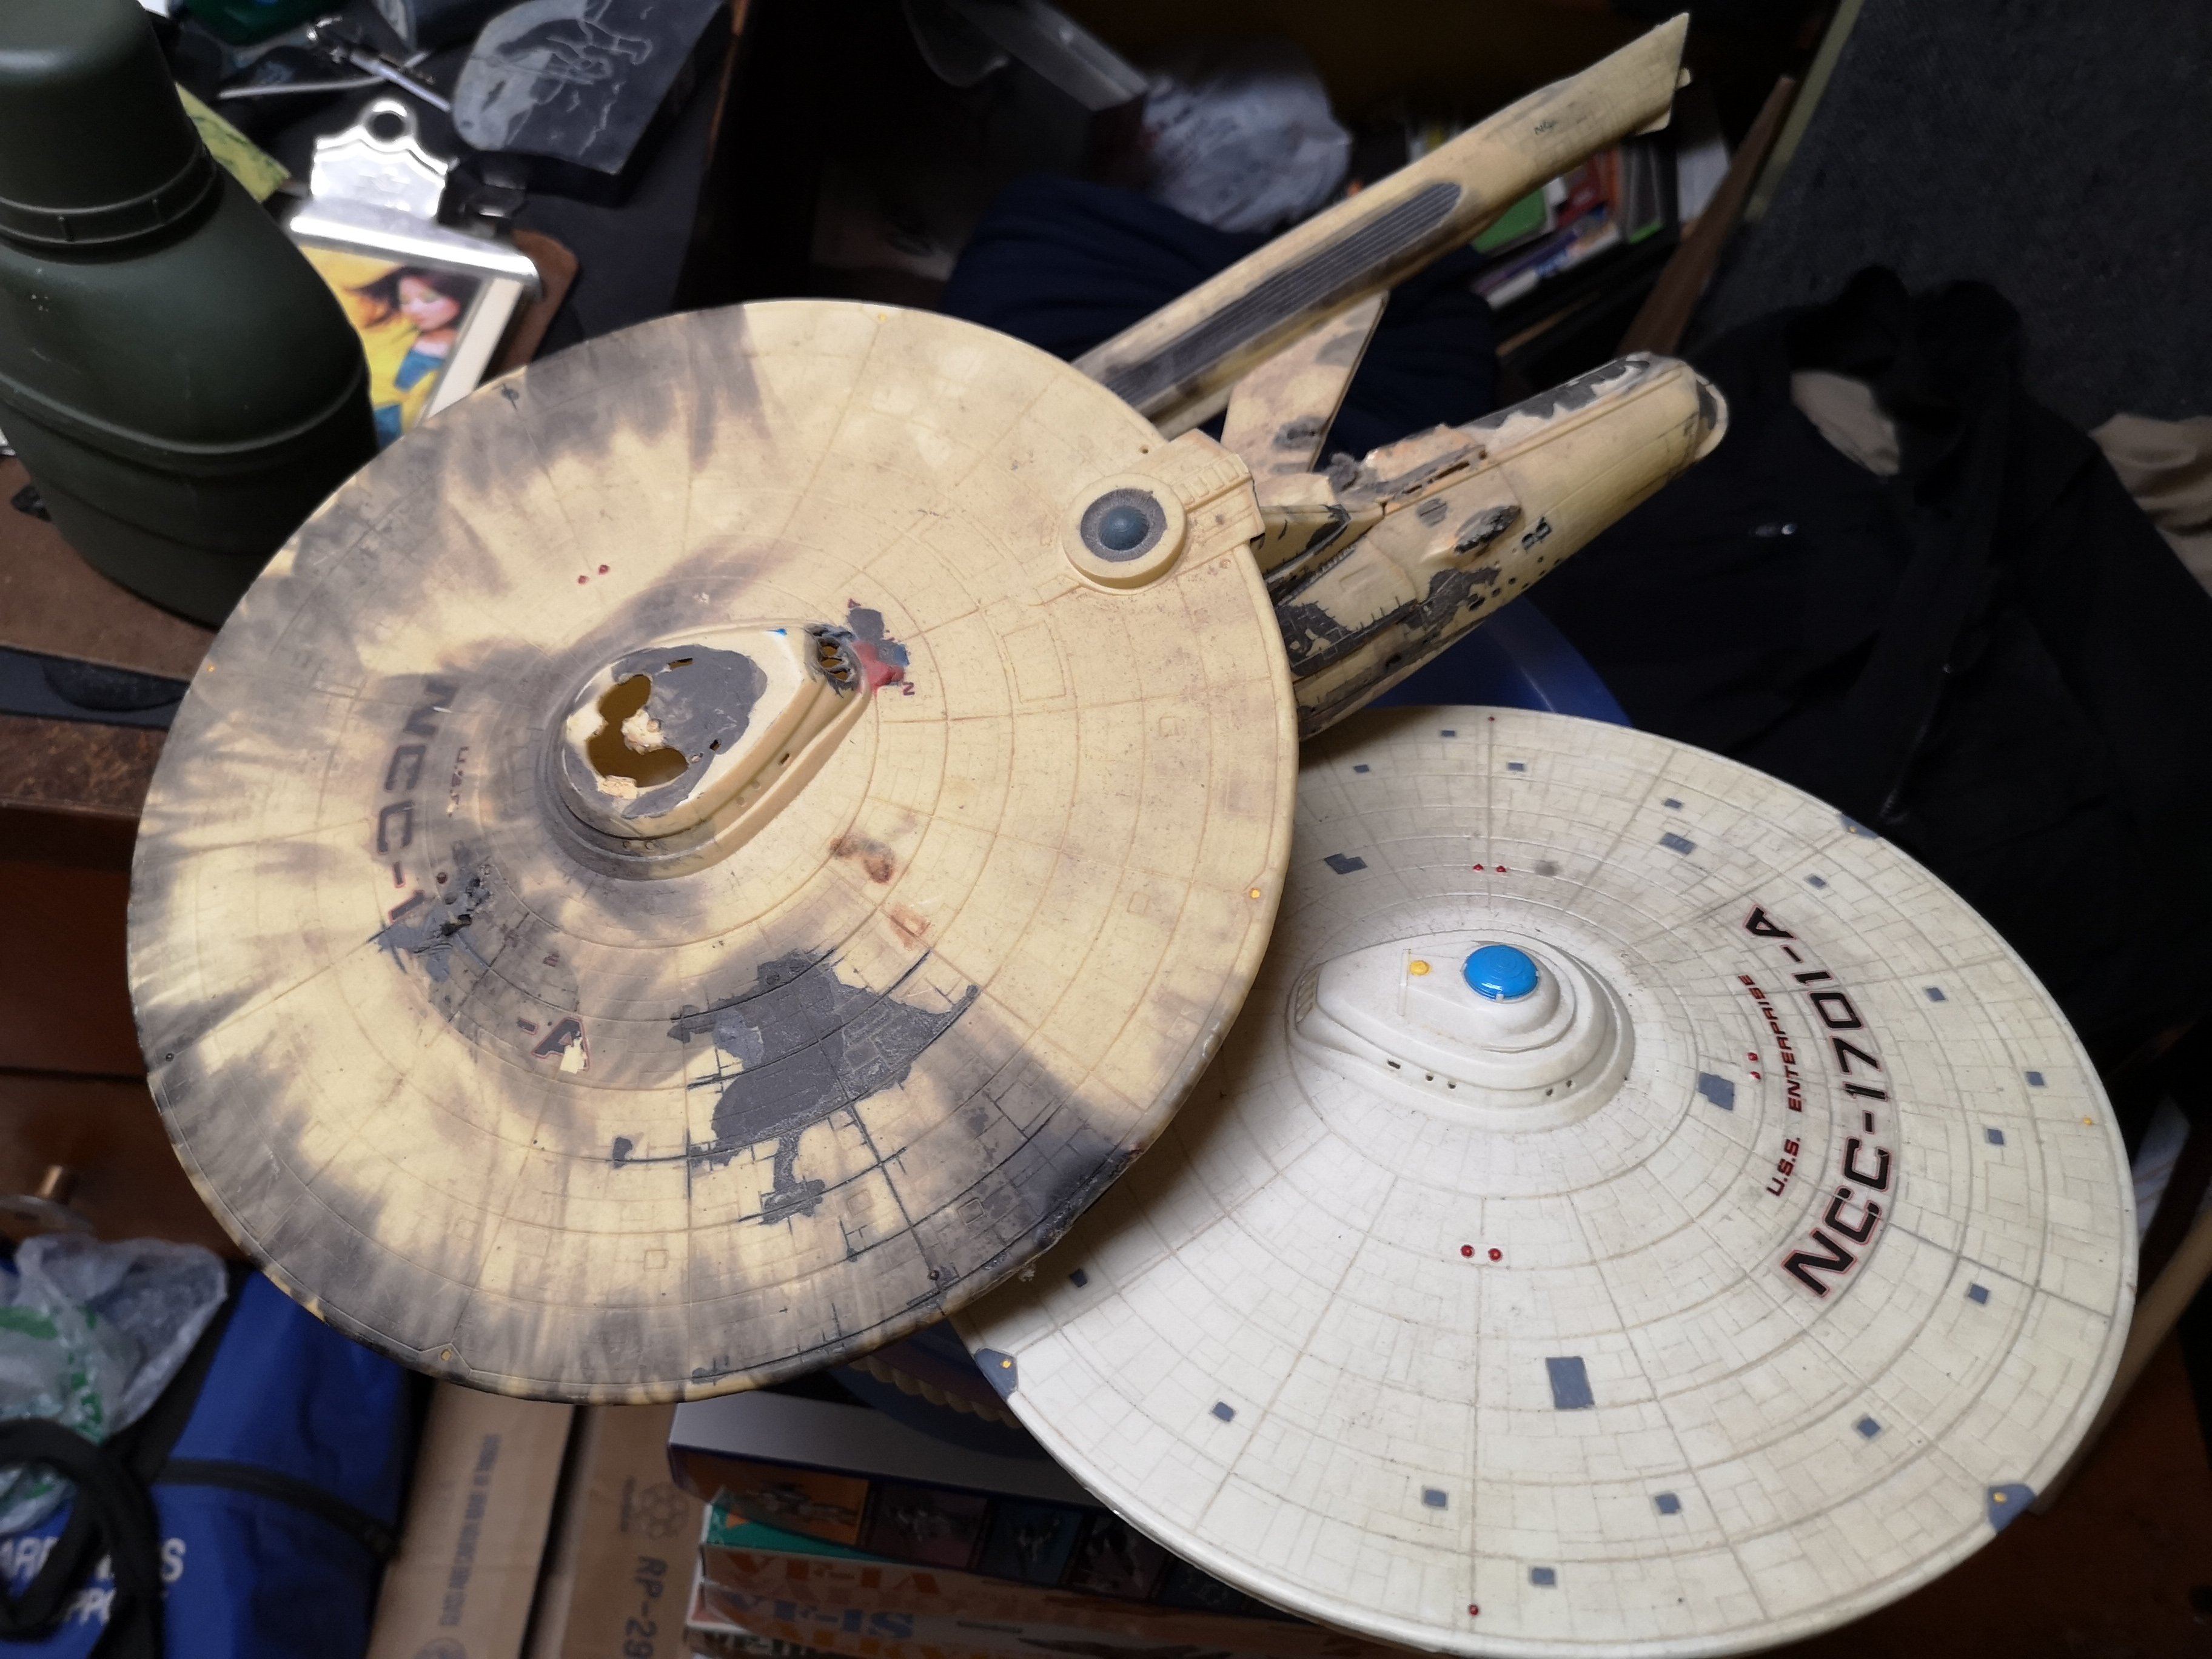
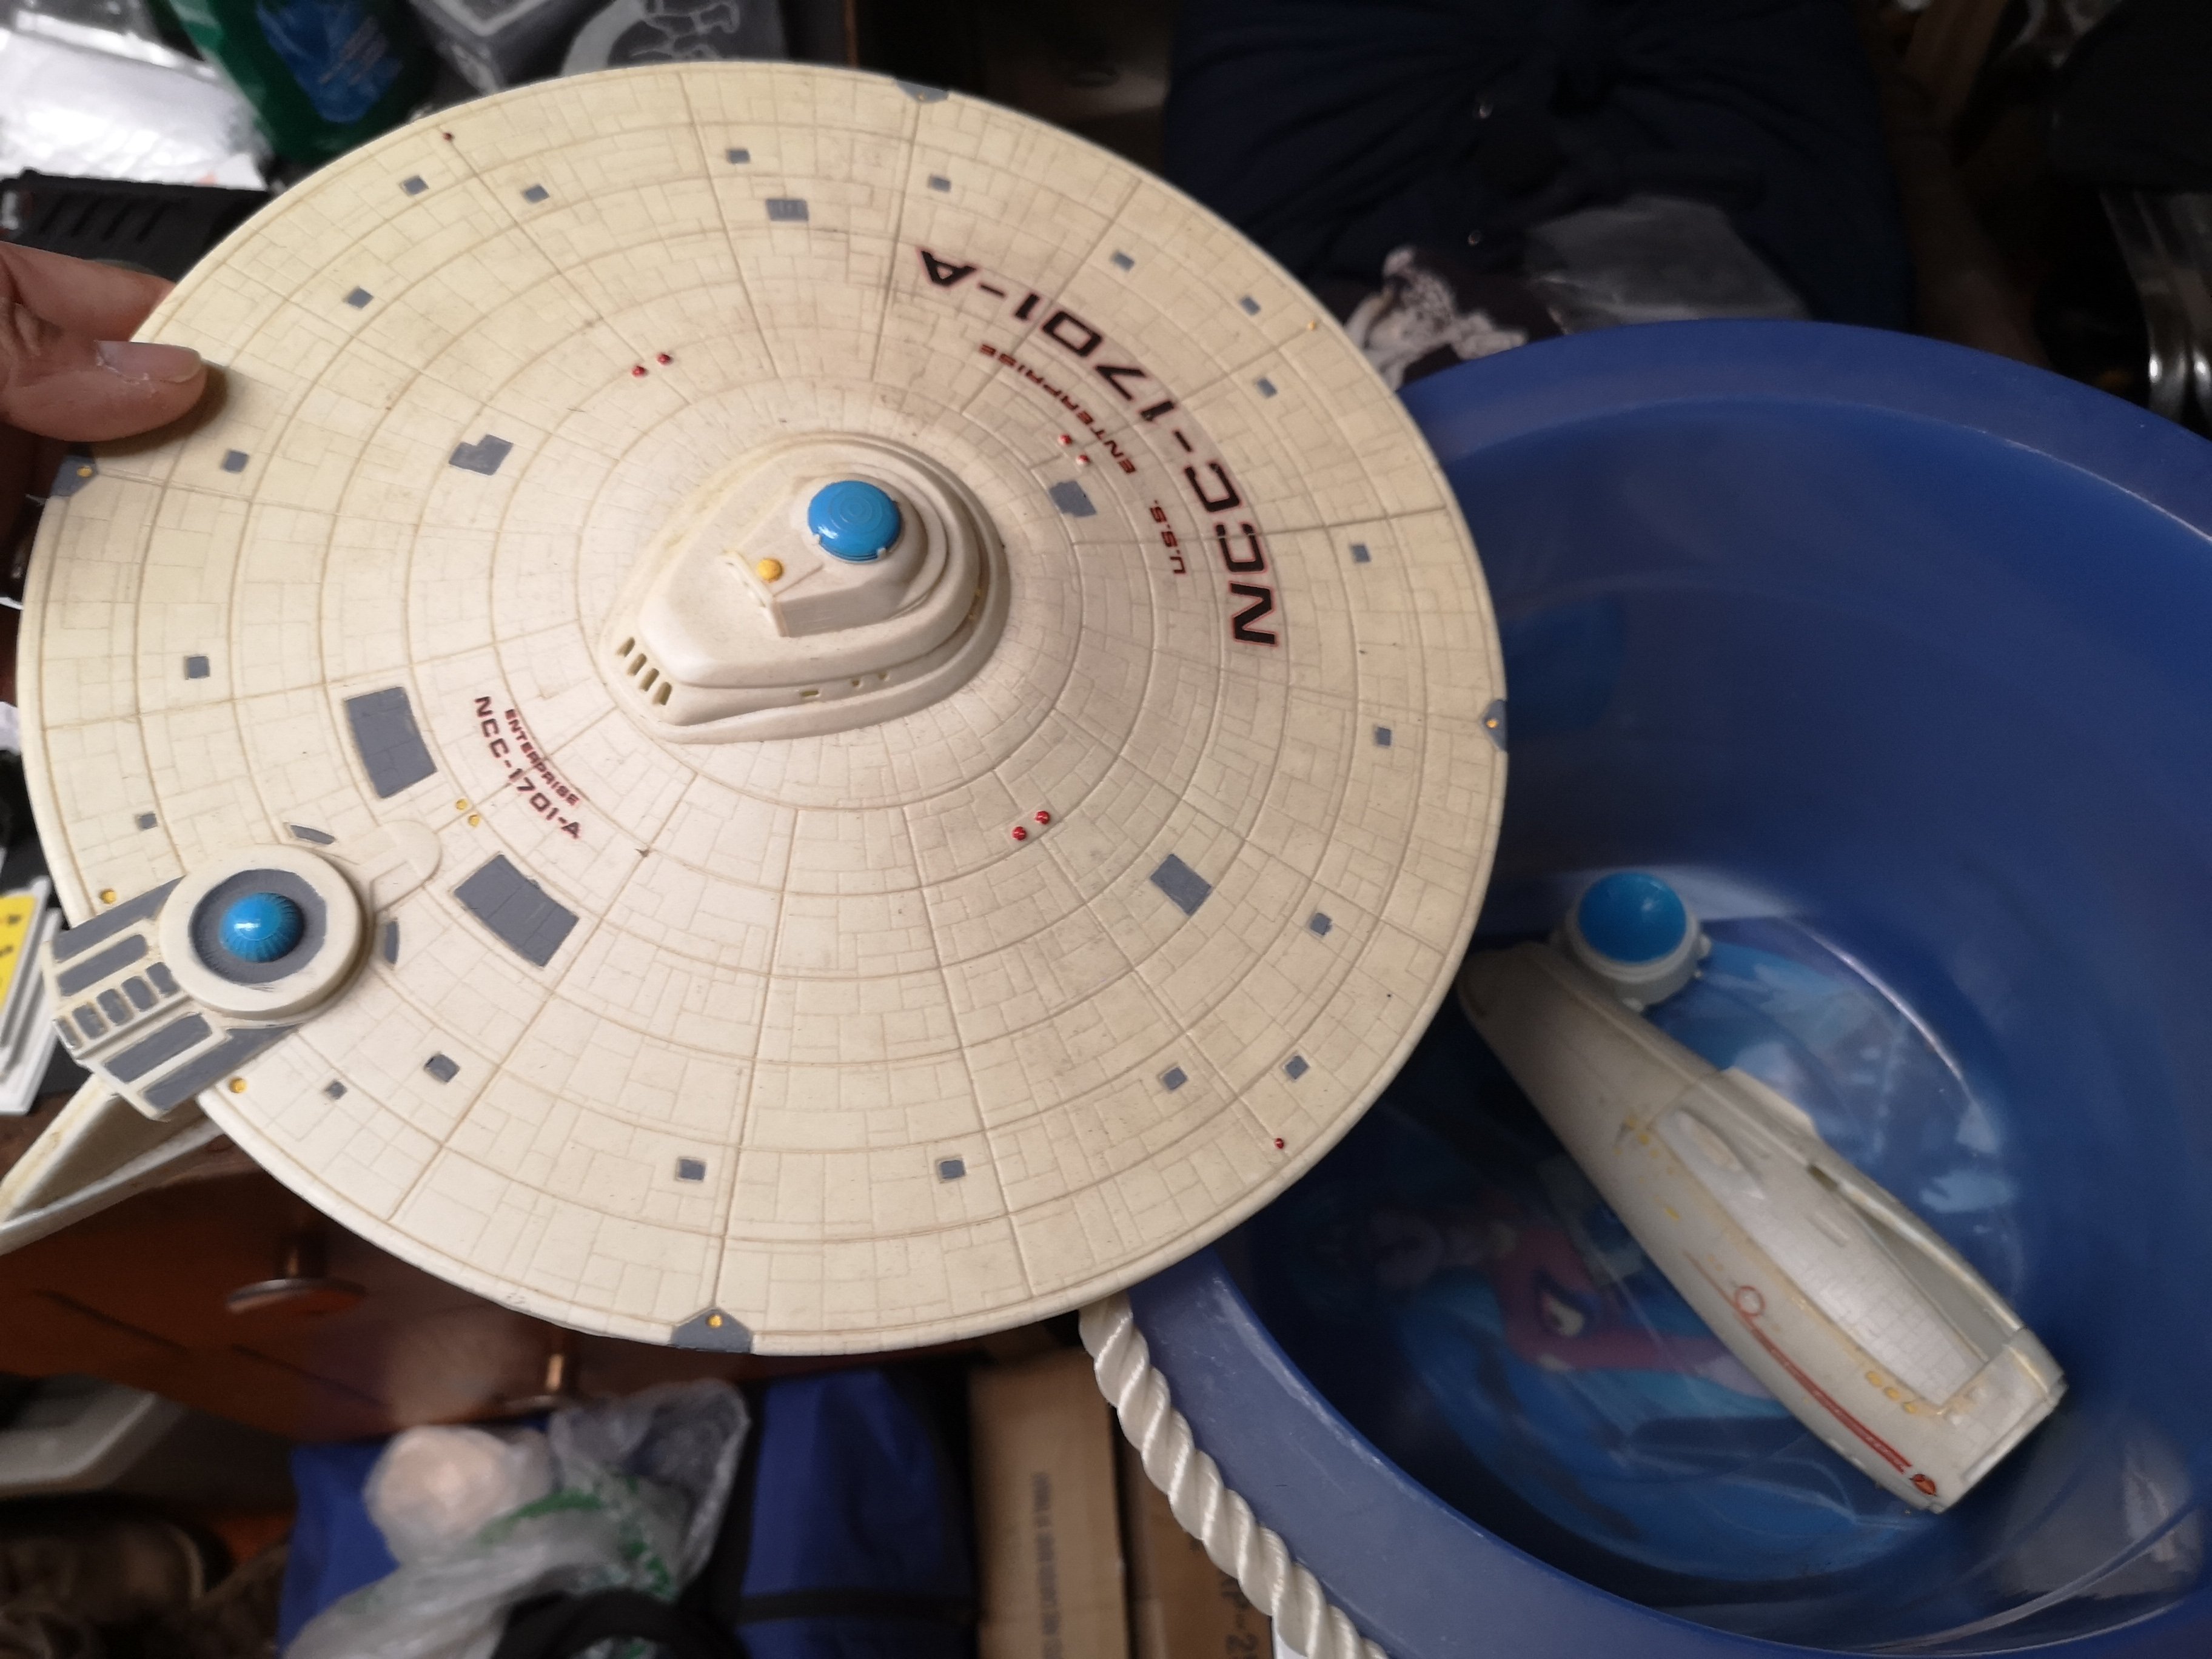
Looks like I did set fire to one of these kits I built when I was a kid. Probably after the pylons broke, I decided to do an auto destruct Enterprise (didn't do a very good job). Under the battle damaged one is probably the third and last AMT 1/537 I built, meant to replace my broken one. The replacement clearly broke at one point in time, pylons if course. Yikes these are embarassing to look at.
-
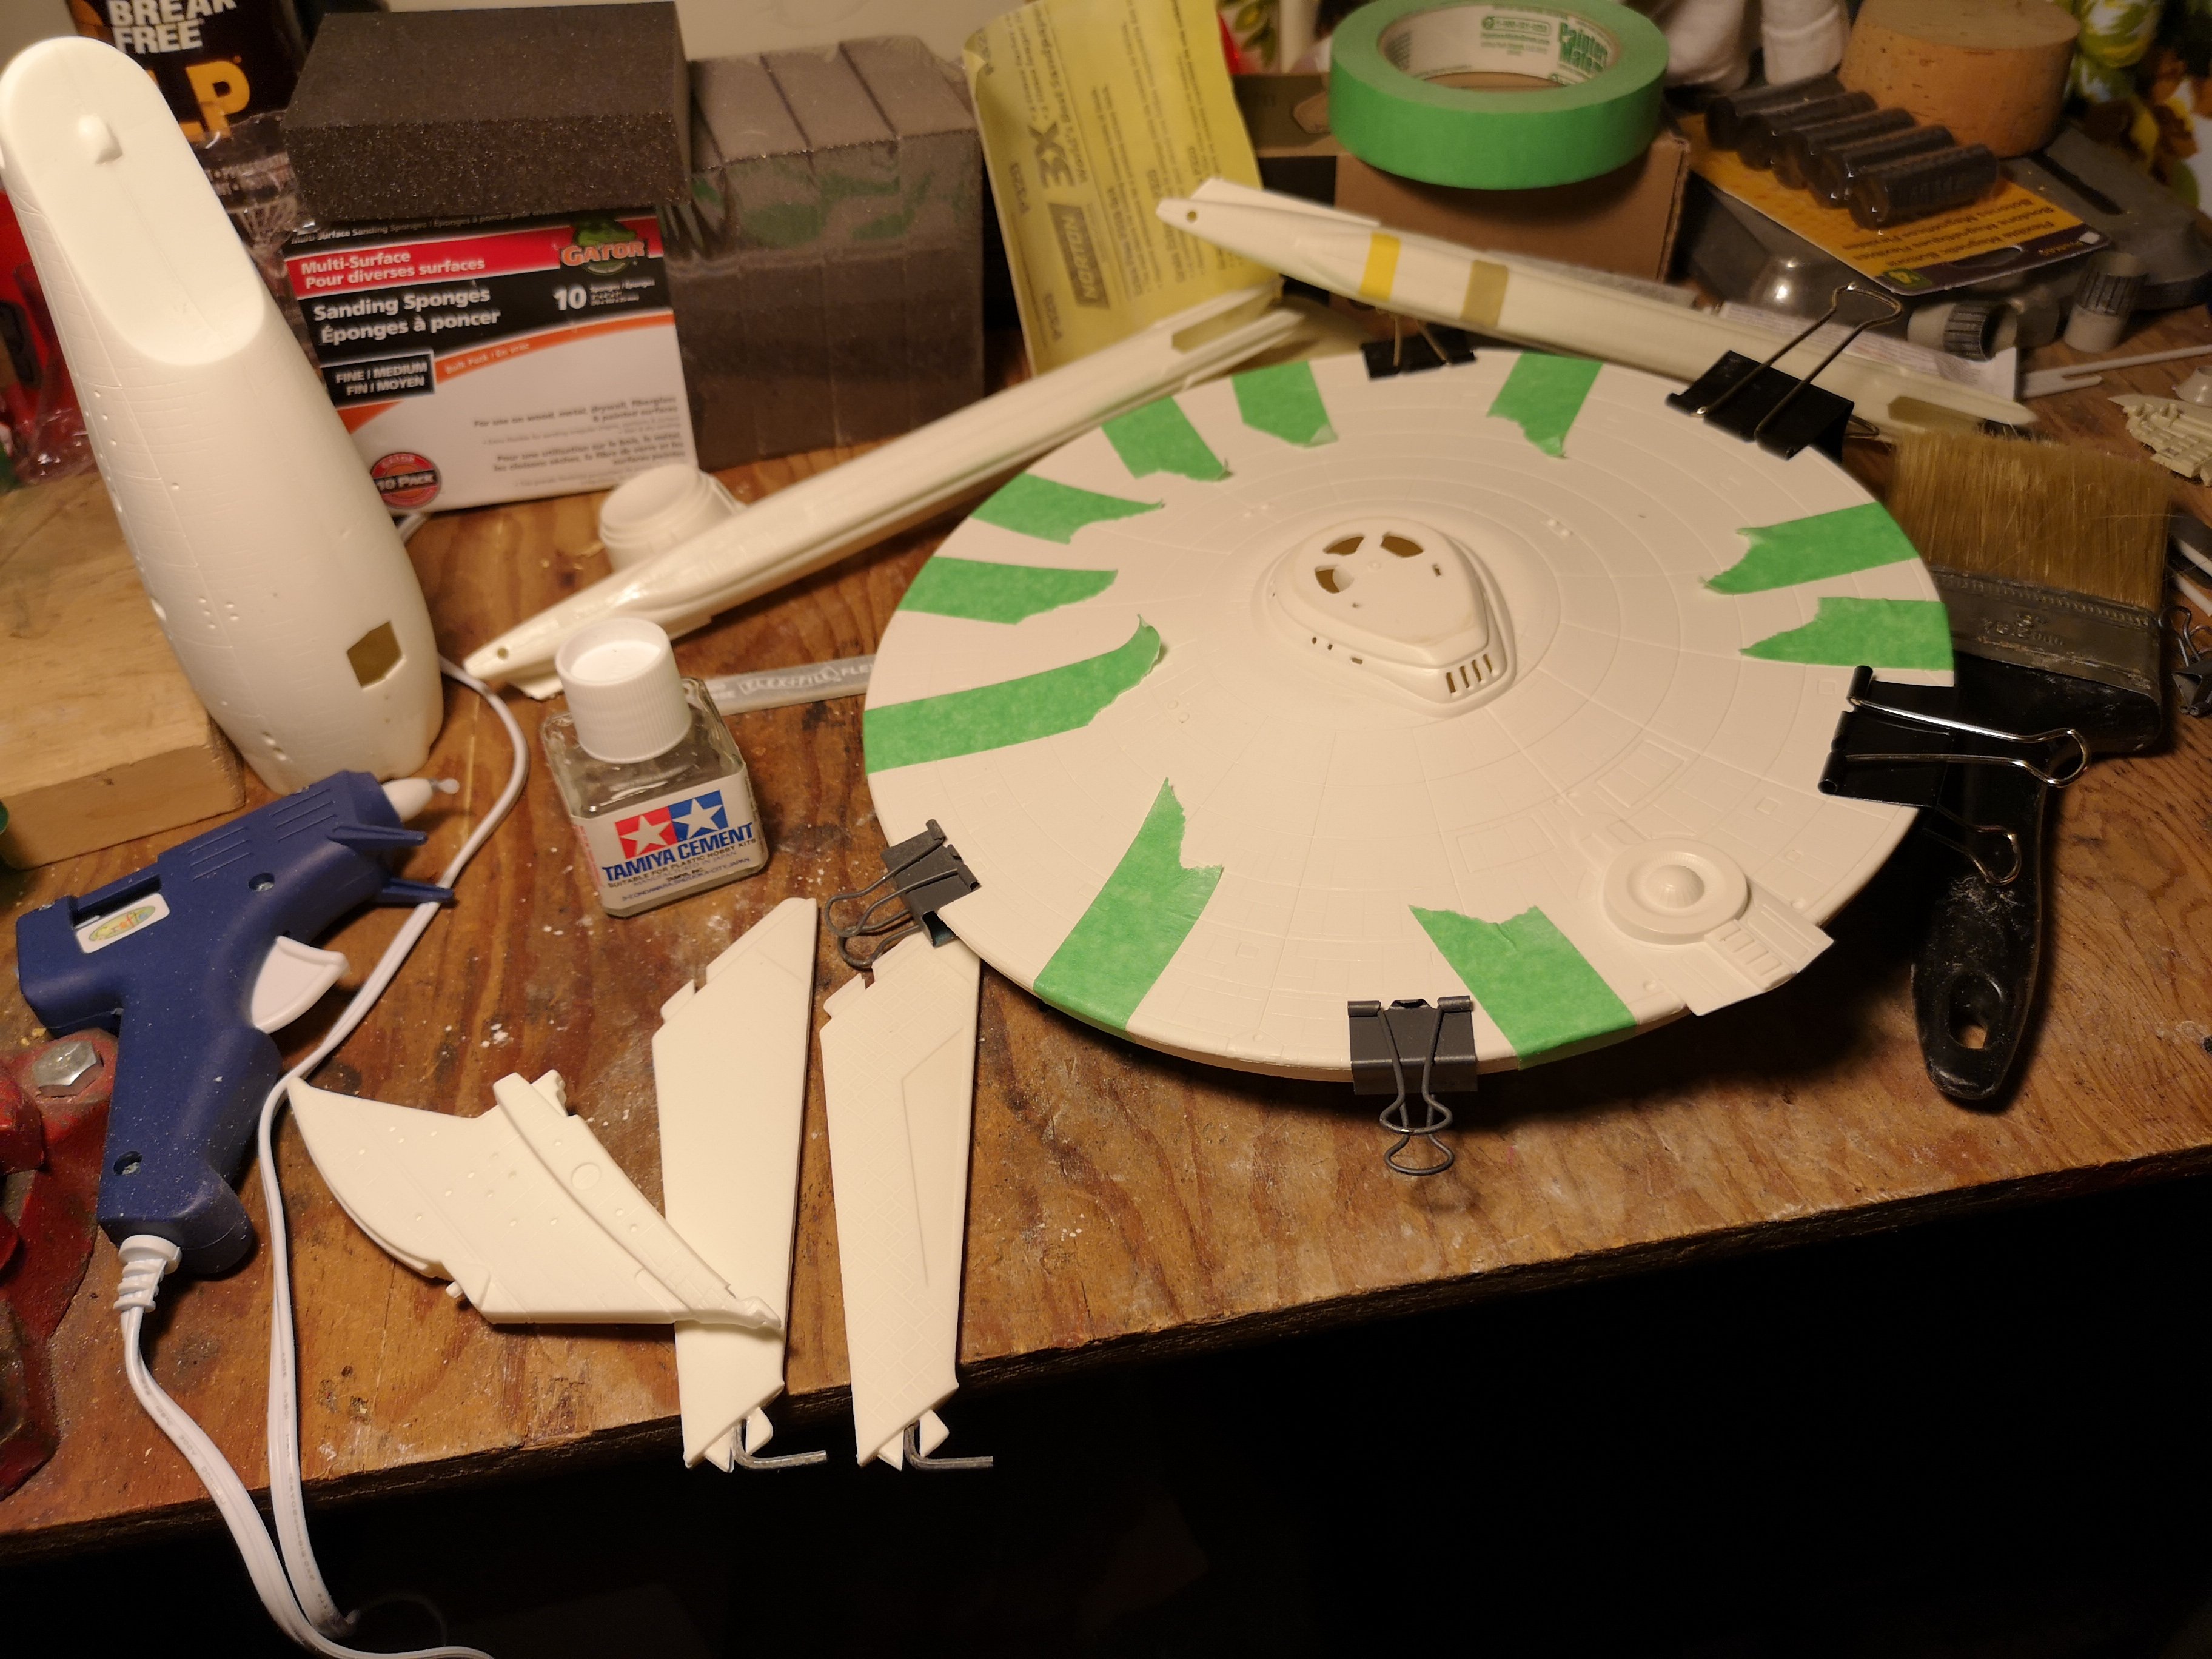
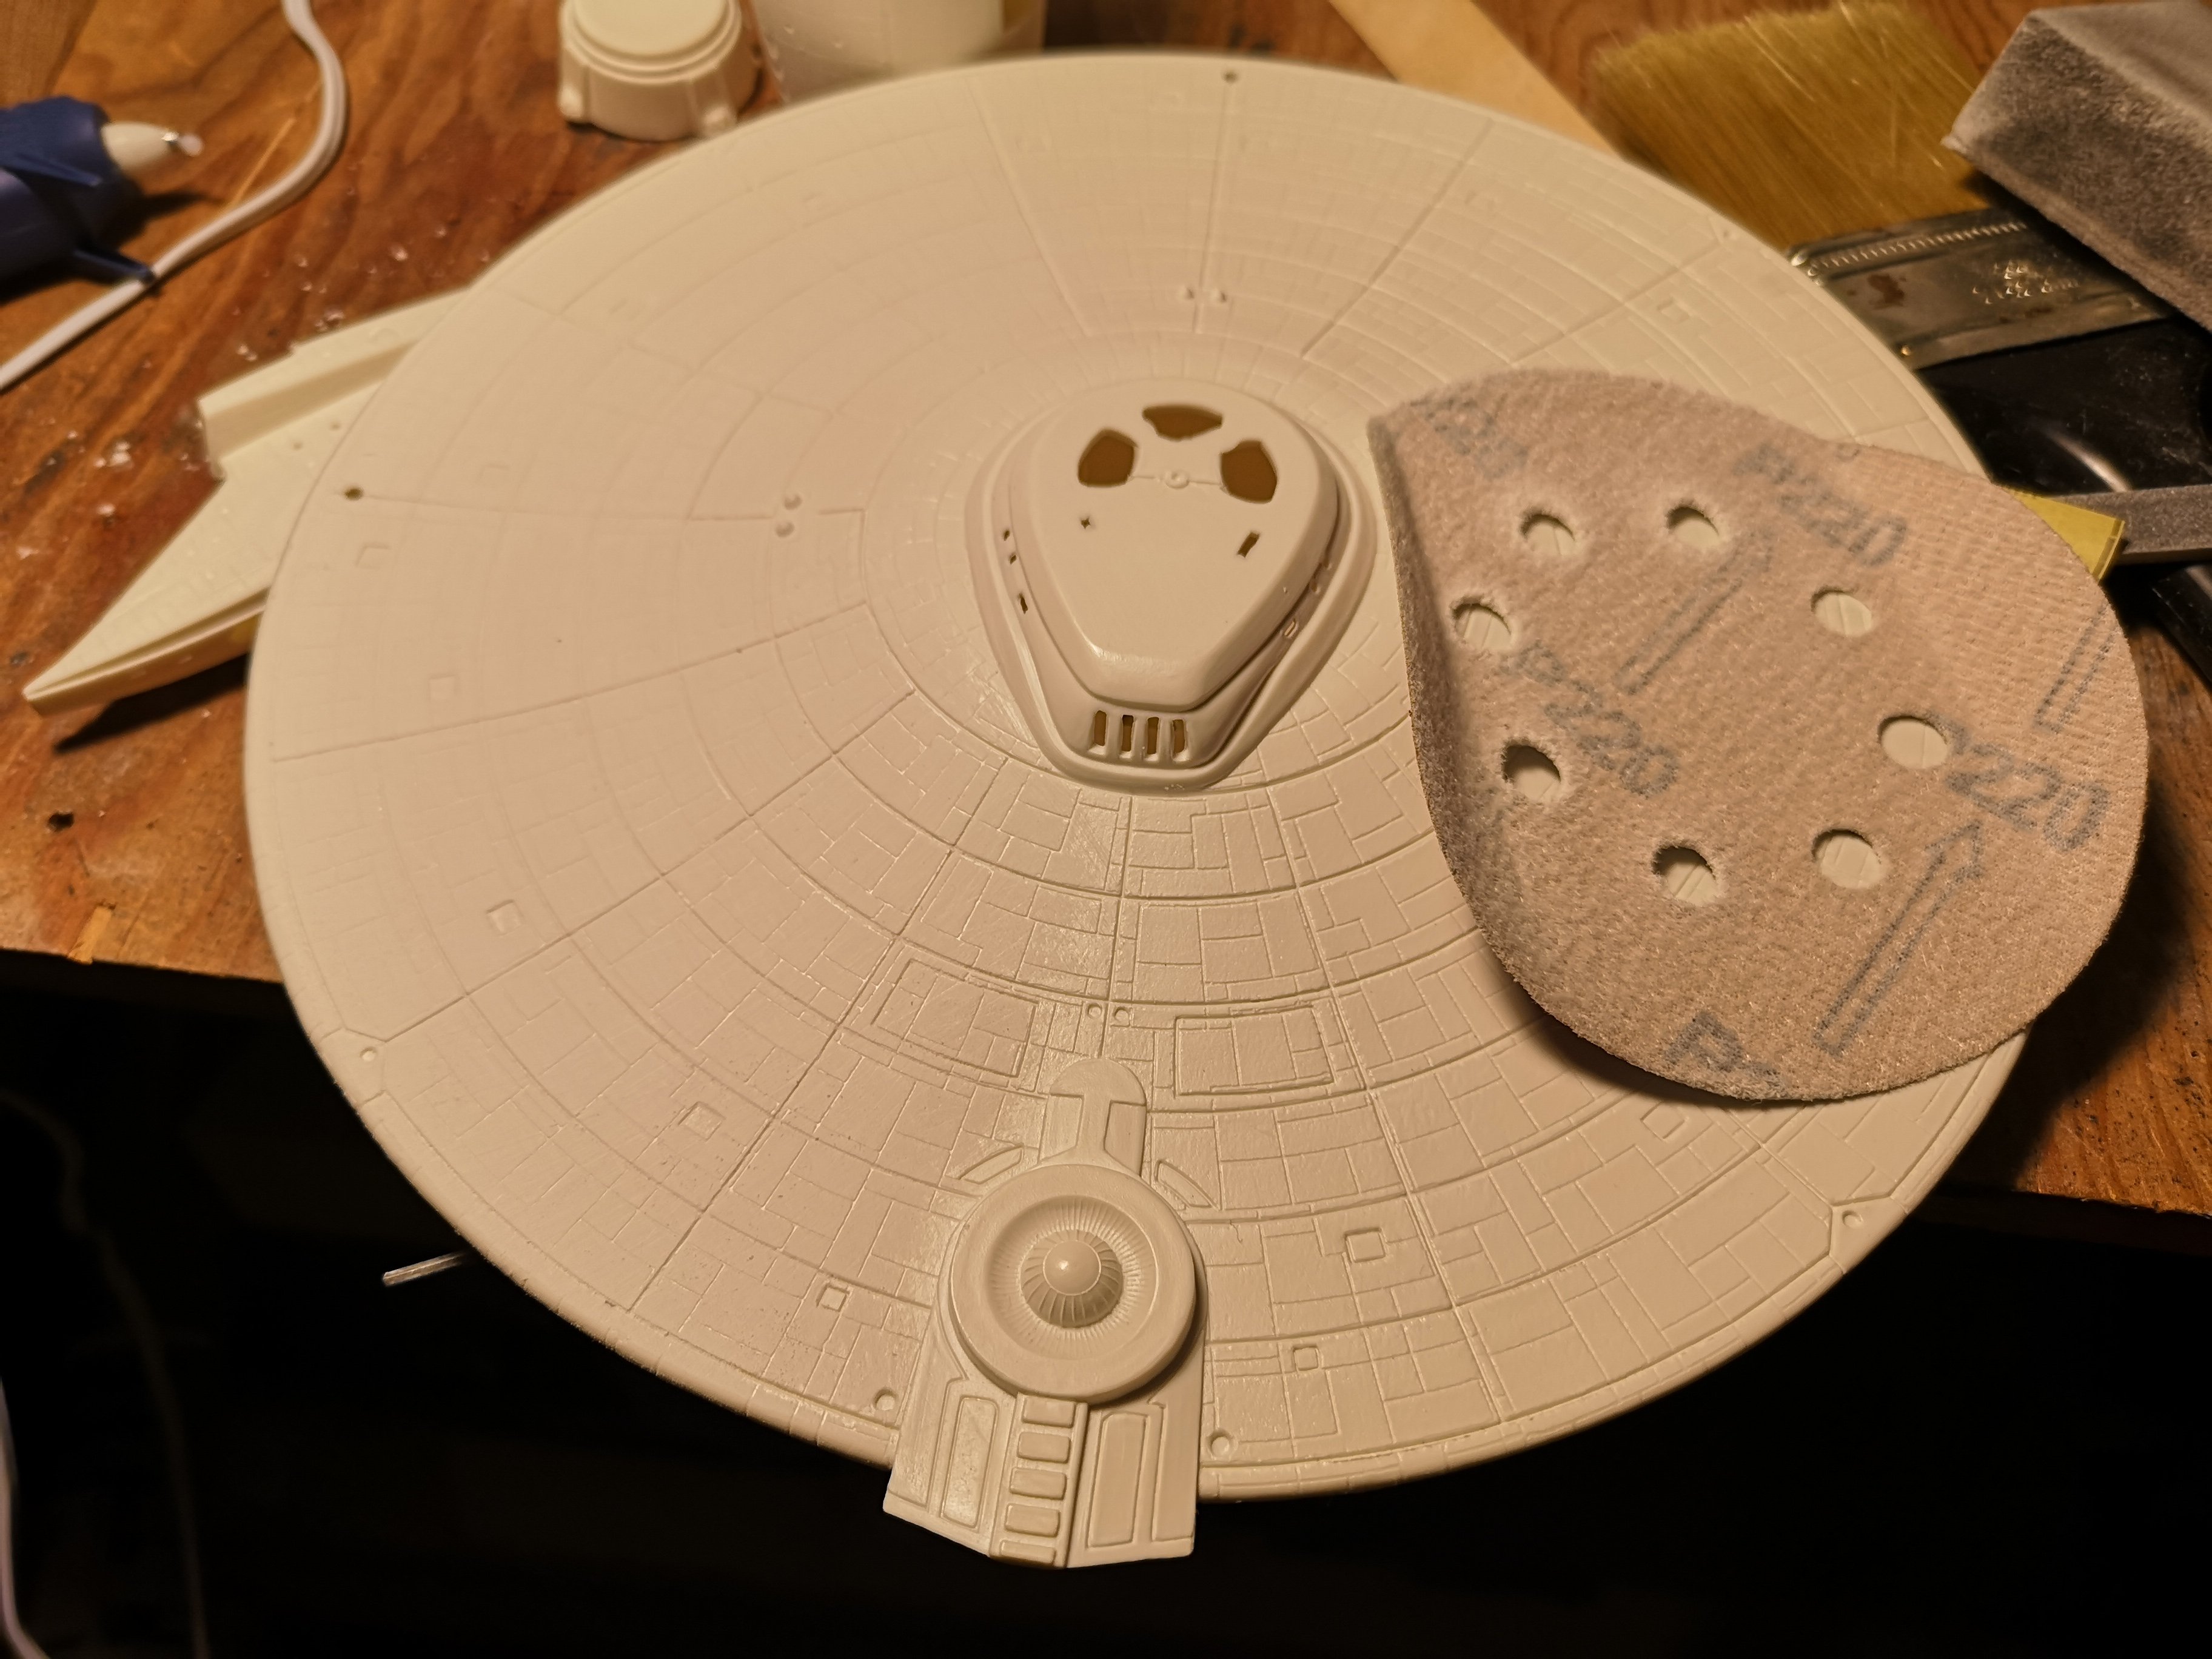
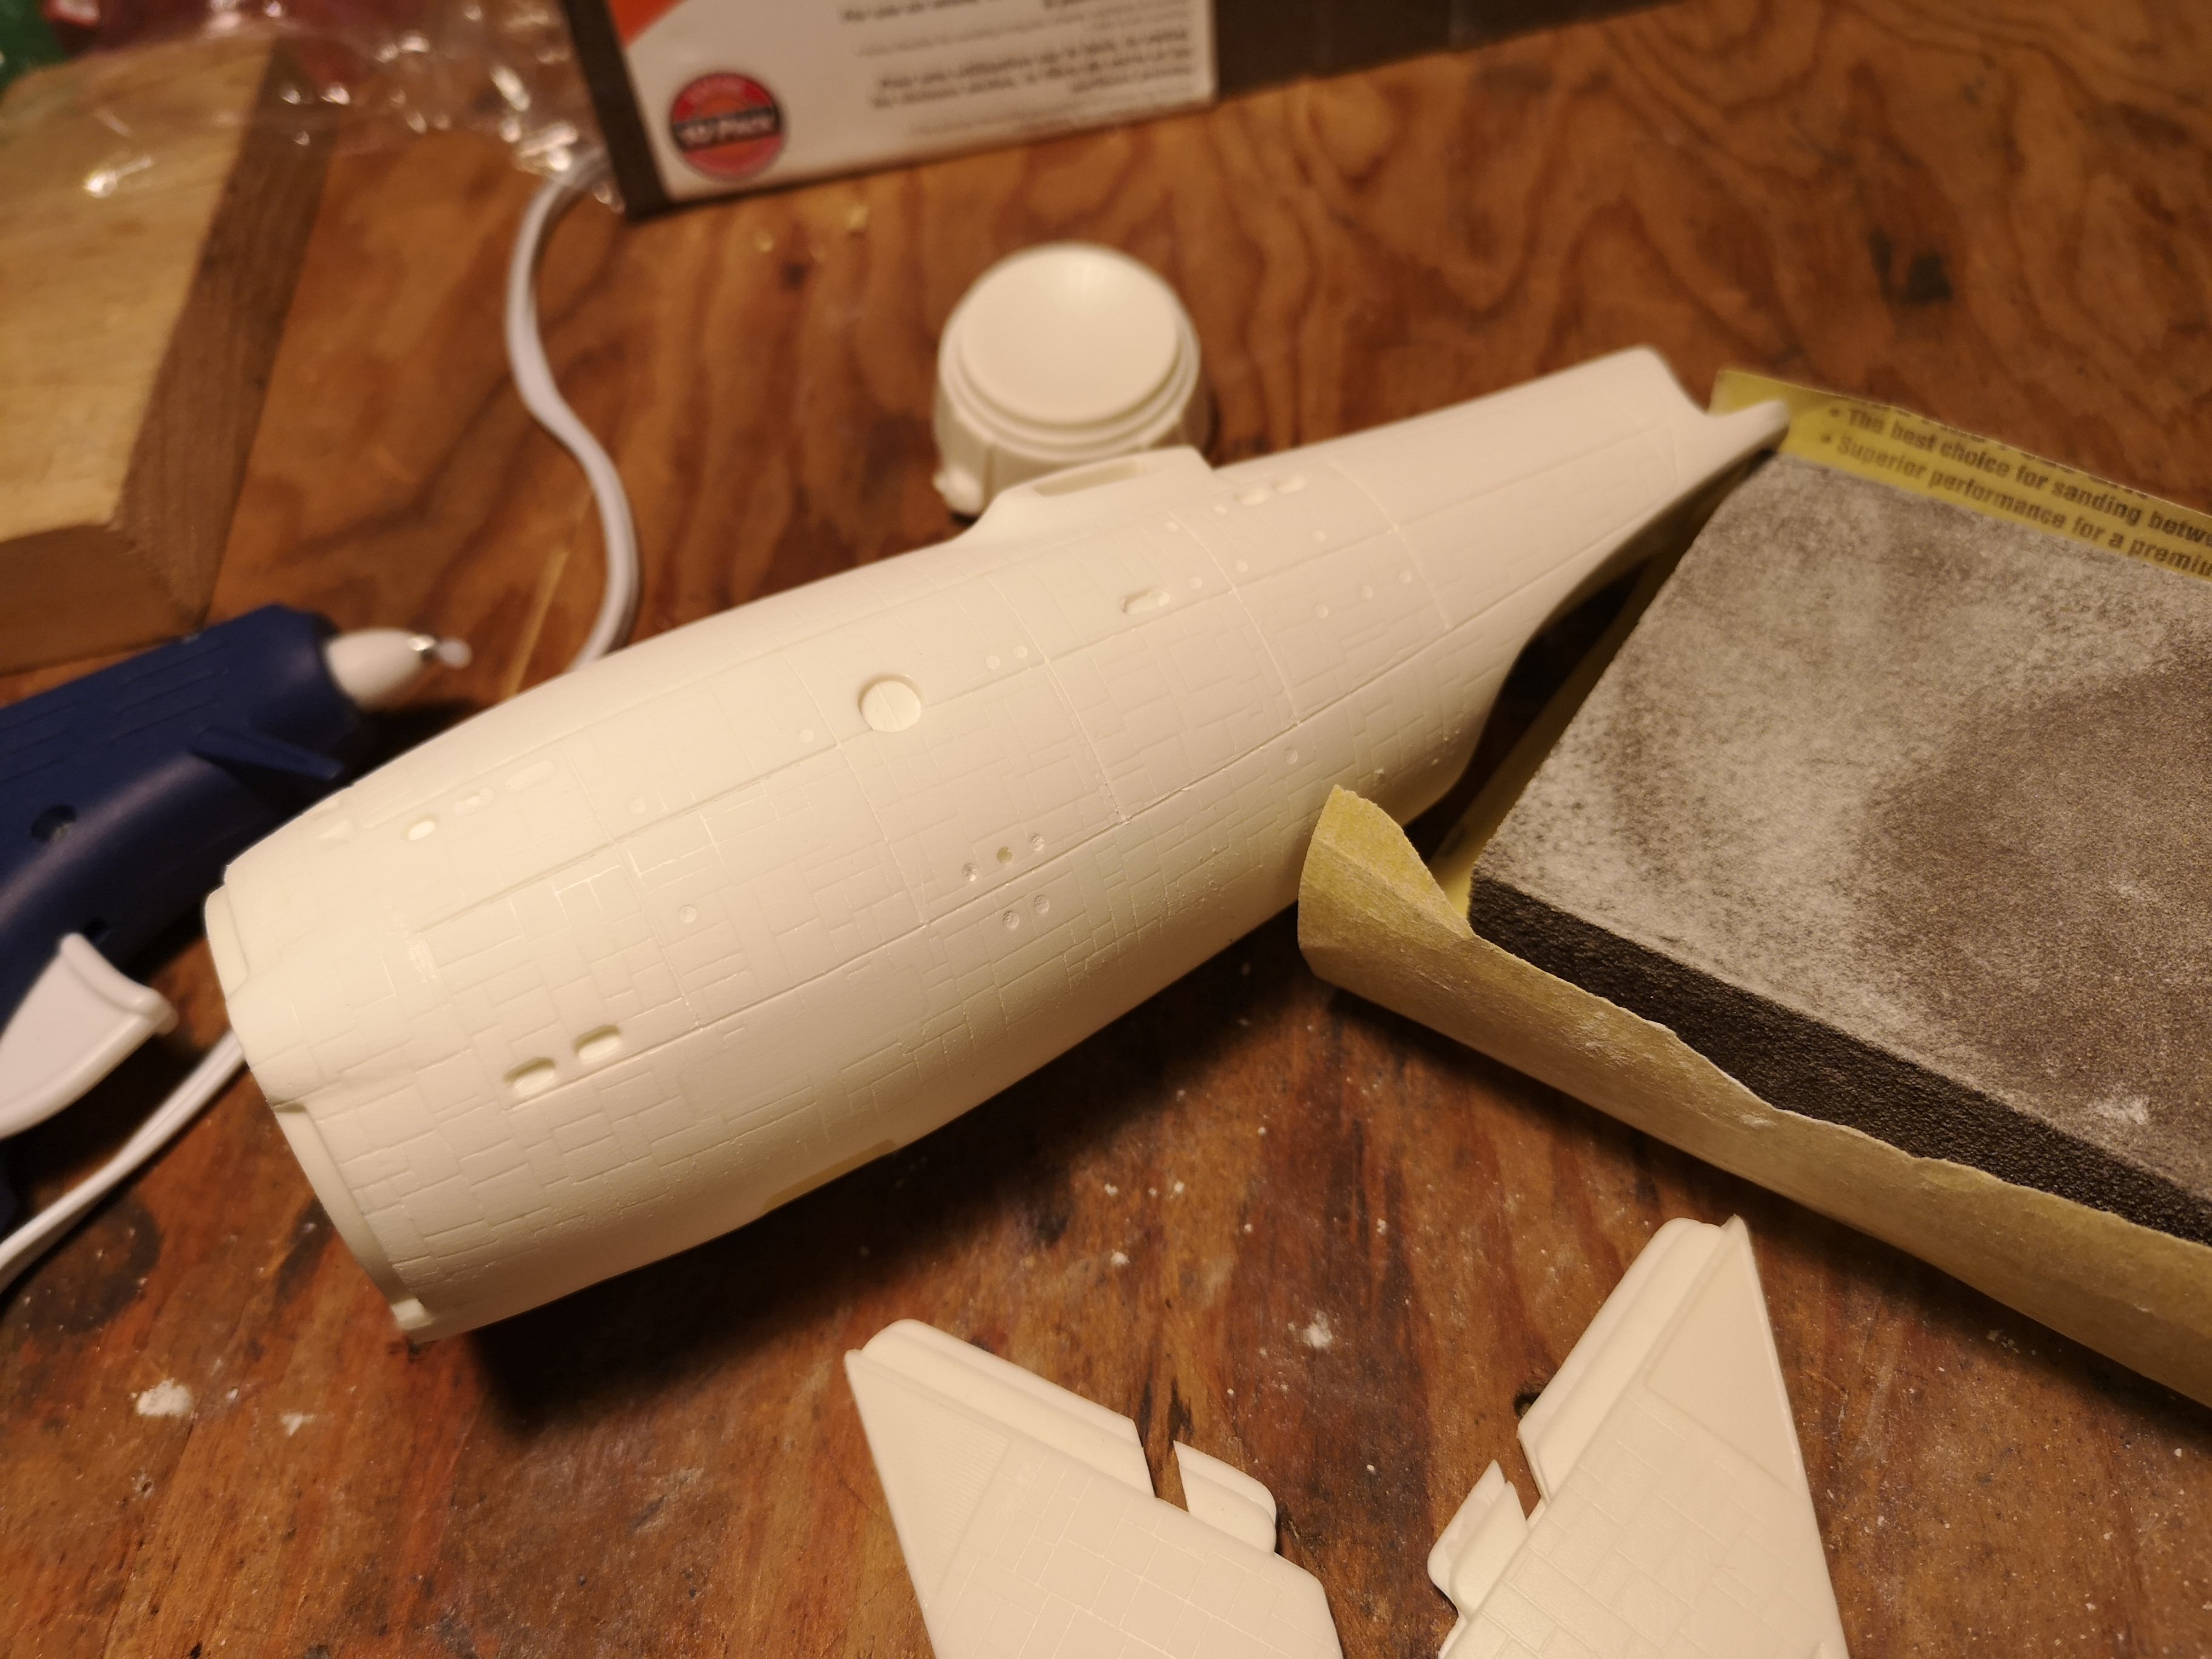
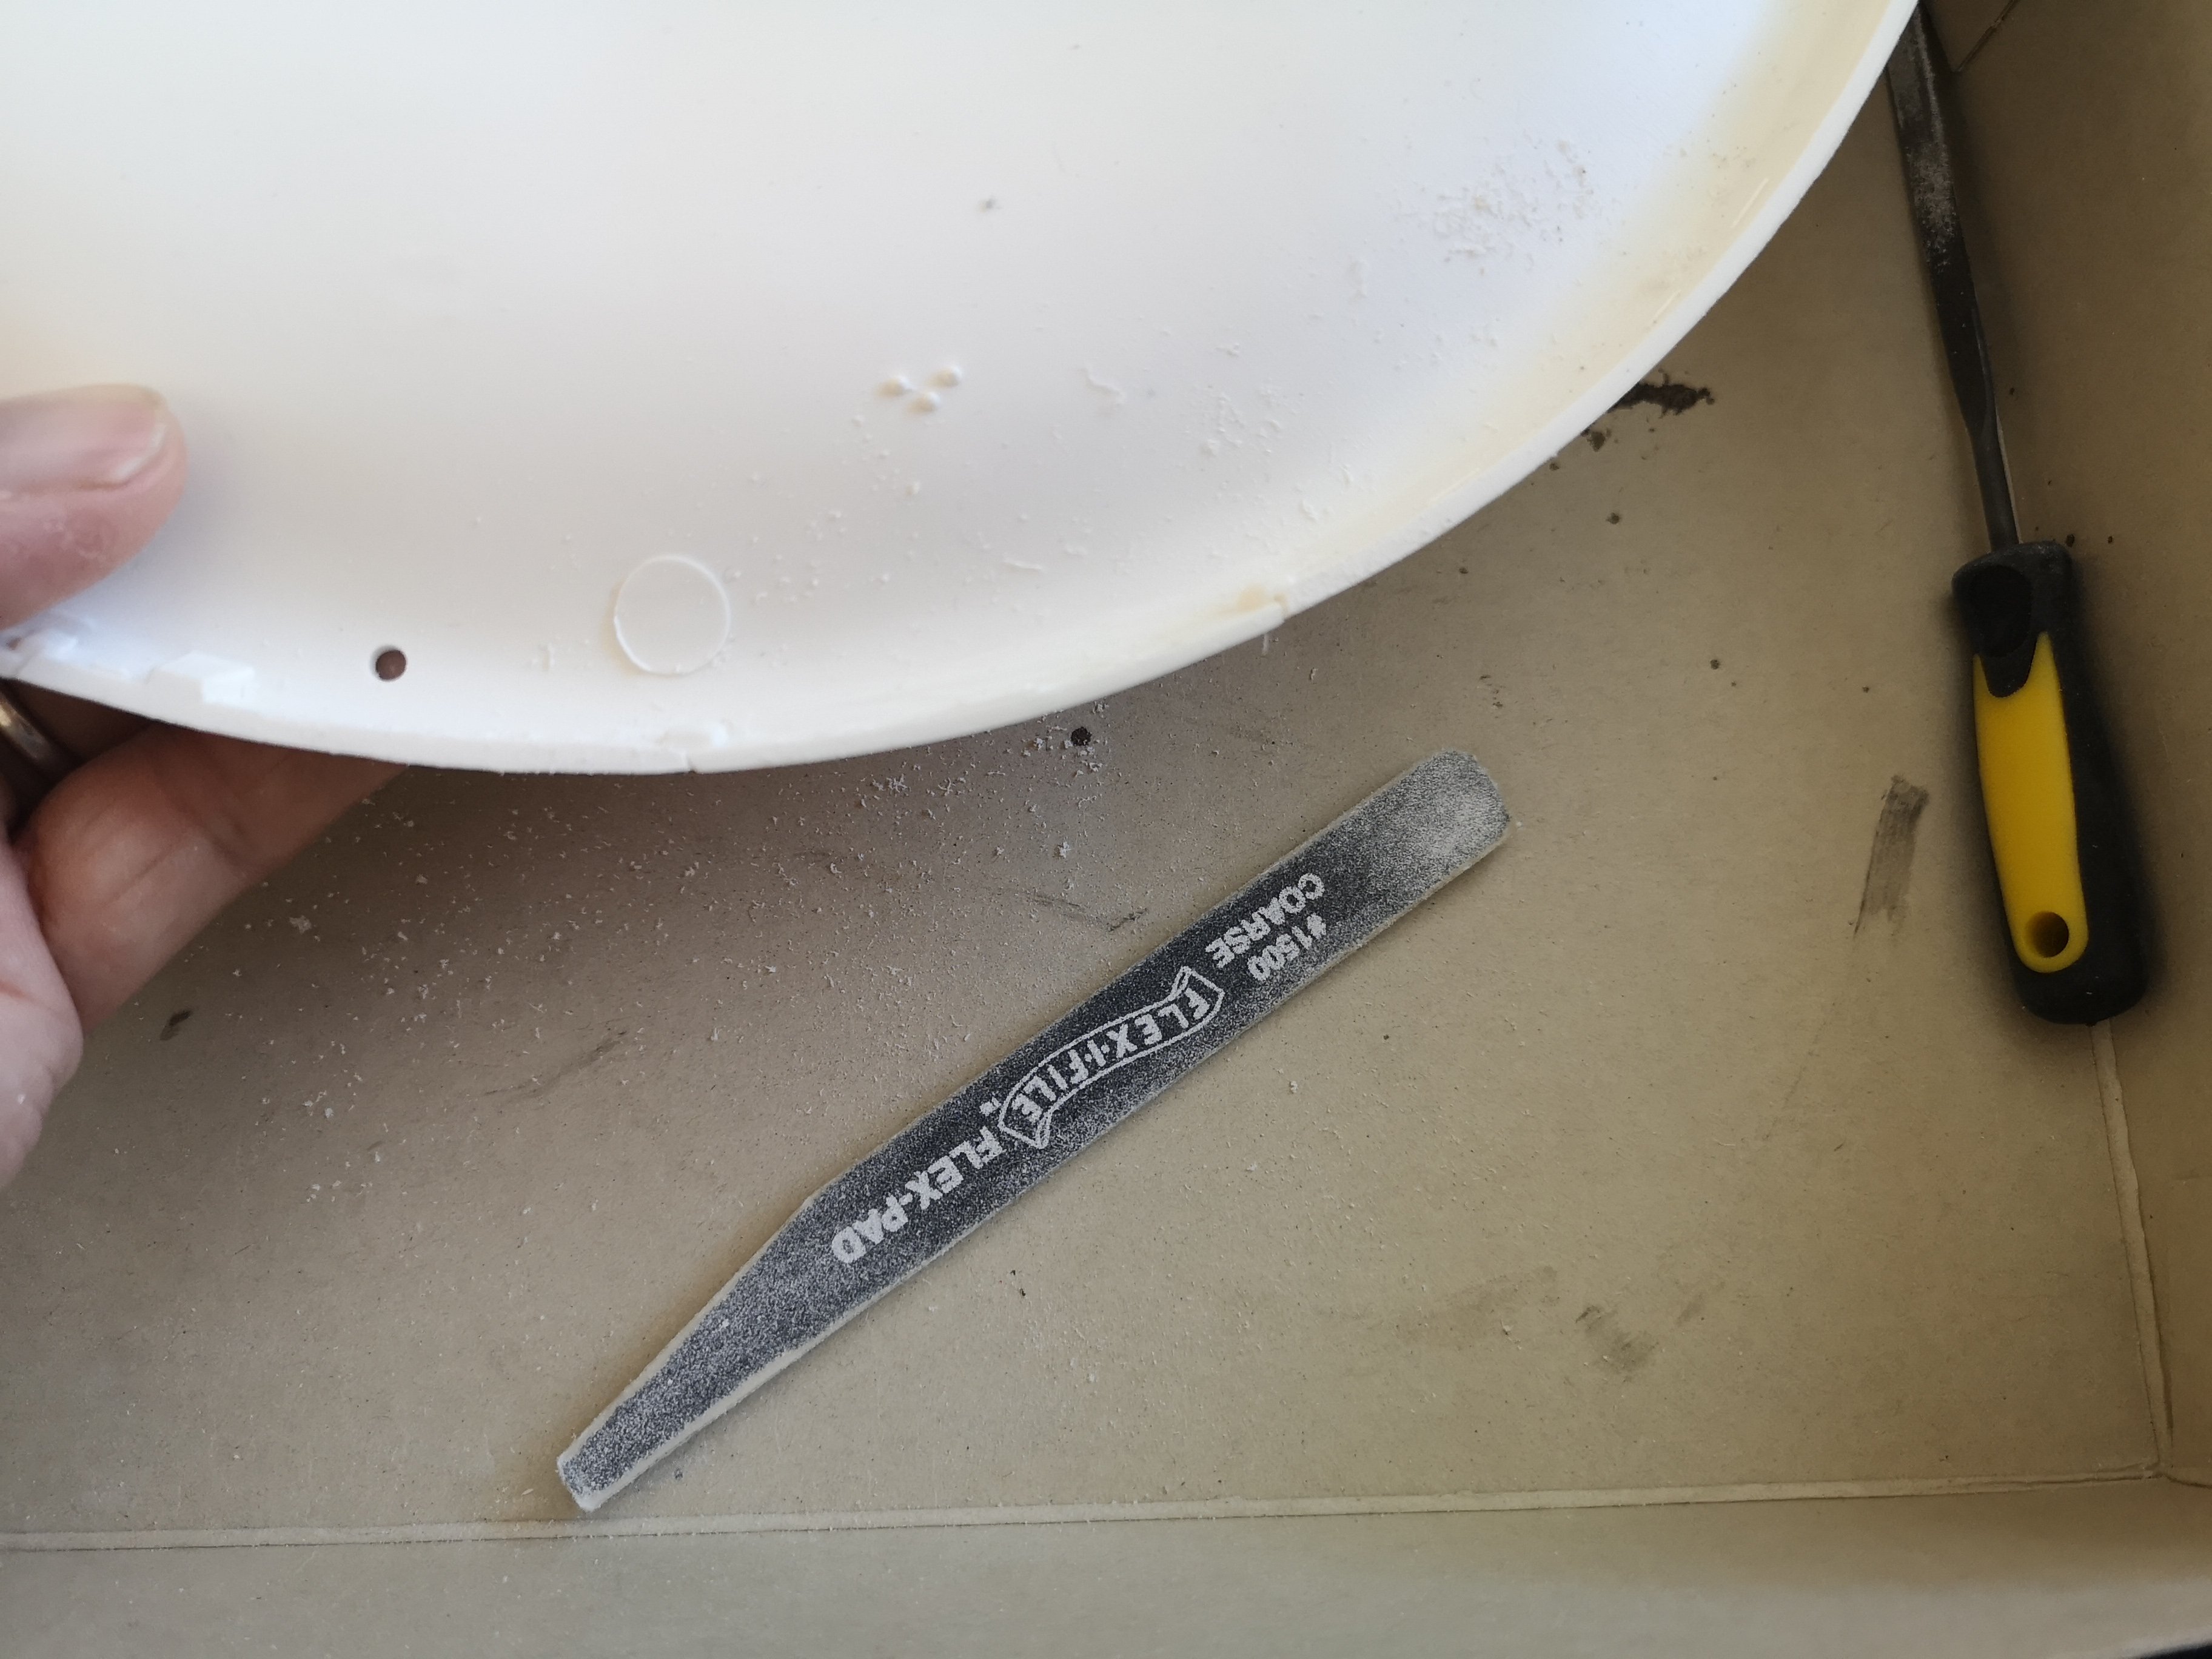
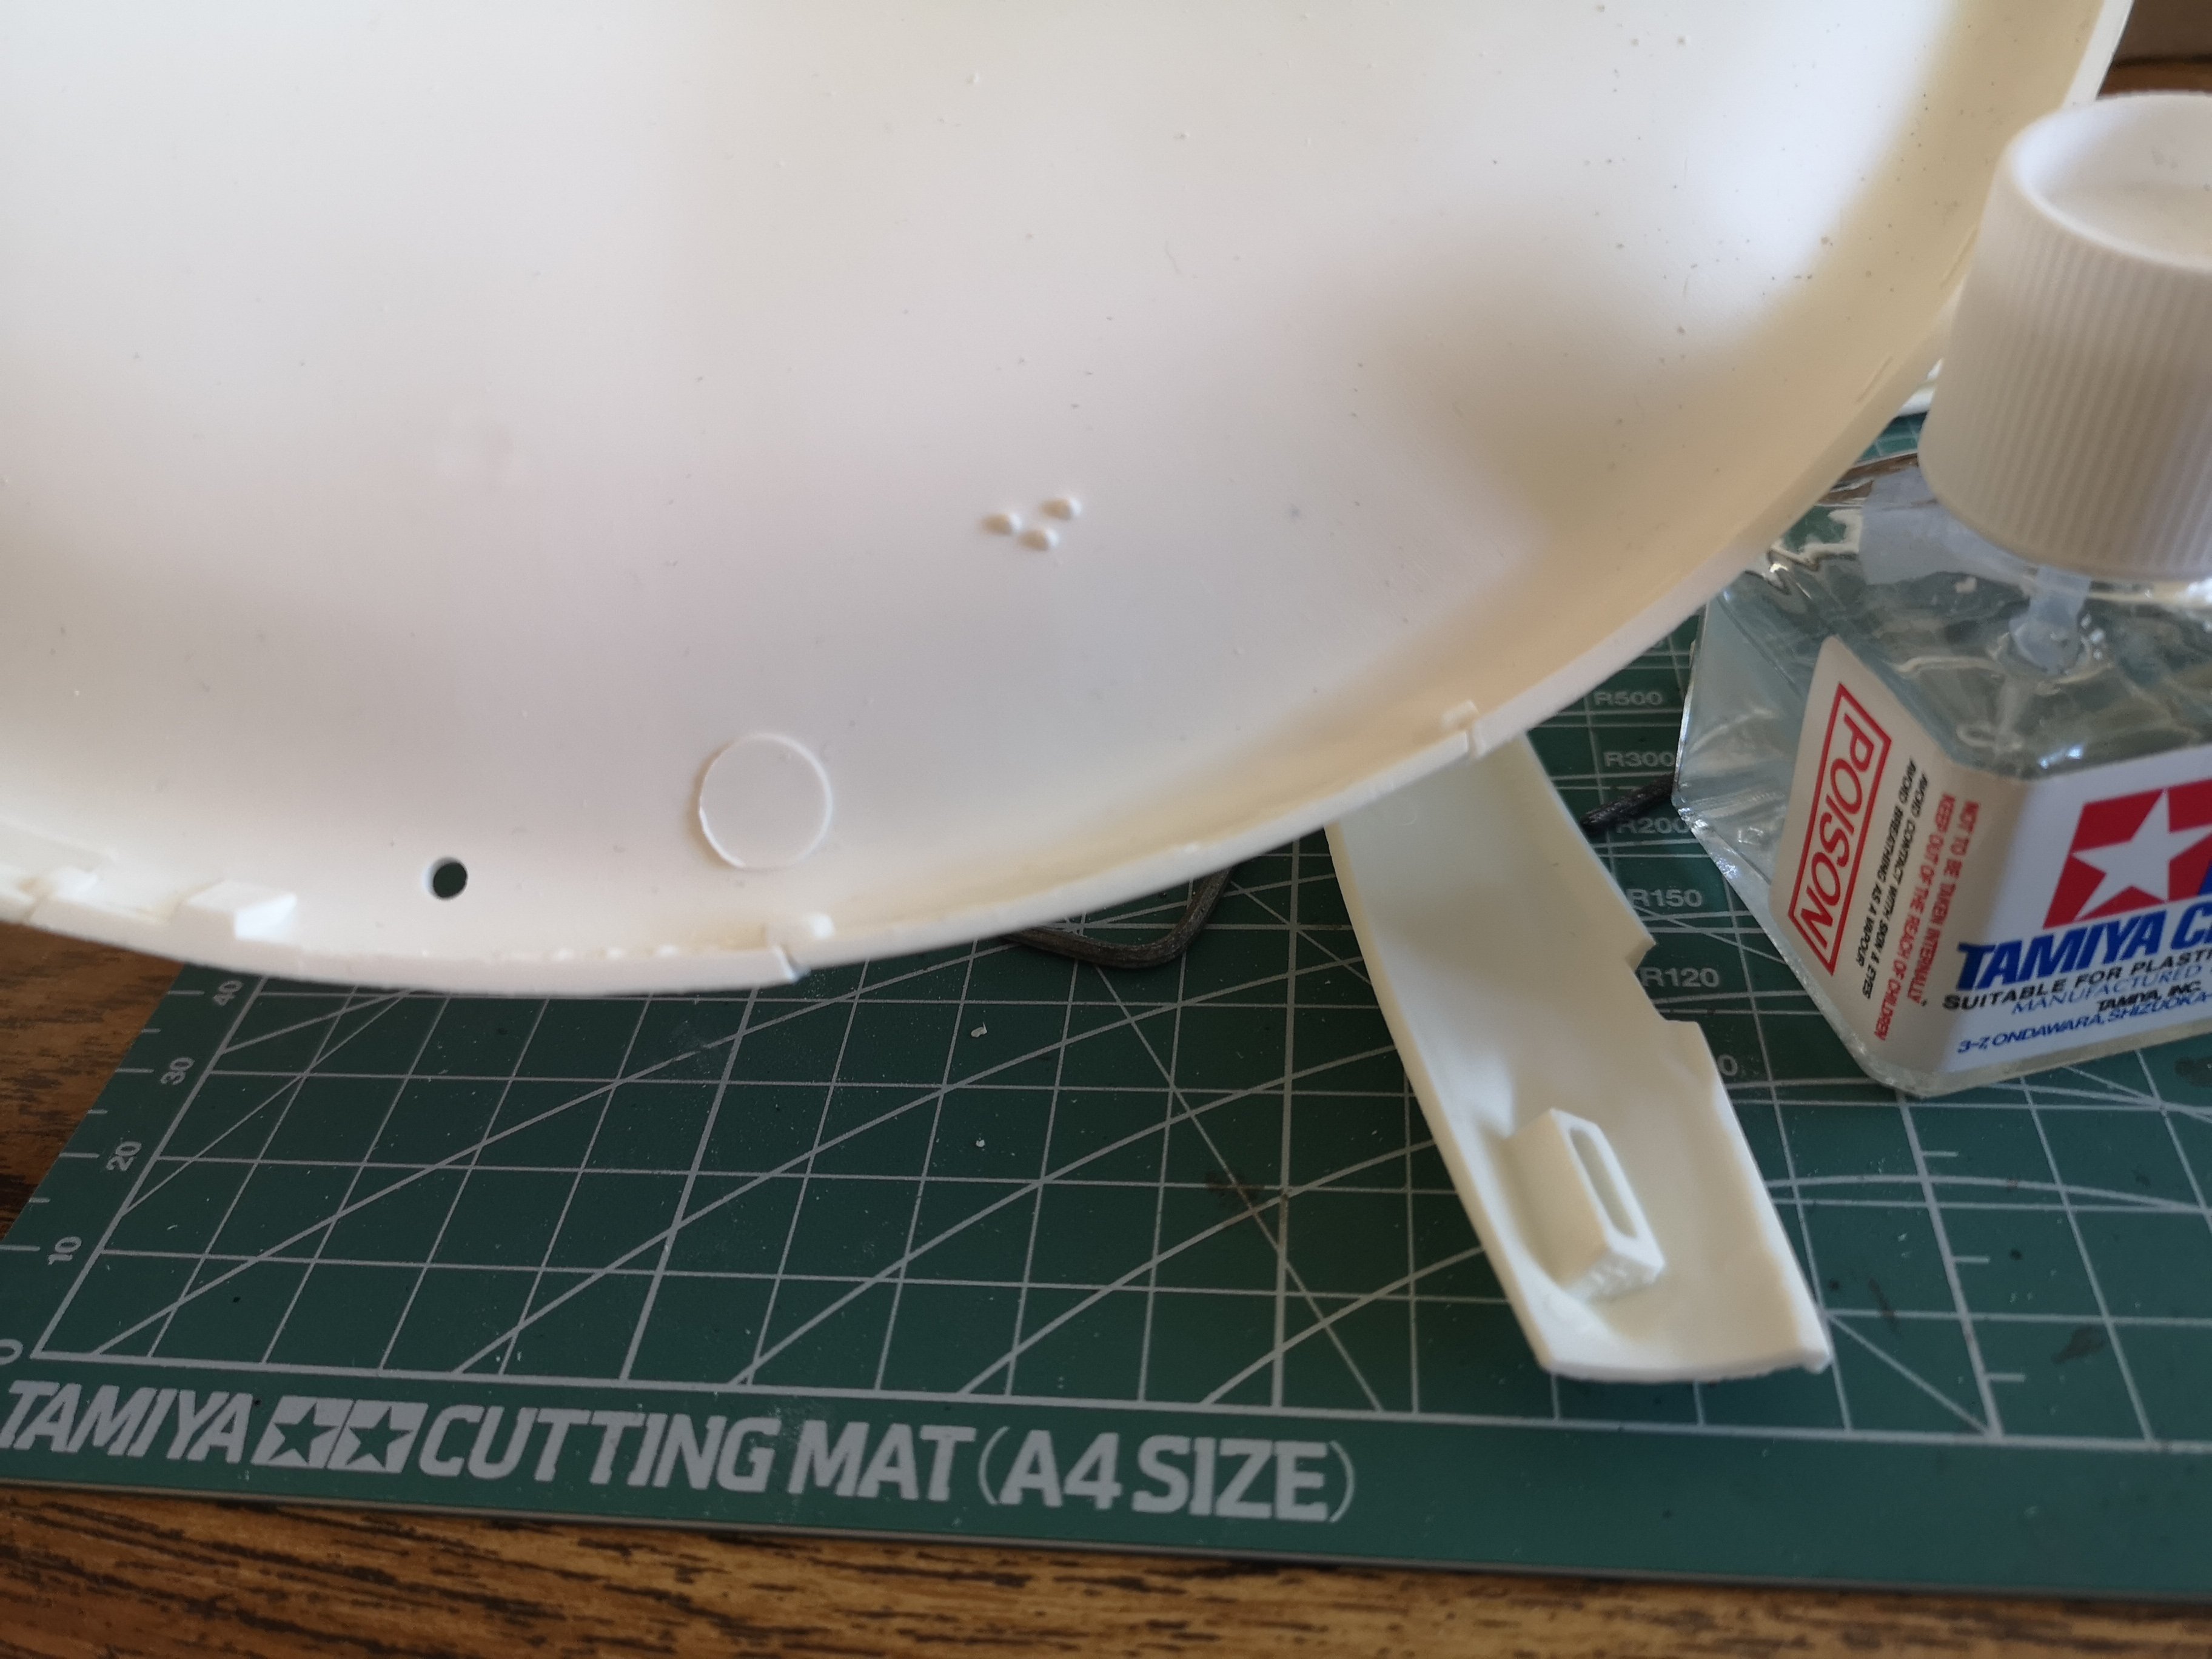
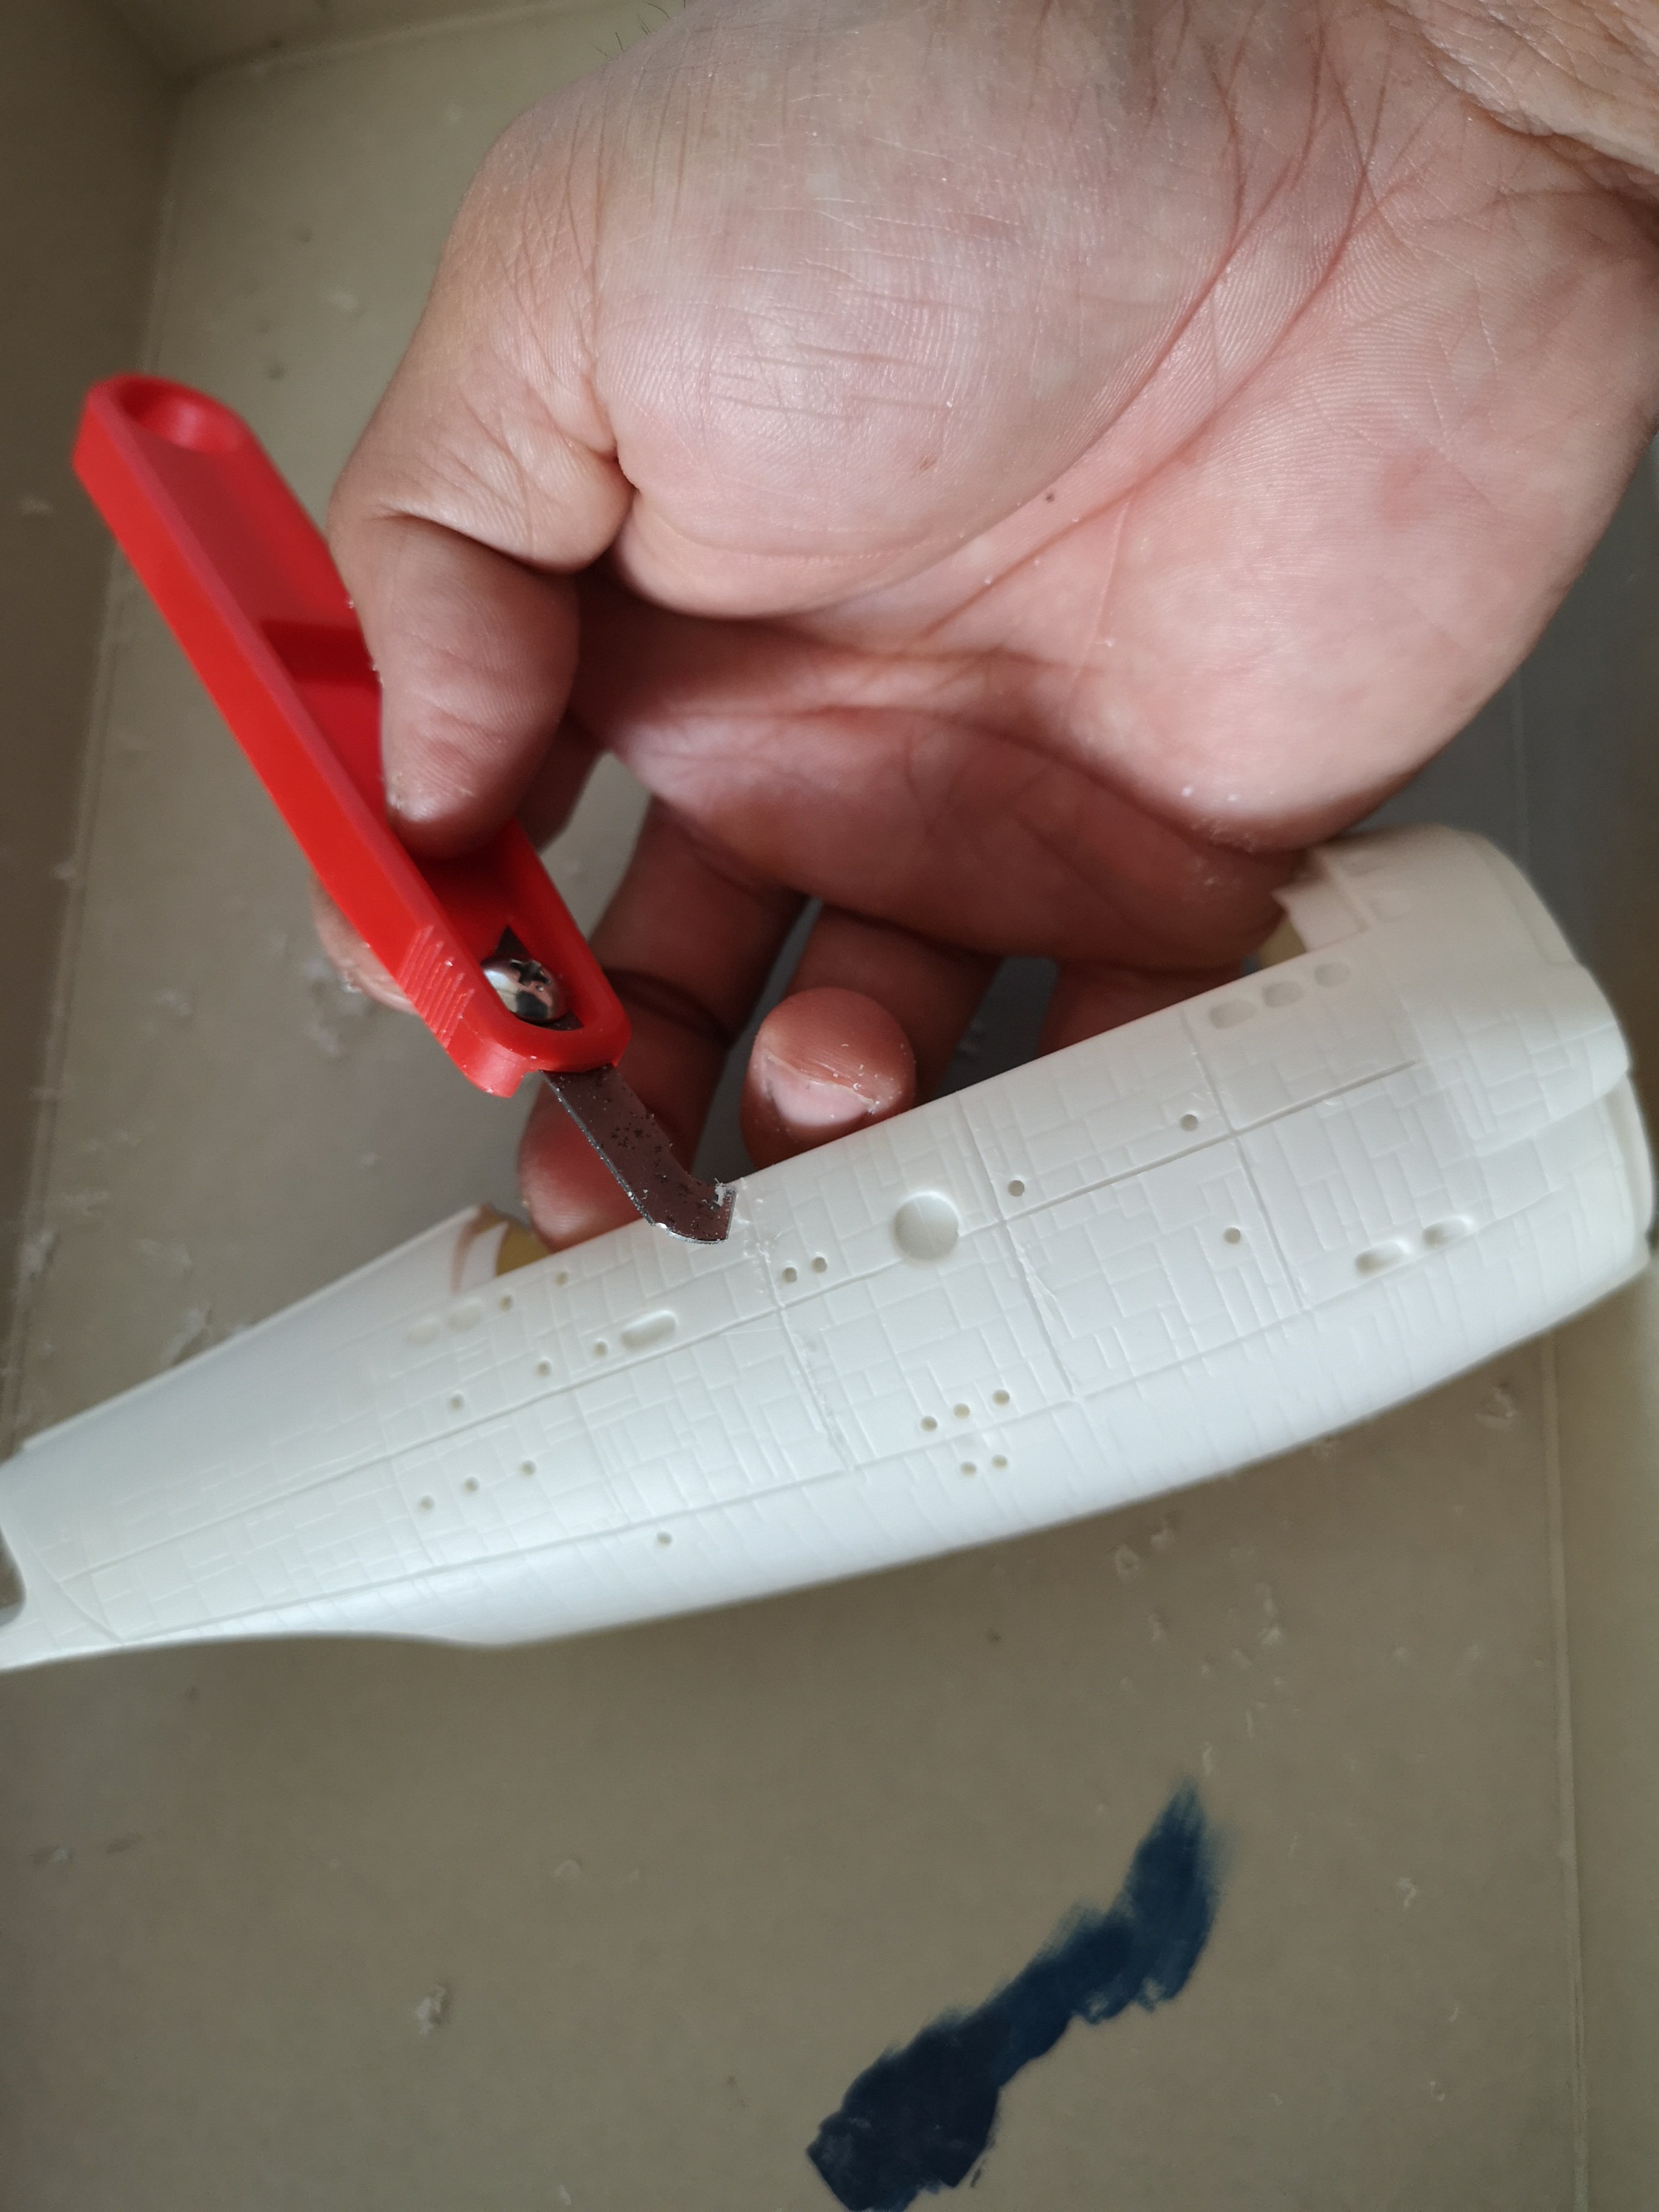
The current $hit-show I'm in now: The saucer did indeed require that much tape and clamps to lock it all down when gluing it. What a clusterfuk. I hate this thing, lol! So, I was going to listen to you guys and dig out my Mr. Surfacer, but that may have dried out 10 years ago and I may have thrown it out. So I was about to visit the local hobby shop and find some filler, but there was ice cold beer in the fridge. I stayed for one beer and one beer became two. Out came the orbital sander and I went to town on the saucer. When the dust cleared, all of the panel lines were still visible but definitely knocked down a bit. I promise no beer tomorrow and I'll go find some Mr. Surfacer tomorrow. That saucer is ridiculous.
-
Looks good, nice and clean! I wish I could pull off such clean lines. There's a Max and Milia set that's been sitting at the local hobby shop near my wife's place in Japan. The kit's been there for years, maybe almost 10 and it's there everytime I visit. Maybe I'll put it out of its misery and buy it next time I'm there, lol! Anyway, I too love that feeling of finally getting to the decals, that feeling of nearing completion. Especially if it's been a rough build, lol! Those Hasegawa 1/72s scared me off model building for years, but after building a few, they weren't that bad compared to what I'm up against currently.
-
Lol!
-
Lol, thankfully I read your post. That definitely will be easier than sanding the hell out of it. Honestly, with the kids at home running amok, working from home because of Covid 19, I'm surviving on average 4 hrs of sleep with model building thrown in. Leads to bad decisions, lol! Going to fill the unwanted lines before going at it with any sanding, lol! Time for more coffee and maybe a nap.
-
I've been sanding with 320 and taking my time, but some of these panel lines are pretty stubborn. One on the right is untouched. But I got a little impatient and decided to try 220 on the saucer.....and it barely scratched the surface. Almost threw the sanding pad onto my orbital sander, lol!
-
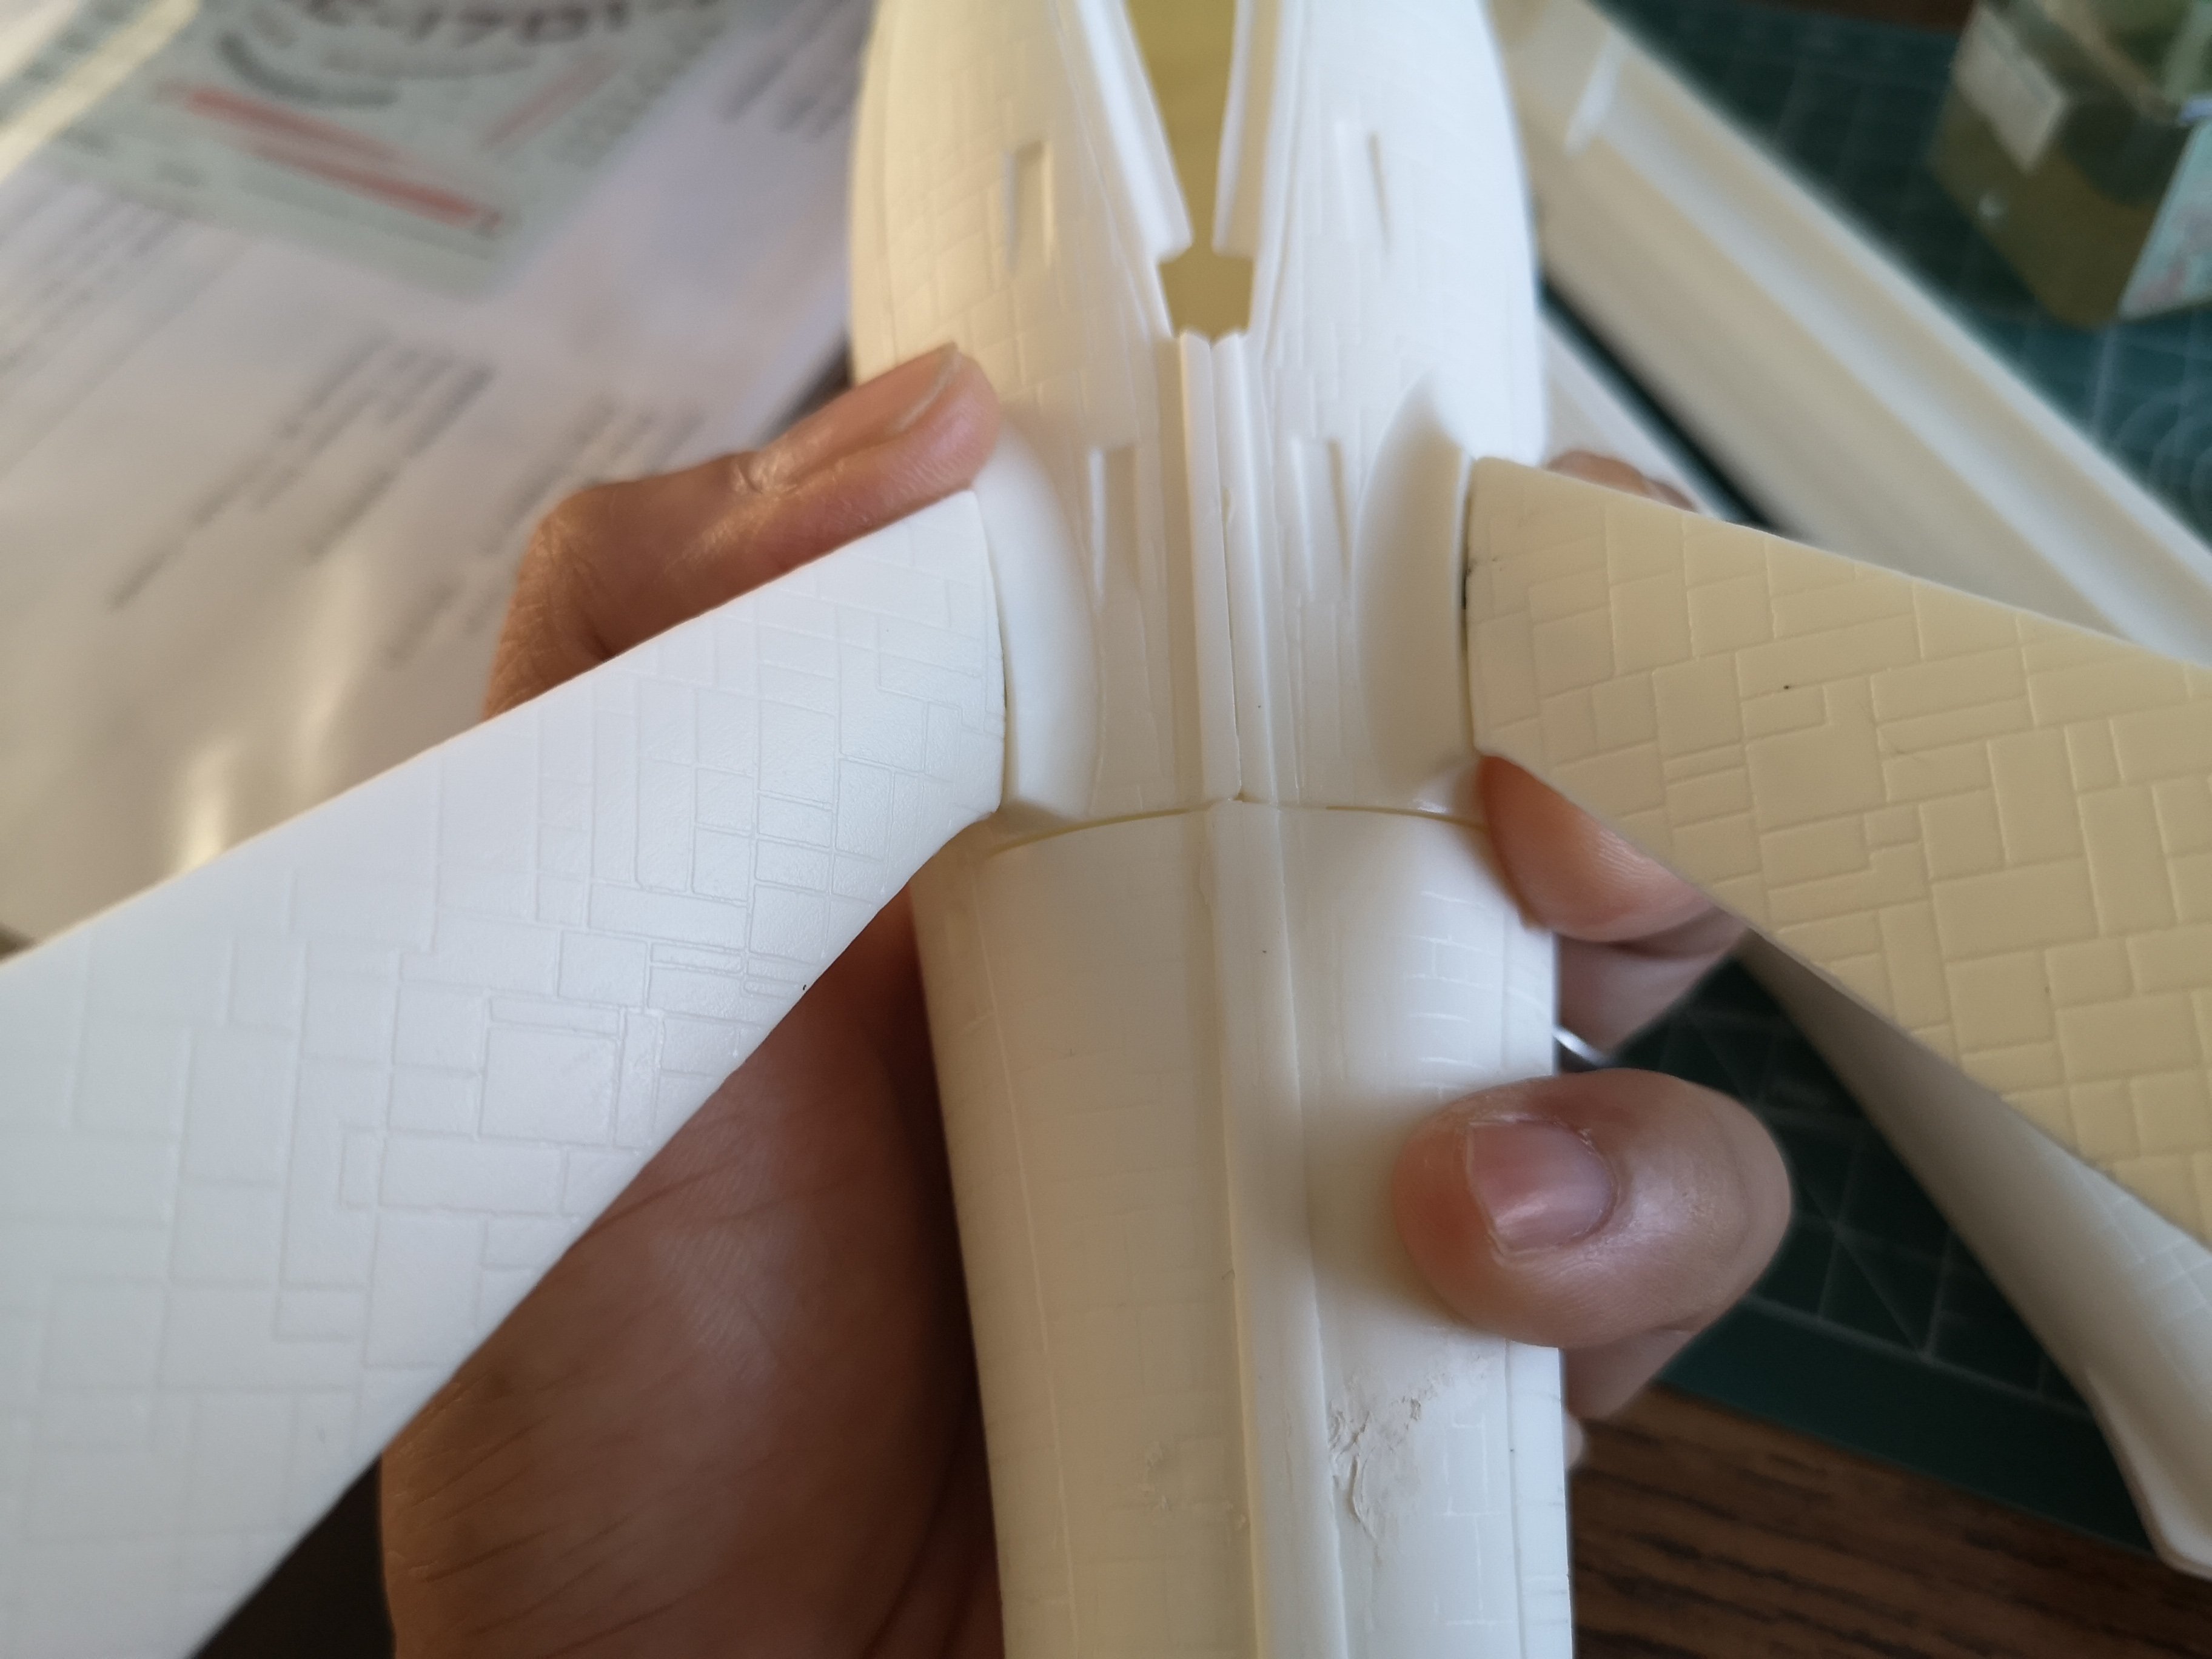
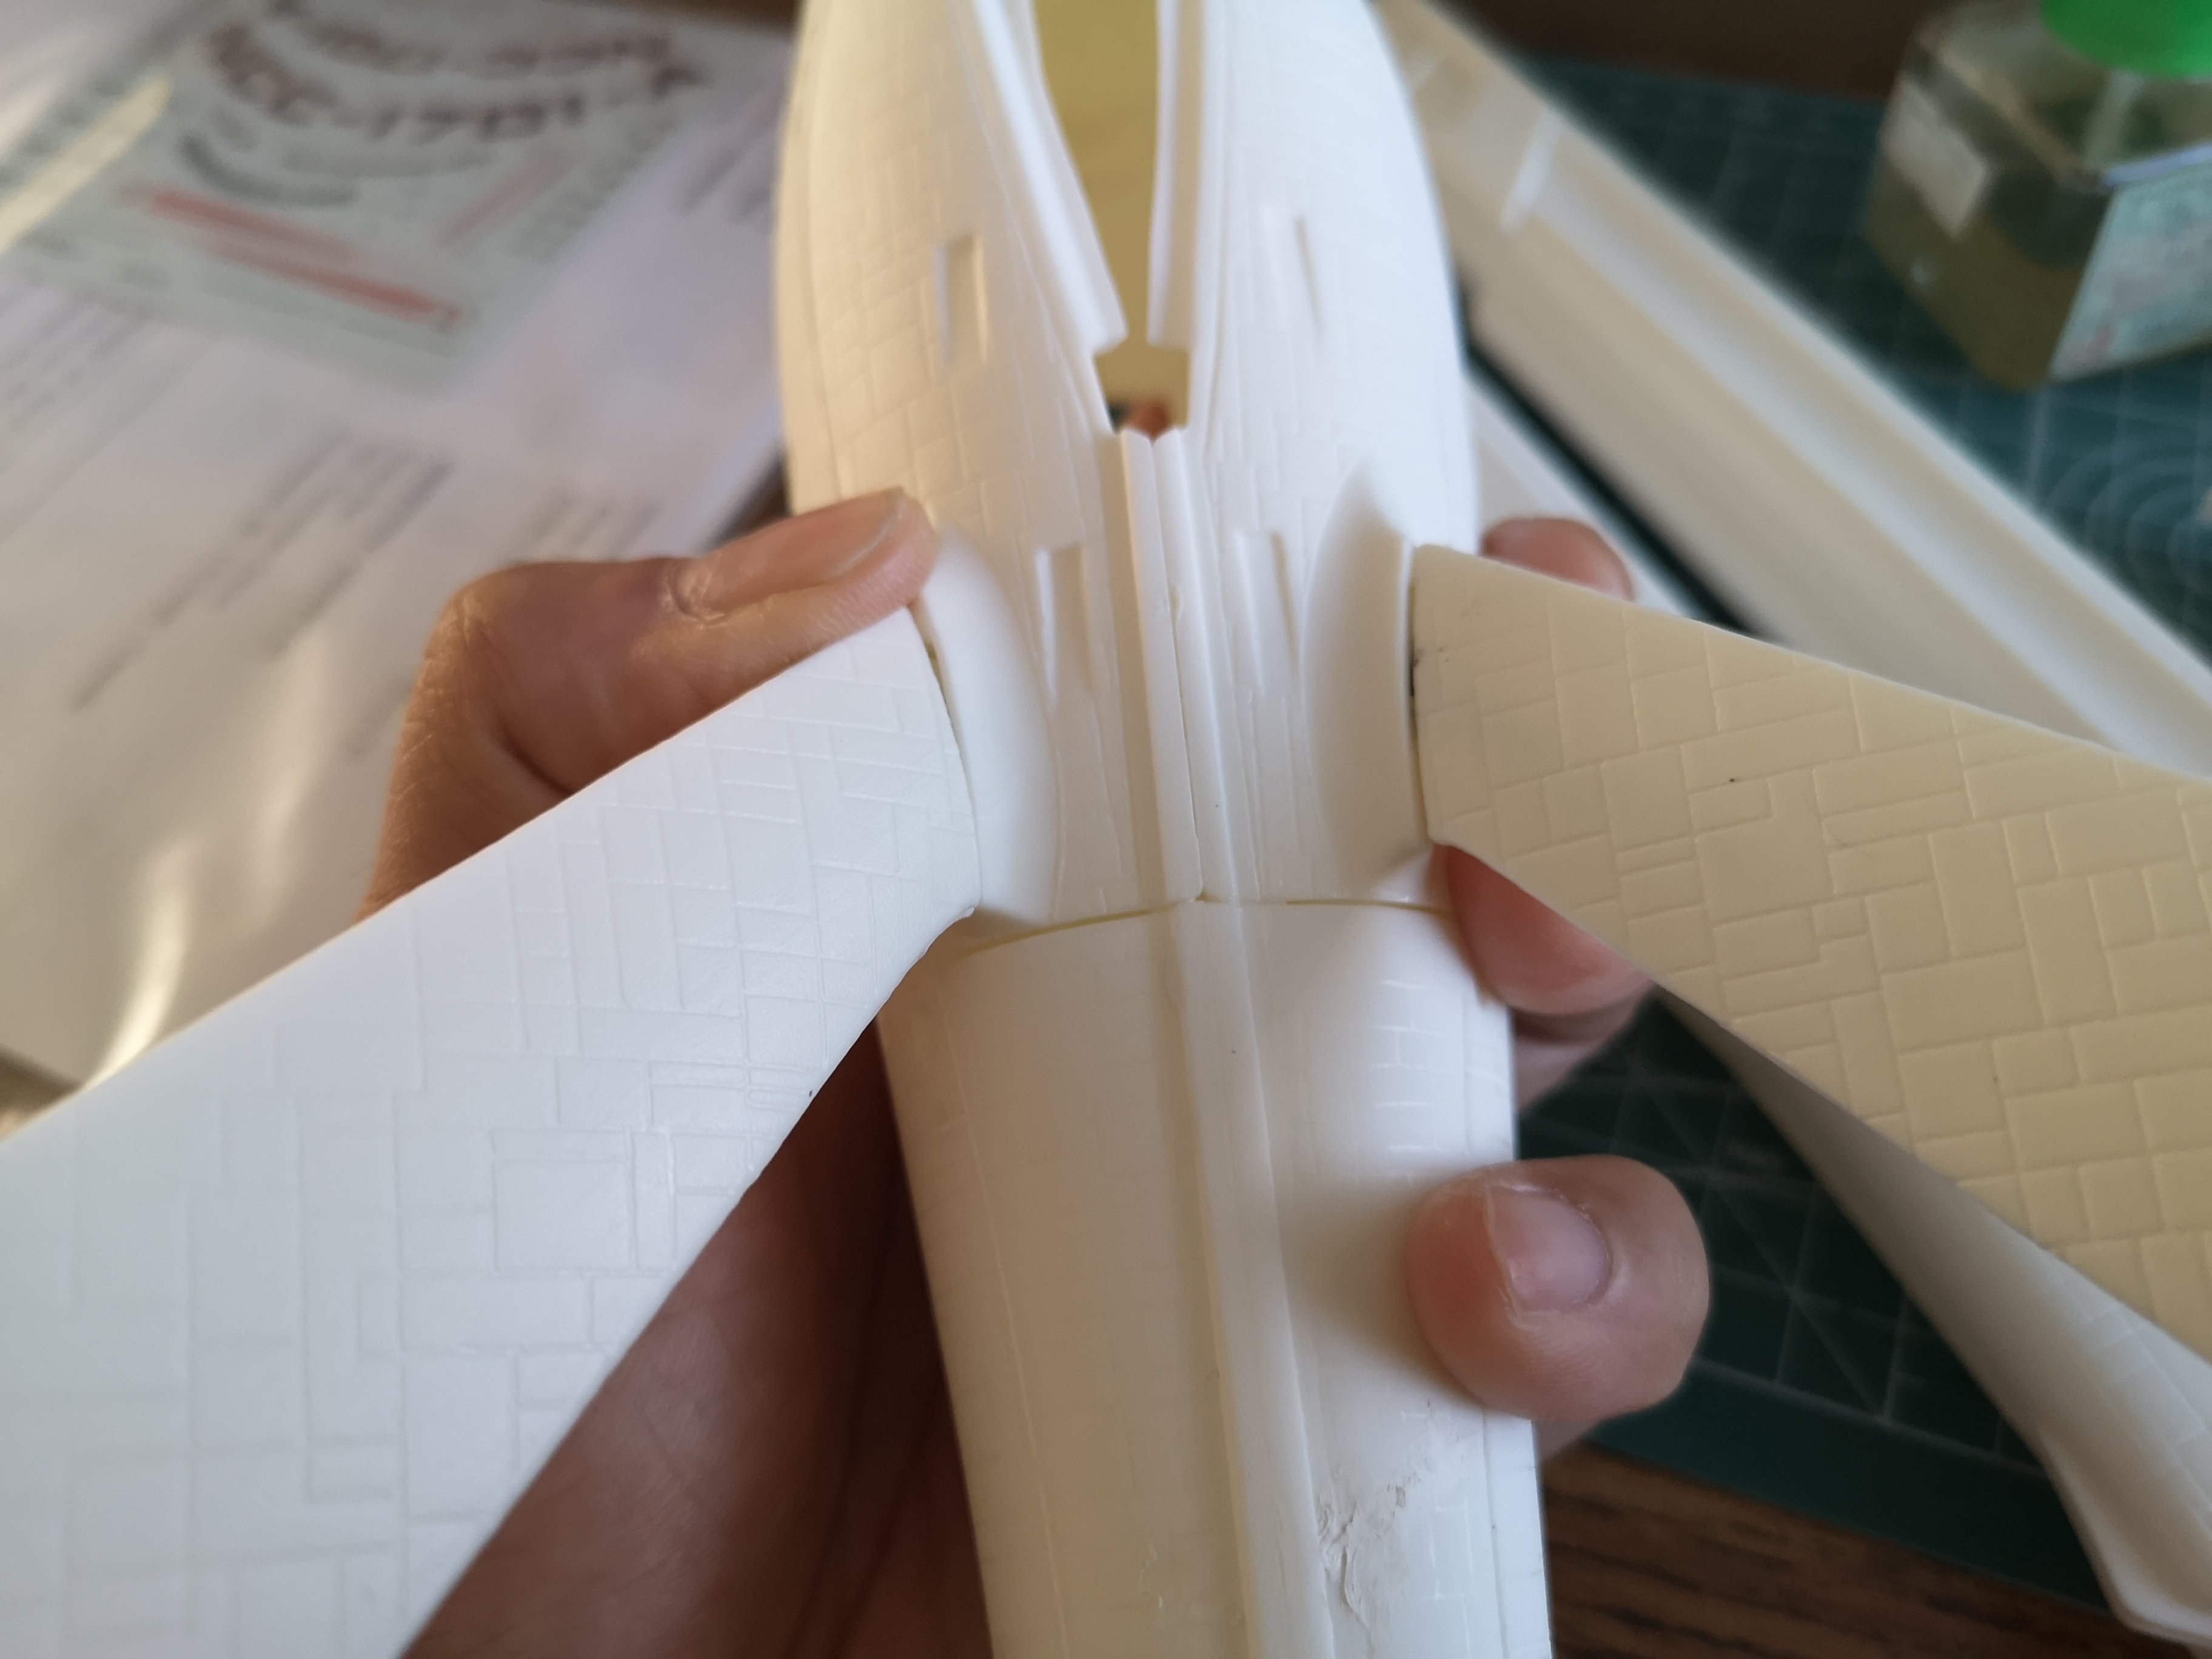
One pylon fits ok, it's stiff and almost a bit too tight. The other one looks like it was meant to be posable. It flops up and down and even rotates. If I didn't buy those fancy Aztec decals, I'd probably throw this kit in the garbage, lol! 
-
Not a lot of progress on this thing. Just not very motivated to build it like I was with my Macross kits. Lovely fit as per the rest of the kit so far. I have A LOT of sanding, filling and fitting ahead....
-
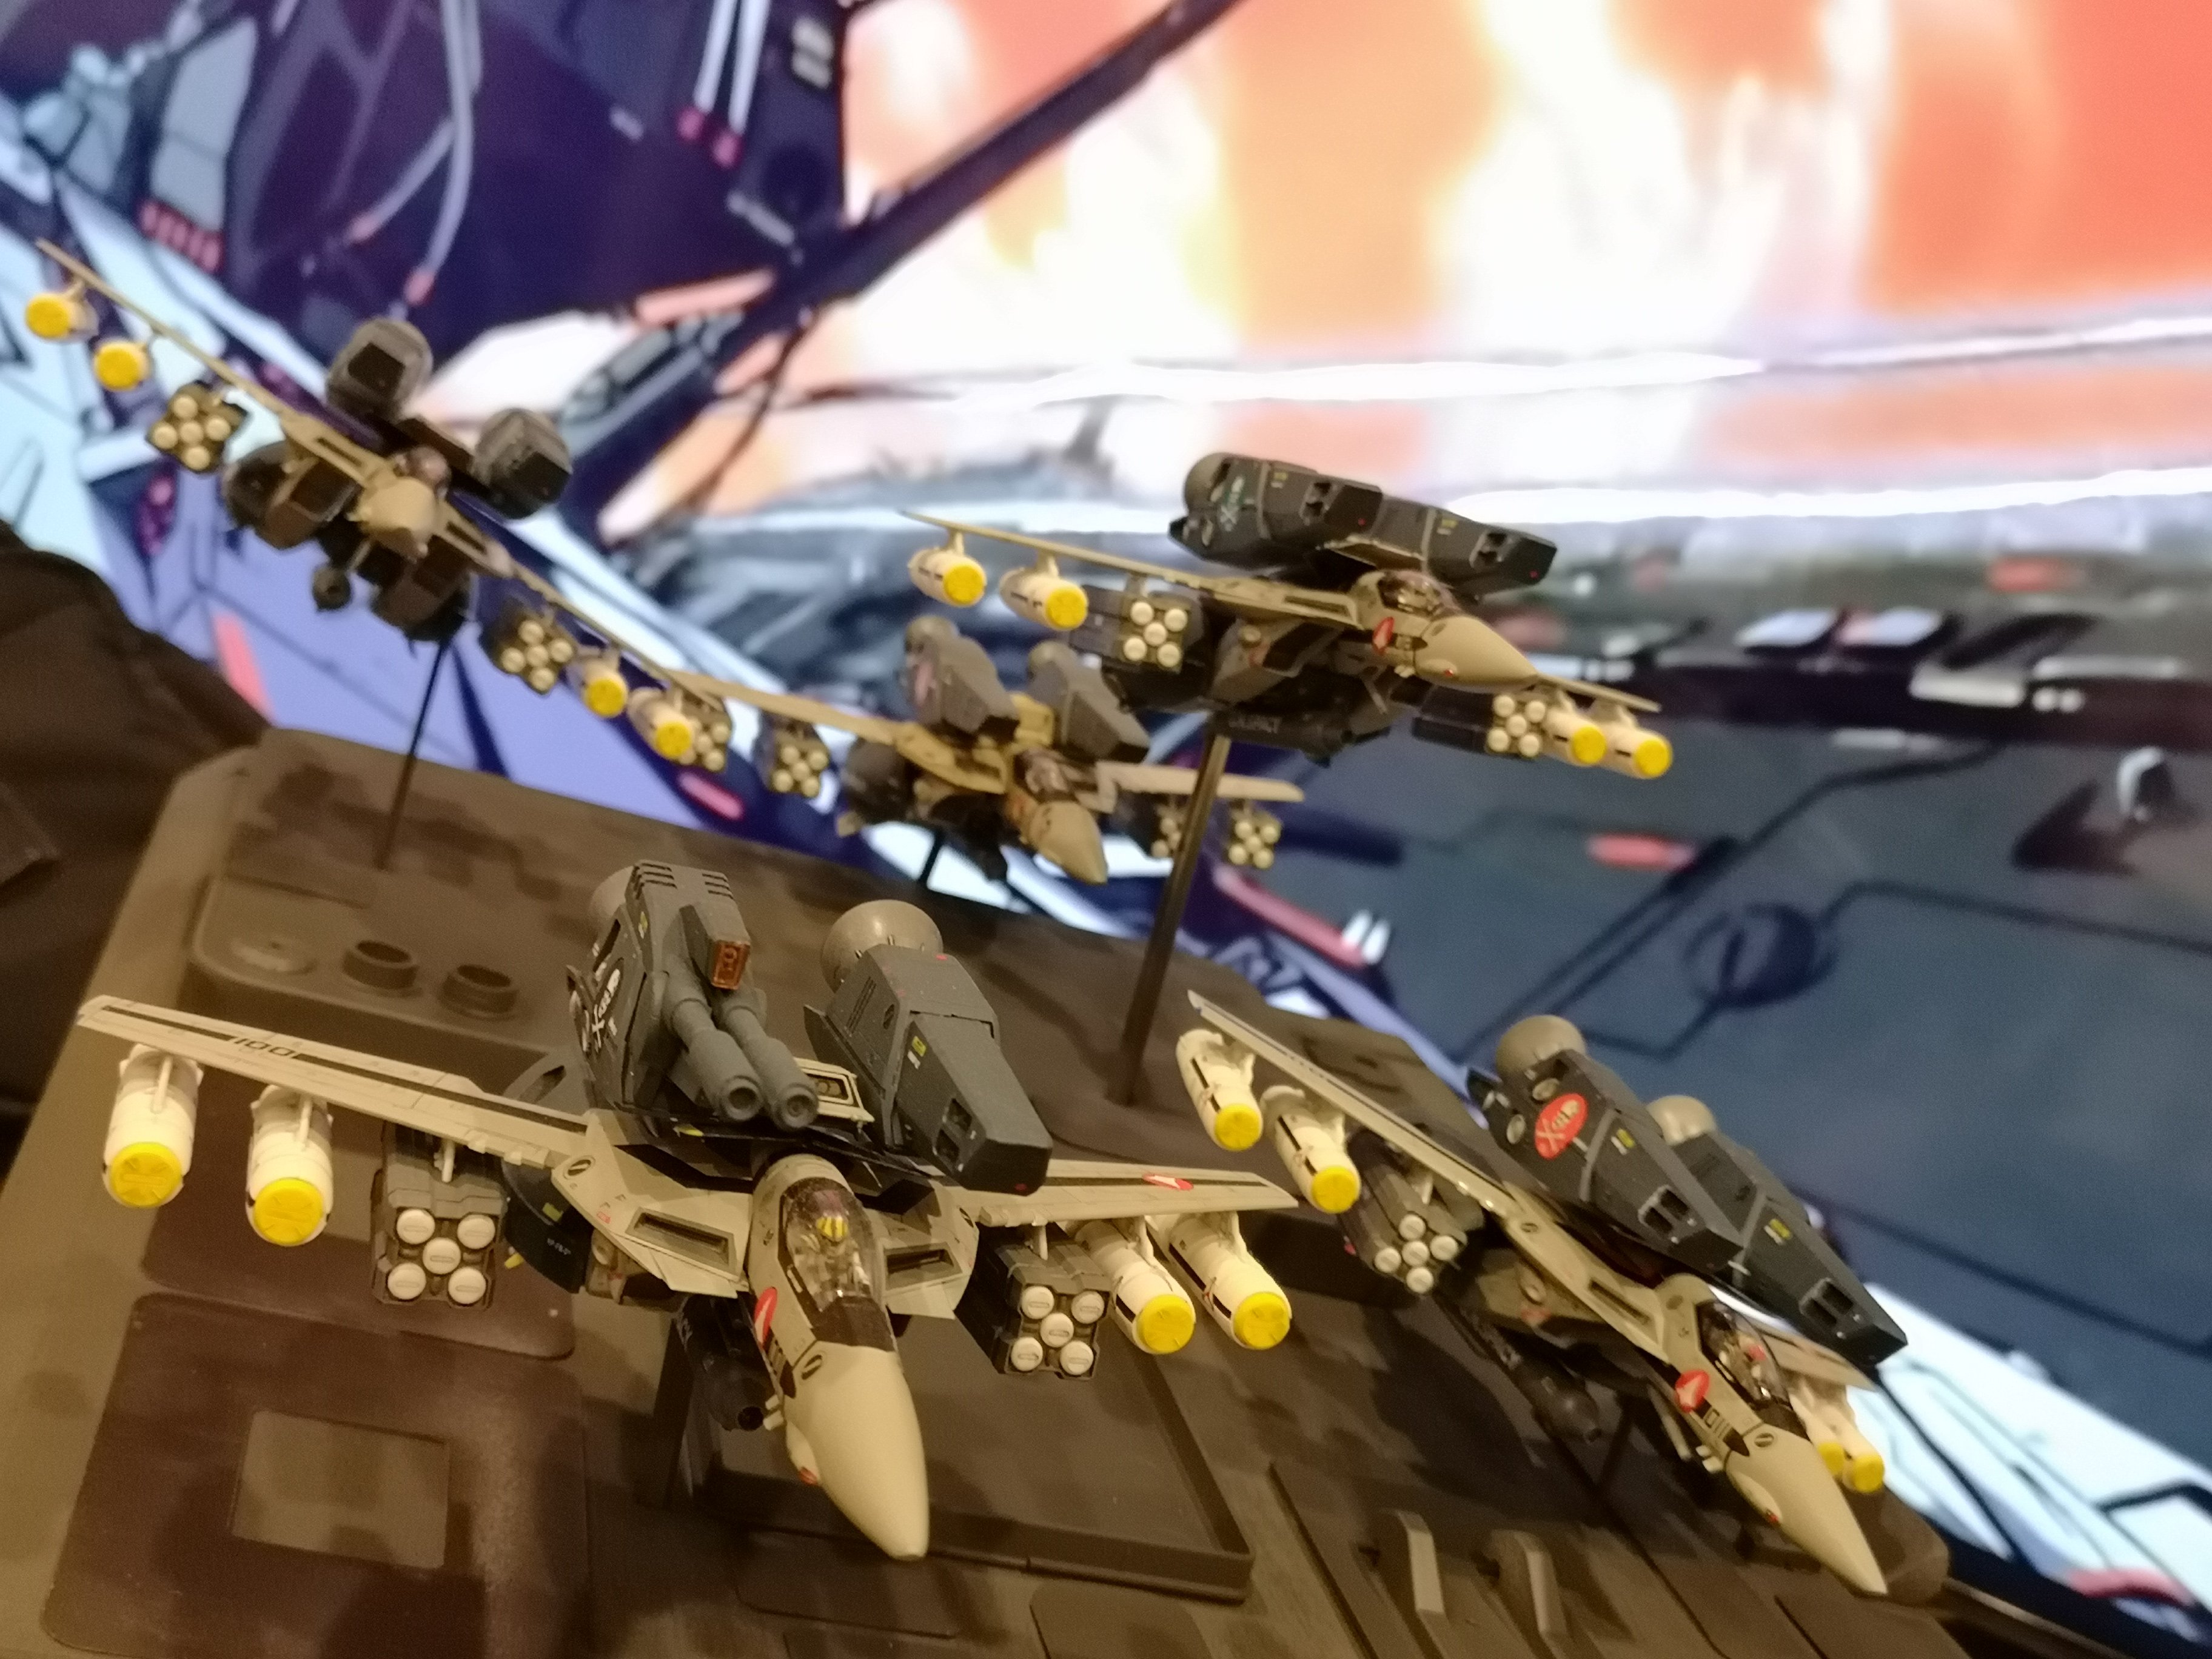
The only 1/60 I had was one of the earlier 2.0 releases and the legs were a collosal pain to lock in Battroid mode. I transformed it once, back into fighter and sold it. The 1/60 looked good and had nicer proportions compared to my Yammie 1/48, but next to my tampo'd DX (which I bought at the same time), it looked naked without the stickers applied. I applied most of the stickers to my Yammie 1/48 collection, but I would rather have the factory applied markings. Stickers peel, and if not done right, collect dust around the peeling edges. I have a few gripes about the DX, it's not perfect, but most have already been covered. The missing skull squadron on the Hikki really irks me, lol!
-
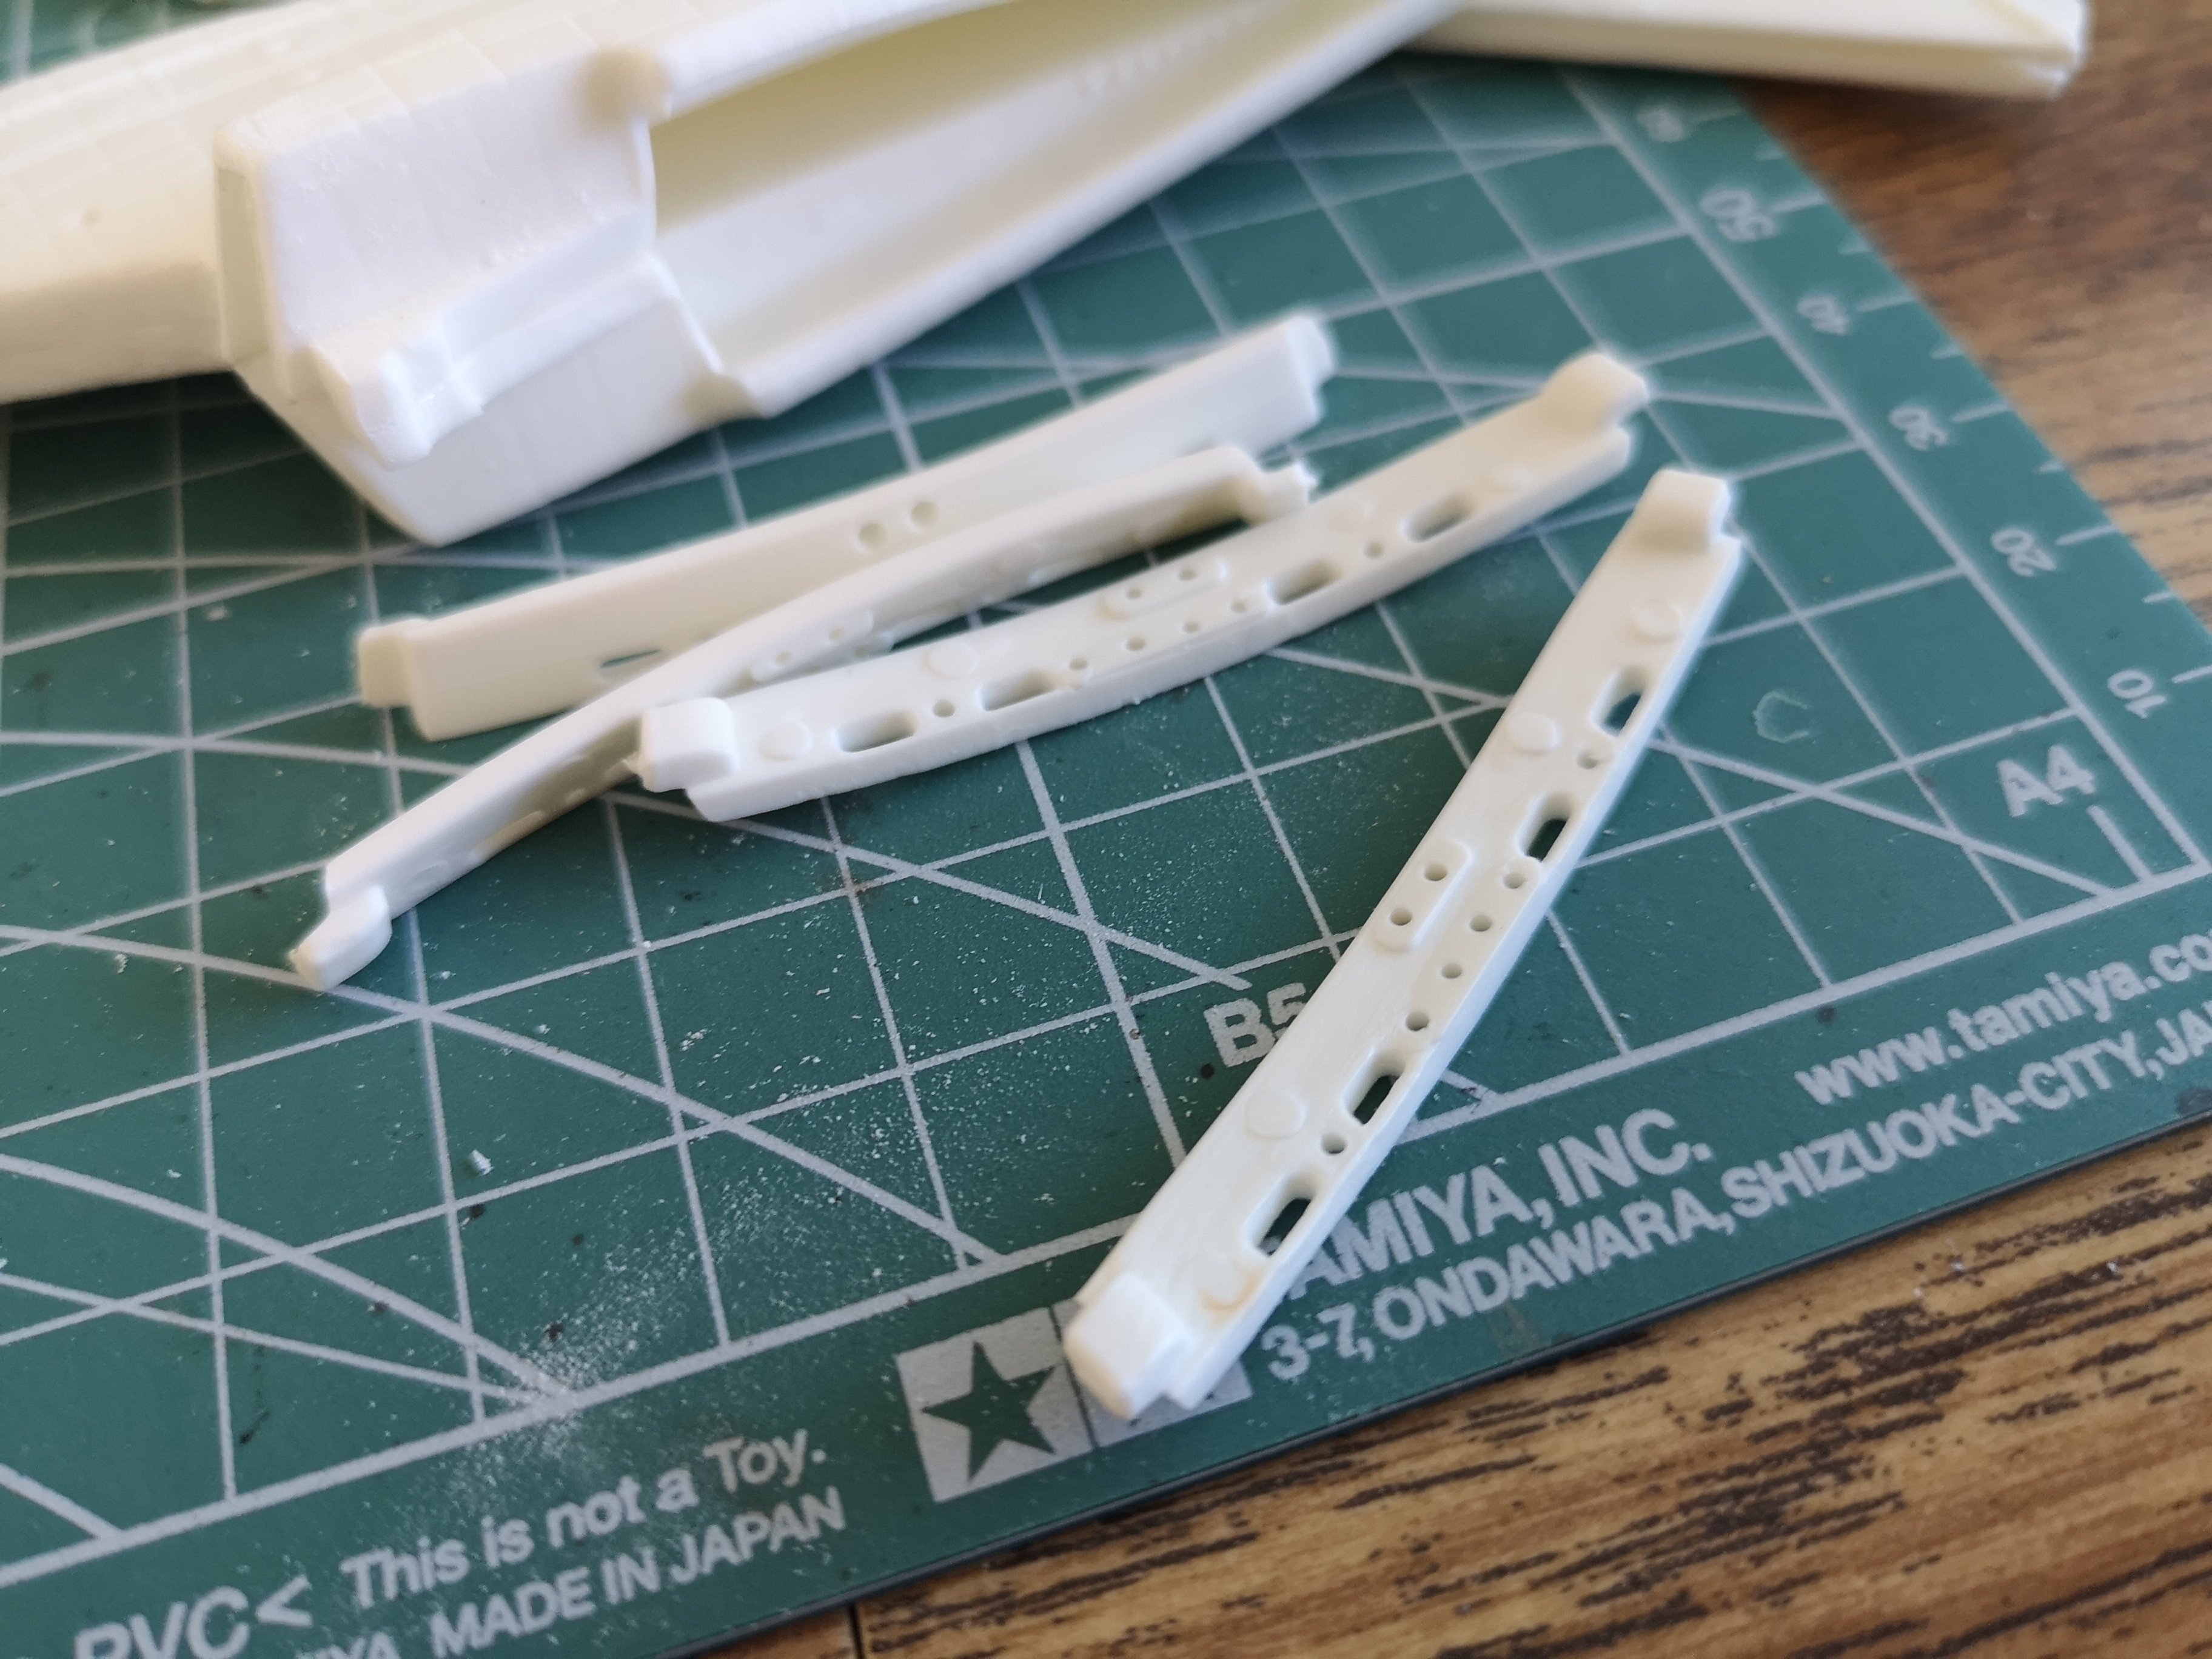
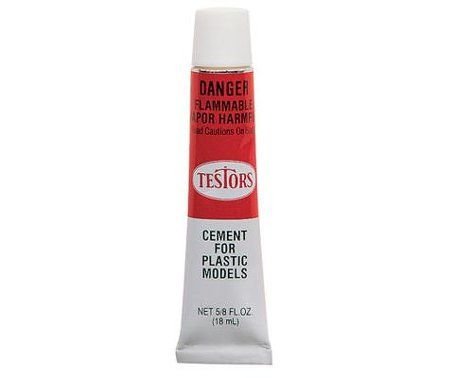
Lovely fit right out of the box: Sarcasm. Some of these fit certain parts of the saucer better than others. Most require fitting though Beforr After. Will still require filling once fitted. Grade 8 me used a thicker, more viscous cement, so I think my method back then was goop on the glue and use the glue itself as a jig to hold the part in place. Anybody here remember this stuff? All my Macross kits were mashed together with this stuff.
-
Oh wow, it looks like you are actually correcting the errors. I'm not going to bother accuratizing mine, lol! That's a can of worms I don't think I want to open.
-
Found the remains of my highschool build: I'm hoping the new one will turn out a bit better than this, hahHa!
-
Ohhhhh.....I couldn't find the price on those QMX ones.....scared to ask.
-
Jeez, I thought the 1/48 would be better for the doors. I mangled all my 1/72 doors. That's why I try not to show picture of the doors, lol!
-
Oh goody, I thought I was the only one who thought the 1/537 was a disaster and I was starting to sound whiny. The goal I keep telling myself is, just make it look better than I did in grade 8. Let's see, hahahaha!! Might end up worse.
-
I think this post sums up this kit: https://www.therpf.com/forums/threads/a-better-way-to-build-the-1-537-amt-1701-refit.304033/post-4649007
-
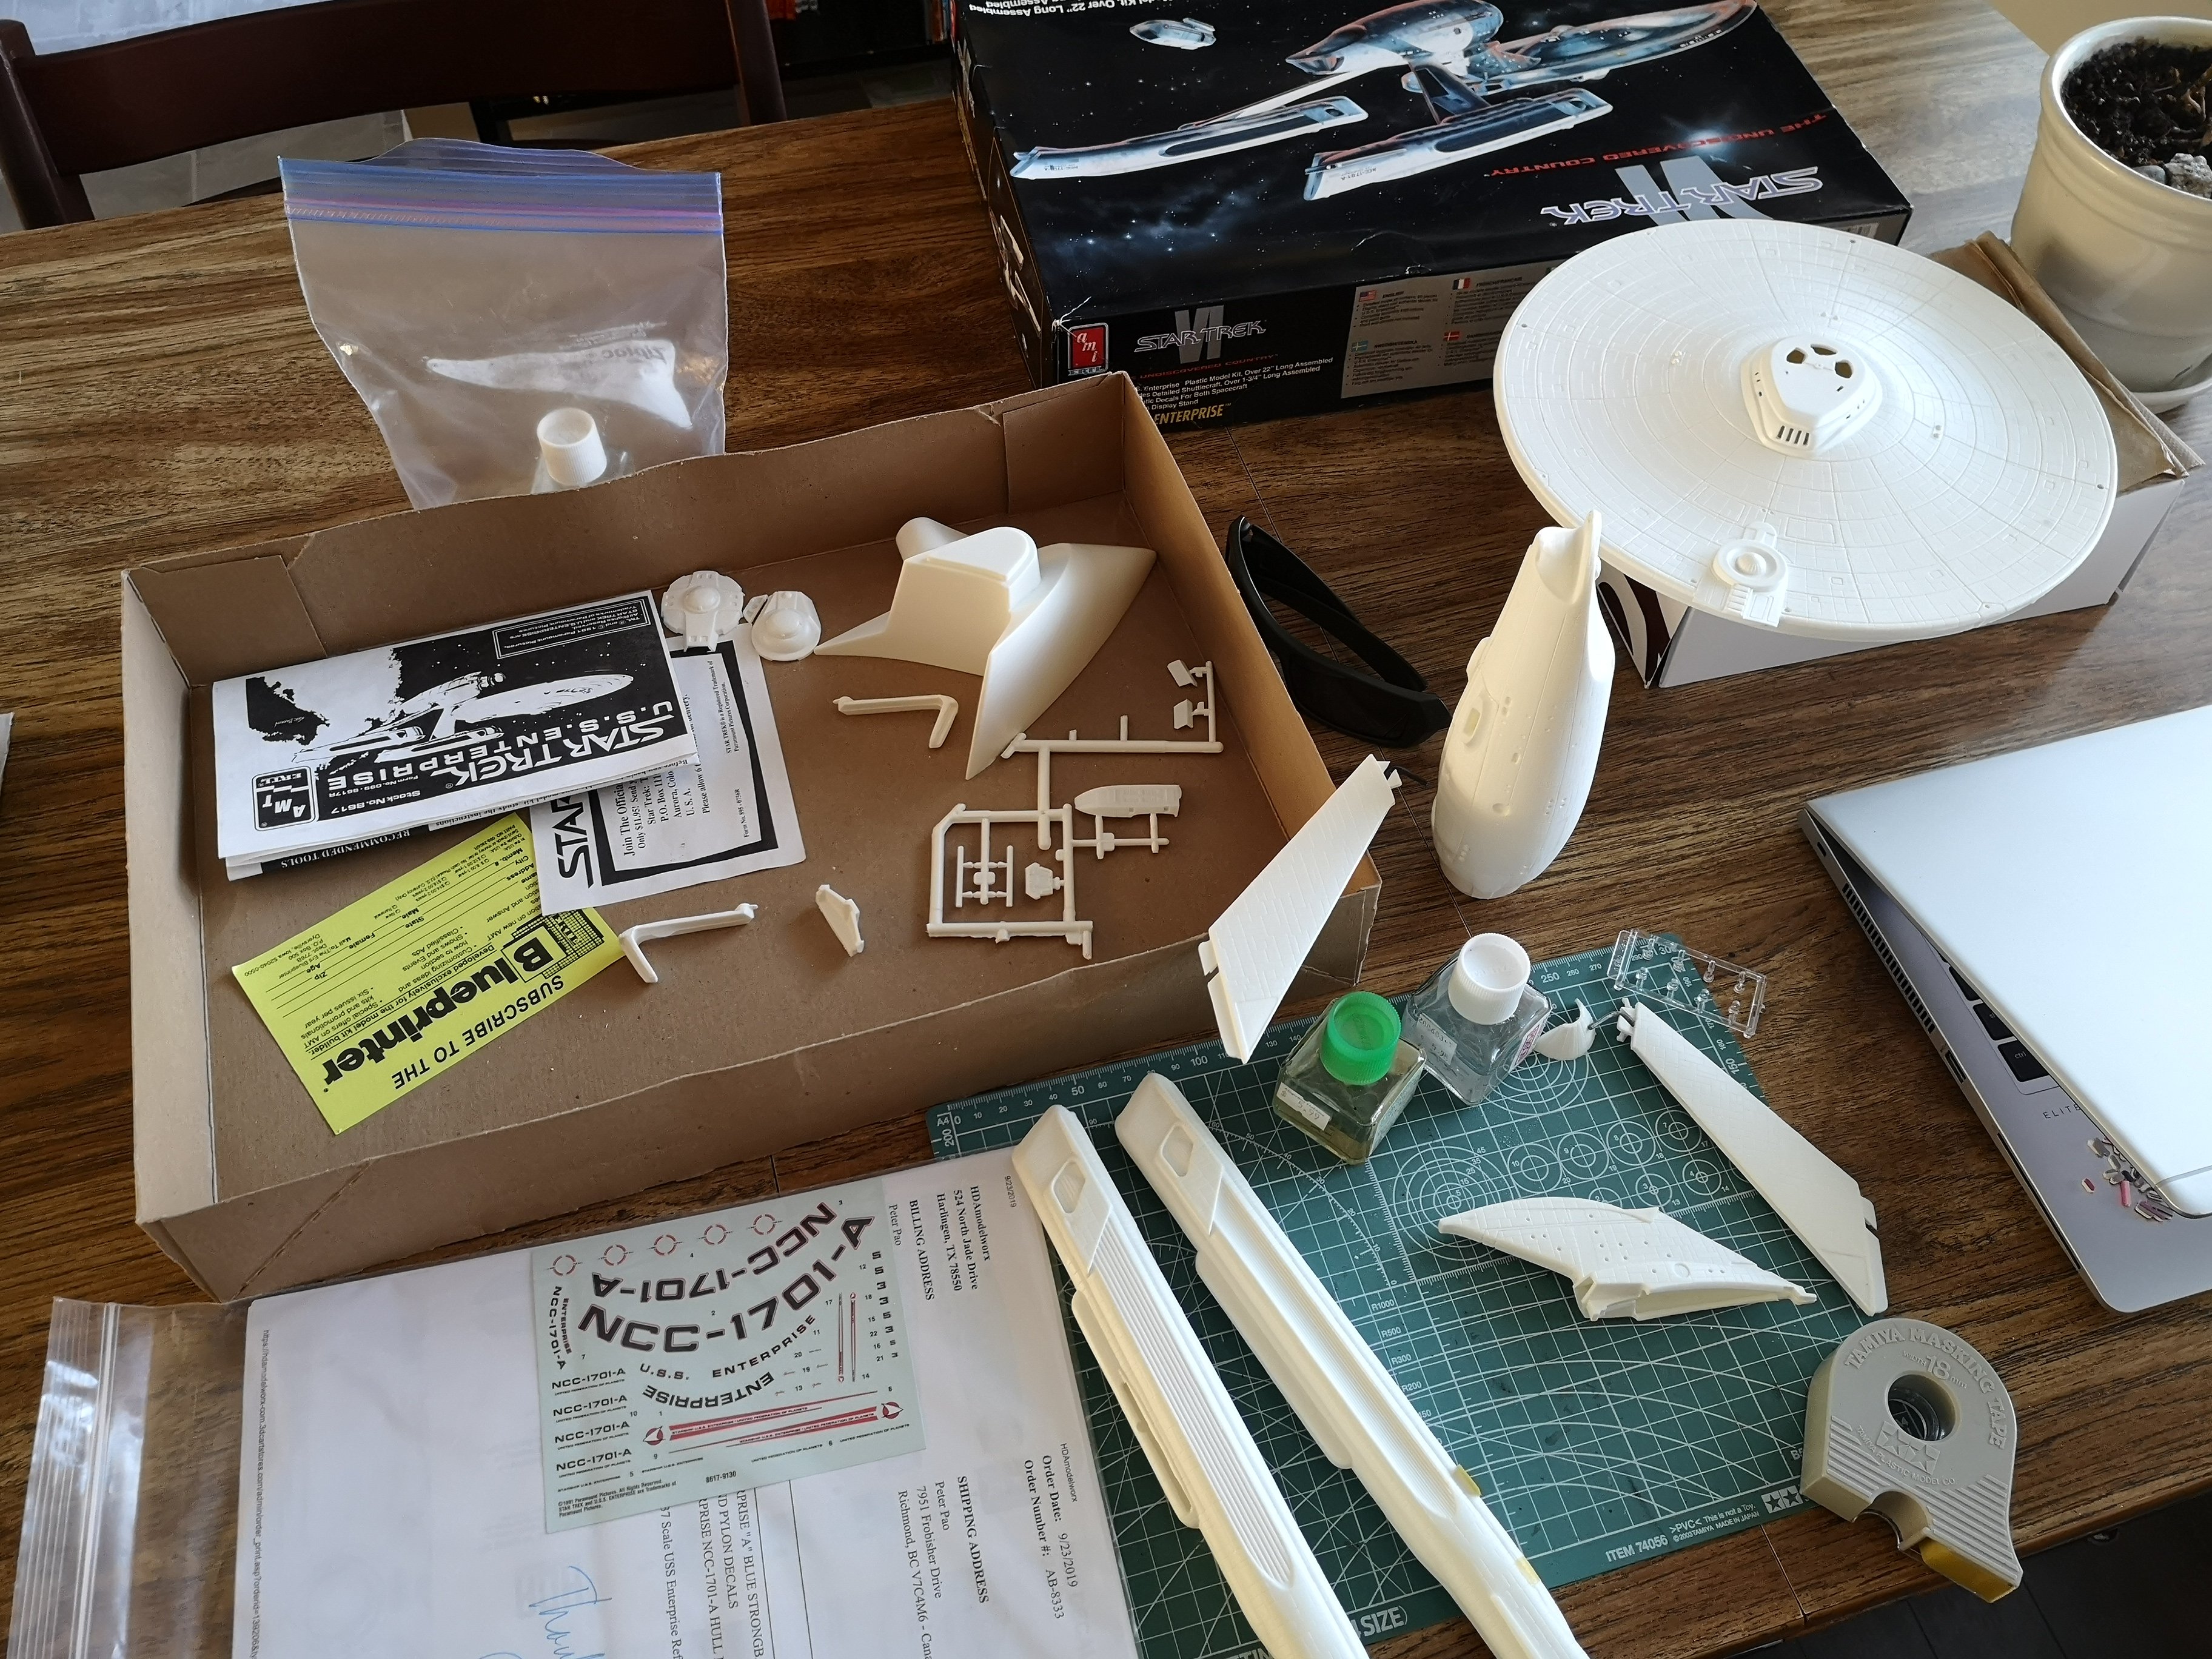
I bought this Bandai kit for my brother 20 years ago for ¥6000, the details were amazing.....sort of falling apart now as he didn't use glue or anything, but I planed to get my 1/537 to look like this. Figured the Bandai was a smaller kit, so it would be easier with the 1/537 since it's bigger. Wrong. I should never have set the standard so high, lol! Sanding/puttying the extra grid lines should be fun. I wonder if I should hose the thing down with Mr. Surface or Tamiya Surface Primer first just to see what I'm dealing with. This might be the first model I ever used primer, lol! With my history of sanding experience, I usually lose the details or panel lines I want to keep because I'm a bit sloppy when it comes to sanding. I'm horrible at scribing too, but I decided to scribe the lines I wanted to keep. I tried scribing from a blank once and ended up with a jagged zig-zag that looked more like battle damage than a panel line. Anyway, we'll see what happens with this thing. I feel like I've embarked on a 5 year mission to finish this thing, but I doubt I'll have the patience to build it past a week, hahahaha!
-
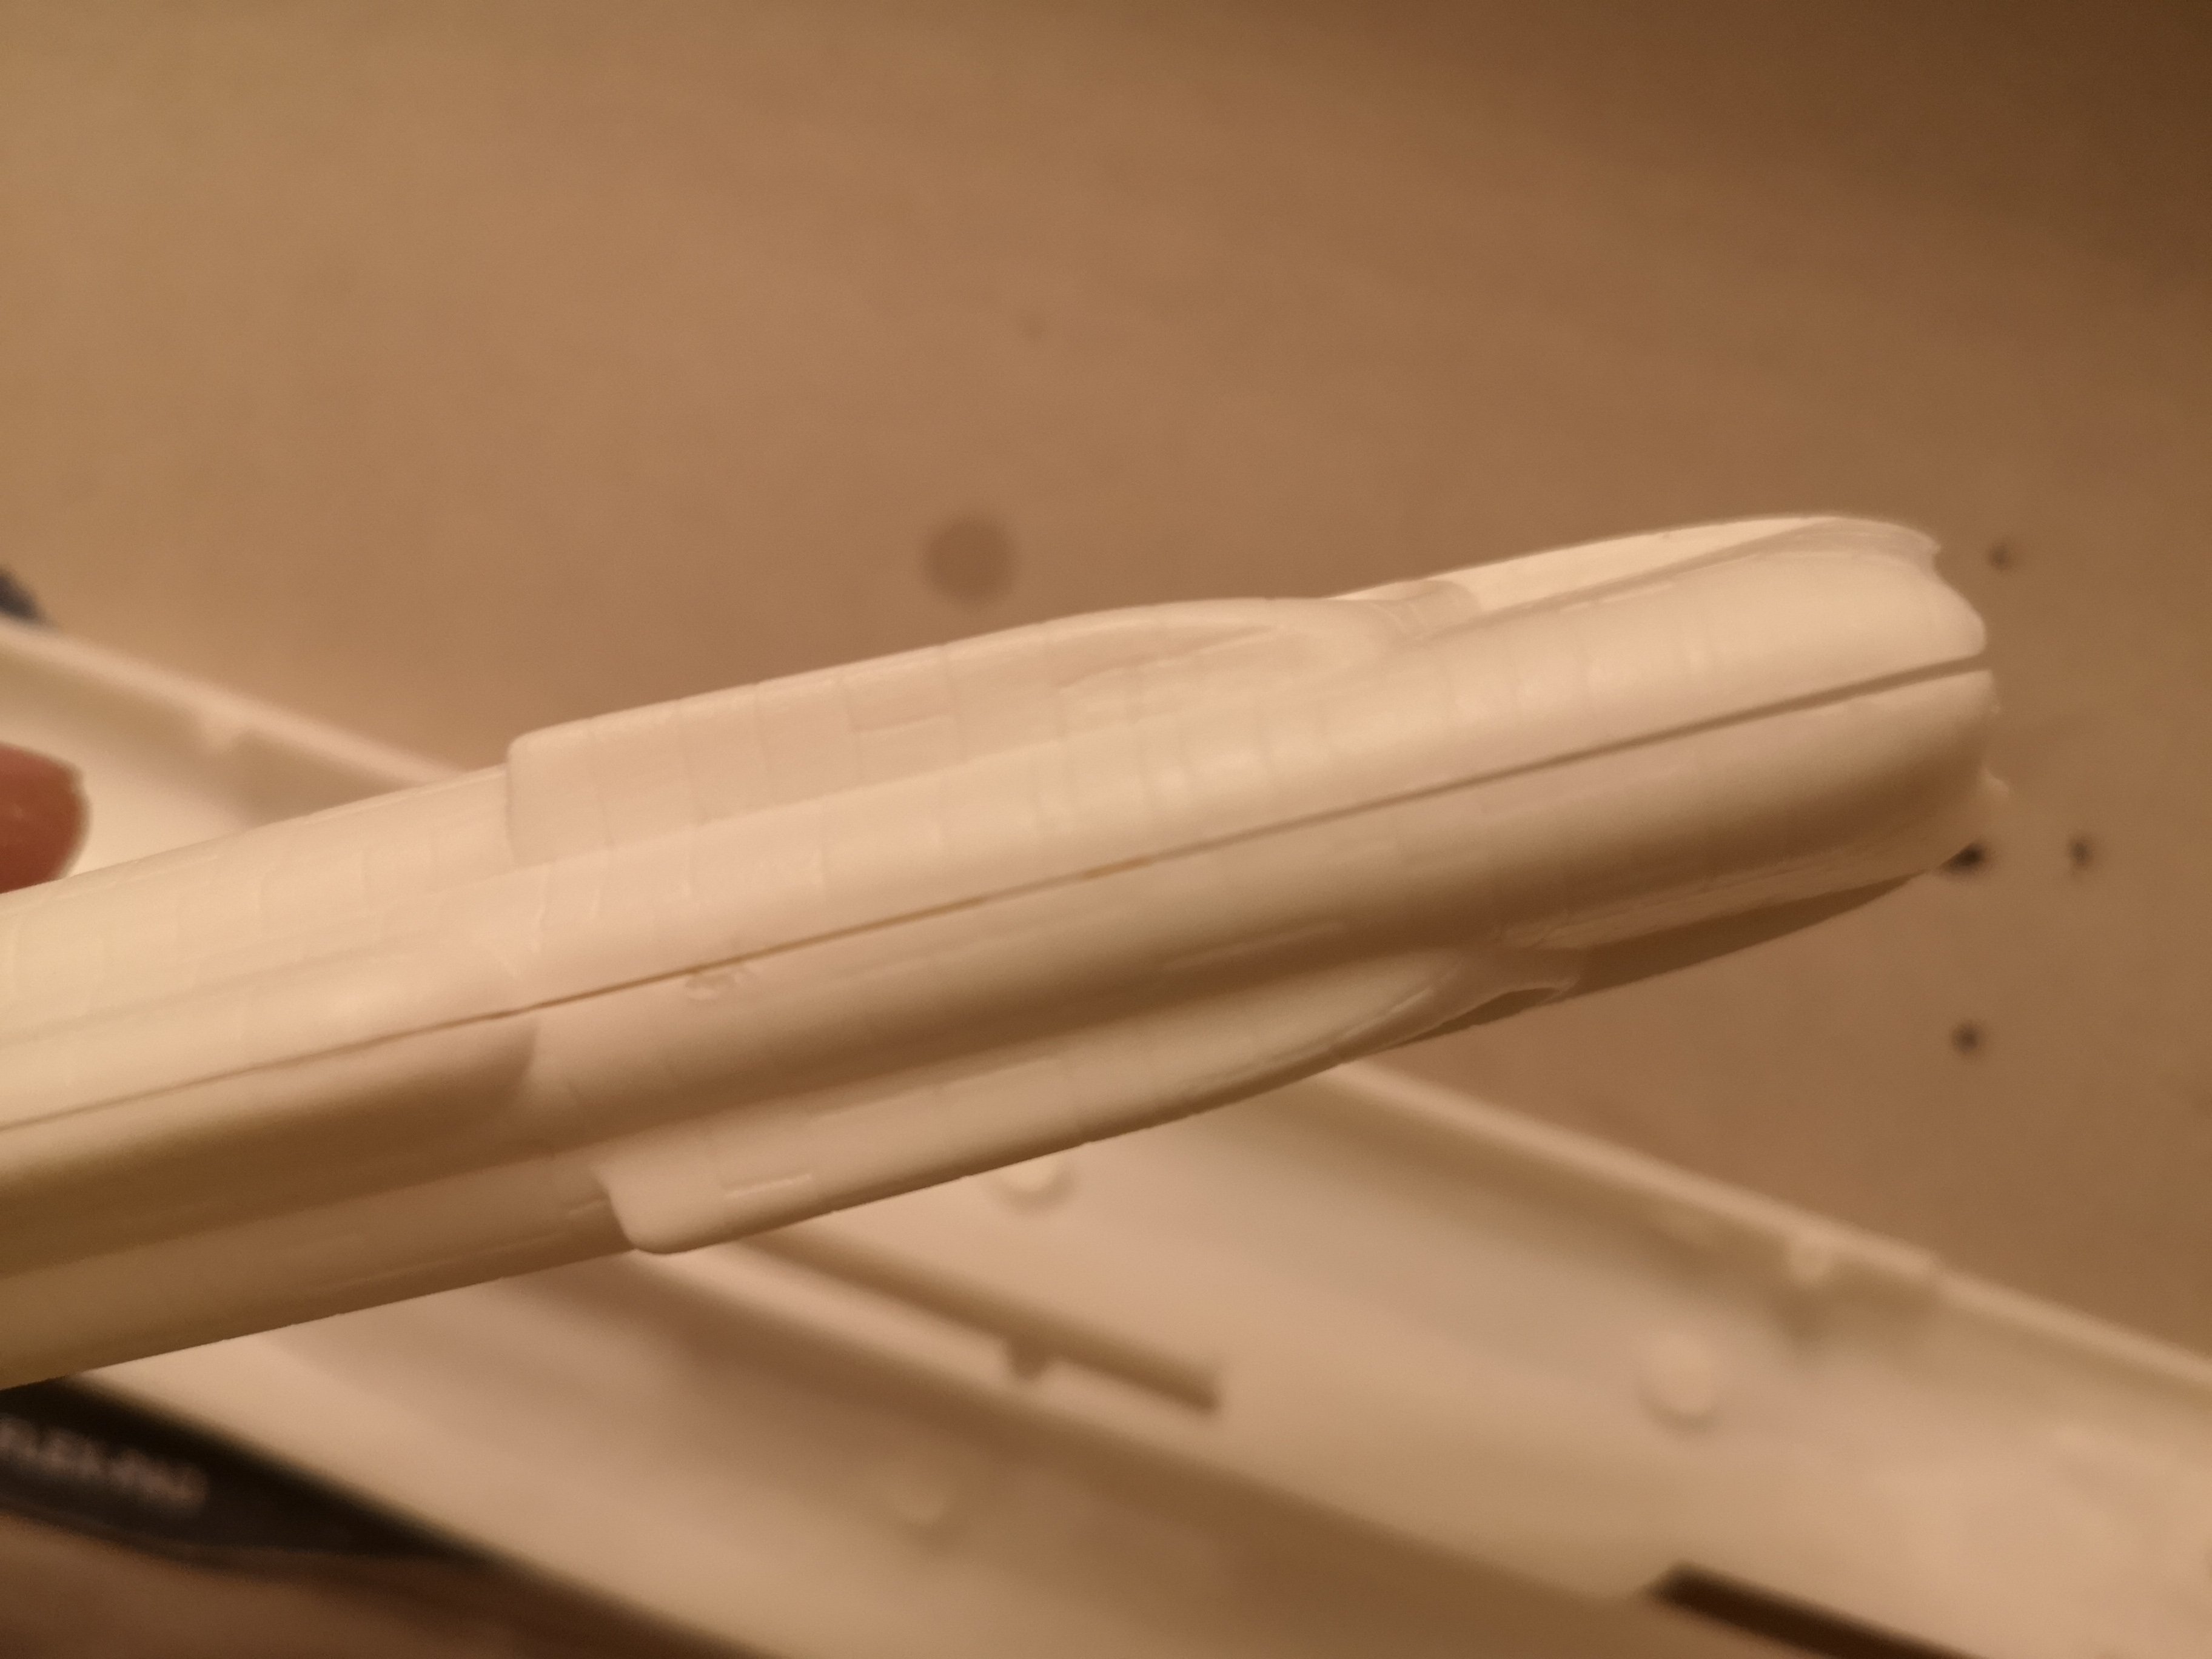
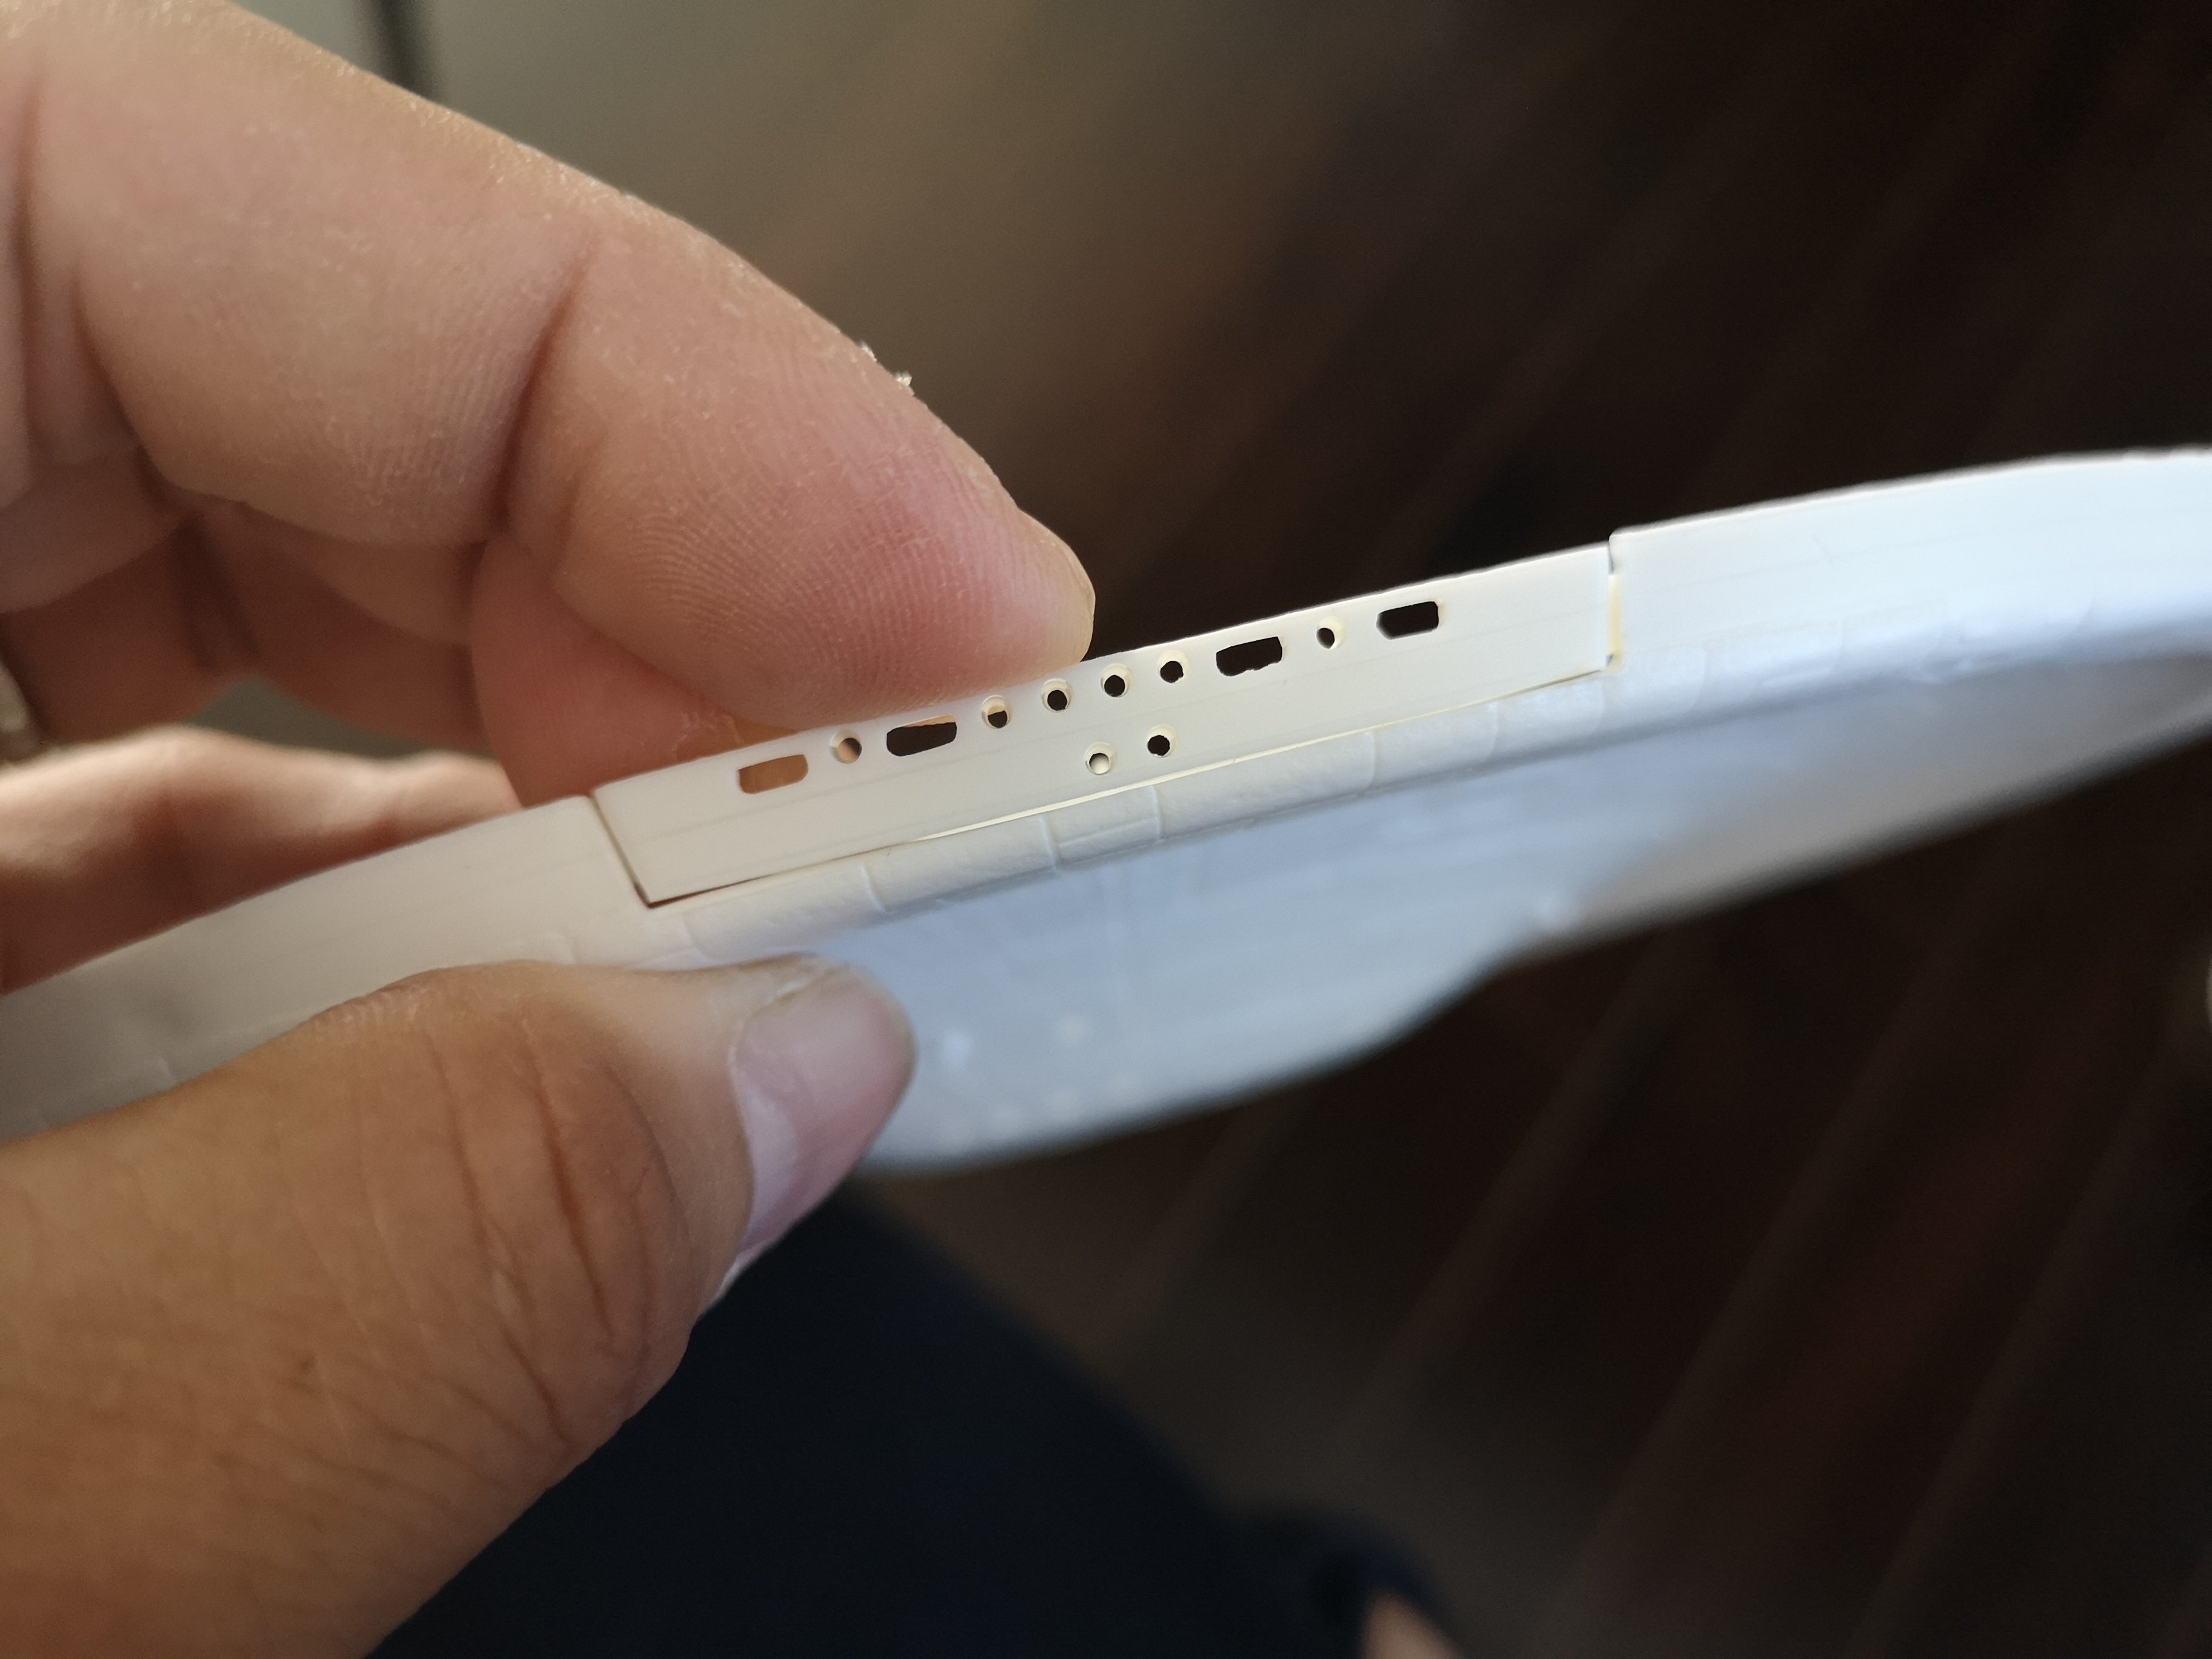
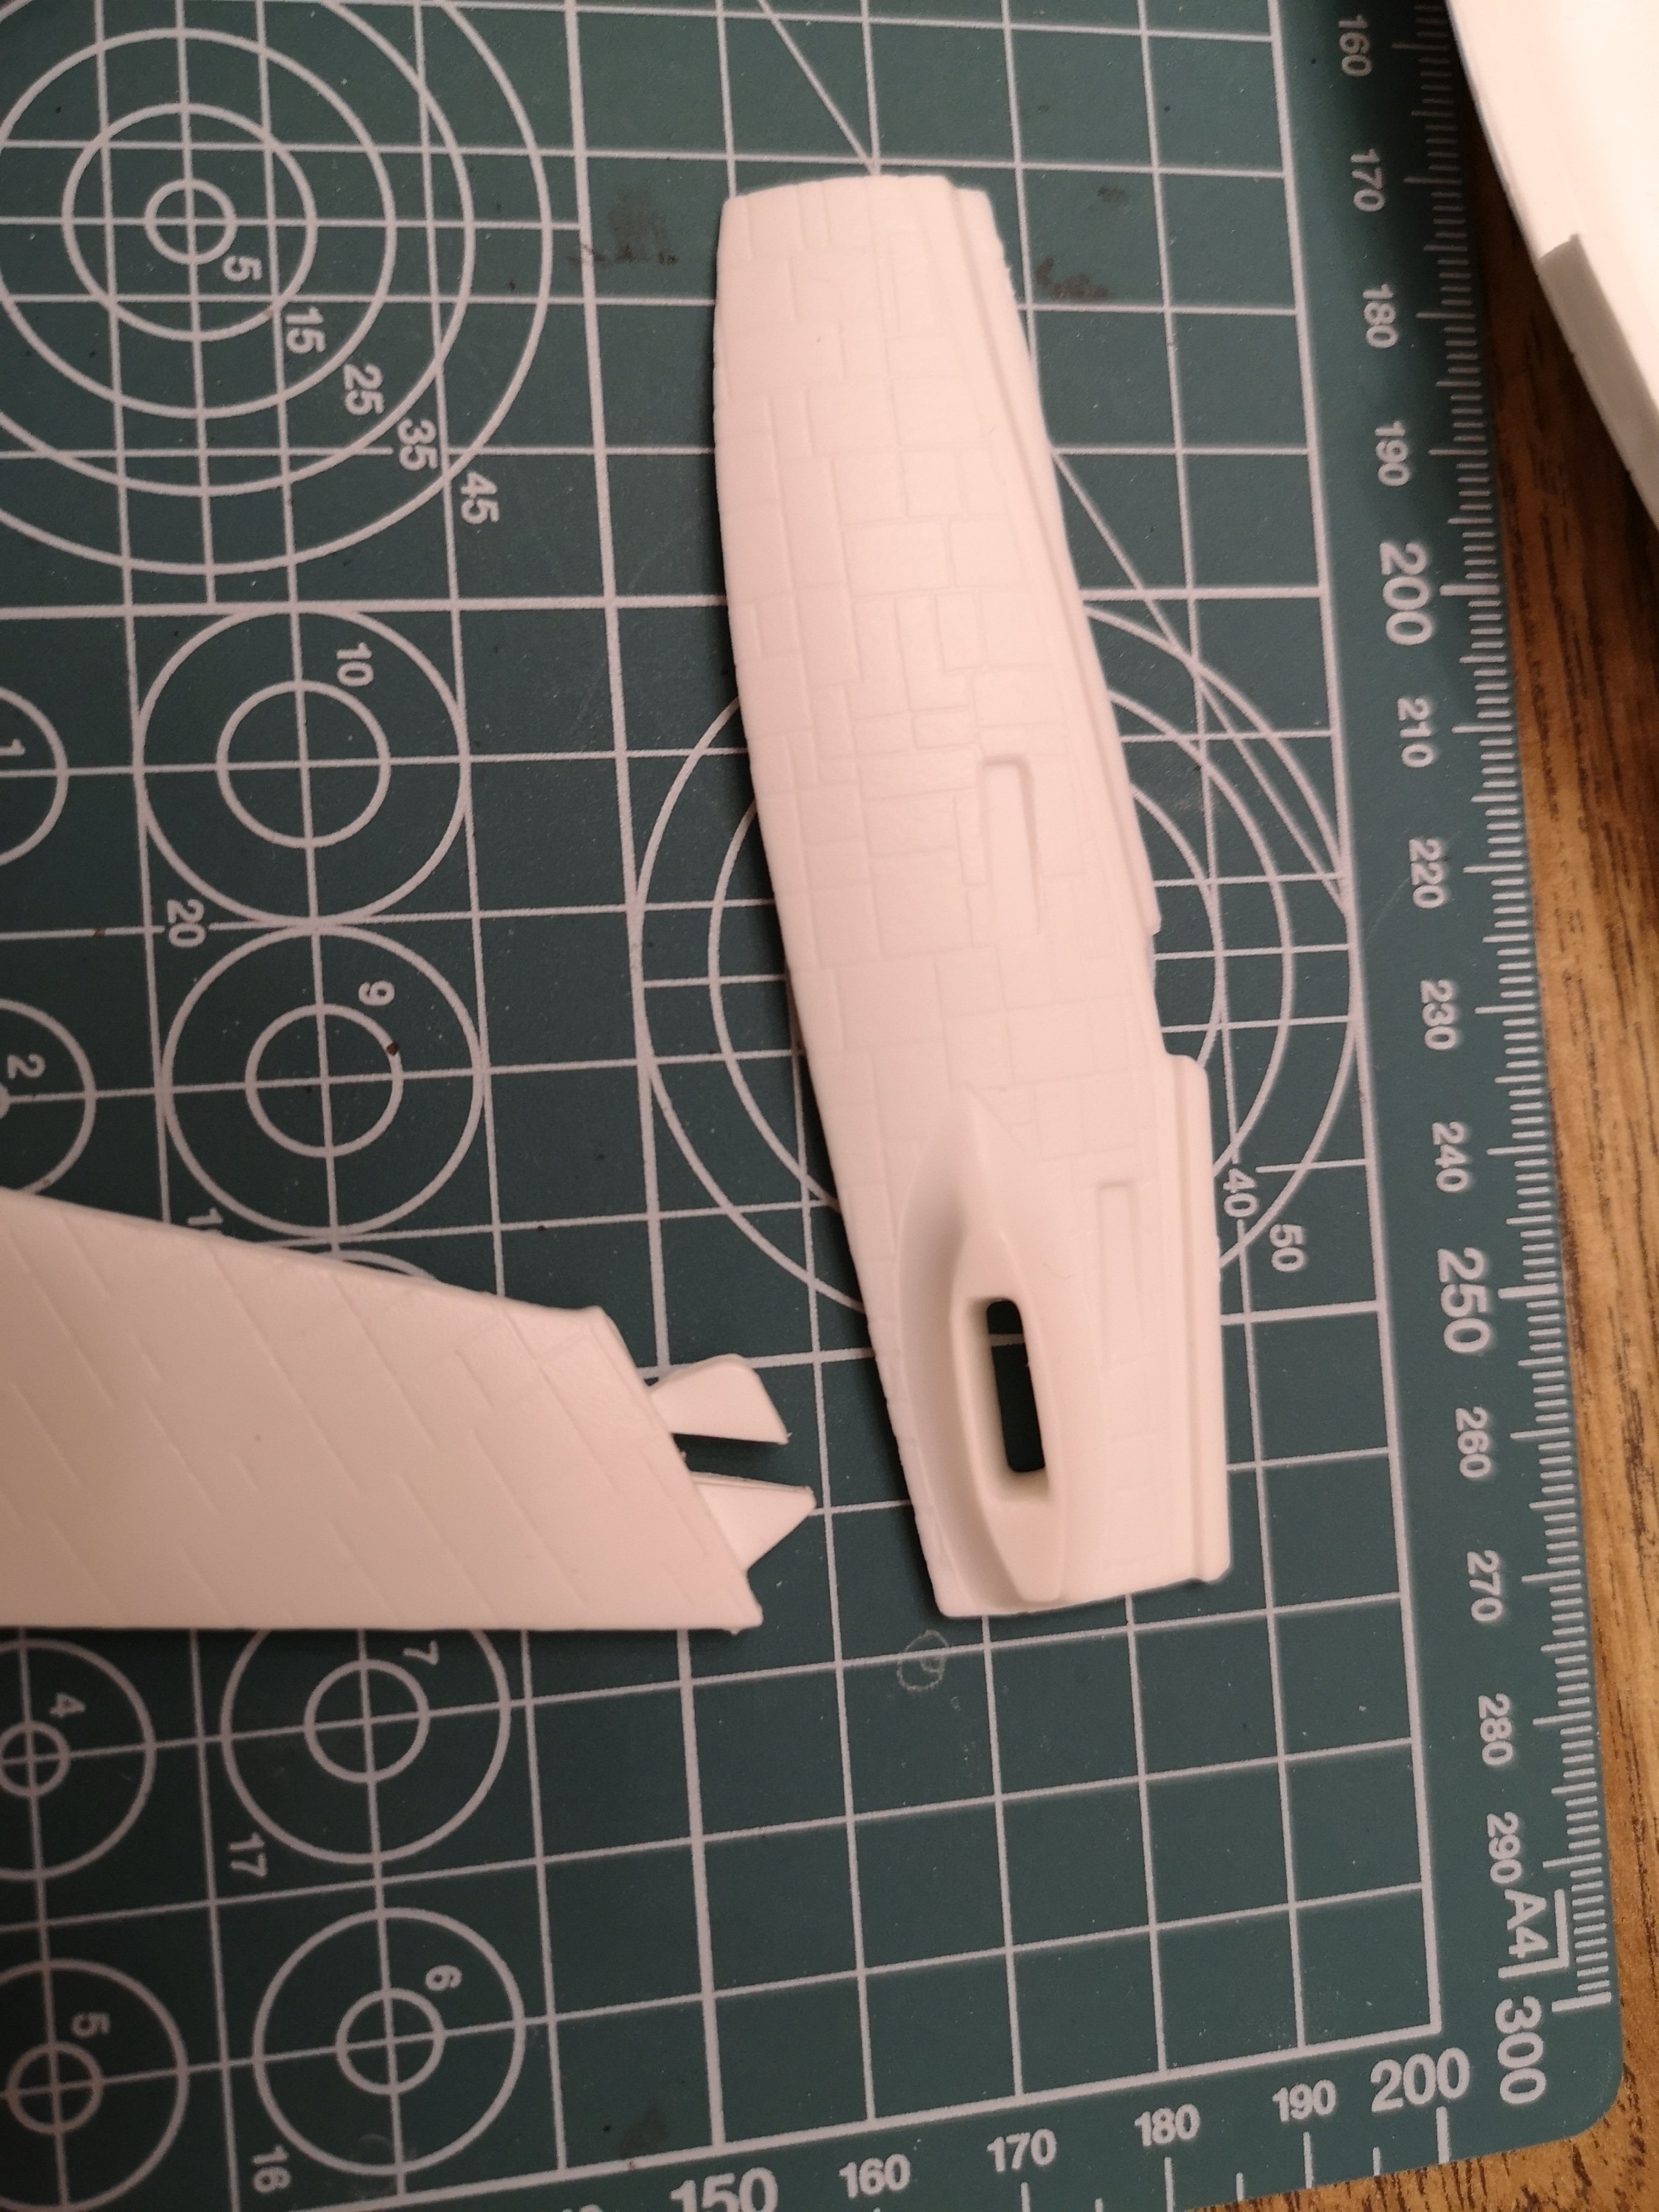
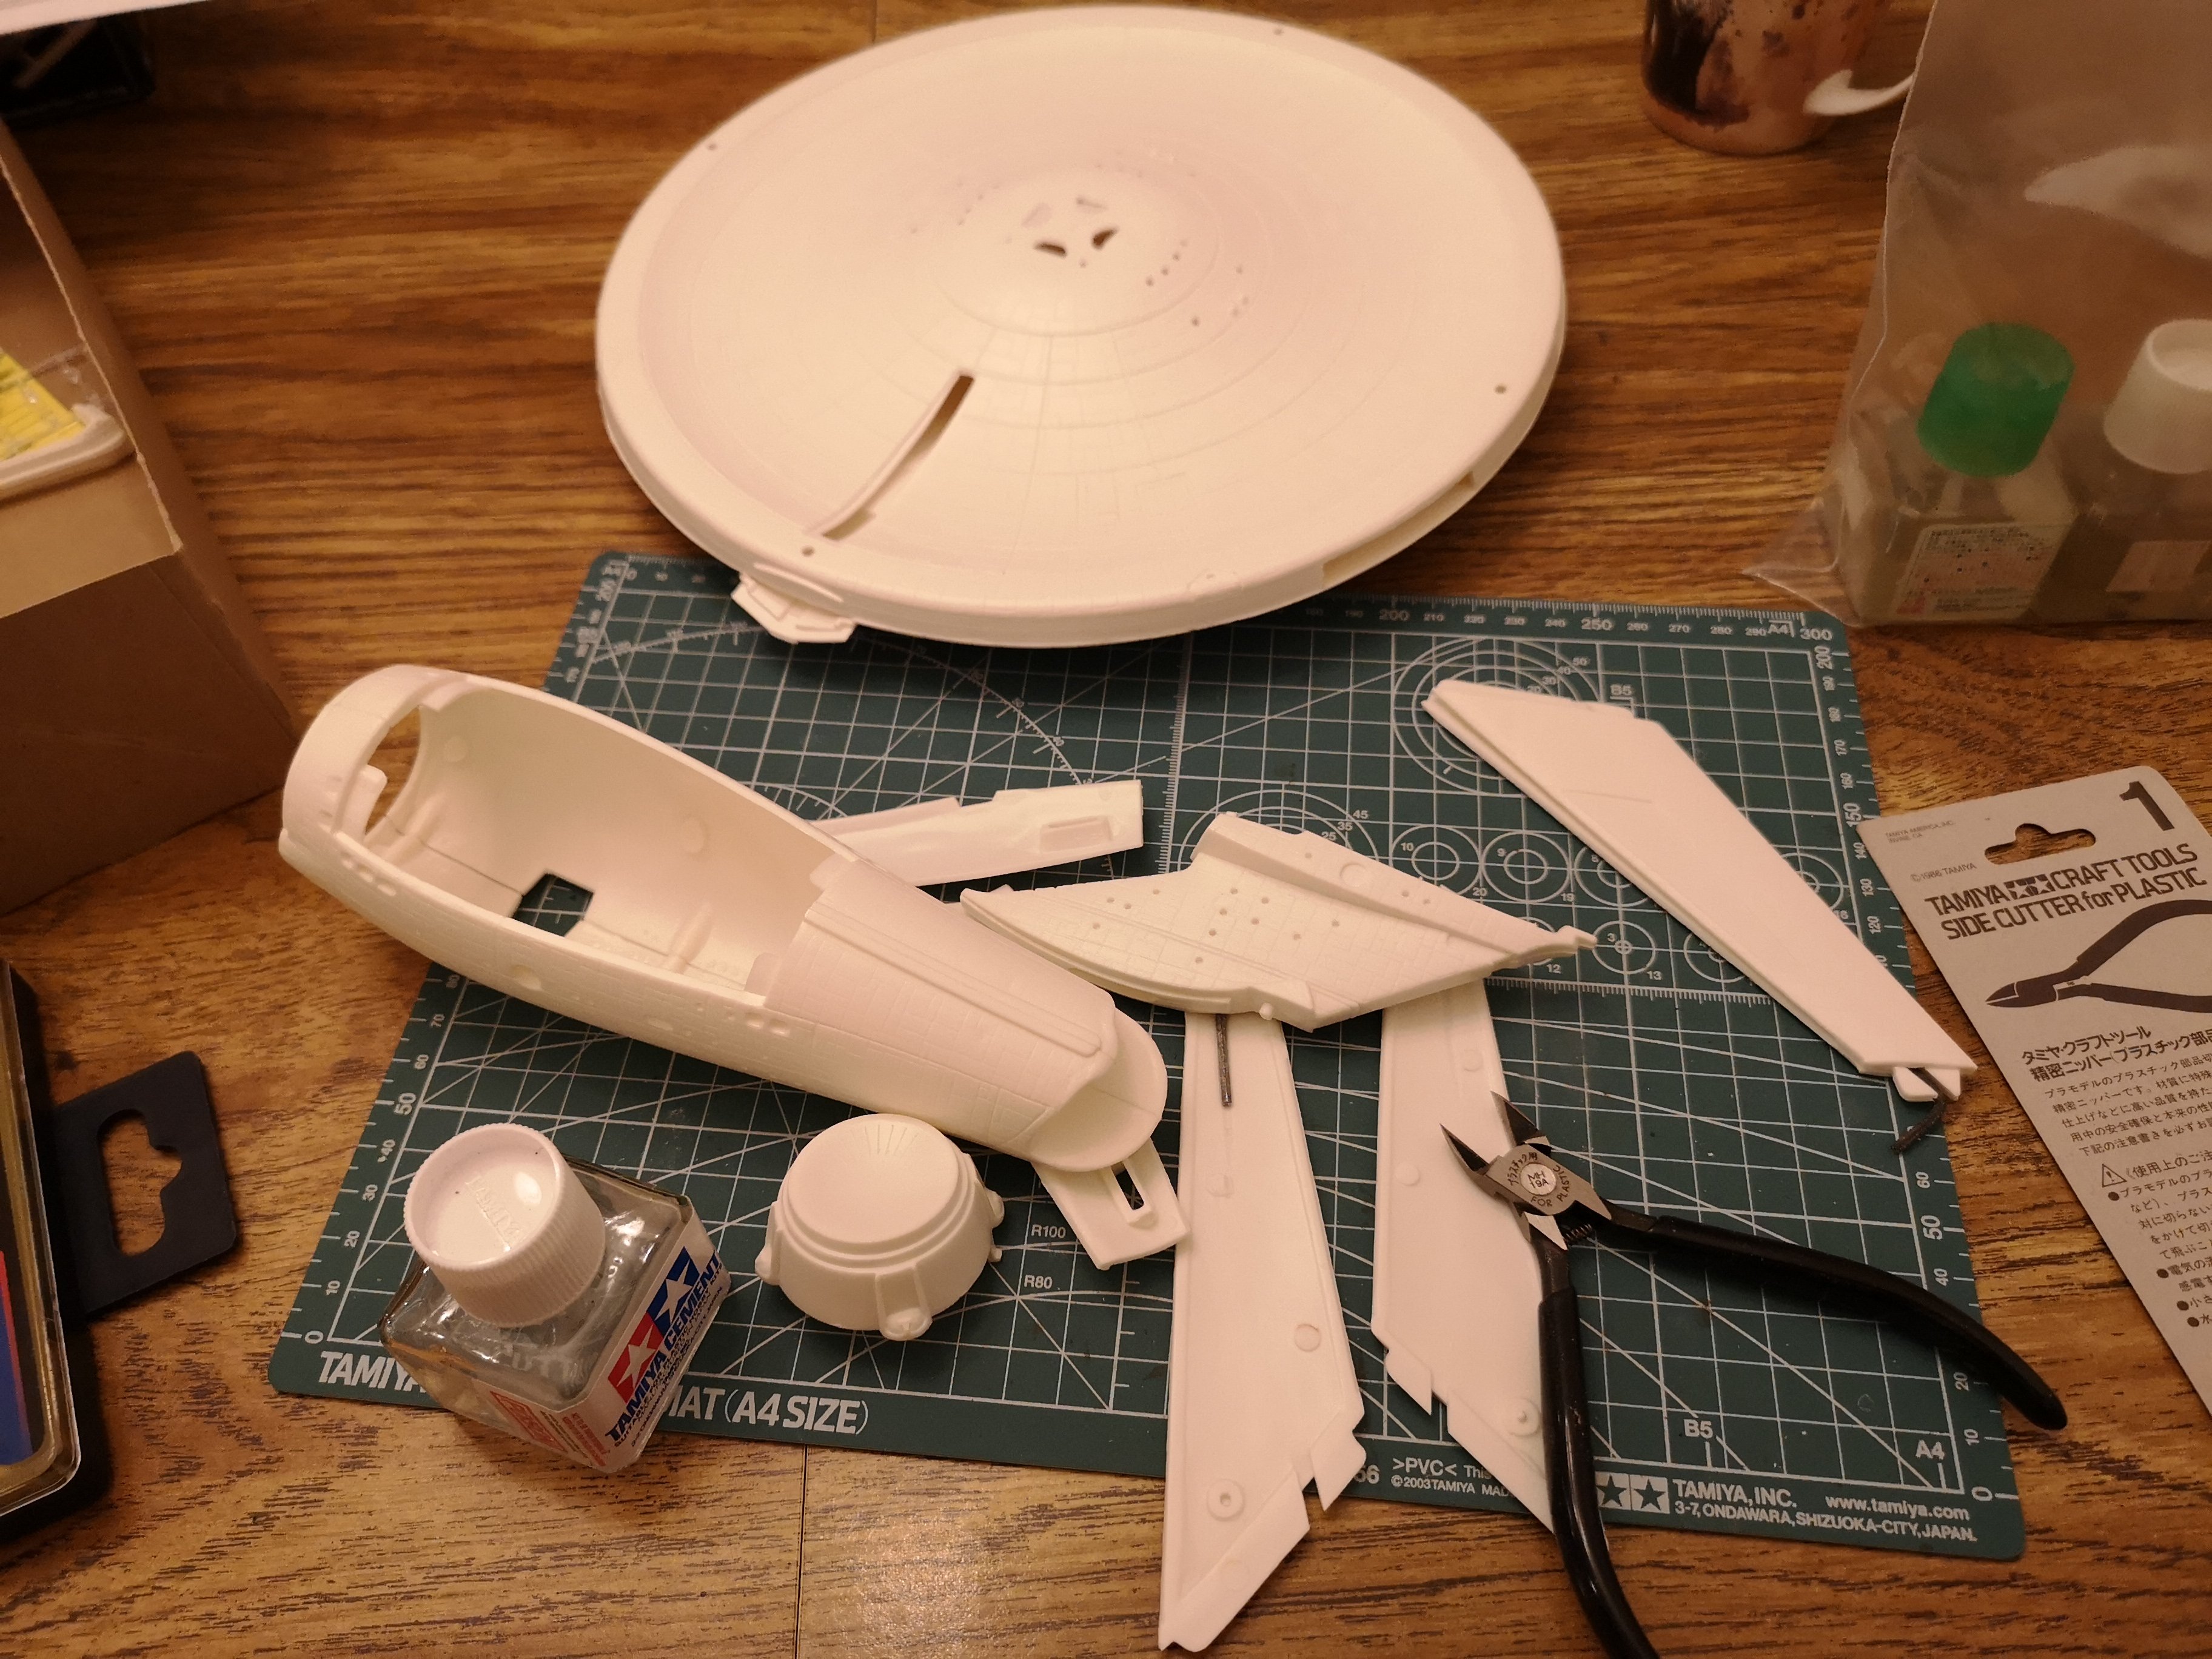
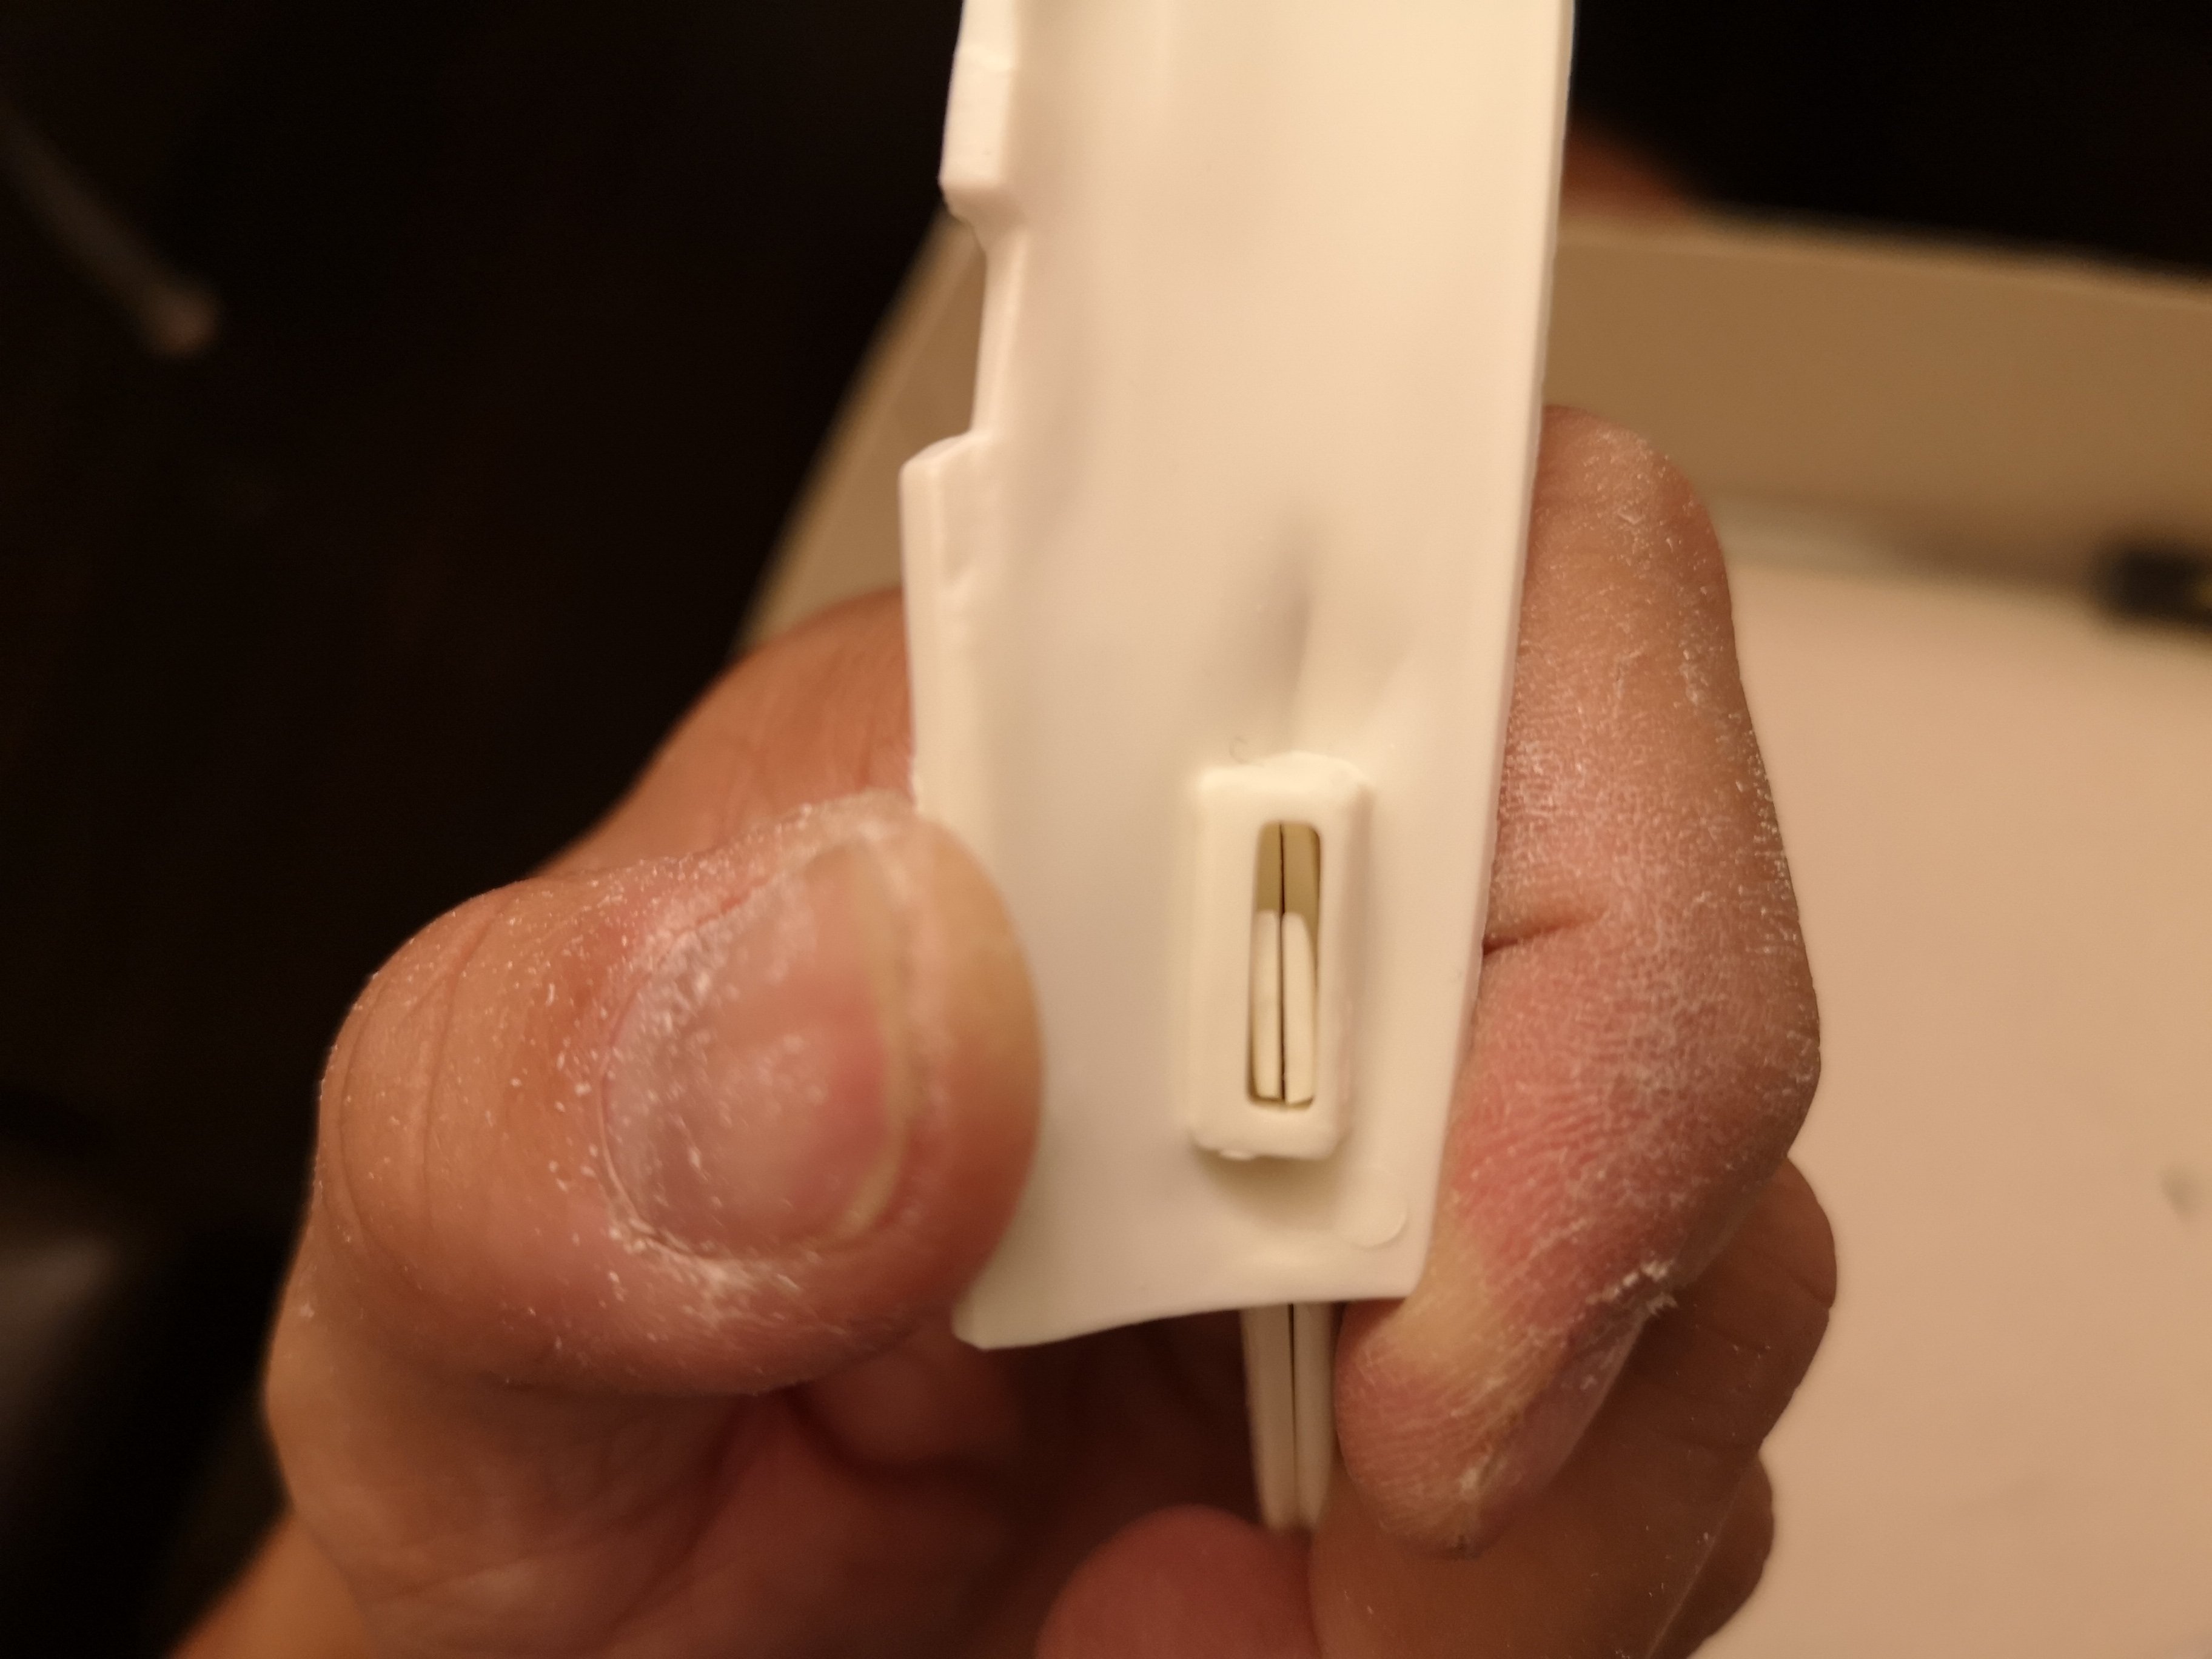
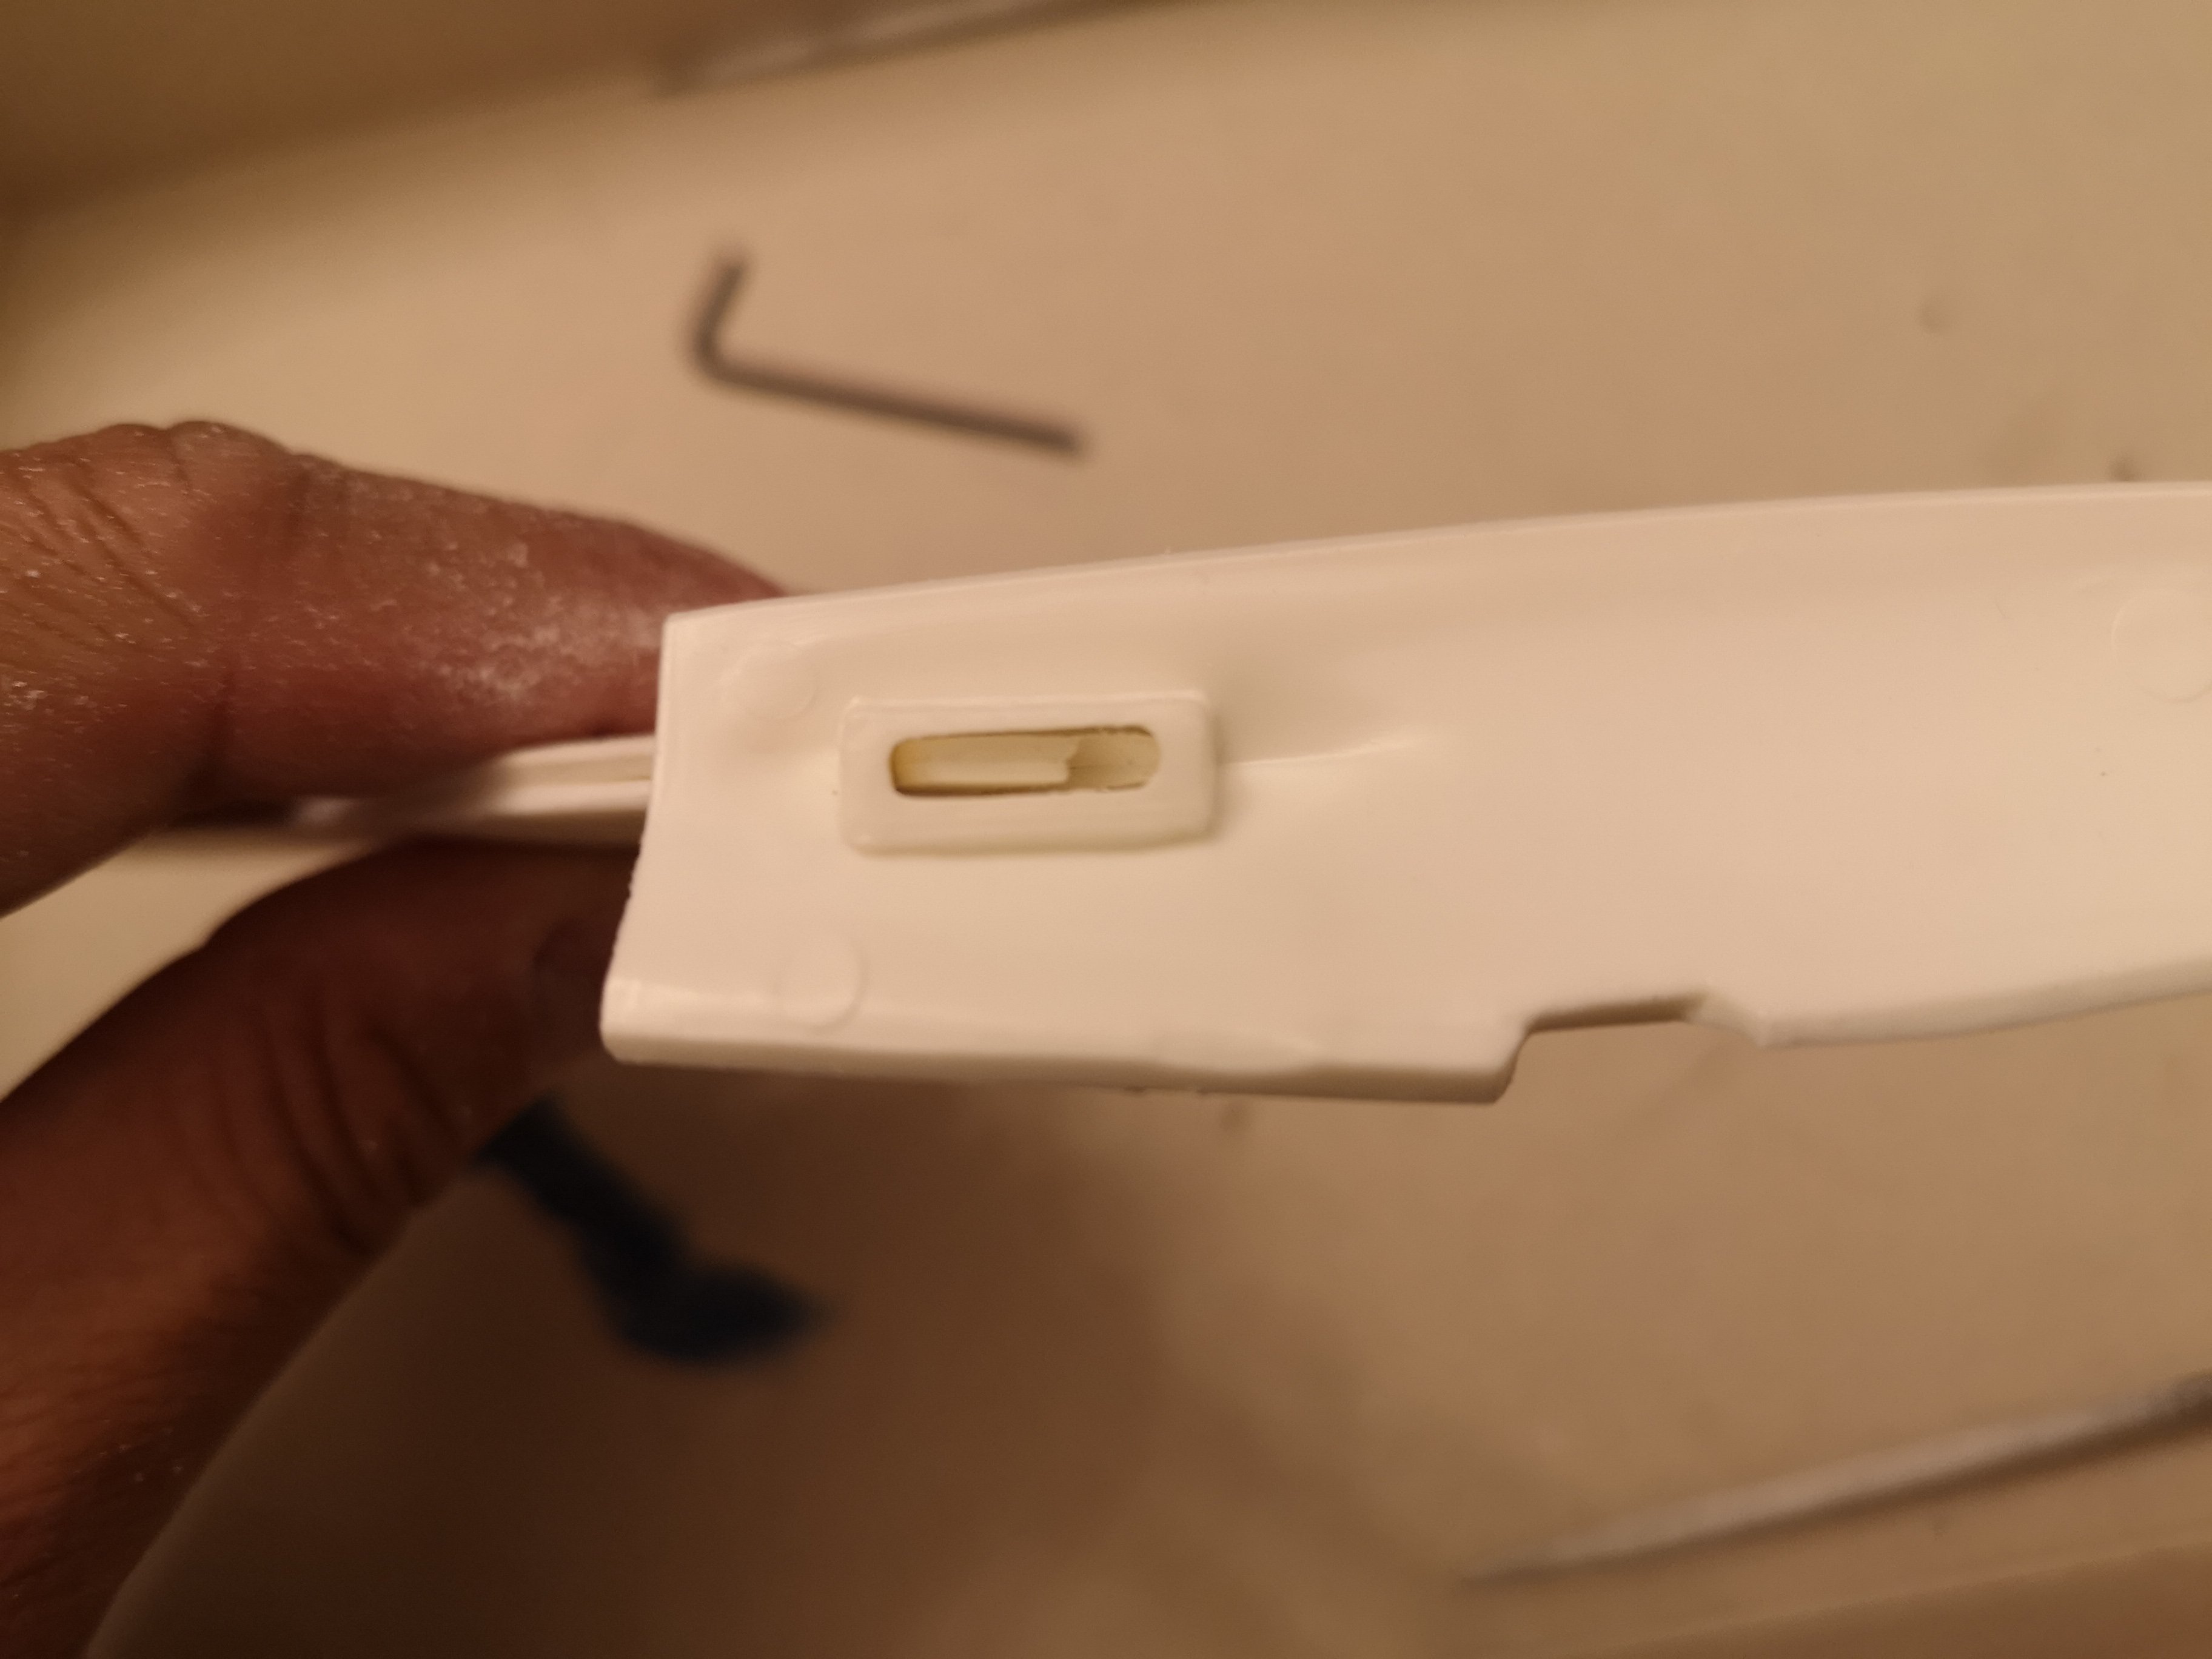
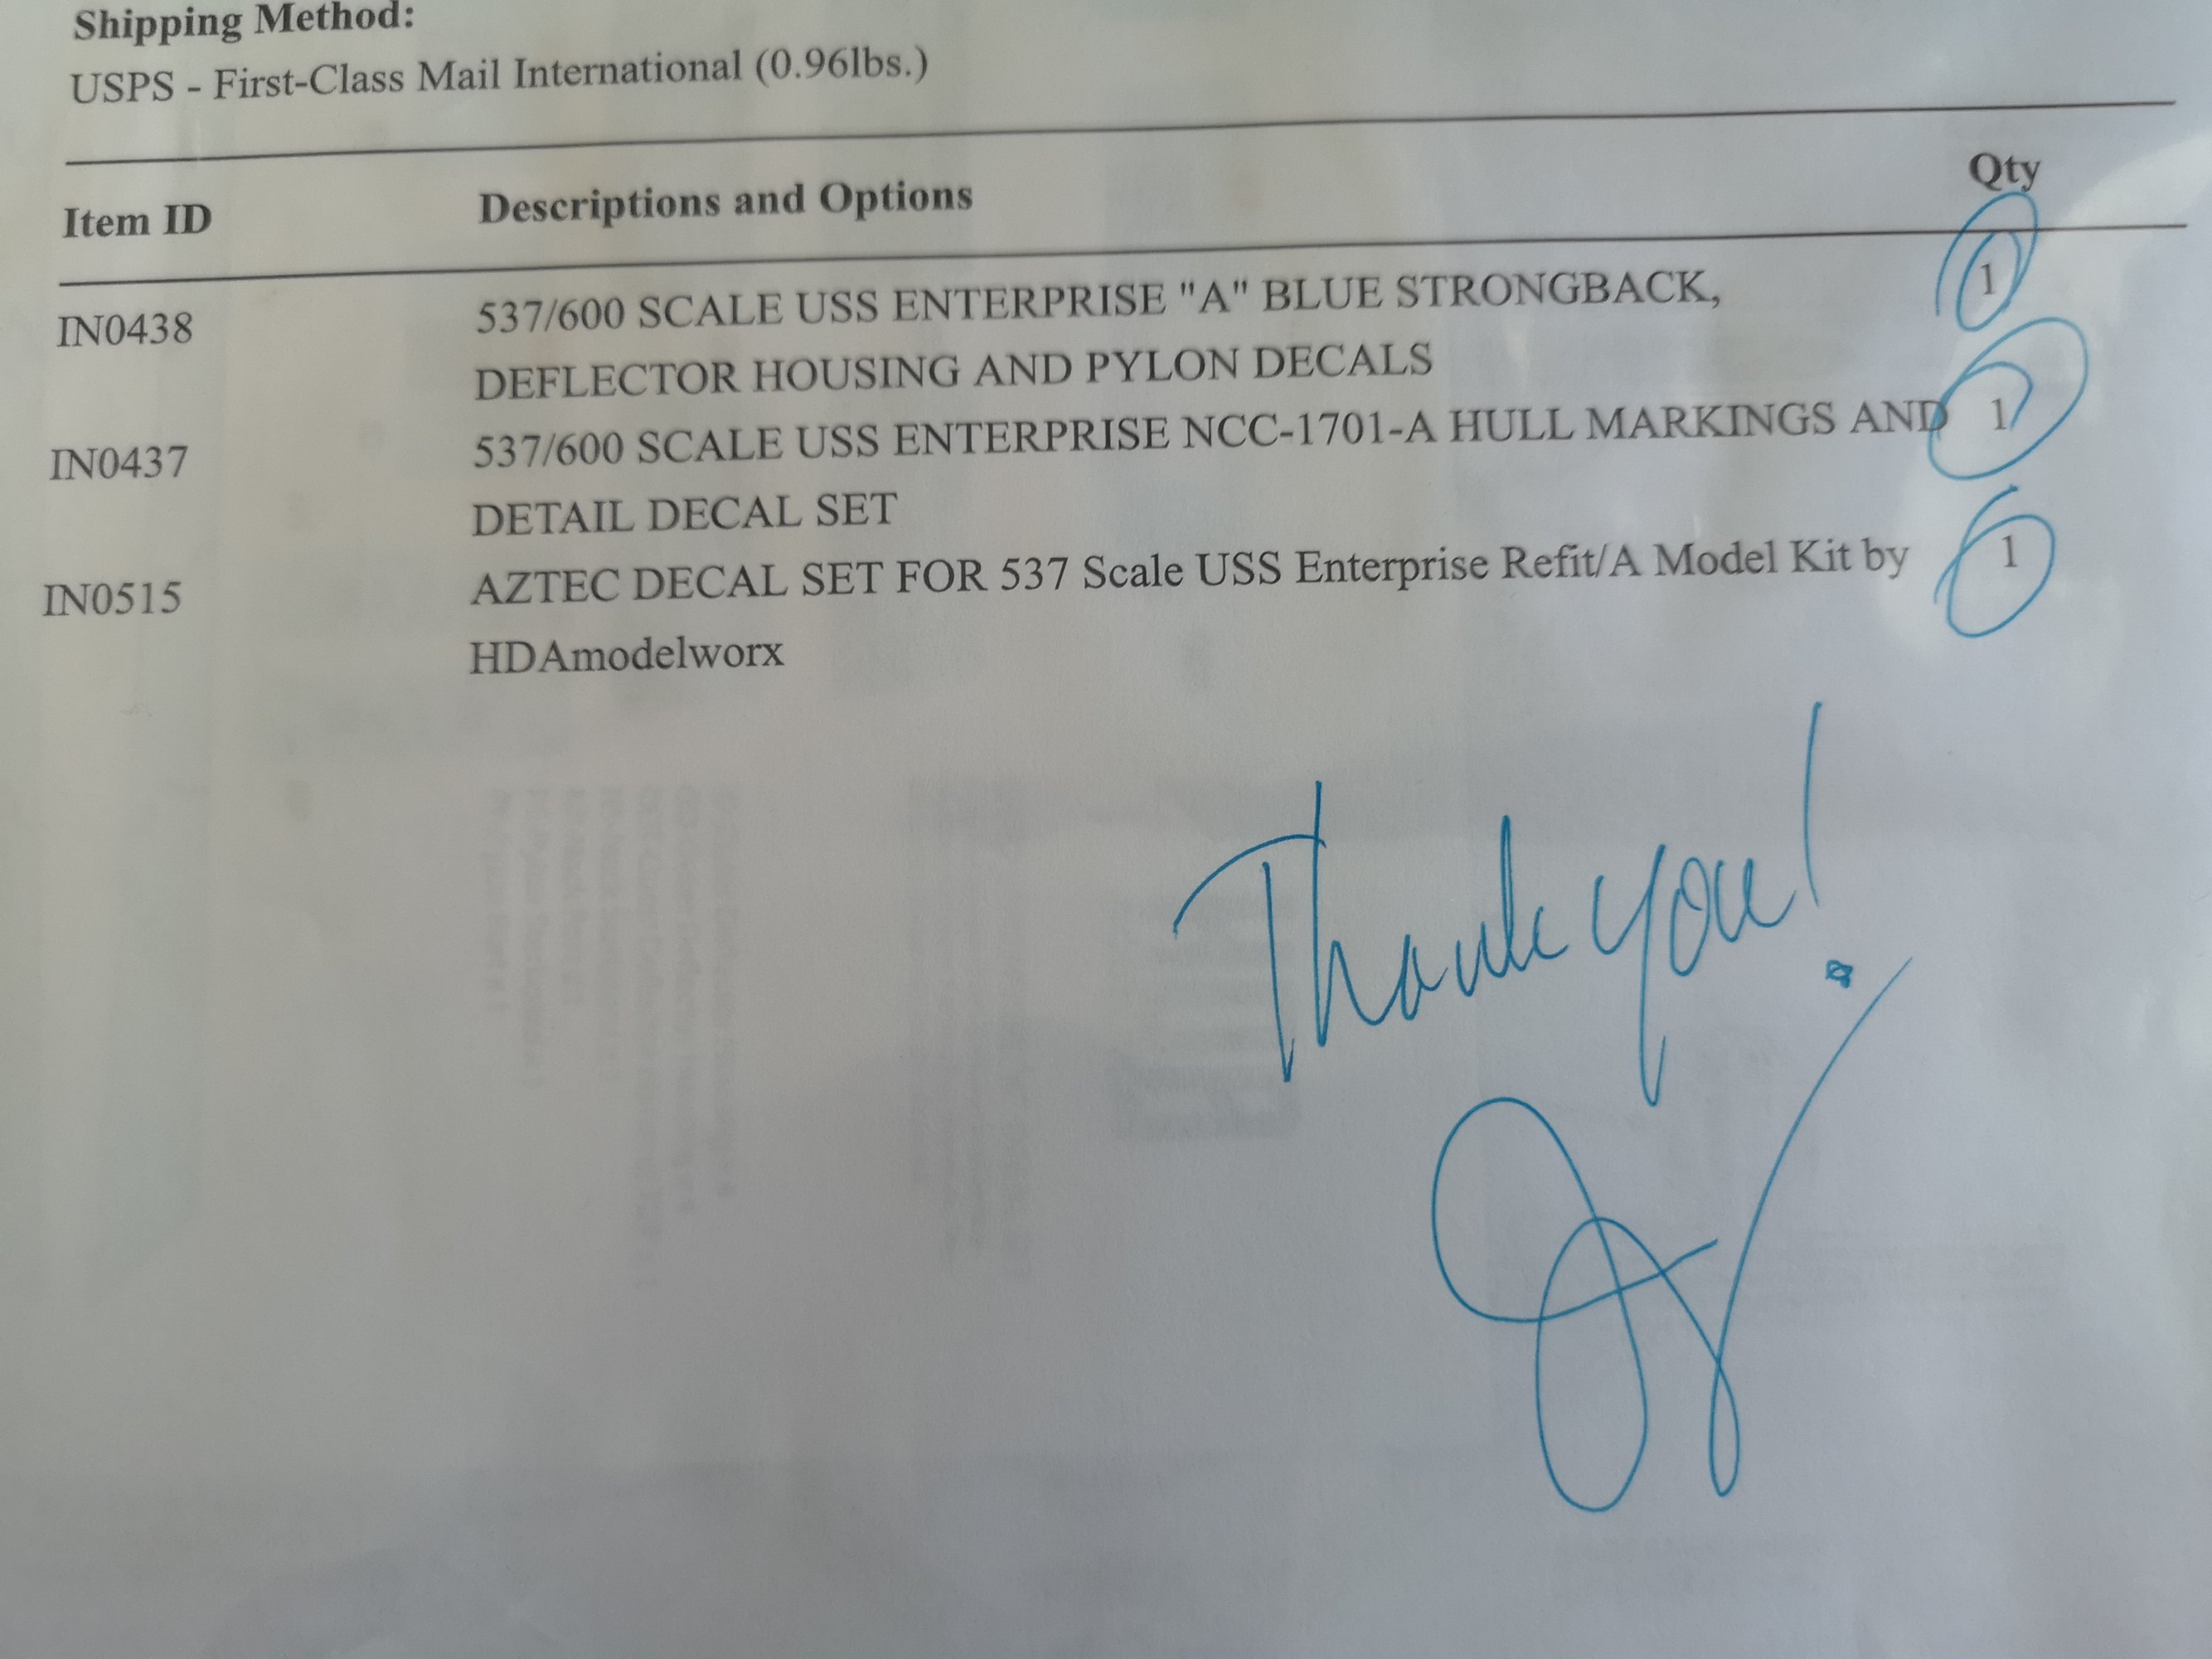
Ok, so this thing is turning out to be more of a nightmare than I was expecting. I guess in Grade 8, I mashed this thing together with tons of glue, didn't care about seam lines or color accuracy. I think if I'm going to get through this build without stressing the hell out, I'll have to aim for "just better than my grade 8 build", rather than perfection or screen accuracy. I don't know who at AMT thought this would be a good idea. It's absolutely bonkers they did this. Test fit shows the pylons have this much give either way, lol! No wonder these things wouldn't line up....then eventually break. I love how the instructions warn how extra care is requir d when assembling them. It says that model glue can cause the plastic to soften and warp if used excessively and they recommend some sort of instant bond type....guessing super glue or crazy glue. Interesting way to cover up their engineering deficiencies. Anyway, I didn't have time to go to the local hobby shop to get brass rods, so I dug through my tool cabinet and found some spare hex keys. Filed a channel for them. I have no idea what I'm doing. The parts fit horribly, like the halves of the secondary hull were never meant to fit together. The Navigation Deflector pushes the hull apart even further. This kit is actually going to need putty and a lot of sanding. I wonder if the newer 1/350 Polar Lights kits have better fitment right out of the box? Oh well, in this far already, and got the decal set so I guess I better just plow through it and hope for the best, hahahaha!
-
I've never tried paper craft, might give it a shot one day. Holy crap, this kit is going for over $80 now on AJ
-
I should watch it one of these days. Sounds like it's not worth buying, is it steaming anywhere with subs?
-
Yeah, I saw those tabs, lol! I built a few back in grade 8 or so, always broke at the pylons....will see if I have the intelligence to reinforce with brass rods or something ( I probably don't, lol).
-
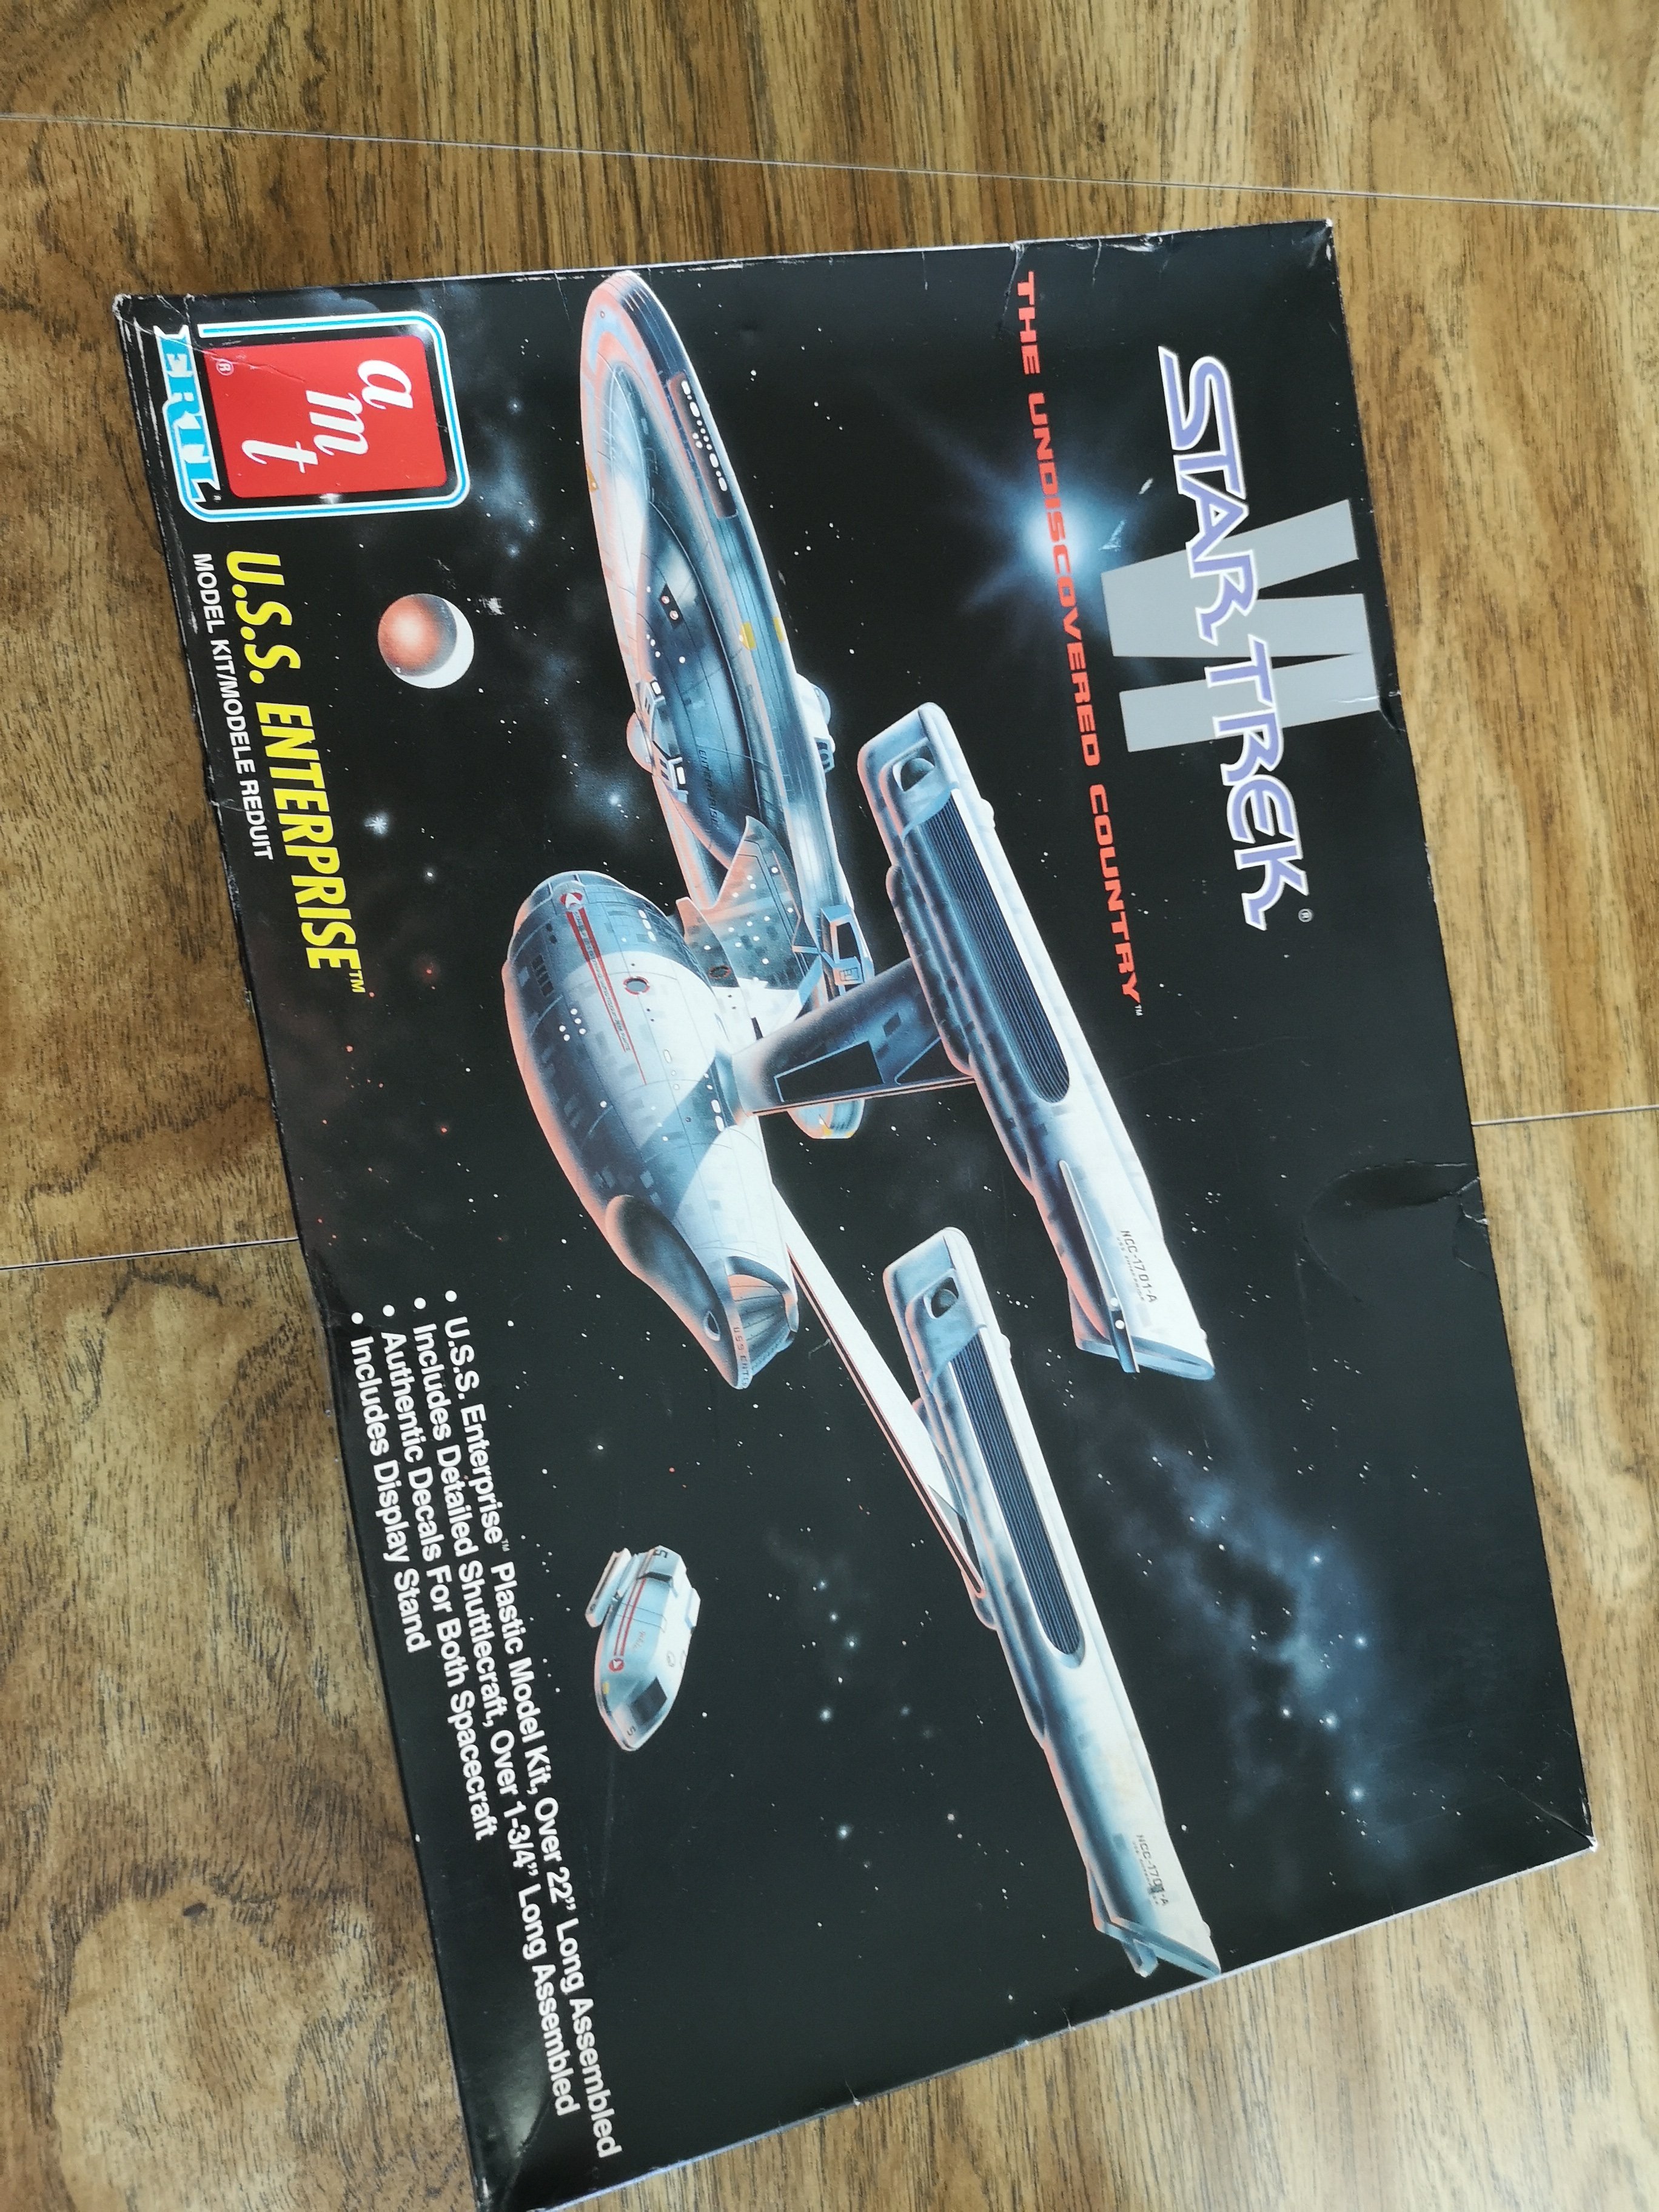
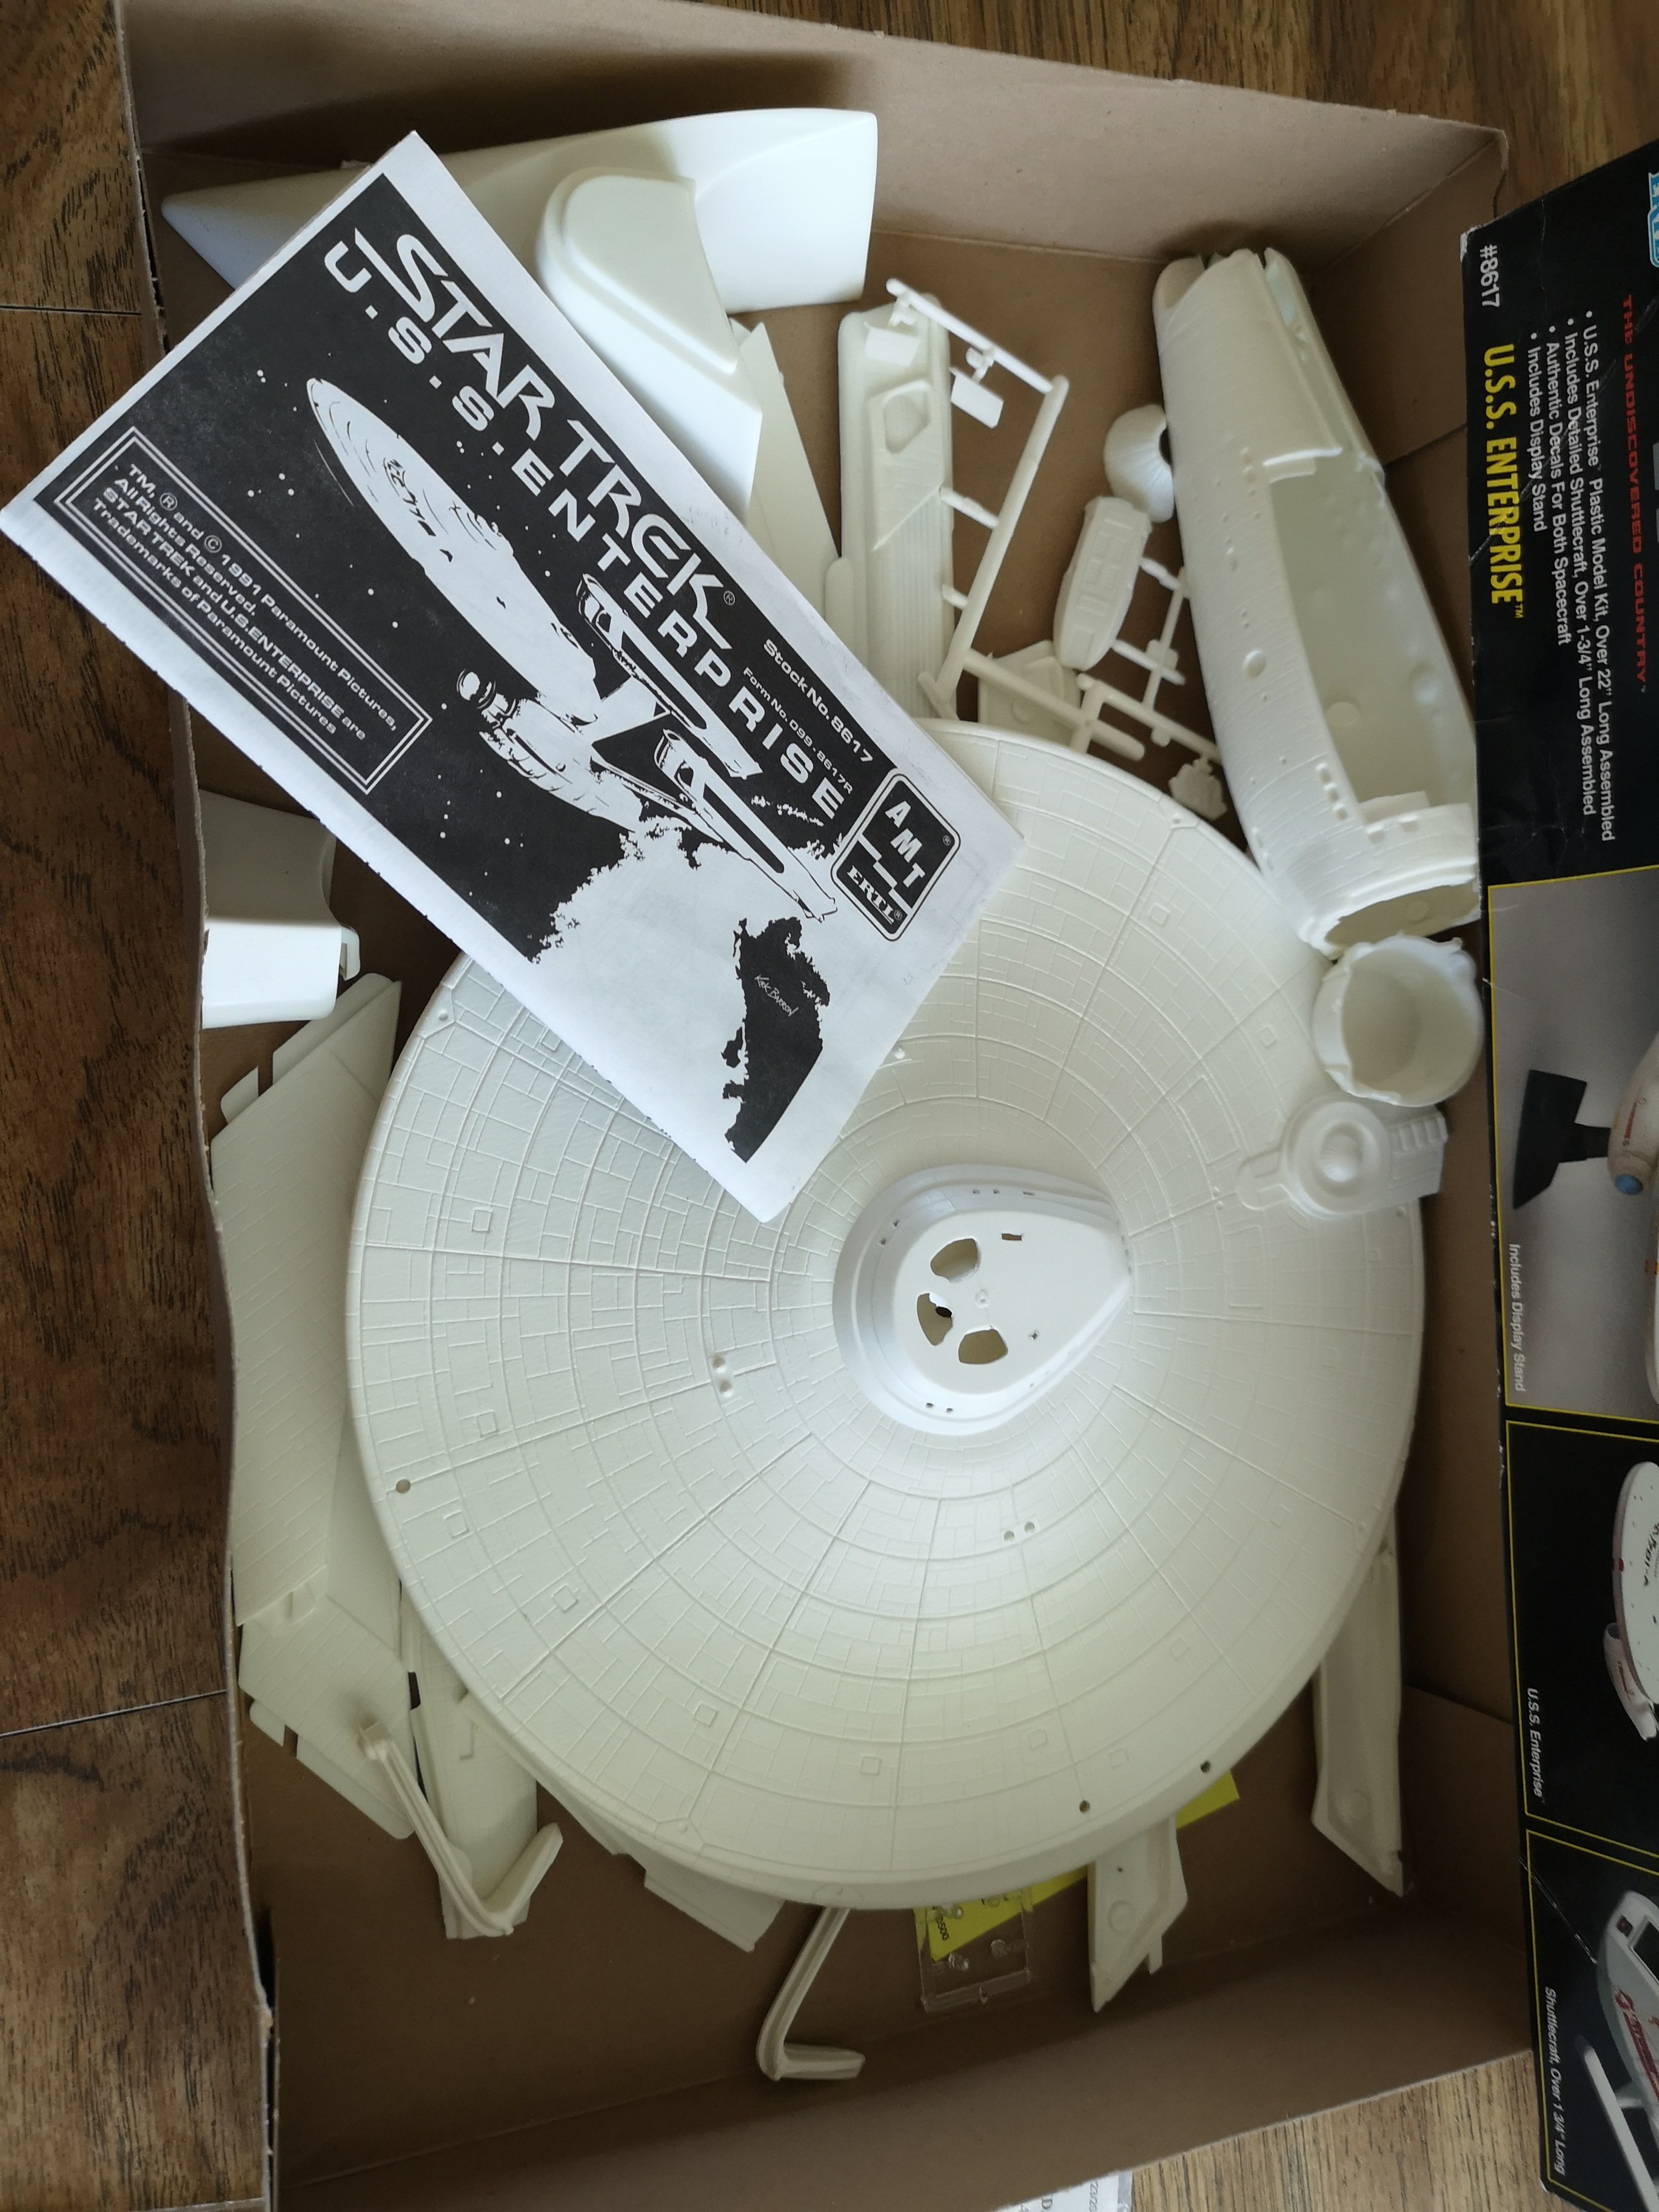
Thinking about starting this next. Just a tad hesitant thinking about the amount of work ahead of me. The big clusterfuk of wood-grained block panel lining from the AMT/ERTL retooling. Well, it couldn't possibly look worse than. The kit I built in grade 8, hahahahaha!

