-
Posts
4487 -
Joined
-
Last visited
Content Type
Profiles
Forums
Events
Gallery
Everything posted by peter
-
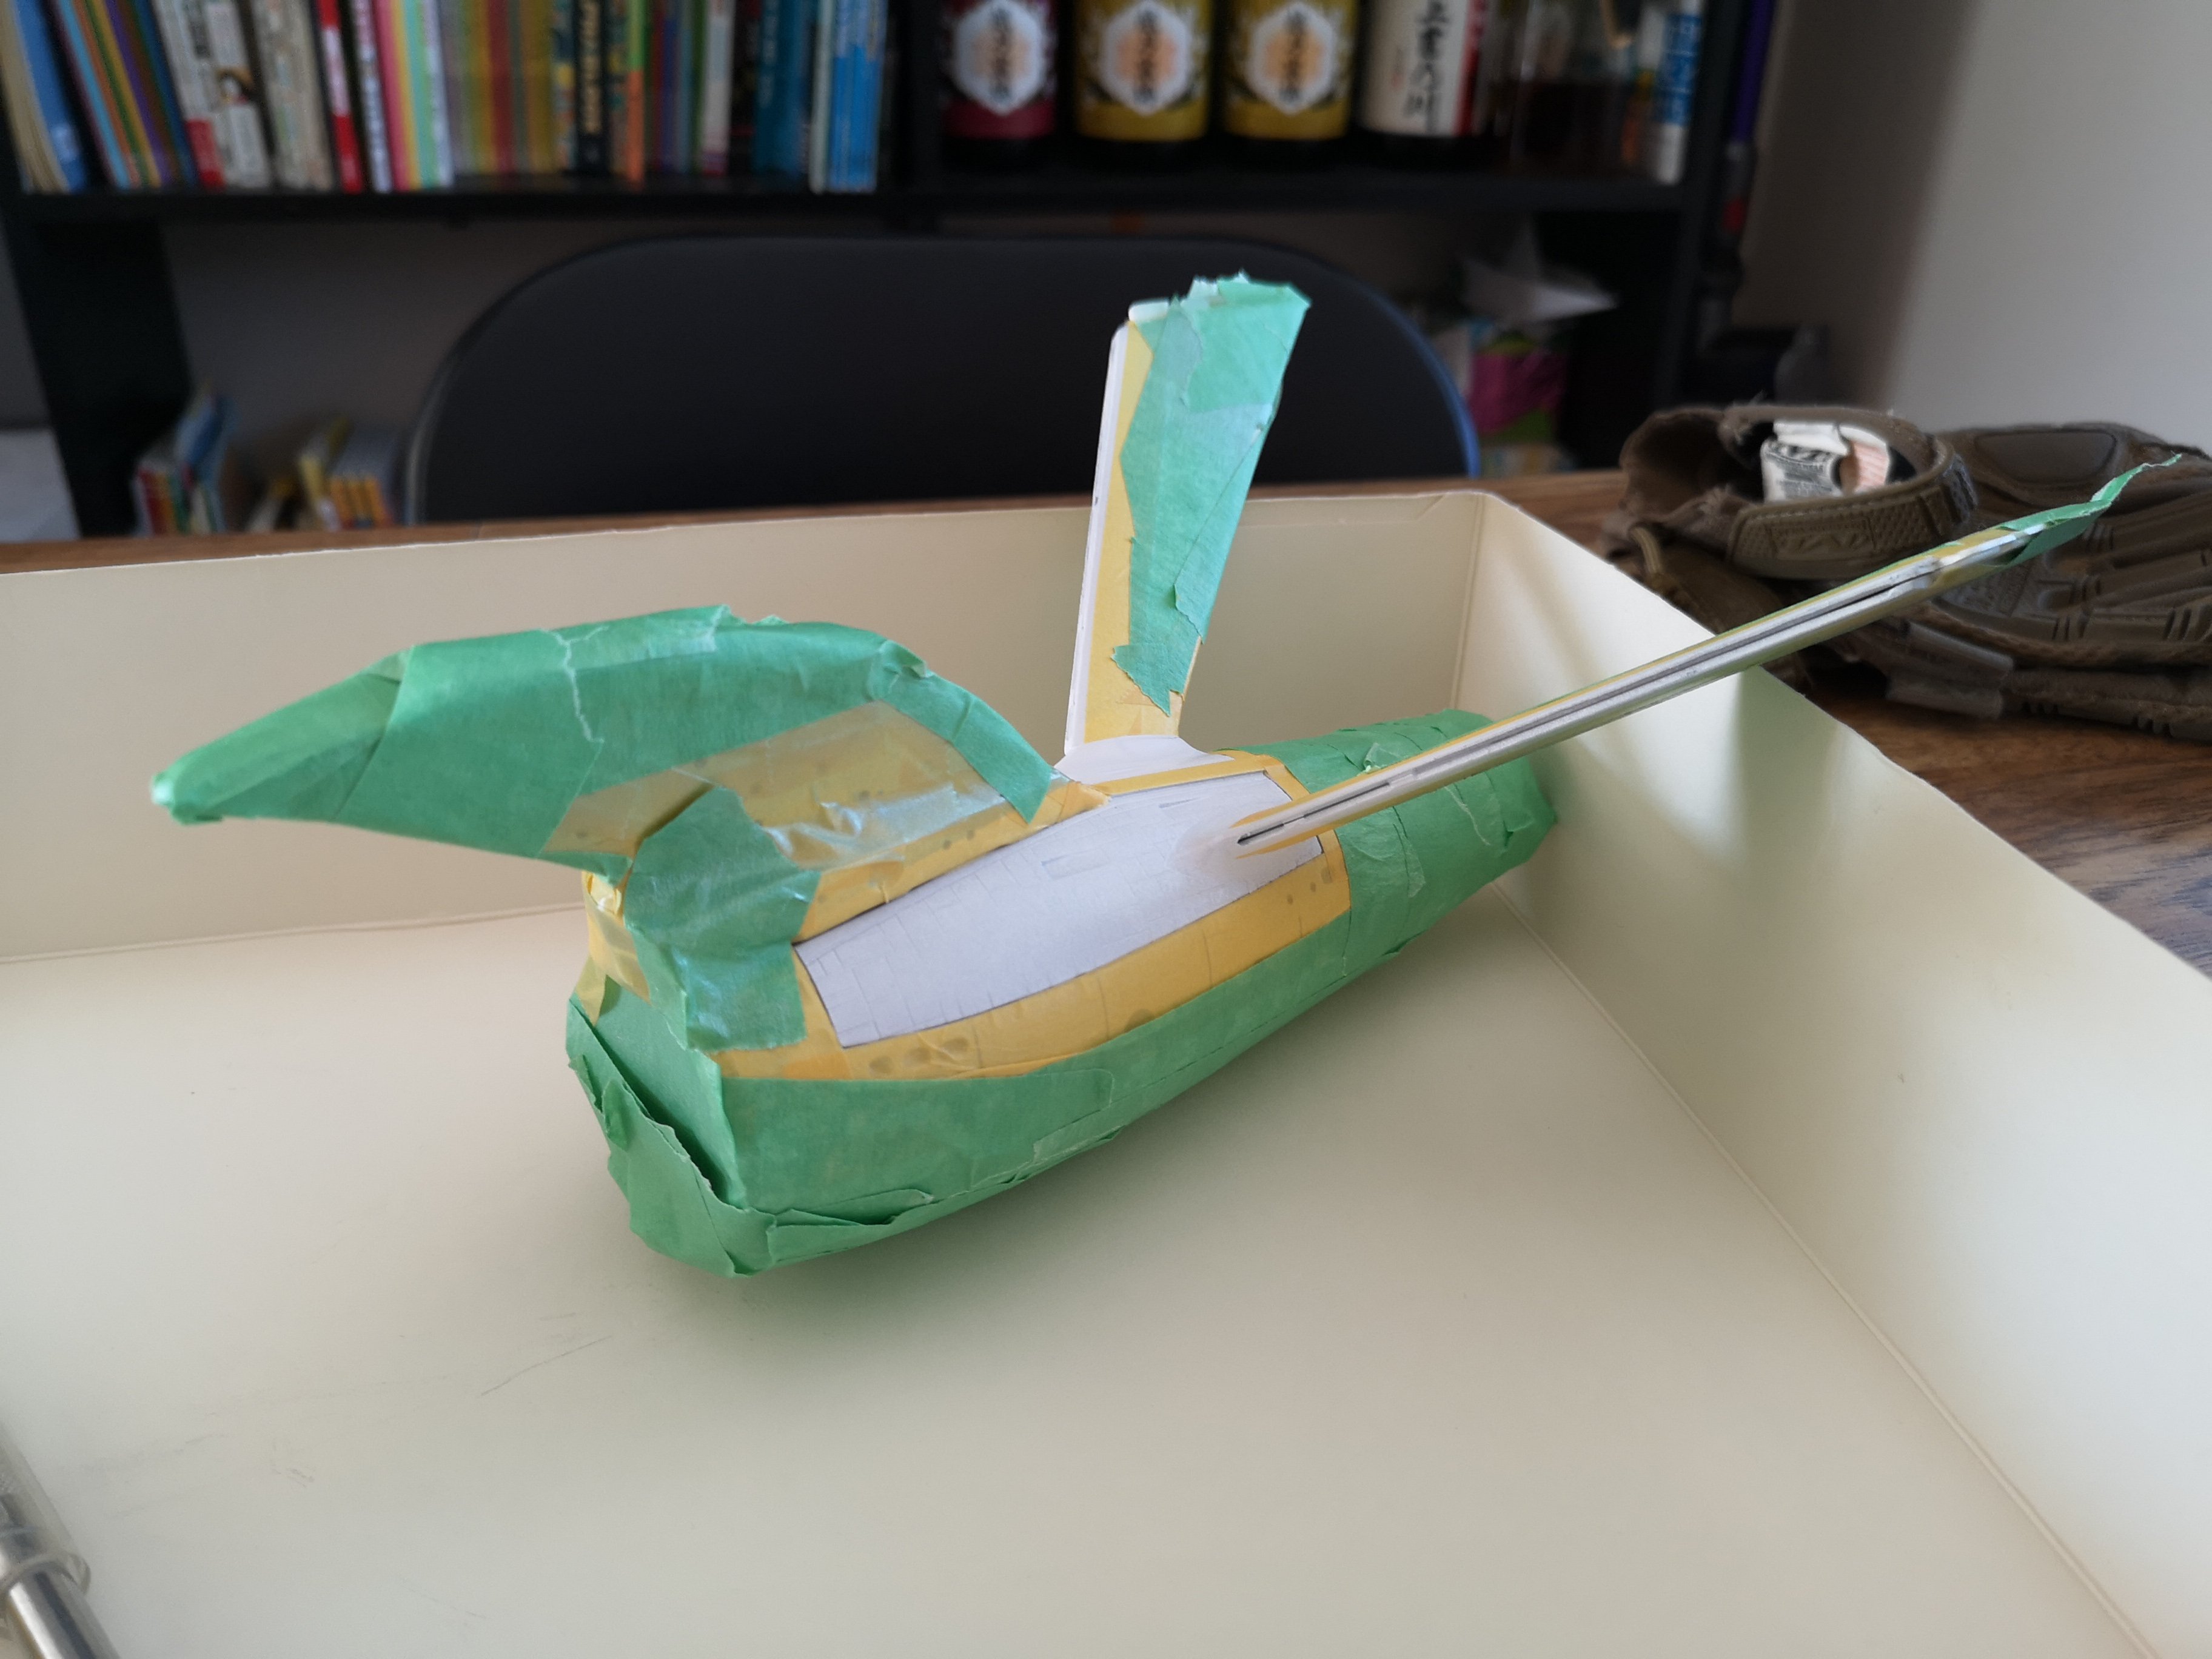
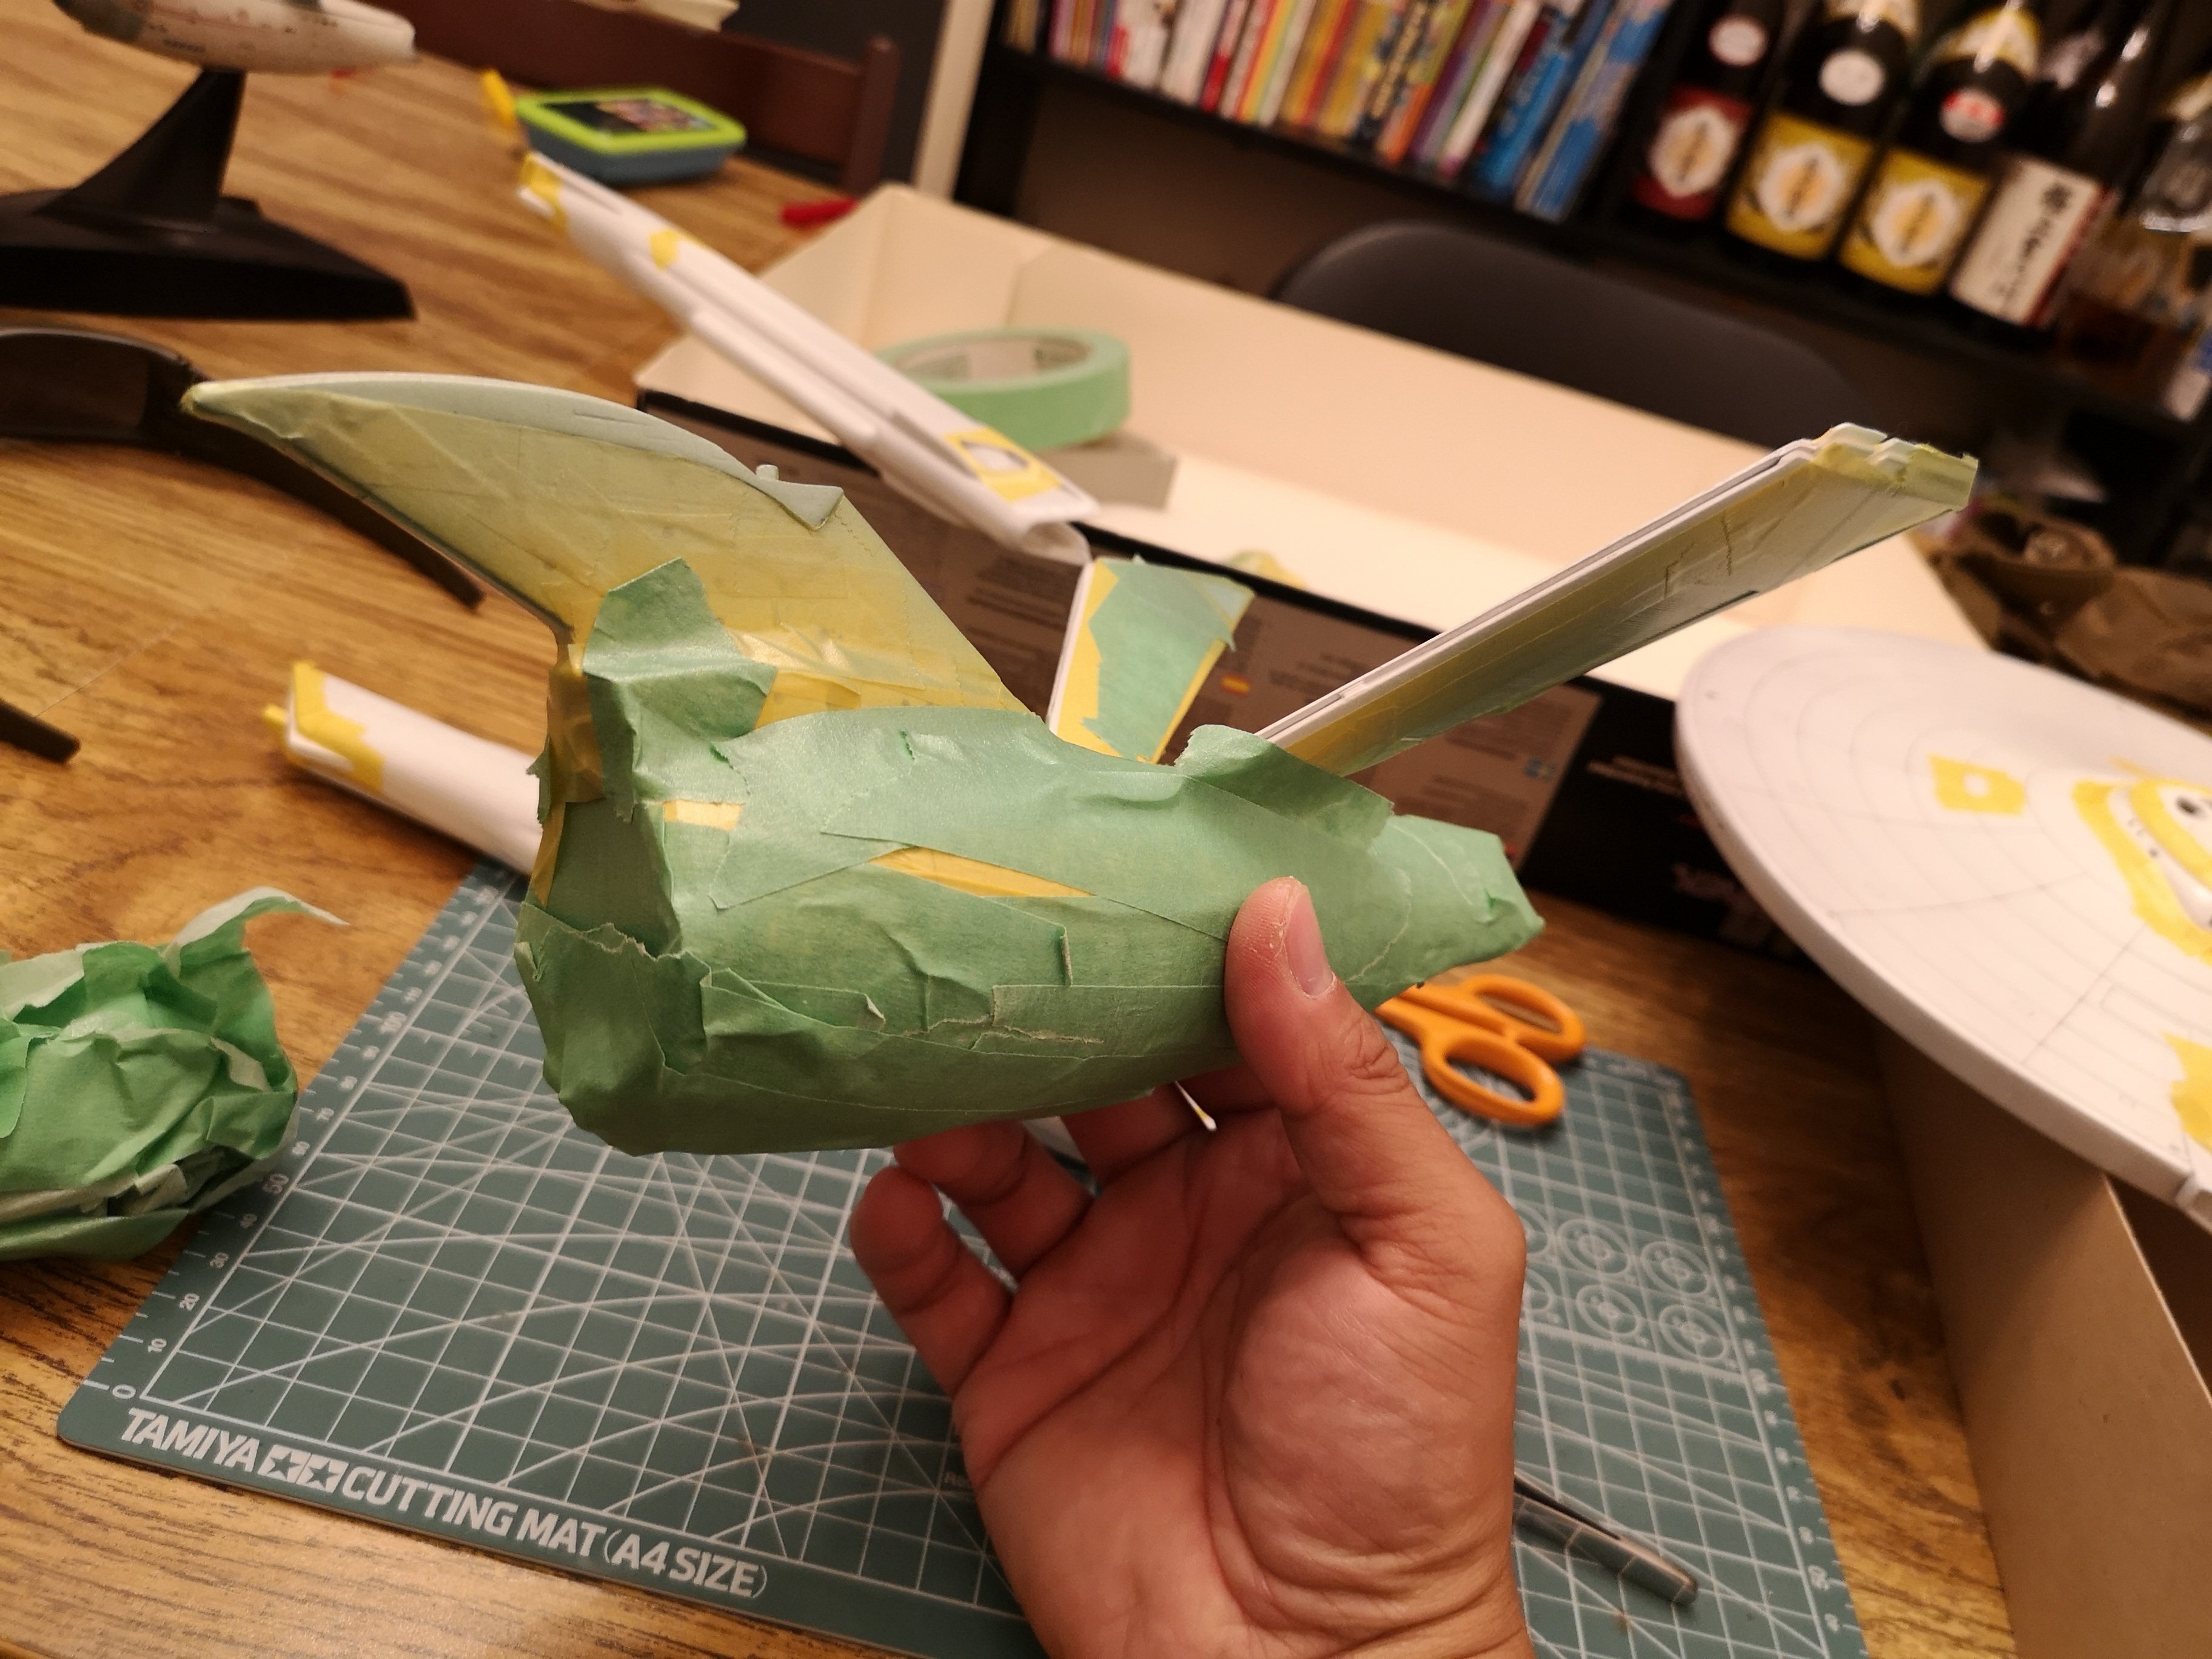
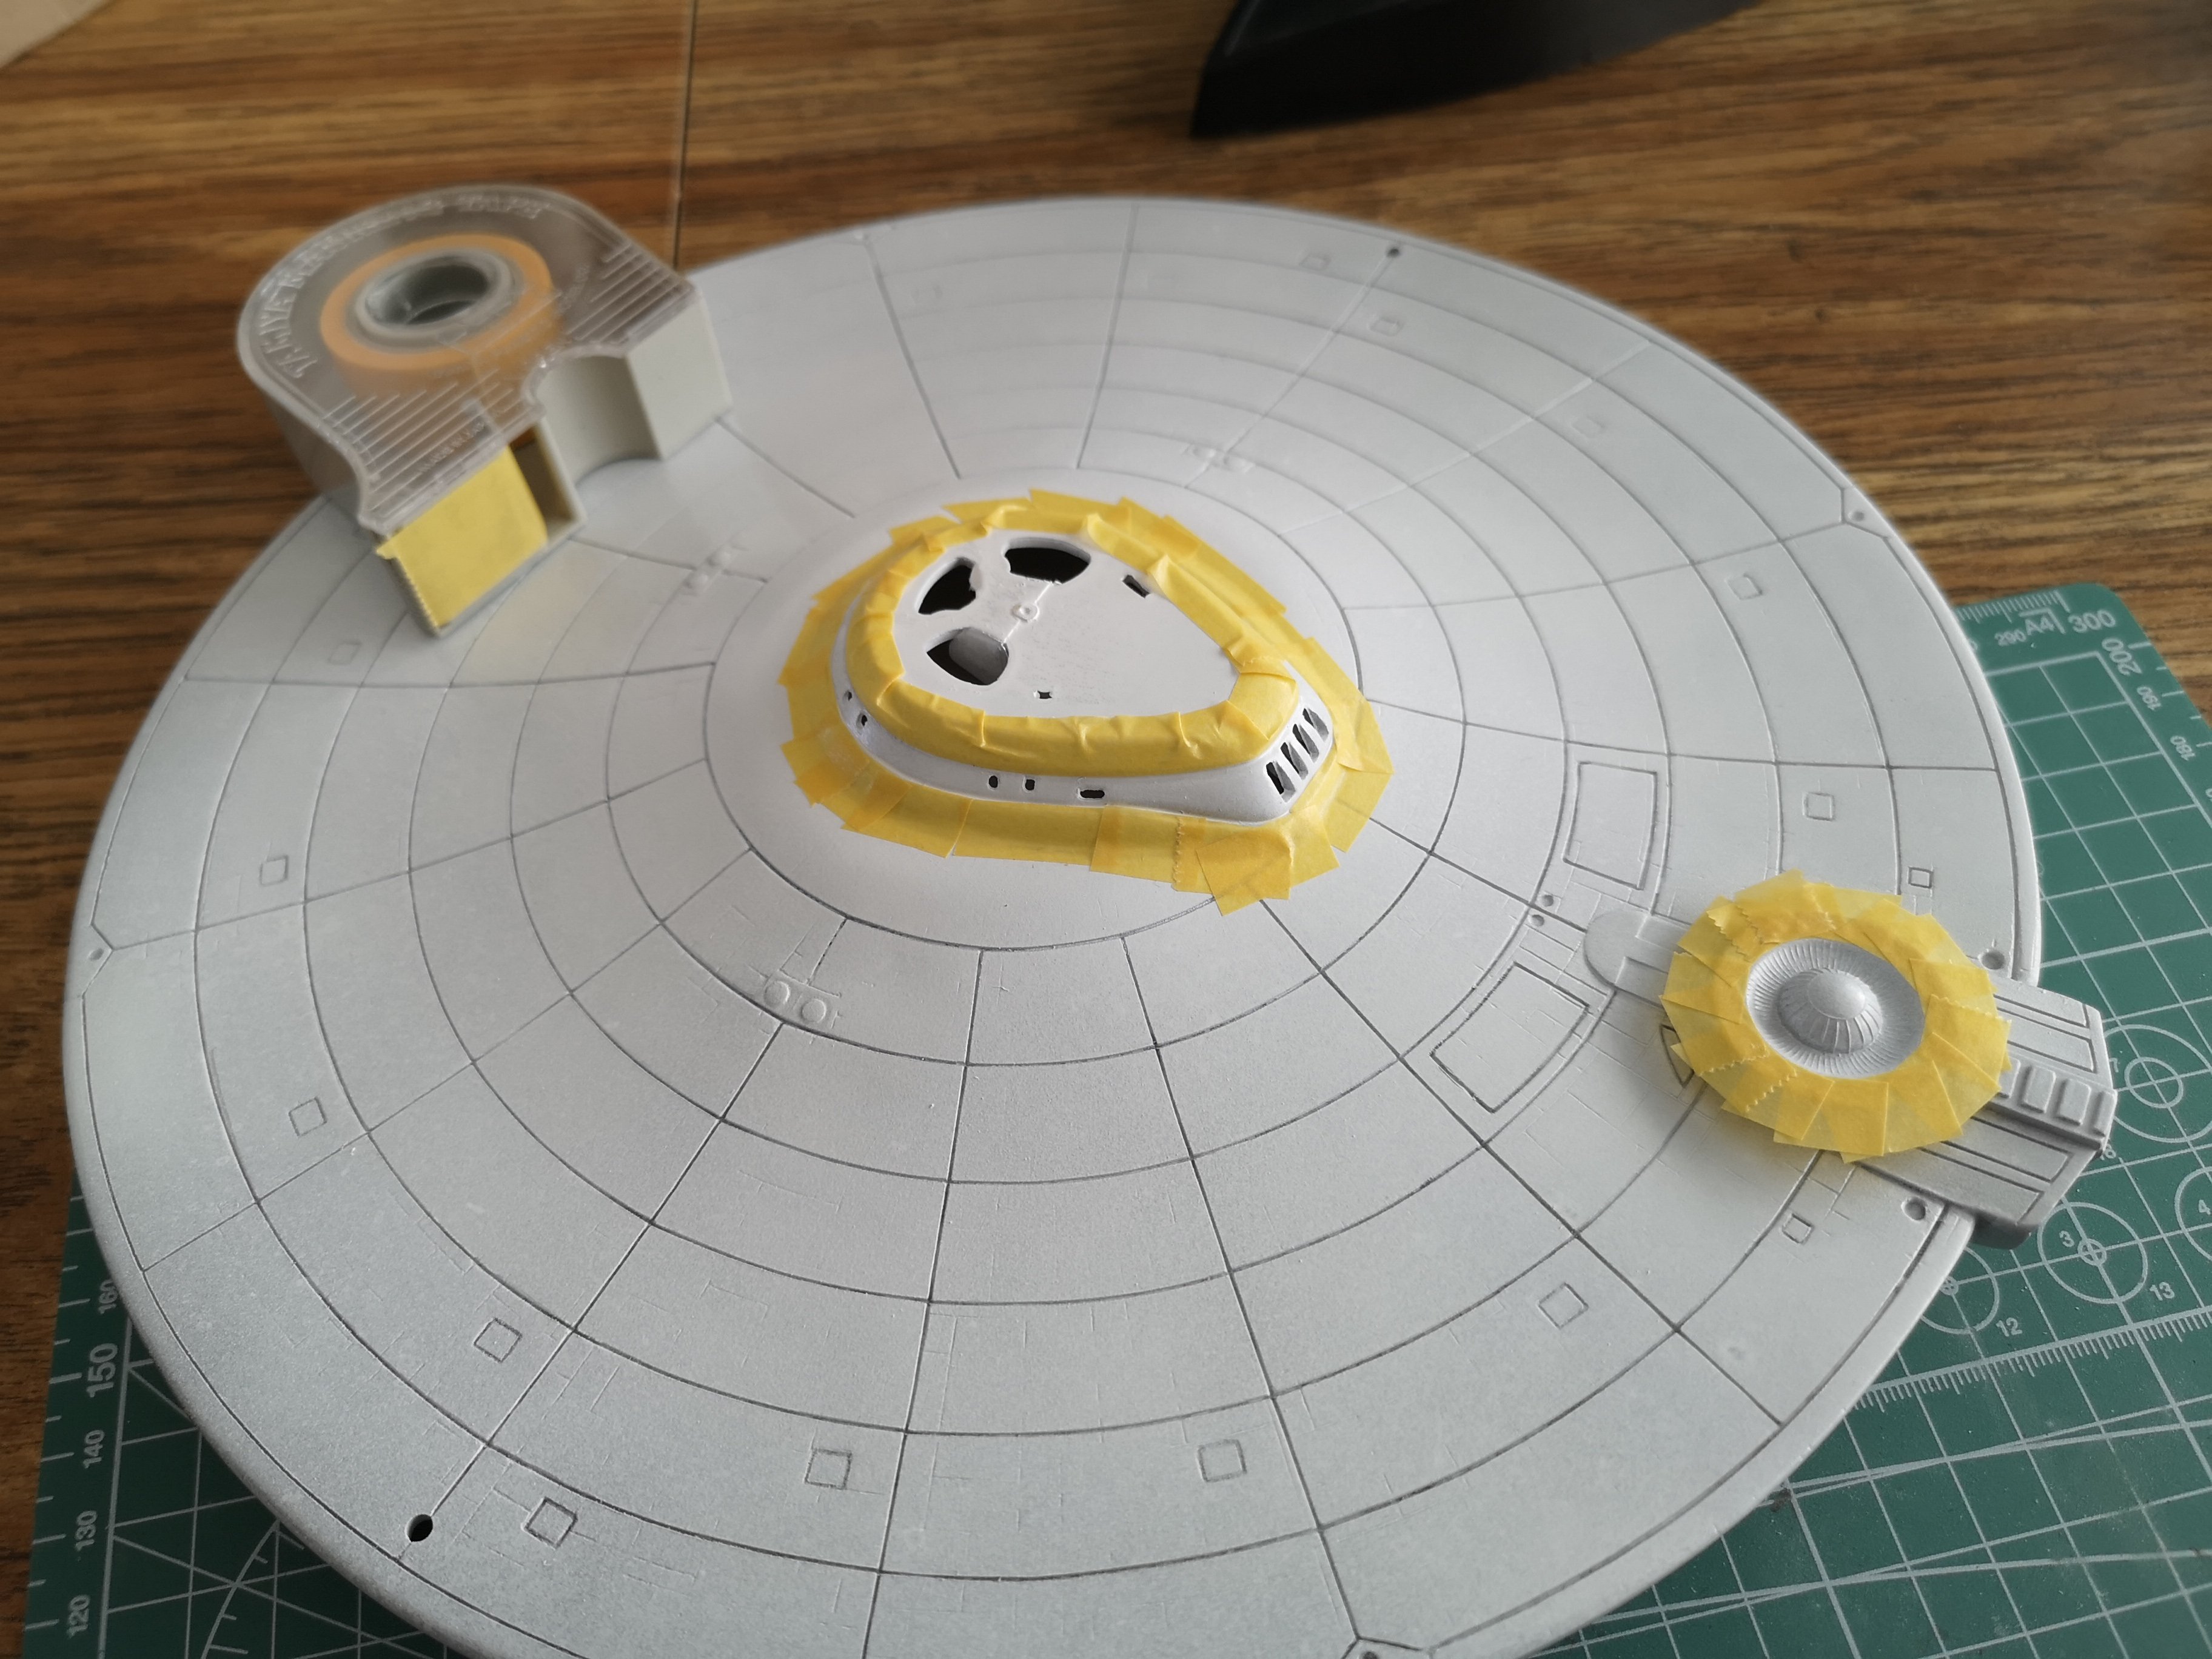
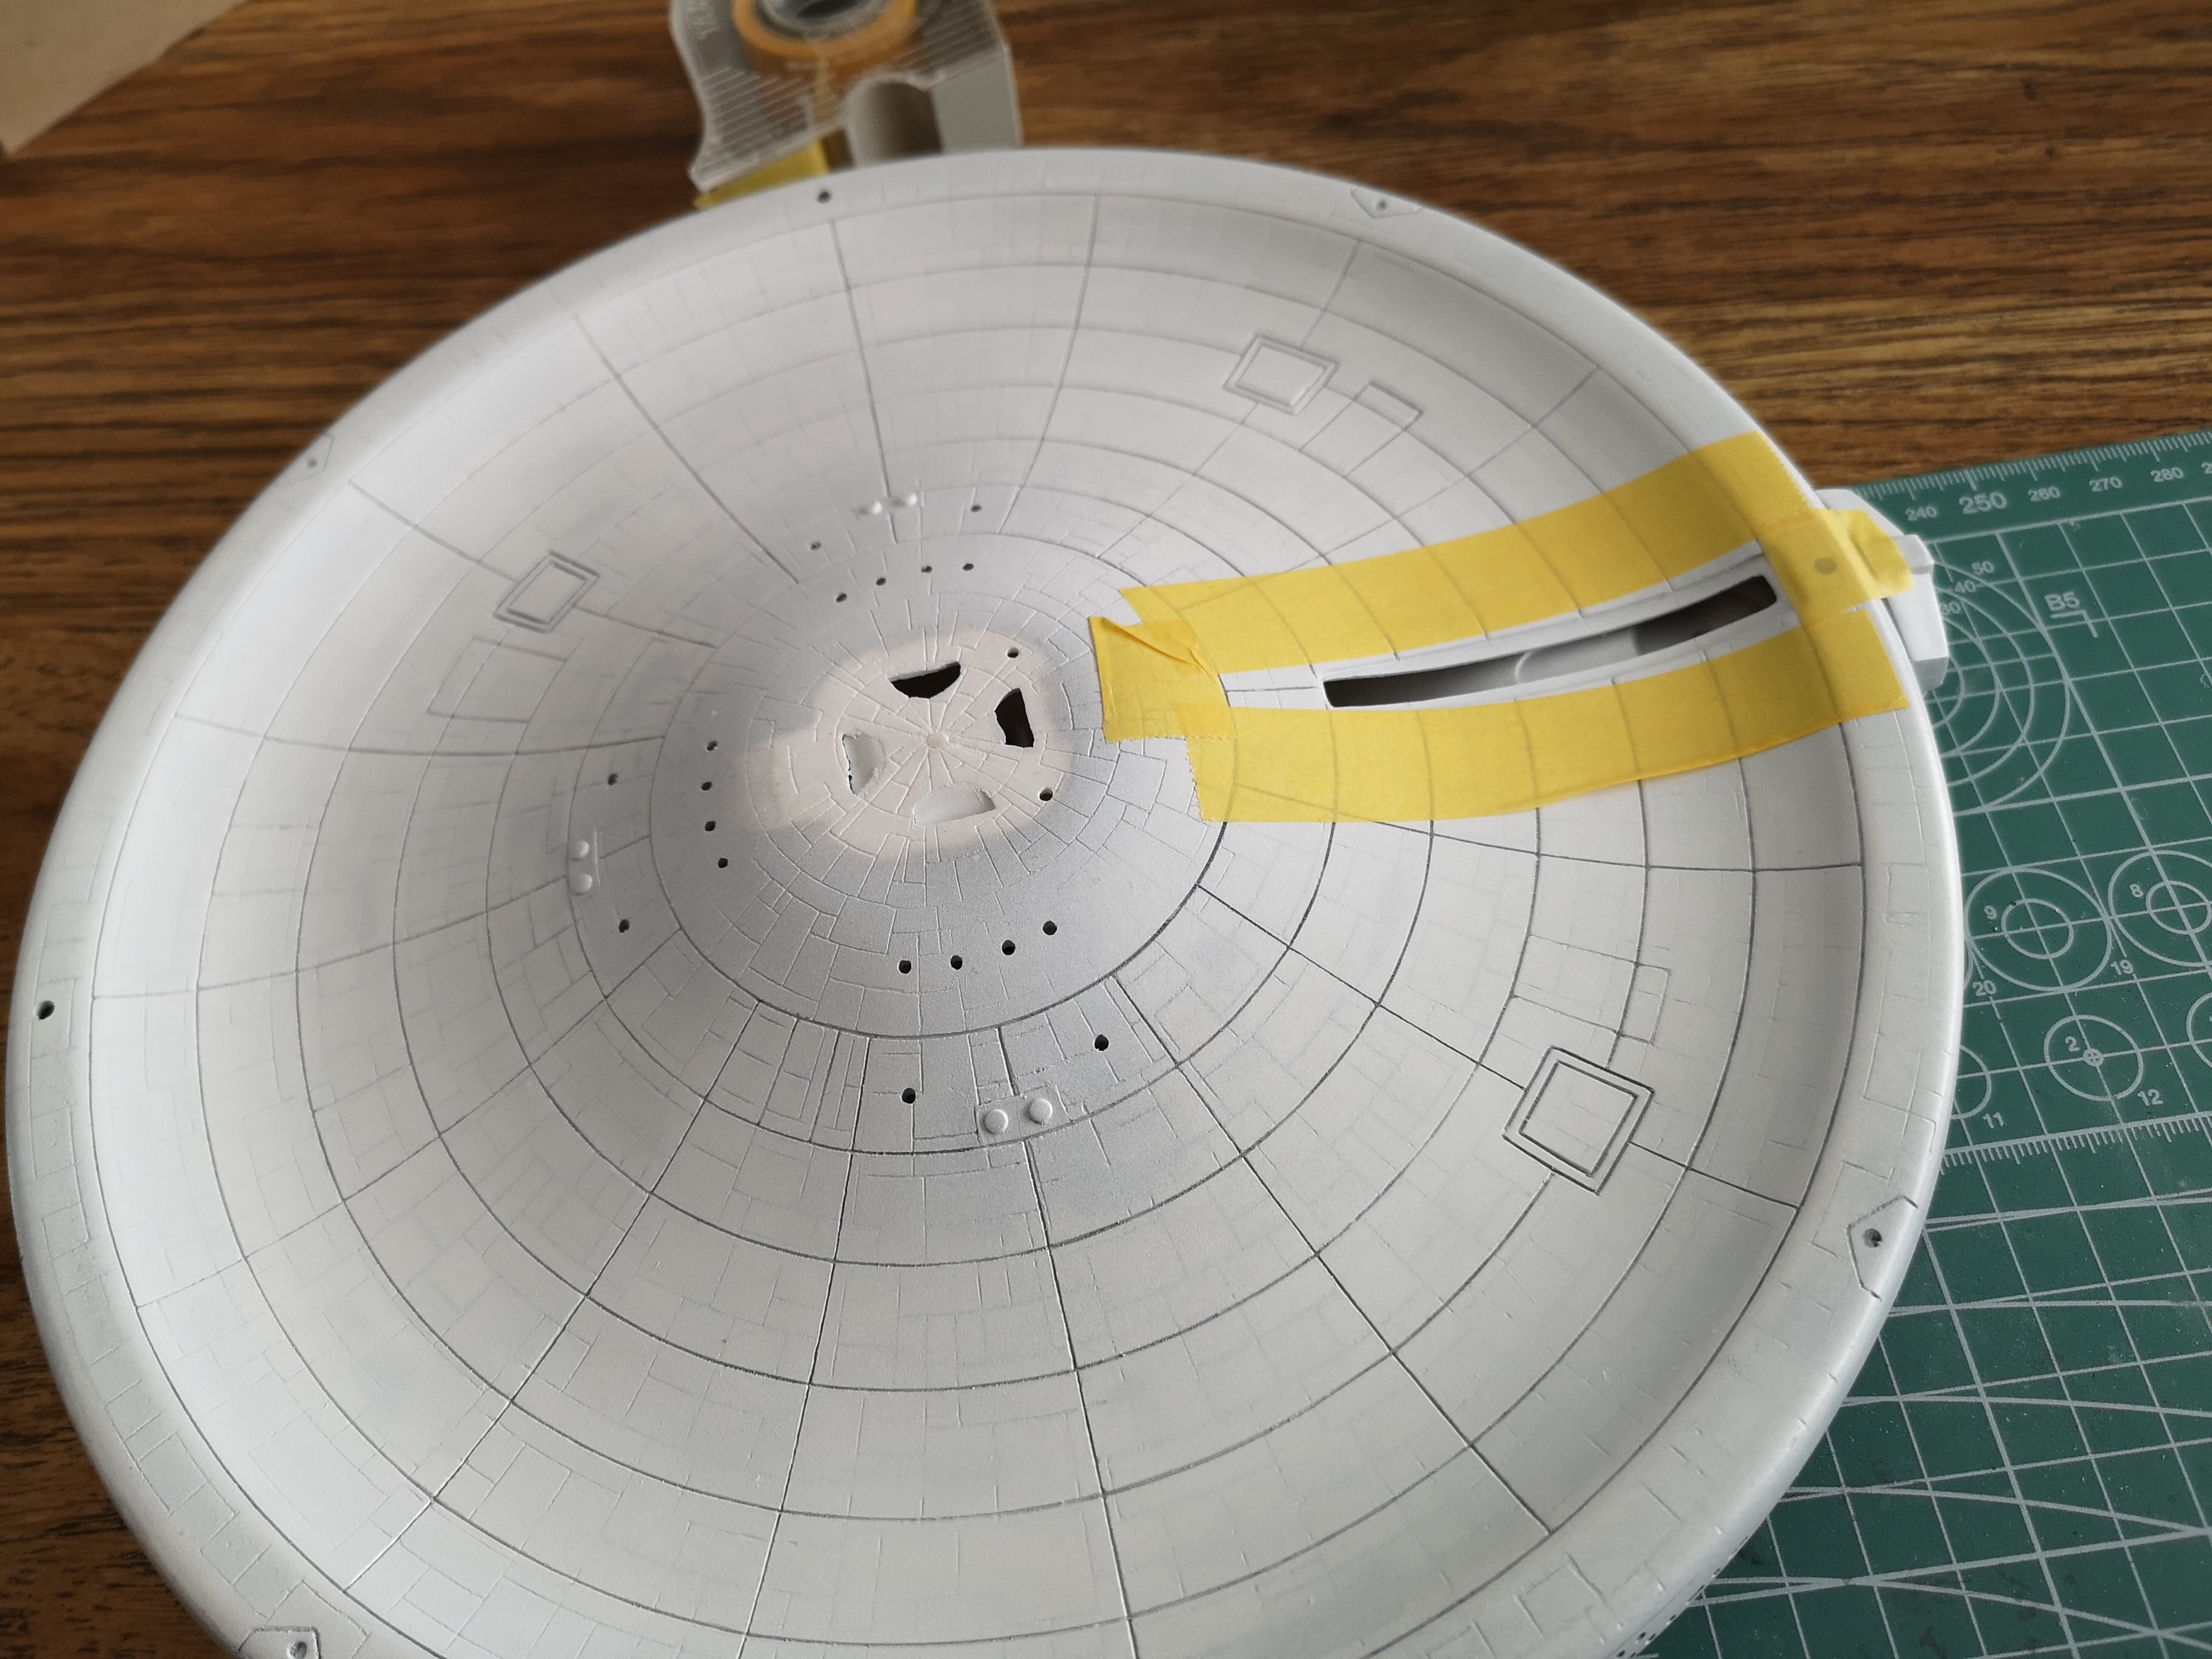
I'll post pics of my monstrosity next to yours, you'll feel better. Masking is not my forte Will probably spend the whole day masking.
-
That section will also be cover by a big Aztec decal....I'll try to fix it first....see what happens, lol!
-
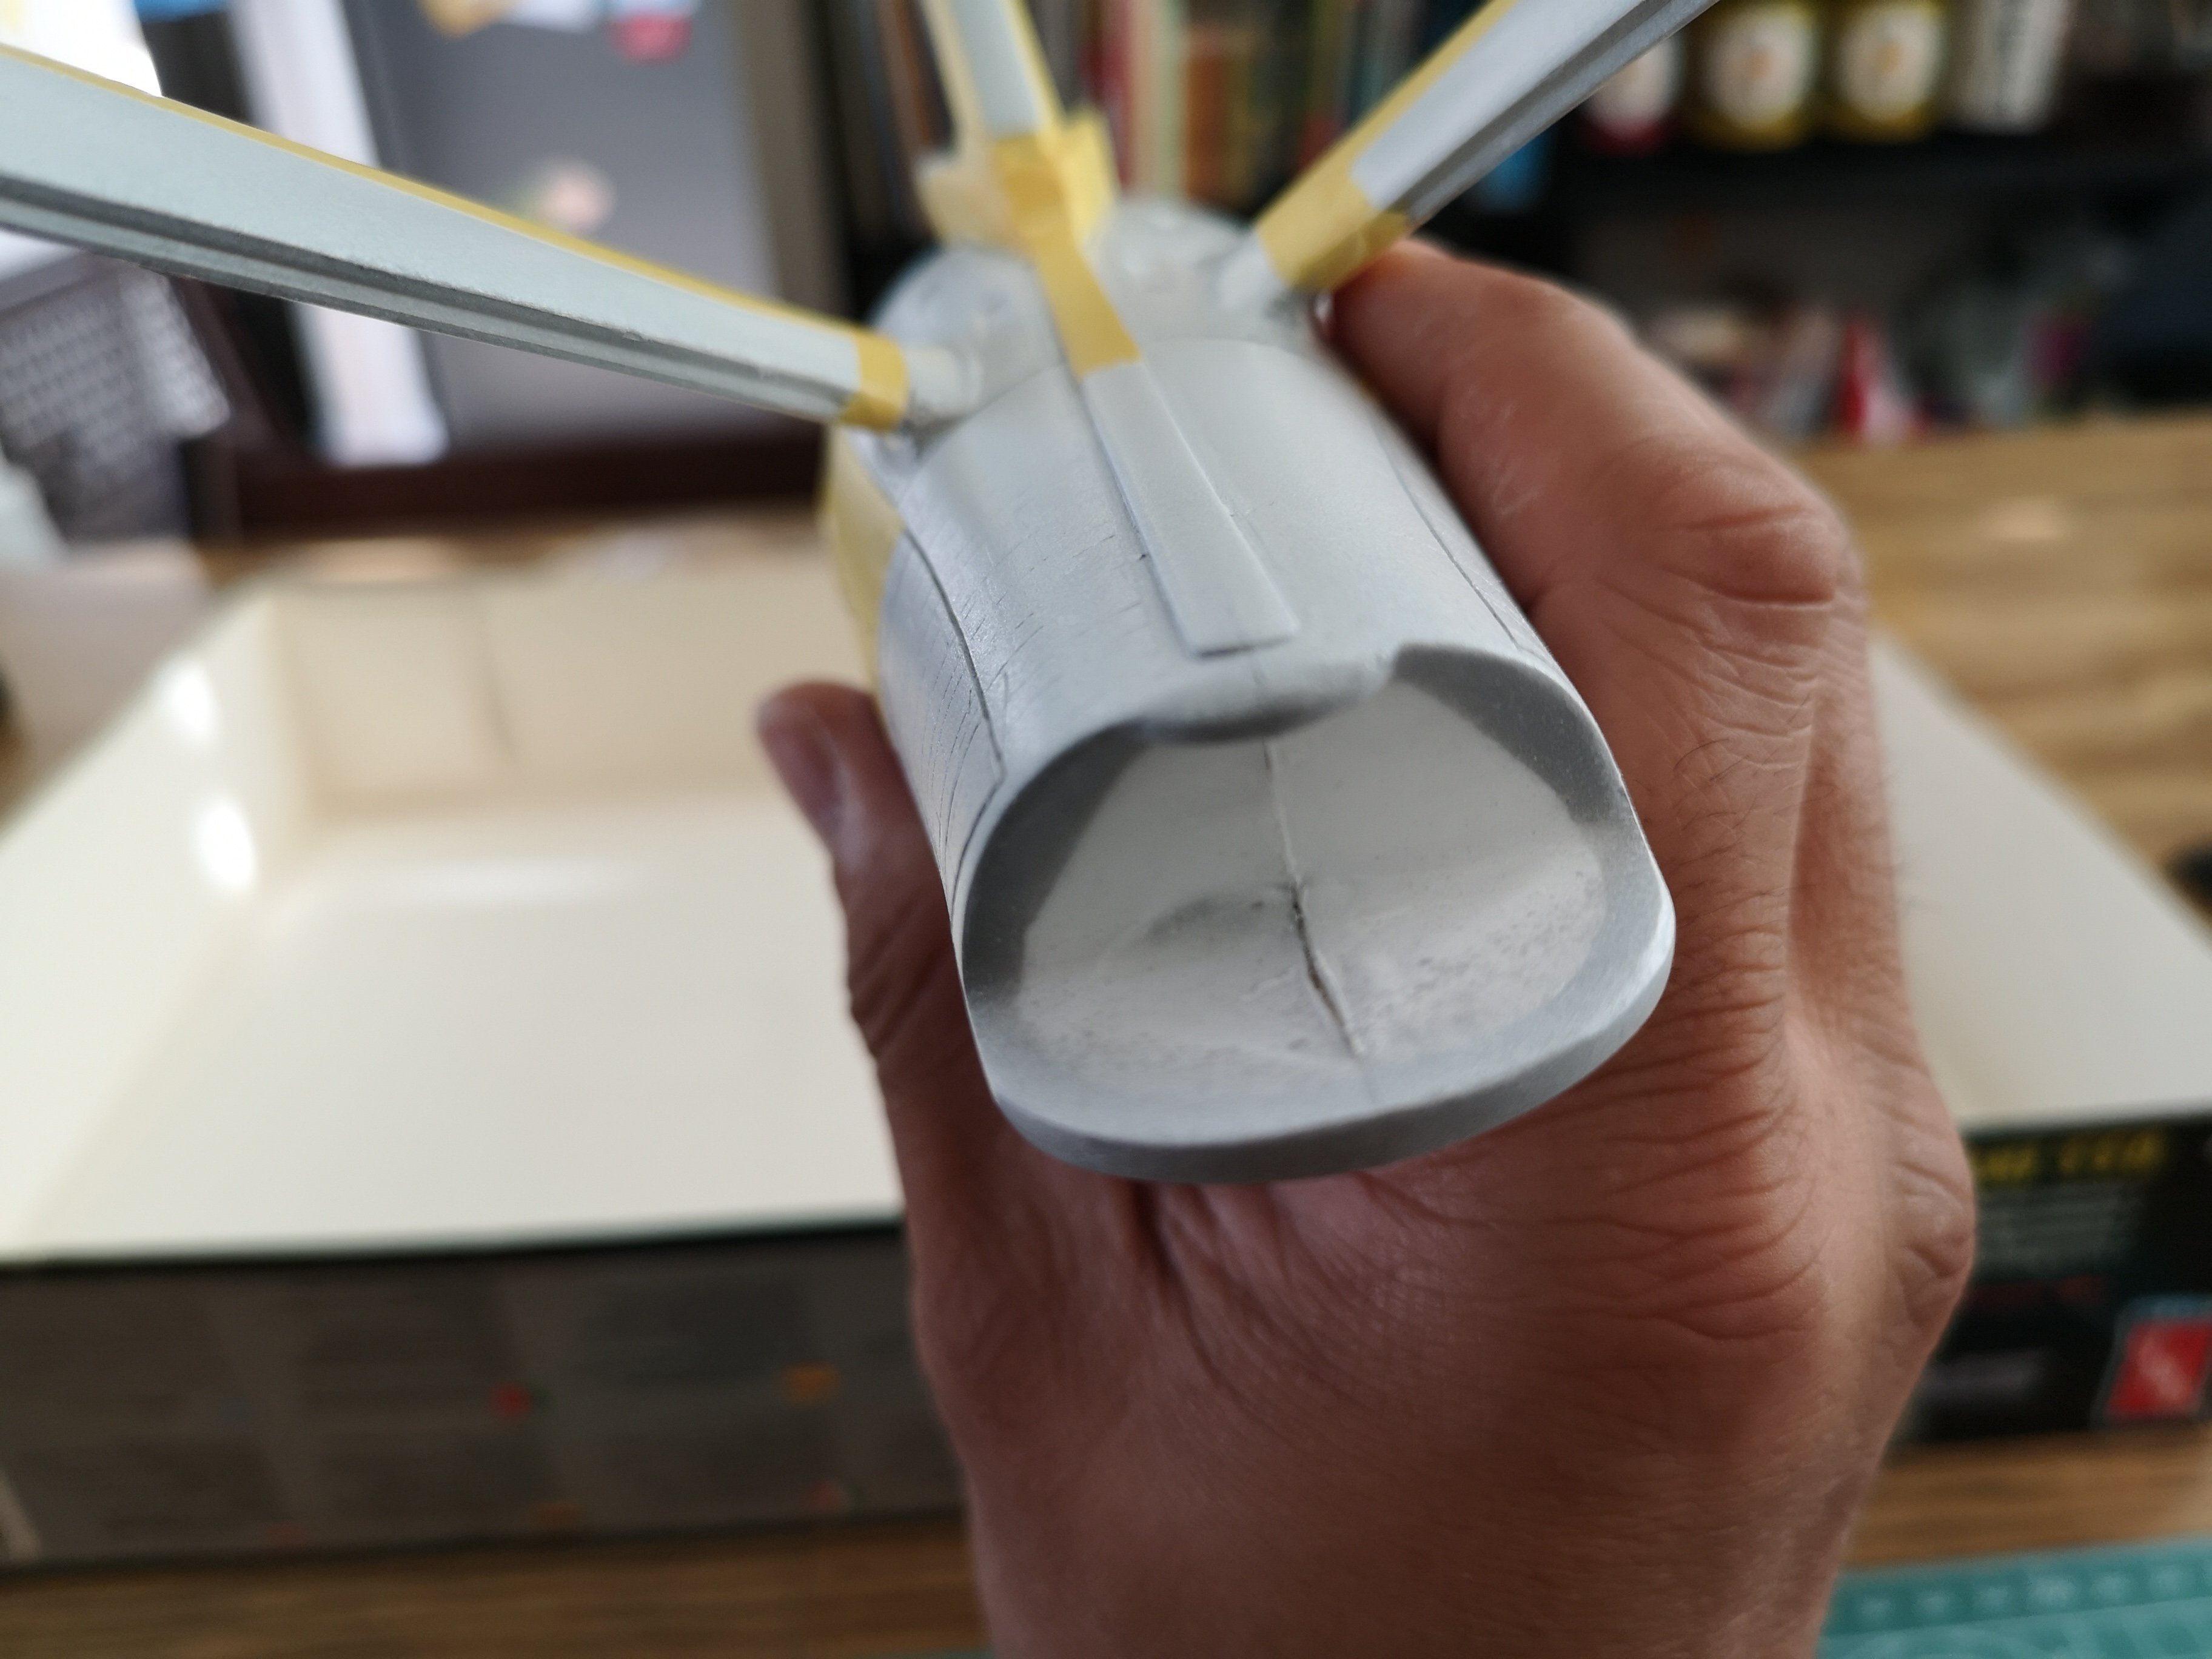
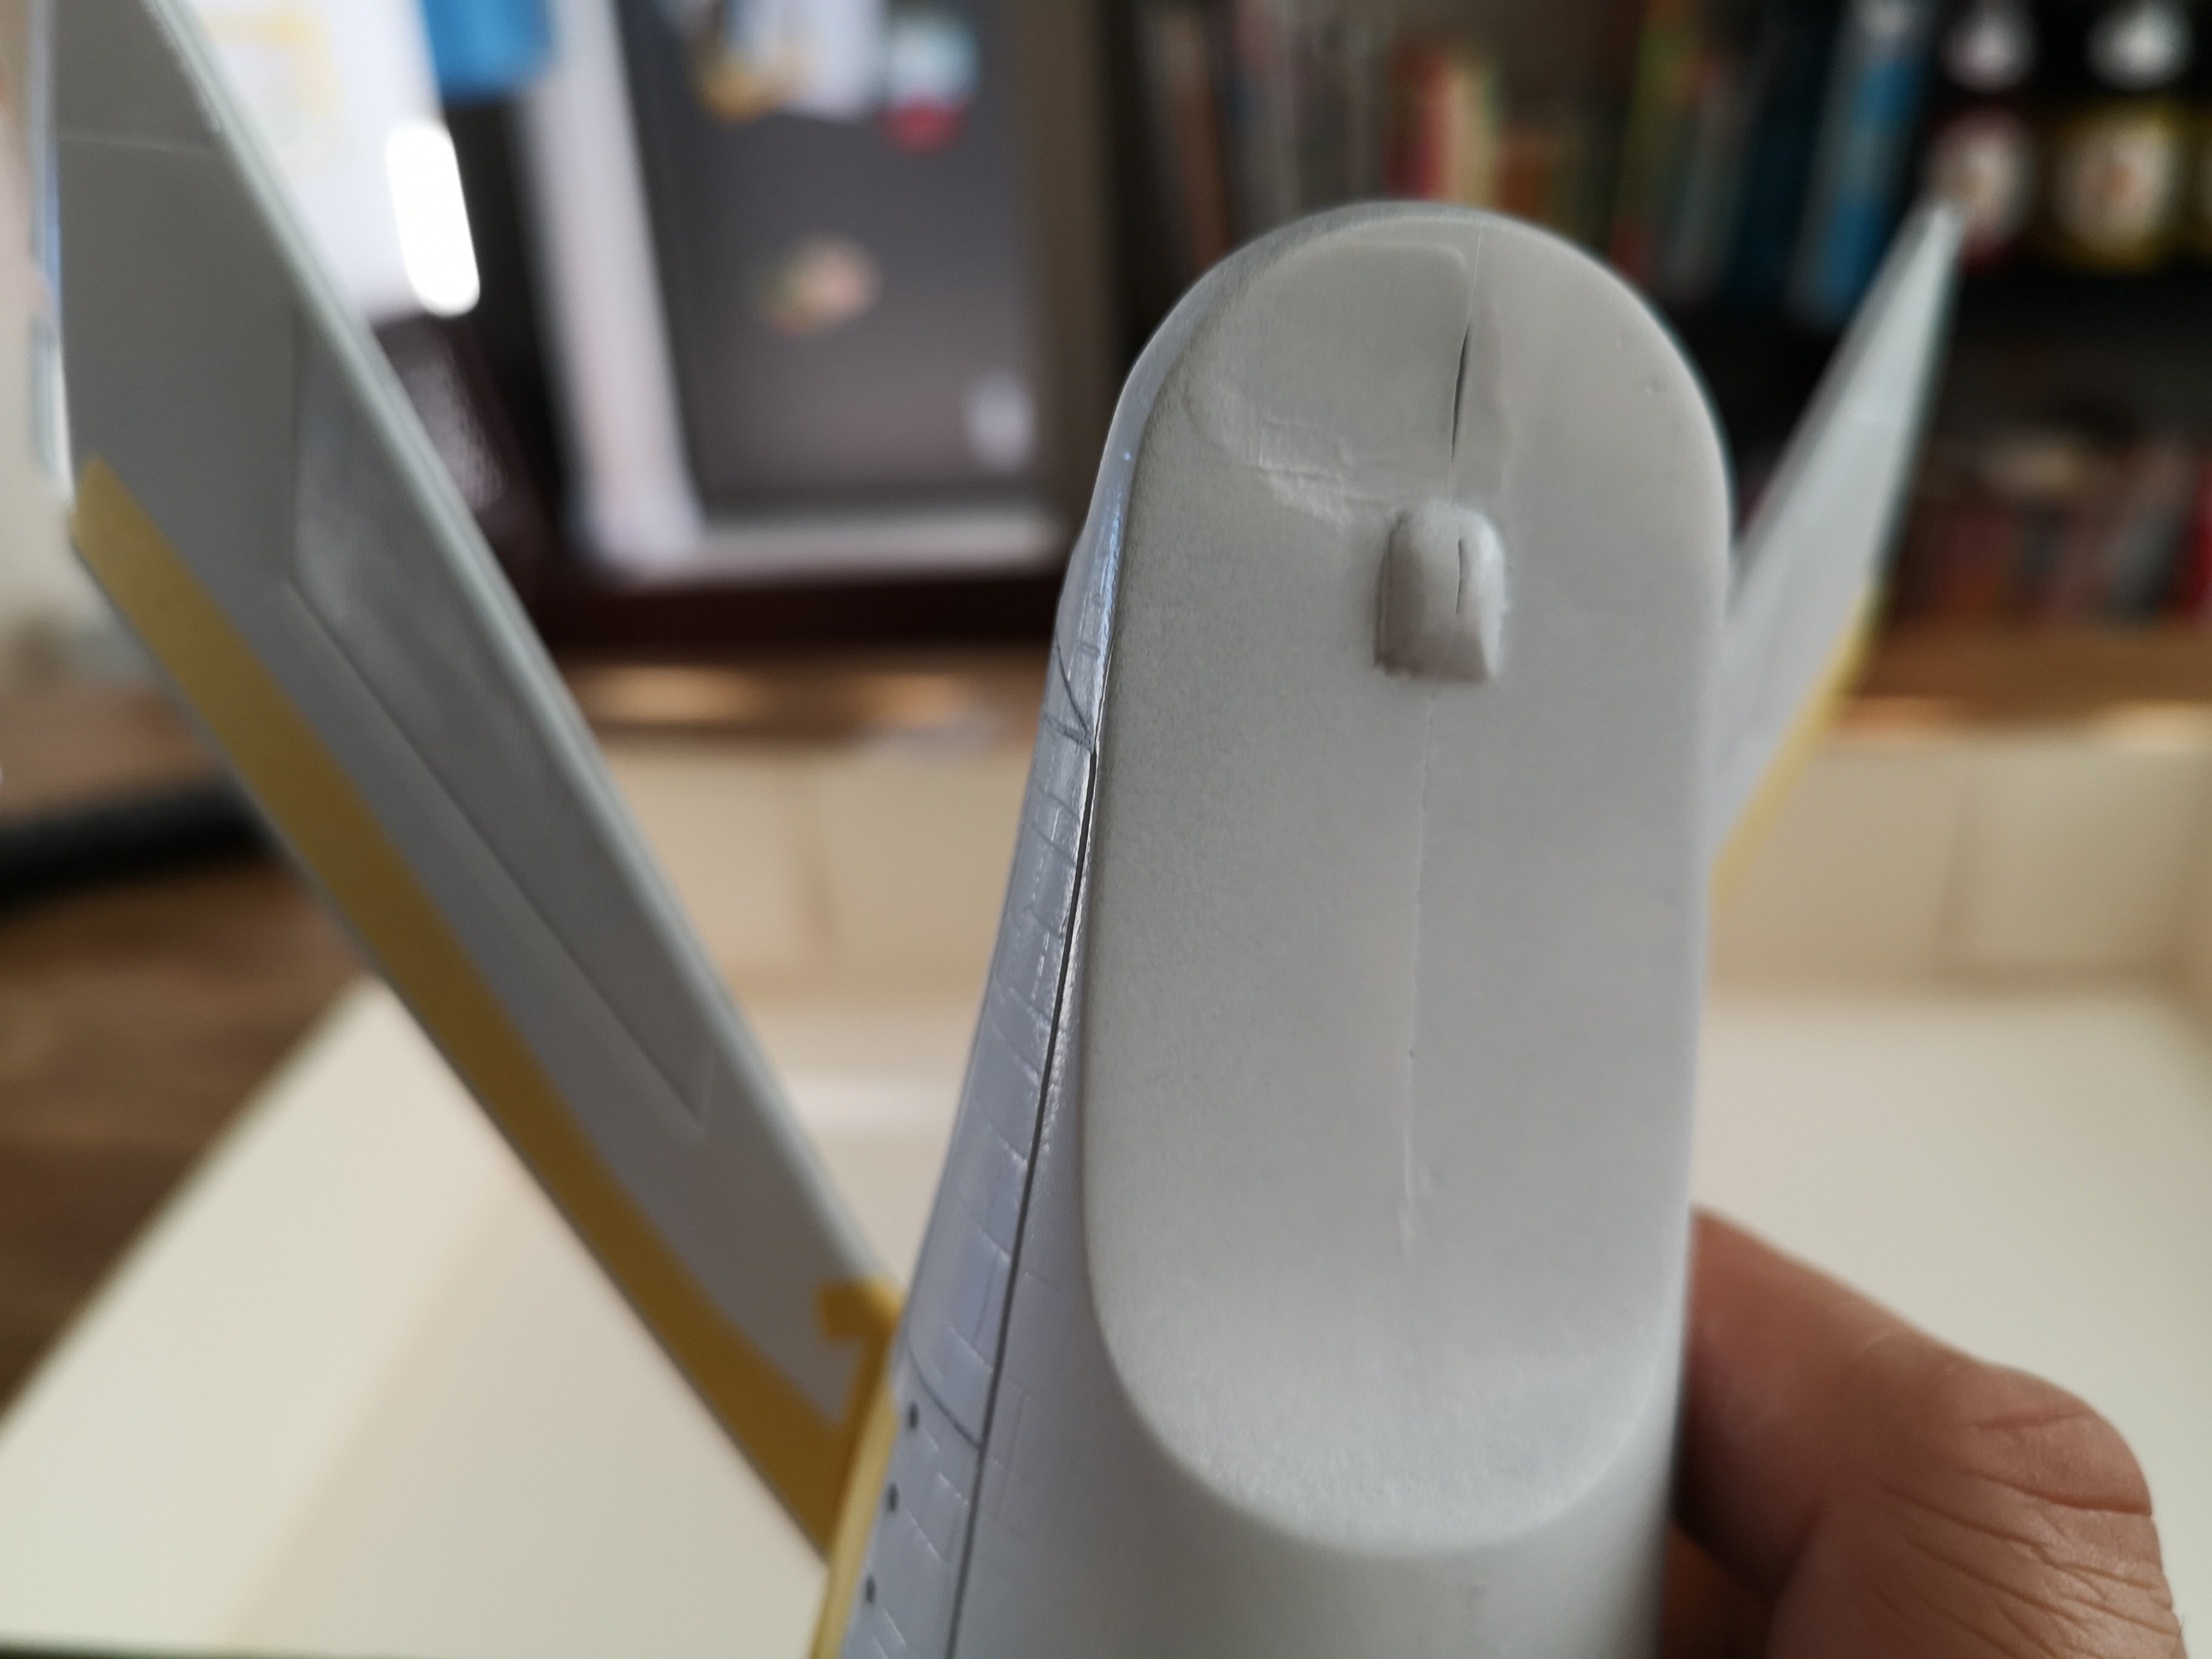
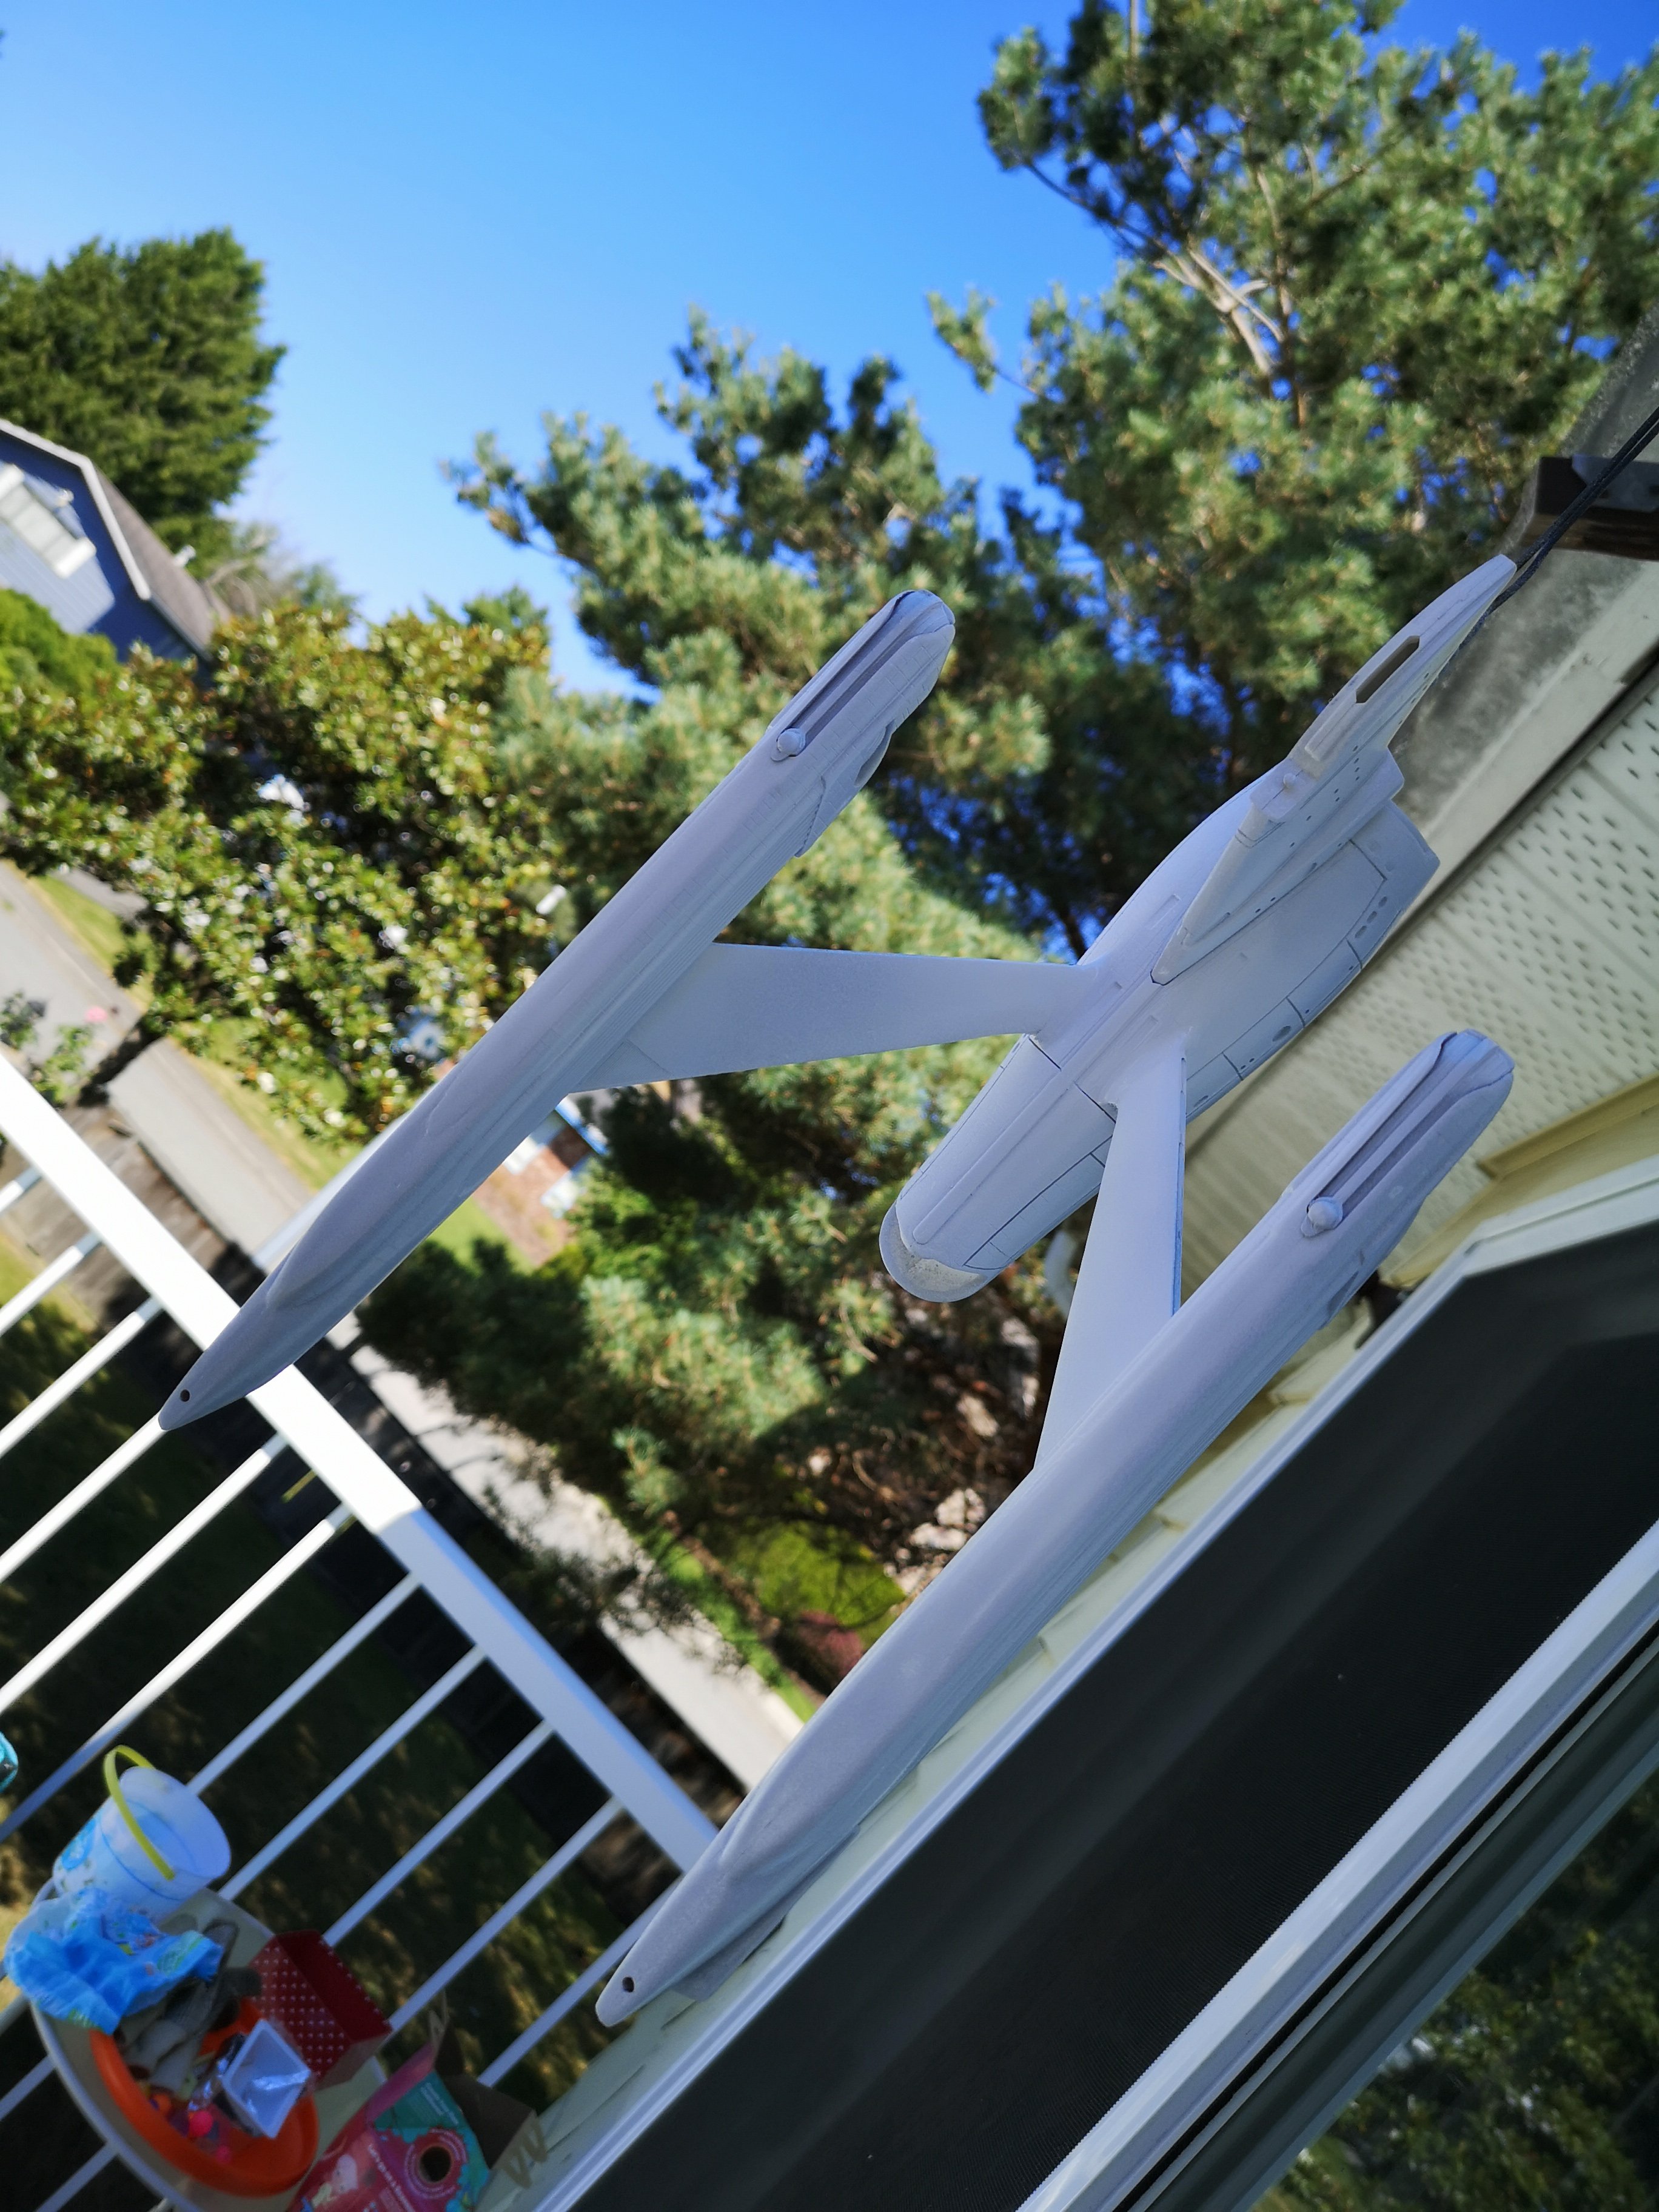
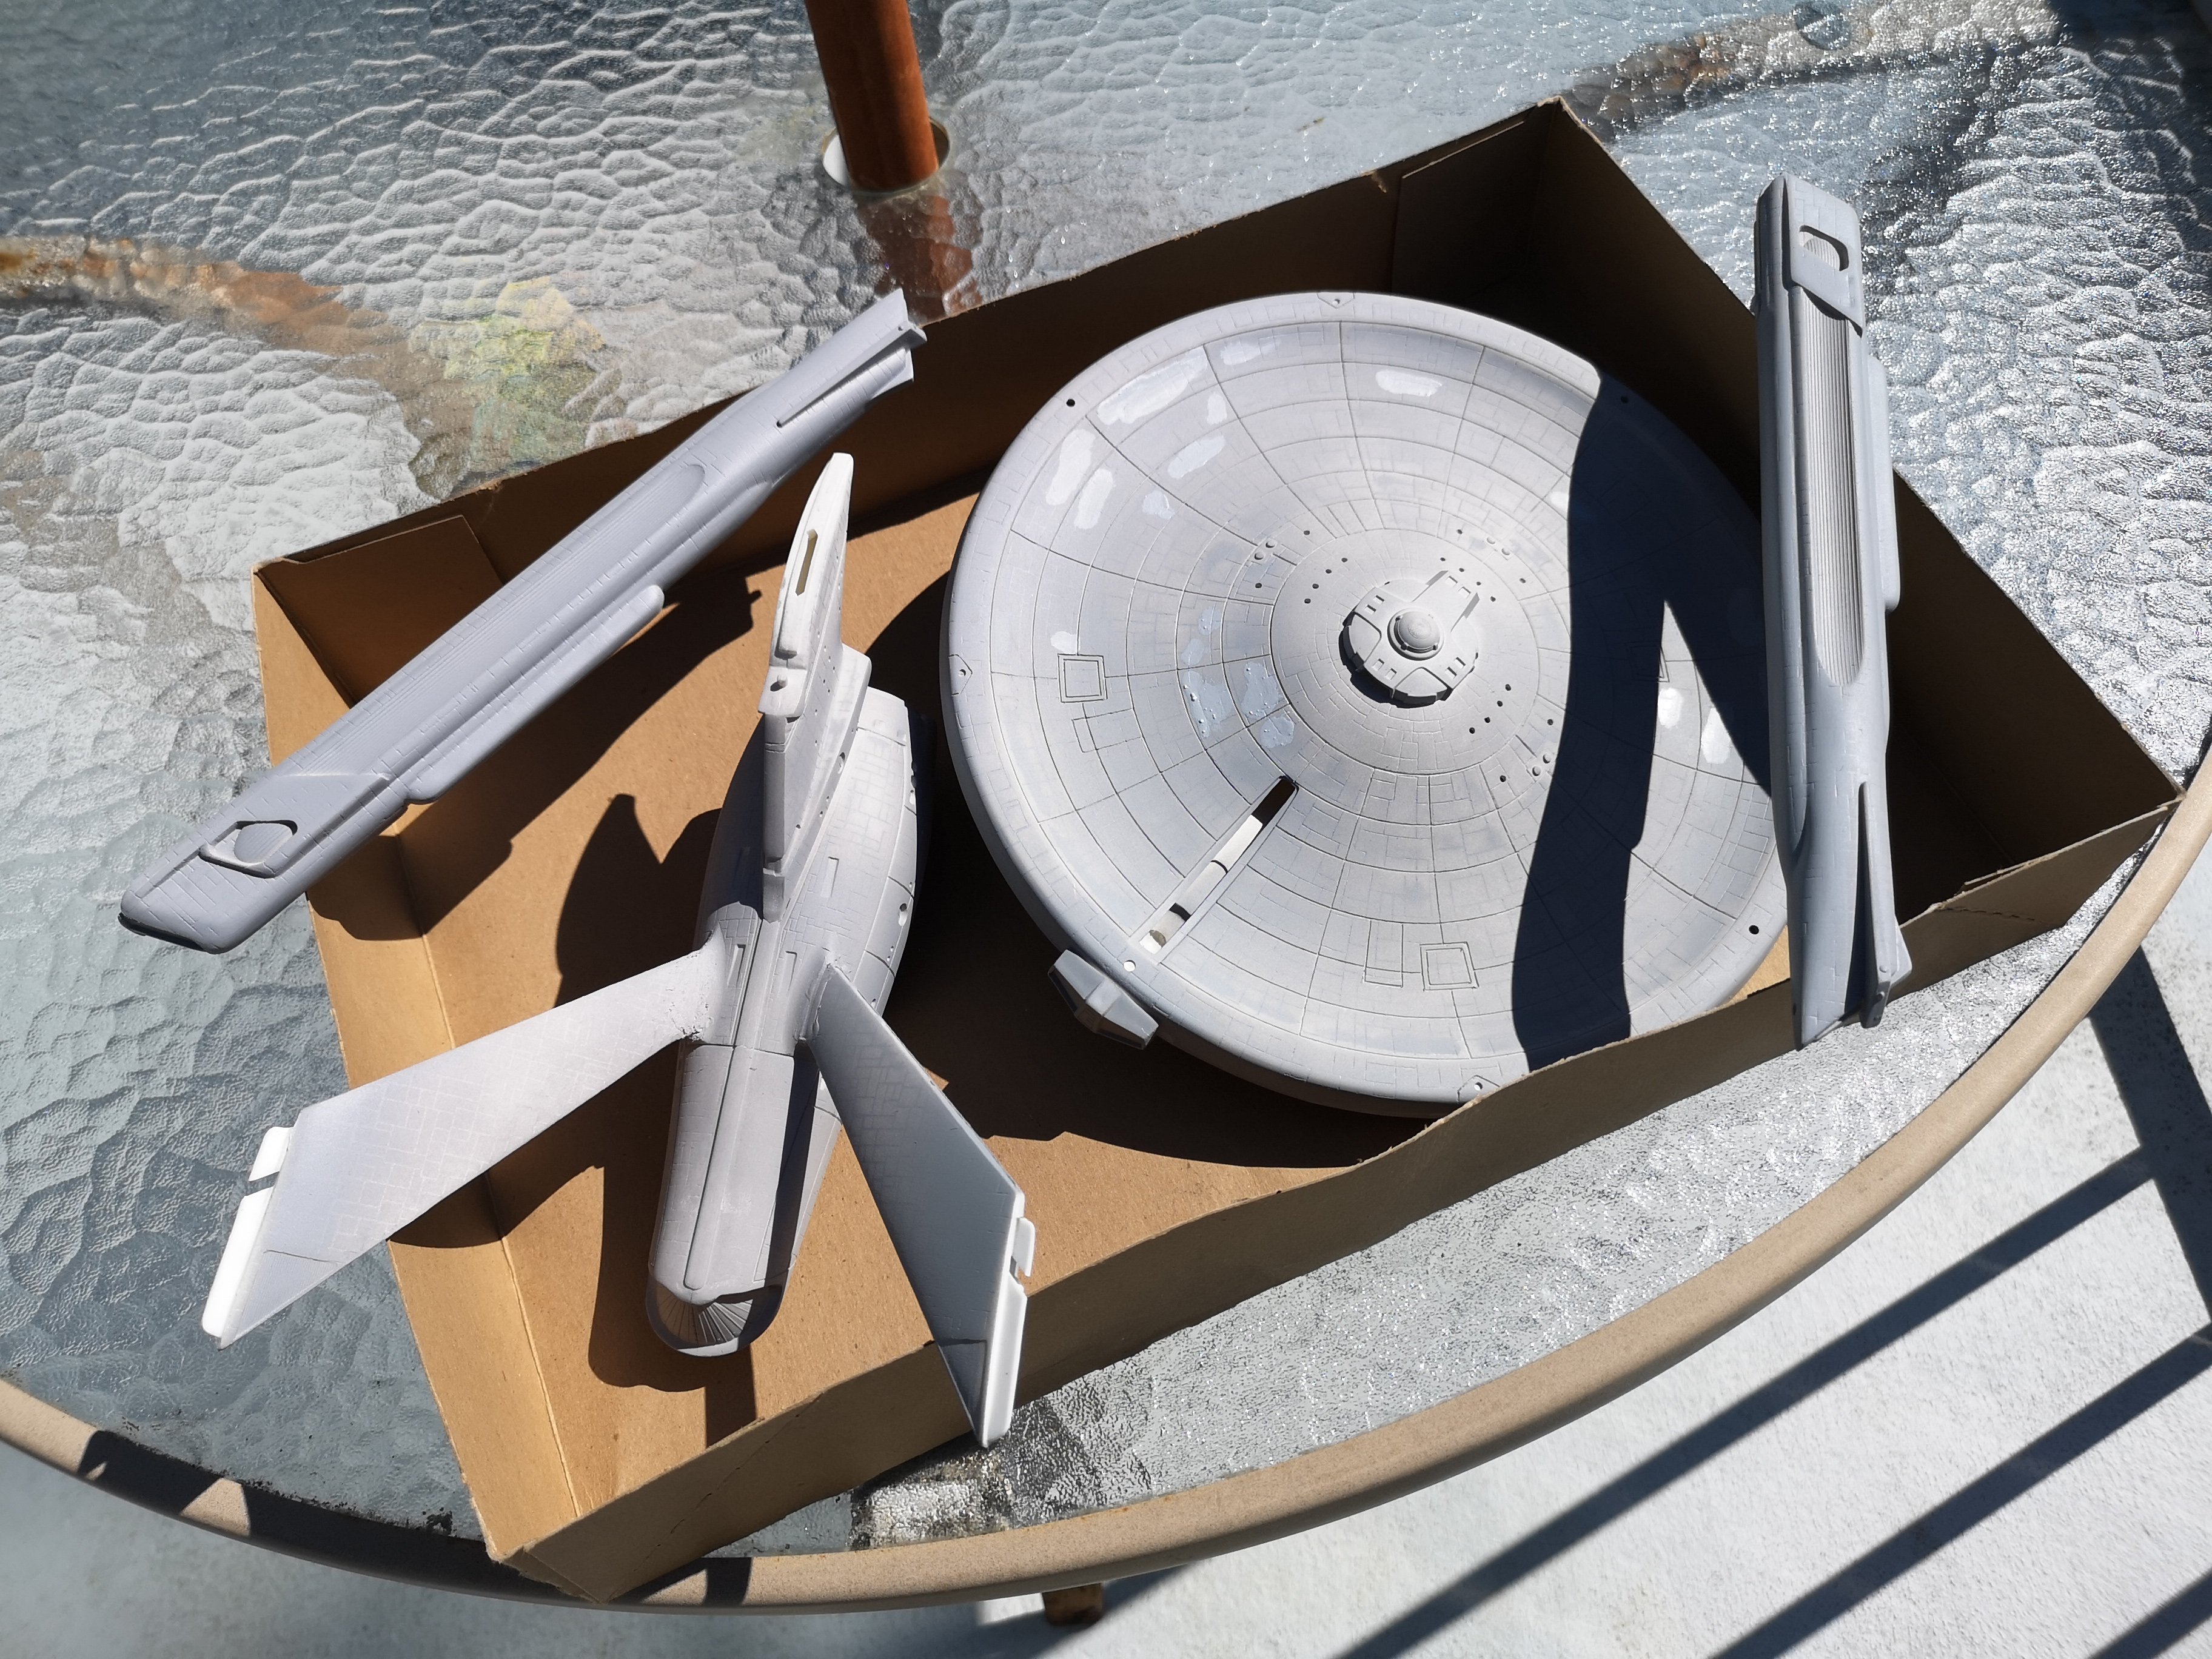
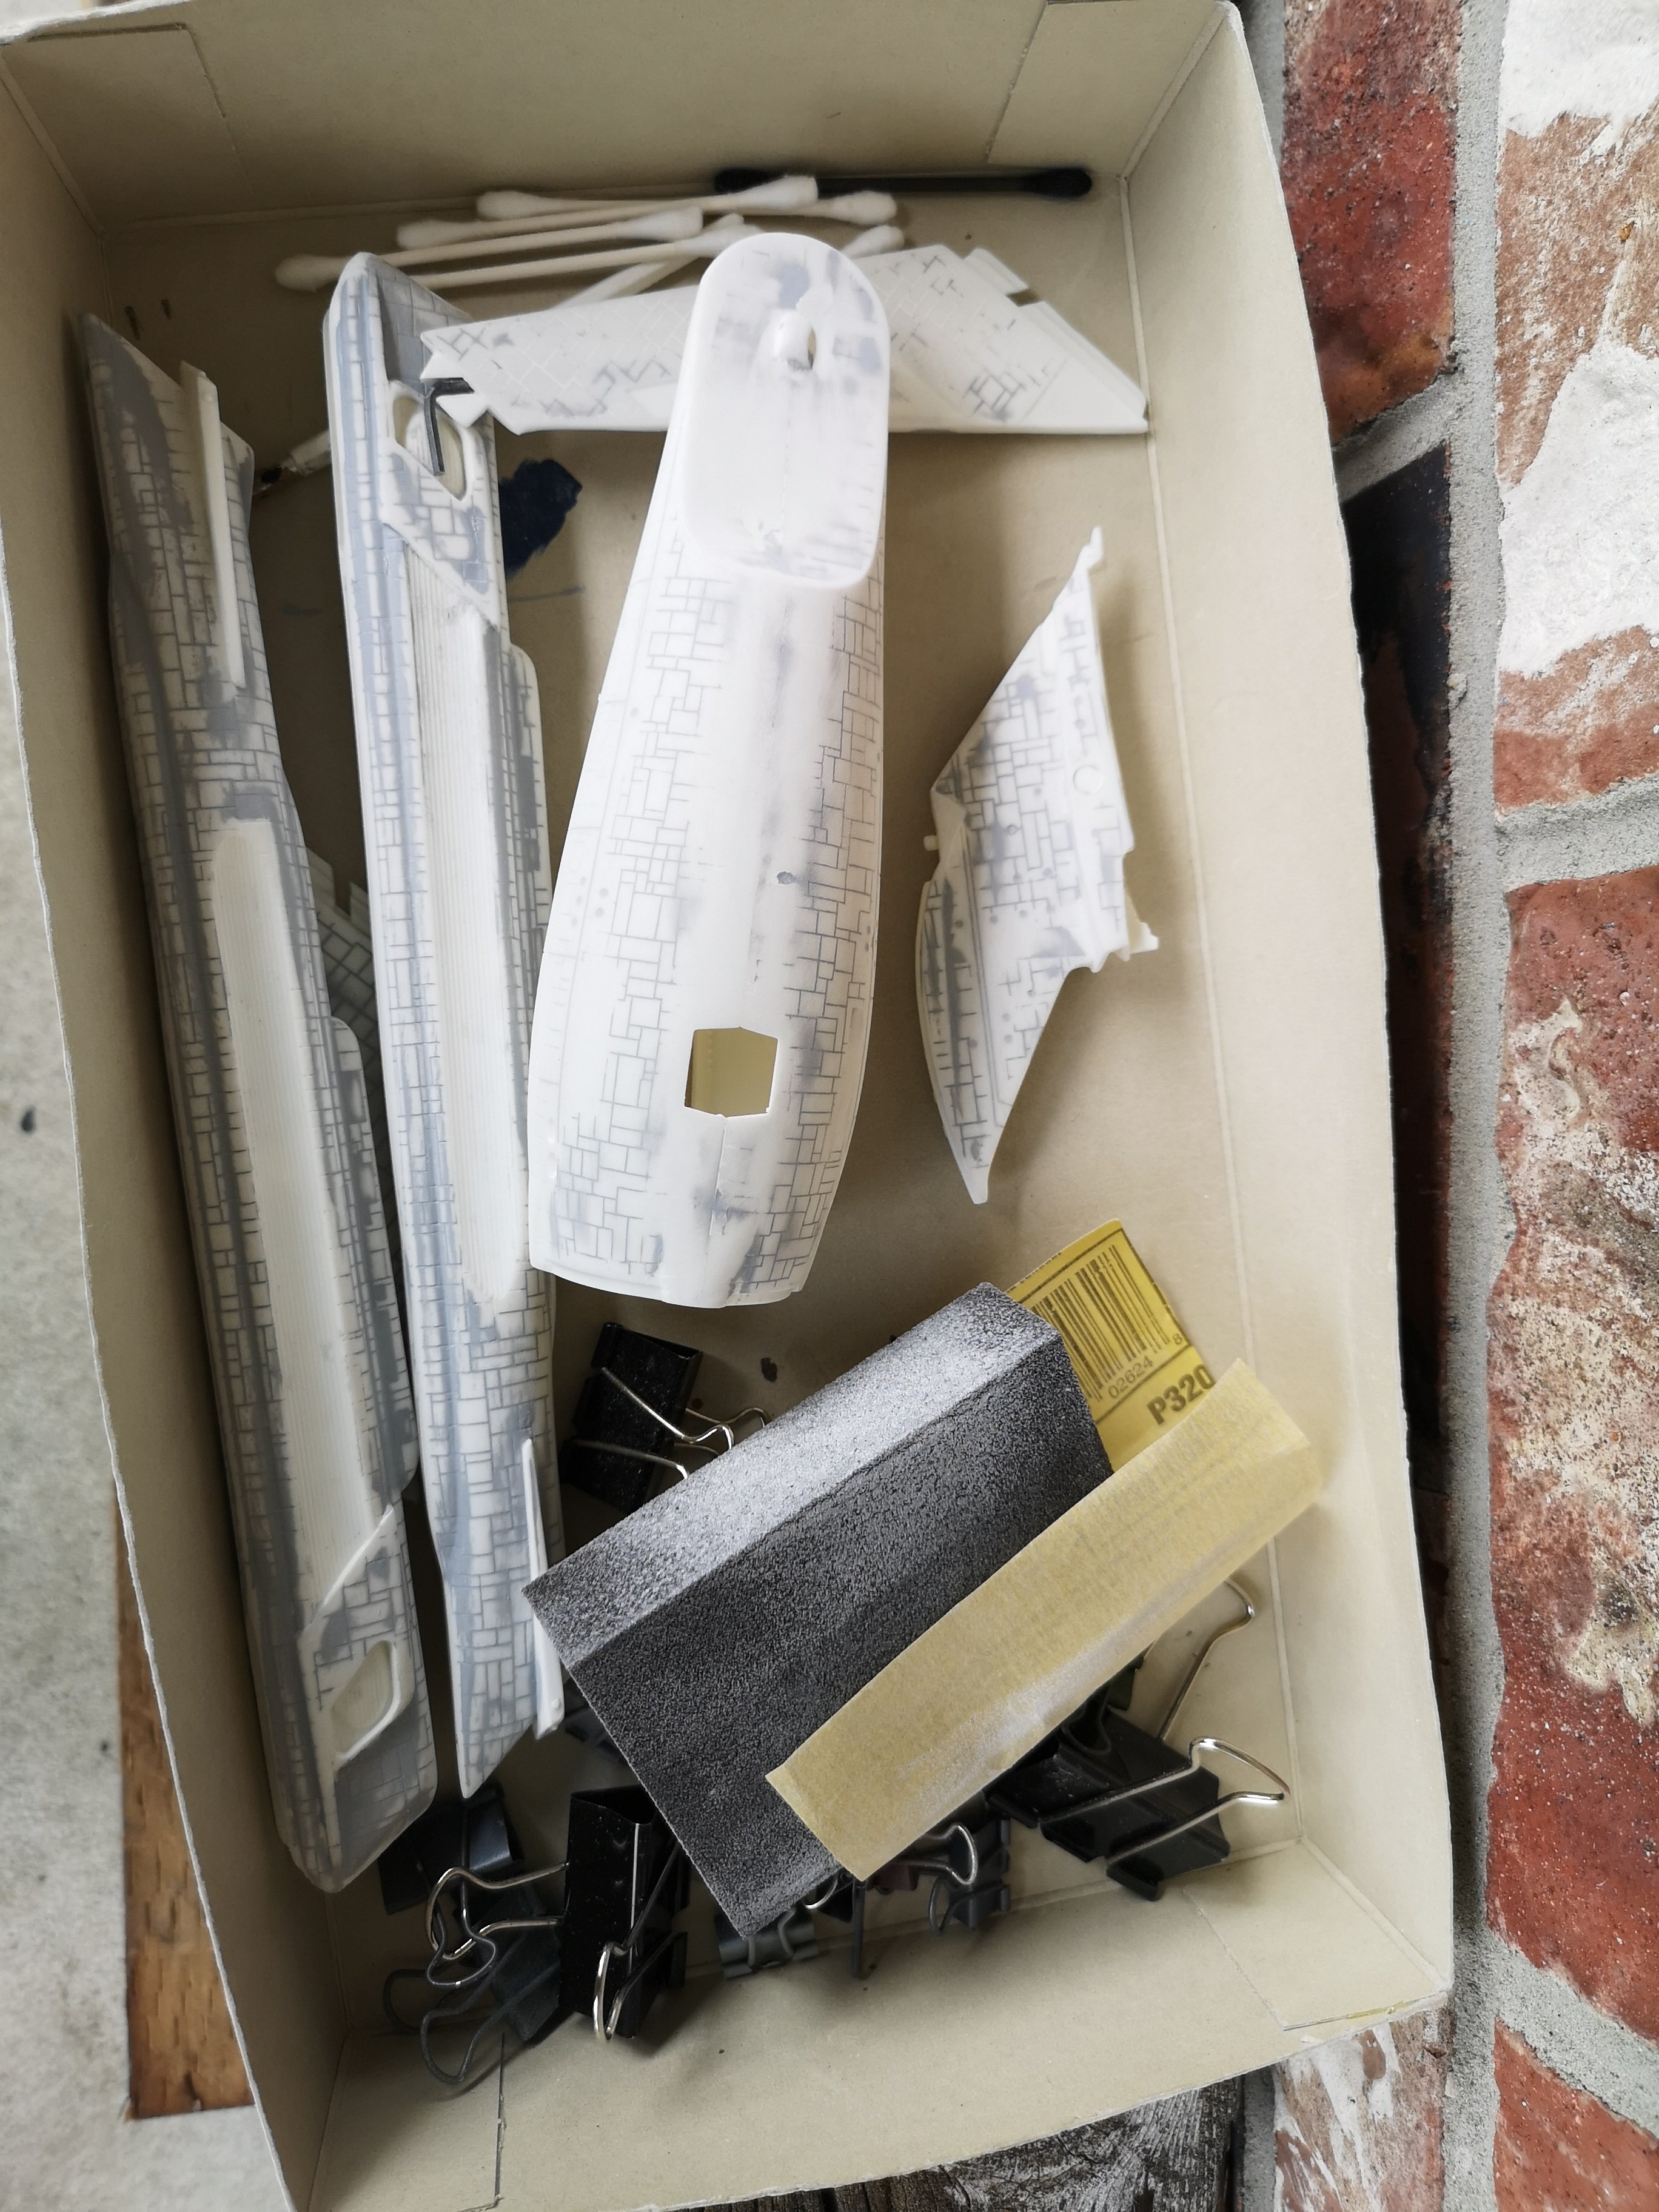
But speaking of catastrophic problems on my Refit build, I was letting the paint cure outside on the body, but it always felt cool too the touch because of the white paint I guess. Inside was a different matter. The hunks of metal and glue heated up inside and started to deform the fantail and inside of the shuttle bay. The plastic was actually soft to the touch. I brought the kit inside and the plastic started to harden up. Anyway, I'll give it a few hours, see if it's a write off, but for now, I'll keep masking other parts.
-
Oh wow, those are just awesome!
-
I post to serve as a warning to others, lol! I suddenly remembered when one of the pylons broke on my first one back in grade 8, I had absolutely no idea how to fix it. There was no internet, and I didn't know many other kids that built models. I poured so much glue on it I think it deformed the plastic on the secondary hull. Then I tried Crazy Glue to fix it but that didn't work.
-
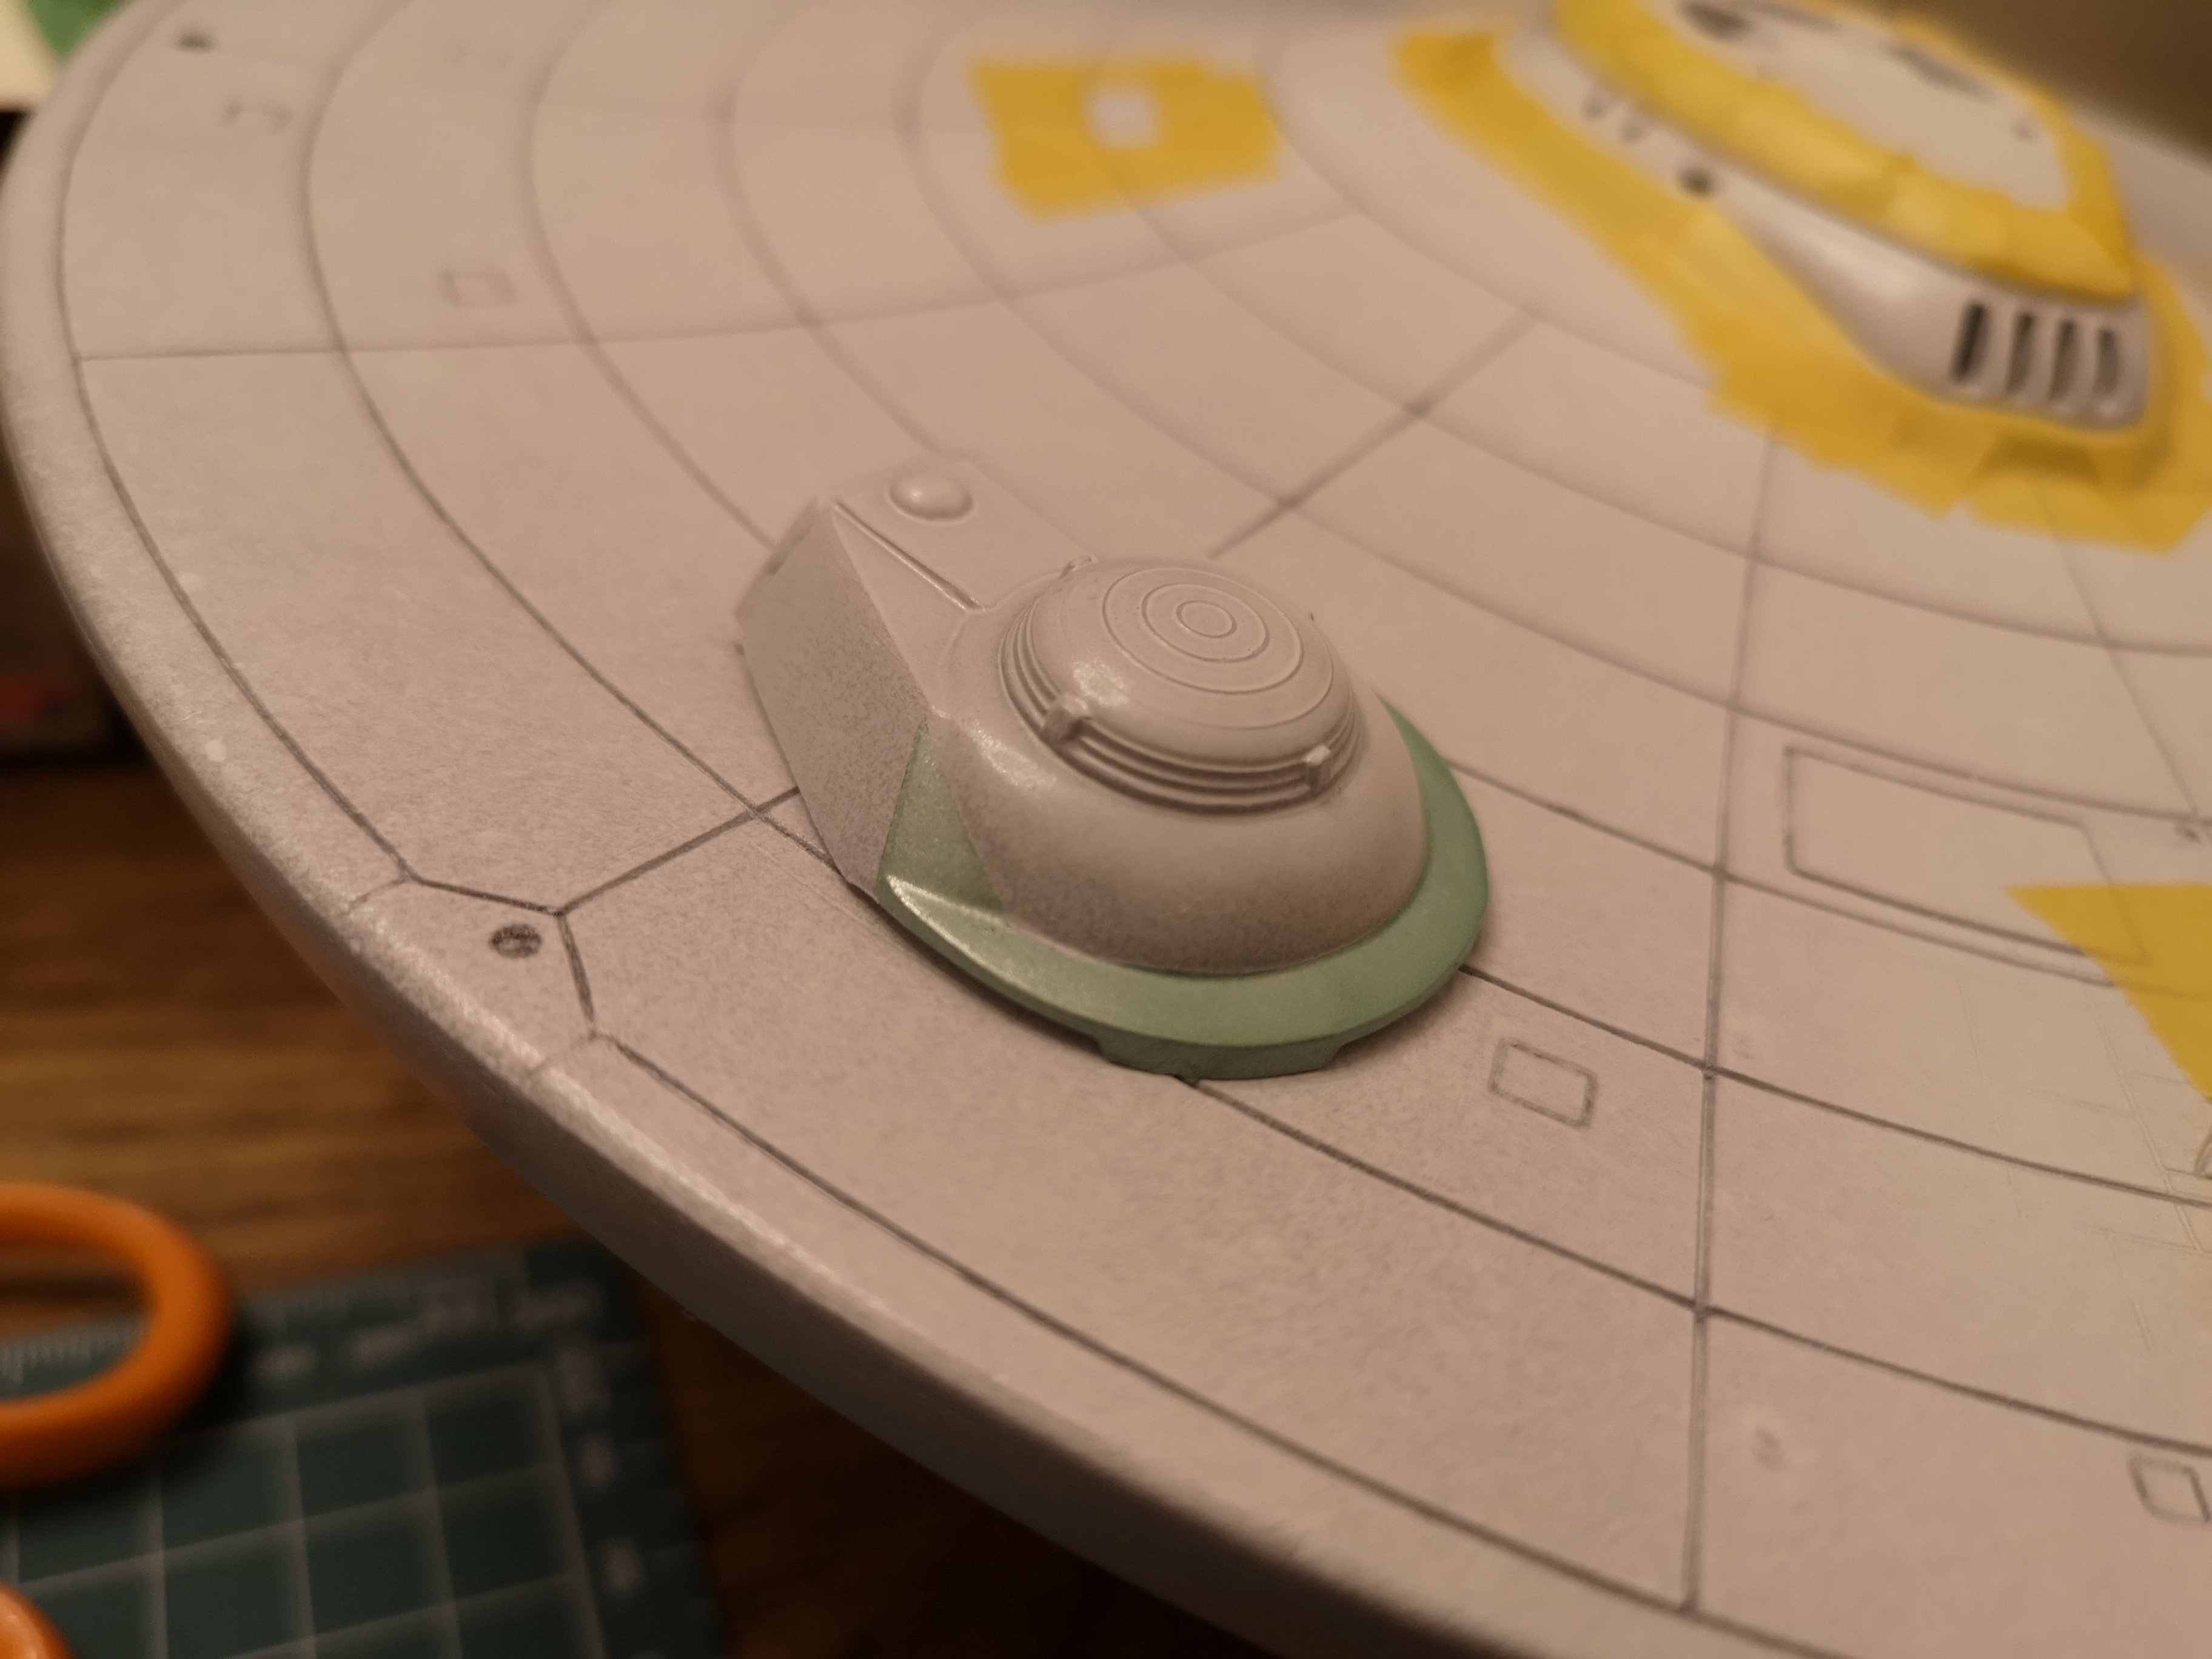
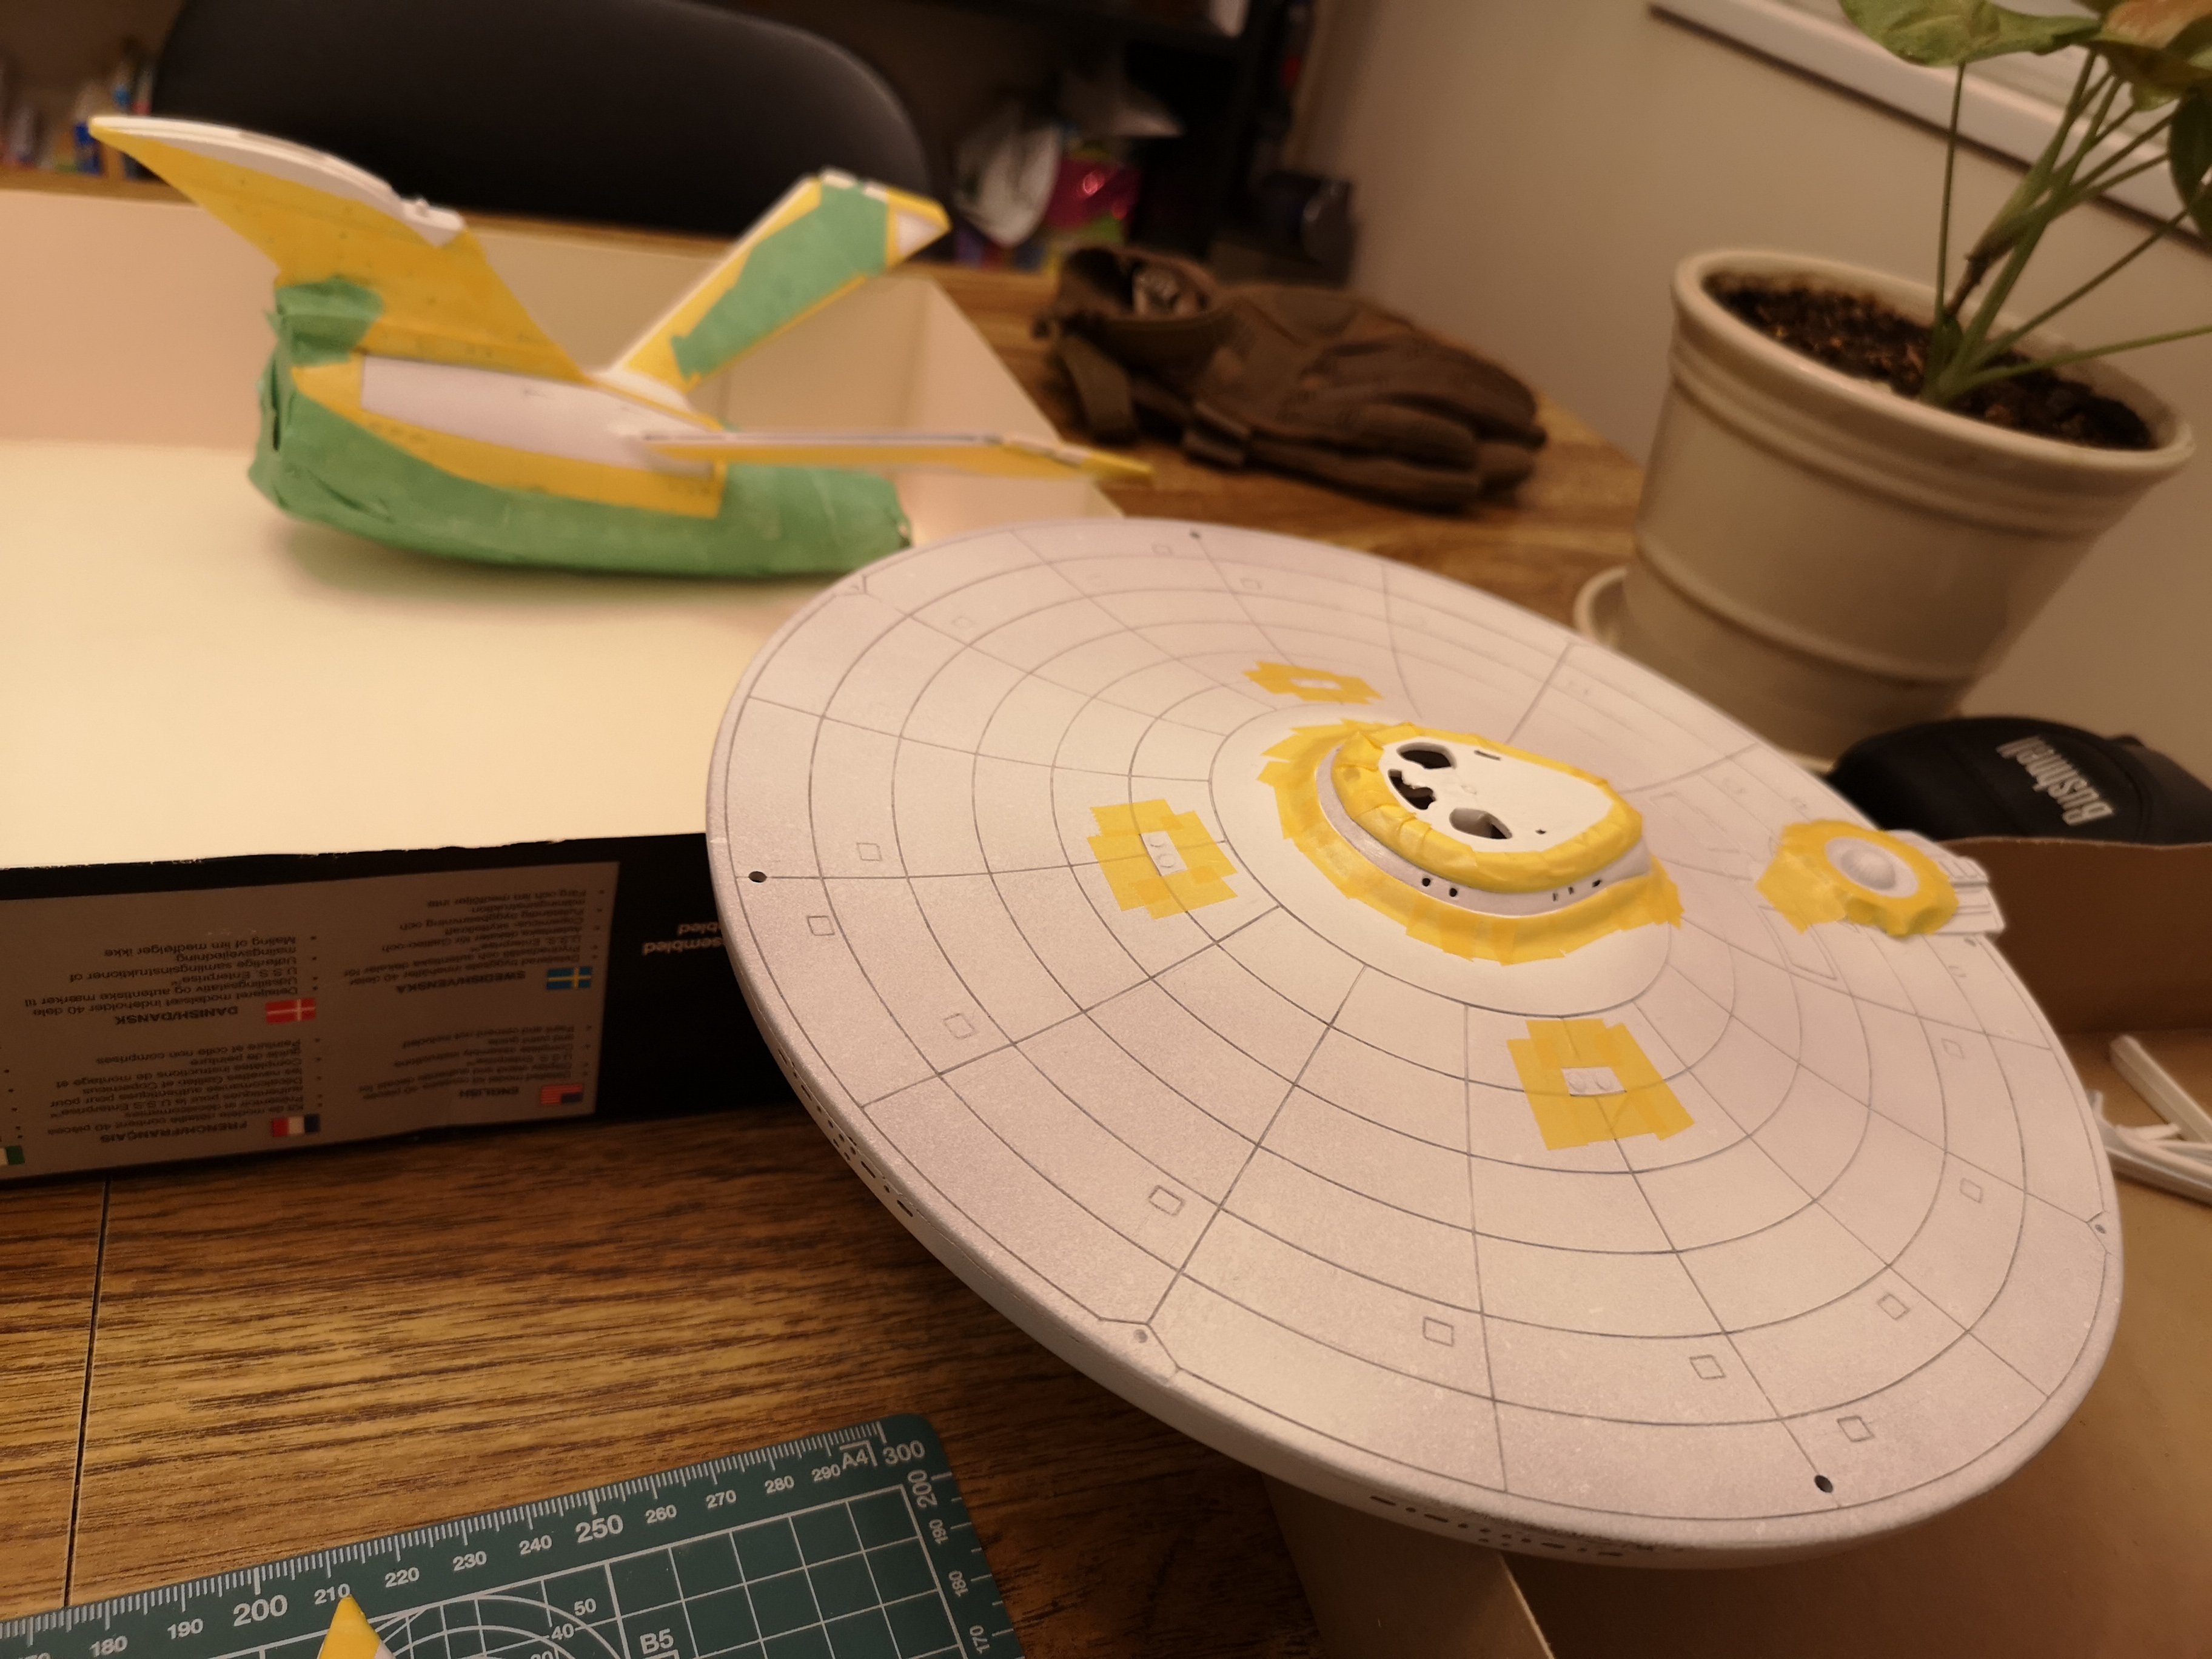
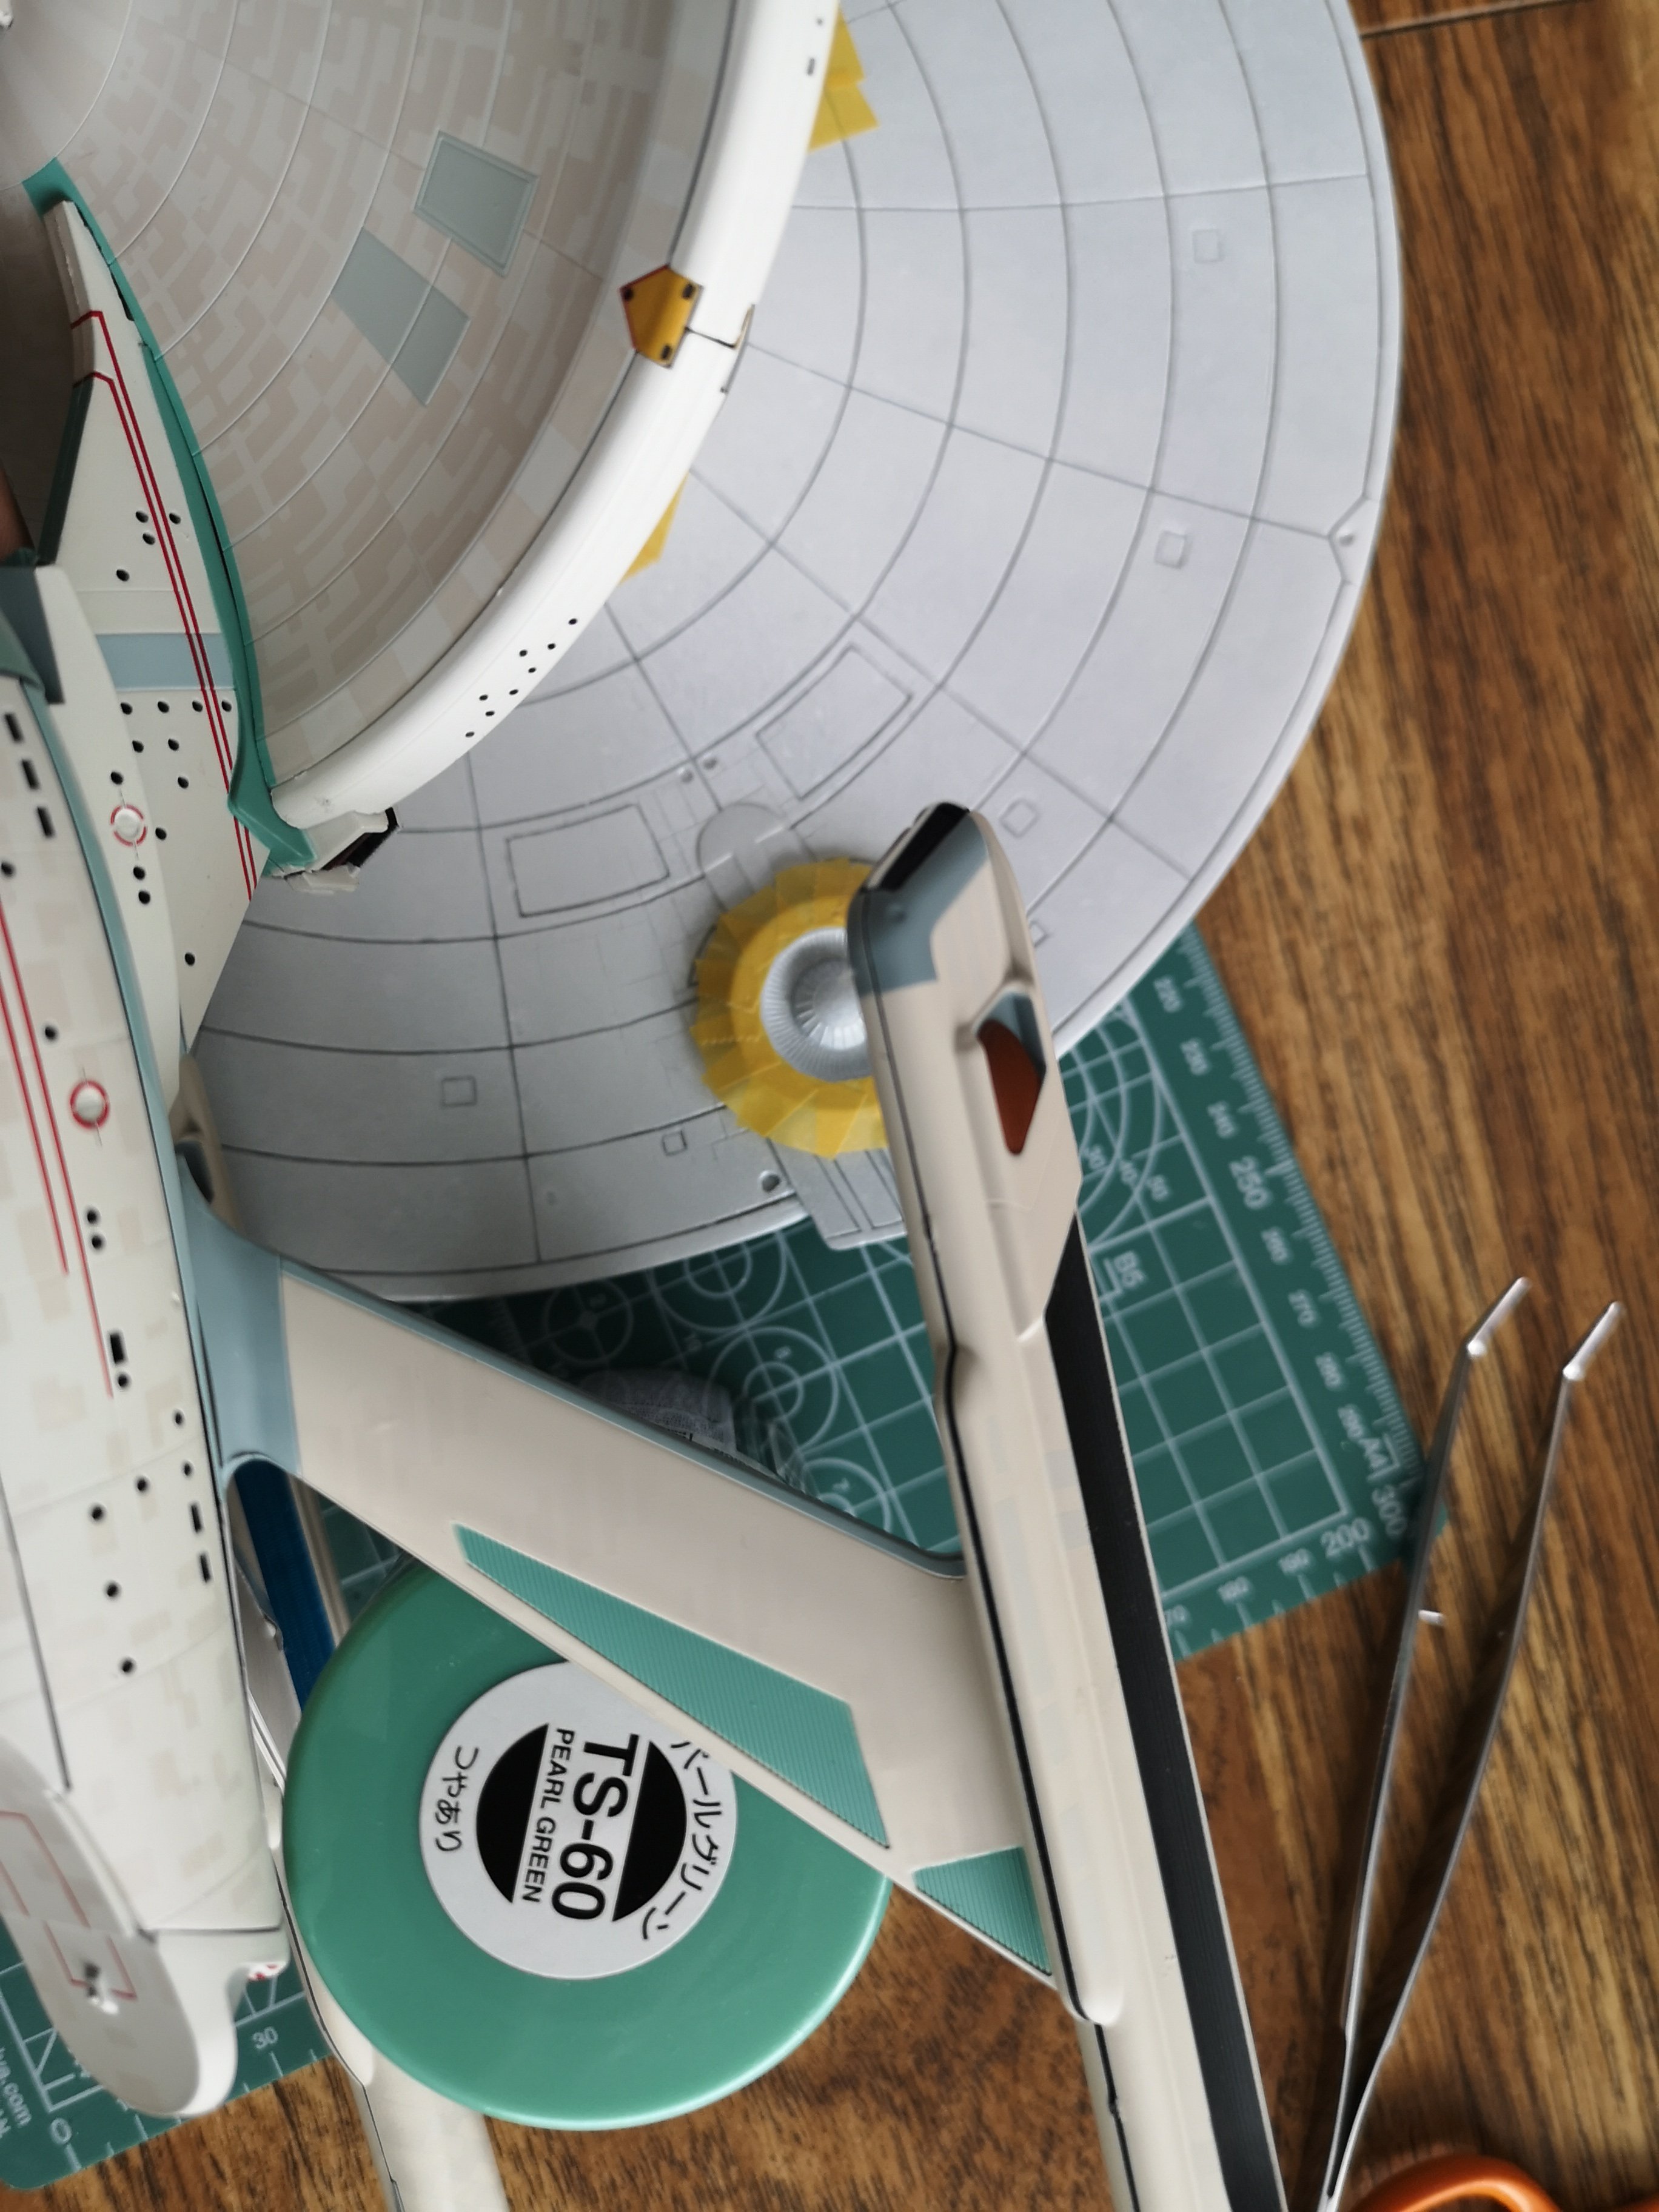
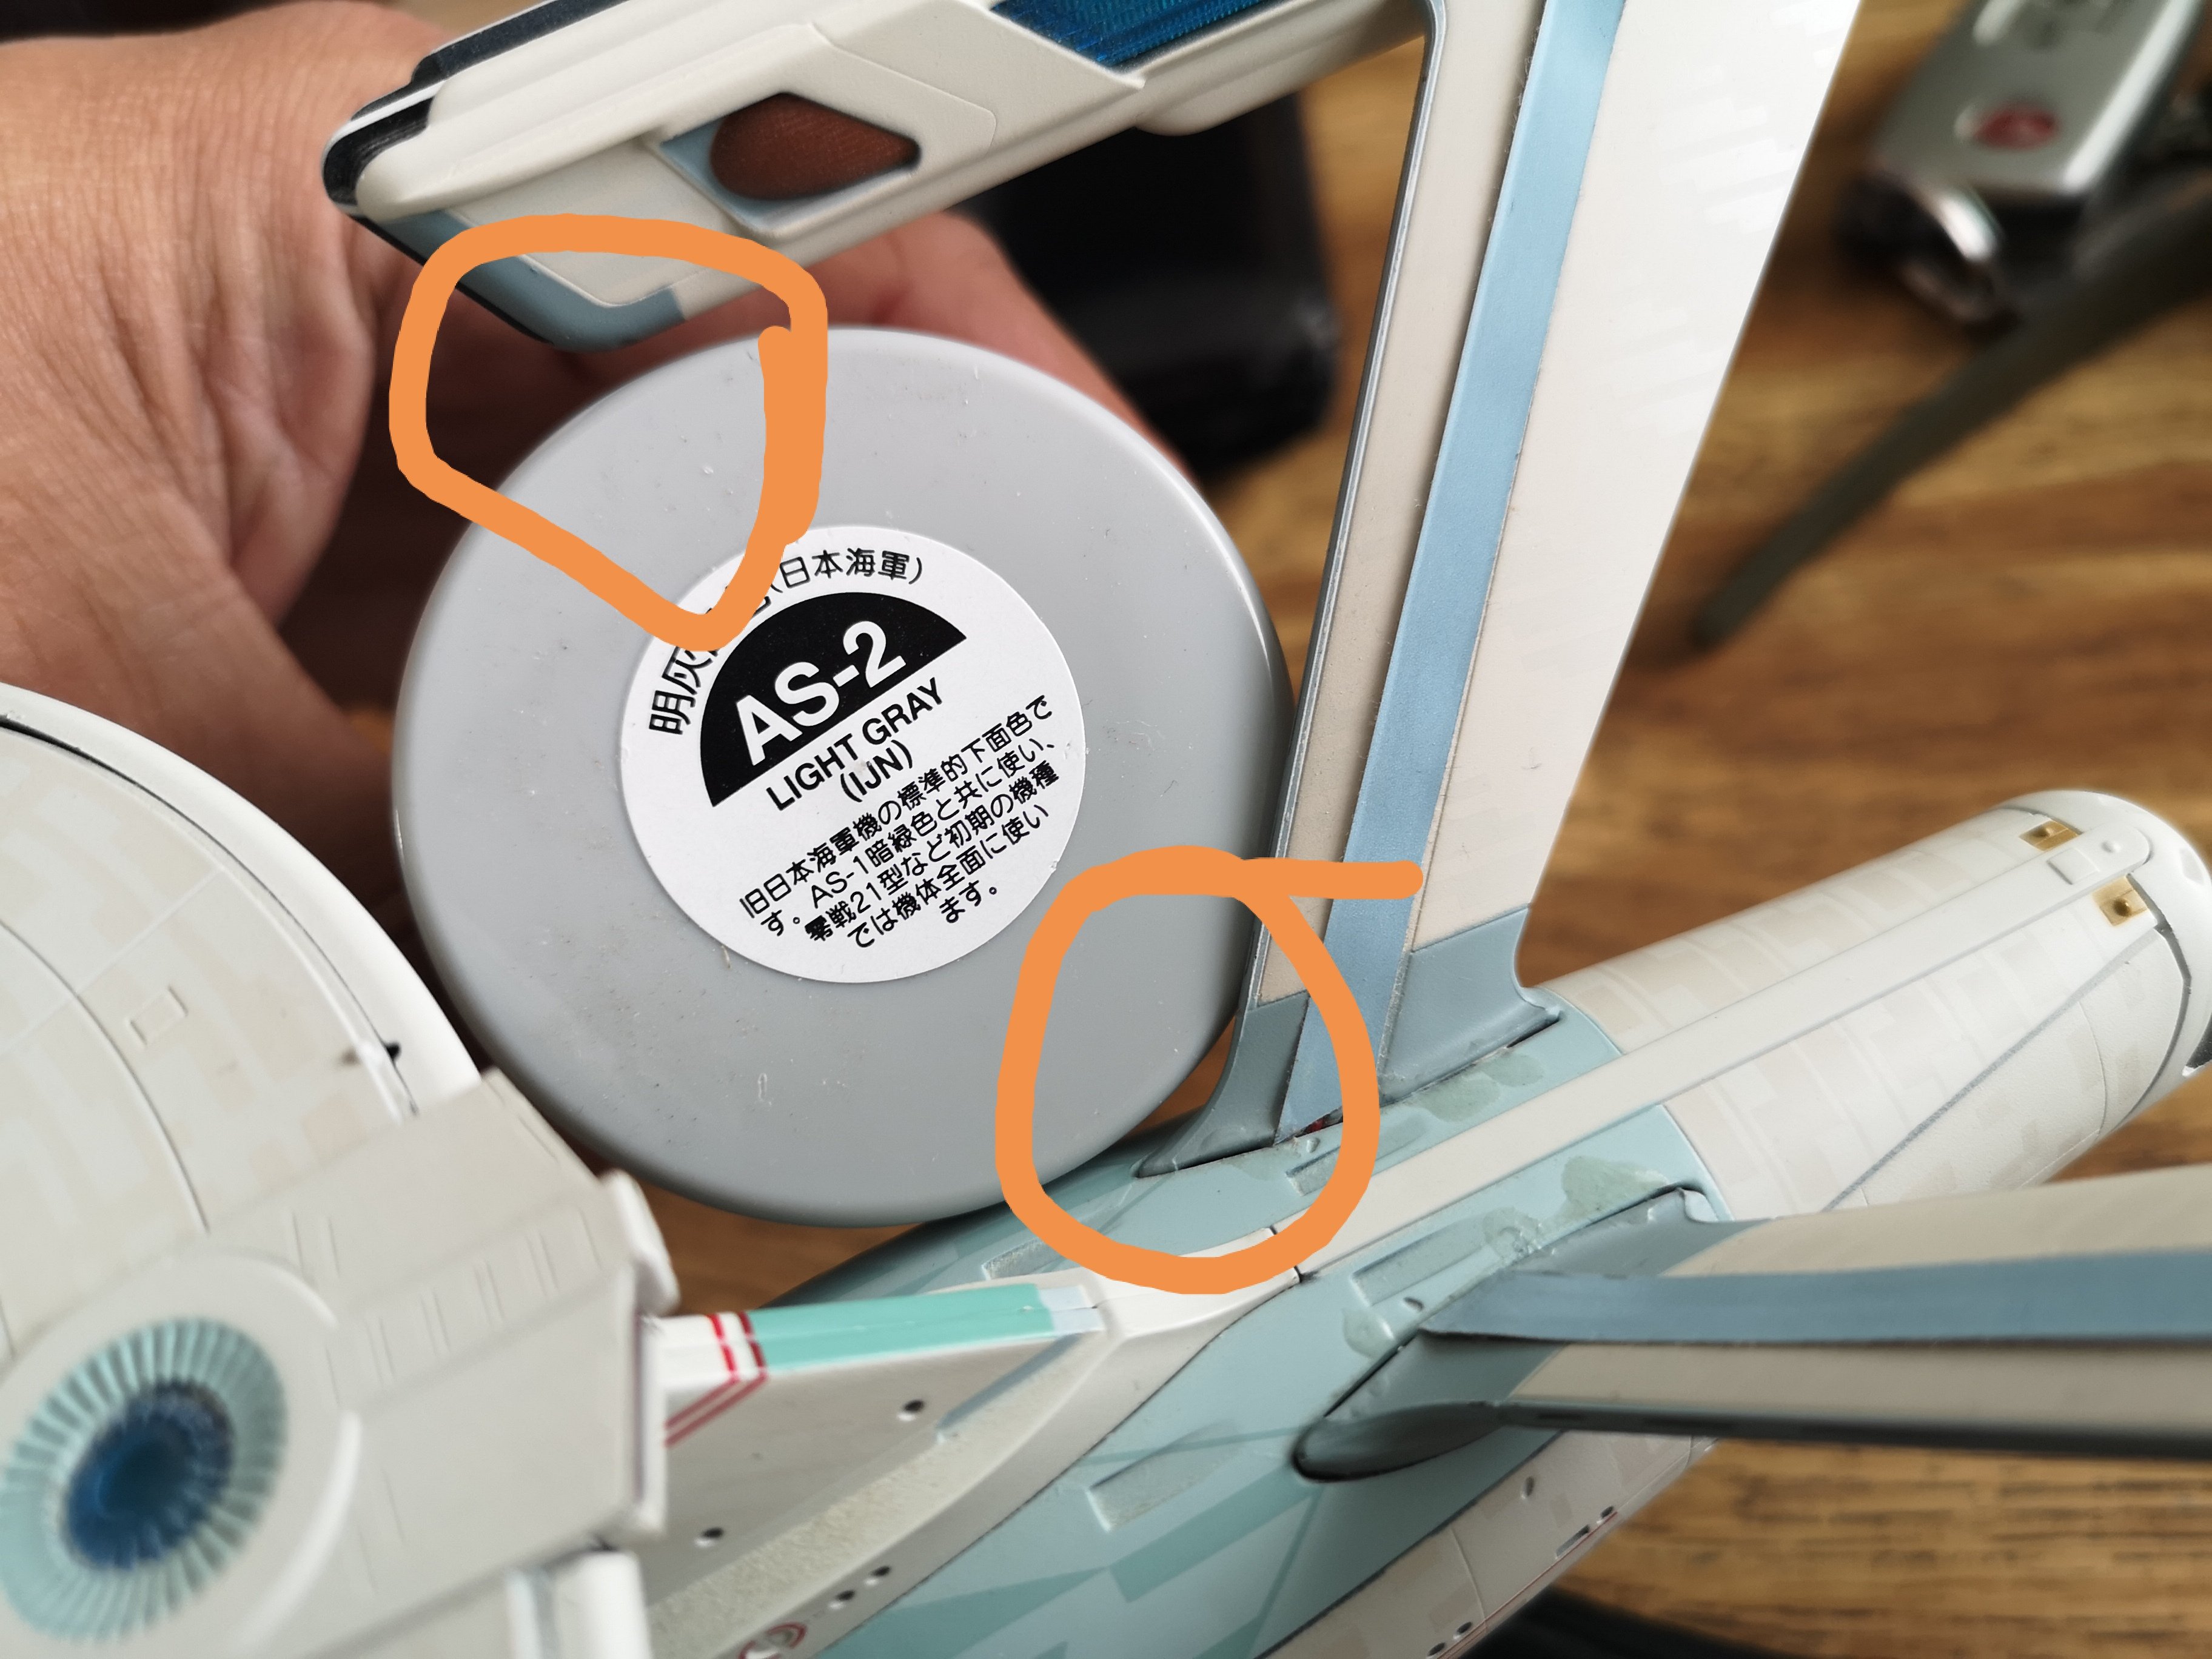
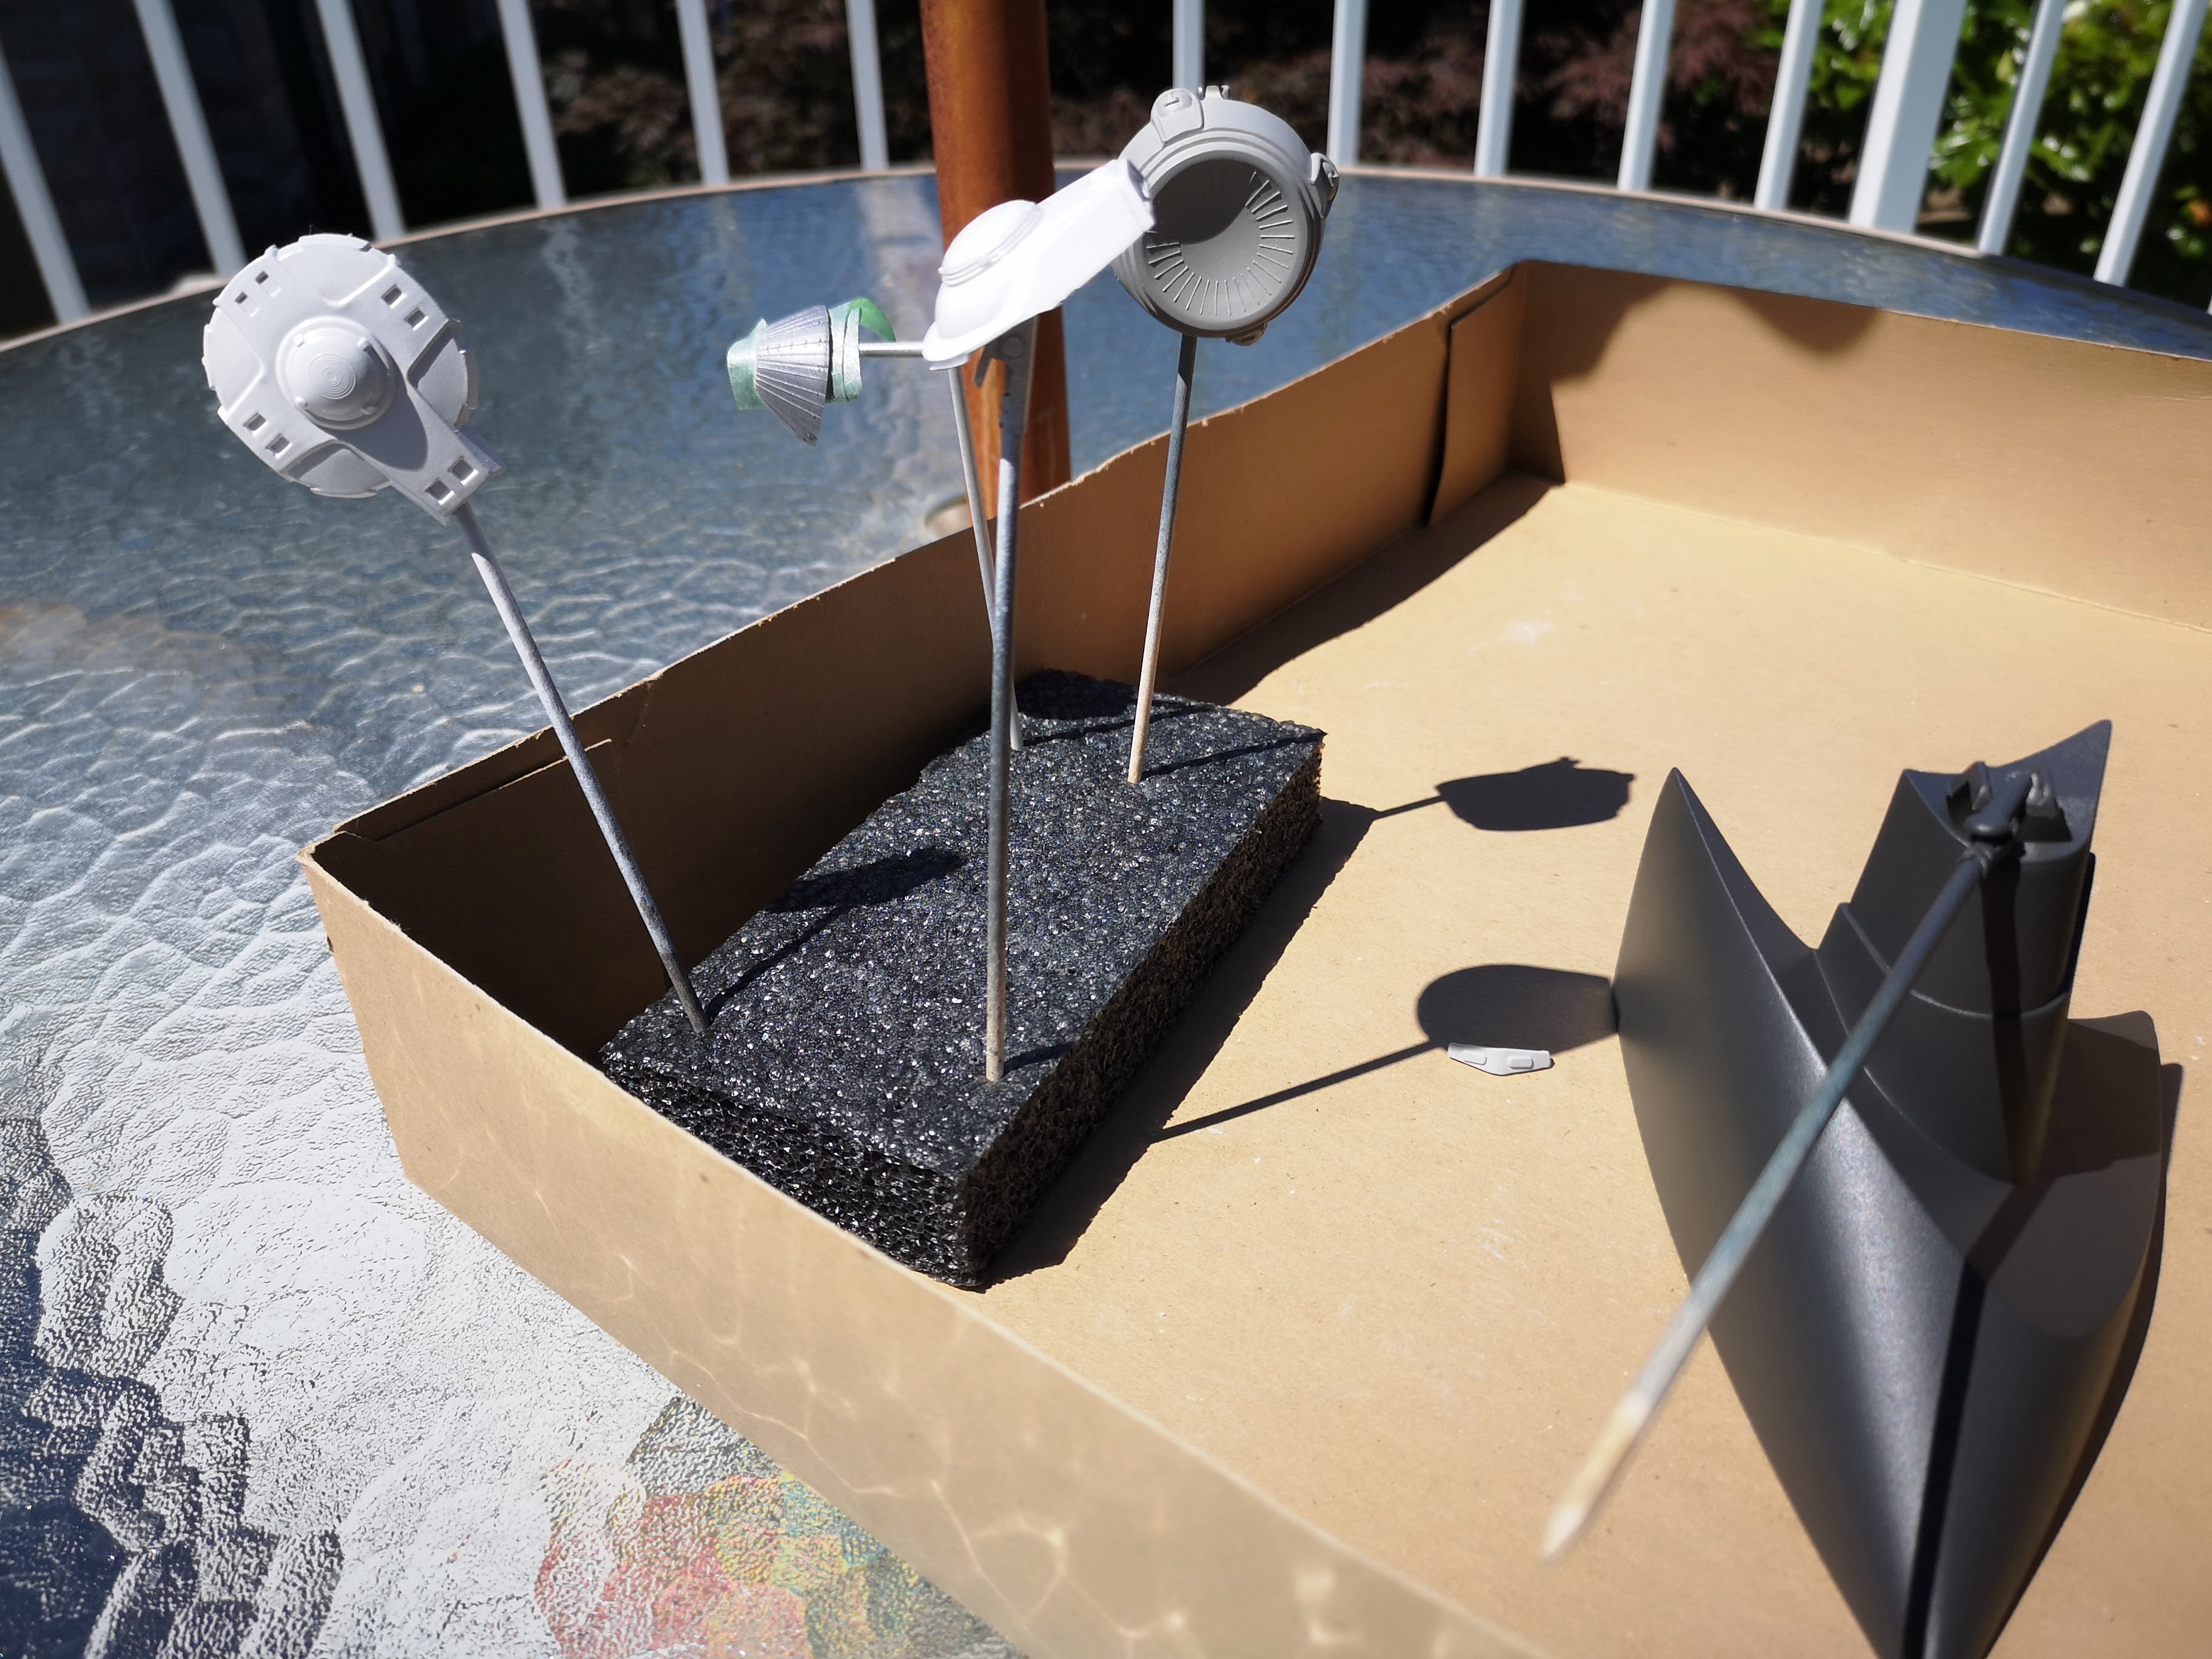
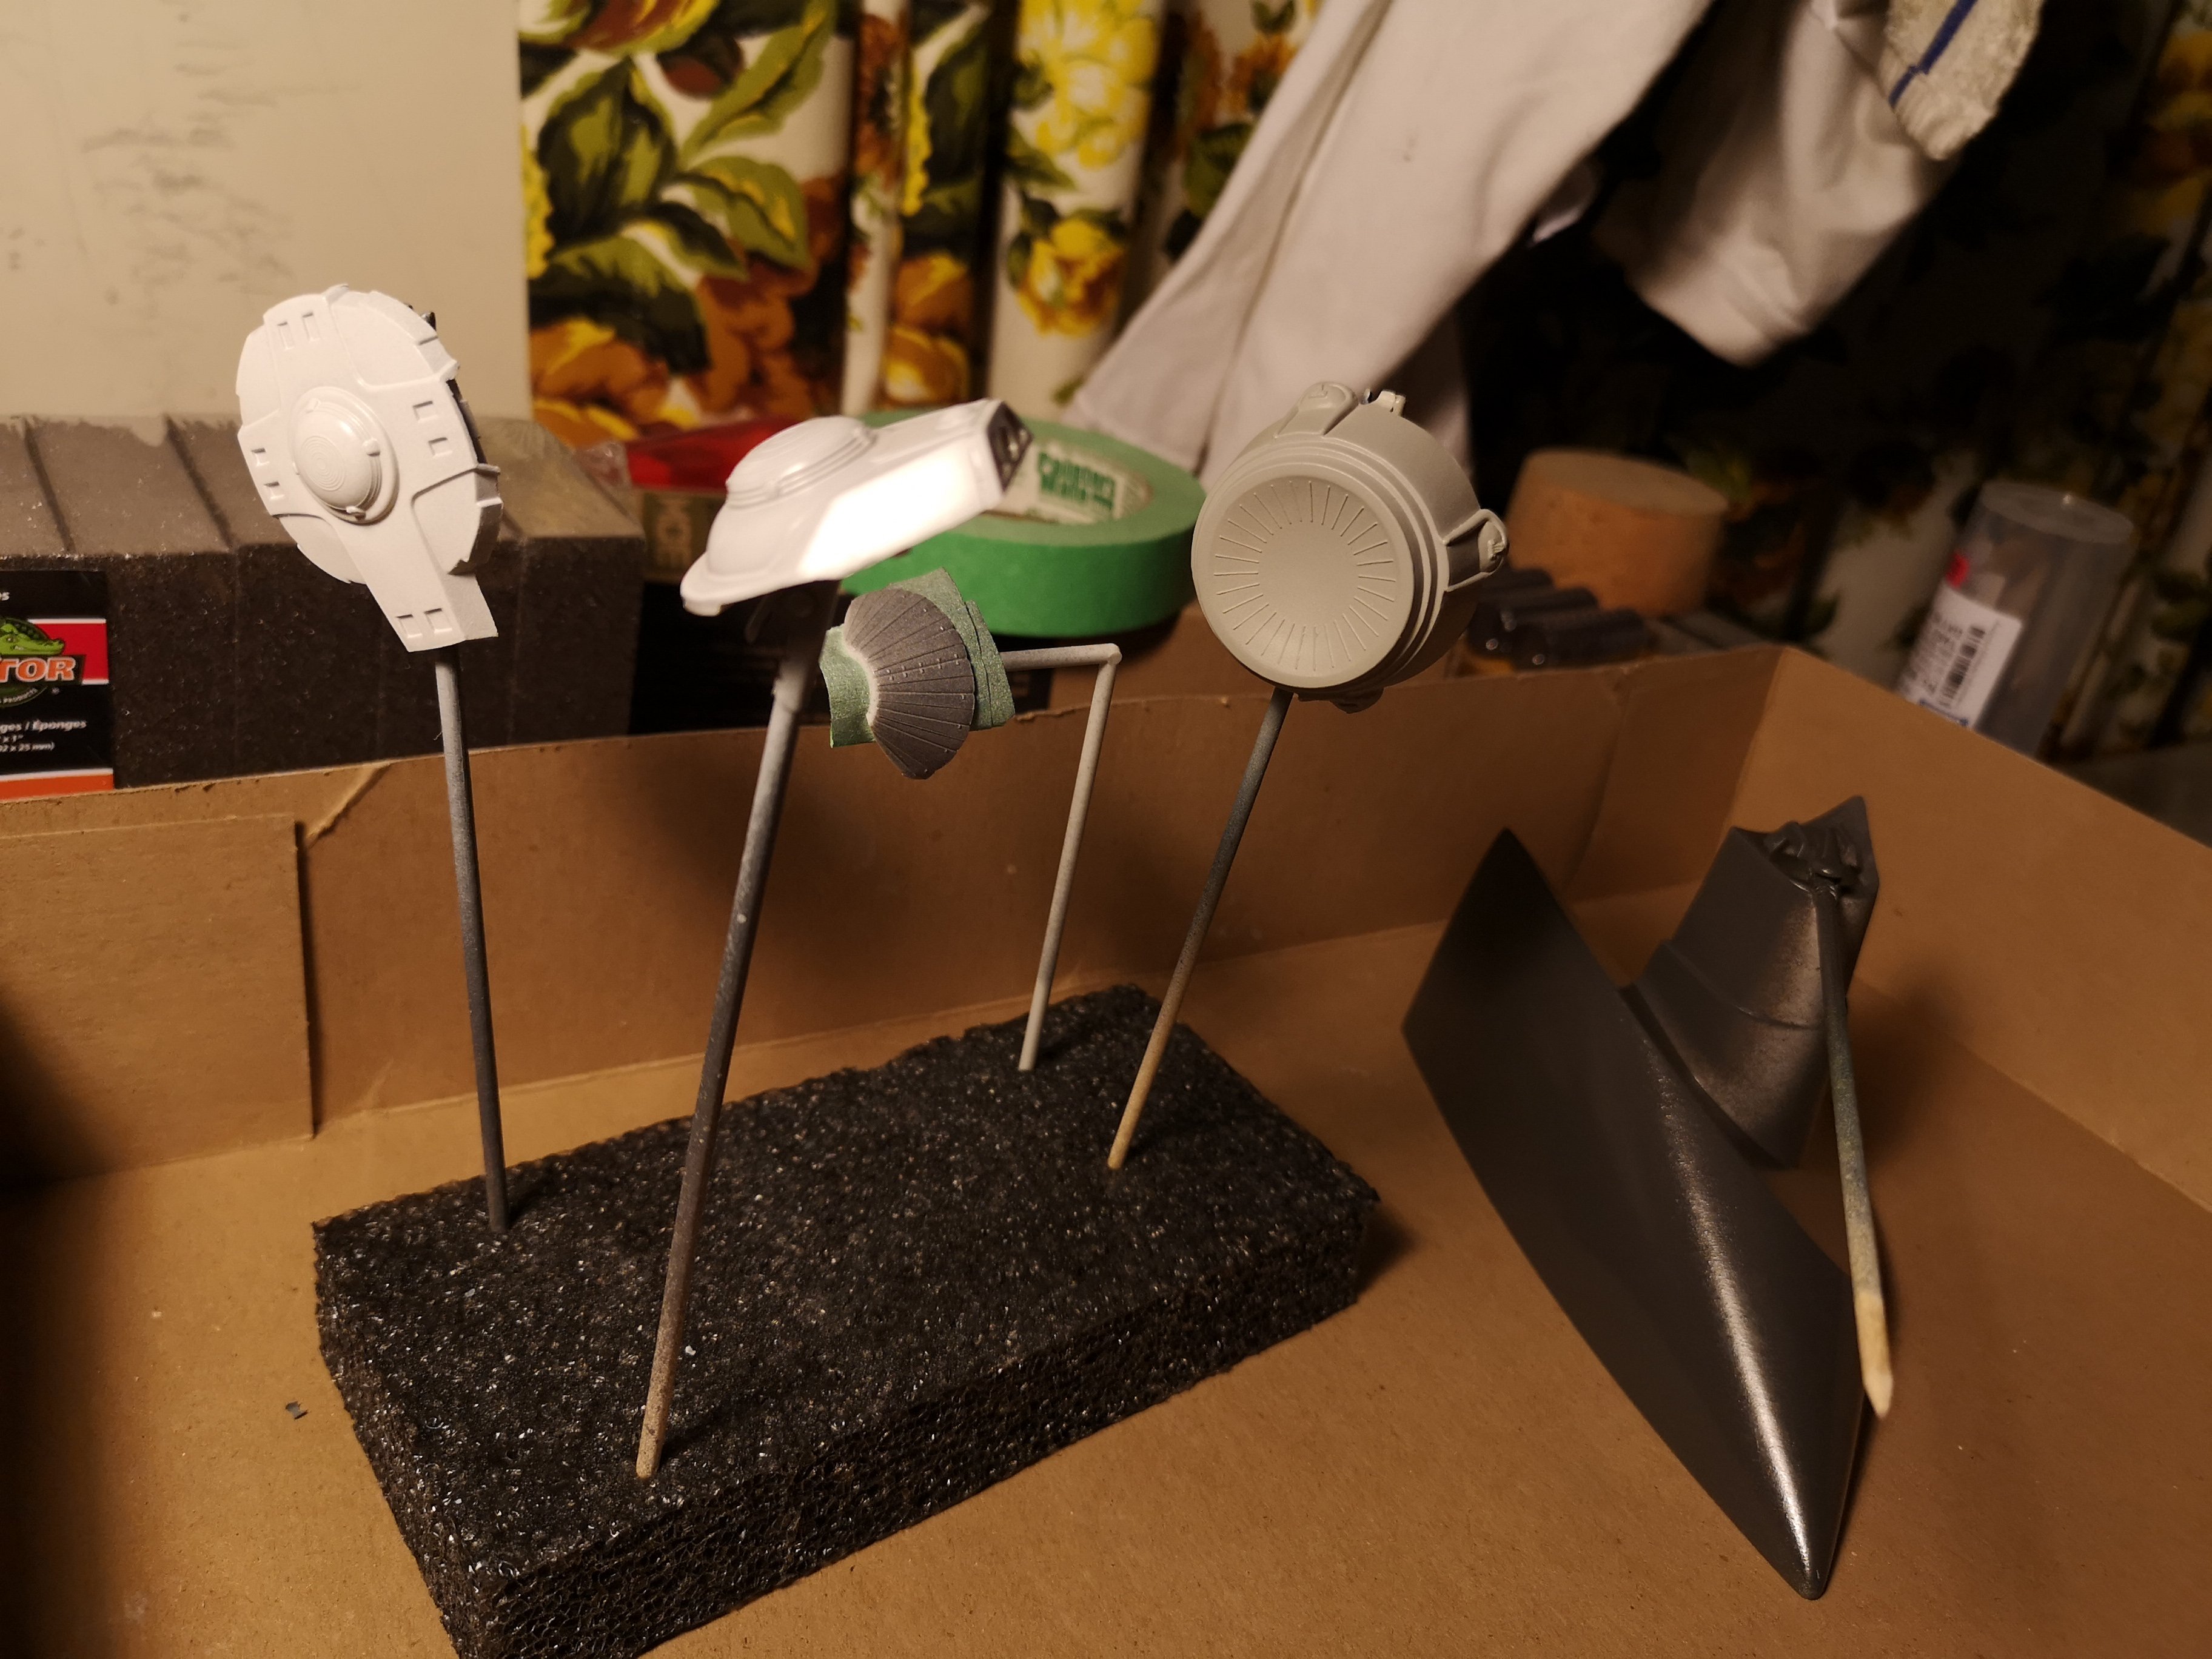
Started masking for the minor colors. This is a pretty close match. This one, not so much, but it's what I have.
-
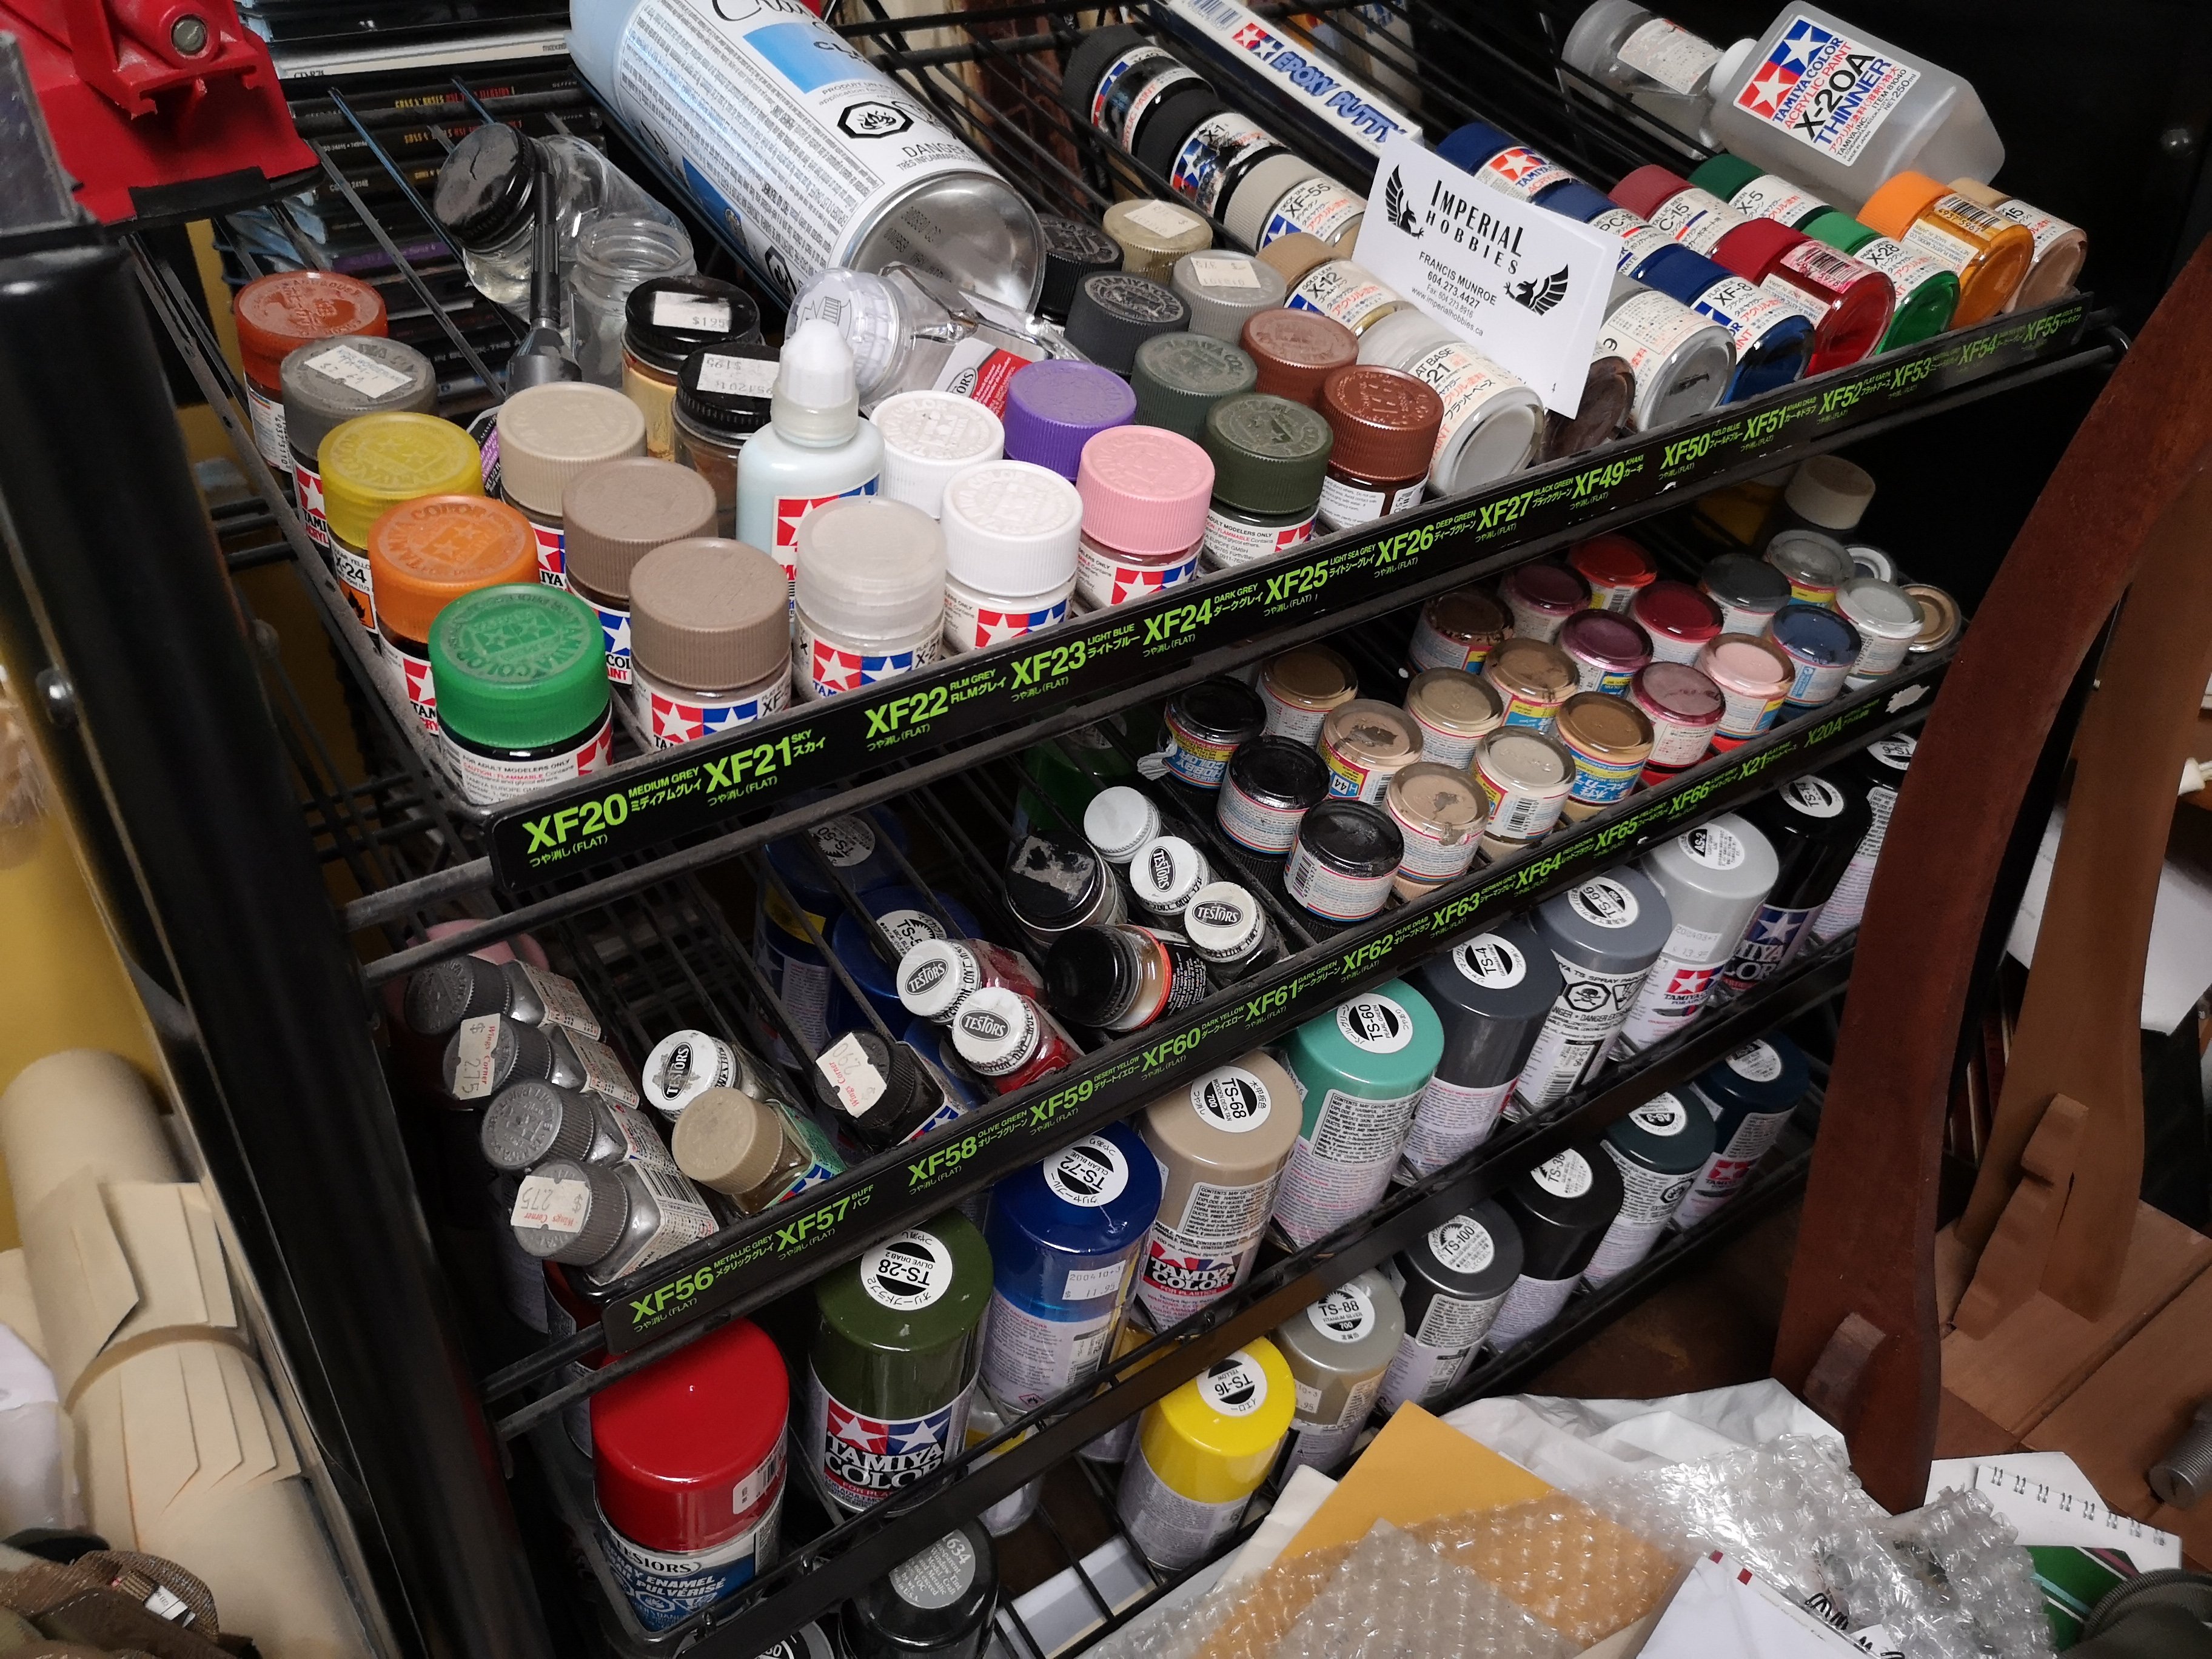
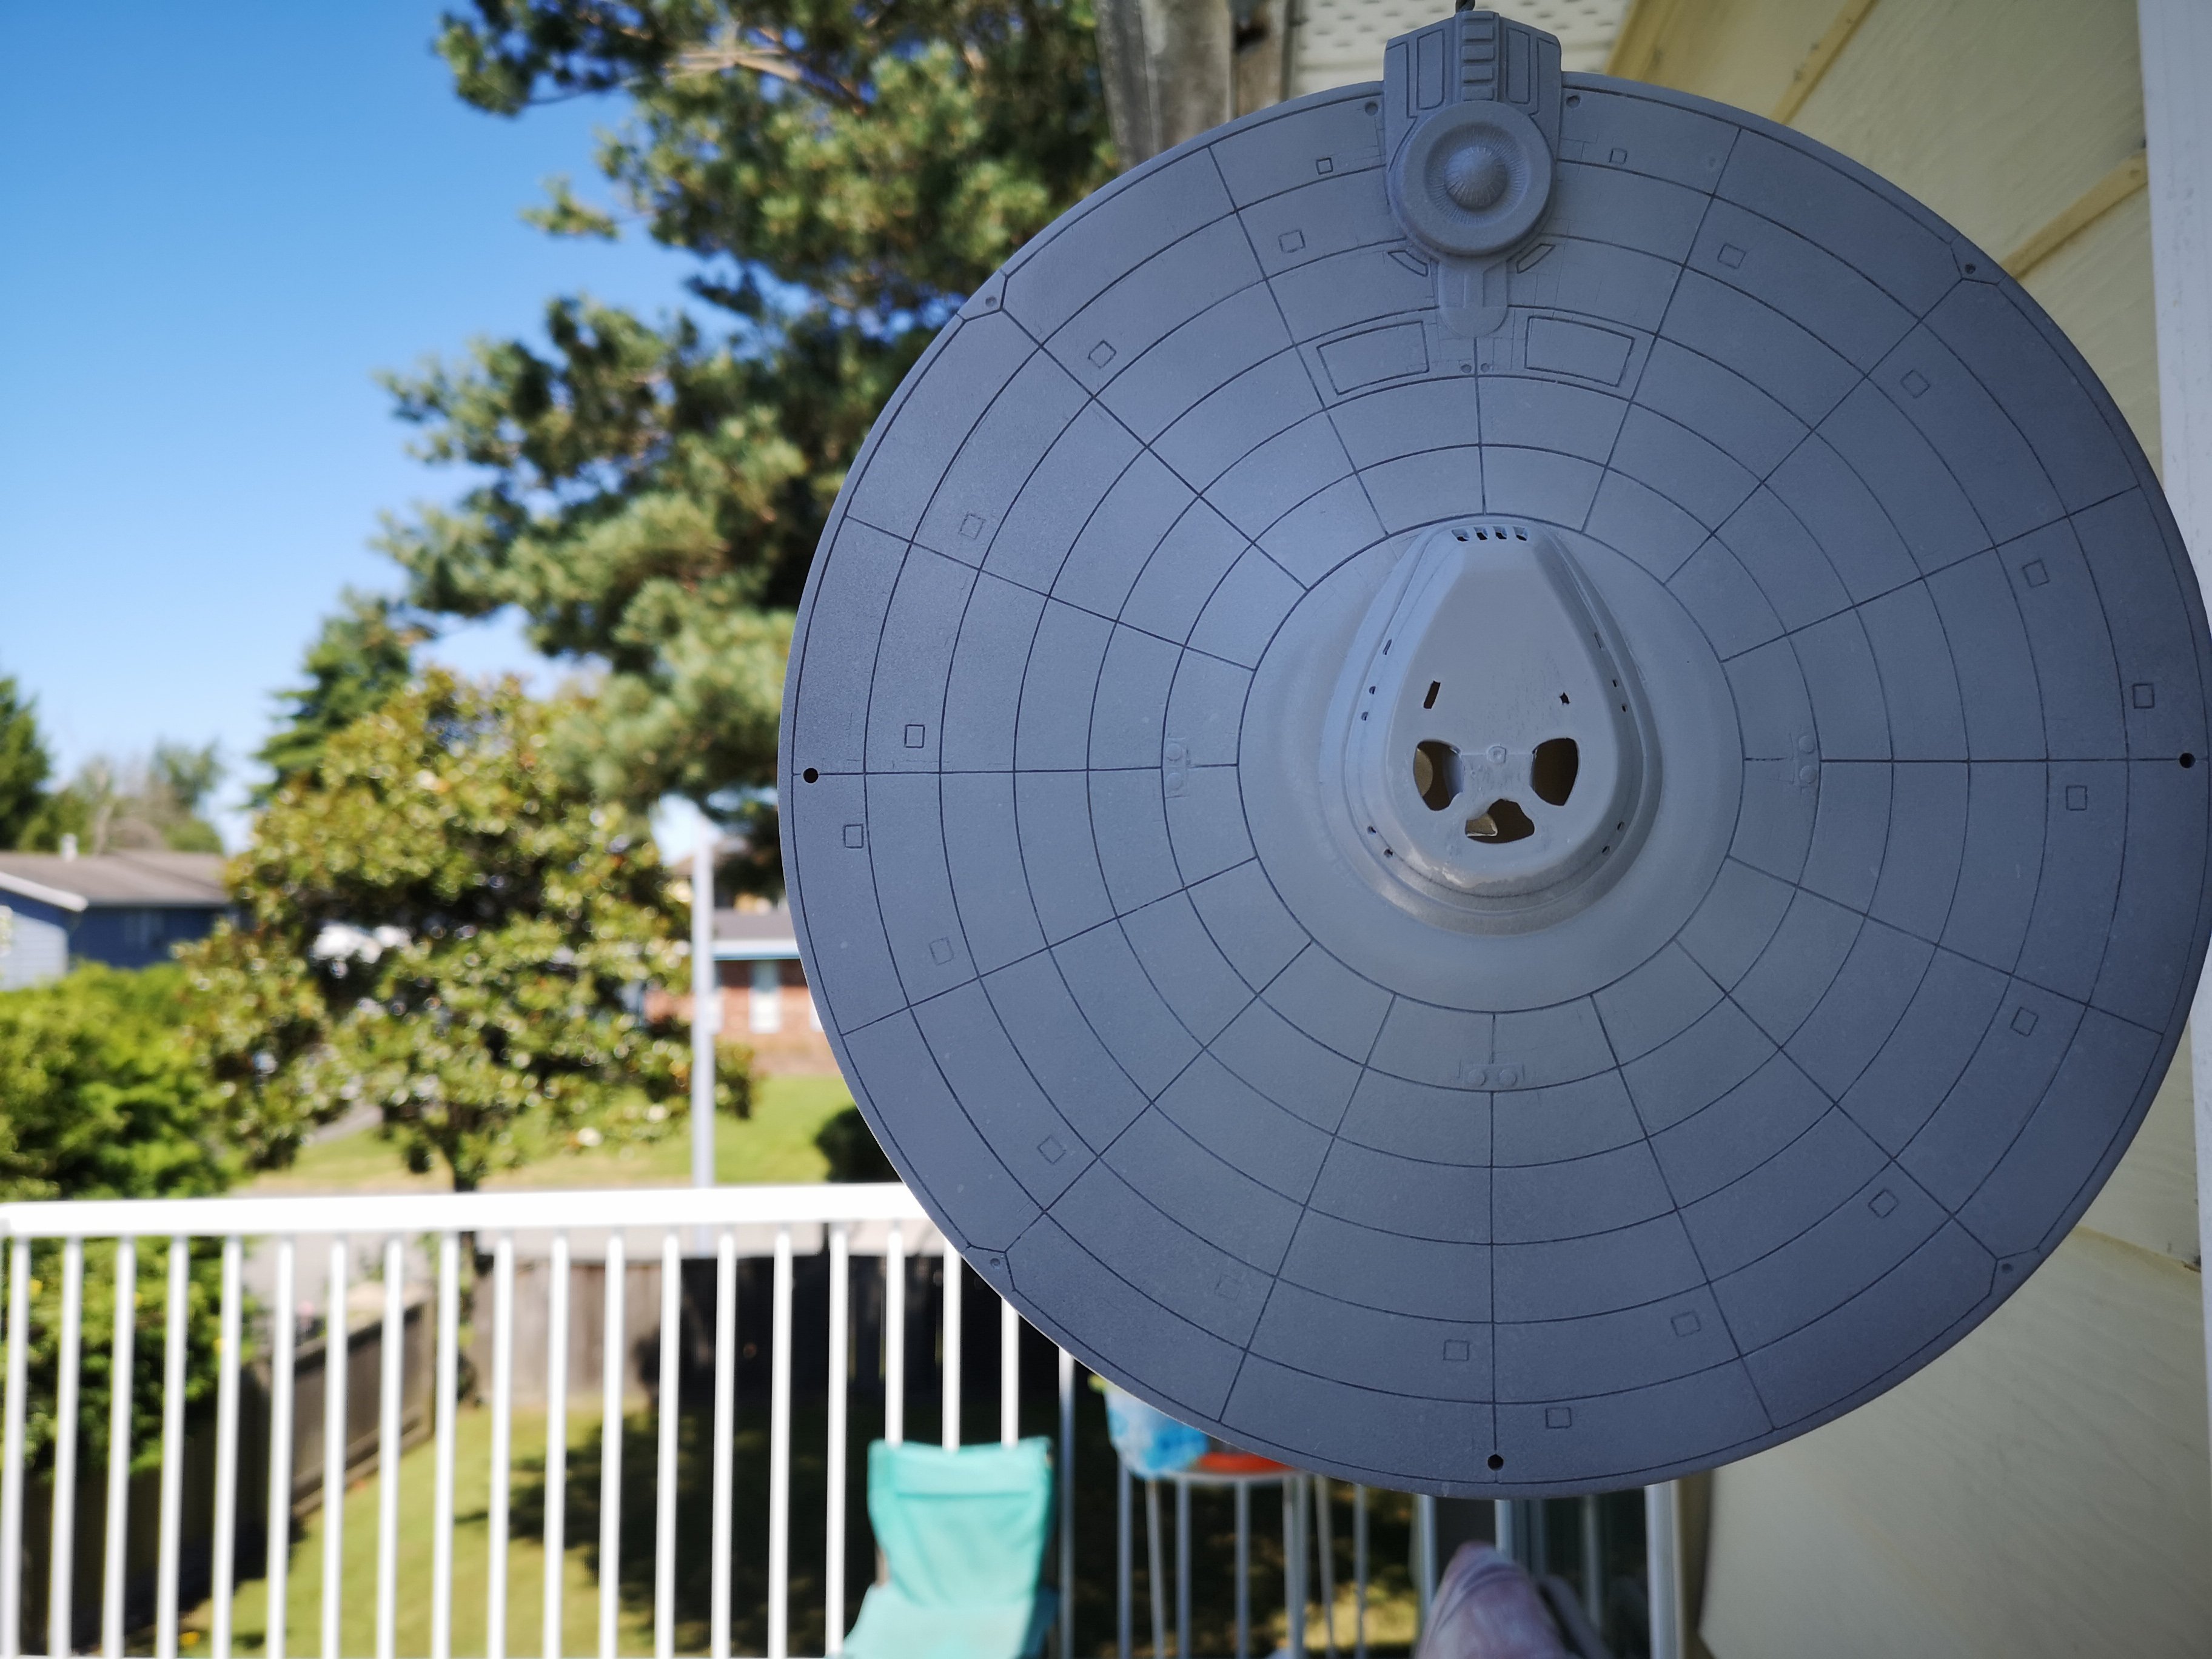
Lol, will definitely keep going in this kit, and won't give up unless something catastrophic happens. Most of this model will be covered in decals, but I am curious to see how the Aztec looks with faint brick panel lines under. As far as more paint goes, well, I may just finish it with what I have in hand. I actually thought about the pearl white, but I sort of embarked on this project (and the last few kits) to use up the paints I had sitting around for the last 20-30 years. I found some of the older Tamiya rattle cans don't spray as evenly and smoothly as their newer products, but I want to use up the old stuff before buying new stuff. I actually threw out half of my paints already, because the spray nozzles were clogged or the paint bottles dried up. L What you see here is about half of what I used to have. Btw, is it just me, or is the slot for the neck canted towards the left? Lol! Unreal.....hahahahahahaha!!!
-
Lol, it looks pretty awful in person, but I'll finish it as long as nothing catastrophic happens. So I ran out of white paint, to give it that pure white look. I decided I'm not going to the local hobby shop to buy more, and I'm not waiting to order more. This kit gets finished with whatever I have on my paint rack, lol! I'm going to tell people I'm going for that Max Watanabe 1/20 VF-1 splotchy look, even though I don't know the first thing about shading, hahahahaha!
-
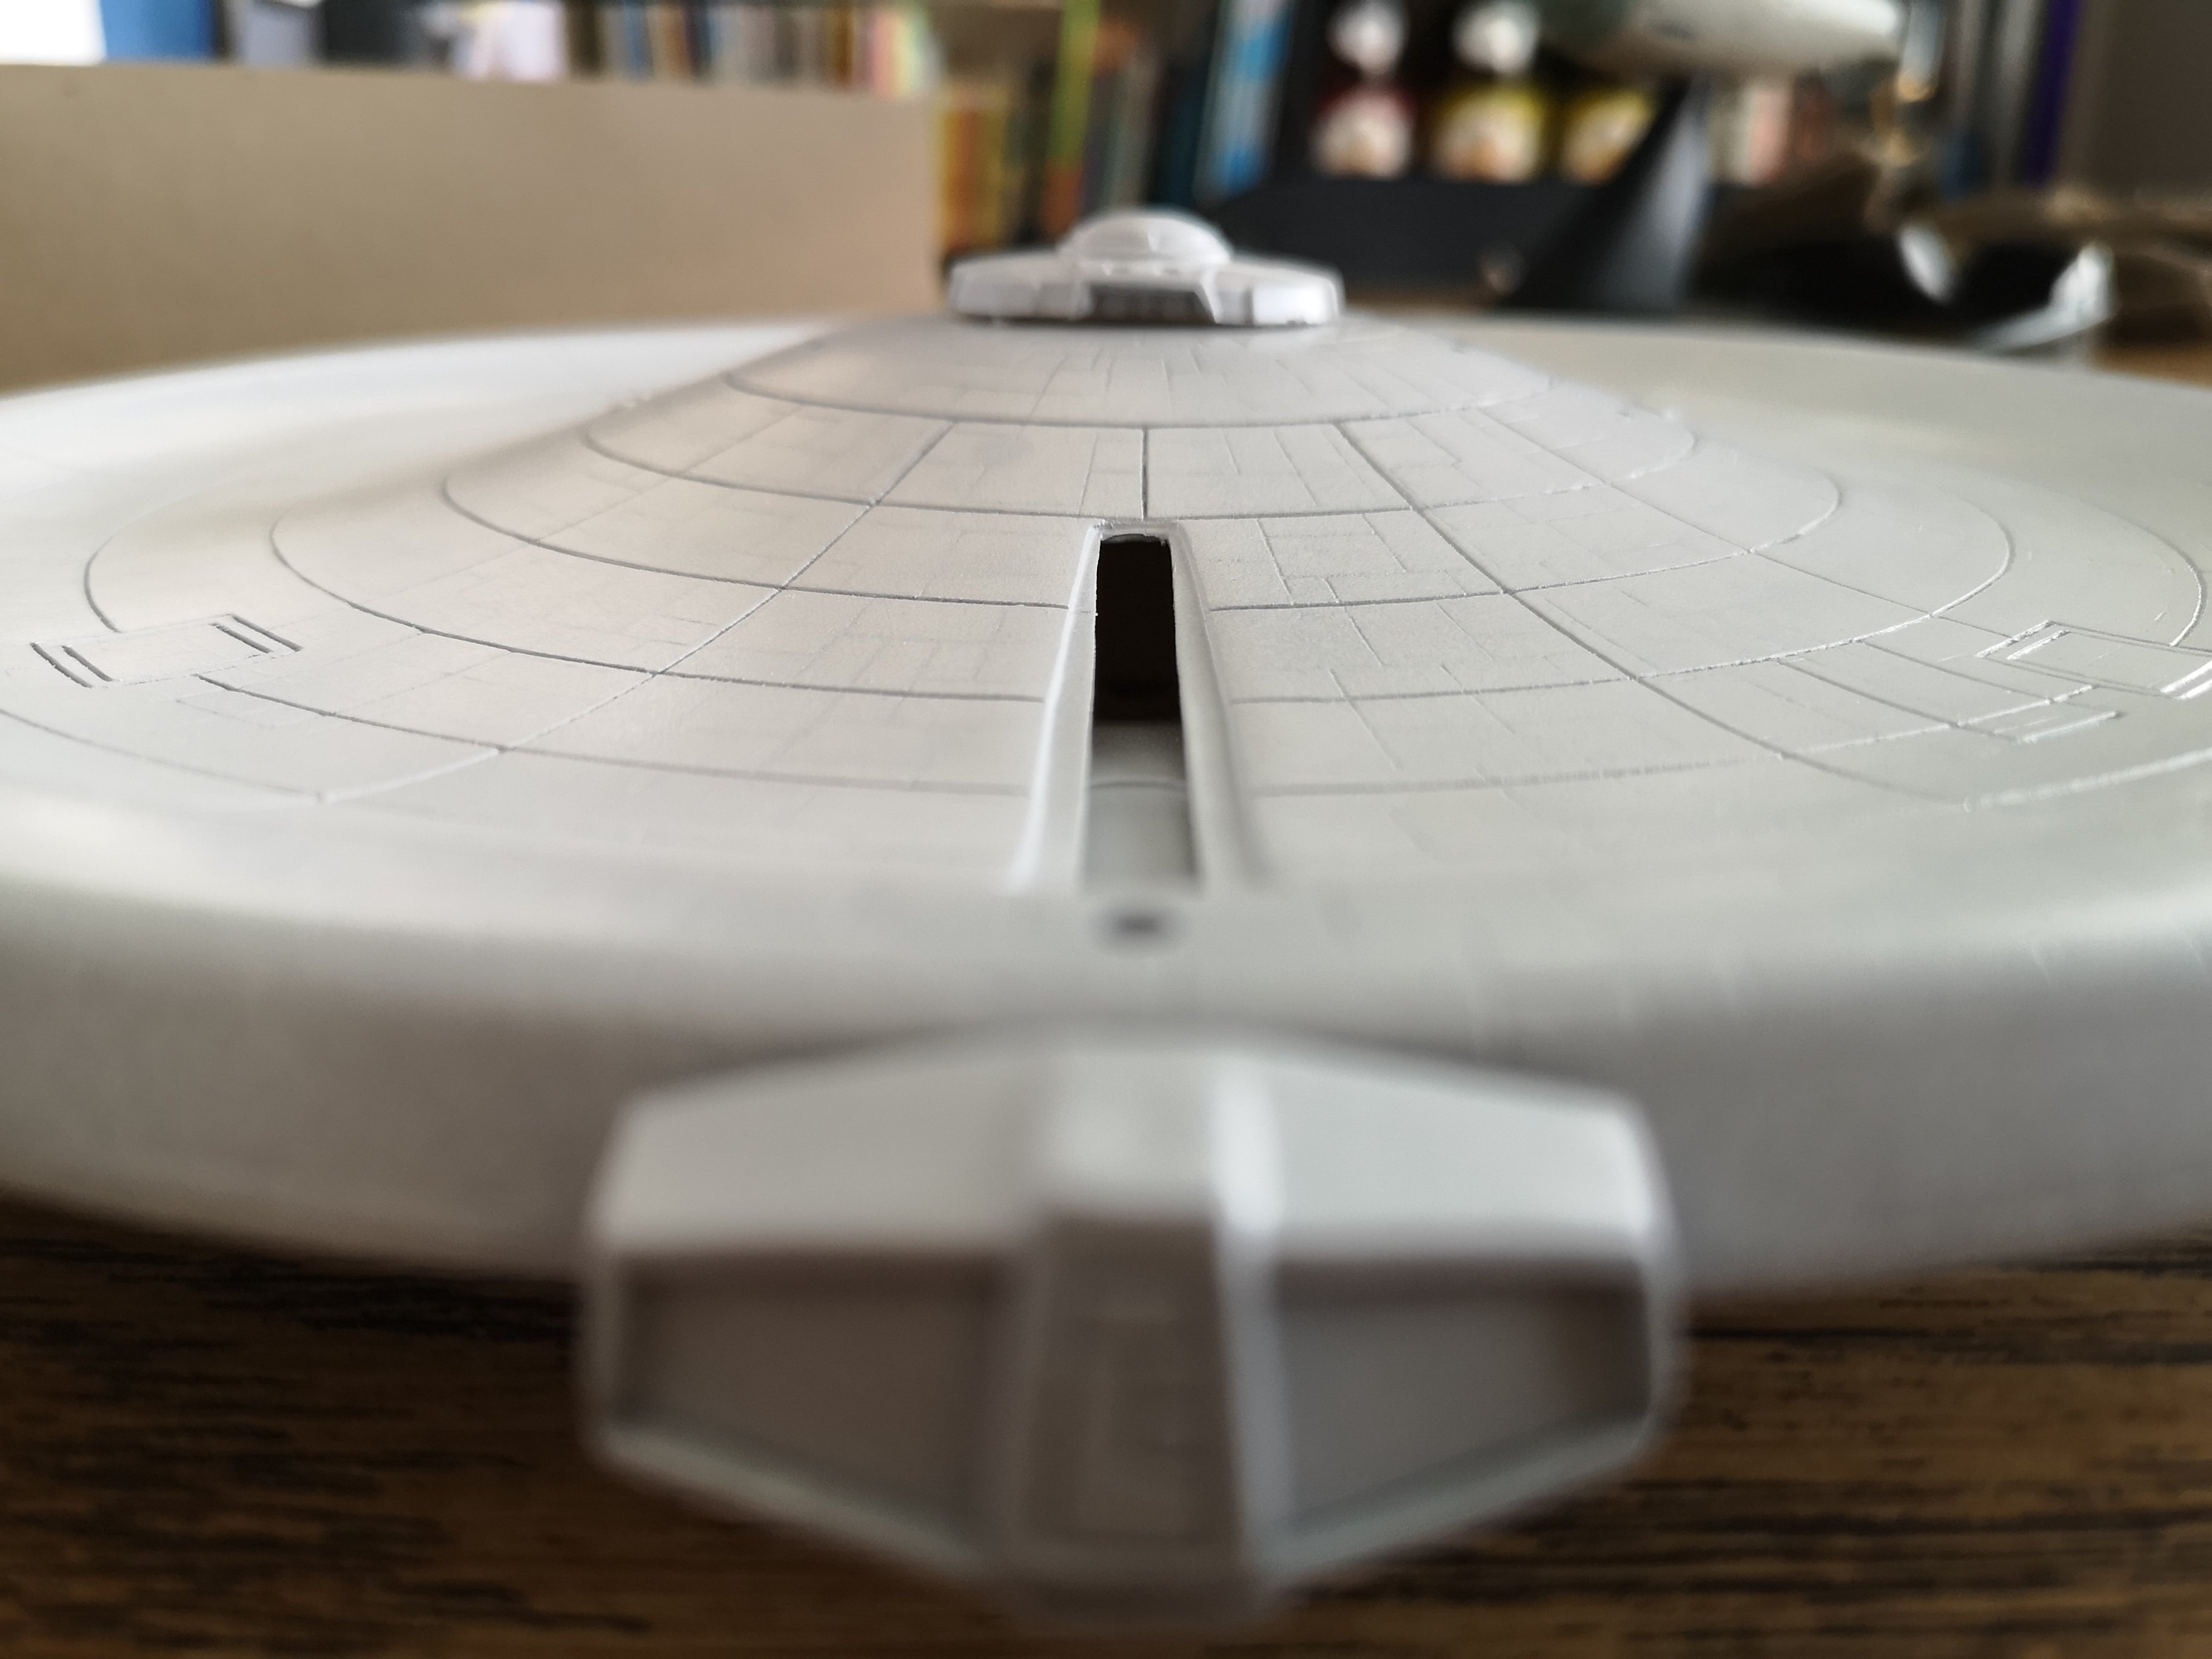
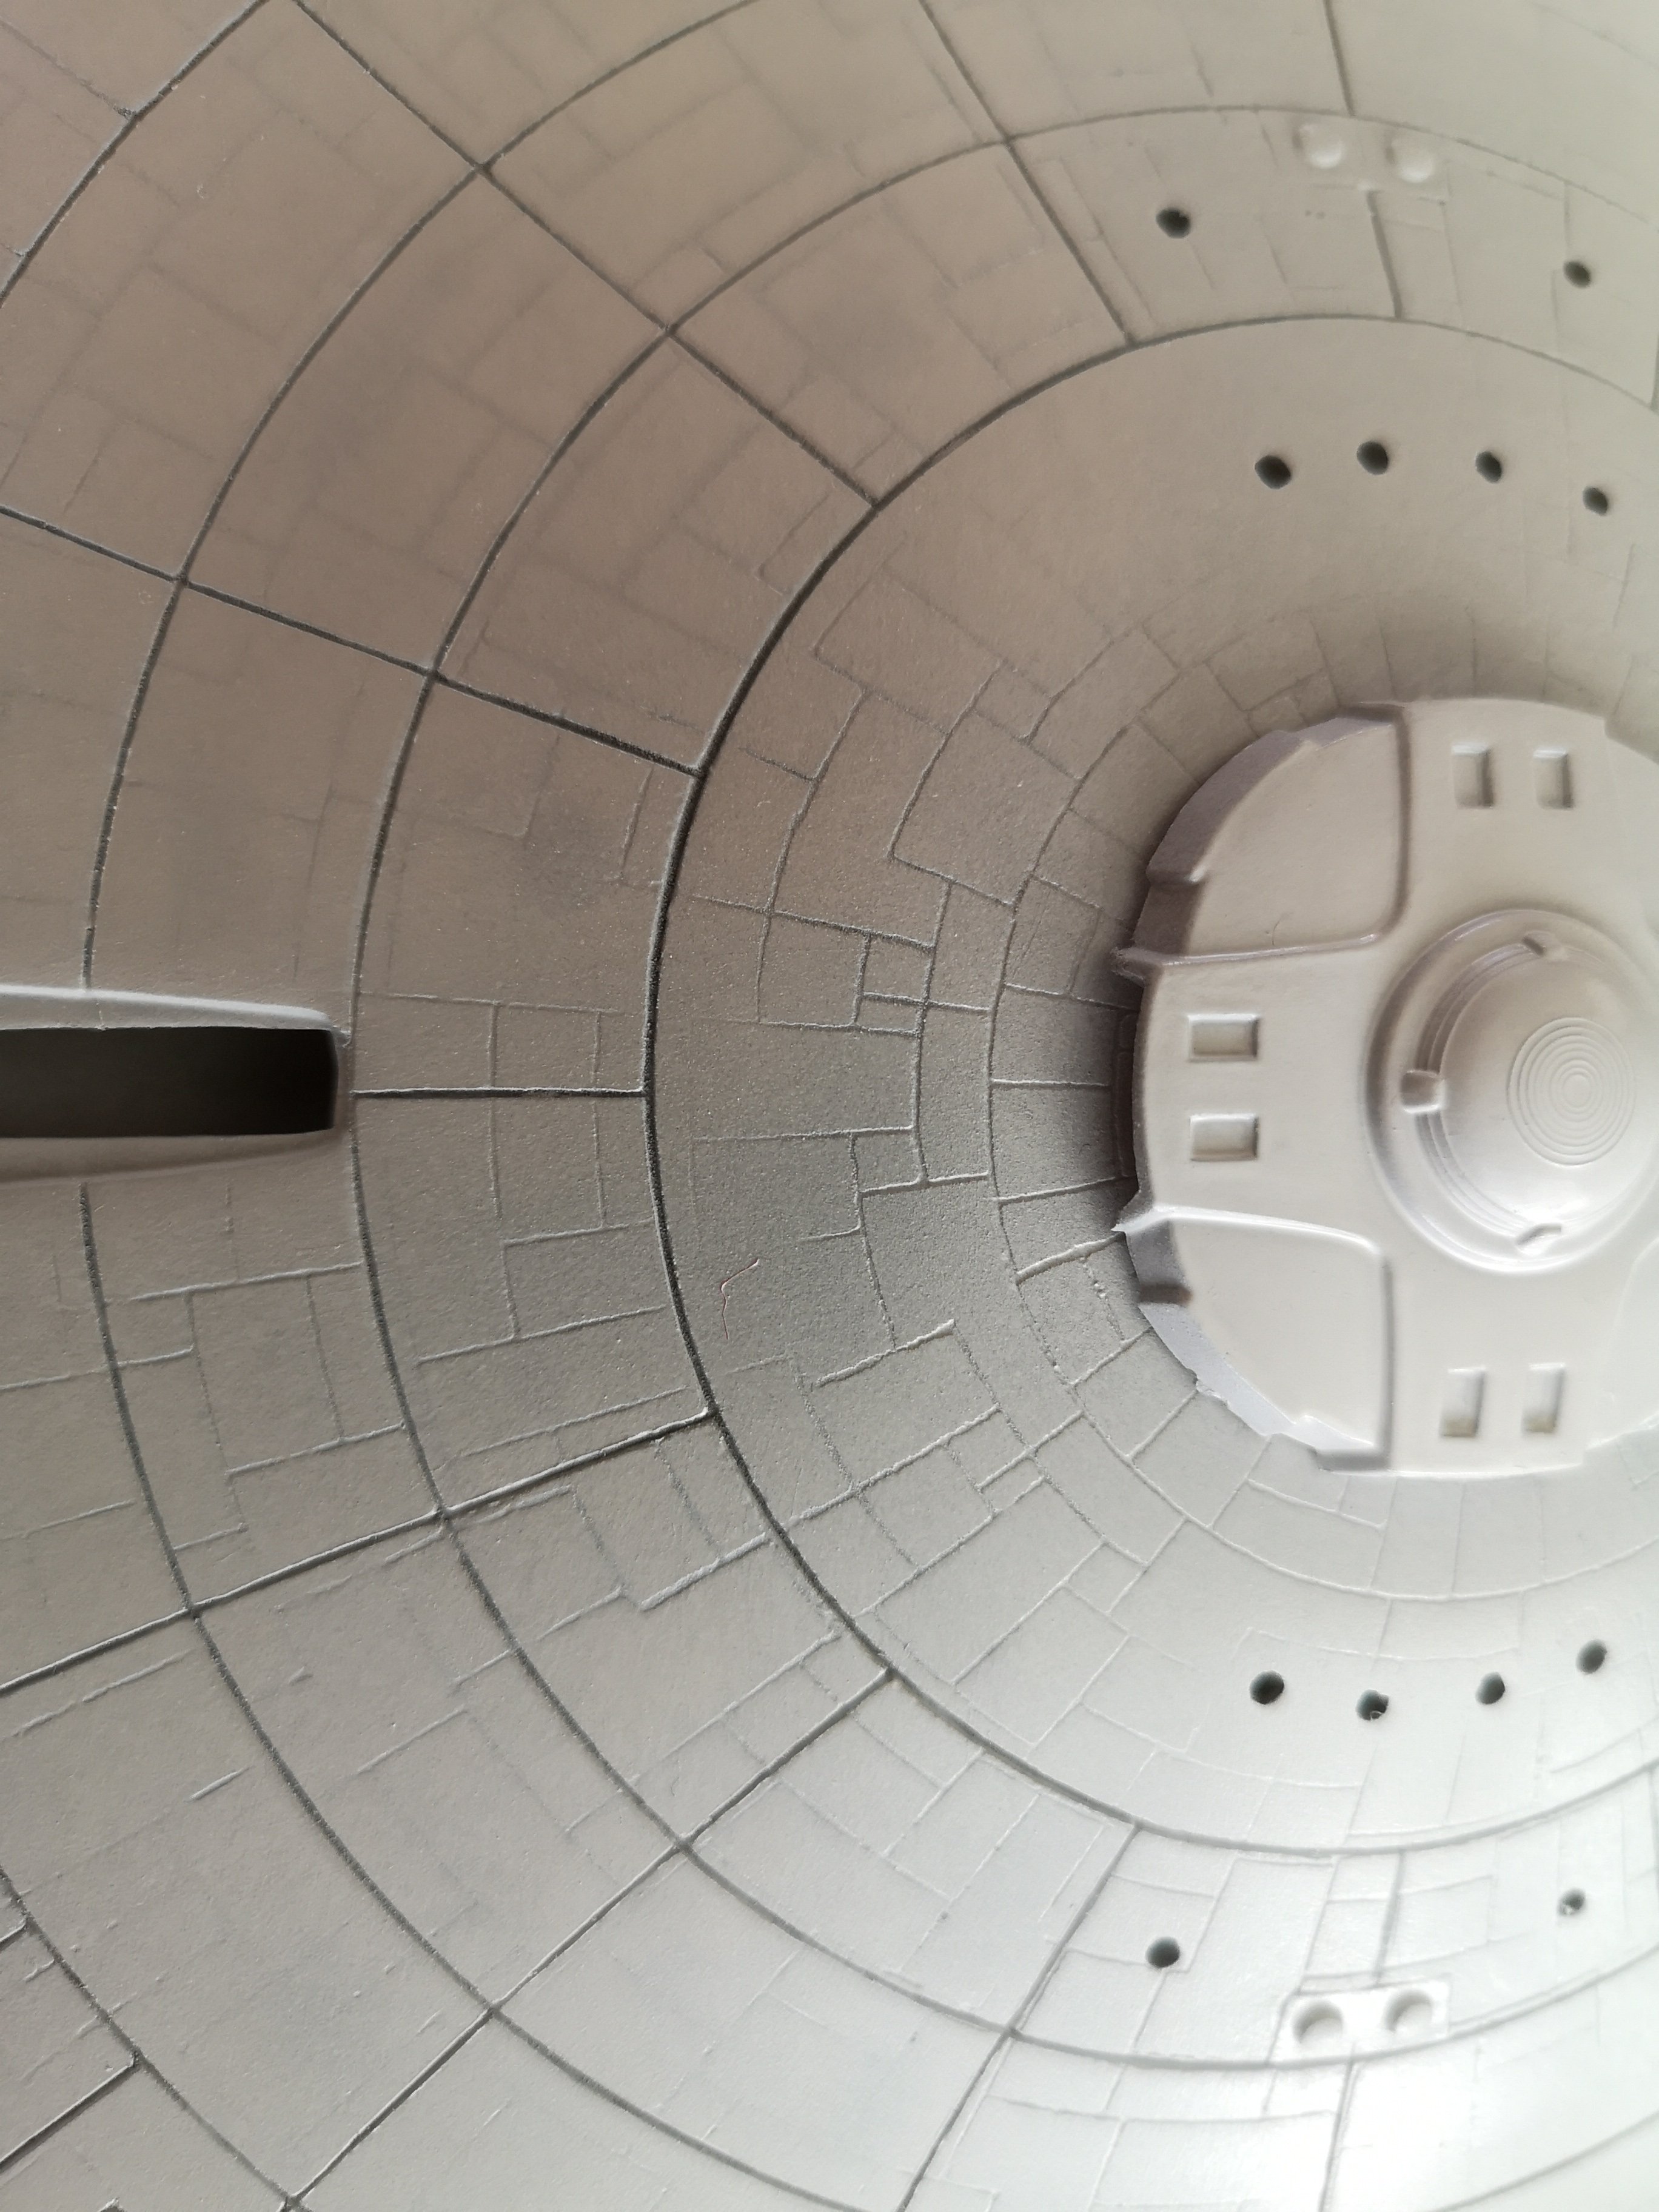
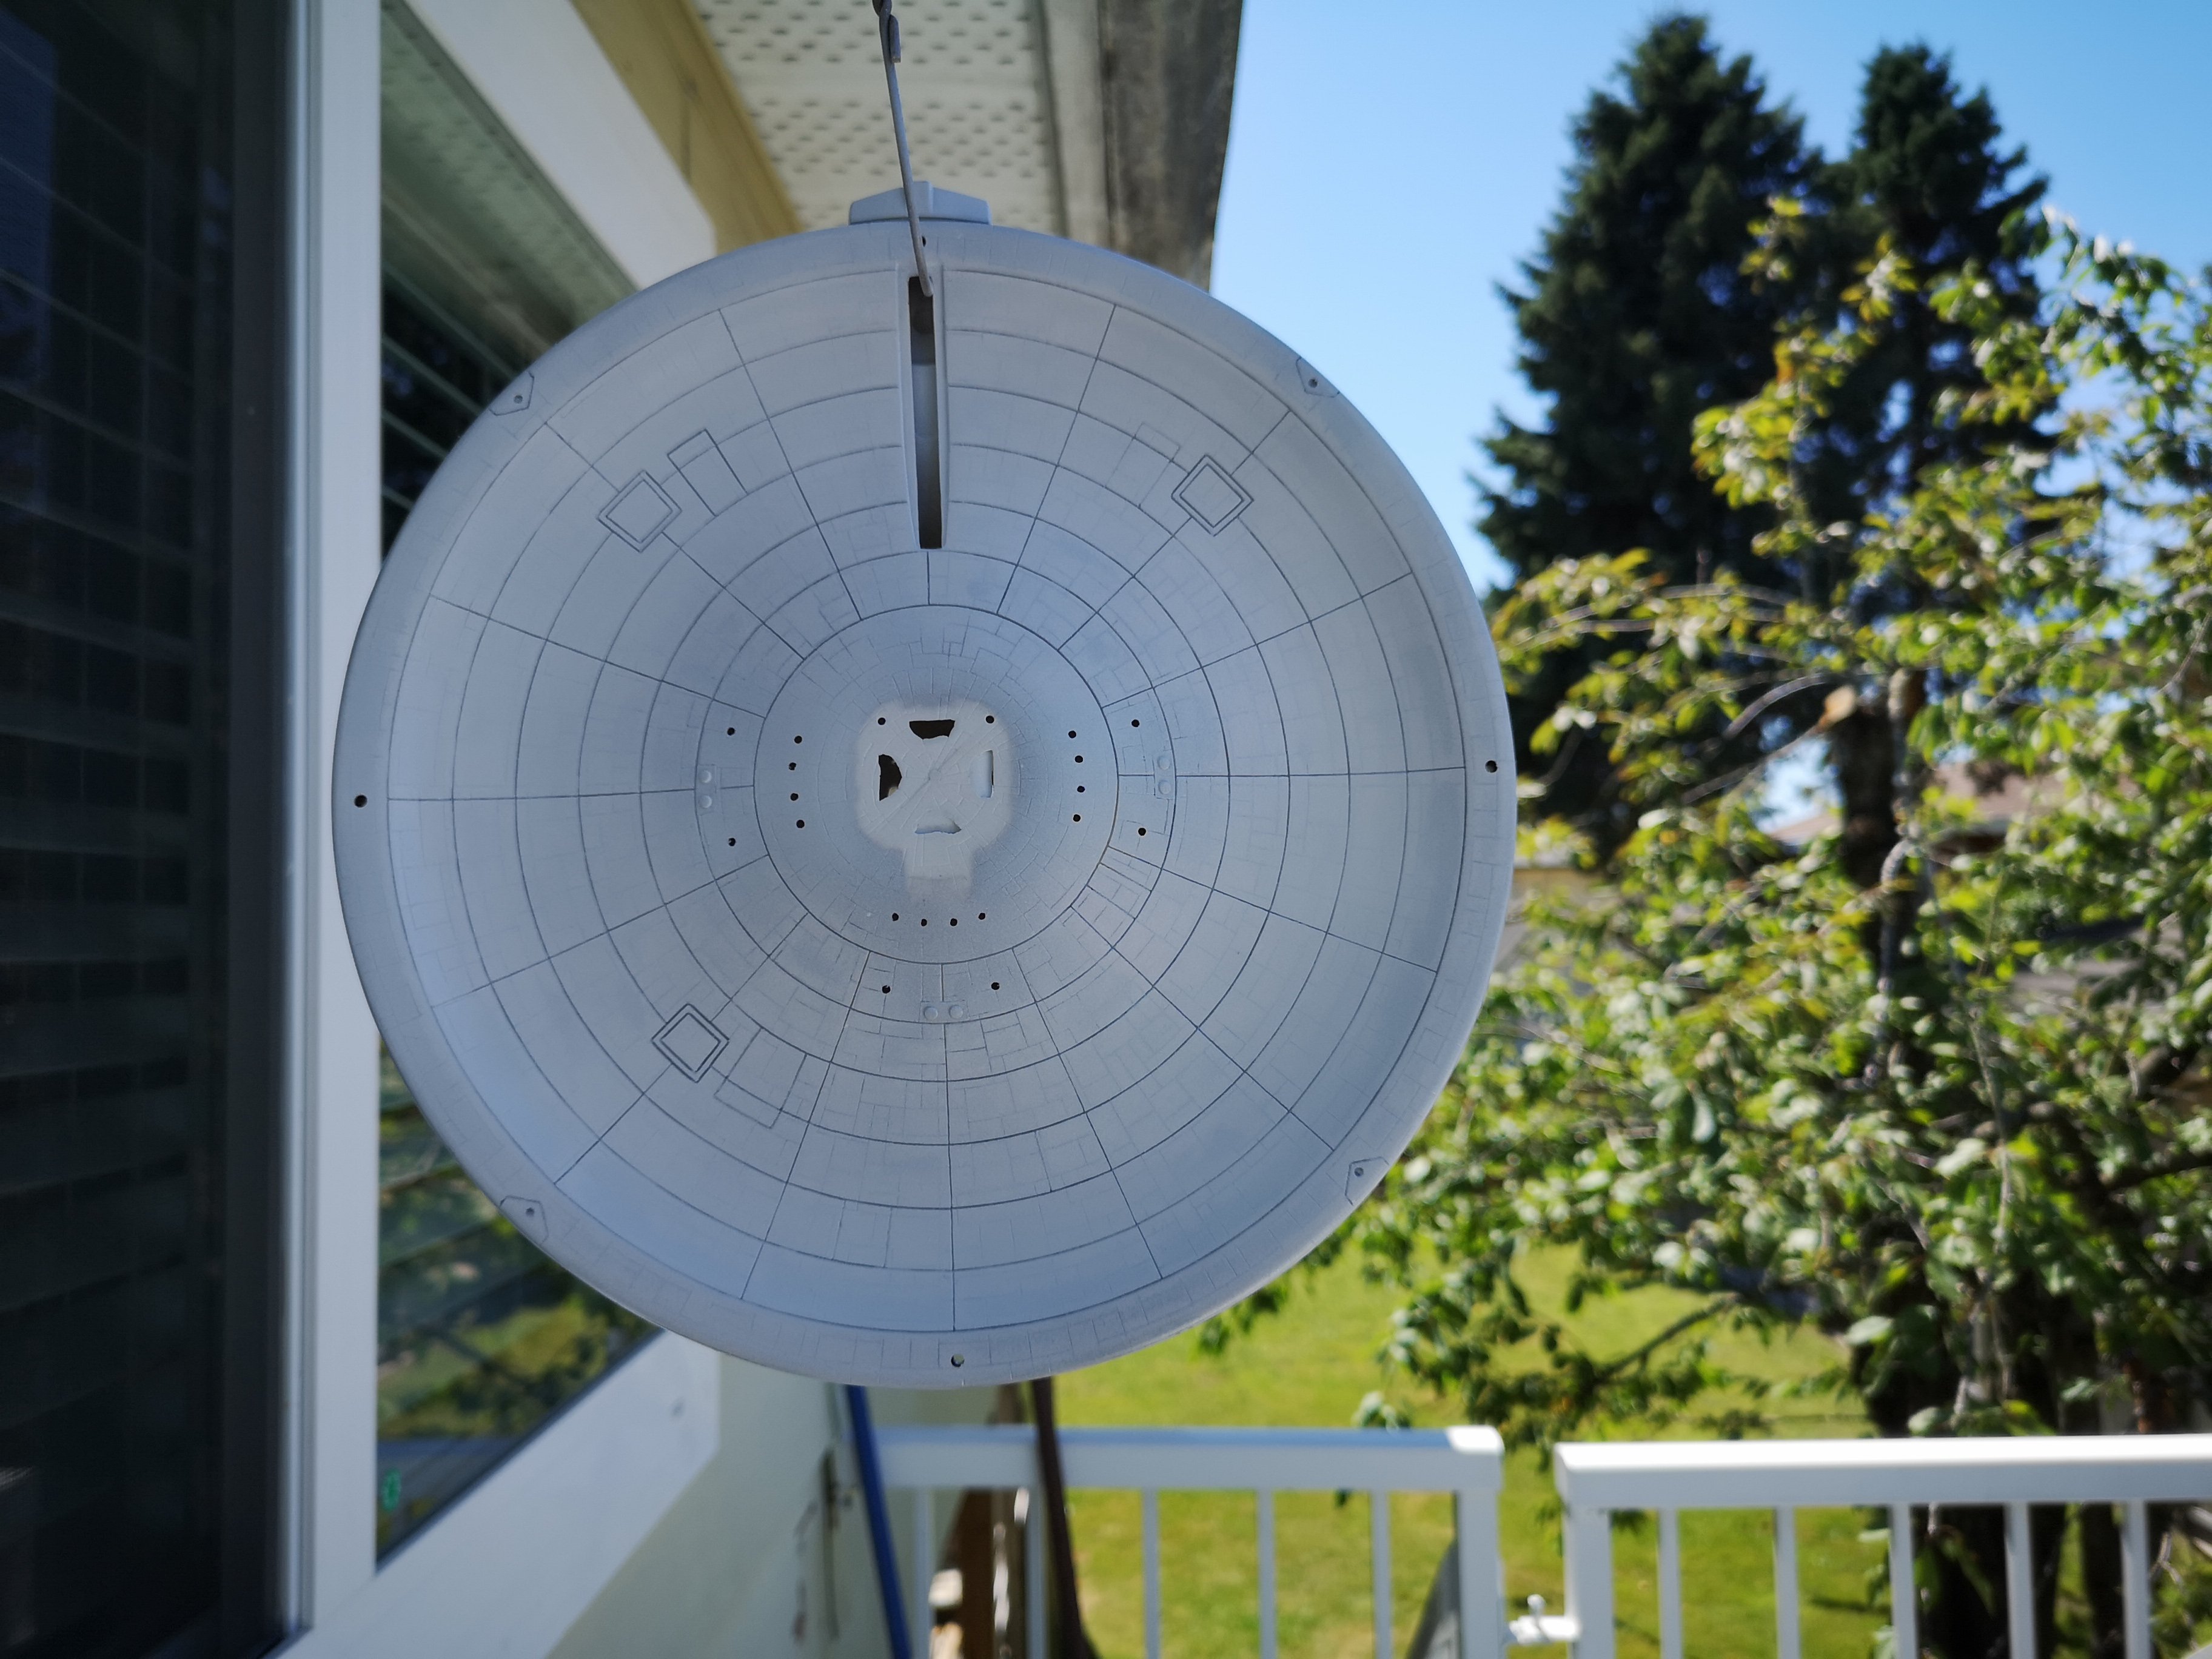
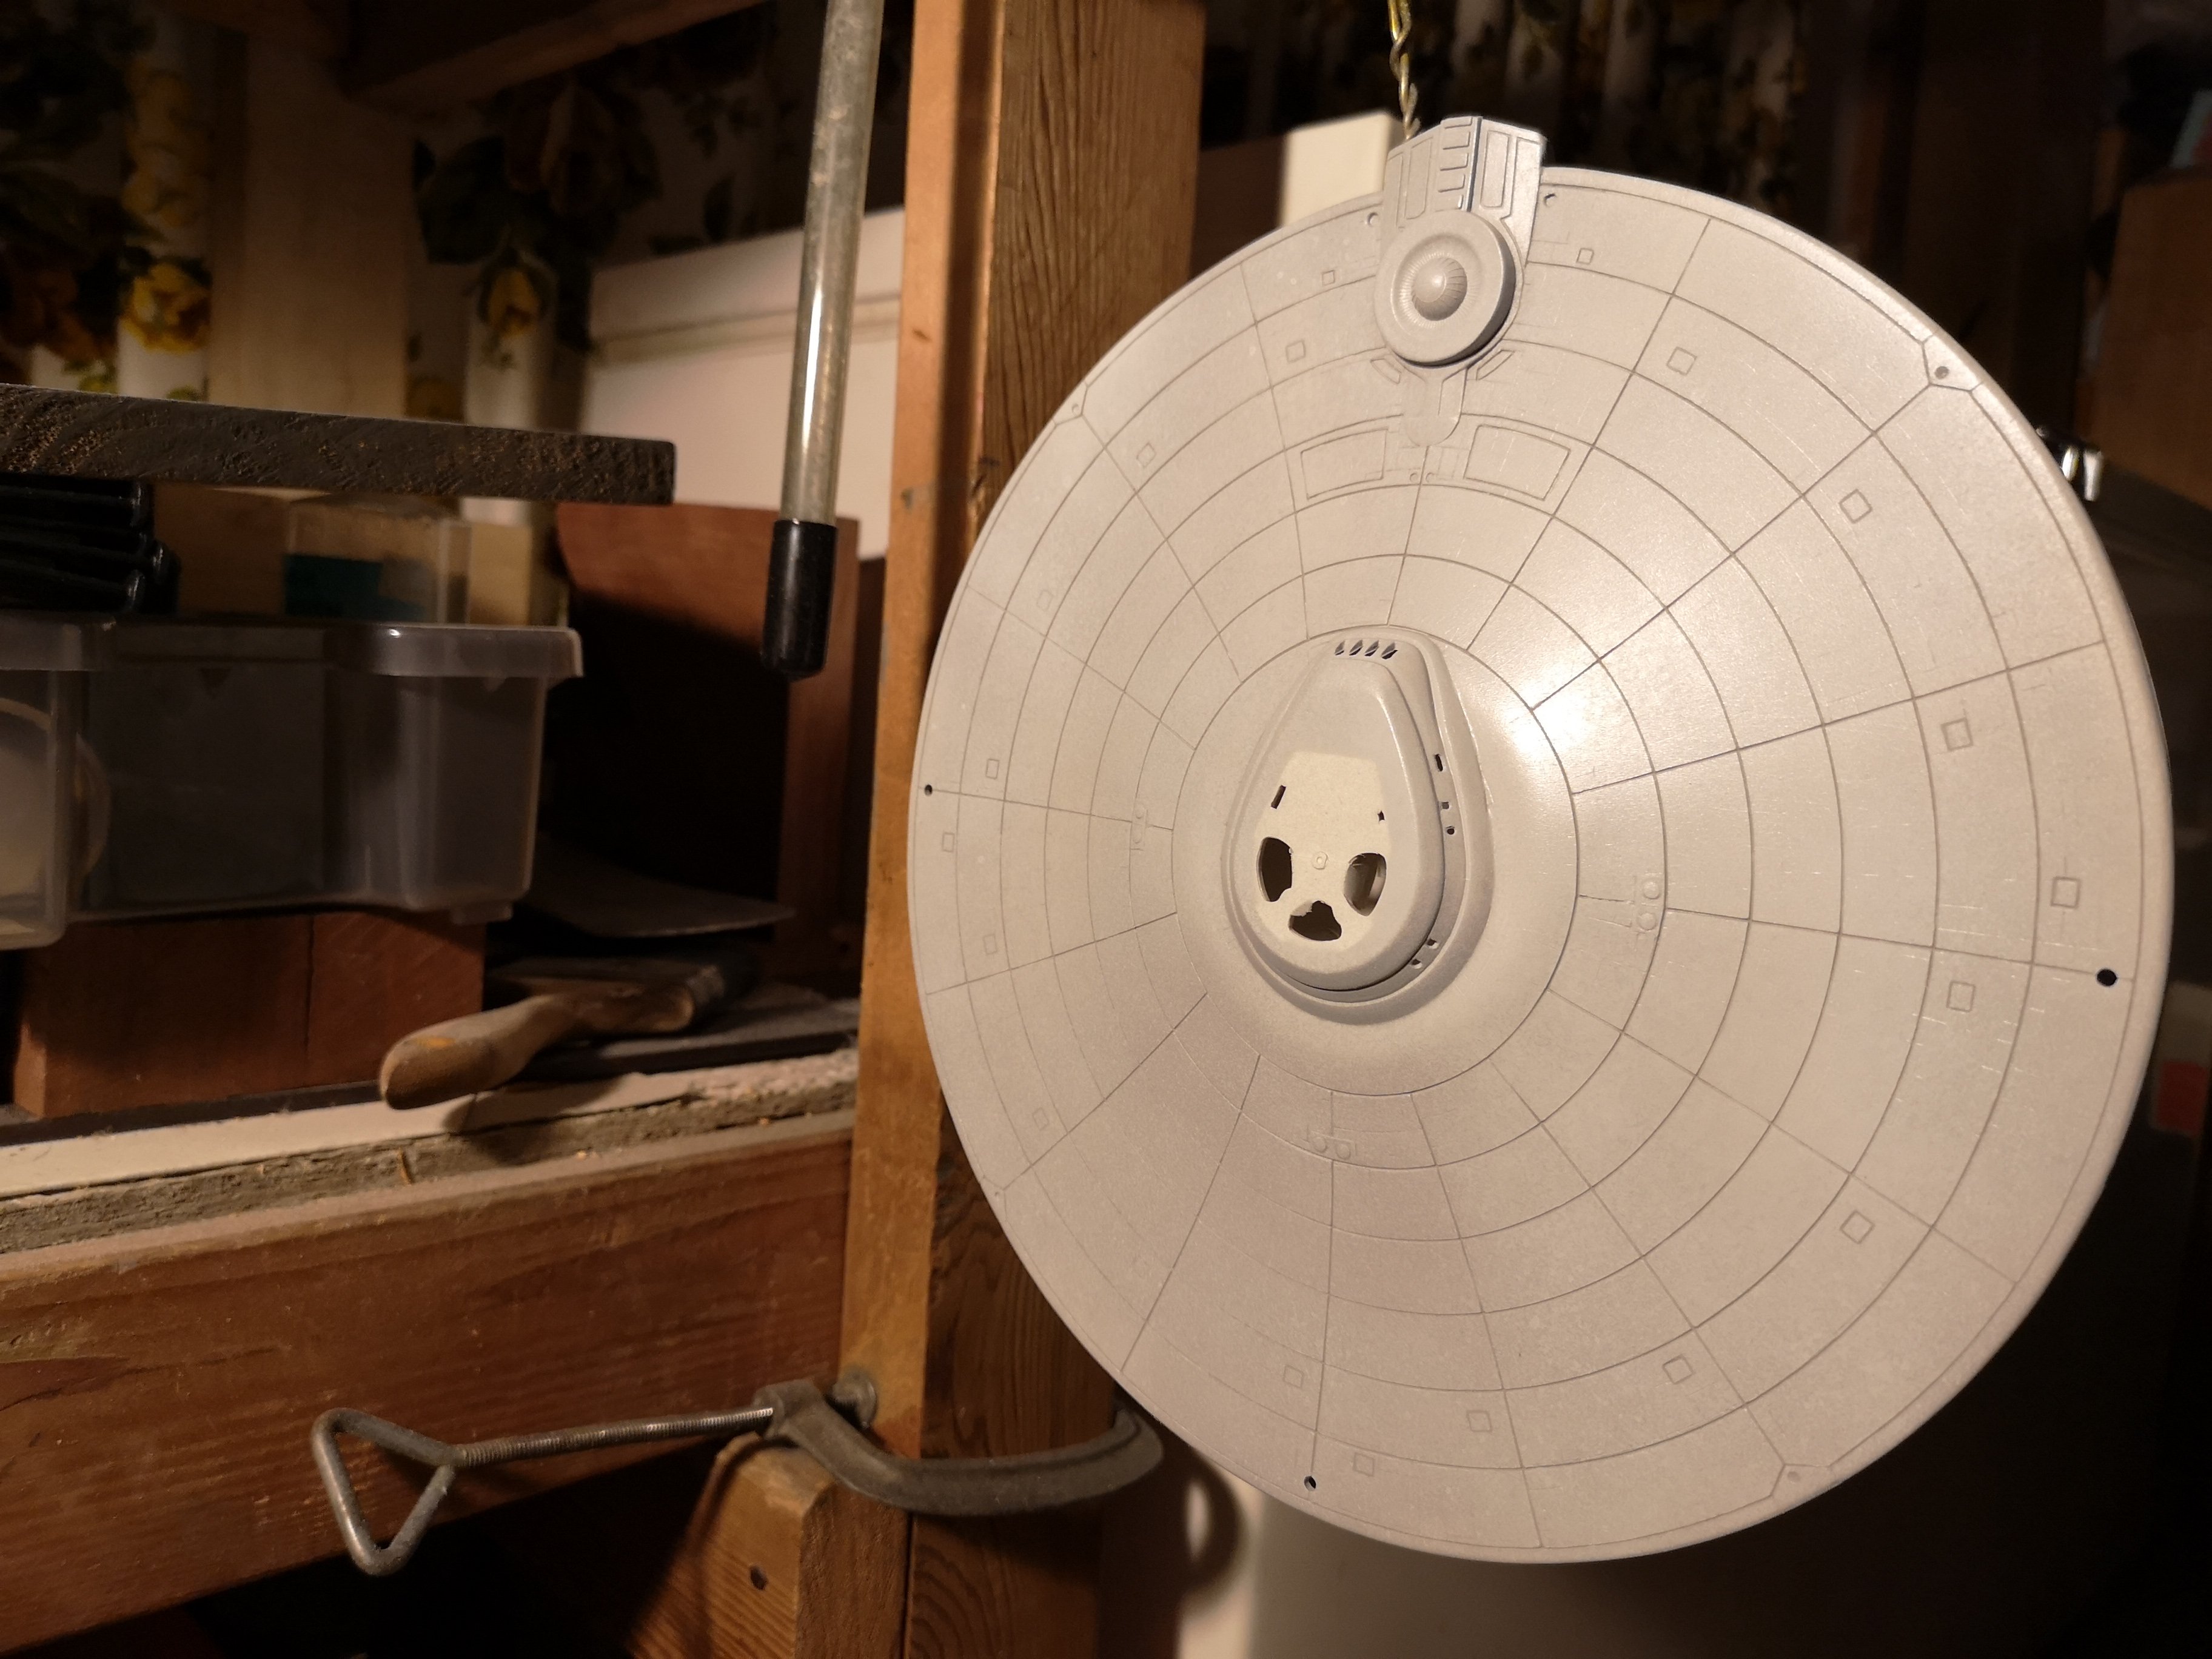
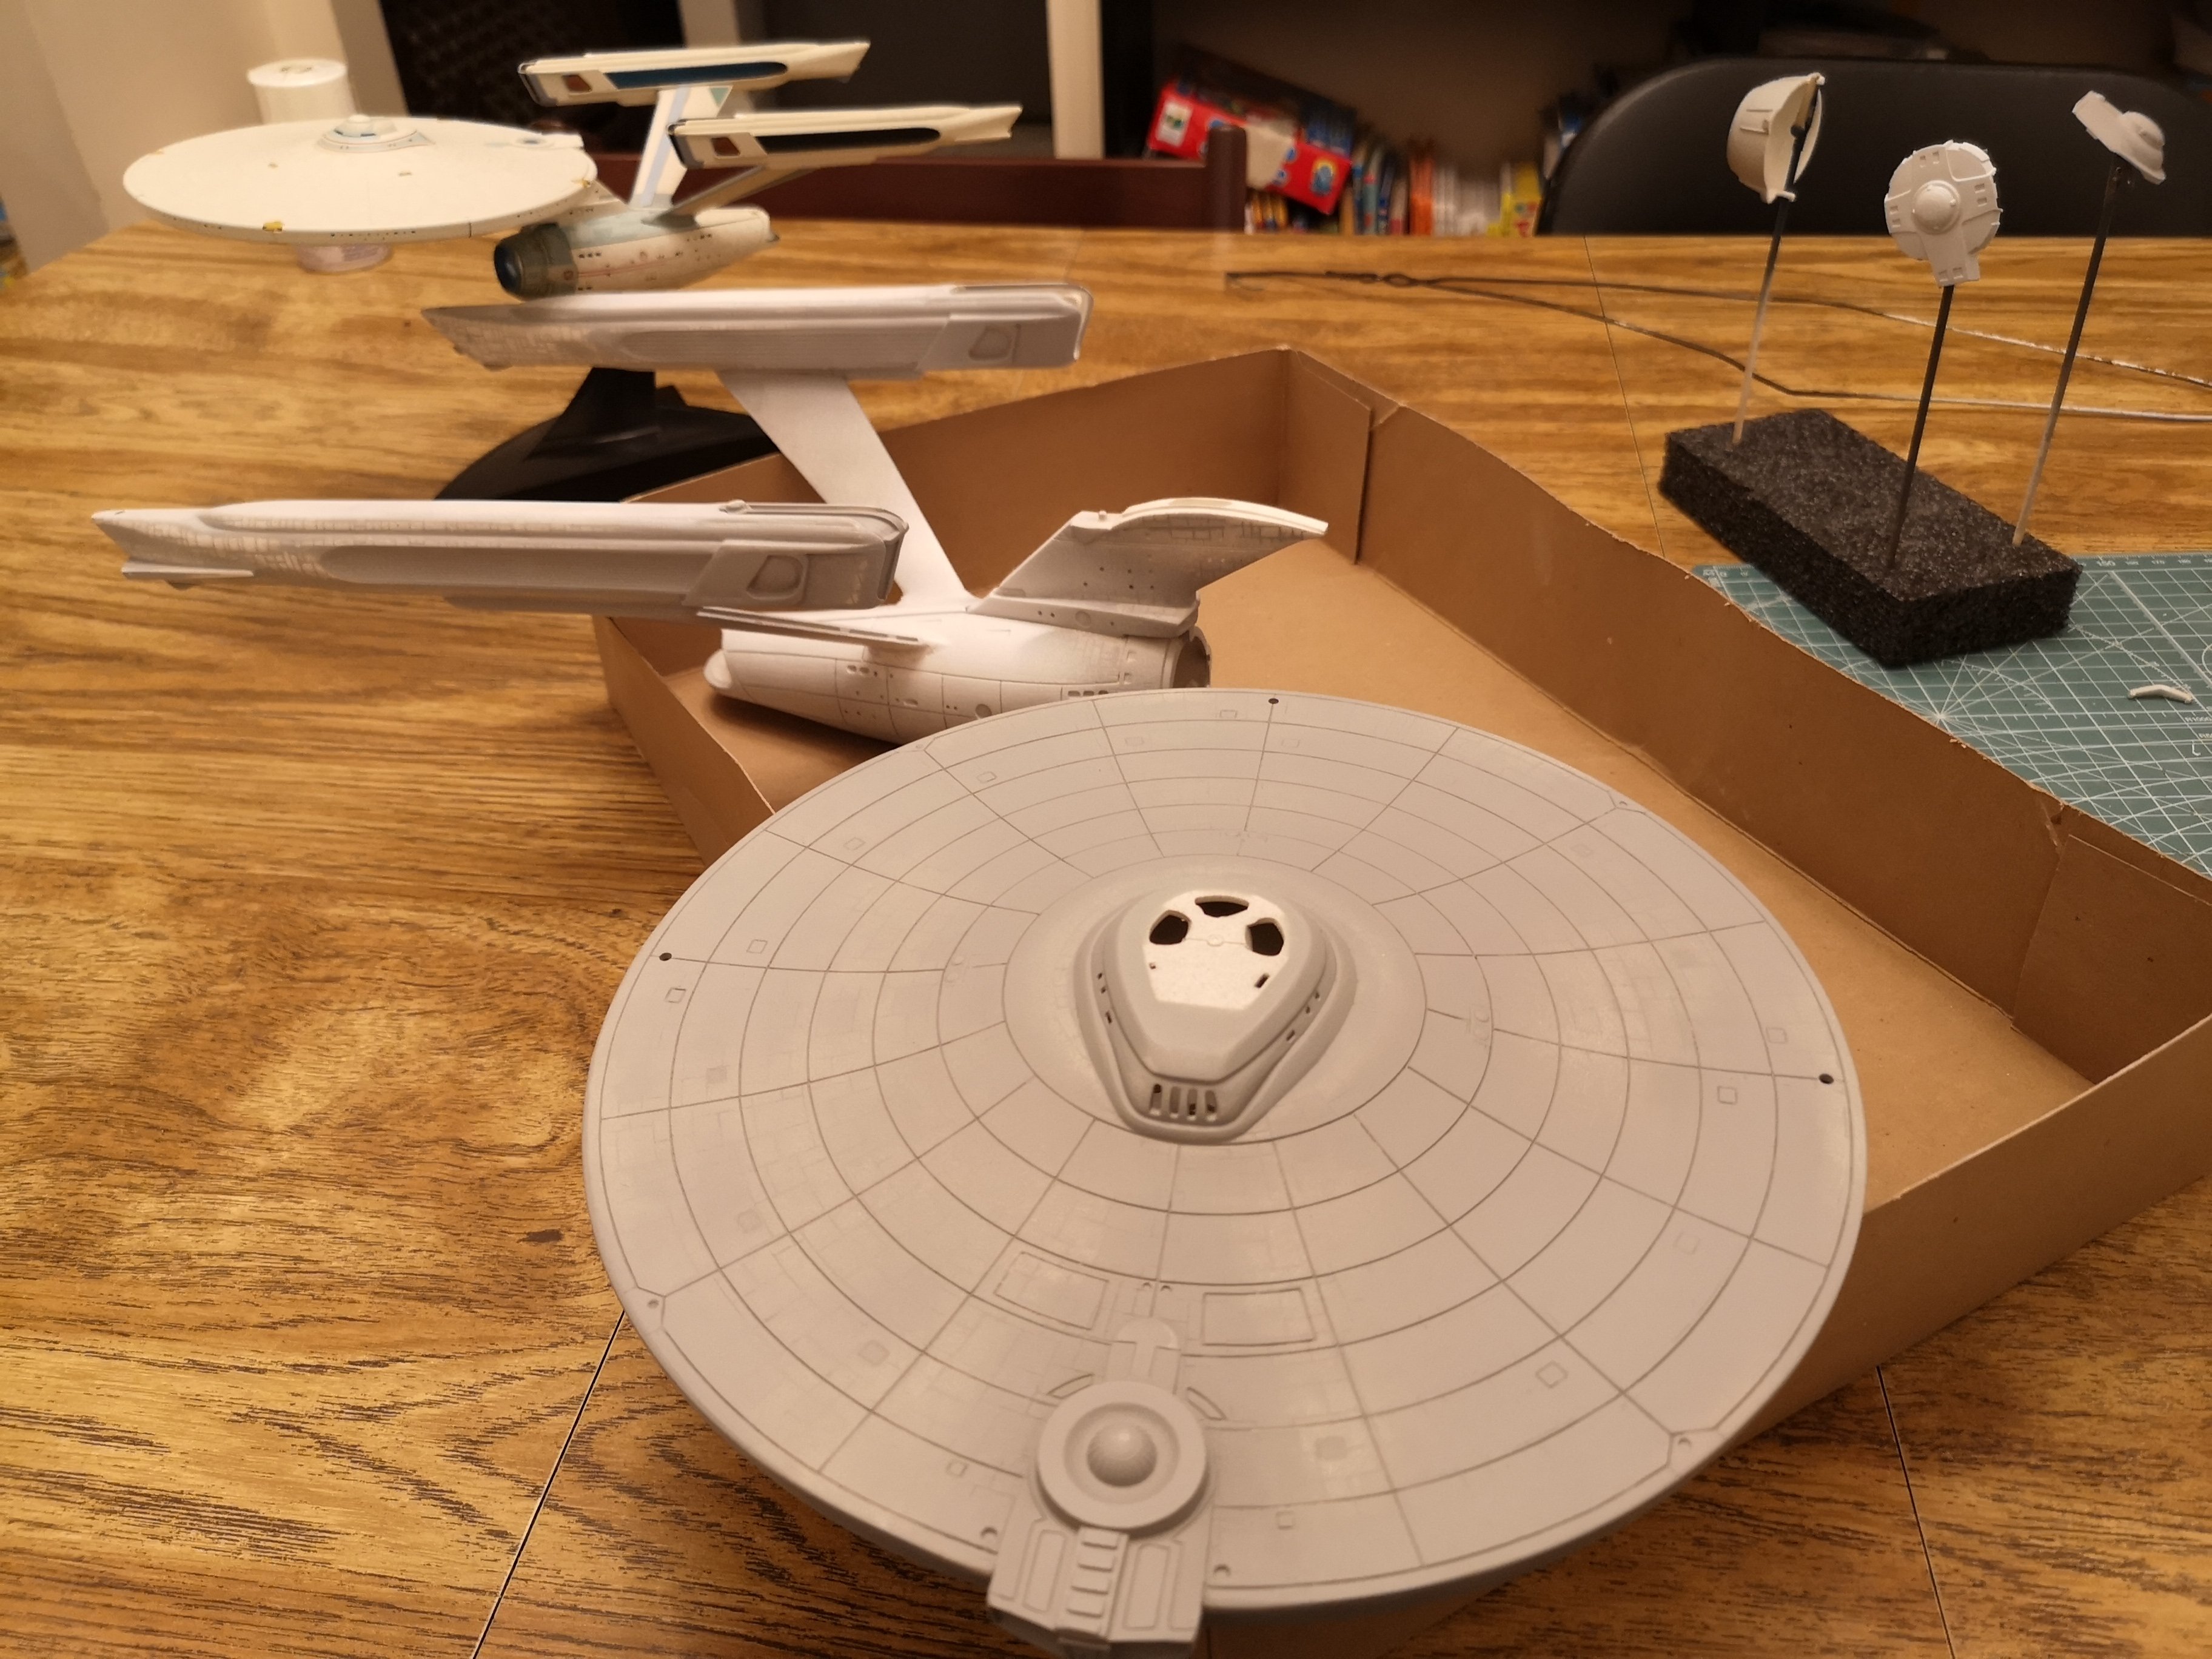
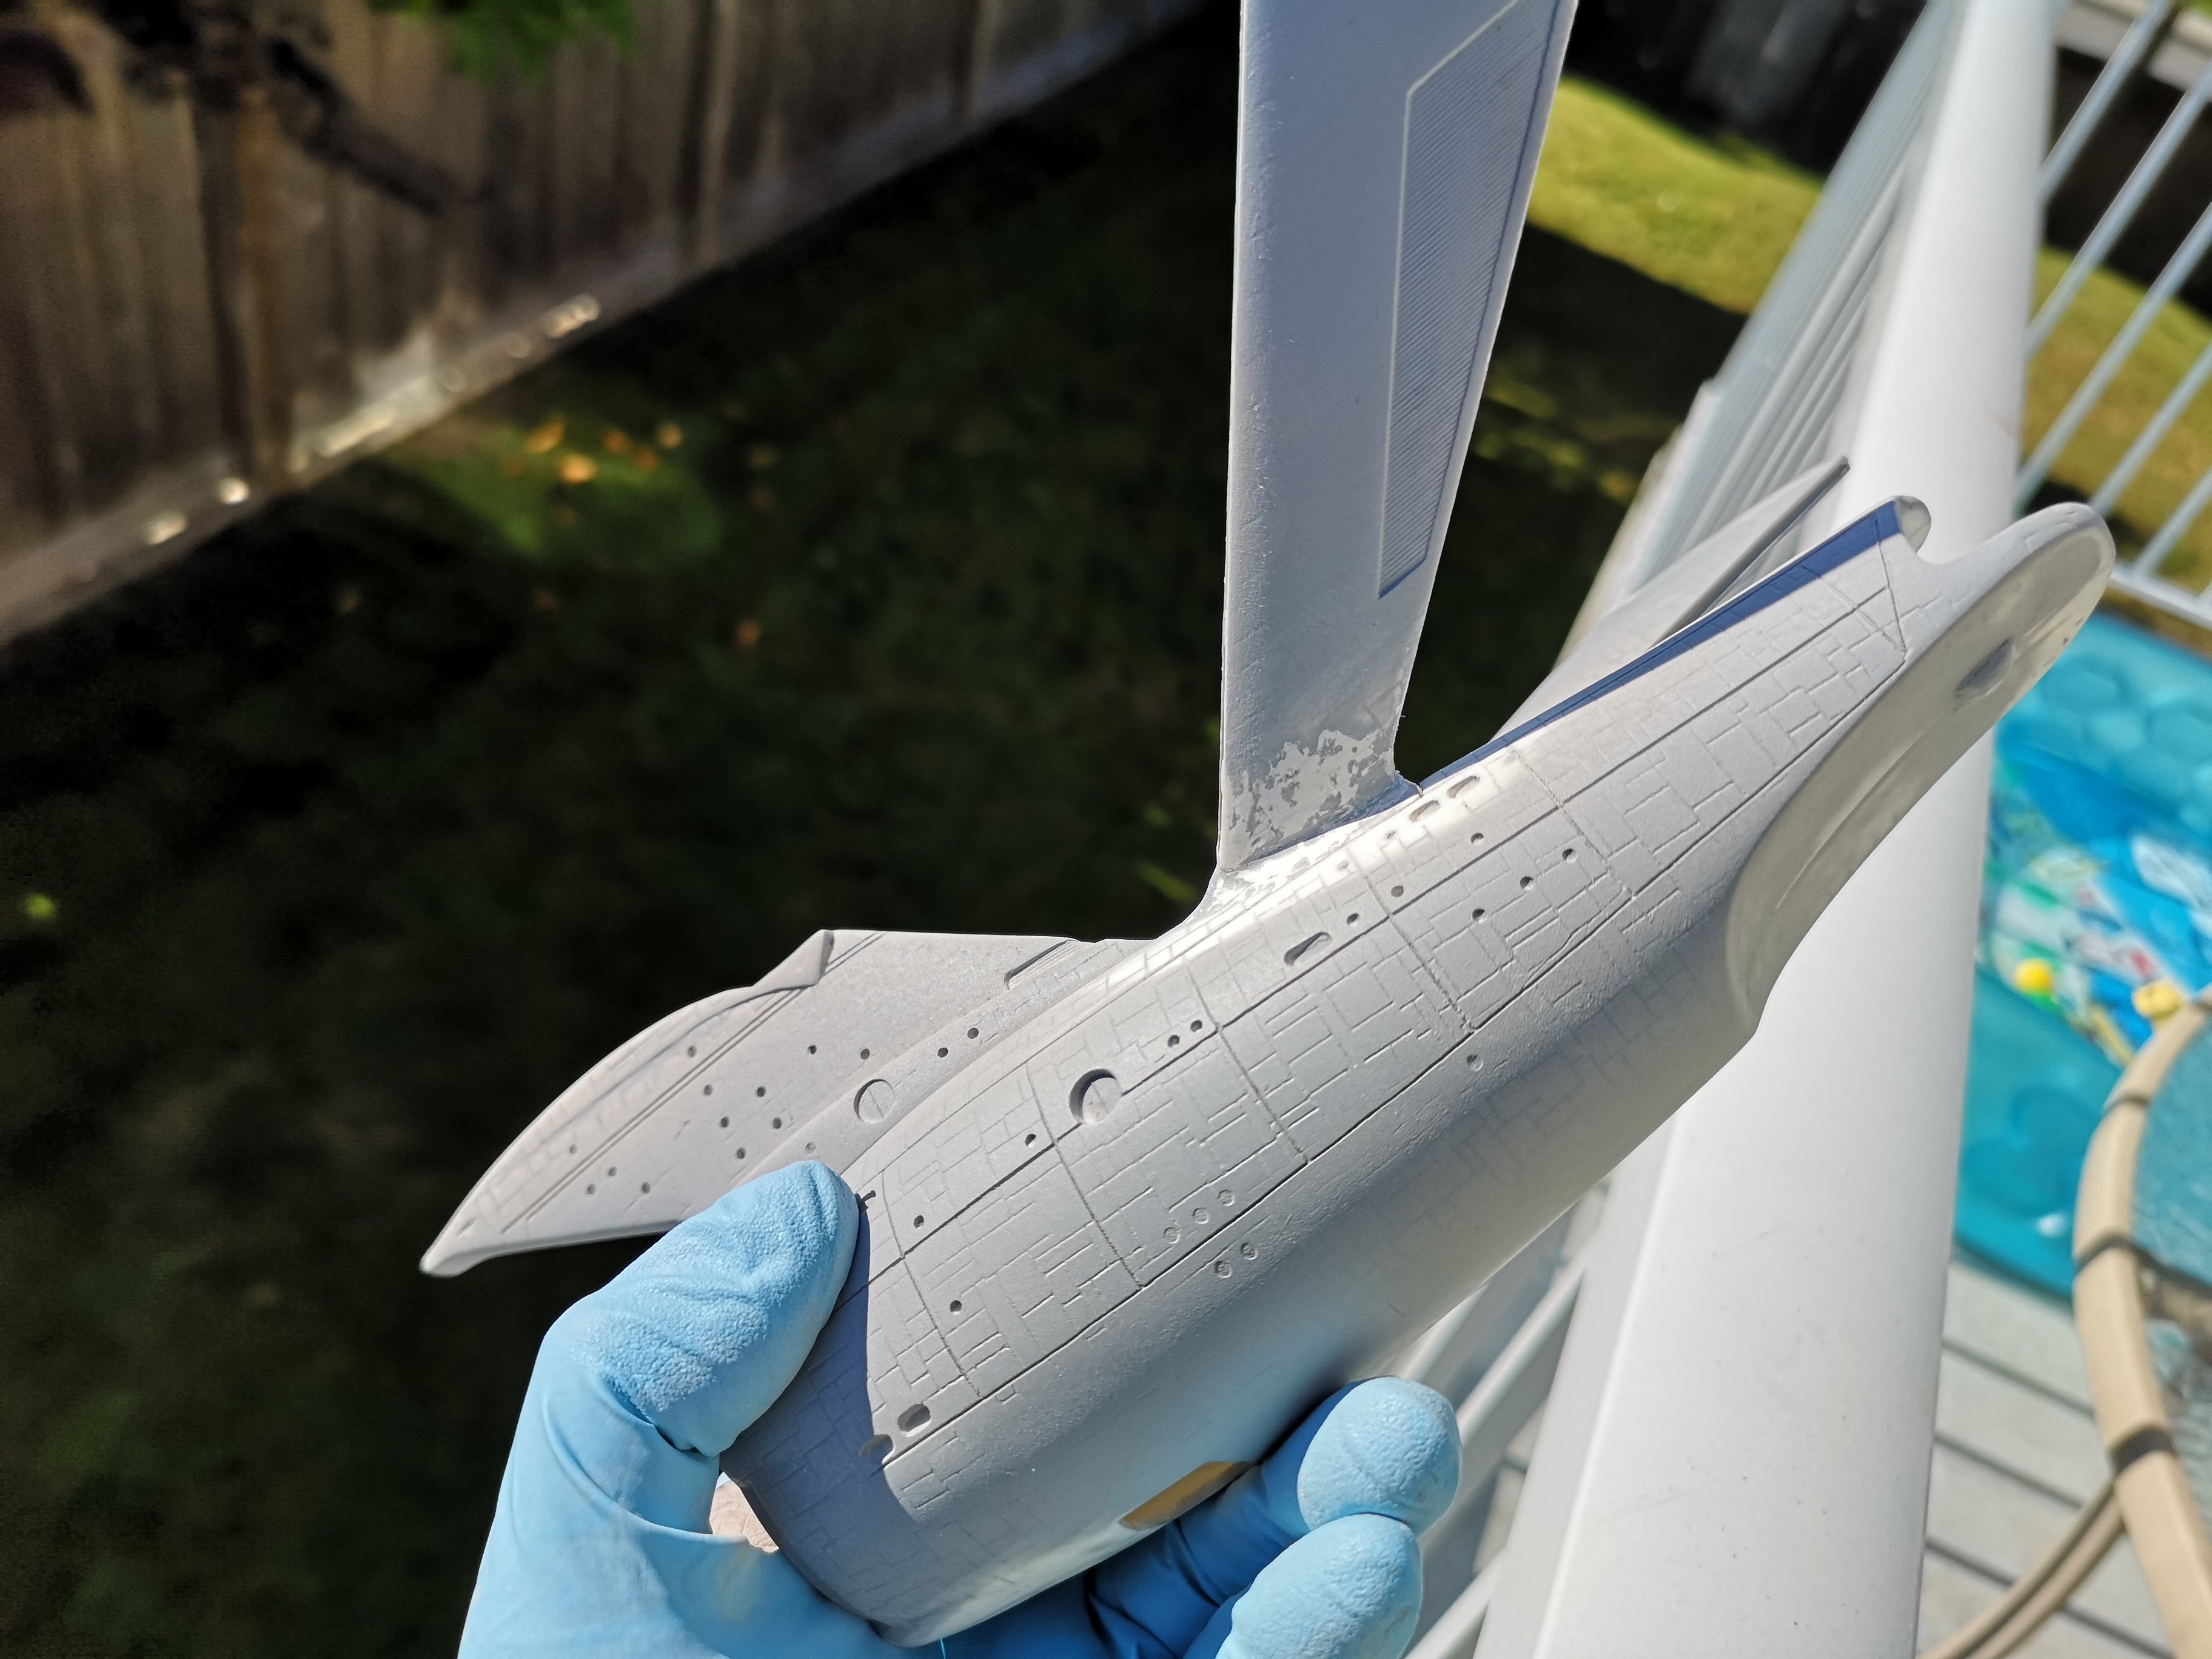
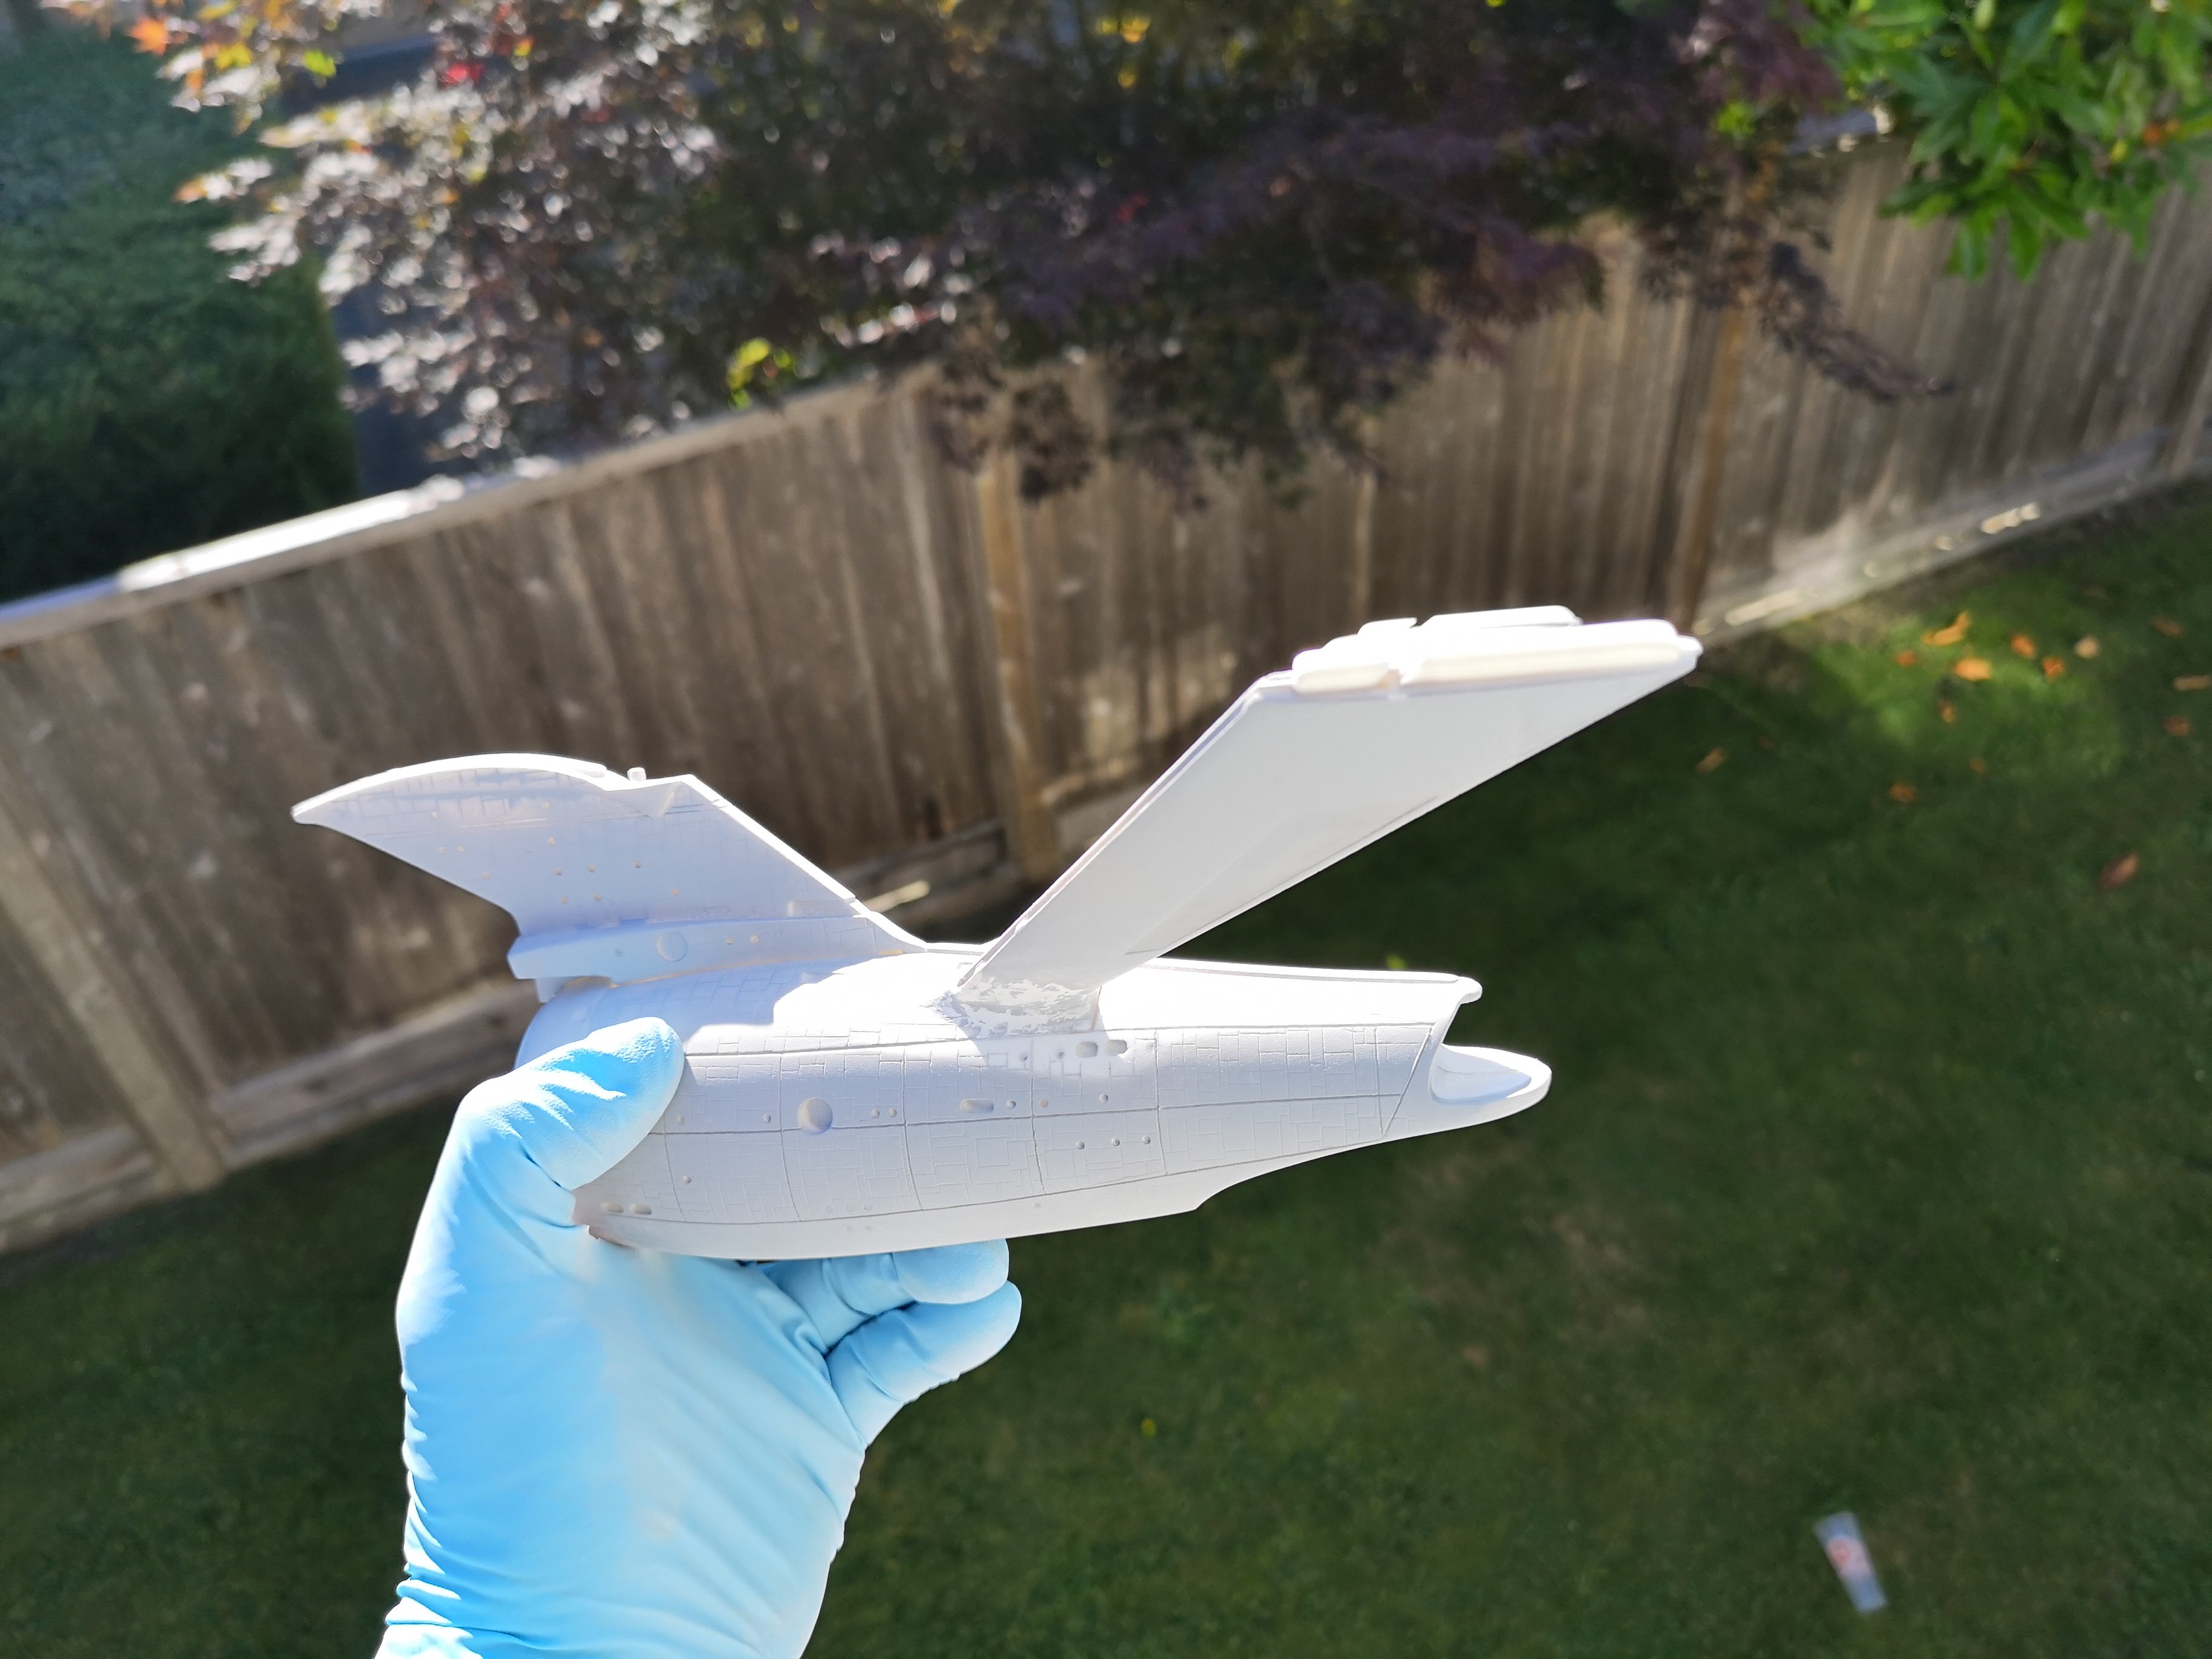
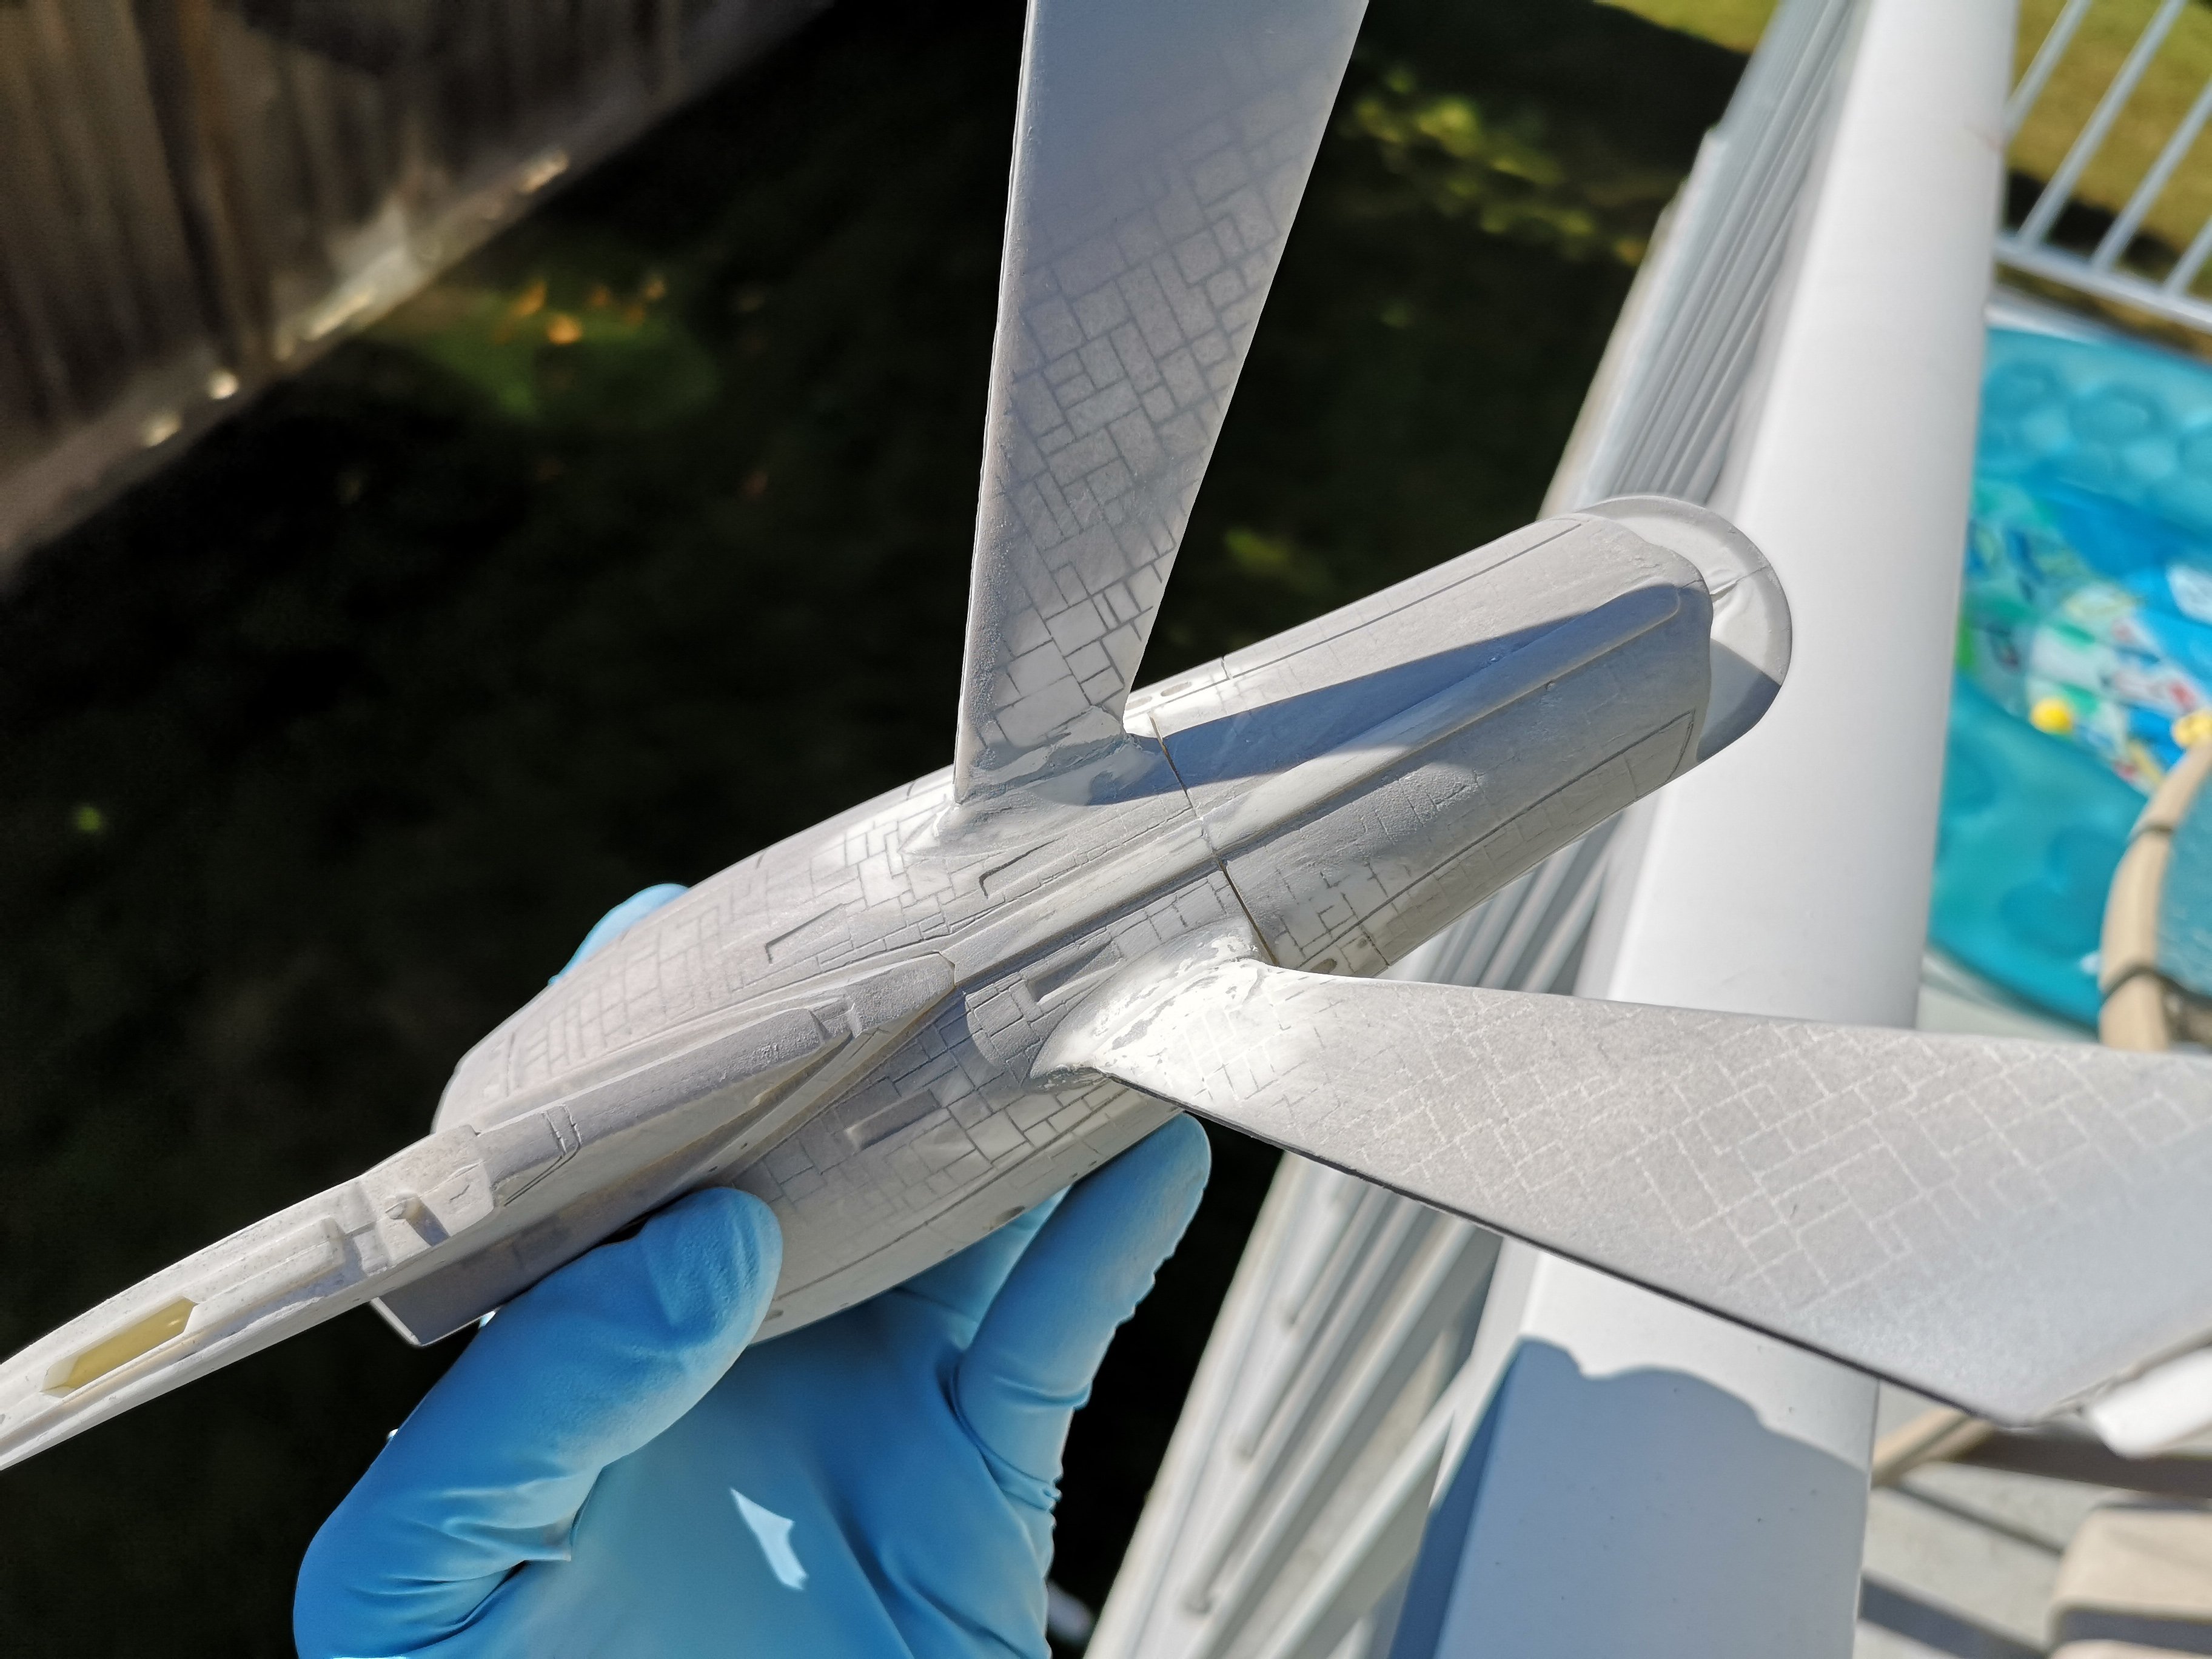
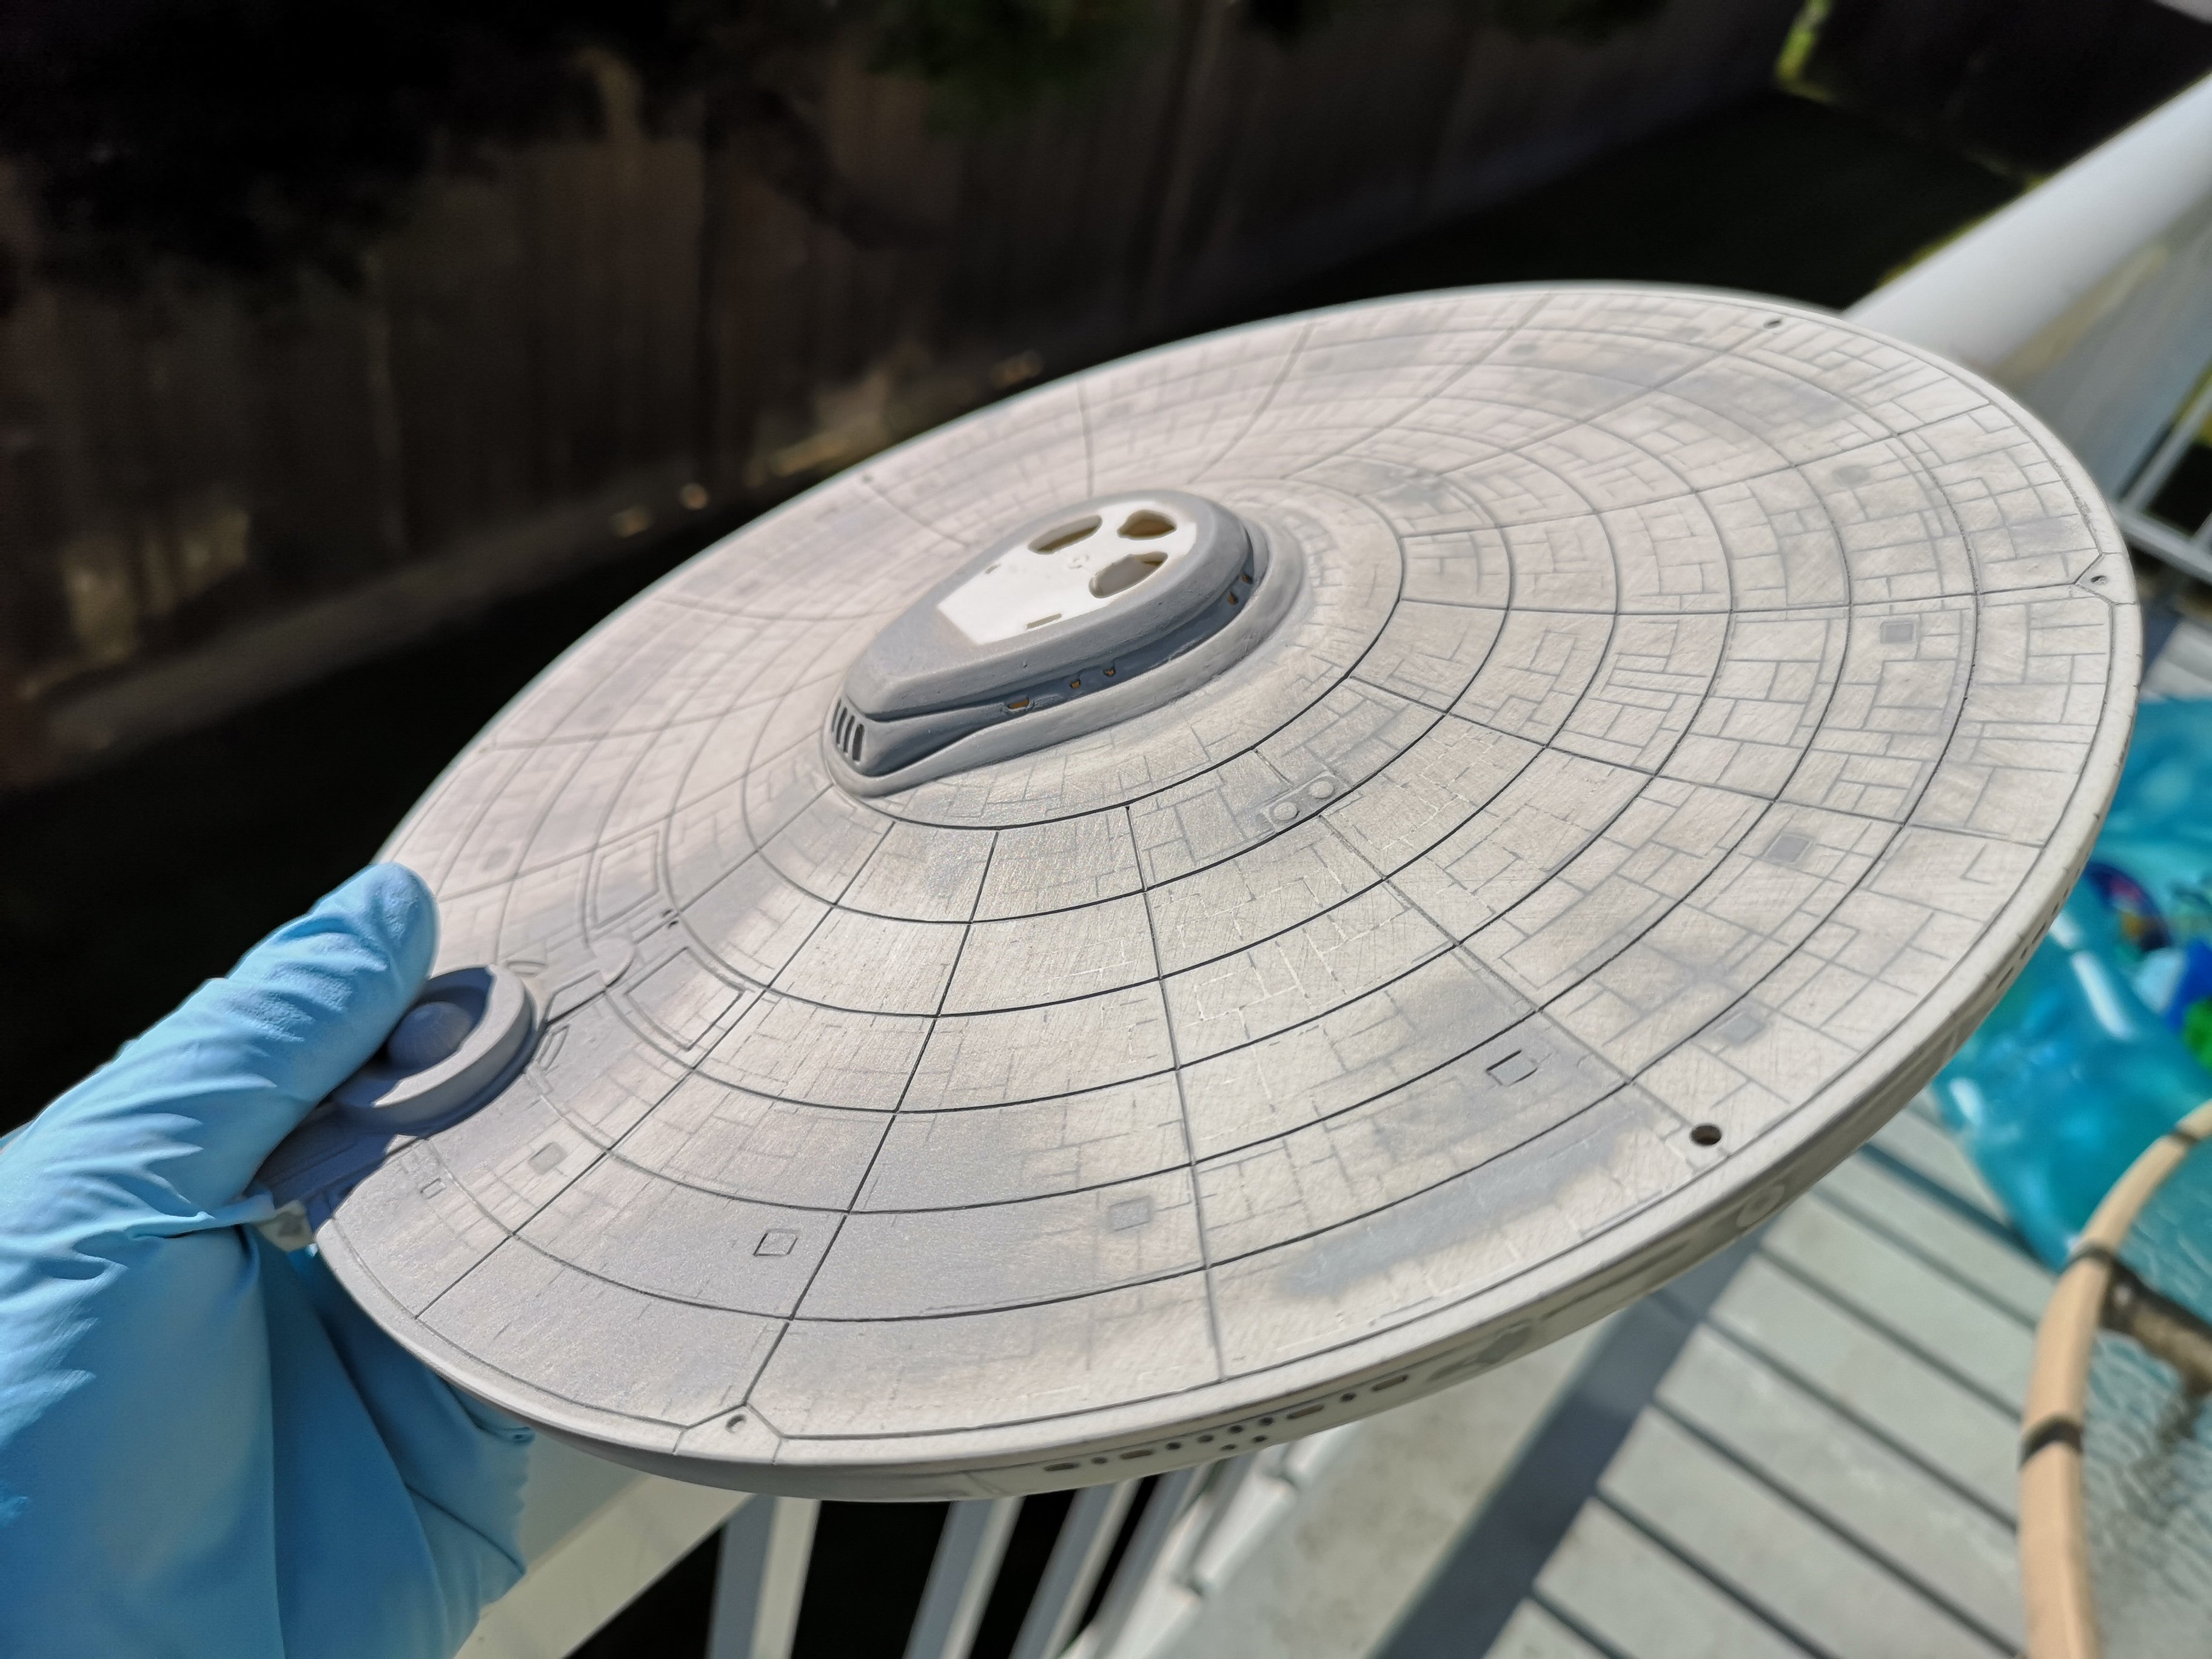
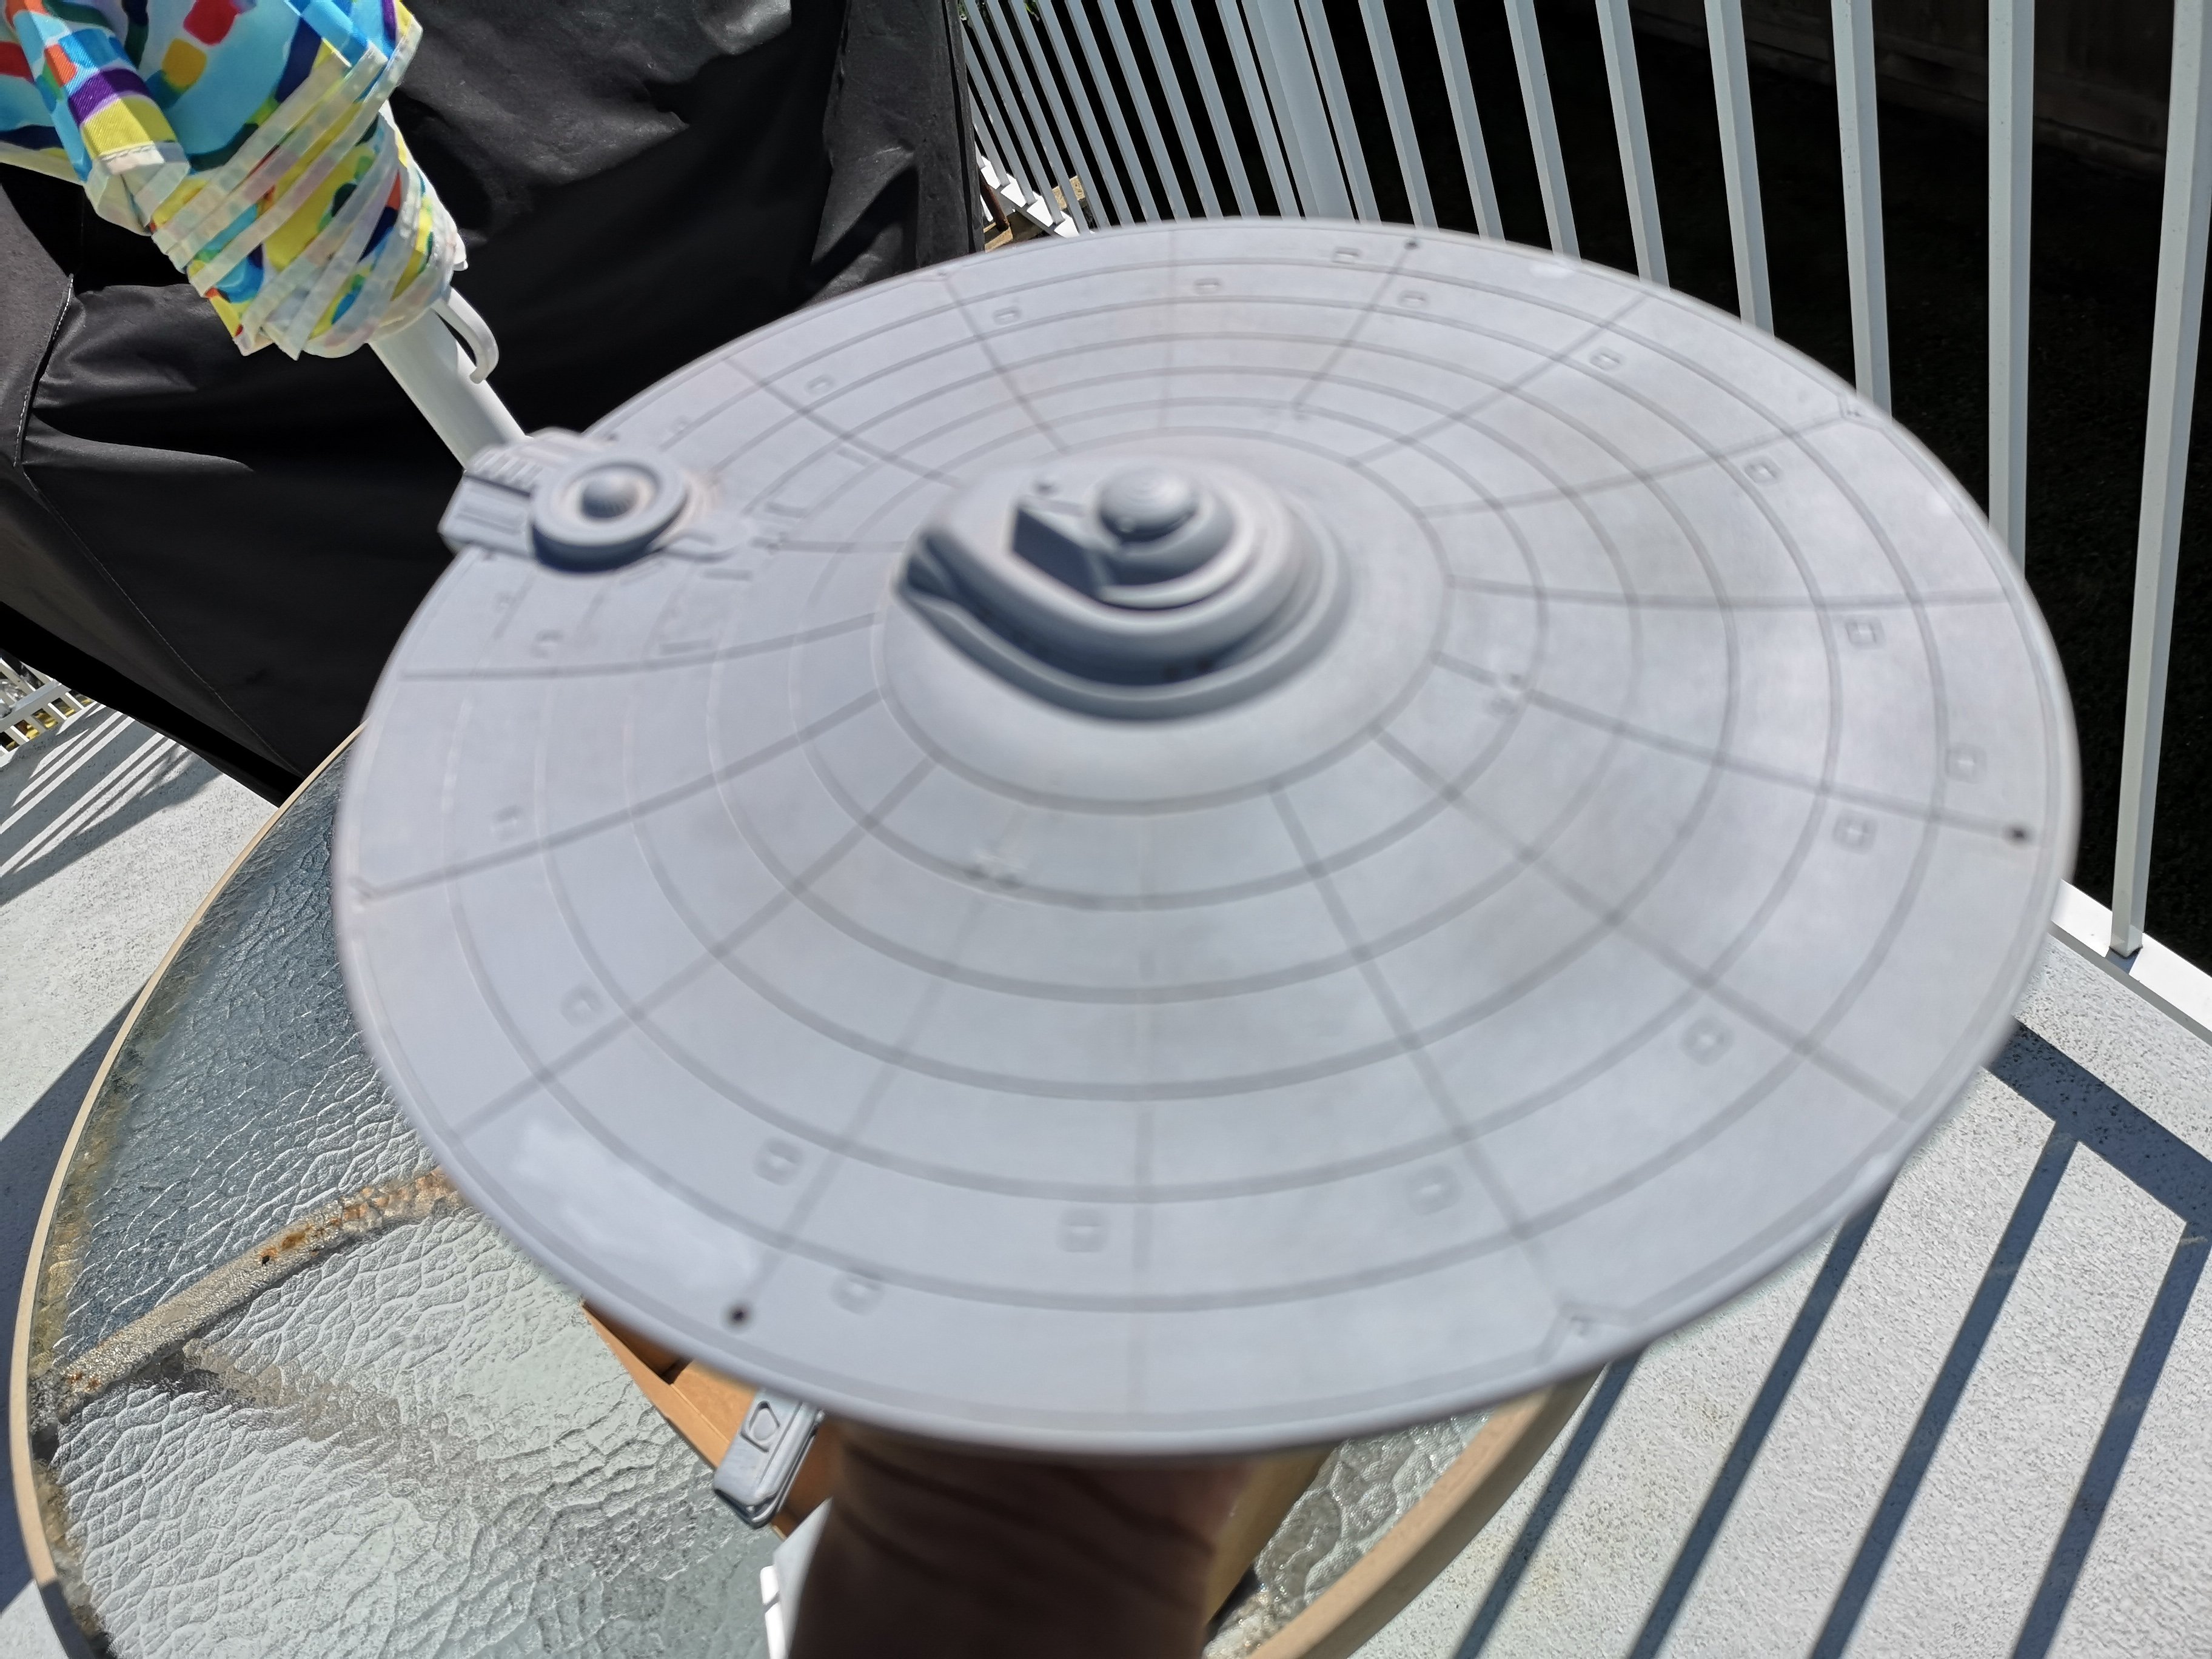
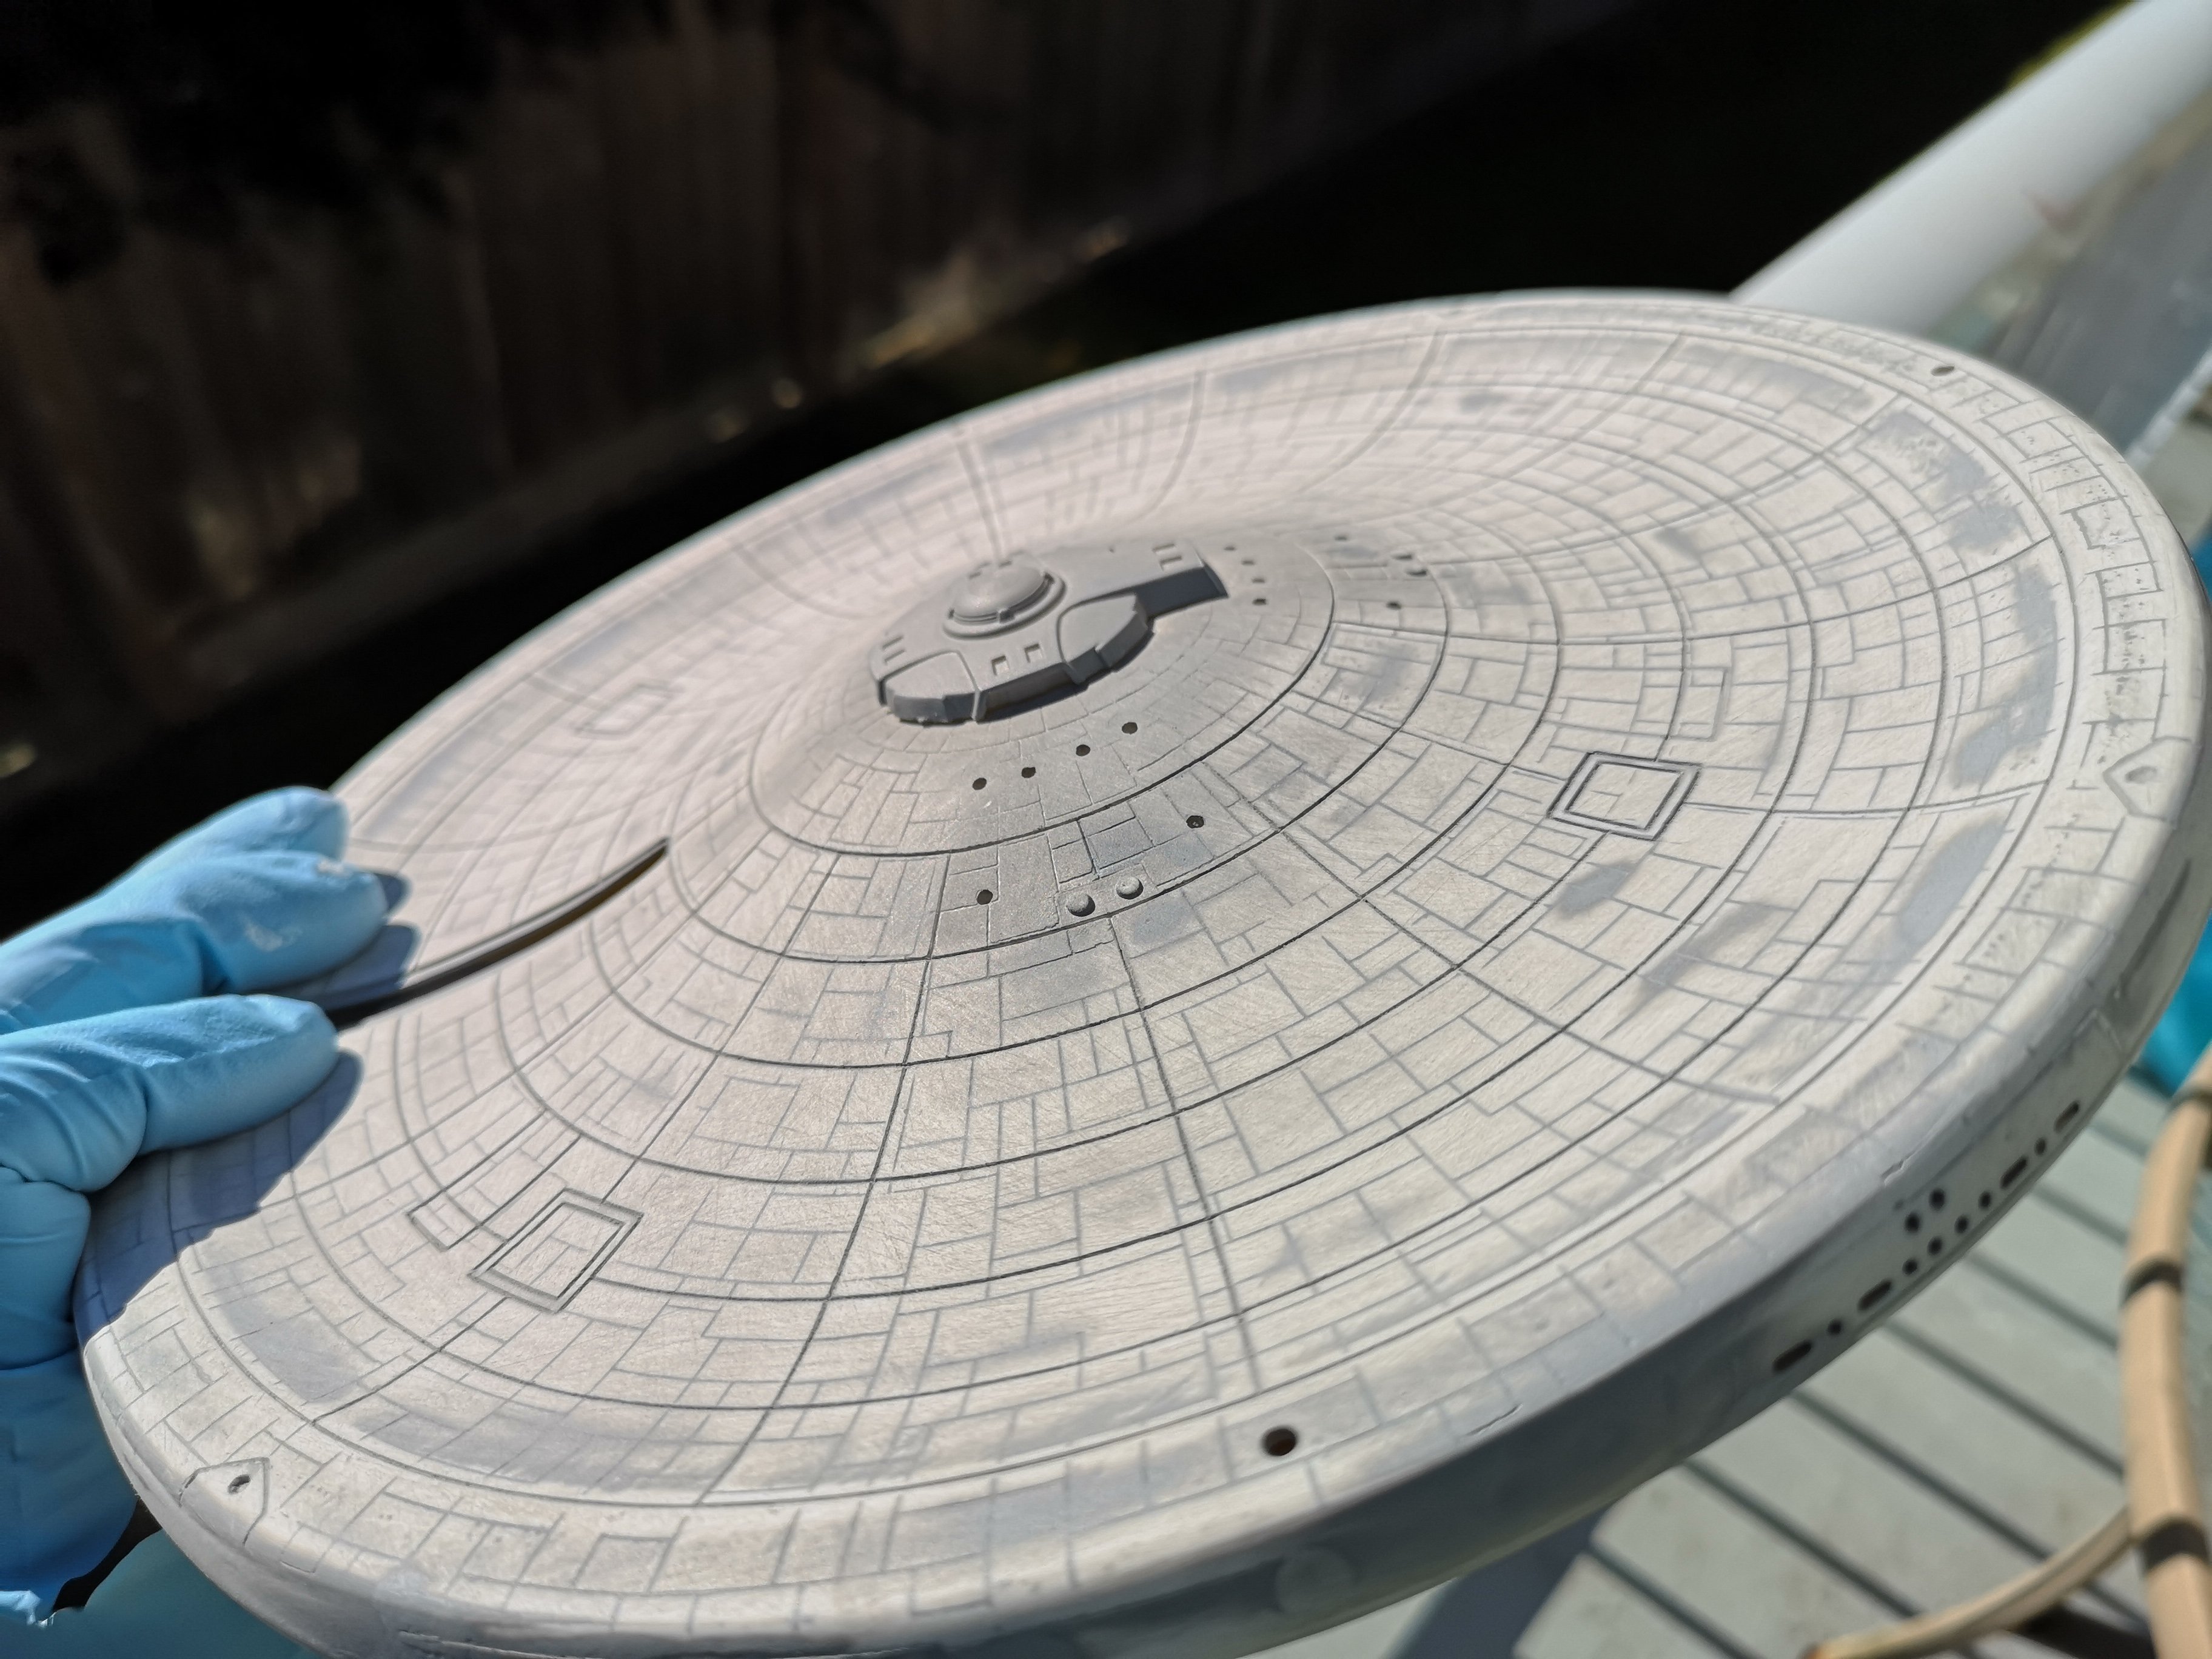
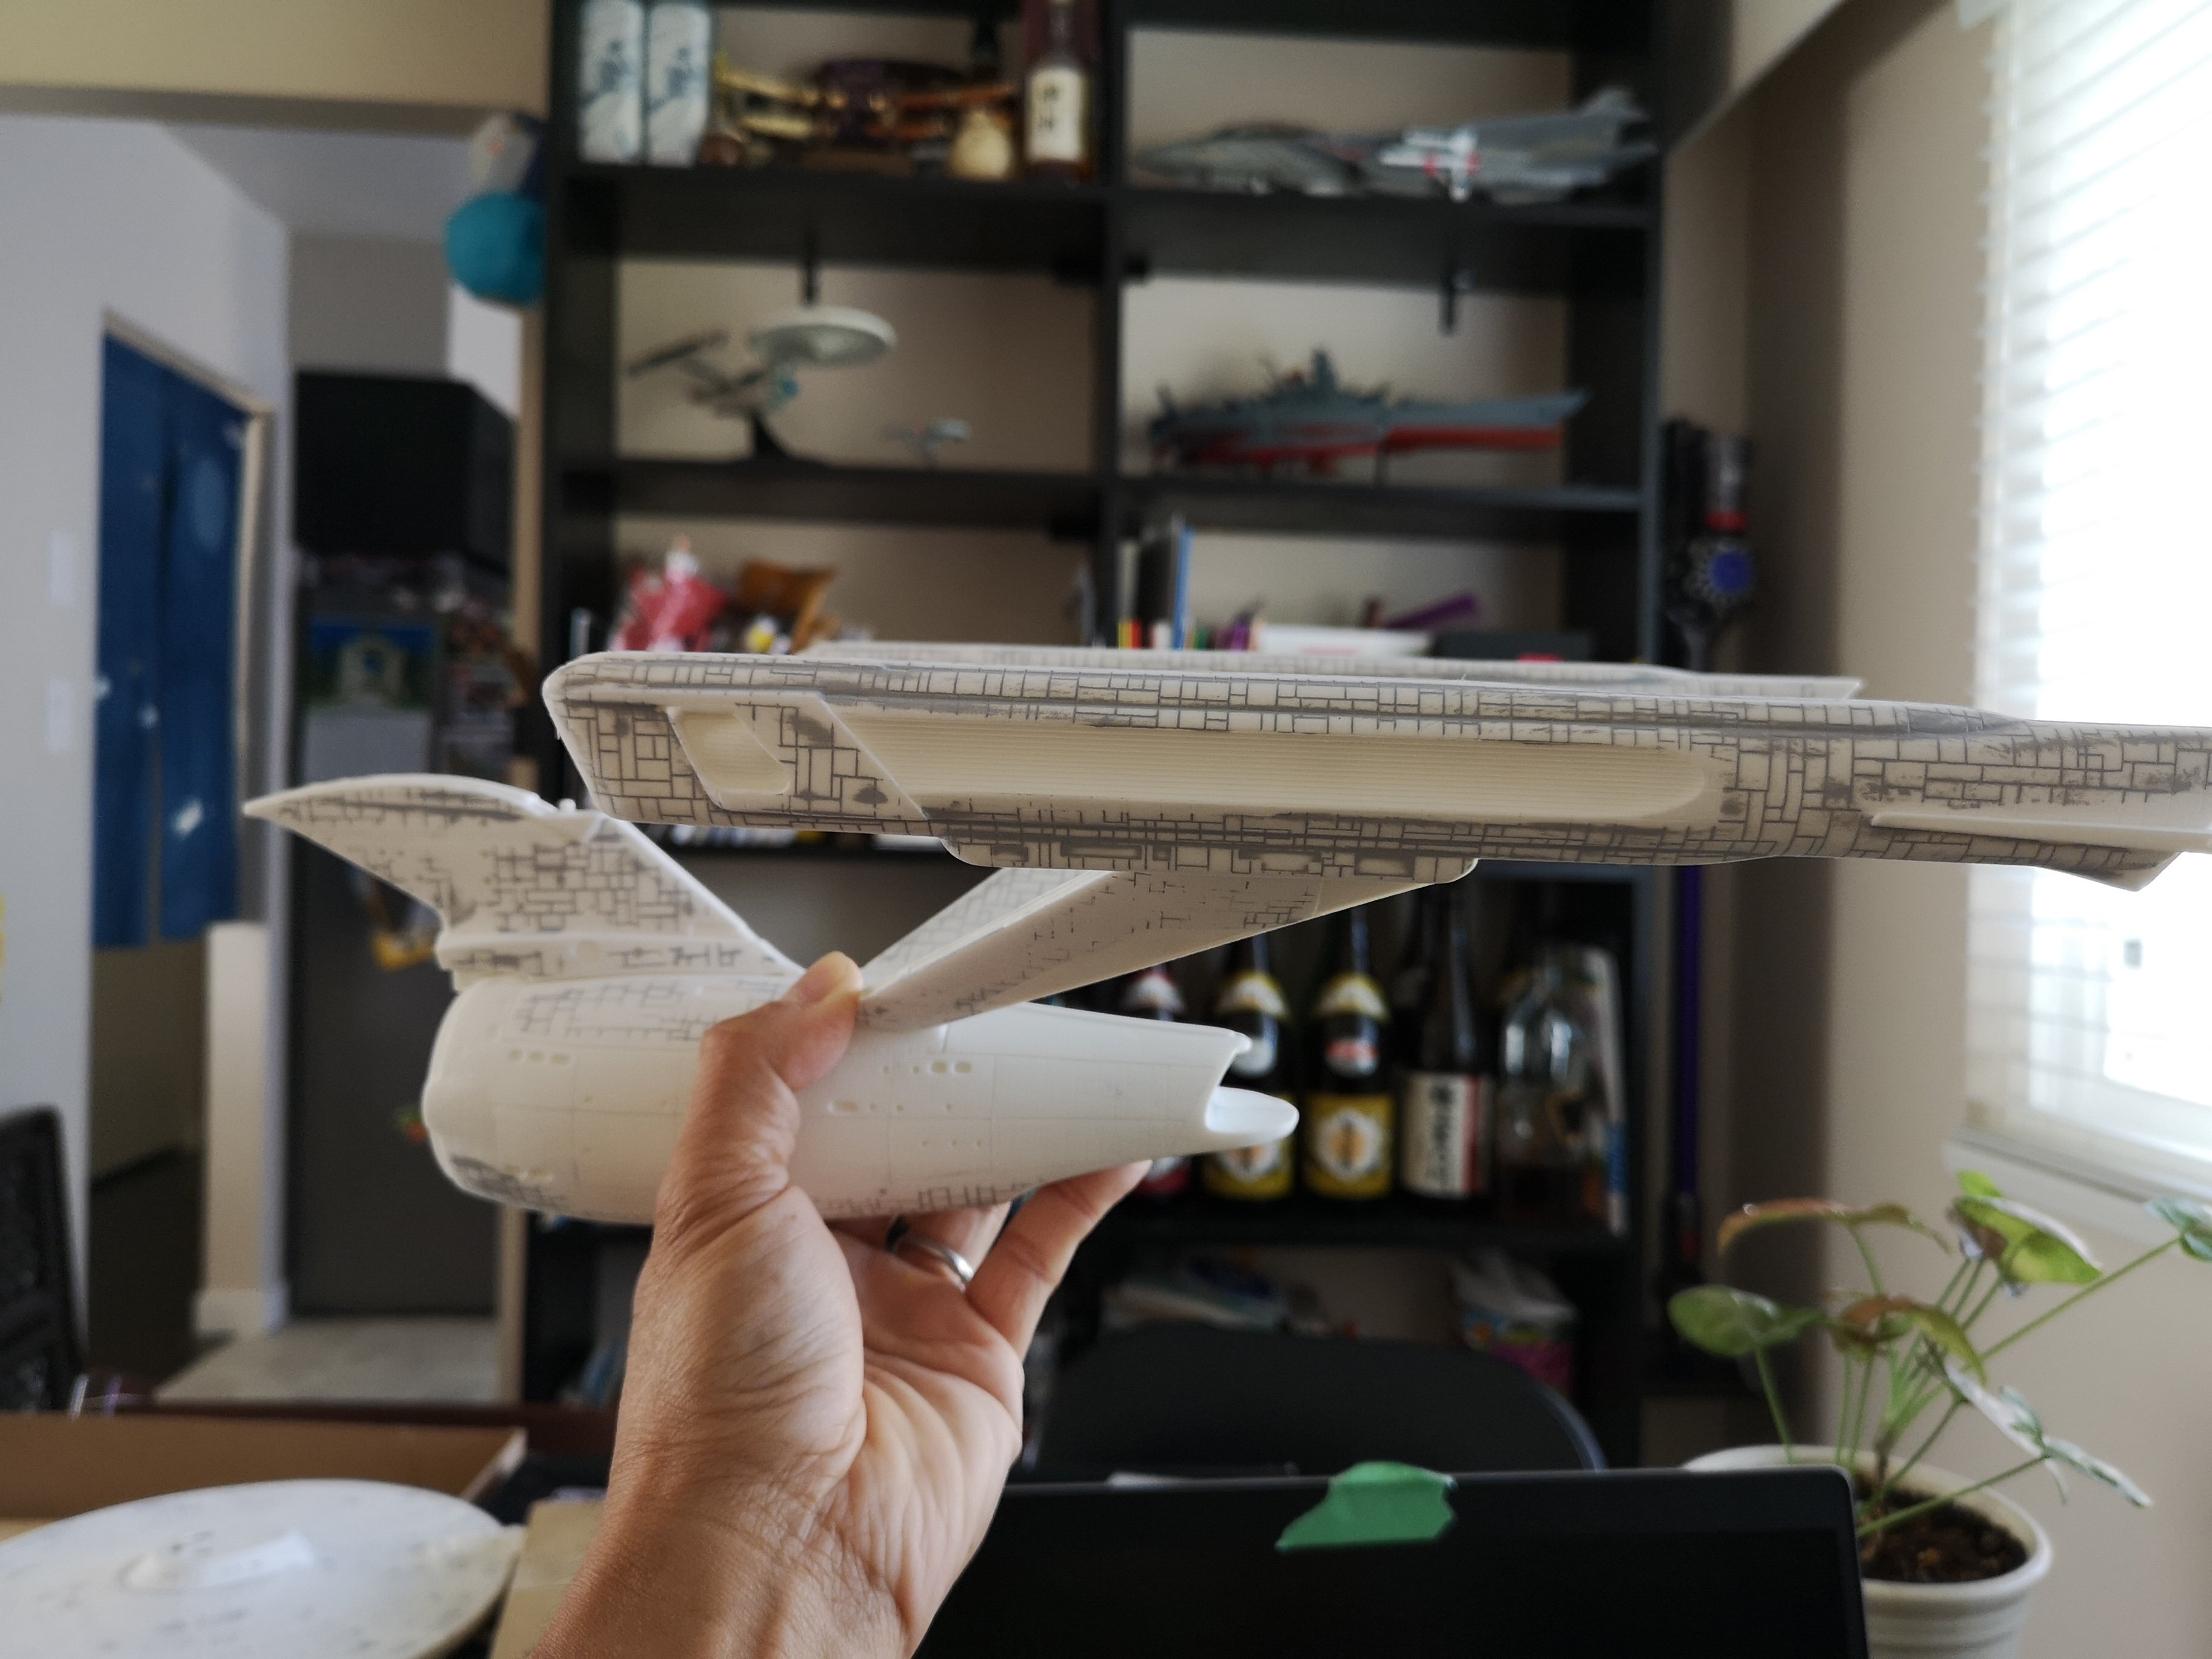
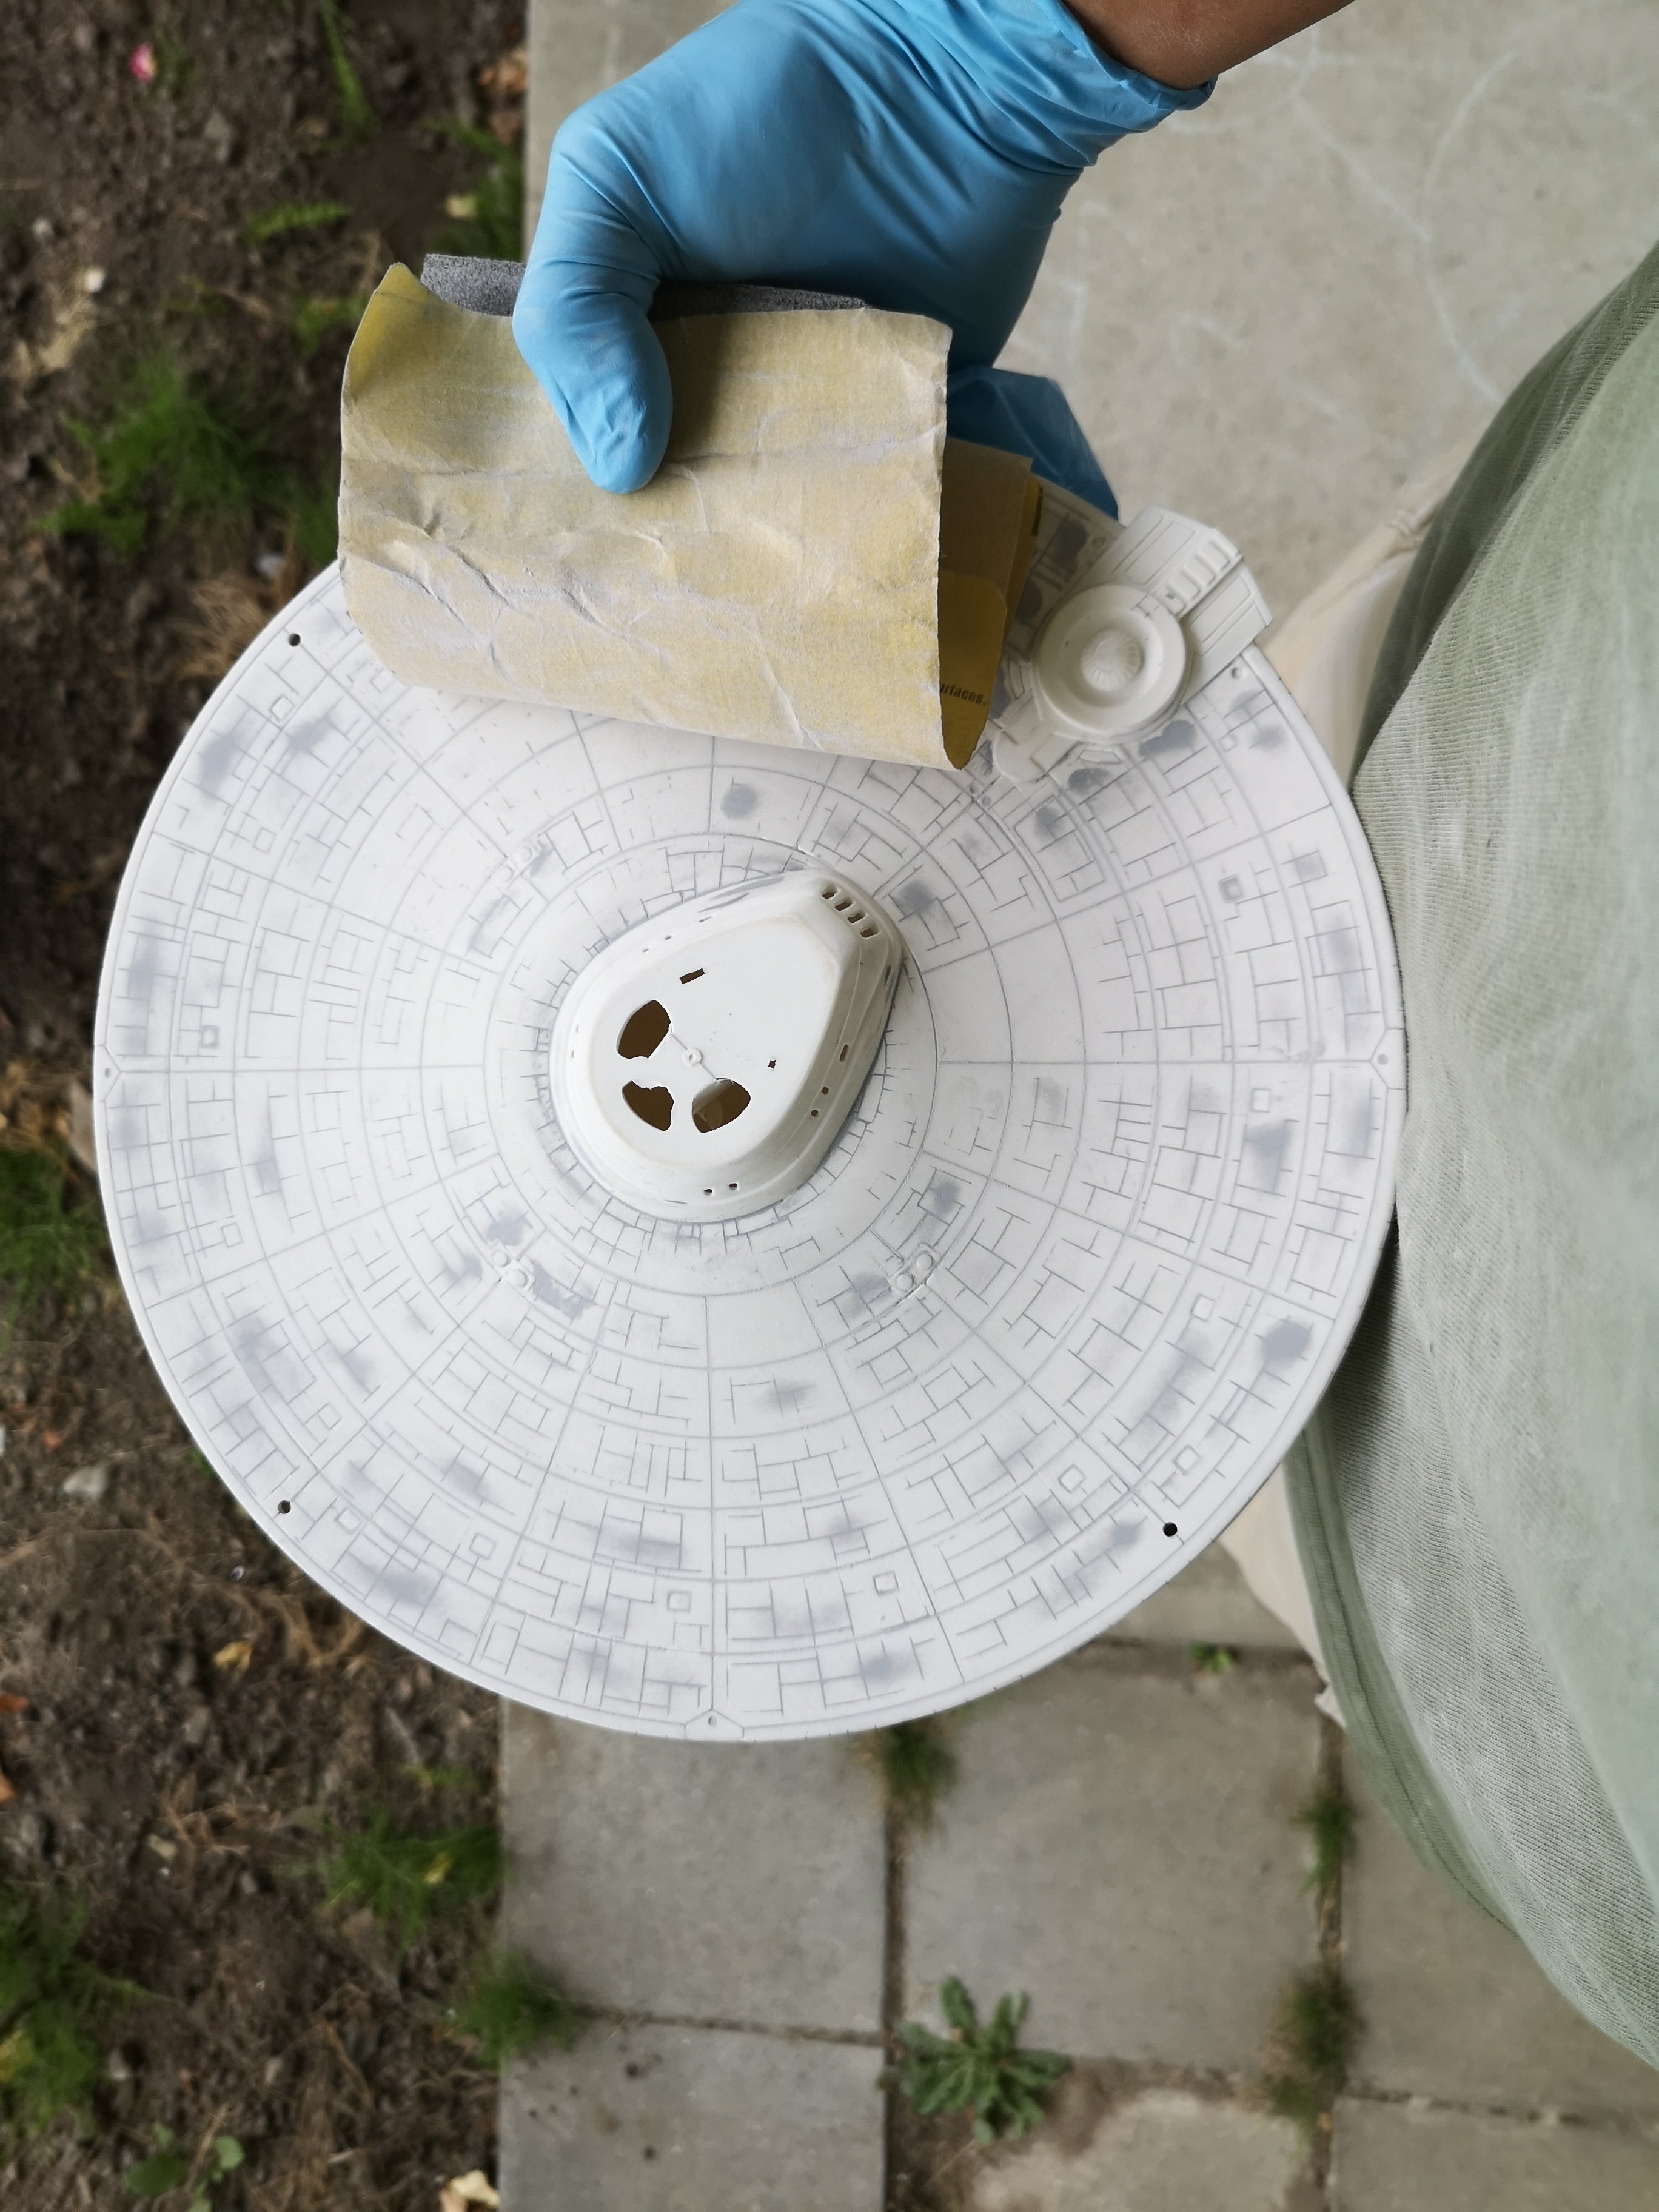
I ran out of gray primer on my second coat of primer, so I started using white primer. The little refit in the back is my brother's Bandai kit. Just using it as a paint guide. There are still a few imperfections......actually, quite a few, but this thing has already sucked up a lot of time. Besides, it looks way better than the kit I built when I was a kid Dusted on some gloss white. There's already maybe 100x more paint on this model than both refits I build back in grade 8. Some of the grid lines are still visible, but I was actually curious how the Aztec would look over top of faint grid lines. More paint tomorrow
-
SDF1 looks nice. I built the movie version in cruise mode a few pages back . Also just recently got back into model building after a 17 yr hiatus, and also only using rattle cans and brush paint. Let's see the Autobots
-
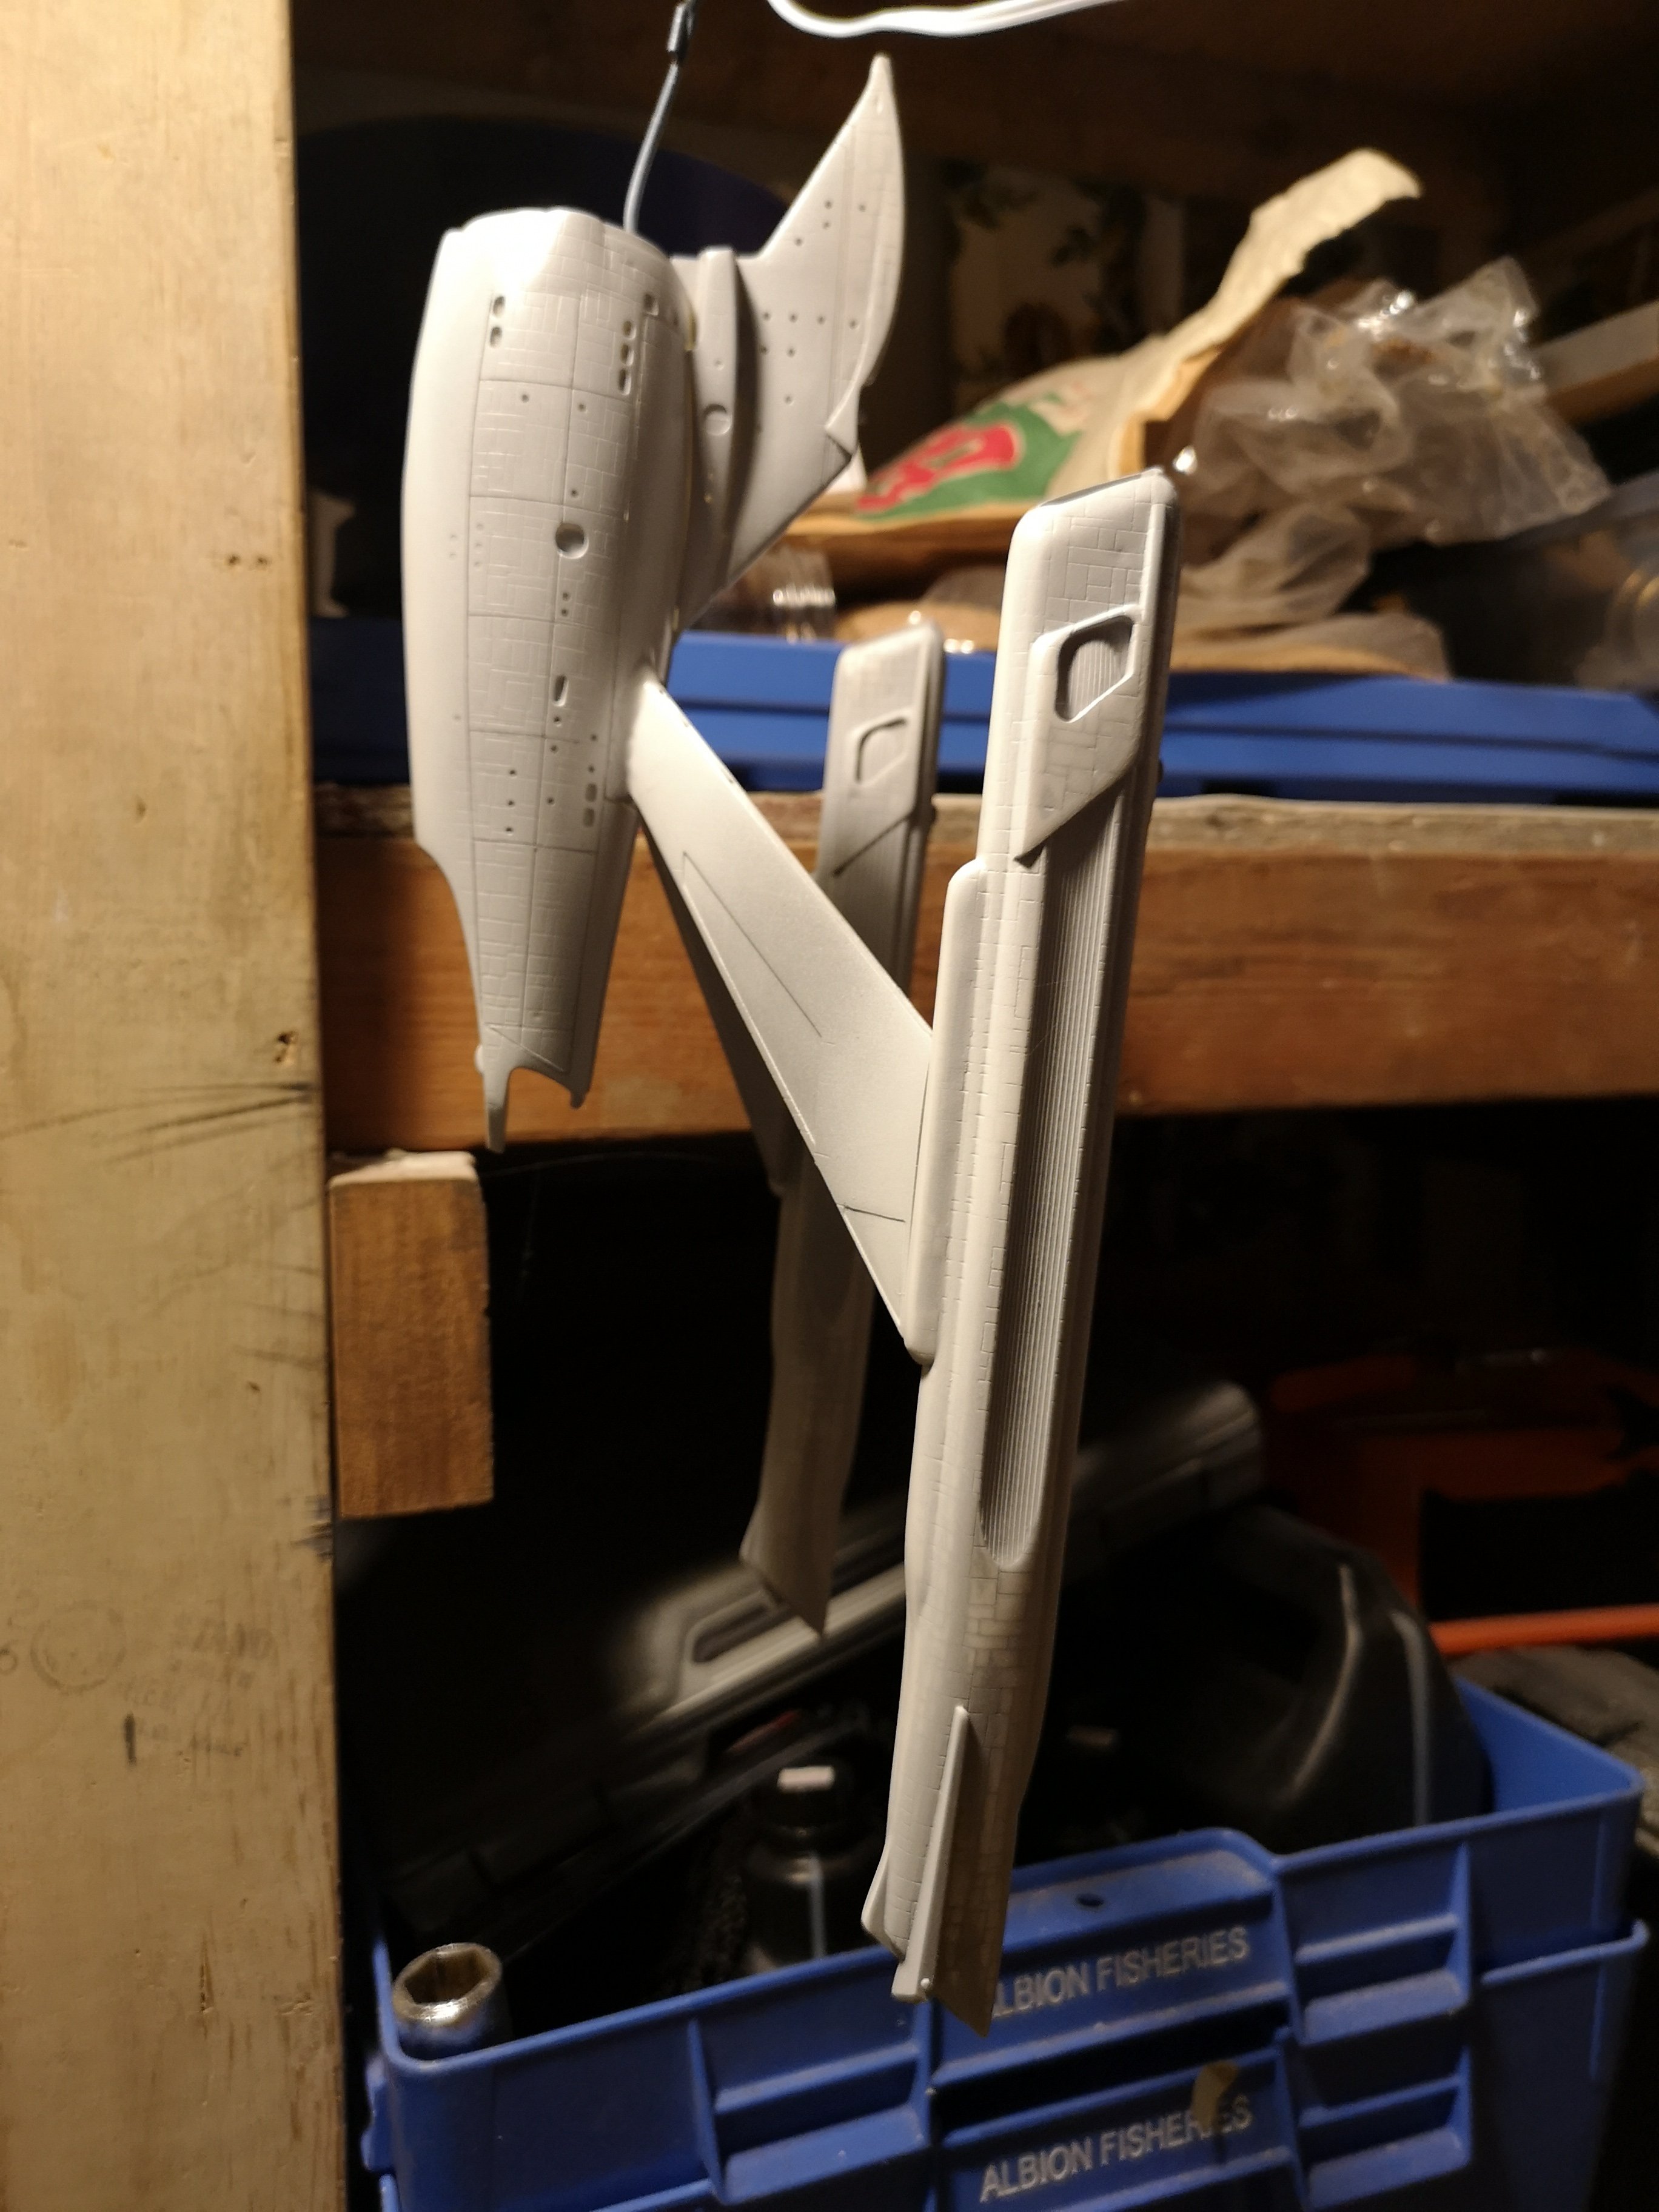
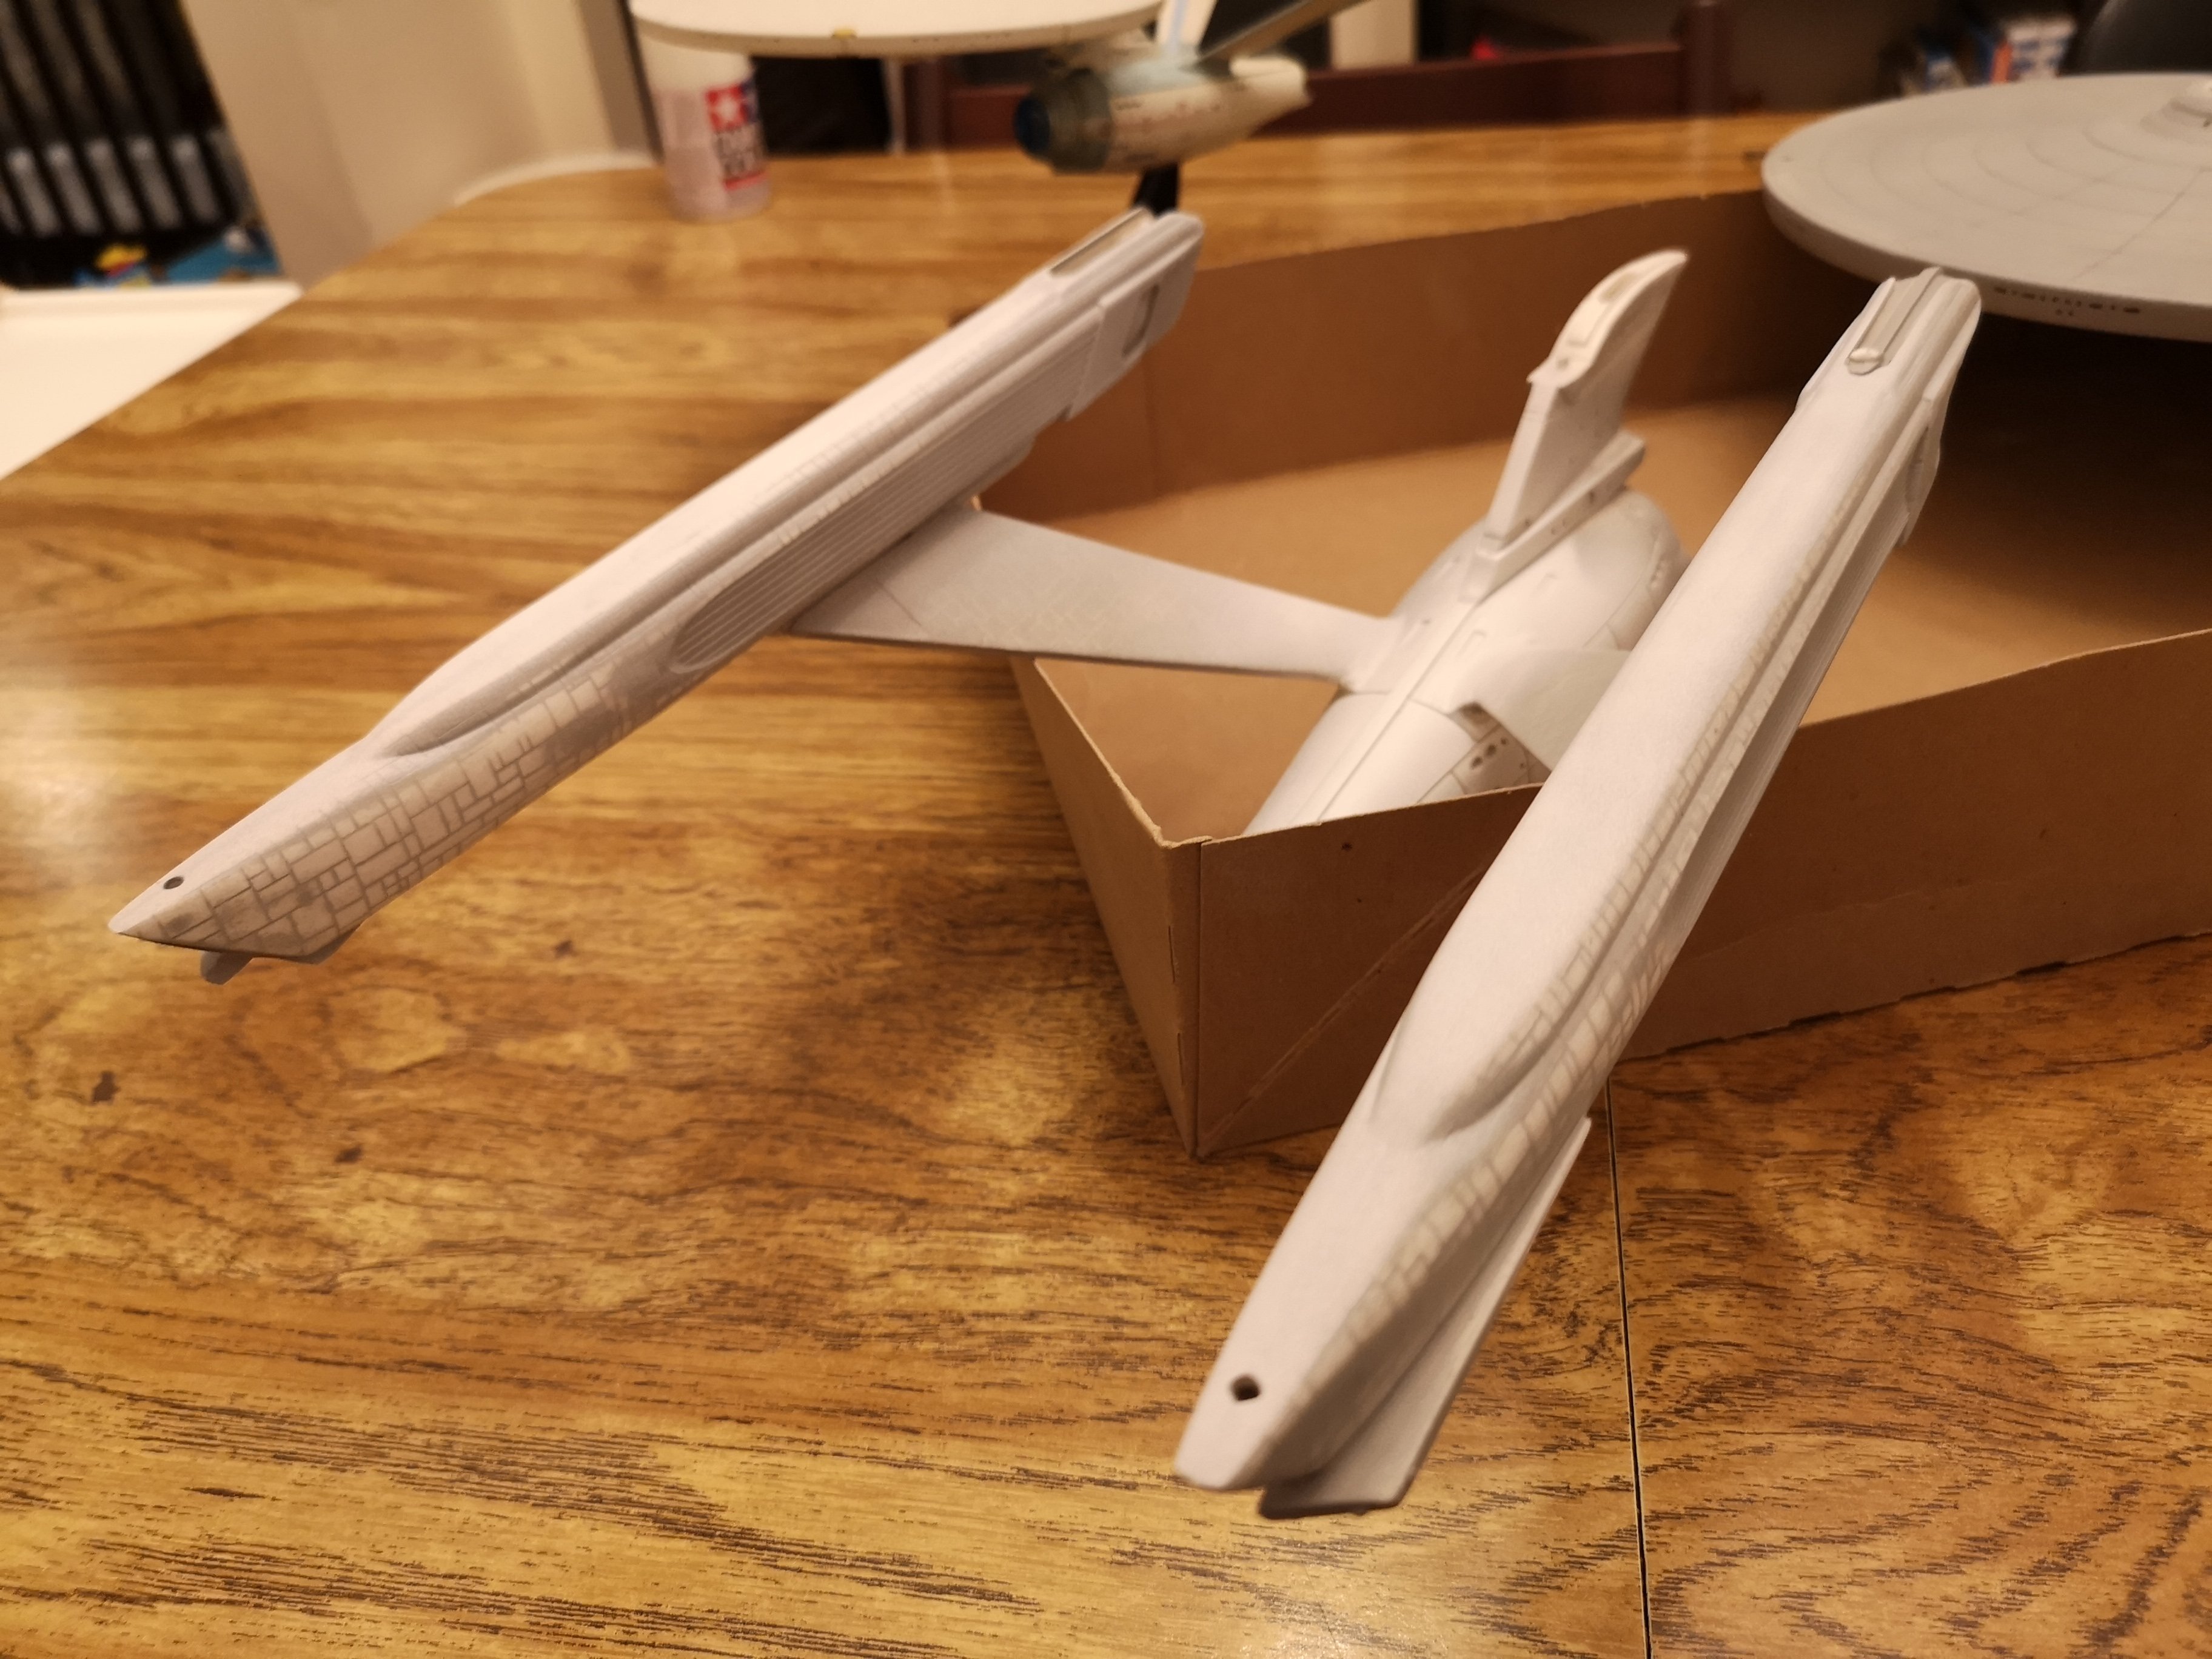
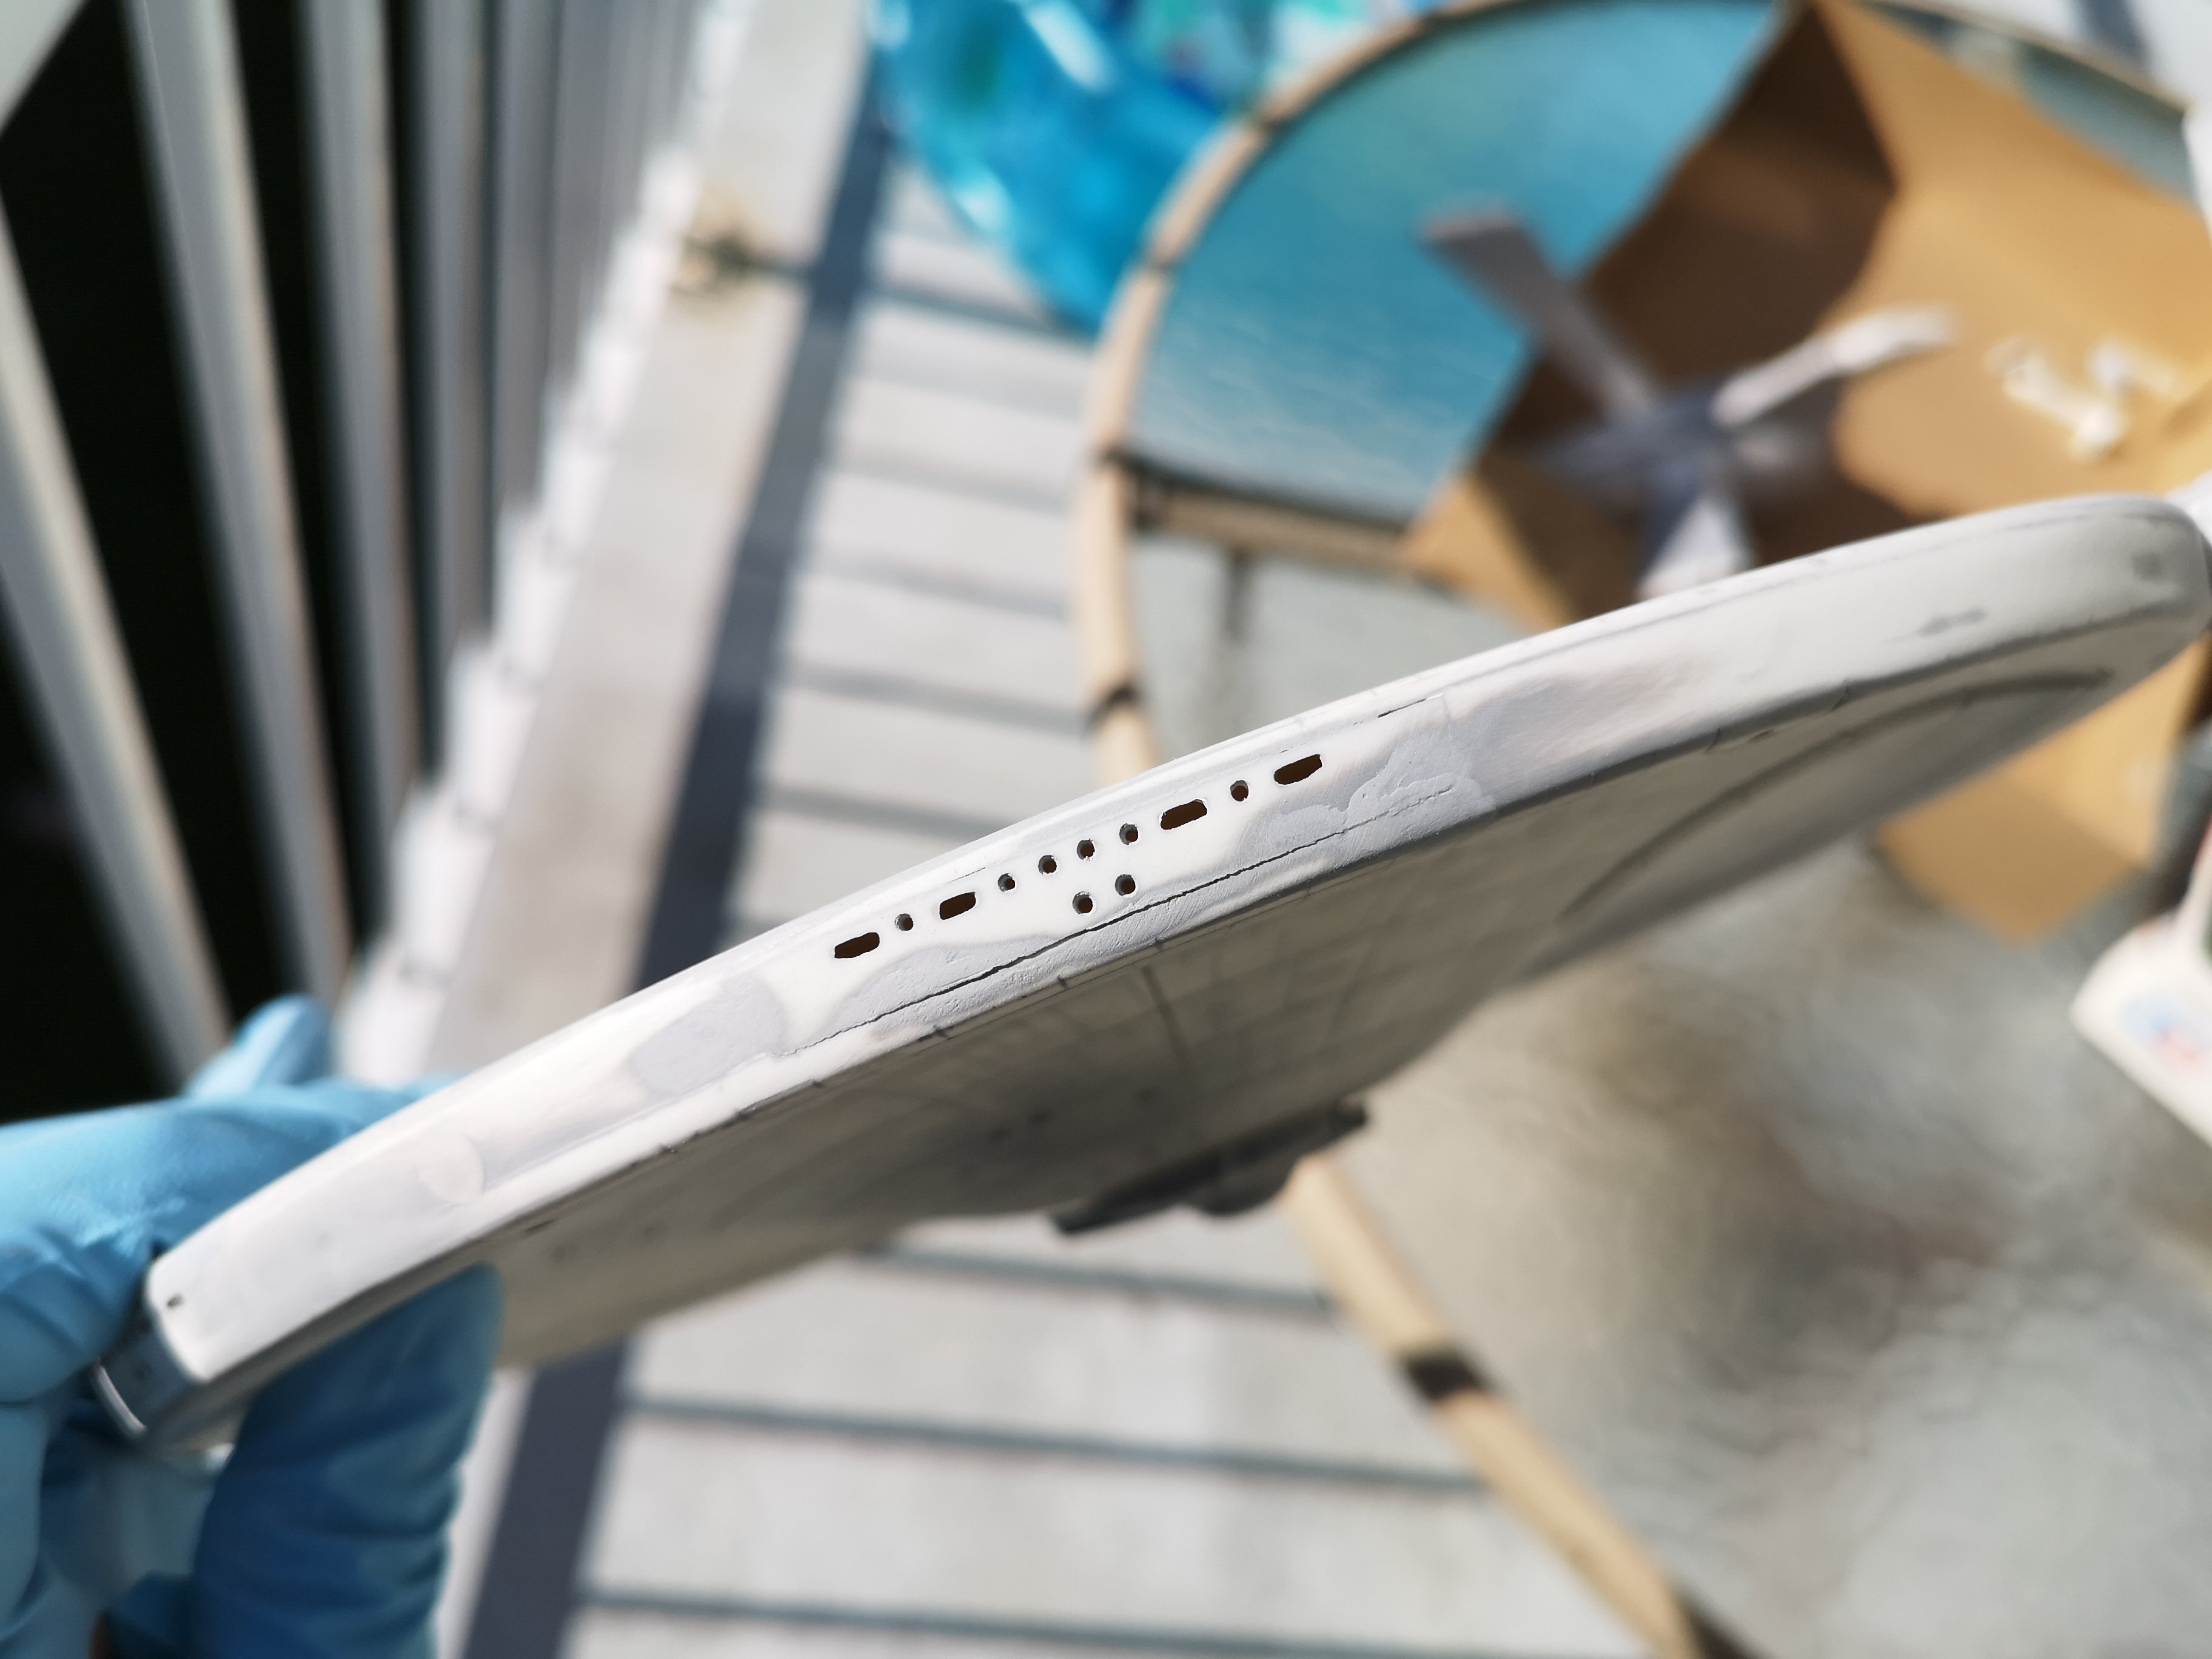
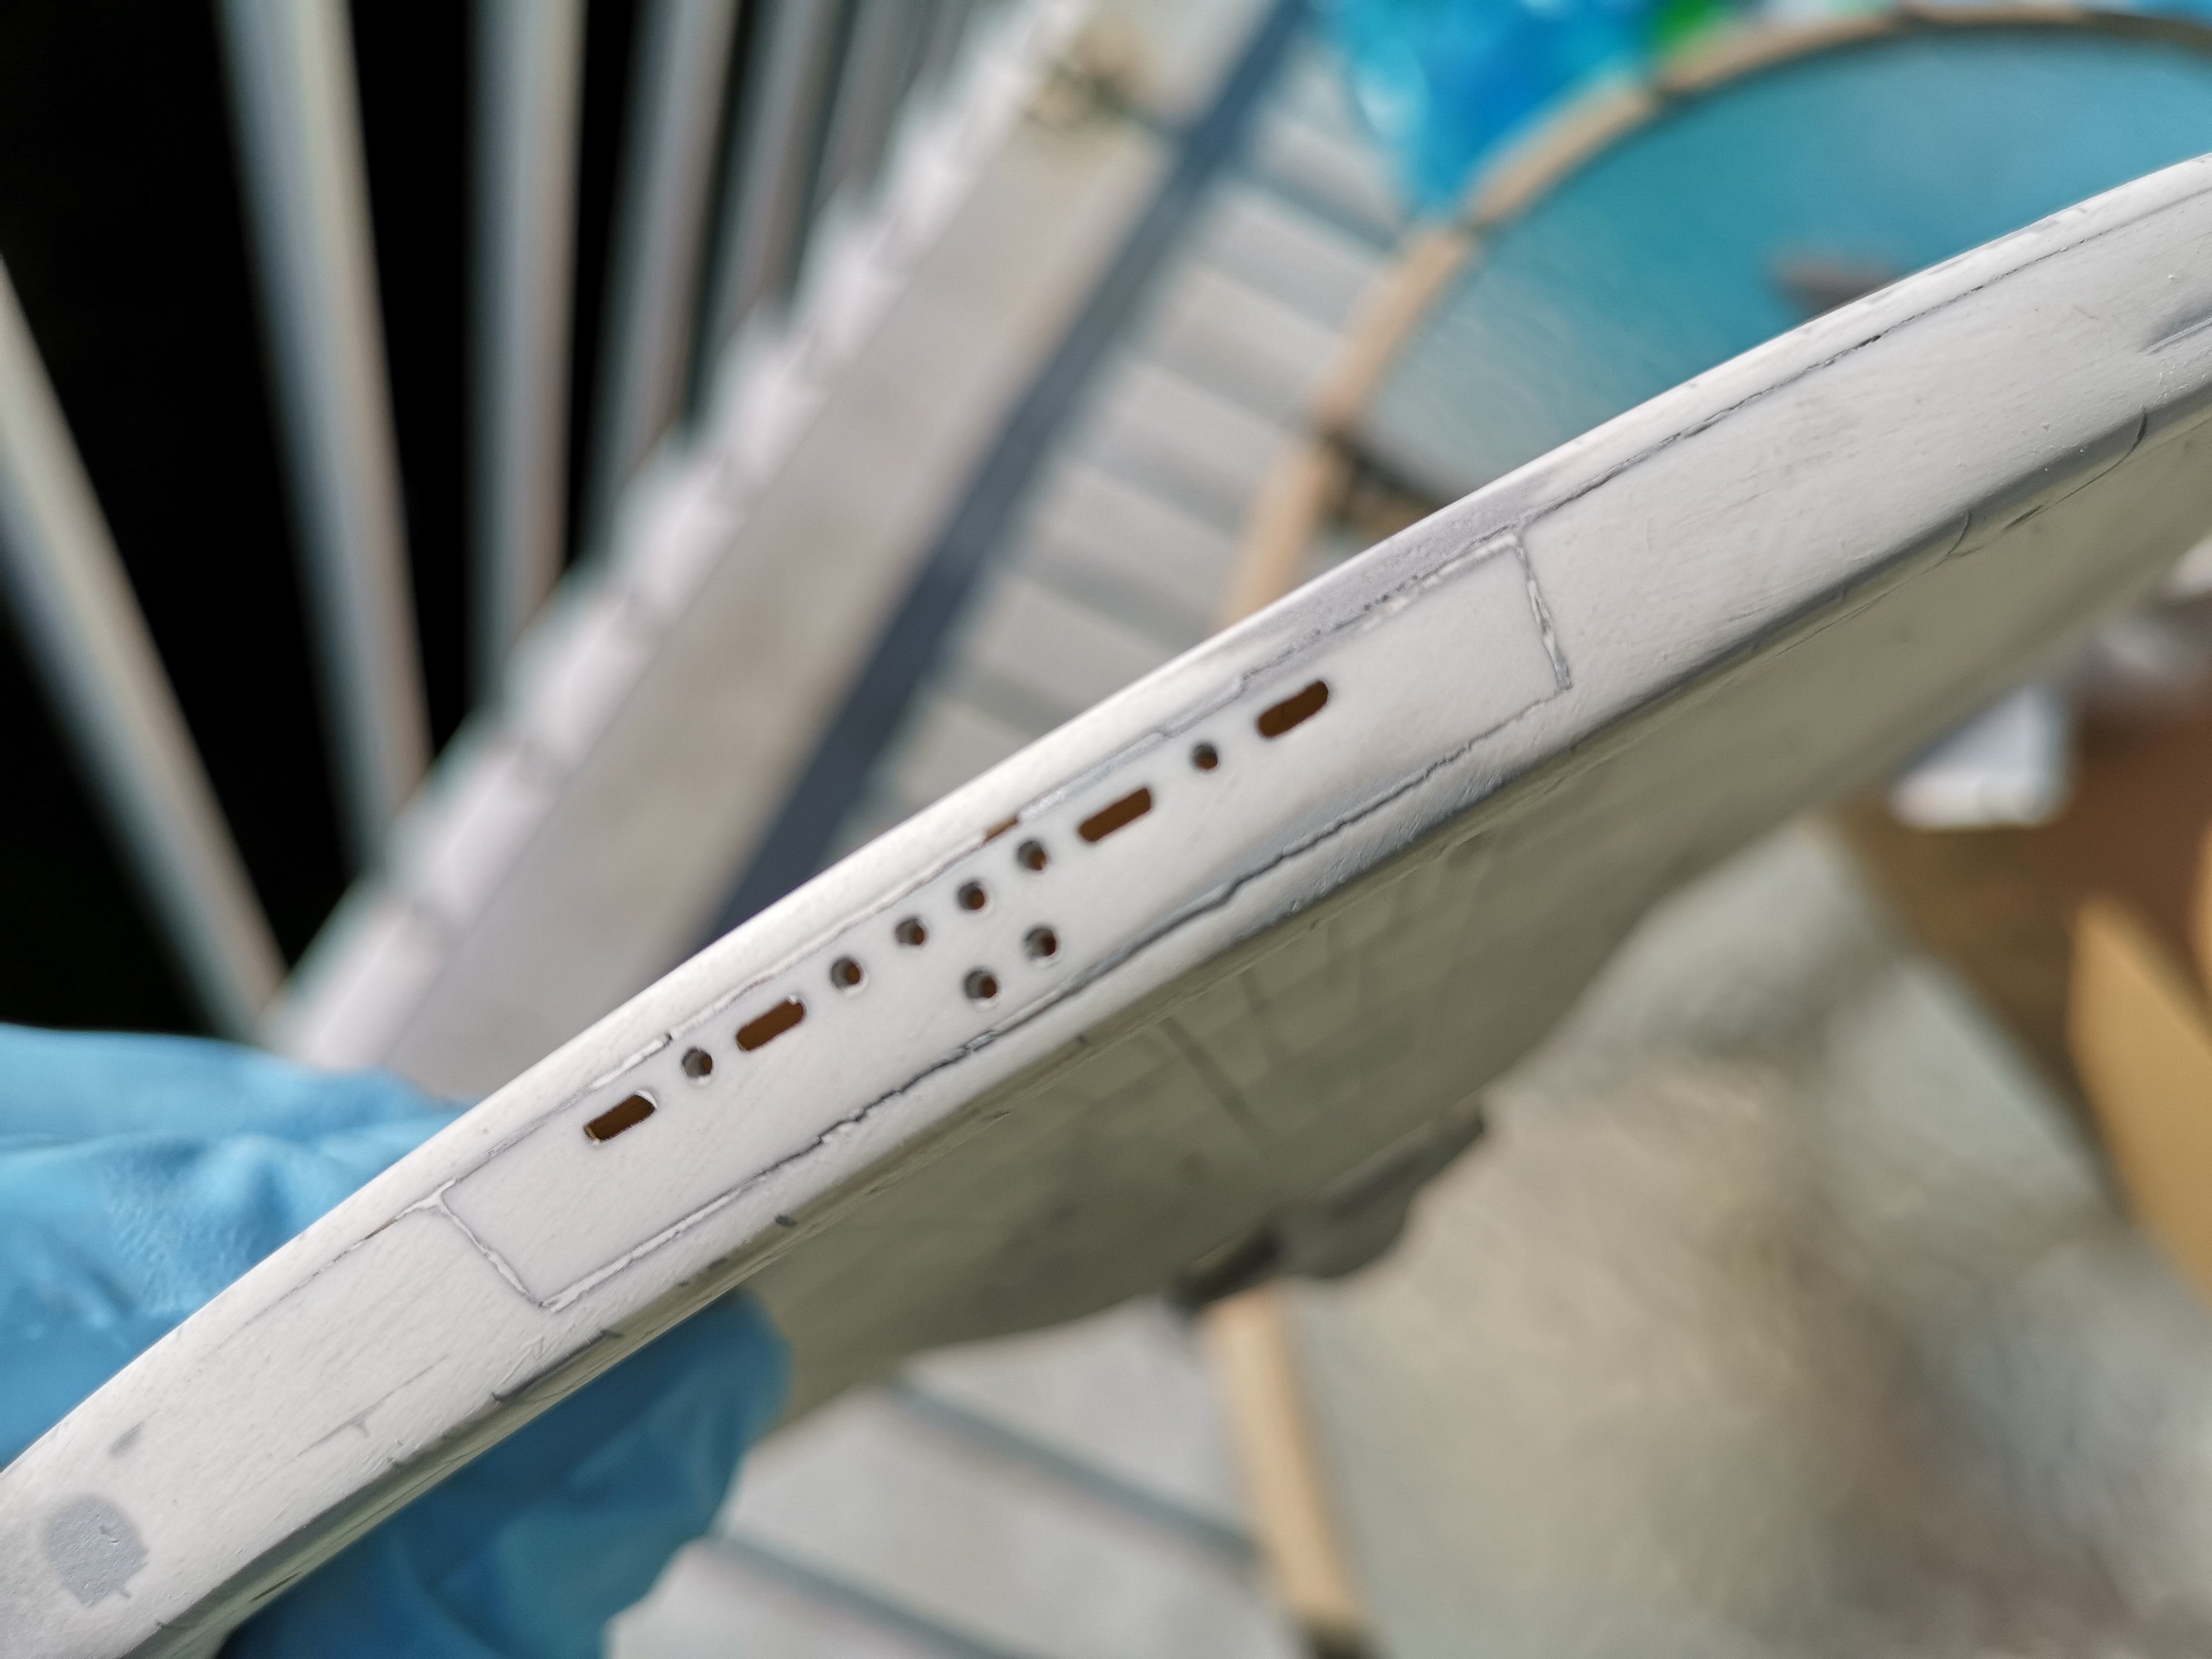
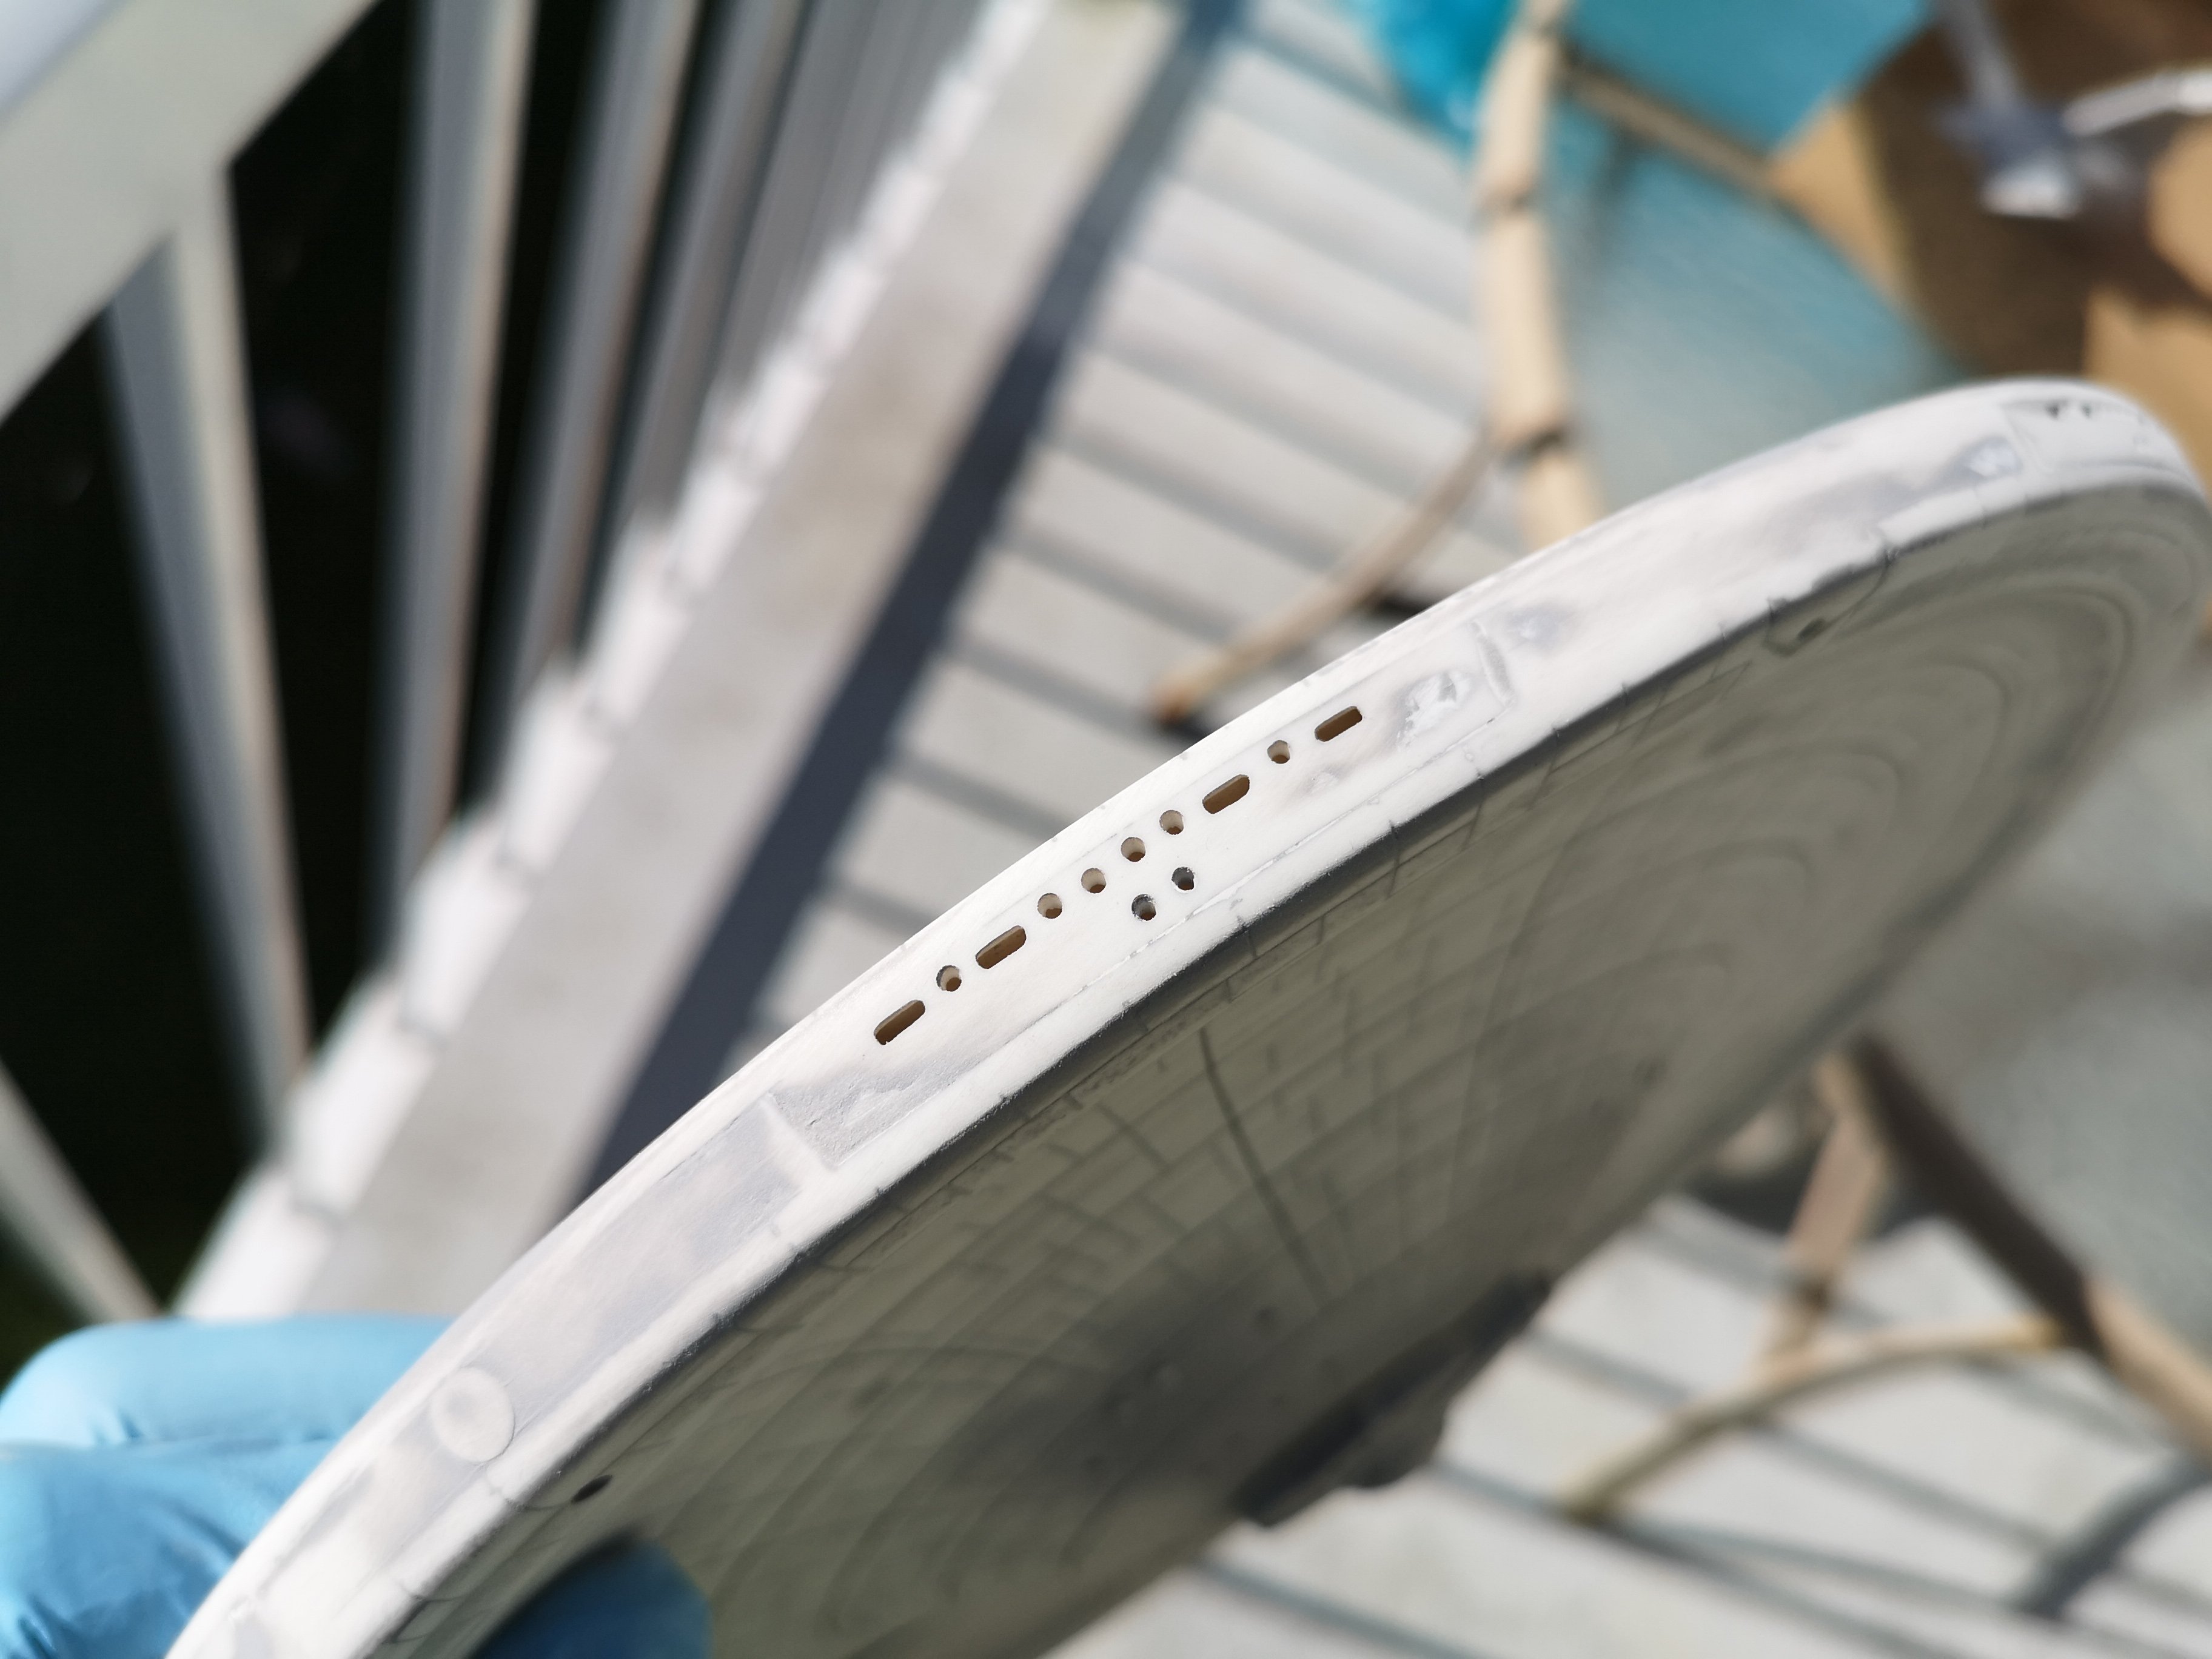
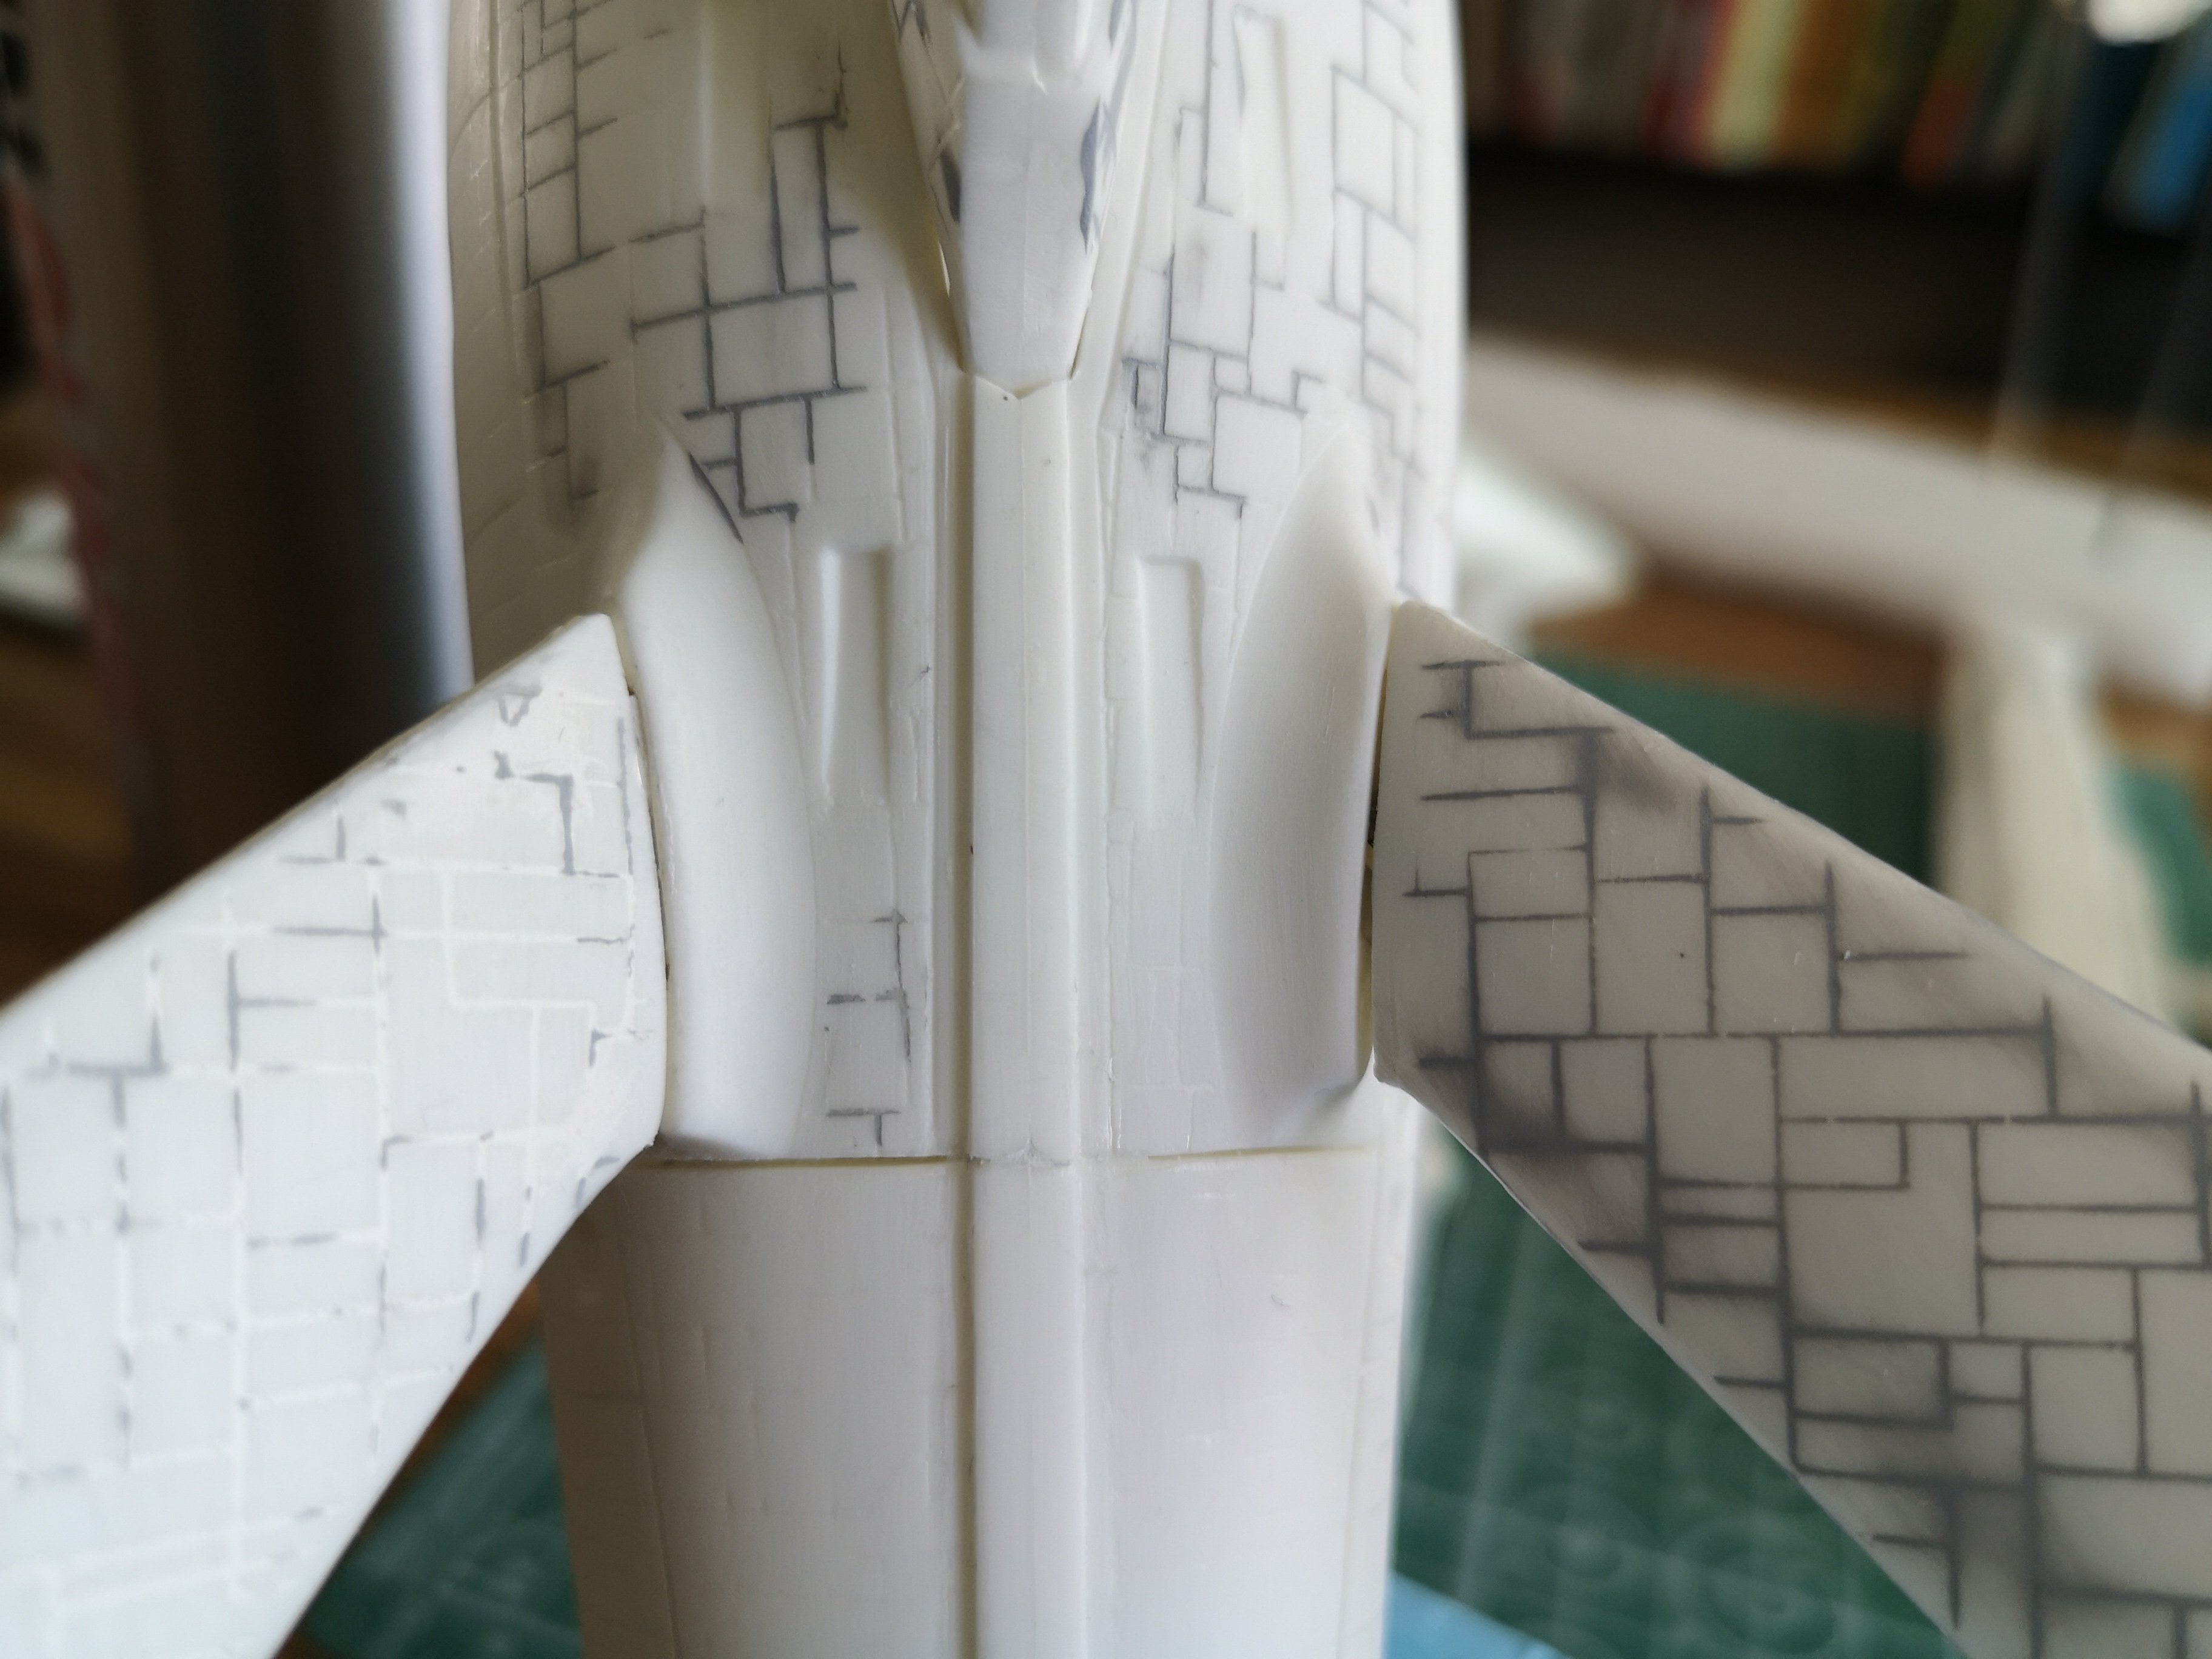
Threw some Tamiya Surface Primer on most of the parts just to show me how bad the gaps and other errors were. Added some more Mr. Surface on a few spots I missed then sand again. I filled, sanded and glued these spots over and over again and I think I've resigned myself to the fact that my Enterprise will simply look like a toothless crackwhore. I ended up filling the gaps in the pylons. The parts where I filled won't be pretty but at least the pylons are lined up and aren't sagging. Will give it another burst of primer and then see what shades of white I have on my paint rack.
-
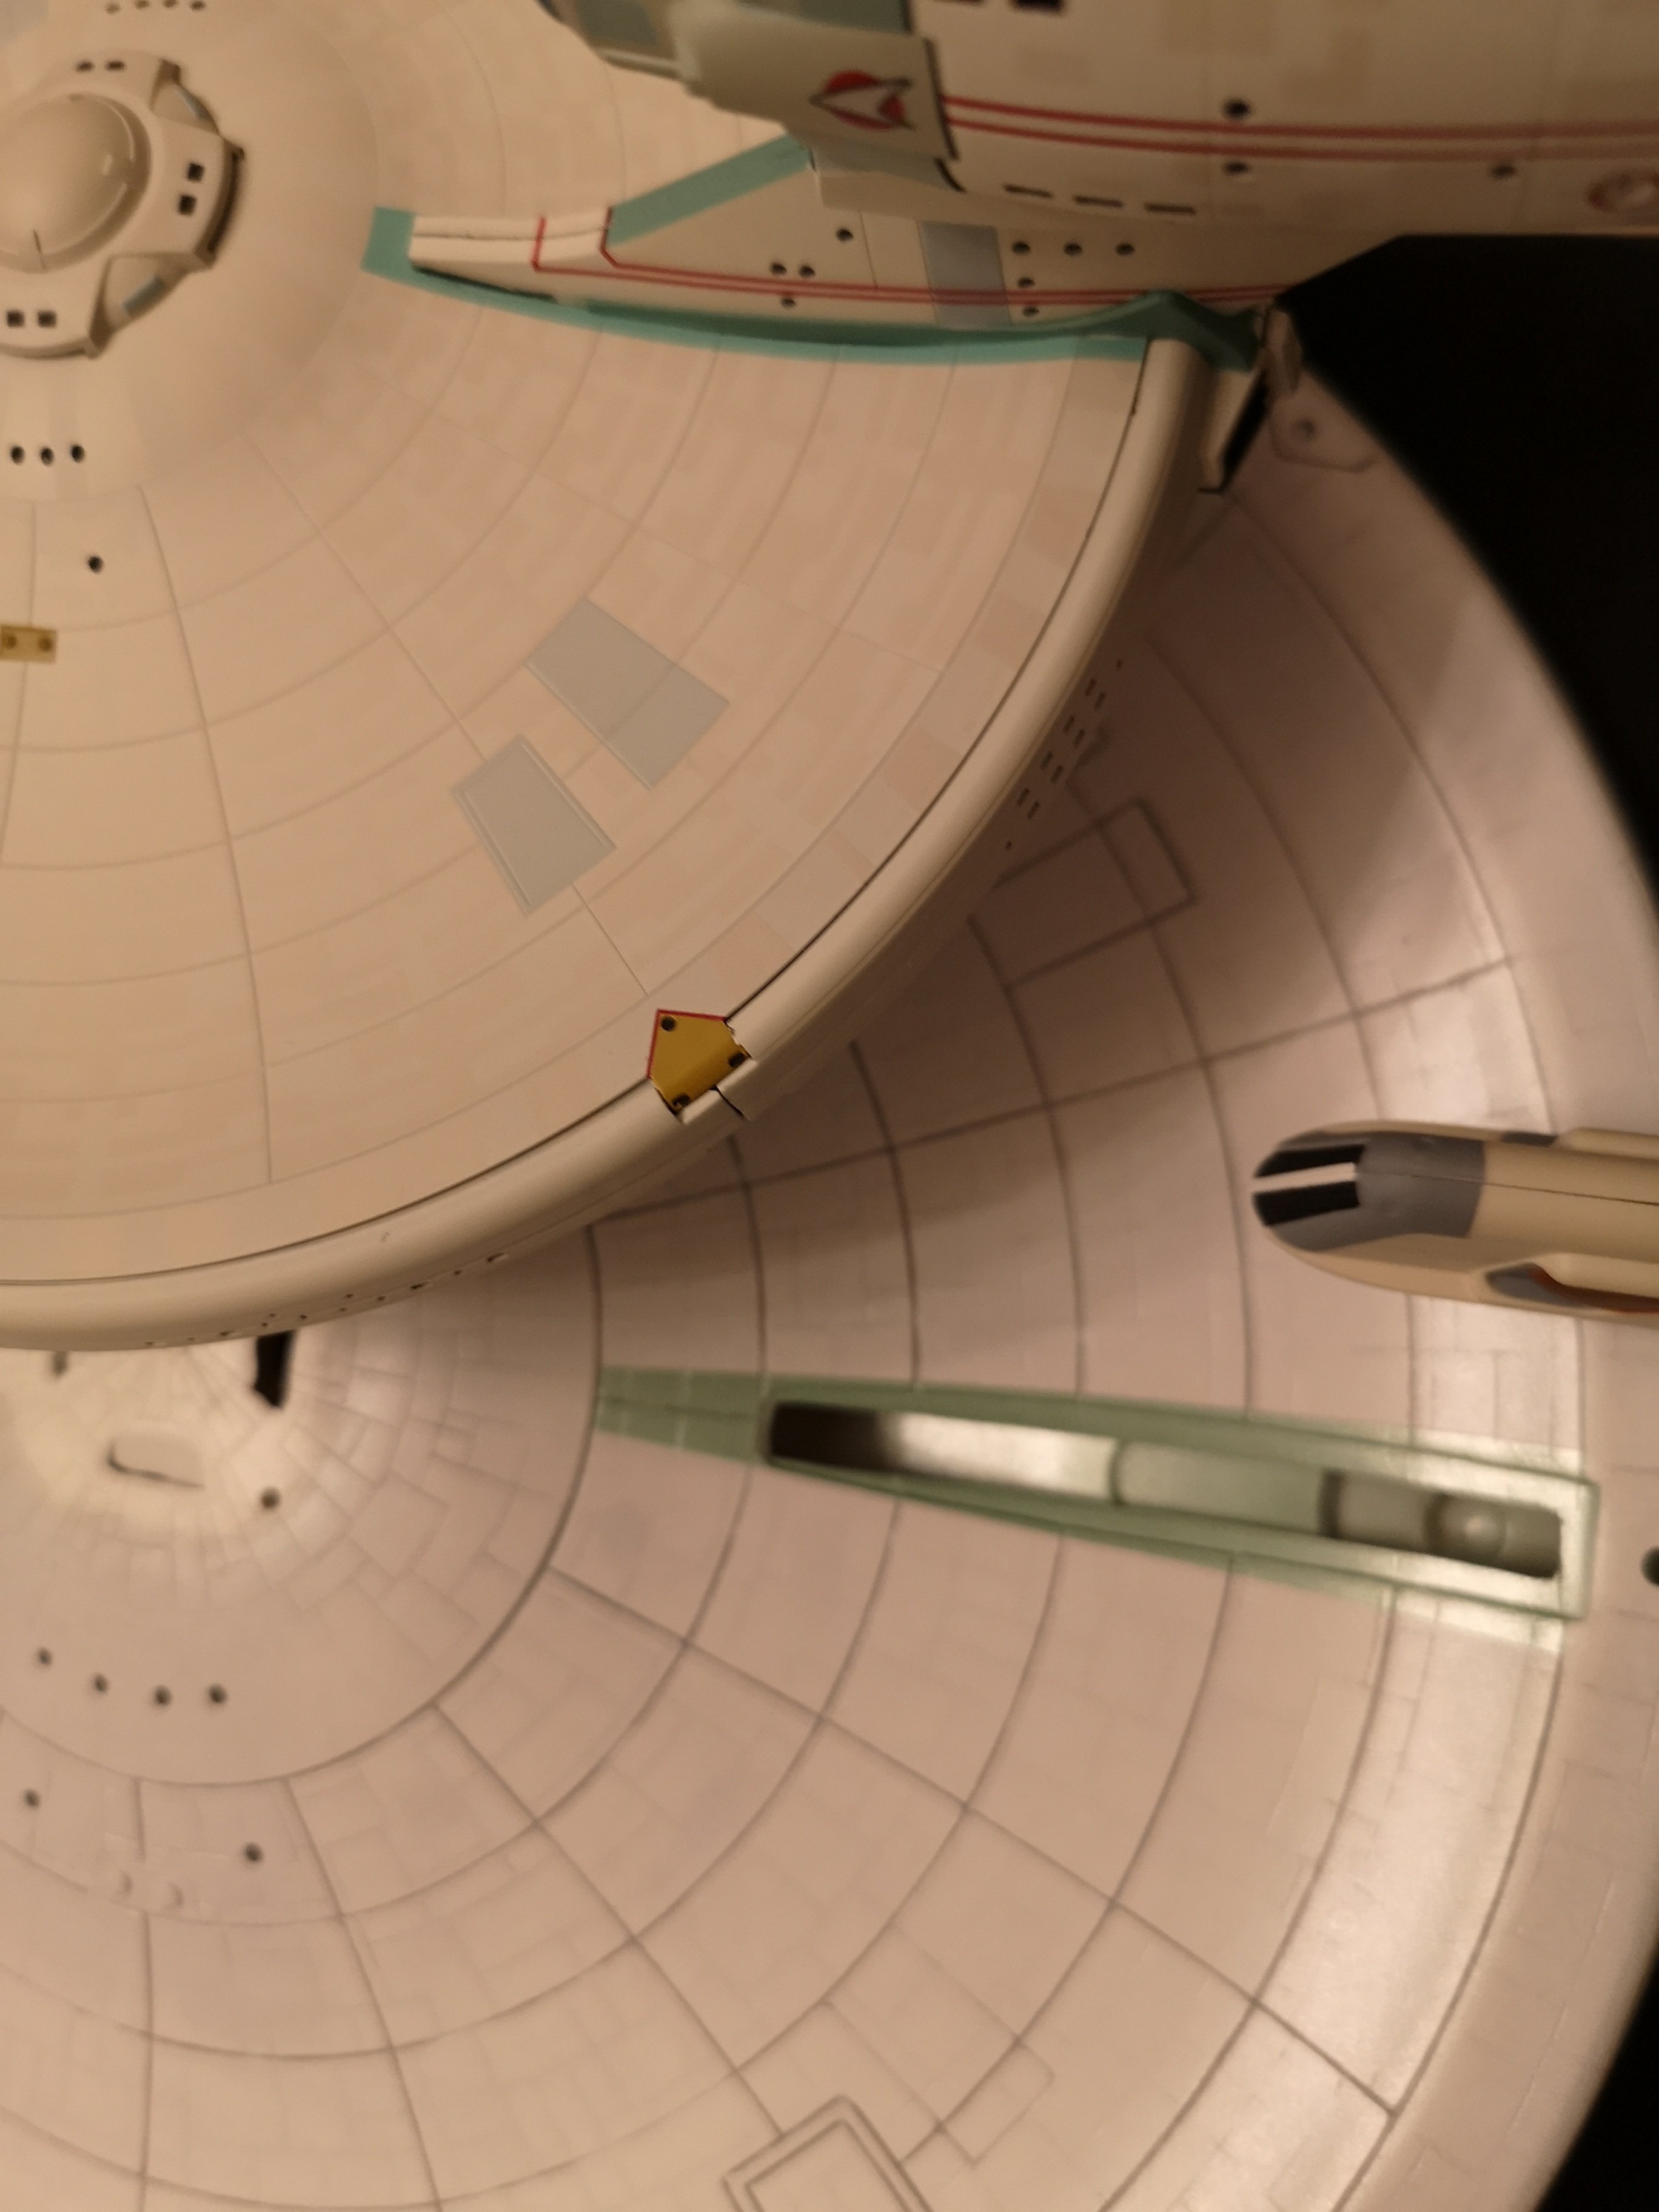
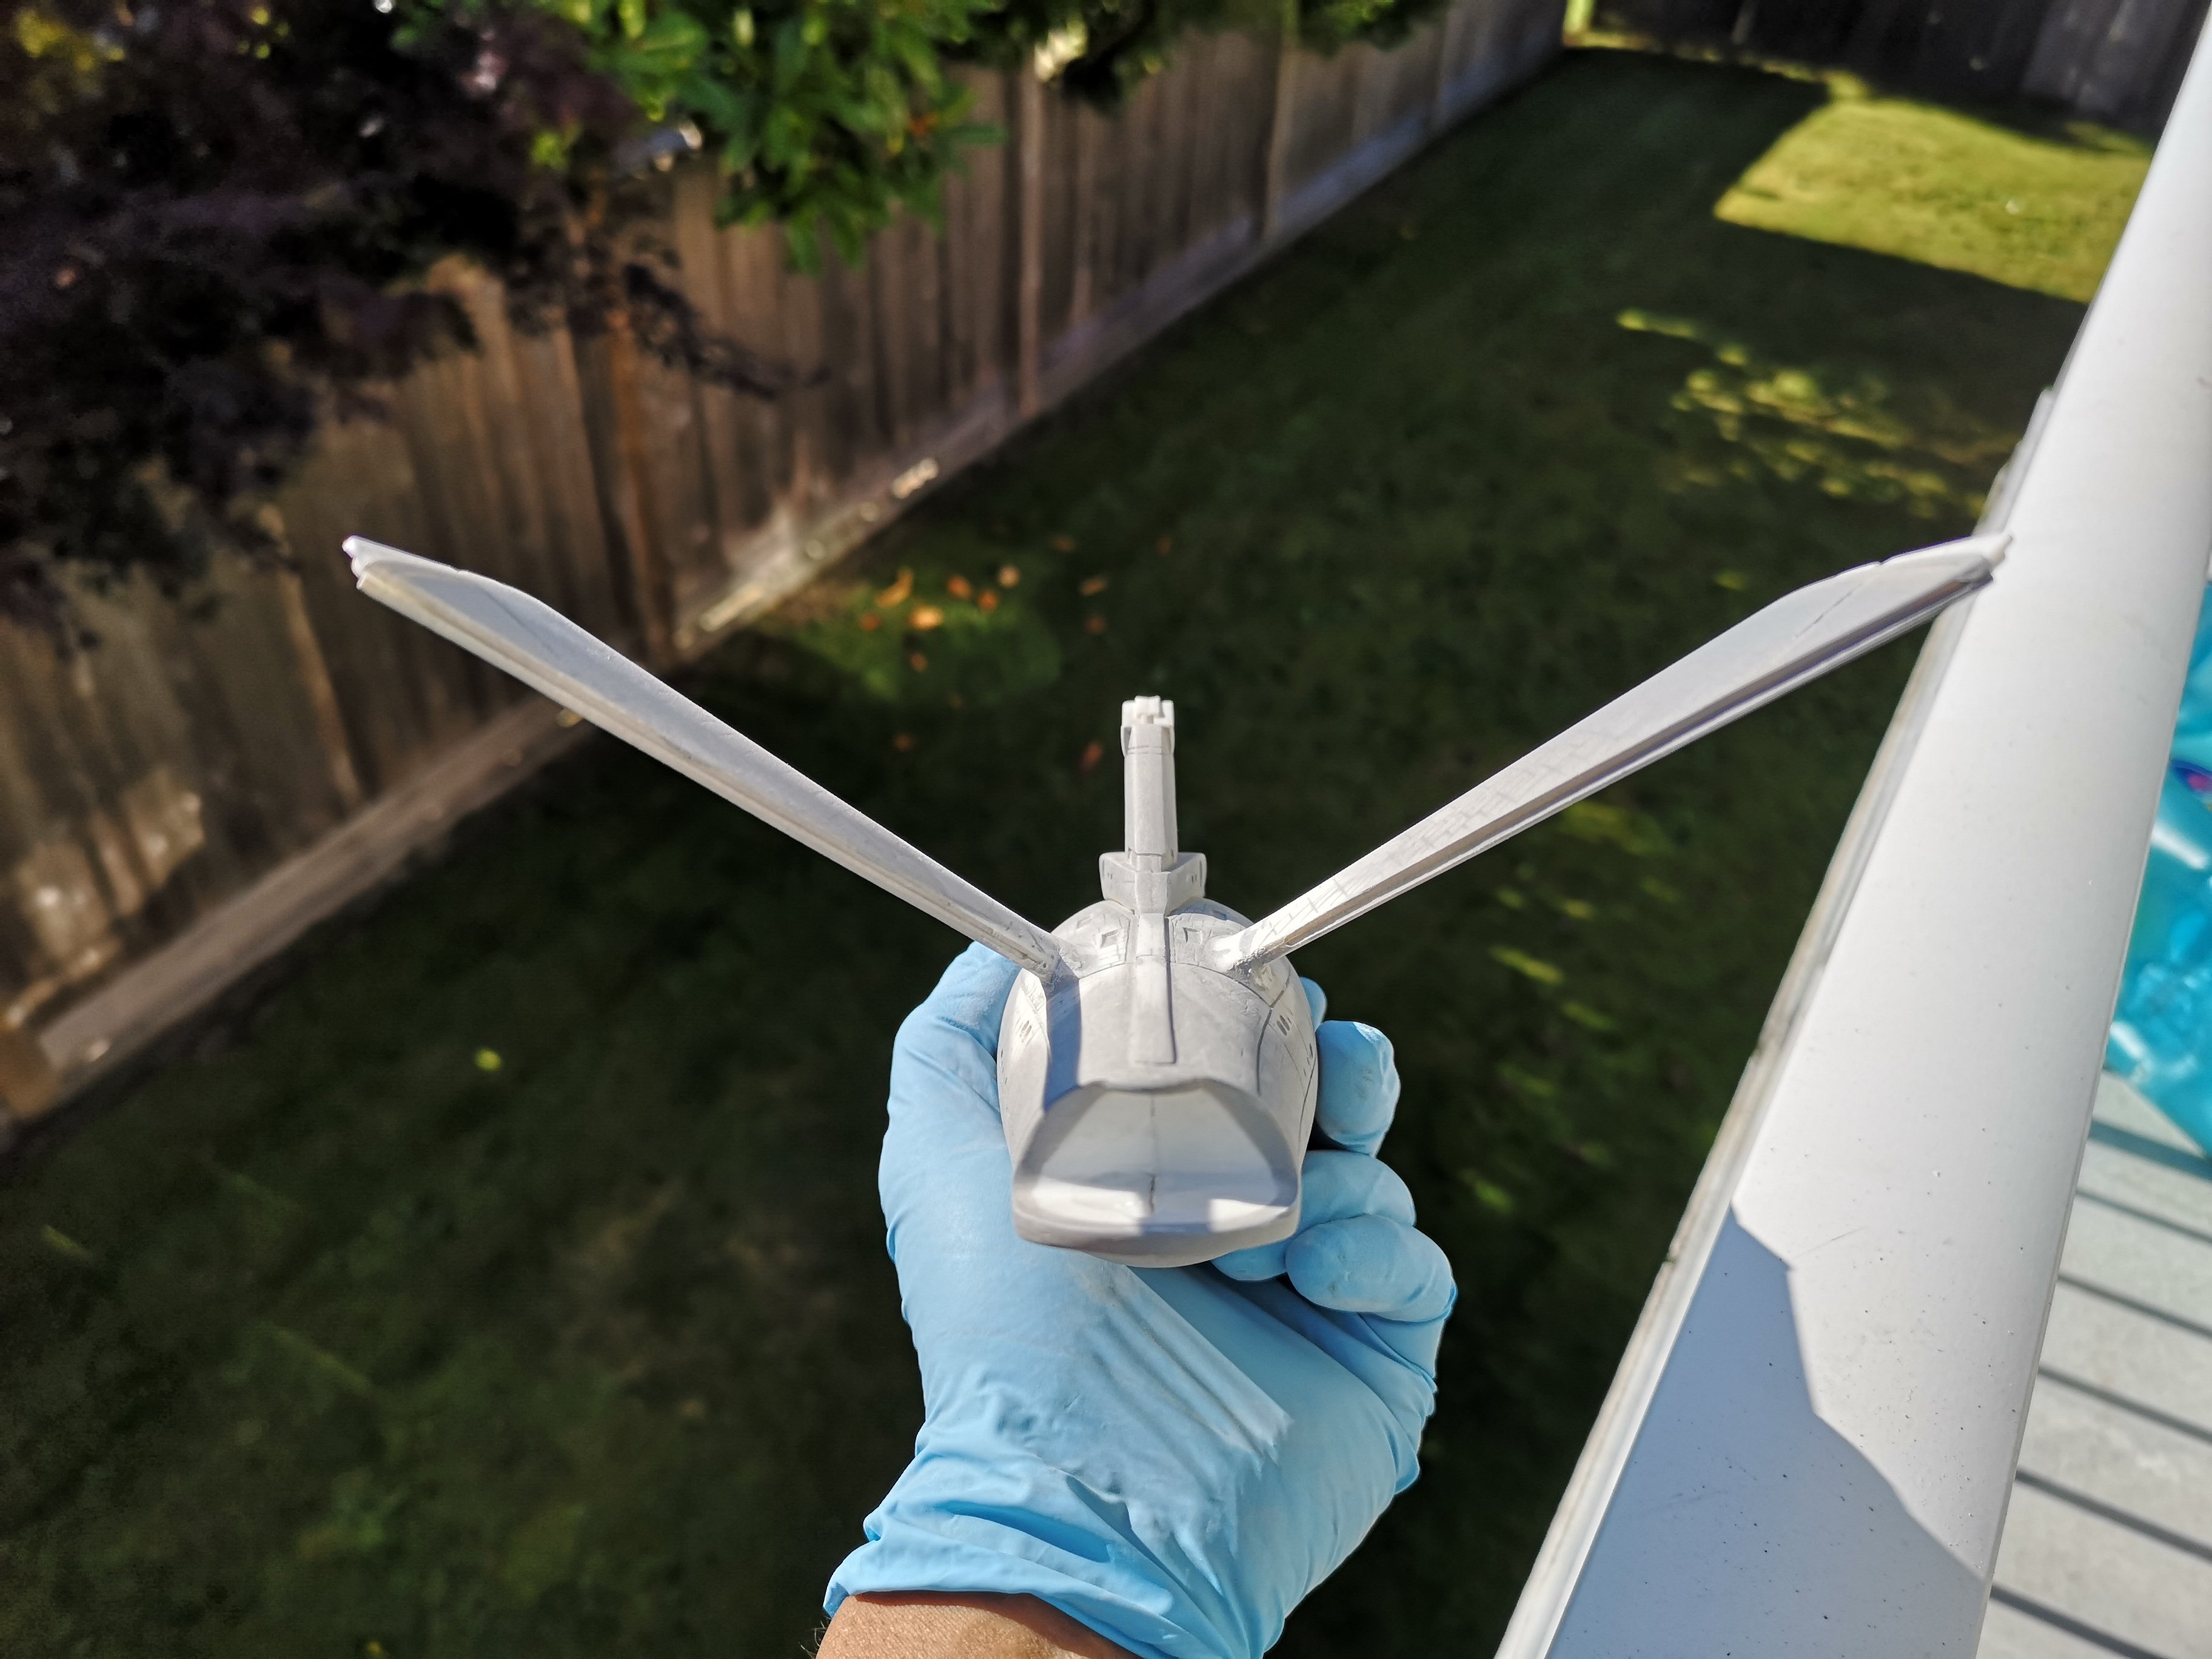
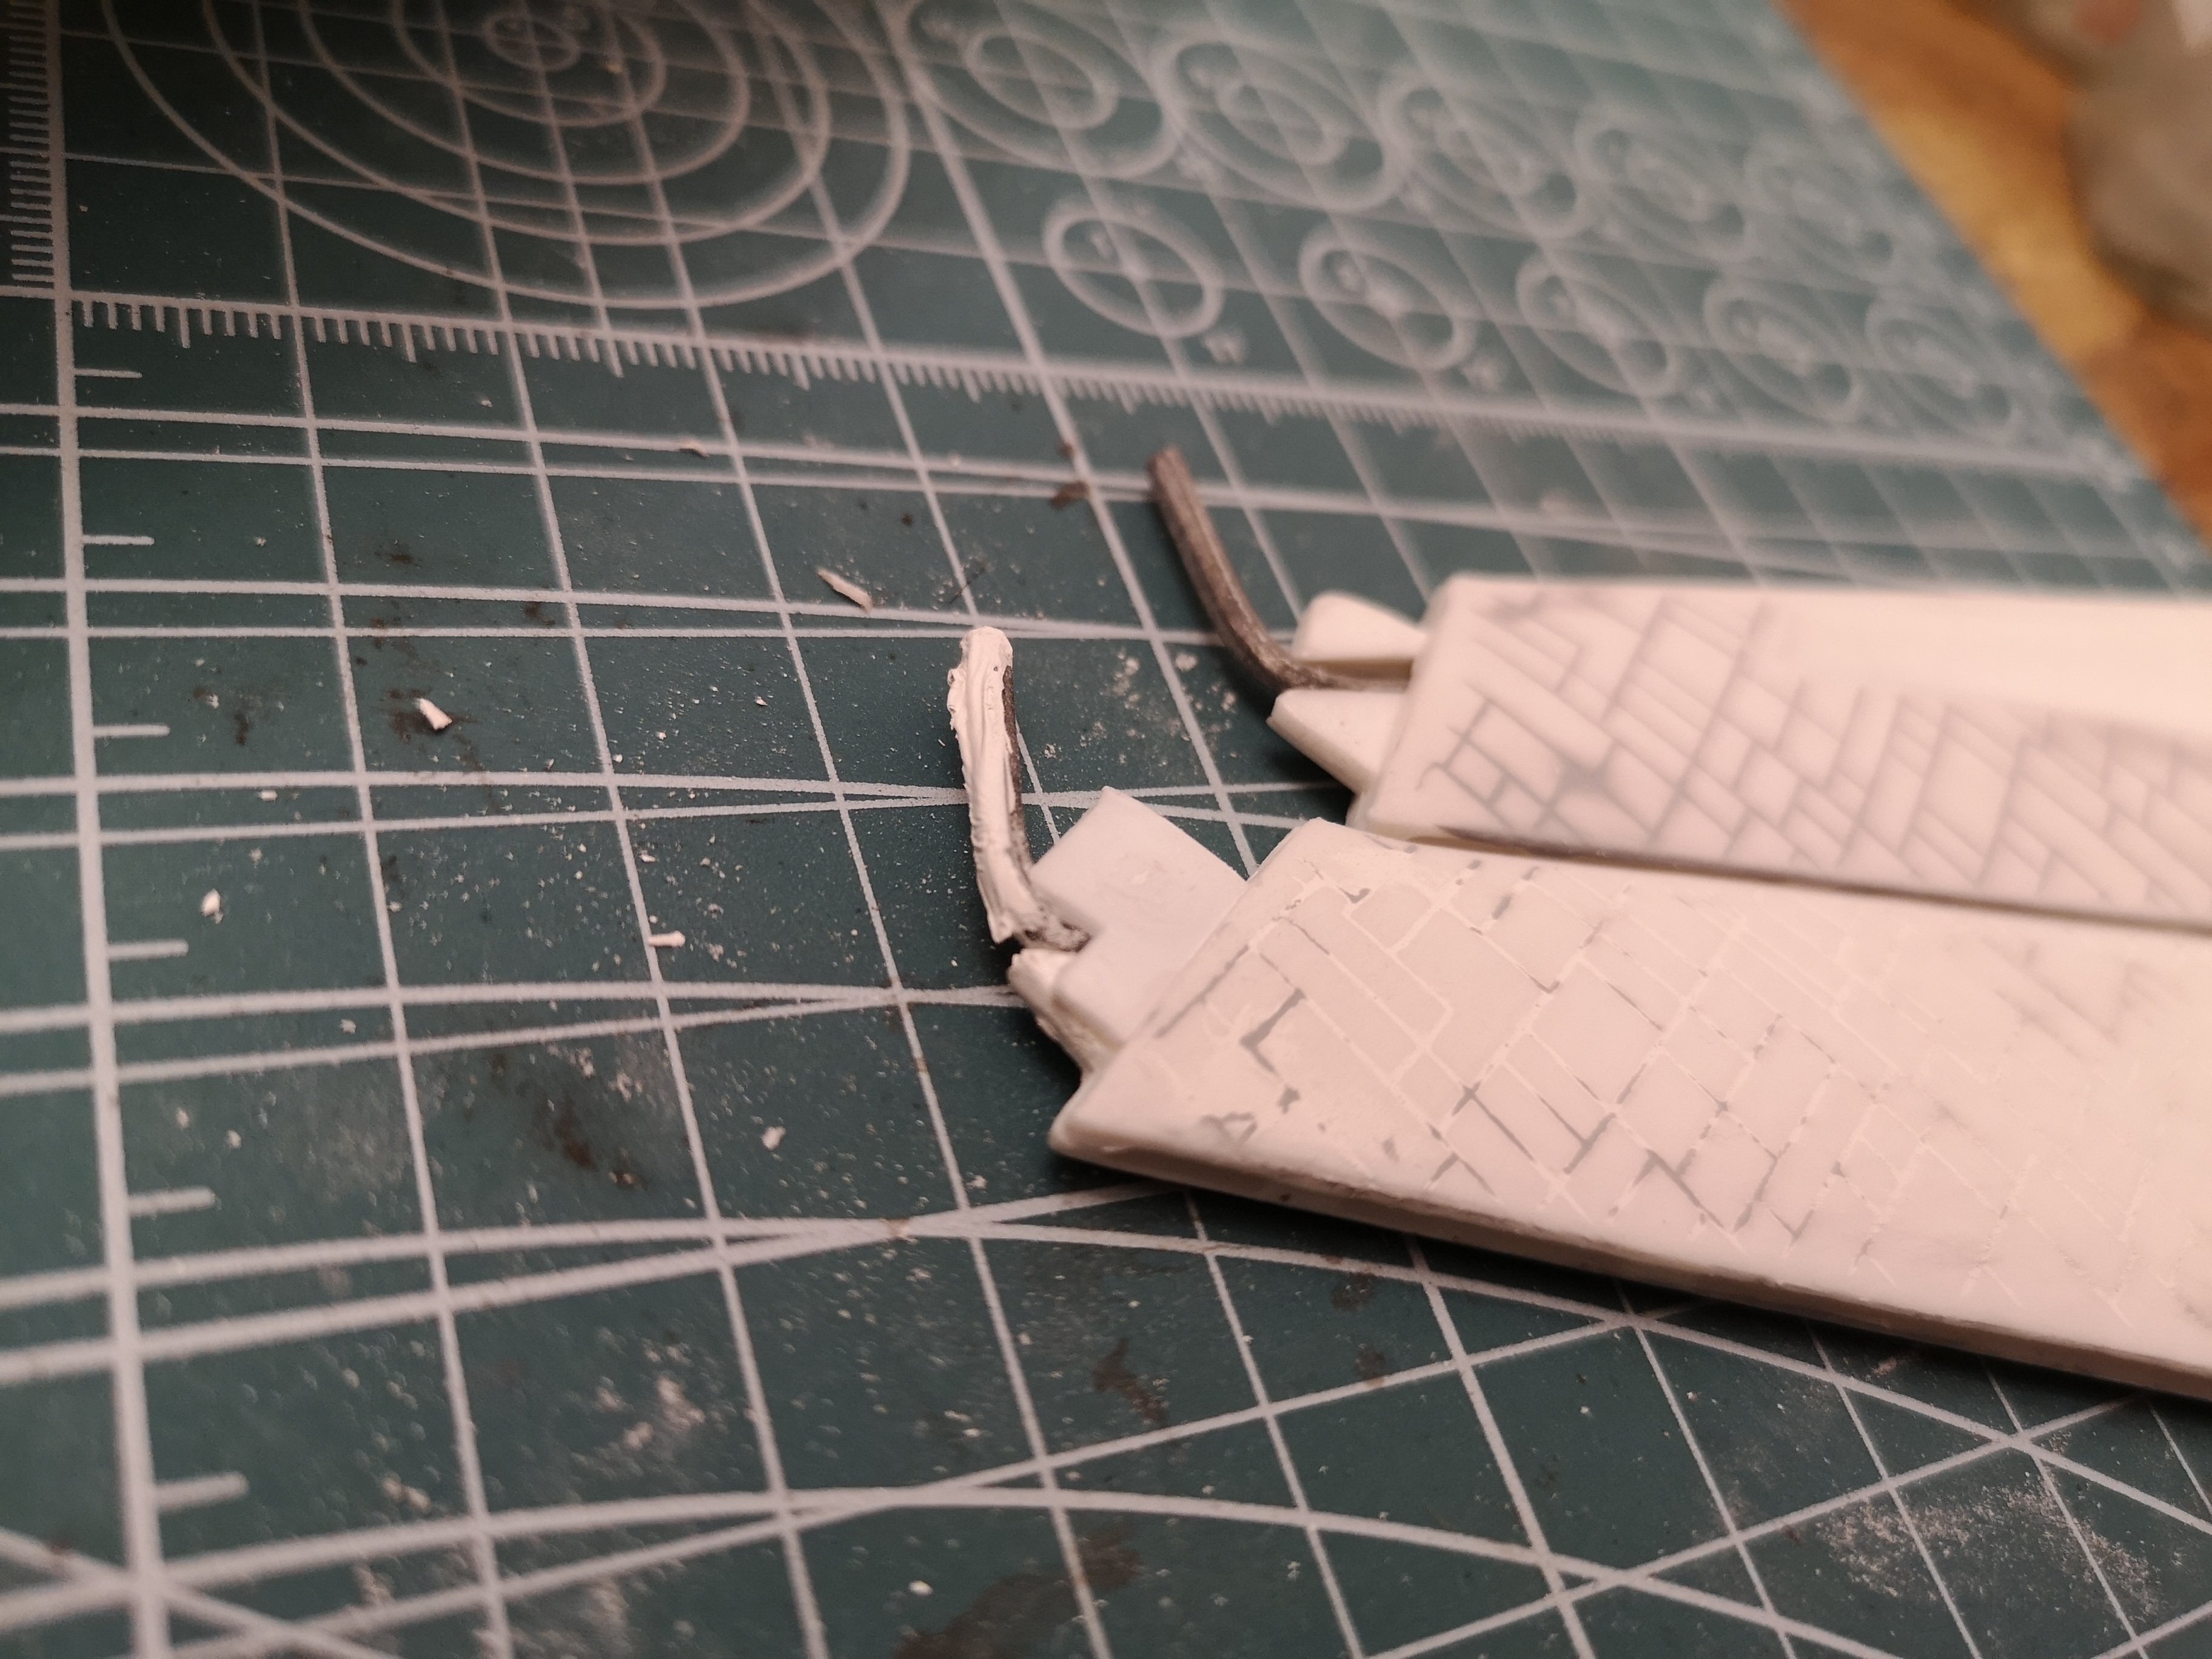
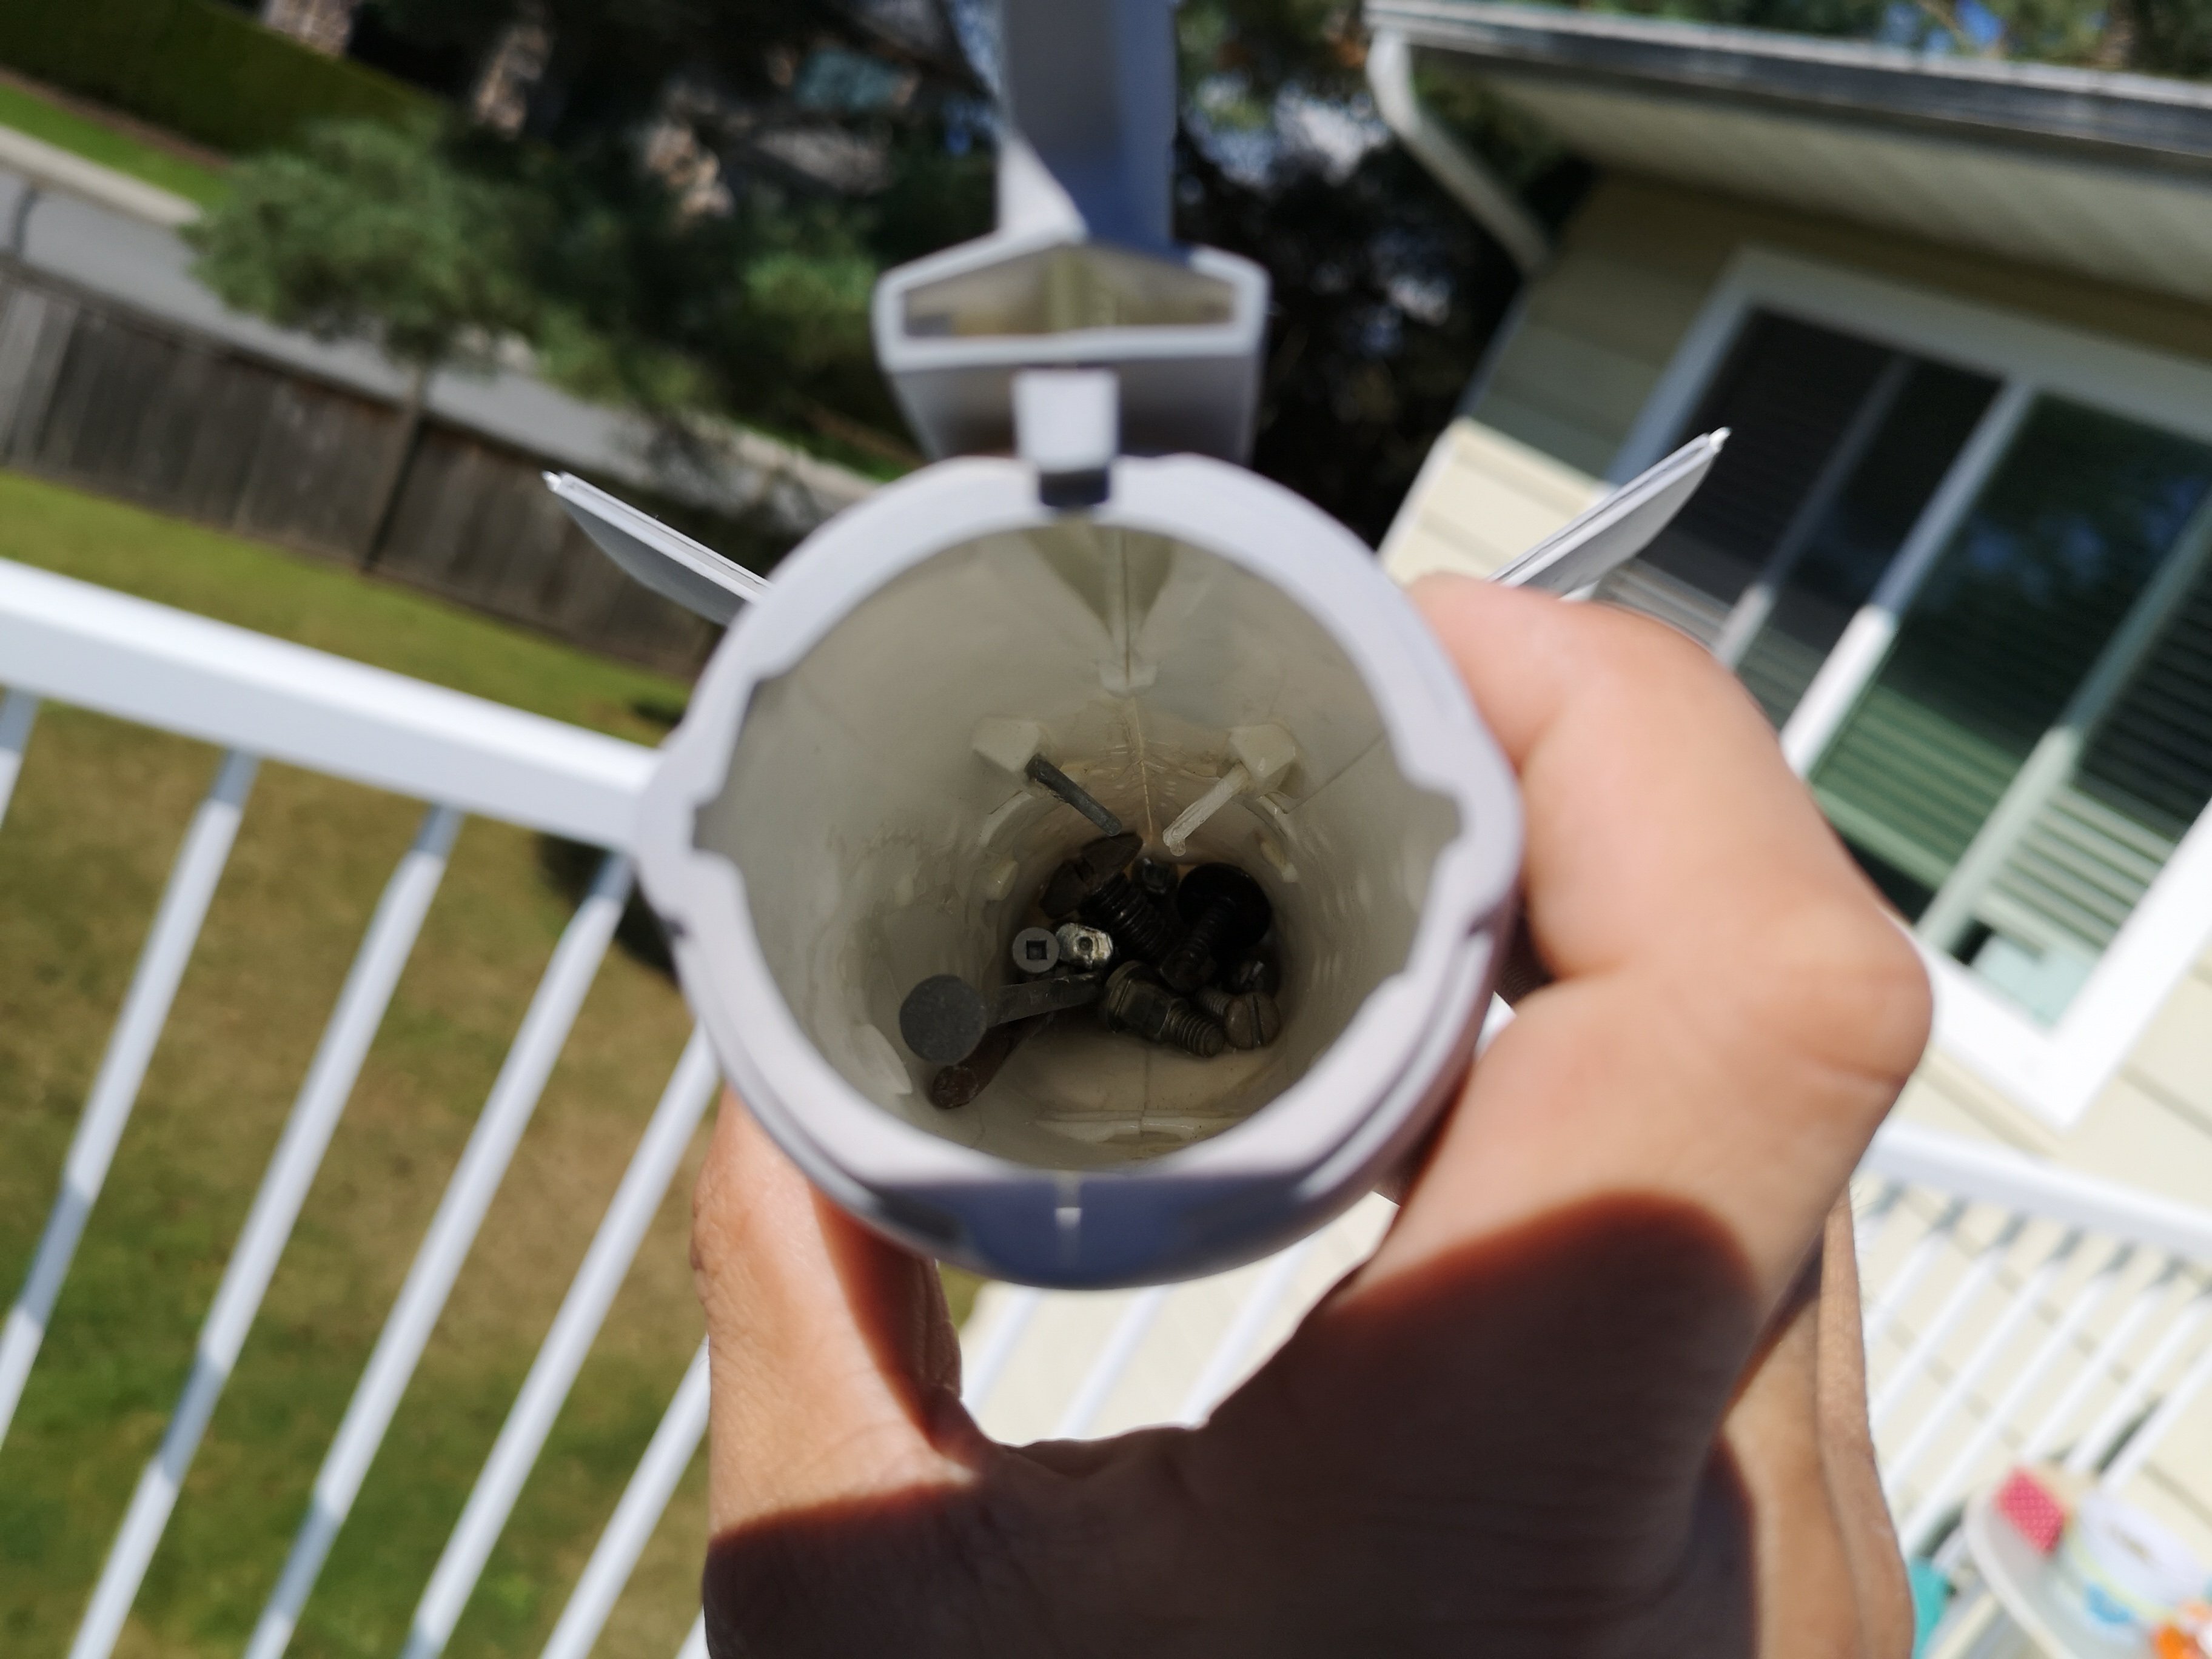
A bit more progress, reinforced one of the pylons a bit more because it was sitting so loosely when I test fit it. Mucked around until both were a snug fit without needing the support from a jig . Pylons lined up and snuggled down, but left ugly gaps. I'm horrible when it comes to gaps, even more so when it comes to unusual shapes. Been on the fence all day about whether I could live with this because if I try to fill it, it'll probably come out a mangled mess. I remember the saucer made the model really nose heavy and the thing would not balance well. So I did what another guy I saw do and weigh down the back end. I didn't have any nice lead weights so I just threw a bunch of crap down the back and poured glue on top of it and drizzled a bunch more glue onto the pylon tabs.
-
Nicely done. I never got the TV versions, but seriously considering it now. Have the Hasegawa Storm Attacker mode waiting in my pile of kits to build.
-
Saw a guy on YT use Bondo on his, a lot of Bondo, lol!
-
Haha, thanks! Actually the words of encouragement here are the only thing keeping me going.....to embarassing to quit now, lol! Dug out the D for a quick pic..... Anyone here build one? As much as I loved TNG, I don't see myself building it.
-
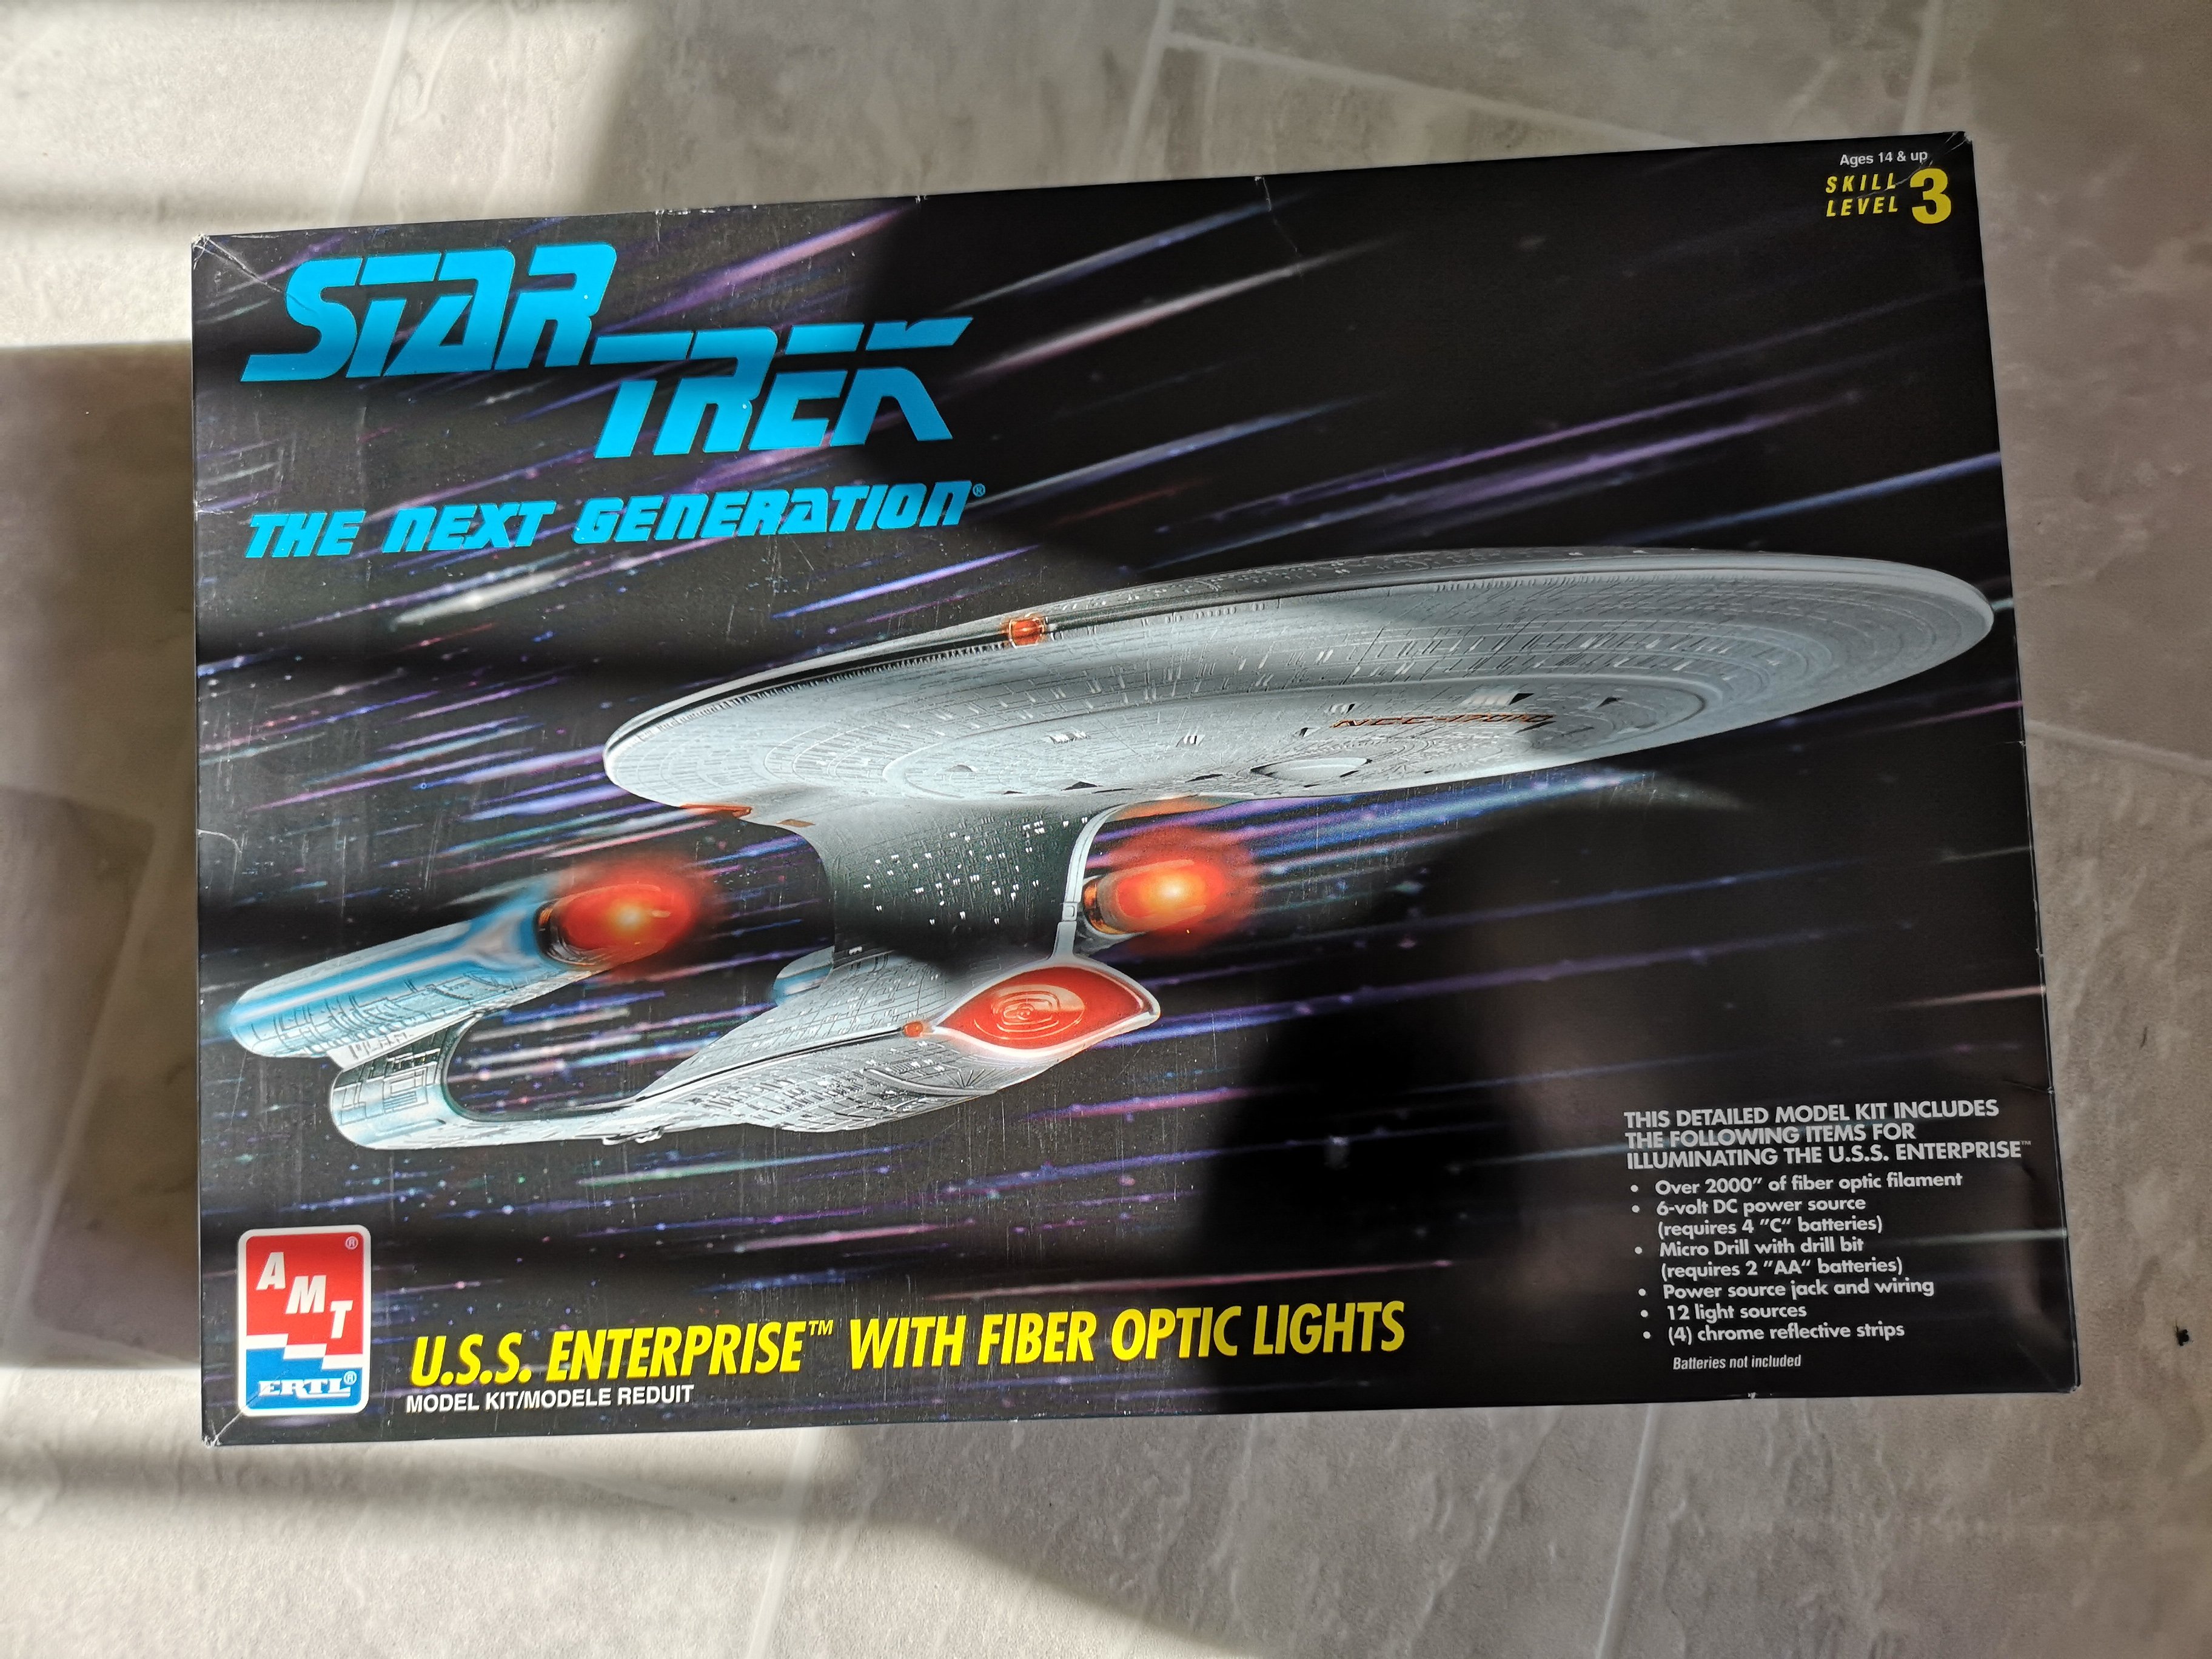
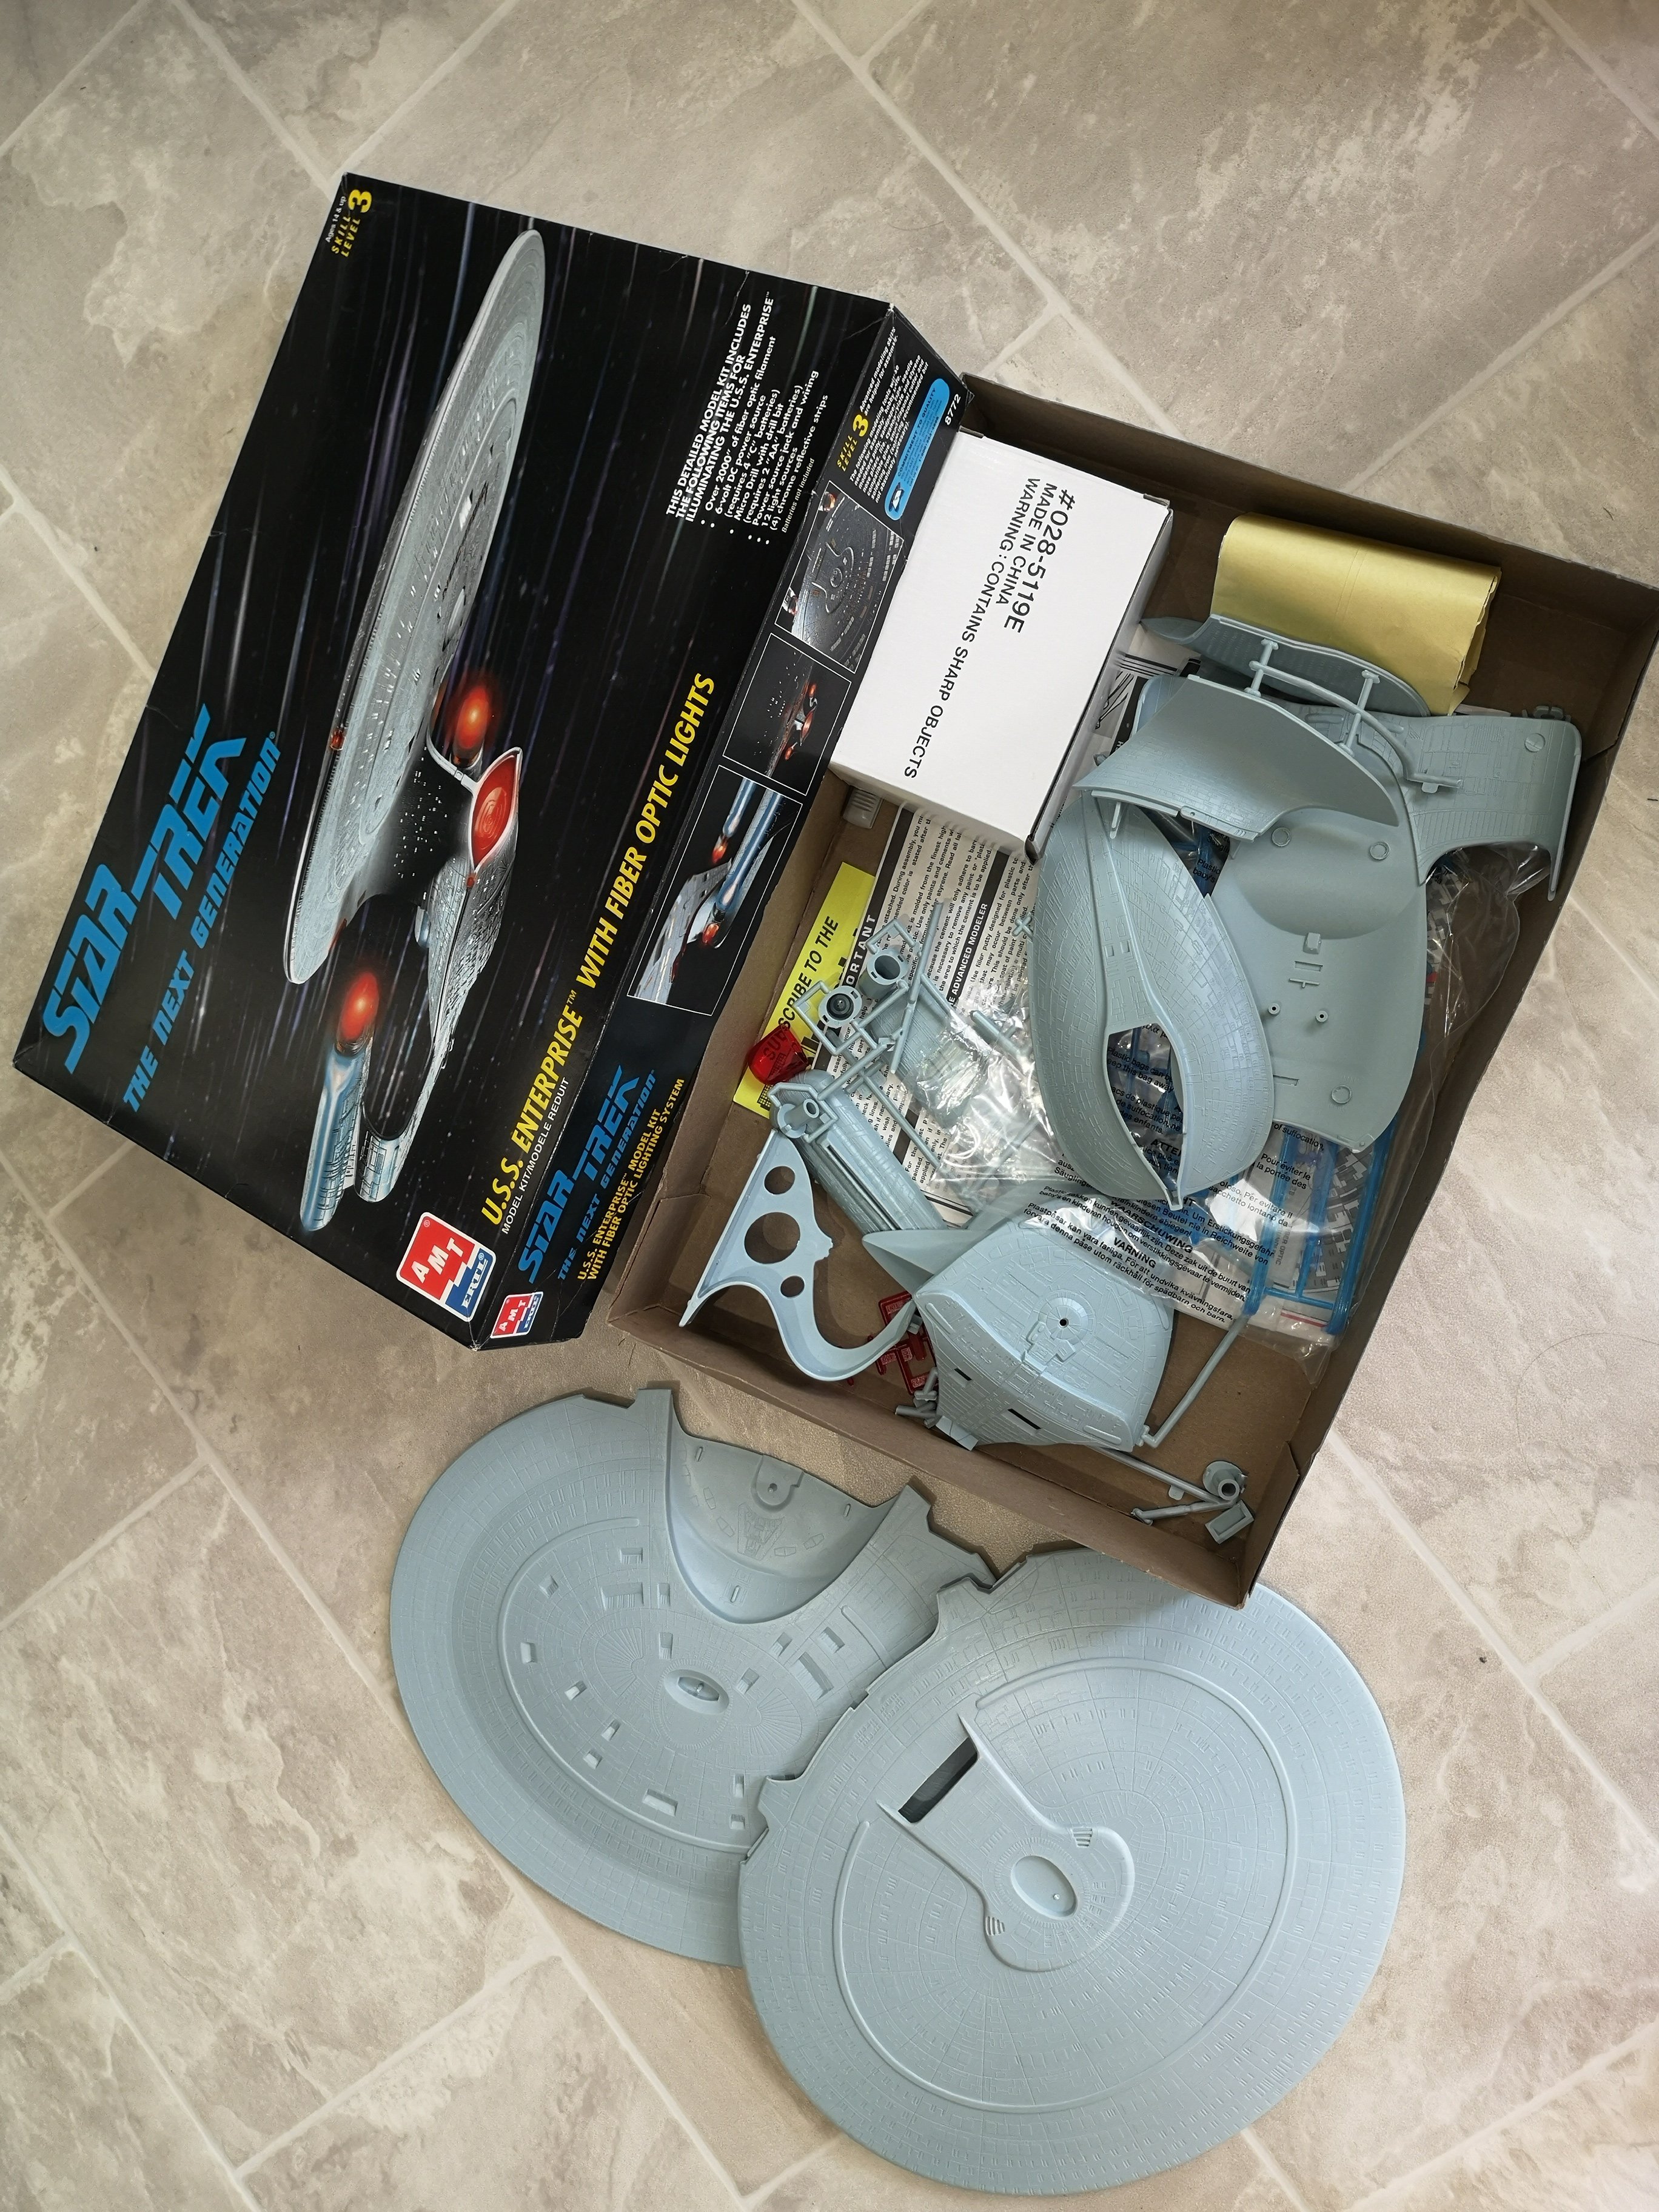
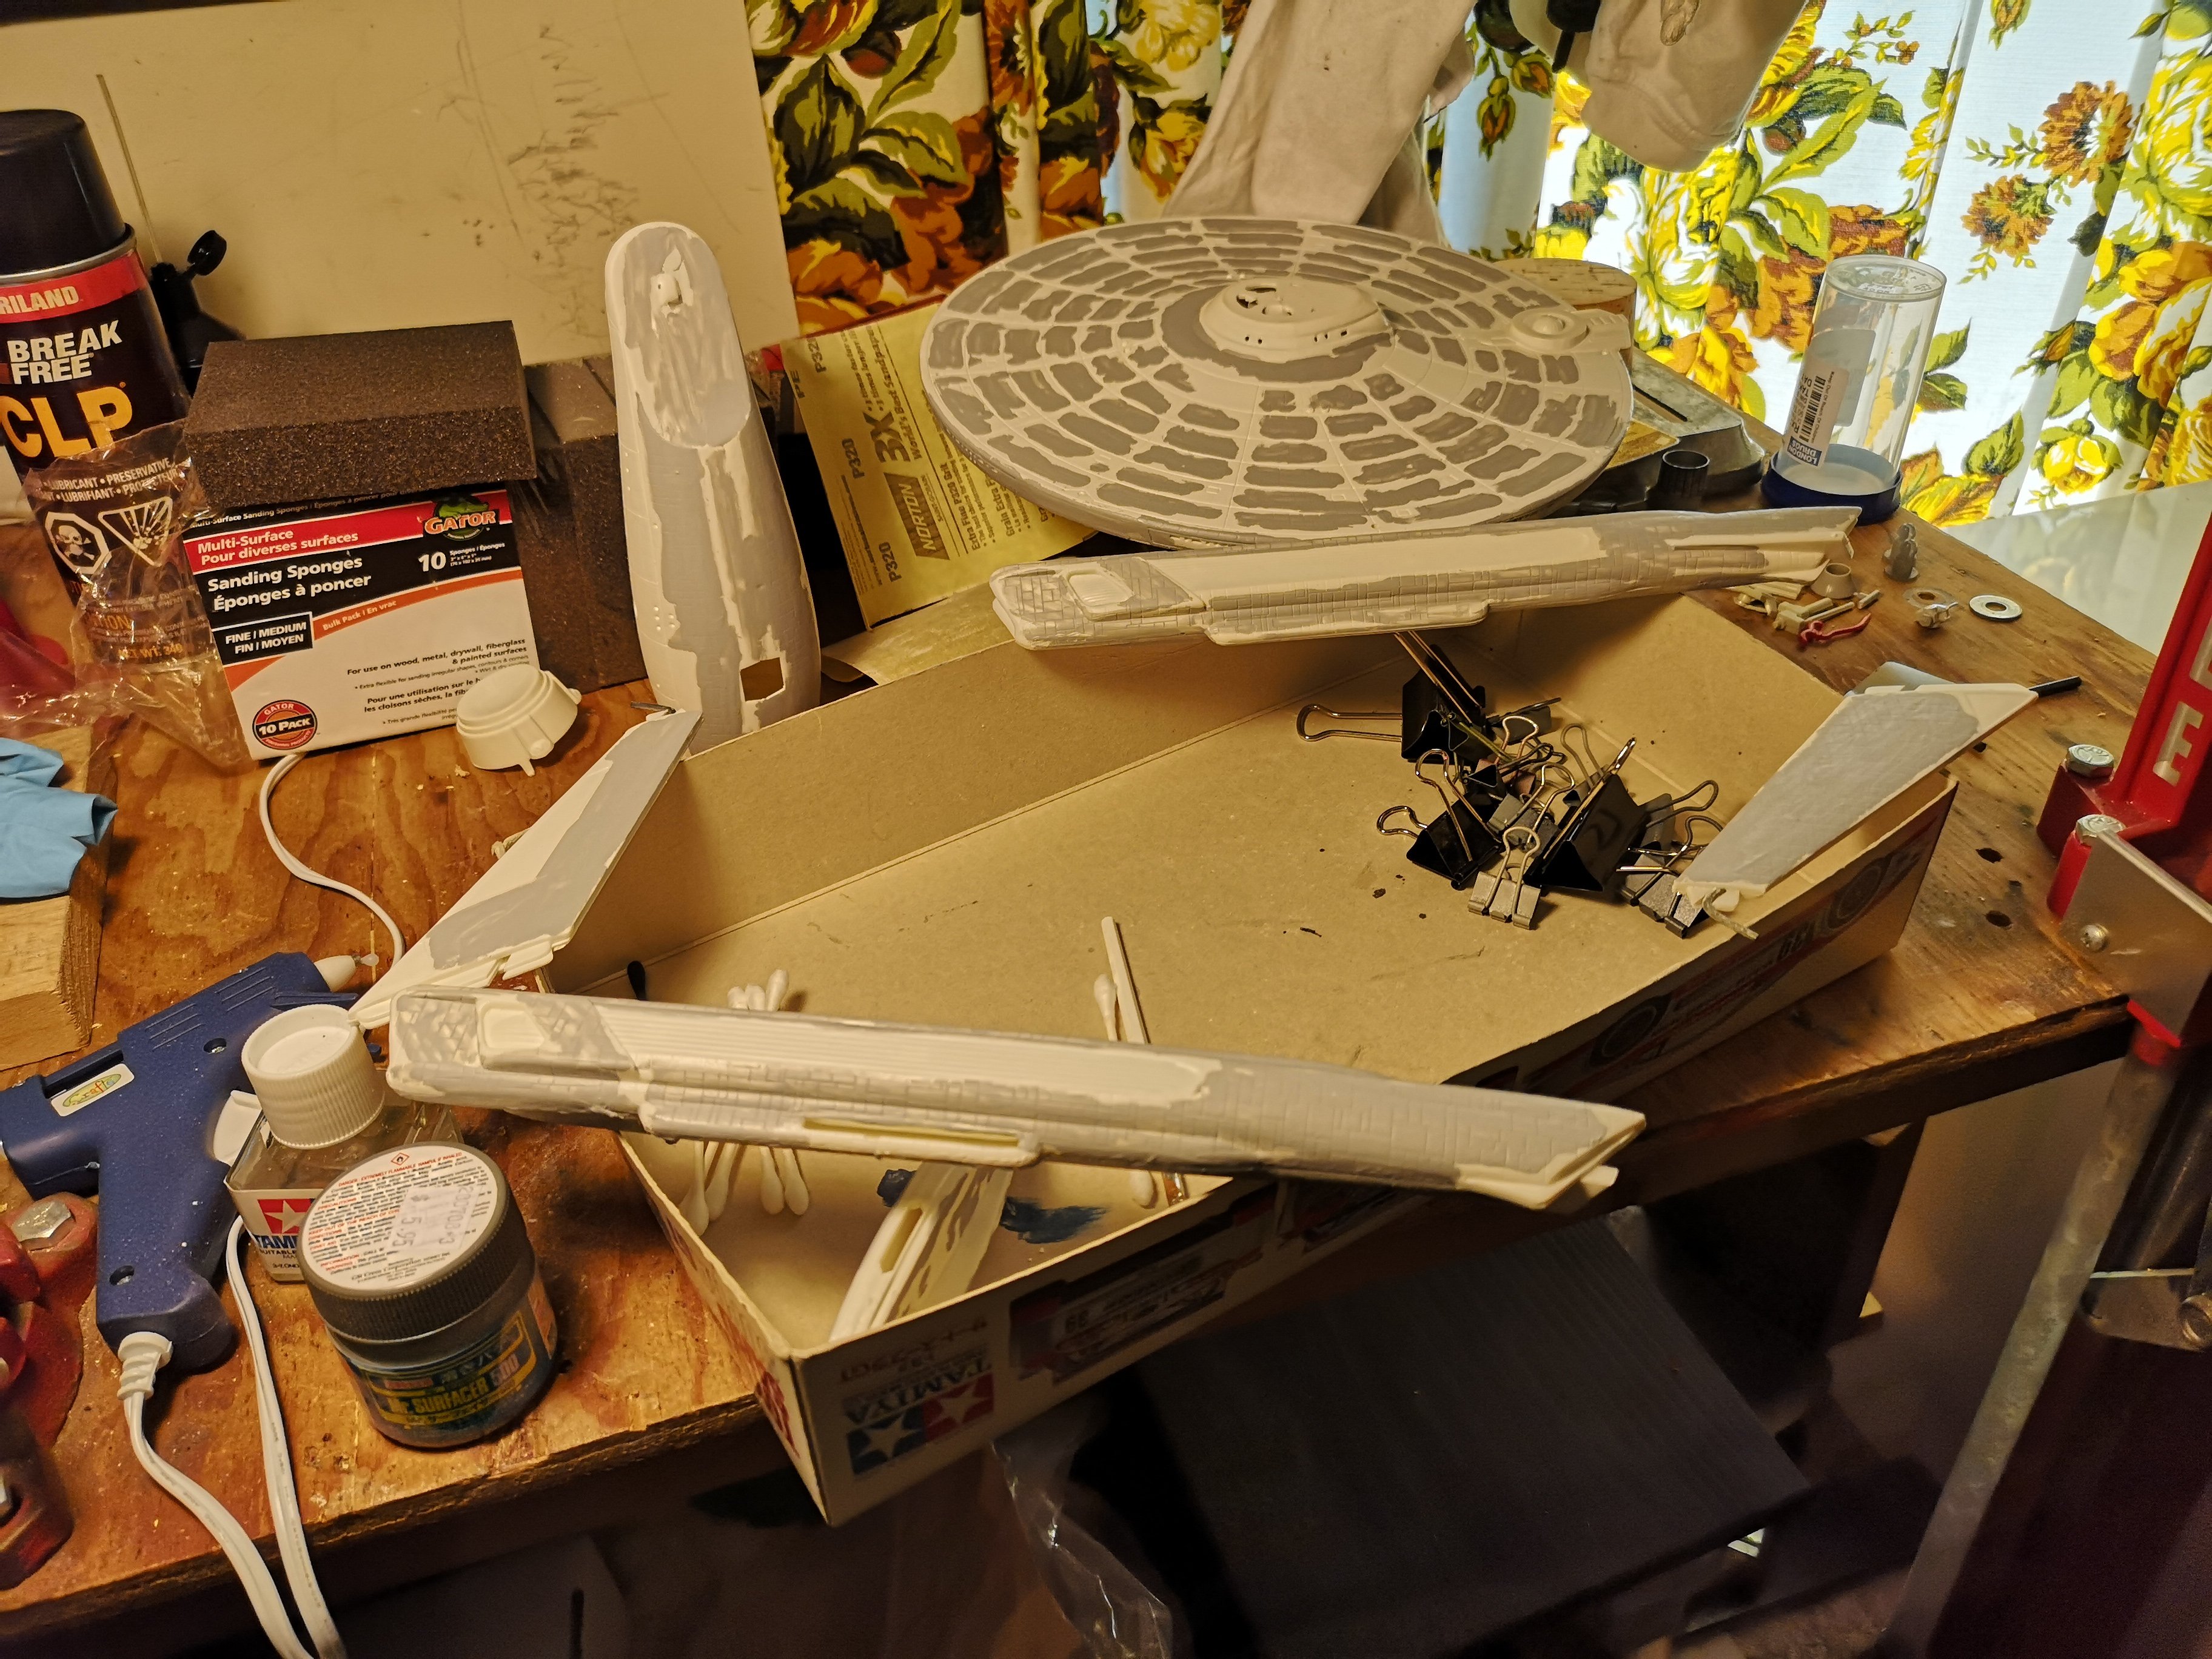
I actually found a brand new bottle of Mr. Surfacer 500, still good as new. Who knows what other goodies I have buried in my mountain of crap downstairs. Oh wait, that would be an Enterprise D with the fibre optic kit, which I will not build, lol!
-
Very soon. I found some ugly gaps when I sanded the saucer.....then when I tapped it to get the dust off, some of the glue came apart, lol! I guess I should have gooped it on. Then when I test fit the neck to the secondary hull, it too came apart at the seams, so had to re-glue that as well. Told you guys.....amateur hour with this build, hahaha.
-
-
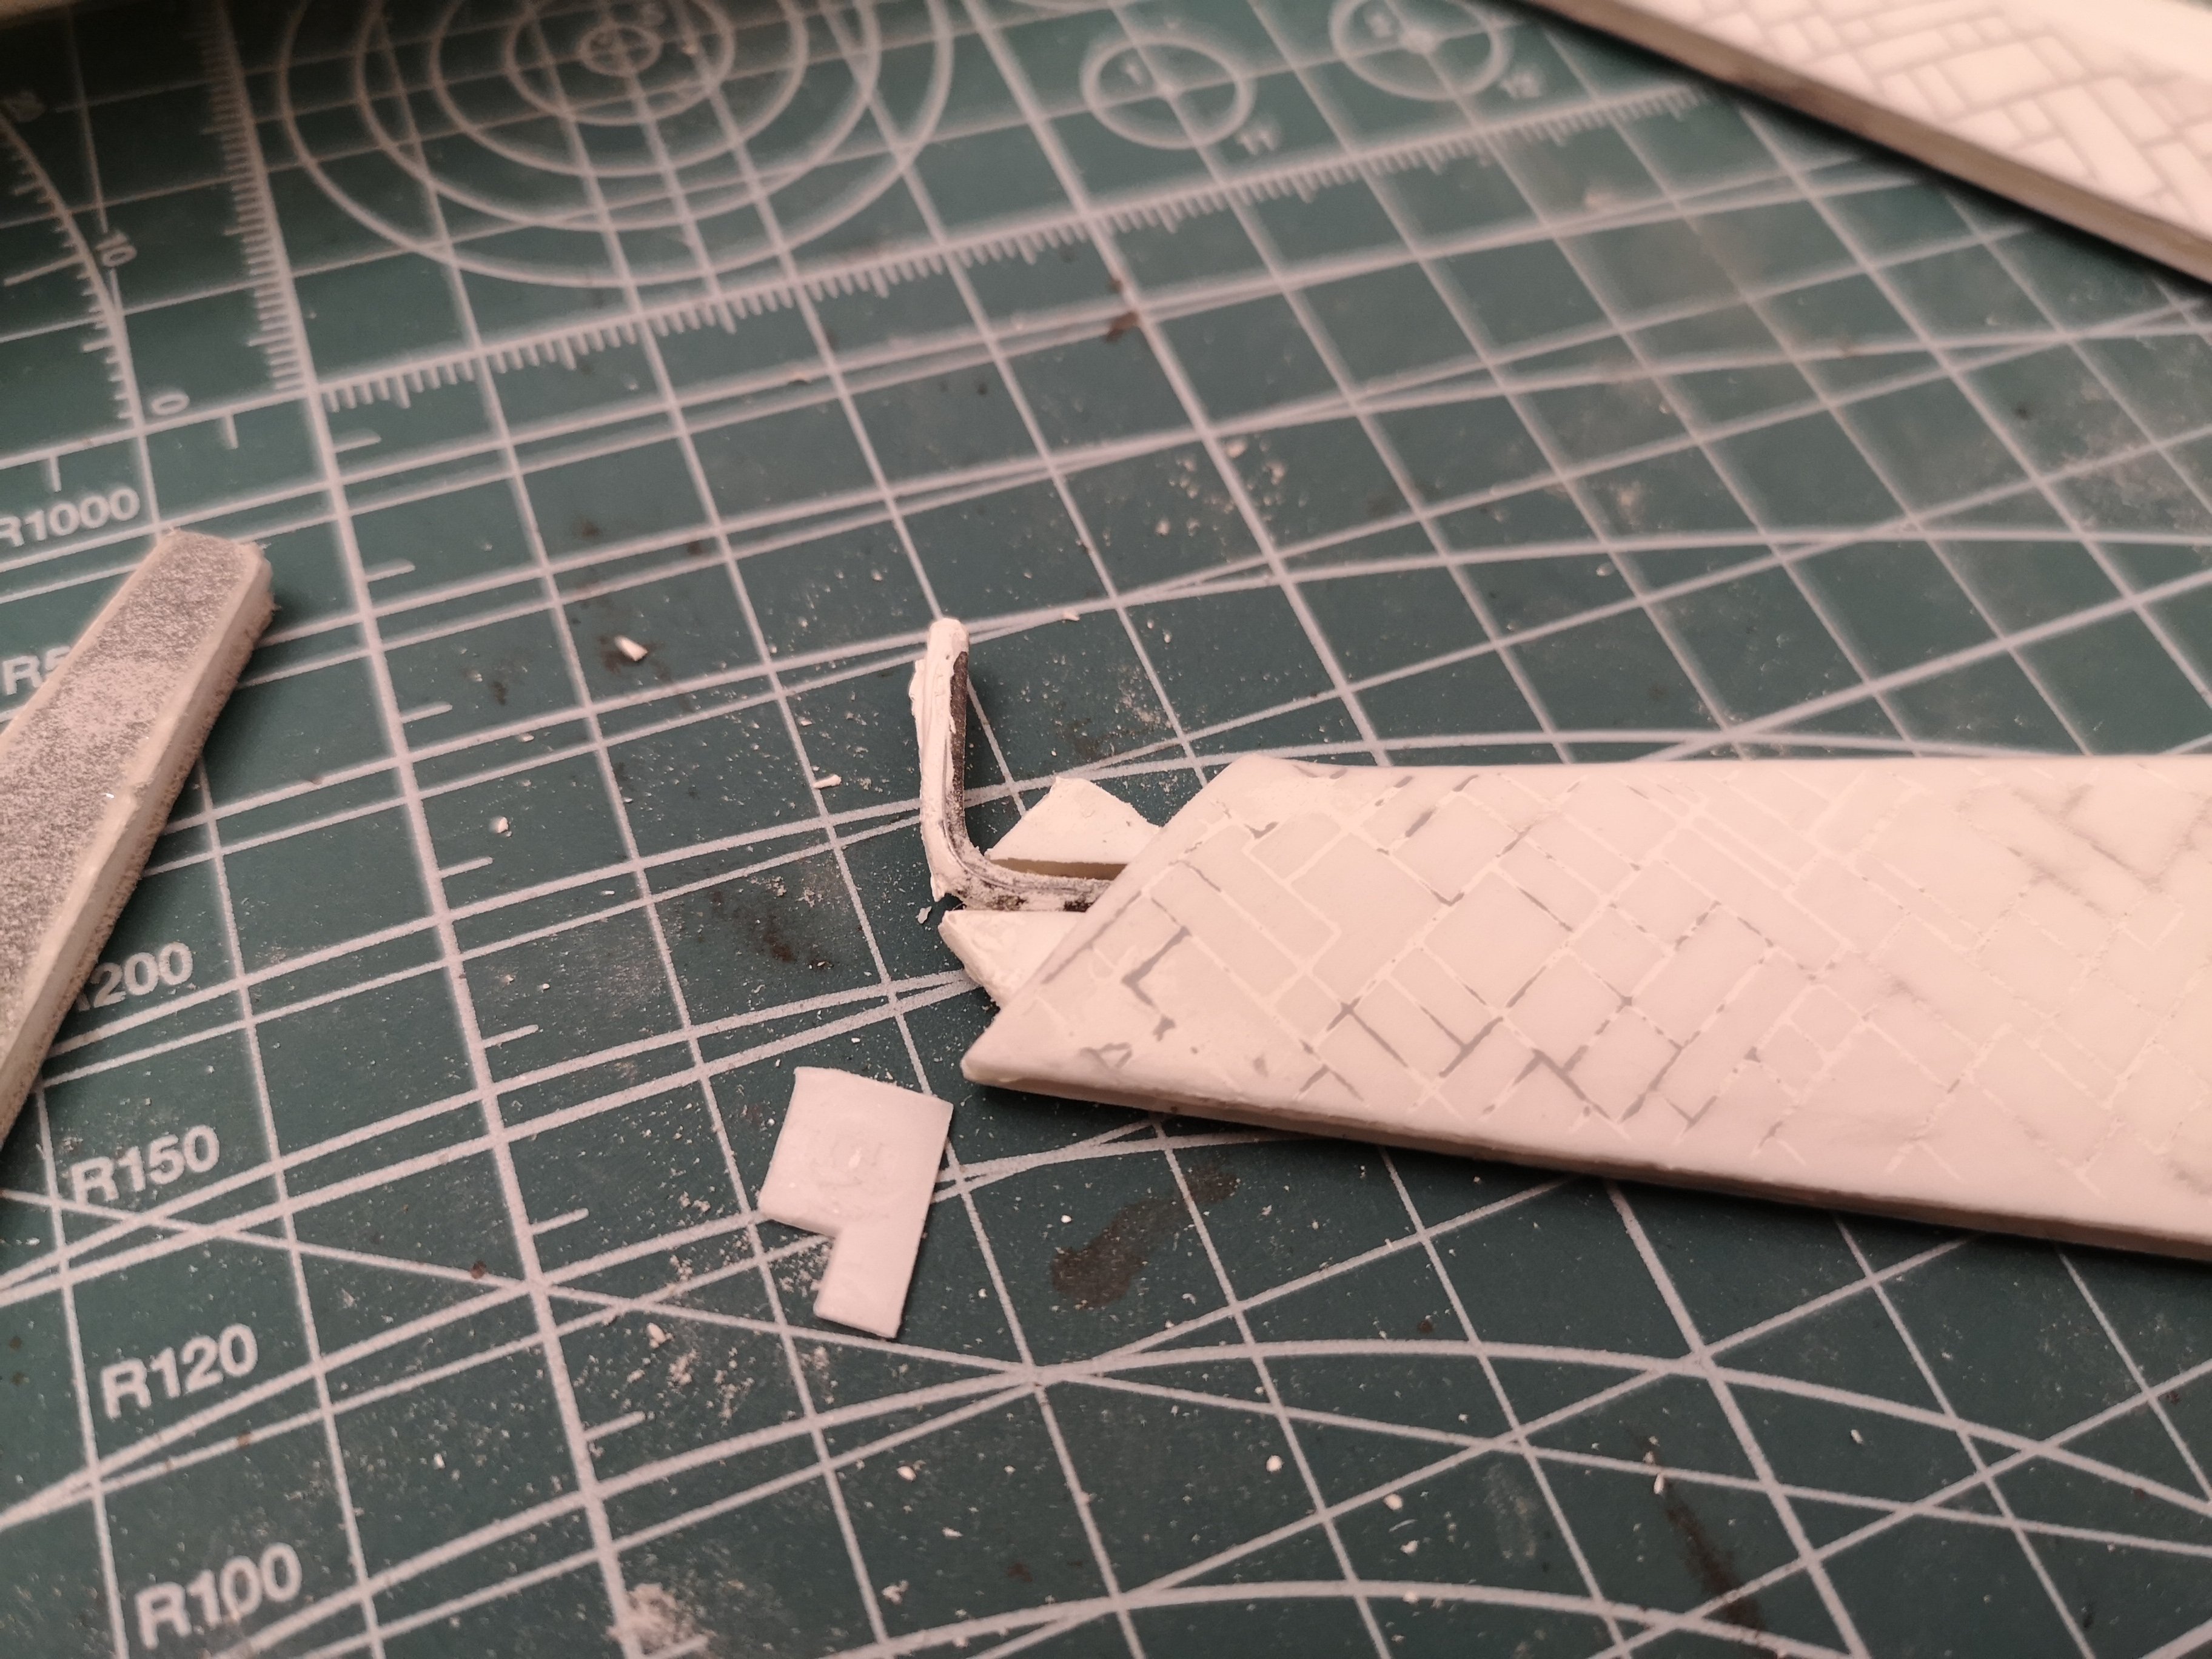
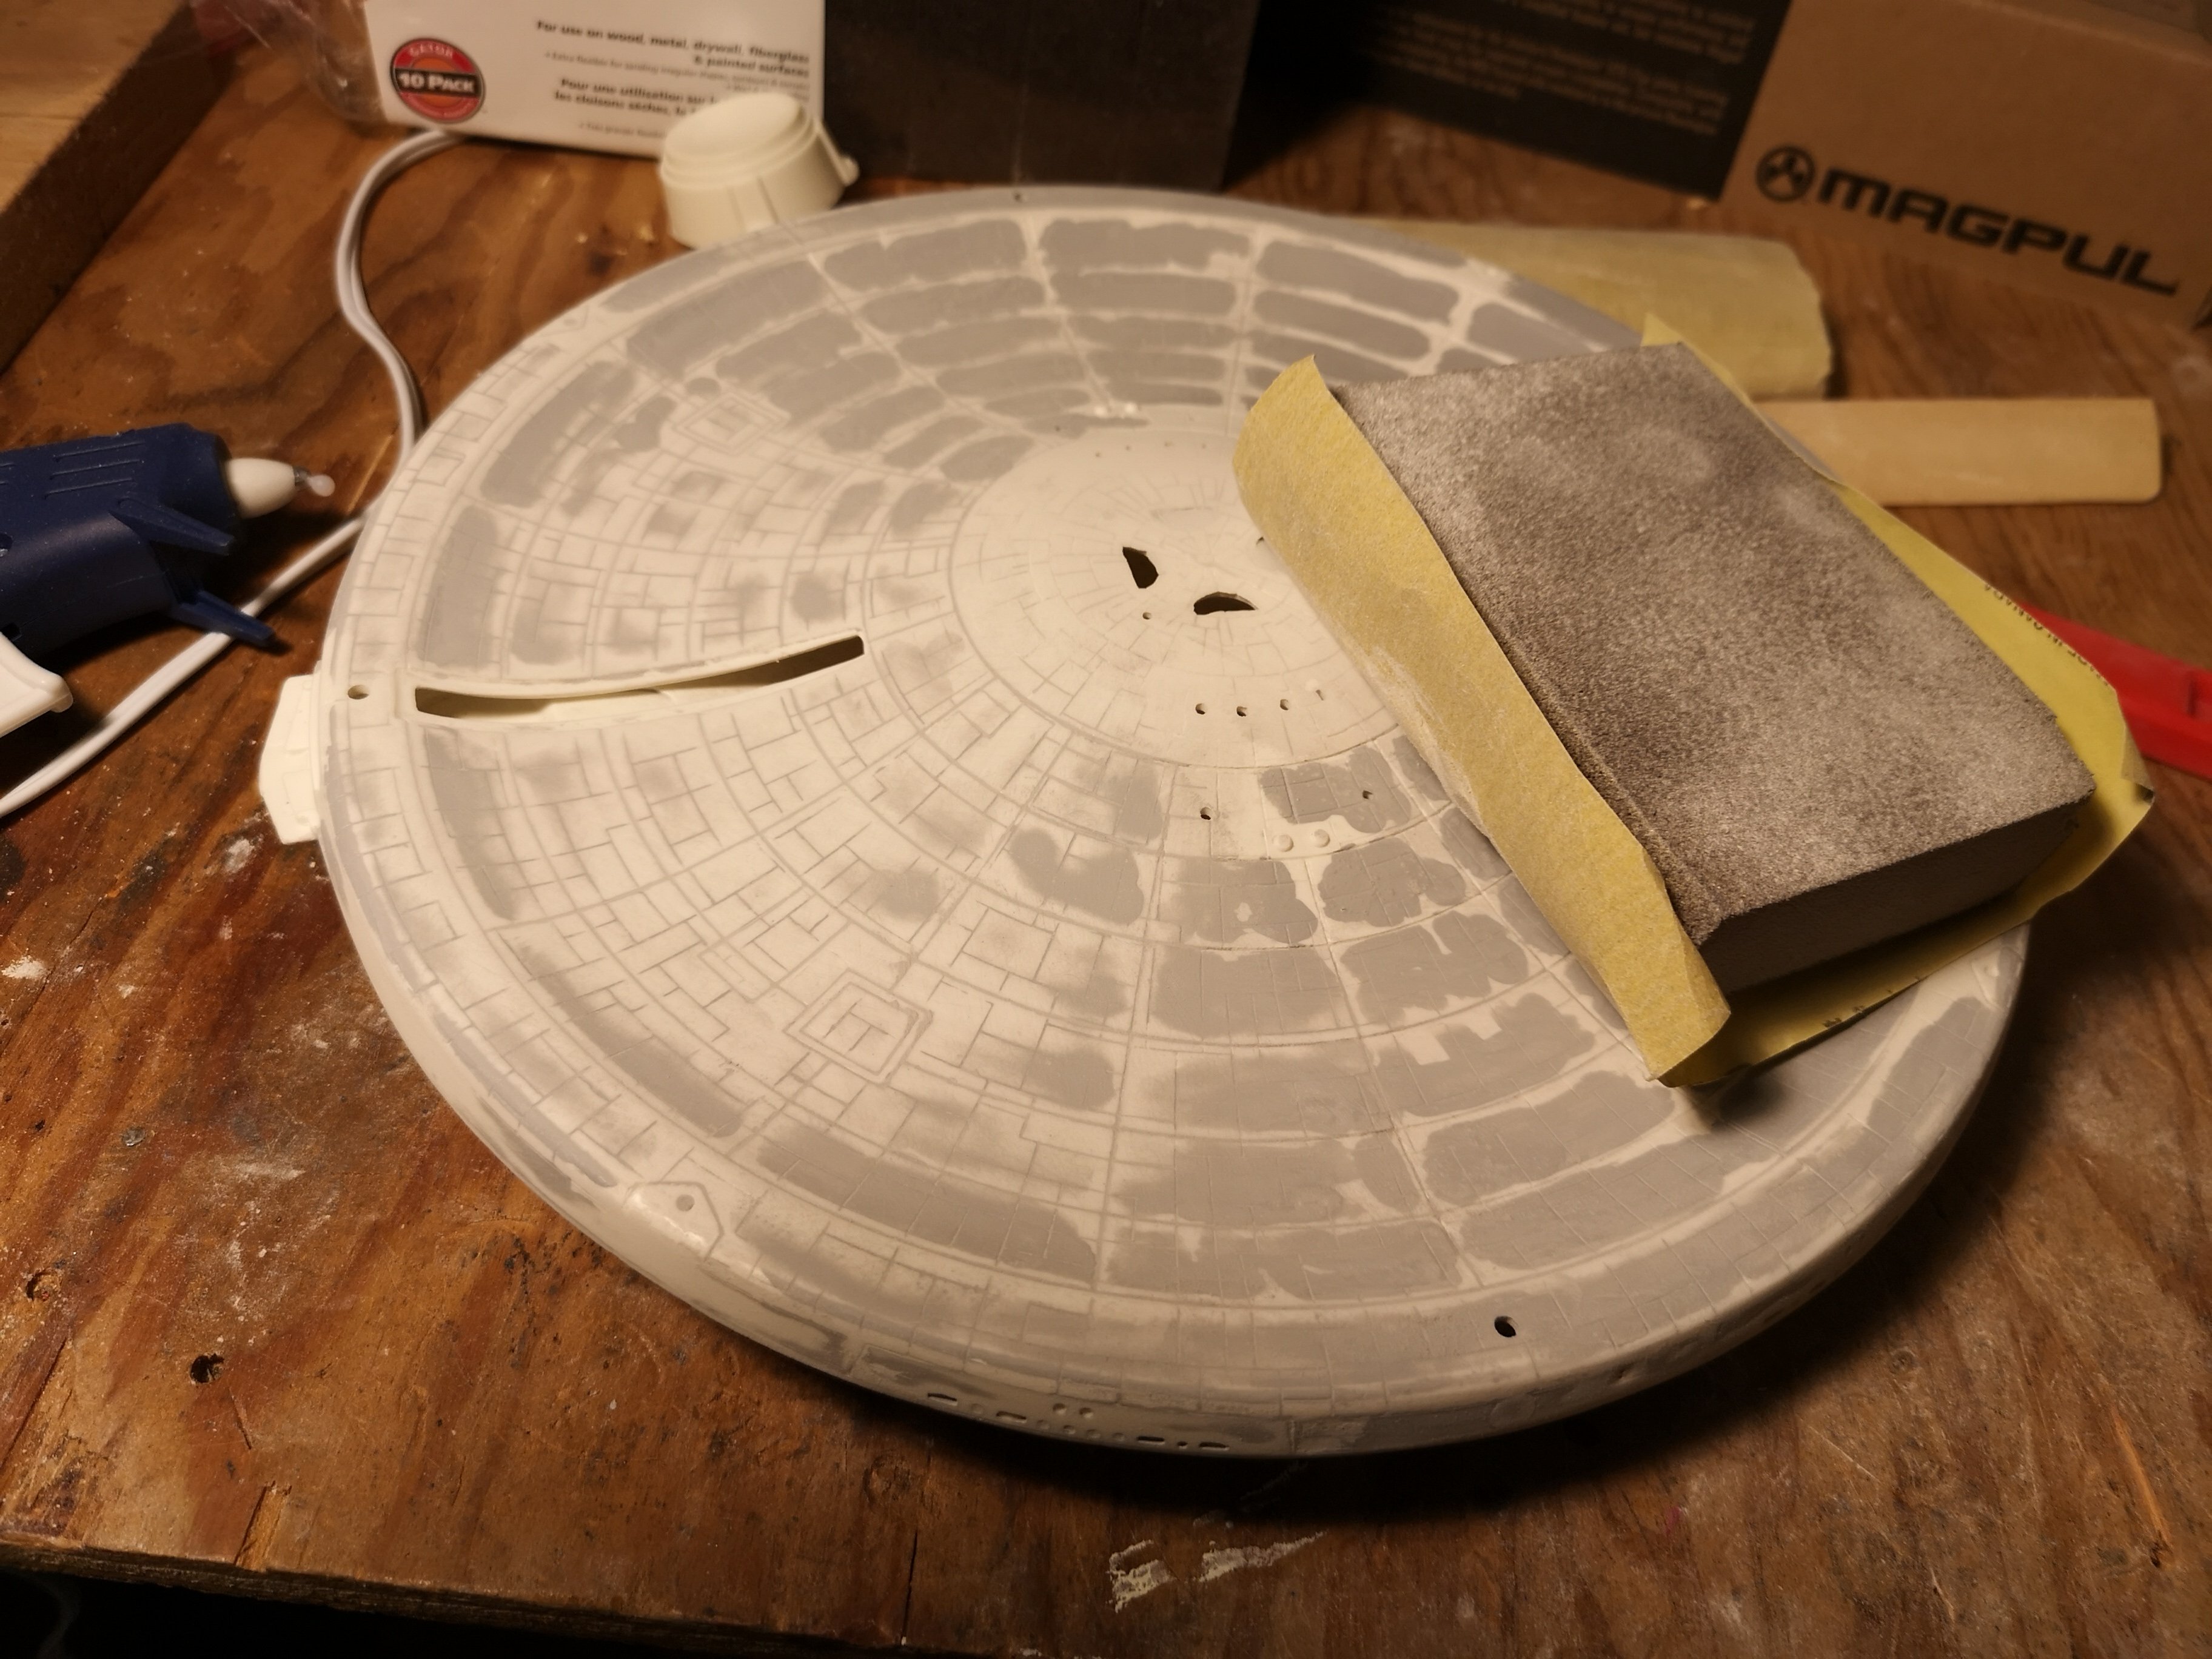
Actually, this is very true. It's quite rewarding to see it slowly come out after all that work. Started some sanding:
-
Good advice. Always a feels good to walk away for a bit, and refresh. I just have to be careful not to walk away for 17 years like I did the last time I took a break from model making, hahaha!
-
Welcome back
-
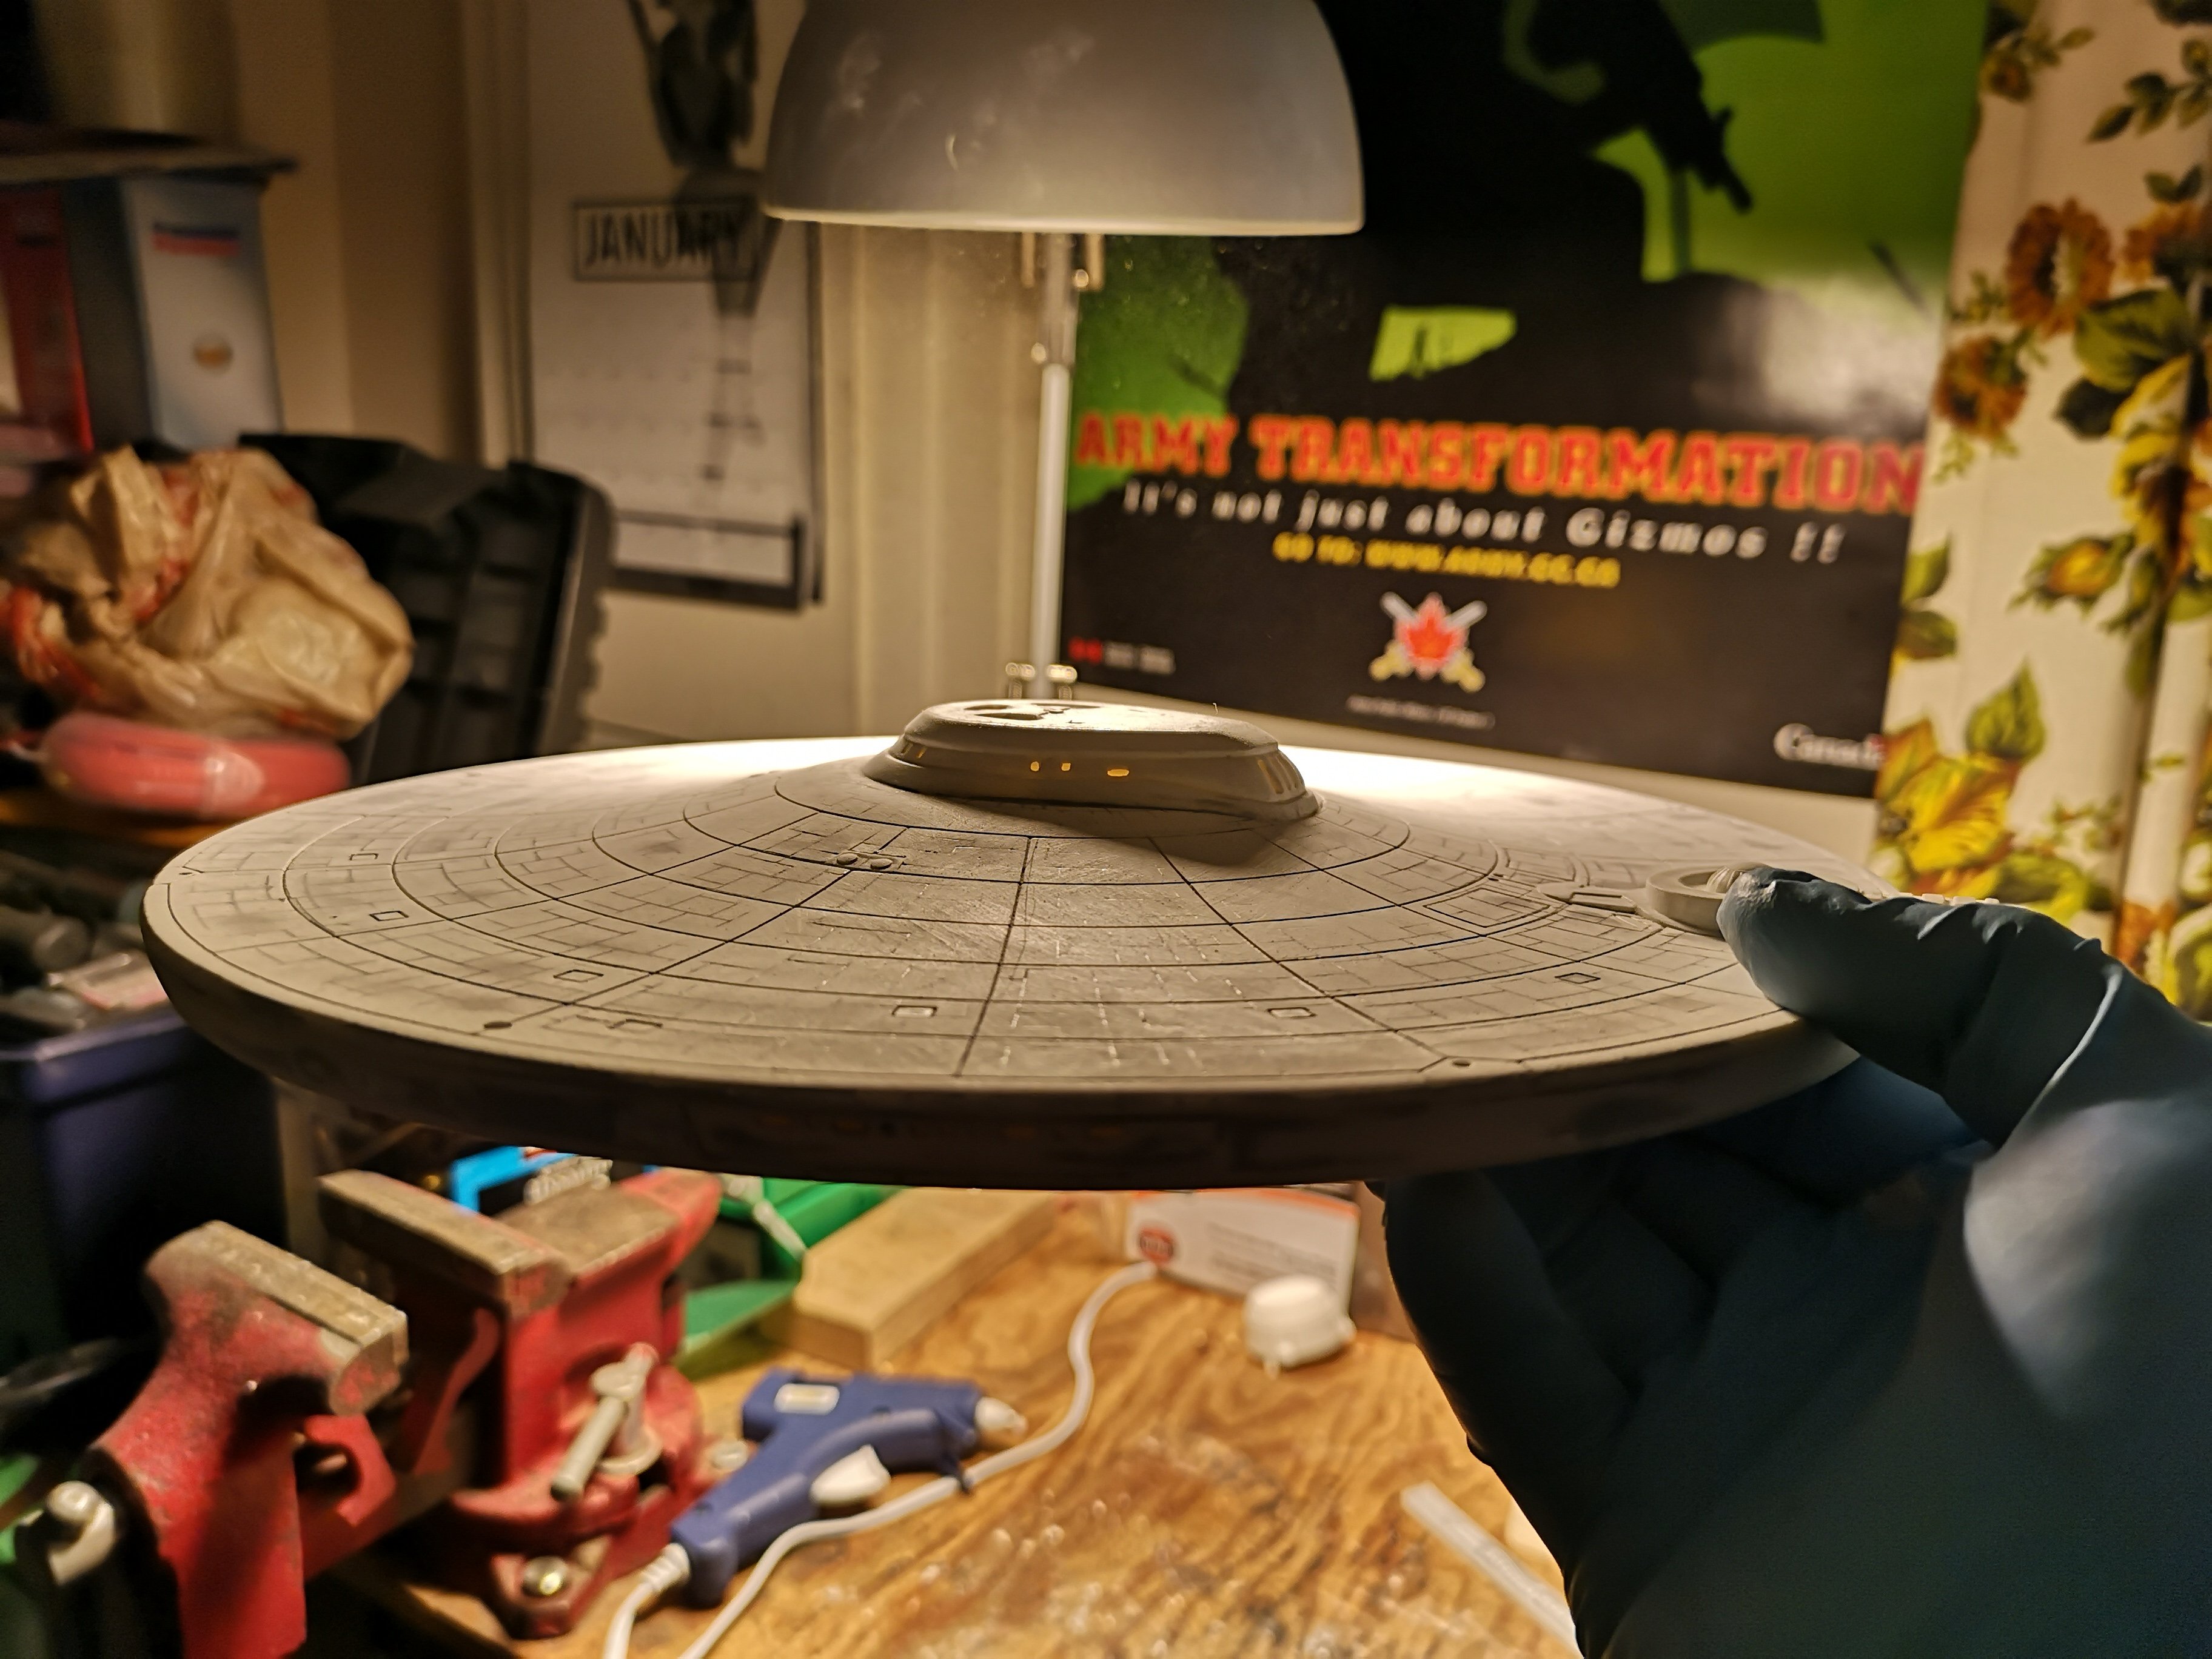
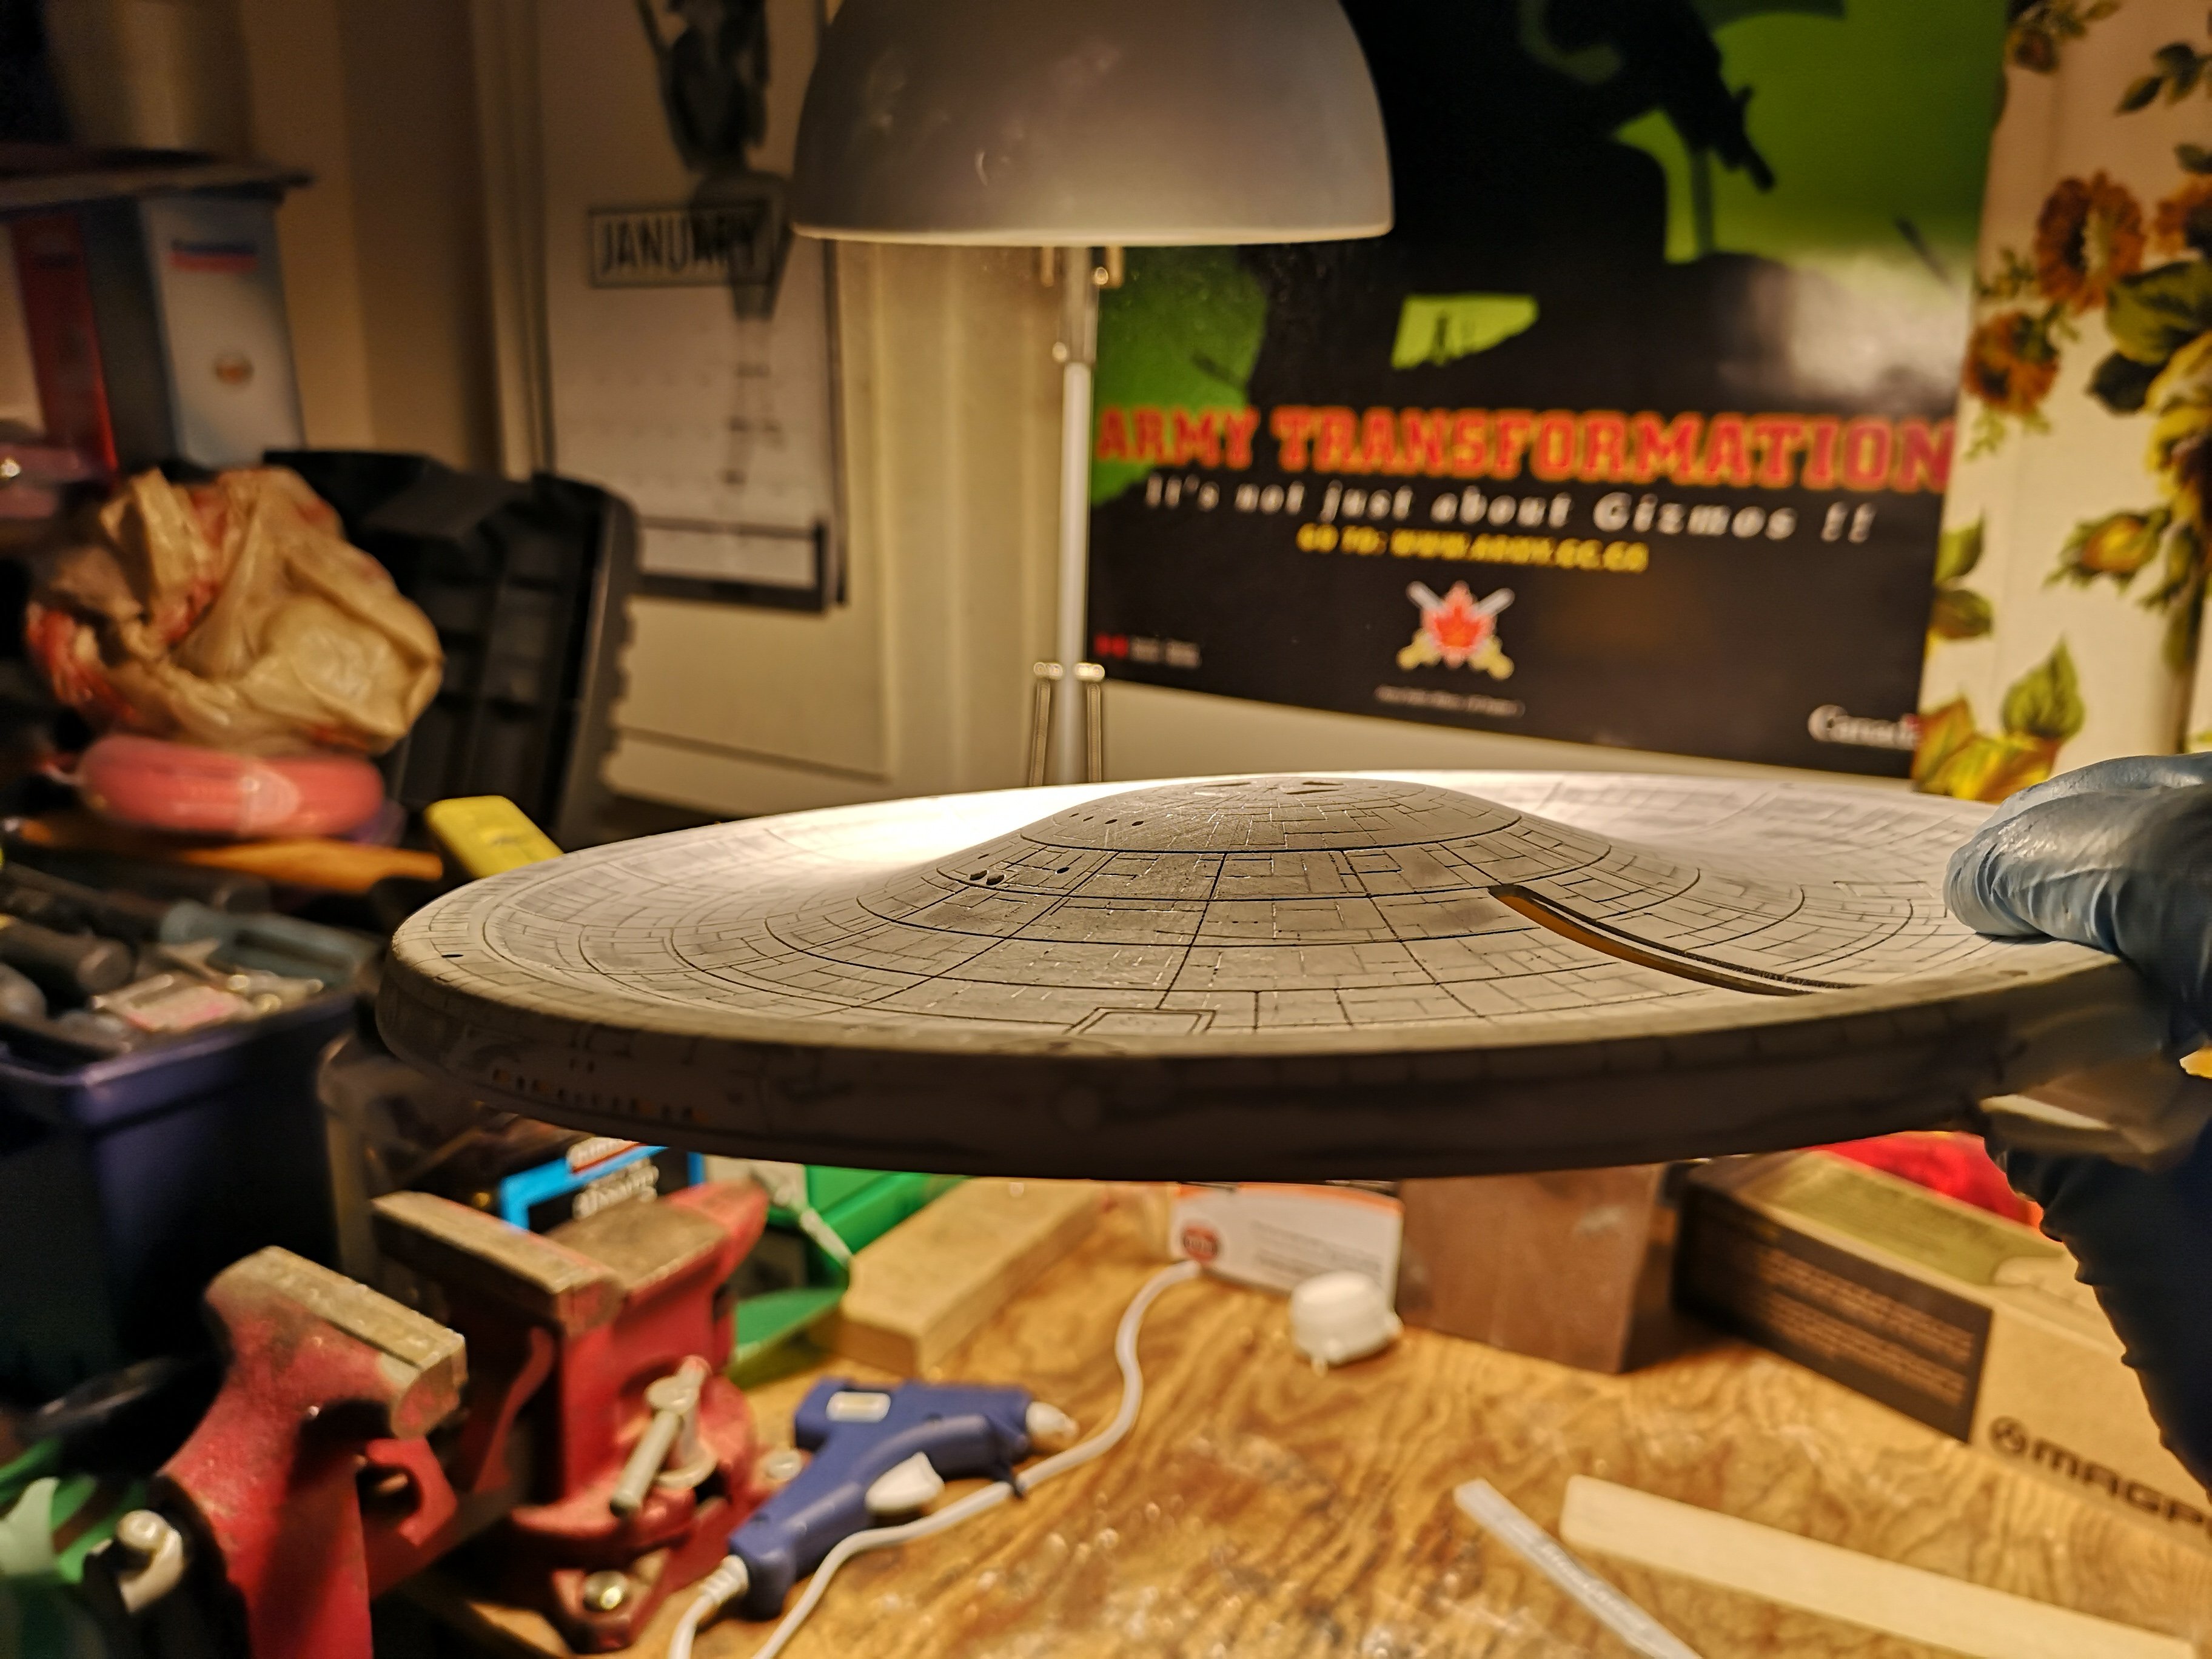
Mr. Surfacer is flammable right? Might be handy in case I feel the need to have this thing re-enter the atmosphere. Excuse the mess, the last few models I've built (Hasegawa) were relatively clean build, clean enough to build on the dining table, but this one....wow, I've never been covered in so much dust every time I touch the thing. I honestly don't recall prepping the surface this much on any kit I've built. Go easy guys, I honestly have no idea what I'm doing. I think the saucer was a real guinea pig because it probably has three or four different methods of trying to get rid of the panel lines, lol! I think I hand sanded 1/4, puttied another 1/4, then took the orbital to the whole thing and now I'm using 500 surfacer. It's going to look craptacular, lol! I'm watching Polar Lights 1/350 builds on YouTube and I'm just amazed at the detail and accuracy.
-
I haven't built any TV stuff since I got back into model building, but this sure is inspiring to do it. I know there have been tons of TV builds earlier in this this thread, but ever since I joined Macrossworld, I've only poked my nose in here occasionally. Anyway, I'll have to look into what other 1/72s I have buried in my mountain of kits to build.
-
Still looking forward to seeing this come out though. The Hasegawa is not without its faults. Huge pain in the dick to build for noobs like me, but detailed as hell and they look amazing when built by pros. Looking forward to comparing the Plamax in terms of price, detail and buildability.
-
They still can't get the spacing right for the head lasers on the 1S.

