-
Posts
4487 -
Joined
-
Last visited
Content Type
Profiles
Forums
Events
Gallery
Everything posted by peter
-
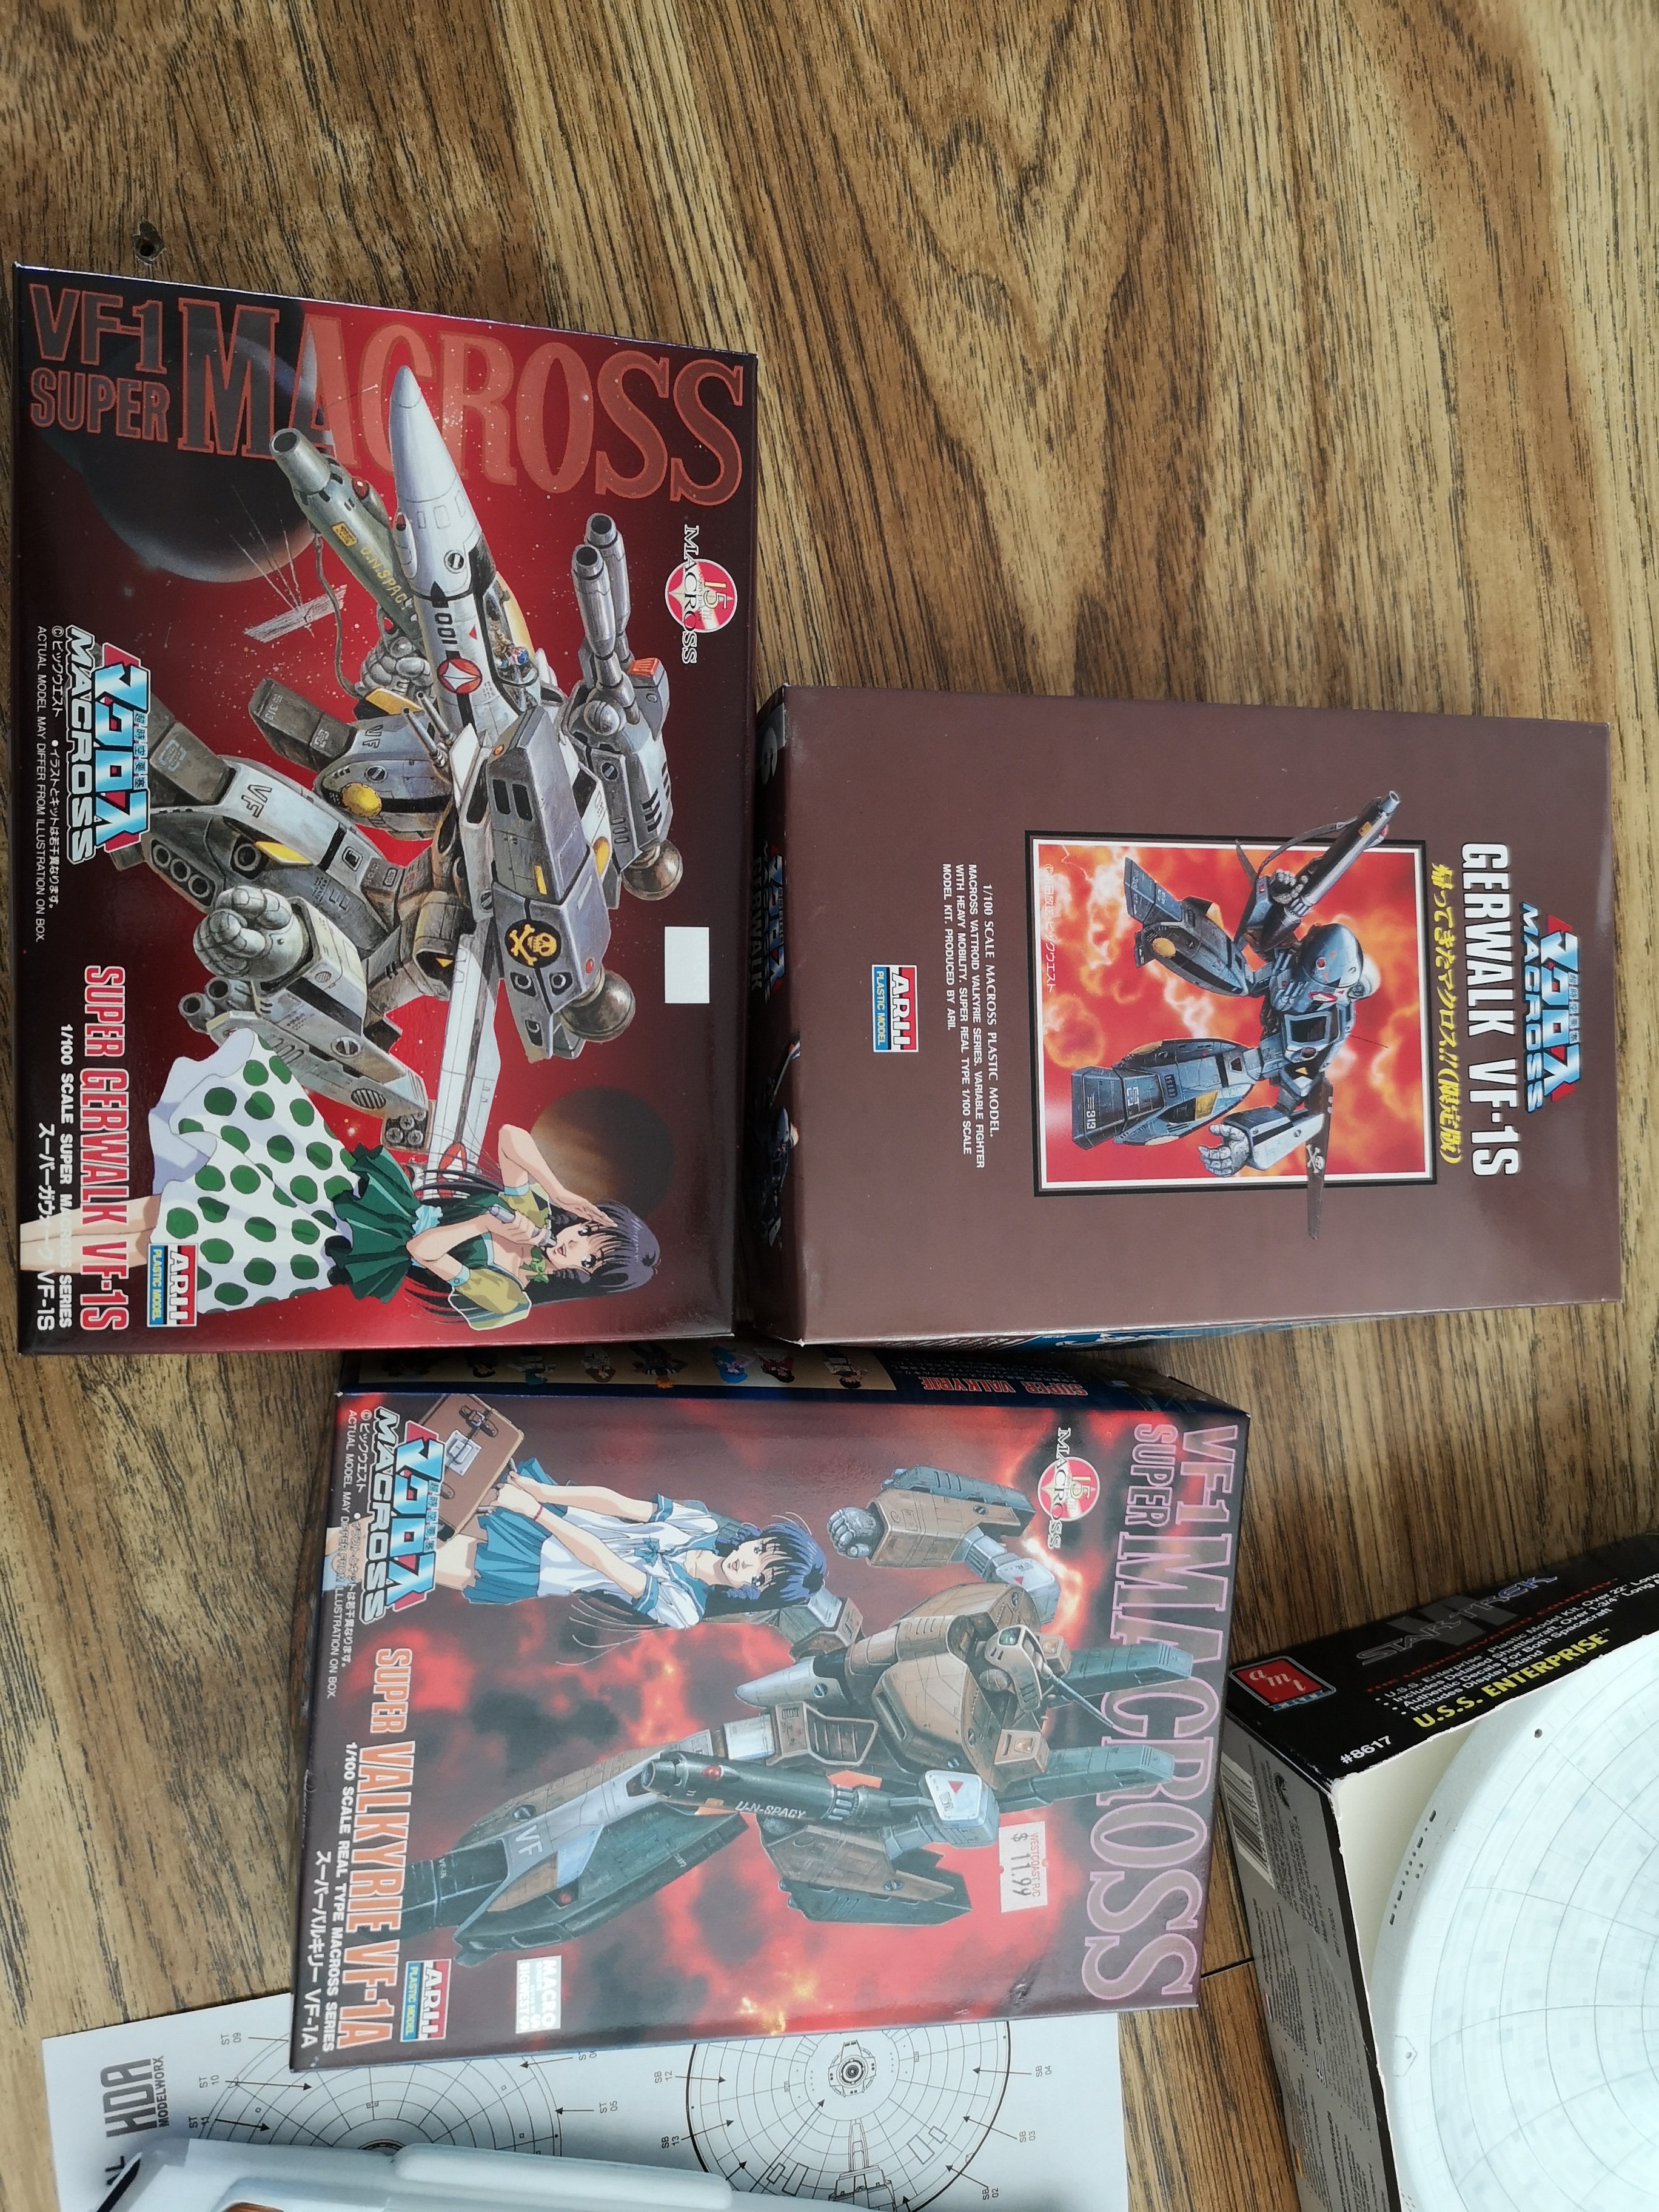
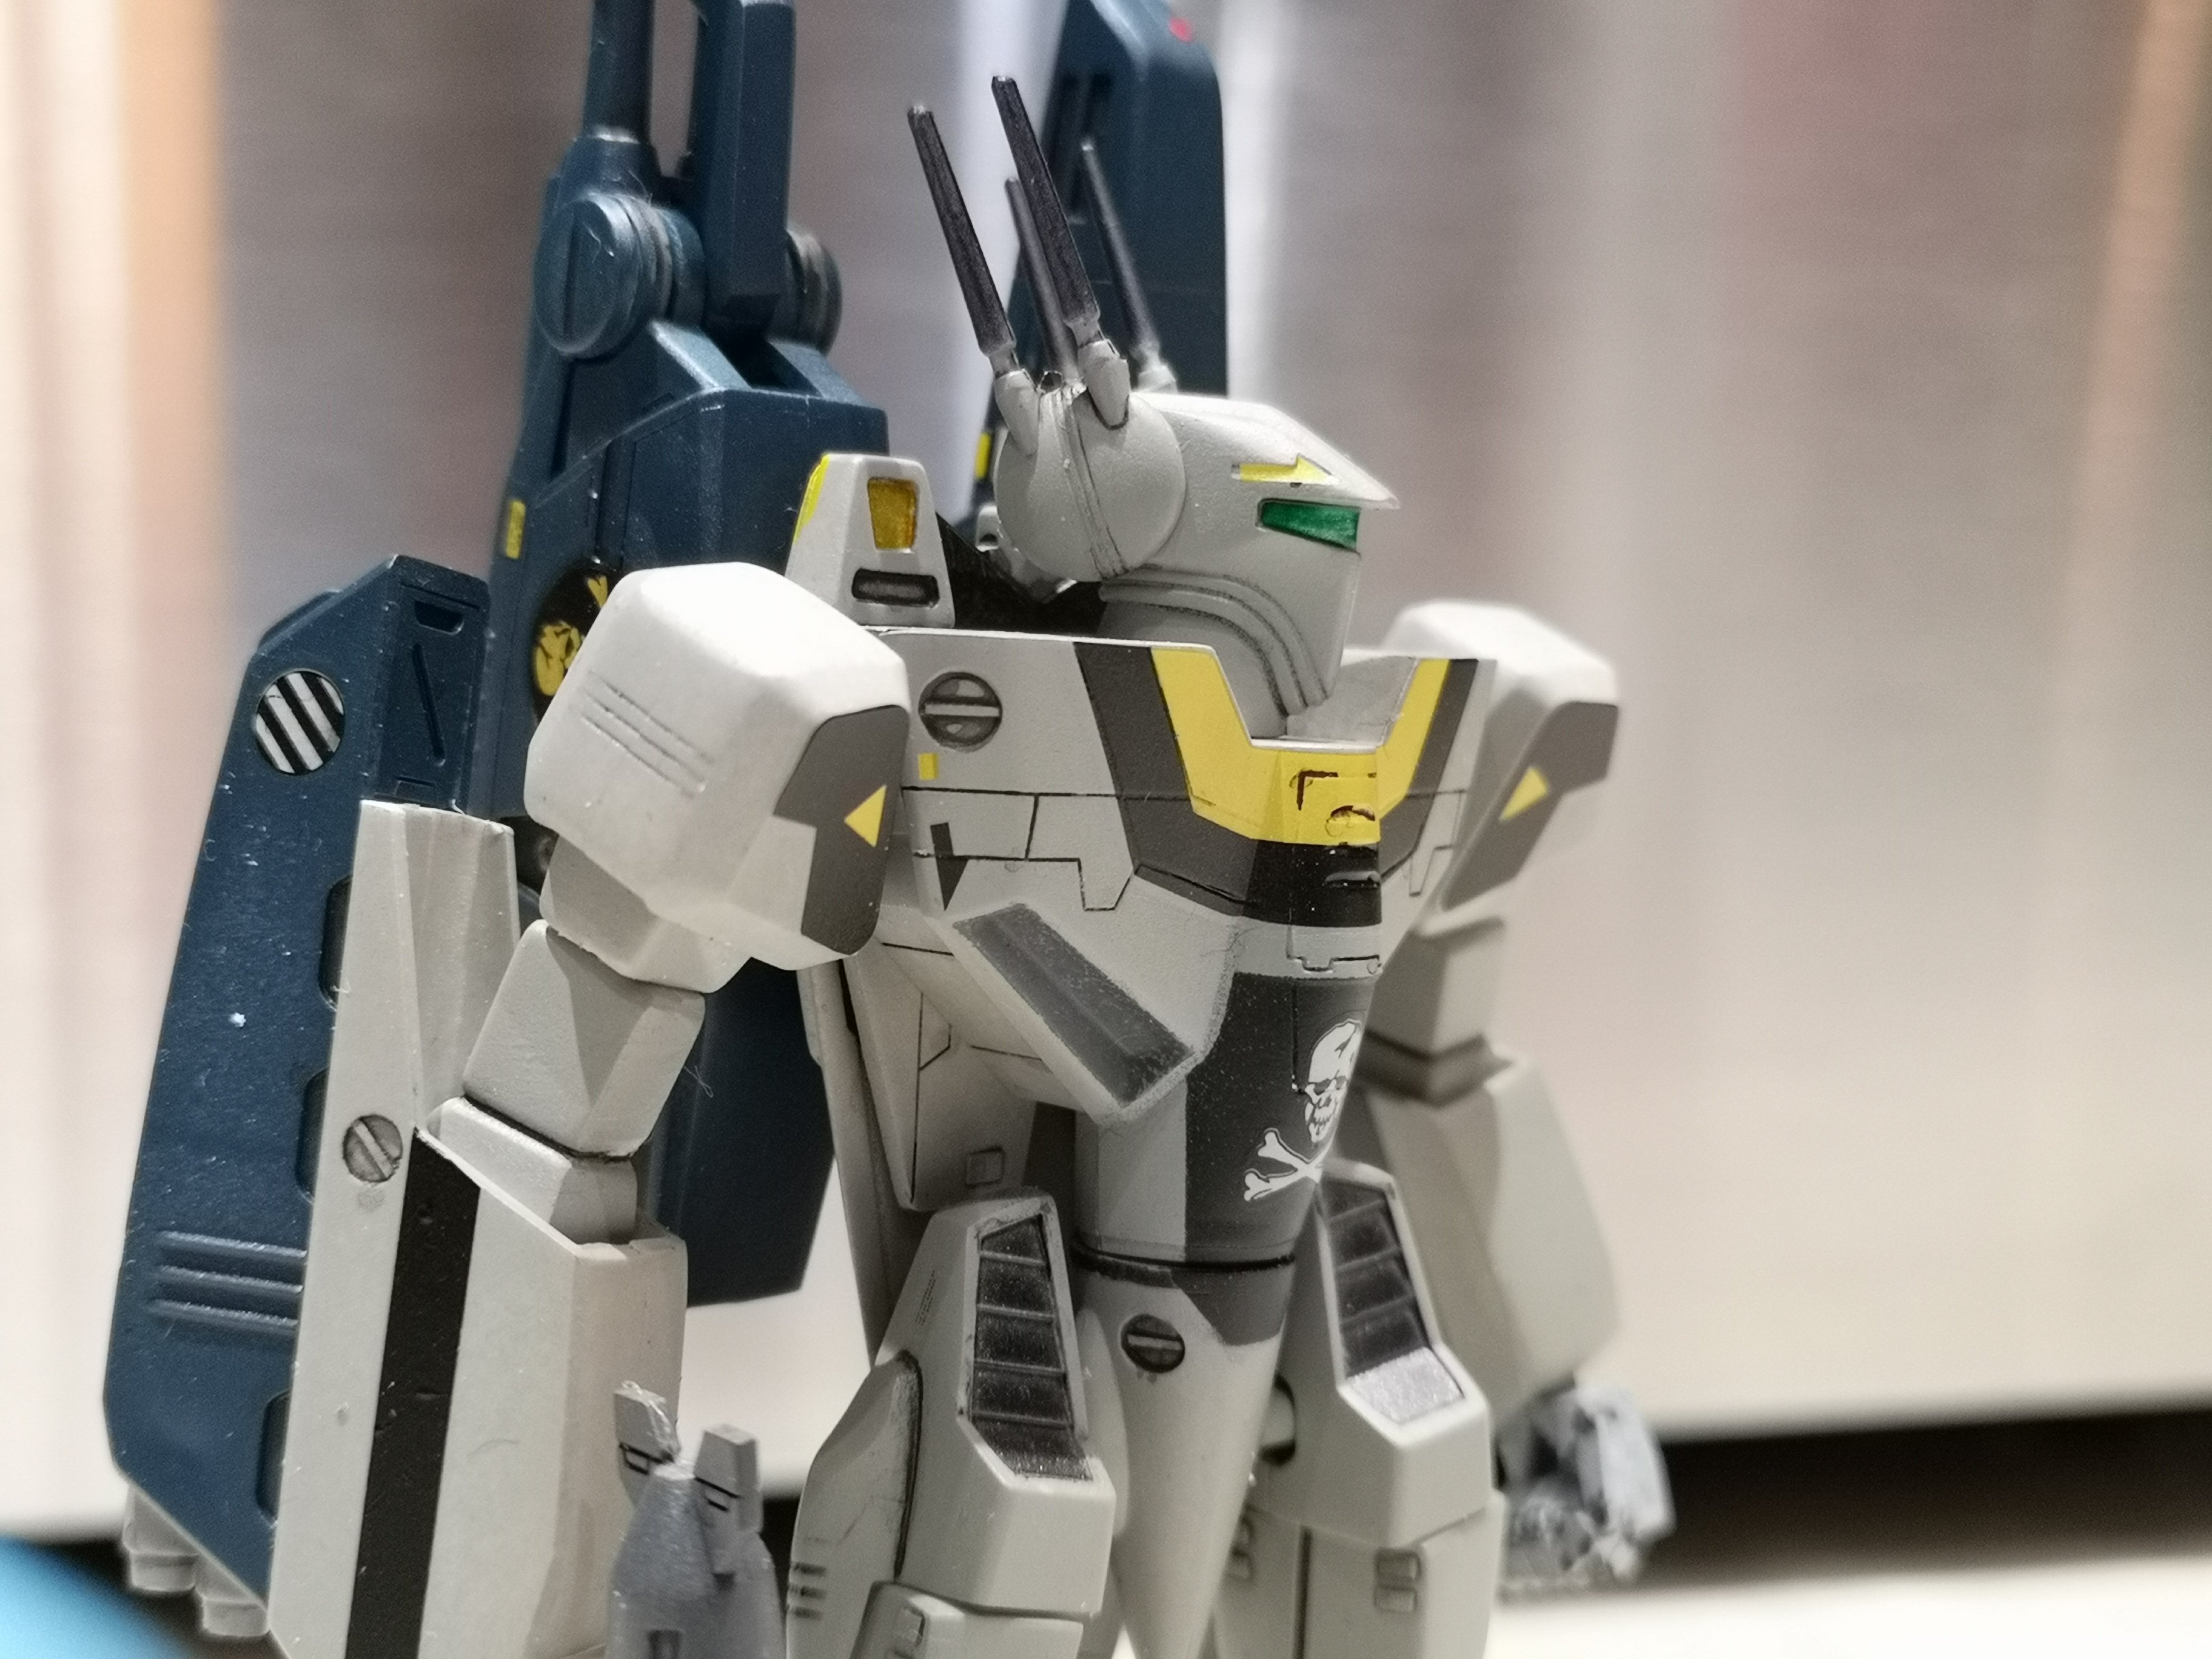
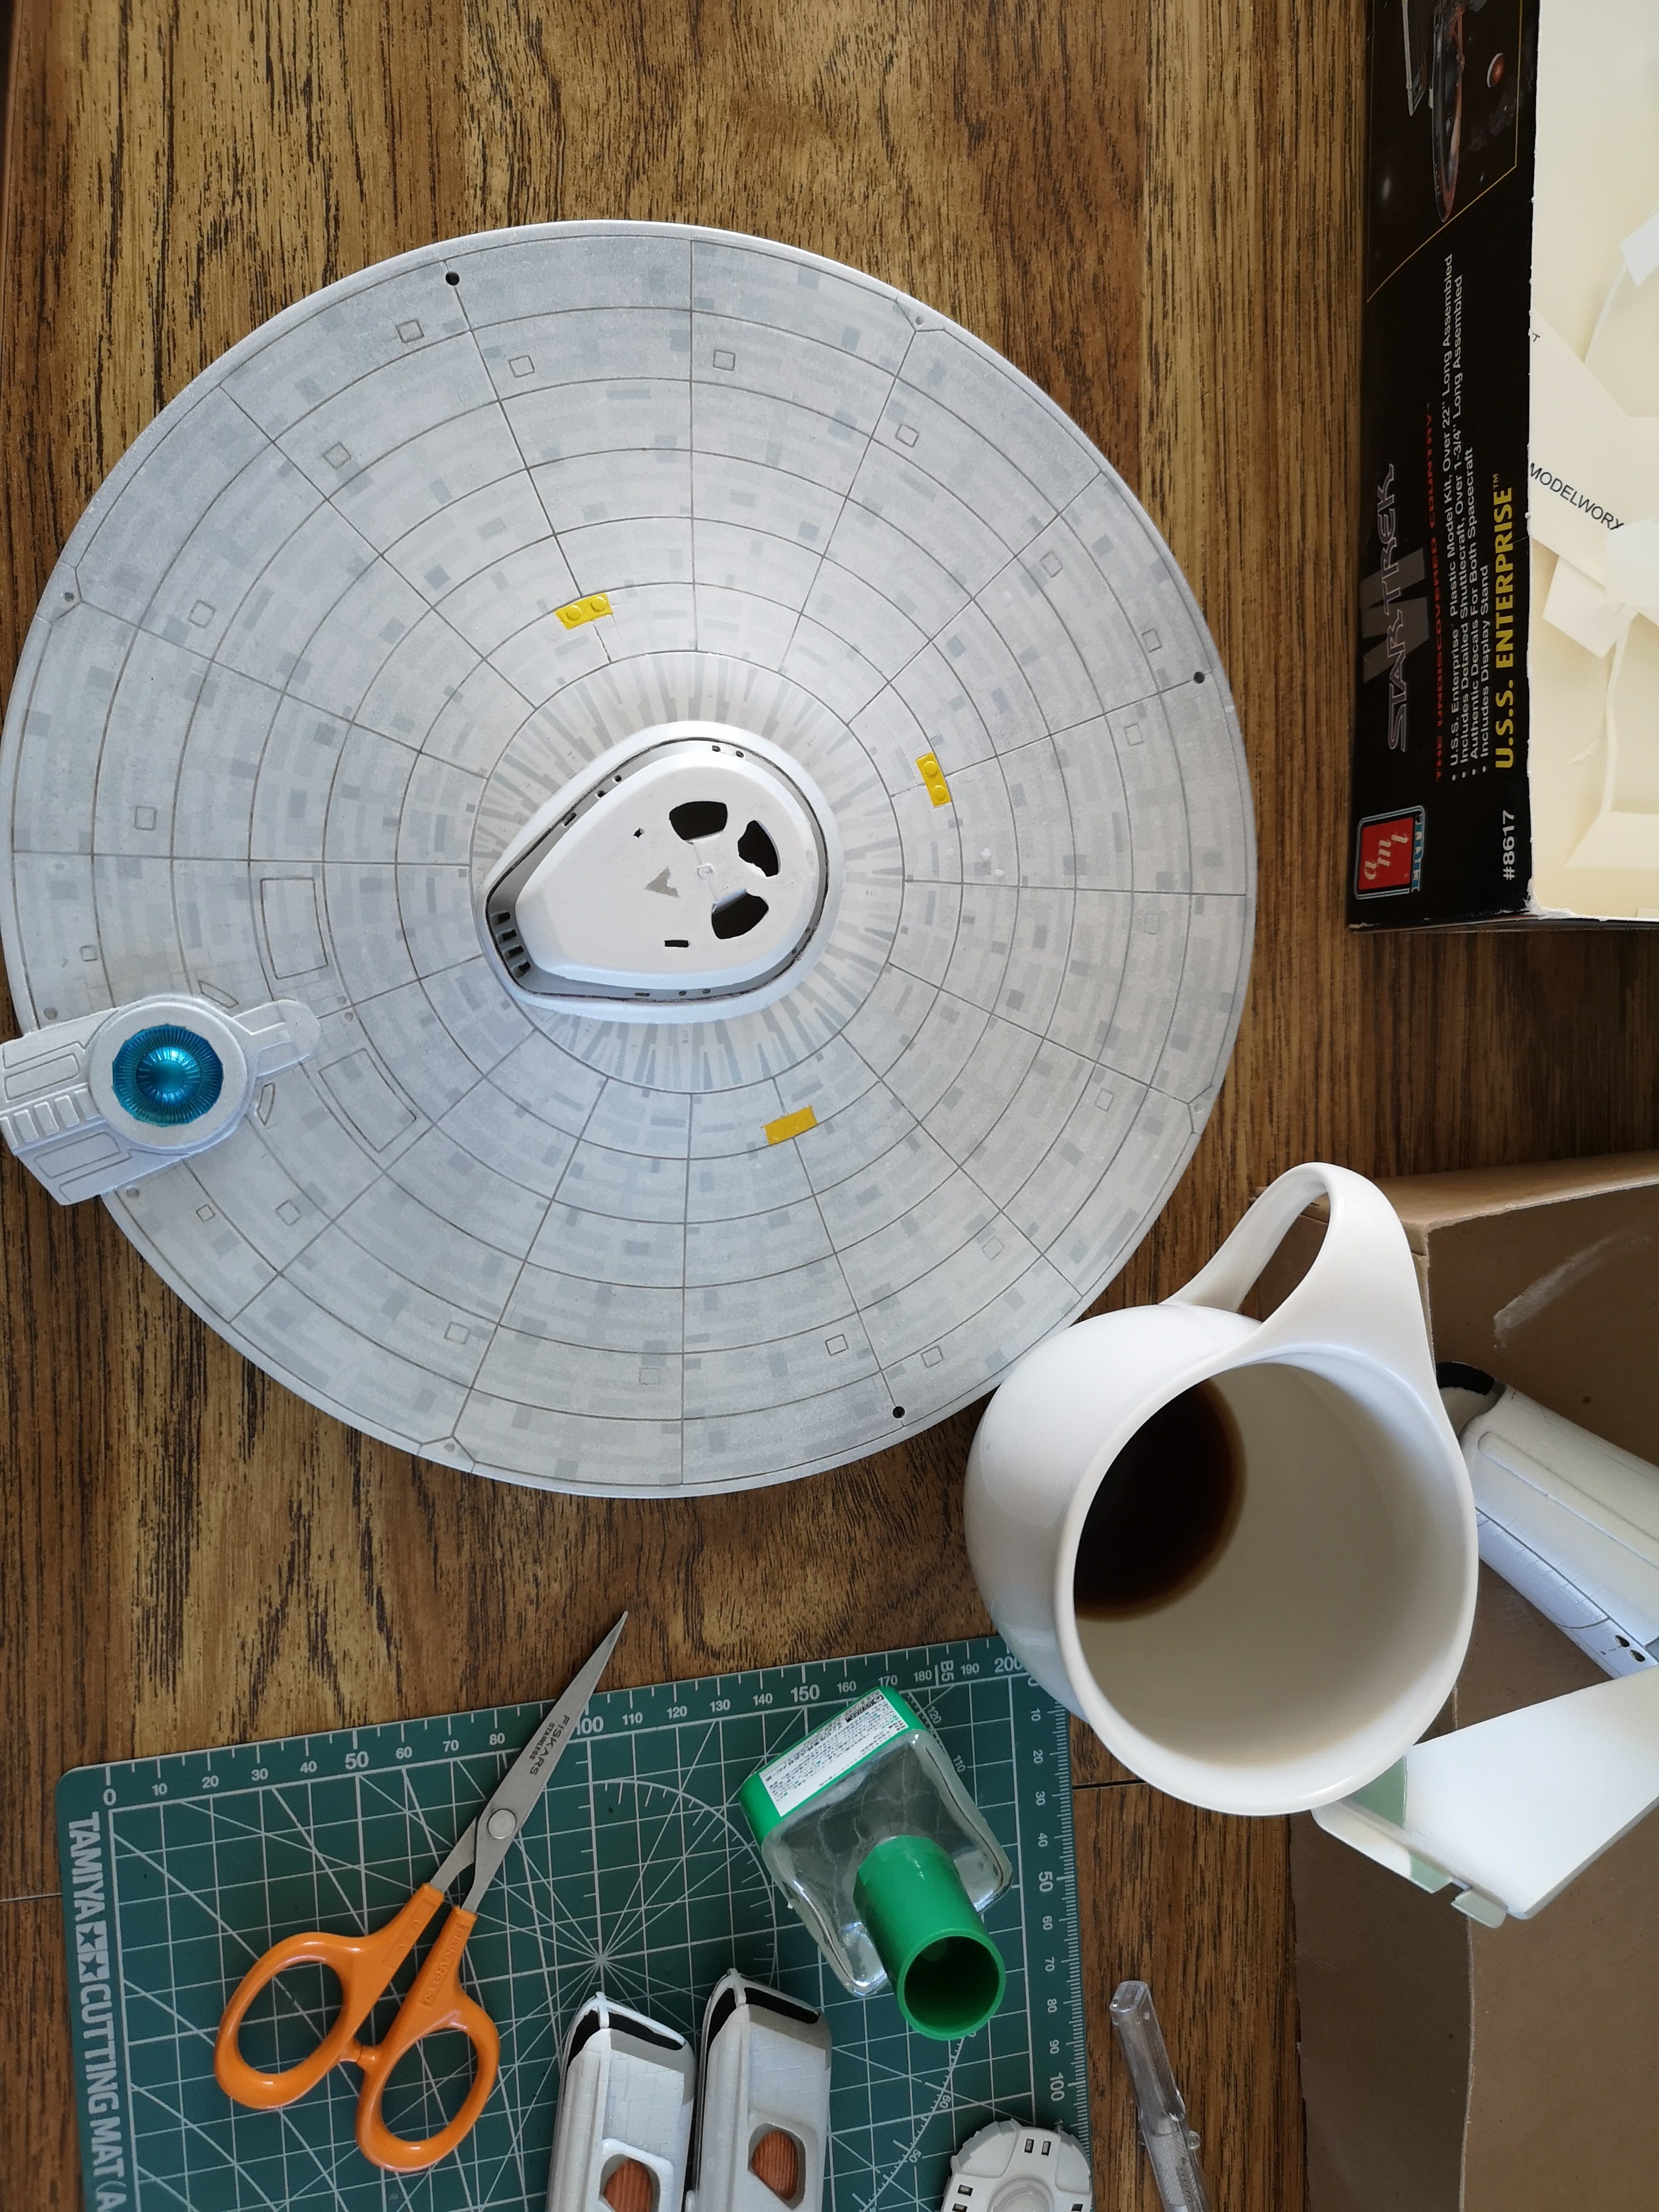
Lol, I dunno about that. Not sure the folks in the M7, MF and MD forums share that sentiment - I used to shoot my mouth off a lot in there...... Which reminds me, when I'm done this Refit, I need to get back to building a Macross kit.. I found these guys downstairs and although I love the box art, the models inside aren't very inspiring, lol! Need to keep digging and see what else I have.
-
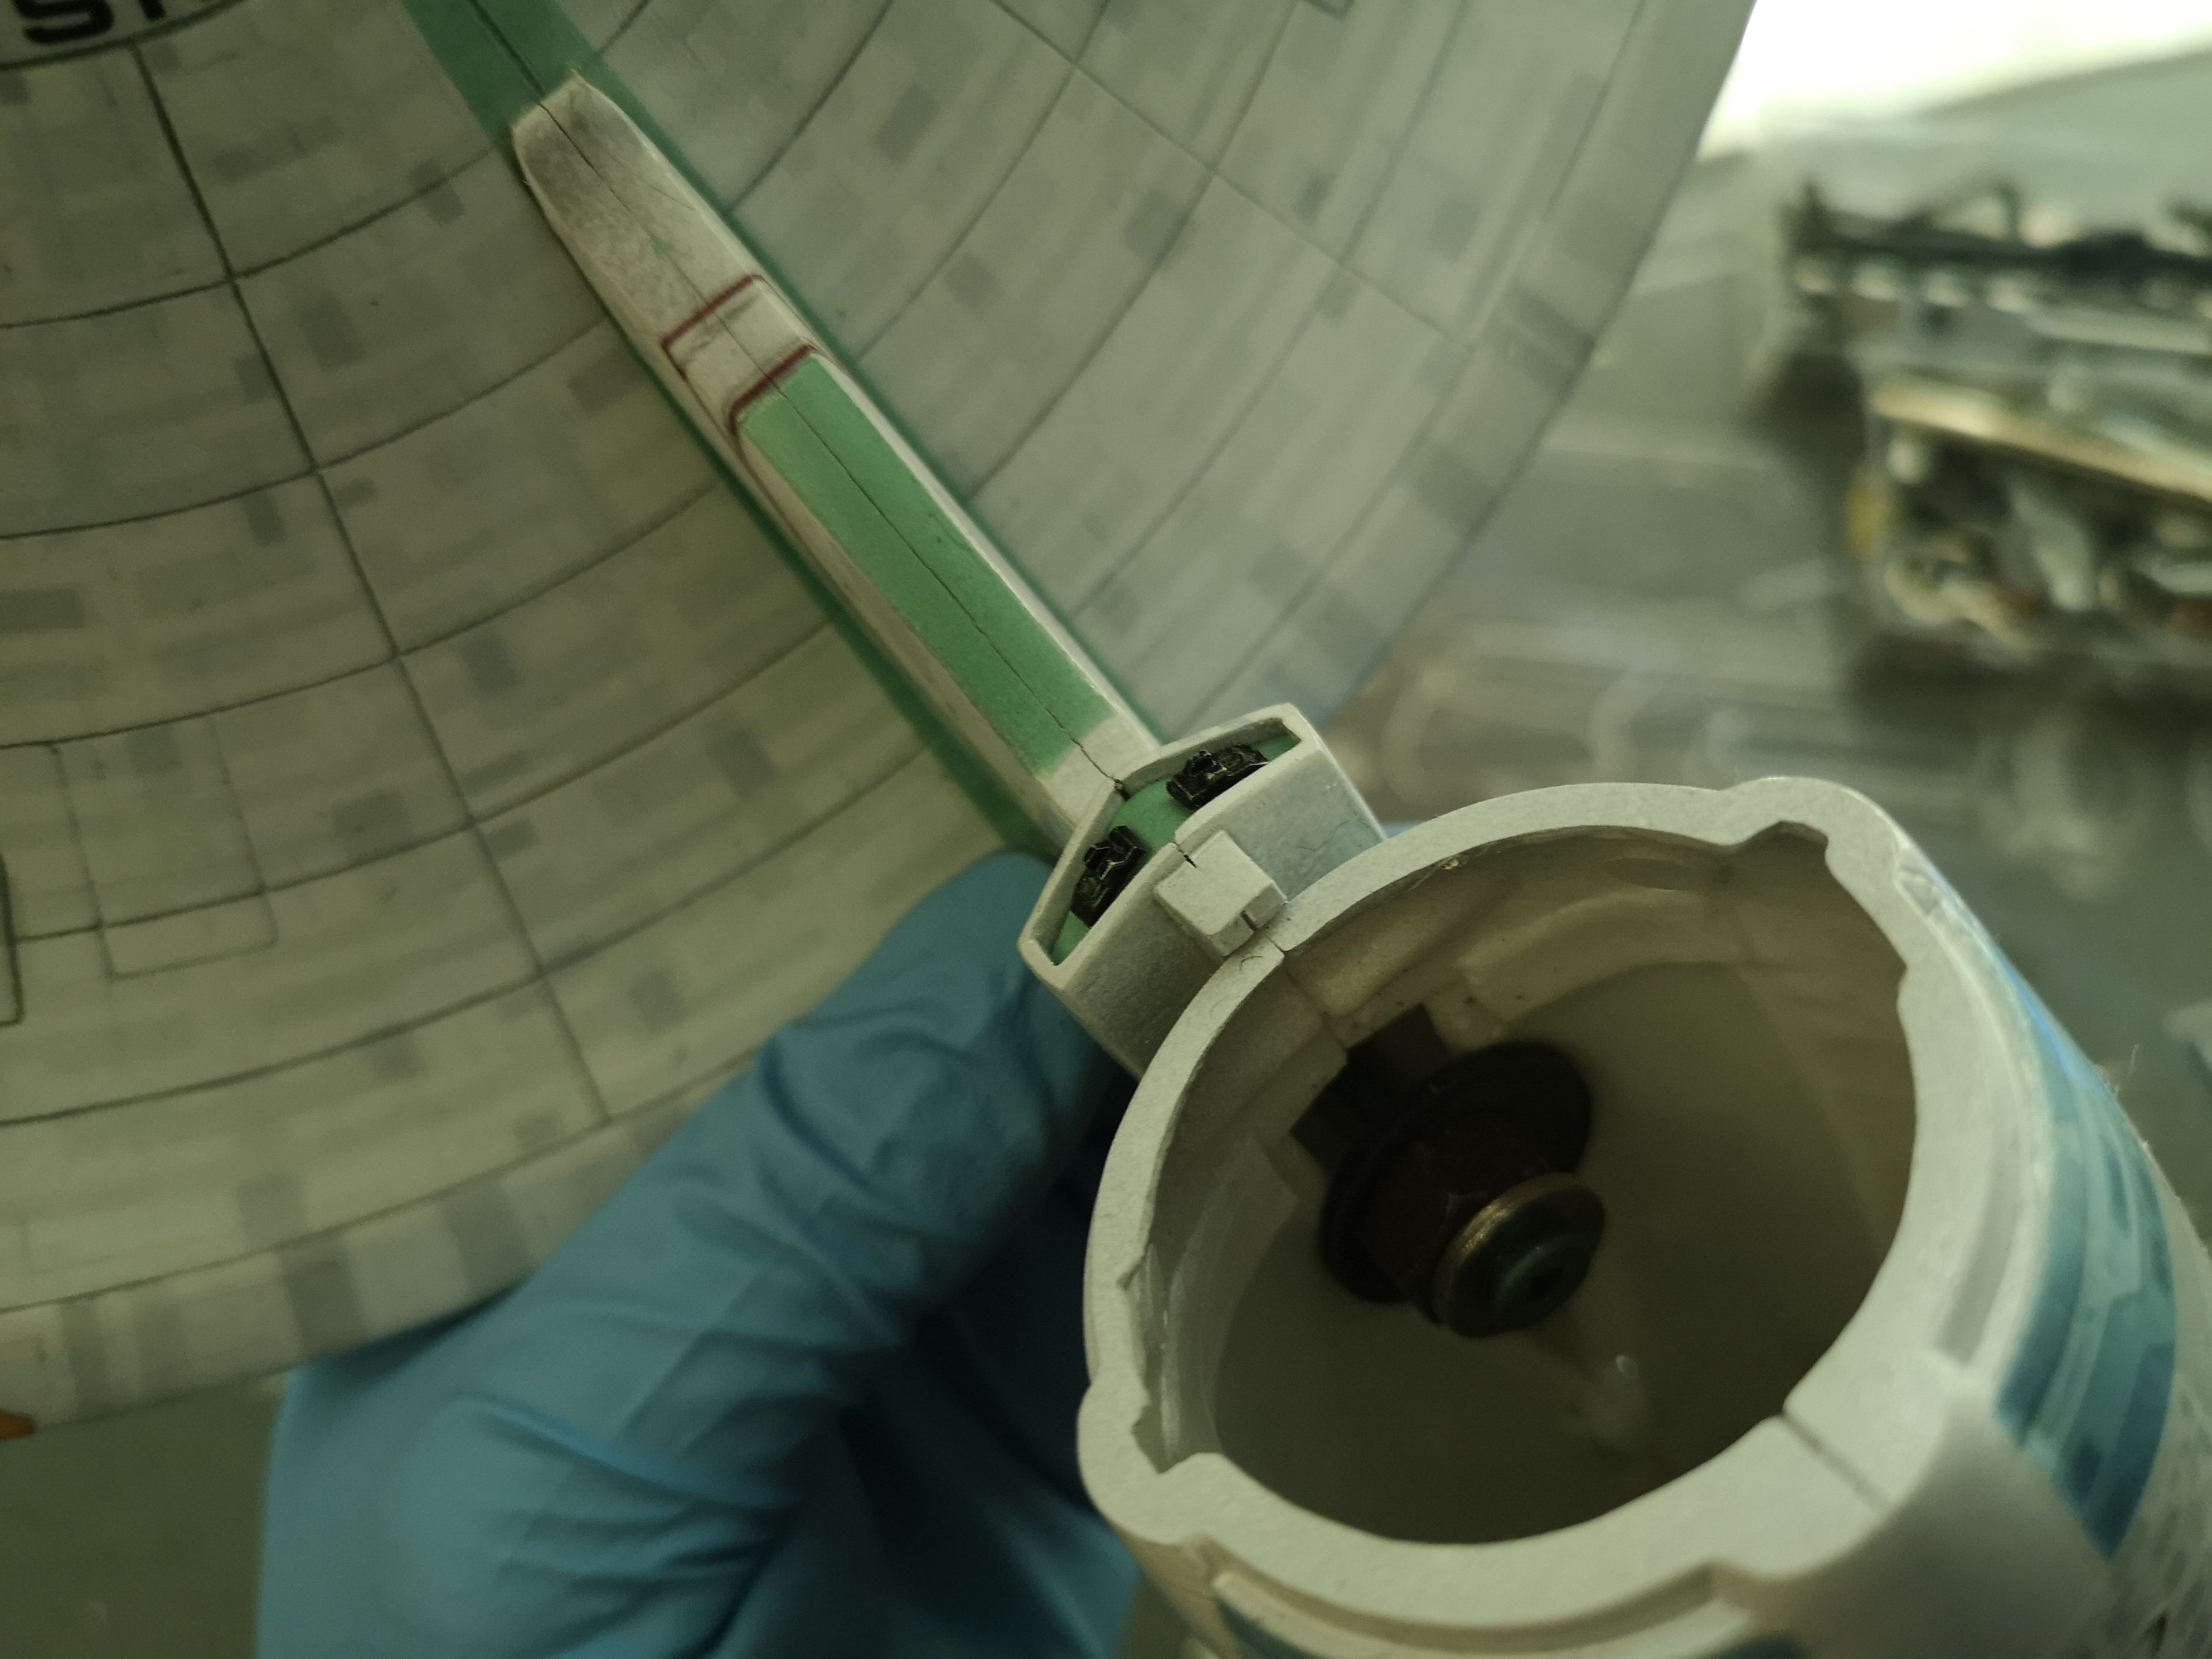
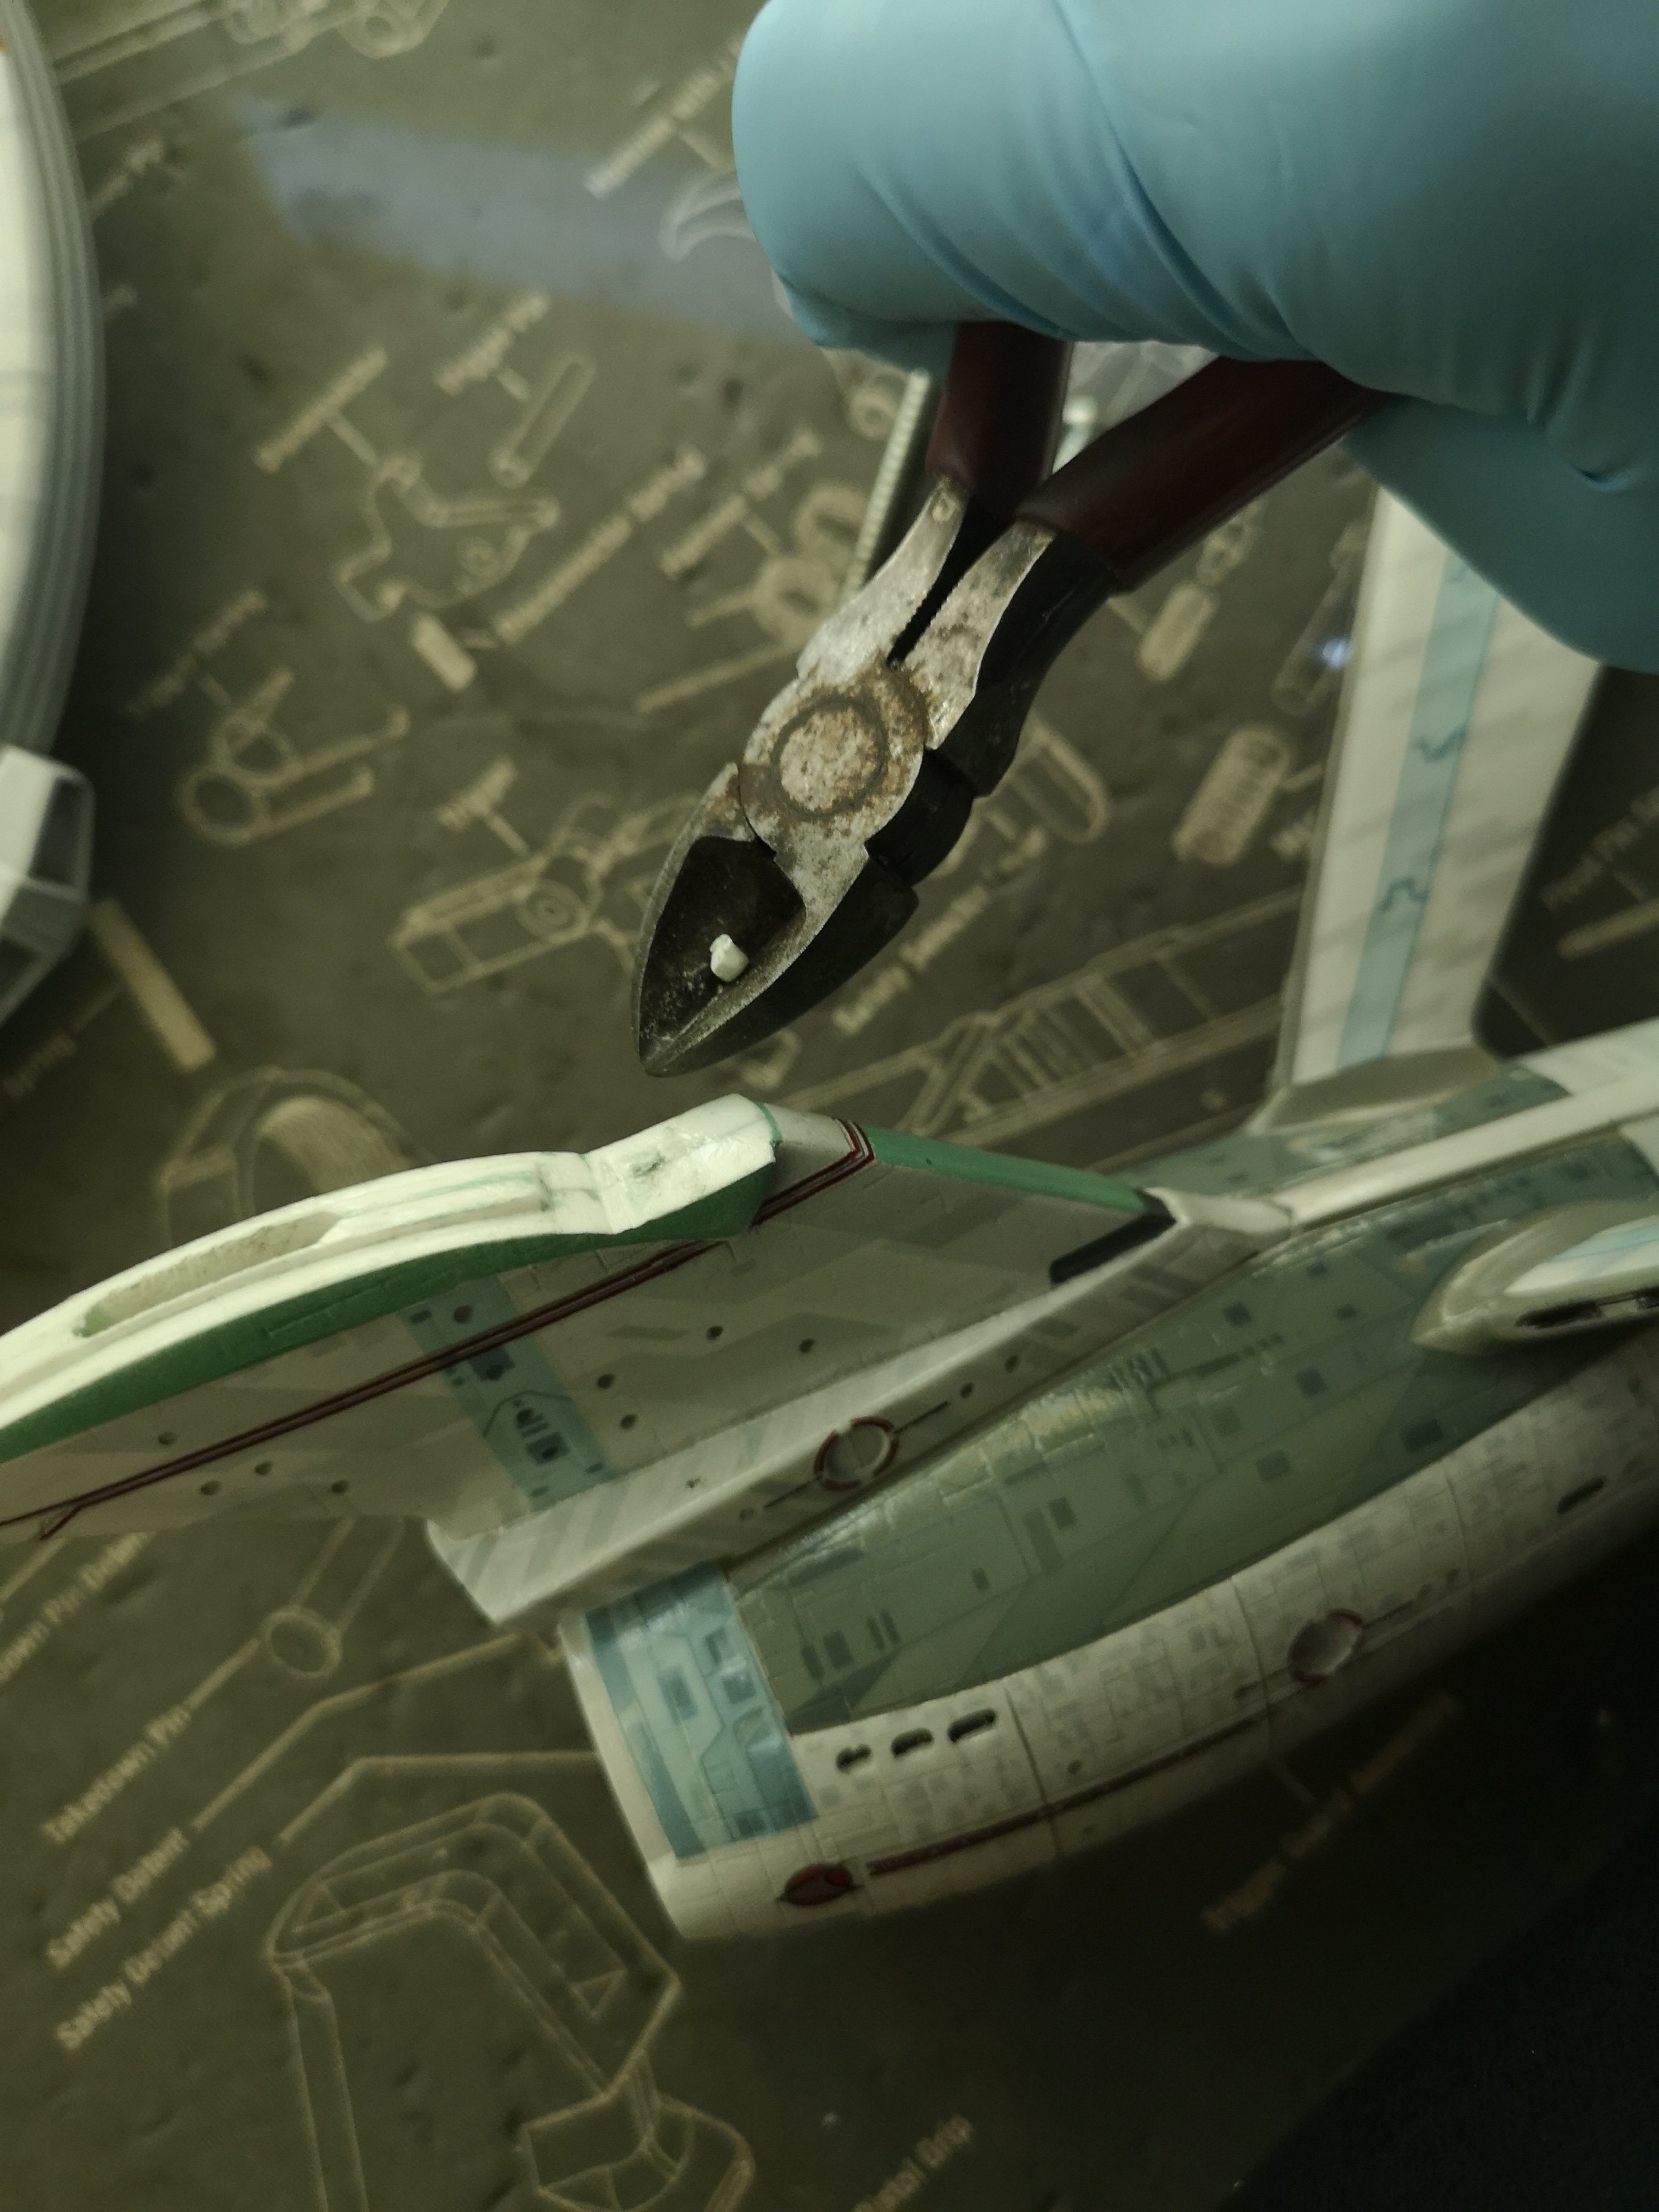
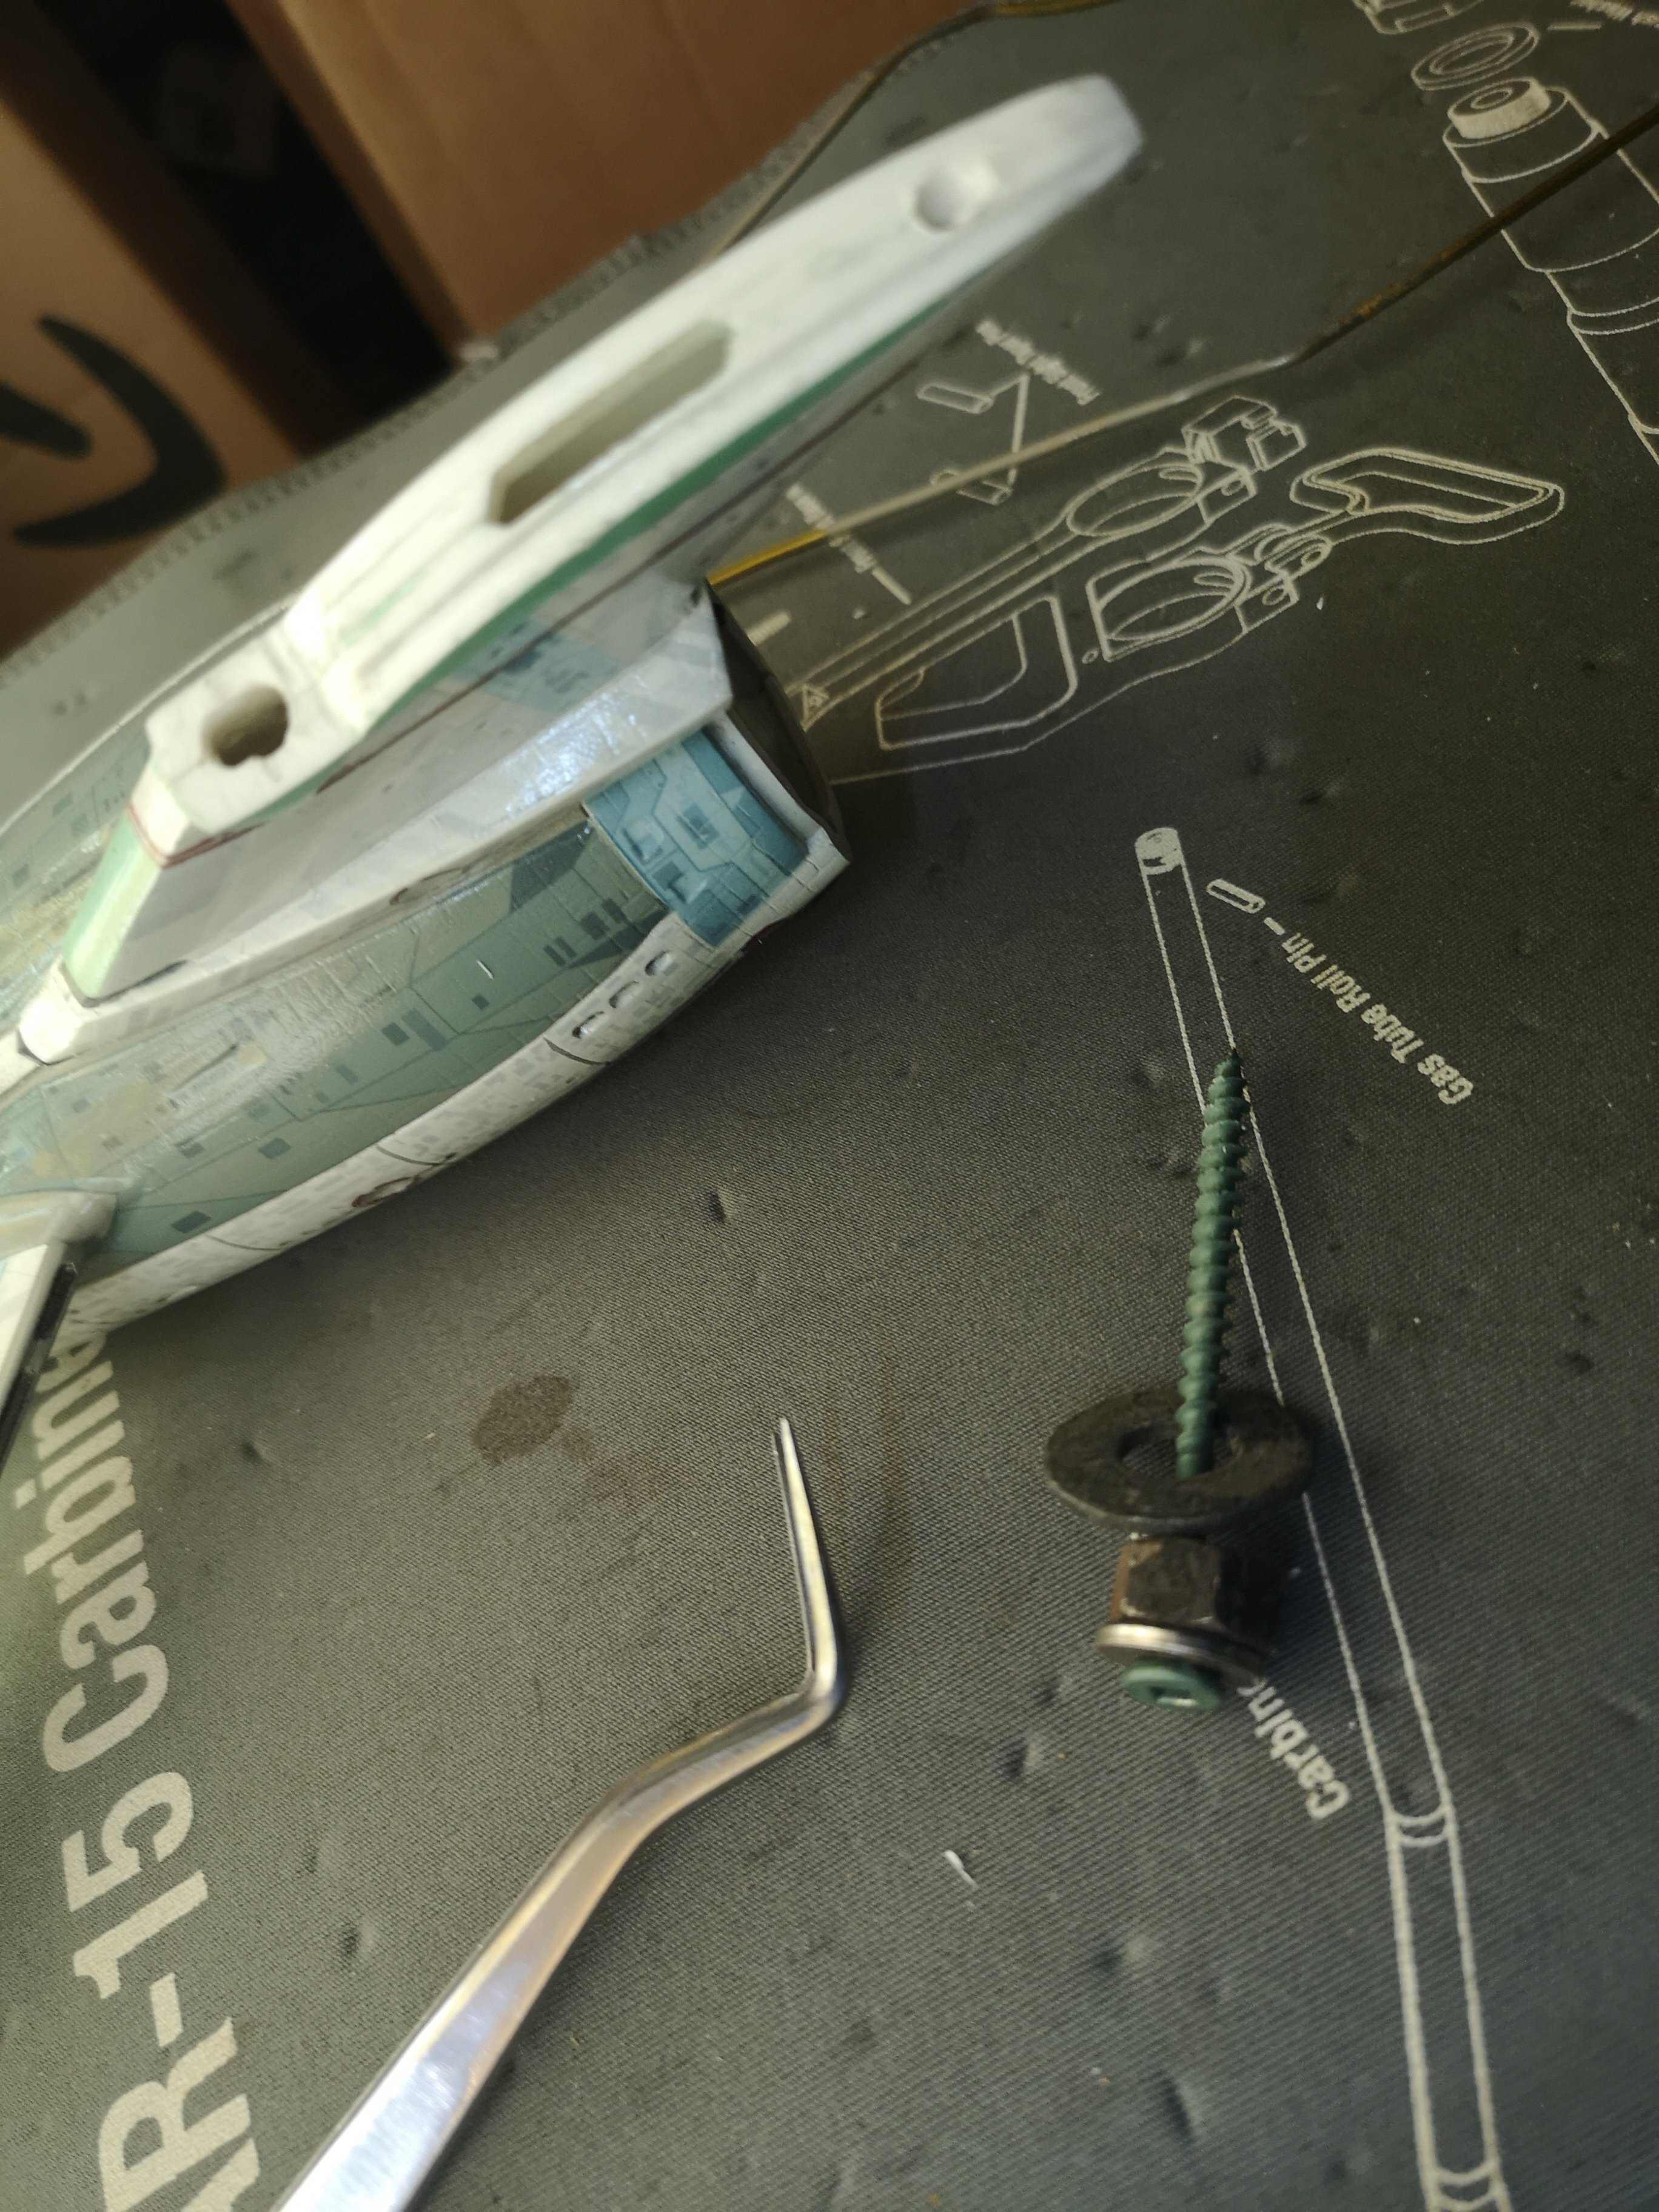
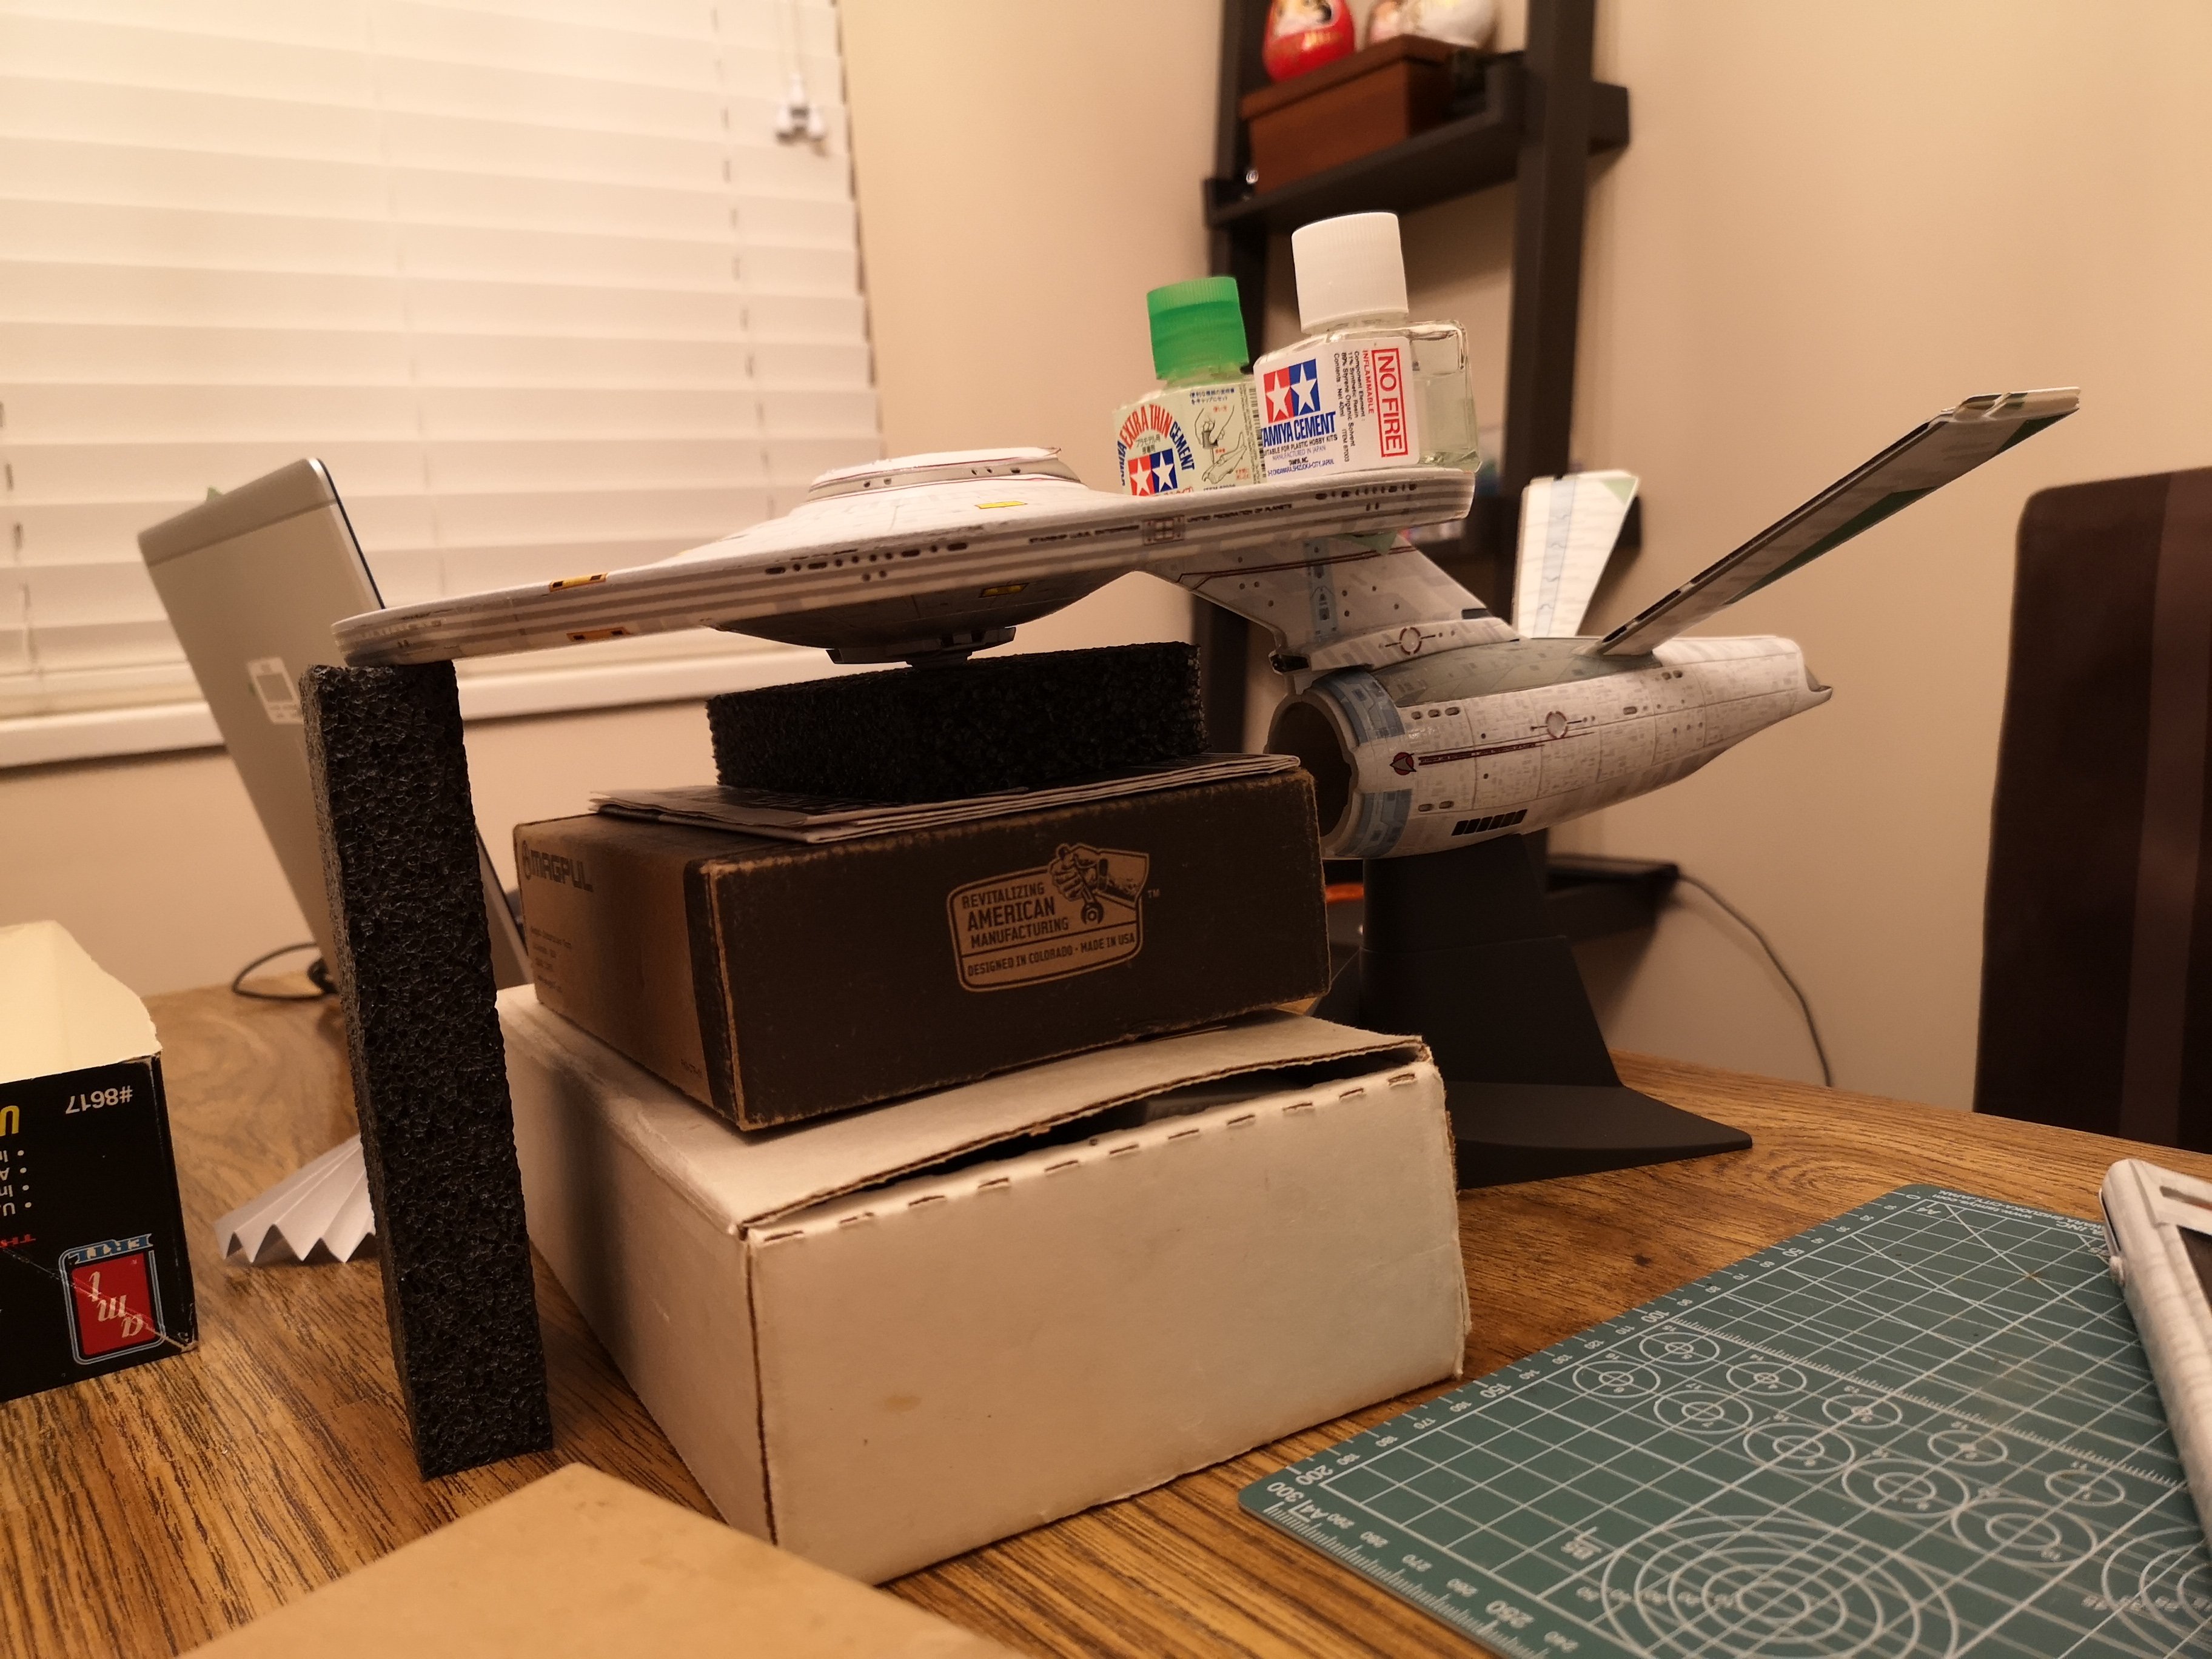
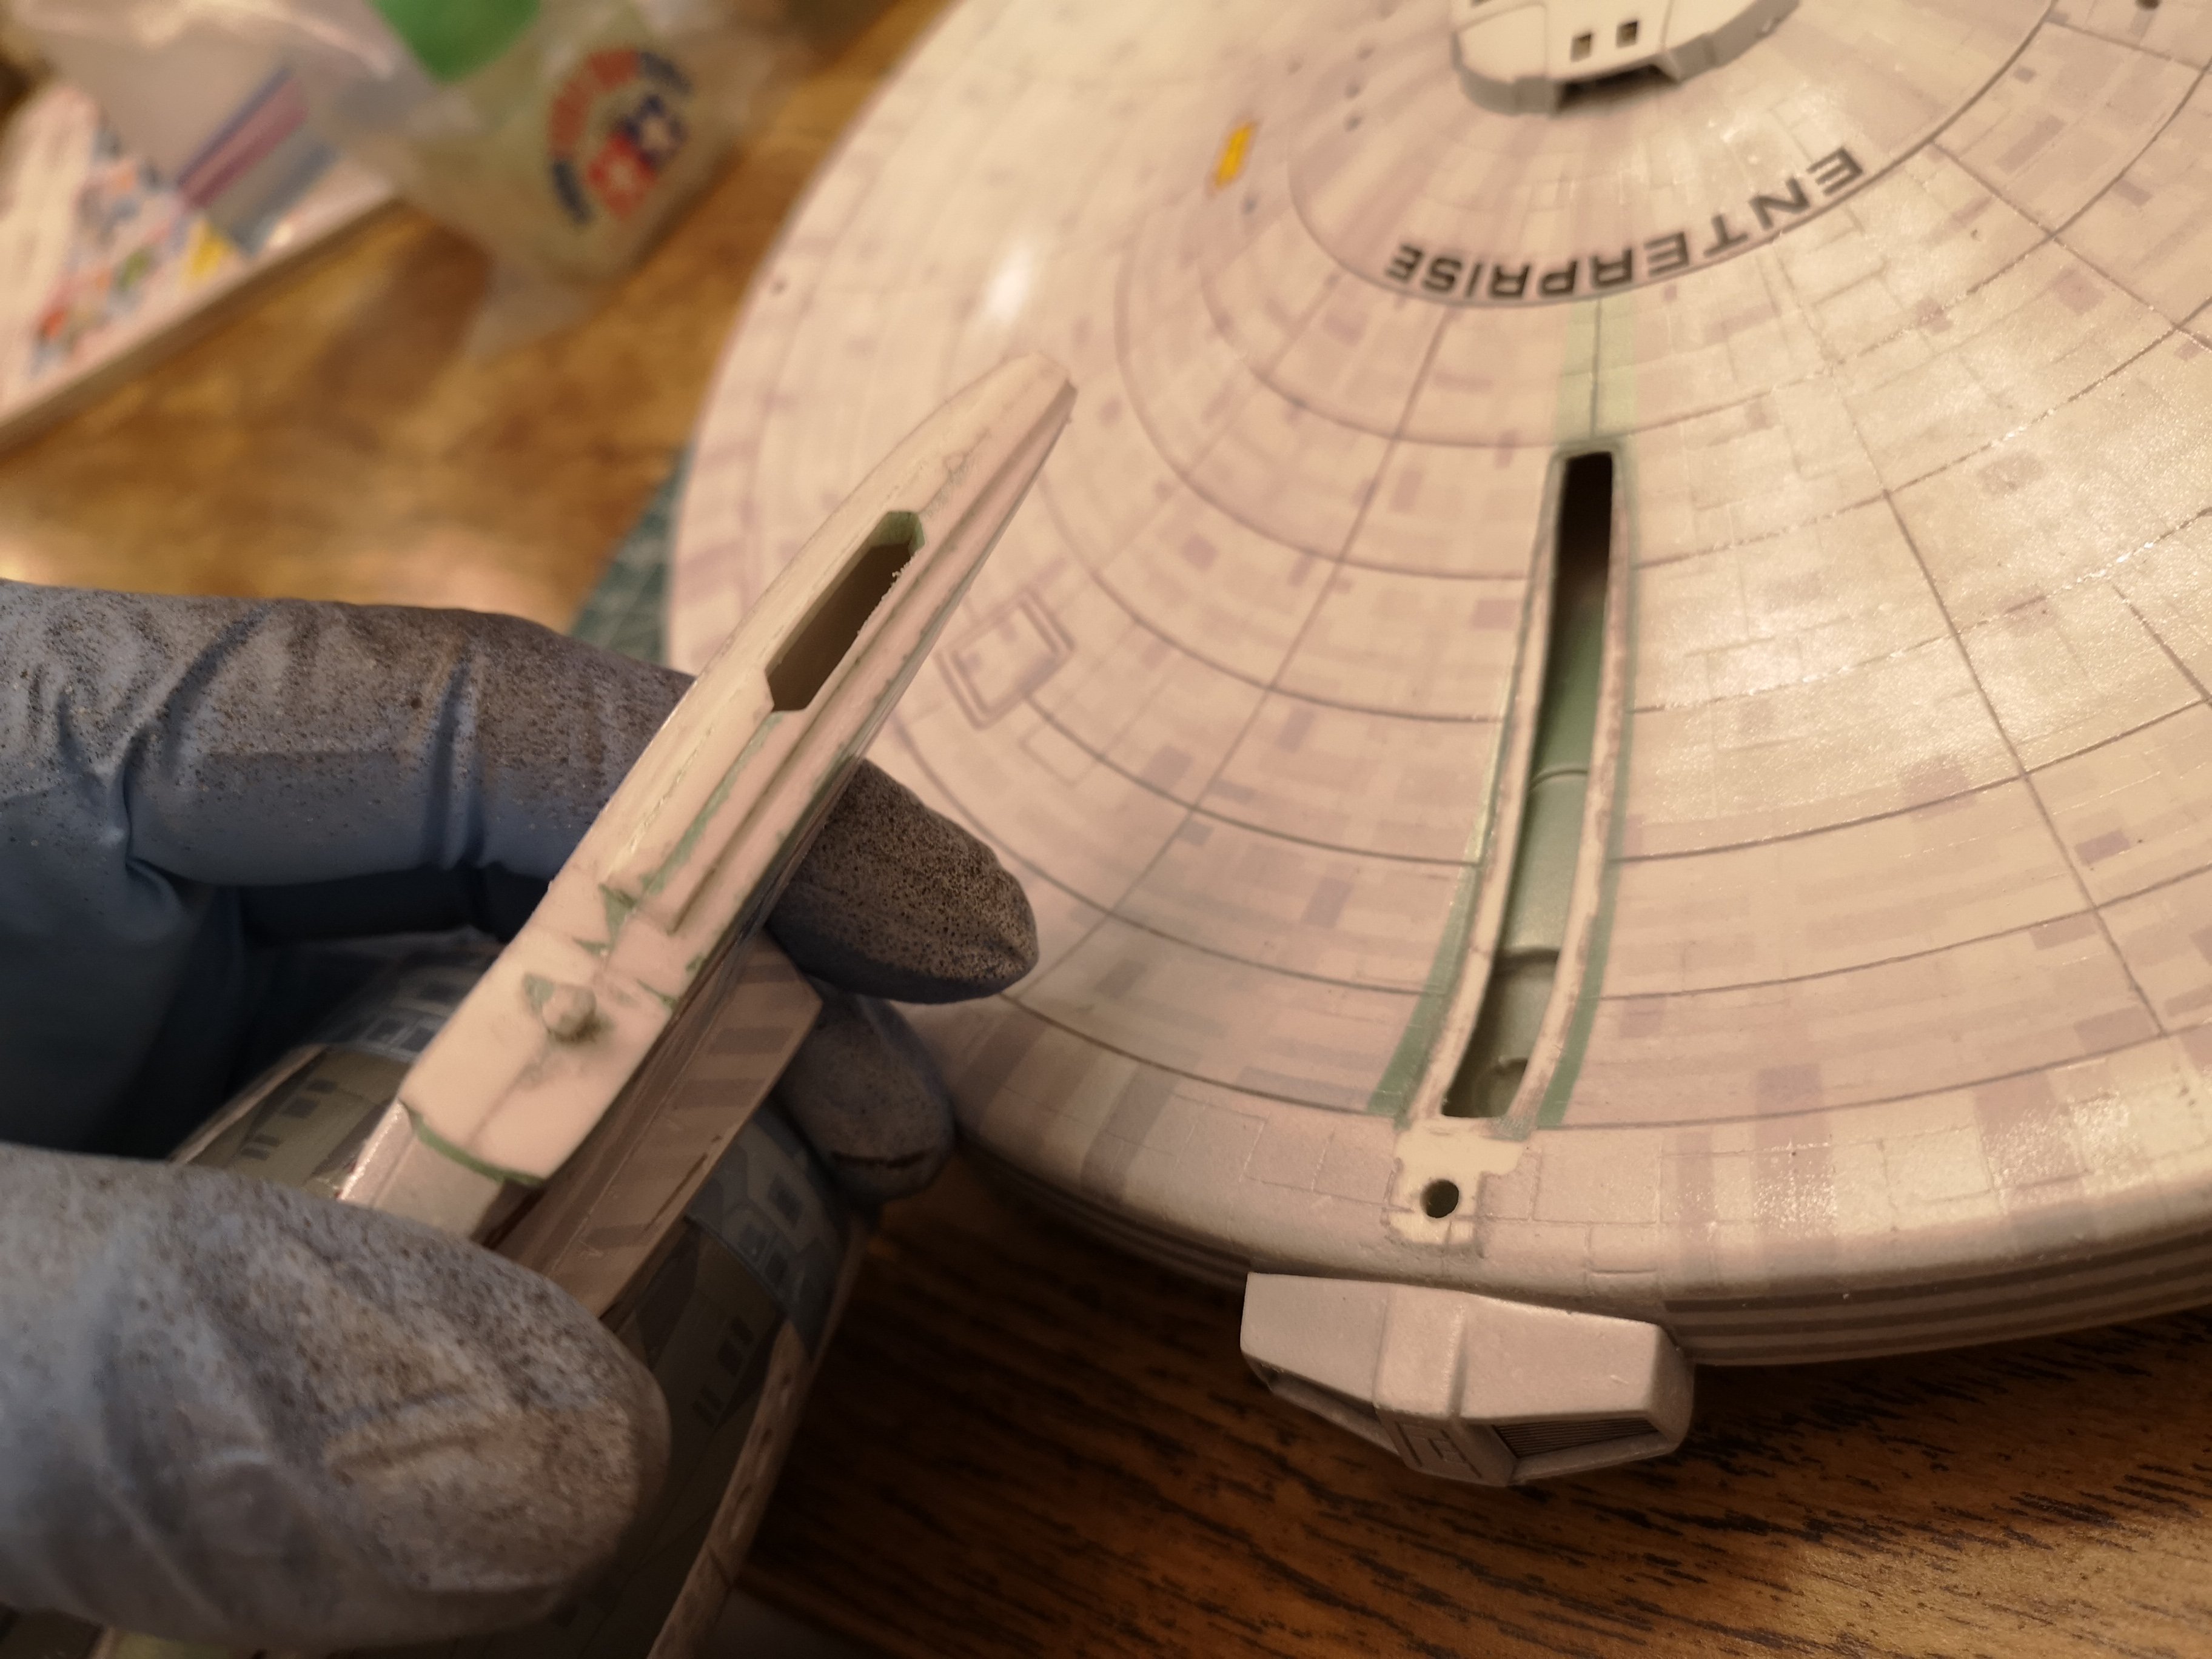
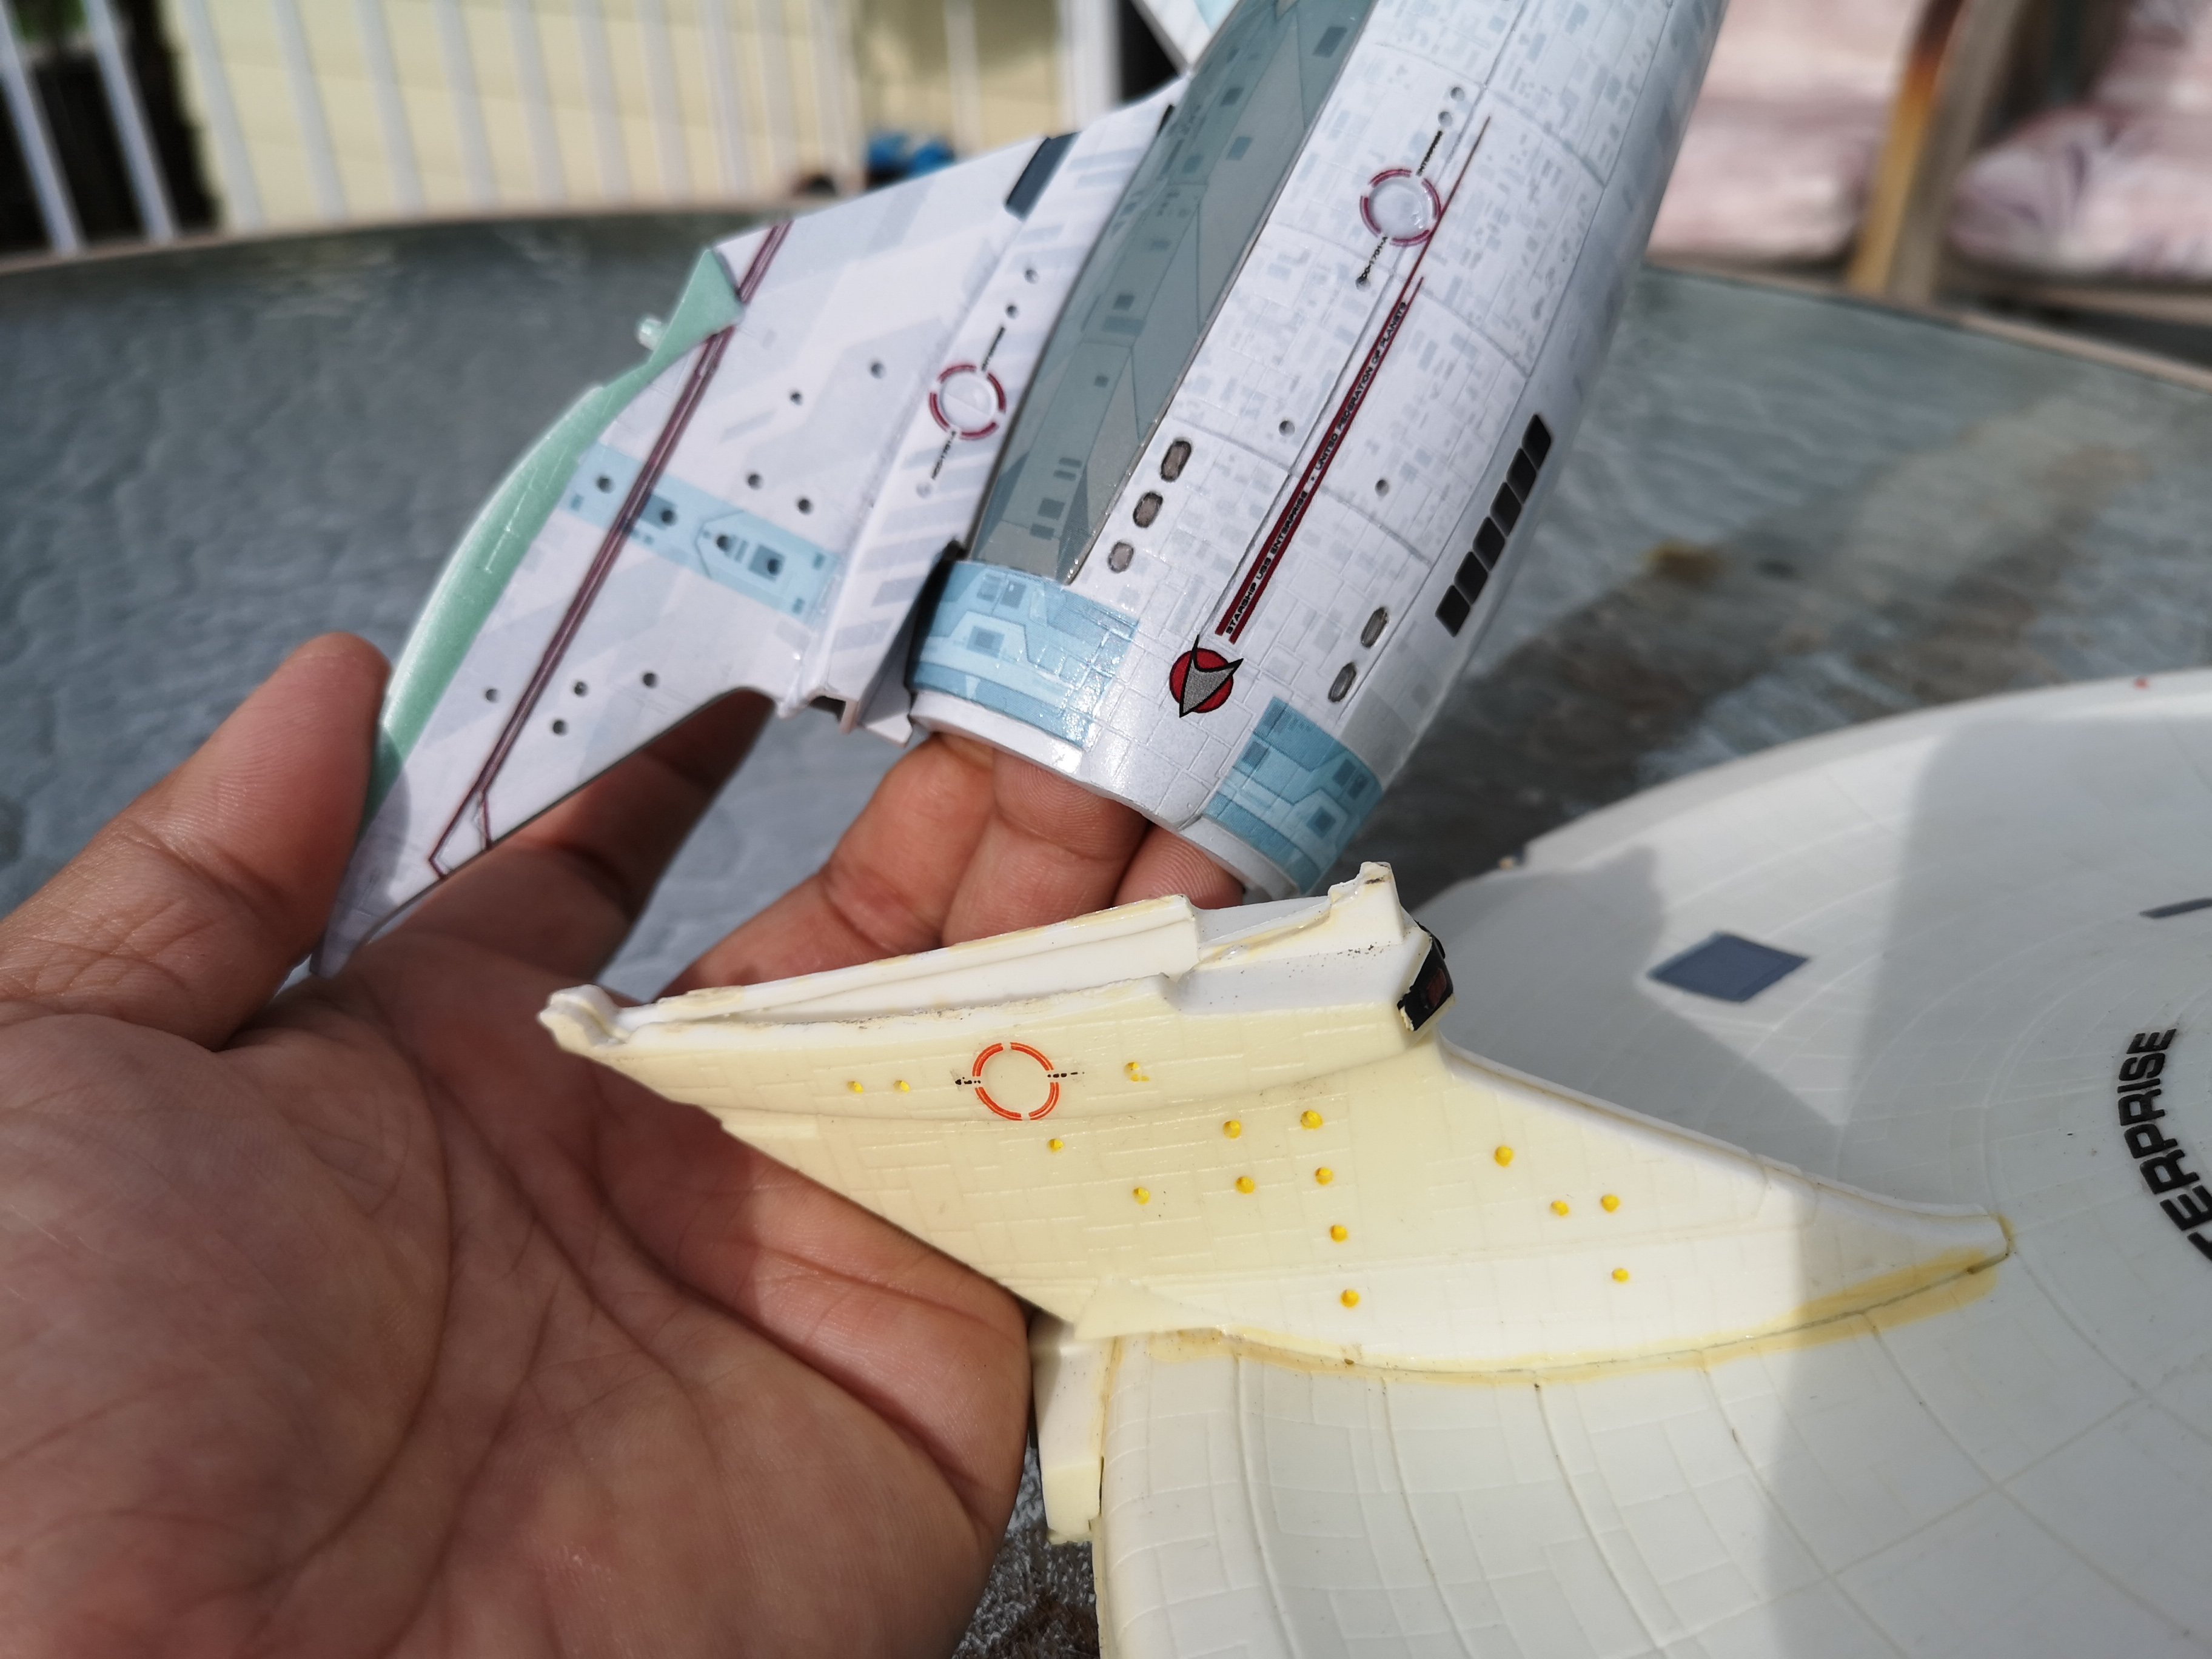
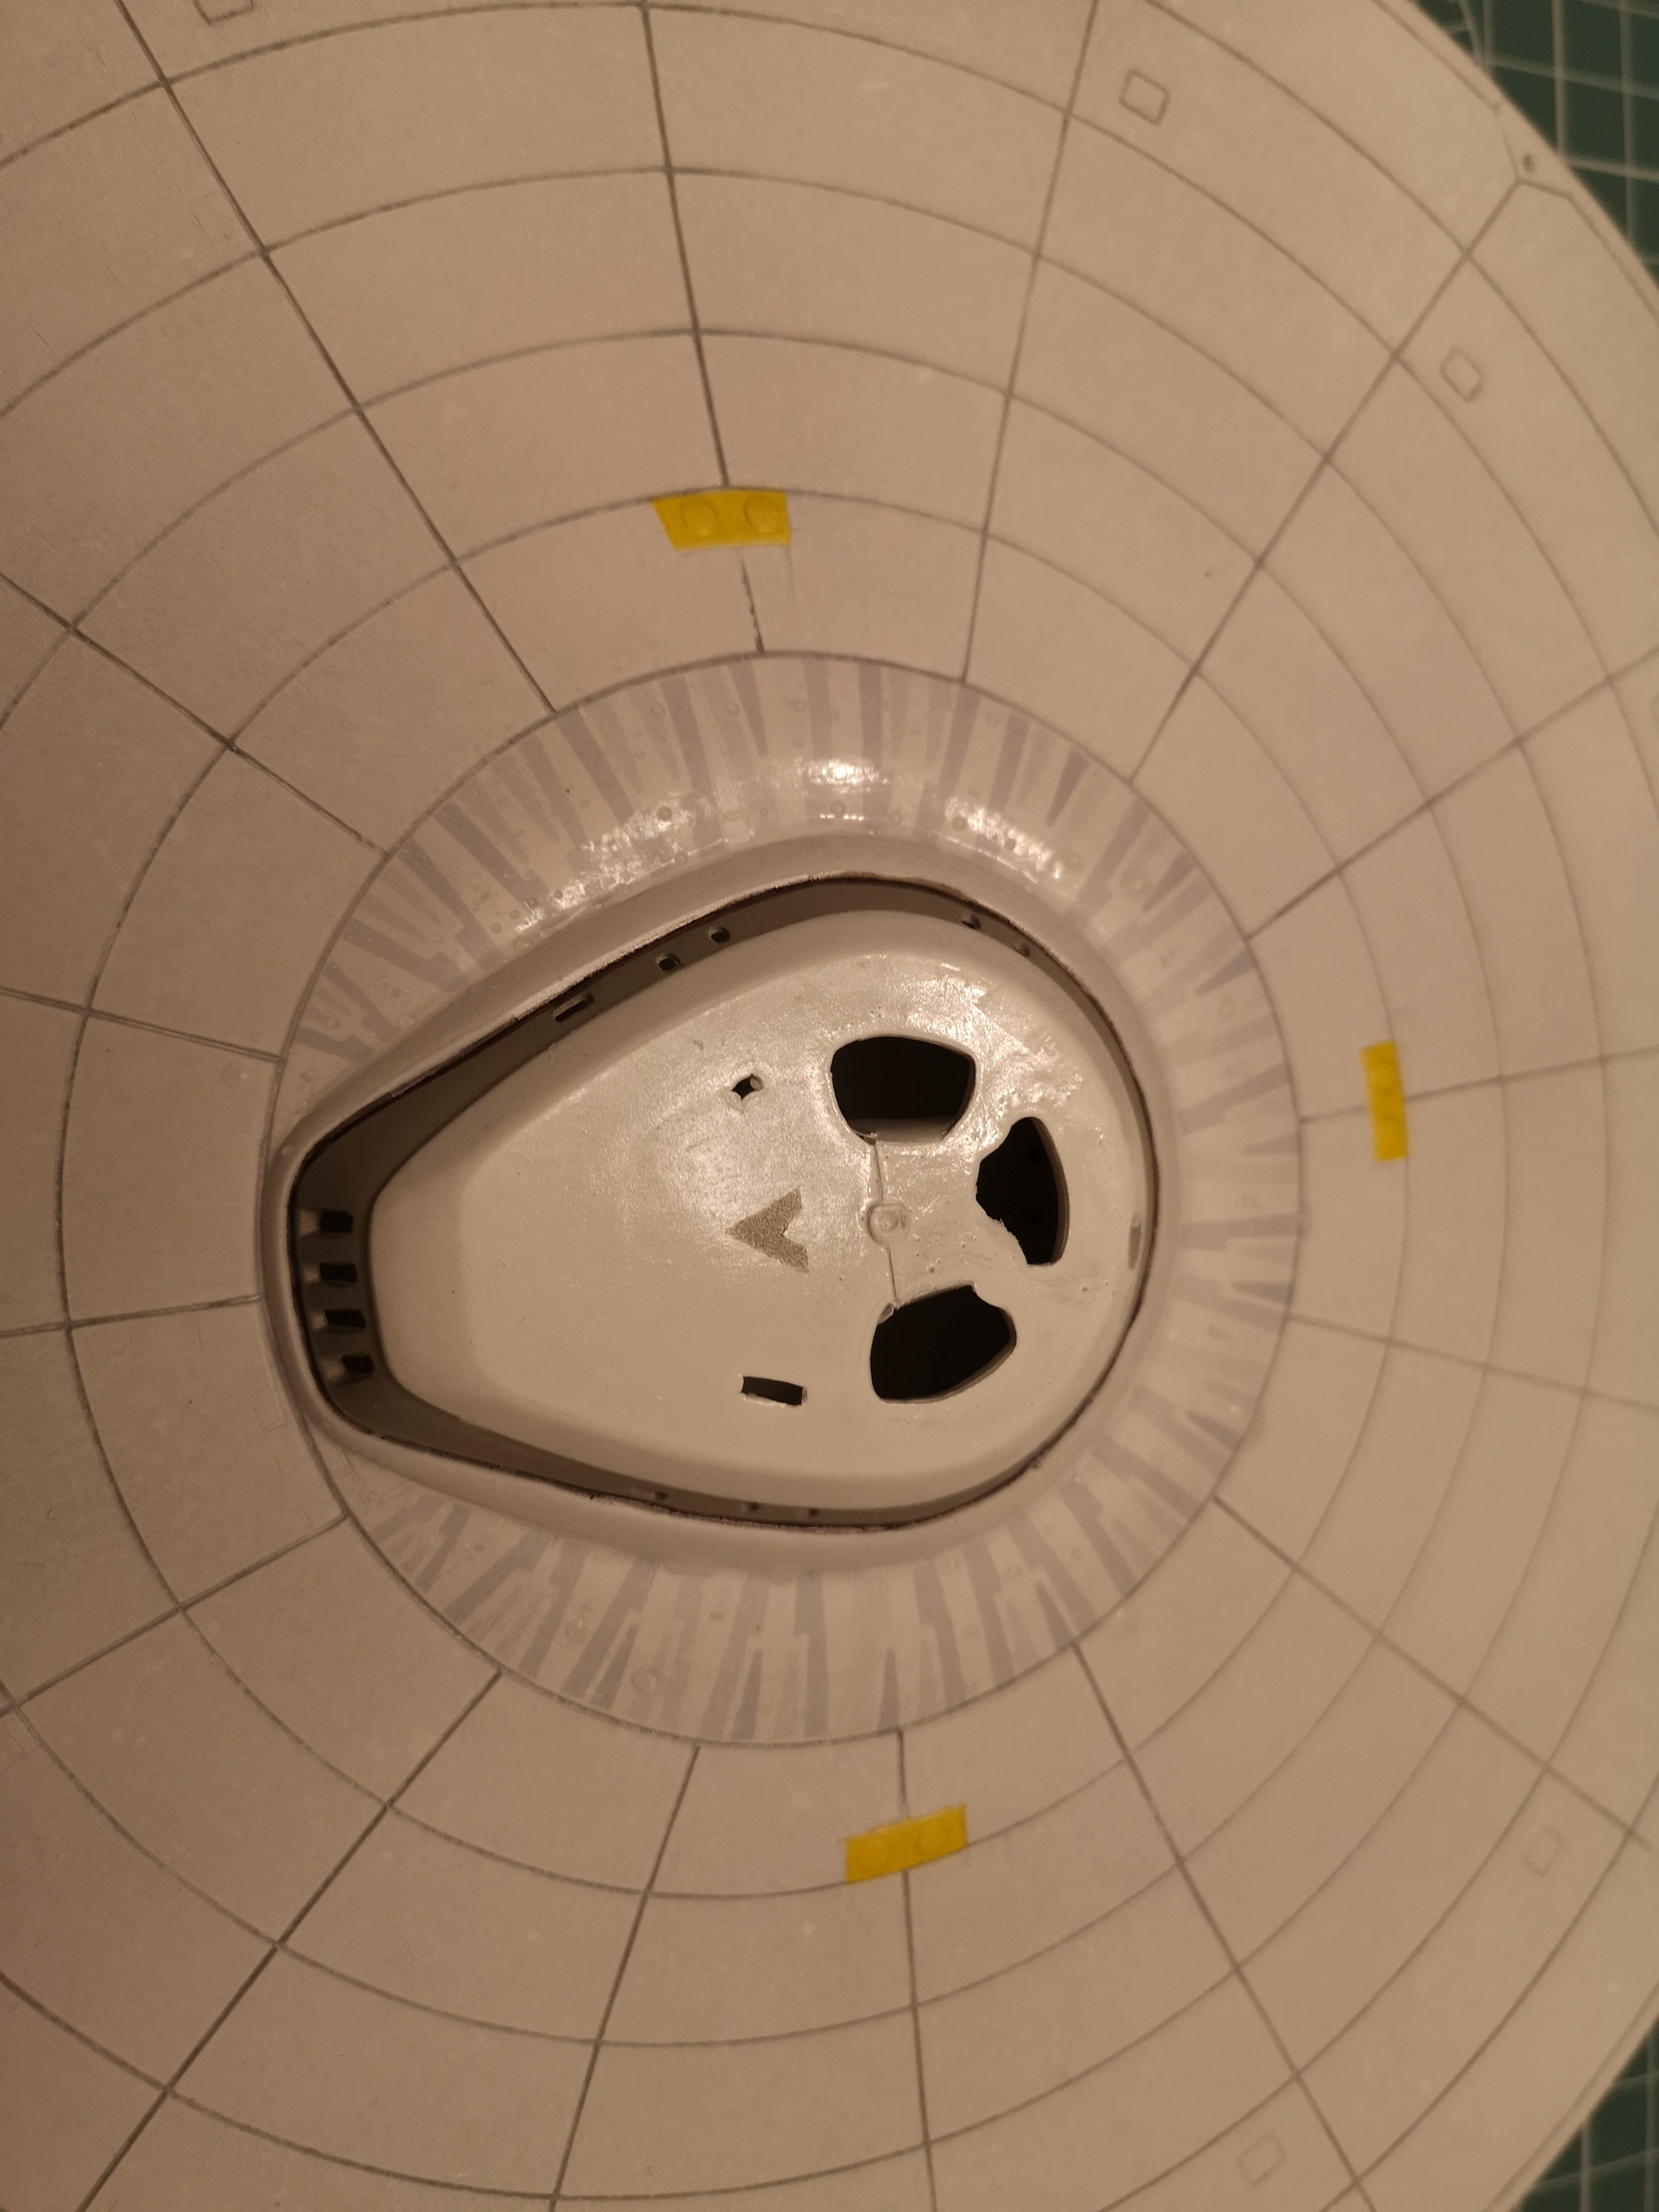
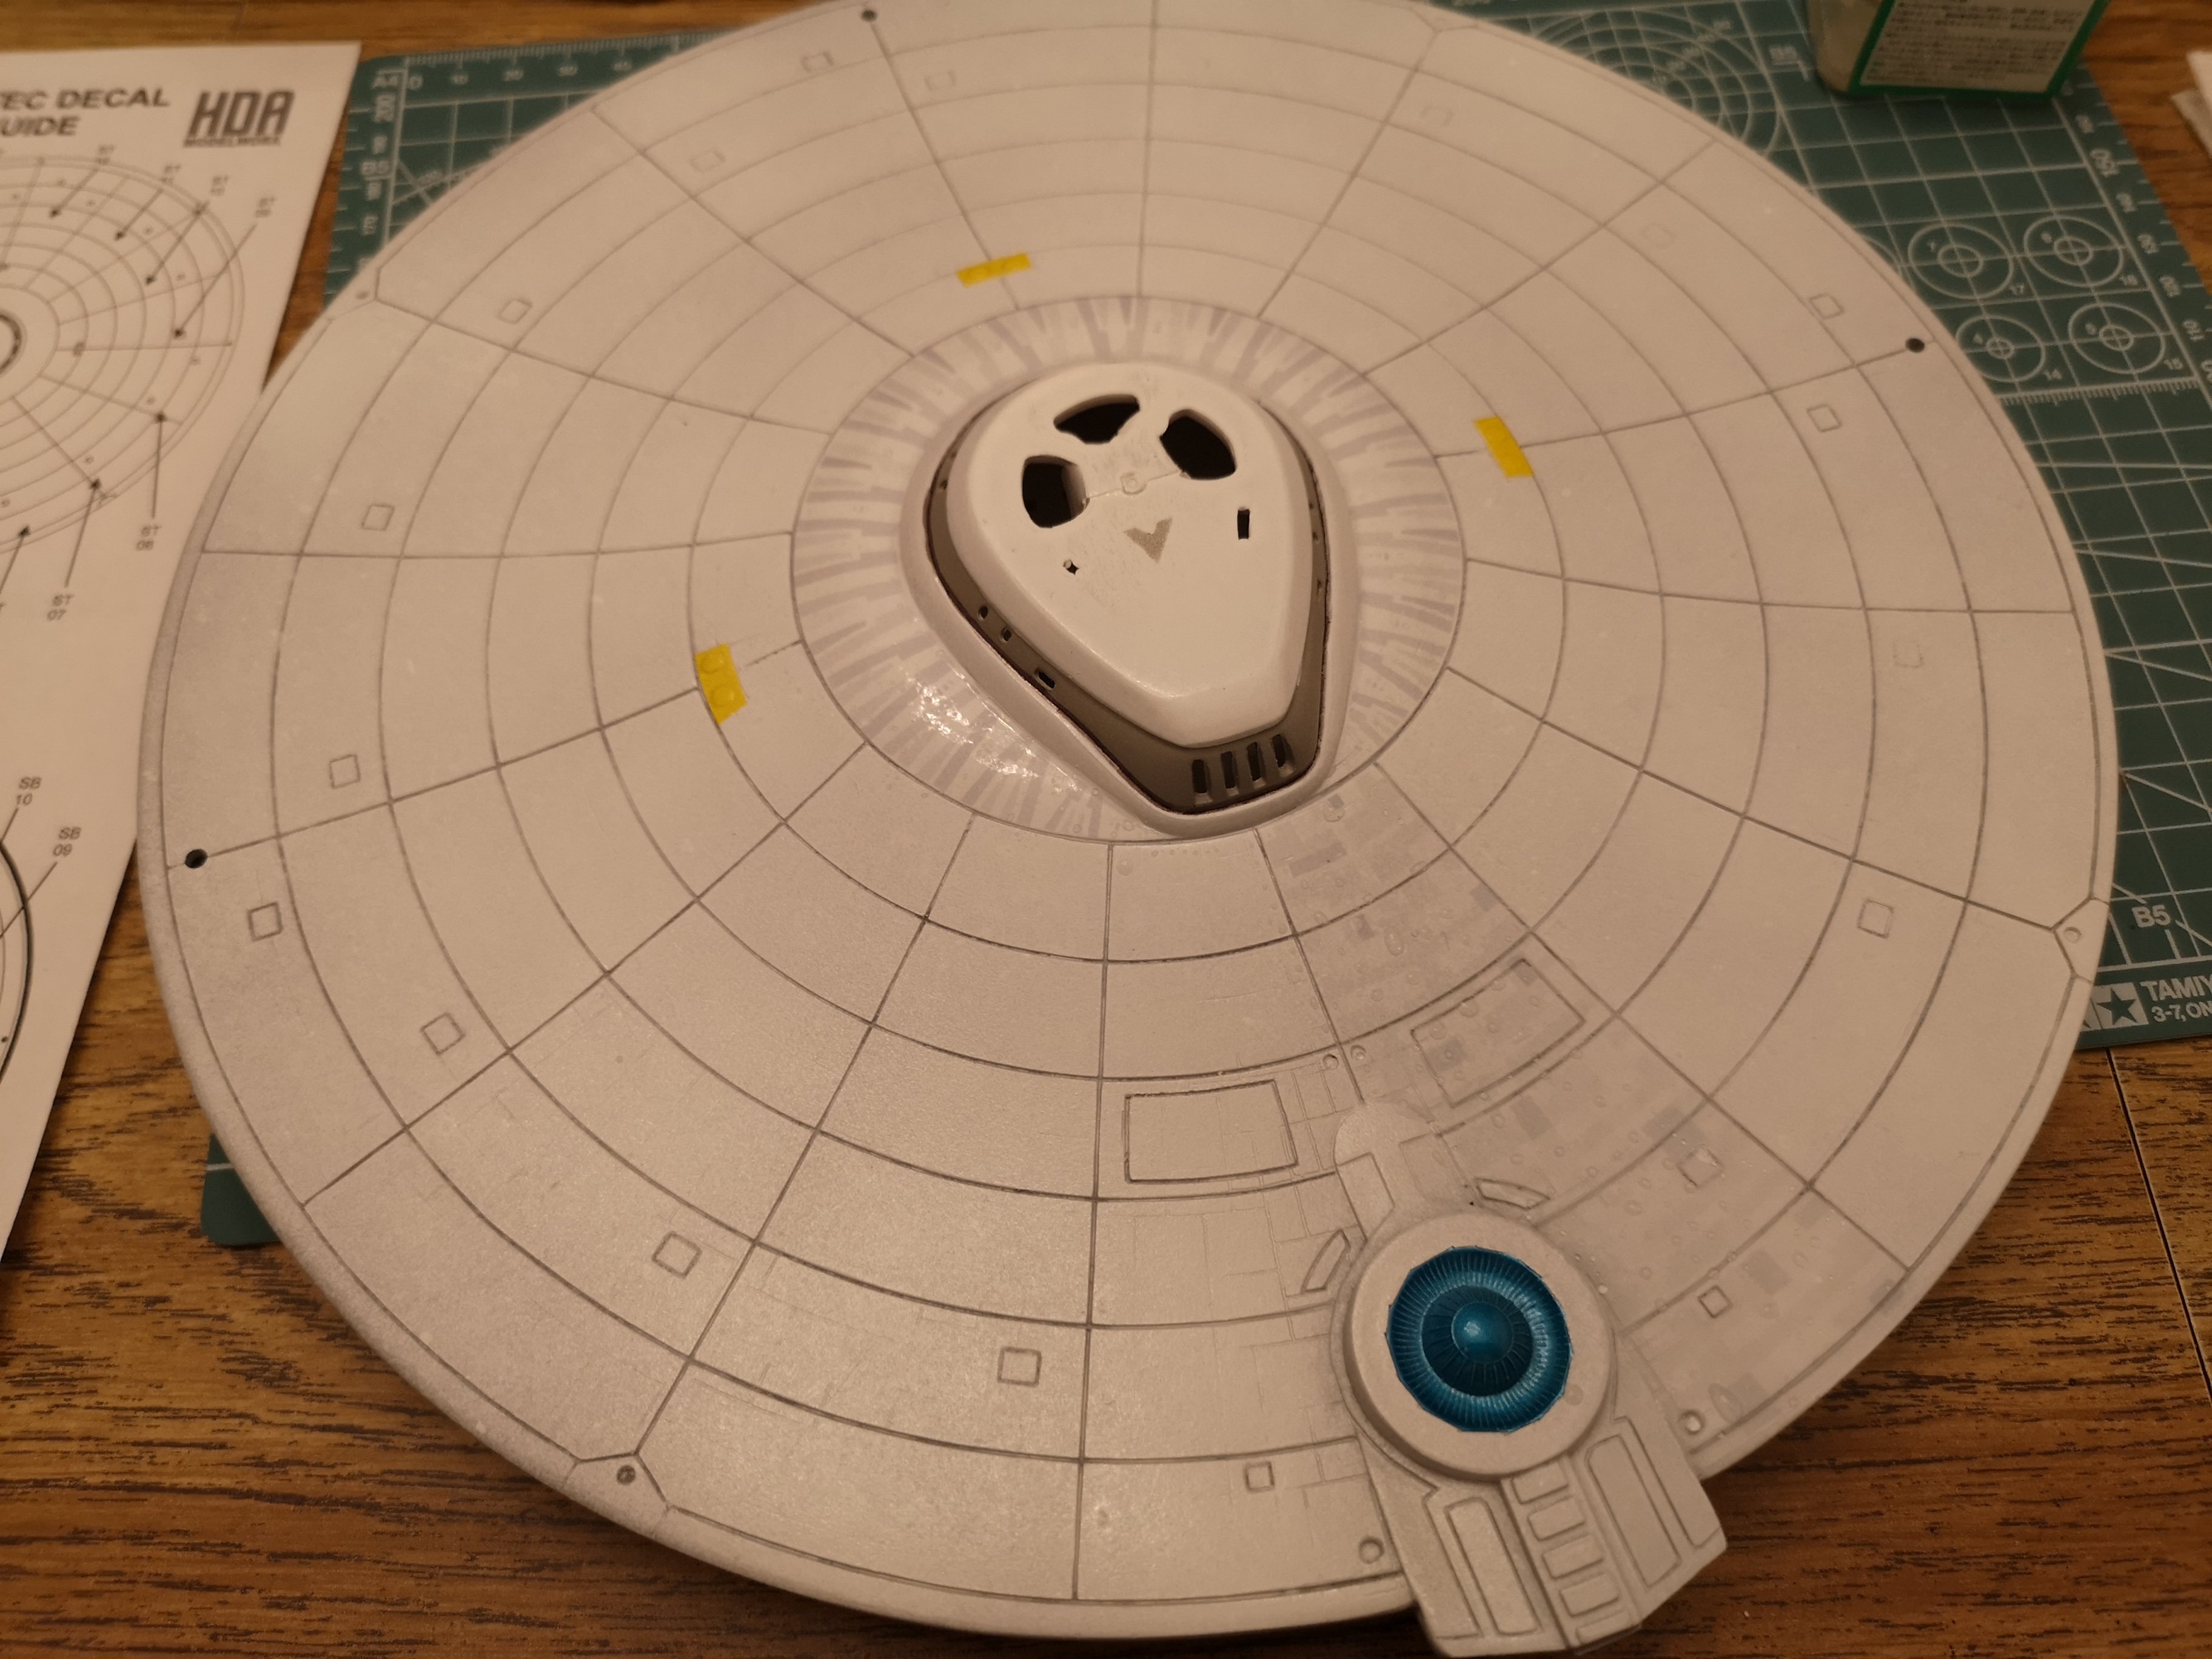
Lots of good ideas floating around here guys, thanks! I actually tried to fire a screw into the neck through the bridge hole and saucer, however the saucer just flopped forward. I also cracked the glue on the neck. I hate this thing. One more roll at the dice before I either park this thing or set the self destruct to 60 seconds. I cut the little peg off since it wasn't doing anything. Besides it was already soft and gooey from all the times I tried to glue the damn thing. I drilled a hole where the peg was. You can also see where I drilled a hole near the front of the neck where I planned to throw in a screw from the bridge. I might still do that as long as it doesn't crack again. On the right there is my Mickey mouse hardware solution. This actually worked on its own. Saucer stayed in place, no glue or secondary screw from the other side. Anyway, I pulled it all apart again to dullcote the whole thing. Will assemble and post pics later.....unless I trip and fall while moving it and the whole thing blows up because AMT/ERTL. Yes, I would blame them for that too. Hahahah!
-
I might look into that as well. I can now look into the saucer and see where the neck comes into the saucer, but visibility is limited. I was going to assemble the whole thing then gloss, then Dullcote, but I'm sealing the surface now so when I handle the subassemblies, the decals don't get damaged or come pealing off again. Also, it will give me time to take a step back and find a resolution before rushing back into it and end up destroying the thing.
-
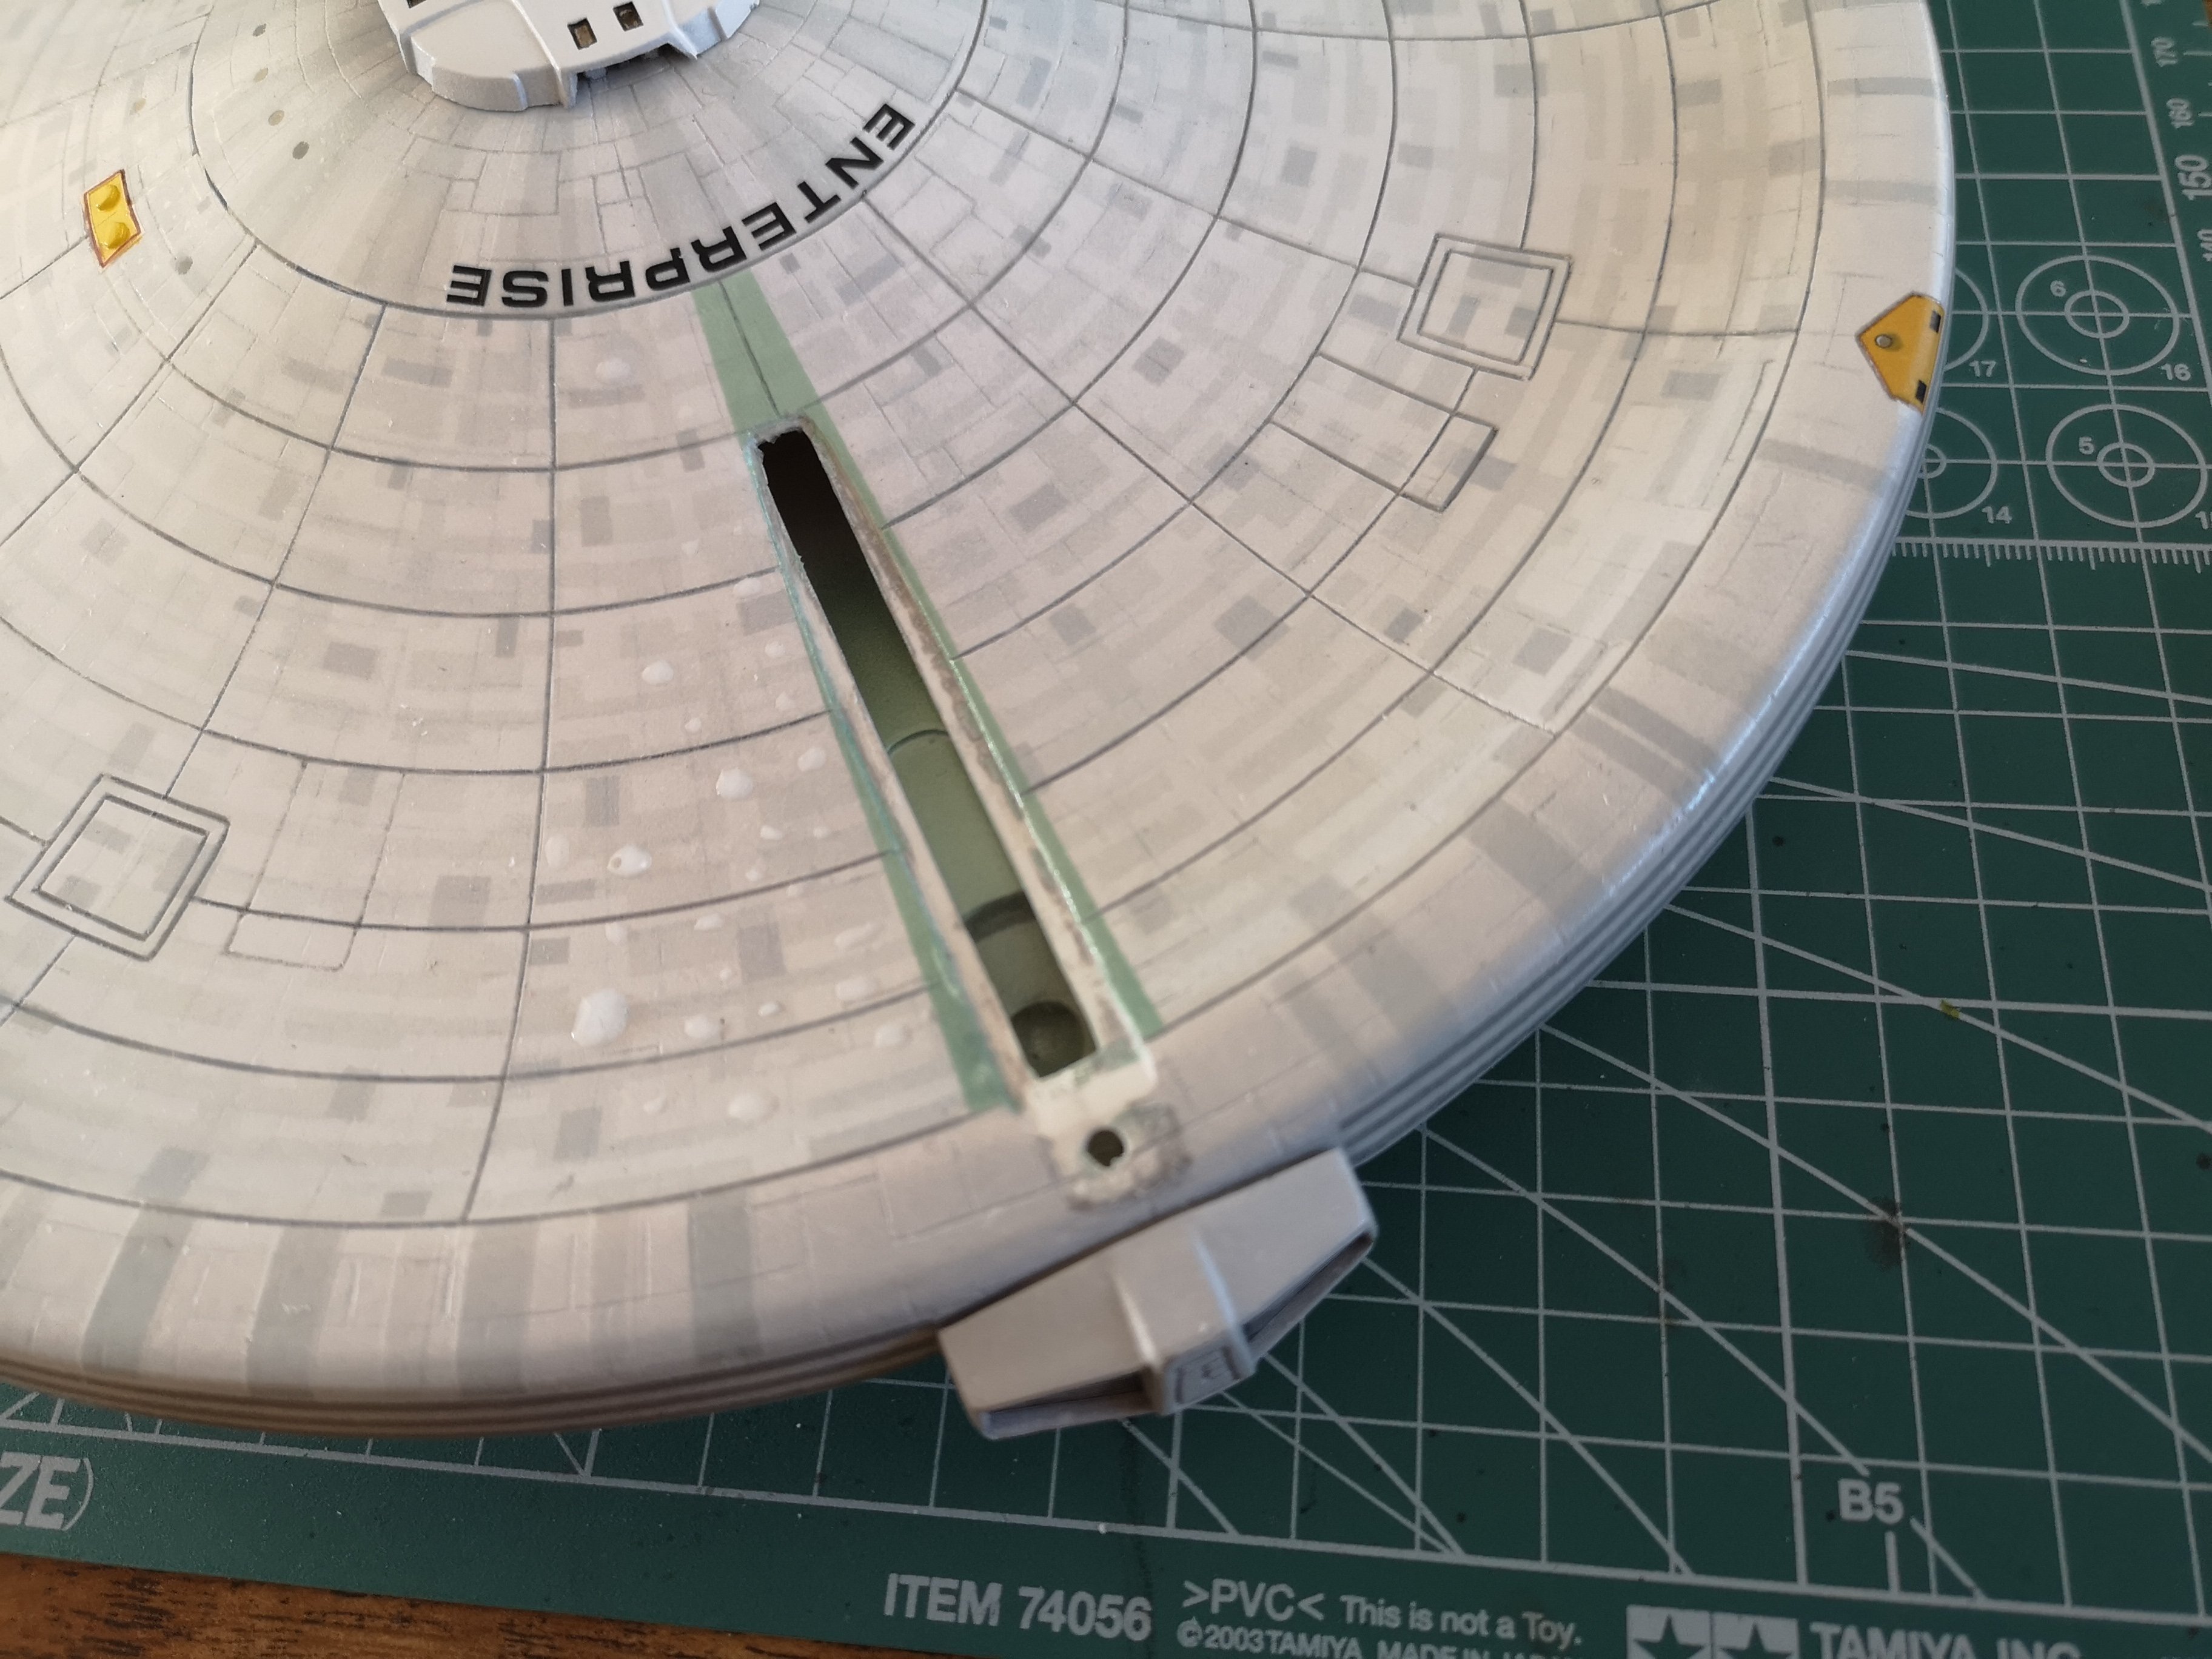
What I should have done was screw the saucer to the neck before closing the saucer, but I wanted to build them as sub-assemblies. I'm exploring this as an option because I don't have confidence of filing and sanding for better contact points. Cut a bigger hole under the bridge to see if I can run a screw into the neck from the saucer.
-
Hmmm....that might be a good idea. Will have to rummage through my hardware and see if I can find more stuff to throw into this thing, hahahaha!
-
CA Glue or Epoxy....I might try those. I've never used them on a model before. I have some really old Krazy Glue, but I've had it forever.
-
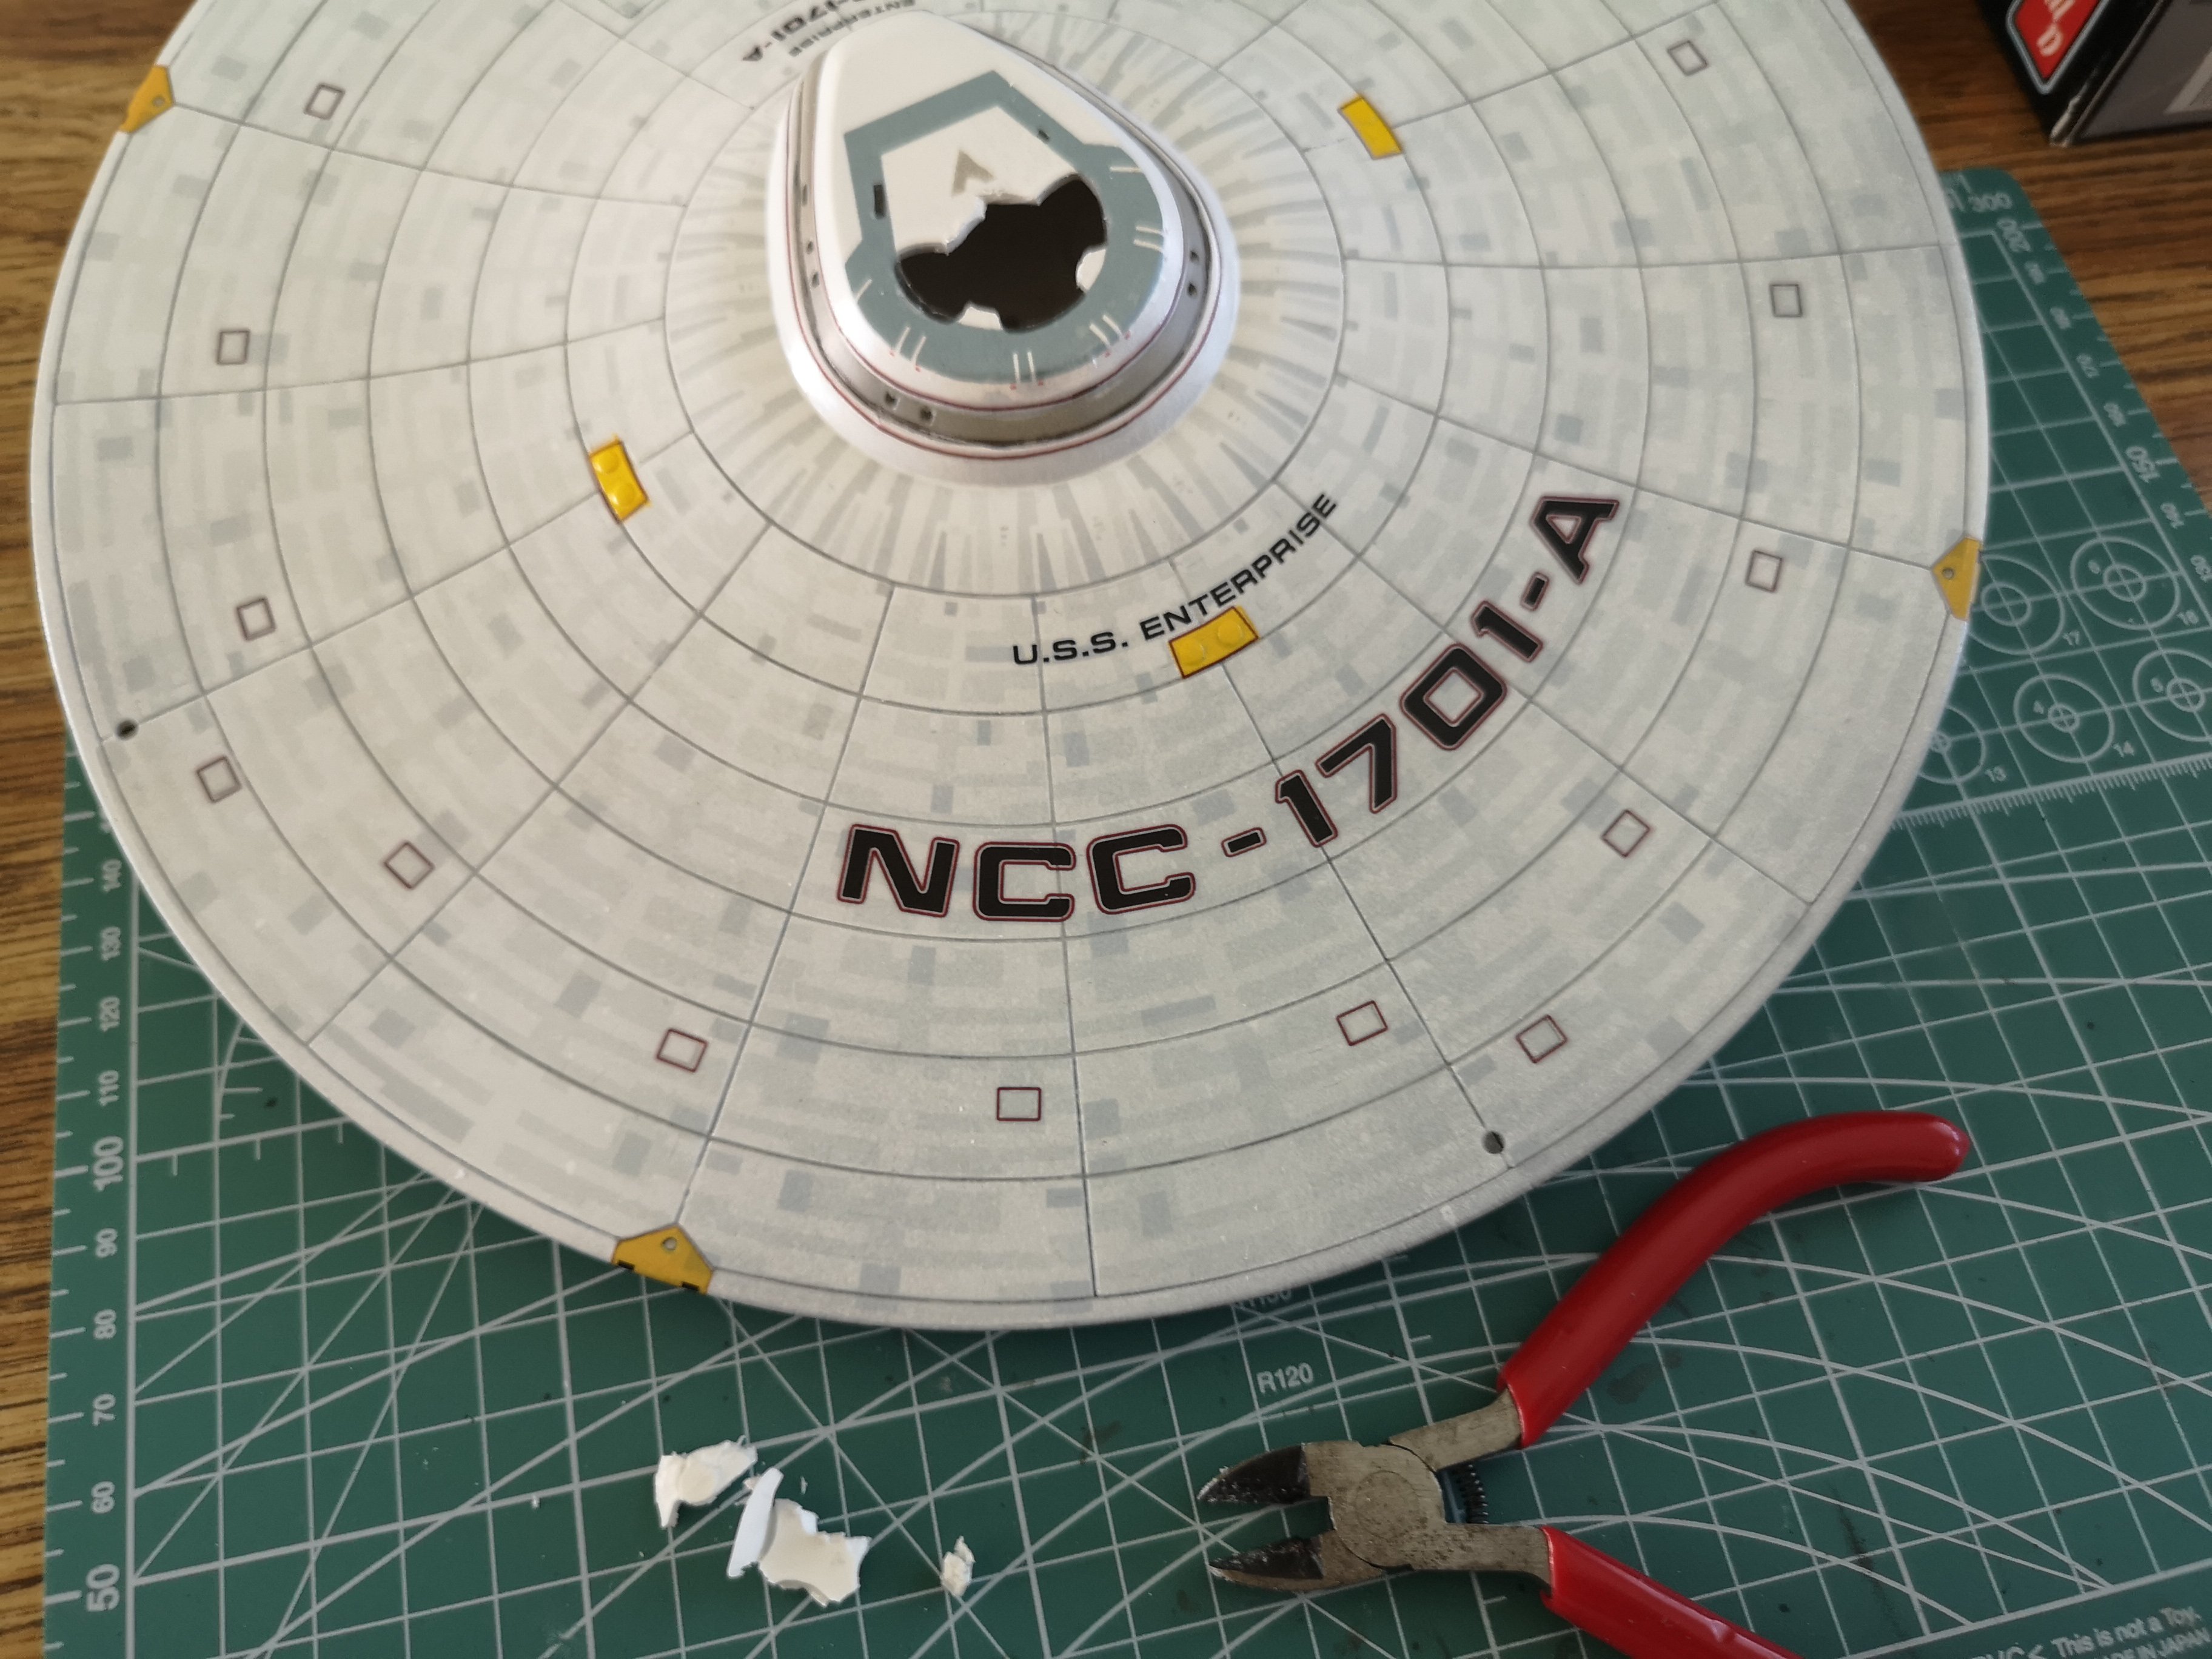
Donut didn't hold. The neck almost took a section of Aztec with it when it came apart. When examining the contact points, it looking like the peg and the hole, and maybe a tiny bit of the tip of the neck with the saucer. I need coffee to think this through.
-
Lol, thanks i really do hate this thing though. It really is a POS. Struggling with the saucer right now, and it may still end up self destructing. It's like the neck was never meant to mate to the saucer. I doubt there is very much actual contact between the two. FFS, I should have figured this out before paint and decal. Its amateur hour again......time to sleep. Let's see if it's a better day tomorrow, lol!
-
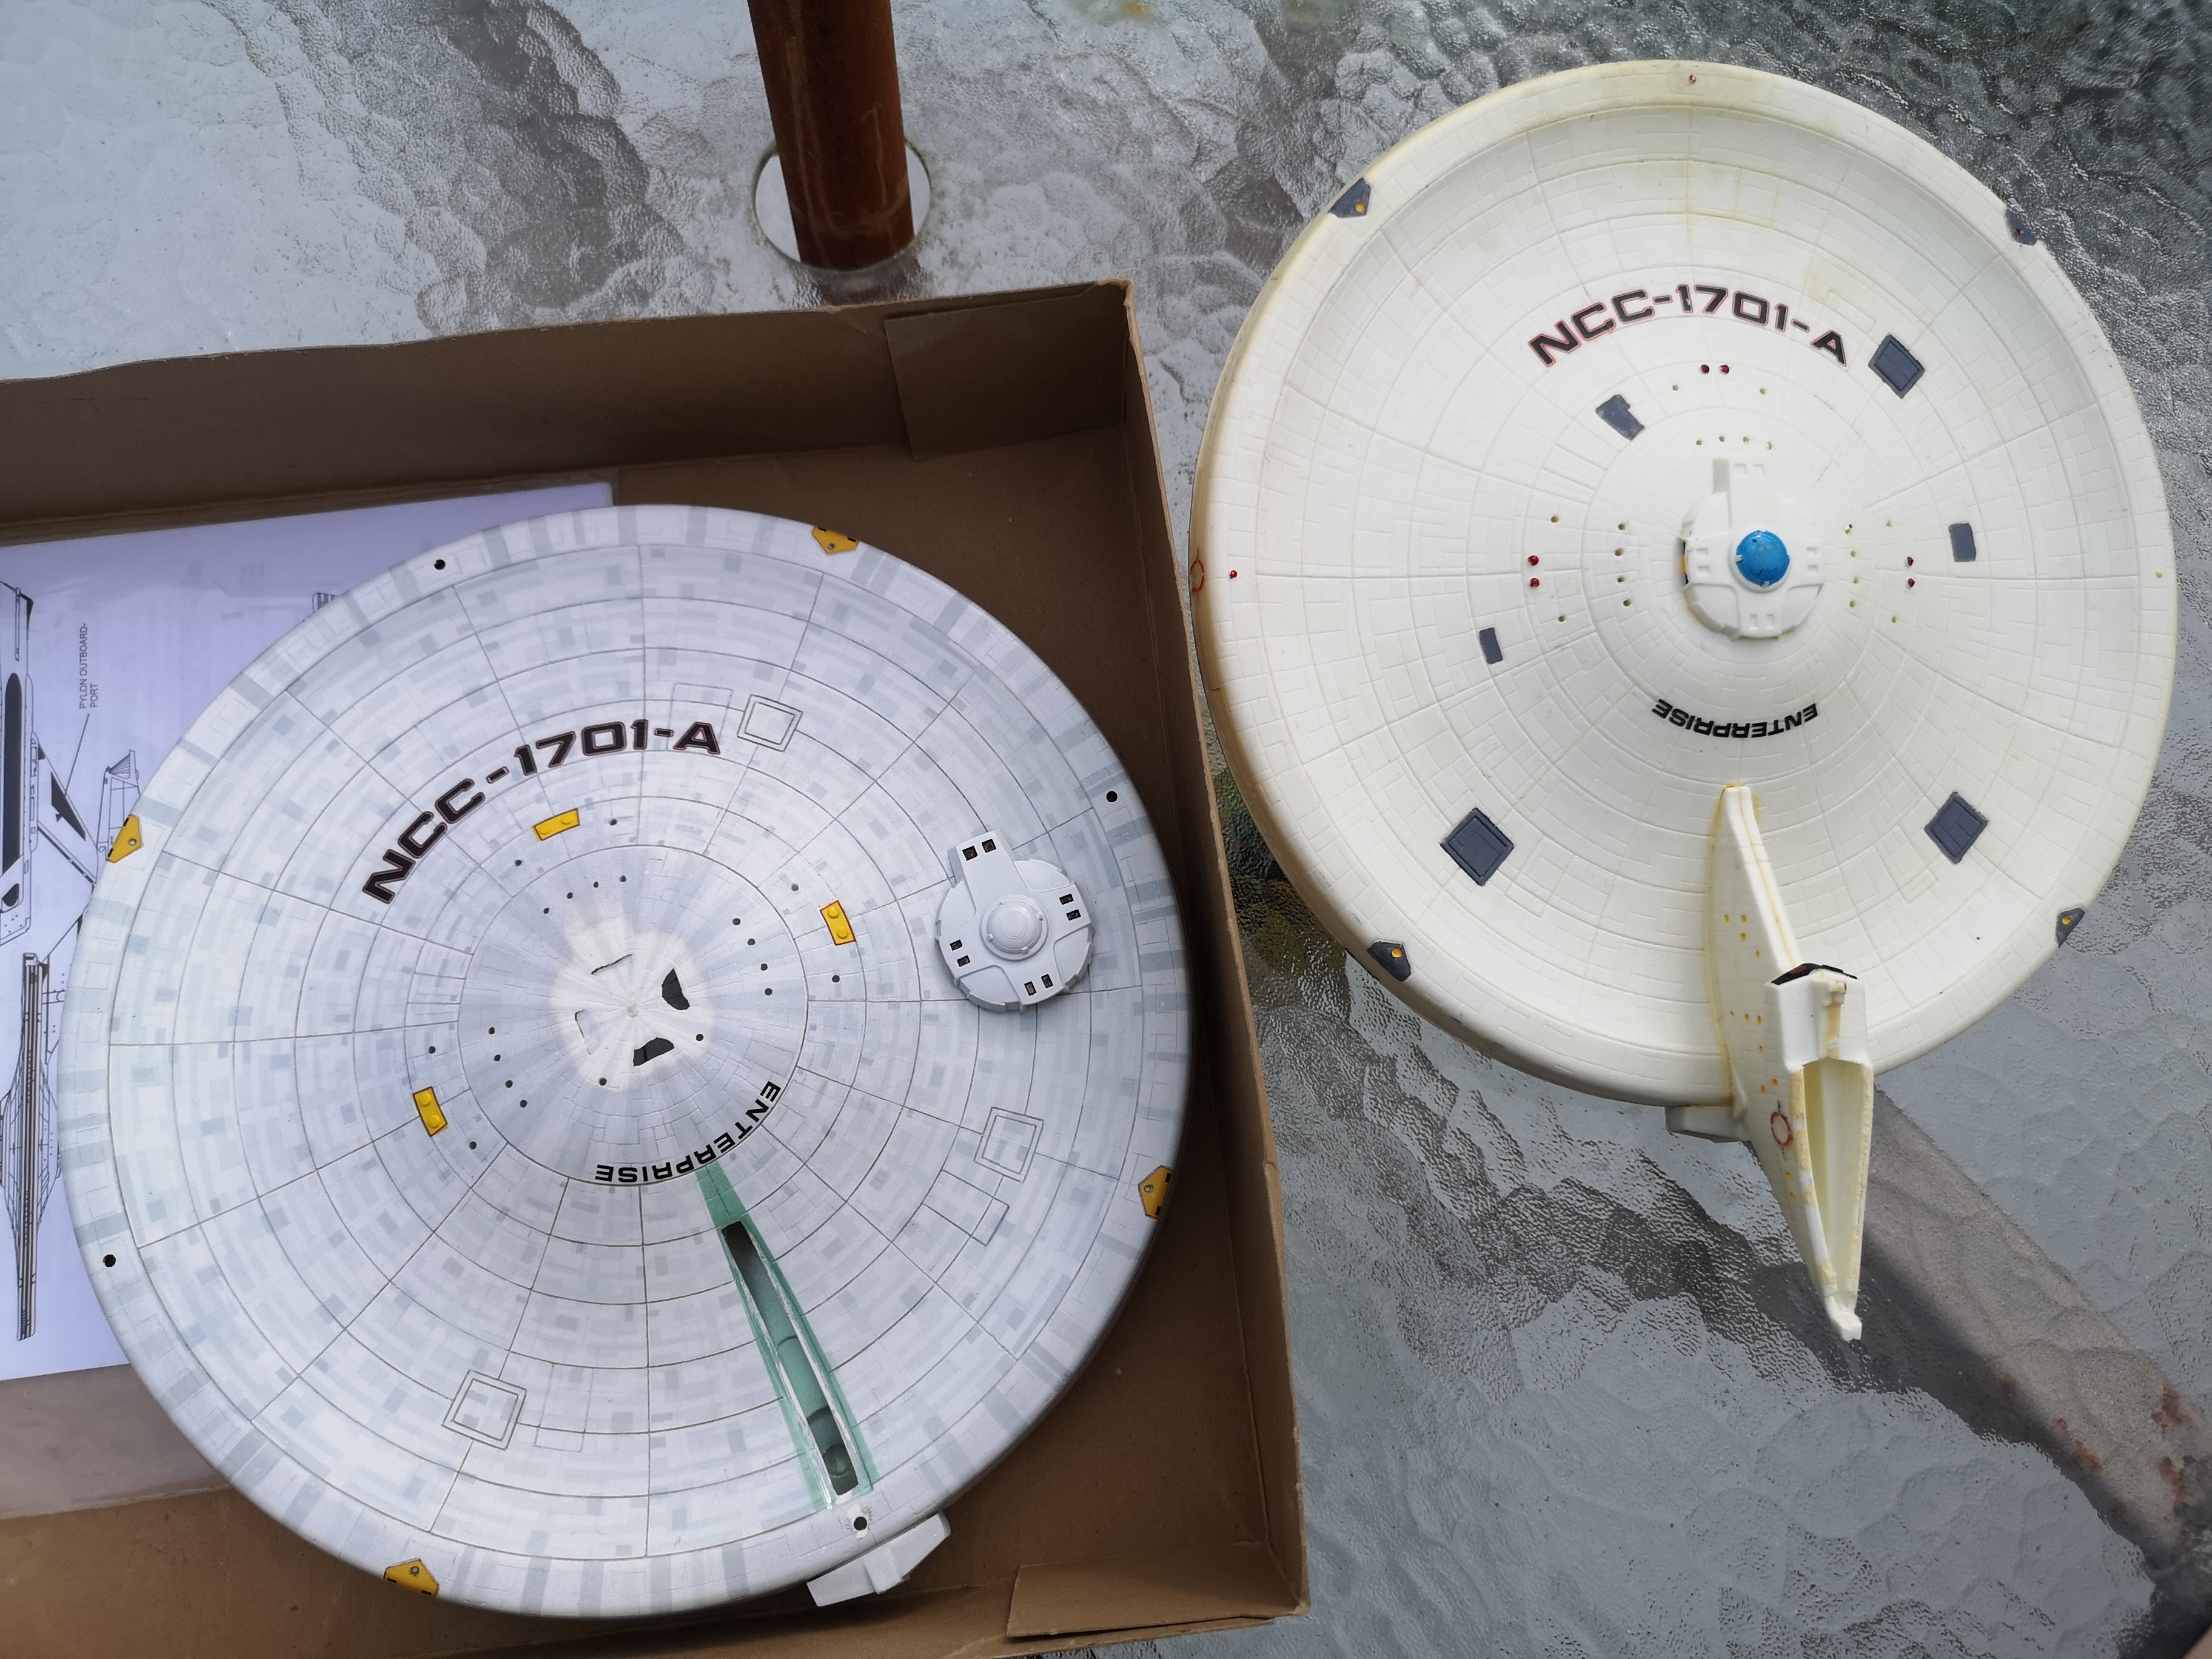
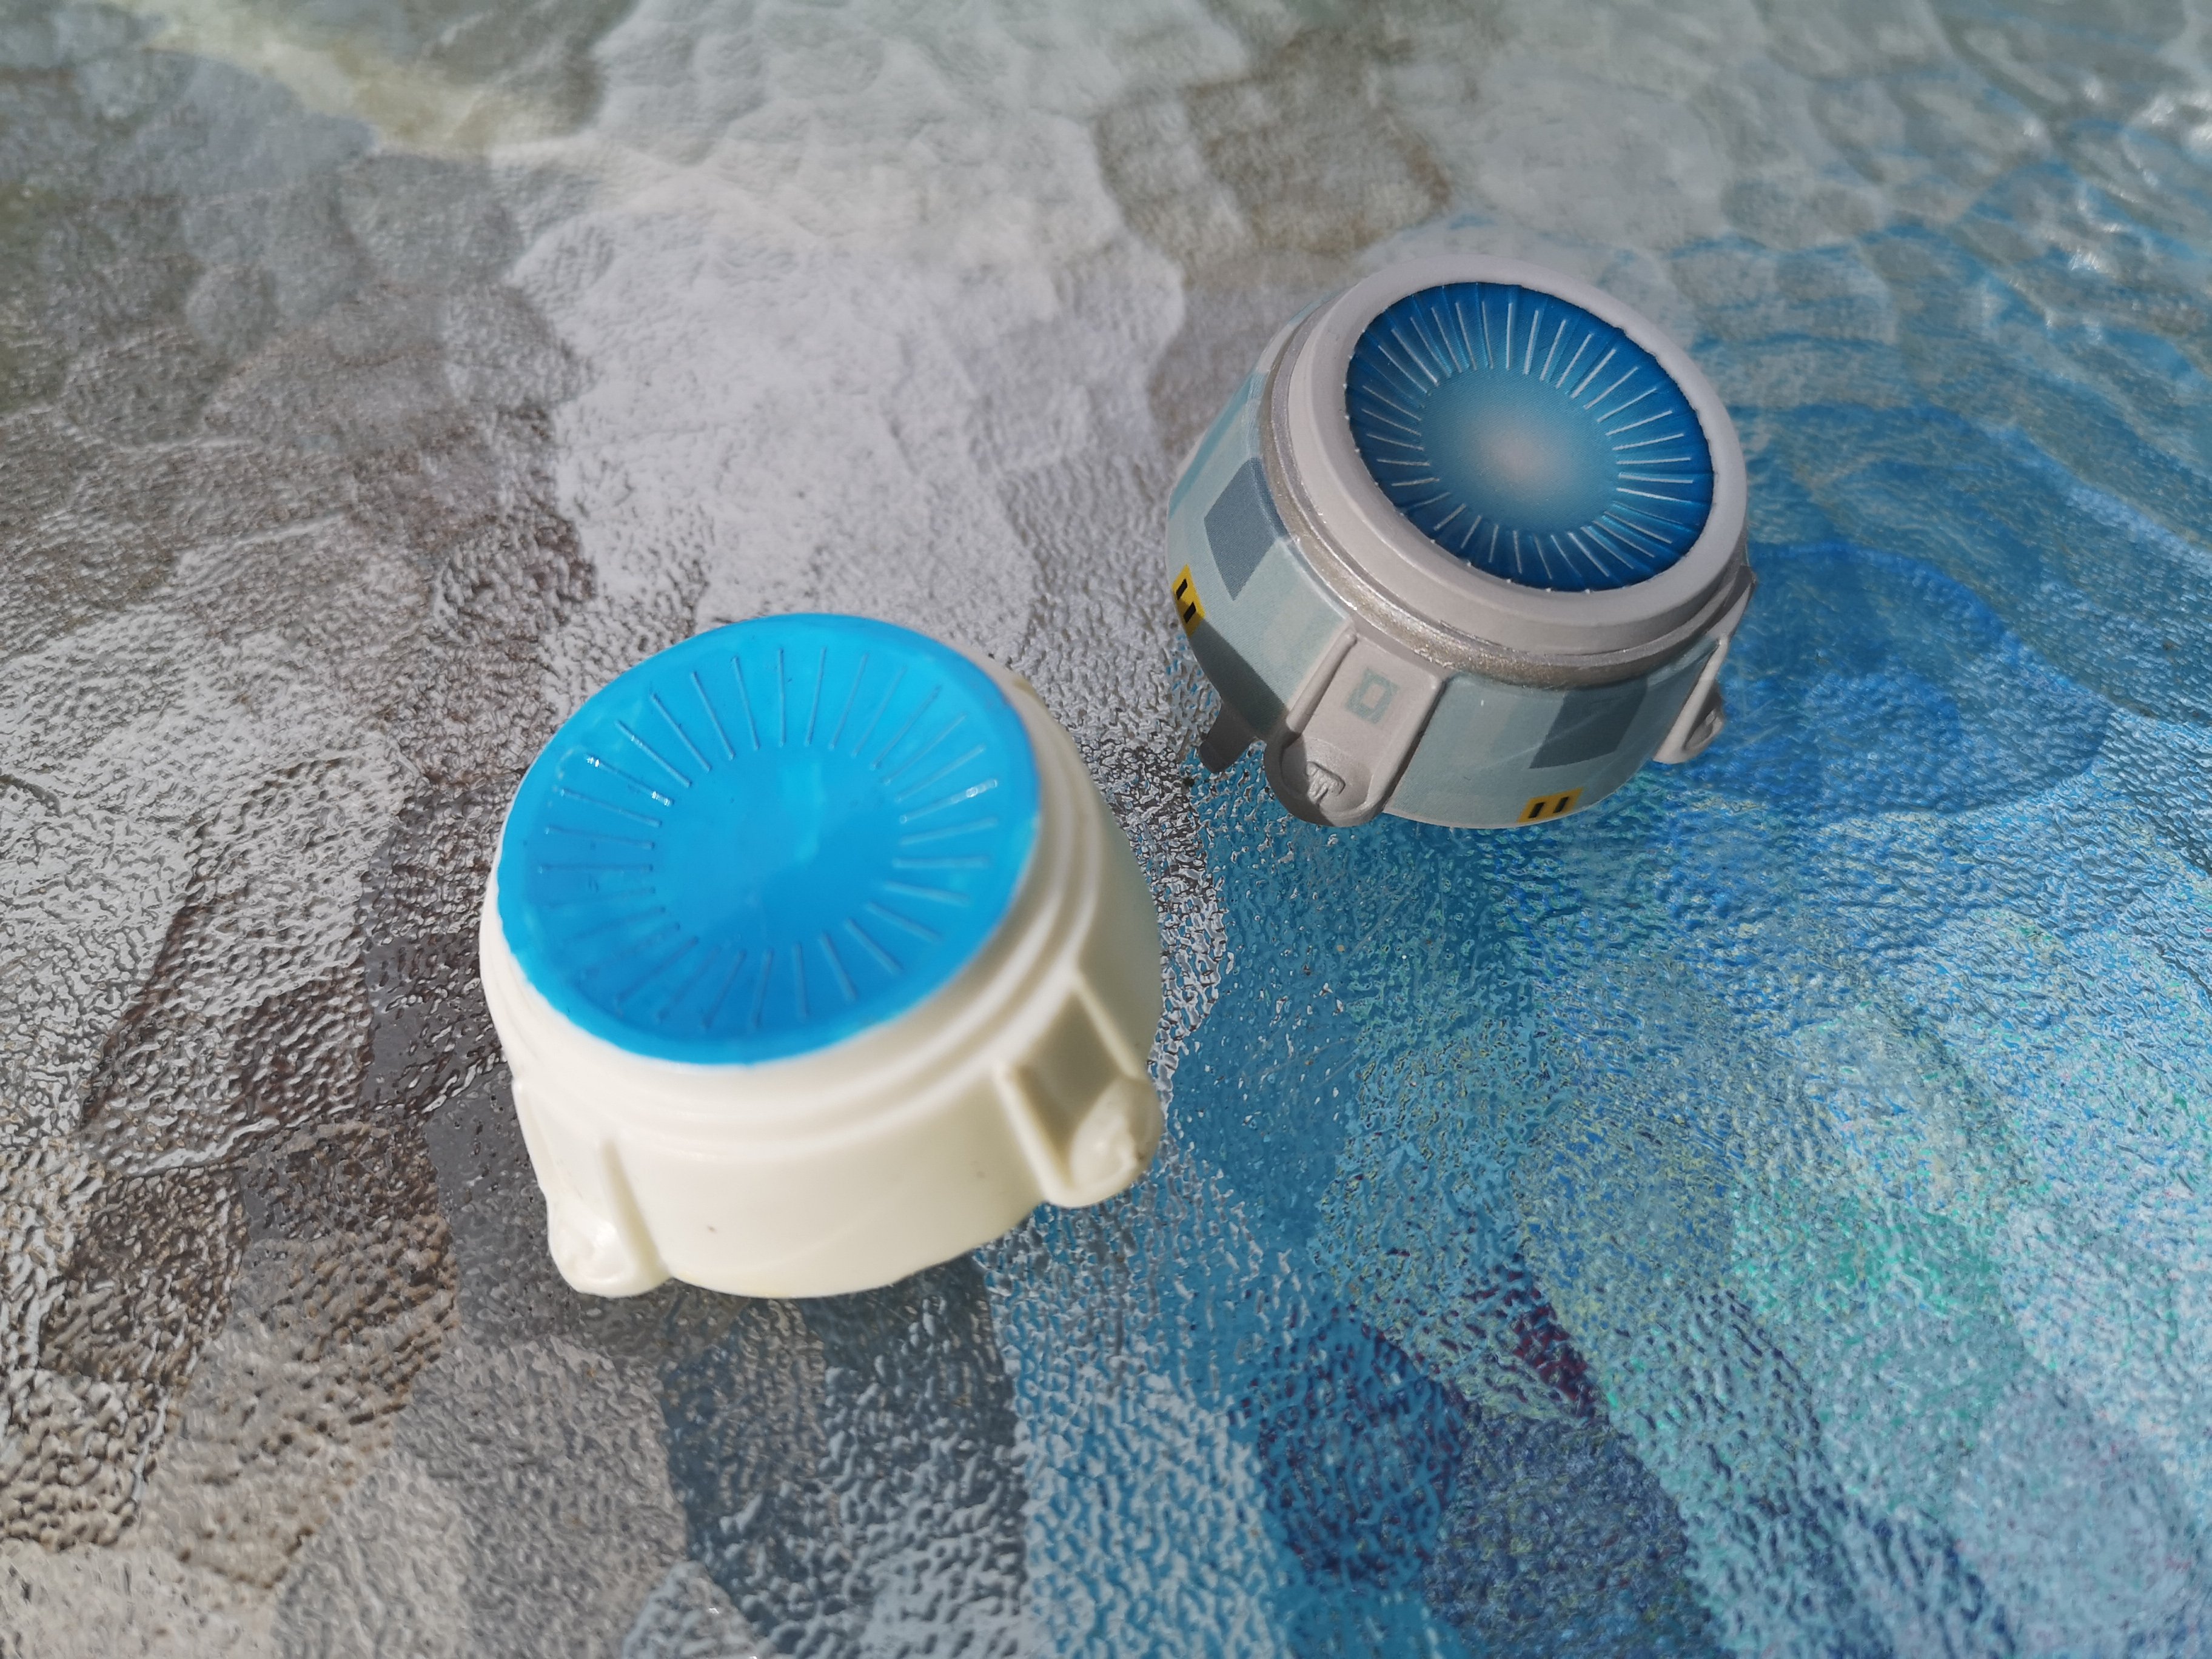
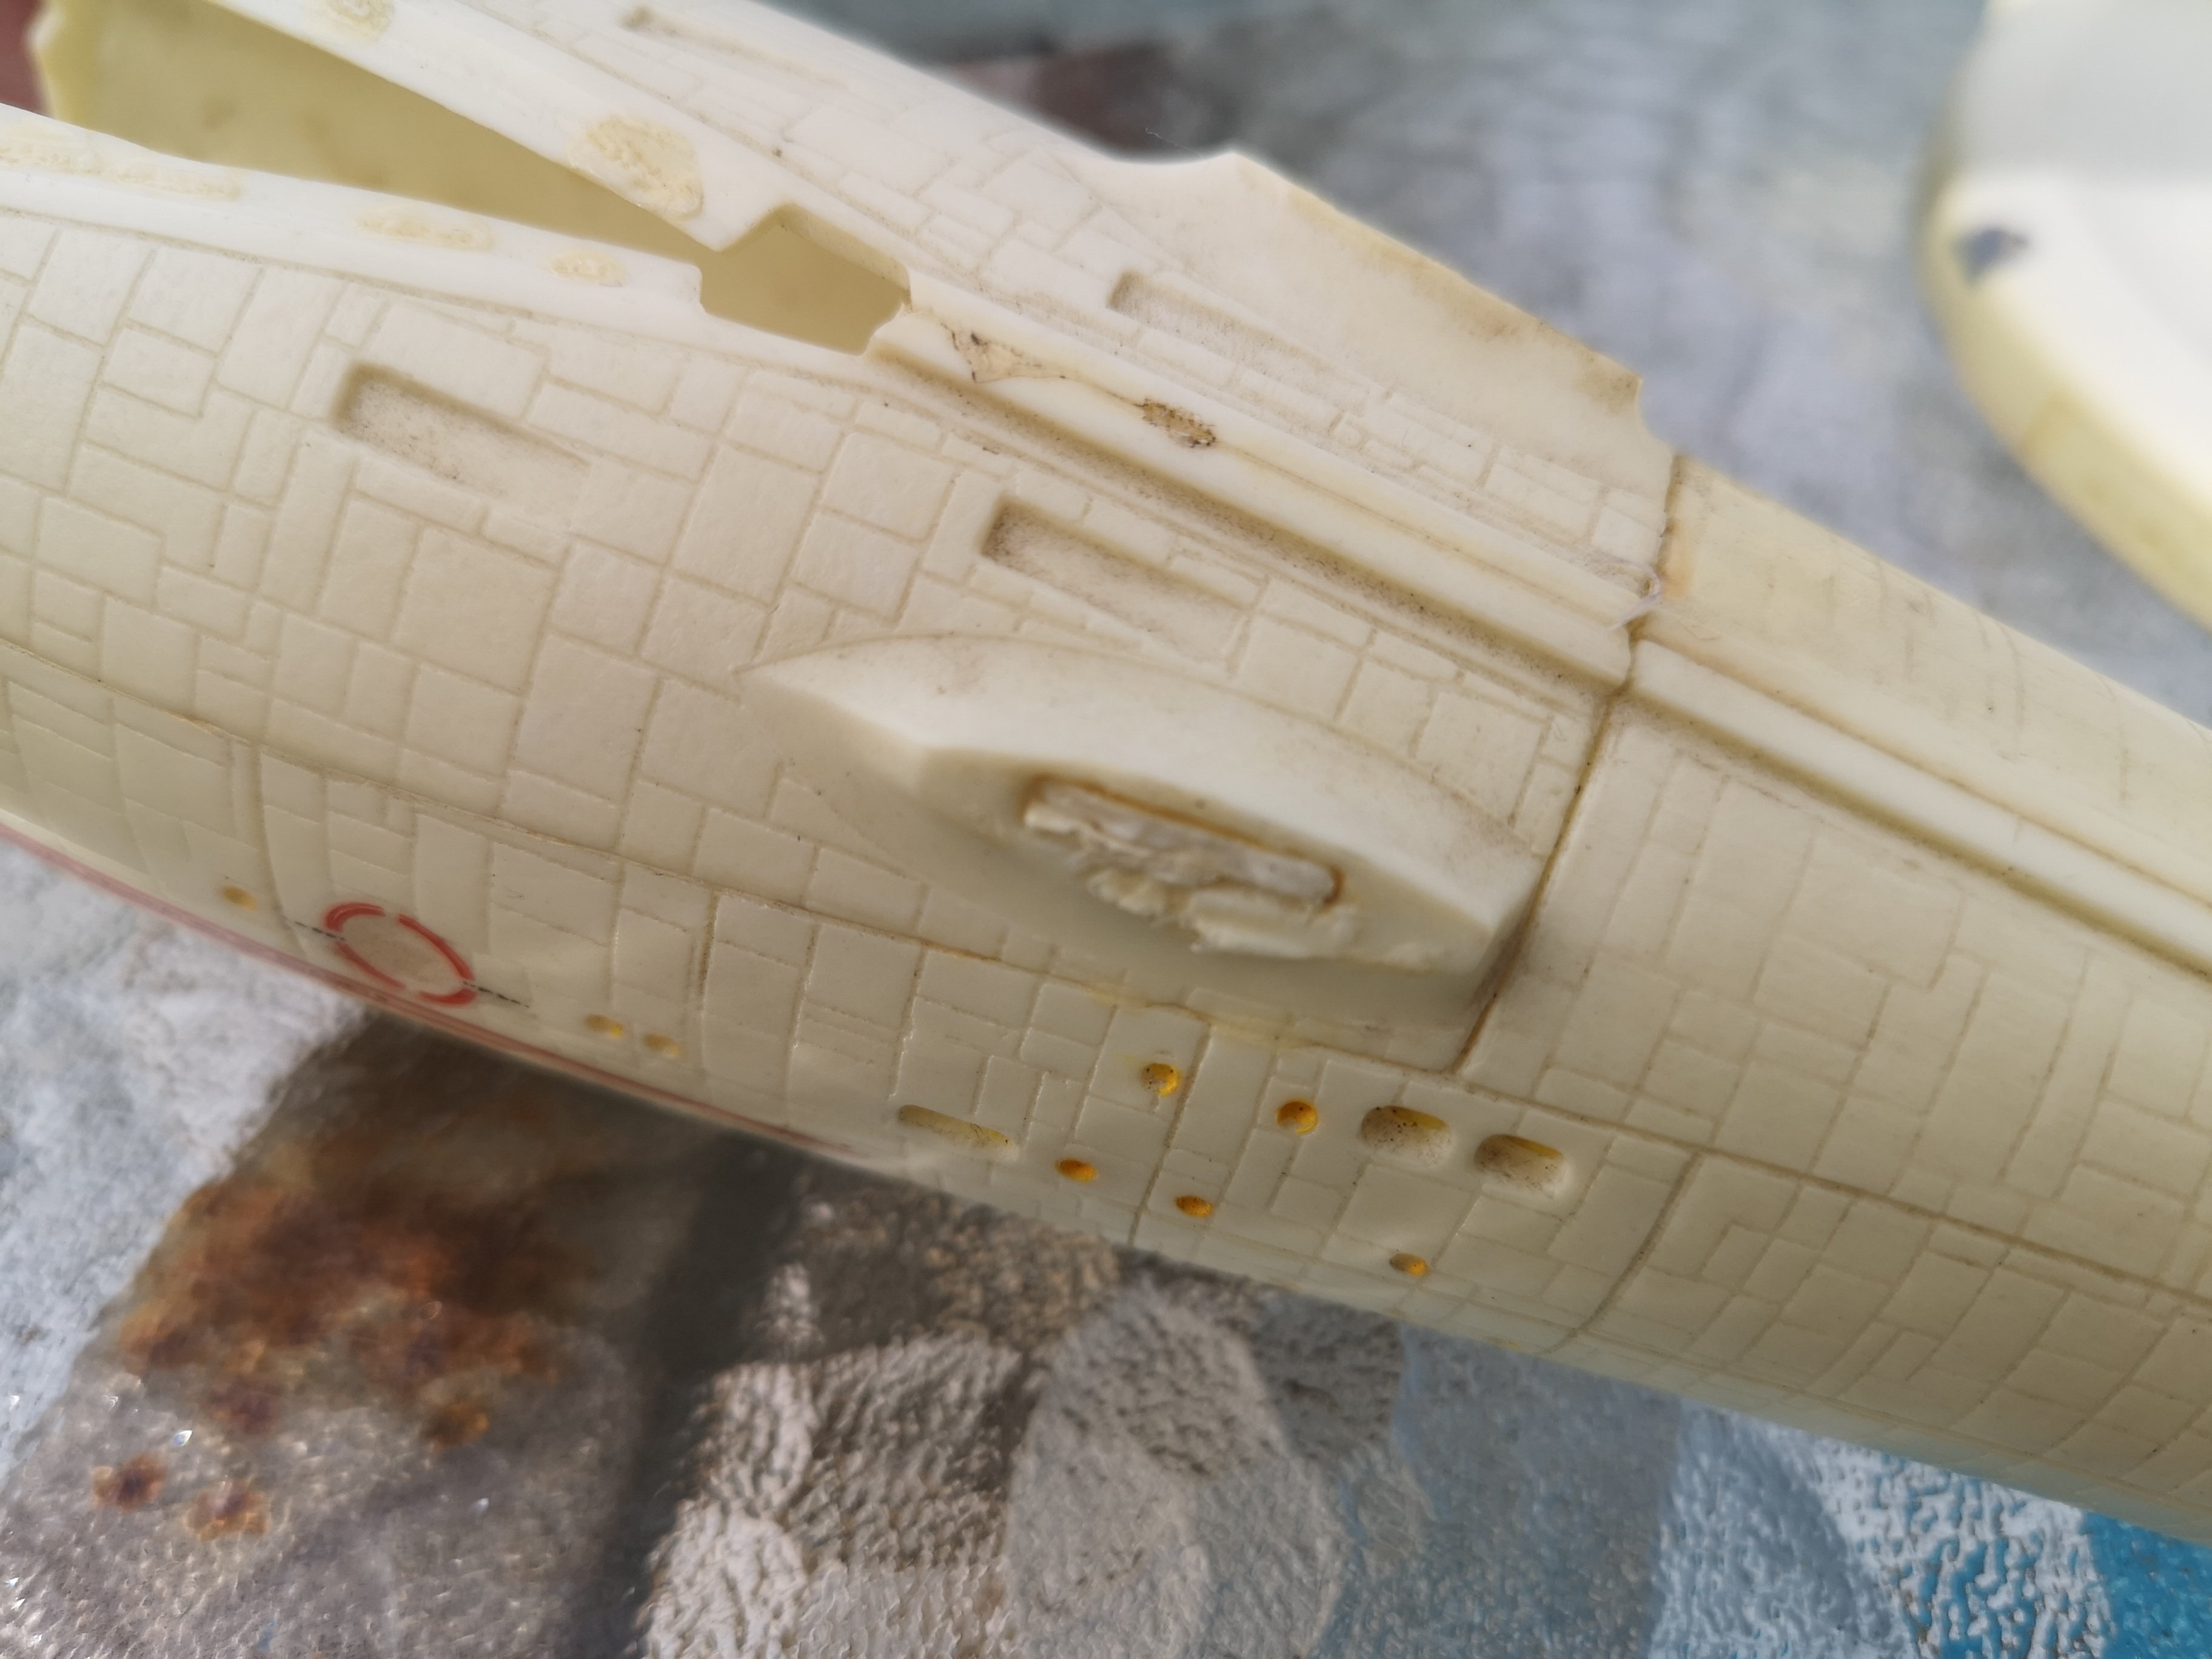
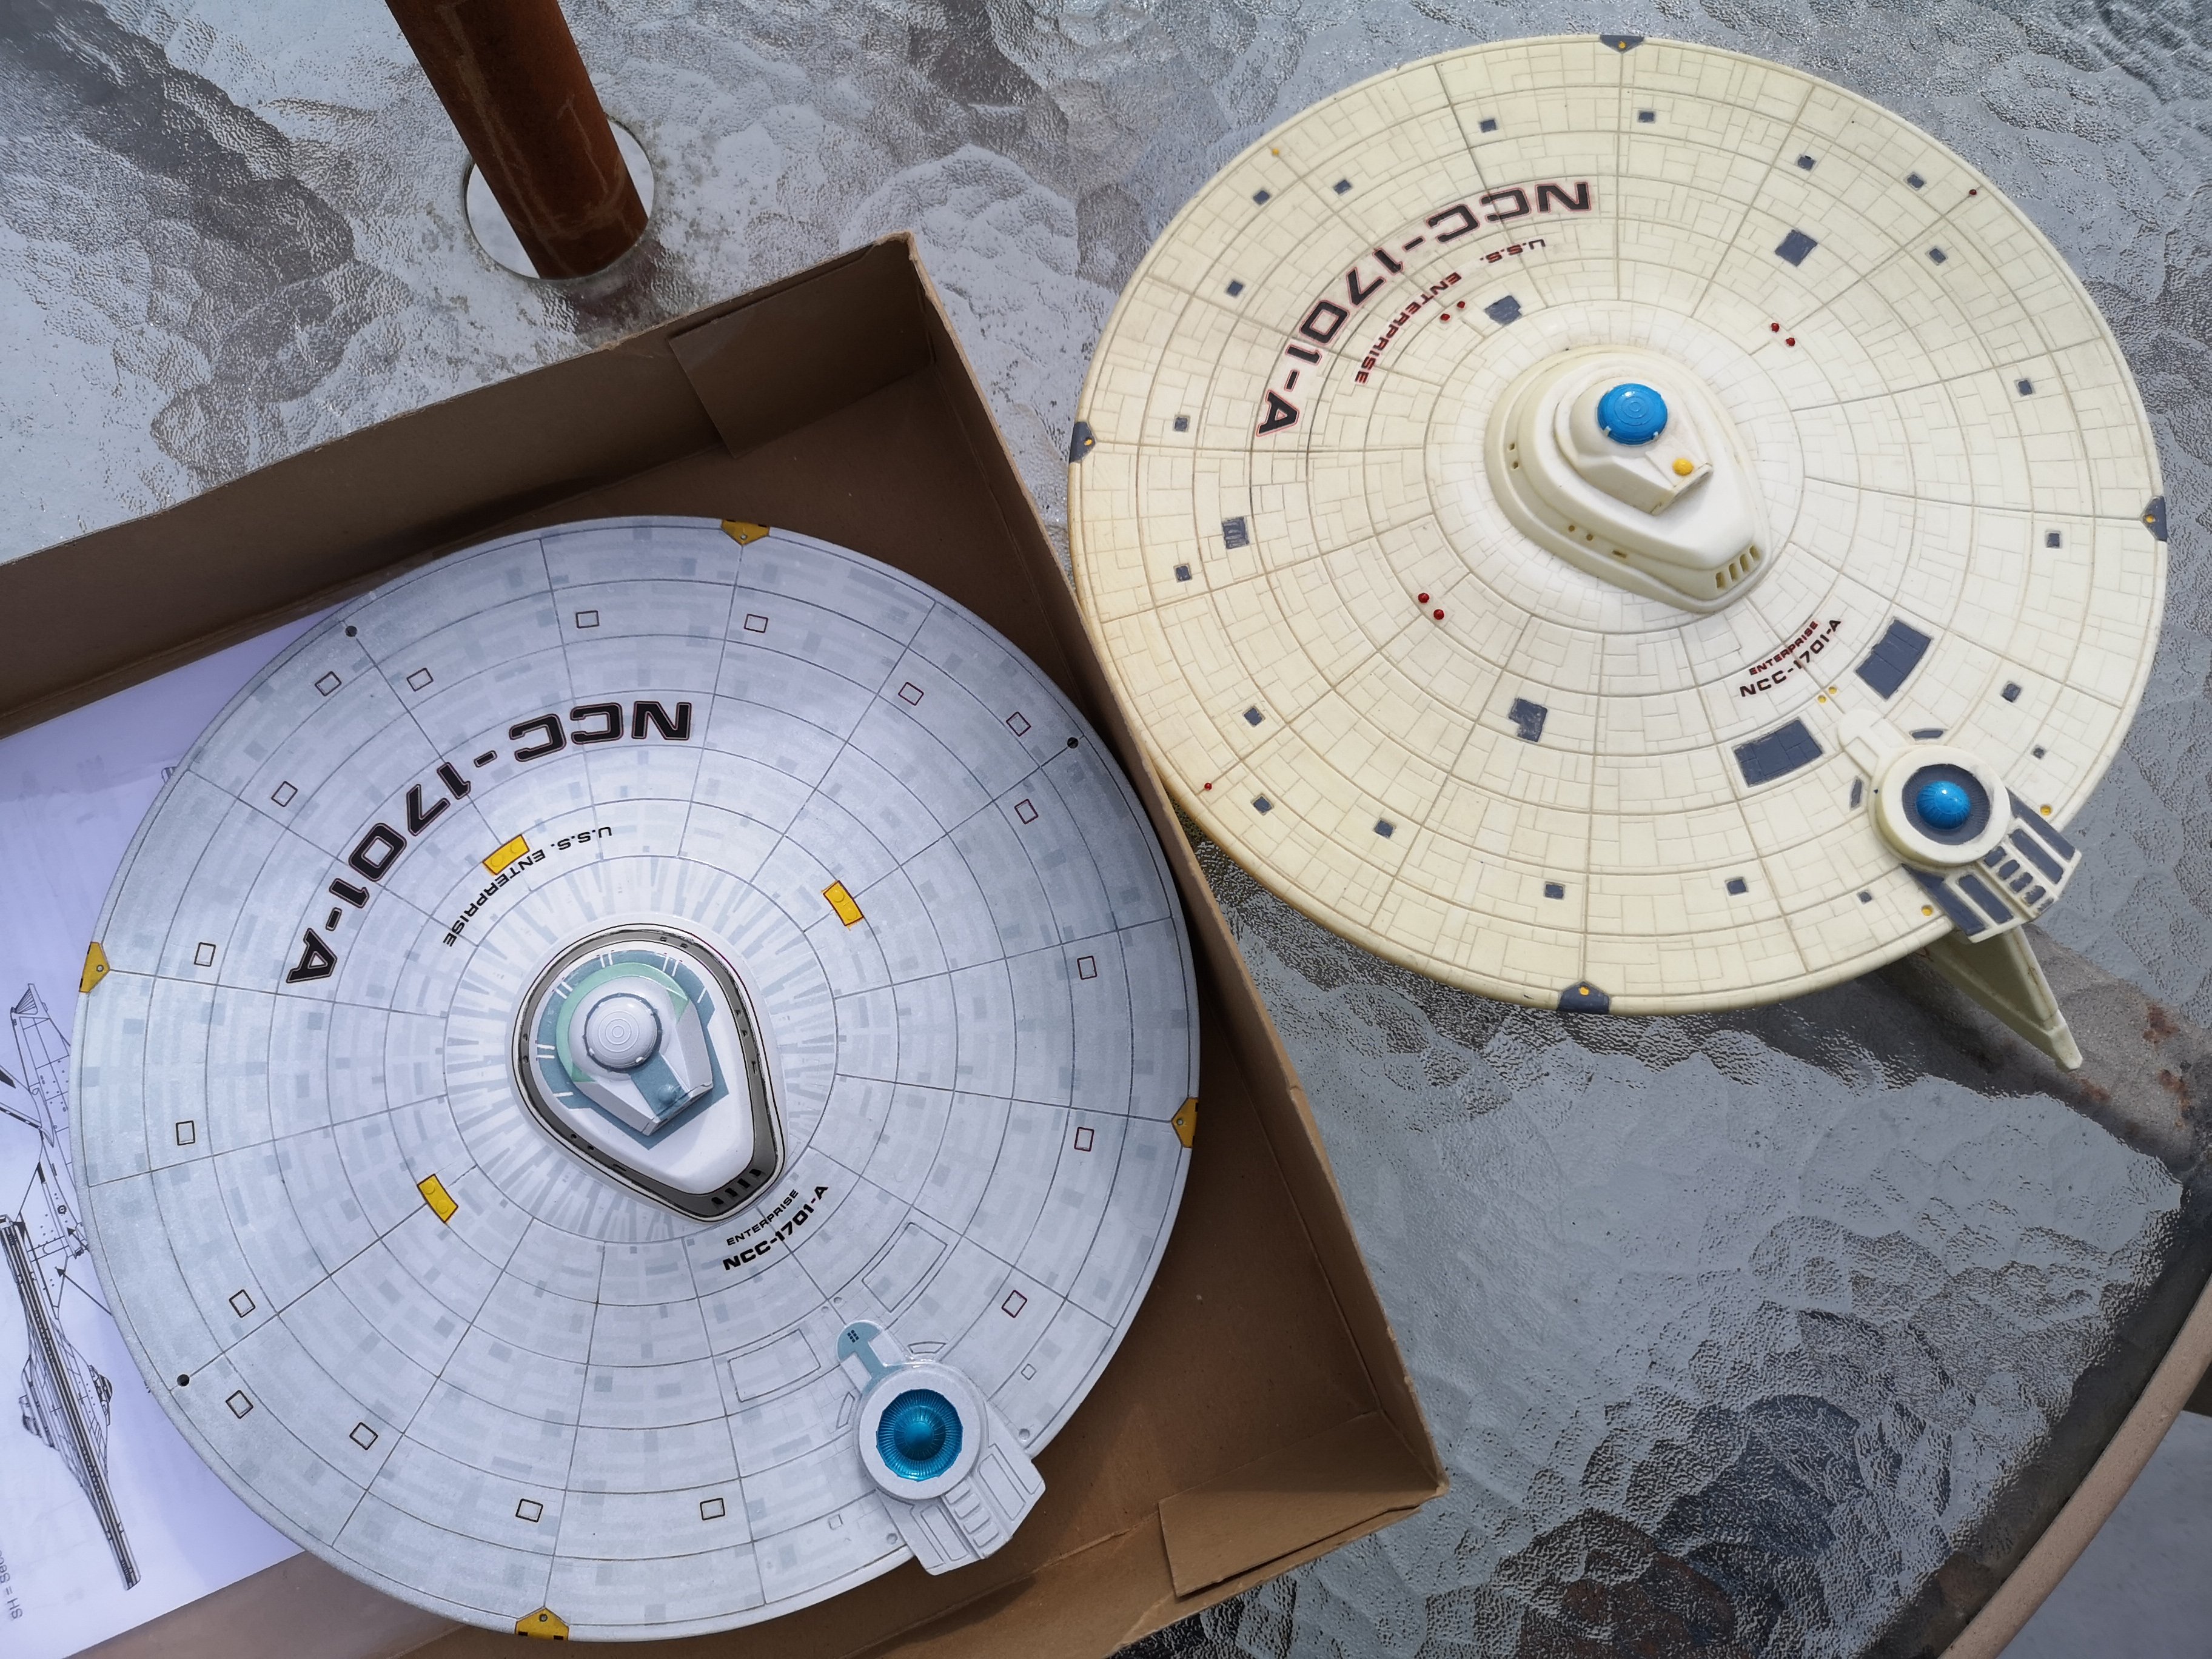
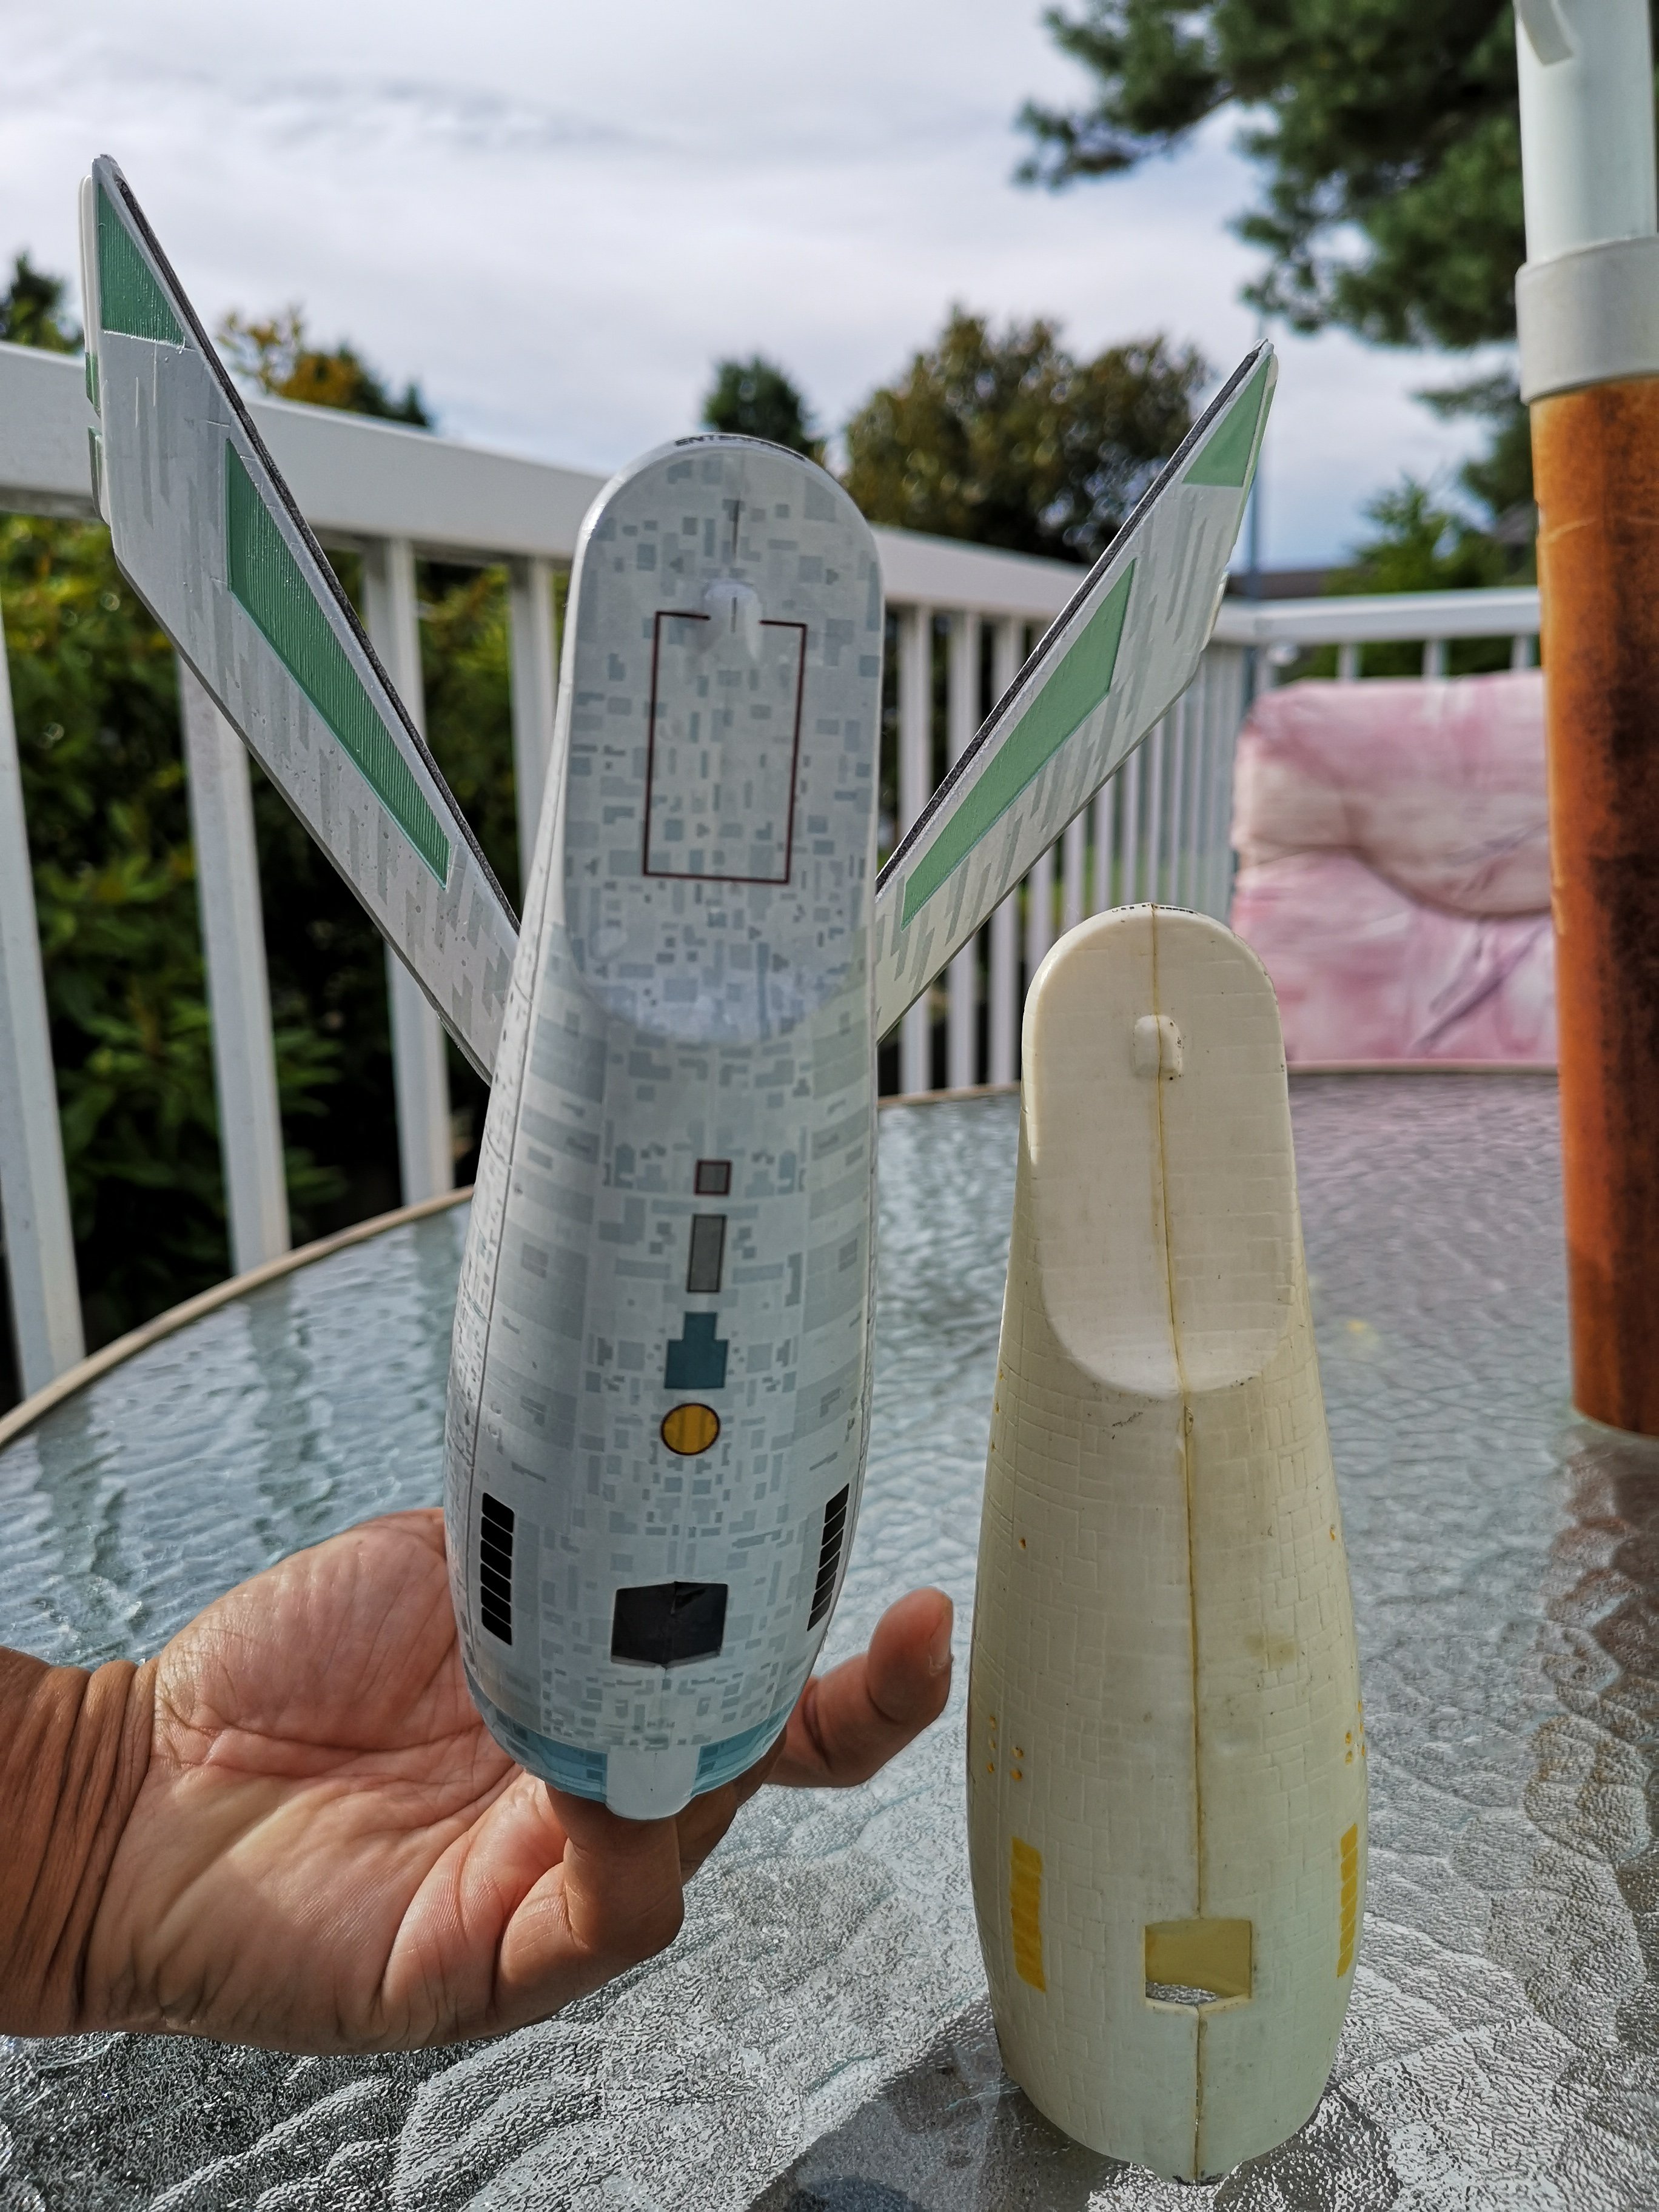
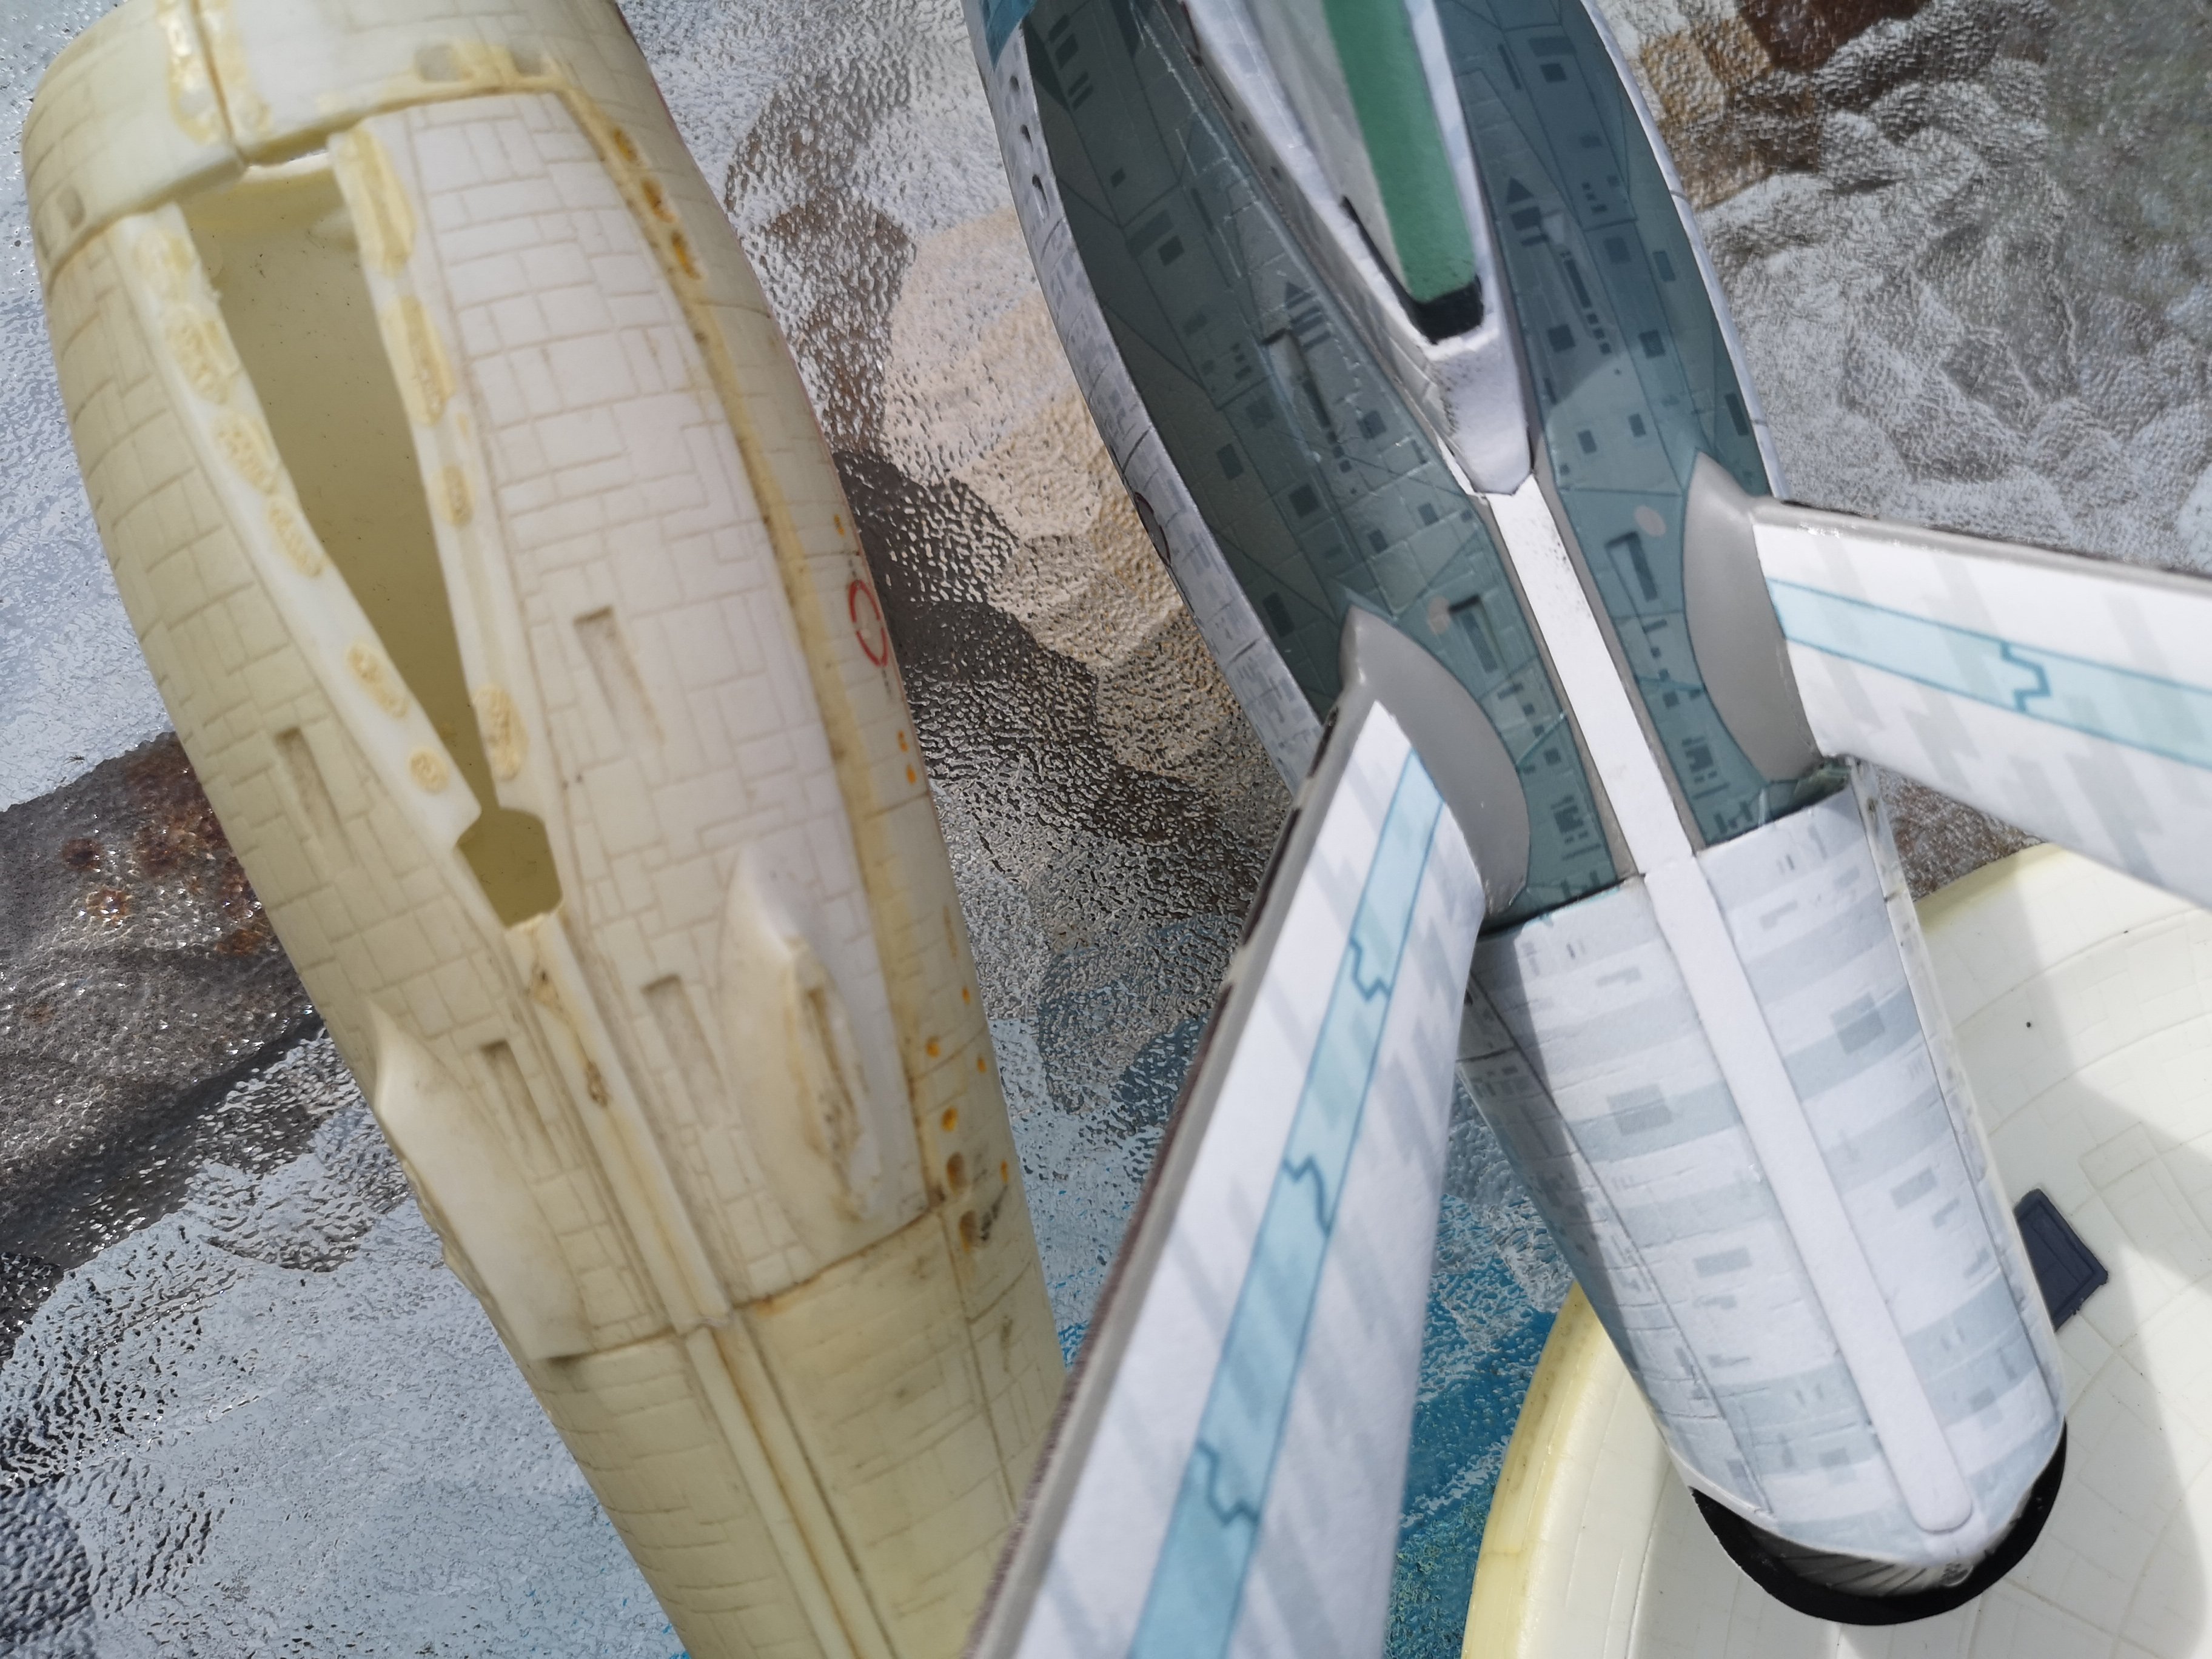
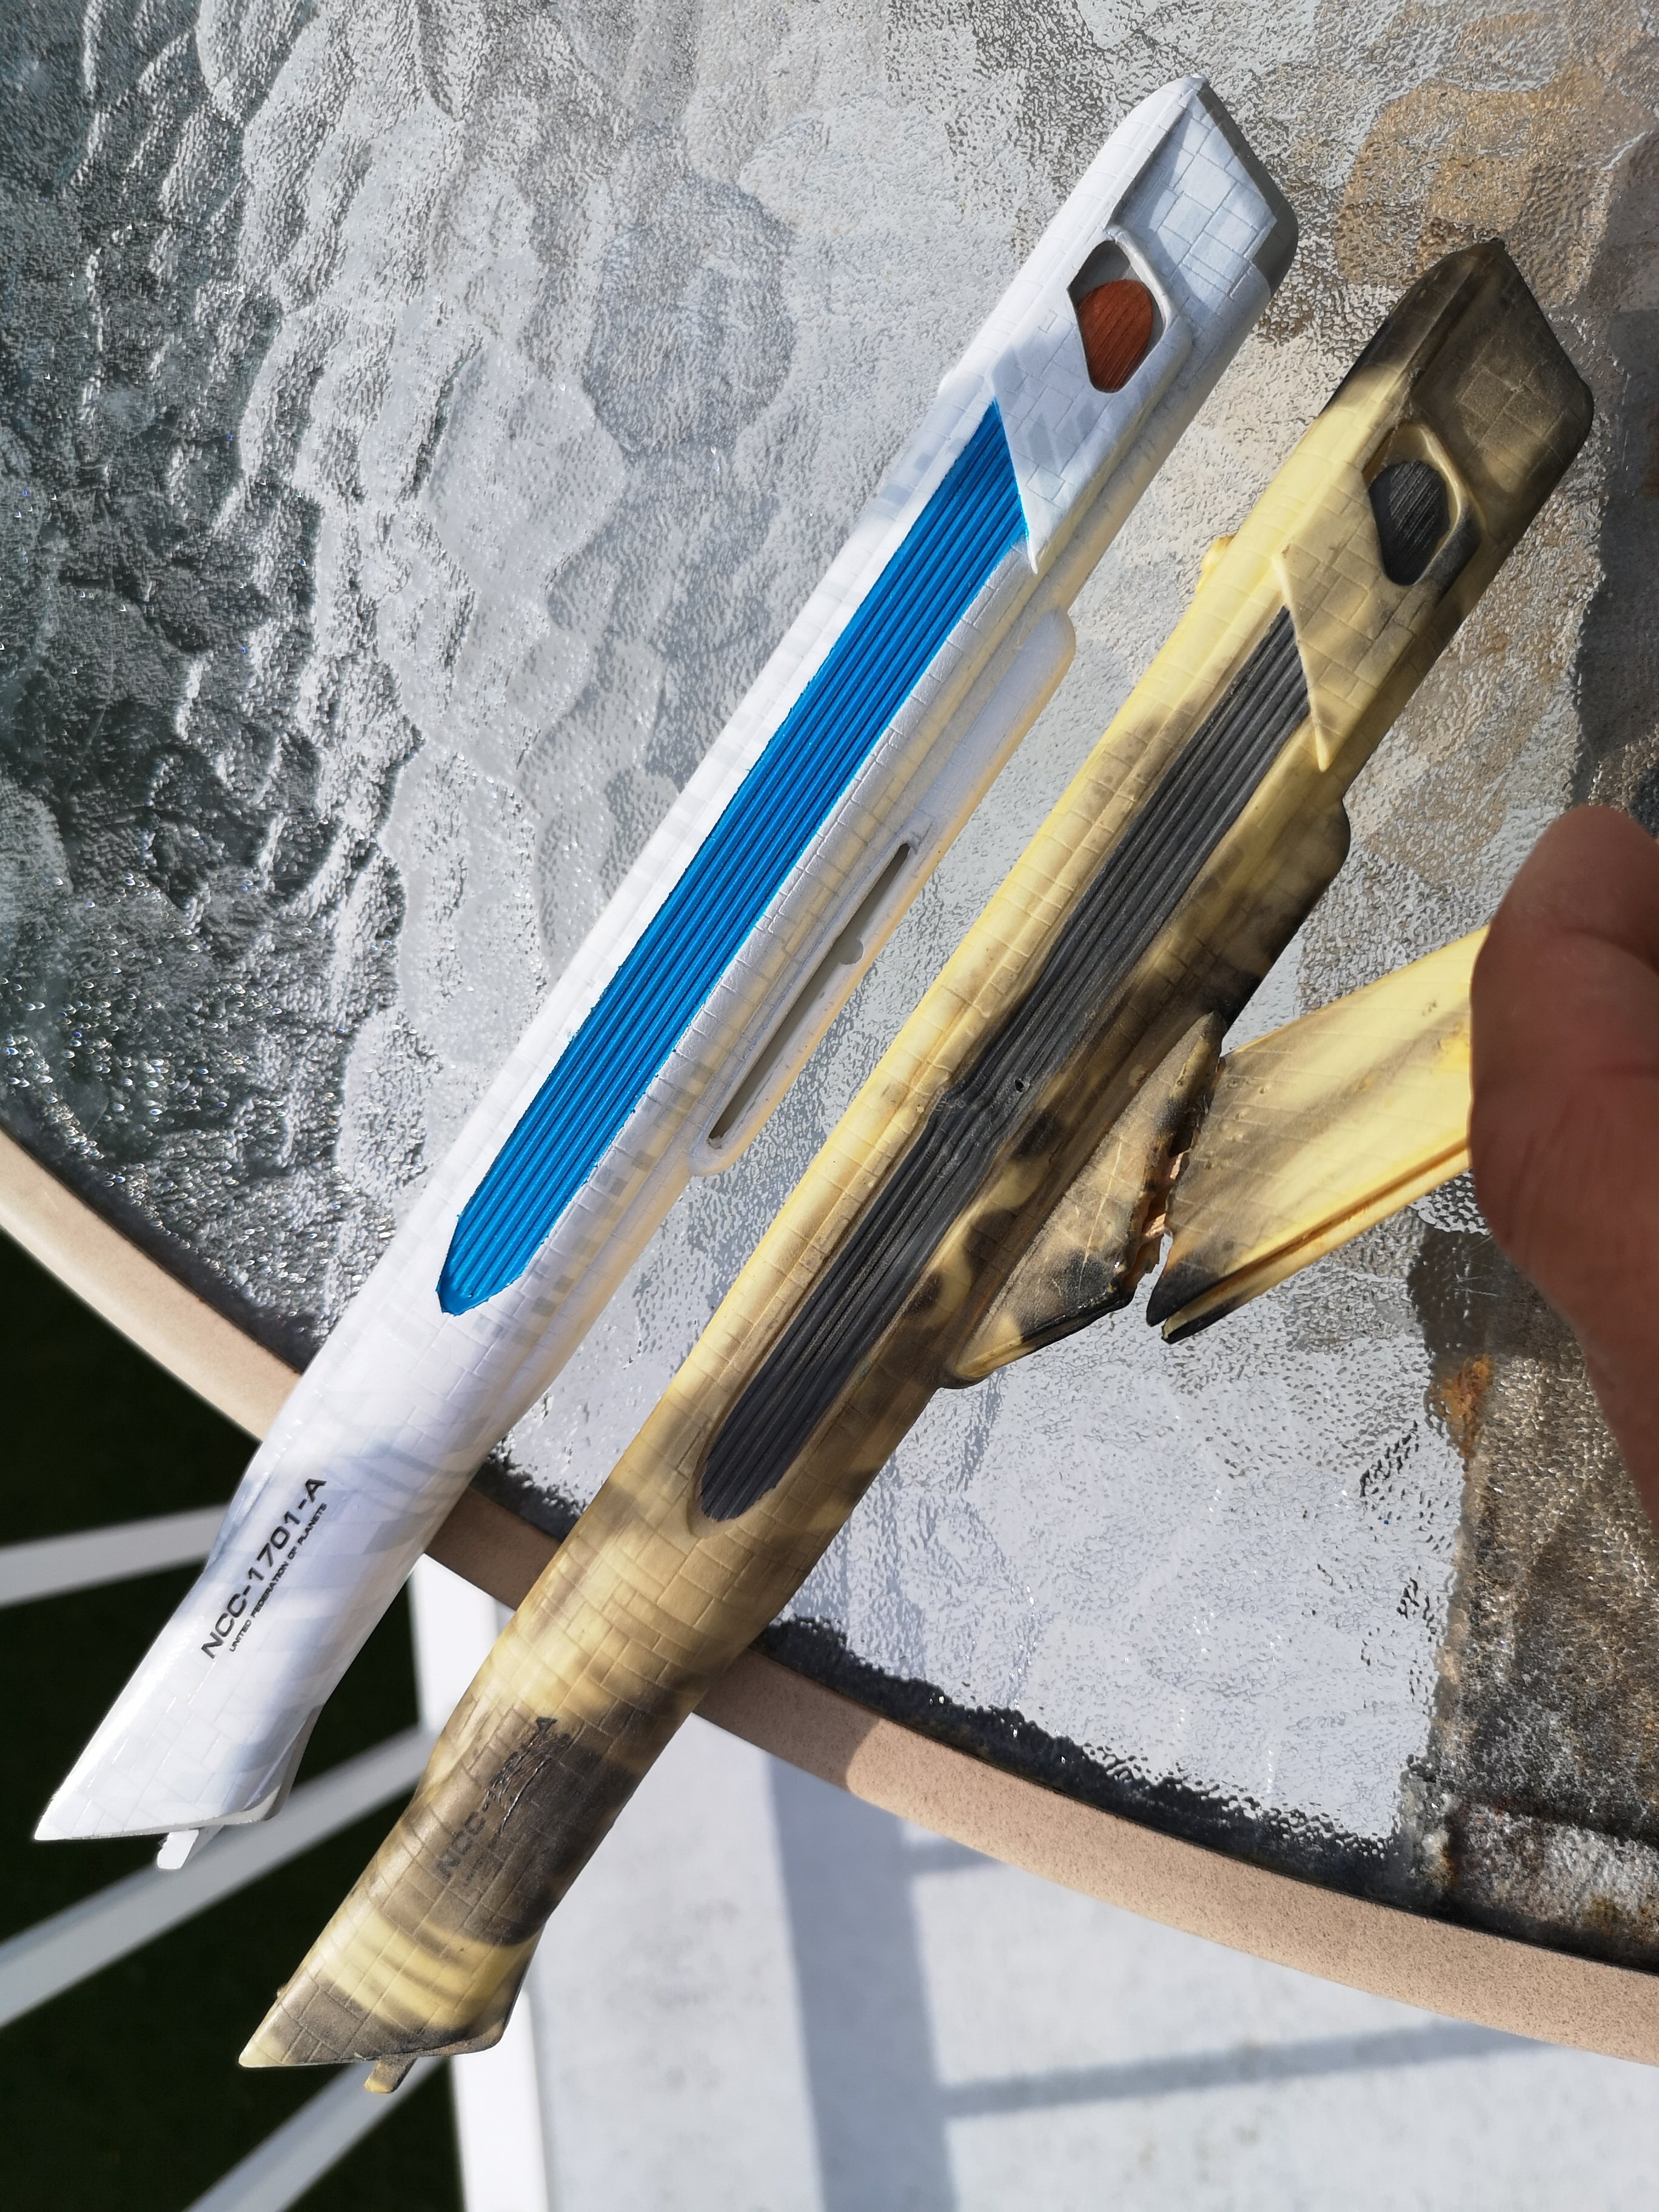
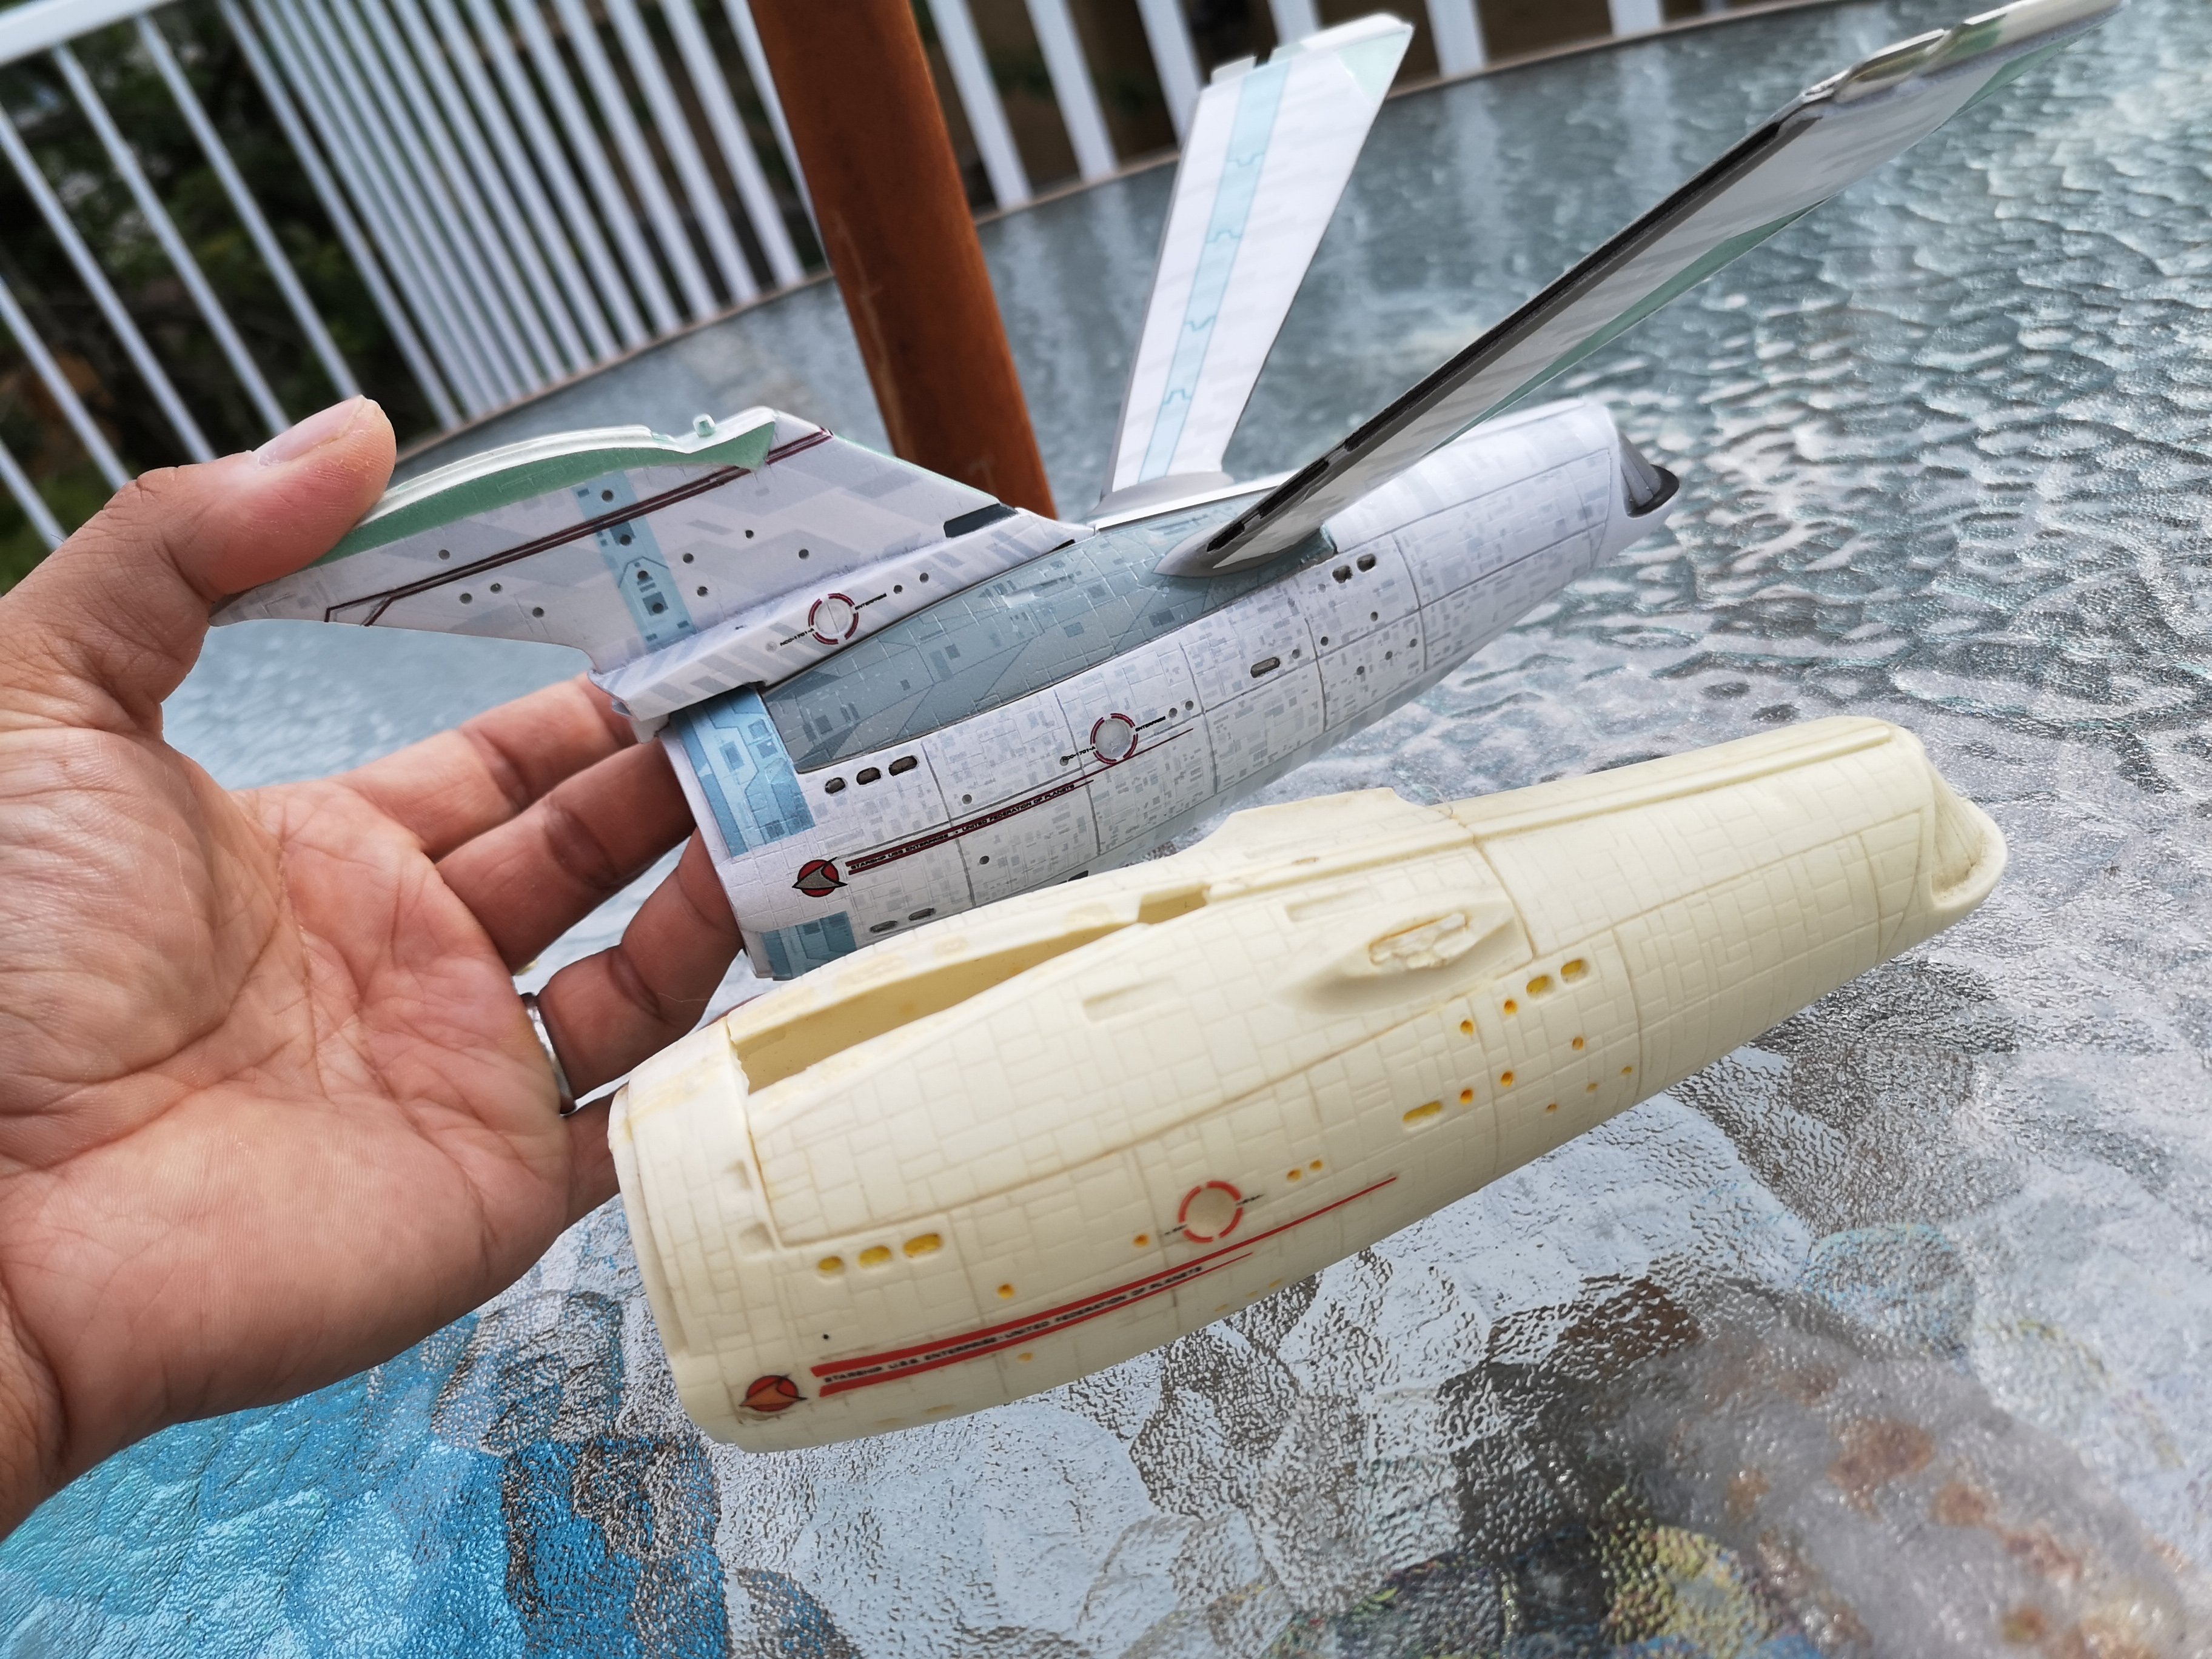
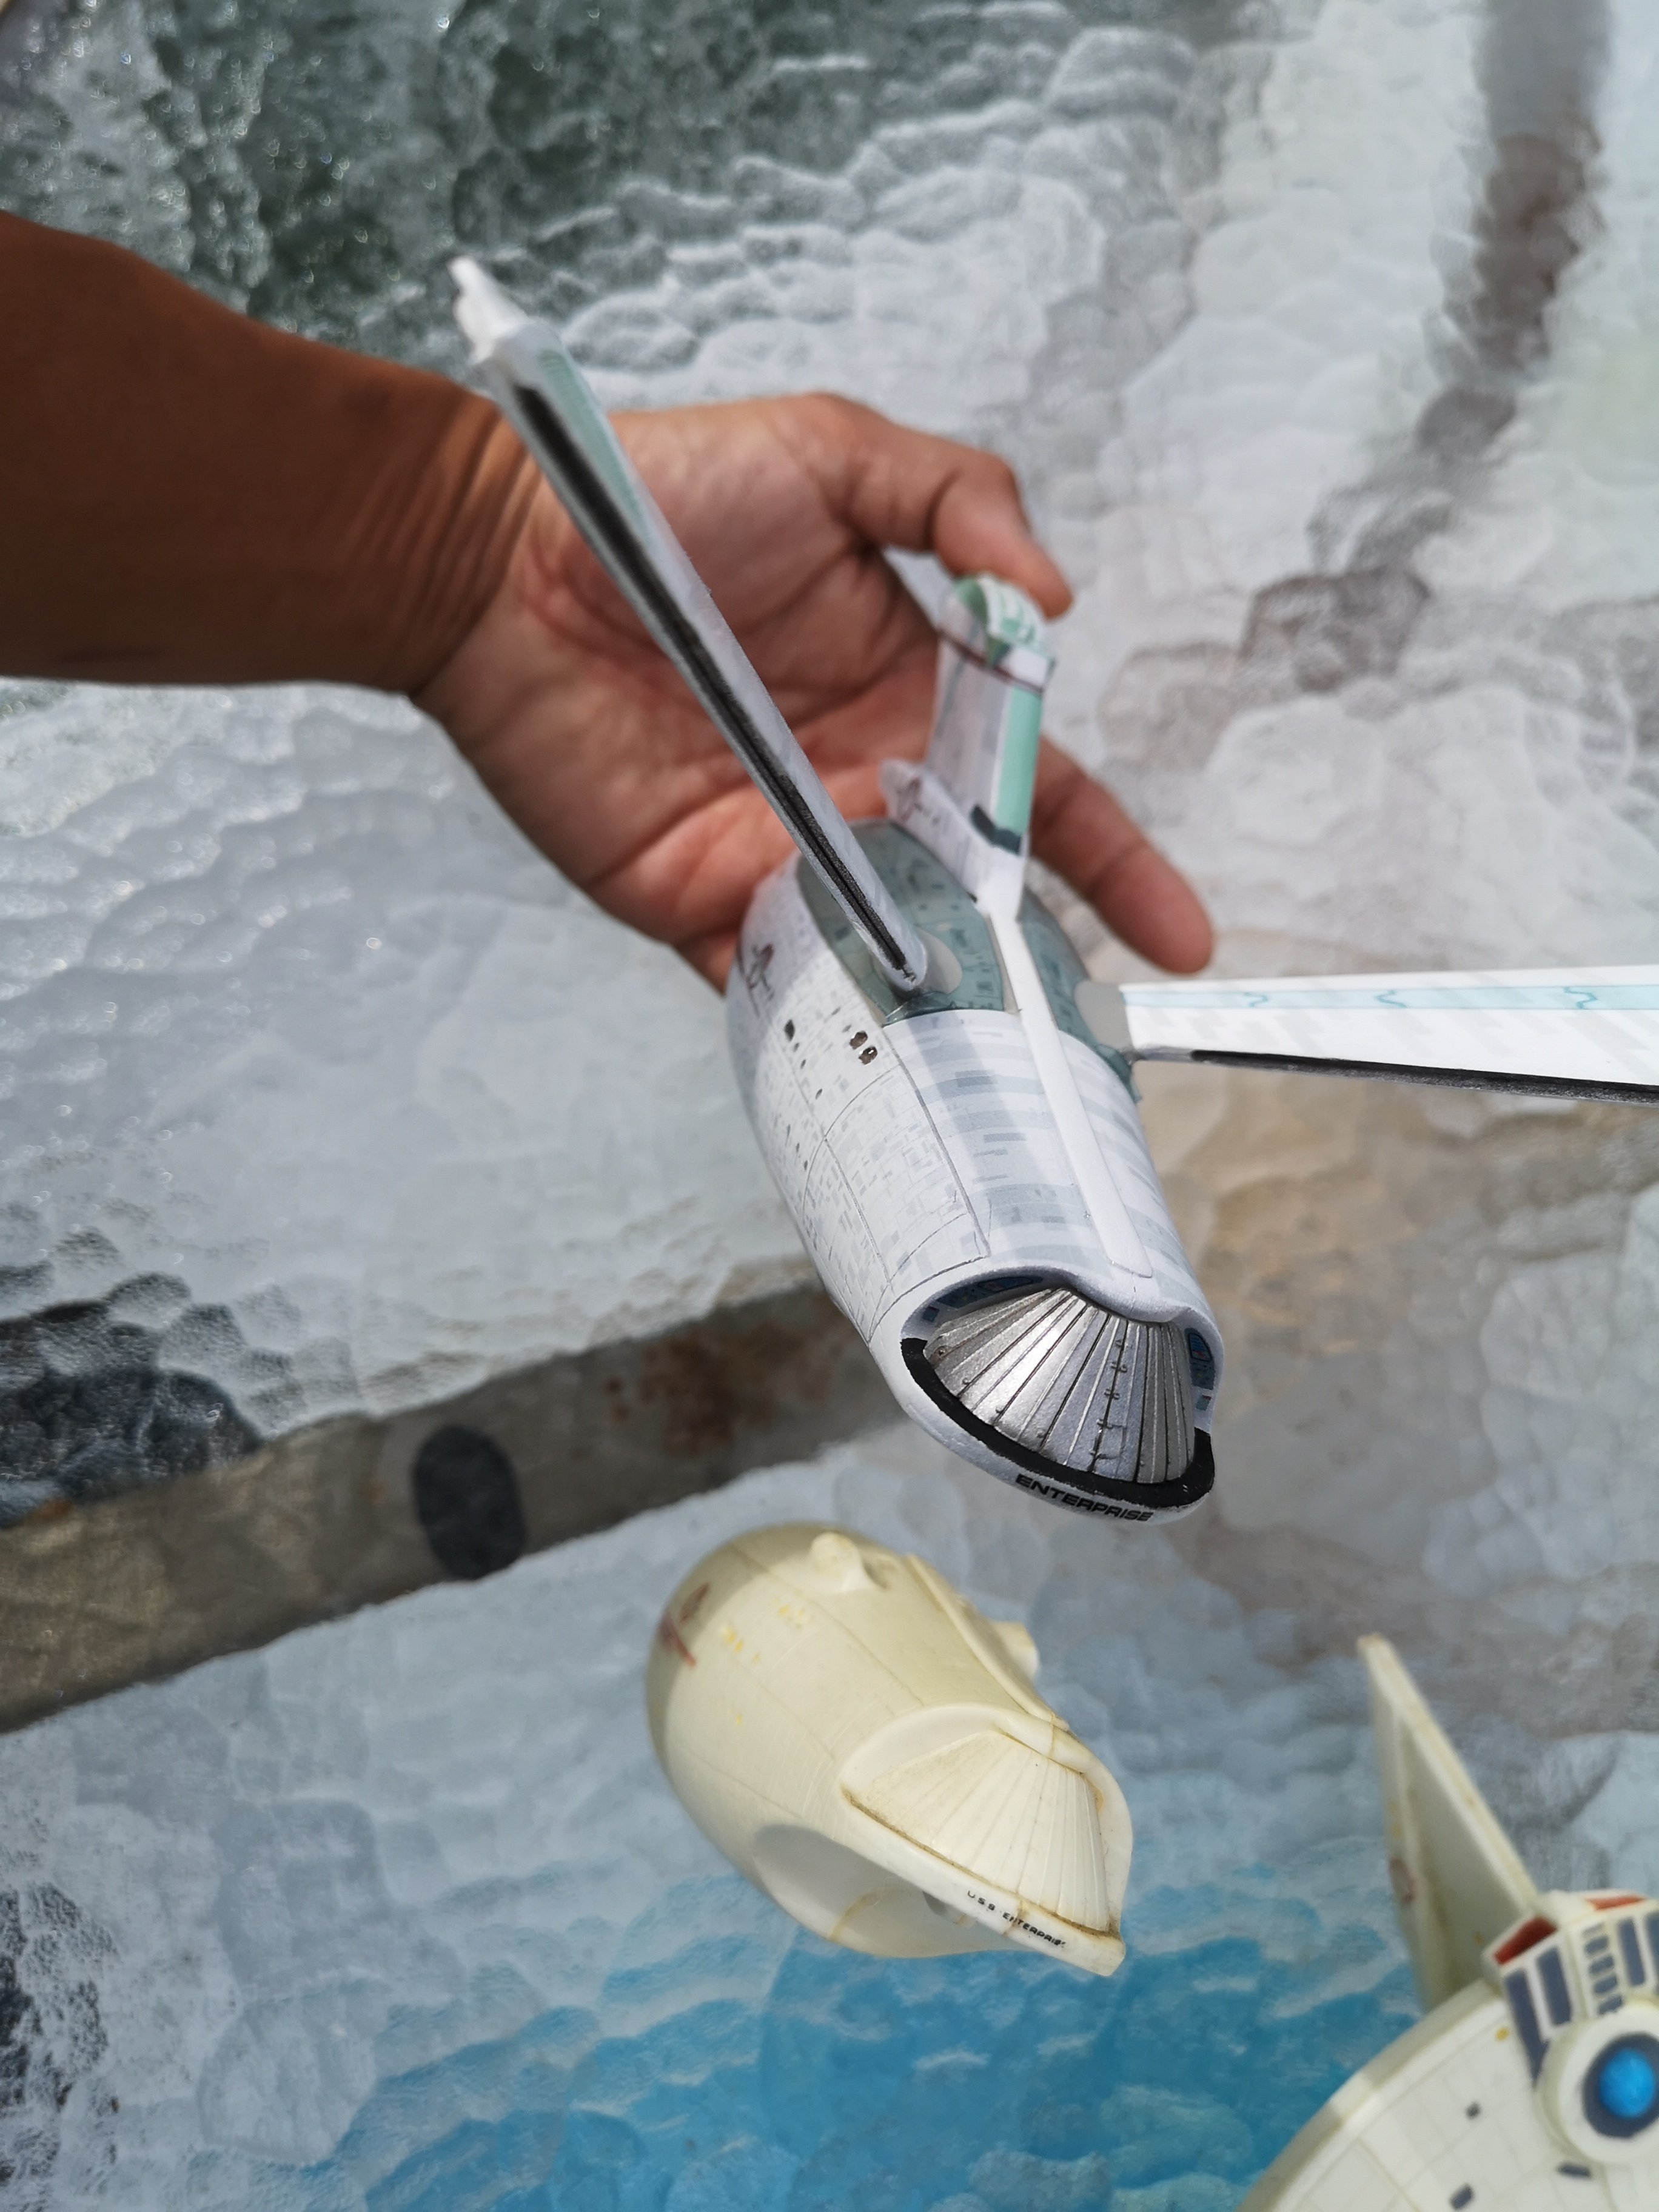
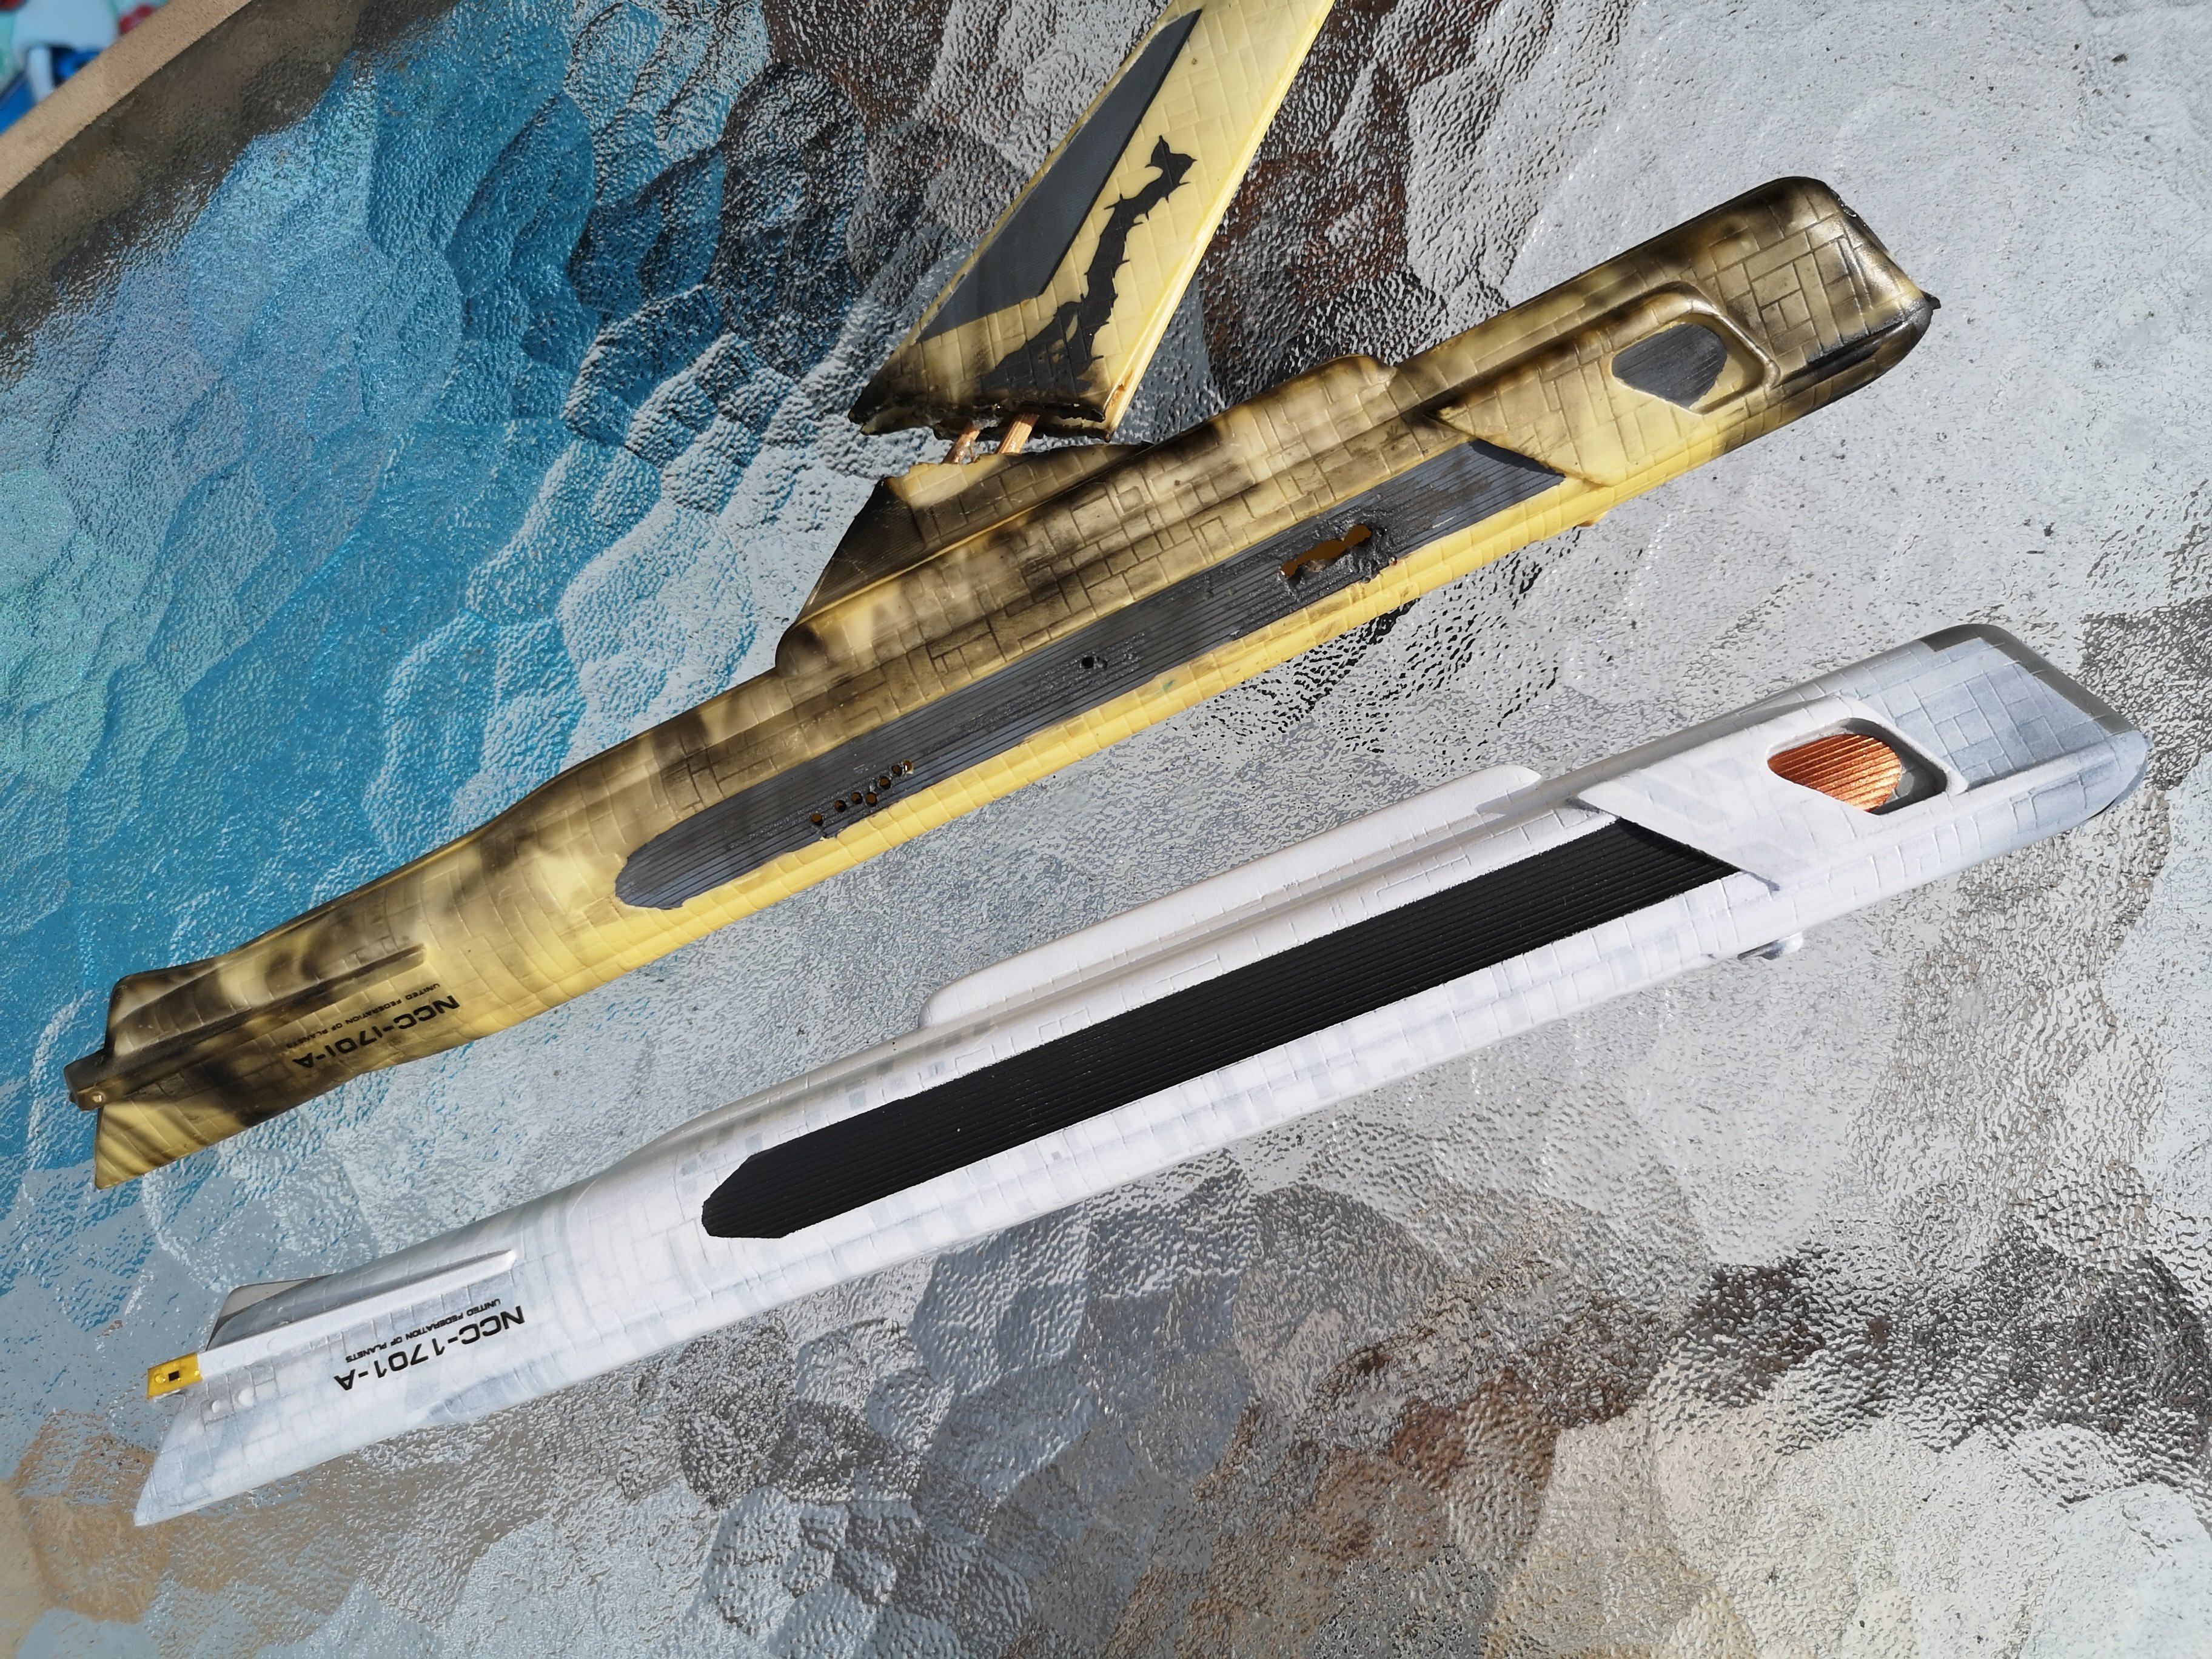
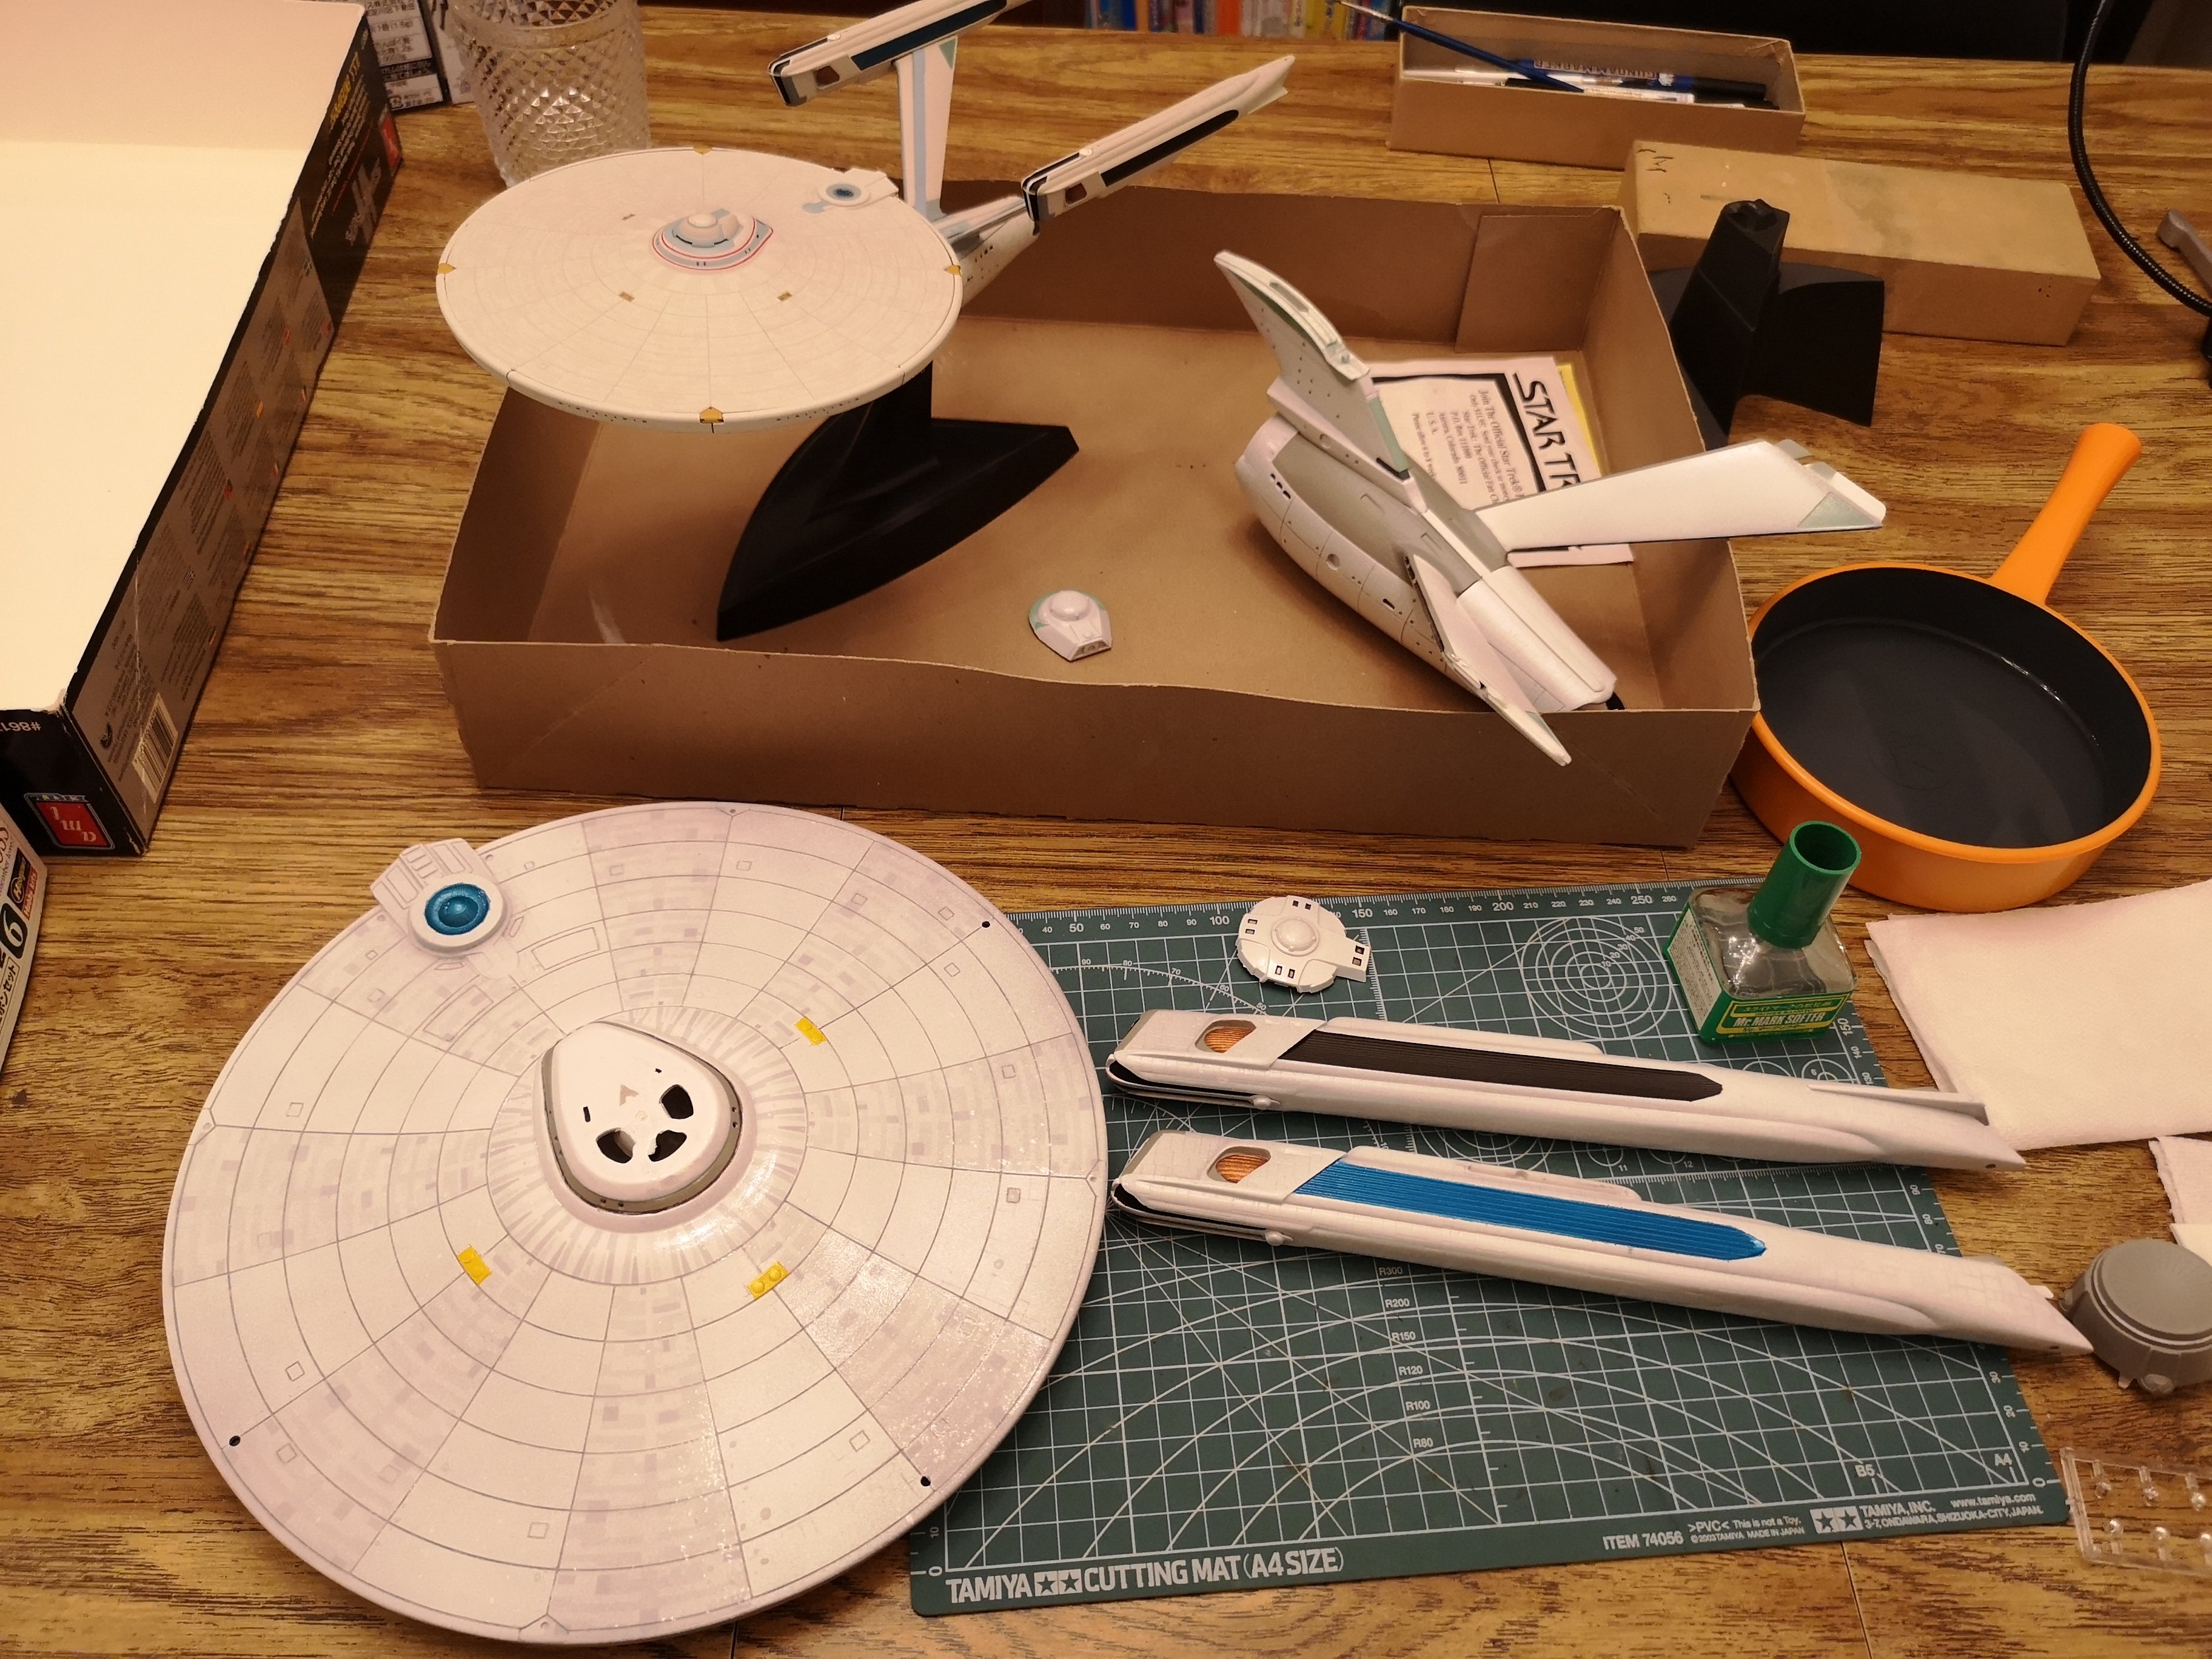
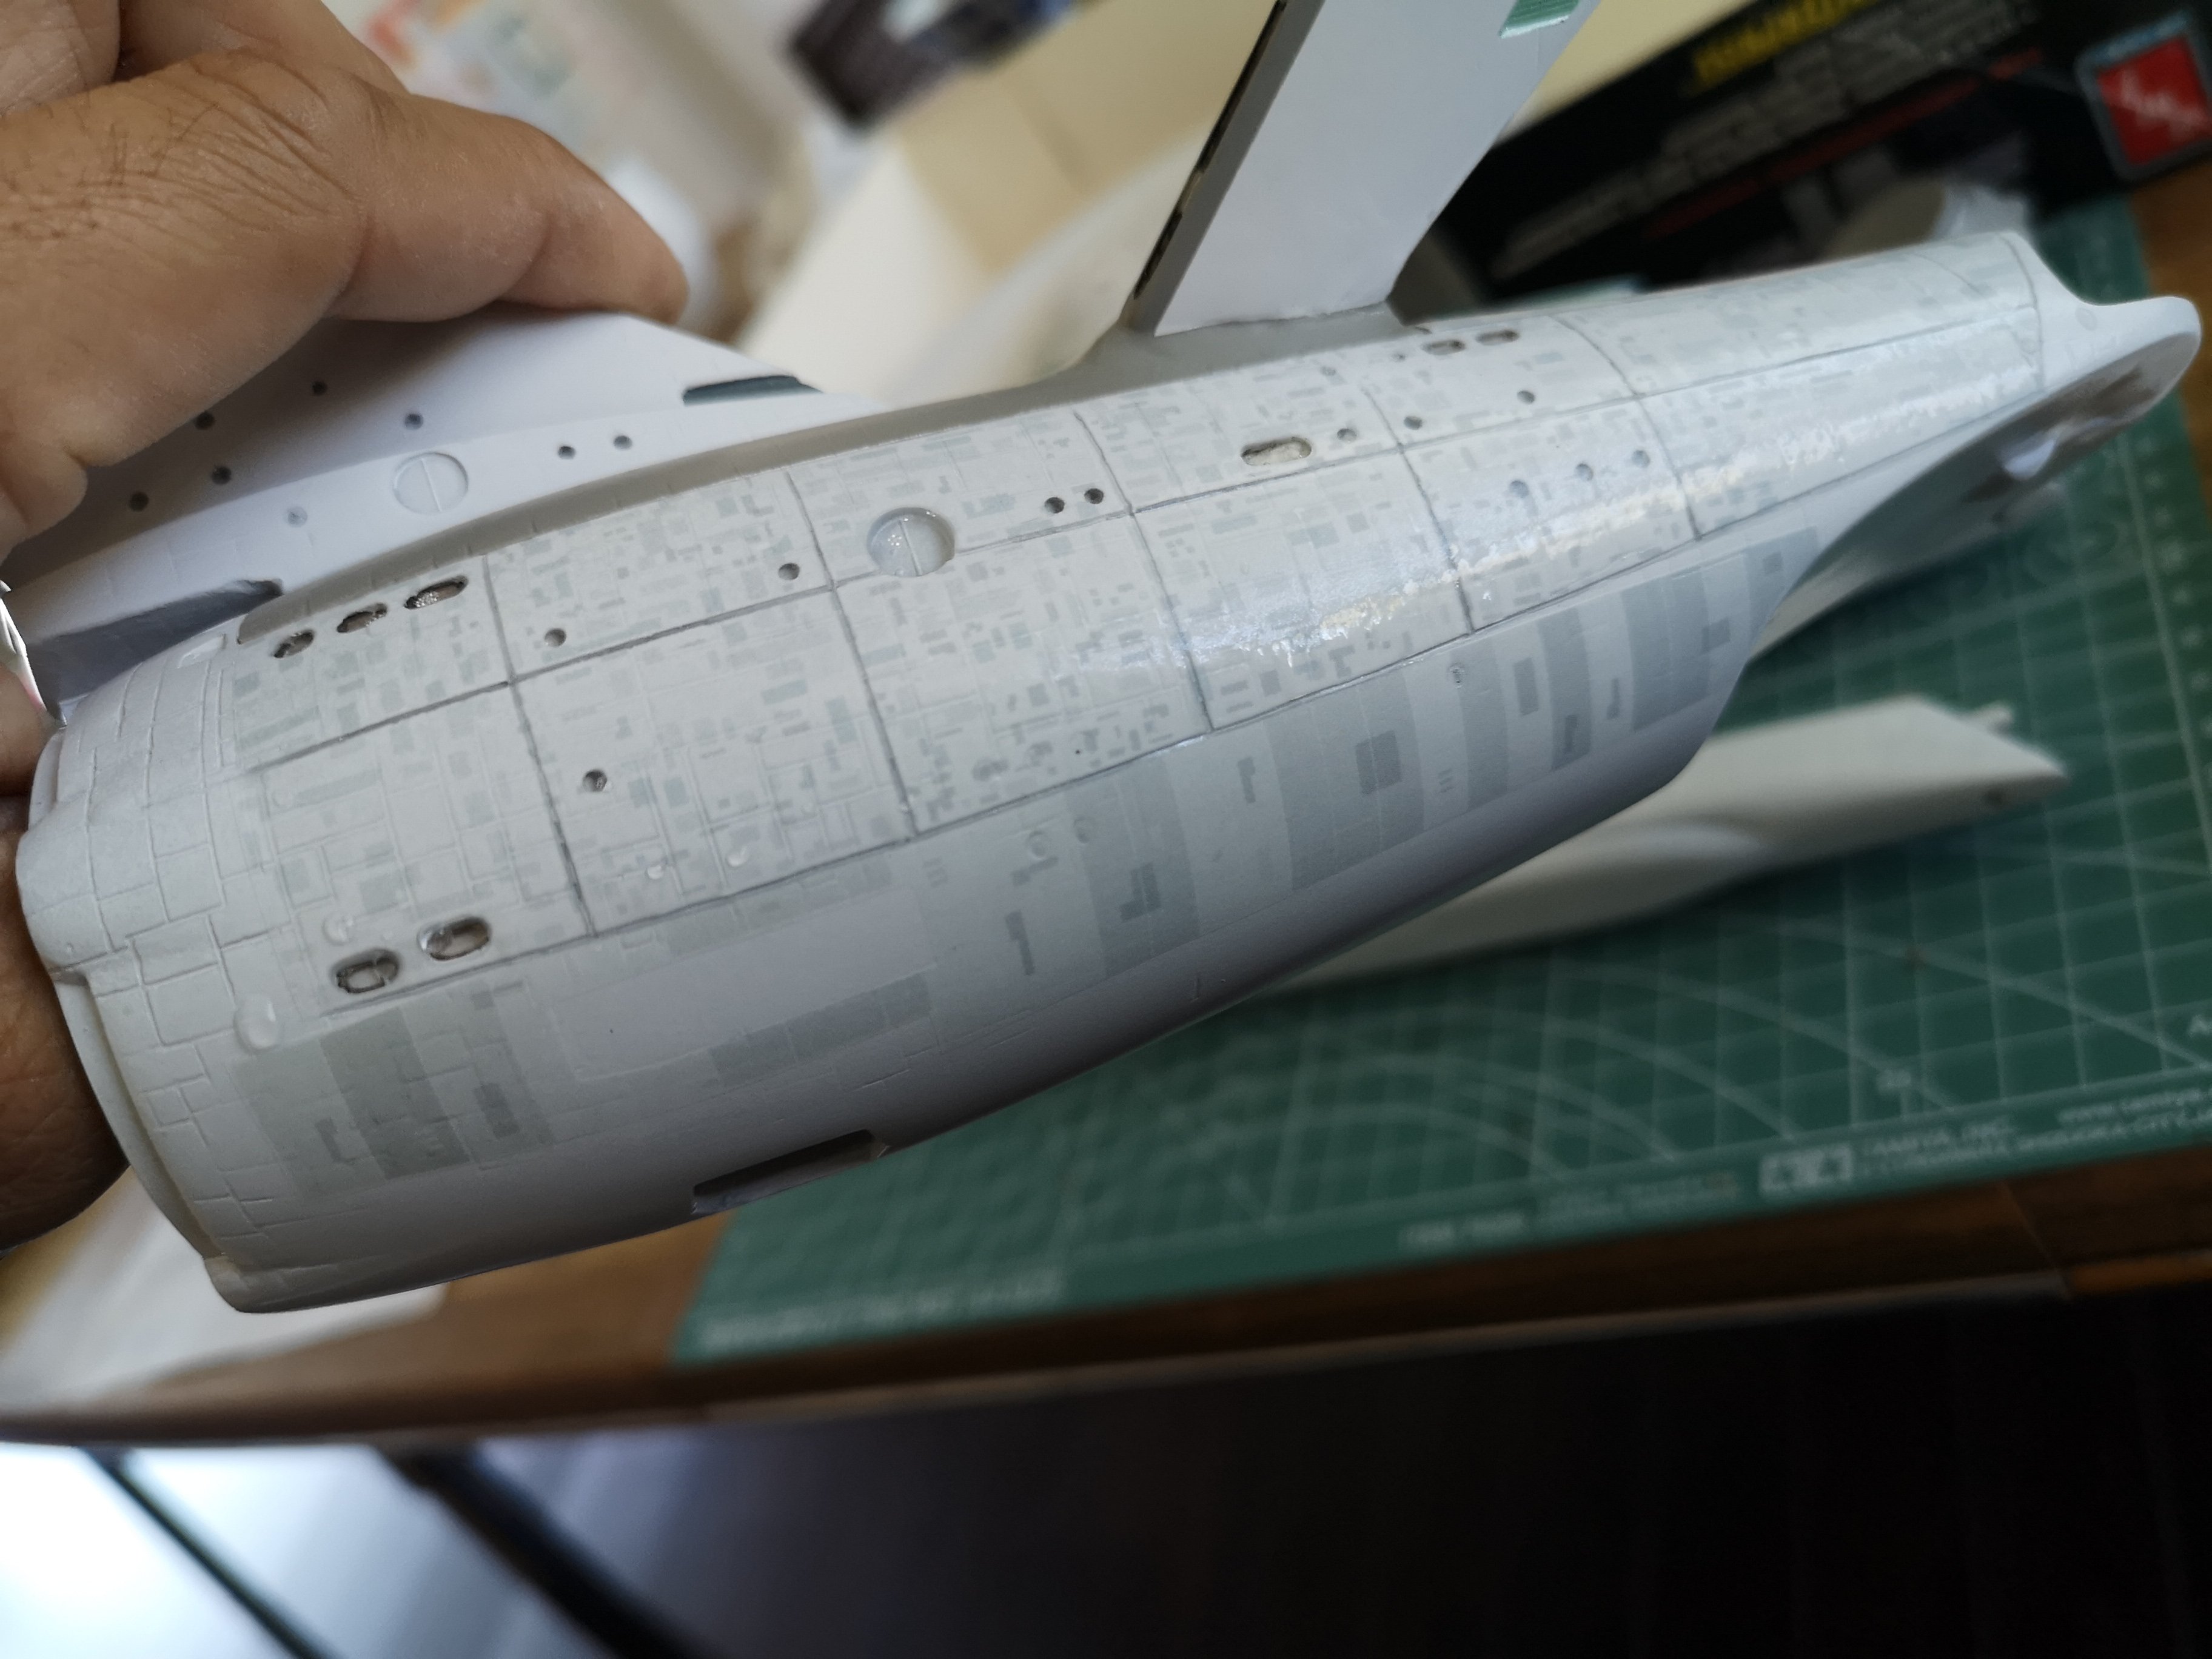
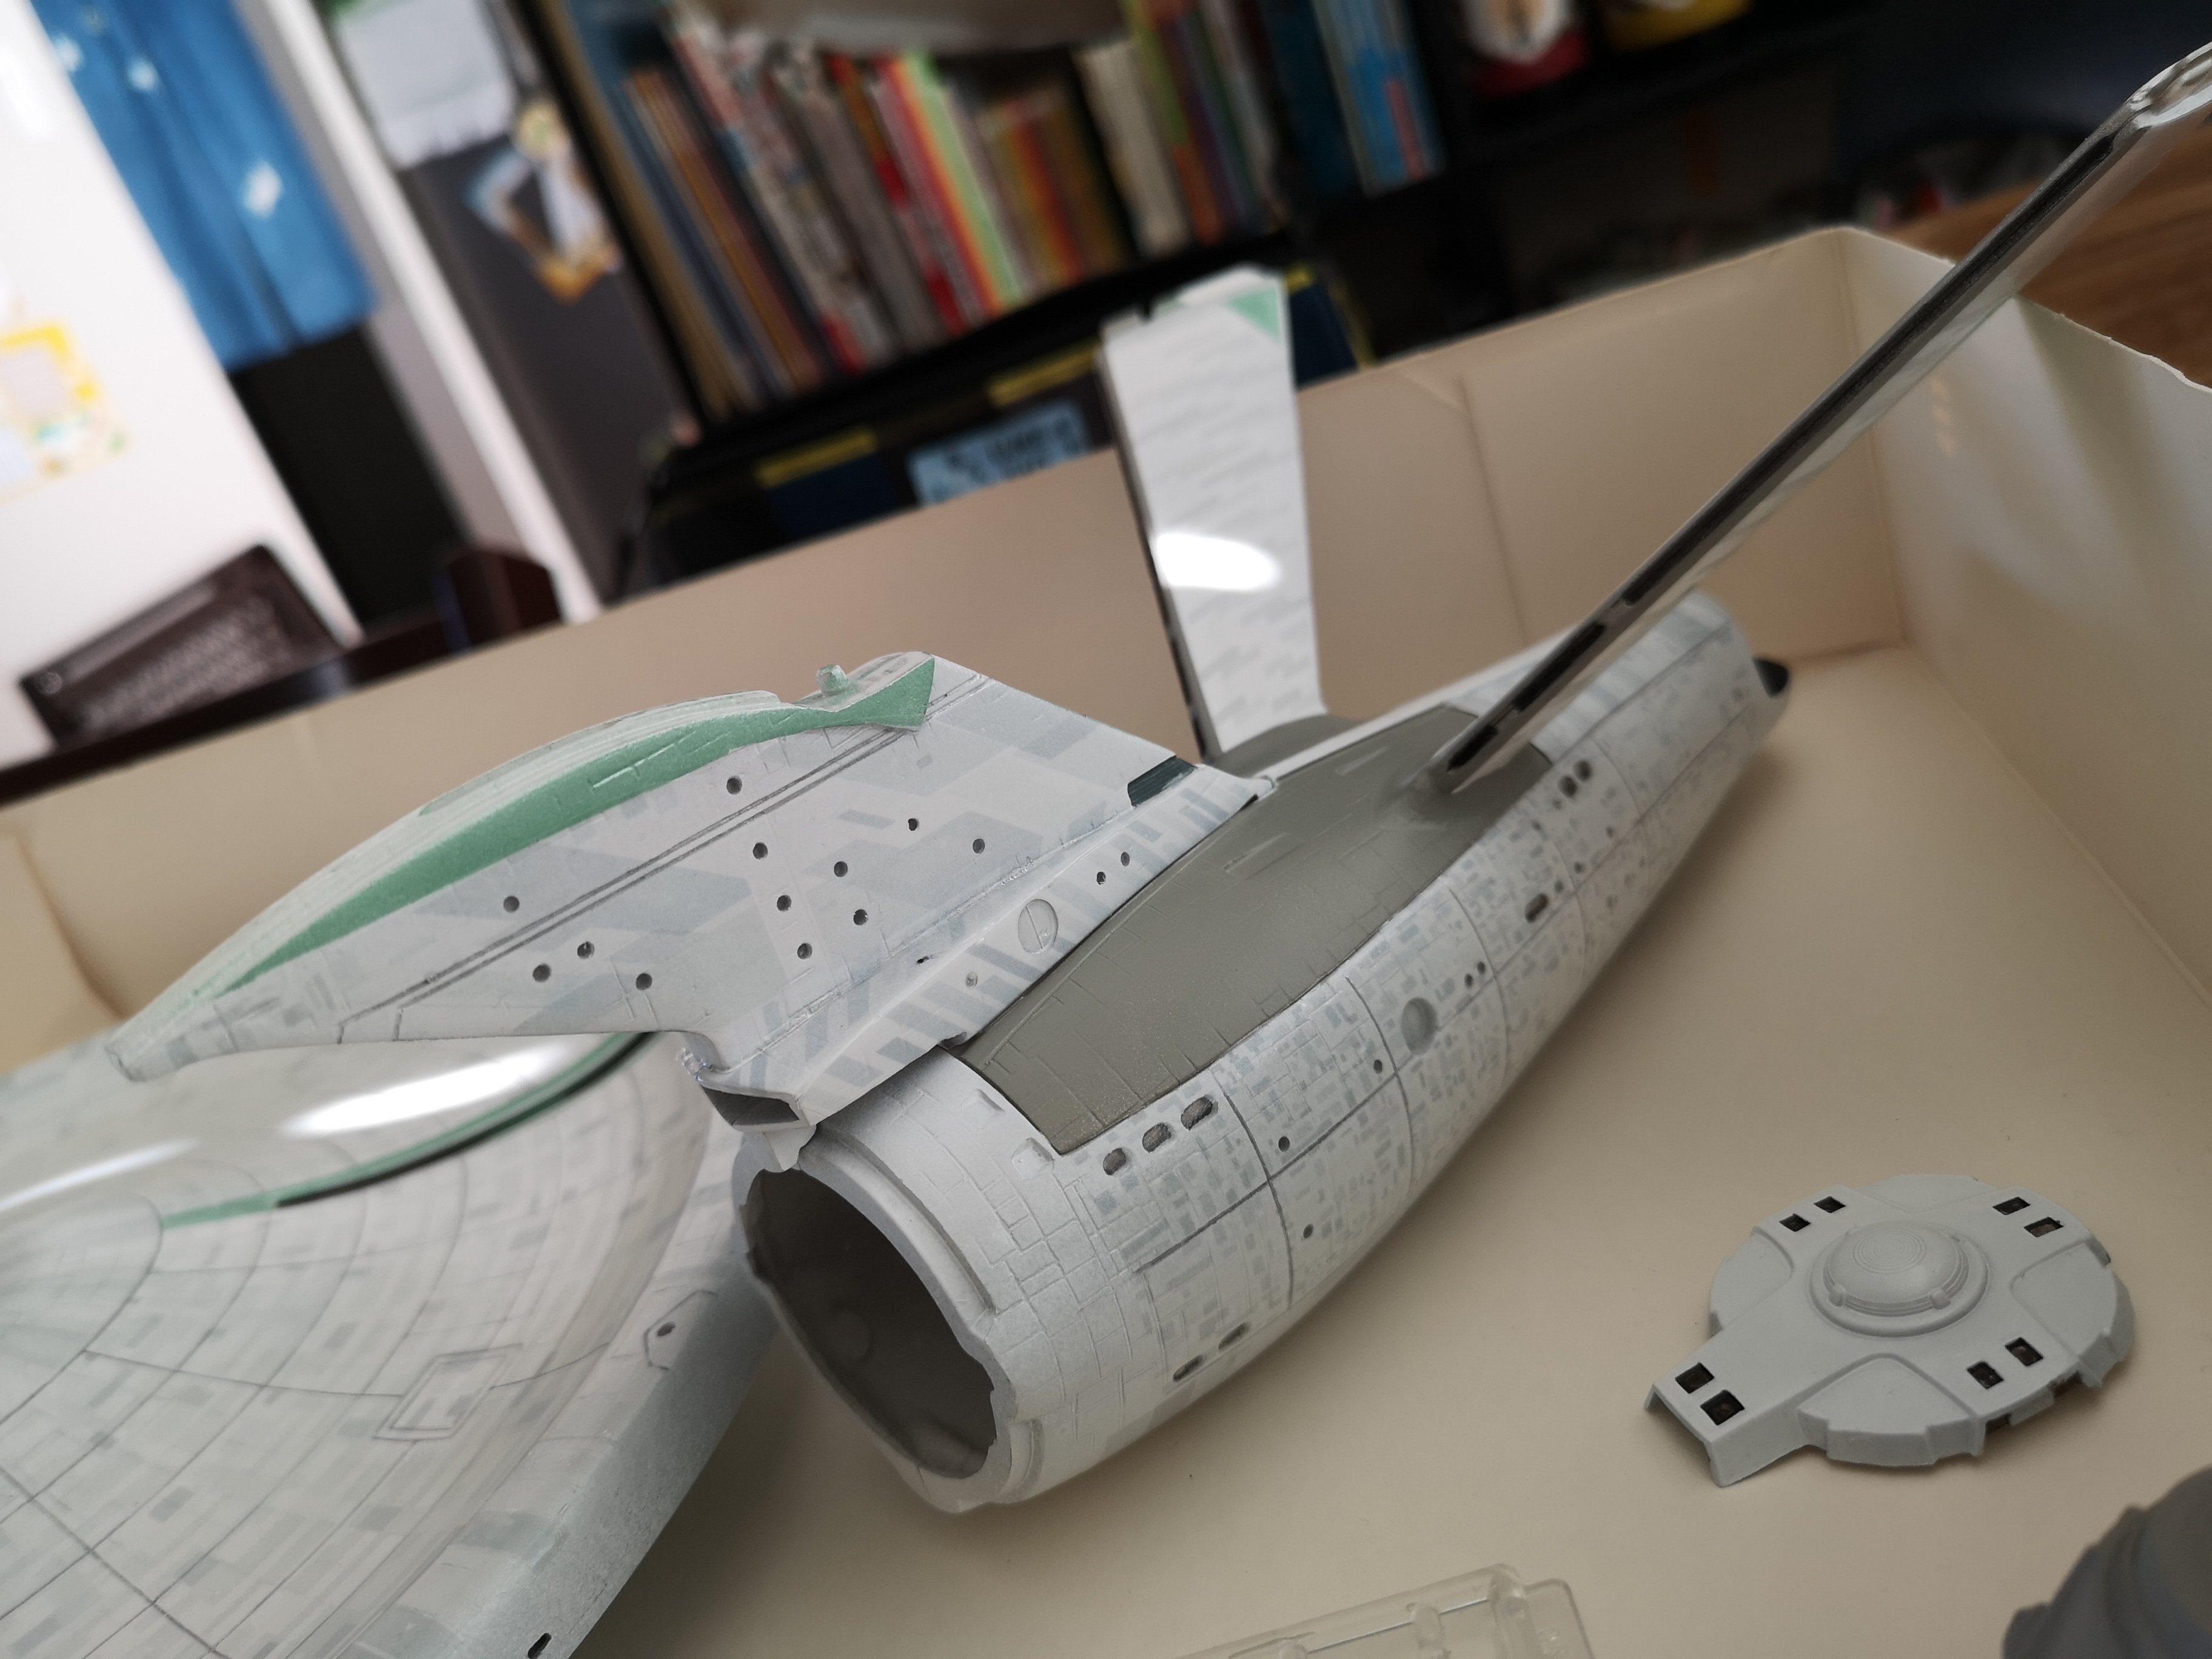
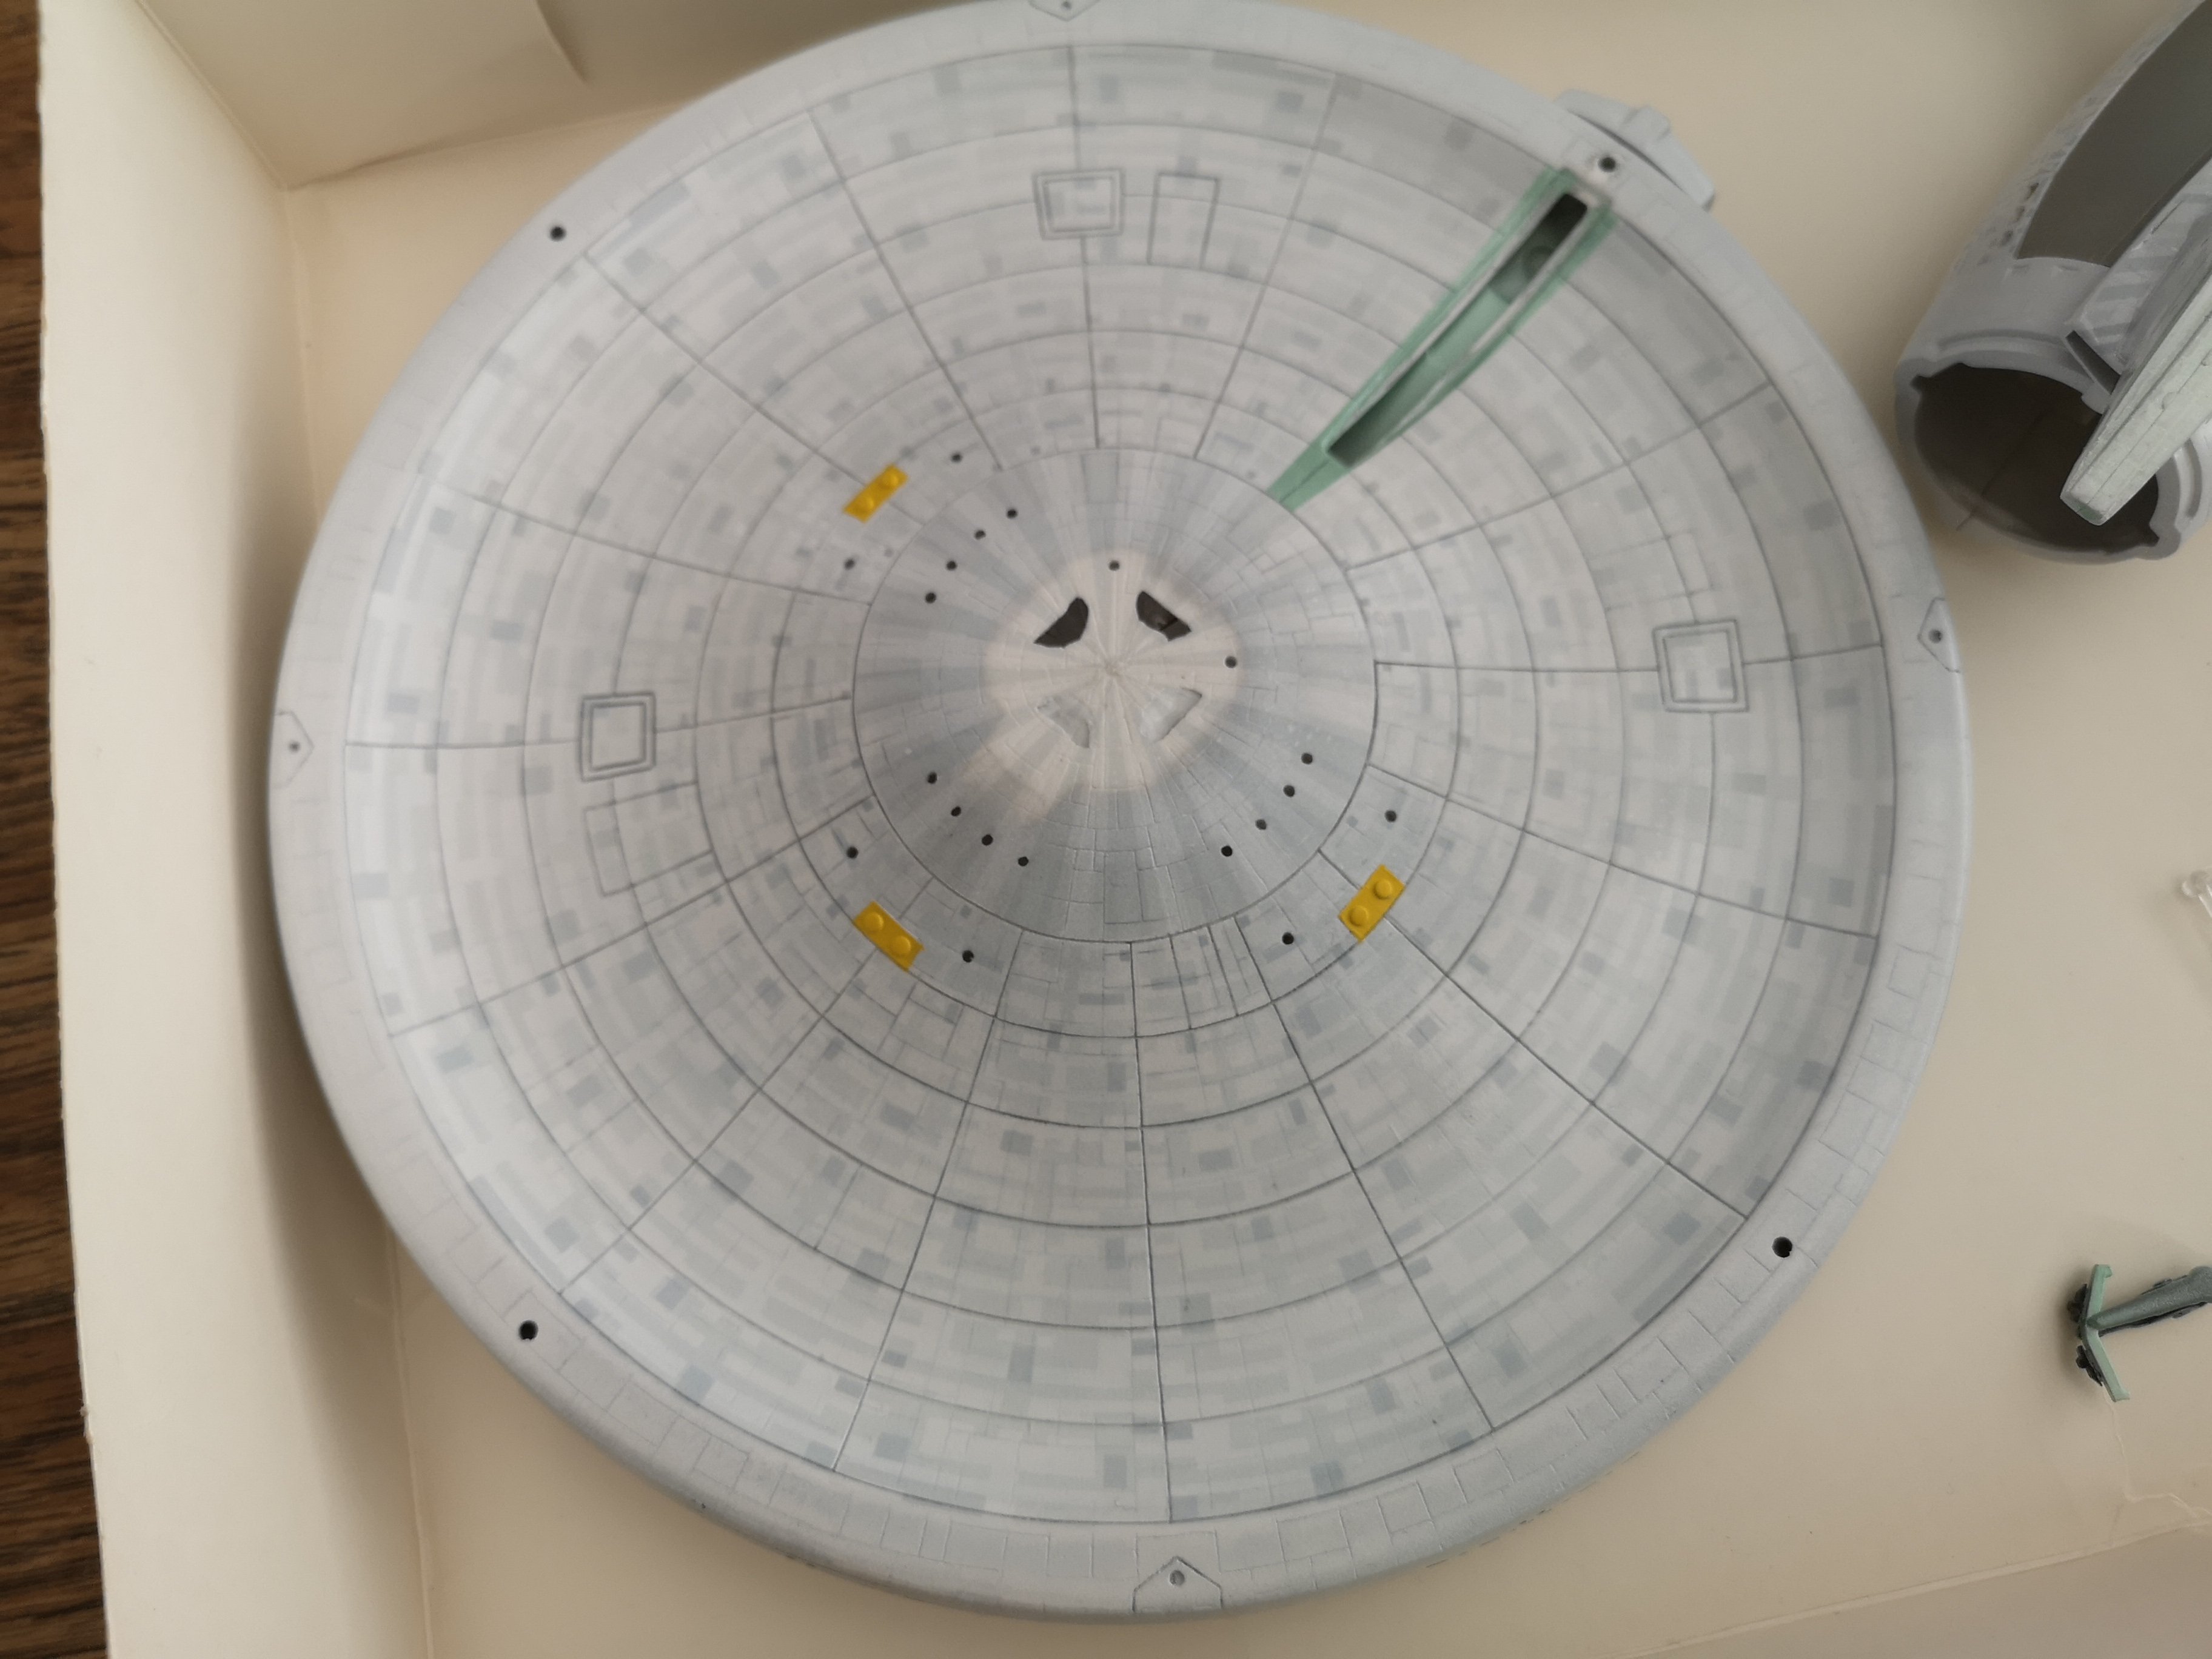
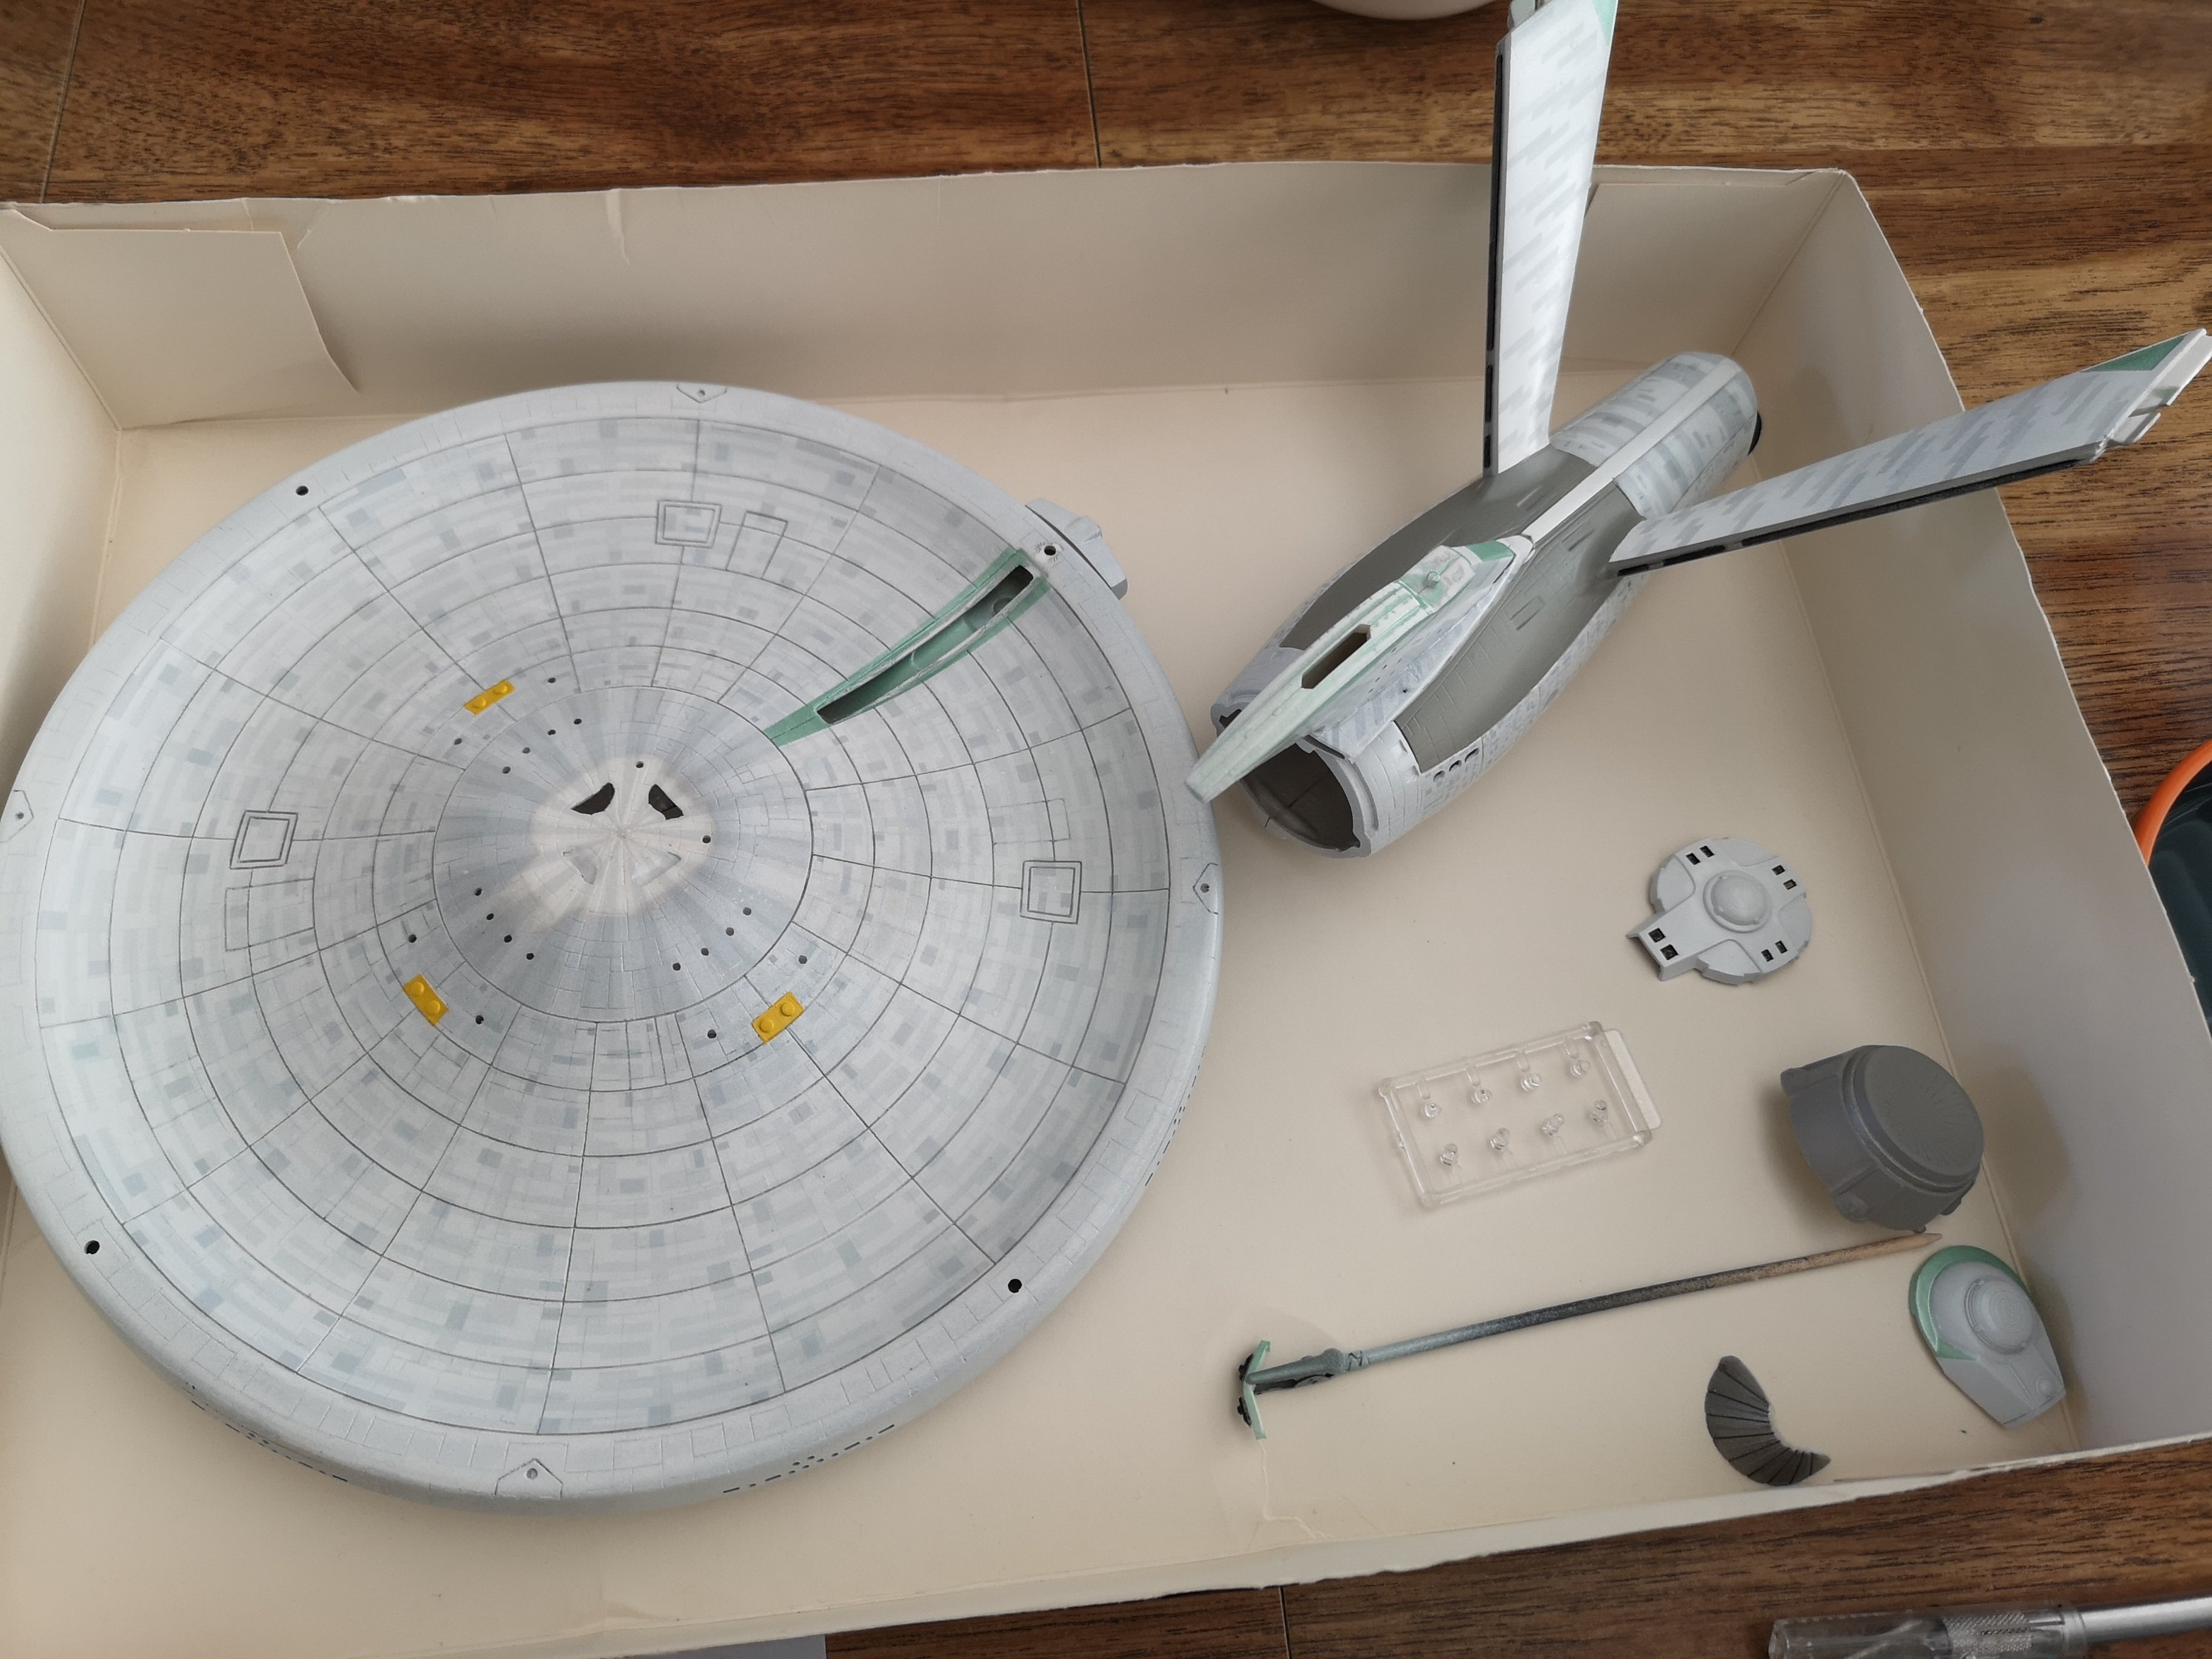
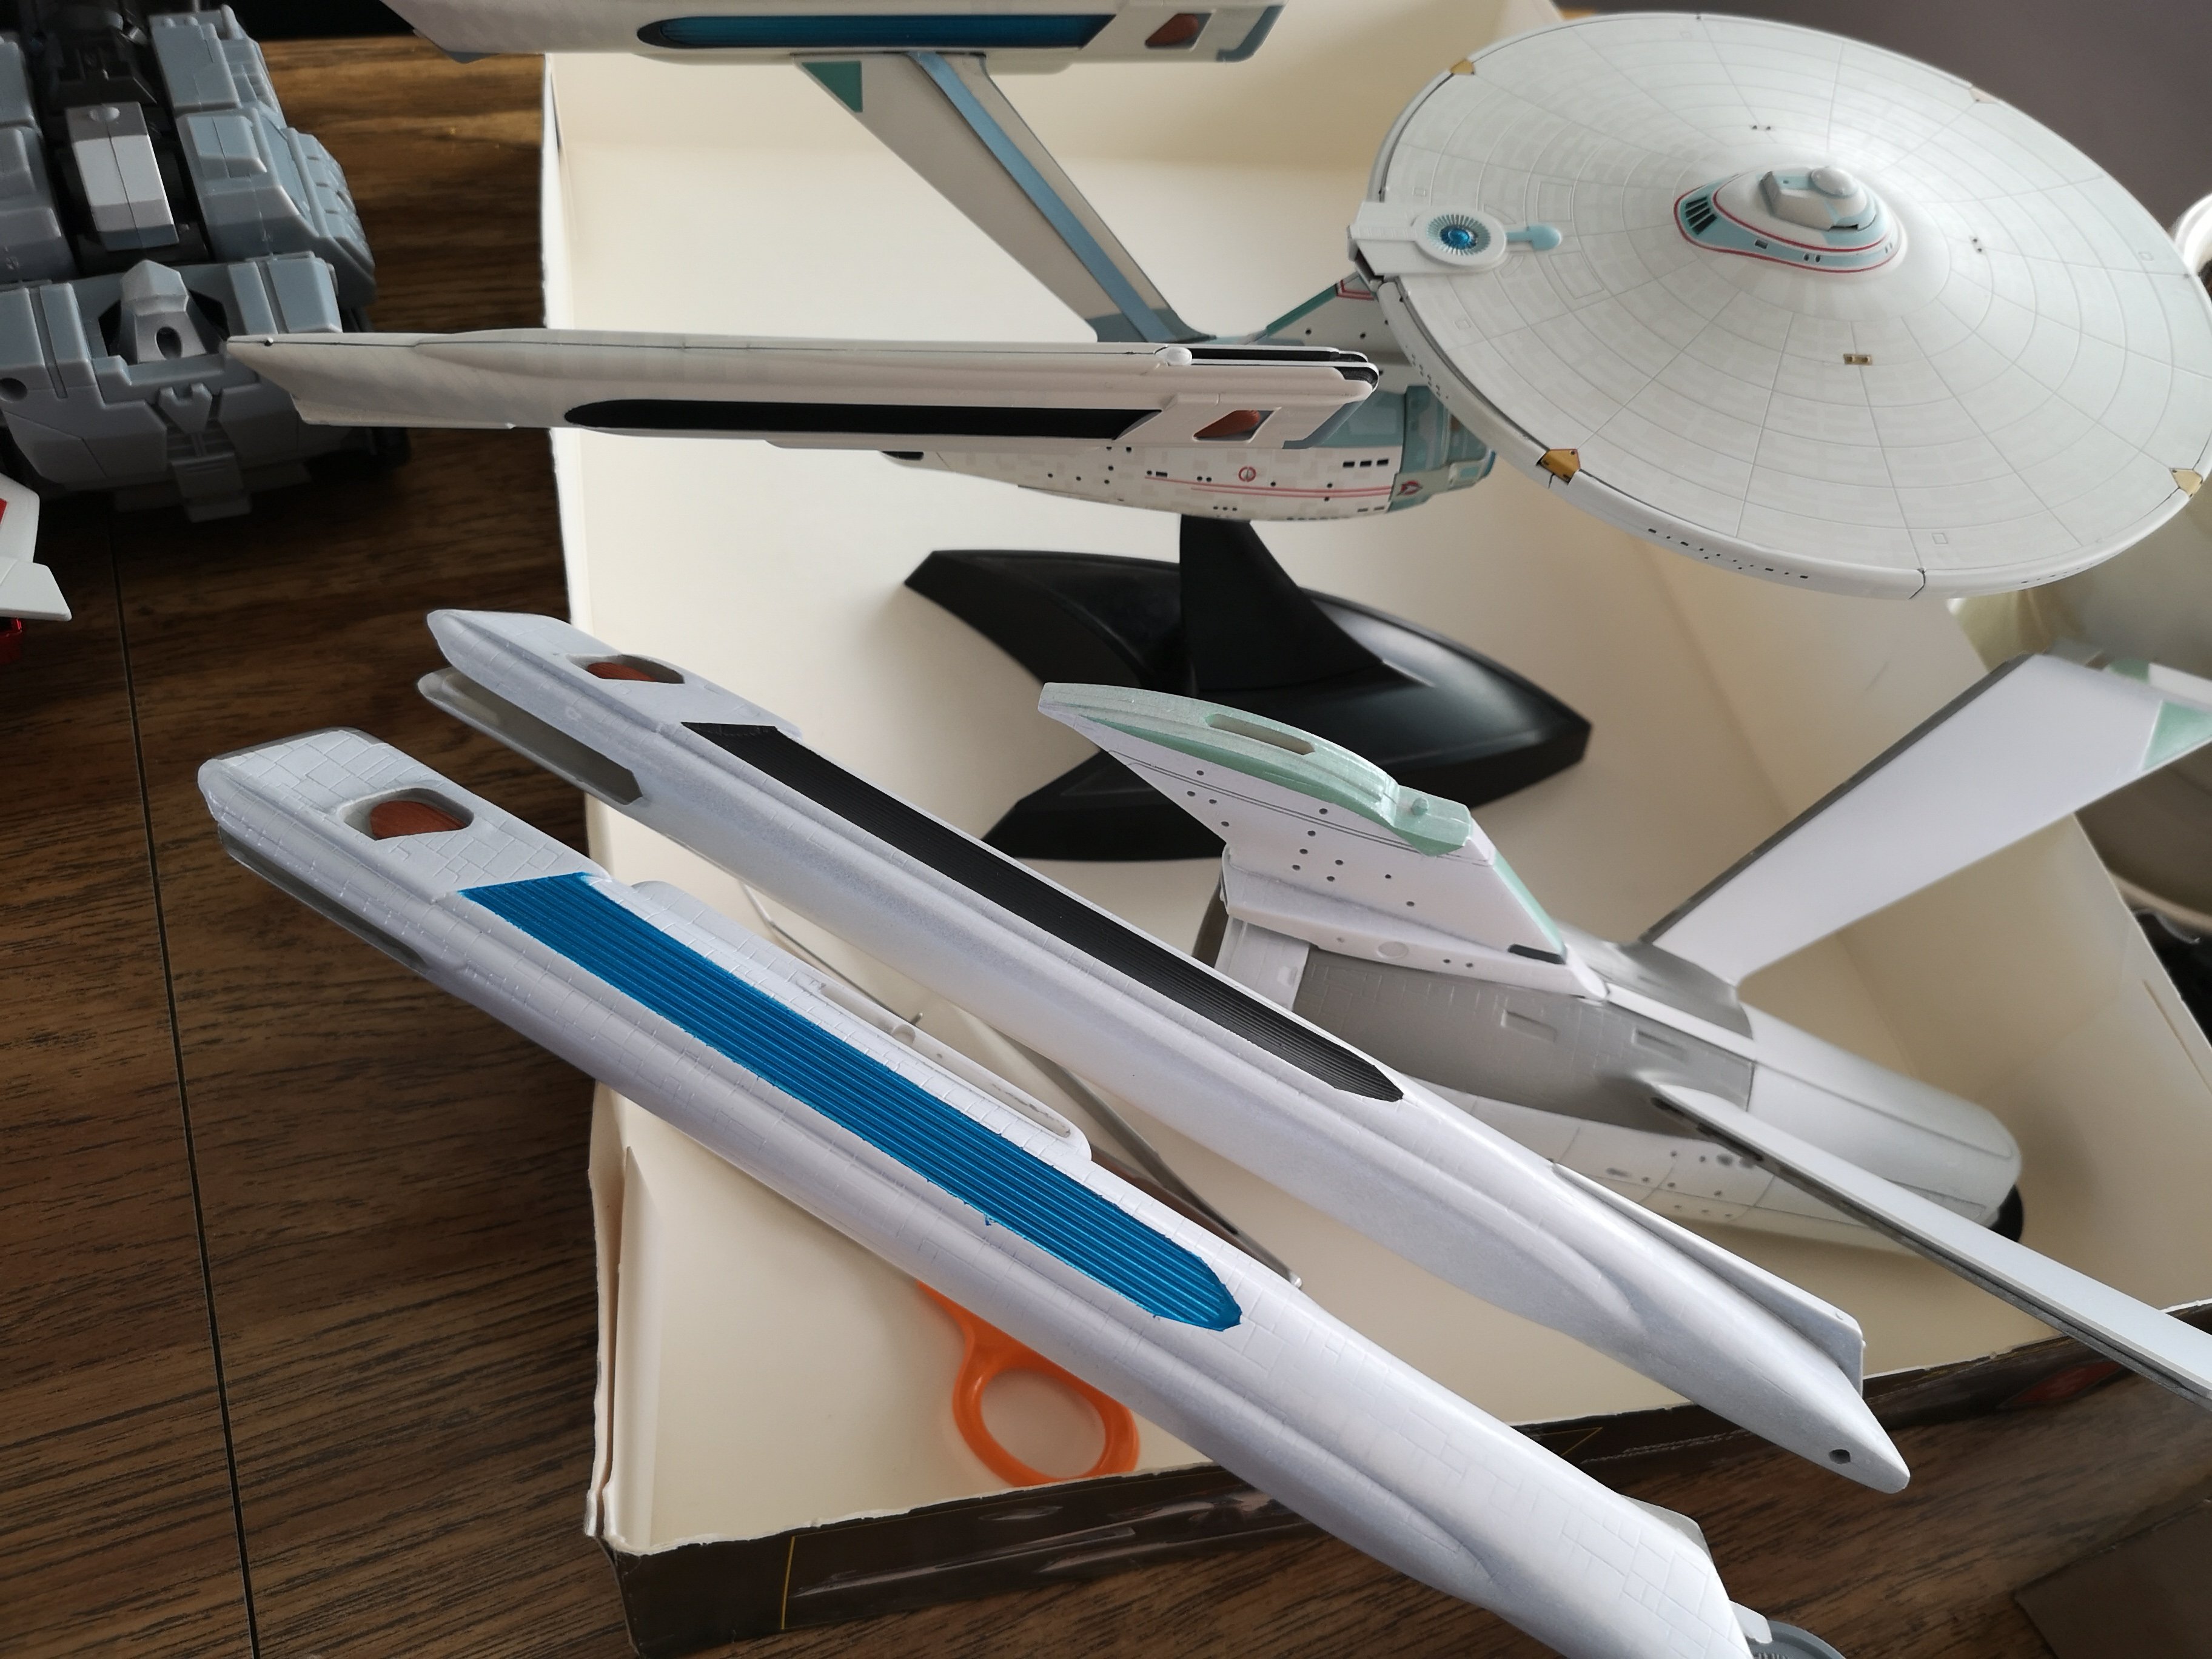
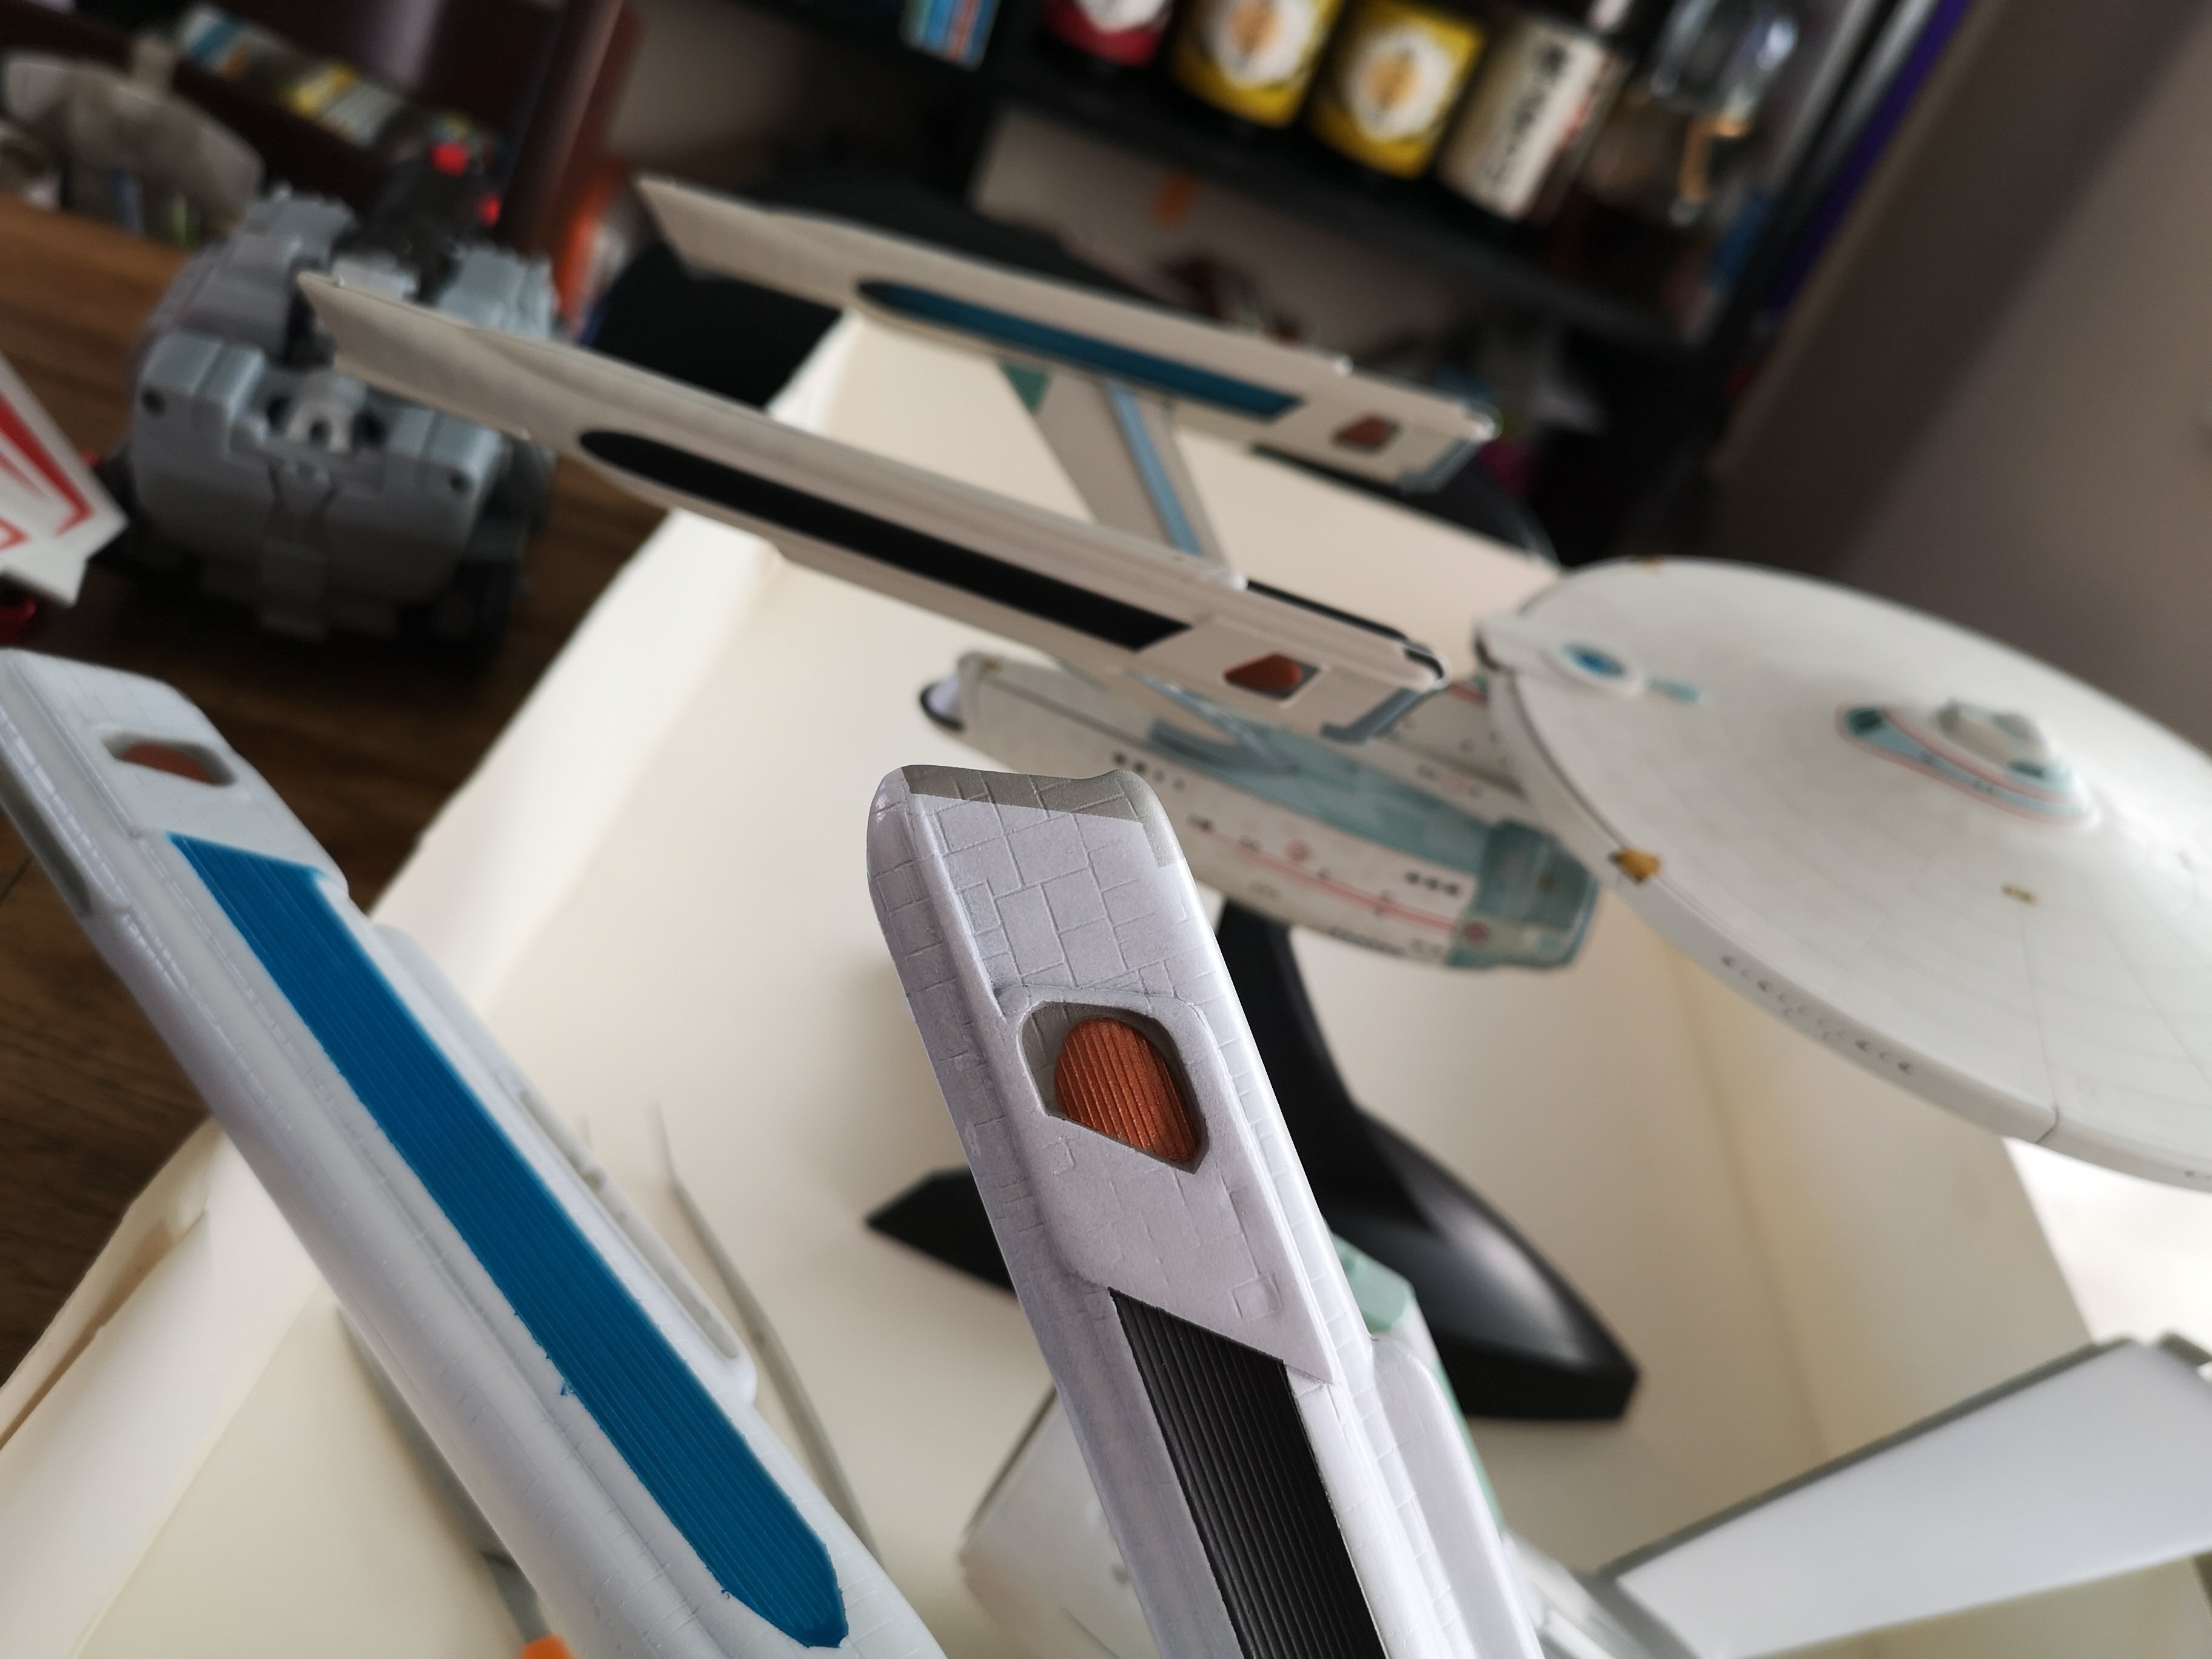
Anyway, almost there. Just a comparison to the last Ent-A that I built. Pretty sure the one on the right was my second one (clearly I didn't learn my lesson). Putting up my old one so my new one doesn't look that bad, hahahahah! Close up of where these things tend to fail. Comparison of the necks. I couldn't find the nacelles that went with this ship. These are from my first build and as you can see, they got a pretty bad Search for Spock treatment. I think I only used two colors on the old ones. More to follow.
-
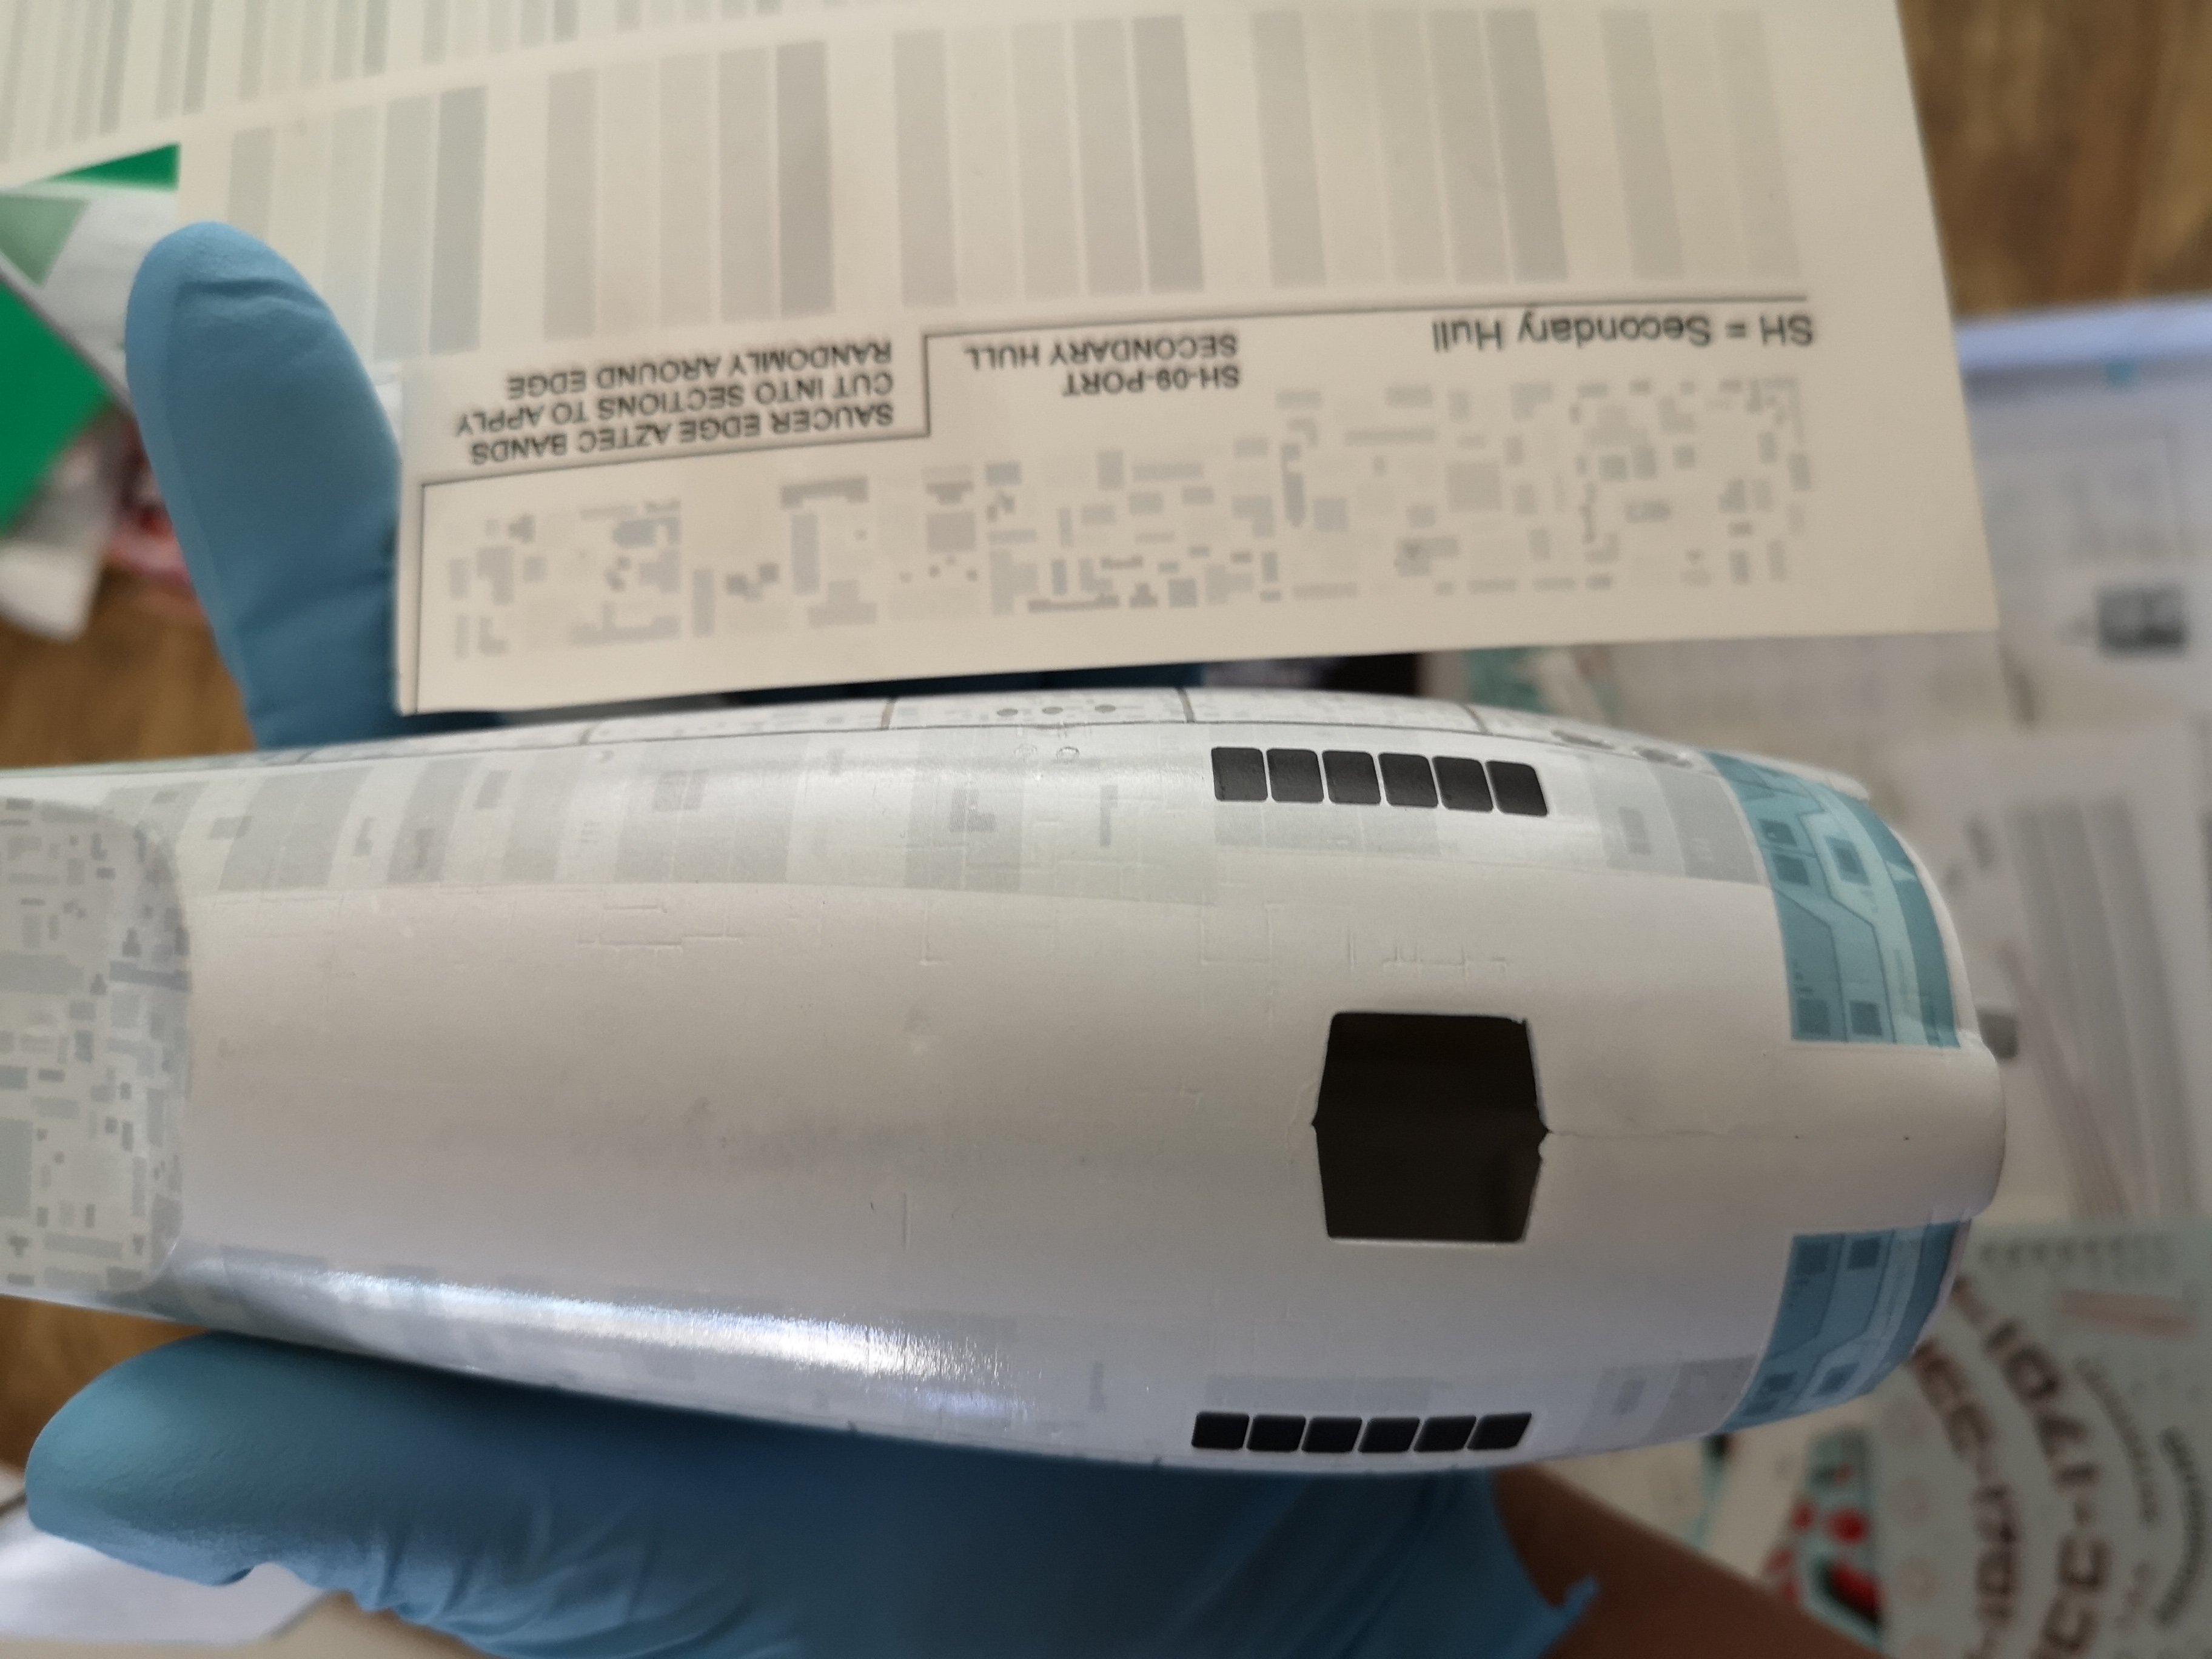
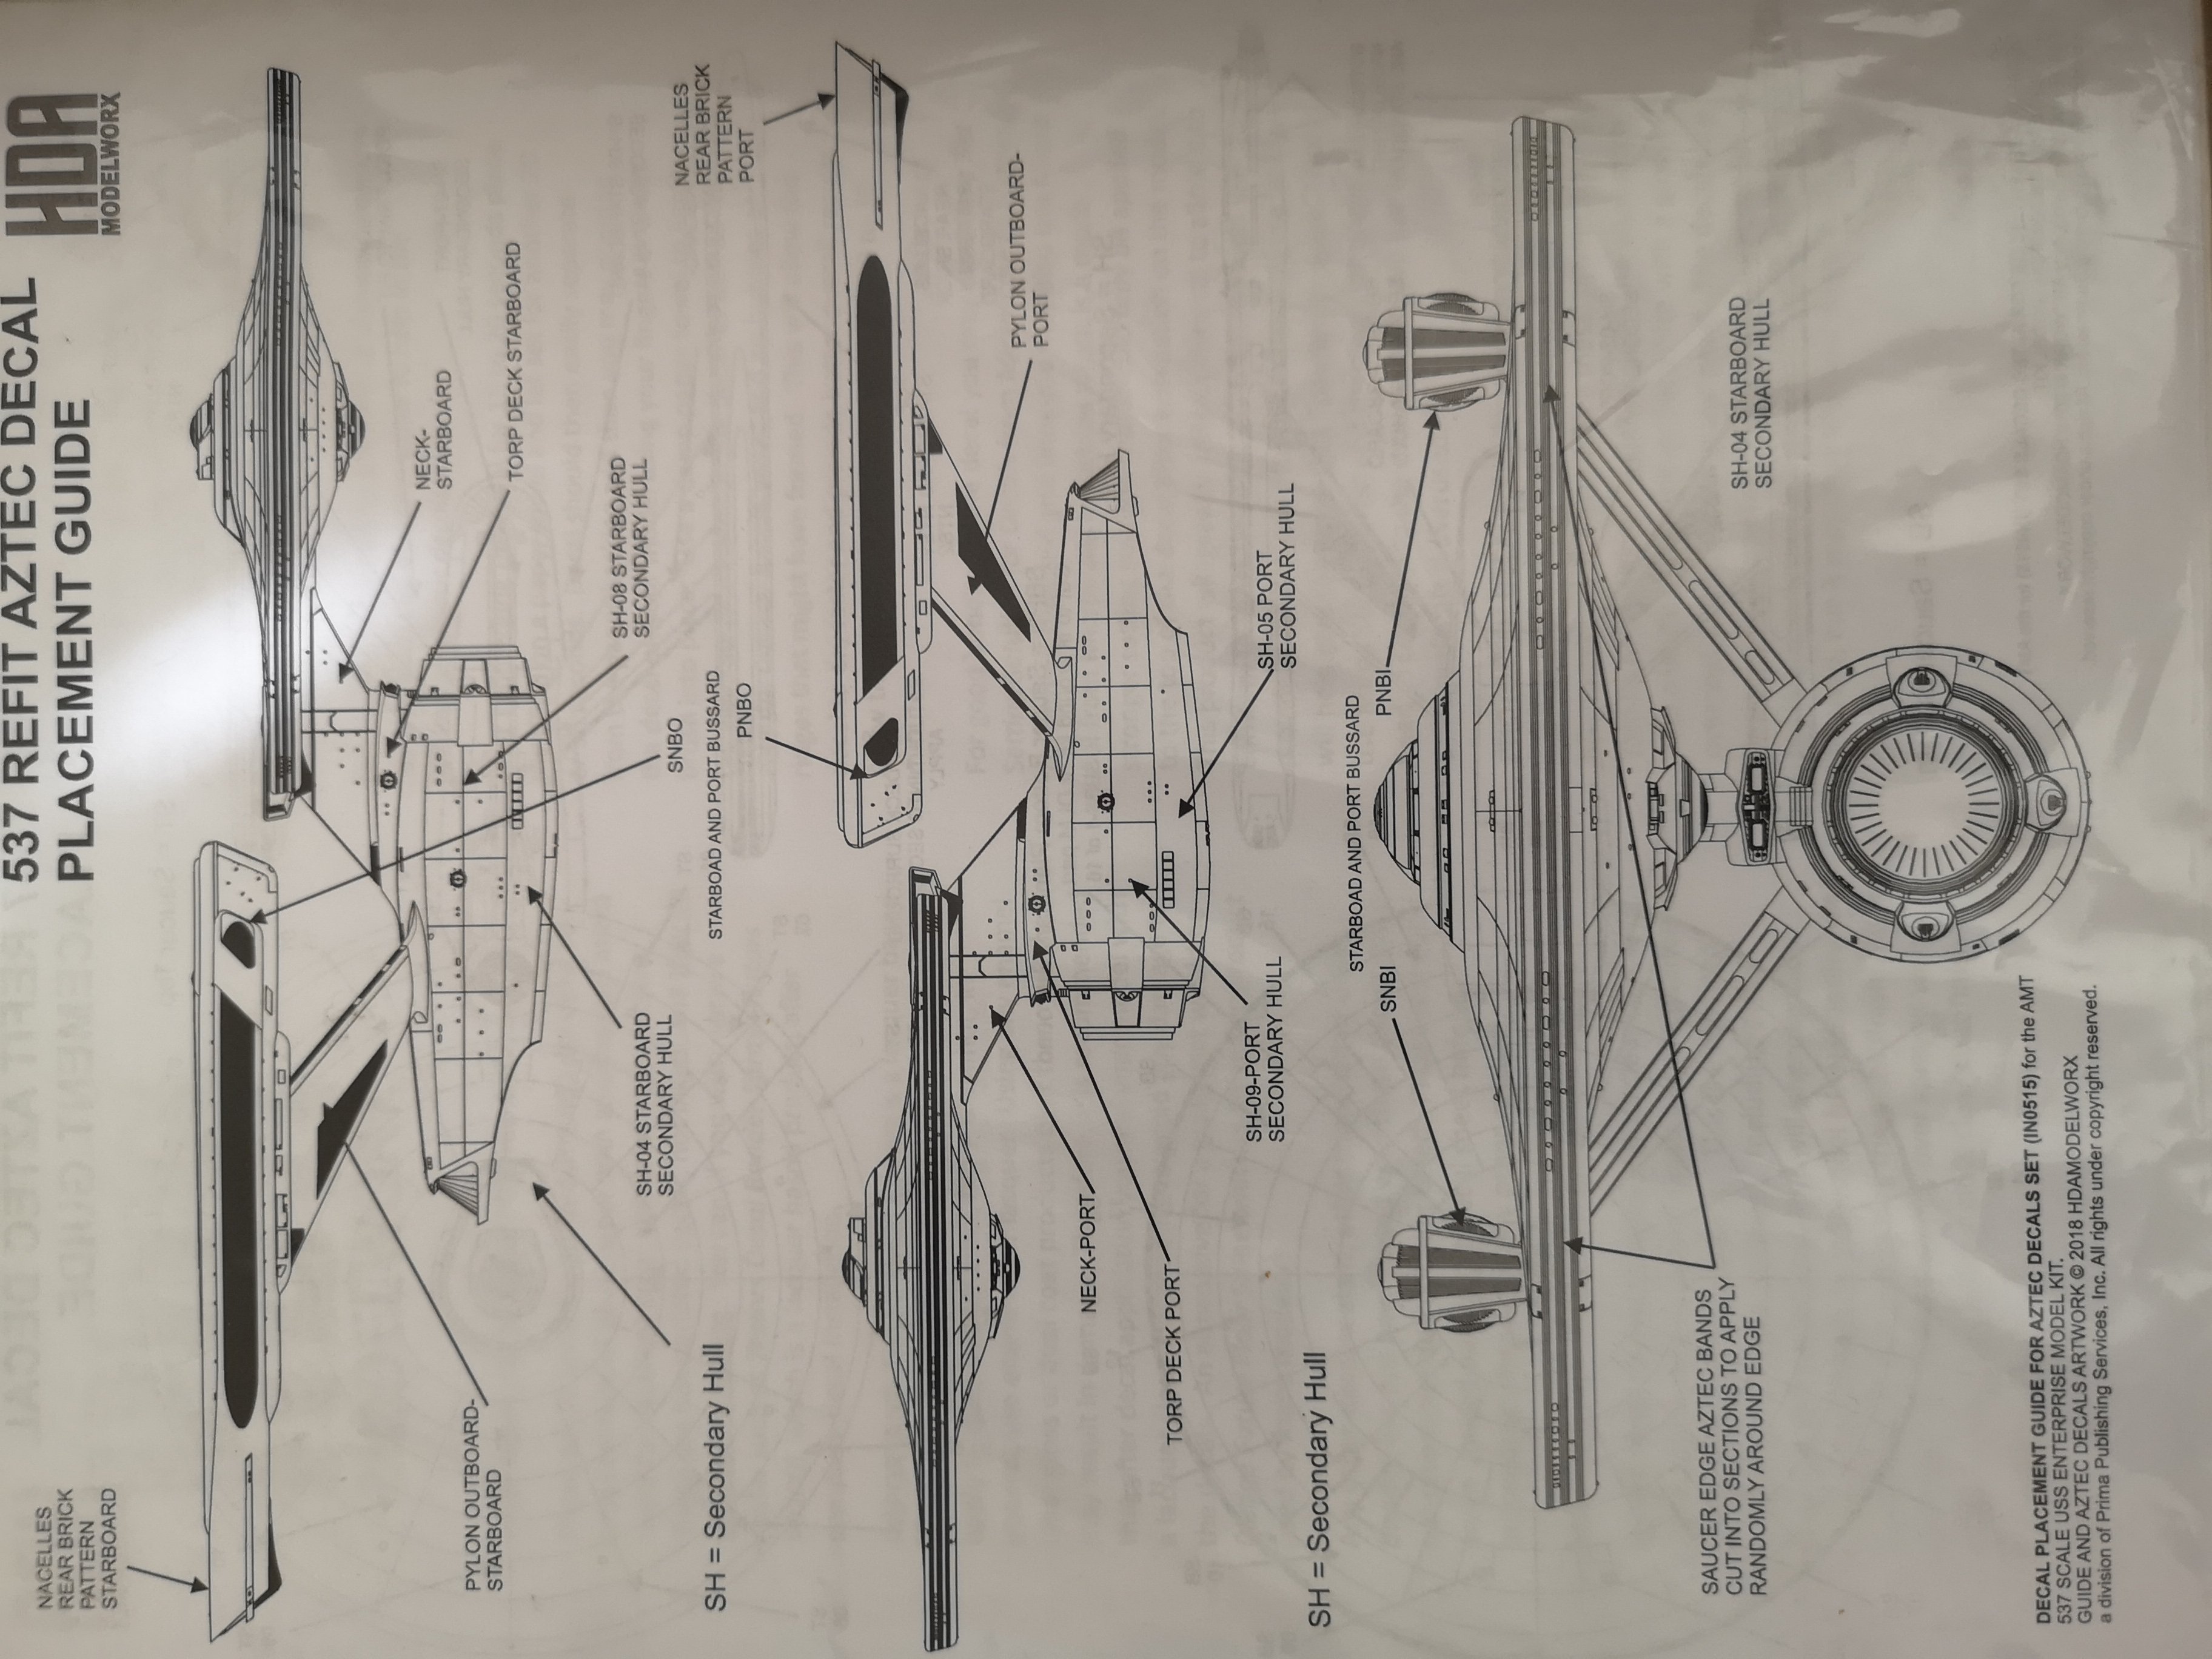
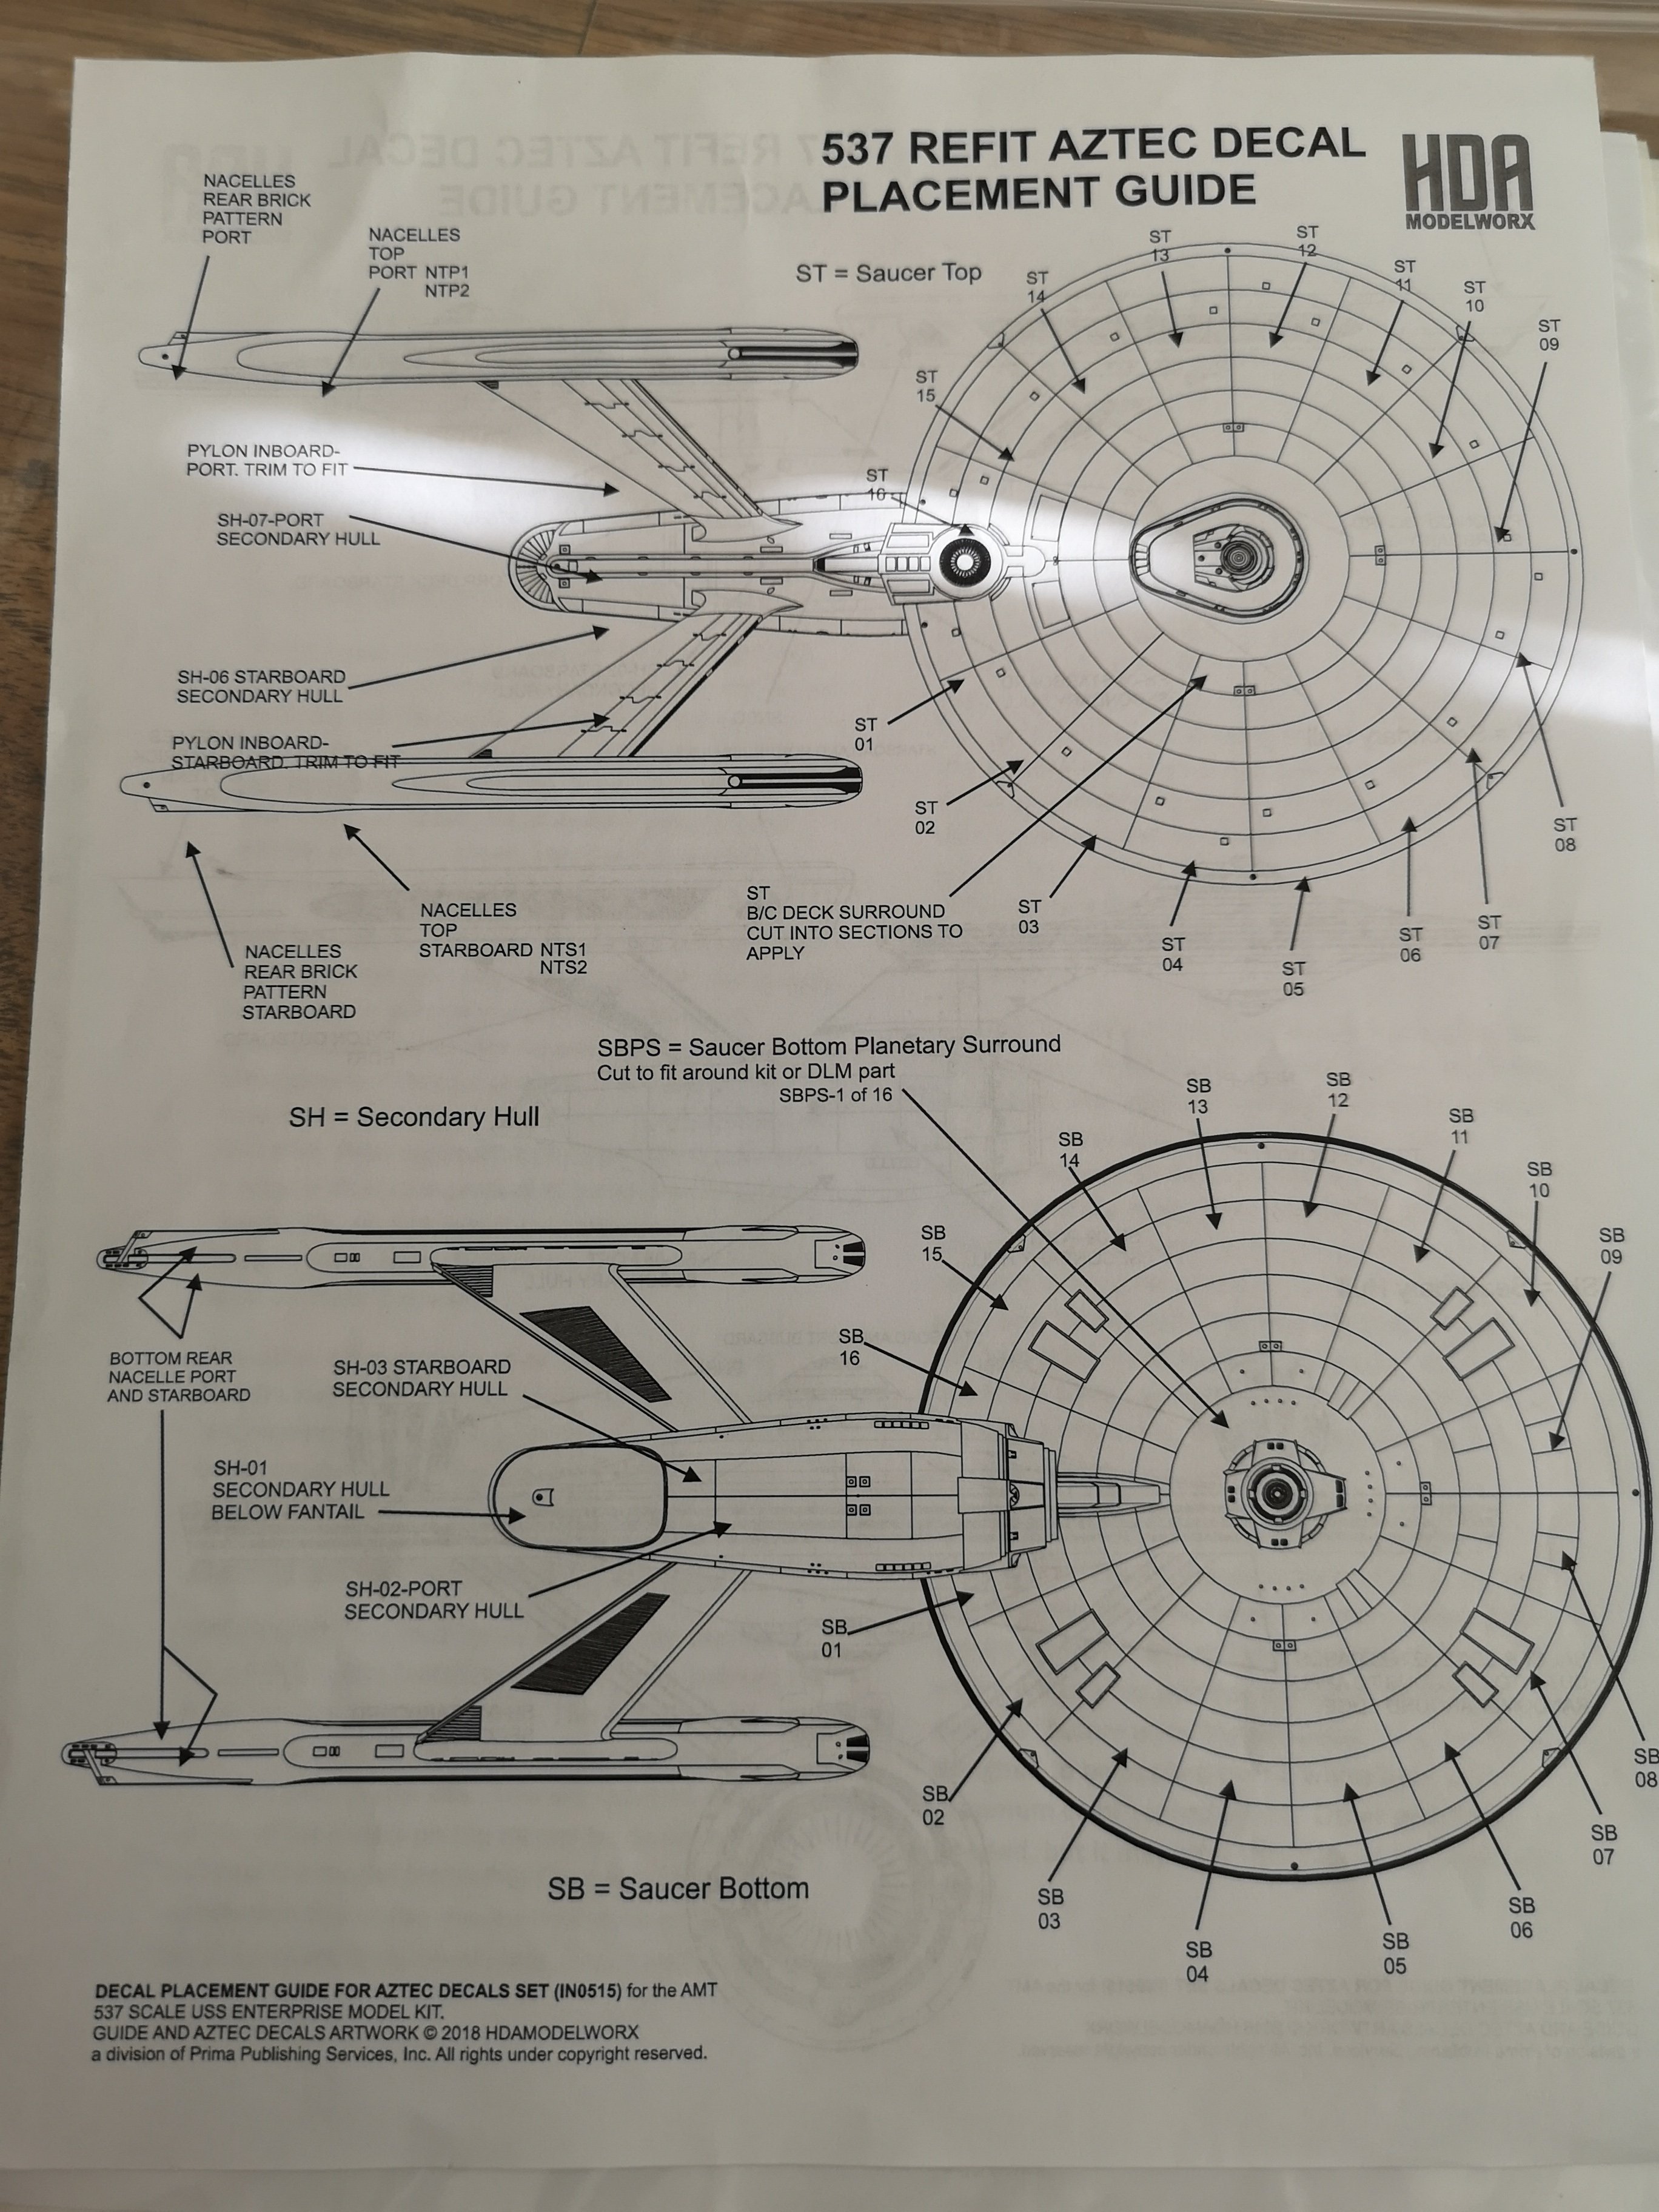
I finally found out where SH-08 and SH-09 go.....friggin hell, was one of the first secondary hull decals I cut and the instructions made absolutely no sense. I thought it was supposed to go on the side of the secondary hull. The instructions had SH-02 and SH-03 switched with these.
-
@wm chengcheng sempai, gomen ne, I chickened out and didn't follow your advice to redo the gray. I'm calling it my semi-Bandai version, lol! I can live with it. I think if I went ahead and redid the gray, but botched the job, I would lose my mind.
-
-
I was thinking about redoing the gray bits, but then I saw this.....scan forward to 5 minutes to watch the nightmare.
-
Lol!!!
-
Wow!
-
Haha, yeah, that's been actually a bit concerning for me as well....Light Gray isn't very light, especially against the white, but under other lighting conditions, it can appear quite light. Same gray: I'll test some scrap decals over it first, see how it looks. If it's bad, I'll do what I can to fix it.
-
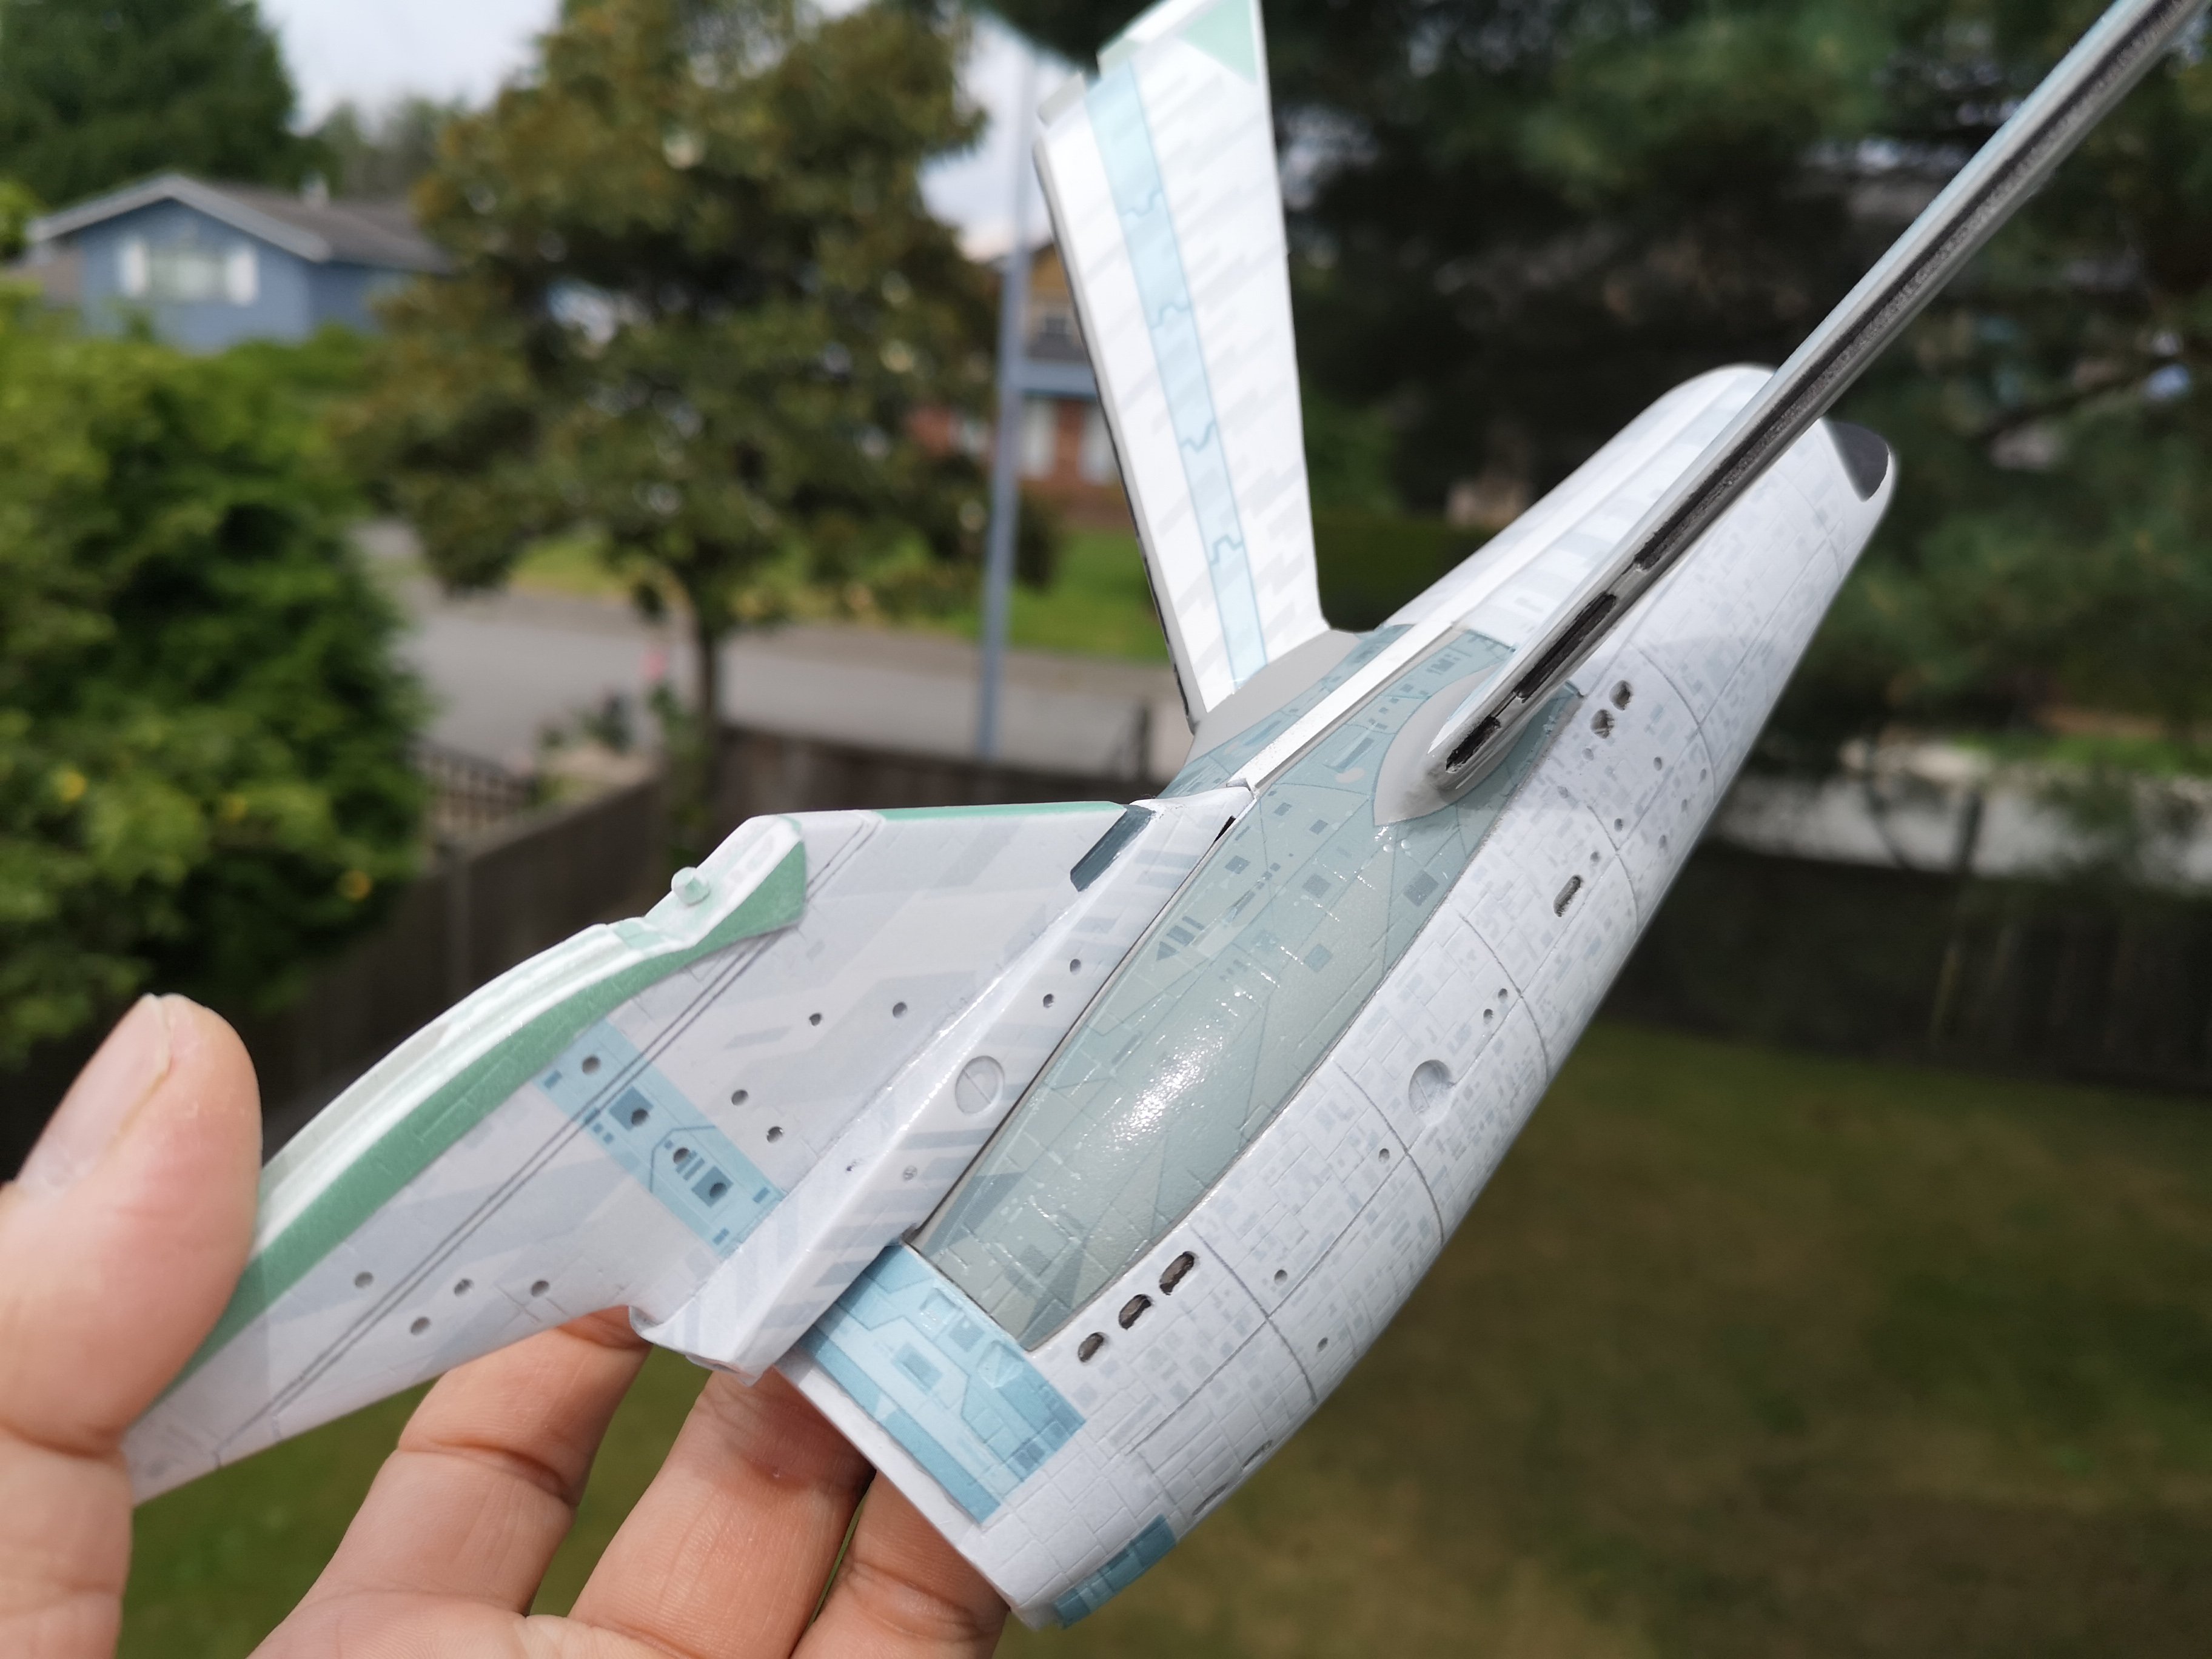
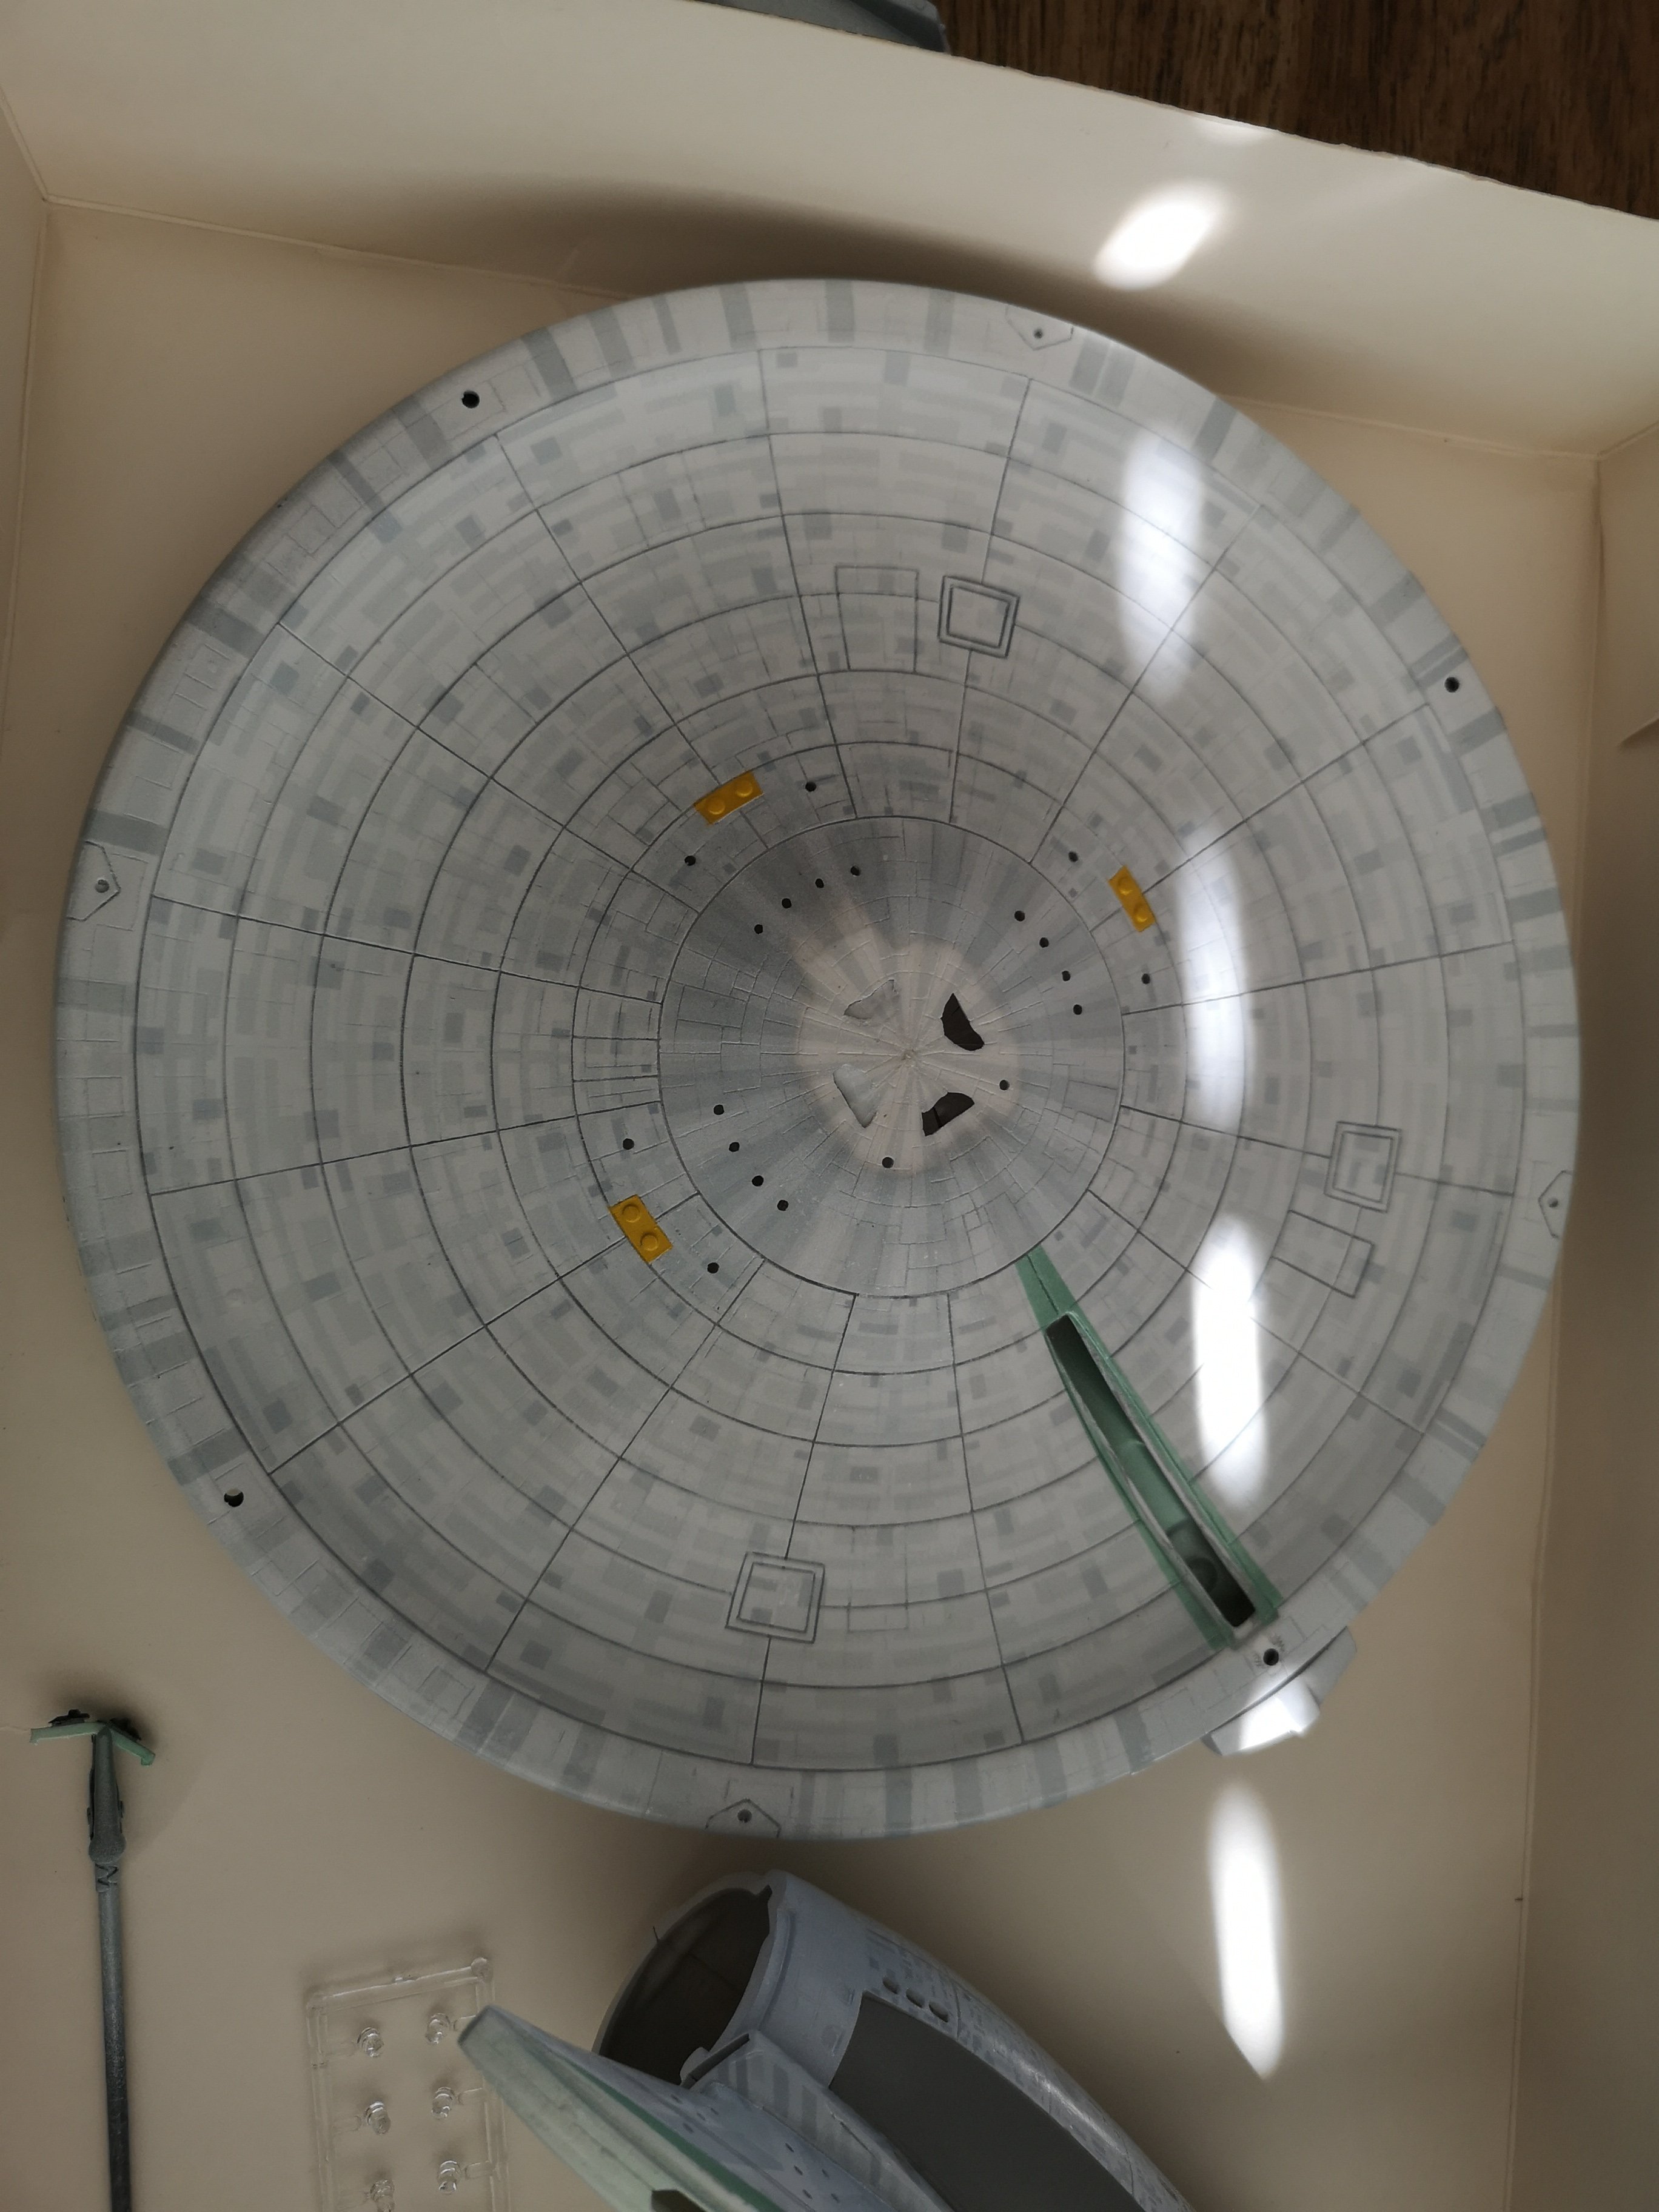
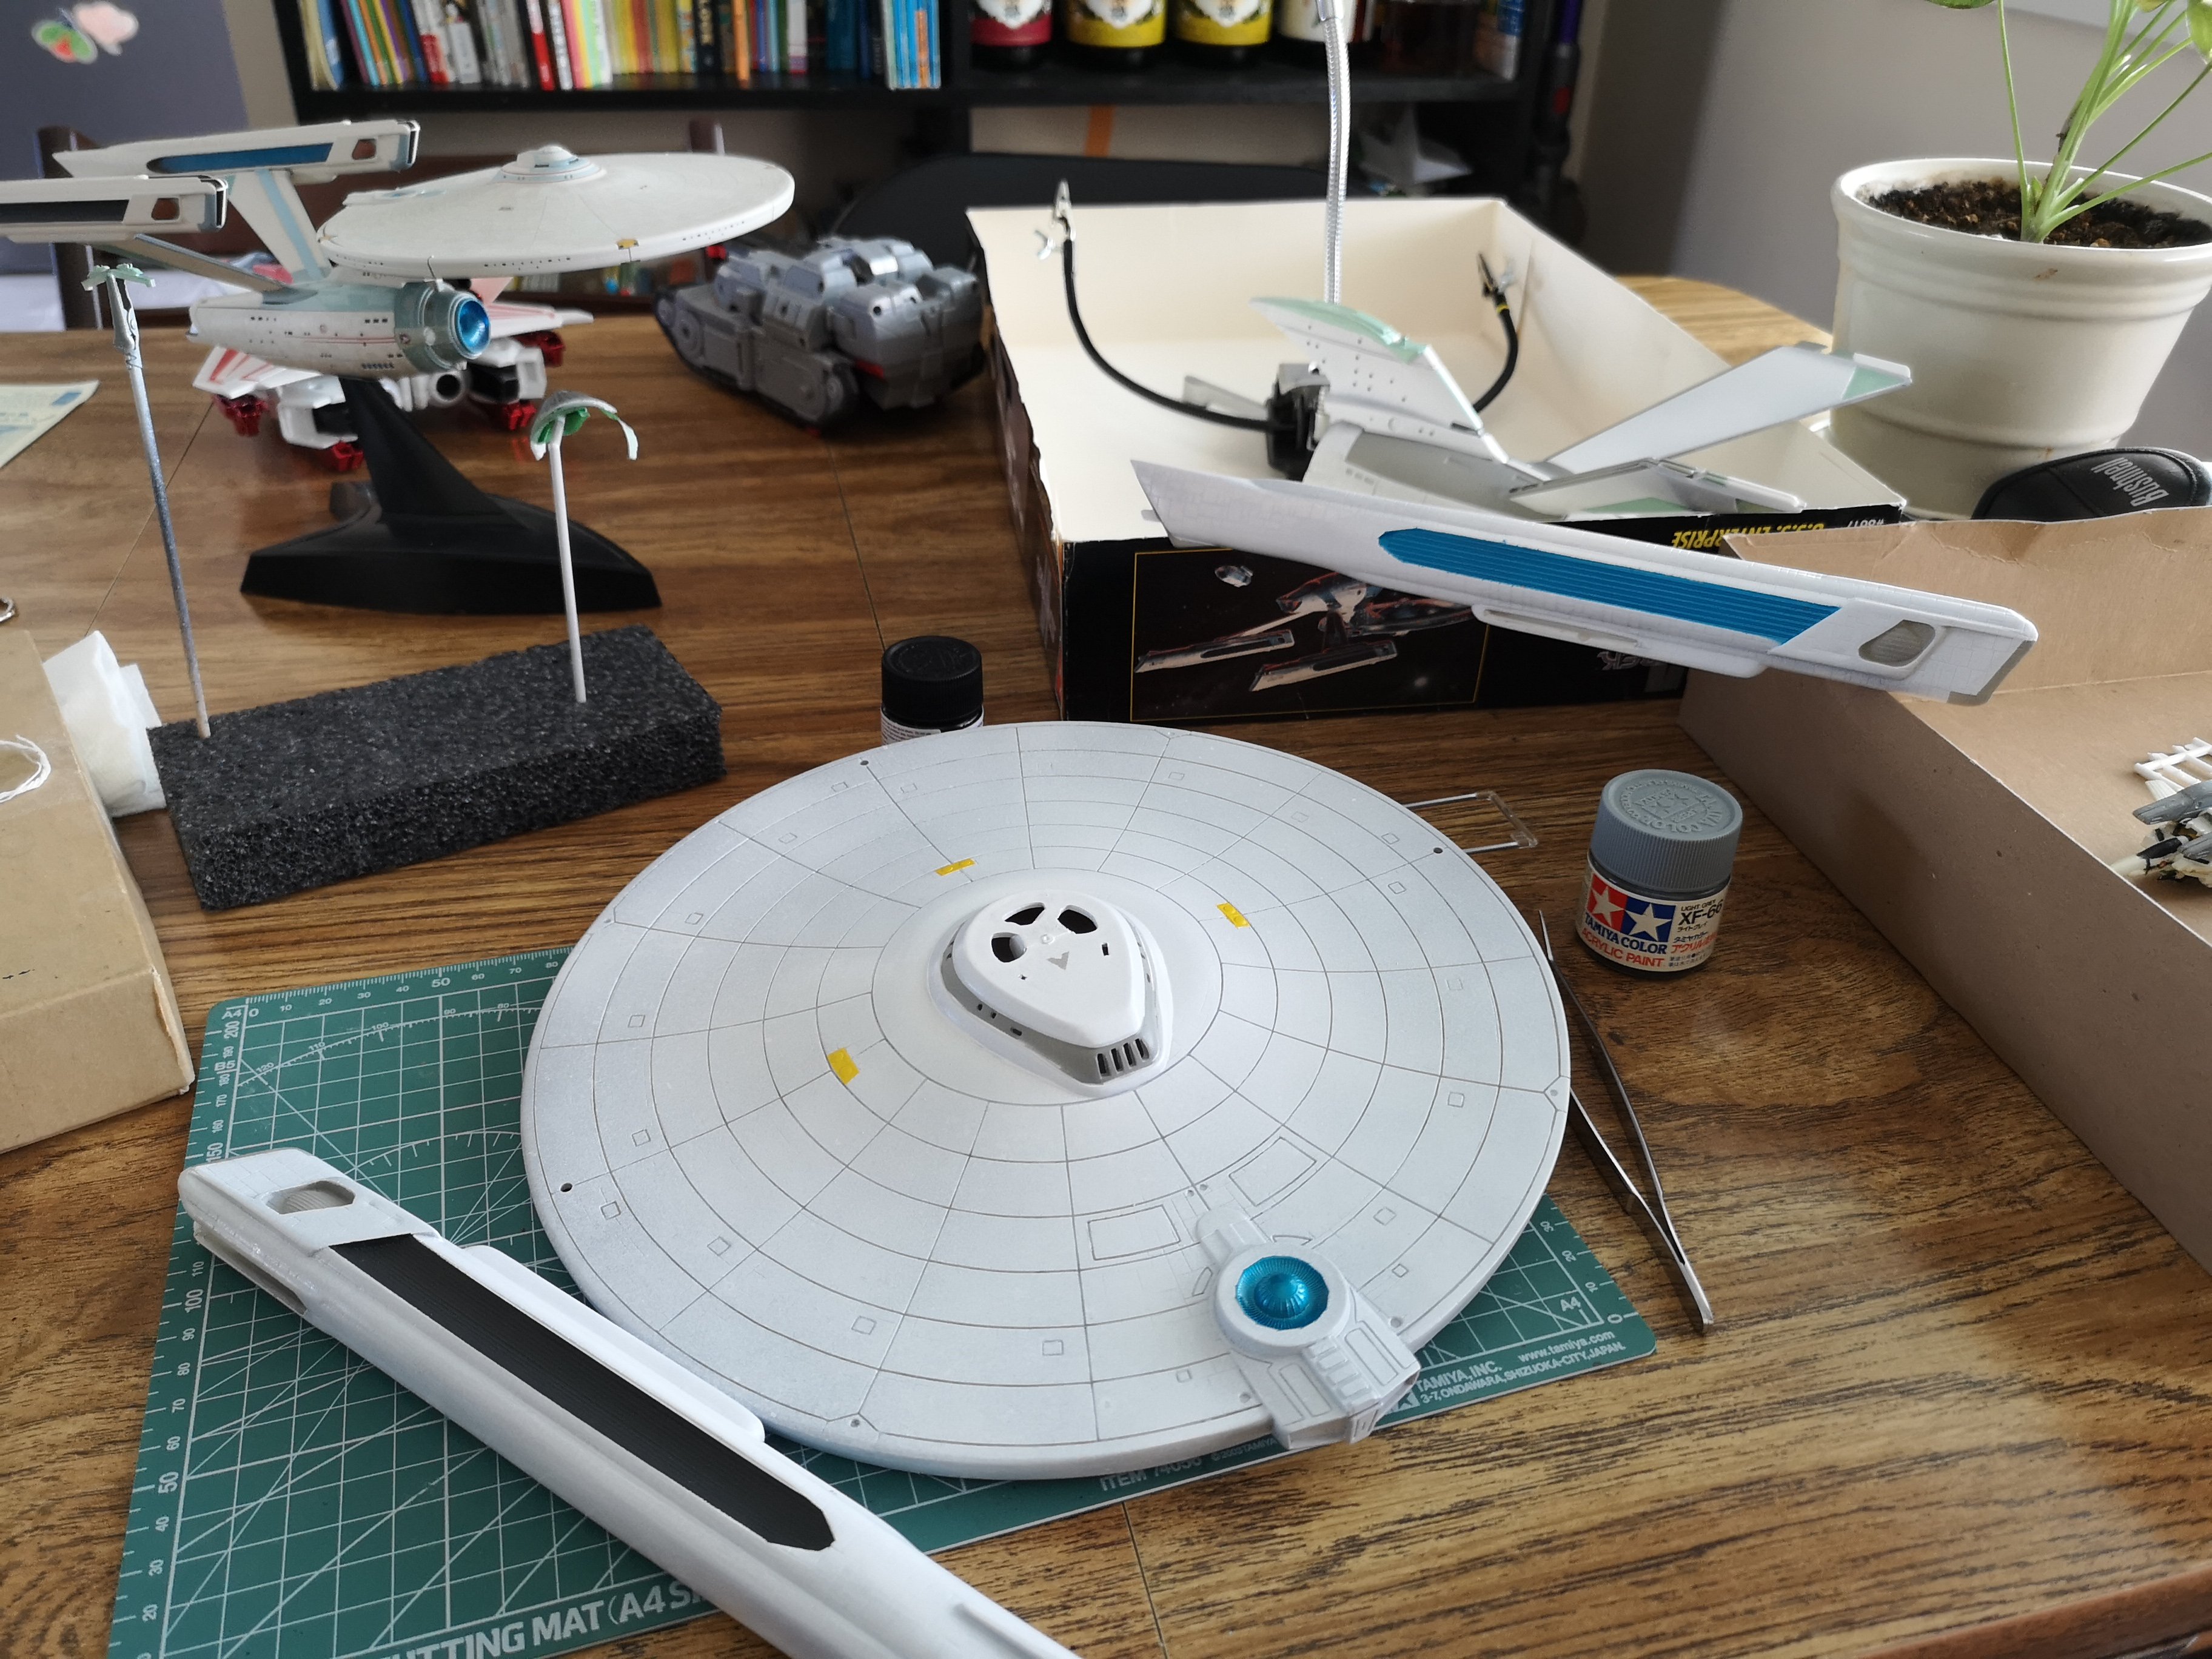
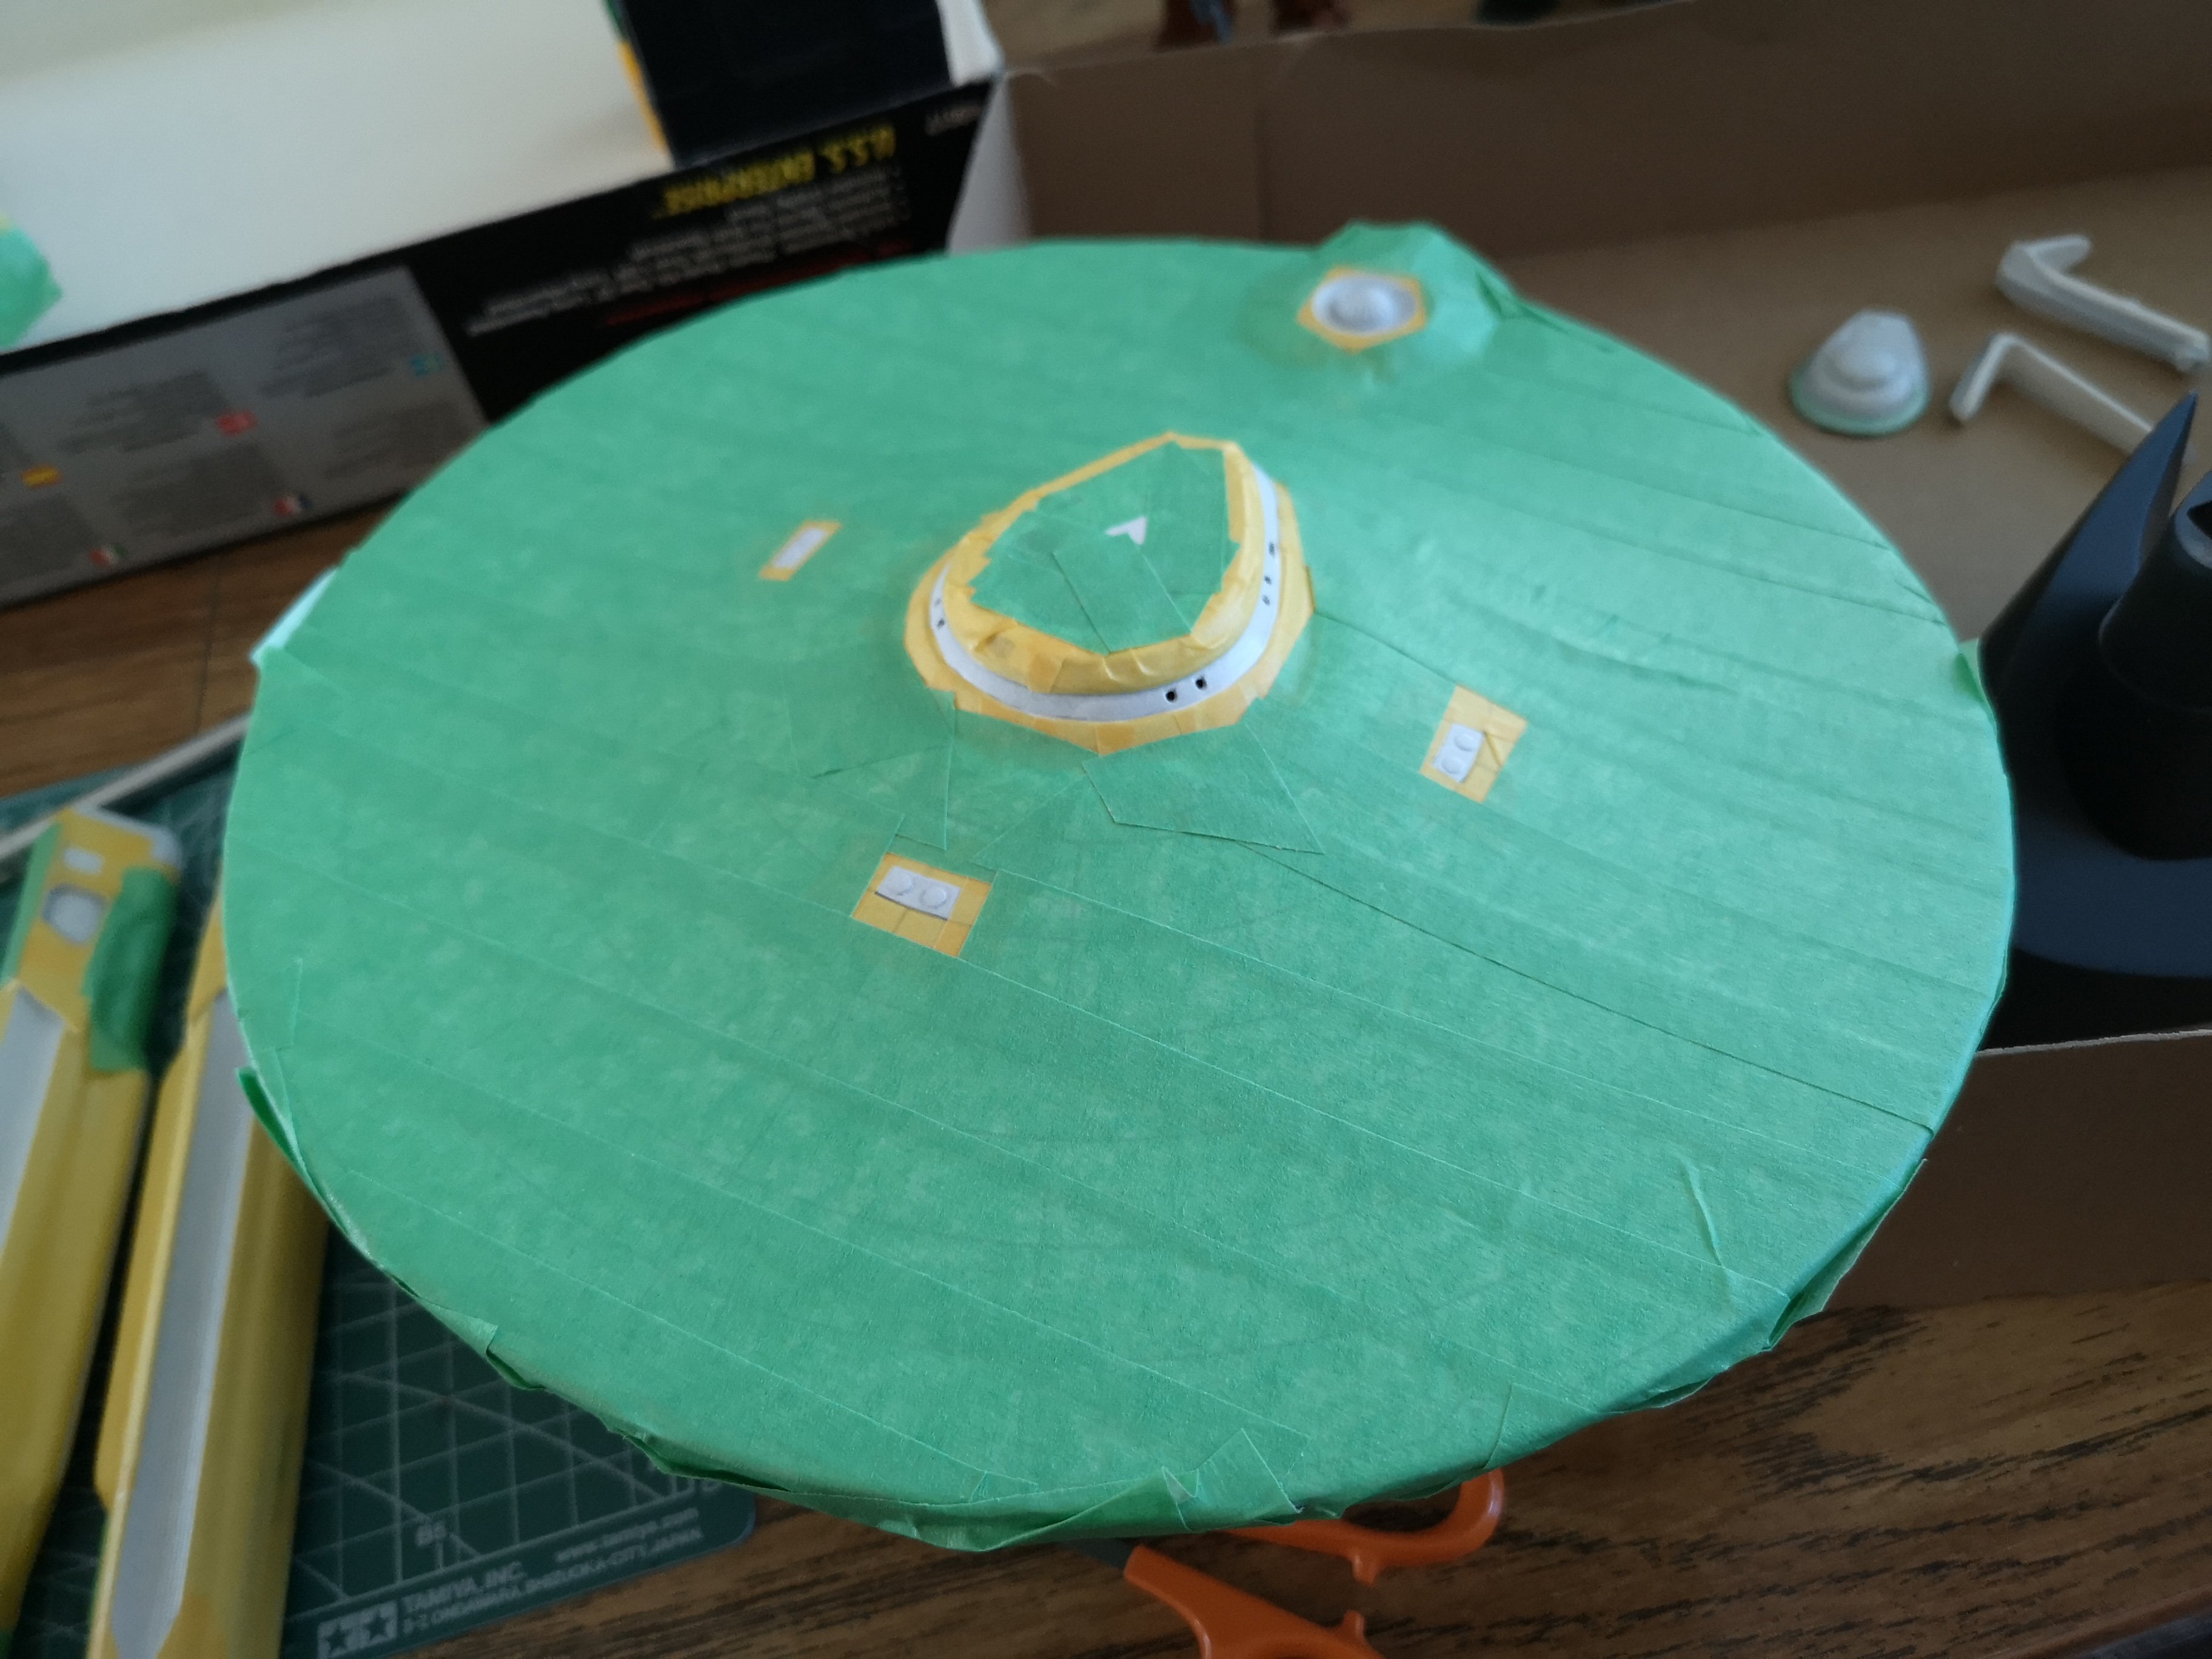
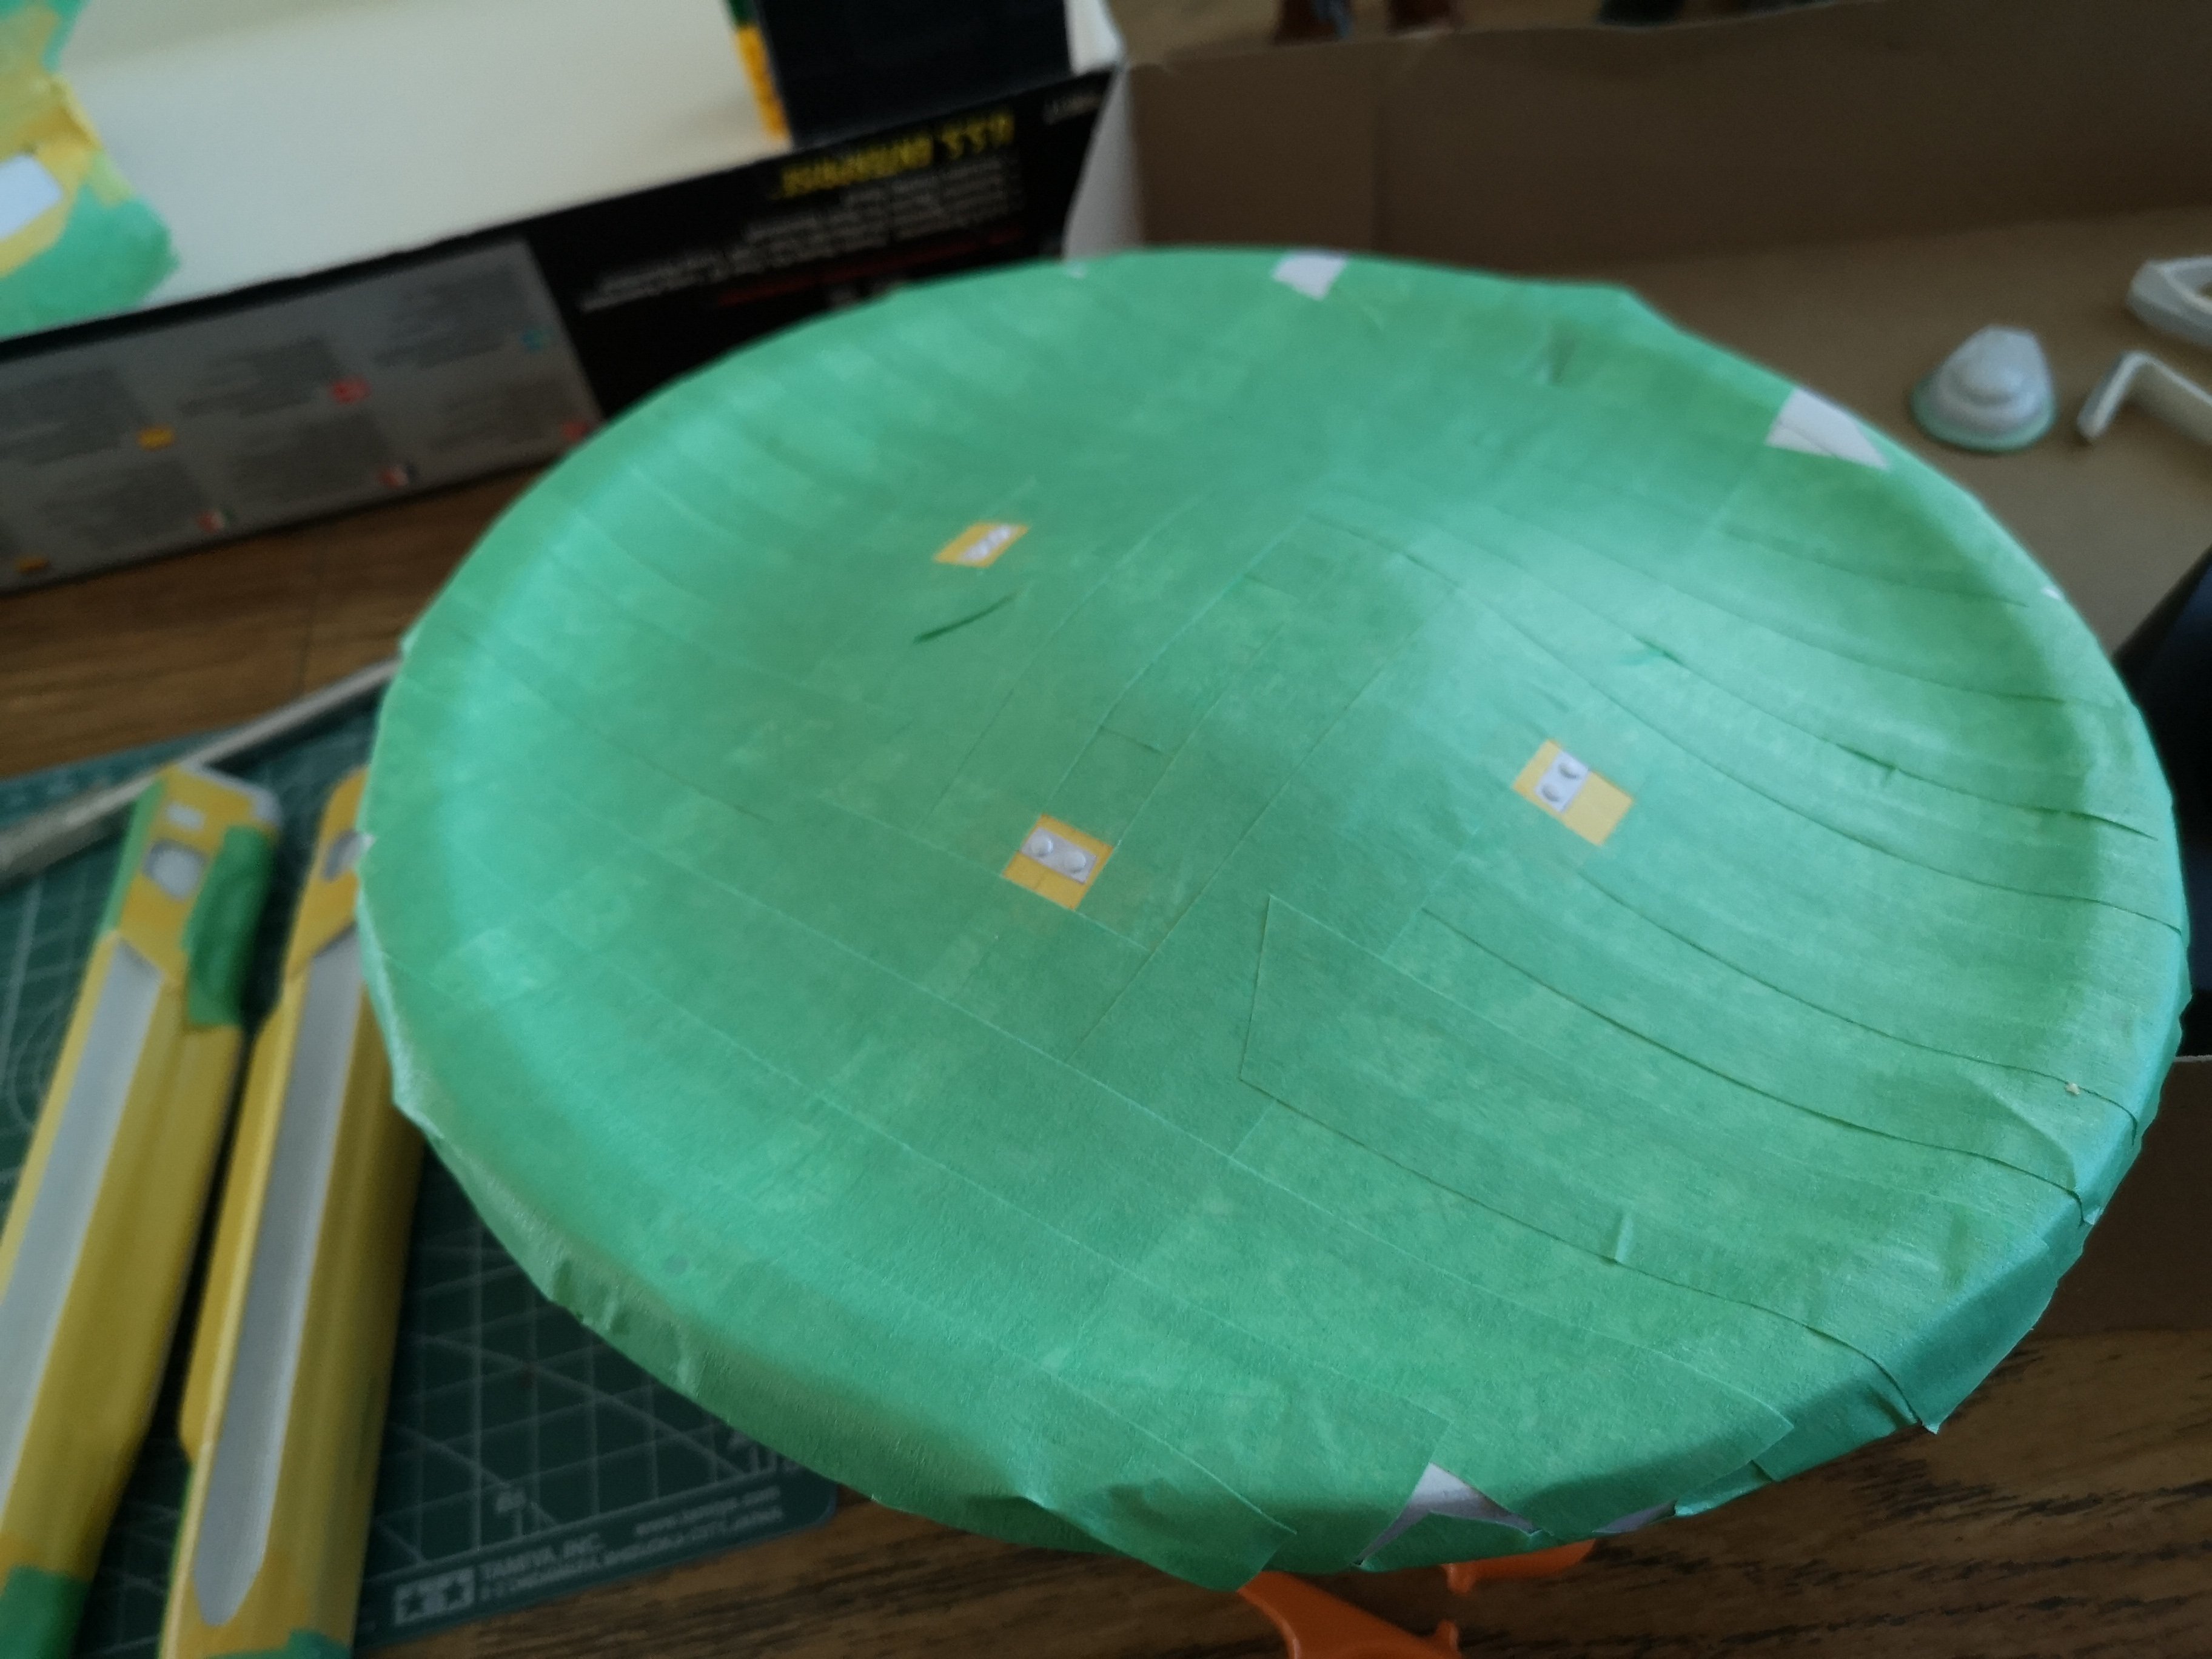
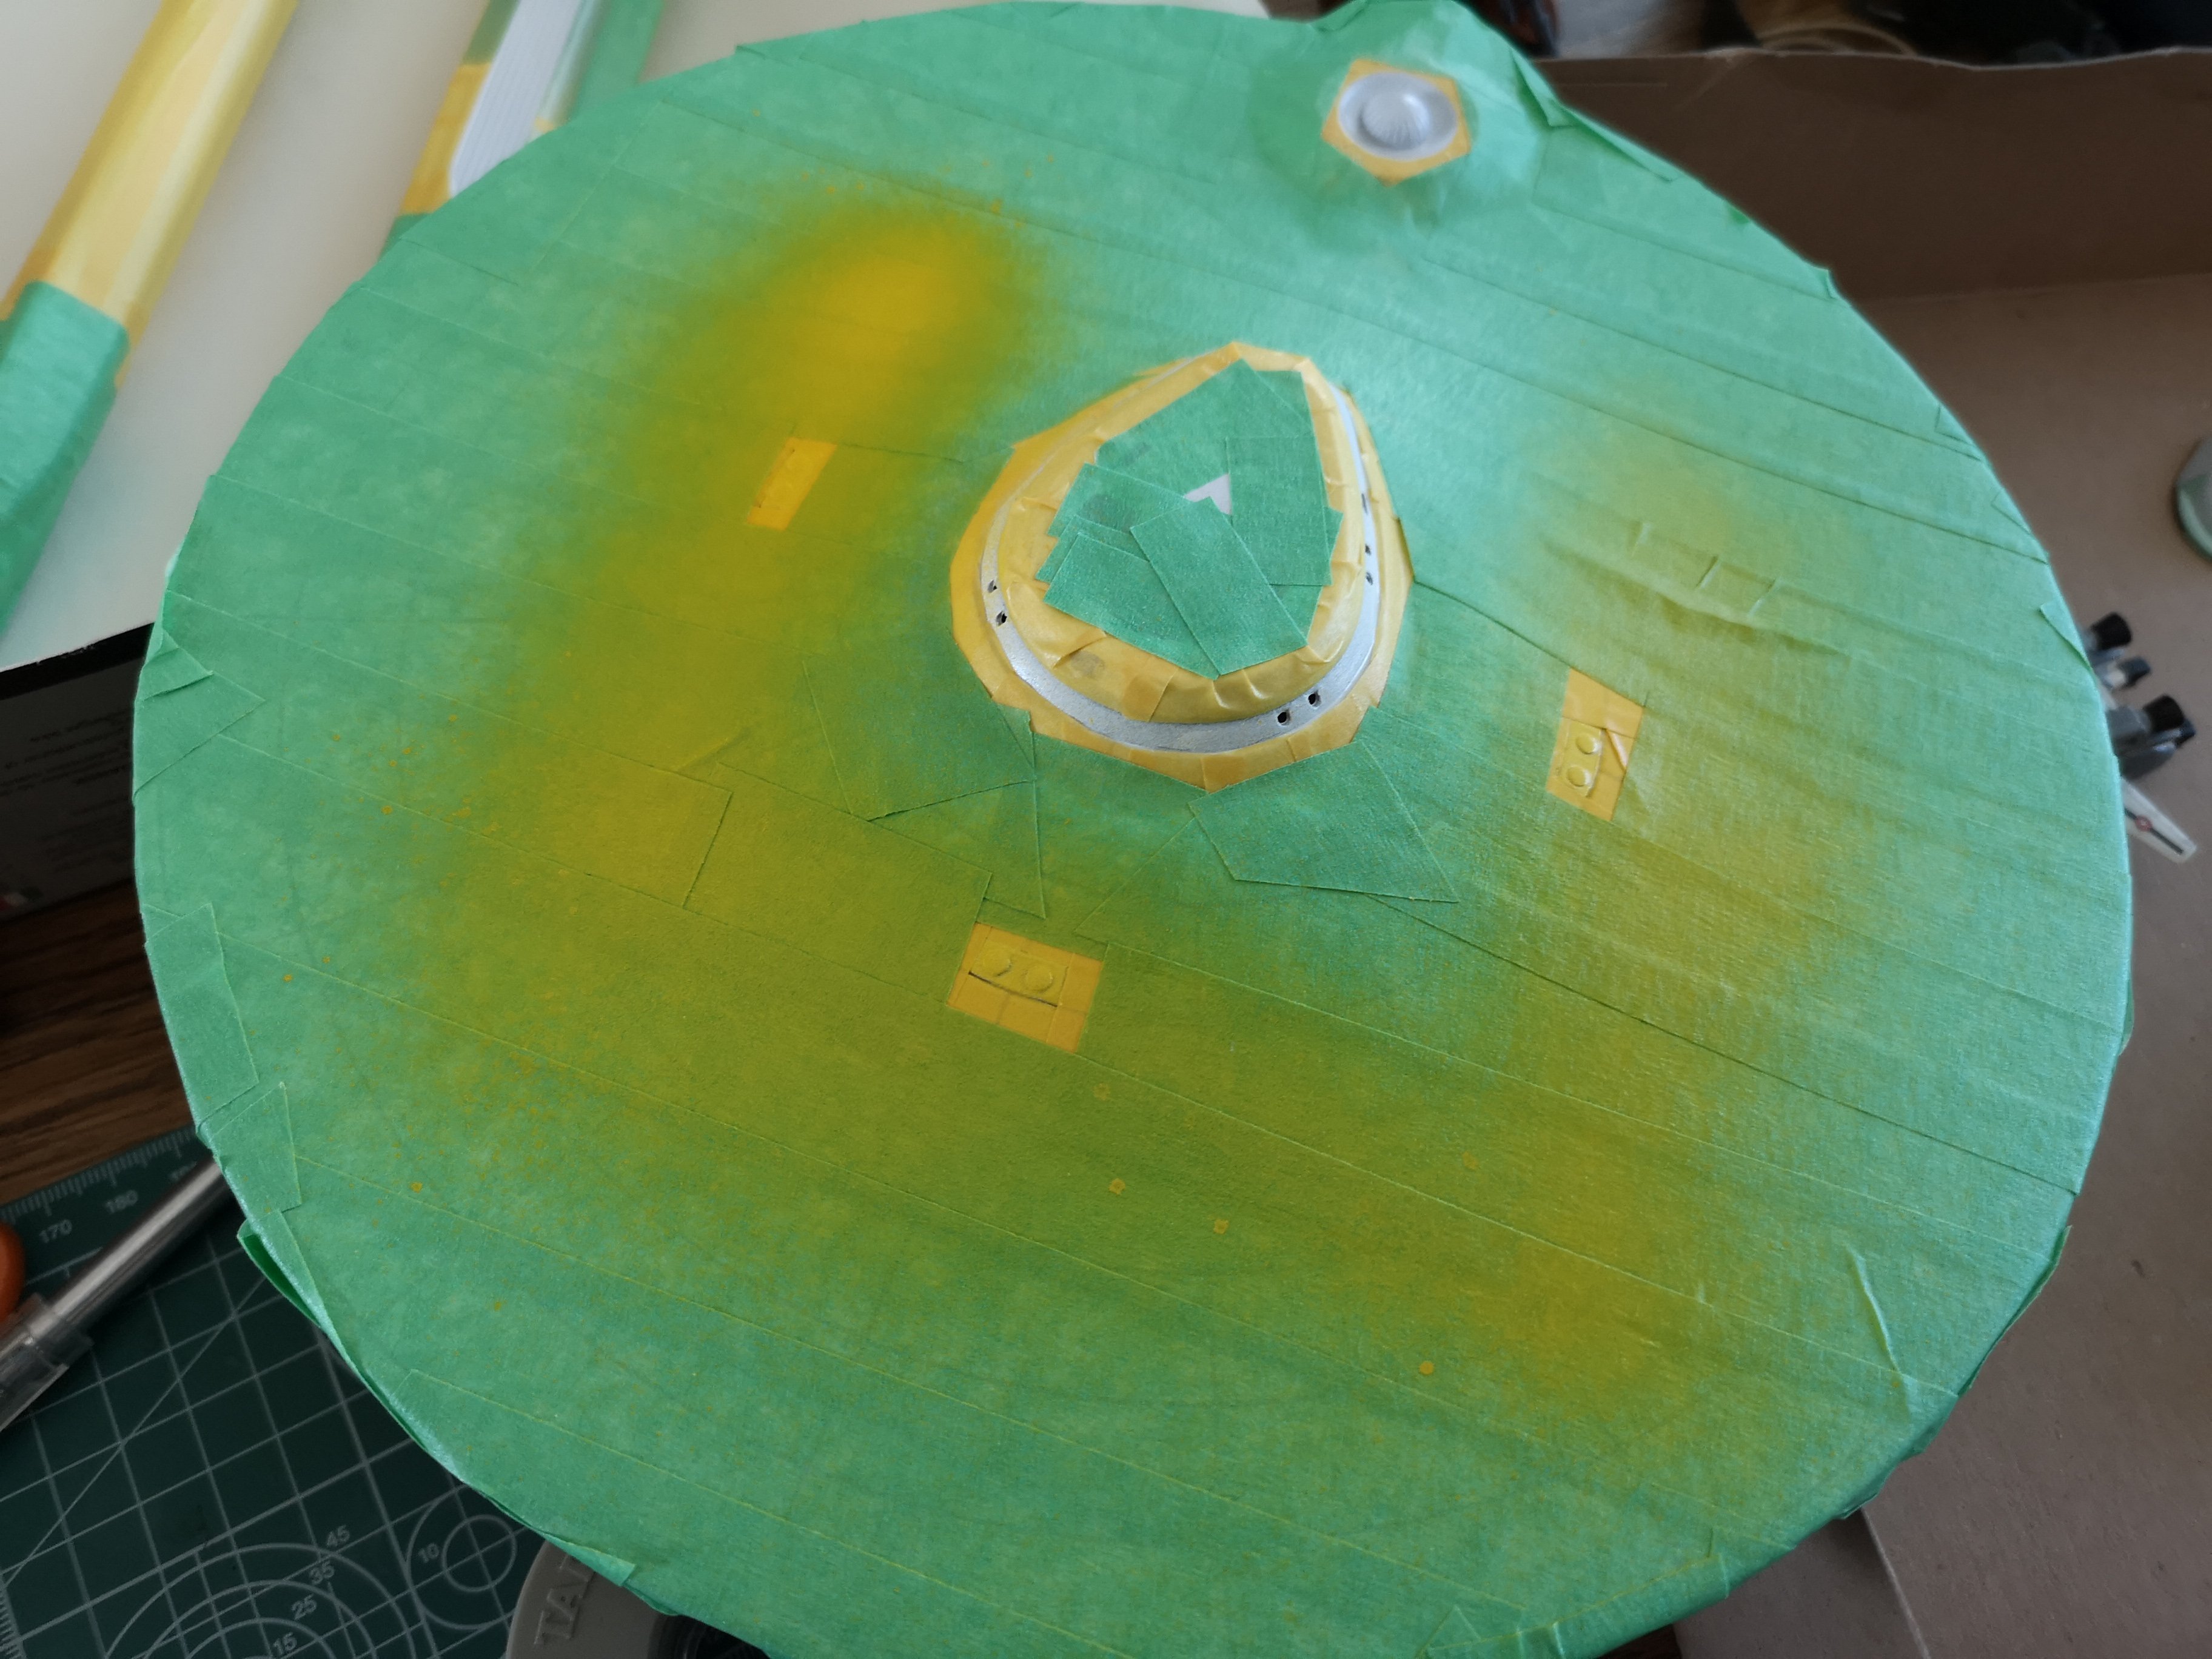
Lol, I was being so stingy with my Tamiya masking tape but I went to town when I found a roll of the green stuff. Still sort of using the Bandai as a paint/decal guide. I found it's not exactly screen accurate either but it's not bad, and it's a lot easier to look at than scrolling through my phone or computer for reference pics. Doesn't look bad from a distance (please don't zoom in). The instructions from HDA actually had numerous errors in it, if you guys get the kit, do not follow the instructions, lol! I had some issues with the bottom decal, and couldn't figure out which line to follow when setting it. I may have made the wrong choice, lol! Still more to go. In the future, I don't think I'll just nuts, bolts and other hardware drowned in glue. That being said, I don't think I'll build another 1/537, lol! More to follow.
-
Wow, that is some serious dedication to detail.
-
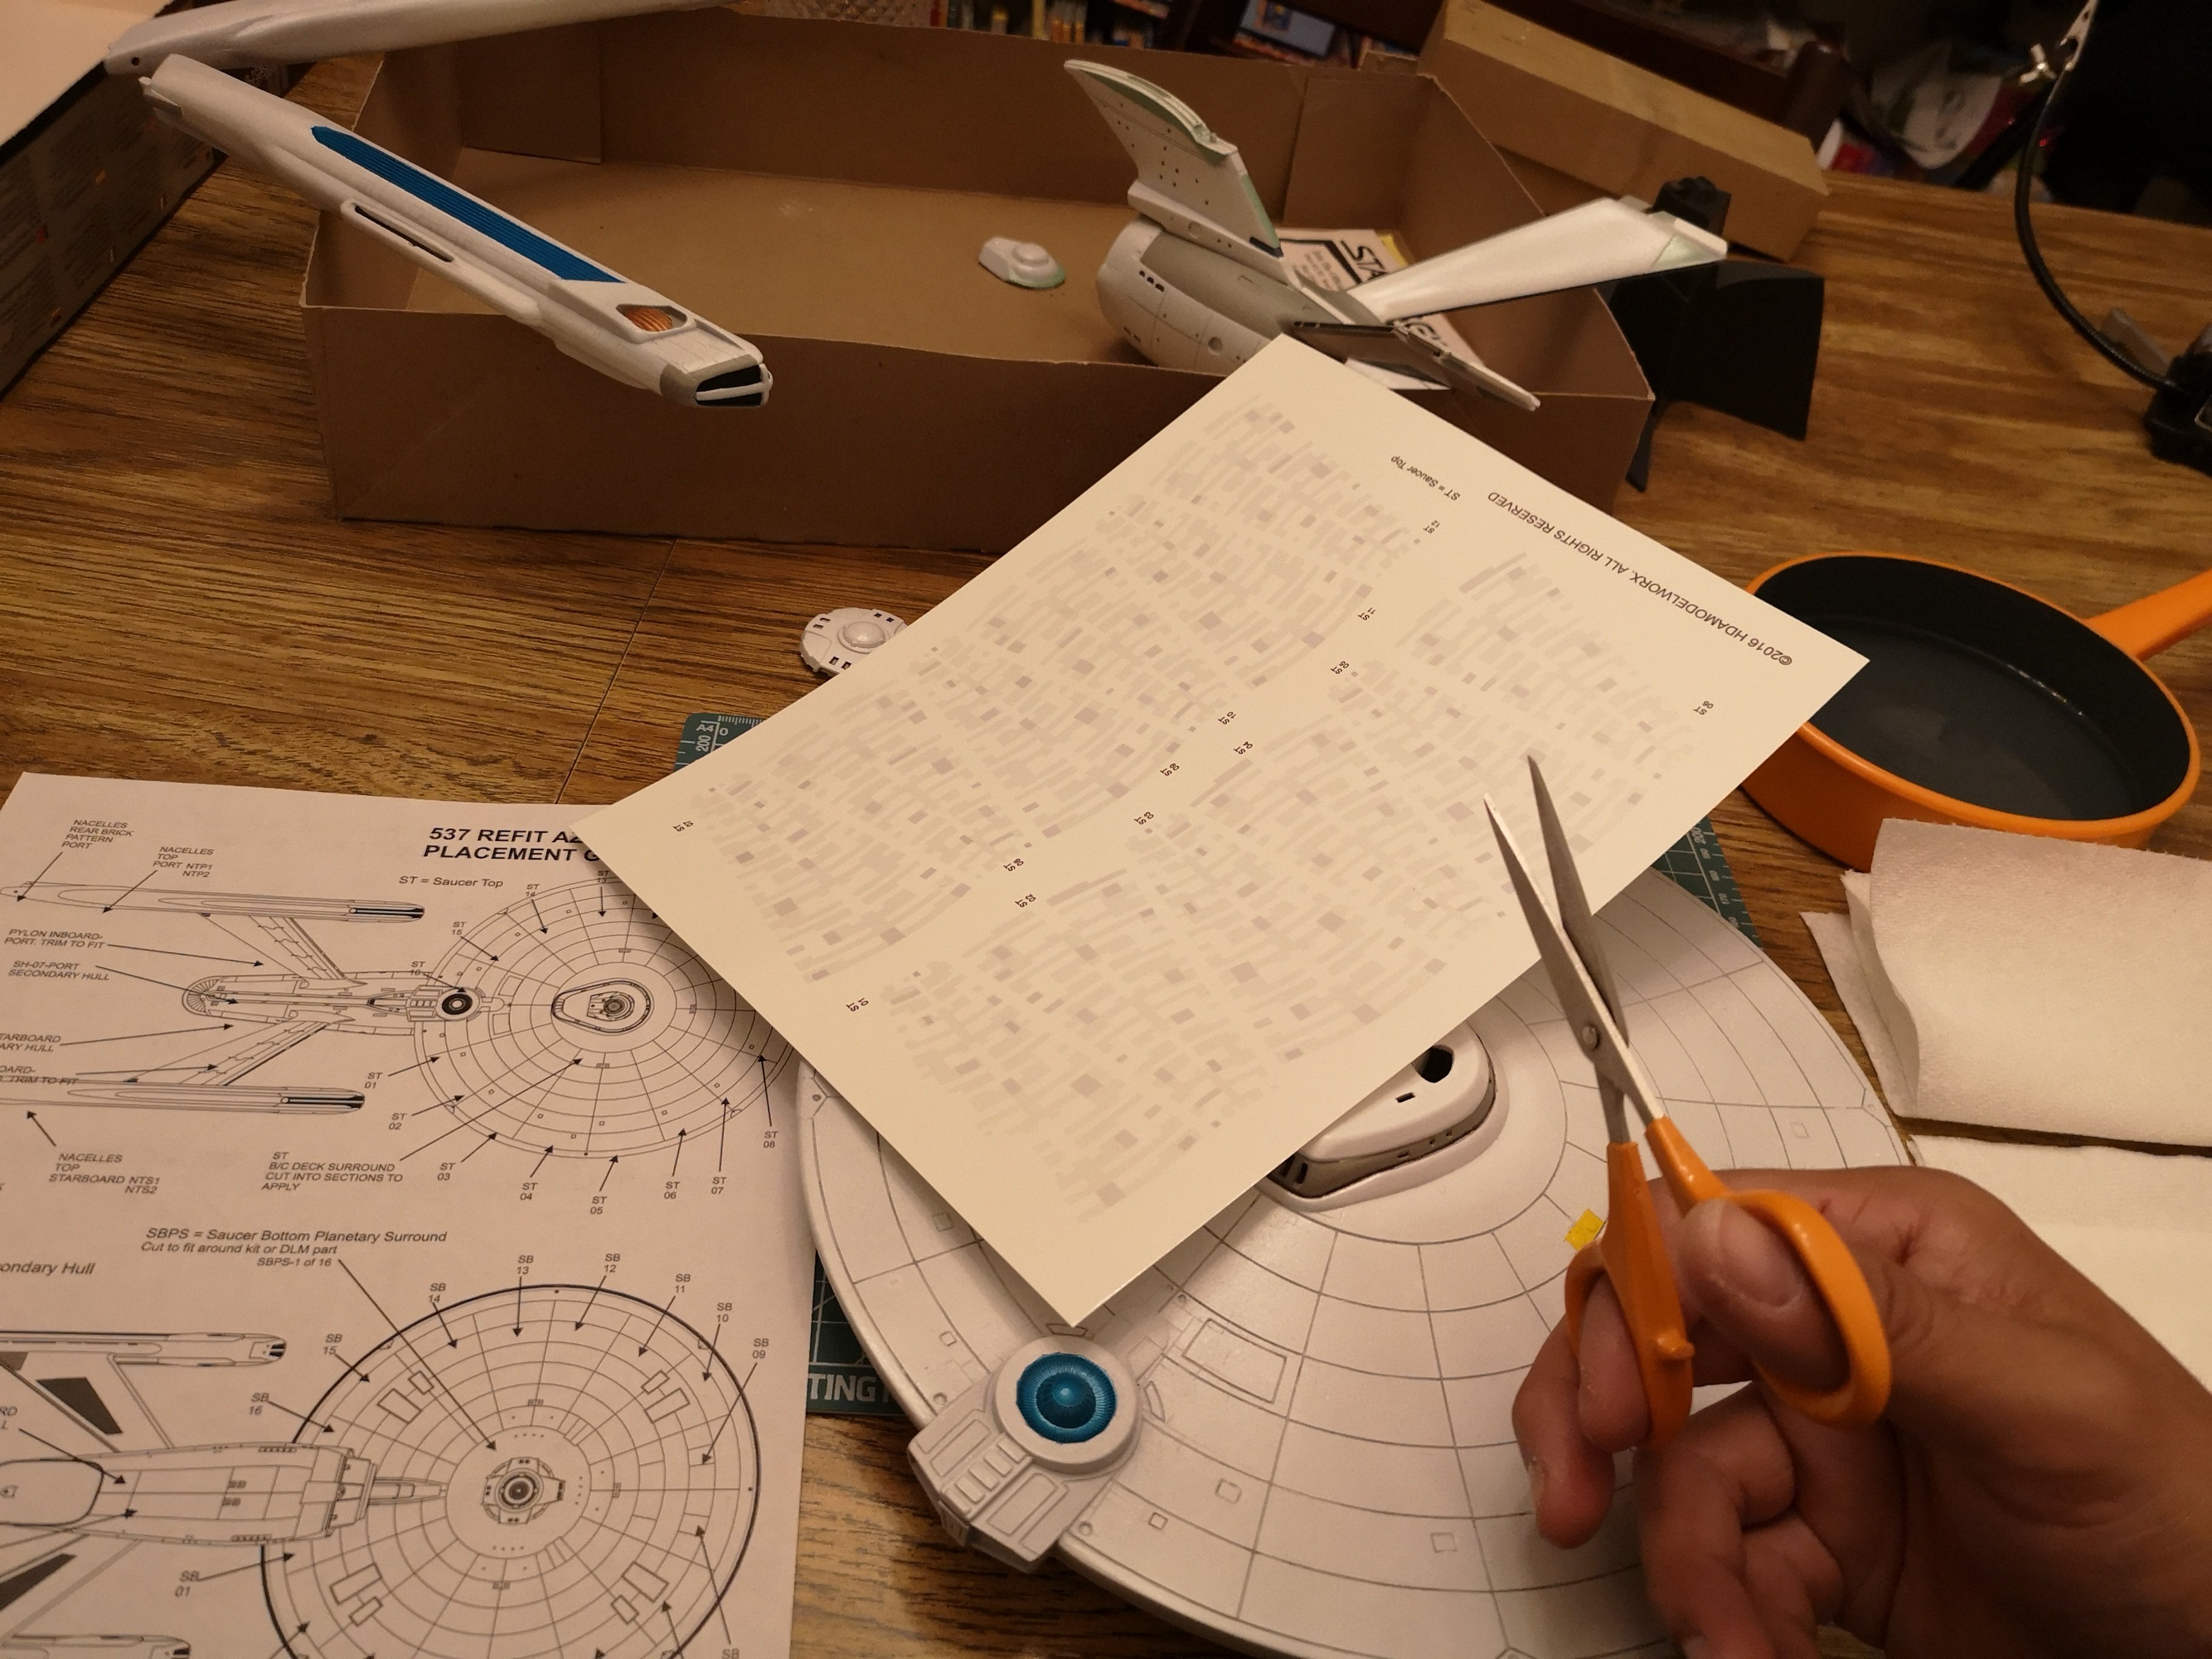
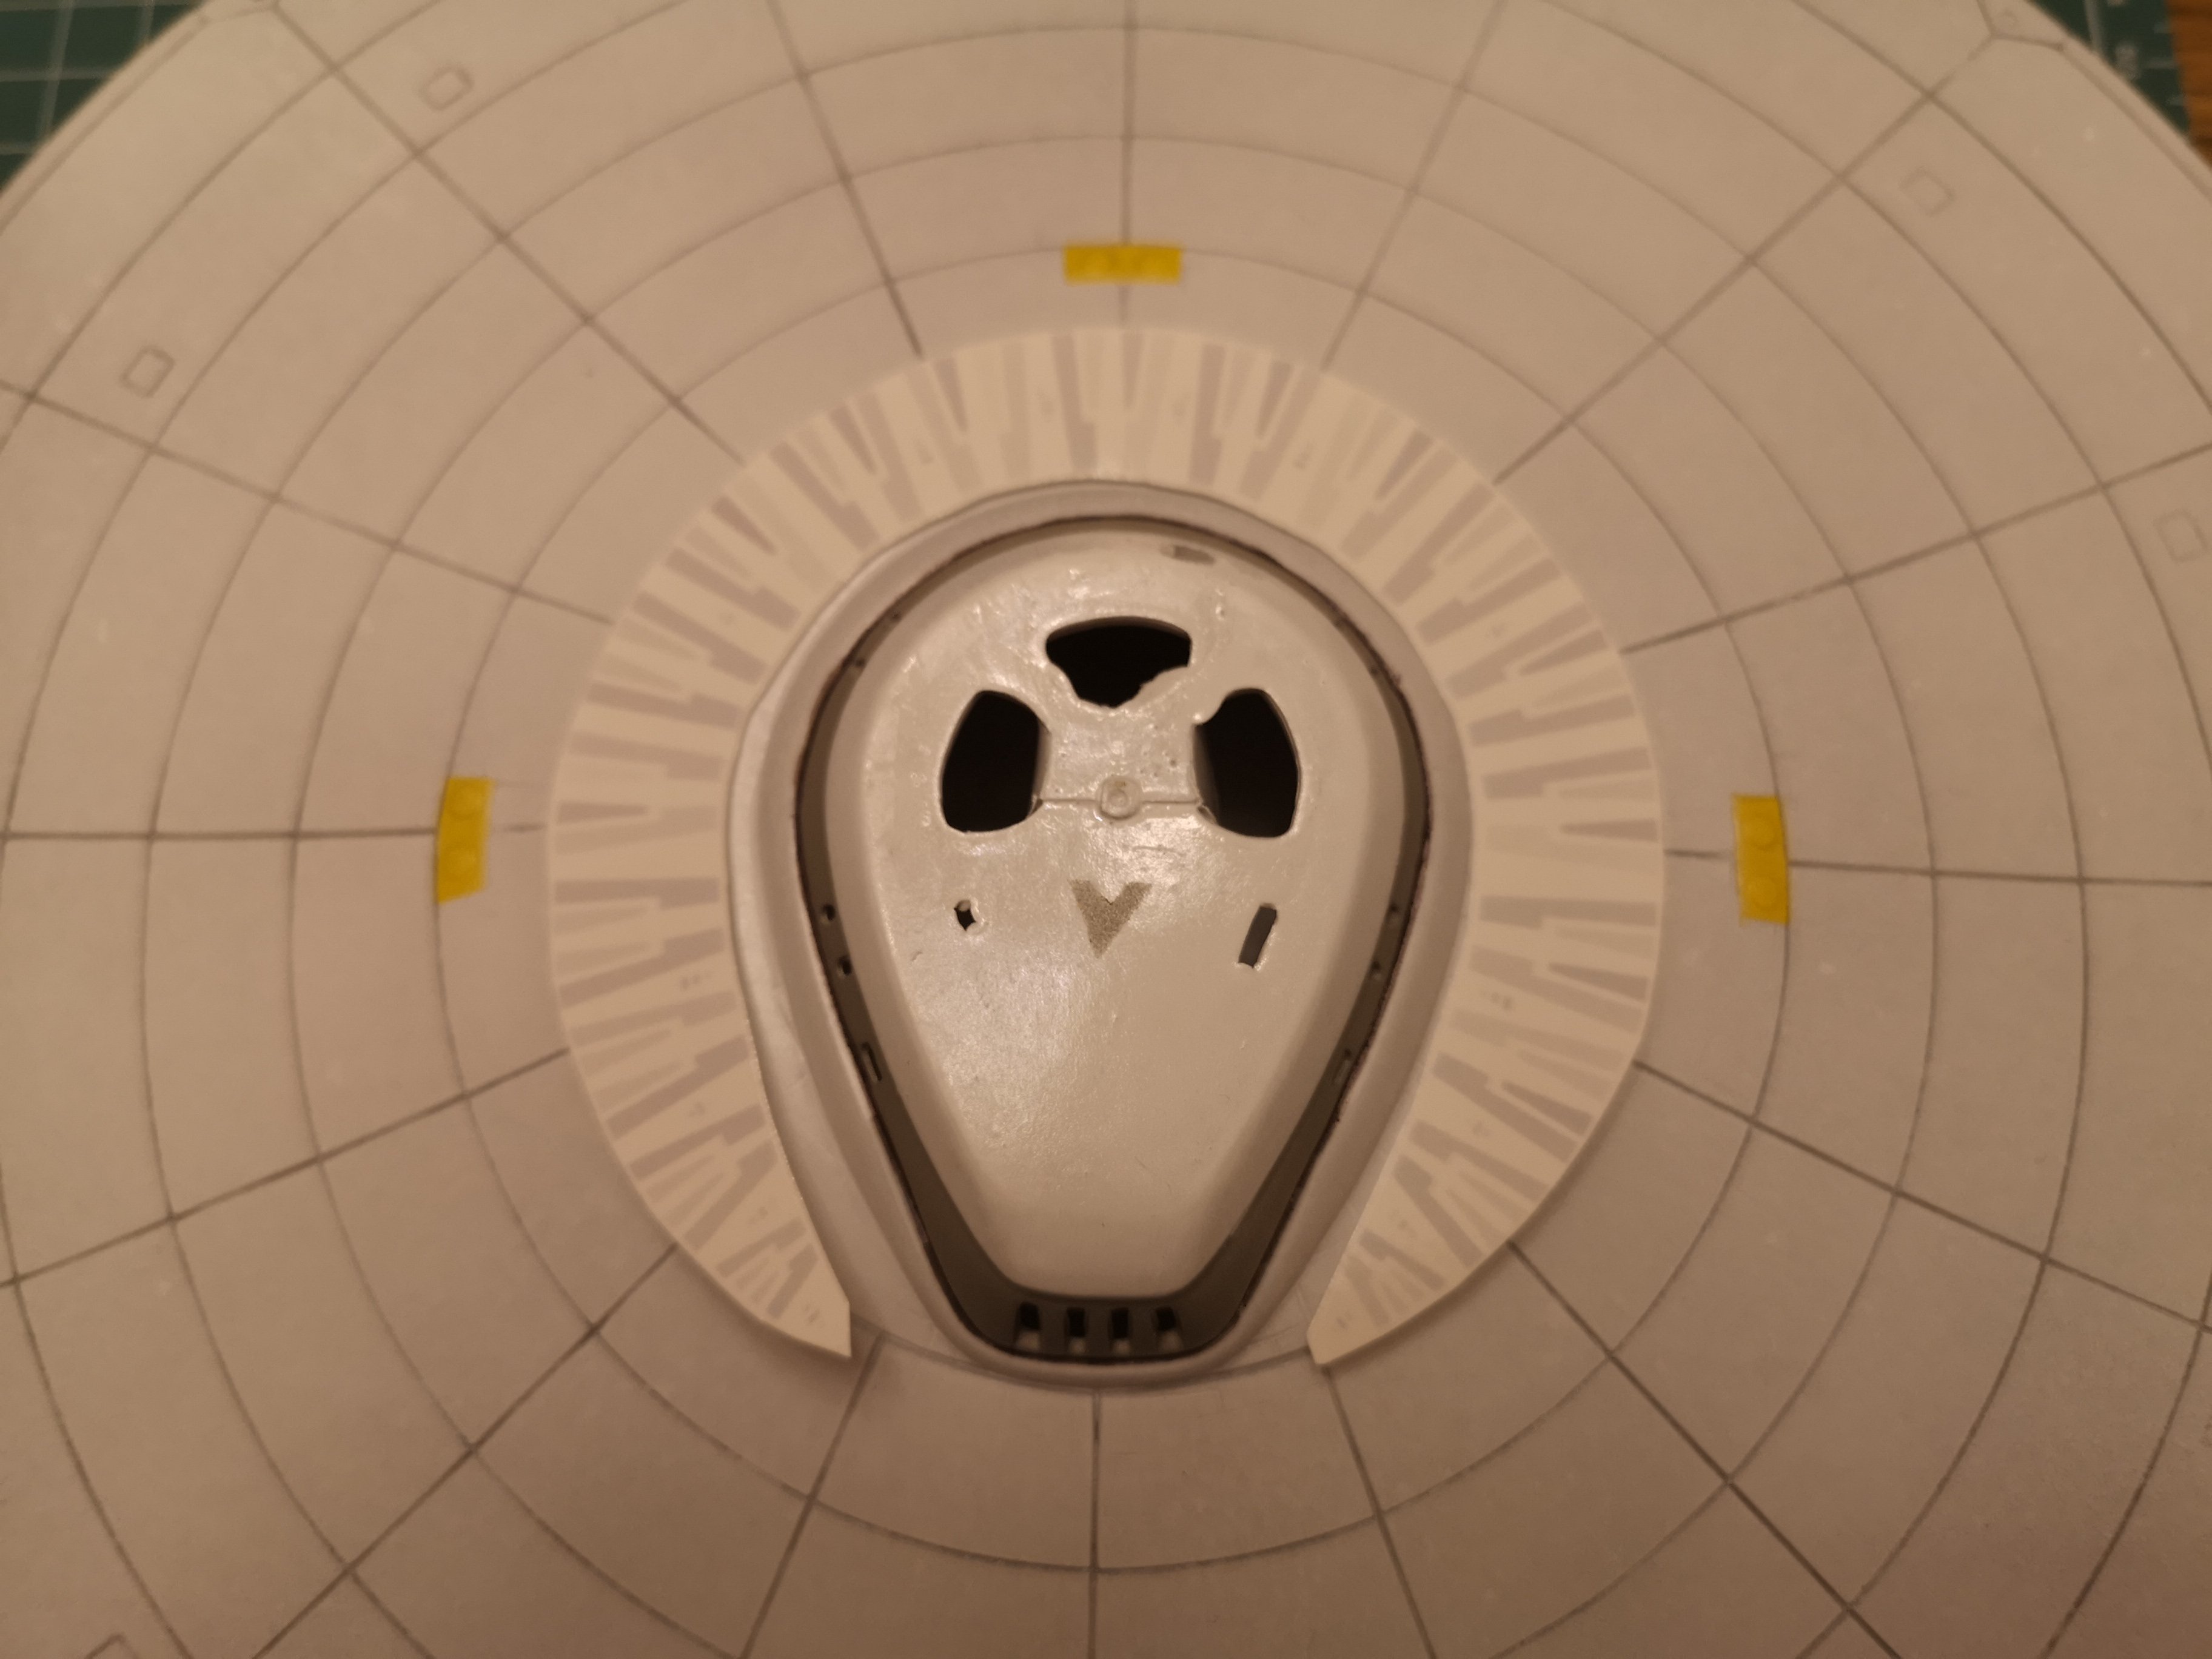
Your kits look great. G1 all the way. I just started the decals on my Refit. I have to say that HDAmodelworx makes a very robust decal. I just hope that Mr. Mark Softer will help them settle. These are the thickest decals I've ever seen. They feel almost as thick as Bandai stickers.
-
Looks great, I should get an airbrush...
-
I'll try to clean it up before going to decals
-
There's more blood, sweat, tears, masking, paint, glue and filler on this one nacelle than both ships I build as a kid  I never even noticed the copper when I was a kid.
-
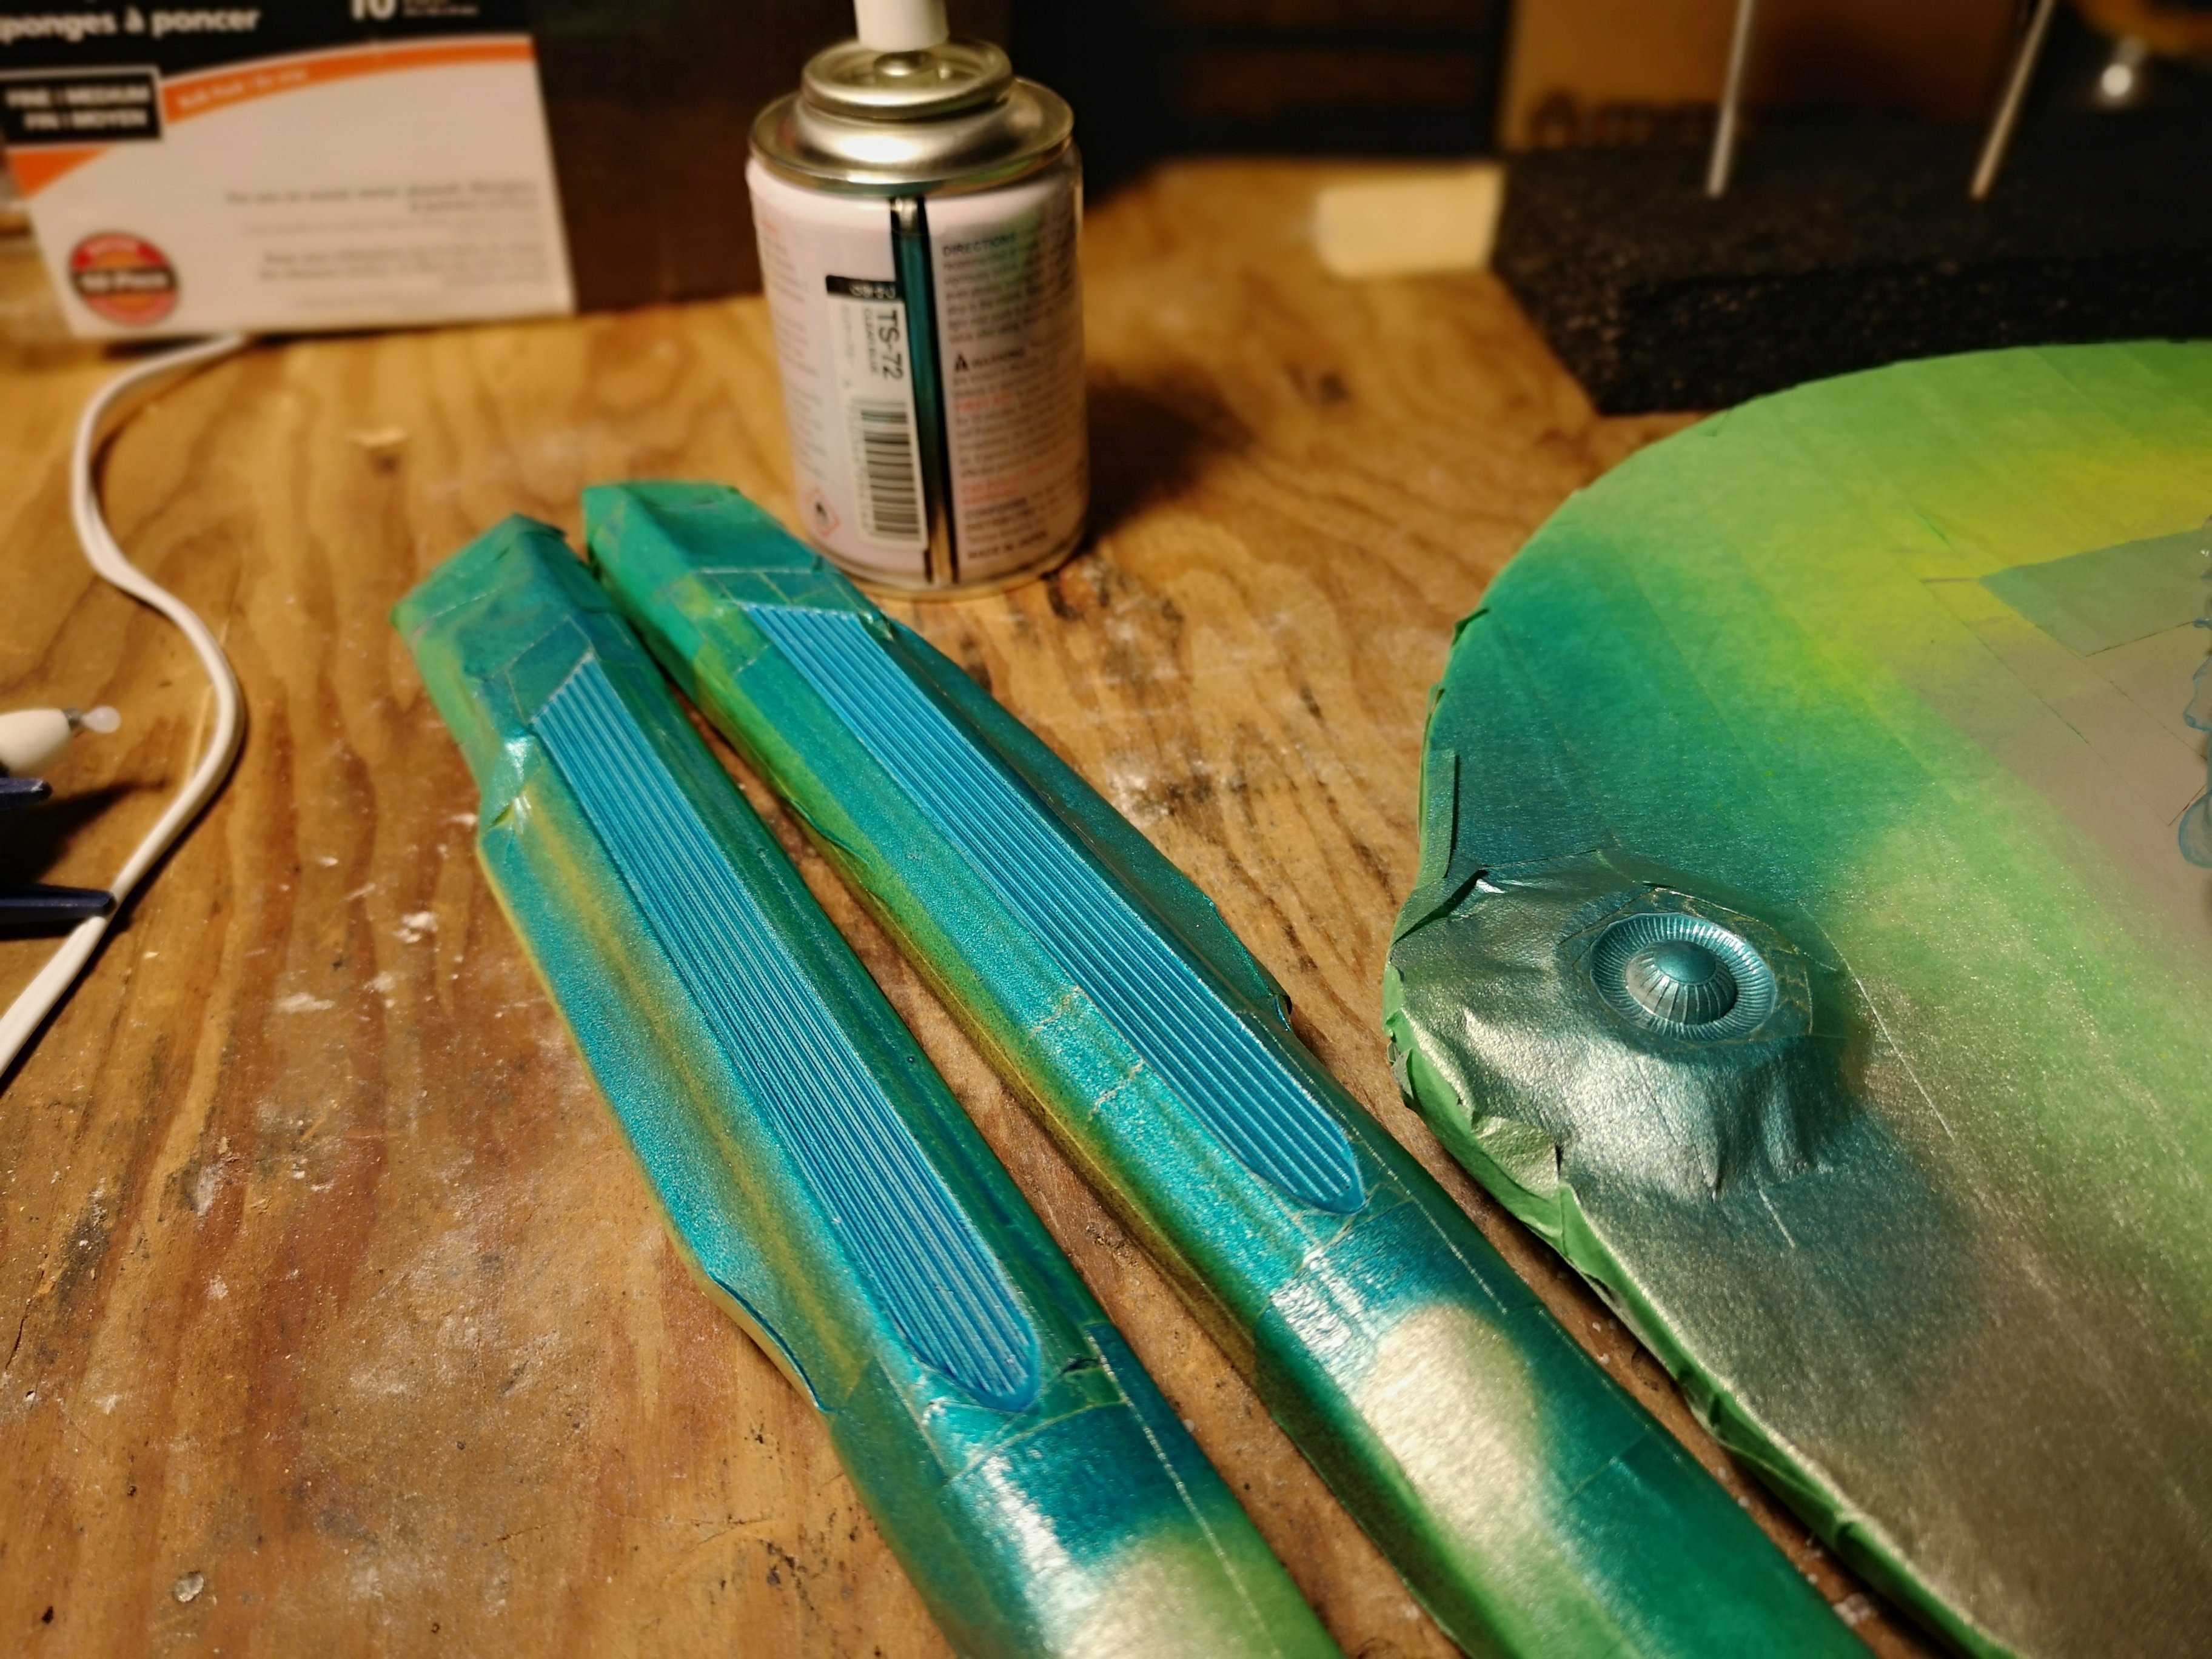
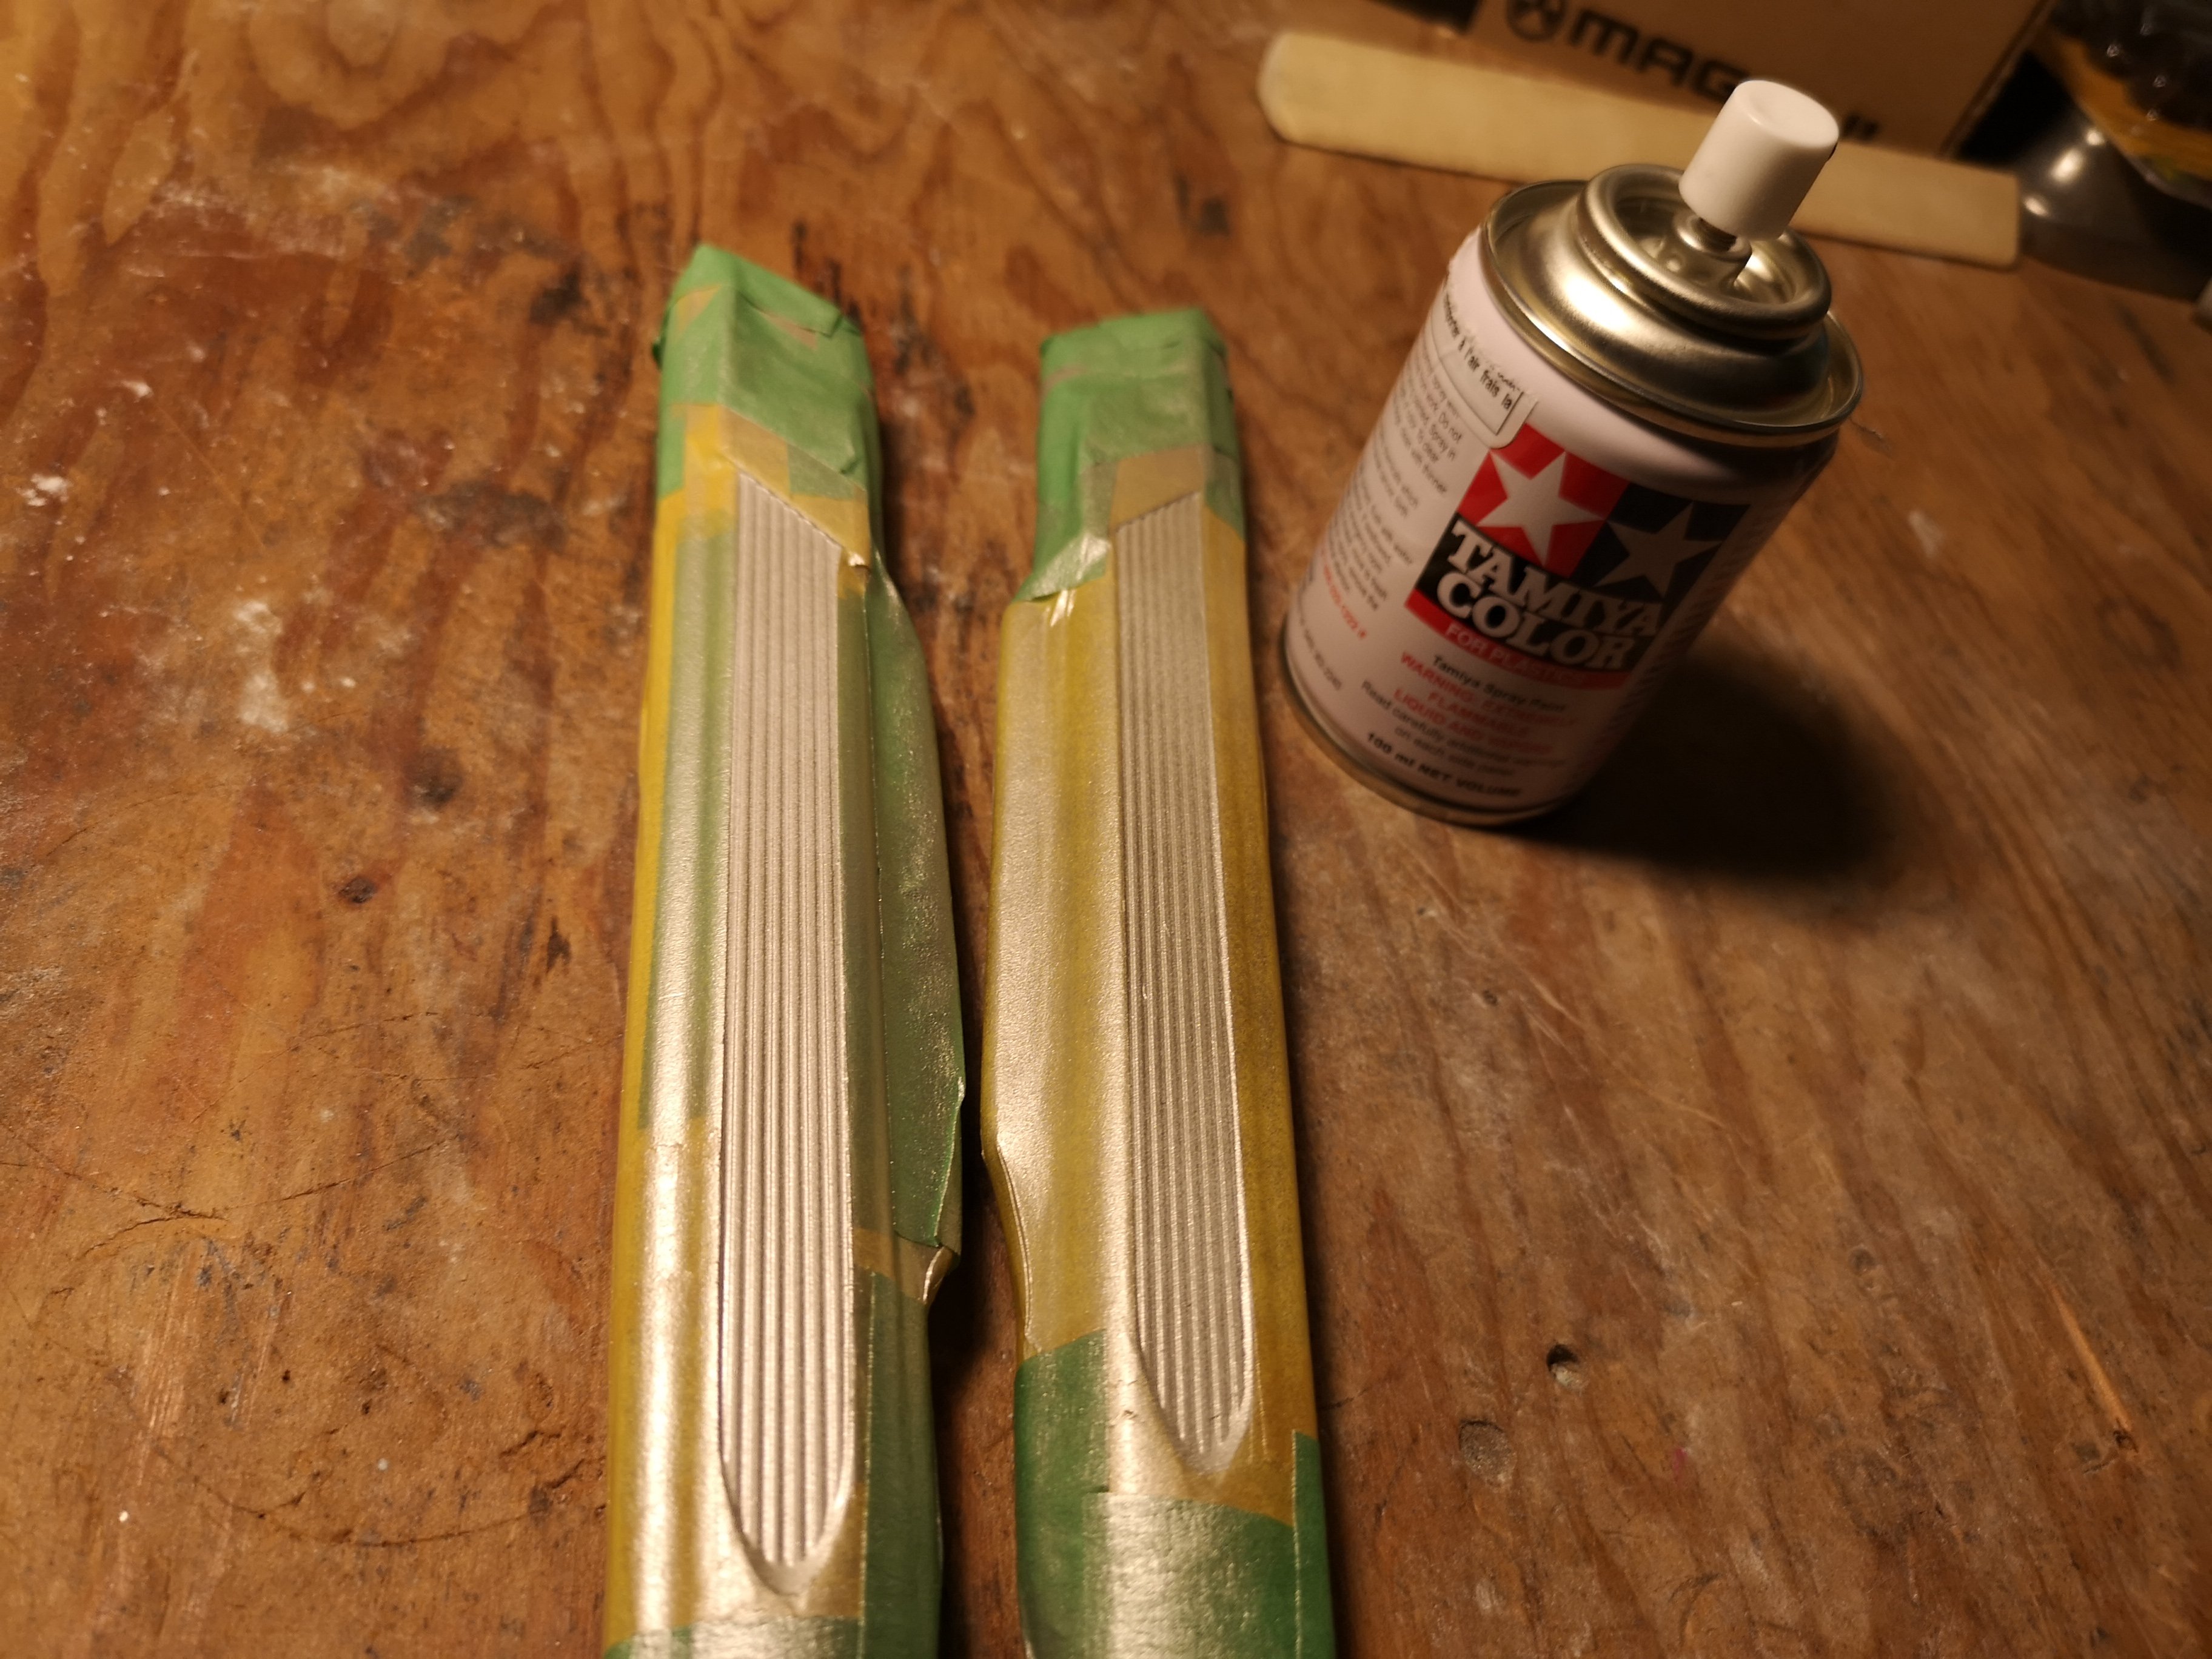
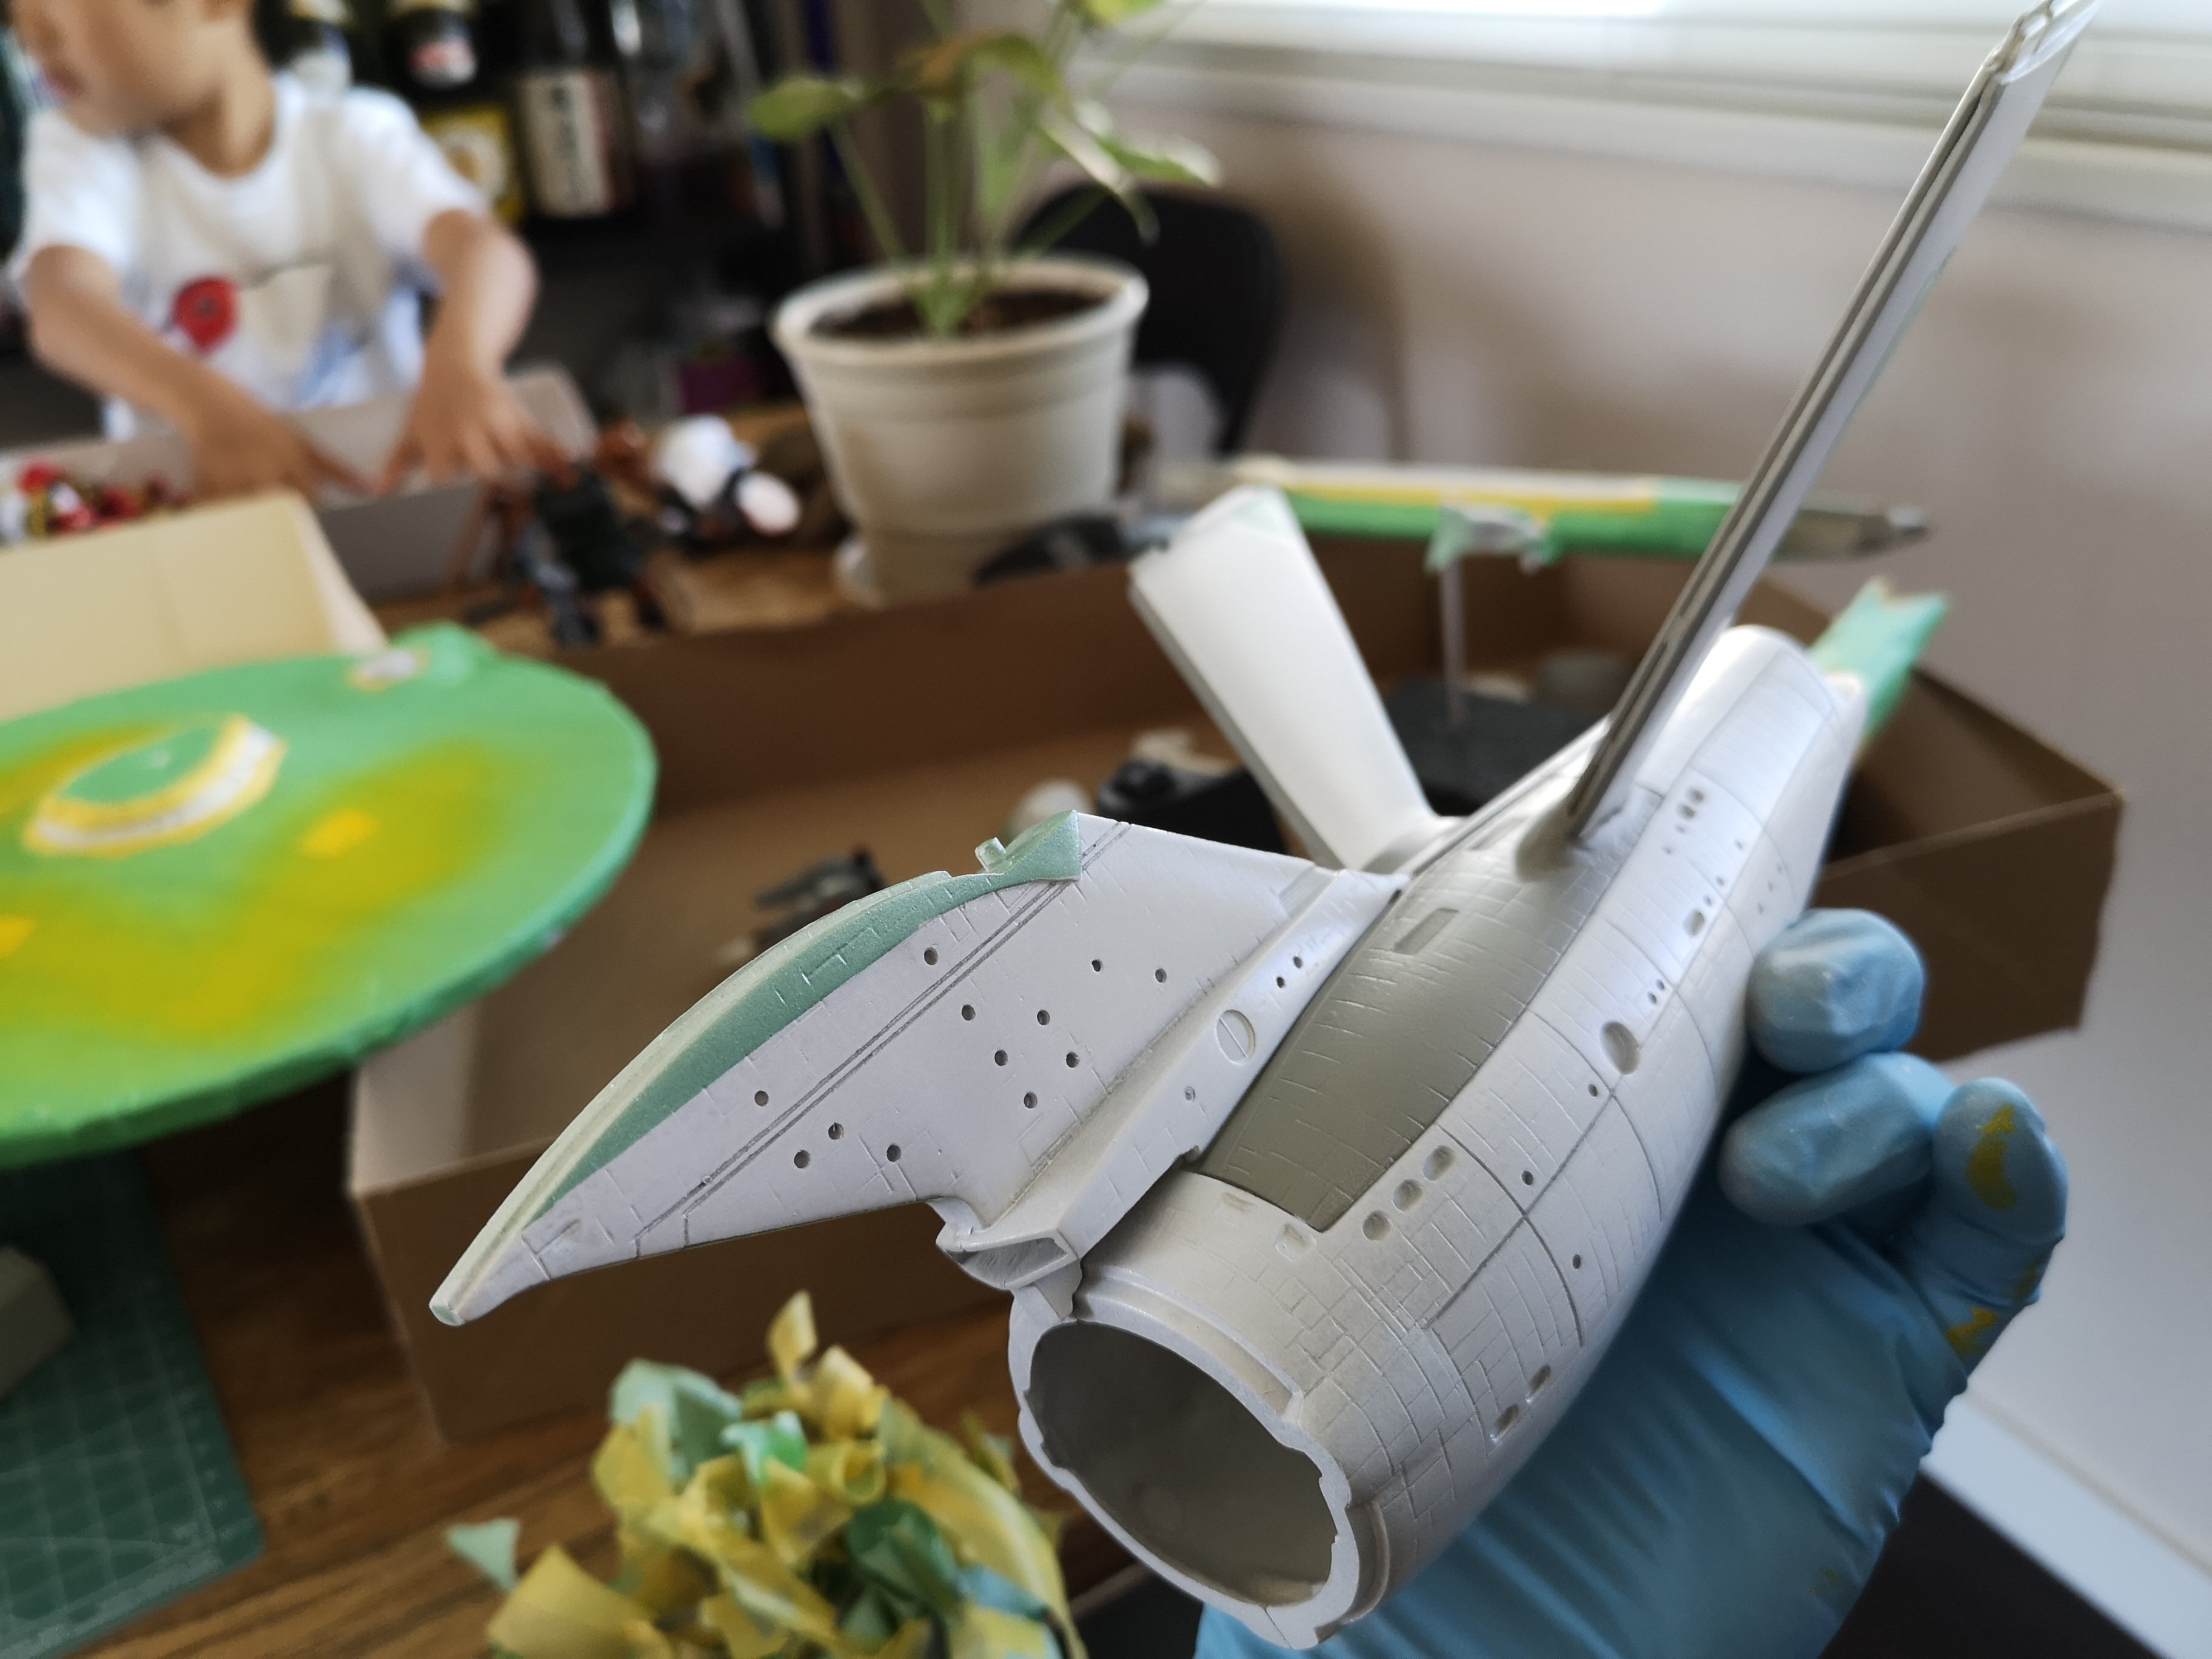
Dug through my spare parts box for something to spruce up the torpedo launchers. I couldn't find anything screen accurate, but we all know I gave up in that a long time ago. On my grade 8 build, I think I just brush painted both sides flat black. I know some people have cut the original ones out in favour for aftermarket clear blue ones, but that's beyond me. I just masked the inner nacelles off, hosed it down with something metallic, then a shot of clear blue. Ok, no close up shots. My masking is $hit, hahahahaha! Clearly, I can't do curves, so this model will be best appreciated from a far....like across the room.
-
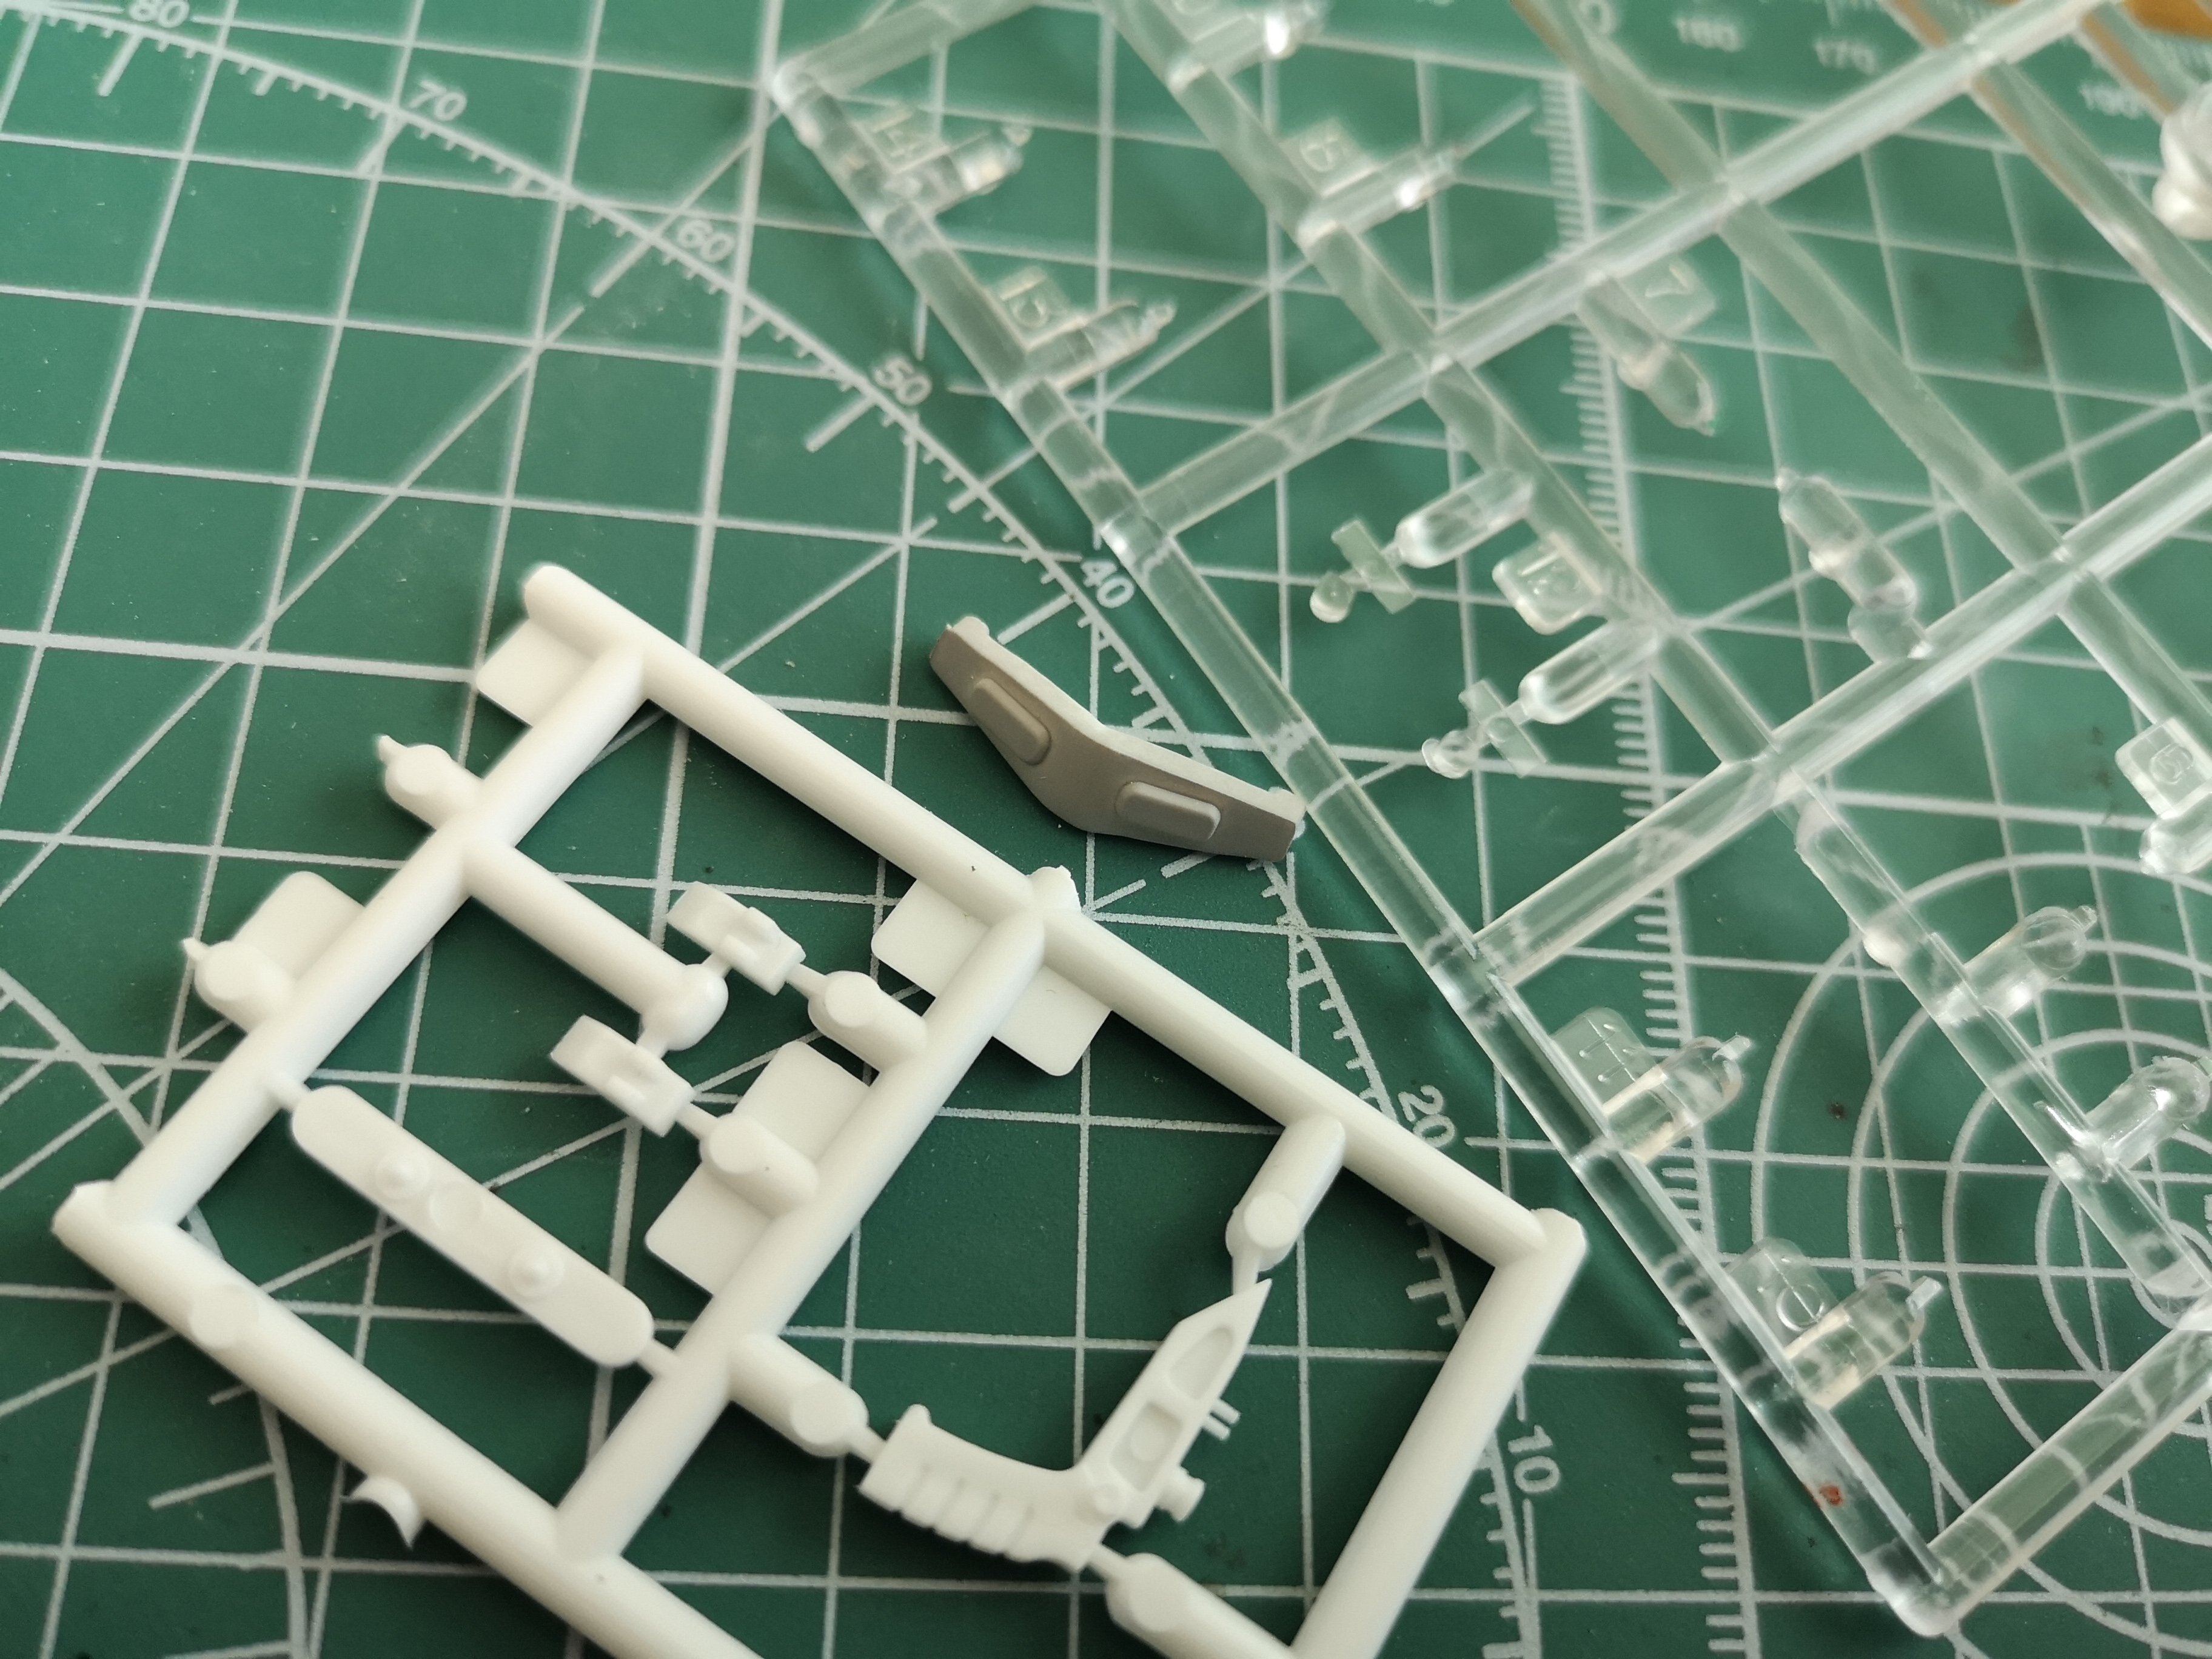
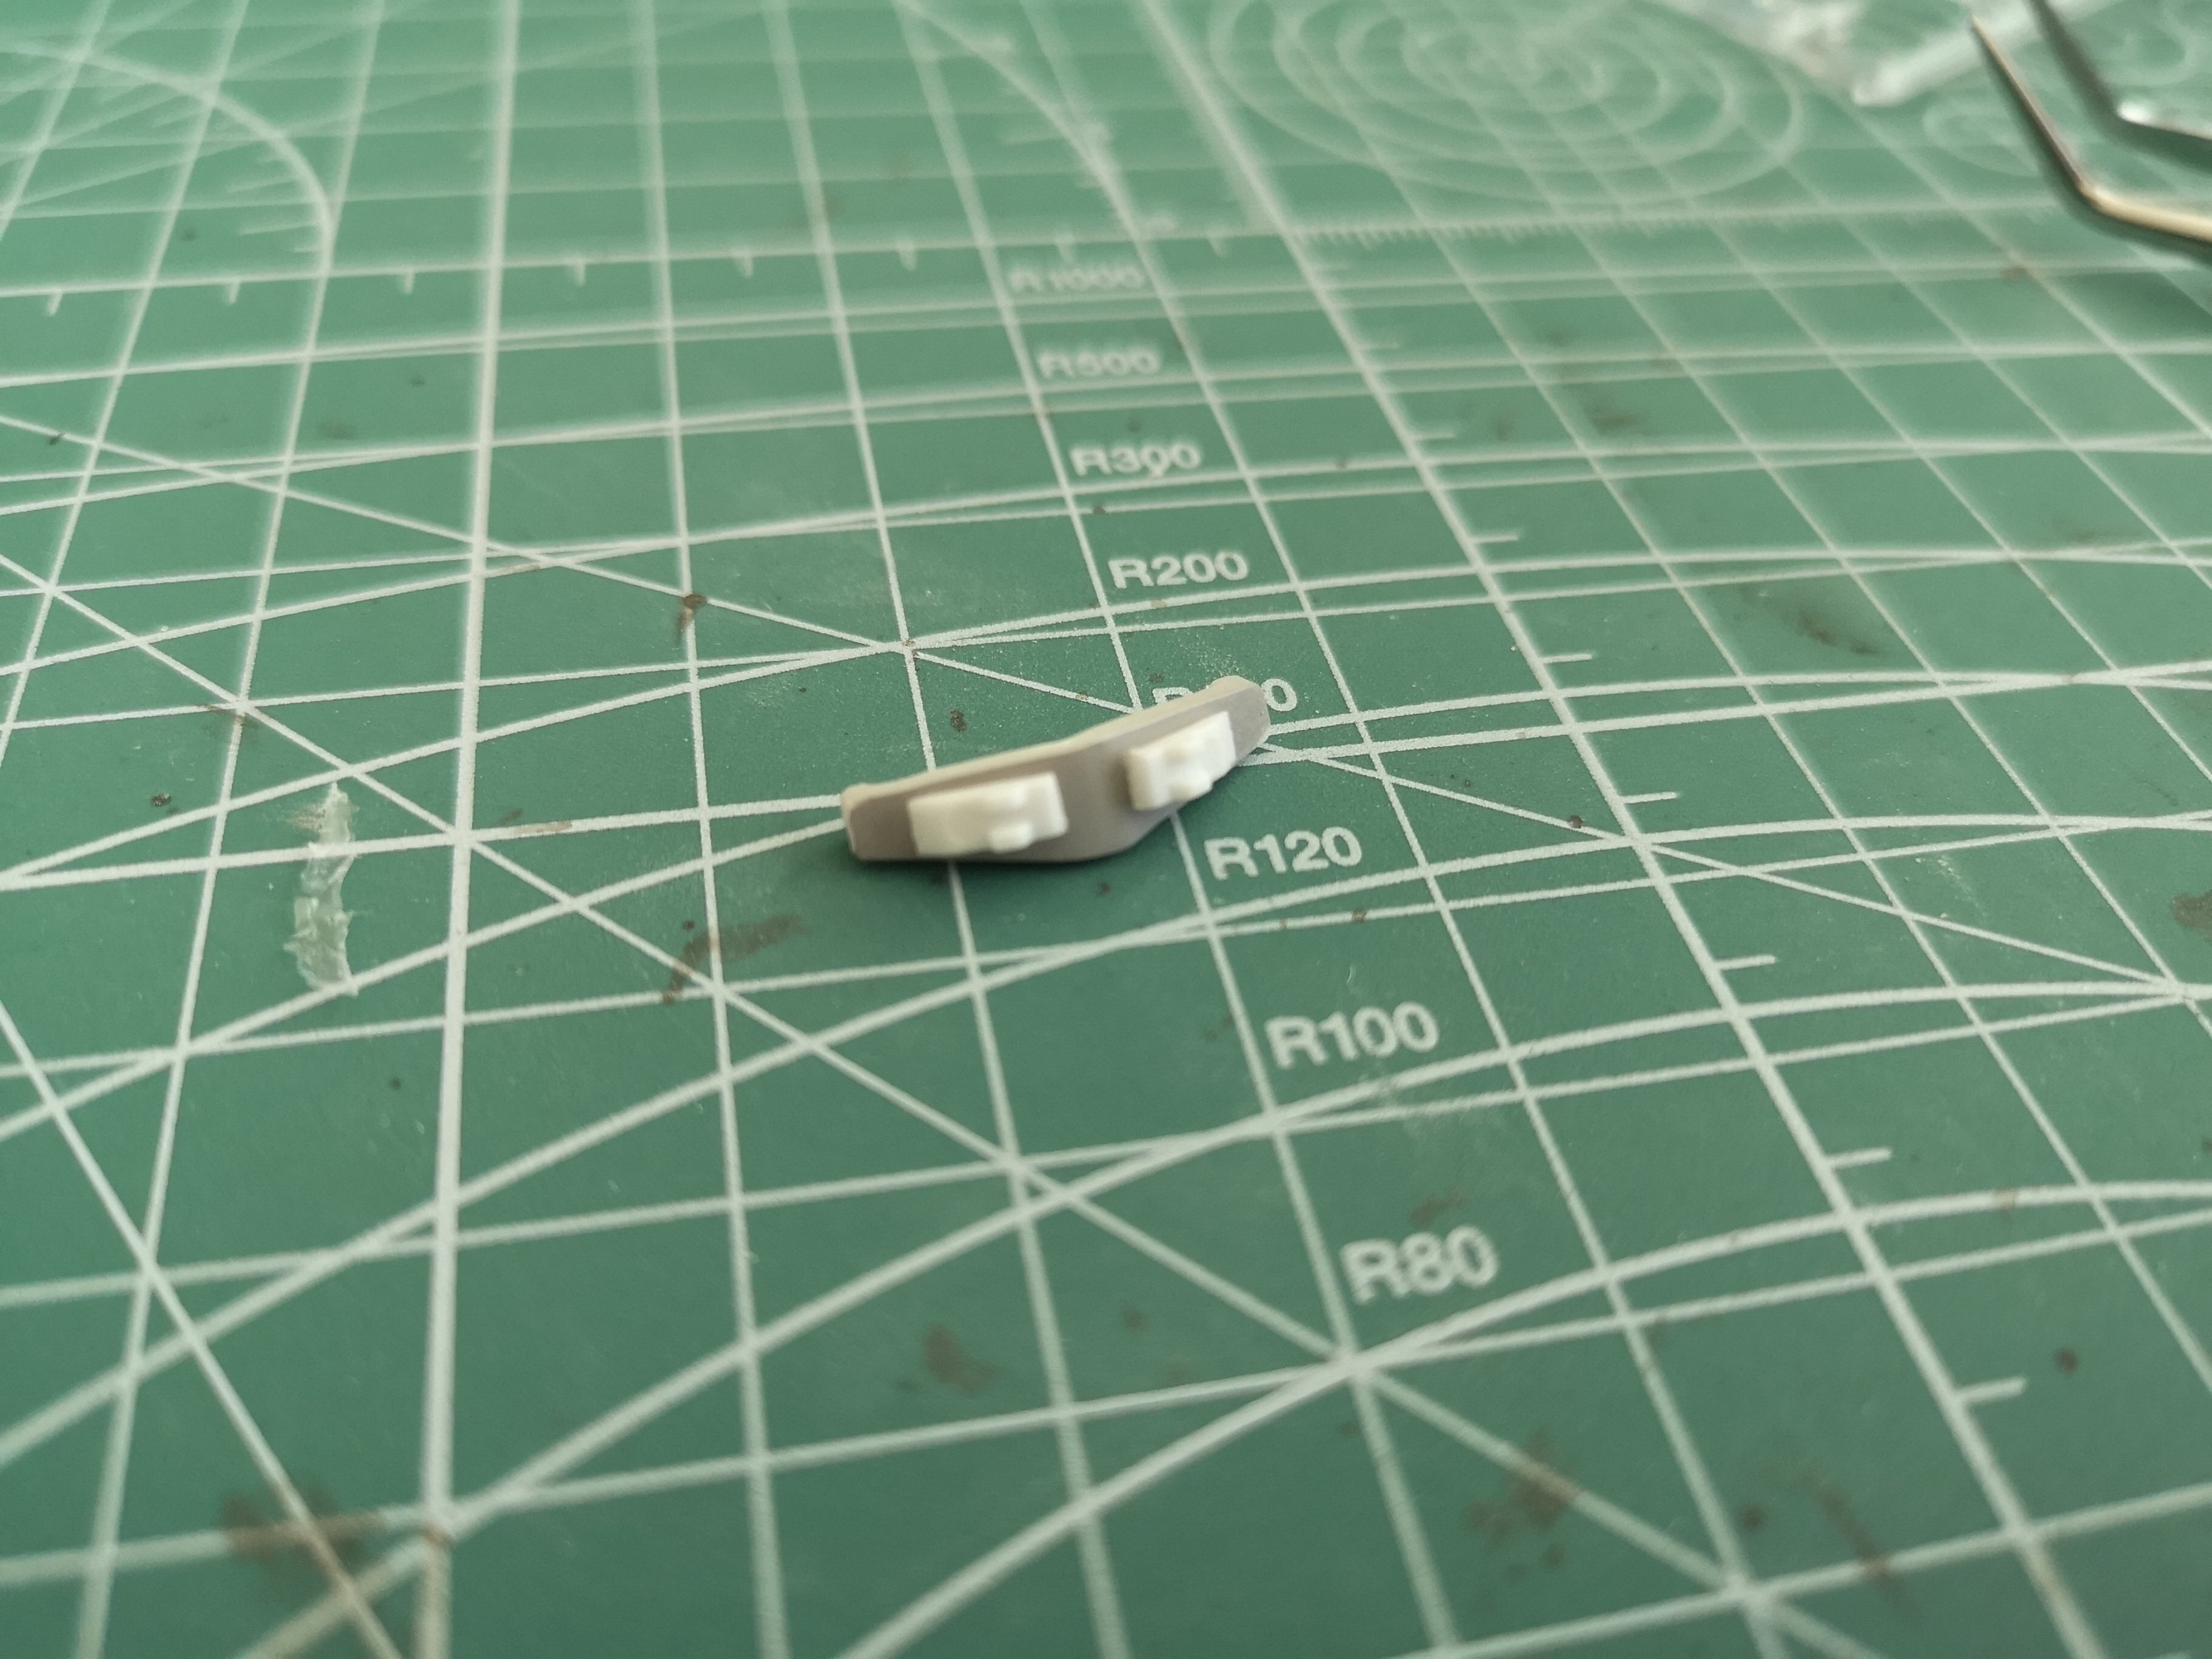
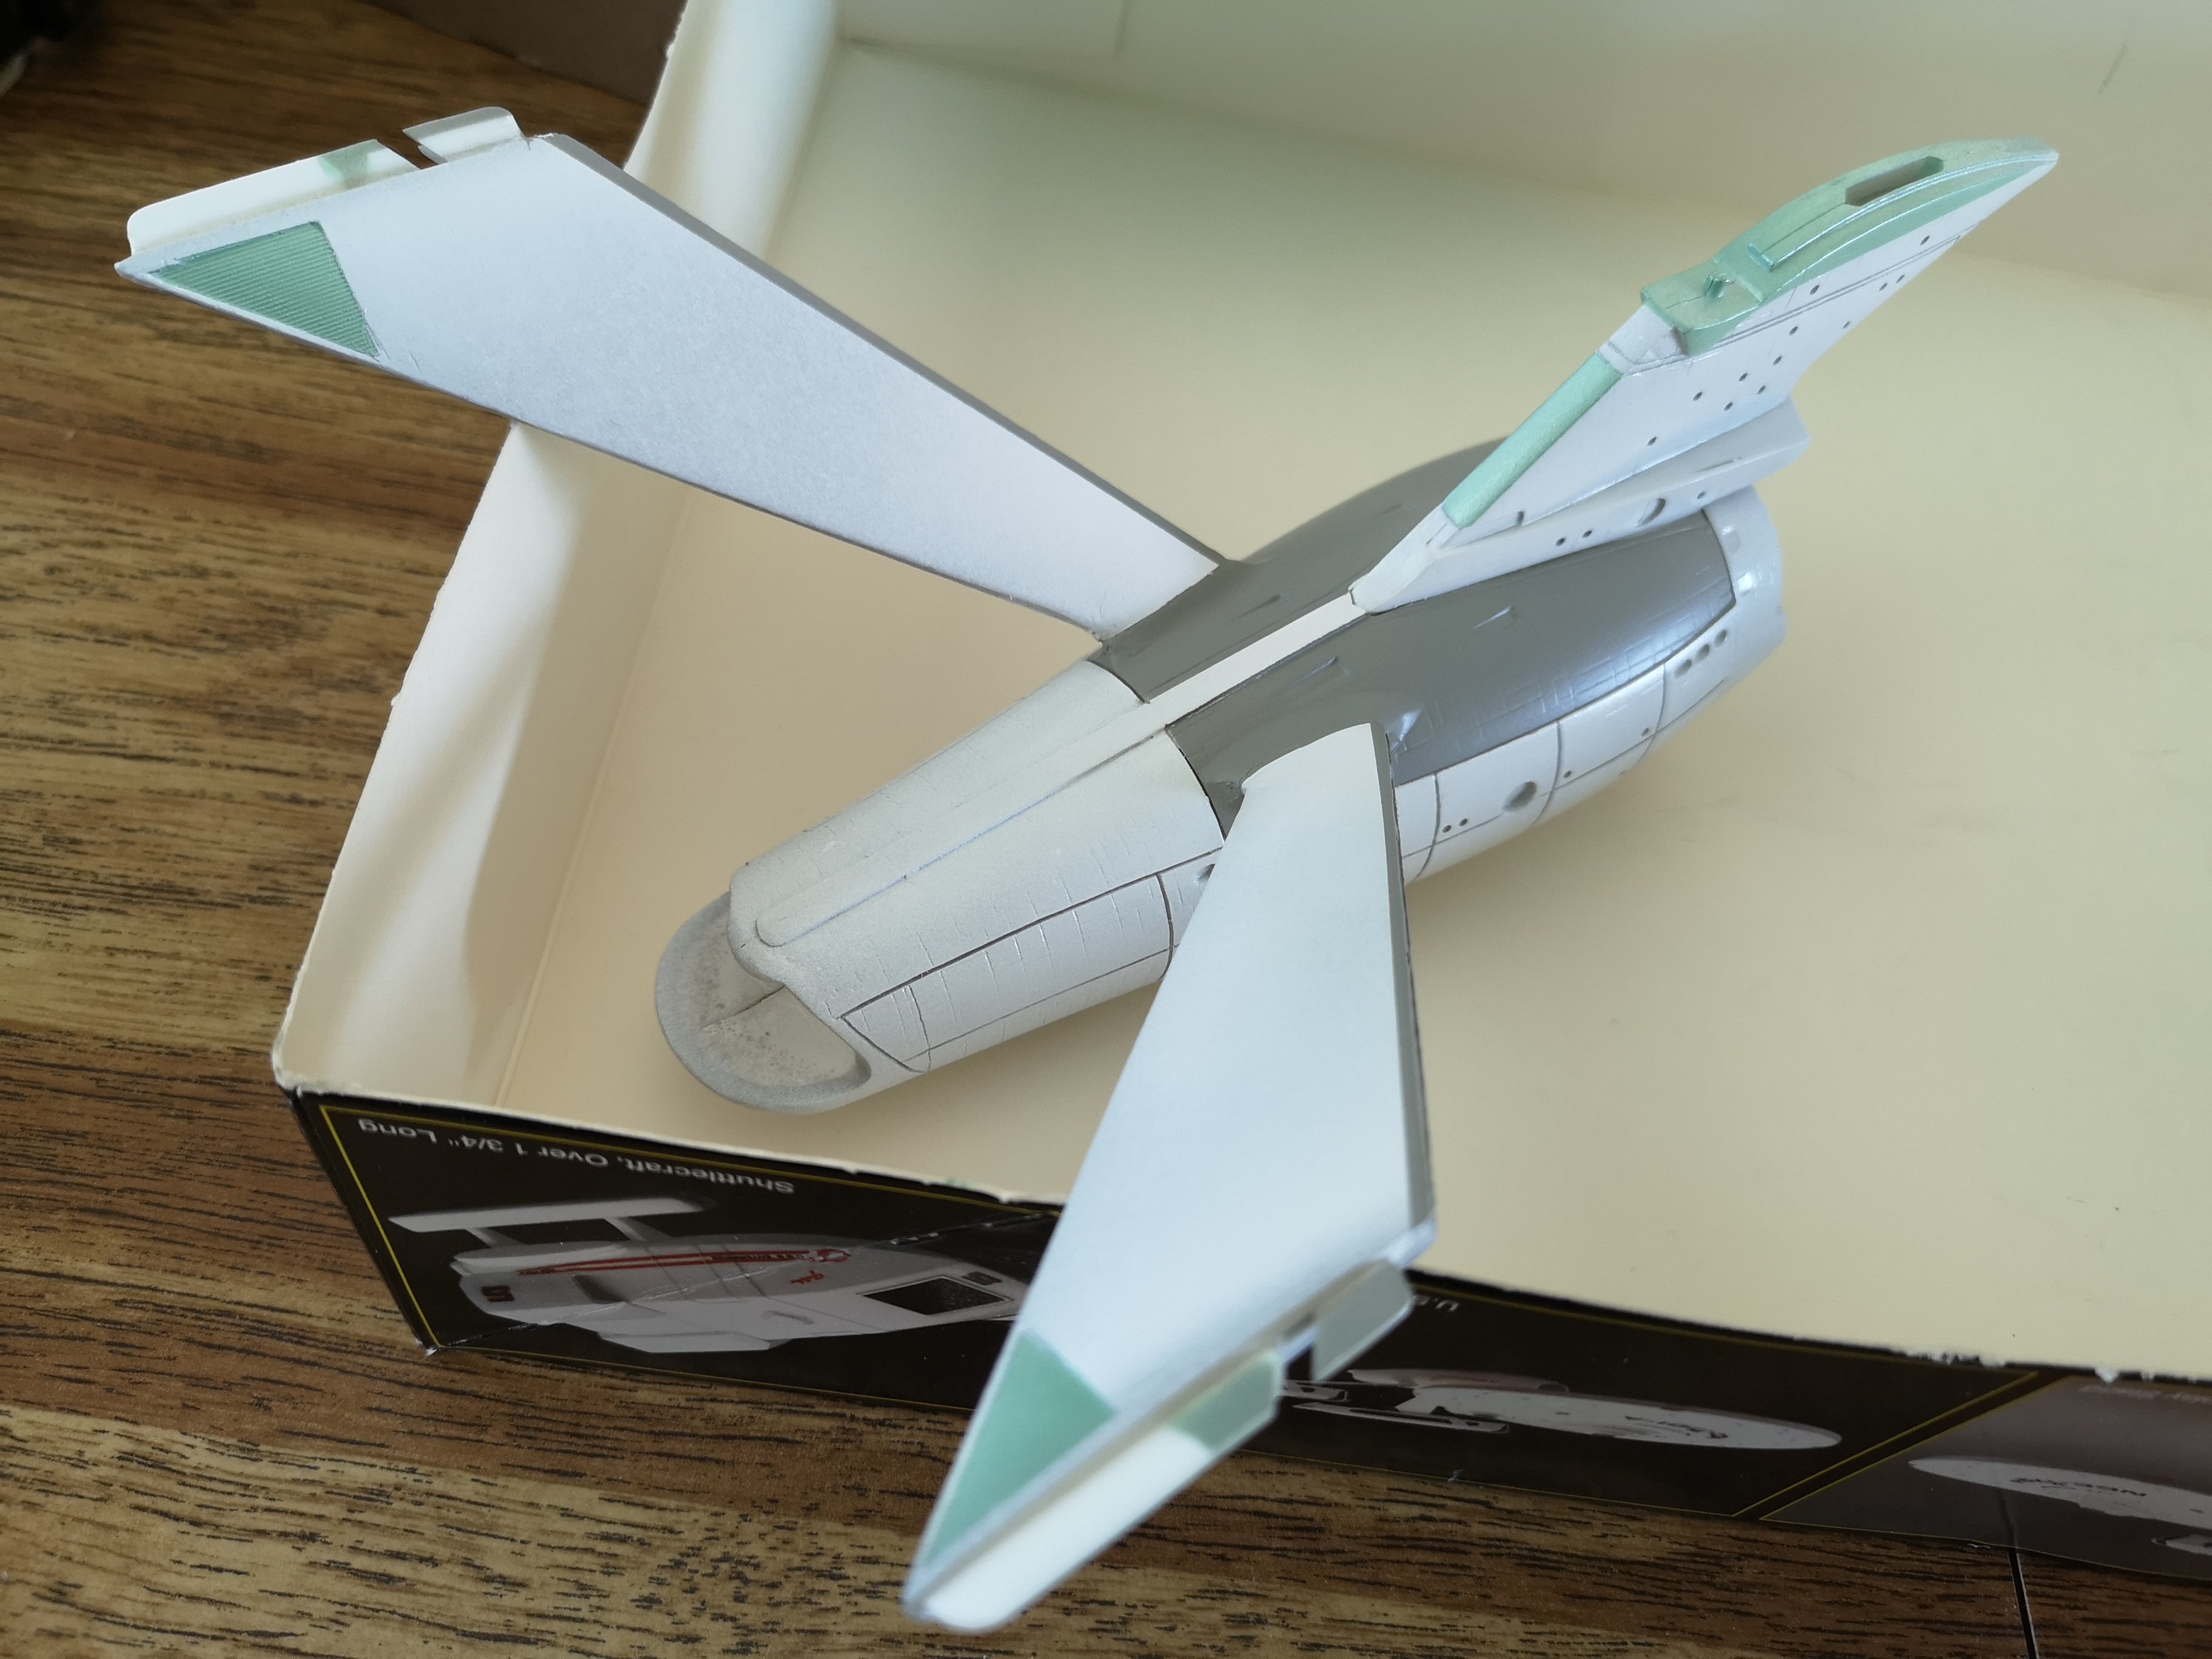
All that masking for such small parts: Lol, there's probably an easier way, or maybe I should have just brush painted these parts. Oh well, at least the lines will be straight and there won't be any brush marks. The Light Gray (IJN) came out darker than I expected. It didn't seem this dark on my Valkyries, but against the white, the gray looks dark. Hopefully the Aztec decals will darken the rest of the ship a bit. Happy with the green, just wish I had a light blue on my paint rack. Oh well, it's far from screen accurate as it is, hahahahaha
-
Oh wow.....

