-
Posts
4487 -
Joined
-
Last visited
Content Type
Profiles
Forums
Events
Gallery
Everything posted by peter
-
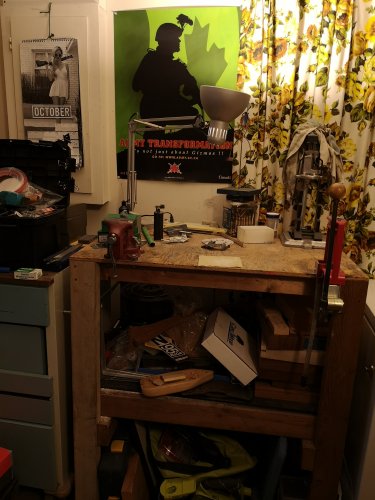
It's funny you should mention ammunition production line. My buddy gave me a reloading press, dies, tumblers, brass cleaners etc.....set it up maybe 5 years ago and I still haven't used it yet, lol! I got this airbrush, compressor and accessories thinking it would probably end up the same (I have and habit of collecting man-crap), but I used the airbrush within a week of setting it up and I can't get enough of it. I'll get to reloading one day, but right now, my current addiction is this airbrush.
-
Hey, the F14 is looking good. I've gotten pretty pissed at some of my builds, but lately I've been resurrecting old kits just to practice or try something I saw on YouTube. Just use them as guinea pigs now
-
Oh man, if figures come with decals for eyes, I might have to revisit figure again. Without the eyes the figures feel lifeless.
-
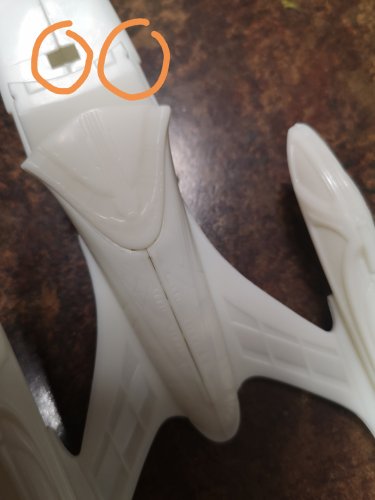
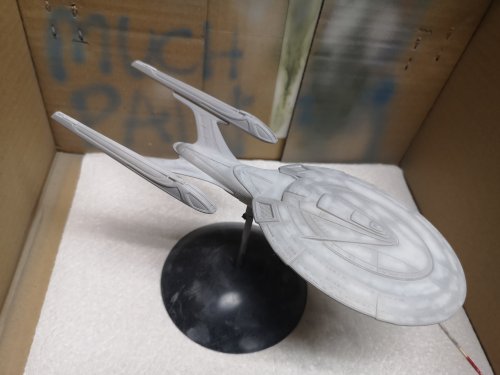
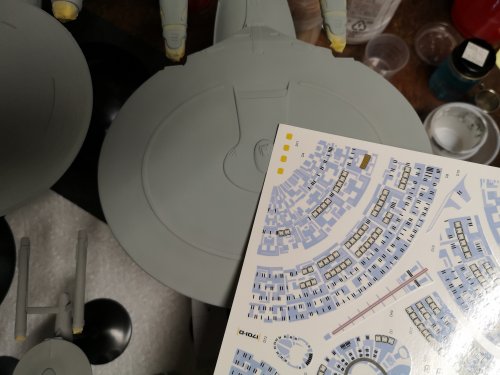
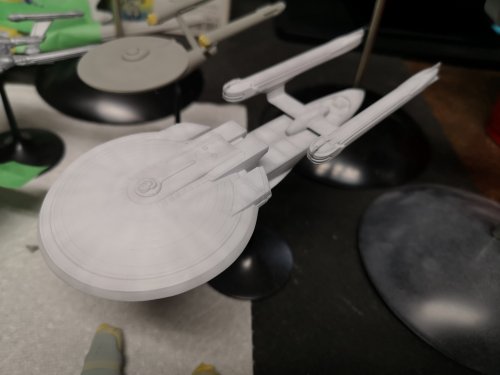
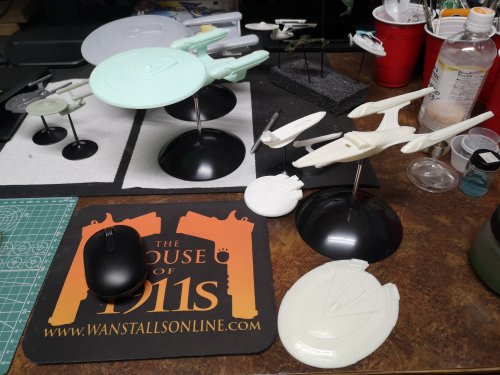
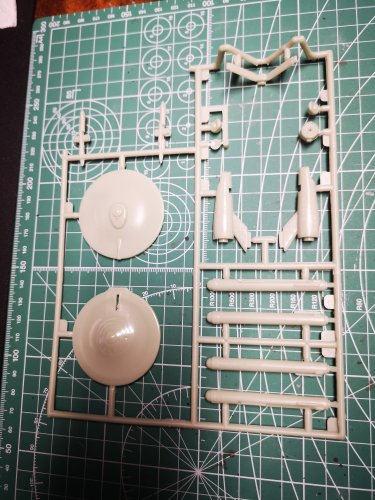
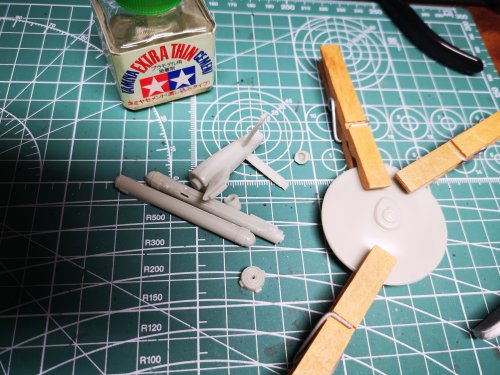
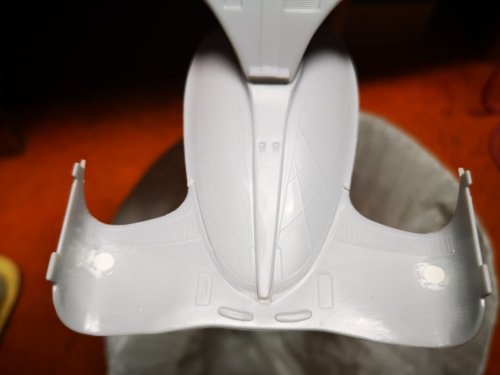
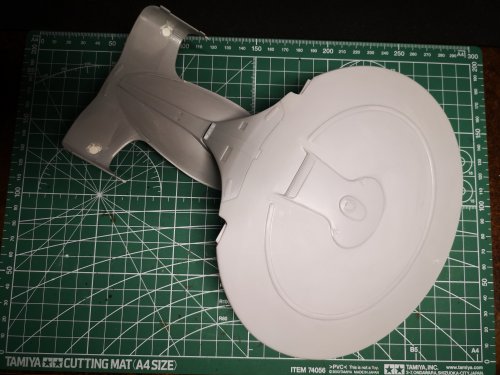
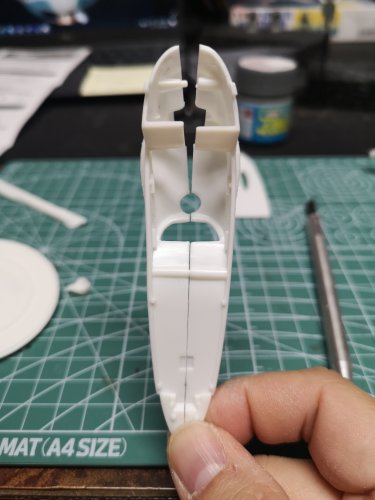
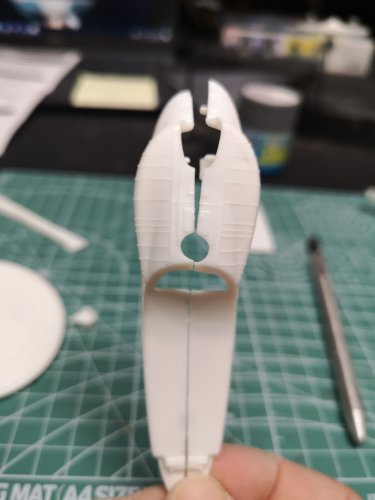
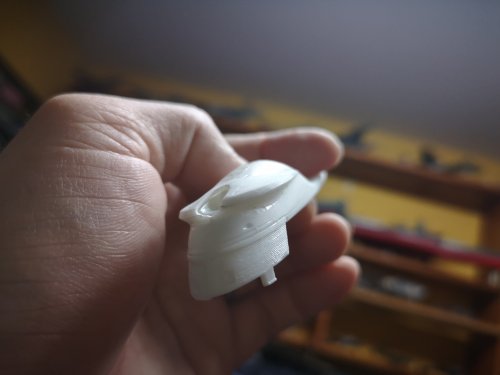
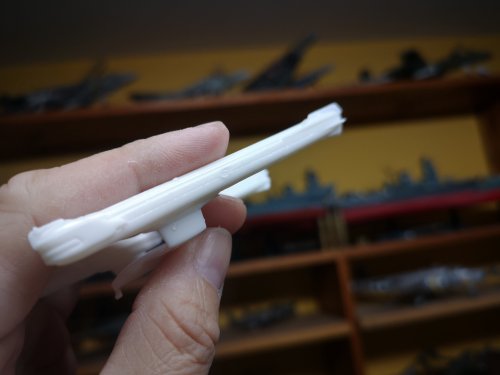
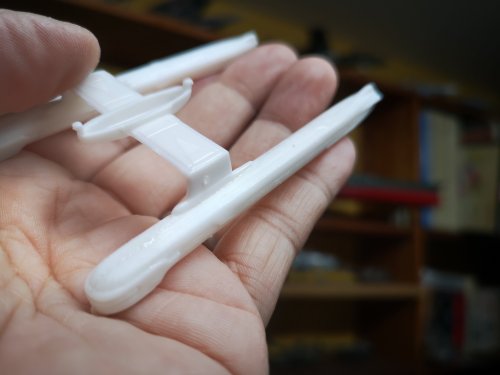
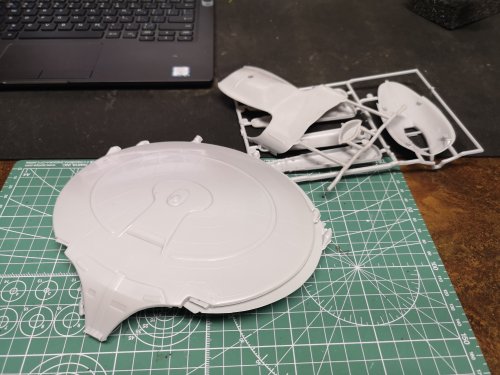
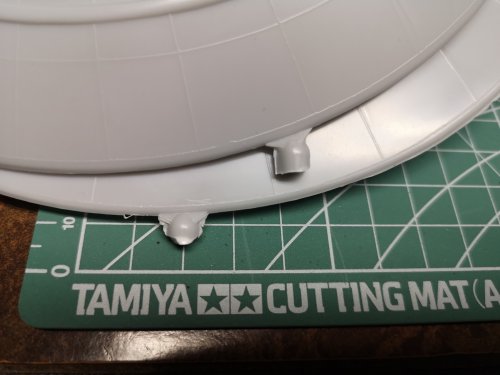
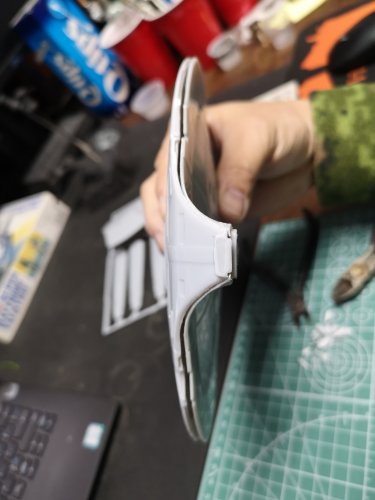
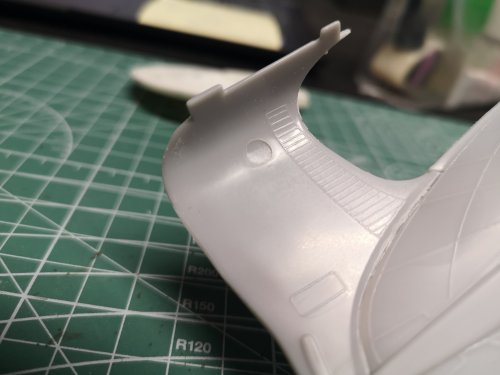
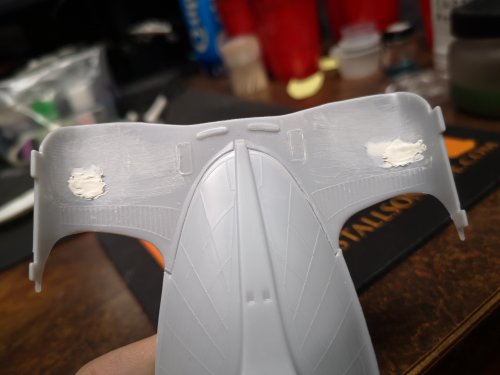
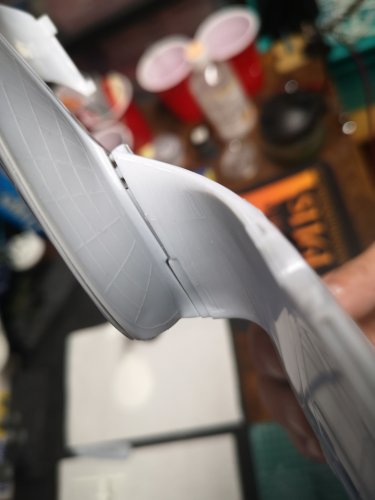
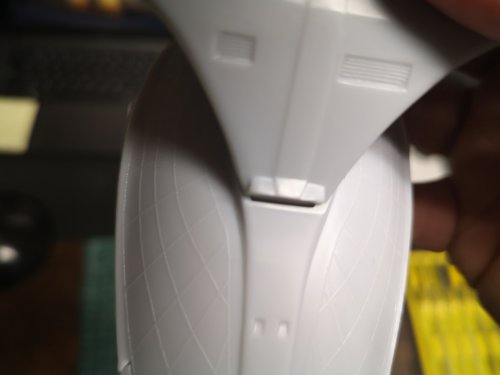
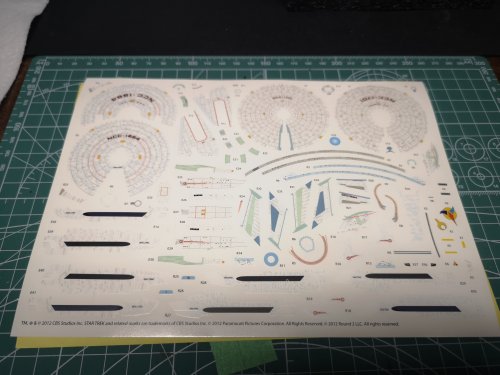
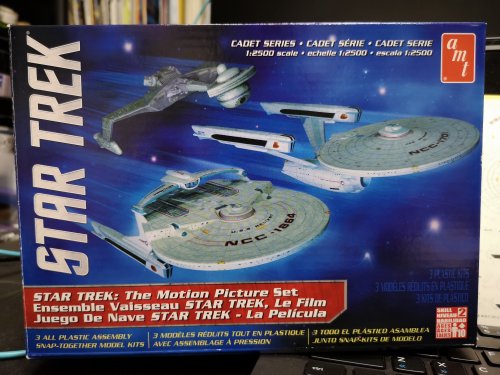
Oh, the E is a bit wierd. I had to squeeze the hell out of the saucer set of the body before it "snapped" in place. The circled parts gave me a bit of grief. The saucer has a hook that actually does seat into that hole. On each side of the neck, there are slots that someone capture the the "fins" (not sure what to call them) on the saucer. It didn't want to go together at first, and it looked like the saucer was sagging, so I just gave 'er and she snapped in place. Then I couldn't get it apart l again, lol! I didn't order the decals. I wanted to get new decals for the Refit, detailed decals for the Ent C, the phaser decals for the D, and the new decals for the E, but by the time I looked at my shopping cart, th decals cost almost as much as the entire kit. I've spent more on after market parts before on kits that worked out to costing more than the kit, but I decided not to on this one. Figured the whole draw for this kit was the complete with markings and Aztecs so I decided to build this one straight out of the box.
-
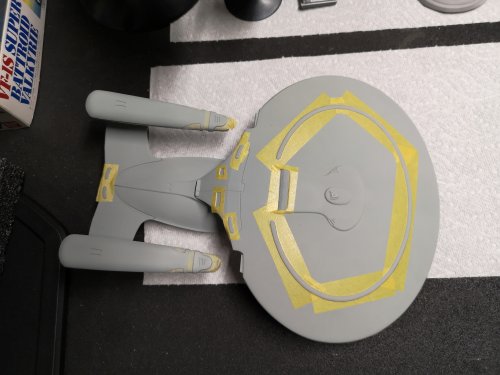
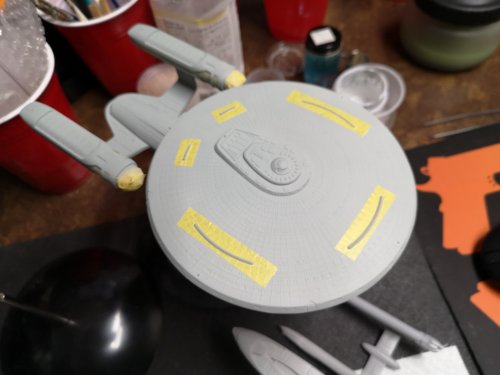
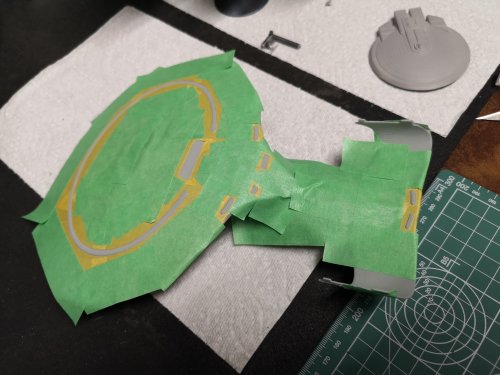
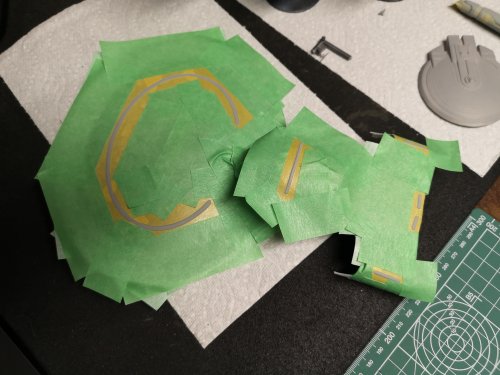
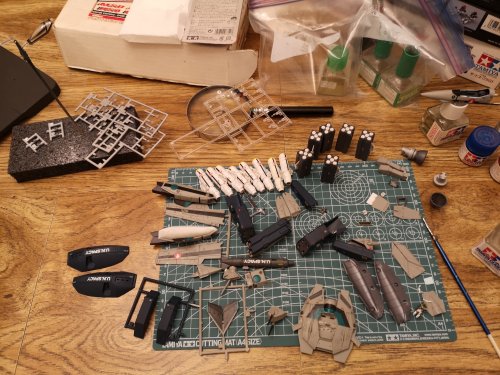
Masking More masking A bit more masking Just a bit more. So this set requires a bit more work than I anticipated. Model Chili (YouTube) made it look easy, but don't let the small size of these kits fool you. There is probably almost the same amount of prep work that goes into these little guys as their larger counterparts, if you are building those straight out of the box. Going to hose these things down with Pledge, paint up the clear red and blue bits and start going to decal town.
-
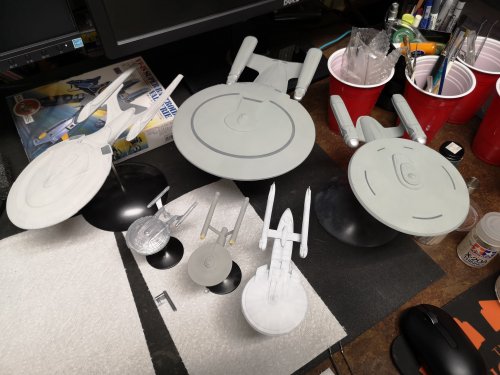
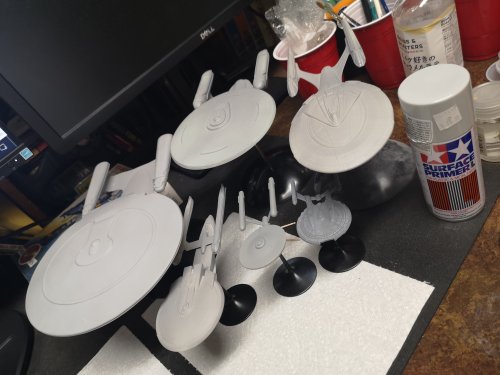
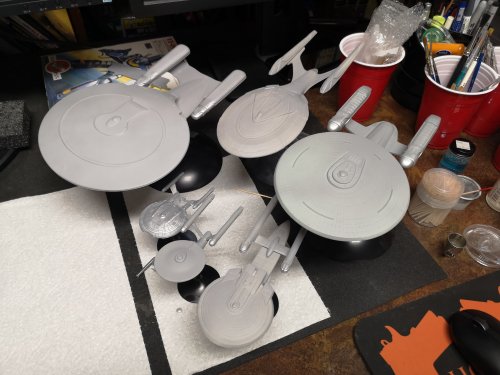
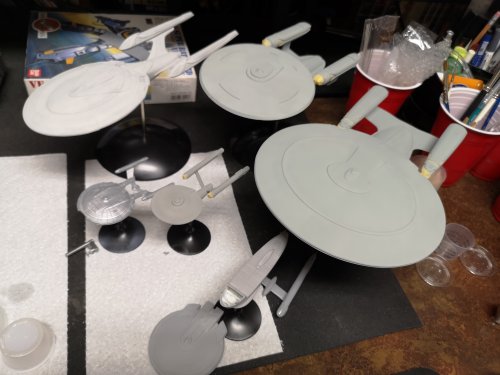
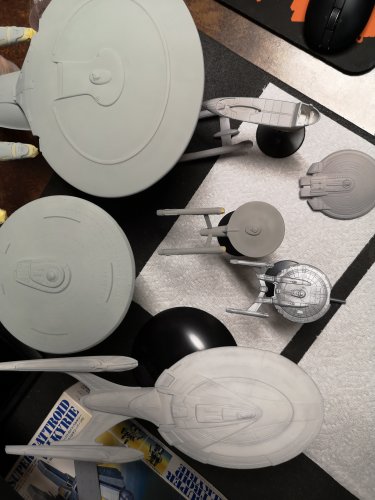
Lol, instead of this fleet, I sort of wish I built something less of a pain in the buttocks, like a Hasegawa Valk or something. It took an entire can of primer. I didn't notice before just looking at these kits, but the Ent C has a surprising amount of detail. Those phaser banks are actually textured. First up was the NX-01. I painted it Tamiya Flat aluminum which might be a bit too bright, but maybe it will be better after the decals. Also painted all the bits I plan to paint with either clear red or blue. Not sure if shading is appropriate for starships, but I figure it's going to be covered in decals anyway and I wanted to practice. The Ent C and Ent D got some mix of gray, blue and white, and I totally don't remember the ration, I just kept mixing until I thought it looked about right. The TOS got a box of gray and white, again, not really sure what ratio, just mixed until it sort of looked right. Hope the decals don't end up looking too dark against the paint. Did the shading thing for the Ent B as well, again, just for my own practice.
-
I'm not a fan of MF, but that is awesome. I tried figures, Minmei fig that came with an Arii kit ages ago, and it came out looking like she was from a horror movie, one of those ghosts with no face, hahahaha!
-
-
Man, when I see Valk builds, I feel guilty for not building one. Nice work!
-
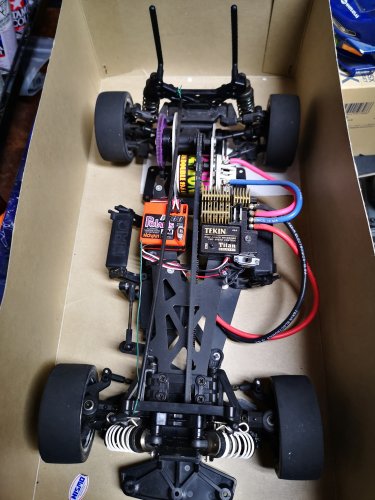
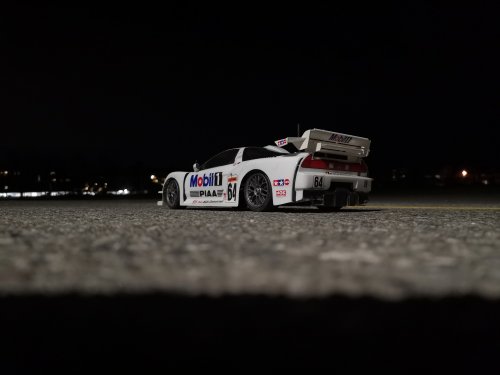
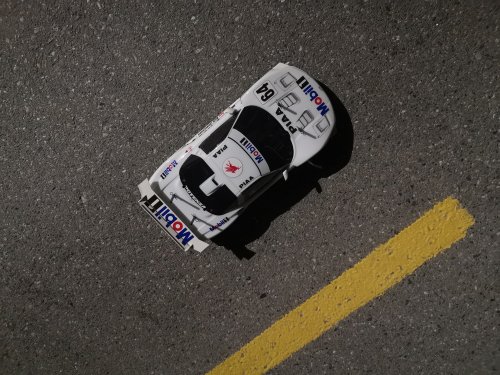
I know nothing of RC cars, but I got this from a buddy ages ago. Played with it for a bit, then the remote died and the car sat on a shelf for more than 20 years. Just dug it out the other day, got a new remote and fresh batteries and took it for a spin, forgot how fun they can be
-
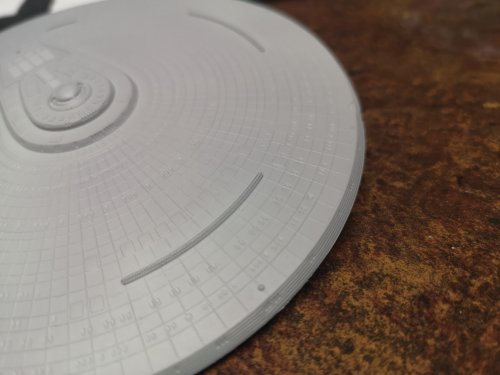
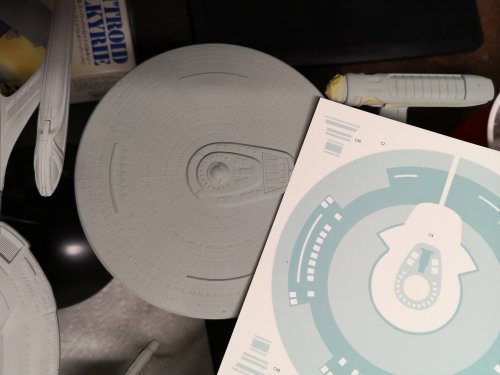
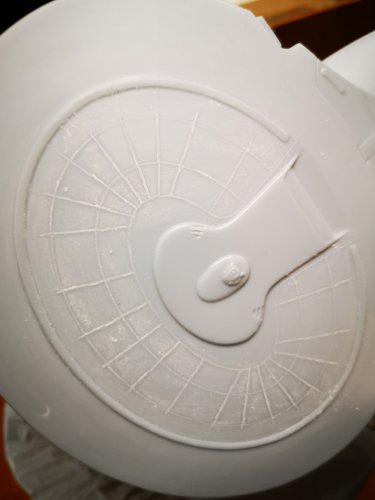
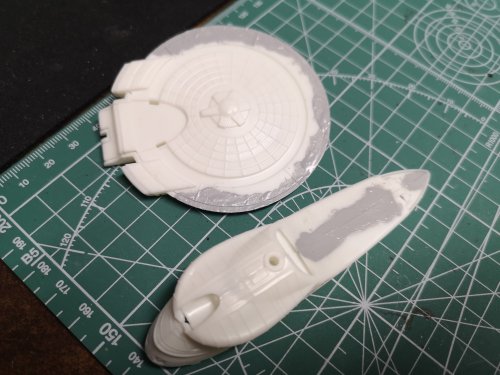
Nothing exciting to report, just a lot of filling, sanding, bending and cursing. Have a bit more sanding and I'll hit these guys with primer. The Ent E was pretty bad, a lot of flash, a lot of ill-fitting parts. The Ent C.....I was so close to sanding off the grid-lines, or maybe even knocking them down a bit, but the details they are attached to (life boats, windows, phaser banks) would be either affected or a huge pain in the butt to work around. I think I'll have to accept the Ent C for how it looks. But I'm glad I smoothied the Ent B and Ent D
-
As Crossair mentioned, it already looks pretty amazing without the sun.
-
That is just incredible. Those tiny shell casings are nuts!!! I hope you build a 1/20 Valkyrie if it ever gets released....I want to see you fabricate the 55mm she'll casings sprinkled around the Valk.
-
Apologies for the late reply, but thanks! I was looking for this pic, but I guess they never finished it or there aren't many pics of it.
- 1065 replies
-
- max factory
- dyrl
-
(and 1 more)
Tagged with:
-
The 'Hey look at this really cool model build I saw' post
peter replied to Shawn's topic in Model kits
Look at the shine on Hikaru's helmet! That thing must be buried under a thick cost of clear and polished. I've heard good things about canopies and Future's/Pledge. Some guys dip the whole canopy into it and it comes out pretty glossy. I haven't tried it yet, but I have a few old kits I might use as a guinea pig. -
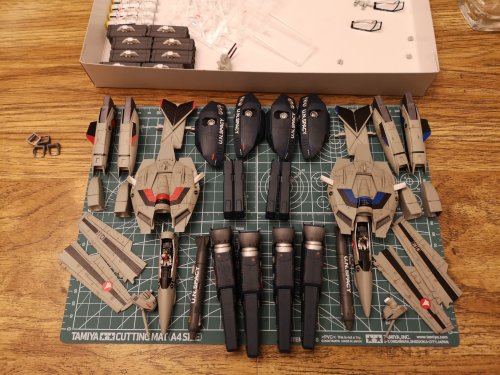
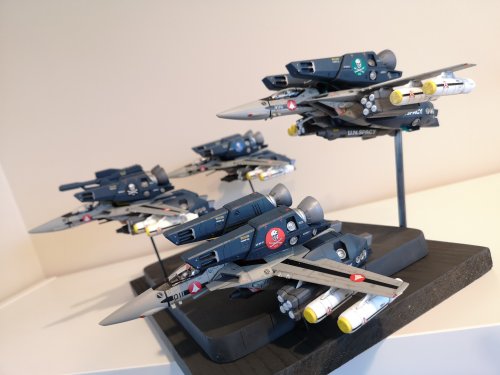
All my kits were buried in a cool dark room, no sunlight, heat or moisture, still in the boxes. I definitely heard others having issues with older Hasegawa decals, so I guess I just got lucky. The only decals I botched were my own fault. I think I bugger d Kakizaki's chest decal. I think I also screwed up Max's. These were the Valks I built last year. First Macross kits after a 17 year break. Lol, it was Roy's Strike Valk that really put me off building models to begin with. I got part-way through that kit, decided I was in over my head and packed it in. Finally revisited Roy's Valk last year and decided to build Kakizaki, Max and Hikaru. Actually, I still have a few Hasegawa 1/72 Valks in the pile. I'd like to build the skull squadron as straight fighters without the super/strike packs, but I stole the 1A heads from other kits so I might just be left with a bunch of VF-1S fighters.
-
Lol! I'm a nice guy, I deserve nice things don't I? Seriously though, after these horrendous AMT kits, I need to go back to an easy Bandai kit.....or hell, maybe even a Hasegawa Valk or something. At least I'm sort of used to those.
-
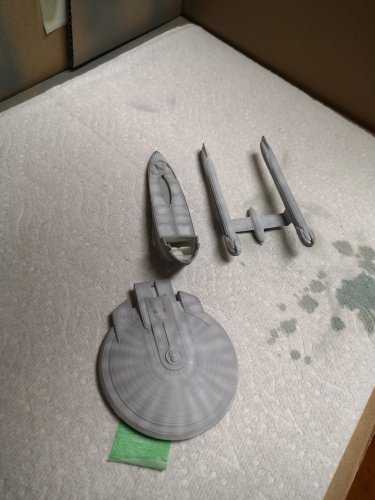
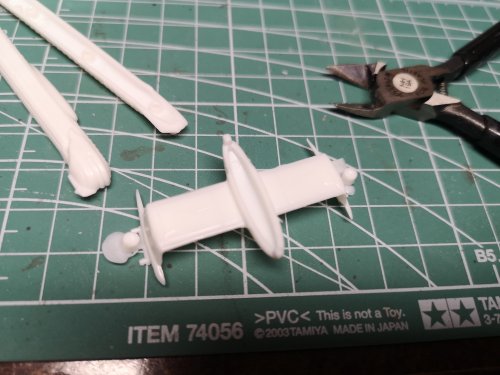
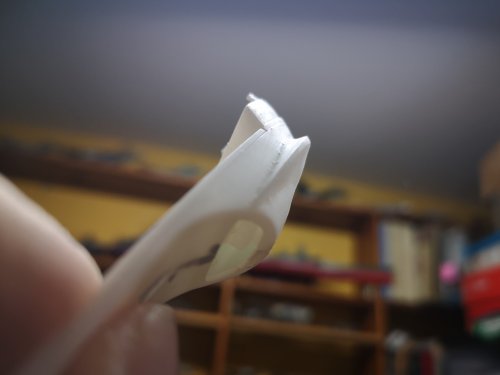
Oh, started the TOS version as well. Not much to report except the saucer didn't want to close, and there was a bit of filling and sanding when installing the pylons.also sanded off the windows from the neck, secondary hull and pylons.
-
Oh, they were crooked, hahahahaha! I let them sit in hot water for a while and begged them to straighten. They wouldn't, so I had to be careful not to snap them off when I bent the hell out of them. Aso, I must have read your mind because I smoothied the Ent D as well, lol! Outer saucer done. Port side done, next the starboard side. Inner saucer. I really, really wish did this before glueing the saucer section to the drive section, hahahaha!
-
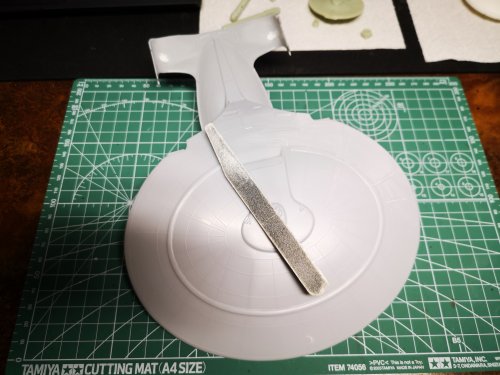
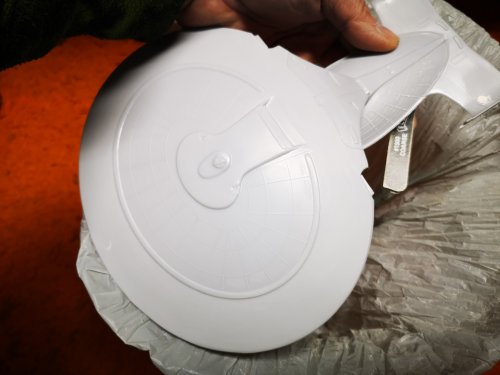
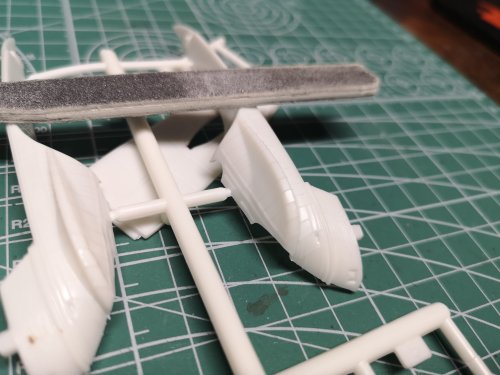
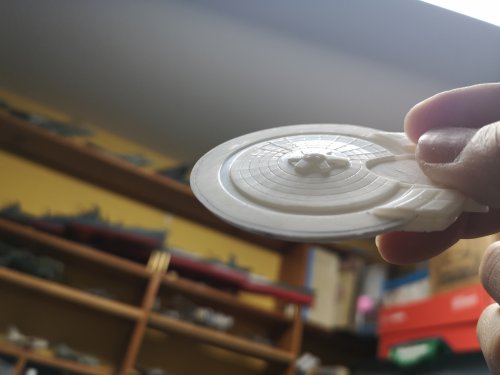
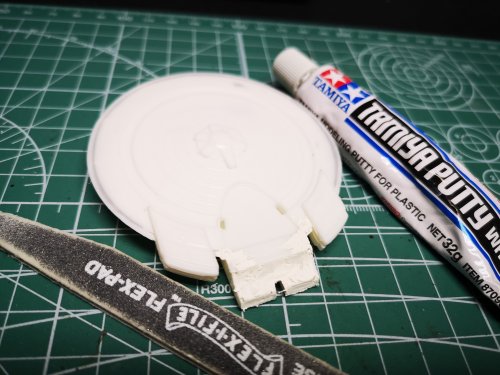
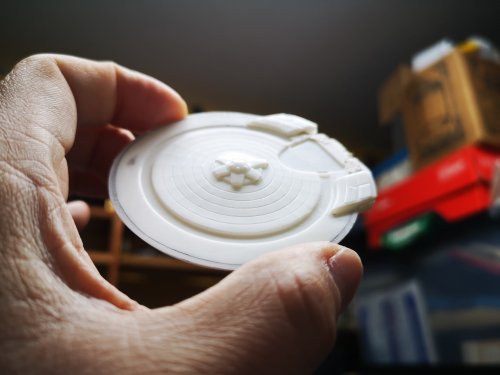
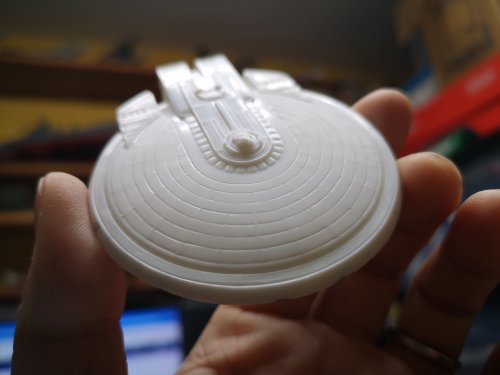
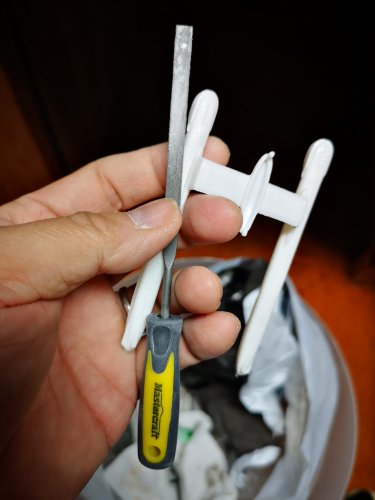
Also started the Ent B. I really liked the Excelsior, and thought the Ent B looked ok, but in this kit, it is probably my least favorite. How big do you figure those grid-lines would be if scaled up to life size? The secondary hull had those massive ribs too. Snap fit my @$$ Some filling required. Look at the flash on this part, lol! Screw it, going to make the Ent B into a 1/2500 "Smoothie". Wierd that some of the grid-lines were raised and the rings were inset. Not going to fill those. It was the raised ones that stood out. More filling. More grid line removal. I like it more, some may not agree. Smoothie. I was going to leave the nacelles, but then decided they wouldn't match the rest of the ship, so I decided to take a file to them. Finished with a sanding stick. Not perfect, but better than looking like two Trojan ribbed condoms. More to follow
-
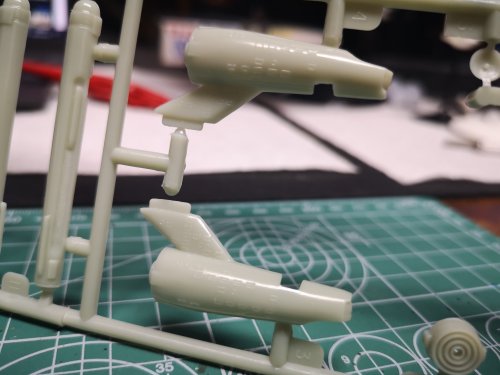
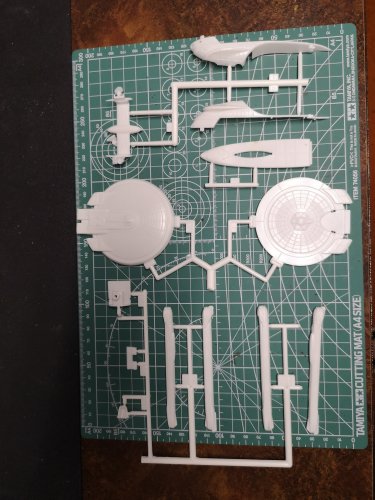
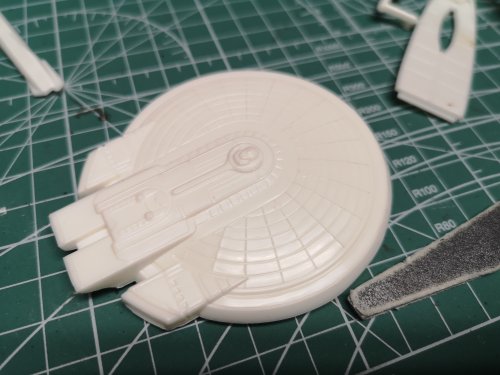
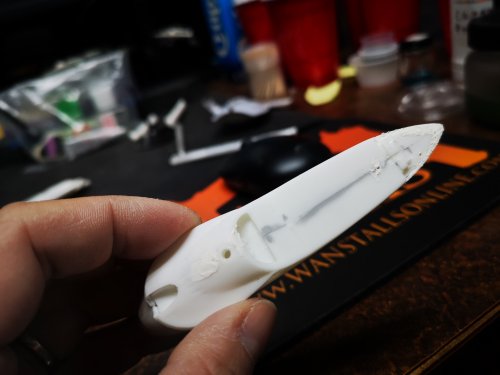
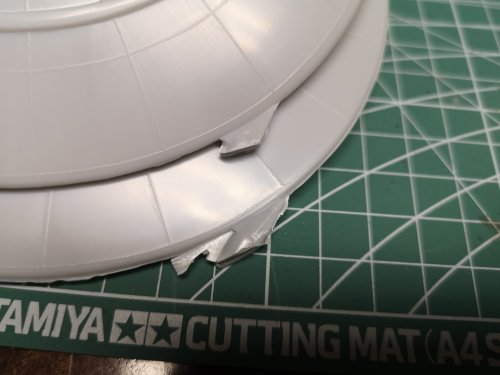
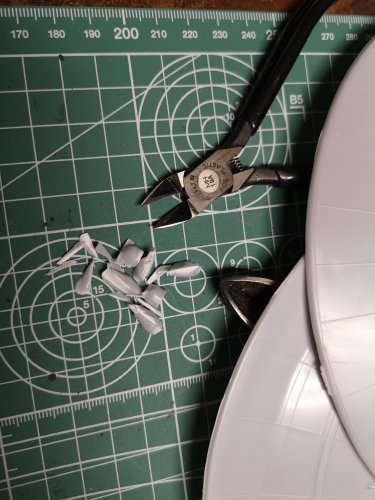
Ok, so diving into the Enterprise set and not in any particular order. My buddy is building an ENT D so was sort of inspired to start there first. Lots of flash, lots of ill-placed injection spots. These were a bit of a mess to remove without messing up the saucer rim. Those are all bits I had to carefully trip off. Snap-fit my @$$. More injection marks....very well places, right on the inside of a curve. Some filling required. I didn't go crazy filling every gap, just some really bad ones that I could see from a meter a way. Some fitting required, lol! I was debating sanding off the grid-lines all over the ship, but I didn't want to hate-build this thing so I decided to leave them. I actually started deleting the lines on the side of the neck, but the neck needed some serious sanding as the shape was a bit wierd. More to follow
-
Damn, I want to build a Valk now, but I'm knee deep in Star Trek kits right now, lol!
-
I've heard absolute nightmares about older Hasegawa Valk kits, but last summer, I build four 20+ year old kits with little issue. Broke a few from carelessness, but nothing like the nightmare decals from the AMT Star Trek kit. I haven't spoken to anyone who has had any luck with the decals from this kit. Some fragmented just from the paper back bending when placing them in the water.
-
Oh I heard it's a nice kit....and green strawberry sells the baffle kit to make the wings variable. Really want one, but the prices are a bit bonkers right now with the scalpers. Hoping for a reissue or maybe find a cheaper one on the local FB Marketplace or Craigslist.
-
I bet that thing would mop the floor with the BOP. That is an awesome gunship!

