-
Posts
4487 -
Joined
-
Last visited
Content Type
Profiles
Forums
Events
Gallery
Everything posted by peter
-
You did warn me about the Ent C nacelle decals, lol!
-
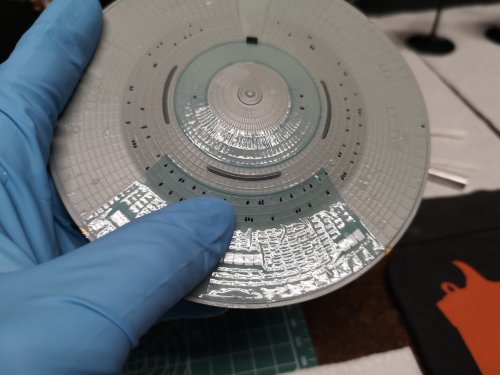
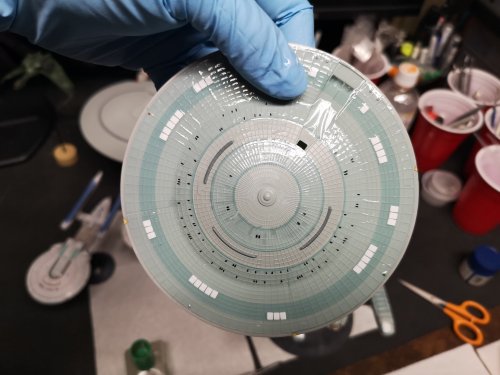
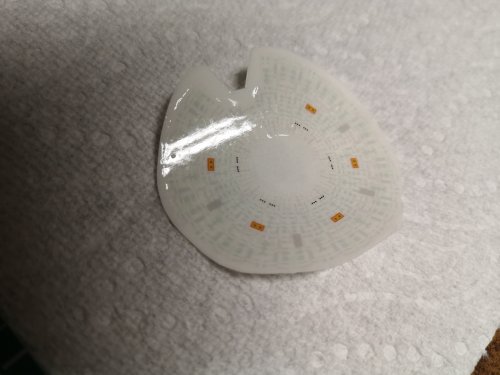
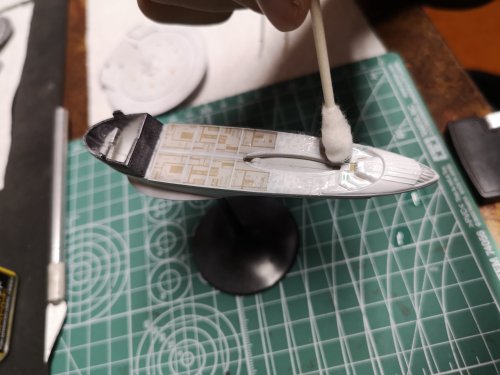
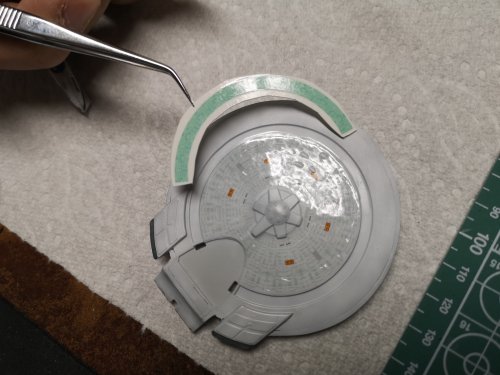
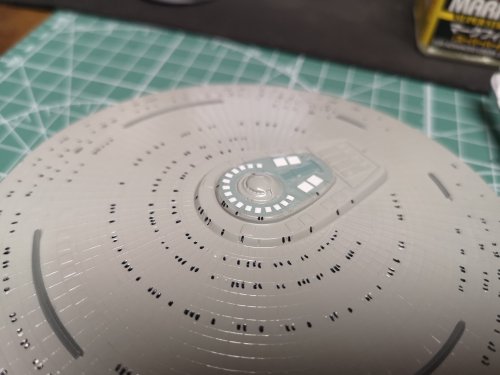
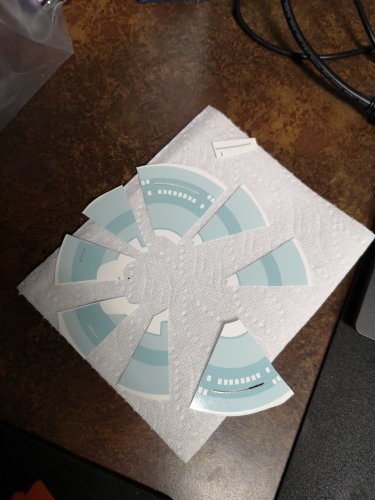
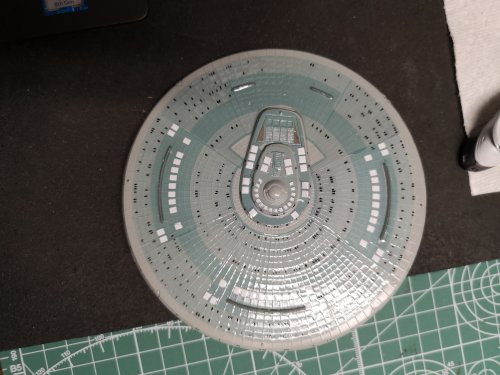
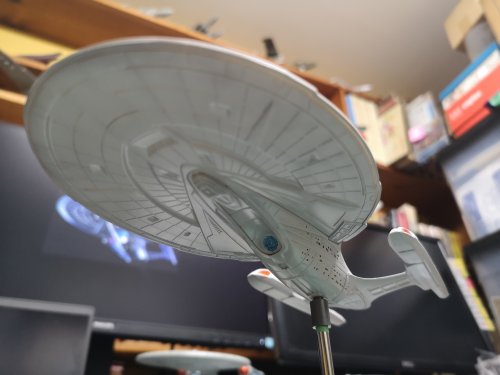
The saucer bottom went on a bit better than the saucer top as well. I decided to use surgical gloves and loads of water instead of mucking around with q-tips and squeezing each grid square. The gloves stayed slick so I was also able to readjust the massive decals (cut into three sections) if I needed to. I also managed to match up the cut edges a bit better with minimal overlap. Into the Ent D next.
-
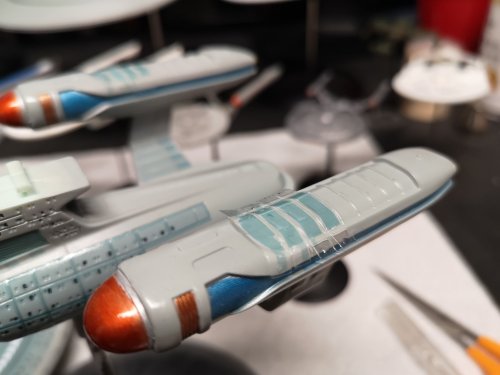
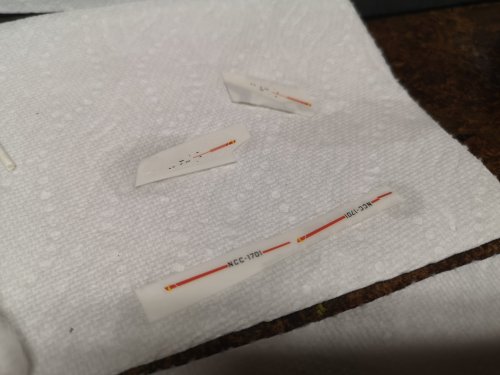
Ent C was a total $hitshow. I remember the warning about the nacelles so I thought ok, maybe I should cut them into pieces. Nope, this didn't work. The upper decals were completely massacred. Go figure that the bottoms went on with less effort and less grief.
-
Lol, so true. It totally looks like a real plane if it weren't for the background to give it away.
-
Holy crap, those are effing awesome. Thanks for reposting those pics.
-
The 'Hey look at this really cool model build I saw' post
peter replied to Shawn's topic in Model kits
-
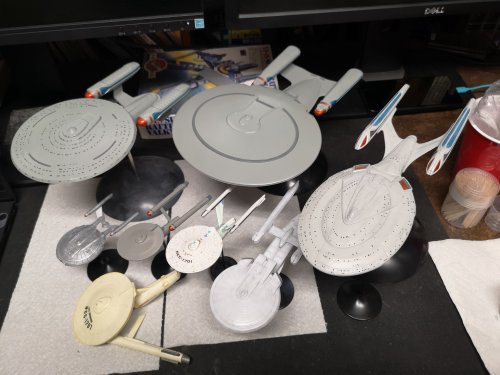
Lol, No kidding. The Ent C was such a mess.. It appears for one episode and 30 years later, I'm obsessing over a 1/2500 scale model of it. Actually, @derex3592 build helps a lot. I'm still making a lot of mistakes regardless, but learning from them...sometimes, lol!
-
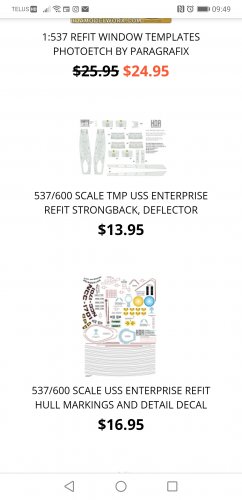
Check out @Dobber penciled work on his Aztecs....they look amazing: http://www.macrossworld.com/mwf/topic/35120-whats-lying-on-your-workbench-mk-iv/?do=findComment&comment=1534707 also, HDA also has the hull markings: https://hdamodelworx.com/537600-SCALE-TMP-USS-ENTERPRISE-REFIT-STRONGBACK-DEFLECTOR-HOUSING-and-Pylon-Decals-_p_217.html $13.95 https://hdamodelworx.com/537600-SCALE-USS-ENTERPRISE-REFIT-HULL-MARKINGS-AND-DETAIL-DECAL-SET_p_218.html $16.95 Not to sound like a salesman for HDA, but their decals are amazing.
-
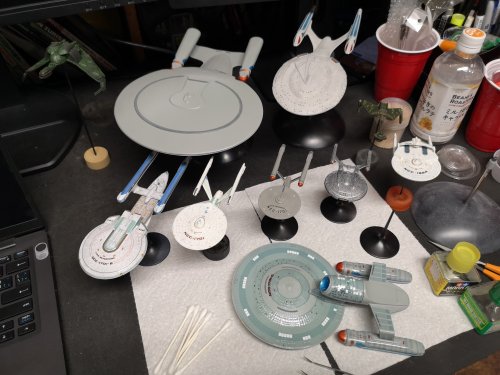
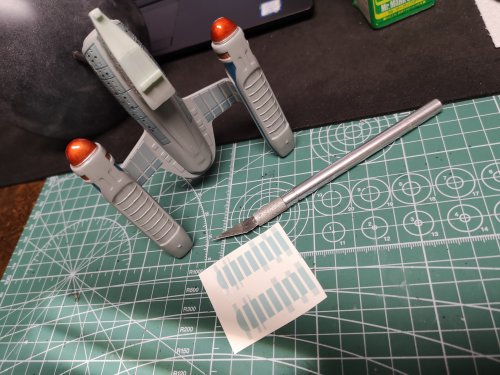
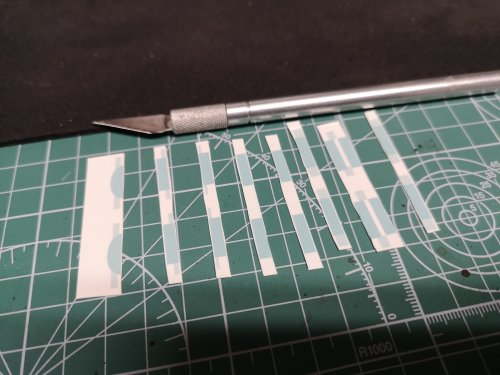
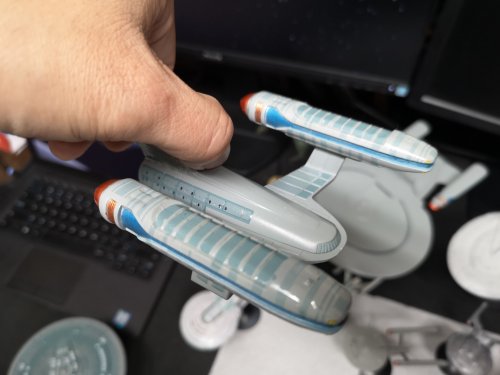
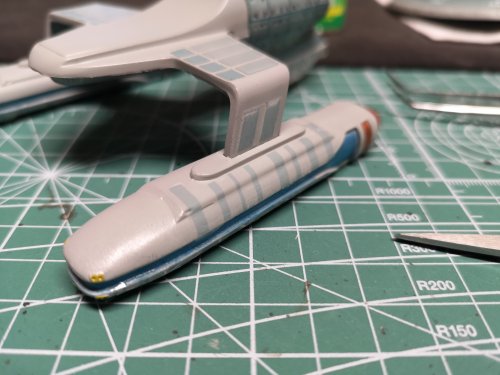
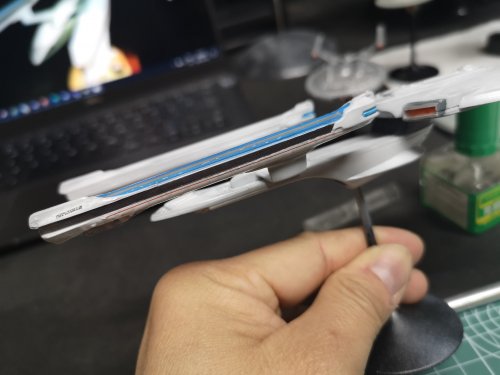
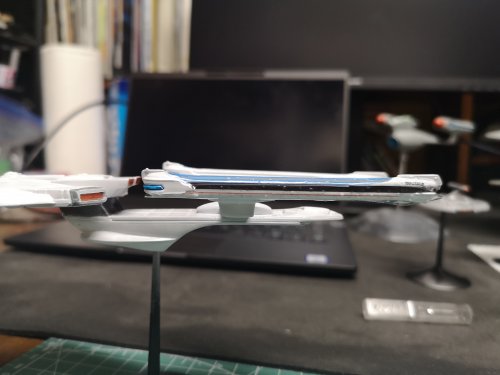
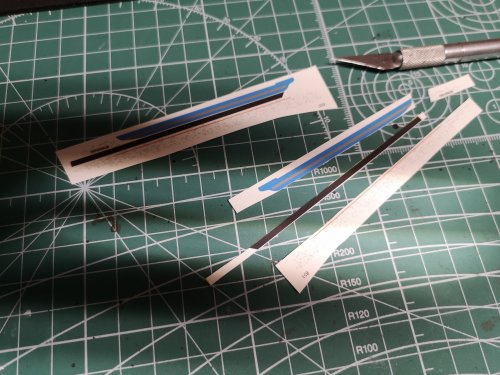
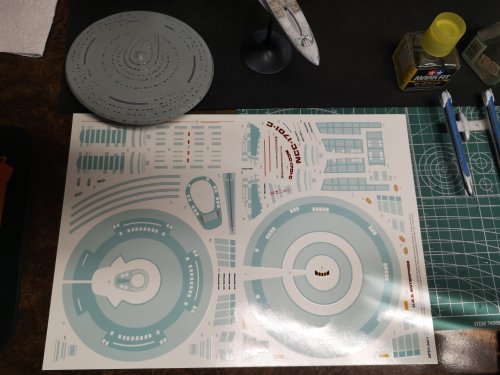
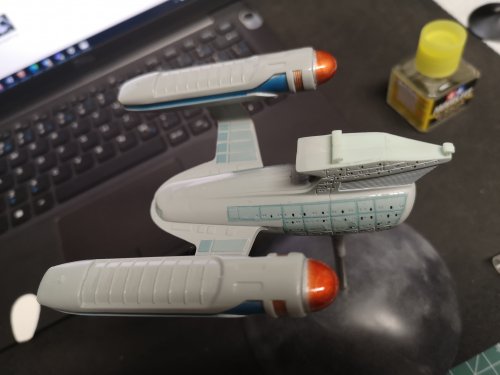
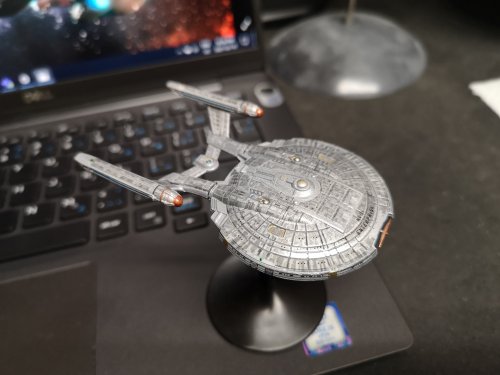
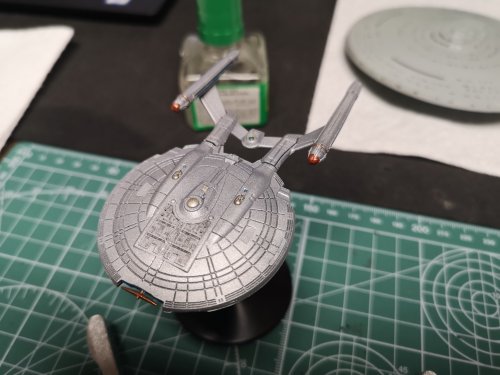
Decal update. Ent B nacelle wrap around decal does not like to wrap. Best to cut it I to 4 parts, the blue bits, the grey bits,, the Aztec bits and the registry. I got stupid and decided to see if it could go on as one piece: And totally mangled it. Cut it like this, and it will make it a bit easier, but if I had to build another 2500 Ent B, I'm mask and paint the blue and gray bits. TOS Ent had a bit of decal fragmenting, but nothing catastrophic. This thing had decals for markings that I didn't know the ship had. Going to be honest, was never a huge fan of the TOS style, I grew up on the Refit. But the TOS is growing on me. Ent B main saucer, bottom. This piece did not want to go on in one piece, and as a result fragmented when placed over some curves. The flat parts of the Ent B had no issues, but I refuse to give credit to AMT for NOT screwing this up, lol! The Ent C is what terrified me. I haven't seen many people that have had good luck with this one, particularly the saucer. Started off with something smaller and easier. The hull decals were curvy, but not that bad. Decided to follow what some had done and cut the main saucer decal into a pie. By jig-sawing it back together was a bit of a nightmare. Some overlapping, some misaligned parts. There is no winning when it comes to the Ent C, lol!
-
Woah, you really are doing. 537 build. I stressed me the hell out. HDA has some incredible decals for this kit in stock right now, recommend you check them out.
-
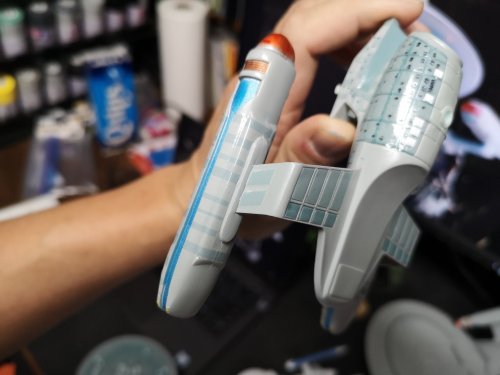
Runabout is looking good, might have to get one of those some day.
-
Haha, the NX has been the most cooperative so far. The Ent B nacelle decals are the worst. Will post pics of the mess later sometime.
-
Lol, you gotta be kidding me.
-
If you can't find a replacement canopy, here's an idea:
-
Lol, it is a bit sadistic isn't it? First decal down. They seem more sturdy that the crappy ones that came with the Cadet Motion Picture series, but they are still prone to fragmenting if the water is too cold, or if I muck around with them too much.
-
That looks good. Hope to build a Valkyrie that looks that good. New to airbrushes so precious Valks were built with rattle cans only, no shading.
-
Haha, actually, I know nothing of RC cars, someone gave this to me a long time ago, but it is fun to play with
-
Looking good!!
-
Holy $hit
-
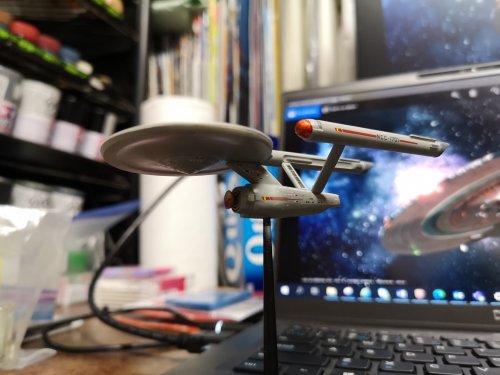
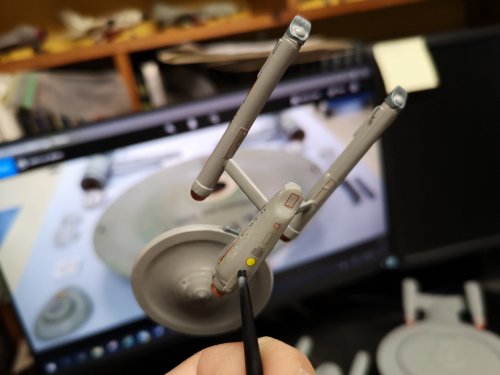
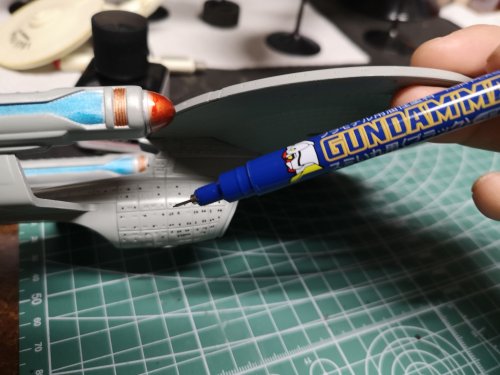
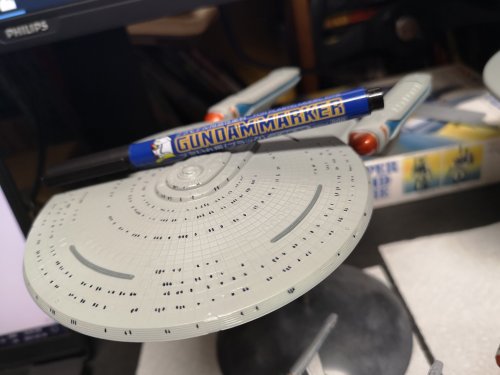
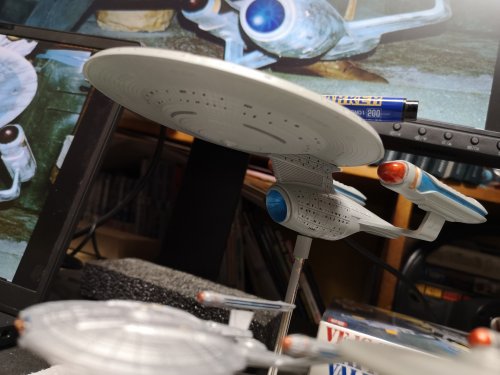
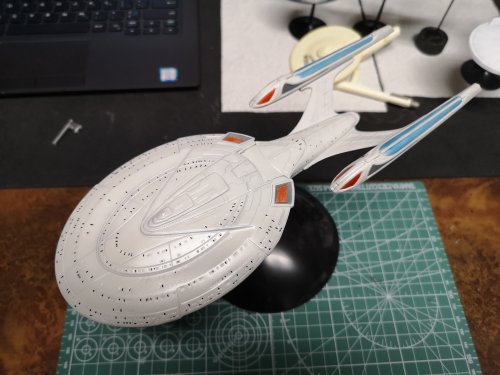
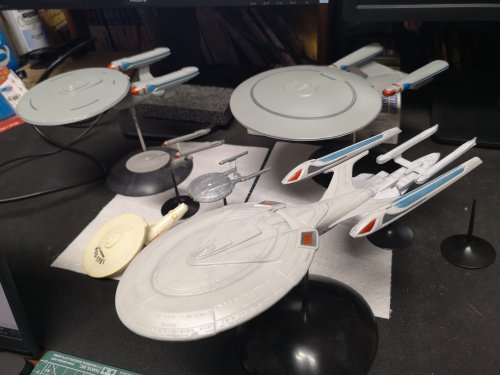
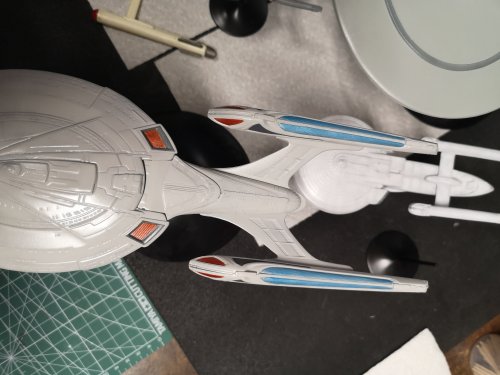
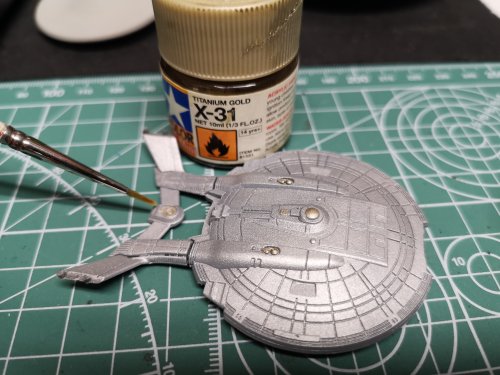
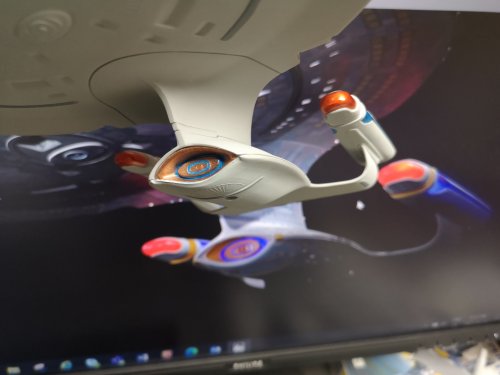
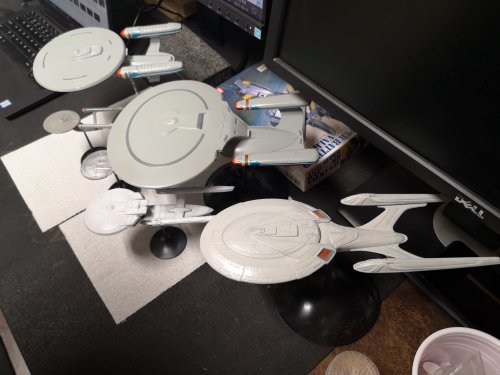
Small update, I didn't have time to get started on the decals, but I read somewhere that it was suggested to do the windows before the decals so I figured I would give it a shot. I considered using Tamiya panel liner, but gave the Gundam marker a shot. Cleaned up any major blemishes but if you don't zoom in it looks ok. Except I may have turned off too many lights on the Ent C The Ent E felt like it had smaller windows, and they weren't as well defined as the windows on the C. I know, the deflector is supposed to be yellow, but I'm going with an earlier production design where it was originally supposed to be blue. I may try to get to the decals tomorrow, but I might do a once over to see if there is anything else I should paint that he decals don't cover.
-
Ok, followed your advice, managed to squeeze a bit more life out of my clear red. It's not perfect, but I agree, it looks better than the decal.
-
Oh man, I remember brush painting the details on my old Refits back in the 80s and 90s.....except I didn't even lay down a base coat with rattle can, just brushed straight into the plastic because it was molded in color!
-
Looks like a great technique if you don't plan to paint your kit.
-
Ohhhh.....good to know. Maybe I better stop nickel and diming and just go out and buy some more clear red.
-
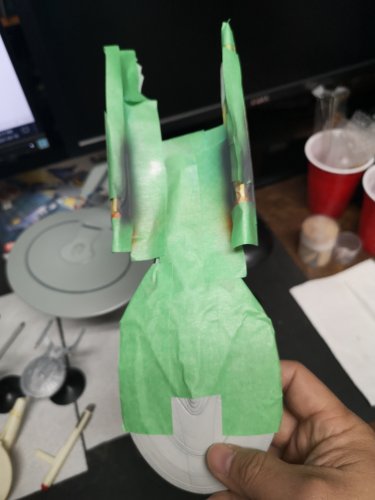
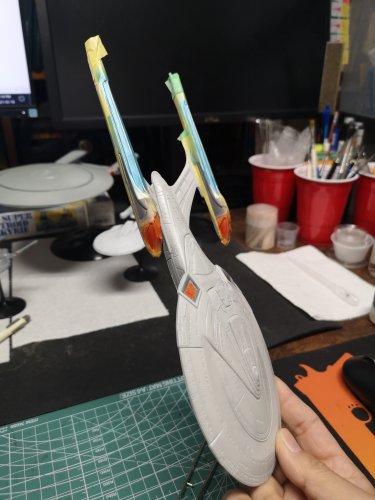
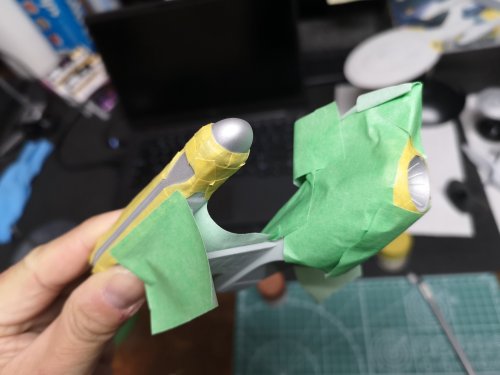
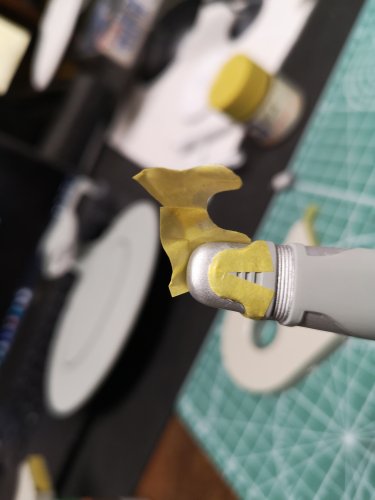
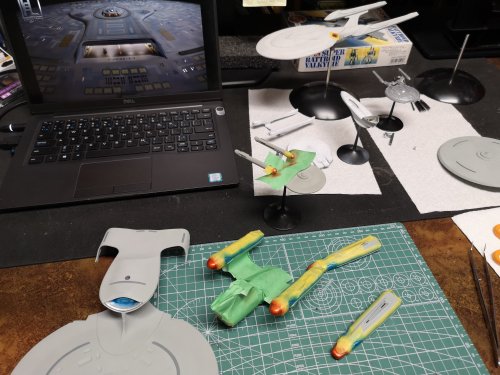
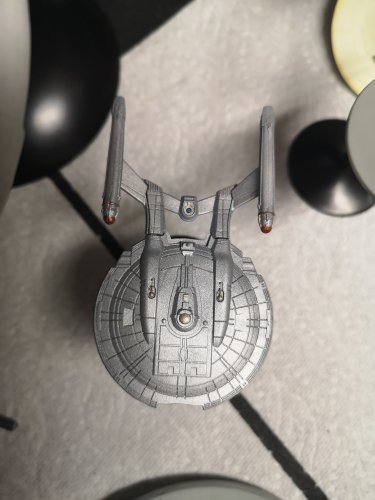
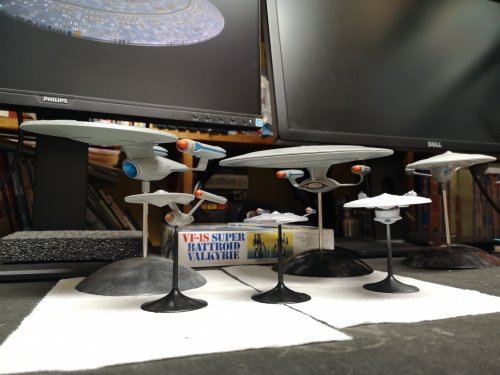
I was going to clear coat the kits with Pledge last night and brush paint all of the clear red and blue bits, but then I wanted to see if I had the patience to mask for it. I almost binned it halfway through, but then decided to just finish the masking. I was literally on my last drops of clear red so if I decided to brush it on, it would have been game over anyway. The airbrush sure made it last. Then it was on to paint some of the smaller details. The NX is damn tiny, but it was probably the least painful to get this far. I should have gone a bit darker with the clear blue, but decided to leave it. If I continued to muck around with it, I would probably ruin it. Hosed them down with Pledge. Wanted to give the decals a nice slick surface to bond and settle into. Hopefully they will suck right in with a bit of Mr. Mark Softer.


