wmkjr
-
Posts
3029 -
Joined
-
Last visited
Content Type
Profiles
Forums
Events
Gallery
Everything posted by wmkjr
-
Wow. Did you have to bend the legs to get it in then adjust it? Looks like you can barely squeeze a sheet of paper up top!
-
Anubis approves:
-
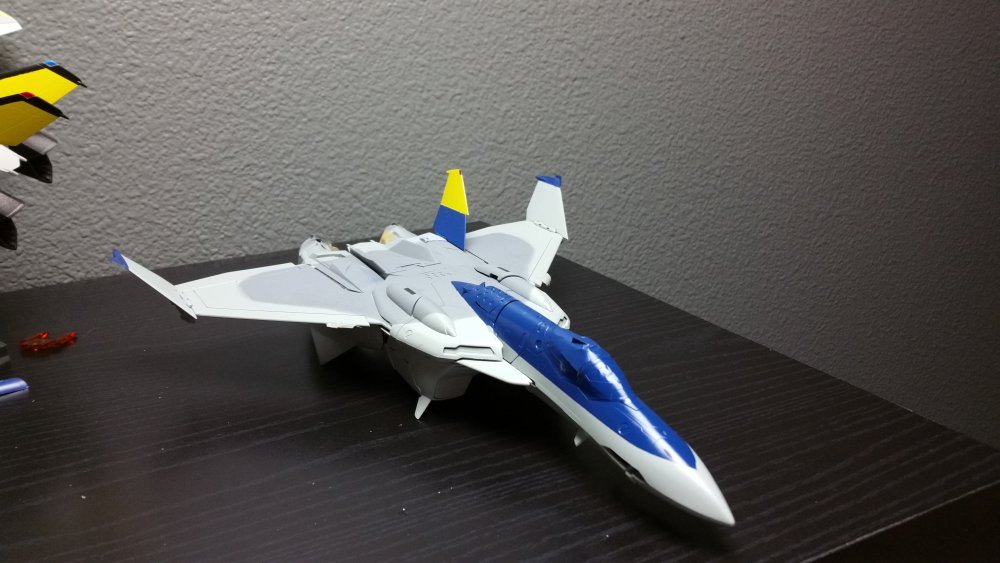
George Jetson approves of the clear canopy: Looks kinda F-22ish. Edit: The F-22 canopy reminds me of the VF-5000 canopy more.
-
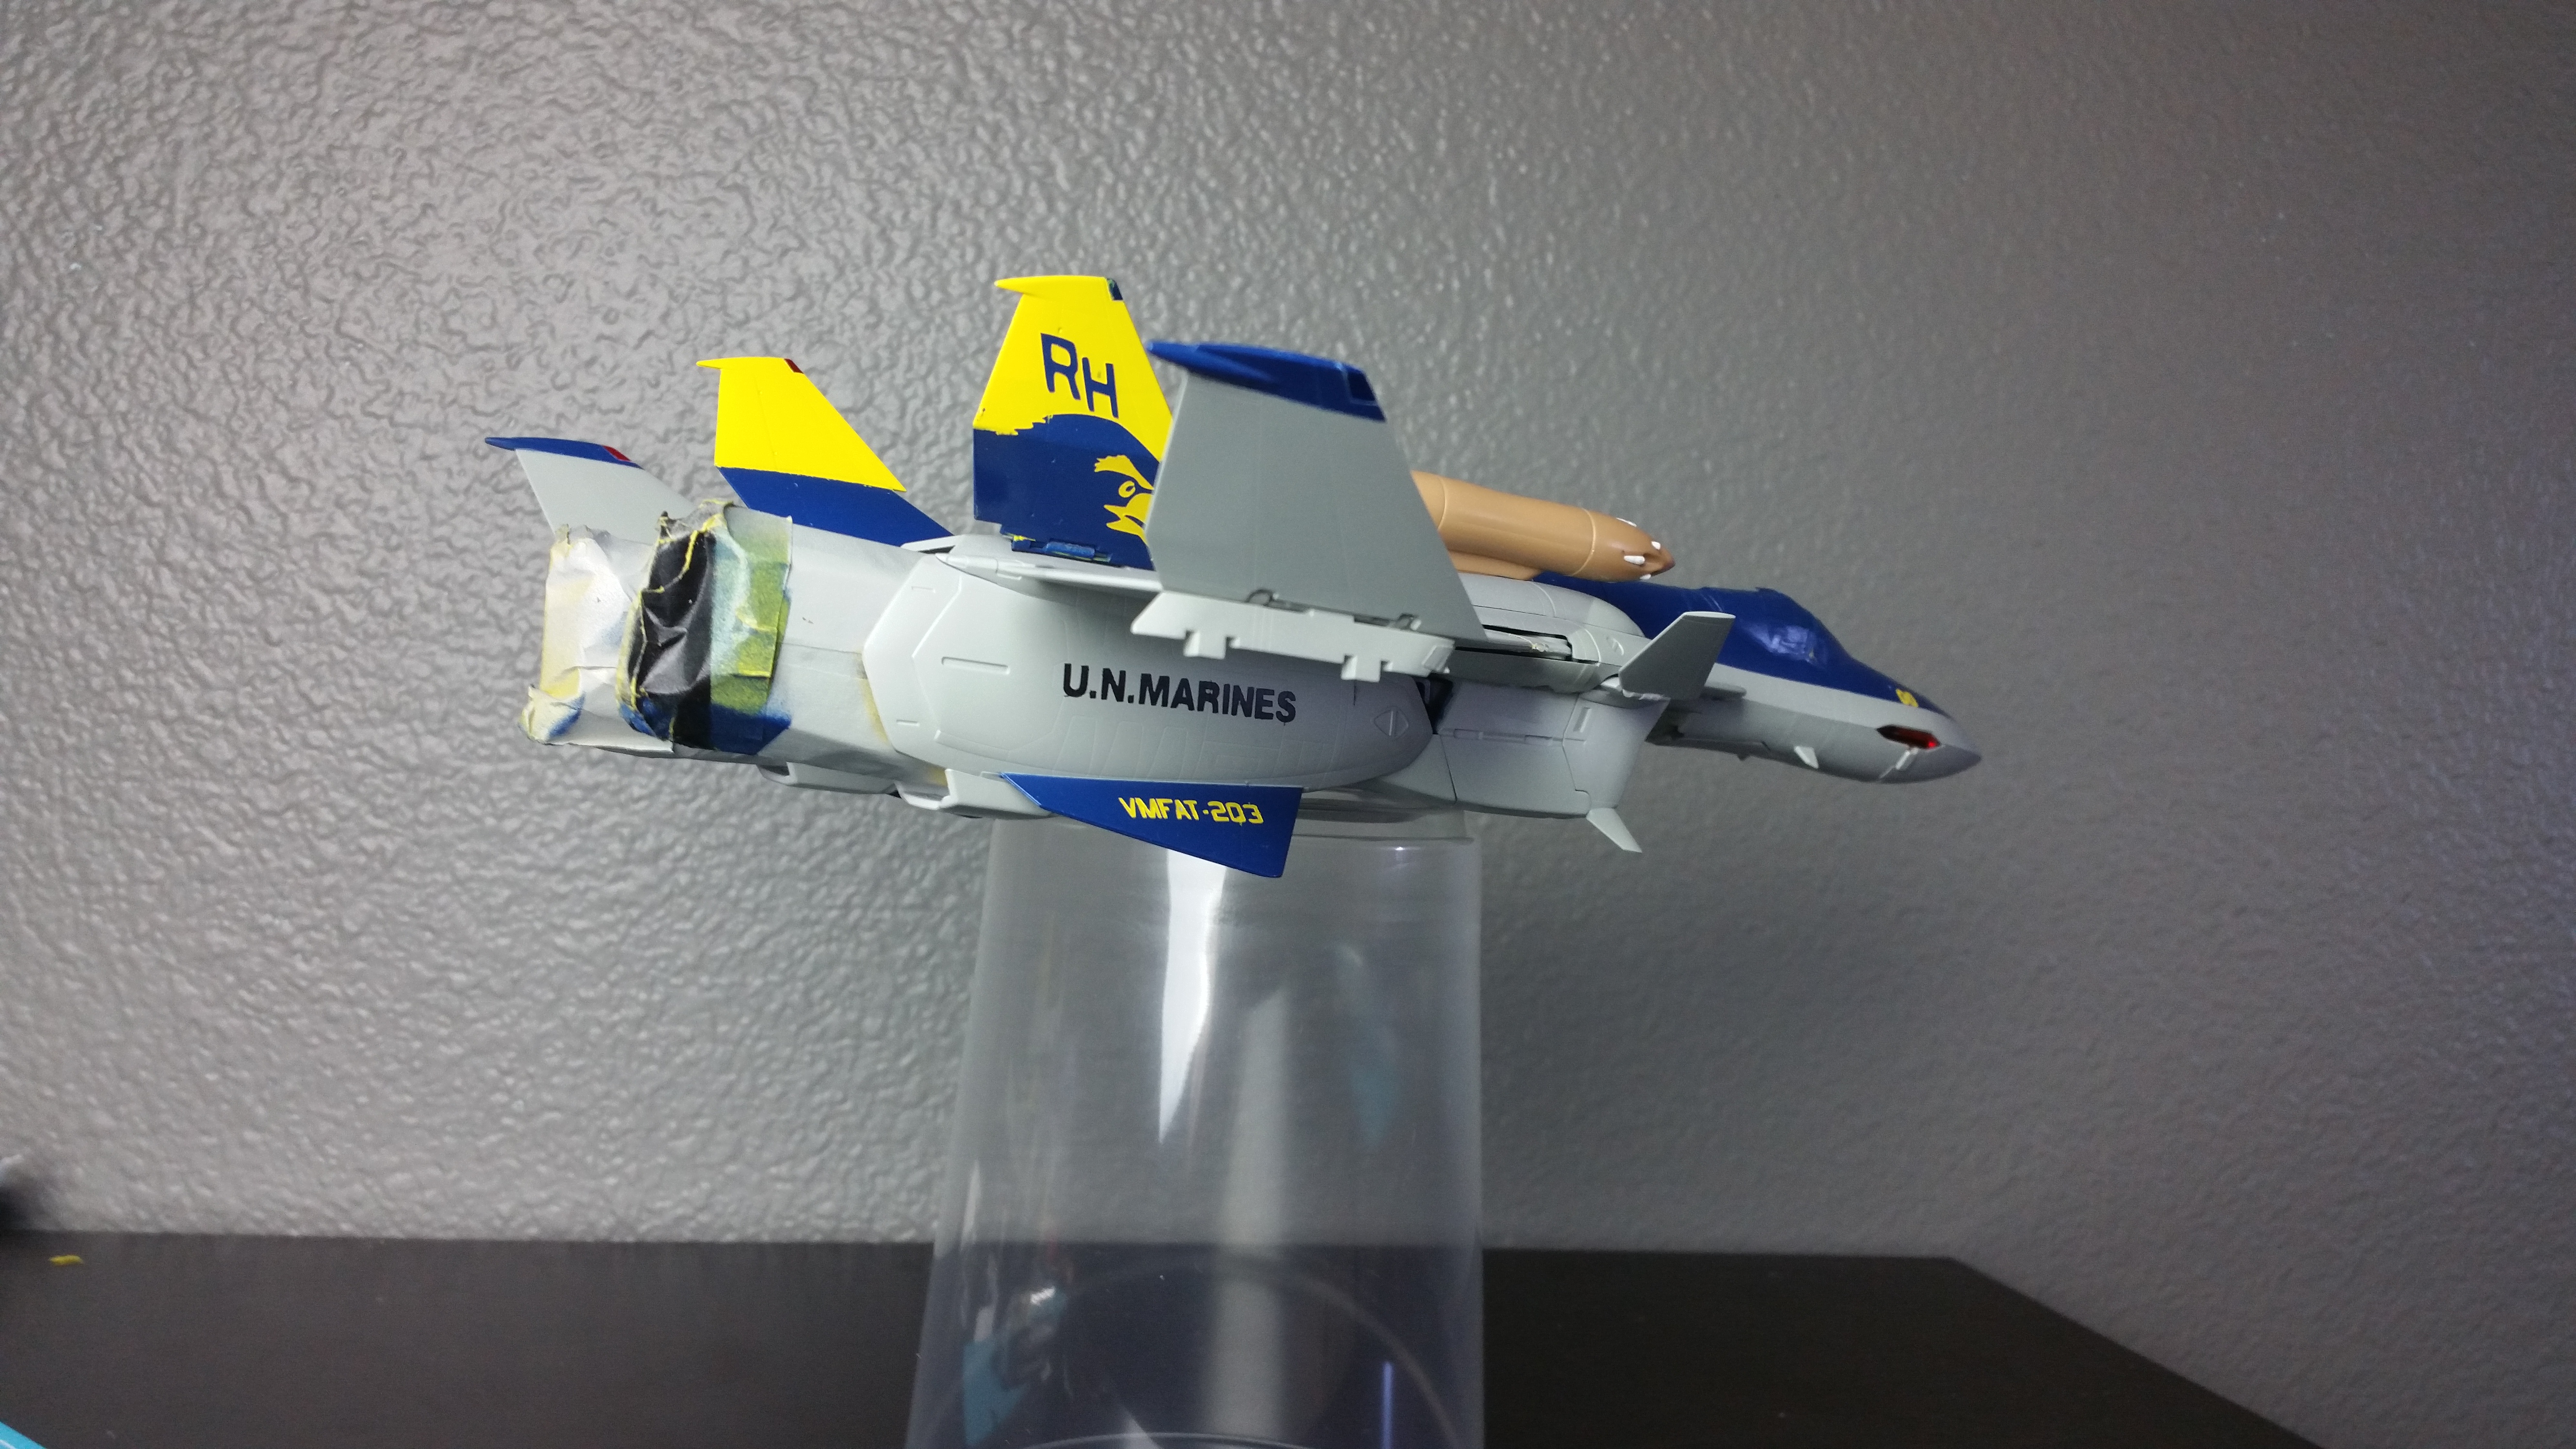
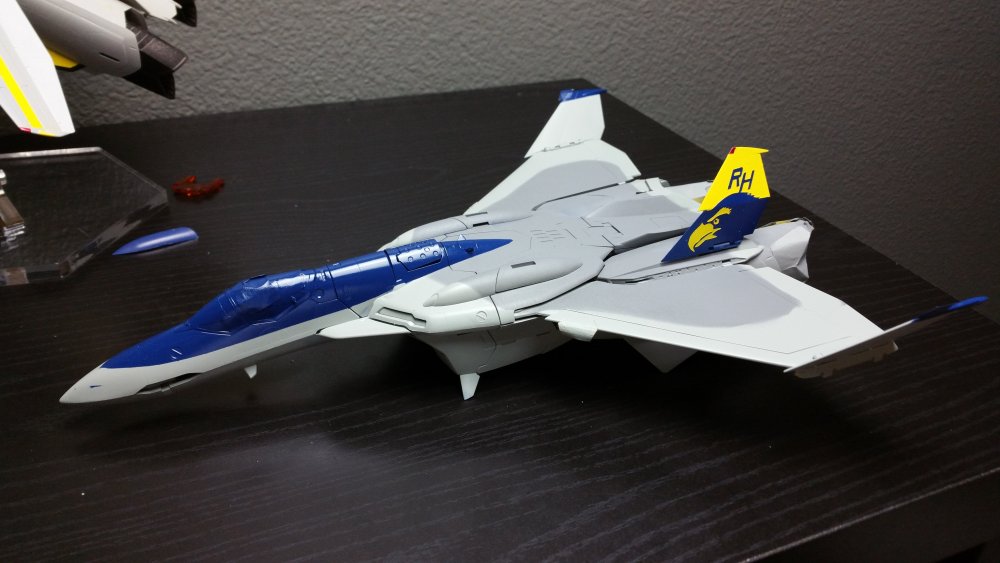
Almost at the home stretch! I finished the stencils on the leg fins and legs. I also painted the intakes white as much as I could since I don't know how to remove the blades. I'm gonna do the other side of the gunpod inverted, blend the greys on the bottom of the tailfins and spray the arms and head. Here are some pics of where it's currently at: With the correct chest undersides for the winglets:

-
It doesn't fit the Yamatos and only some parts of the 0D. The review above you at www.anymoon.com provides additional info.
-
Which service did you use to ship from Japan? I've used EMS, FedEx, and regular airmail via all the normal online retailers and never had a box dented like that. I know that some proxy services allow an option for extra padding for a fee. Maybe you can request that they mark it "fragile" or something? Could be some disgruntled employee somewhere along the delivery chain not giving a rip.
-
Battle effects? I'll keep mine in the box for a few weeks. Hopefully it cures or something.
-
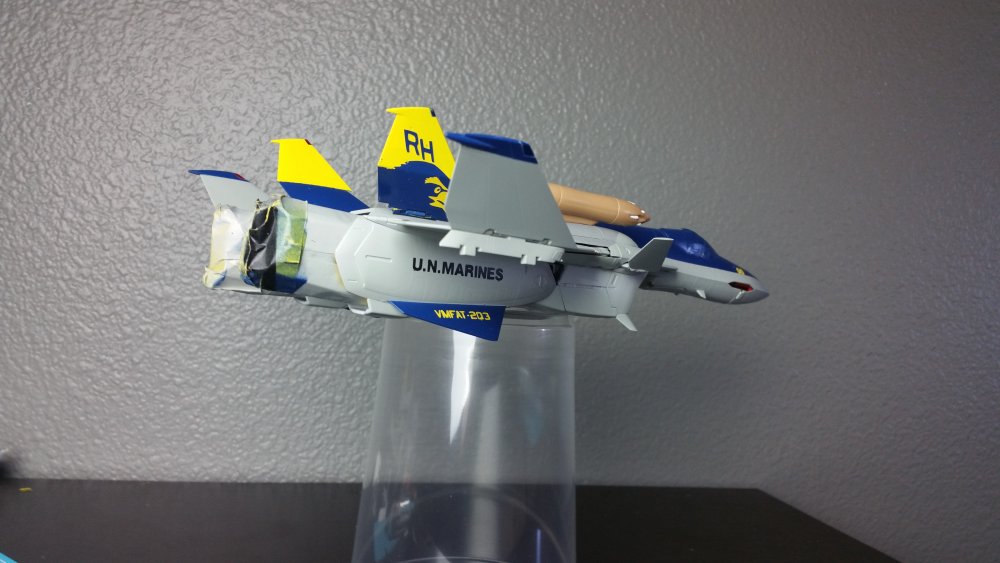
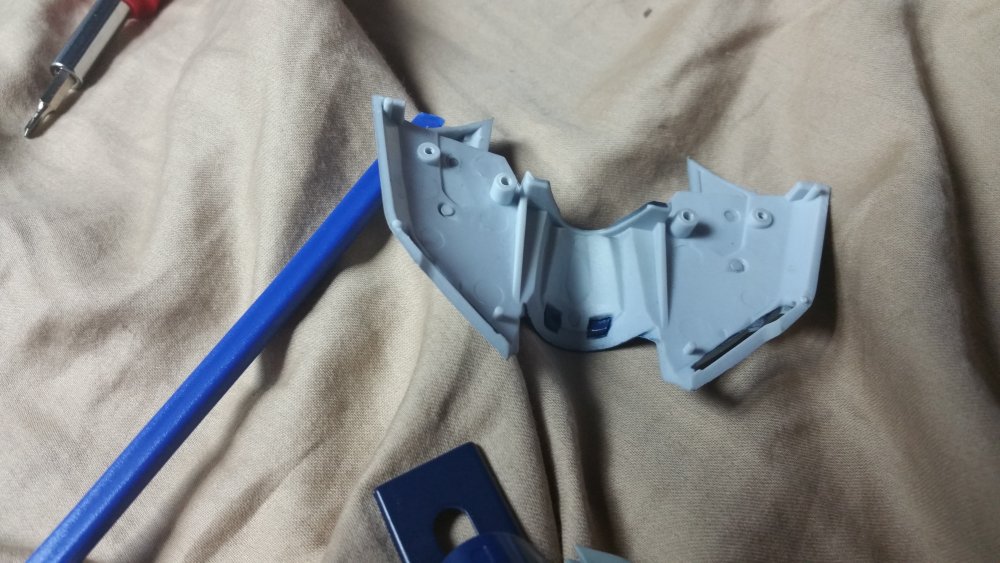
Thanks! Hopefully it turns out alright. Unfortunately the part I was talking about is visible and the earlier pic wasn't clear. Here are both of the parts for each of them. The one for the C with the indents is mounted while the other one is for the B without the indent. This was taken after I resprayed the colors. Not too much done today. I redid those parts, created the UN MARINE Font and made a stencil for the gunpod and sprayed it, did the smaller 00 in the front and sprayed the leg fins blue. Those small 00 are a pain. I wish someone made these decals for 1/60. Next thing is to create the VMFAT-203 for the legs and do the other side of the gunpod.

-
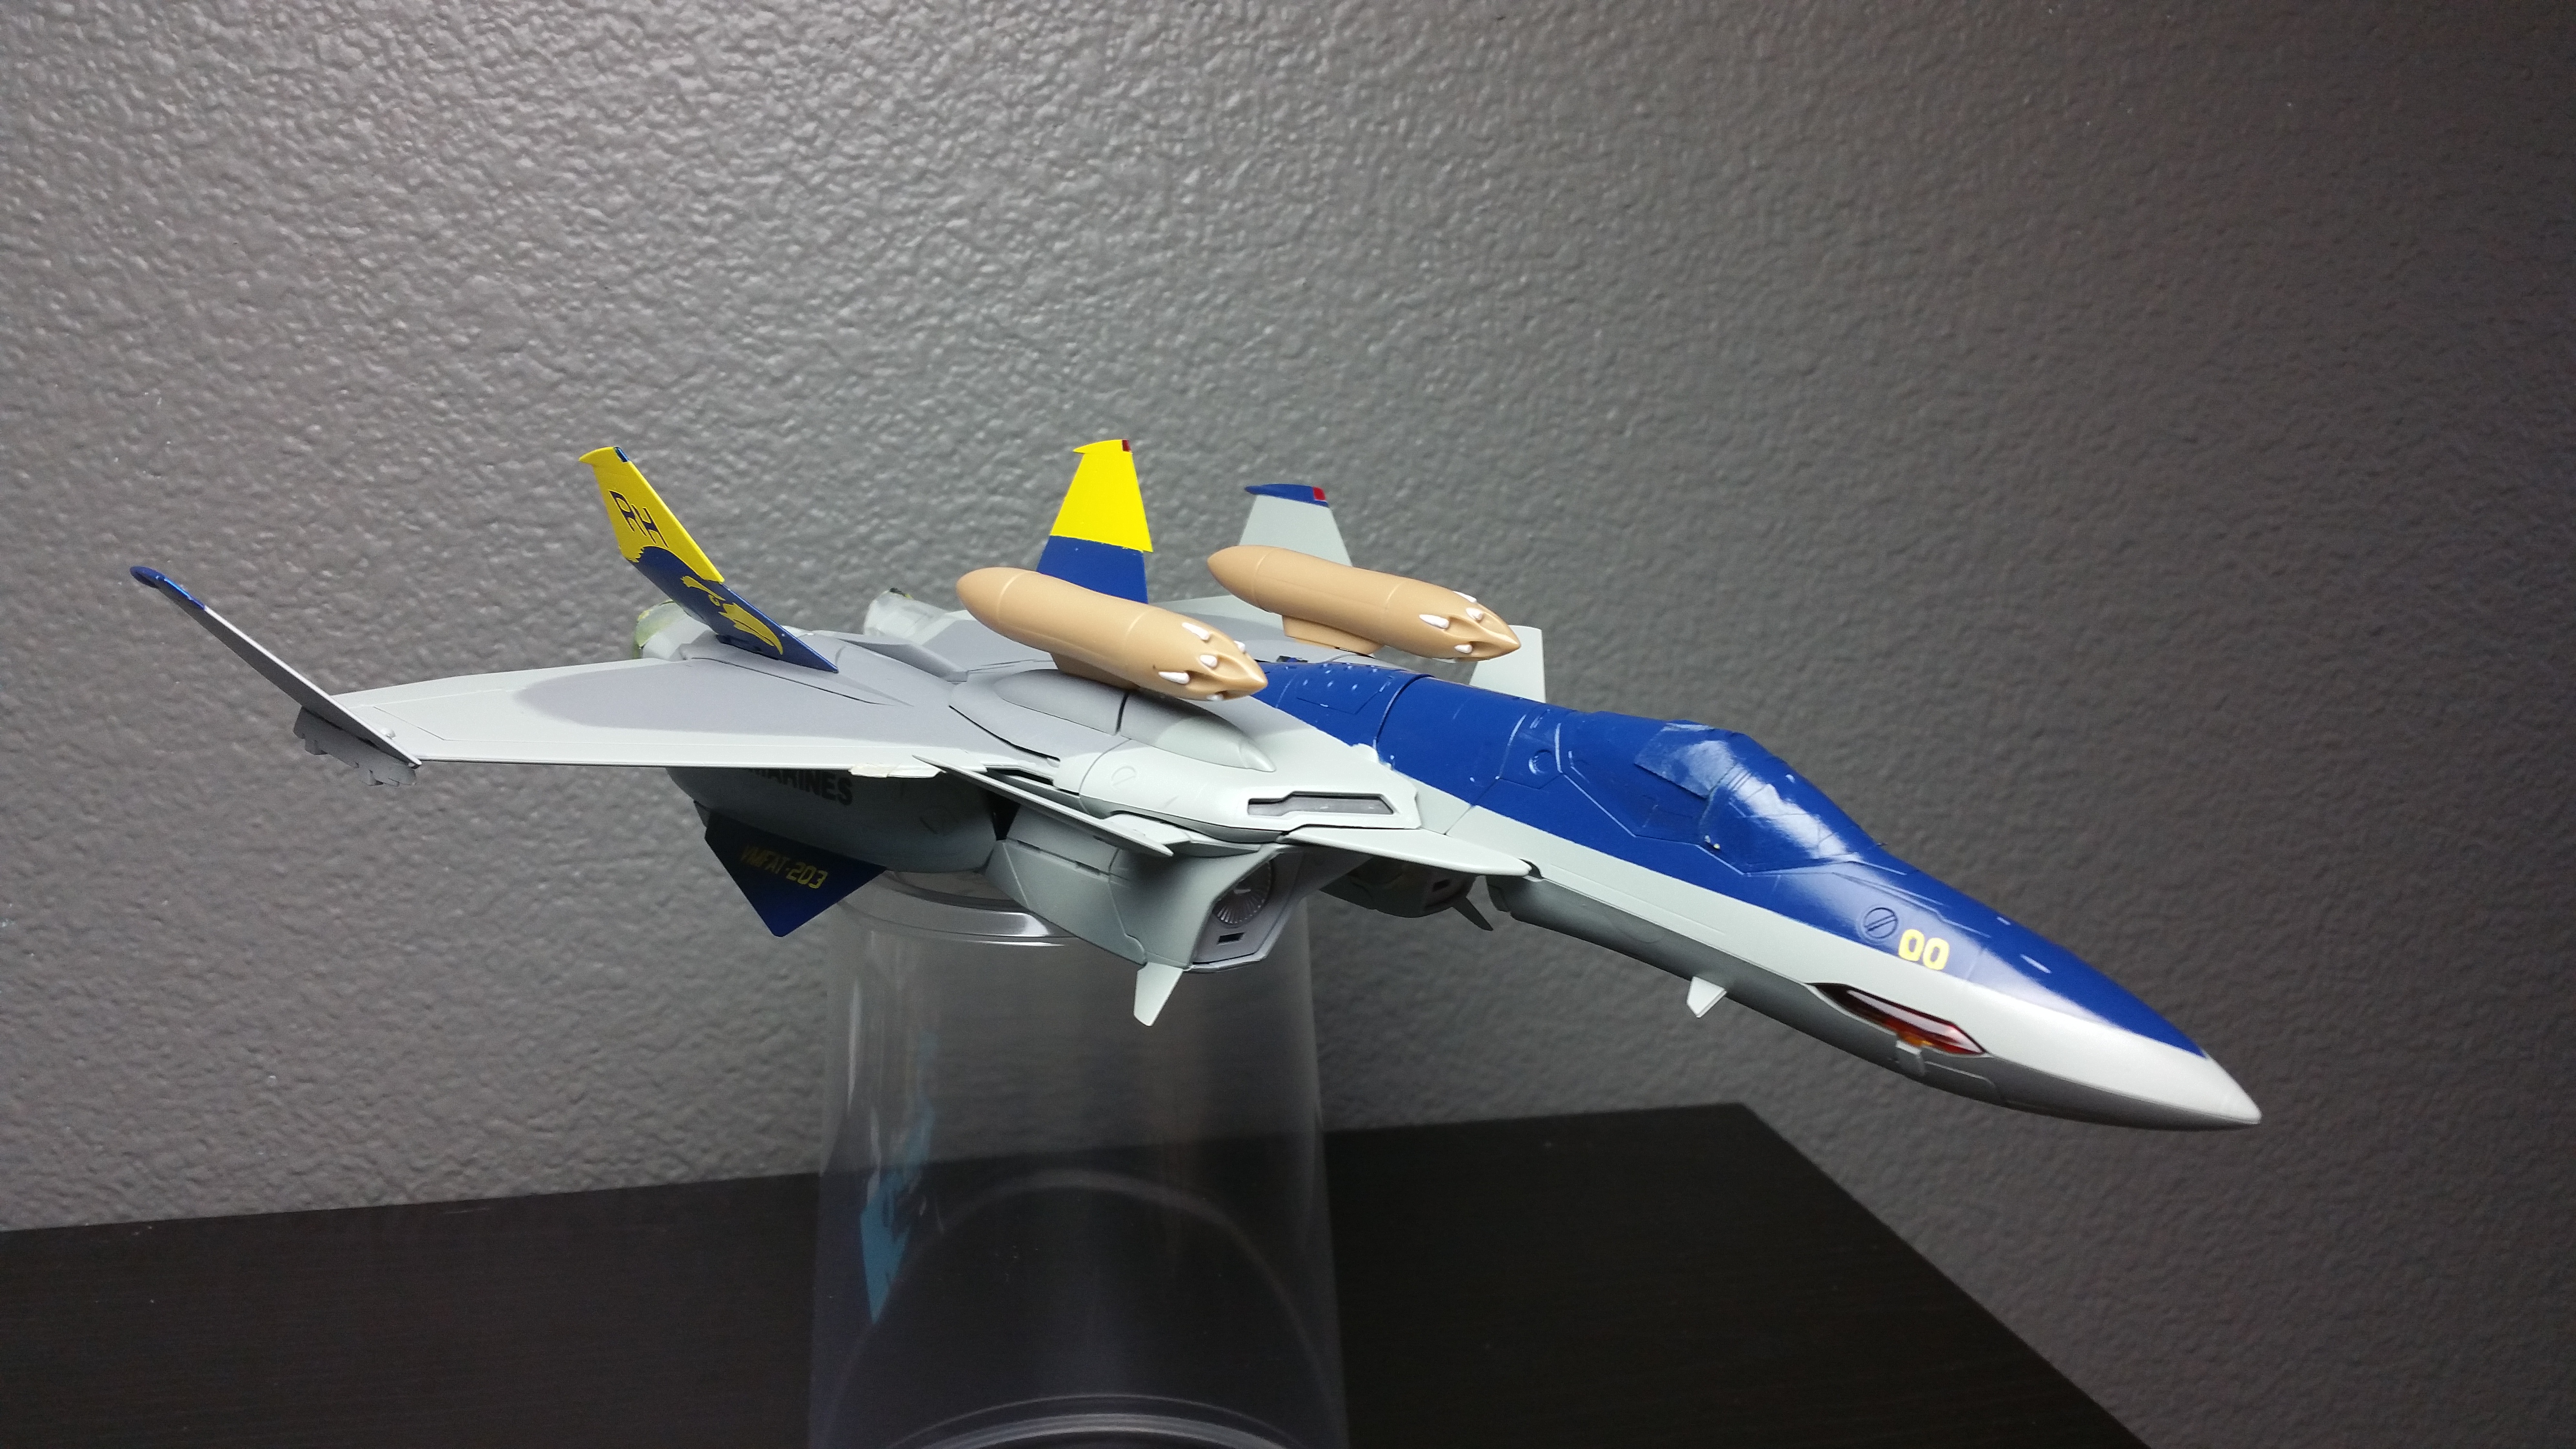
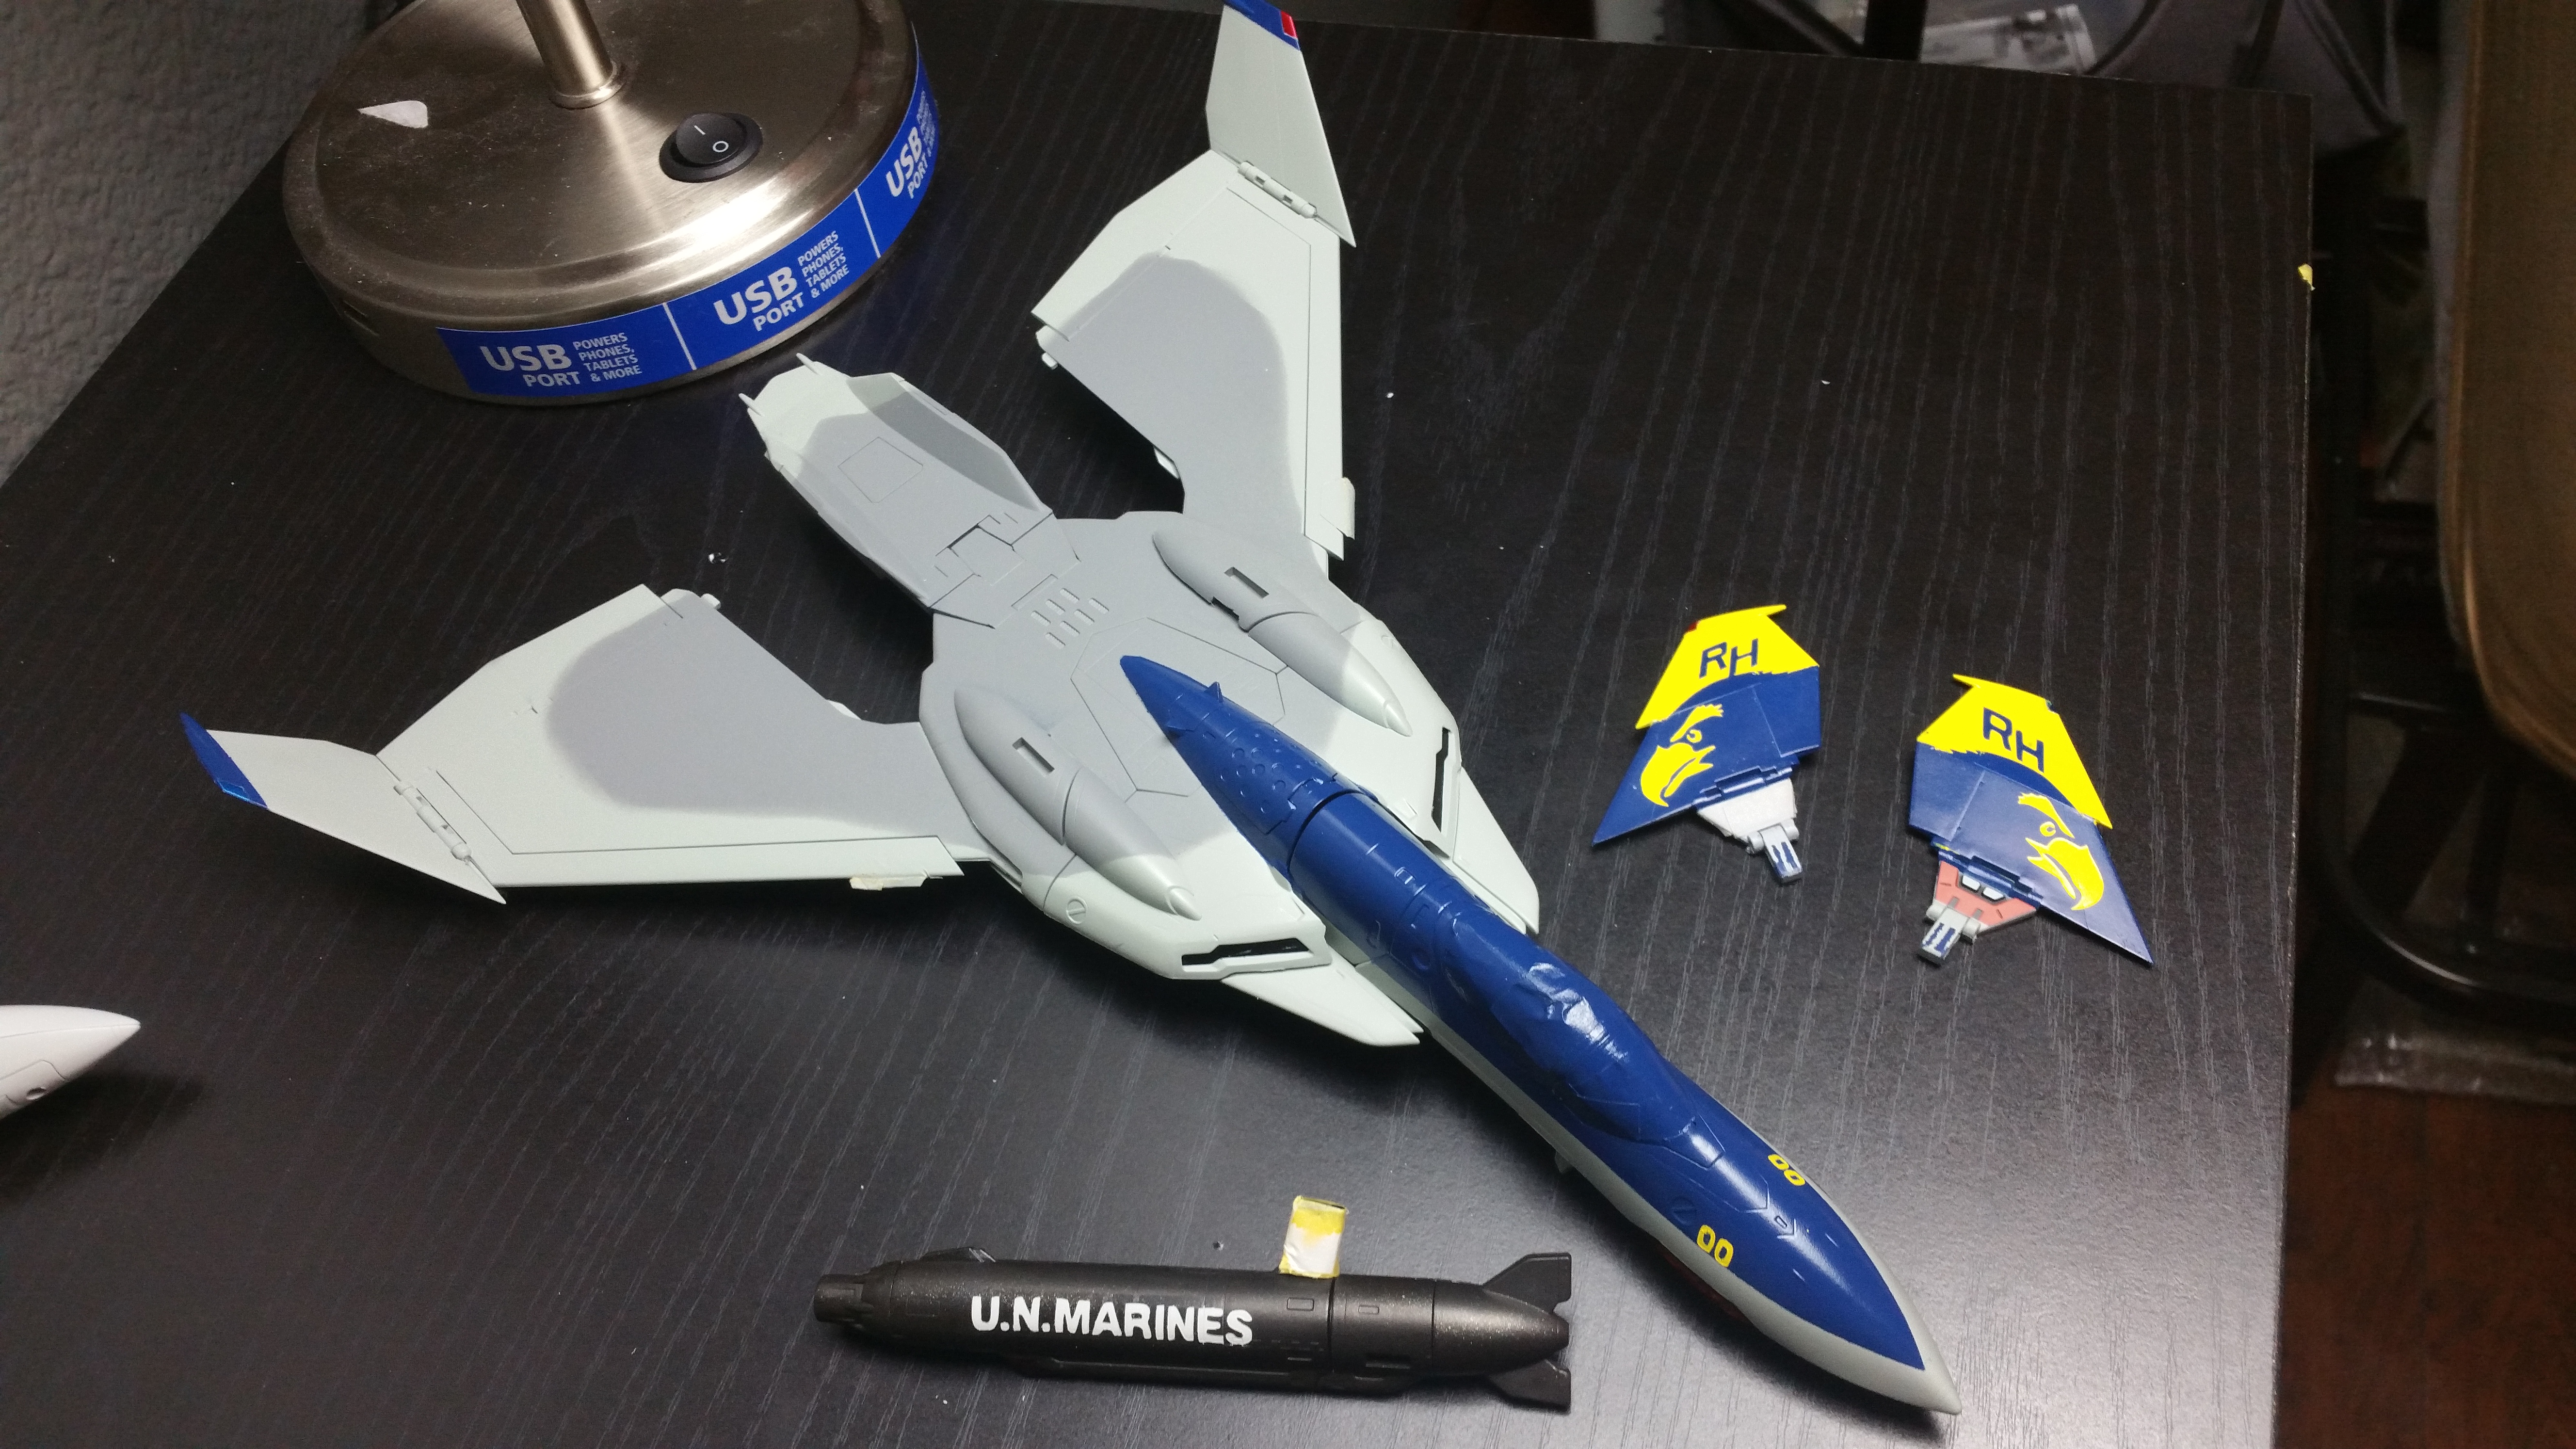
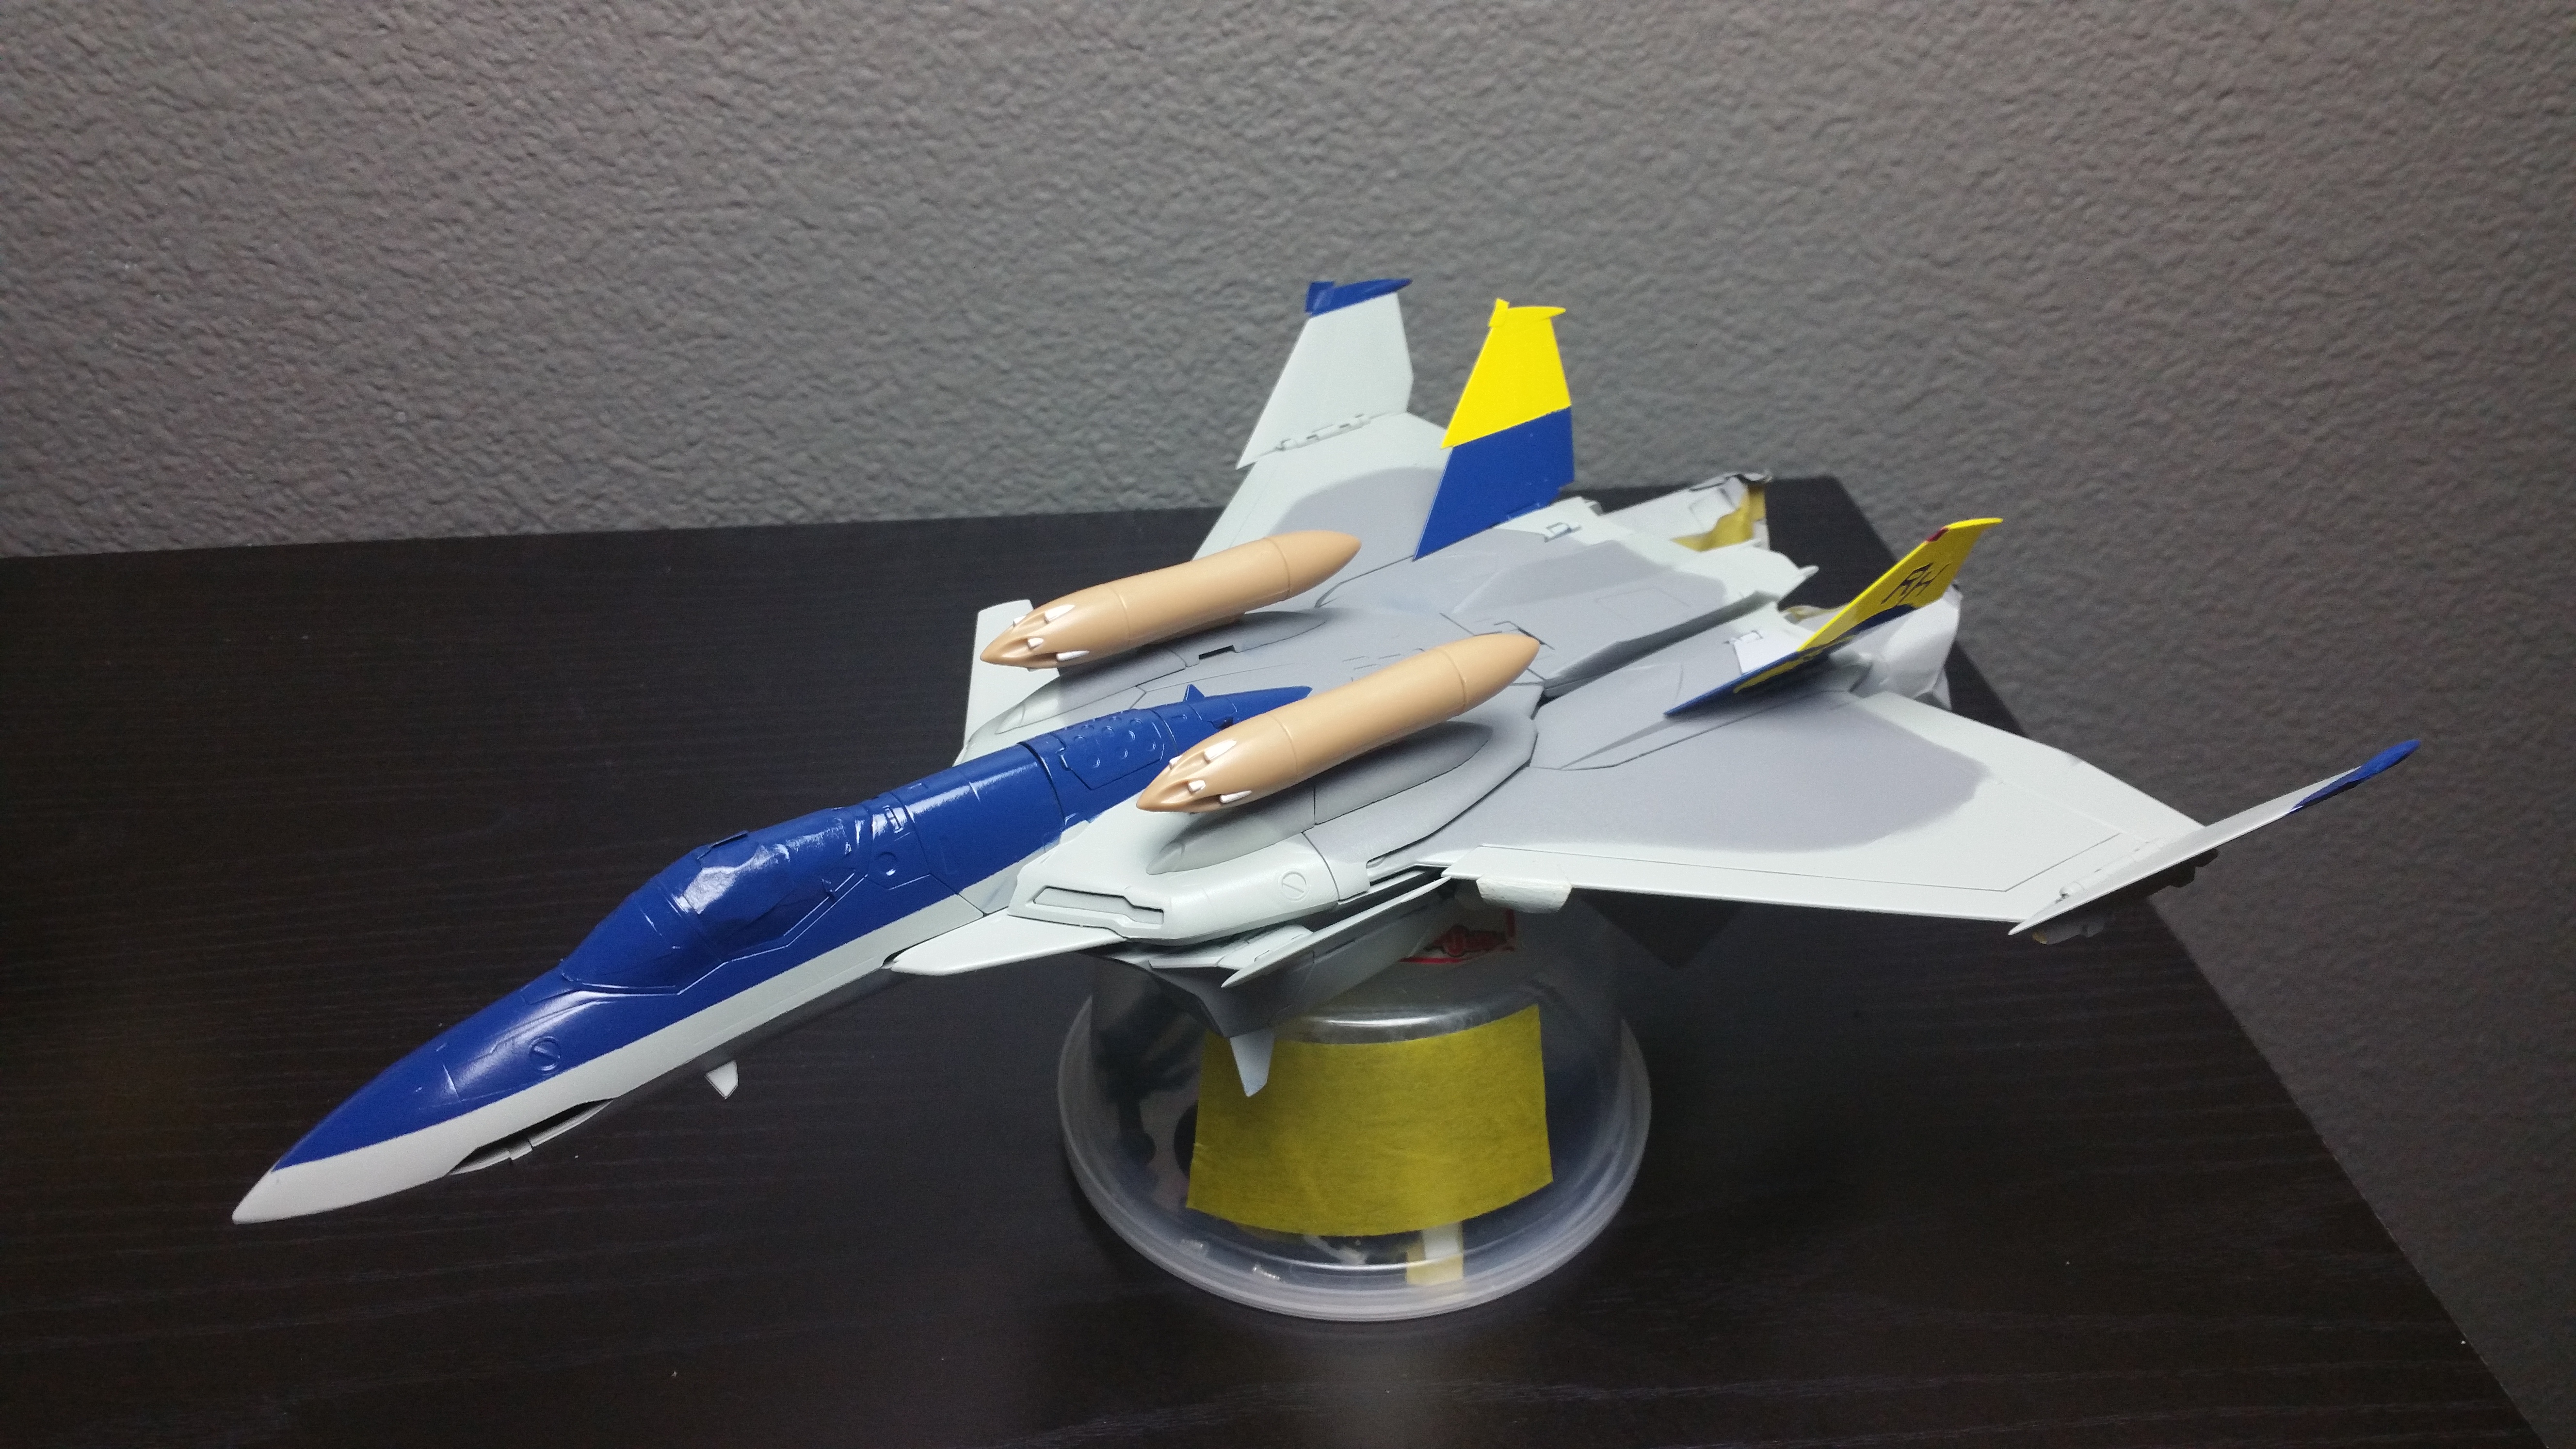
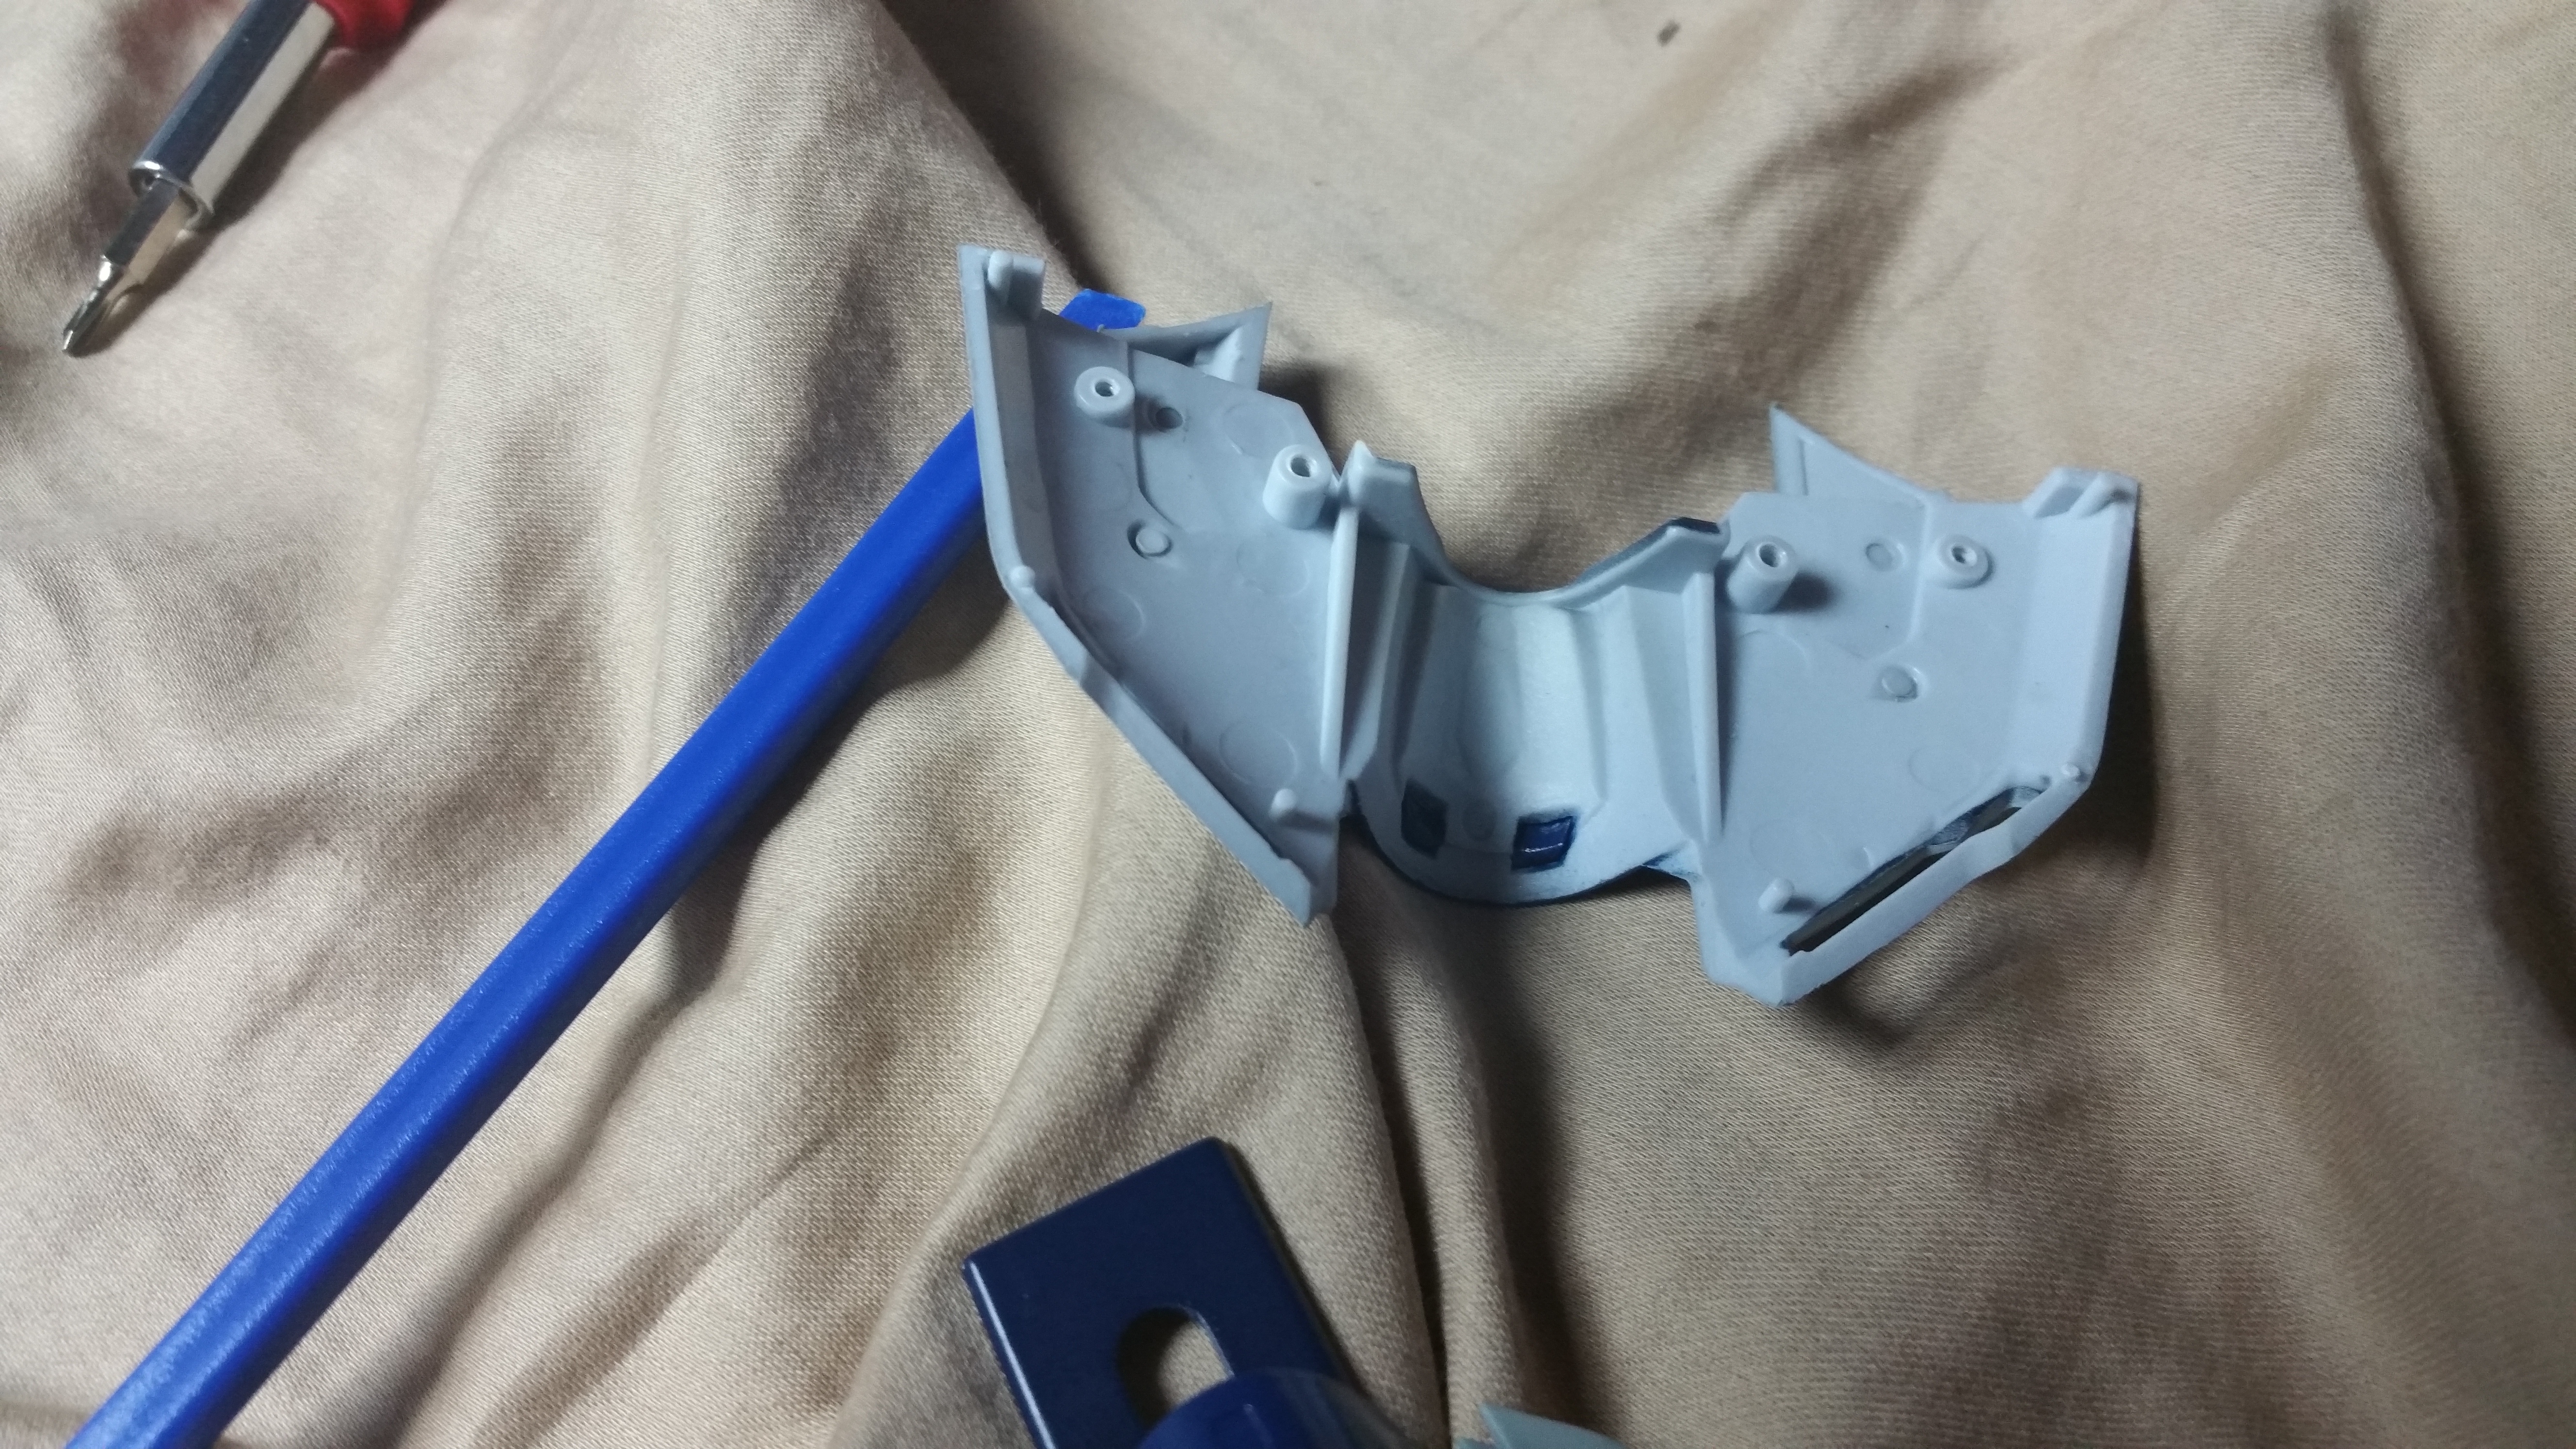
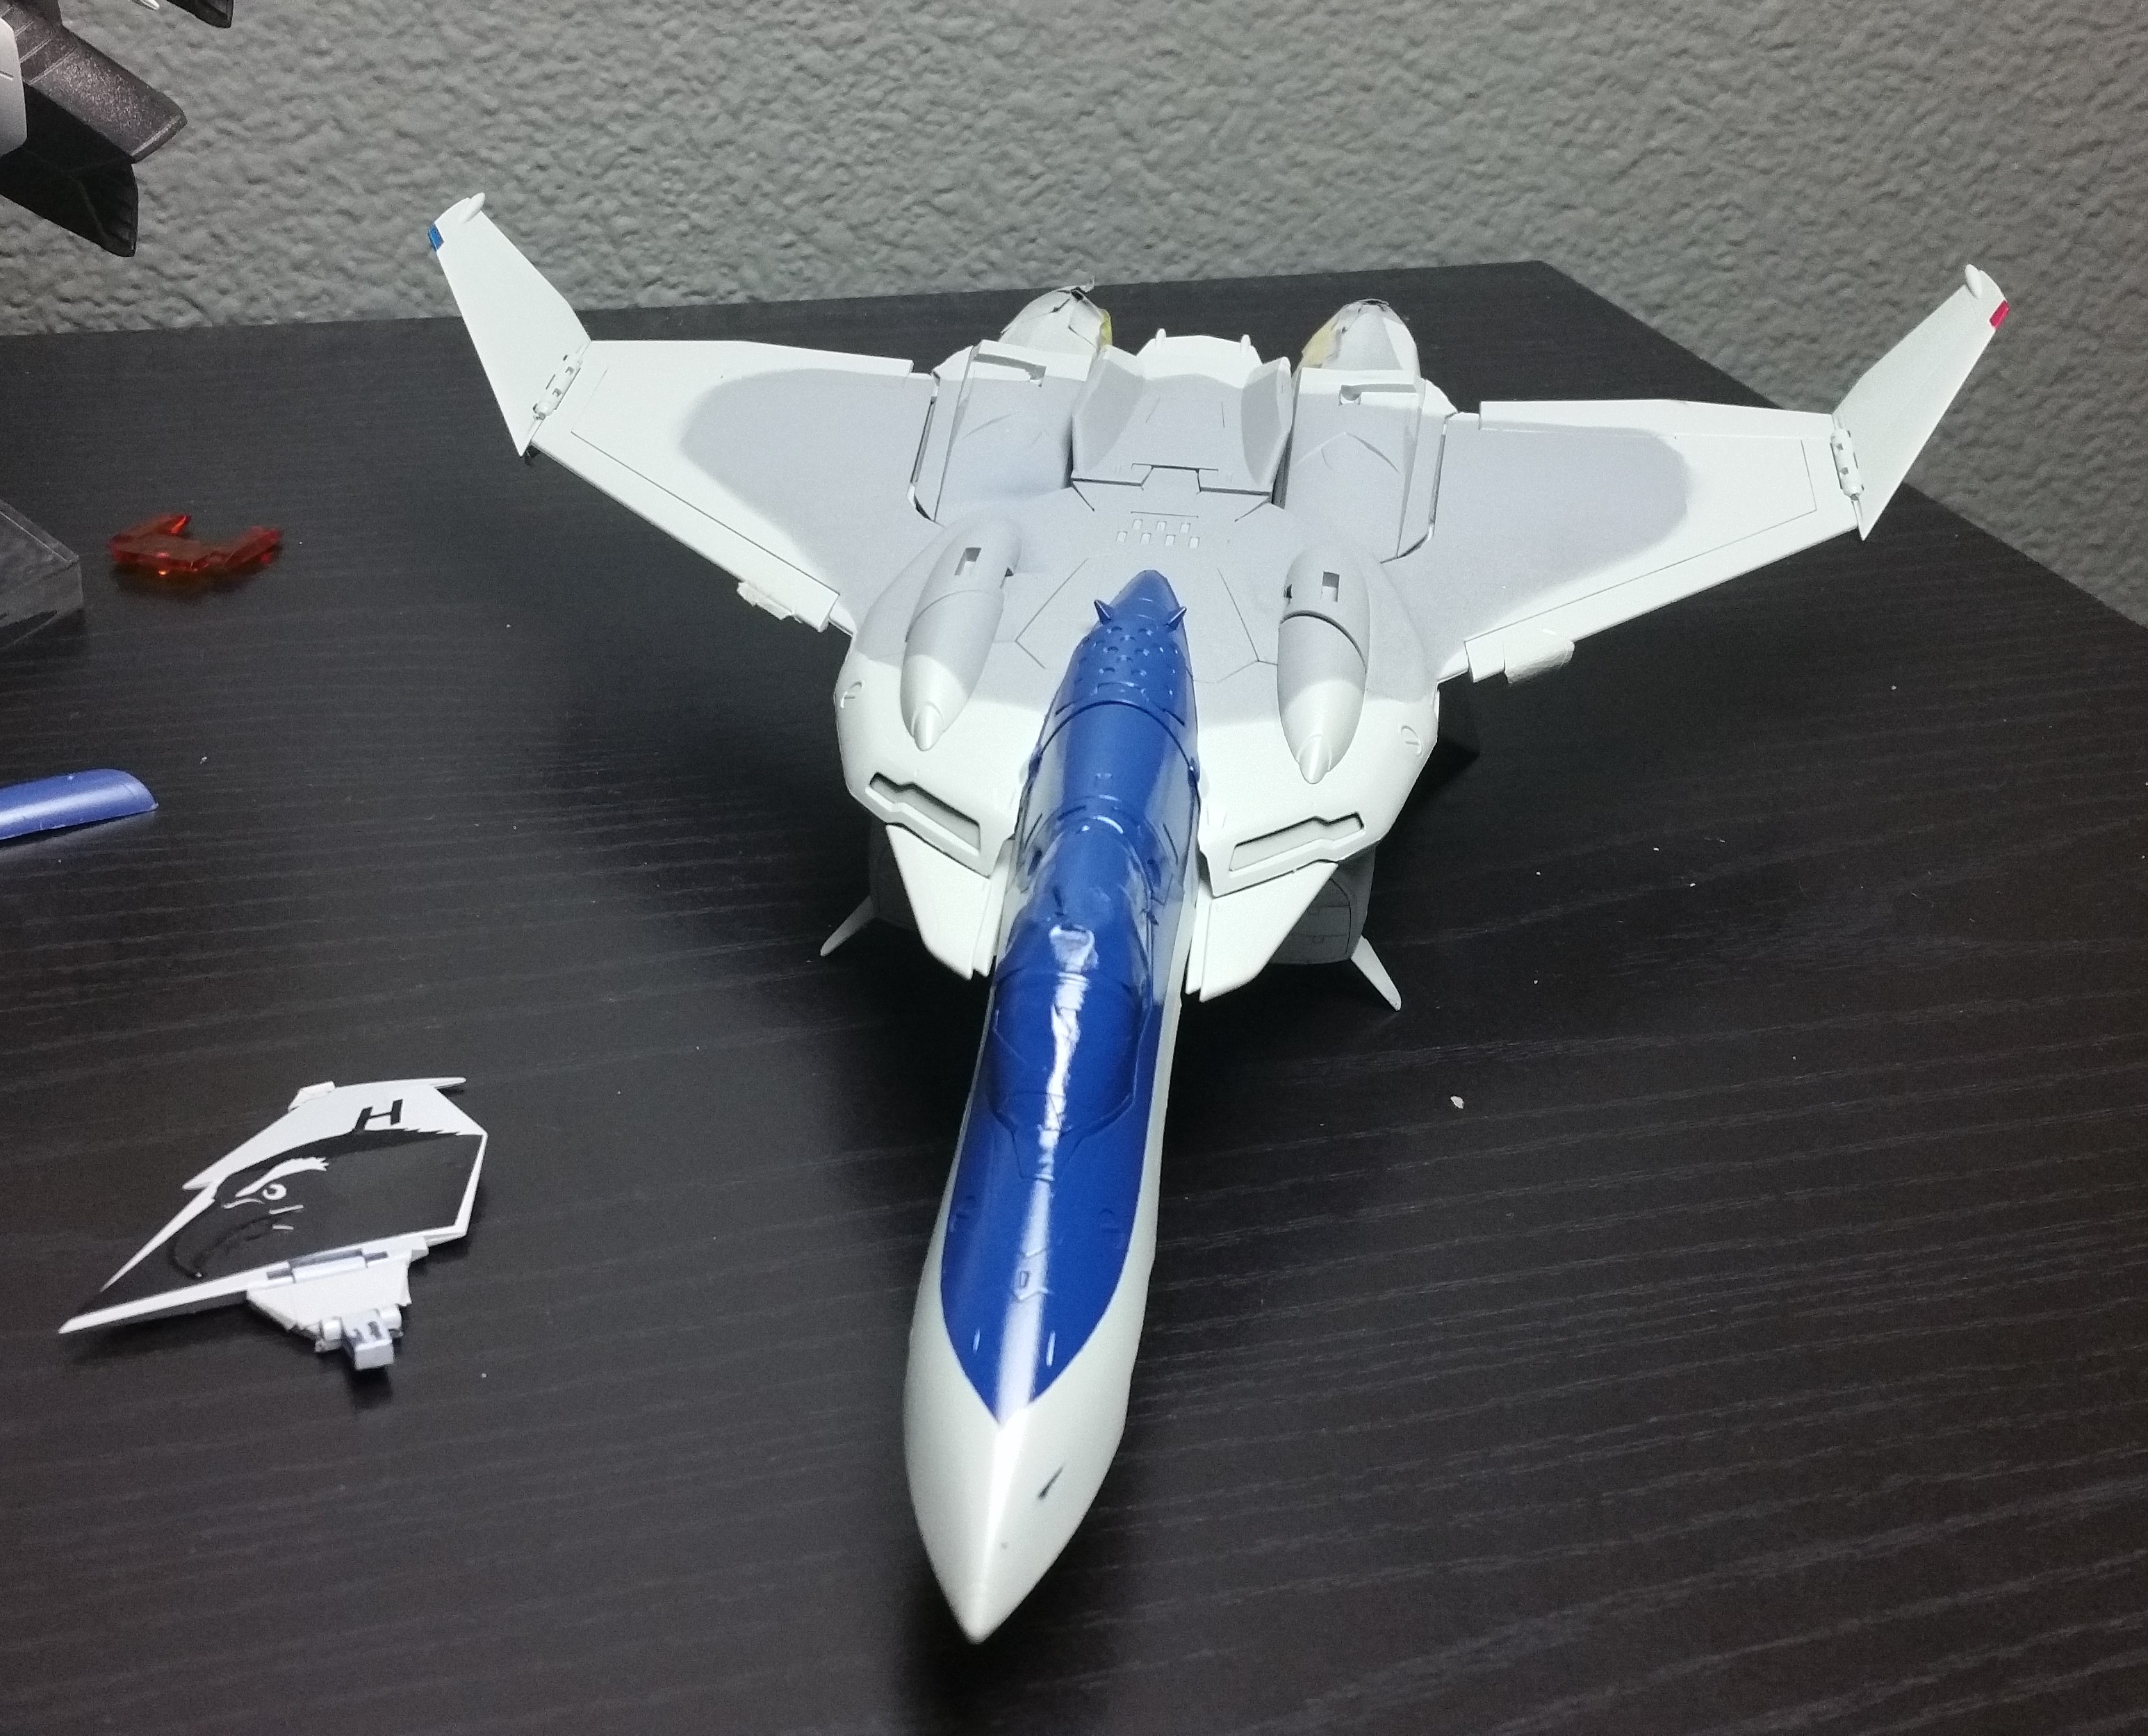
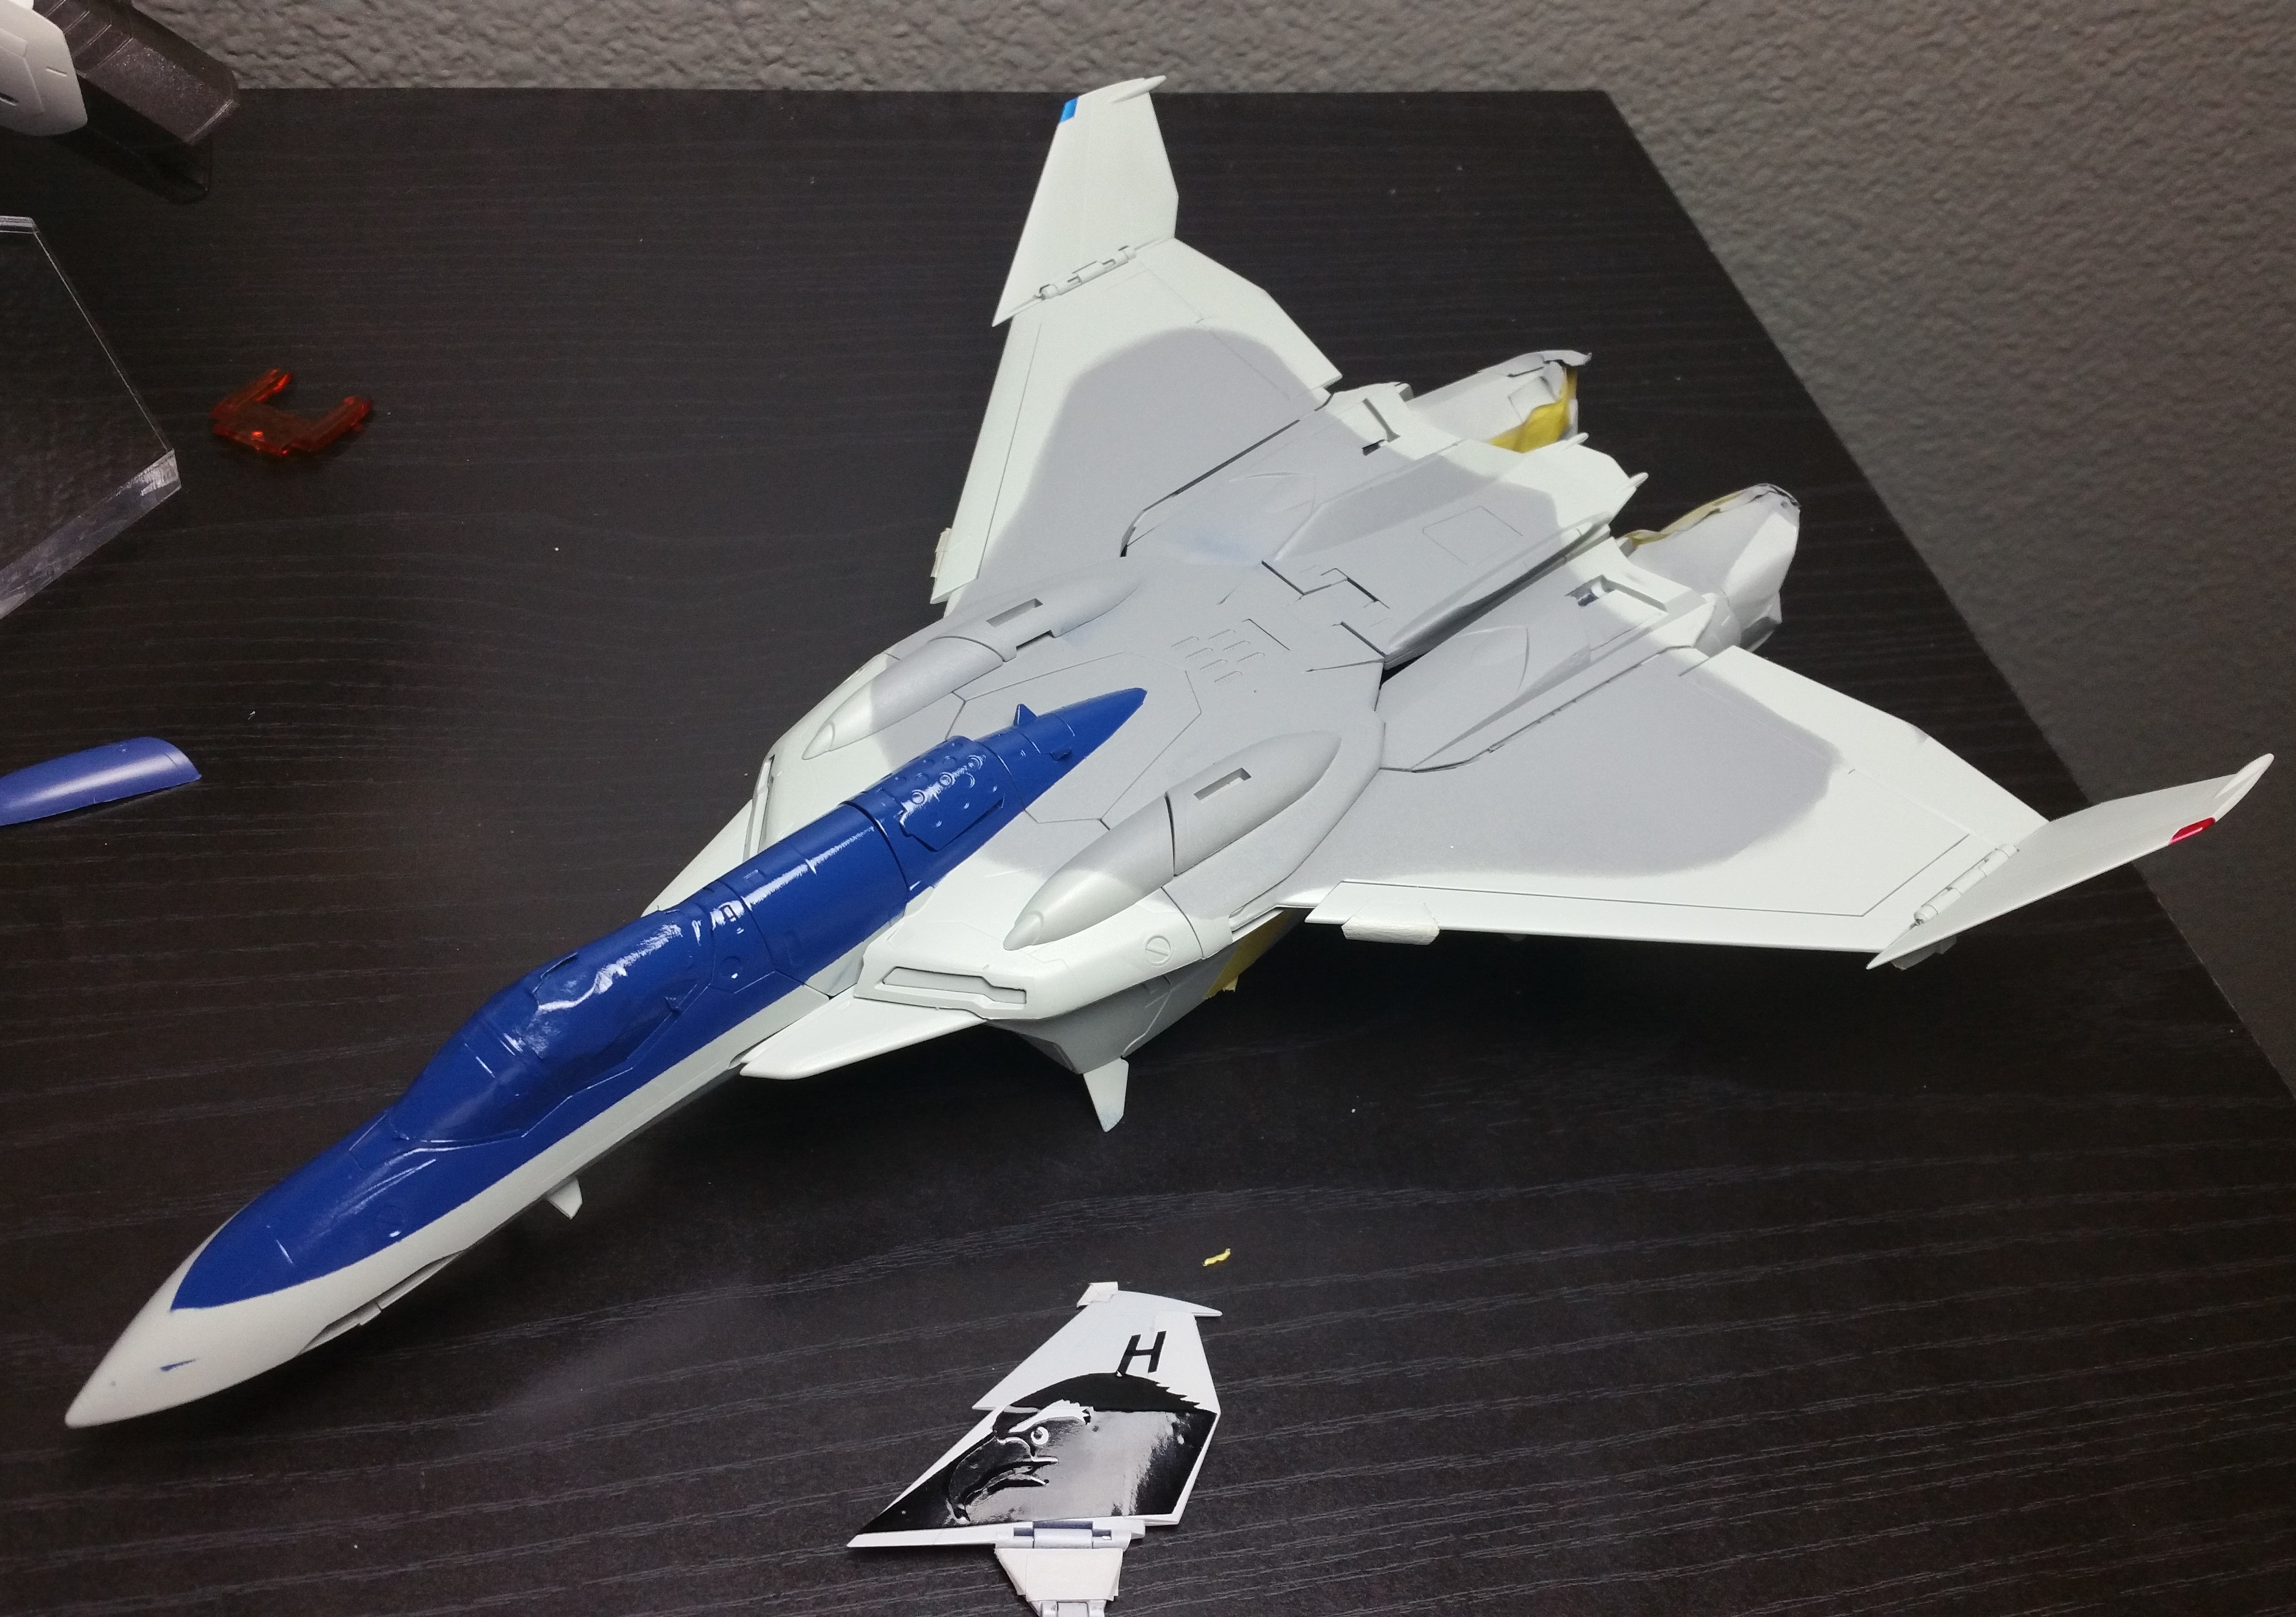
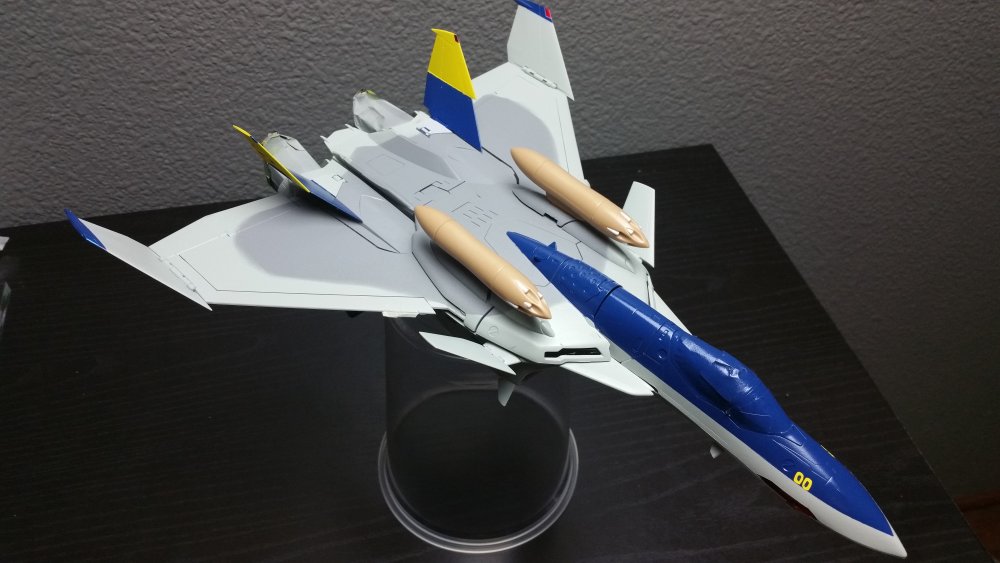
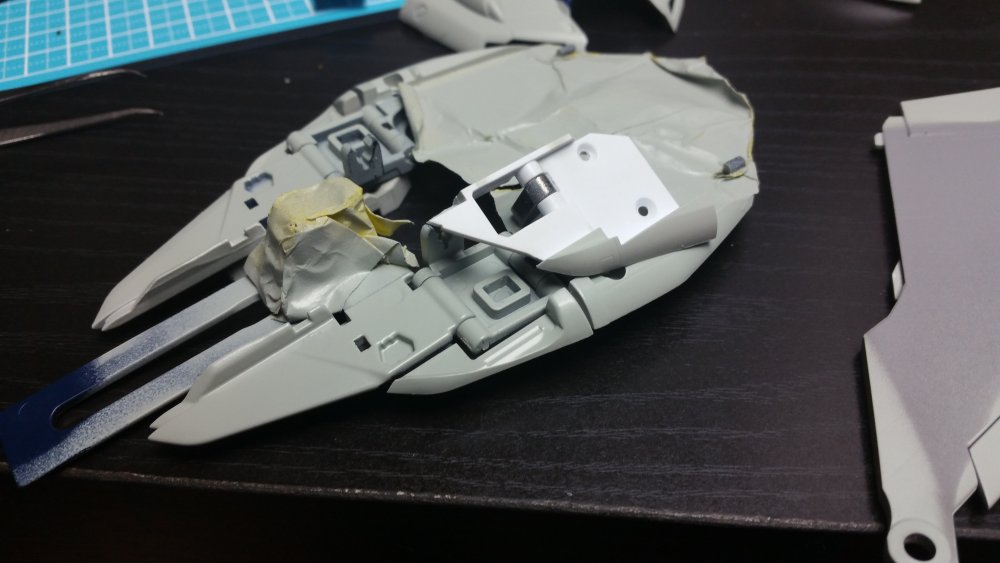
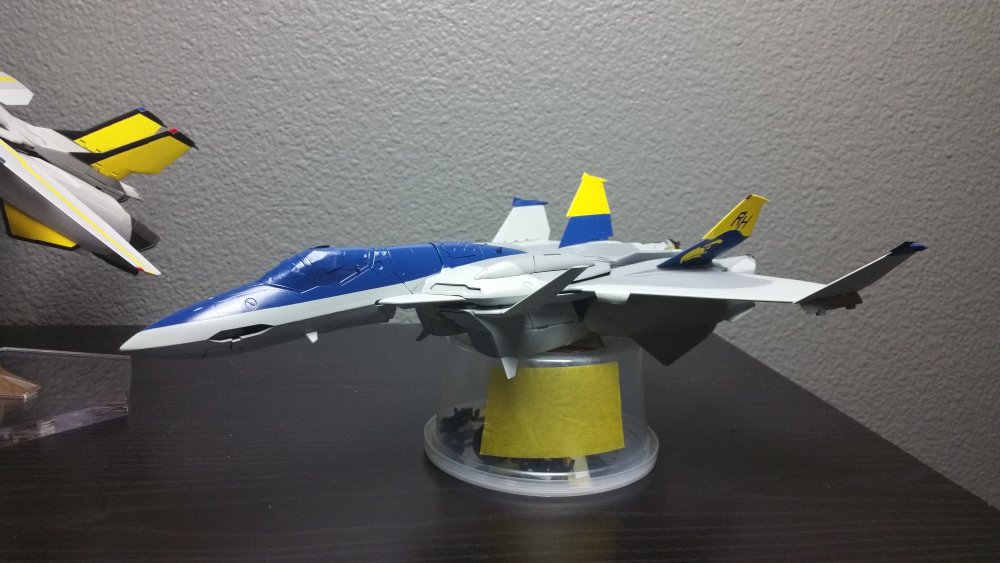
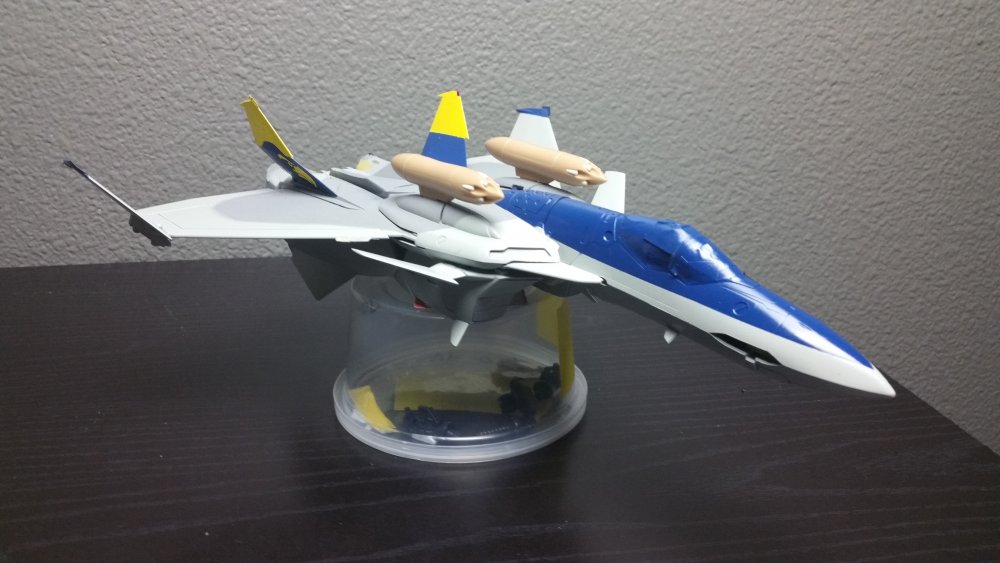
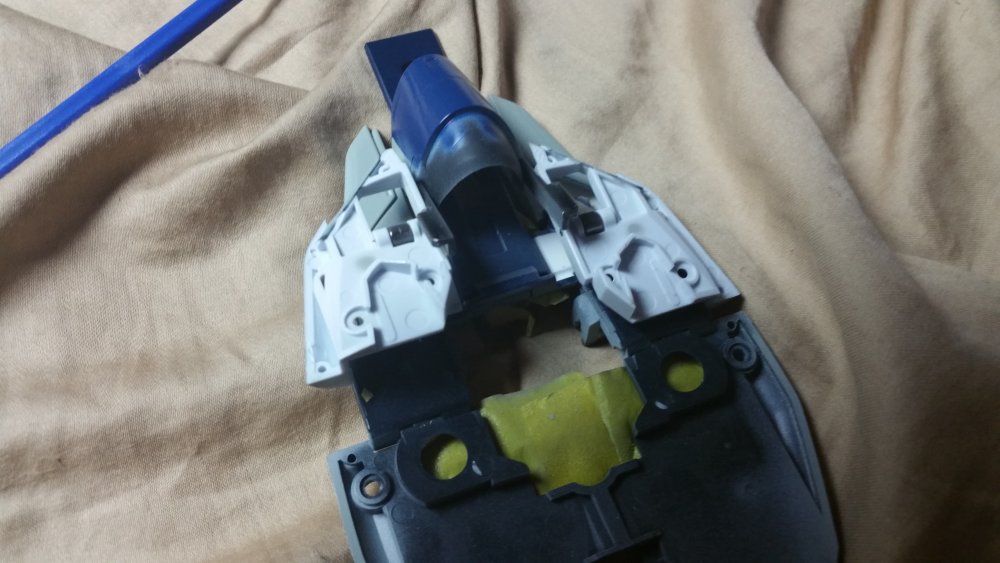
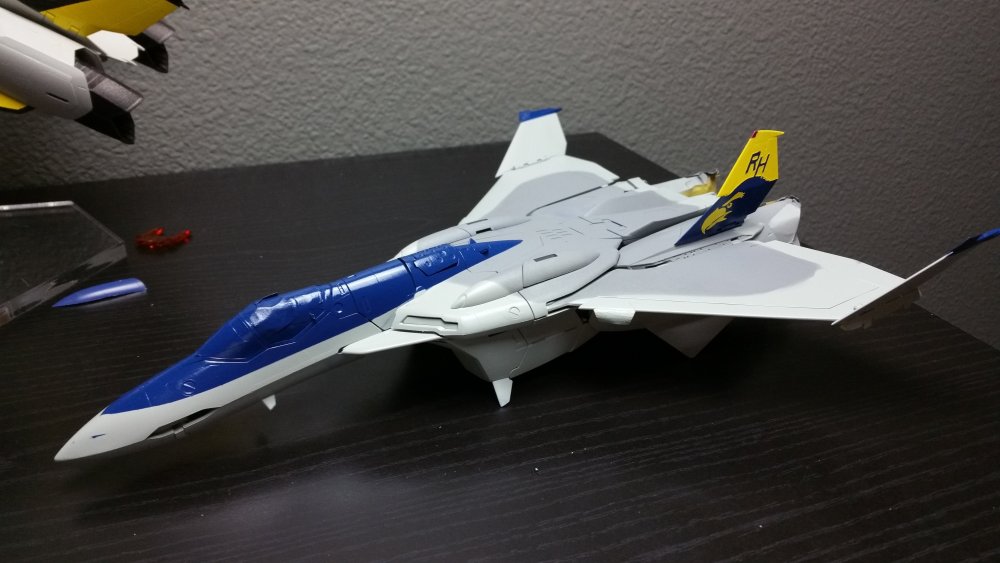
Finished the other tailfin. I also extended the blue at the nose as i found out that it was too short. Here are some pics of it mocked up with the missile pods and canards. I've run into a mistake on my part. I swapped the upper chest covers thinking that was all that's needed but it appears that I now need to swap the bottom part of it out as the 0D has an indent for the canards and it's on the 0B right now. At first i thought I couldn't get to that part as there are 4 small screws (1 smaller one than the other for the outer hole) holding it together and after taking out the screws it was clamped together pretty tight. I used my spudger set to gently pry it apart. Here is the top half of the upper chest piece with the 4 screw holes: Here is the bottom half that I need to swap out under the white area. I just need to take out the pins that's holding it, take apart the 0B a little, then swap them out. That's it for now.

-
PO is closed already for this one. I think it was February 30th or something. That left hip tampo is not lineart accurate though. Panic mode everyone! I bet you PO will be around the same time as the VF-31As.
-
I give you credit as it's a PITA to do your own paintings this way. As far as the clear inserts go I'm not at that level to trust myself with something like that let alone attempt. The one thing that helps me is that I have a lot of free time on my days off from work and can goof off and learn some of the programs to help create these.
-
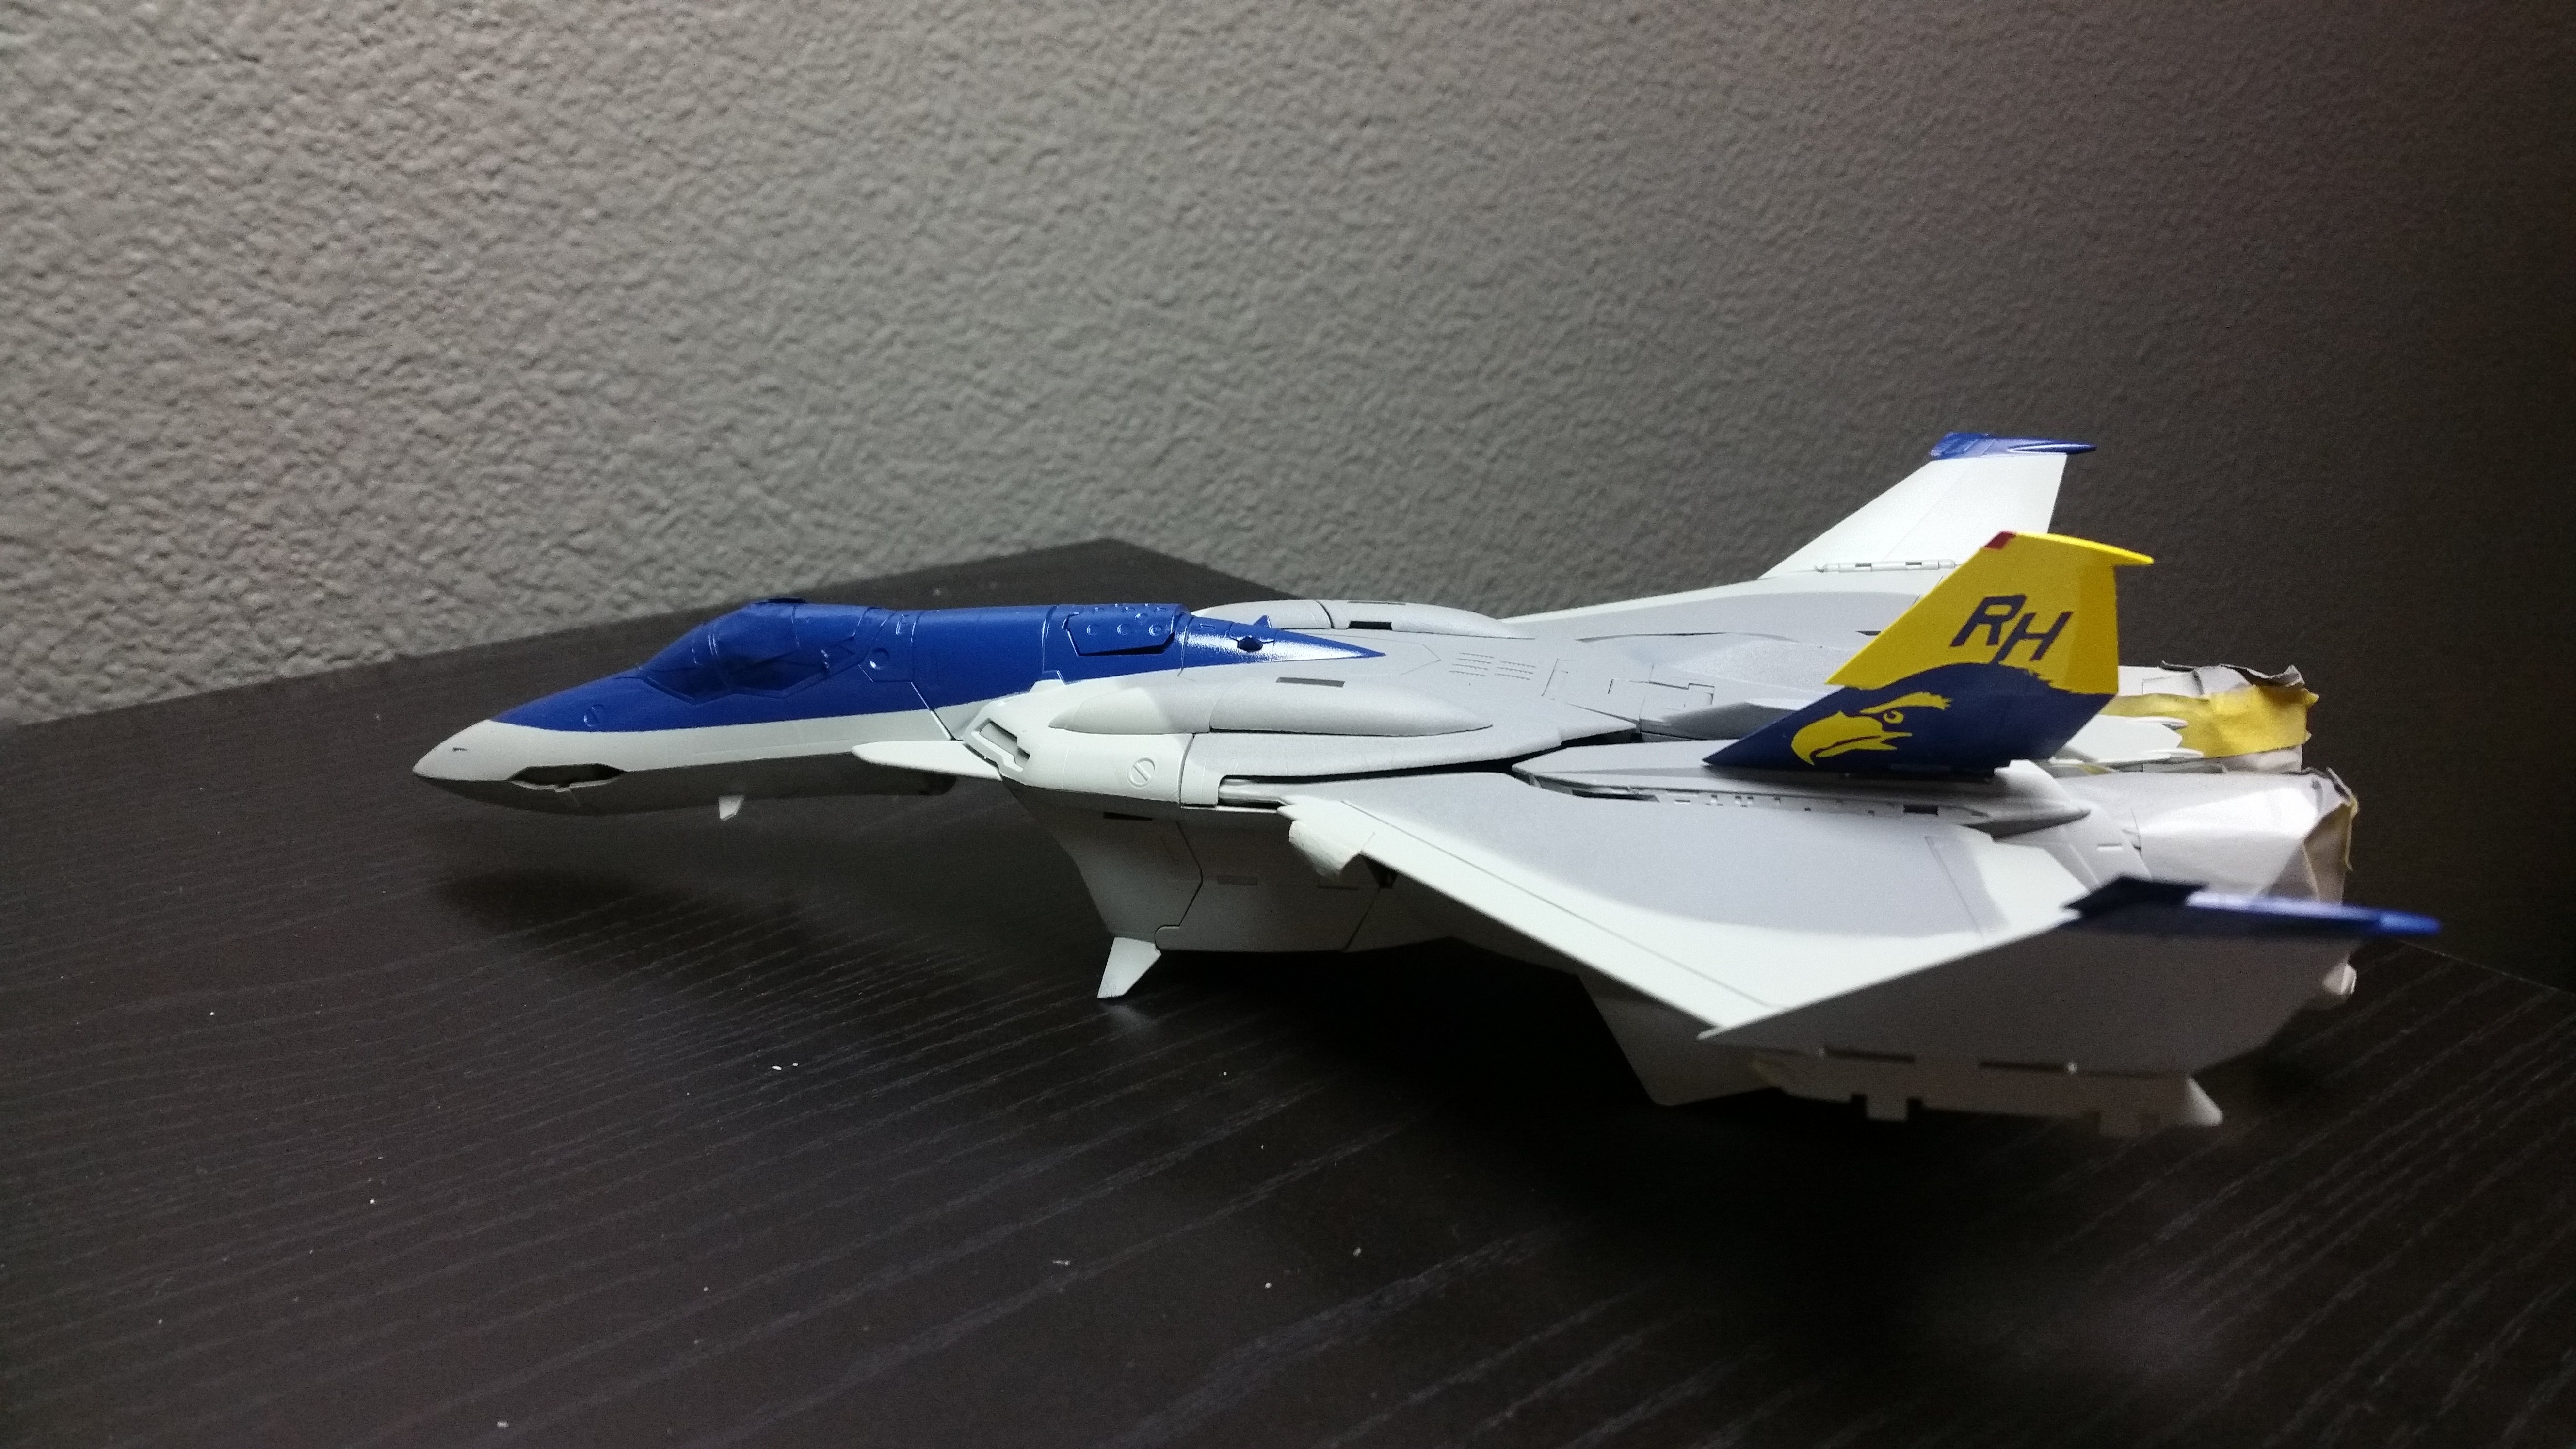
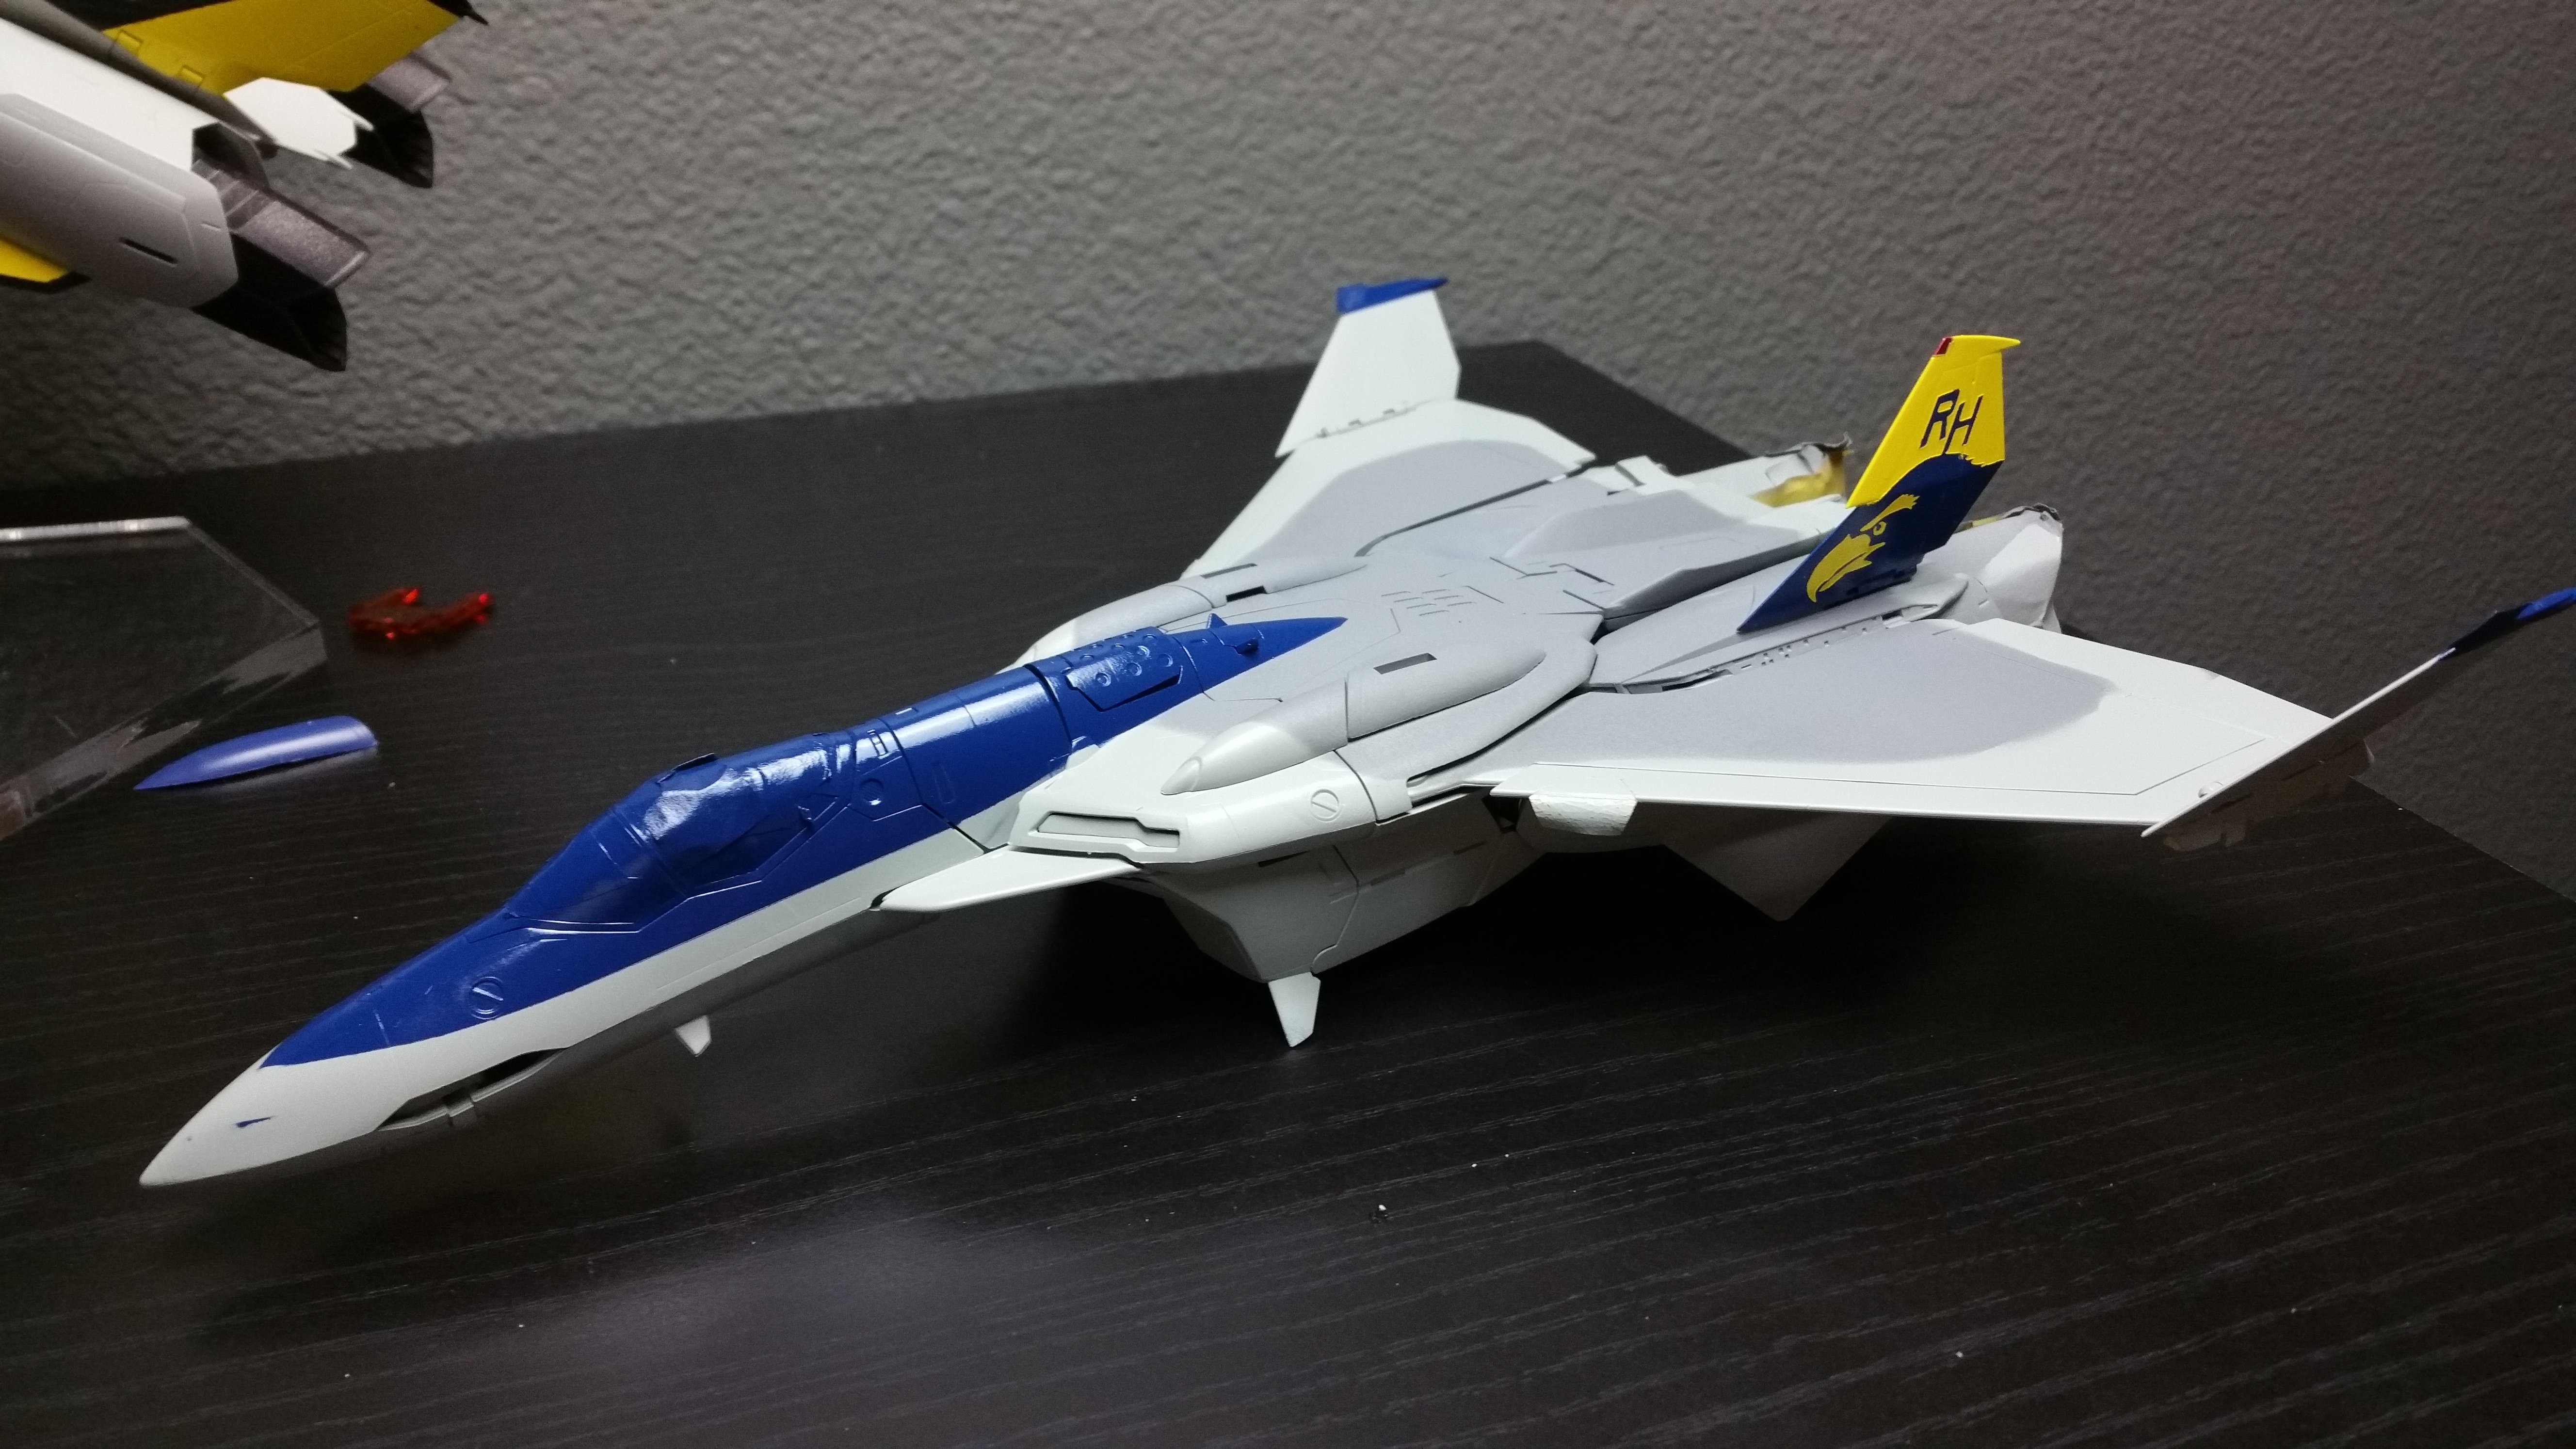
BUWAHAHA! I did it backwards as I painted the tailfin blue overall then the yellow. Getting access to the smaller parts of the decal is a PITA. Now I gotta draw the other side's RH lettering and redo the decal to face the other way. I don't have the other texts because it's too small to work with.
-
Biginjapan 9400 yen
-
August release including sword and shield without the hinges in the way! Count me in!
-
Looks like his originally created VF-113.
-
Don't wanna burst the bubble but just a friendly reminder for everyone so you don't get in any trouble: Copyrights and Trademarks - Fan art and Reproduction of original casts/molds Discussions pertaining to direct listings, sales, resales, trades, auctions, raffles/lotteries or direct web links to offsite listings, sales, resales, trades, auctions, raffles/lotteries of any recasted items or parts of items without consent of those product originators are not allowed on Macross World. Macross World is not associated or liable for any user-generated artwork or original custom items or parts.
-
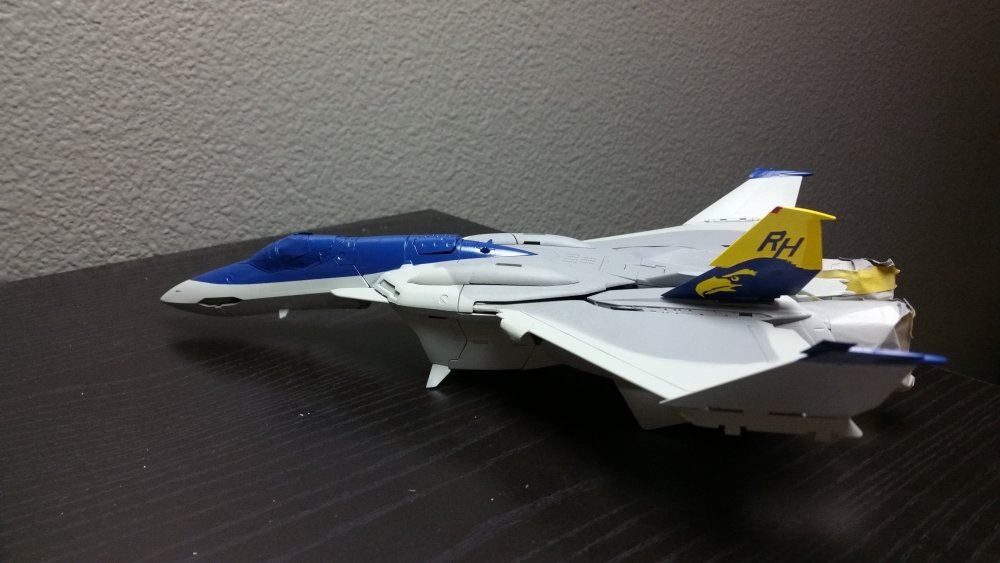
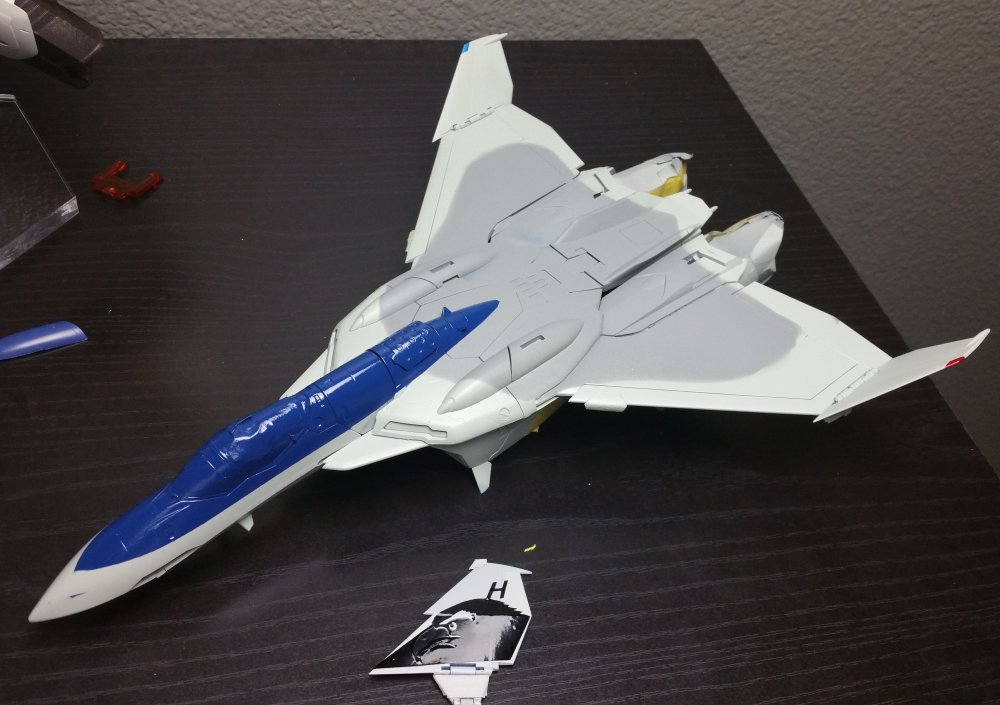
I've sprayed the nose blue. Just need to do the leg fins and wing tips then gotta figure out the hardest part to me, the tailfins. I tried looking for a high res image of the tailfins but couldn't find one so I just grabbed a pic online, upscaled as much as could then retraced it line by line in Inkscape. Luckly, my wife has this thing called a Silhouette Cameo so I'm experimenting with using a low tack vinyl decal as a mask. I gave it to her in a png file and she inputted it in her software. The one you see is just a test as she started to throw it away after she thought she made a mistake. I put it on to see if it'll work ( I didn't peel the beak part), I'm impressed at how small that thing can cut! It sticks on pretty good and peels off nice and easy with no residue or damage to the paint. Next thing I'll do is test paint the tailfins then work on the UN MARINES font and right tailfin RH letters as it slants in the opposite direction.

-
More affordable because of not paying licensing fees plus no research and development costs and not giving 2 Fs maybe? All of them are just reverse engineered Yamato items. If they created their own 1/60 valks and offer them at a cheaper price then I'd be impressed. Some of those $10 prices are for deposits only but still, the full payment prices are still cheap. The only thing is the middleman fees and shipping which eat up some of the savings. I ordered a KO just to compare and when I got the item, I couldn't tell any difference.
-
Yup, it comes out very nice. I've seen 3 of those customs finished. I think it was robodragon, valhary, and ratatarse's ones. I wonder if you can get it where it's printed oriented in the way with less noticible steps visible.
-
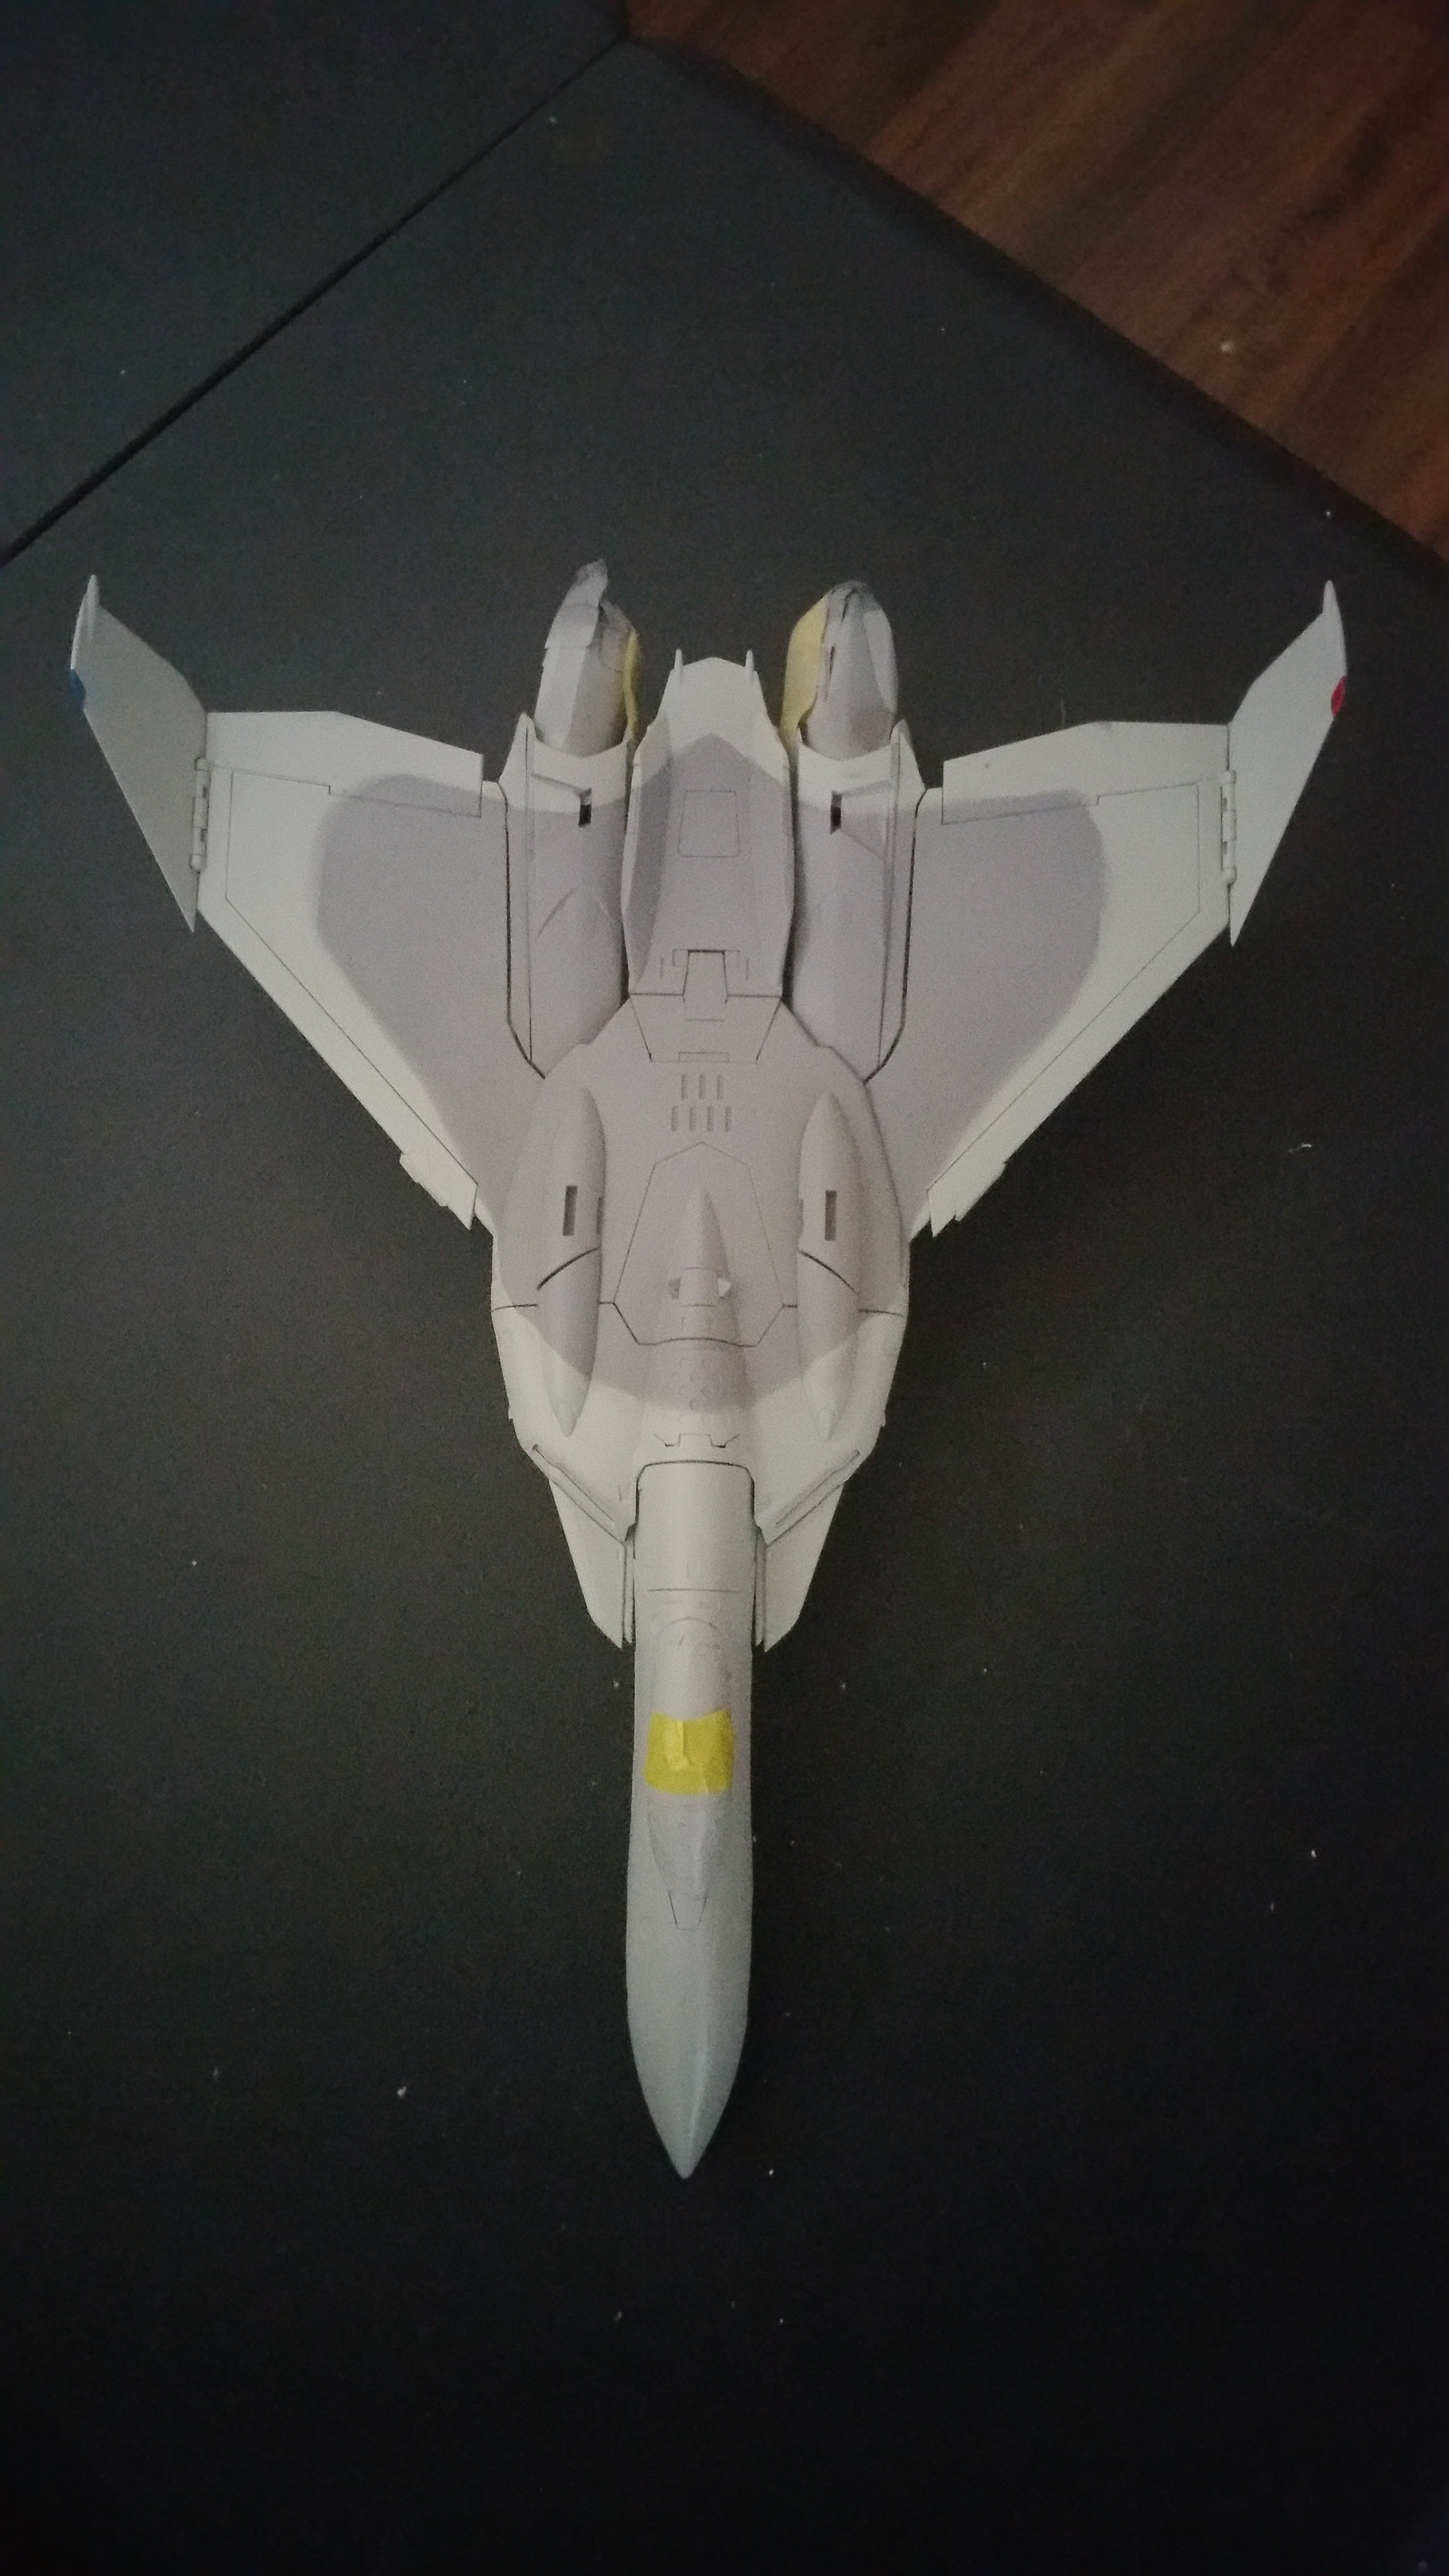
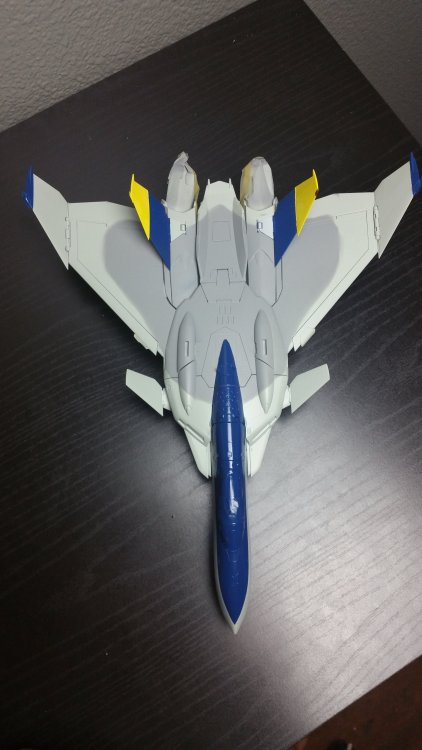
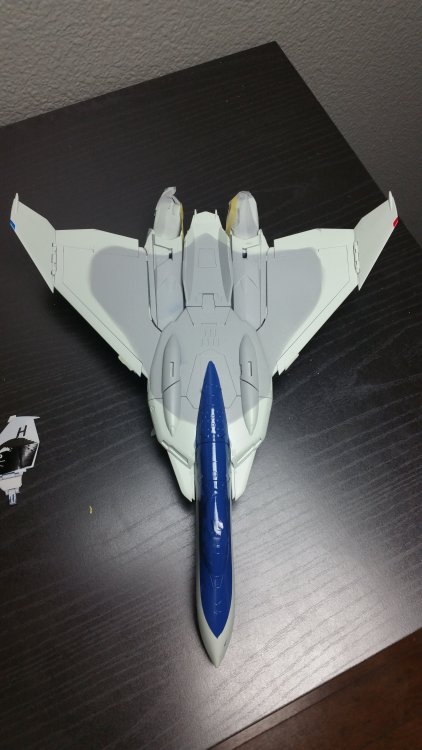
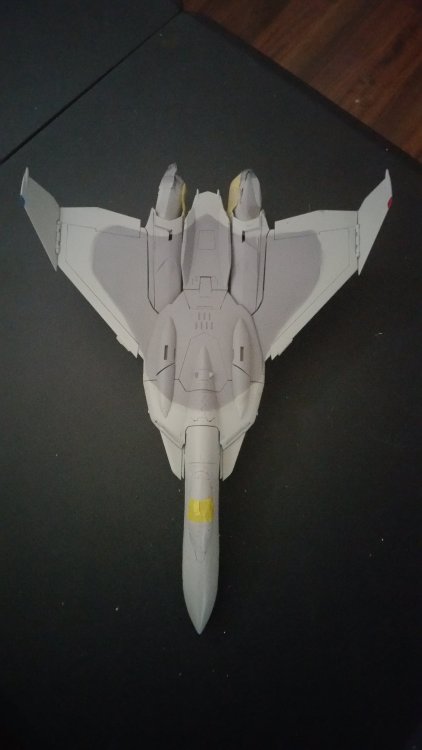
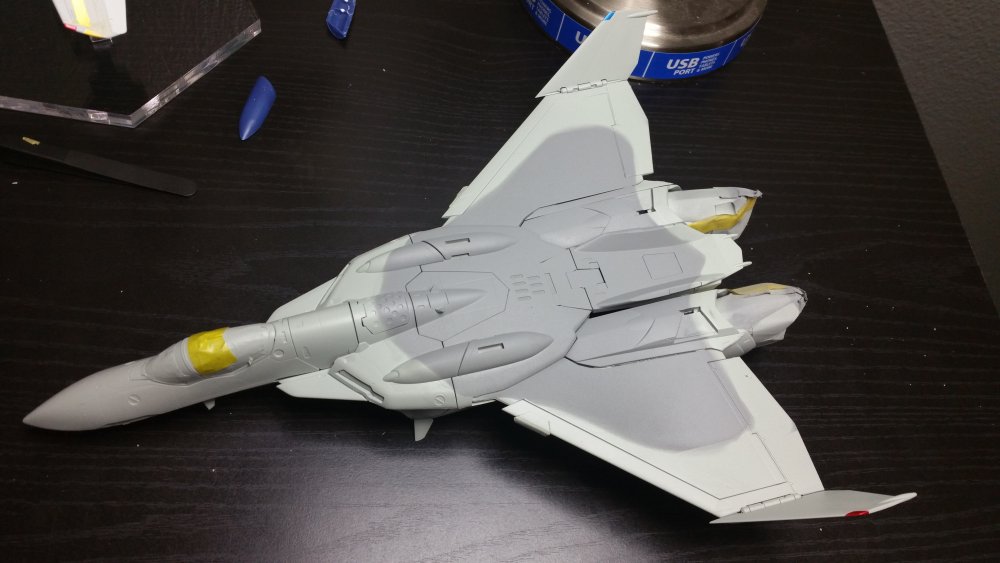
Hello again. Here is where I'm at now. I put the B on the side for now till everything is cured. I finished priming and spraying the base color for the VF-0C. After I let it sit for few days I sprayed on the darker grey color which is what I have now. I'll be masking the front so that I can spray the blue in a few days.
-
I like the fact that it could support the weight of itself and the valk.
-
Awesome as always!
-
That's the scheme I'm working on right now. Does anyone have the Decals for the VF-0C and would be willing to provide a high res scan?
-
NIce! I think KuWa's 1/72 VF-1X++ is closer to the line art and the 1/60 one is supposed to be a precursor or something if I recall.
-
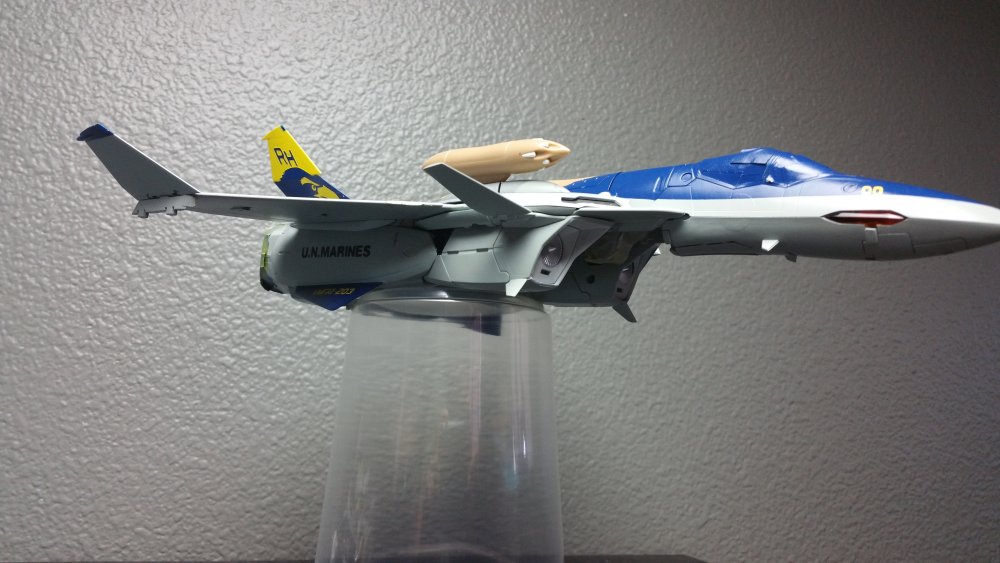
Thanks guys. Yes, with the exception of the X-9 this is my first try at something like this. Yes, I'm in the middle of masking it for primer right now. That one will be in the regular VMFAT-203 scheme. It's a little more work as for whatever reasons Arcadia decided to glue the back half of the conformal tanks where you'd swap out for the slotted ones. I ended up snapping them off with the pegs still in but thankfully I have the slotted ones from the VF-0B that I'm not gonna use with it. I just drilled out the pegs in the holes. The B is slowly coming along. I gotta get the decals/stickers on and decide if I wanna try to panel line it or leave it as is.