mechaninac
-
Posts
4276 -
Joined
-
Last visited
Content Type
Profiles
Forums
Events
Gallery
Everything posted by mechaninac
-
Forgive me for being literal when I watch a movie...
-
So, the series will take place prior to the events in The Avengers or in an alternate timeline?
-
Got mine today, sooner than I anticipated given reg. SAL. I hate the fact that I could've saved myself another 10-20 bucks if I had purchased after release instead of preordering; but no matter, I'm thrilled to have it... the teal color is sooo 'purdy'.
-
In my experience, regular SAL deliveries just get dropped off, no sig required... that can be good or bad, depending on where you live. I'm unsure about Registered SAL, but it'd make sense that'd need someone to accept the package. I had my N-Y 171 shipped via regular SAL, so it's likely to be another wwek oe two before mine arrives at my door.
-
Wayyyyyyyyyyyyyyyy too busy... the technicolor yawn of VF-1 schemes.
-
Hence, why I'll not bite...
-
@ 24800 Yen they can keep it, I'm not forking over more than MSRP for this. If I'm lucky enough to hit Otacute at the right time when/if their preorder opens I may get one, otherwise I don't need to get magenta boy.
-
Enough of this. I'm off to sleep
-
Nope. It says I have ZERO orders processing, and no open orders. I got shot down for sure...
-
Welcome to my world! I checked my inbox just to make sure, and nothing... got screwed again -- first with HS, now HLJ.
-
Missed HLJ too. Had it in my cart, I think (got your cart is empty twice after starting checkout), but it would not let me complete the purchase!
-
Well... they did get all their production sold, did they not?... Sucks for us, though.
-
I'll give it a few more minutes, then I'm off to sleep. If I can secure a preorder at or bellow MSRP, fine; if not, then I just don't need this warmed over VF-27...
-
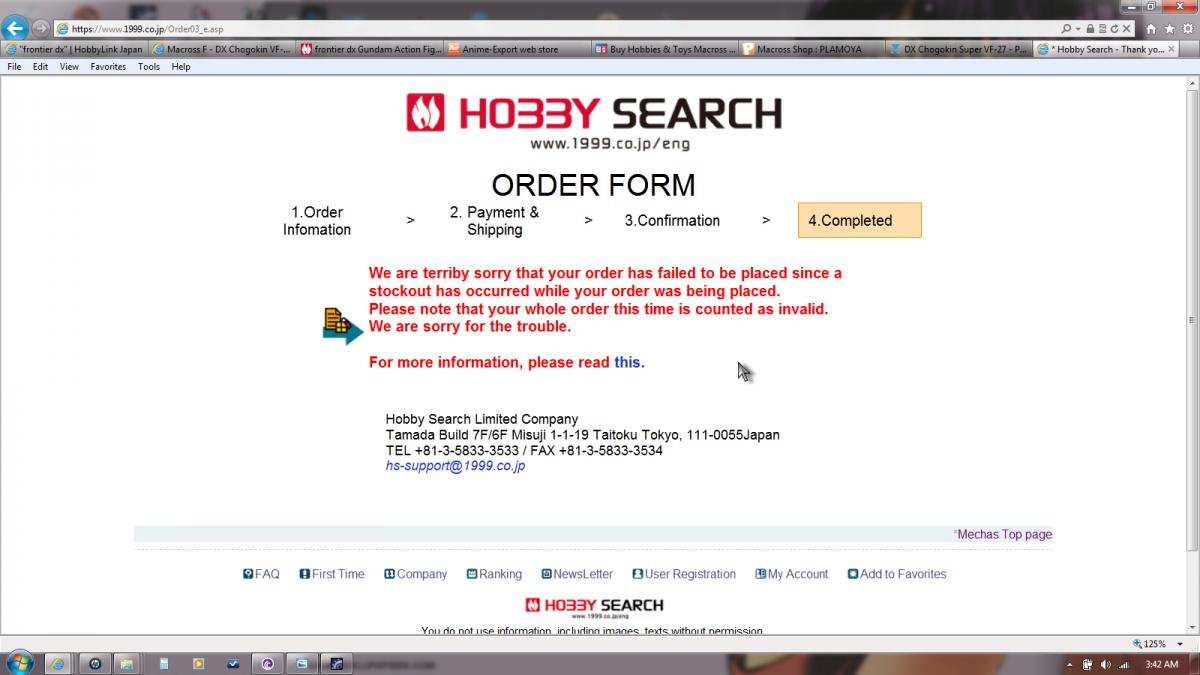
Ahhhhh! Had it in my cart at Hobbysearch but got shot down before completing checkout.... Grrr!

-
I'm still getting 503 error from amiami, so that's a no-go.
-
Amiami crashed... Ha!
-

Bandai 1/72 fully transform able VF-1 plastic kit for Macross 30th Ann
mechaninac replied to Vi-RS's topic in Model kits
Yes, unless you're painting Yellow over yellow plastic, Red on top of red, Blue over blue, and so on... the thing is that for a transforming model, being able to assemble the thing without painting and have the end product be collored as closely to the box art as possible has distinct advantages. -
Bandai 1/72 fully transform able VF-1 plastic kit for Macross 30th Ann
mechaninac replied to Vi-RS's topic in Model kits
It would just be nice to have the major color breaks depicted in the animation as individual parts; stripes could be handled via vinyl stickers or decals (or both as in the 1/72 Frontier line). That way, one could have a good representation of a particular unit without the need for any painting that would be prone to scratch, flake or rub off during transformation; and if painting is desired by the modeler, having separate parts keyed to the color breaks would make painting much easier, it would be a win-win from the standpoint of the builder... the downside would be the added cost of developments, material sourcing, extra molds, increased manufacturing time and/or injection production lines used, etc., which would lead to a higher price point. -
Here you go
-
Isn't there a model or toy expo being held in Japan within the next few weeks? Still holding out hope, but if there are no further news released by then, or a total absence of the YF-30 at Bandai's booth, then I will strongly suspect that your suspicion is right on the money...
-
What are the best Yamato 1/60 custom paint designs of all time?
mechaninac replied to Swooshiex's topic in Toys
Absolutely! The current 1/60 kits are great for certain customs where white is the predominant color, but if Arcadia were to pump out S,J,A, and D kit versions in a neutral/aircraft gray I'd buy at least one of each. -
Wouldn't that make the VF-11 your 3rd favorite? I may get this kit if for no other reason than to measure the radar dish and attachment pylons to model a 1/60 version I can SLA for my Yamato 11B and C.
-
Got my shipping notification from N-Y this morning; now the long wait begins...
-

-
Original release categorizes it as a V1 where the VF-27 is concerned; when compared to the V1 VF-25 an argument could be made that the design is kind of a 1.5, but since they are different mecha, despite their similarities, I can't consider the previous releases of the Lucifer anything other than a V1... which makes this revised release a 1.5. After all the YF-29 is also similar to the 25 in a great many respects, but it was never called a 1.5 or 2.0 derivative of the original V1 Messiah; it's its own Valk and therefore a V1 of that design. Bacause the upcoming bundle pack VF-27 is a marriage of old and new parts, it qualifies as a 1.5 in my book. I think of it in terms of Yamato's 1/60 VF-1s, the first few were V1.0, then they tweaked that design by adding pilot busts, mouting holes, and inner ducting of the intake/upper leg GERWALK swivel -- this made the update a 1.5 version, then after the 1/48s they released the V2.0 VF-1s which were totally new, and later revised that to correct some design flaws which gave us what can be regarded as a V2.5.