captain america
-
Posts
3548 -
Joined
-
Last visited
Content Type
Profiles
Forums
Events
Gallery
Everything posted by captain america
-
That's because as licensors, Disney are the undisputed kings of anal-nutbaggery: it's their way, or the highway. Back to EVA kits, the proportions are much closer to the line-art for the Koto offerings, and because they don't have the seamless arm design of the Bandai kits, can hold tighter poses and will hold up better over time.
-
That's the large Medicom figure. The Kotoboukiya 1/400 kits while small, are significantly nicer than their Bandai counterparts, which feel (at least to me) like partly recycled TV-version kits... It's like, if it's not Gundam, Bandai won't put more than a half-assed effort into the product. As for Medicom... Don't get me started!
-
What's left after the world has been destroyed but to begin the painful process of rebuilding?
-
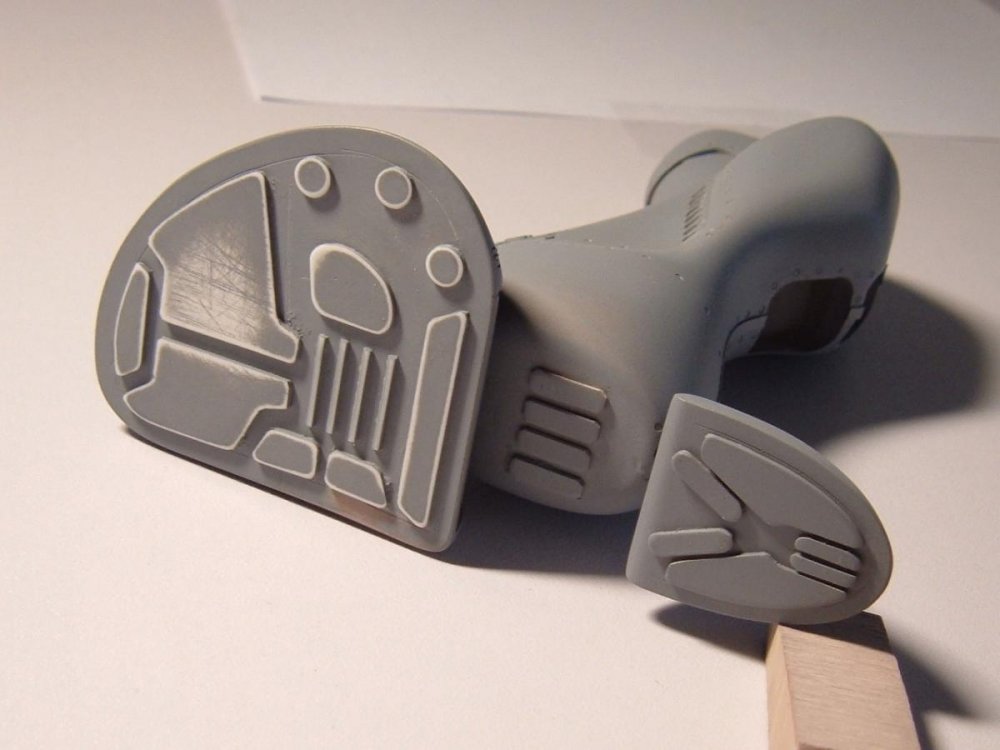
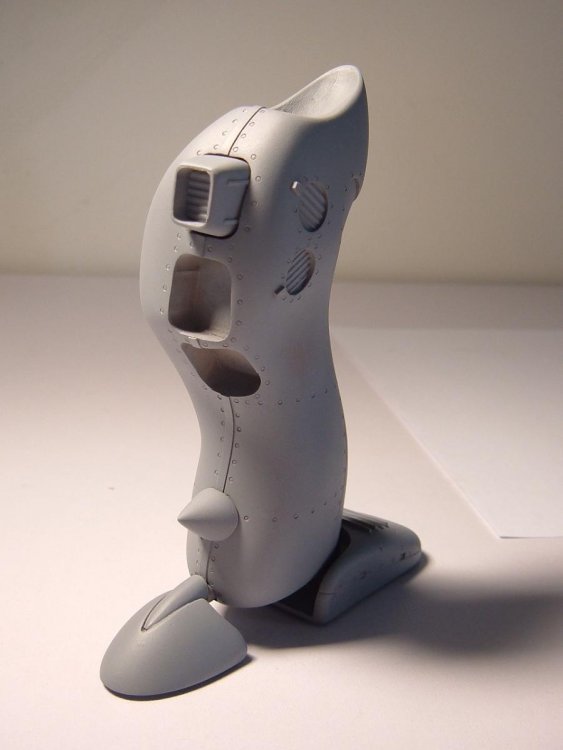
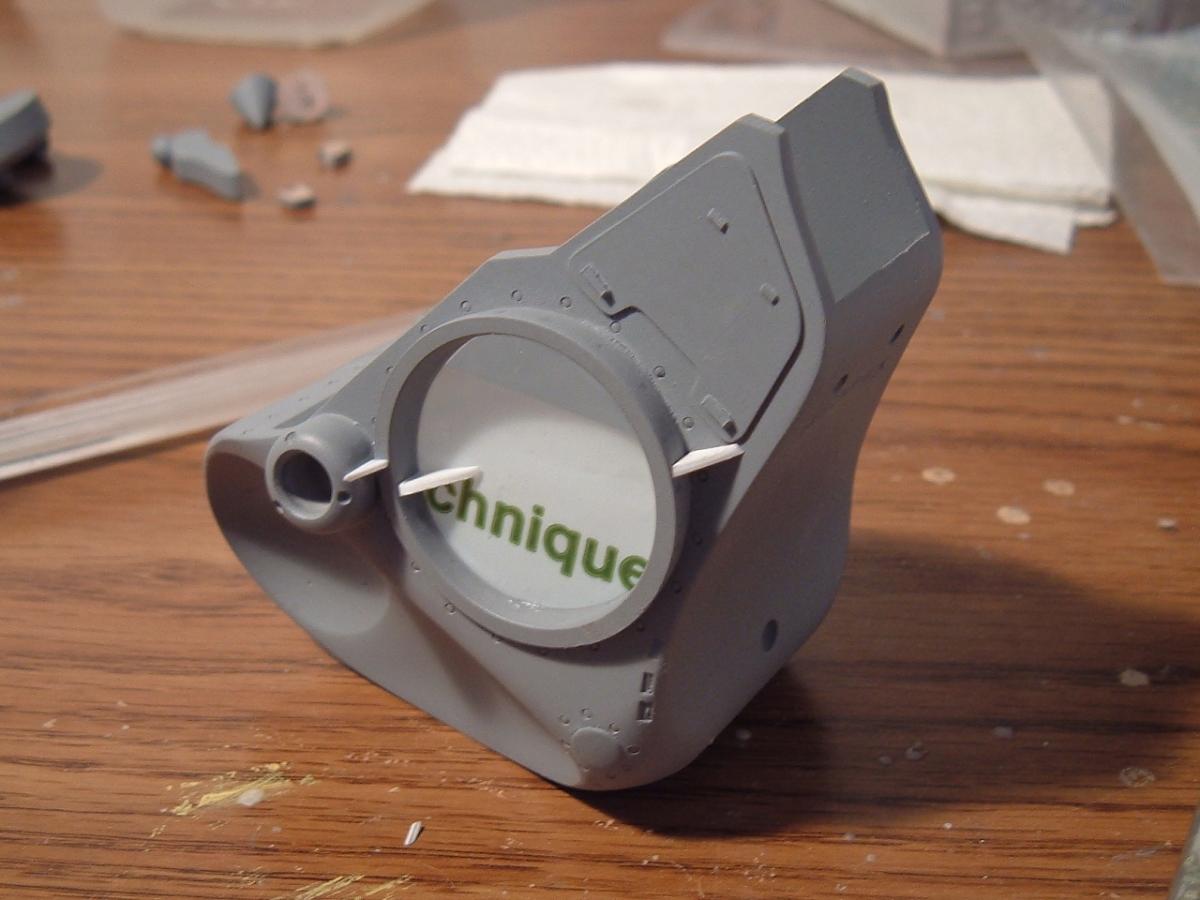
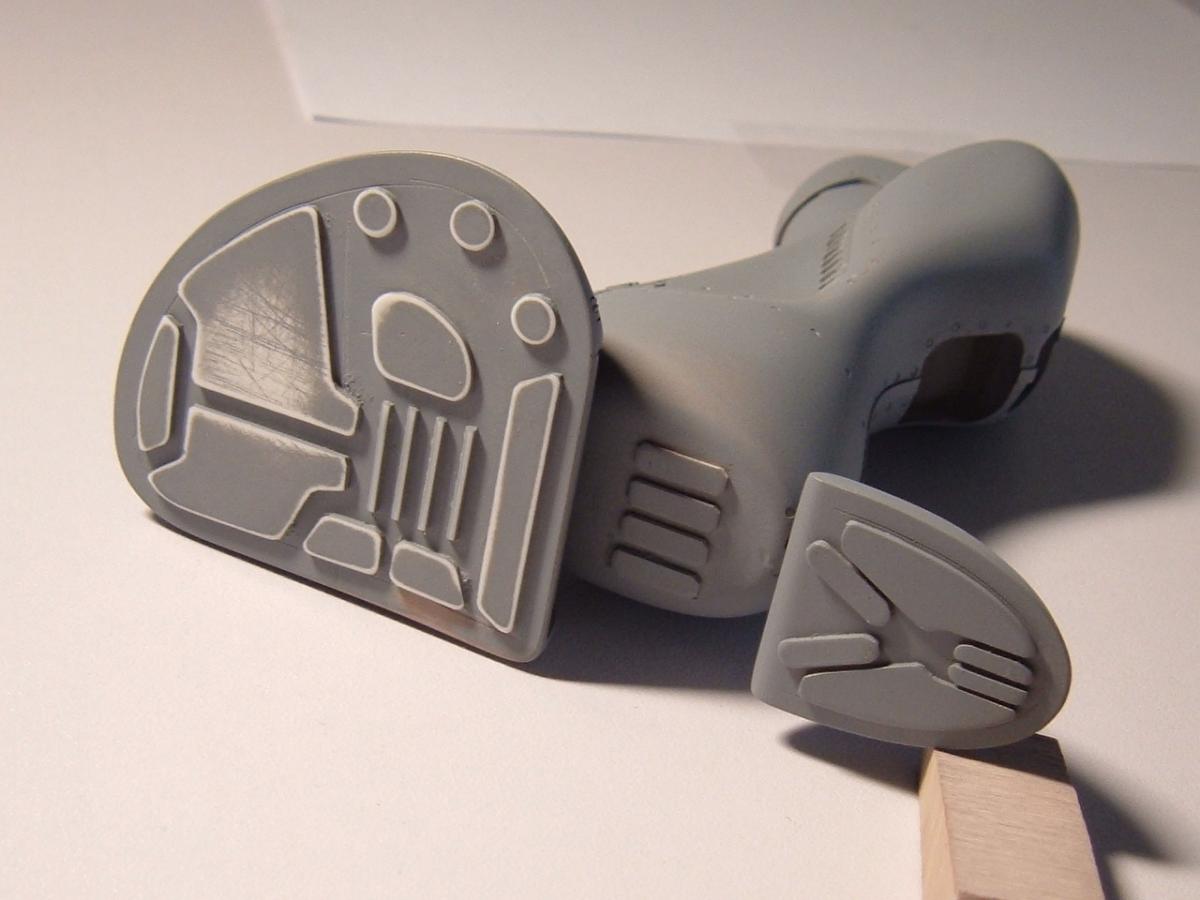
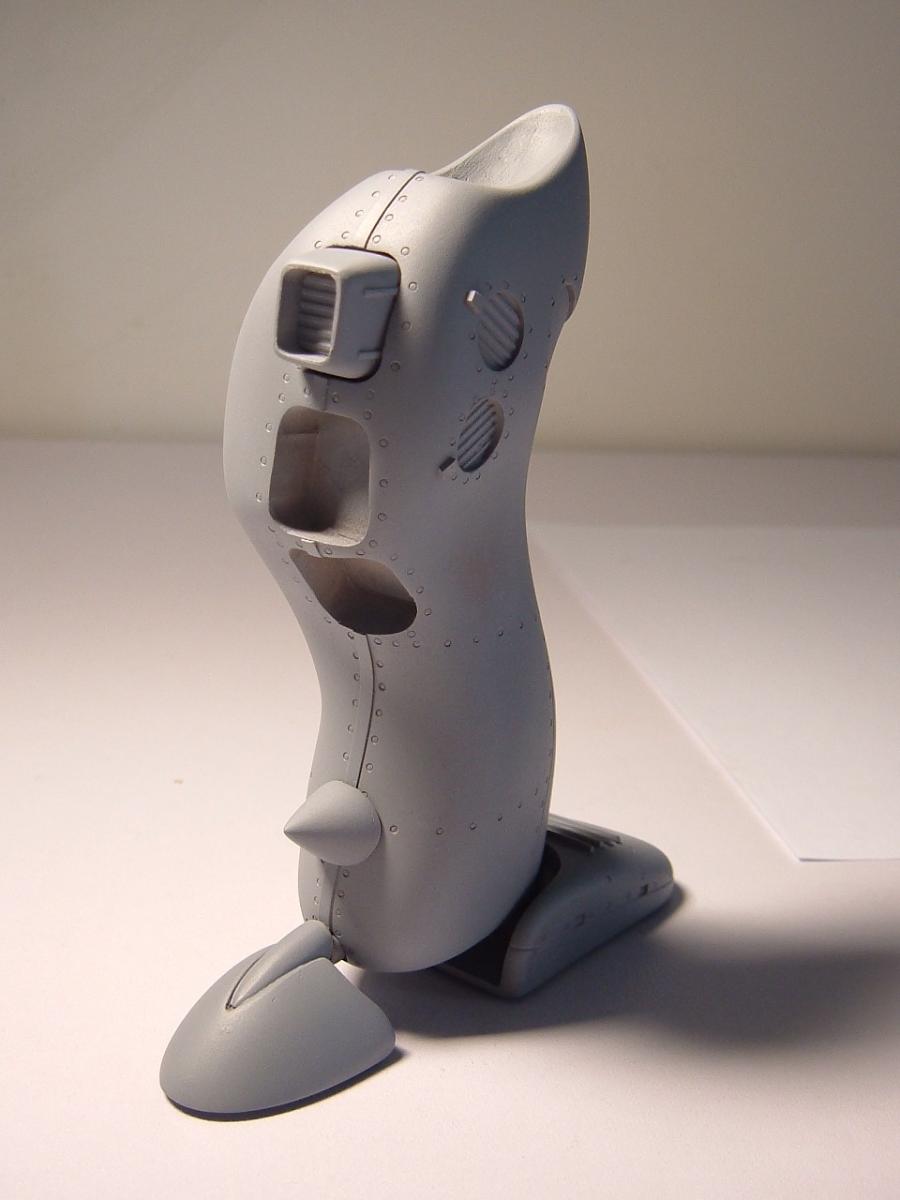
Hi Mintox. Definitely place the parts, particularly the frontal pod armor piece in hot water. I recommend boiling water in a kettle and then pouring it into a bowl or cup large enough to contain the part, at which time you simply drop the part in and wait 30 seconds. Take it out, press and hold it firmly against the hull parts and let cold tap water run over it: the part will conform and hold its new shape. As for the gap, since there was no way around creating a seam if I wanted to create any sort of cockpit, it was a necessary concession that can also be a detailing opportunity. Let me explain: what I did on my kit is that I used that large, wrap-around seam and created a weld line with it. When I was sculpting the masters, I took some cues from the TV series about the Zentradi merely being disposable soldiers, and that their weaponry would also reflect this in the lack of ergonomics (cramped cockpits anyone???) and sturdy but crude construction. Since the Regult is the bottom-basement infantry mecha, just barely above body armor and standard-issue rifle, I wanted the Regult to look... Crude, cramped, inhospitable. That's also why I didn't put much effort into making the rear hatch fit like a glove, even though it wouldn't have been very hard to do with polyester putty, mold-release and the smash method. Just FYI, Tamiya makes a very good quality (fine) polyester putty that you can use to fill large gaps, and it's sufficiently slow to cure that you can work it a little bit as it hardens, should you opt to make welding marks (or other) details. Hope this helps *bows respectfully*
-
Trust me, it was an overpriced, under-detailed turd.
-
Regult 2.0 actually: the first run came in a different box with ball-joints and rubber gaskets which were more challenging to build and rather shaky once assembled. This has fixed-pose legs which are infinitely sturdier... Hence the "hyper joint with NO mobility."
-

1/72 Nousjadeul Ger Moscato kit?
captain america replied to captain america's topic in The Workshop!
I would have been happy to print and put a decal sheet in the box, but ever since ALPS discontinued their printers that had the ability to print white several years ago, finding a good & reliable print service for small runs has been a fruitless endeavor. At least this way people have the ability to make several copies as needed, without worry that the decal paper will yellow or crumble if they don't use it right away. -
ROFLMAO!!!! I'm totally re-posting that. And just to keep the thread moderately on topic, is anyone still collecting the large Medicom figures?
-
1/72 Nousjadeul Ger Moscato kit?
captain america replied to captain america's topic in The Workshop!
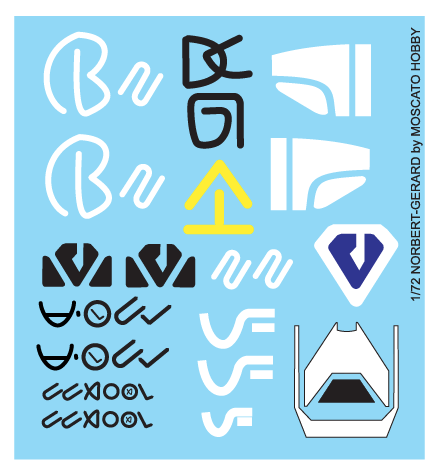
I uploaded the vector artwork master file so that people can download and print (or have printed) as needed. You can even change the colors and such for alternate versions. Just be sure to delete the light blue rectangle behind the logos; I just put that there for aesthetics. -
1/72 Nousjadeul Ger Moscato kit?
captain america replied to captain america's topic in The Workshop!
Thanks Exo. There we go! Ger decals artwork.ai.zip -
1/72 Nousjadeul Ger Moscato kit?
captain america replied to captain america's topic in The Workshop!
Hi guys. Destructions are underway as kits are beginning to ship. I've also done the artwork for the decals, but since it's an Adobe Illustrator (ai) file I can't seem to upload it. Can someone host the file for download, maybe? I've attached a screen cap as a preview for the art.
-
1/72 Nousjadeul Ger Moscato kit?
captain america replied to captain america's topic in The Workshop!
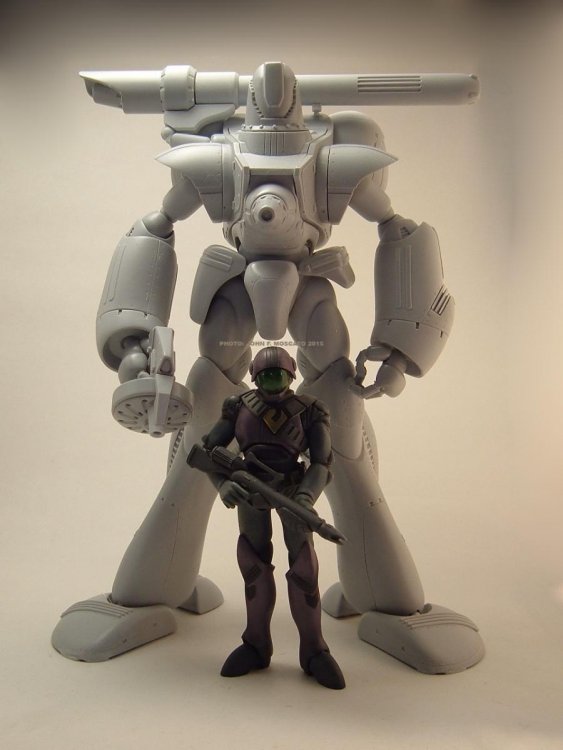
Pilot figure not included, I'm afraid. So far I have the following interested parties for a secondary run: -shdwfx2000 -Jason C -tdo7623 -
1/72 Nousjadeul Ger Moscato kit?
captain america replied to captain america's topic in The Workshop!
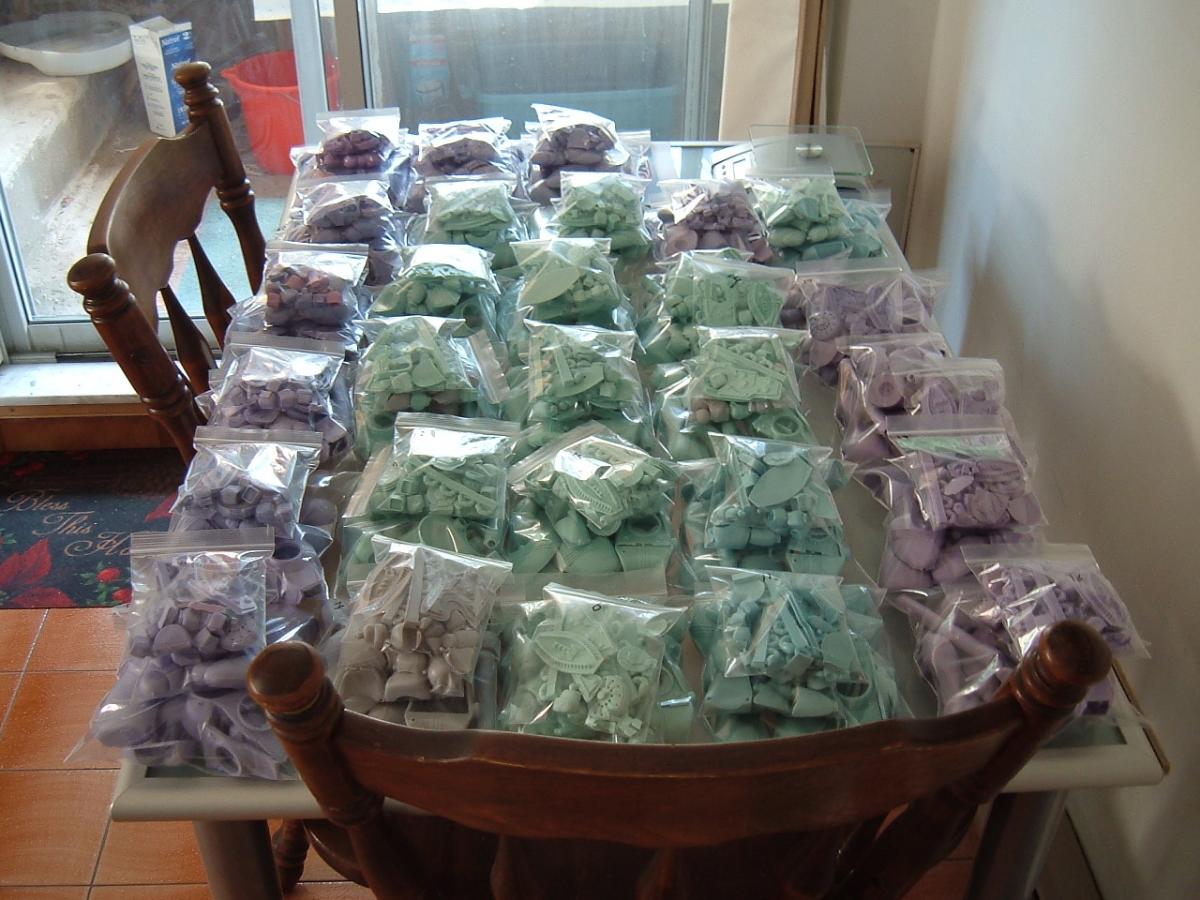
Kits are ready and boxed, I start shipping next week. Here's what my kitchen table looked like for a short time.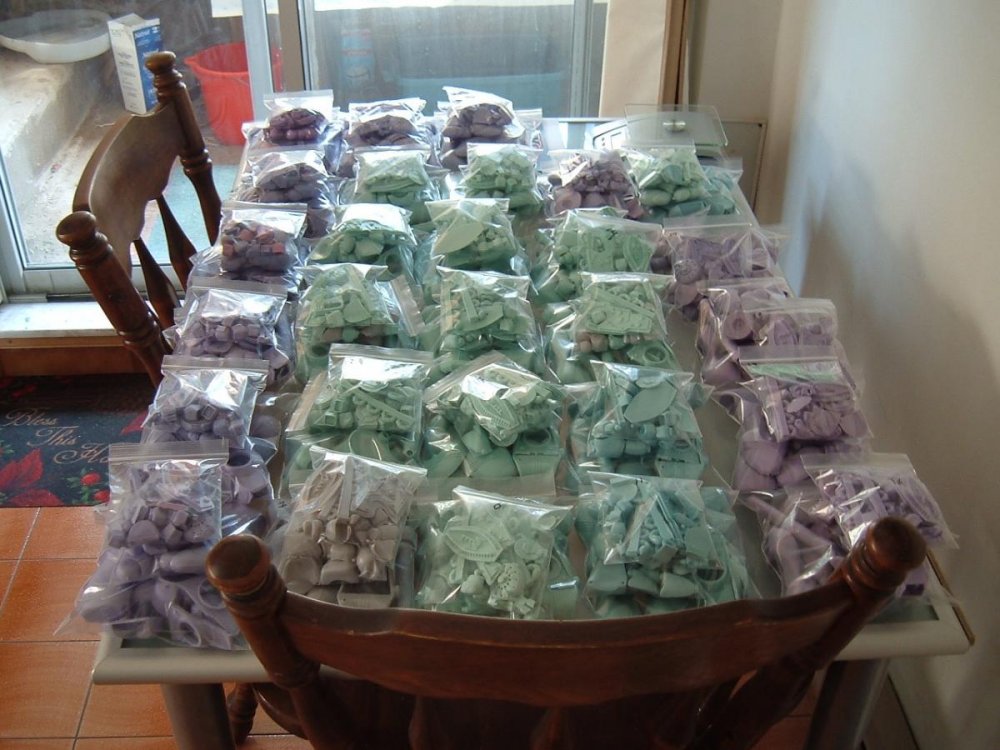
-
1/72 Nousjadeul Ger Moscato kit?
captain america replied to captain america's topic in The Workshop!
Technically, if I can get 6 more orders, I can justify re-tooling the other half of the molds. -
Holy smokes, that's all kinds of awesome, dude!! I wasn't sure about your Gosu colors at first but now that I see it complete I think that you hit a home-run, congratulations on that wonderful collection and thanks for sharing!
-
1/72 Nousjadeul Ger Moscato kit?
captain america replied to captain america's topic in The Workshop!
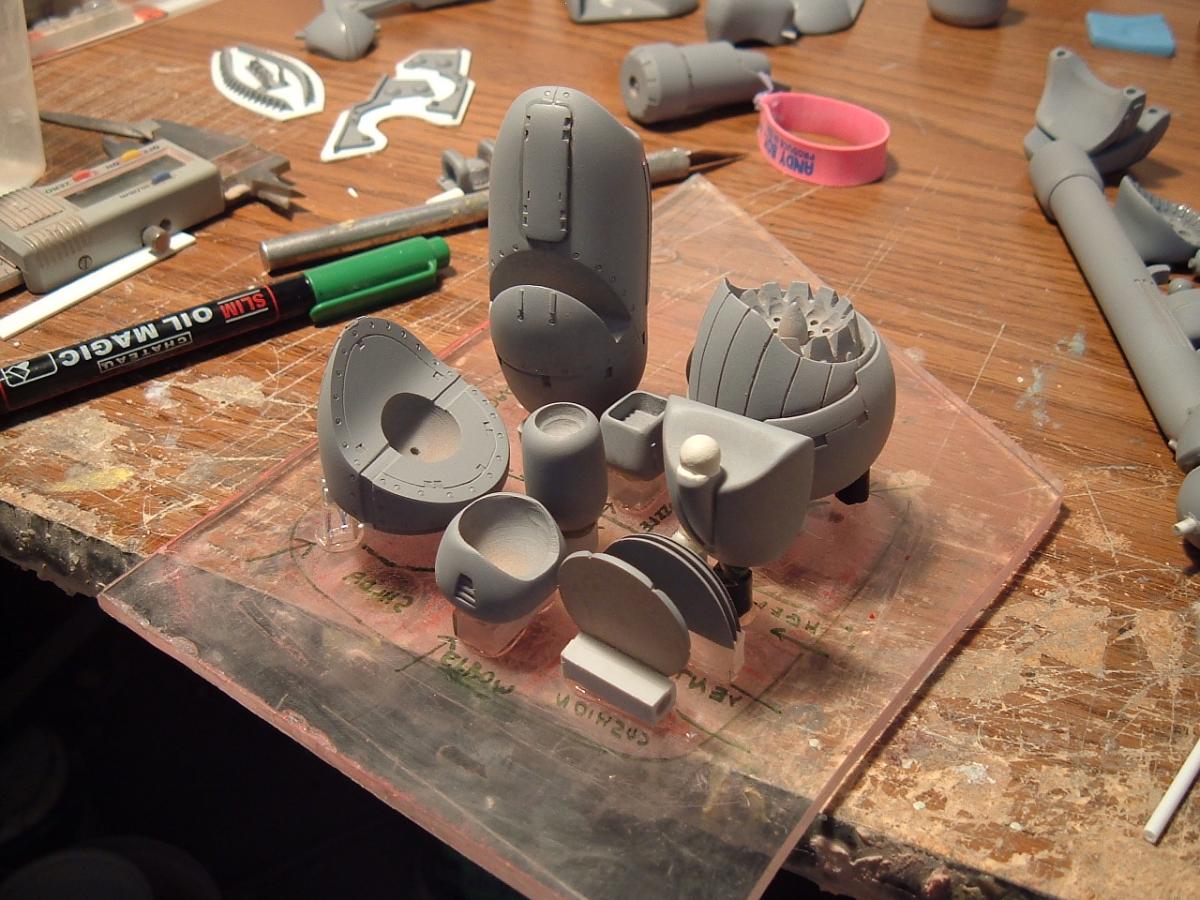
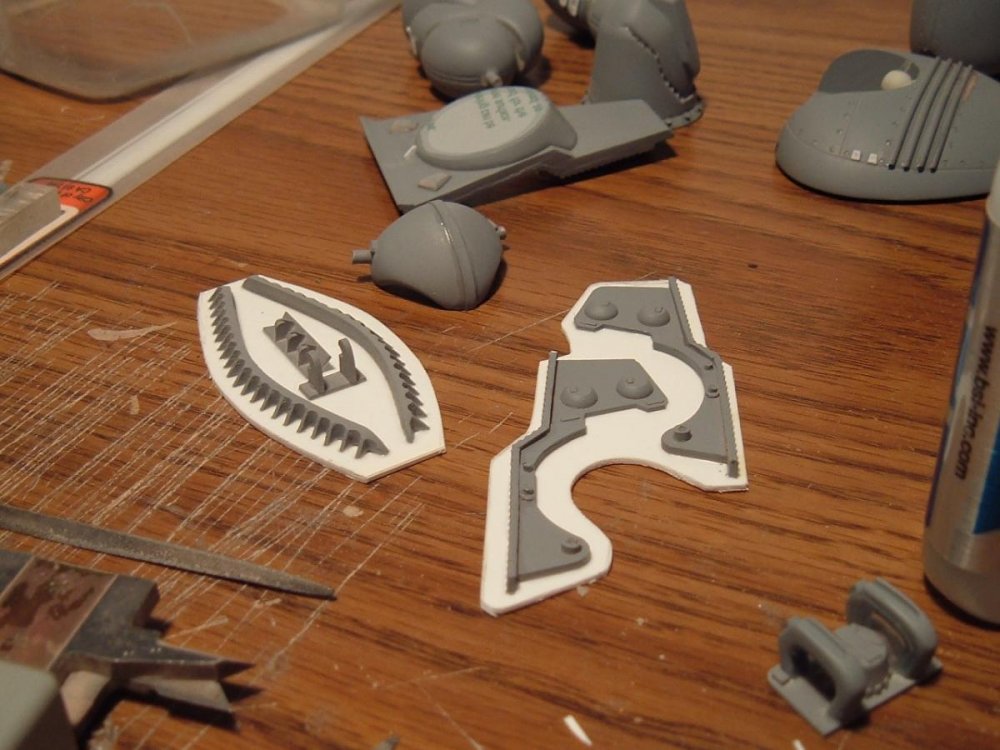
Hi guys. Just wanted to let you know that damage-control has been implemented and the damaged molds have been re-done; I will resume casting on Monday. I also worked on my own kit and photographed plates for the destructions. Here's a sample of what you'll be getting.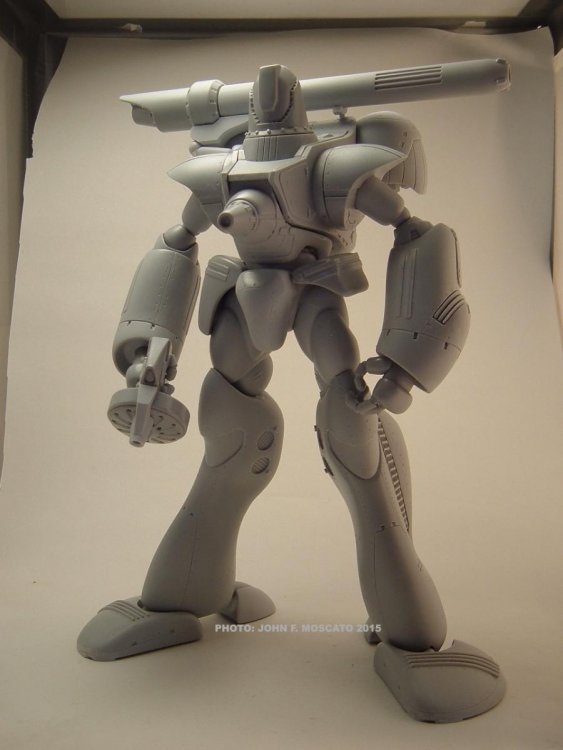
-
I like where this is going! Always a delight to see my kits reaching completion
-
1/72 Nousjadeul Ger Moscato kit?
captain america replied to captain america's topic in The Workshop!
Sooo, quick update: less than 10 kits left to cast and I open up a new liquid resin kit and start pouring as per usual... But it's a bad batch of resin! The good news and the bad news: half my molds were ruined by the defective resin... Going to contact the manufacturer tomorrow. 2/3 of the run is cast and done, but now I have to replace the trashed molds and so the last third will be delayed at least a week. Some days it just doesn't pay to get out of bed. -
1/72 Nousjadeul Ger Moscato kit?
captain america replied to captain america's topic in The Workshop!
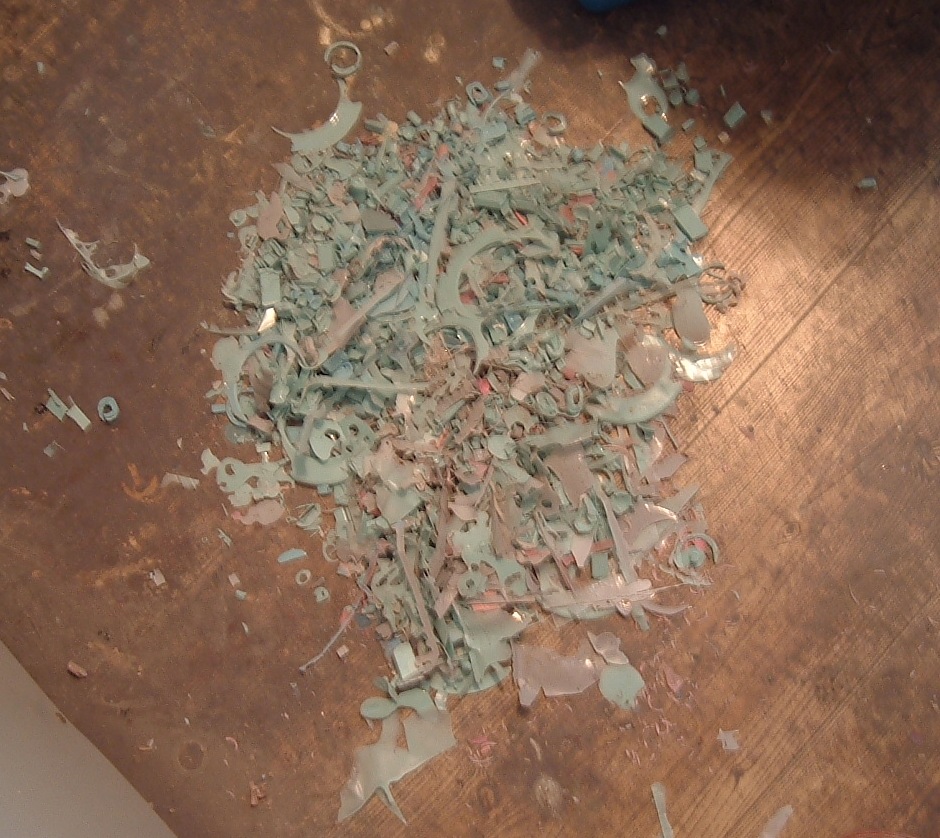
Hi guys. Just wanted to let you all know that casting is going quite well and I'm almost at the half-way point. Did you ever wonder what happens to all the sprues needed to cast resin models? They end up on my floor, and then in the trash.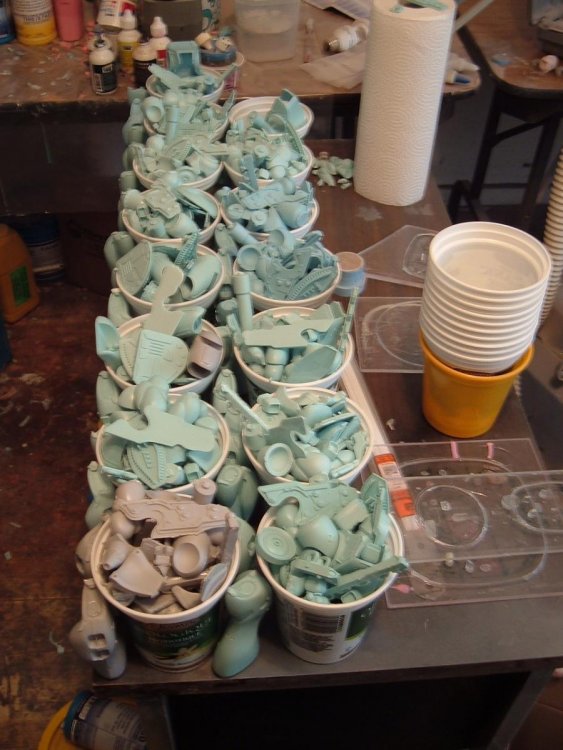

-
1/72 Nousjadeul Ger Moscato kit?
captain america replied to captain america's topic in The Workshop!
Hi guys, casting has begun in earnest and going a little smoother than I thought it would, even though it's a slow process. I probably won't have an update until this time next week due to some scheduling conflicts. Over and out! -
Hi everyone. Someone on the forums is looking to find the instructions to two of my Macross models, namely the 1/72 Pharanx and Regult pod. Might there be a version archived somewhere that I could link to, or must I absolutely go rummaging through my storage drive? Many thanks in advance for your help
-
1/72 Nousjadeul Ger Moscato kit?
captain america replied to captain america's topic in The Workshop!
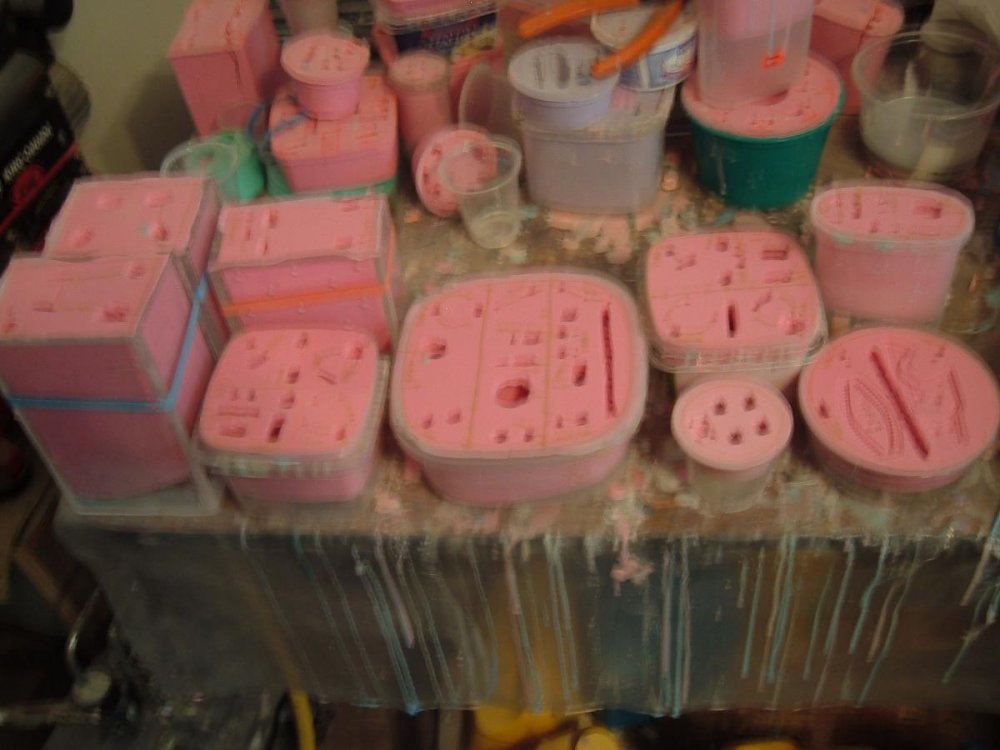
Hey guys!! Well the molds are done, all 9 of them! I will have to mold one complete model in two shots, as I won't be able to pour the almost 800ml all at once before it will start to cure. That being said, the parts came out excellent as always. Now for the "pay me" part. Based on my calculations, there is the $155 CAD outstanding balance on the kits as well as the shipping fees which are as follows: $30.00 CAD up to 2 kits for USA/Canada $72.00 CAD for international shipping. Also very important: please add an extra 5% to the total to cover transaction fees if there are any. Generally PP will let you know before you send if there are fees and ask you if you will pay or make the recipient pay. I will commence casting on Monday once I test and group the molds for optimum casting. For anything else, my office (PM box) is always open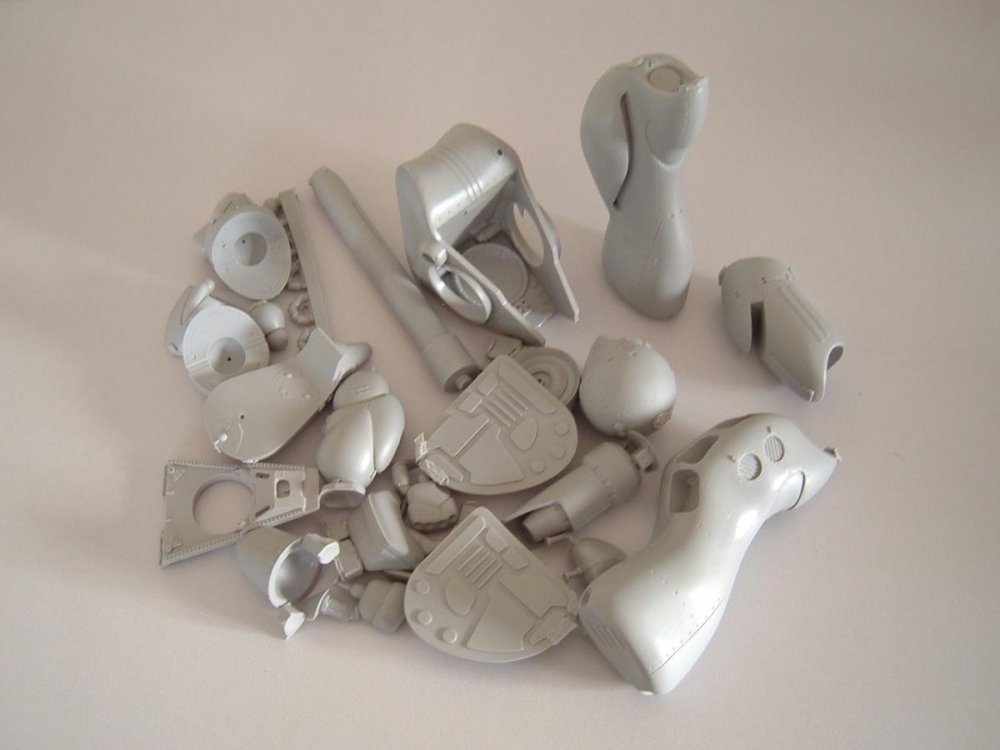
-
Unless you install a blue LED in the head. Regardless, I think it looks fantastic!
-
1/72 Nousjadeul Ger Moscato kit?
captain america replied to captain america's topic in The Workshop!
No pilot figure with the kit, maybe an aftermarket accessory later on. In the meantime, molds are prepped and poured: 5 down, 3 to go.


-
1/72 Nousjadeul Ger Moscato kit?
captain america replied to captain america's topic in The Workshop!
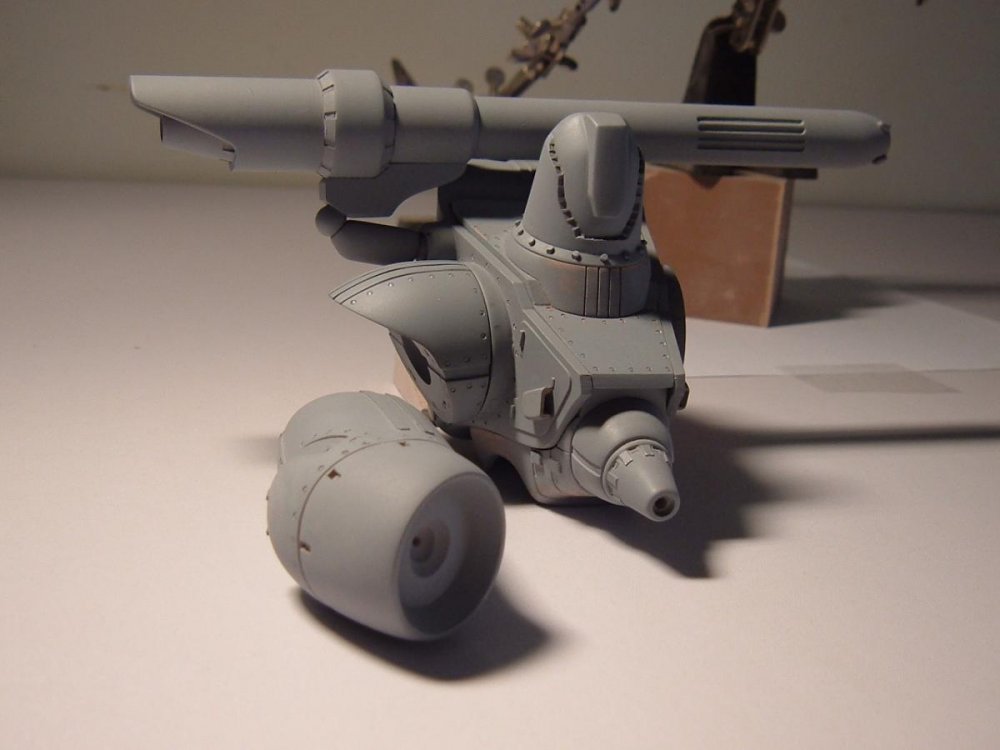
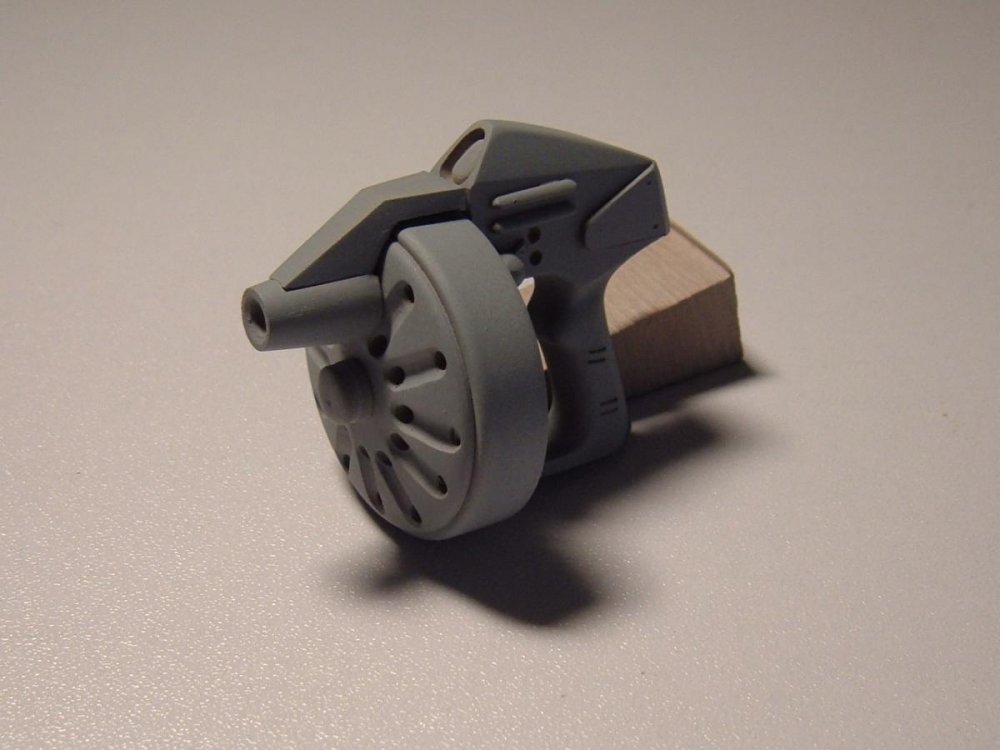
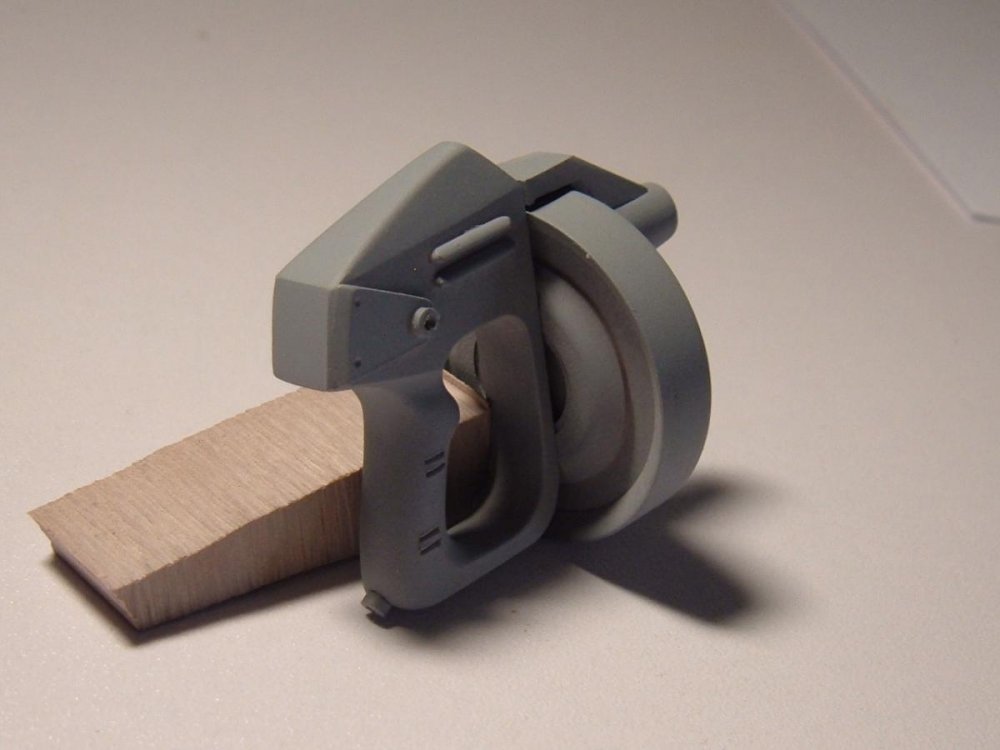
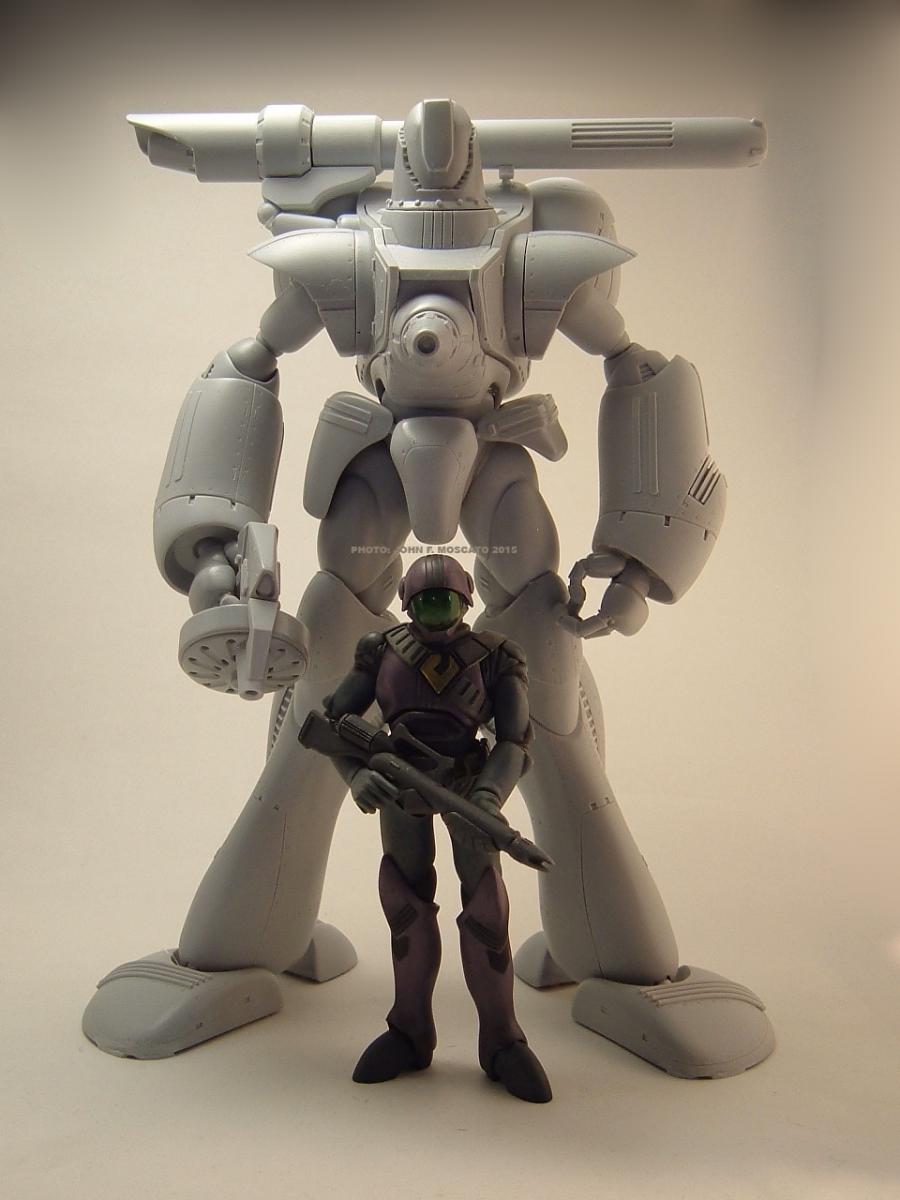
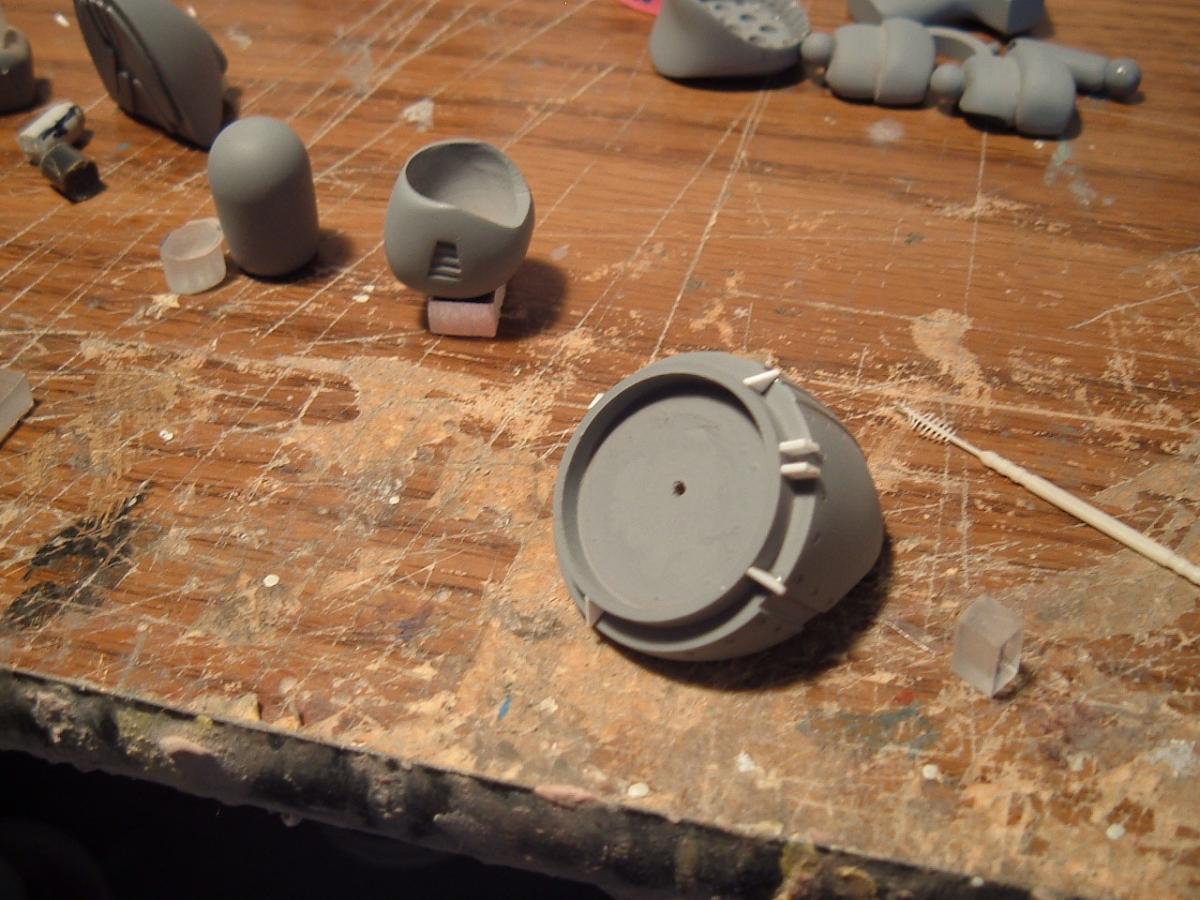
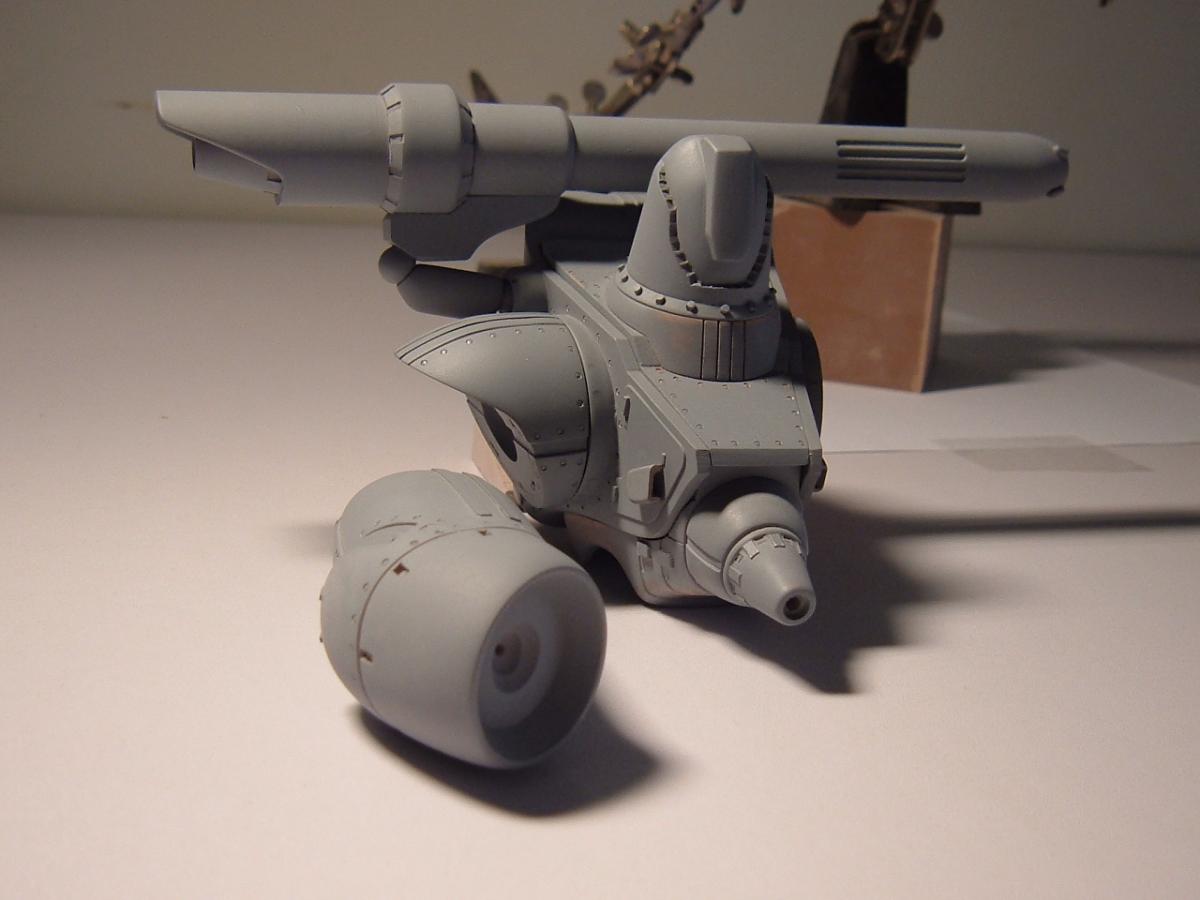
Thanks for the kind words, I really just build my models the way I think that they would look IRL, which hopefully coincides with the expectations of my patrons. That said, a few more pics of the masters: mostly ancillary details that otherwise are taken for granted. I tweaked the main cannon mount so as to allow not only unobstructed egress/ingress of the pilot, but you can also point it forward in attack mode if you wish.