captain america
-
Posts
3562 -
Joined
-
Last visited
Content Type
Profiles
Forums
Events
Gallery
Everything posted by captain america
-

The Official Moscato Hobby Models Thread
captain america replied to captain america's topic in Anime or Science Fiction
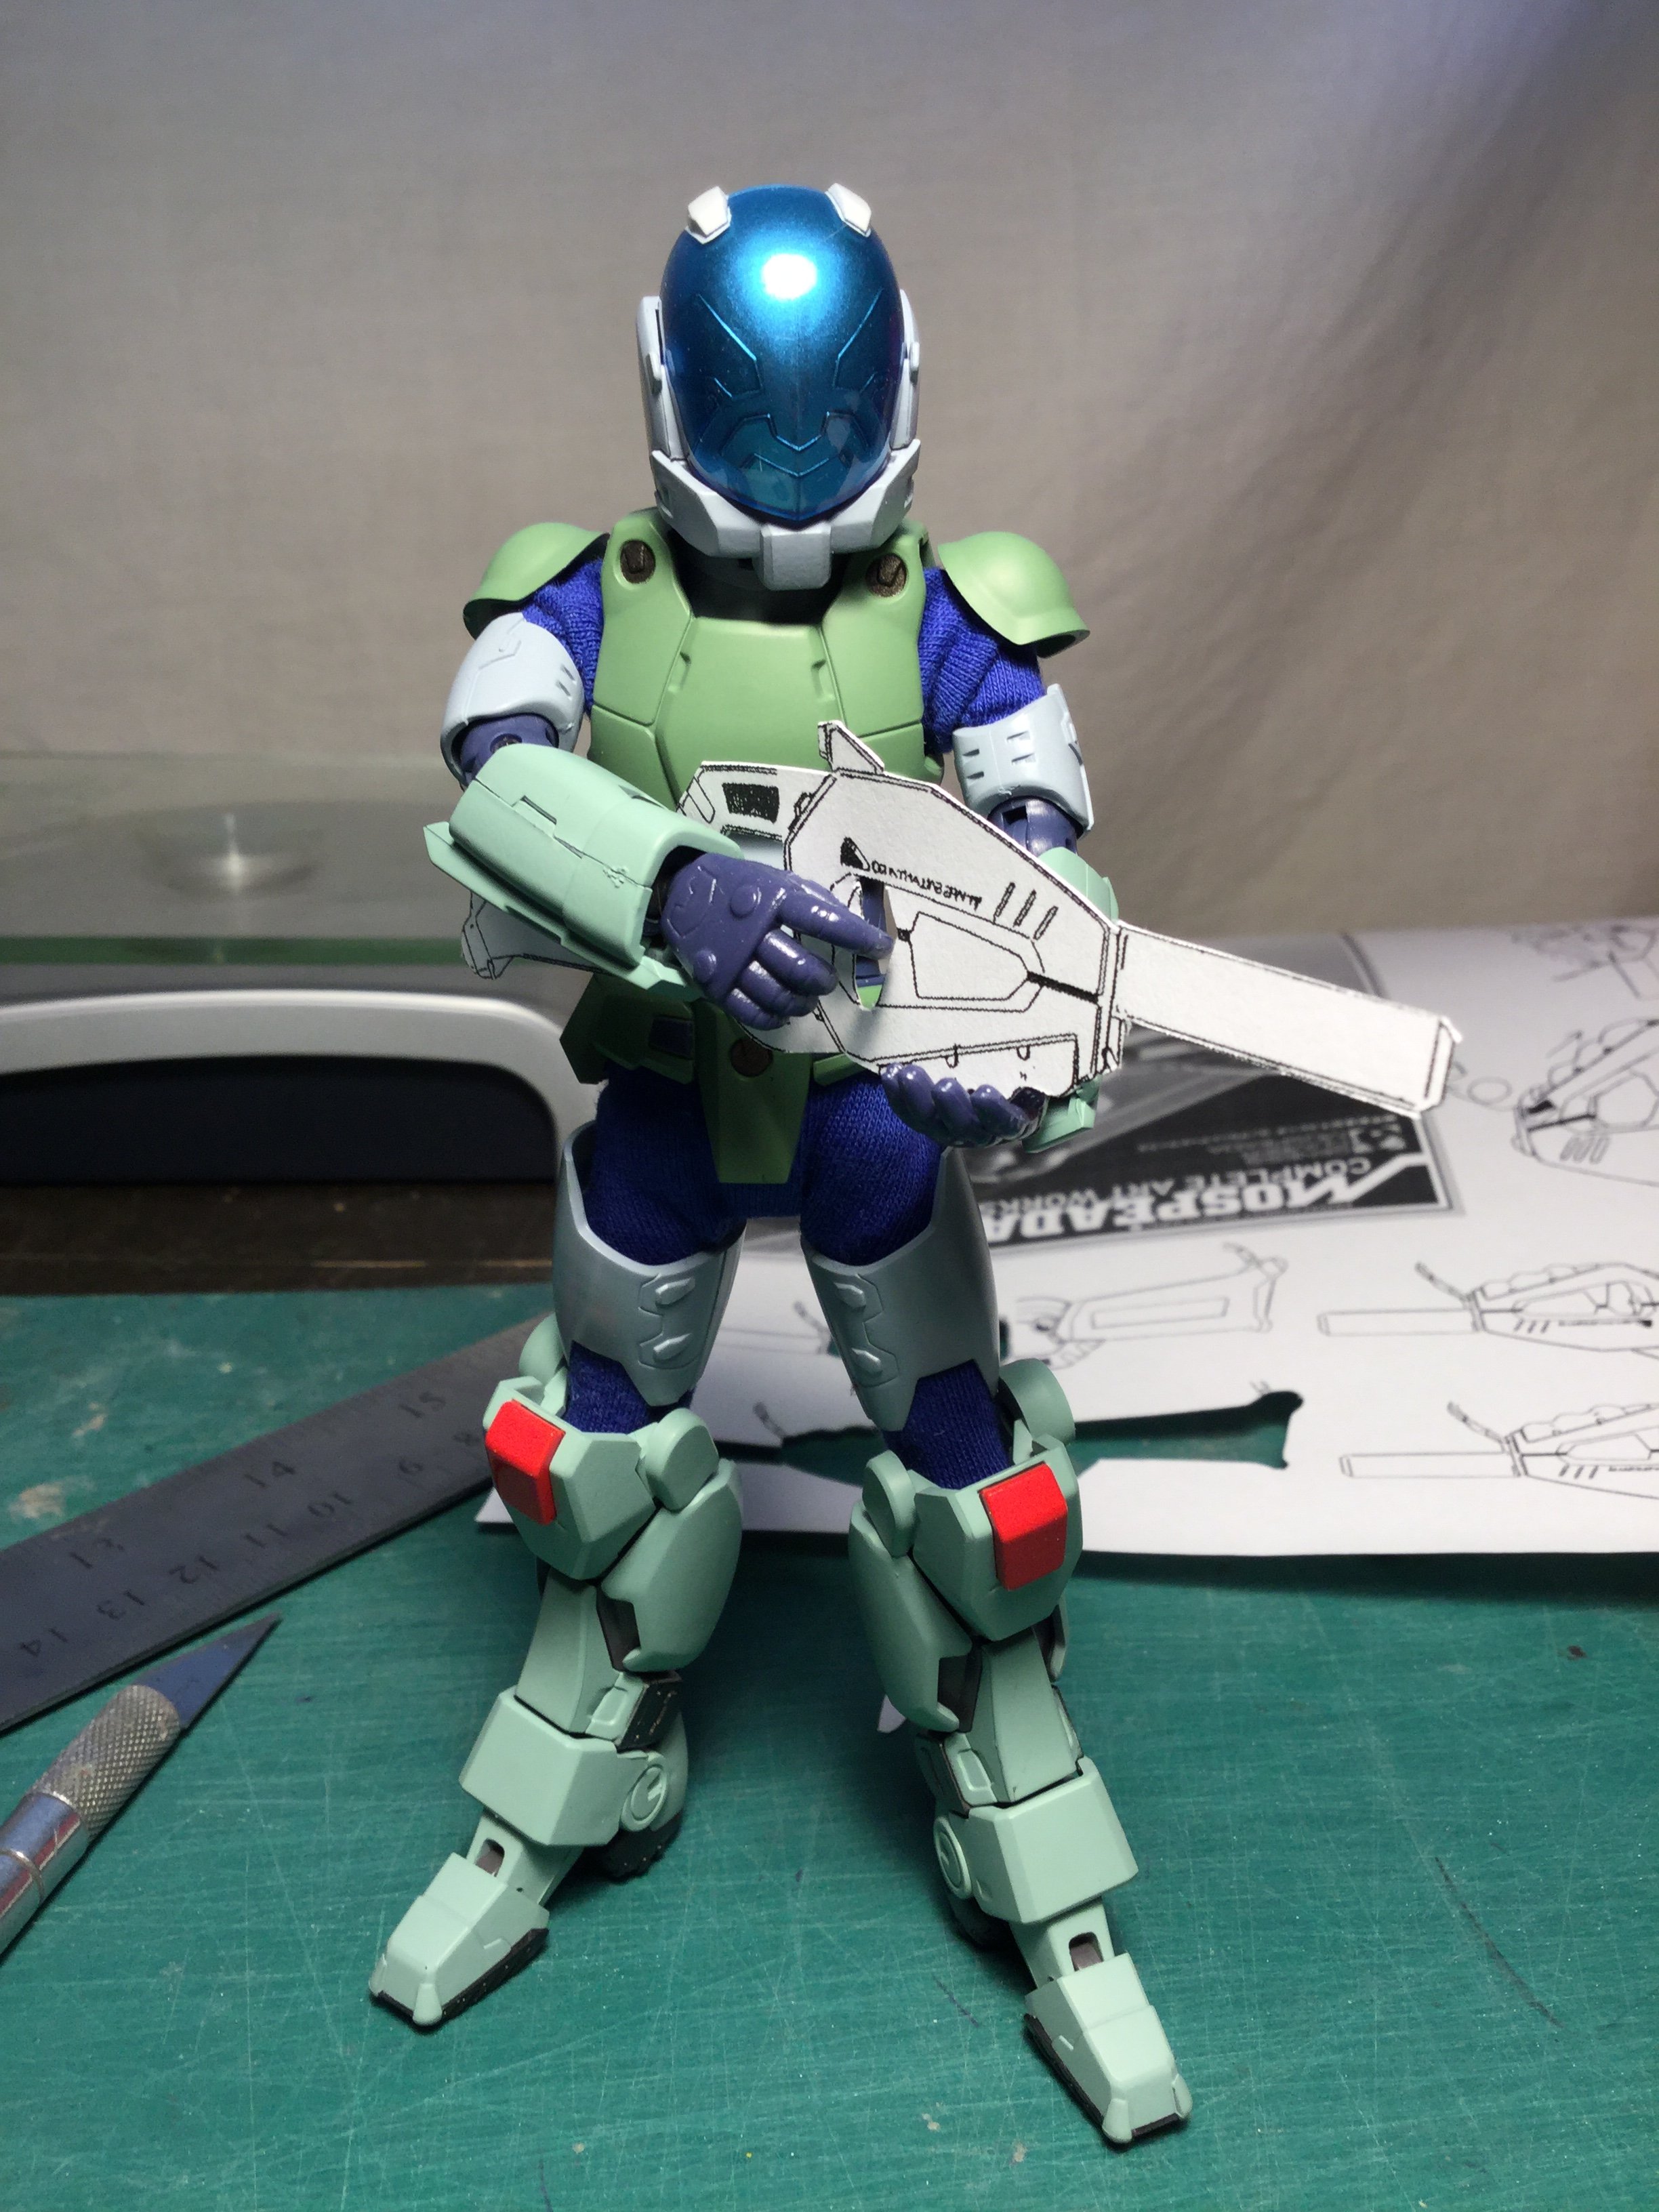
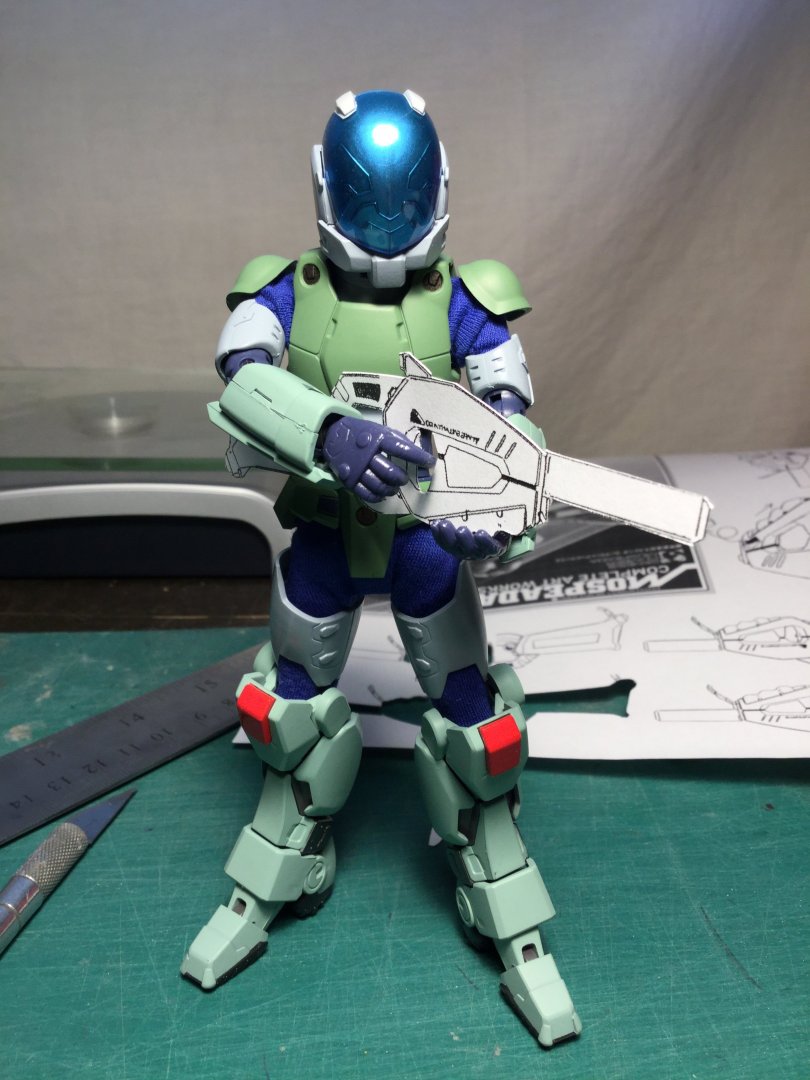
So as promised, I'm making a quick update for my latest project, which is an update set for the Sentinel 1/12 MOSPEADA. Aside from the saddle-packs which I will be making, I also elected to include both a Gallant pistol and rifle, the RPG launcher, as well as some other goodies. I've already done some basic work as an attempt to size the rifle properly, which proves to be more of a challenge than I initially thought. *RANT MODE ON* For the love of mother f**king C*rist, you'd think that those F&%#$# designers could handle designing something as simple and pedestriant as a f?$*! rifle, but NOOOO!!! I mean for f#%*k's sake, the only way they could have made this thing LESS ergonomic would have been to incorporate barbed-wire into the grip! The stock is waaaay too long and you have to make the pistol the size of a small pizza box just to get an adult human hand into the grip opening! I swear, nothing burns my a$$ more than sloppy, LAZY design work! *RANT MODE OFF* So as with pretty much every other Anime-related project, I've had to resort to some creative-redesigning to make this thing work with an actual human figure, without actually butchering the aesthetics. I think I've managed to do a decent job in the process, but you be the judge.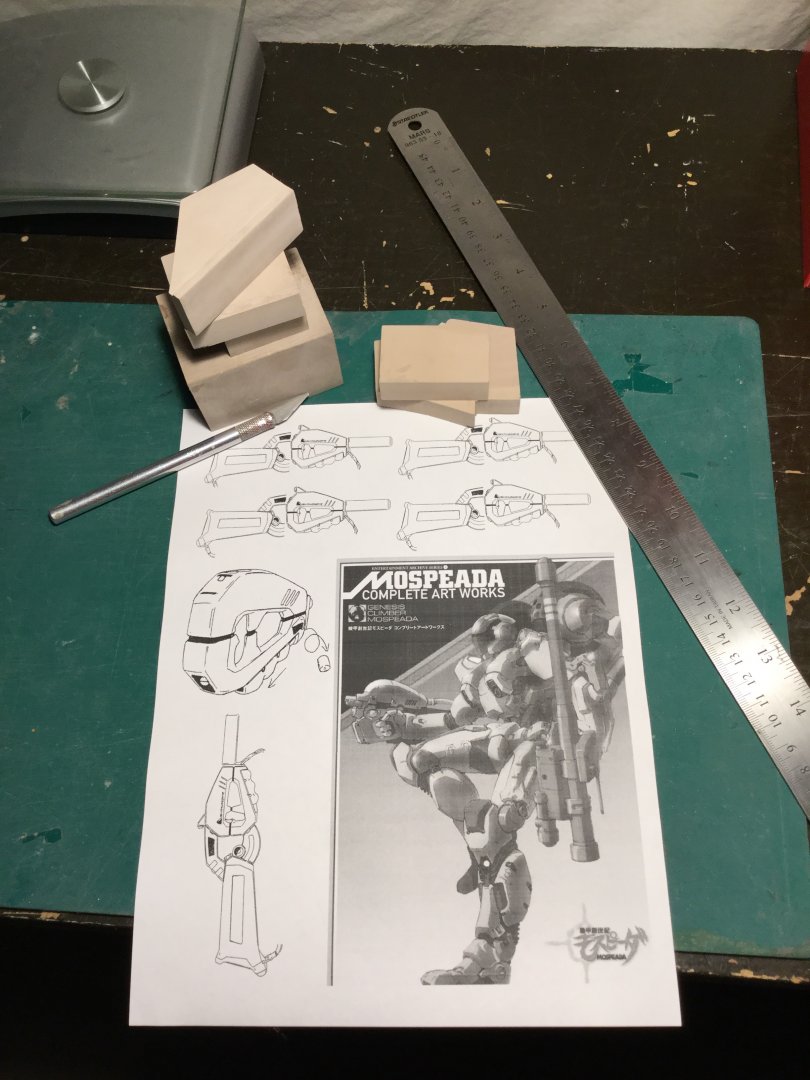
-
He used the saddle-bags from the Imai 1/12 plastic model.
-
It's very possible that the slots were designed for that originally, and went unused from the factory. The Imai kit saddle-bags fit rather well without the rider on, but I wonder why they didn't take any pics with the rider on the bike? I figured I'll restyle the boxes slightly and make them a bit more user-friendly.
-
The Gatchaman toy I’ve waited my whole life for?
captain america replied to Slave IV's topic in Anime or Science Fiction
Better yet, a reboot that, like the original series, takes place in the early 70's: re-use the original character designs, but update the stories and animation with a modern touch. -
The Official Moscato Hobby Models Thread
captain america replied to captain america's topic in Anime or Science Fiction
No pics yet, but know that it'll be an update set and not a full kit. I'm warming-up. -
The Official Moscato Hobby Models Thread
captain america replied to captain america's topic in Anime or Science Fiction
Just a quick heads-up: I've been quiet for a few months, but have recently started working on a new project. More updates next week. -
The Unlicensed Third Party Transformers Thread
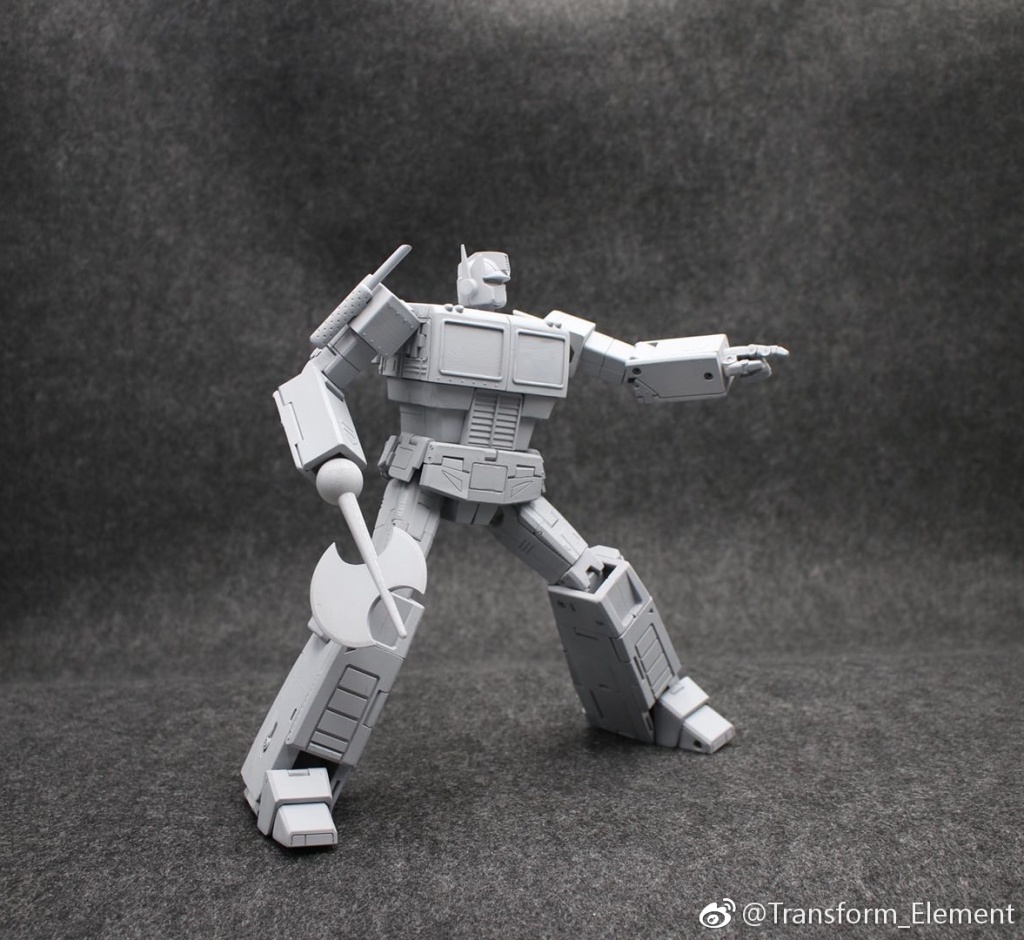
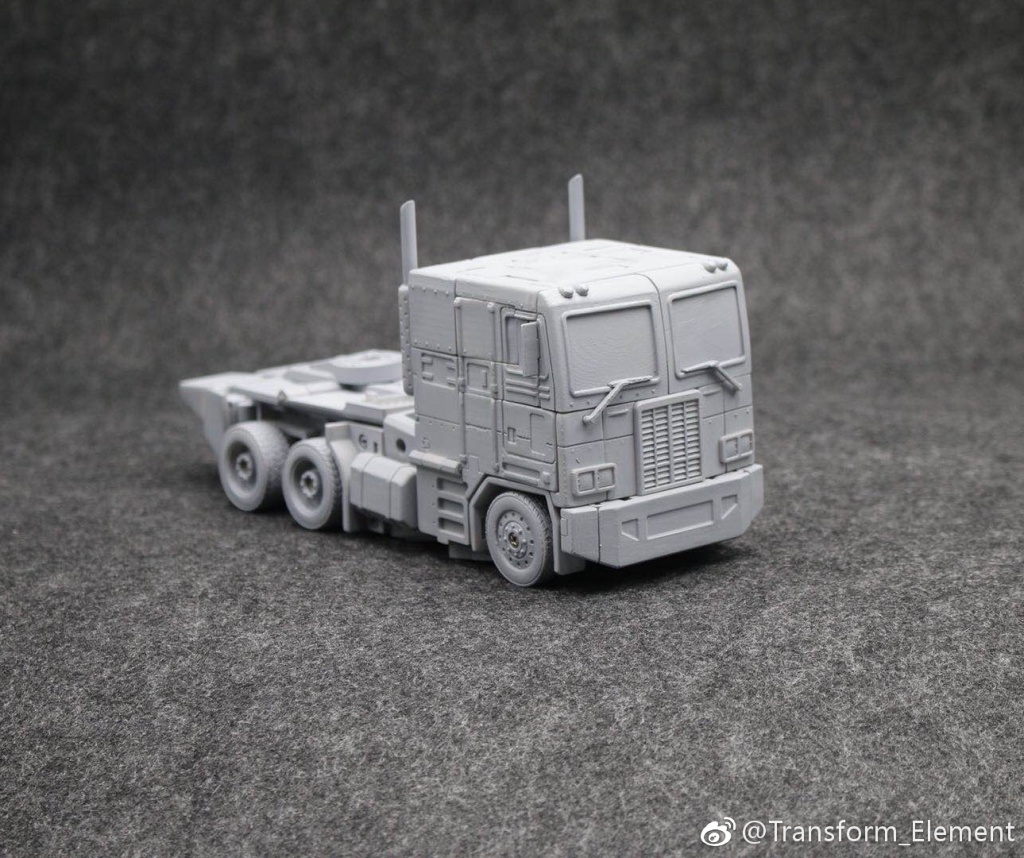
captain america replied to slaginpit's topic in Anime or Science Fiction
I was initially dubious of Transform Element's Masterpiece Optimus because of the rigid pose and no alt-mode pics... Not anymore! Takara-Tomy has cause to be worried.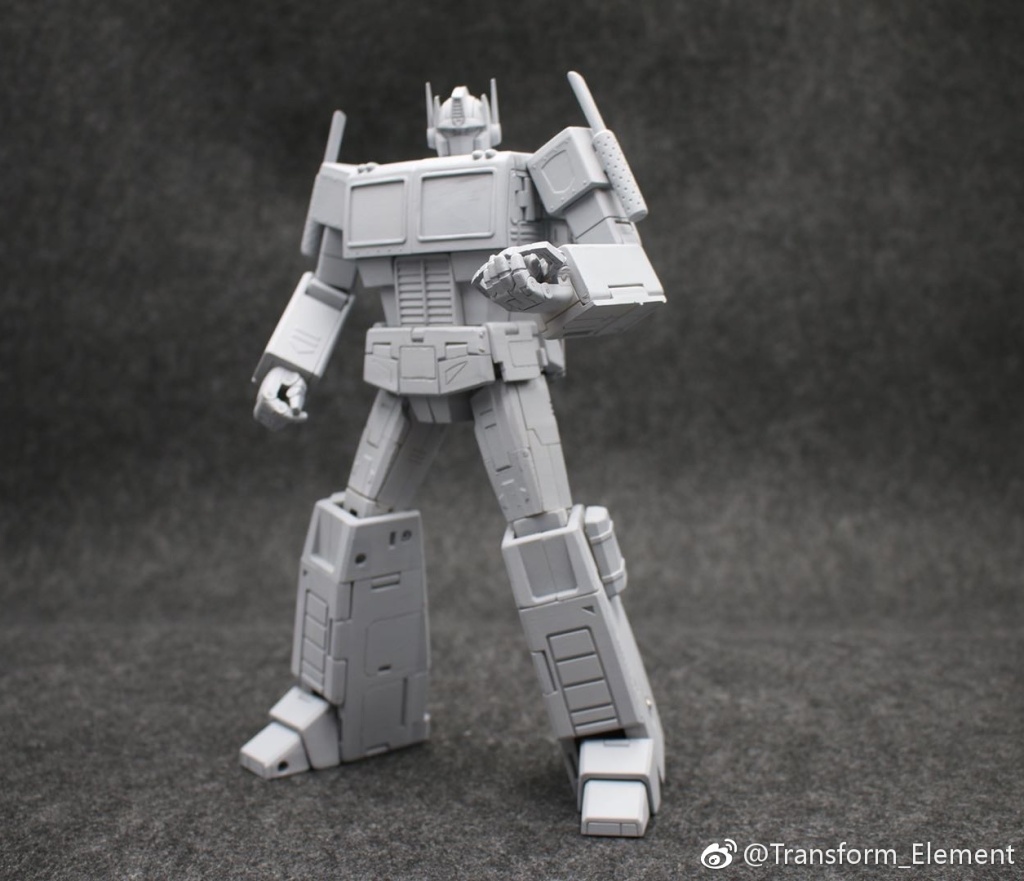
.jpg.764c831c4806e281510312c2f94c4cce.jpg)

.jpg.6b752c347112dbda779def5c64faebfd.jpg)

-
The Gatchaman toy I’ve waited my whole life for?
captain america replied to Slave IV's topic in Anime or Science Fiction
They tooled the toy with a hideous seam running the length of the forward fuselage on both sides, with NO attempt whatsoever to camouflage it as part of the panel-lining. Really? They couldn't even TRY to put the panel line closer to the top or bottom corner, or maybe make the gray vent parts separate, plastic pieces to partially cover the gap somehow? SLOPPY DESIGN! The surface details also don't hold a candle to the Fewture version which is still available for roughly the same price.... And a little less if you're patient. Fire-chicken gimmick: I guess it's cool, but I think I'd rather just make a resin casting of the shell and display it as a separate piece, or have one 3D printed. Dunno, man. With all the competition out there, I think the point is to try to make a product that's BETTER than what your competitor made. Some firms, it seems, don't even phone-in the effort. End of rant. -
MAZINGER Z INFINITY: in theatres January 2018
captain america replied to captain america's topic in Anime or Science Fiction
I'm surprised this wasn't posted until now. Bandai will be offering 1/144 HG kits of both Mazinger and Great Mazinger from Mazinger Z infinity. Despite being a mere 5mm shorter than its Metal Build counterpart, the details look really good, if not slightly better, and significantly cheaper. Best of all, we will also have a Great Mazinger in scale! Personally, I would have LOVED a MG kit, but this is a great start! -
MOSPEADA INBIT KIT REVIVAL IV: EAGER?
captain america replied to captain america's topic in Anime or Science Fiction
I sold my Retppu kit back during one of my (many) kit purges over the years, so all I had left was a good memory of the kit. I had actually started scratchbuilding a Gurab in the early 90s, but my skills weren't quite up-to-par yet. Naturally, I'd want to make the full set if only to have design consistency throughout. That's part of the reason all my Crabs use the same mono-eye, too. I never bothered with the slit and triple-camera lens simply because small details like that don't cast well, and from watching the series, I had the impression that the "red" portion of the eye was a kind of lens/filter that was closed most of the time, but could open if needed, thereby revealing the triple-camera. The Retppu kit might fetch less simply because it's an orphan. Short of financial limitations, most people (in my experience) will want at least two Crabs or the whole set, which they don't offer. As for why many "classic" (or rather esoteric?) mecha aren't produced... Probably because they just aren't popular enough to justify the effort. Even Southern Cross hero mecha, by virtue of their transformation are more complex than regular figures, thus requiring more time & effort for something that a designer/manufacturer is likely to lose money on. I learned my lessons with the 1/32 Legioss + a couple of other projects and now if I tackle something, it's because I'm reasonably certain that it'll stay in the black. -
MOSPEADA INBIT KIT REVIVAL IV: EAGER?
captain america replied to captain america's topic in Anime or Science Fiction
Hey Ted. Wow great comparison with a classic (and Japanese) Inbit kit! Just a few thoughts: the box looks exactly like the kit I had back in the late 80's, but the resin color and casting method are totally different. I remember mine being made of that very common 3-minute (Alumilite) resin and the parts were much cleaner. It might still be genuine, but I'm also wondering if maybe someone might have kept the original kit parts and replaced them with a home-made cast. In addition to the mono-eye, the Retppu kit has better under-foot detailing too, IMHO. -
I wouldn't expect anything beyond a slight massaging of the tooling to improve tolerances. The hideous transluscent recycled plastic will, in all likelyhood, be back for future variants too.
-
Solo: A Star Wars Story, in theaters May 25, 2018
captain america replied to Dobber's topic in Anime or Science Fiction
While not purely SOLO news, there are rumors that KK is getting the boot. No confirmation as yet. -
Bumblebee (Transformers... 6?)
captain america replied to kajnrig's topic in Anime or Science Fiction
Looks like it's set in the 80's, which means we could see many more iconic G1 Bots & Cons. Like! -
Gundam Show Thread - MSG thru GQuuuuuuX
captain america replied to Black Valkyrie's topic in Anime or Science Fiction
I guess I do! I (and probably many others) had hoped that Bandai would seize on that no-brainer opportunity, but it looks like Captain America will have to intervene. -
Gundam Show Thread - MSG thru GQuuuuuuX
captain america replied to Black Valkyrie's topic in Anime or Science Fiction
See, now GaiaGear I'd pay to see as an OVA and buy lots of models from that series. Those designs were insanely beautiful and put many of the current Gundam designs to shame. -
Gundam Show Thread - MSG thru GQuuuuuuX
captain america replied to Black Valkyrie's topic in Anime or Science Fiction
Has Bandai ever really deleted a series from the UC timeline before? Don't get me wrong, Victory has a LOT of problems, but there were one or two mecha that I think would be interesting to have/scratchbuild, if only to have alongside the Victory units. -
Gundam Show Thread - MSG thru GQuuuuuuX
captain america replied to Black Valkyrie's topic in Anime or Science Fiction
That's actually... Really nicely done! Just goes to show that a live-action film can actually work...With a few small tweaks here and there. I mean, if they can do Pacific Rim, they can most definitely do Gundam. -
Top Gun: Maverick (Top Gun 2 is comin)
captain america replied to Ladic's topic in Anime or Science Fiction
The real star of Top Gun was the F-14 Tomcat, and apparently it's not in this new one. We have to make due with this Cruise guy. -
Solo: A Star Wars Story, in theaters May 25, 2018
captain america replied to Dobber's topic in Anime or Science Fiction
I think Alex Becker is spot-on. Delivery like a sandpaper dildo, so fair warning for those with delicate sensibilities. -
Solo: A Star Wars Story, in theaters May 25, 2018
captain america replied to Dobber's topic in Anime or Science Fiction
And a rather successful one at that. -
The Official Moscato Hobby Models Thread
captain america replied to captain america's topic in Anime or Science Fiction
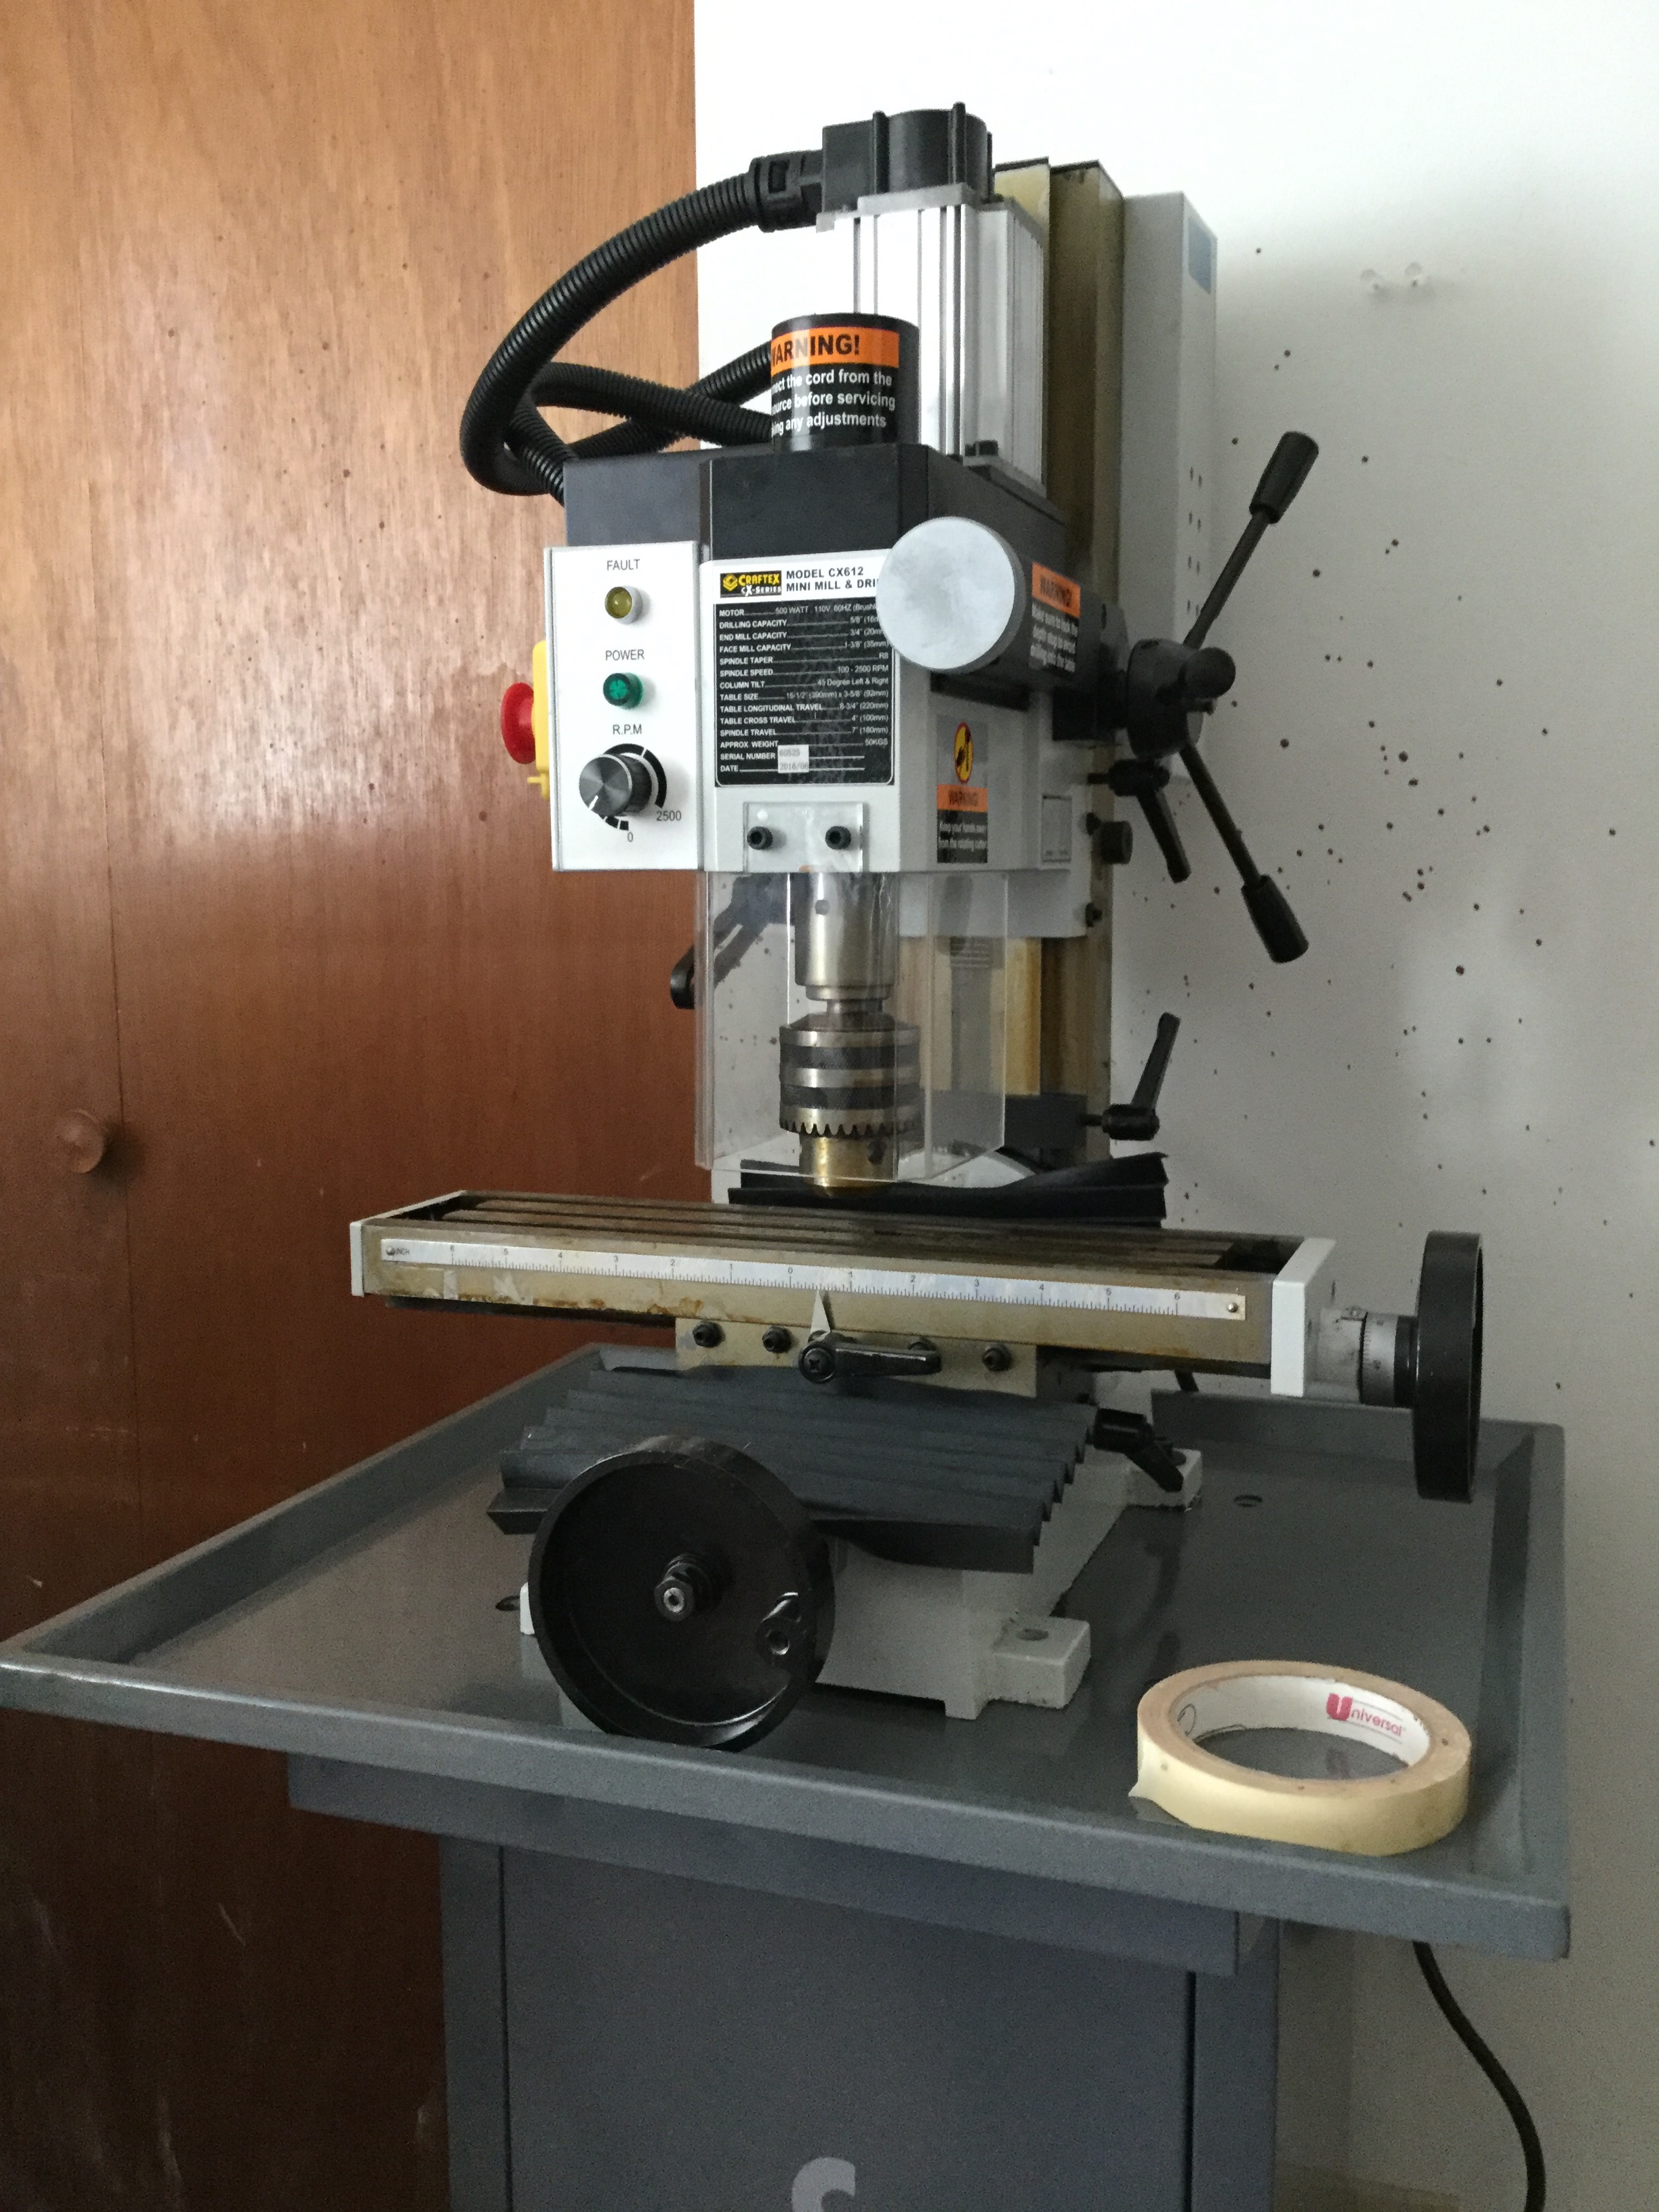
Sh*t is getting real. Mill is up & running, lathe is on its way. Muahahahaha!!!!
-
Wessex Transfers. Very professional and excellent product!
-
Bacon is worth fighting for.
-
I'm not sure what "going for" means. People might be asking for those prices, but in all likelyhood they're selling for much, much less.