

captain america
-
Posts
3563 -
Joined
-
Last visited
Content Type
Profiles
Forums
Events
Gallery
Everything posted by captain america
-
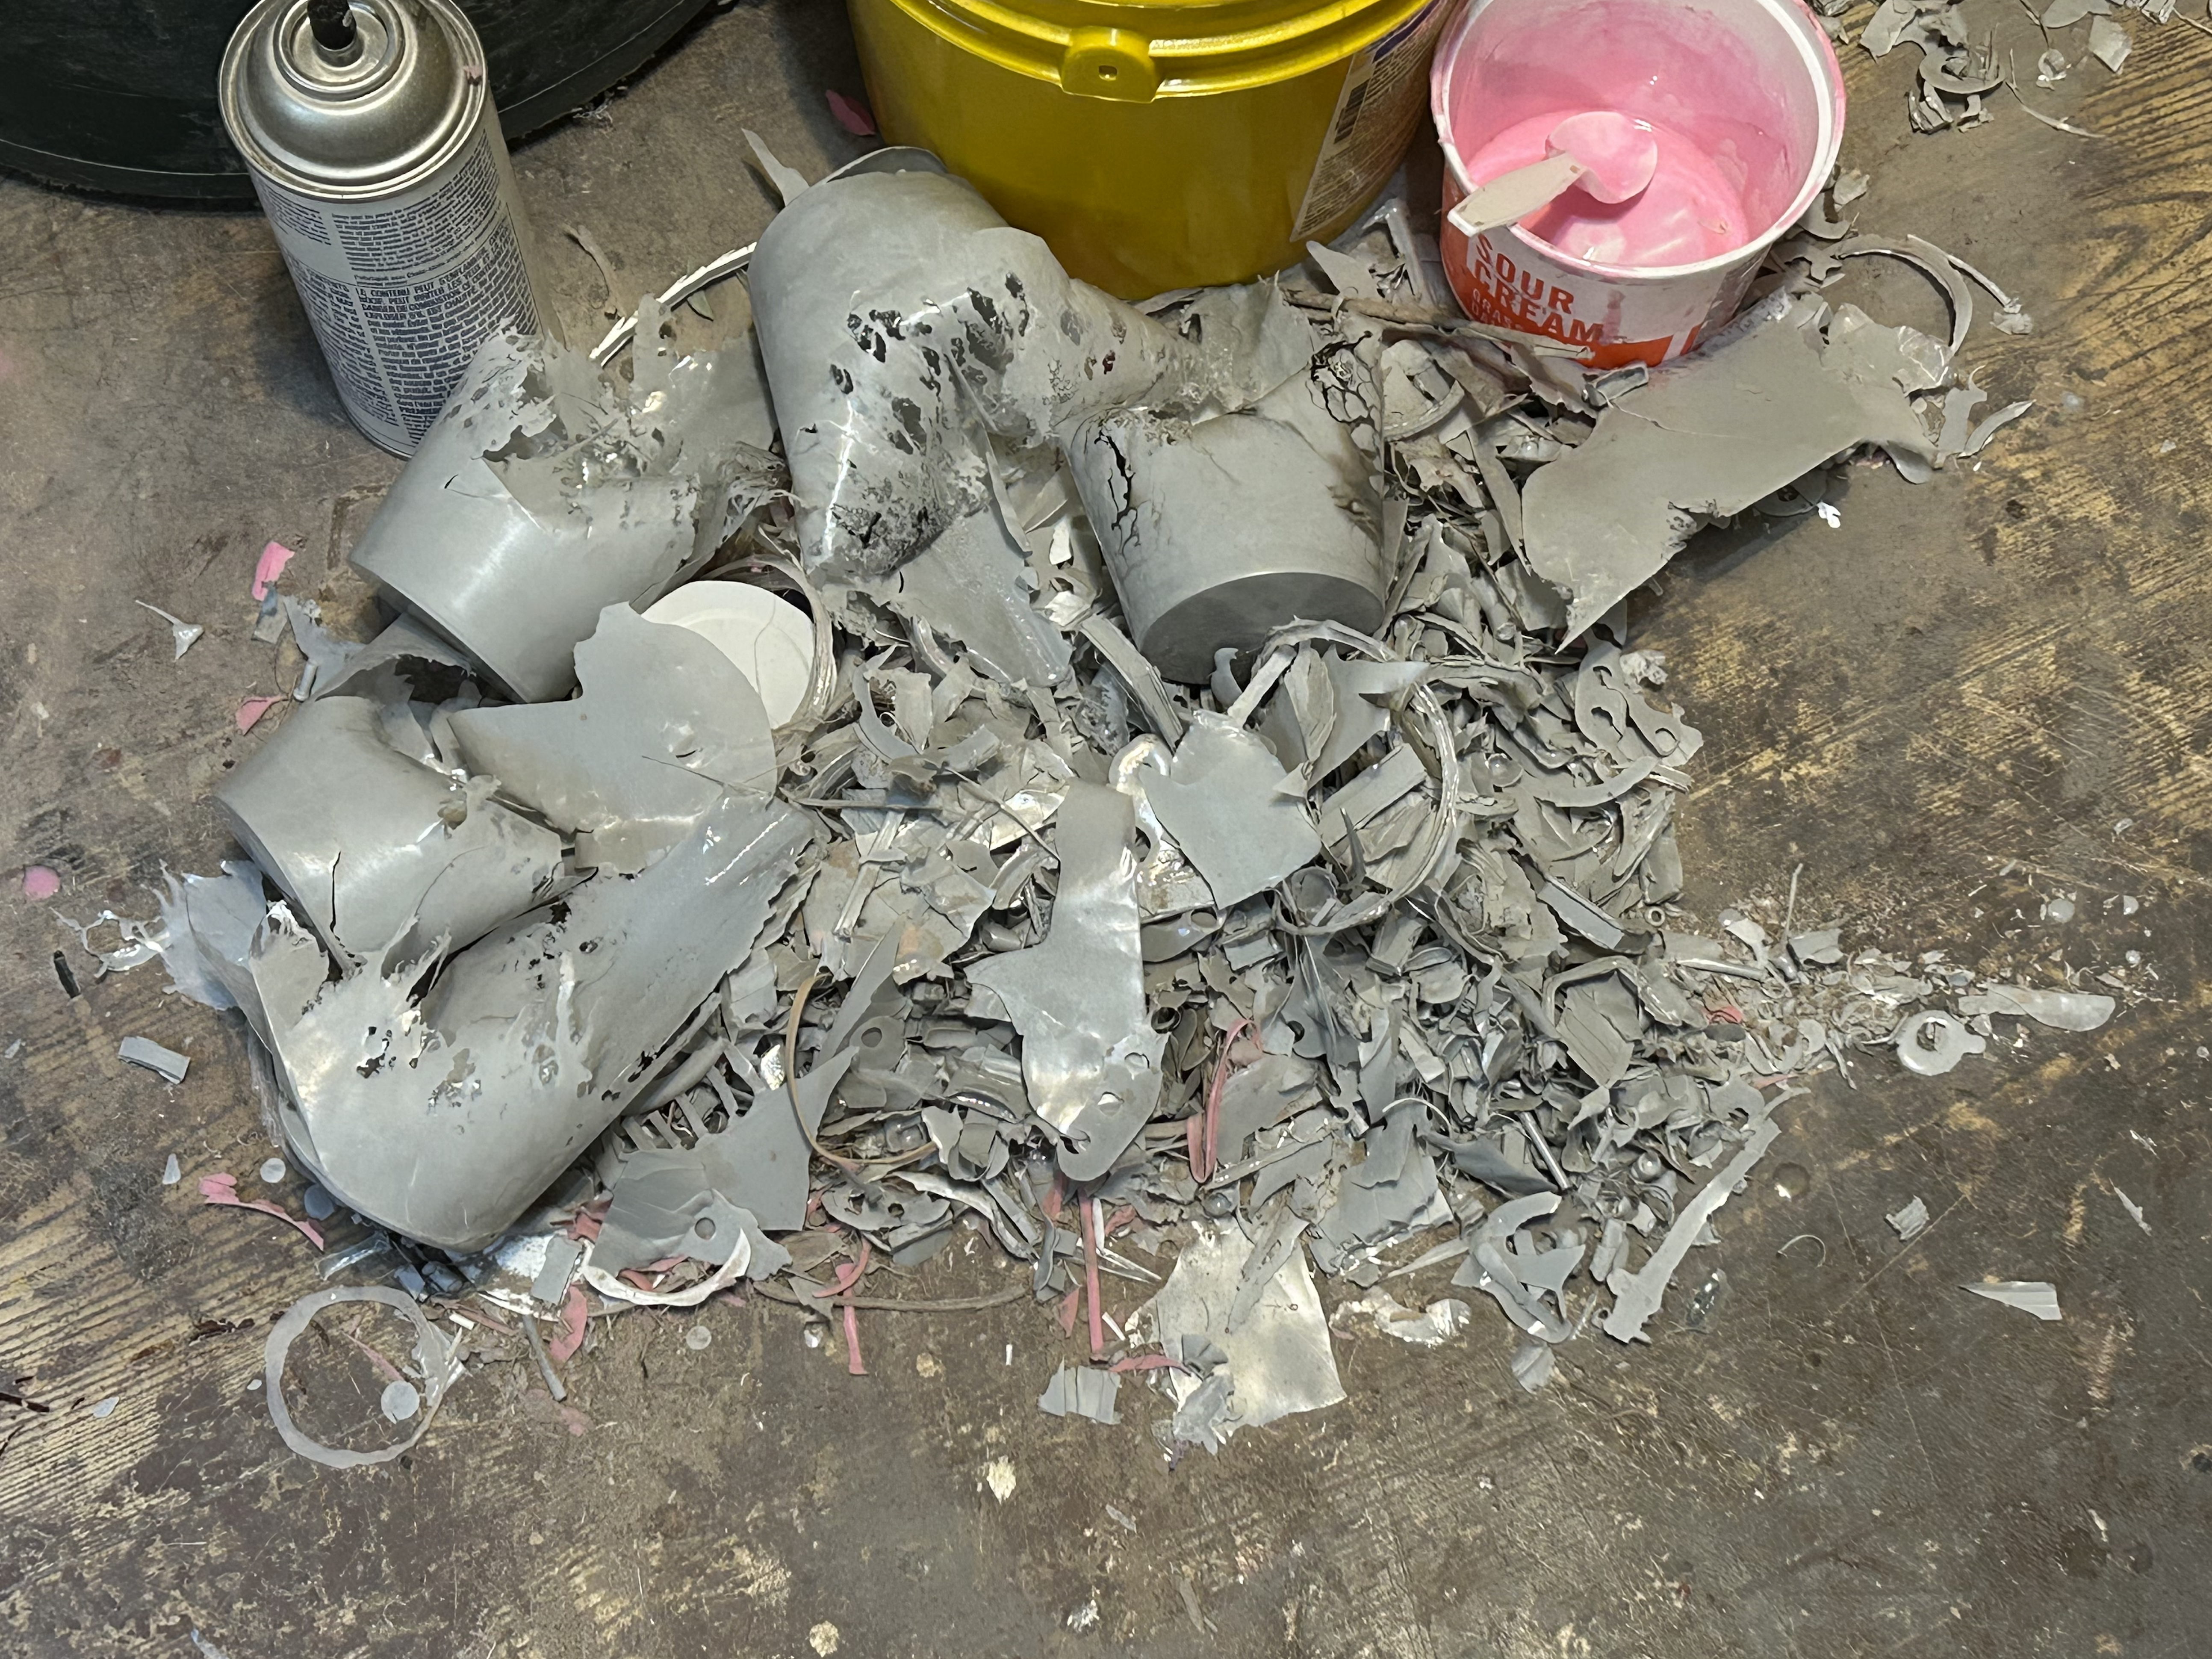
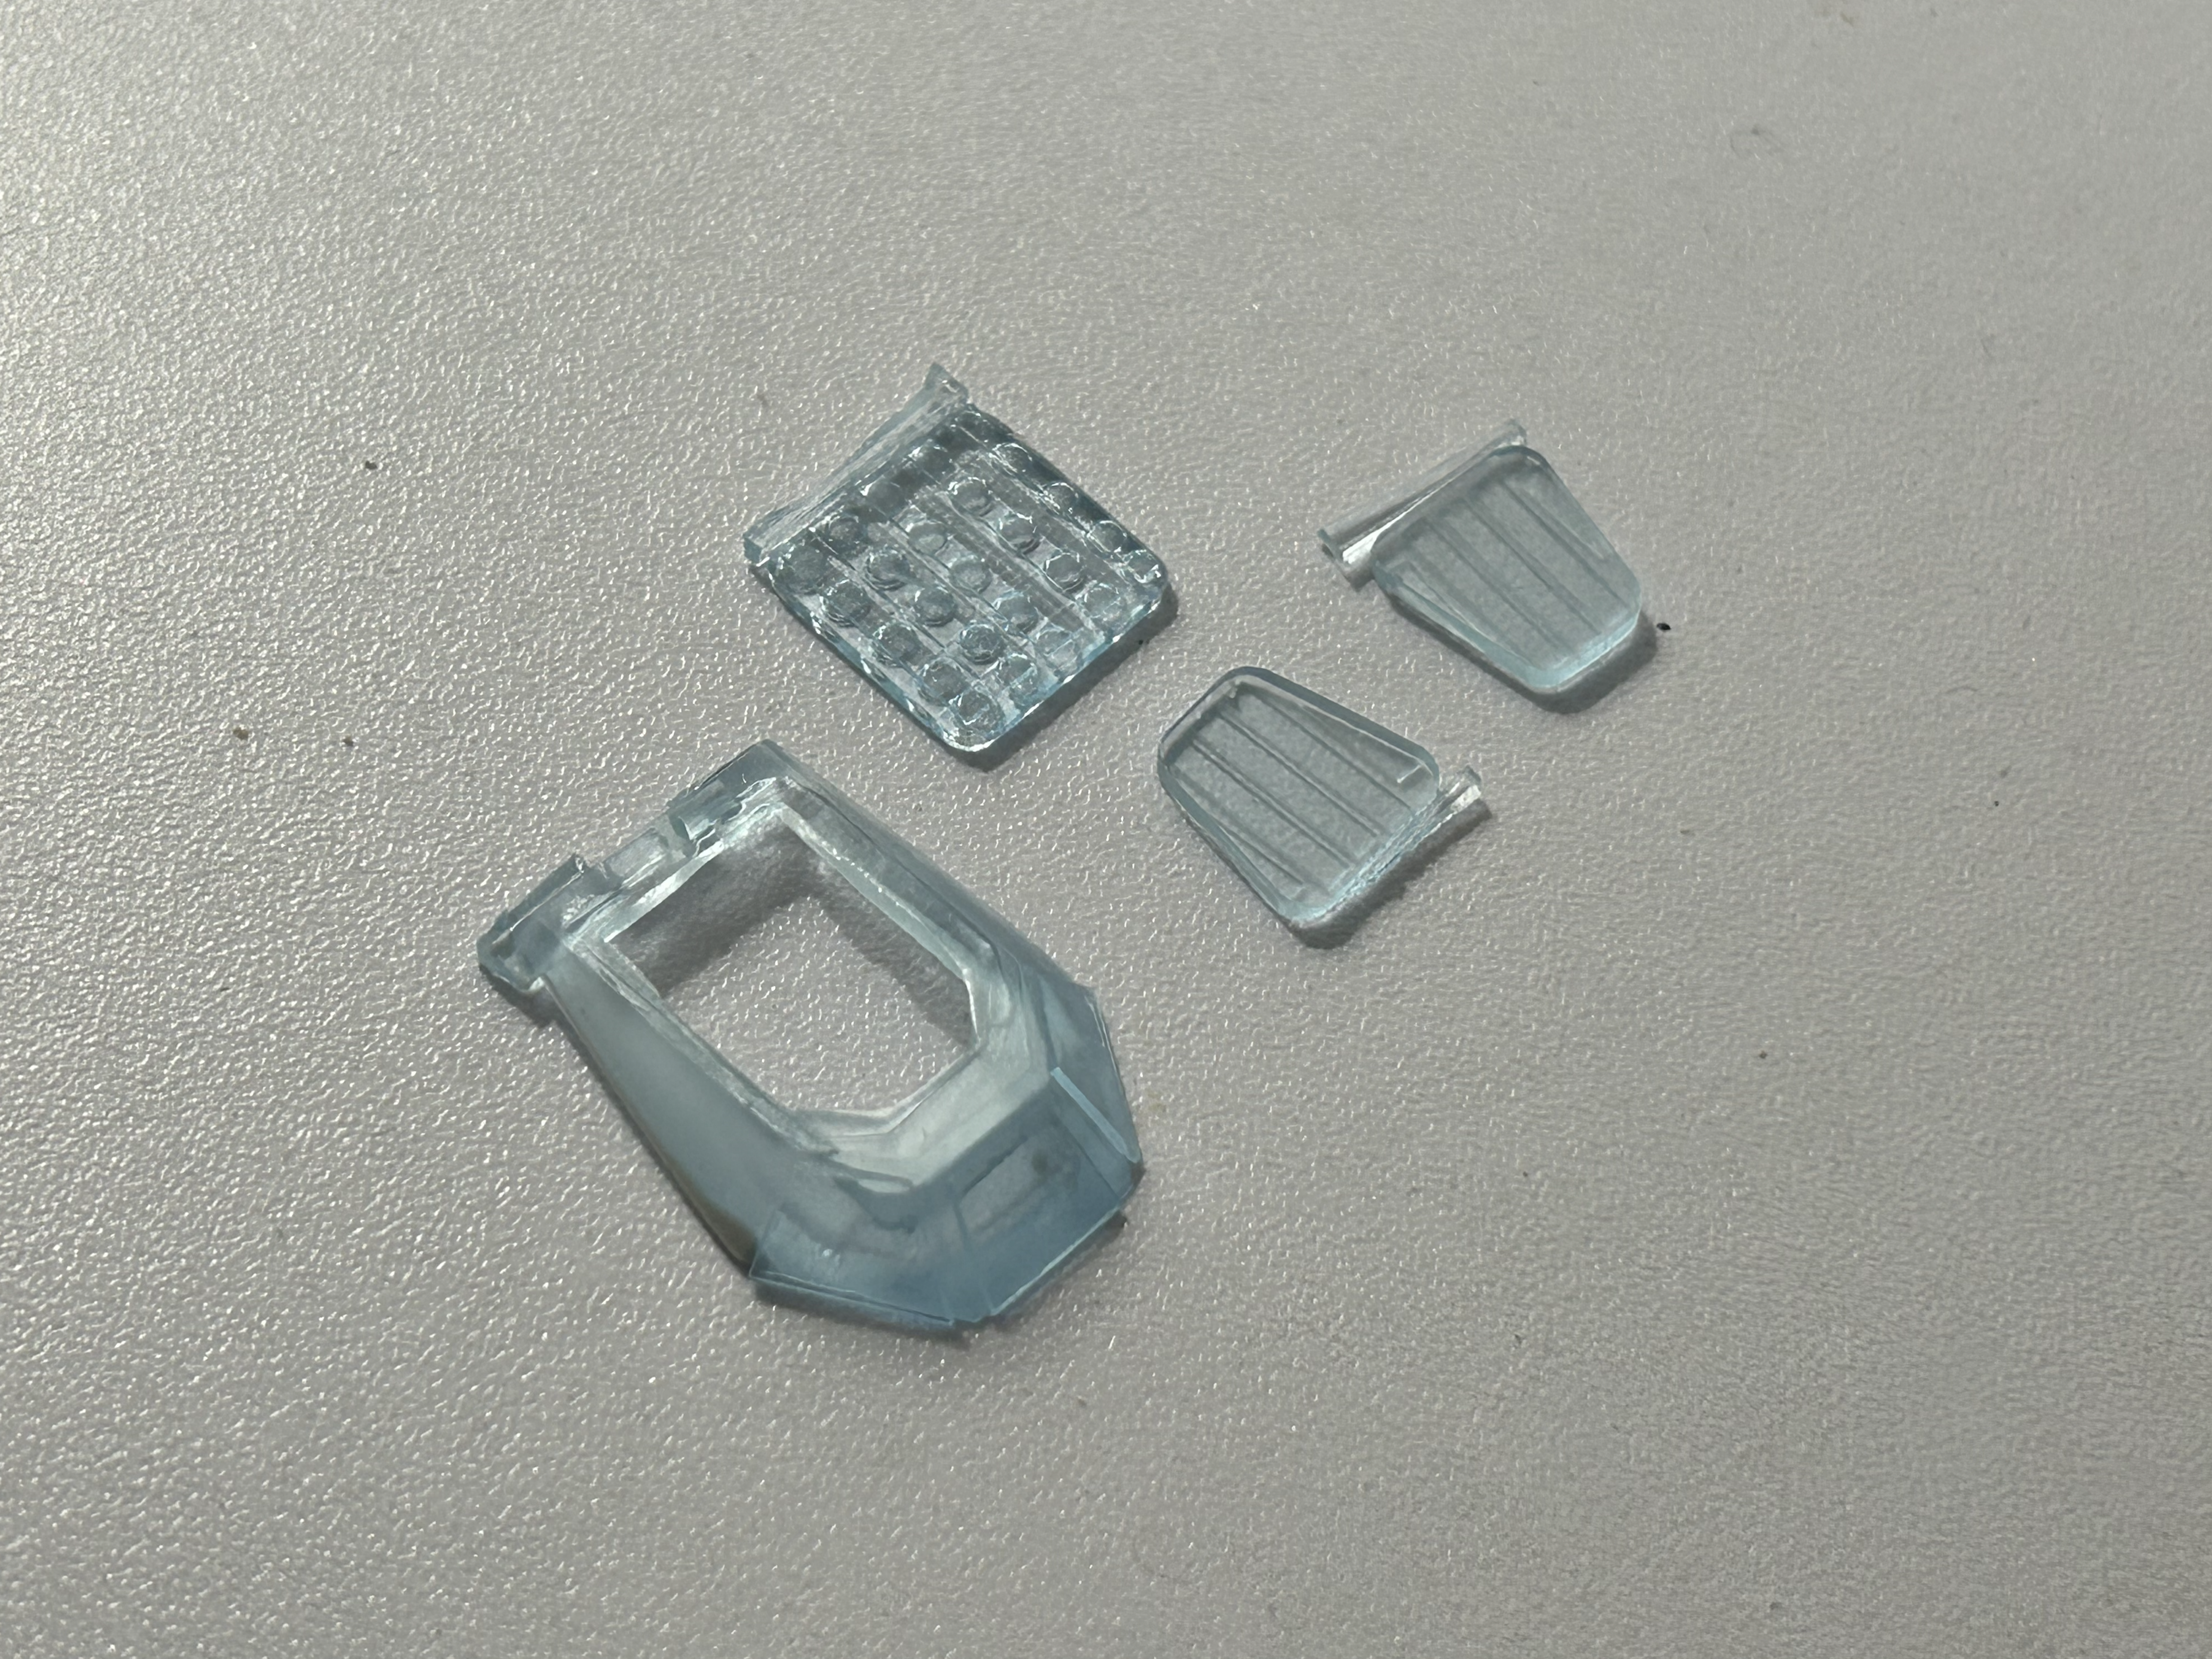
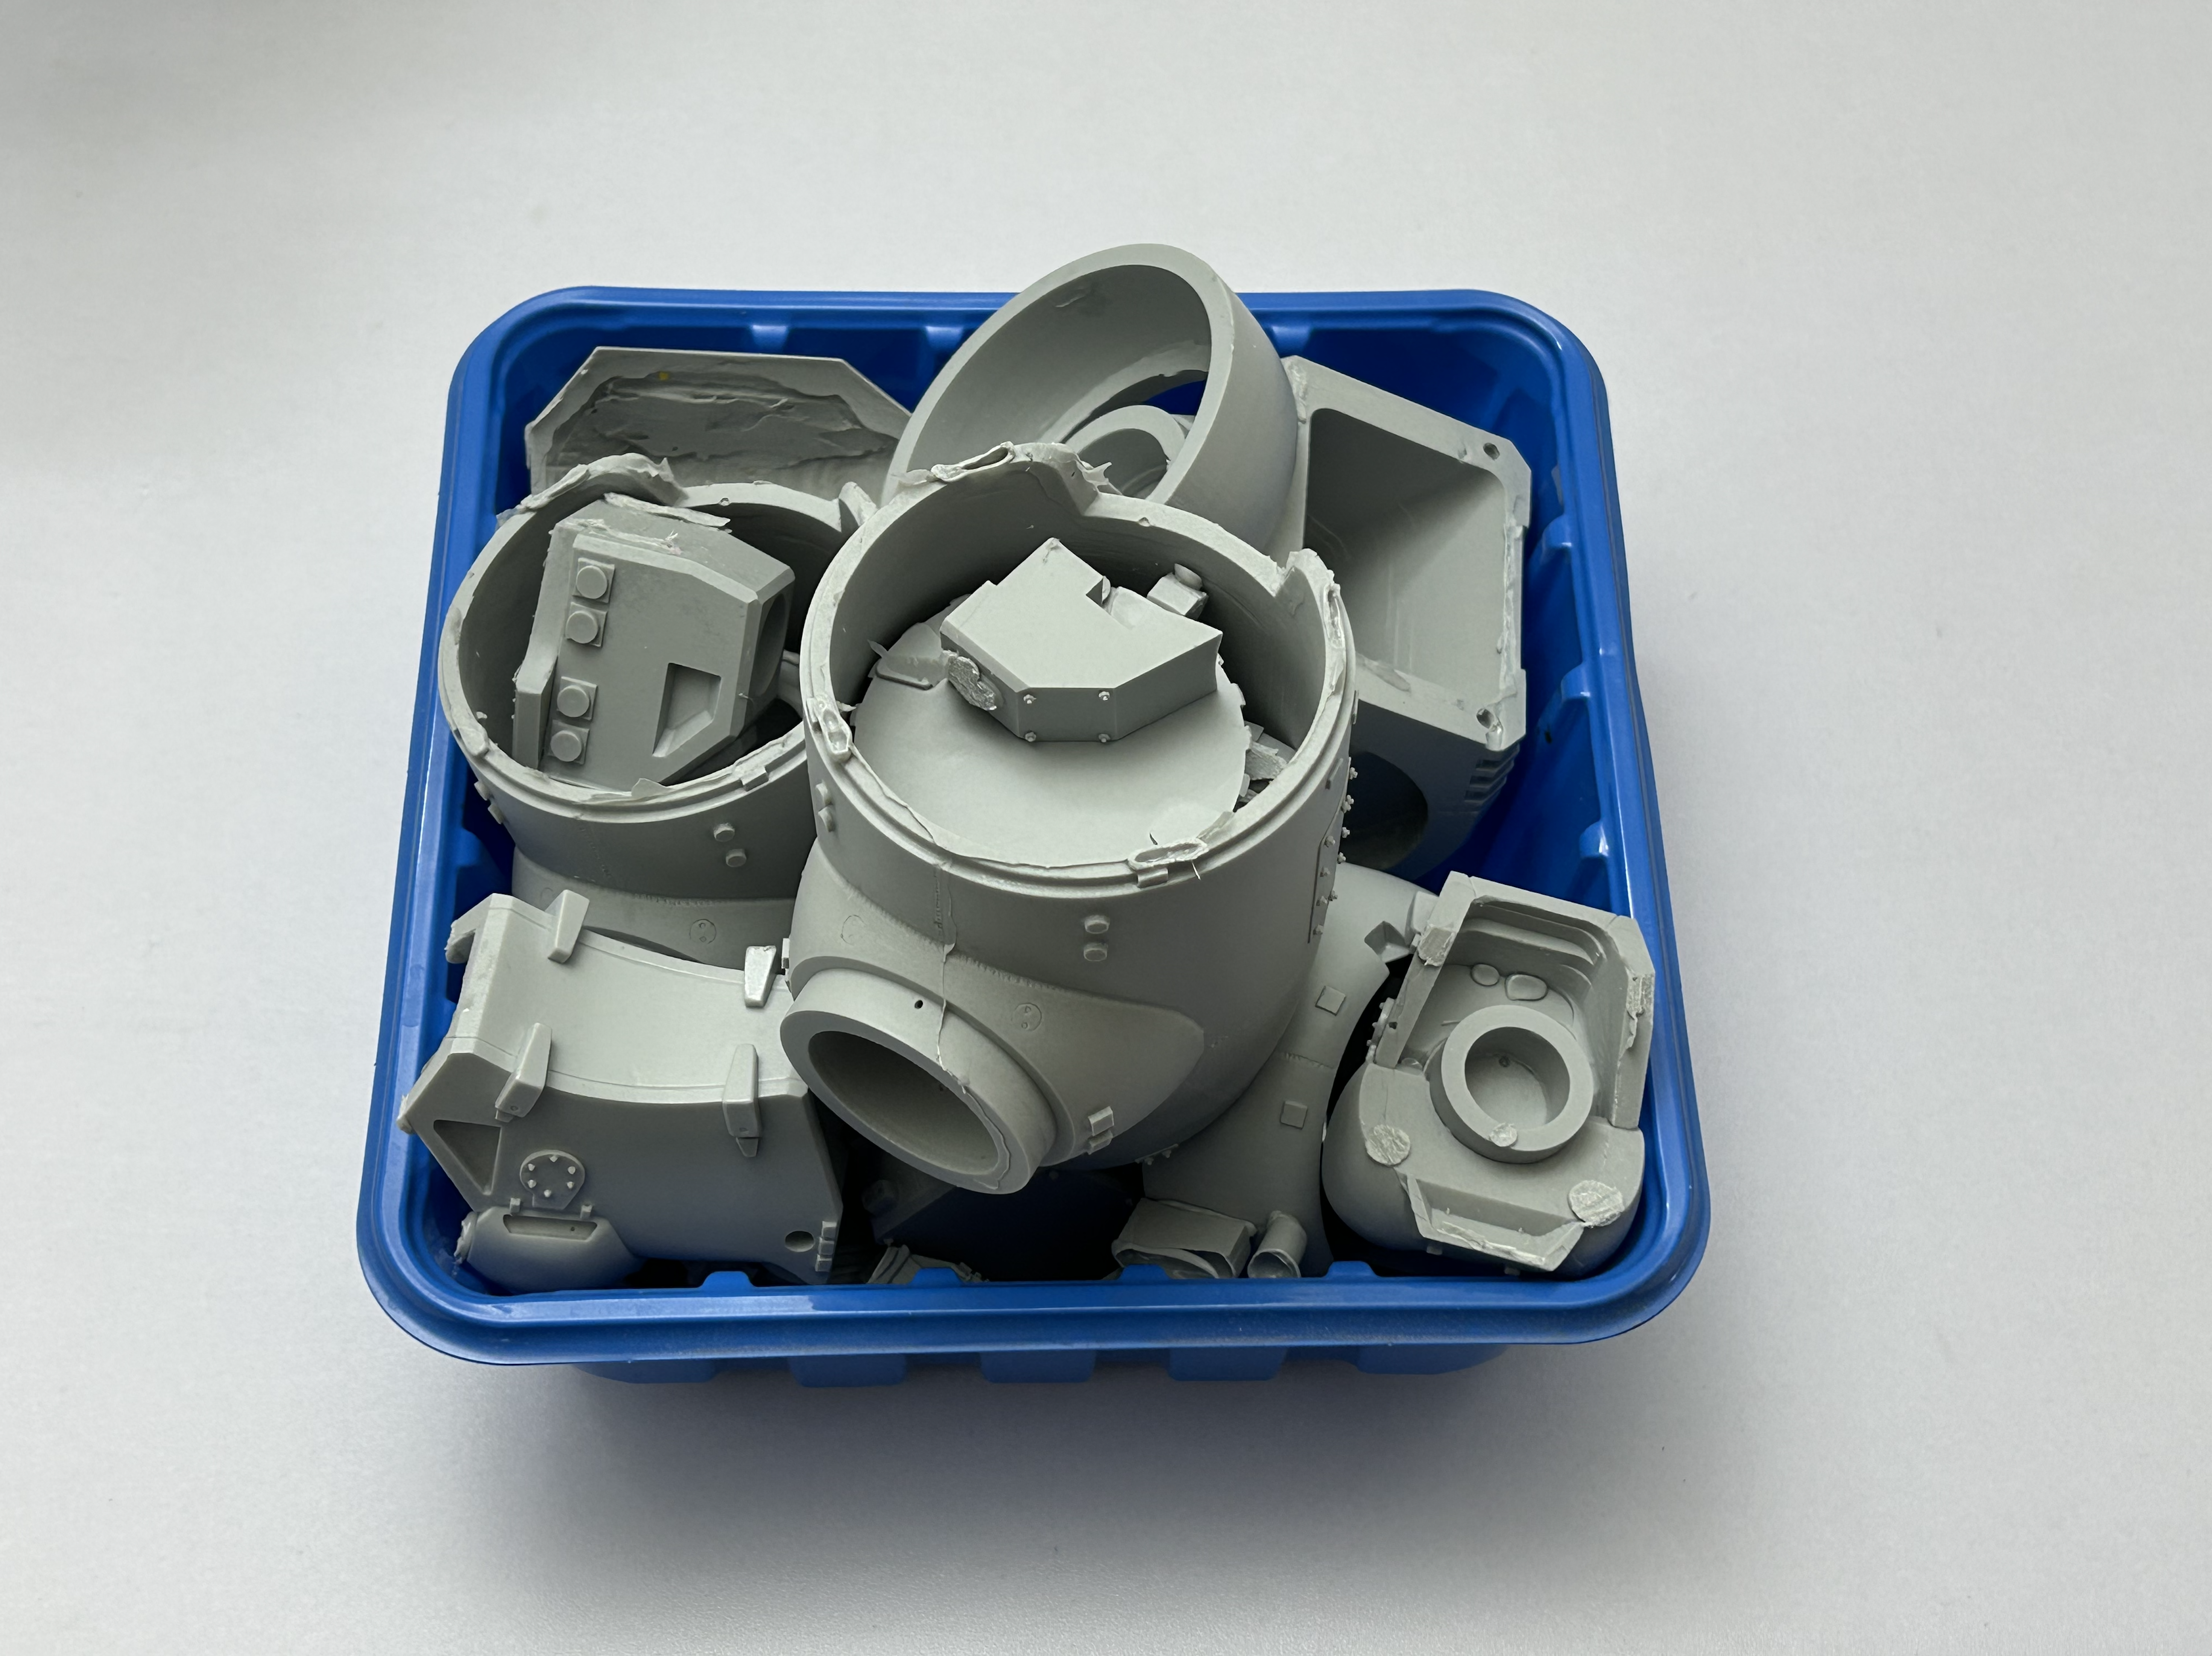
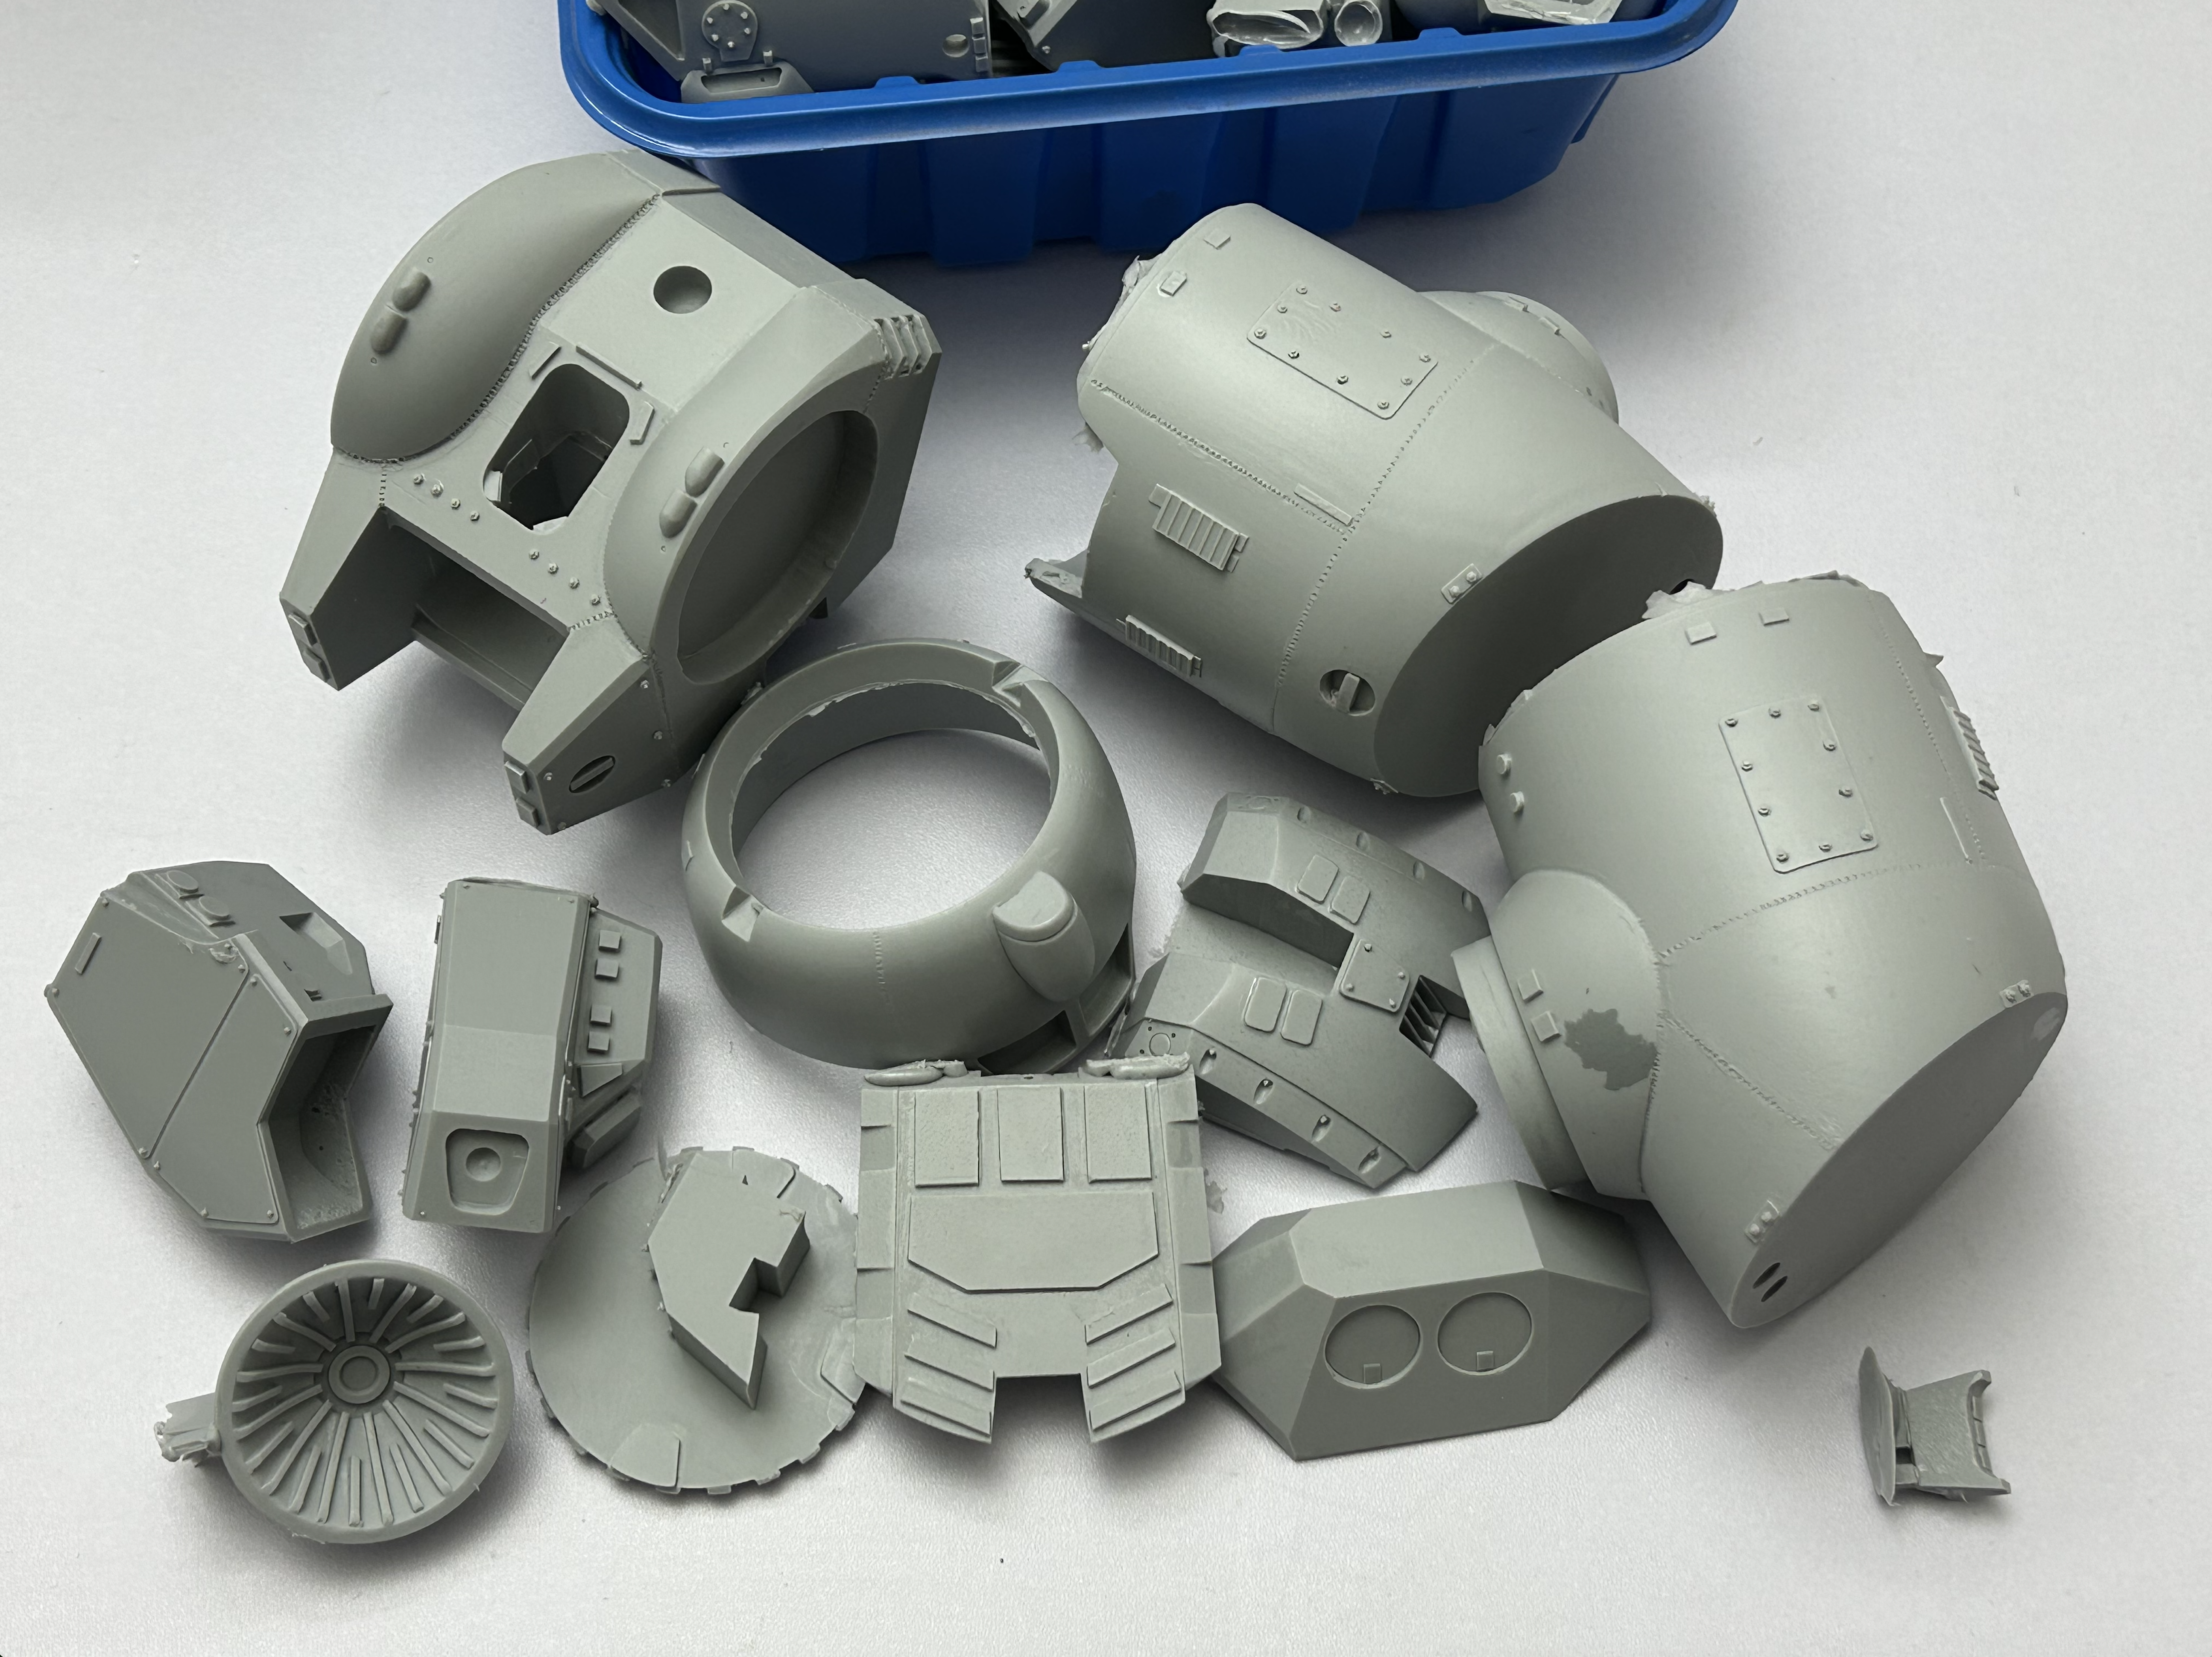
Hey @everyone production has begun in earnest and proceeding splendidly! Even the ballistic glass castings look great! The flip-side is that growing pile of discarded sprue gates, vents, and mixing cup residue which is all part of the casting process! The first kits are ready and should begin shipping in the next 10 days or so.
-
Thanks, Ted! I tried to make them look as organic as possible. The kit has a lot of parts, and they're casting beautifully!
-
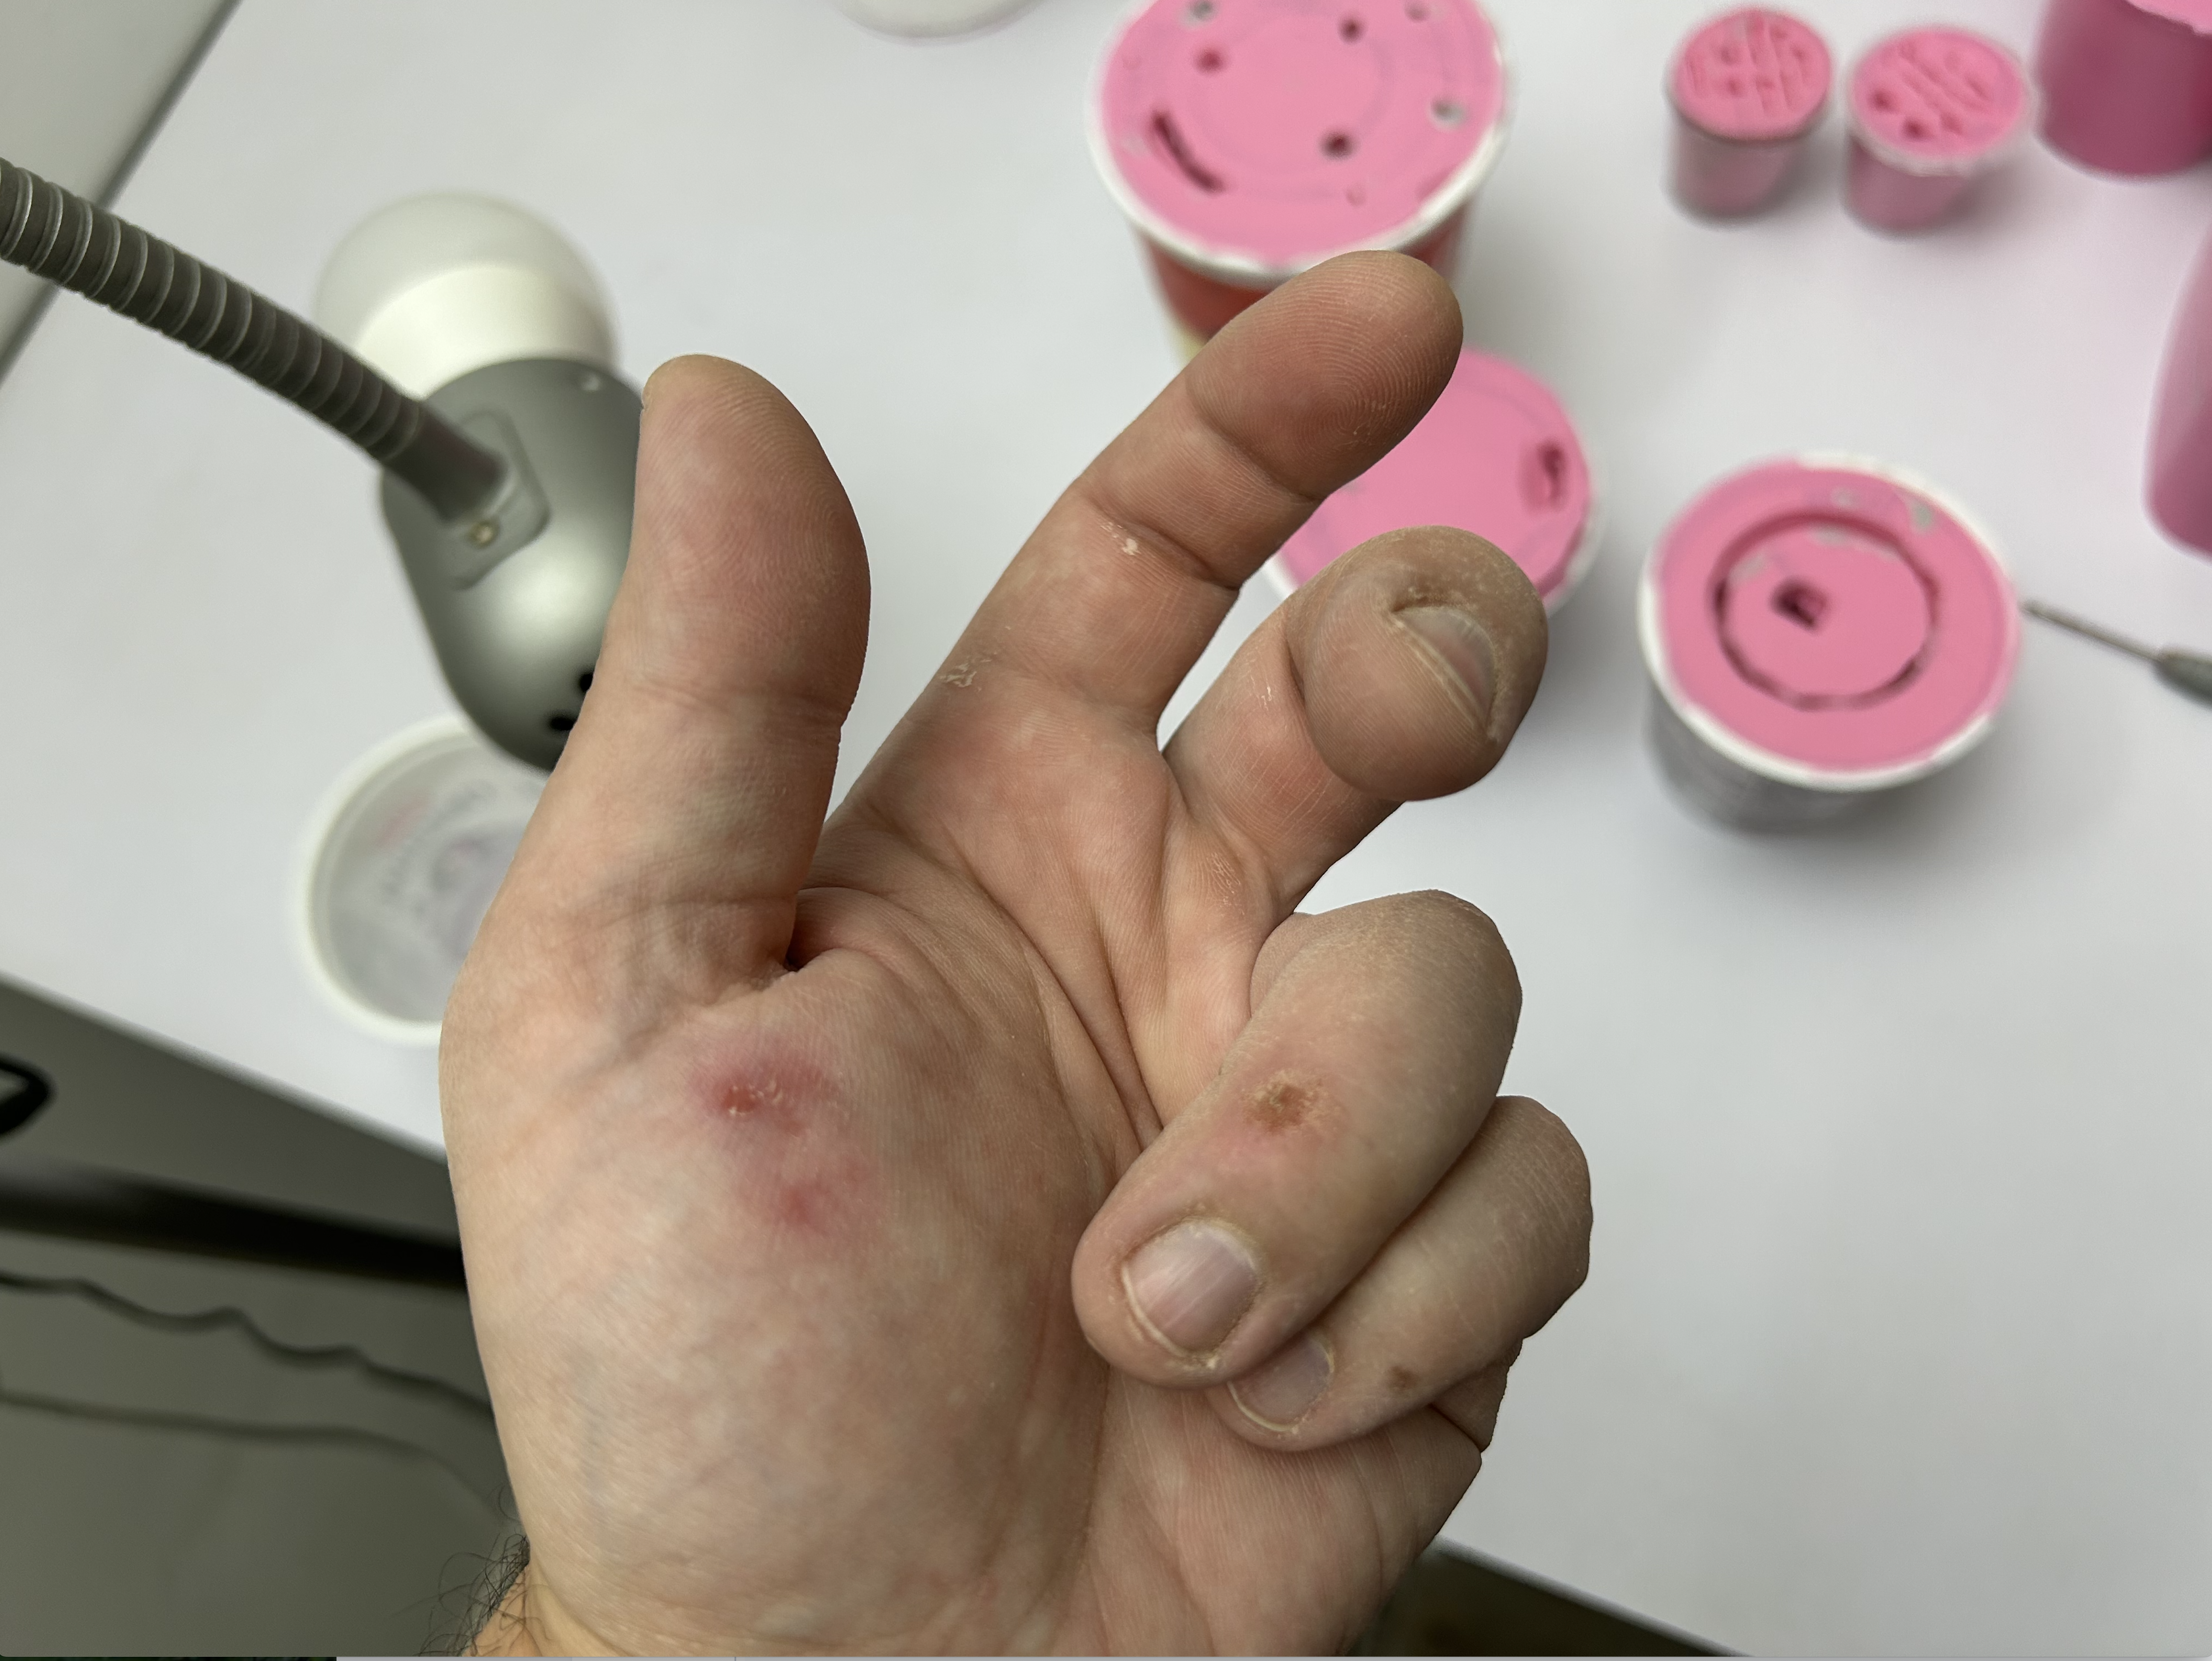
Captain's Log--supplemental. Again. I'm happy to report that preliminary casting has begun, and the castings are looking phenomenal, as usual! The final molds are just about done, and the extraction process has left me with a few parting "gifts". Sometimes that's the cost of doing molds right.
-
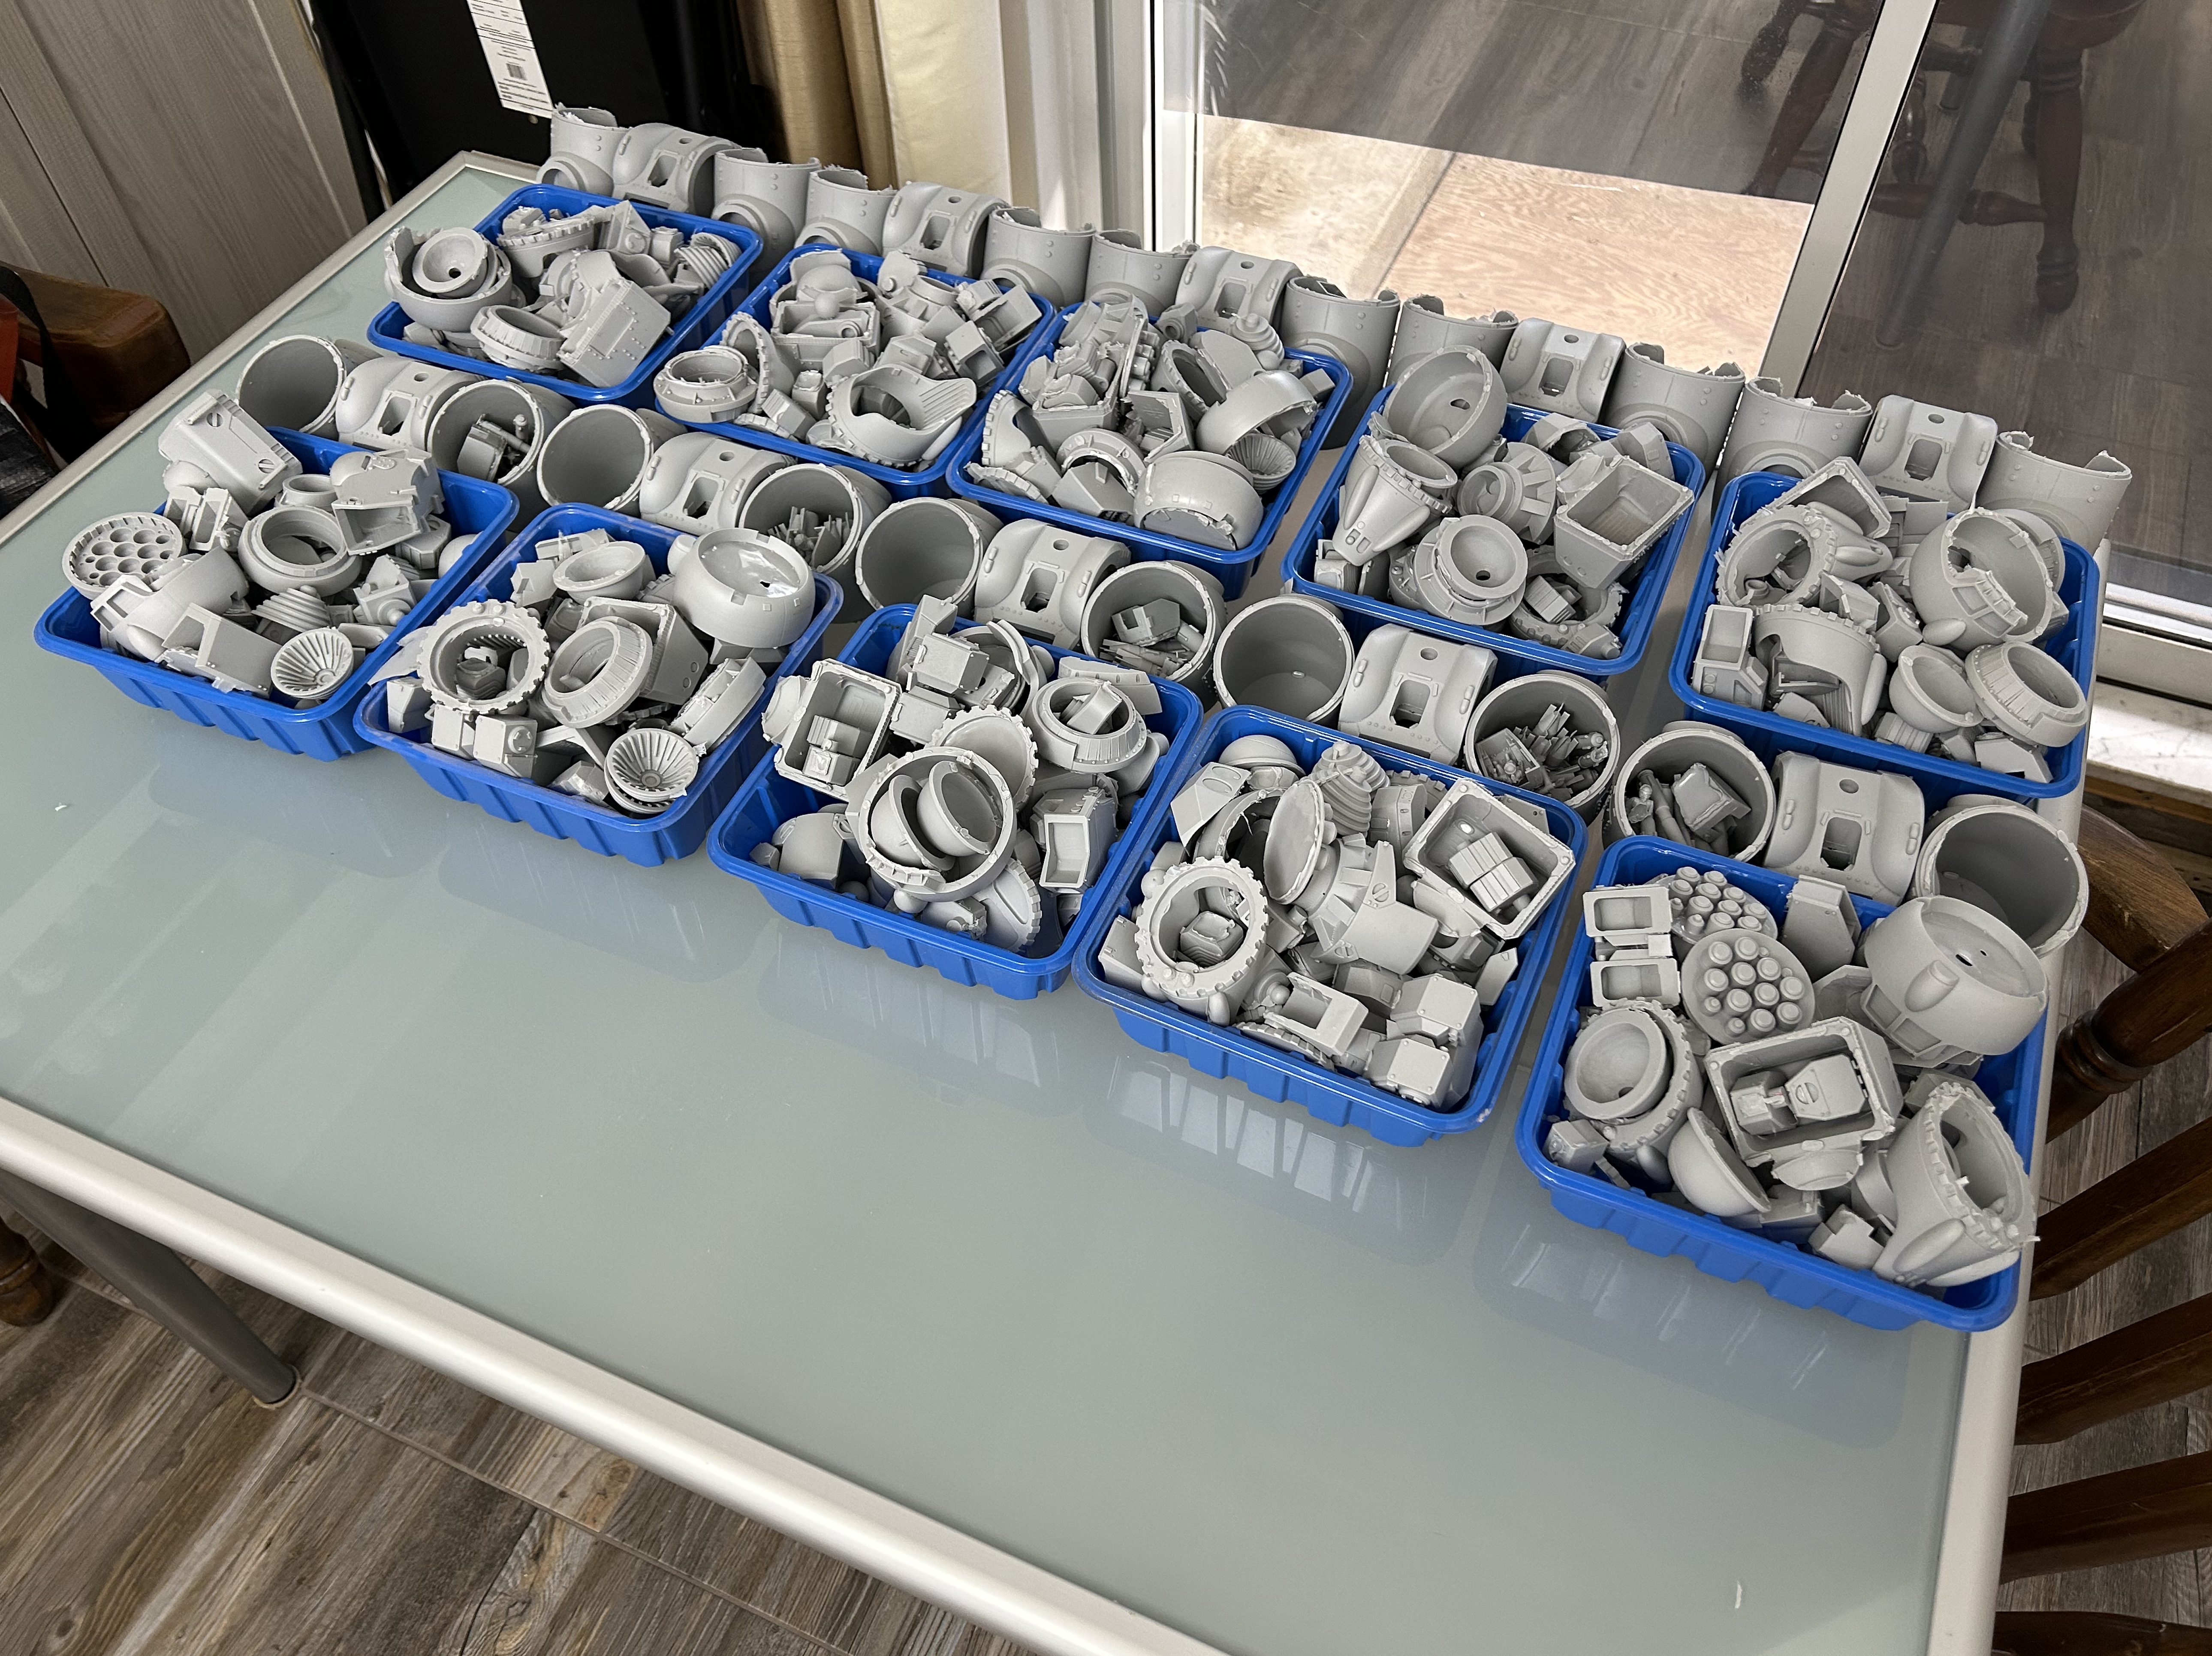
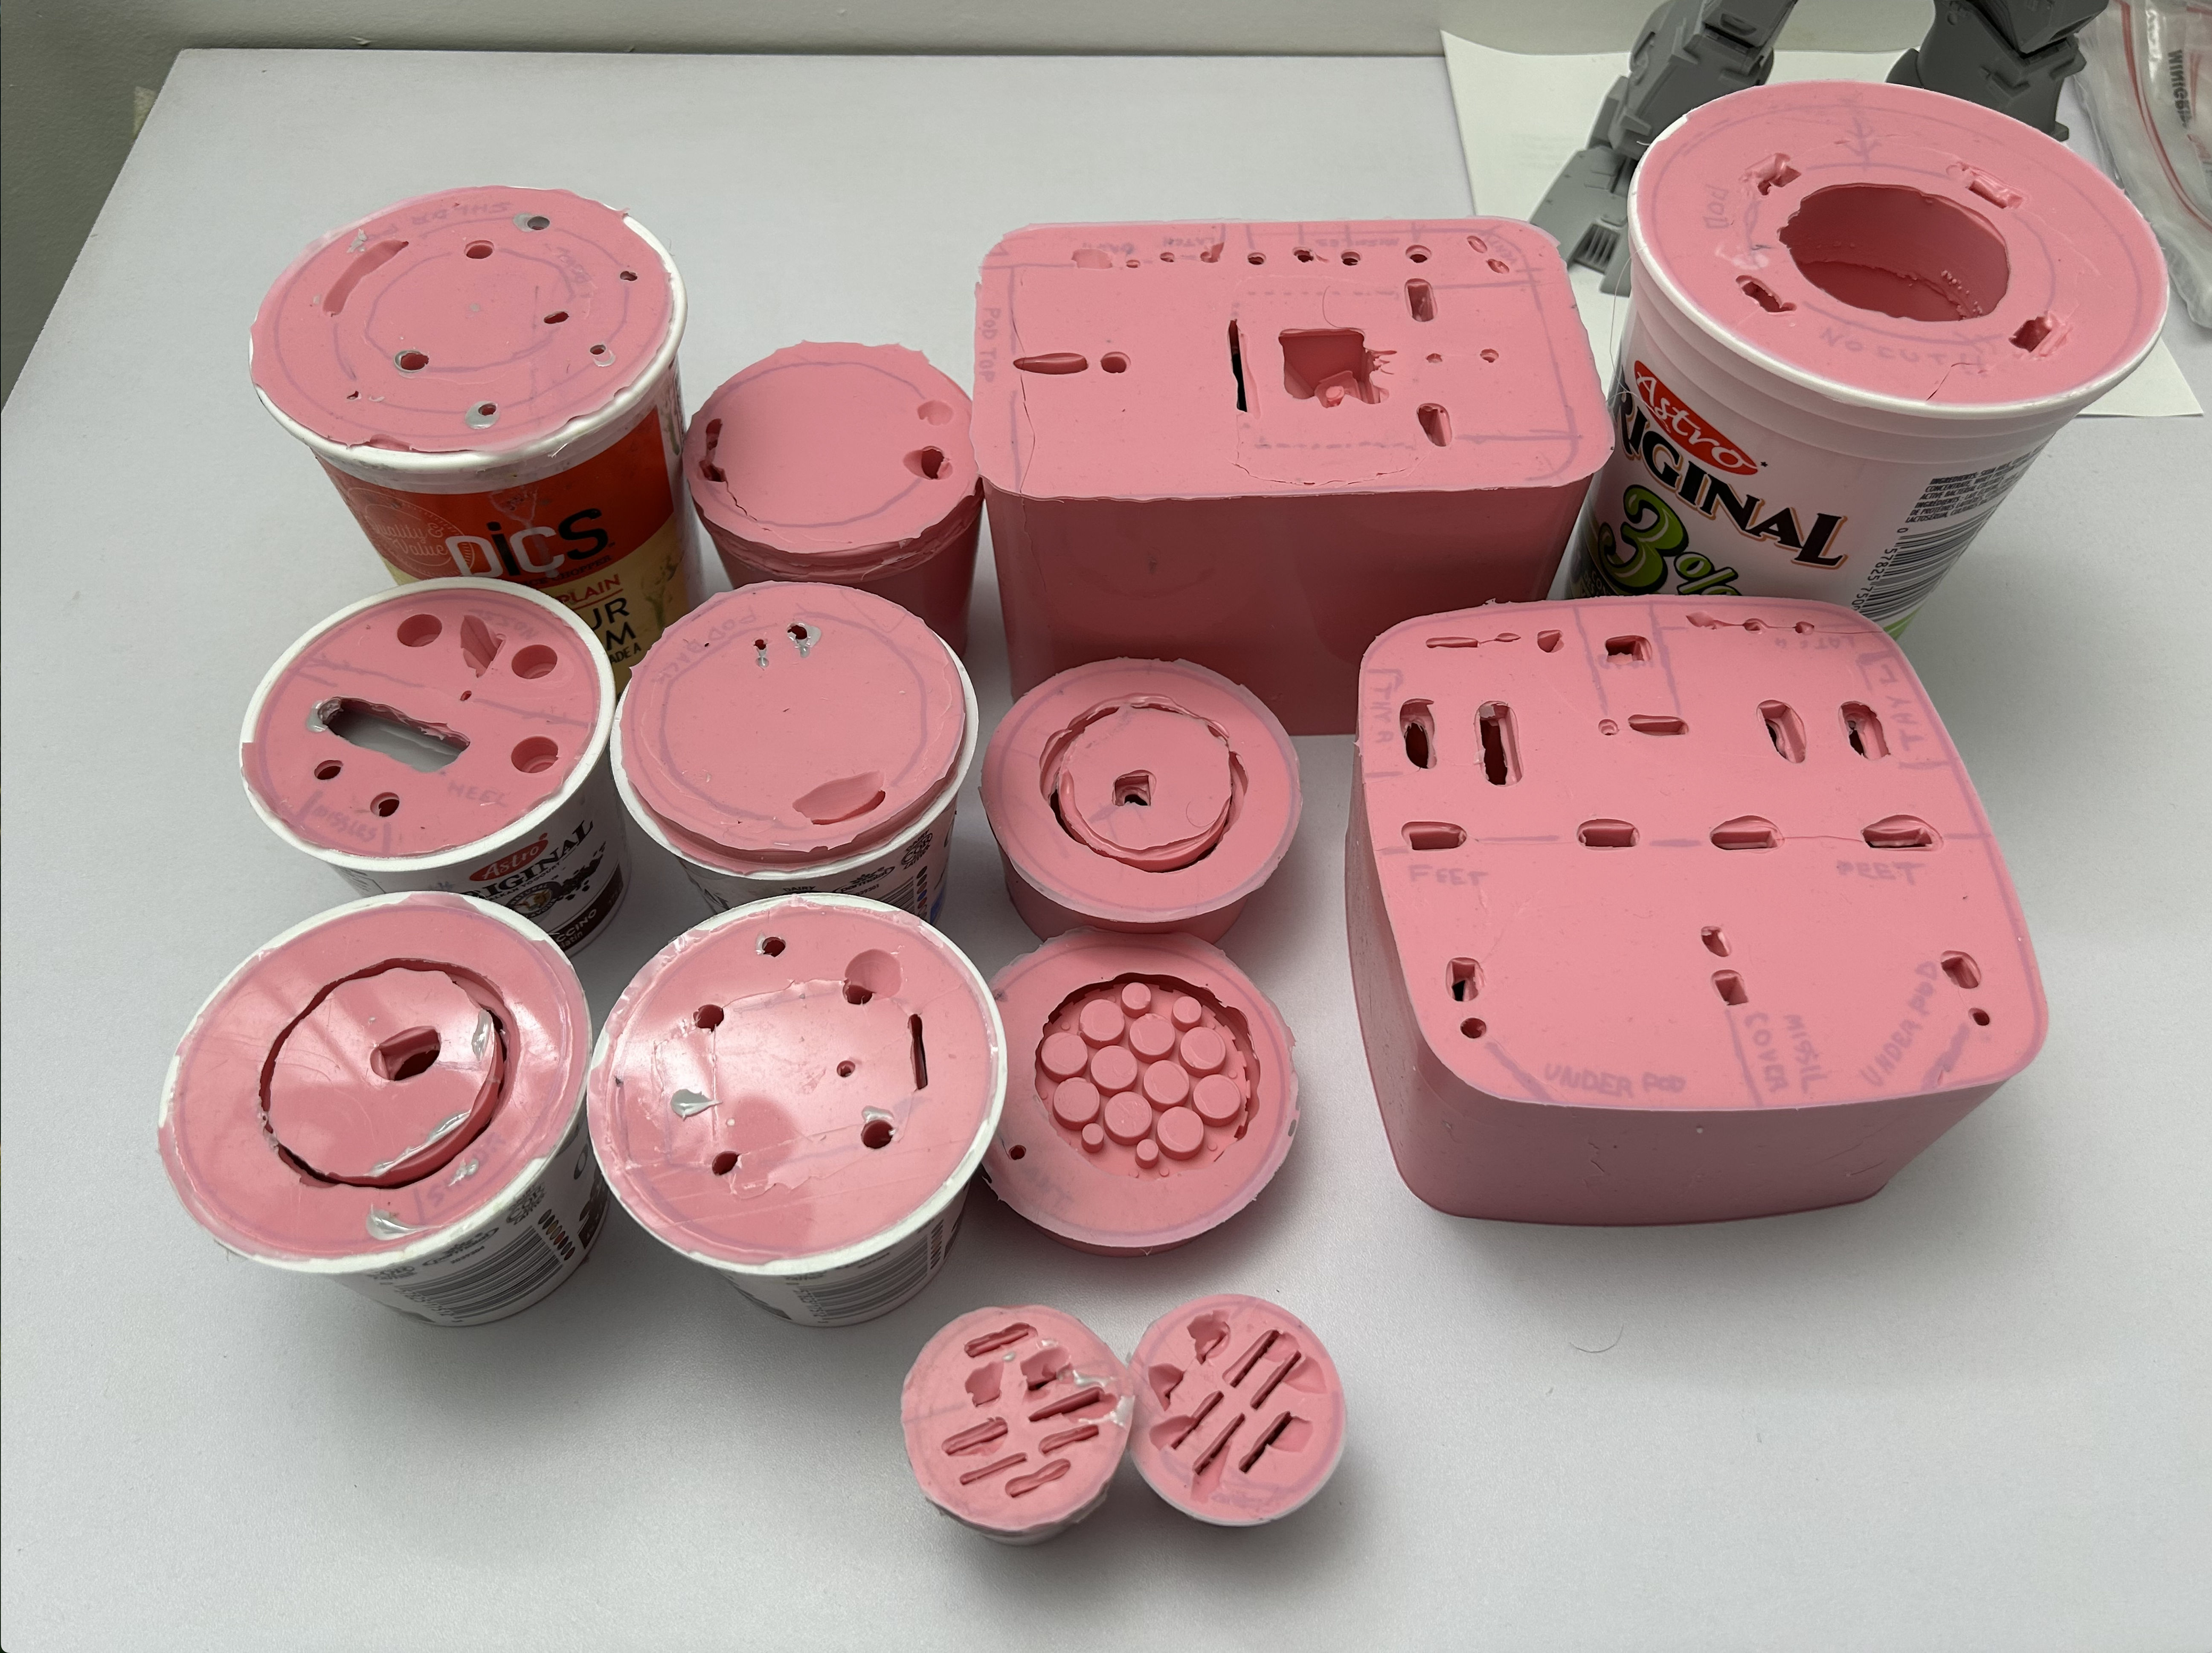
Captain's Log--supplemental! I'm still here, just very busy with the molding process! These are all the molds I have so far, with 4 more about to be opened and another four left to be poured! It's utter molding madness, but casting will start next week, praise God!!
-
Captain's Log: Thursday, June 12, 2025 With all the master-patterns completed, I can now turn my attention to the tedious task of prepping all those masters for the molding process. Pics 68-72 show various components in various stages of preparation: because some parts have channels and complex geometries (openings, etc.) a plastic membrane needs to be added to strategic areas to allow the parts to be demolded without destroying them. What's not apparent in the images is that I also have to vent these membranes so that air doesn't remain trapped underneath them, so very tiny, surgical punctures are made in strategic locations to allow for proper venting. Pic 70 shows one part attached to a clear acrylic base. The gates are secured to the base with hot glue. This will allow the gates to detach cleanly from the part during demold and avoid damage. The last step involves gluing a mold box around the part(s) using that same hot glue. Pic 74: I've got my trusty mold material ready, along with a gram scale to accurately measure-out the silicone and catalyst. When thoroughly mixed, it will be a bright shade of Pepto-Bismol. When the mold rubber is thoroughly mixed, it then needs to be degassed, as the mixing process introduces a lot of air into the mixture. To that end, I employ a vacuum pump (pic 75) and a vacuum chamber (pic 76) to draw all the air out. Because I use an industrial pump, the process only takes a few minutes. With the rubber thoroughly degassed, I then carefully pour the rubber over the parts and let them set. This is a long process, so I may not have an update next week as I busy myself preparing the (almost fifteen!!) molds, but rest assured I will be very busy! 70.HEIC 69.HEIC 71.HEIC 72.HEIC 73.HEIC 76.HEIC 75.HEIC 74.HEIC 77.HEIC
-
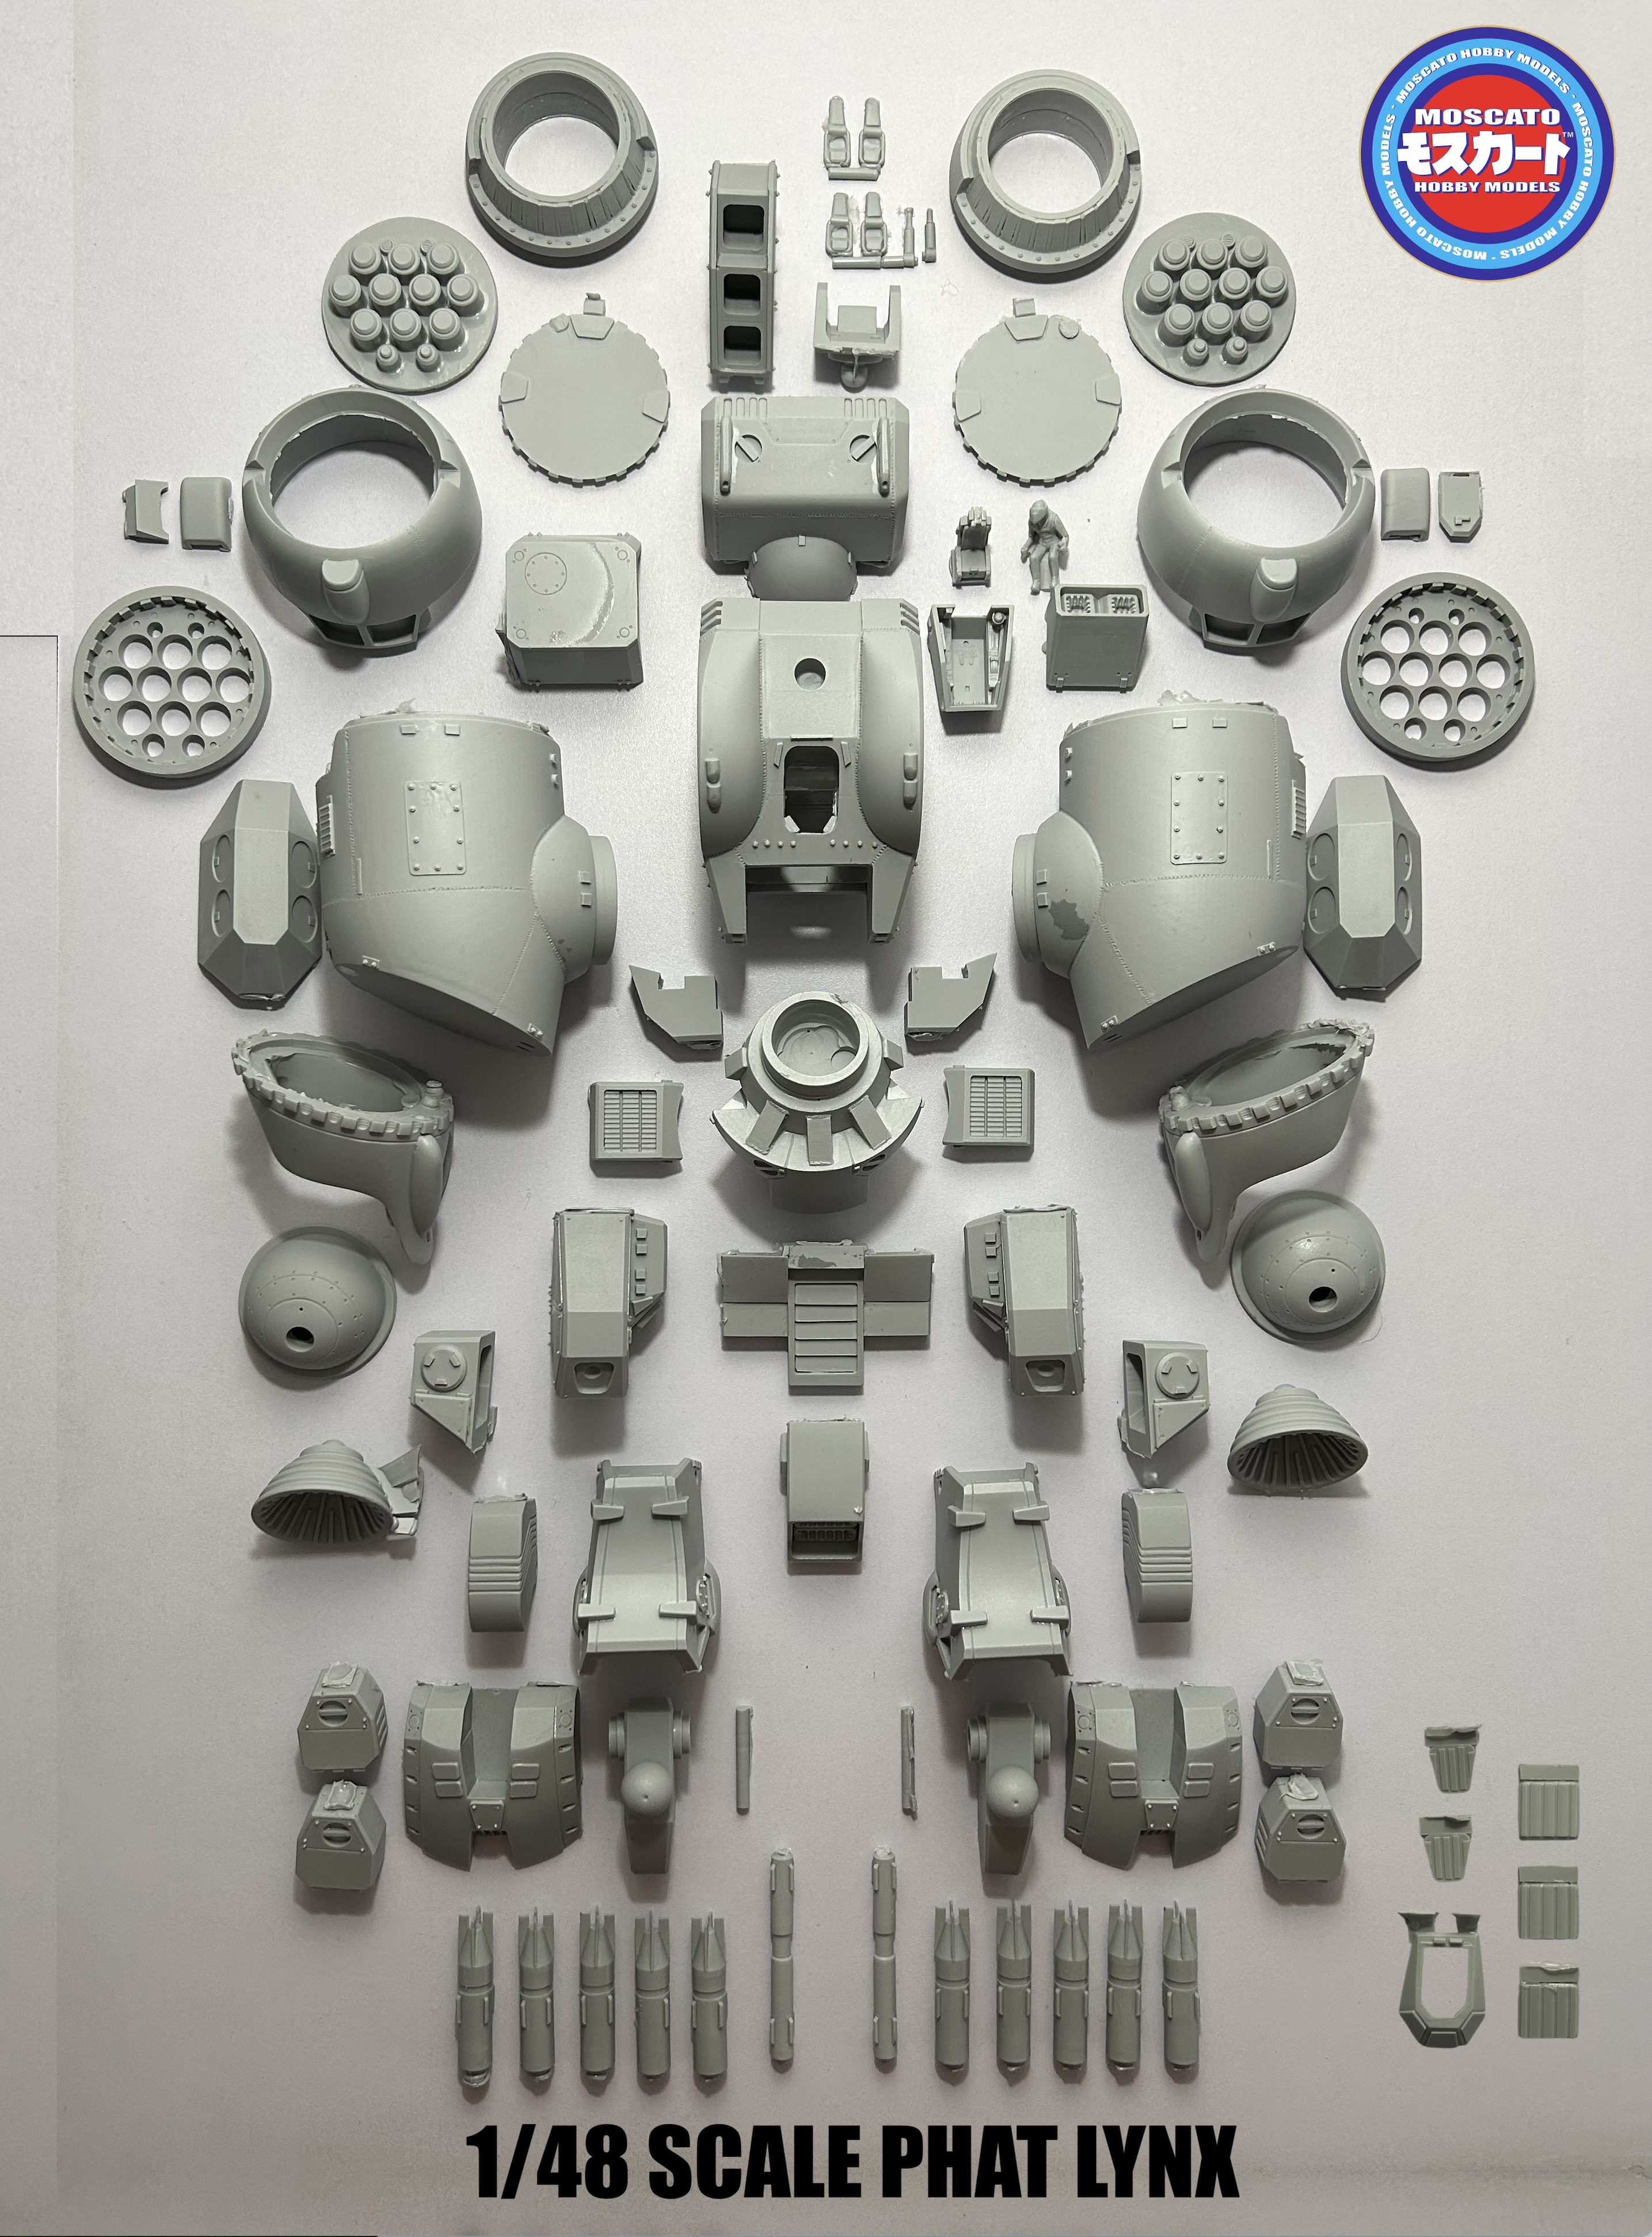
Captain's Log: Thursday, June 4, 2025 Hey @everyone the 1/48 Destroyed Phat Lynx masters are done! Have a look at this glorious (and seriously massive) beast of a kit! Some fun facts about this new baby: -the vision block housing and searchlight lenses will obviously be molded in clear, but I will also add a tiny hint of green to the clear resin to create the look of thick armored glass. -With the missile drums tilted to 45 degrees and the hatches open like in the pic, the kit stands almost 33cm tall There is a detailed cockpit and a pilot, which is similar to that of the Thomas Hawk, but is very difficult to photograph due to being very deep into the chest (and heavily armored!) The missiles drums can be built with a full payload, partial payload, and also firing (for the more ambitious modelers). Additionally, the missiles can all be displayed next to the mecha, so you'll have several display options. For those who like to add lighting effects to their kits, this baby has AMPLE room for that! Now that the masters are done and mold-prep will begin next week, I am formally requesting the $200* CAD balance payment. *for Canadian and contiguous US destinations only. For overseas/Hawaii delivery, please refer to the quote I provided to you earlier for the exact balance due. IMG_3466.HEICIMG_3465.HEICIMG_3464.HEICIMG_3462.HEICIMG_3461.HEICIMG_3460.HEICIMG_3458.HEICIMG_3457.HEICIMG_3455.HEICIMG_3454.HEICIMG_3453.HEICIMG_3452.HEICIMG_3451.HEICIMG_3450.HEICIMG_3449.HEIC
-
Captain's Log: Thursday, May 22nd, 2025 You wouldn't think so by looking at the pics of this latest update, but the masters are close to complete! Because I opted to do more fabrication and fewer beauty shots, this update will be shorter than usual. Pics 64-67 show the grueling puttying process I use to mate two surfaces together perfectly, and the fairing on the bottom of the missile pods has been a tough subject, but alas, the worst is done! Once all the puttied parts are sanded, I reckon I will have about a week's worth of super-detailing, and then the masters will be done! Pic 68 shows the first step in the detailing process (in this case the thruster nozzle) and I was just getting warmed-up! Be advised that I may skip next week's update to finish all the patterns and prime them. I'm pretty confident it will be worth the wait. 63.HEIC 64.HEIC 65.HEIC 66.HEIC 67.HEIC 68.HEIC
-
Captain's Log: Thursday, May 15th, 2025 Because this model project has so many large components, it's important that I hollow therse components out as much as possible, and that';s what's happening in pic 49. There are several reasons for this, and not all of them are immediately obvious. 49.HEIC -Firstly, it saves on casting resin, which immediately affects the cost of the kit -It also saves on overall shipping weight, which affects the total cost to the customer -Thirdly, it makes a kit easier to build, since the parts need much less structural reinforcement at the joints -Lastly, it improves kit balance. Because it's a very top-heavy design, all of the lower body component will be cast solid, and the weapons drums and main gull will be hollowed, making it easier to pose and less likely to topple-over. In pics 50 and 51, we see the first appearance of polyester putty to manage the complex curvatures and shapes around the shoulder protrusions. I always add extra putty, then when it starts to harden, I can trim-away some of the excess with a knife, then allow the rest to harden and sand parts to the desired shape. 51.HEIC50.HEIC Pics 52 and 53 show the creation of smaller detail parts: I take smaller pieces of Renshape and carefully cut, shape, and sand them before adding them to the kit surface. 53.HEIC52.HEIC This follows in pics 54 and 55, only with styrene. In reality, I will use many different materials to achieve the desired result. This particular component is the shoulder joint, which was neglected by the line-art, and most of the commercial offerings. I thought this would be an ideal component to “greeblify”. It provides just enough realistic, mechanical detail while still fitting-in with the overall aesthetic. 55.HEIC54.HEIC Pics 56 and 57 show the back-end of the huge missile containers, which went through the whole line of operations: the band saw, the mill, drill-press, the Dremel and then hand-shaping. It was a component I was worried about due to its complex shaping, and yet I was able to make it symmetrical and didn't even need to use any putty! 57.HEIC56.HEIC Pics 58-62 show all the progress I have so far. It's hard to convey just how massive this model is with the camera; it really dwarfs the Thomas Hawk in terms of shelf-presence! At this point, most of the major components have been fleshed-out, so next week's update will consist of small, but important refinements. Stay tuned! 62.HEIC61.HEIC60.HEIC59.HEIC58.HEIC
-
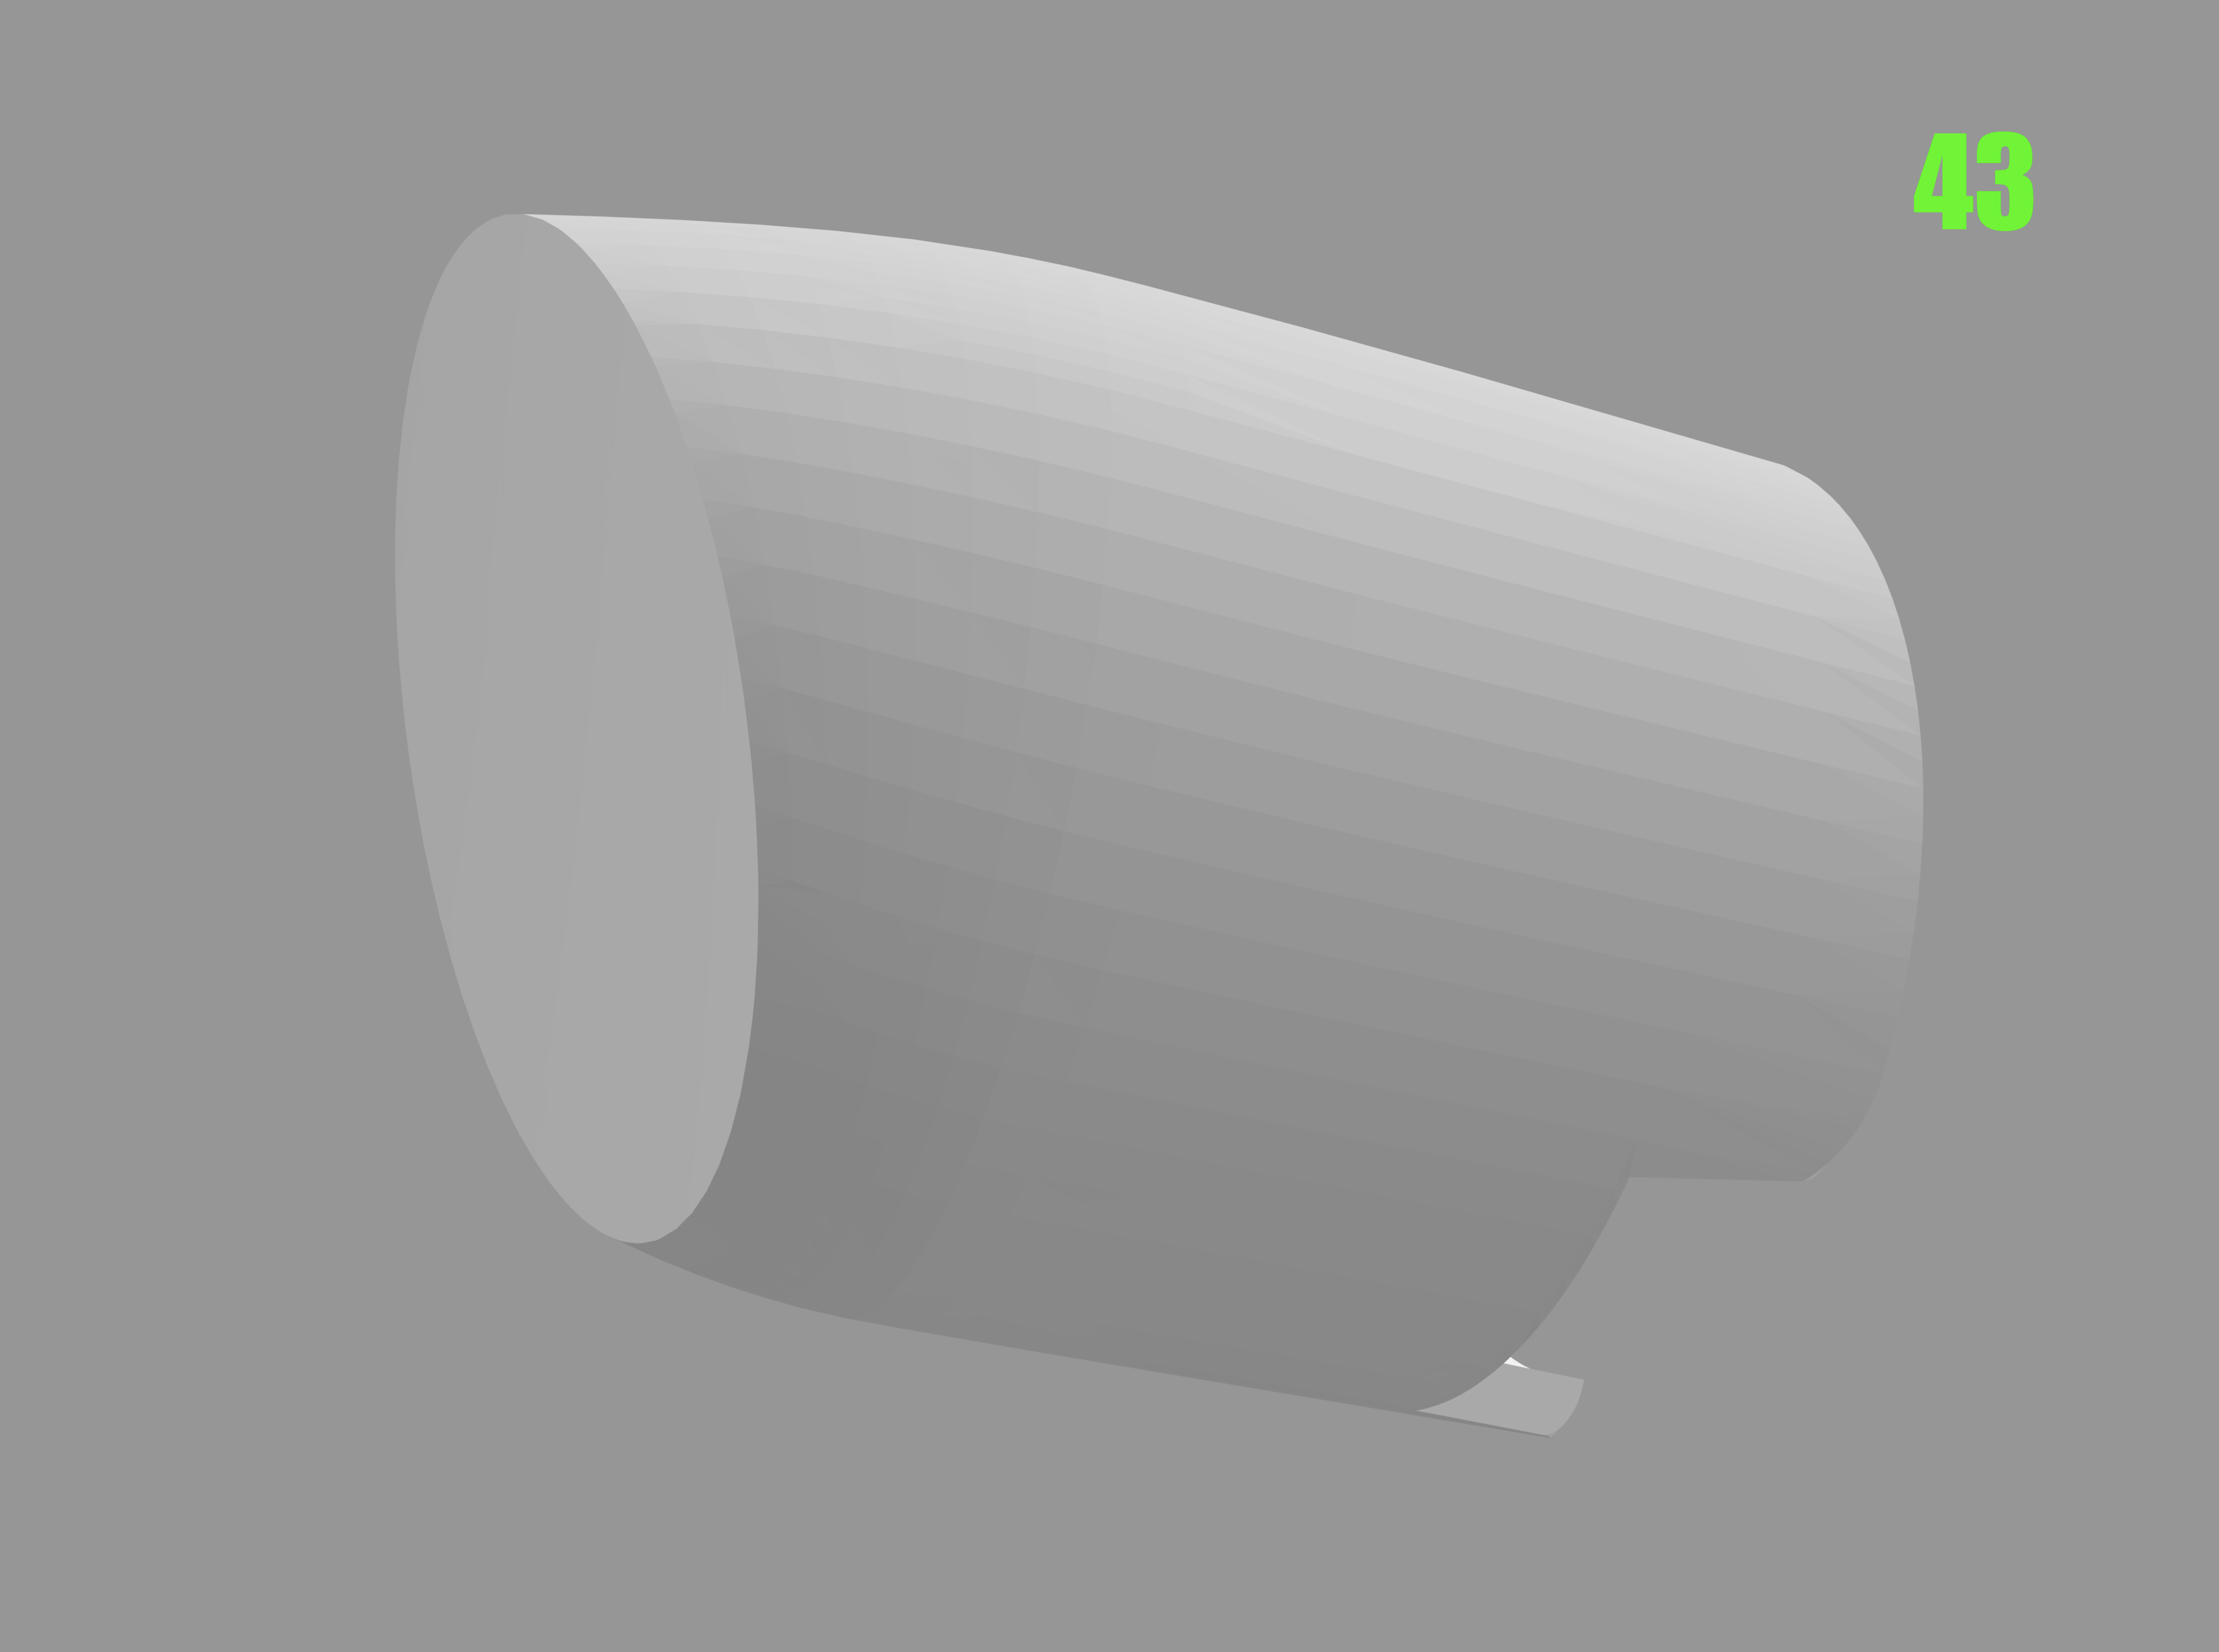
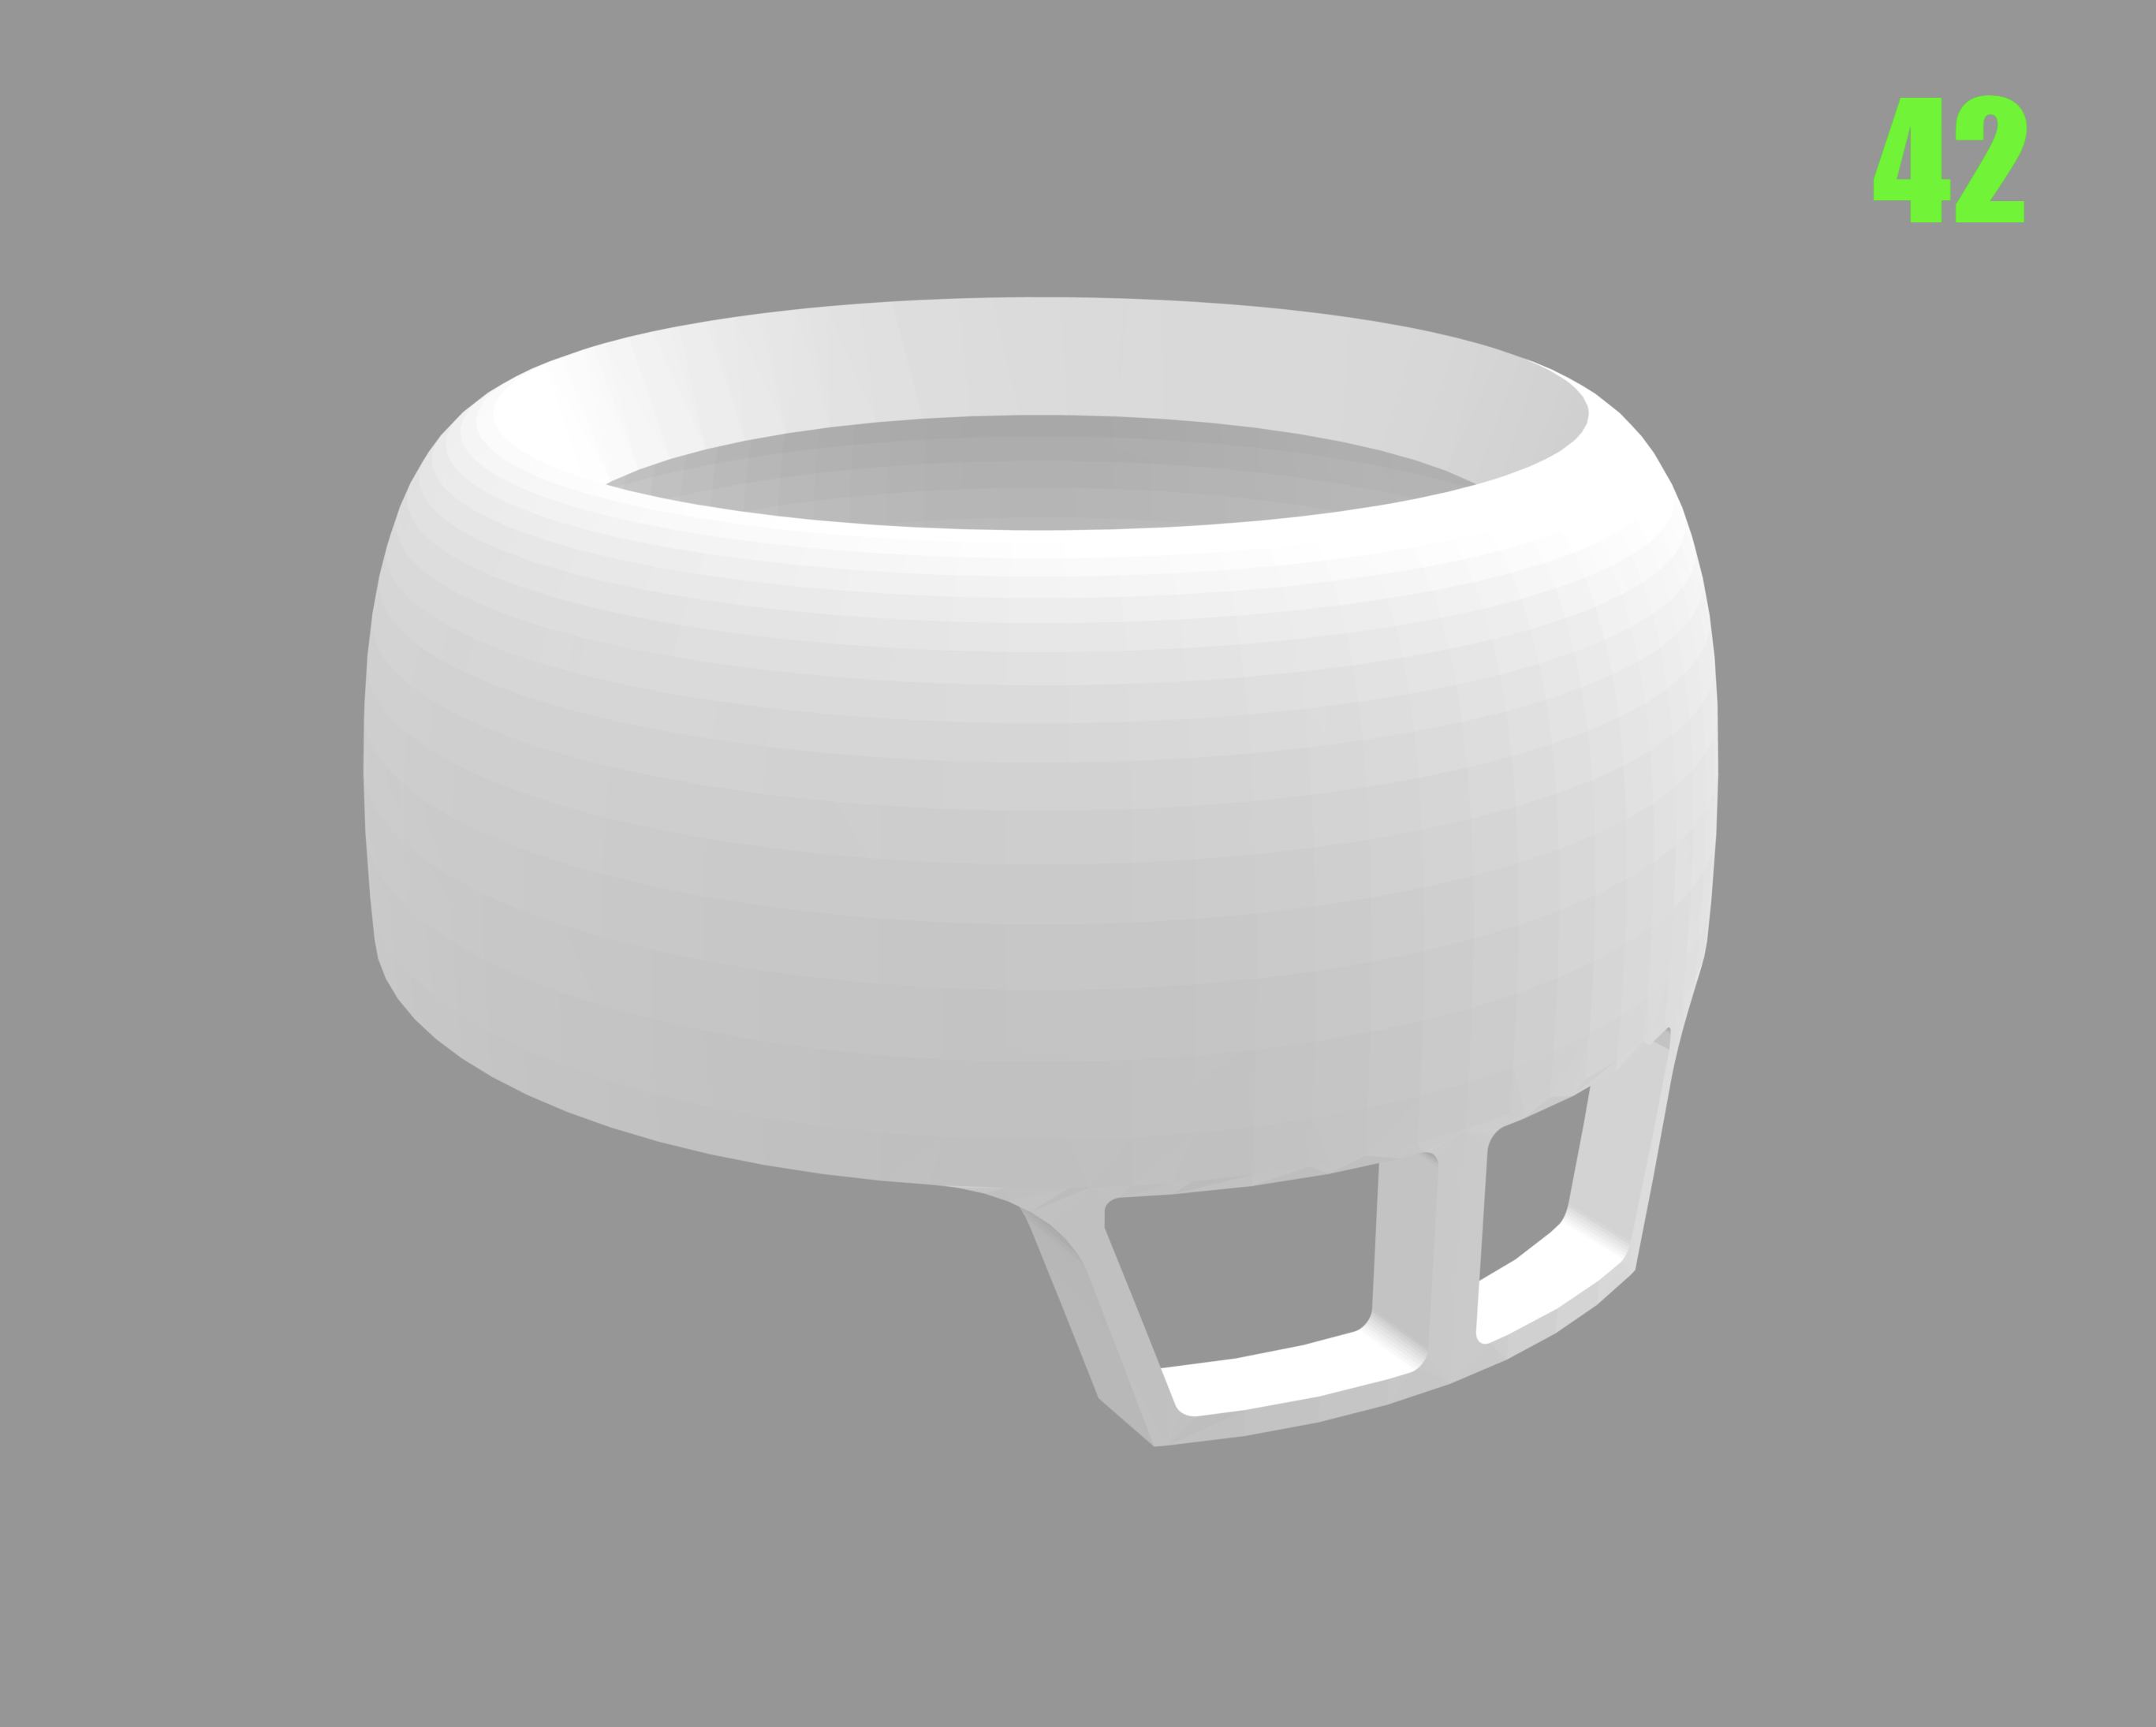
Captain's log: Thursday, May 8th, 2025. Have a look at pic 37: those are all the cutting and shaping tools I use on the lathe, with the exception of the face-end mill, which you saw in part 1. While they are few, they all serve a purpose, depending on the part needing to be created. The grinding stones on the left are used for shaping more than cutting, so these usually come in when I'm making curved shapes of a particular diameter. You'll see what I mean in the next few steps. 37.HEIC If you go back to plate 32 from last week's update, the missile pod interface joint, we see that same part again in pic 38, only now it's on the mill. I need to make a very wide, cylindrical channel across this piece, so I begin by removing material with the regular steel milling shanks. After that, I use the larger bull-nose shank to round-down those large stair-steps, then go in with the 'lollipop' grinding stone, to refine the curve even further. Then on the last step, I use 80 grit sandpaper wrapped over a cylindrical shape to refine the curve until it looks like what you see in pic 39. This part is now almost ready to hold the large missile container!--more on that in just a bit. 39.HEIC38.HEIC Pic 40 shows the back side of the main body/hull structure. Here I'm test-fitting many of the other parts that will attach to this component. You can still see some of the pencil marks on the blocks which were used as reference point for detail machining. 40.HEIC Because the shoulder missile pods are just too large for me to machine safely on my equipment, I broke-down the component parts and created files on the computer (pic 41) which will be used to make STL files for 3D printing. I enlisted Carlos from MEPTOYS to create those files, which he popped-out in just a few days (THANK YOU!!!), and you can see those shapes in pics 42-44. I didn't need any details to be added on the surfaces; I will do all that by hand to make sure the aesthetics match the rest of the model. Pics 45-48 finally show what I've been working toward. While still lacking refinement, the proportions look great and the parts will be designed to fit with alignment pegs in critical areas to make the model as sturdy as can be. From this point onward, things will be moving a bit faster, as most of the major components are now shaped, so stay tuned for next week's update! 48.HEIC47.HEIC46.HEIC45.HEIC

-
Captain's log: Thursday, May 1st, 2025. Some of the components for this 1/48 project are going to be on the large side, and because of that, I'll need to cobble some Renshape blocks together. You can see this in pic 21, and this piece will eventually become the main hull/chest of the mecha. In pic 22, I'm checking the block size with the paper template before I stick it down. I want the block to be a little bit larger. Pic 23: I'm putting that resin bar stock to work on the lathe now. While I can carve resin faster than metal, I still have to mind my pace because whenever you machine a part, it gets hot. If too much heat builds up in the resin, it can become soft and cause the cutting knife to jam and potentially damage the part (and the machine!) Pic 24: here I am test-fitting the part for snugness by mating it with an existing crotch component. This piece will eventually become the mecha's 'waist.' Because many of these parts are big & heavy, I prefer they fit tighter so as to hold together better when built. Pic 25: here's the inglorious side of machining: piles and piles of resin 'hay' and Renshape shavings. You'd be shocked at how much of this stuff is produced with every project! Pic 26: I'm going to turn some Renshape on the lathe, and it's a pretty big part, so I start by checking the measurements on my diagram using my trusty compass-cutter. Pic 27: using the same compass-cutter, I now score a circle to the exact diameter I need from a larger block of material. Pic 28: I then trim the part from the larger plank of Renshape, leaving at least 3mm of wiggle-room. Pic 29: here I've removed most of the excess with the band saw, and the part is almost ready to be mounted to the lathe. Pic 30: using some CA glue, I attach a resin mandrel to the part. The latter is perfectly round, so the lathe chuck will hold it securely, while the knife can attack the Renshape end. Pic 31: because the part is so big, I enlist the dead-center to help hold the part during machining: this is critical, especially in the early stages when the part isn't perfectly round and the cutter jams into Renshape then air at high speed, causing the part to vibrate. Once again, I have to proceed slowly because of the vibration and the largeness of the part. Pic 32: after a LOT of machining (and vacuuming!), the piece within is being revealed! This will eventually become part of the missile pod's interface with the shoulder joint. Pic 33: more blocks being readied with paper patterns, about to go under the band saw. Pic 34: the tedious process of carving-away excess material begins; there's just no way around it. Pic 35: once the band saw has done its part, the chest module now goes to the mill for proper surfacing. Pic 36: It may not look like much, but these parts were a LOT of work! Things are starting off slow, simply by virtue of the size of the components needing to be made and the preparation they require. By next week, you'll see a drastic improvement, with lots of recognizable parts coming together, so stay tuned! 21.HEIC 22.HEIC 23.HEIC 24.HEIC 25.HEIC 26.HEIC 27.HEIC 28.HEIC 29.HEIC 30.HEIC 31.HEIC 32.HEIC 33.HEIC 34.HEIC 35.HEIC 36.HEIC
-
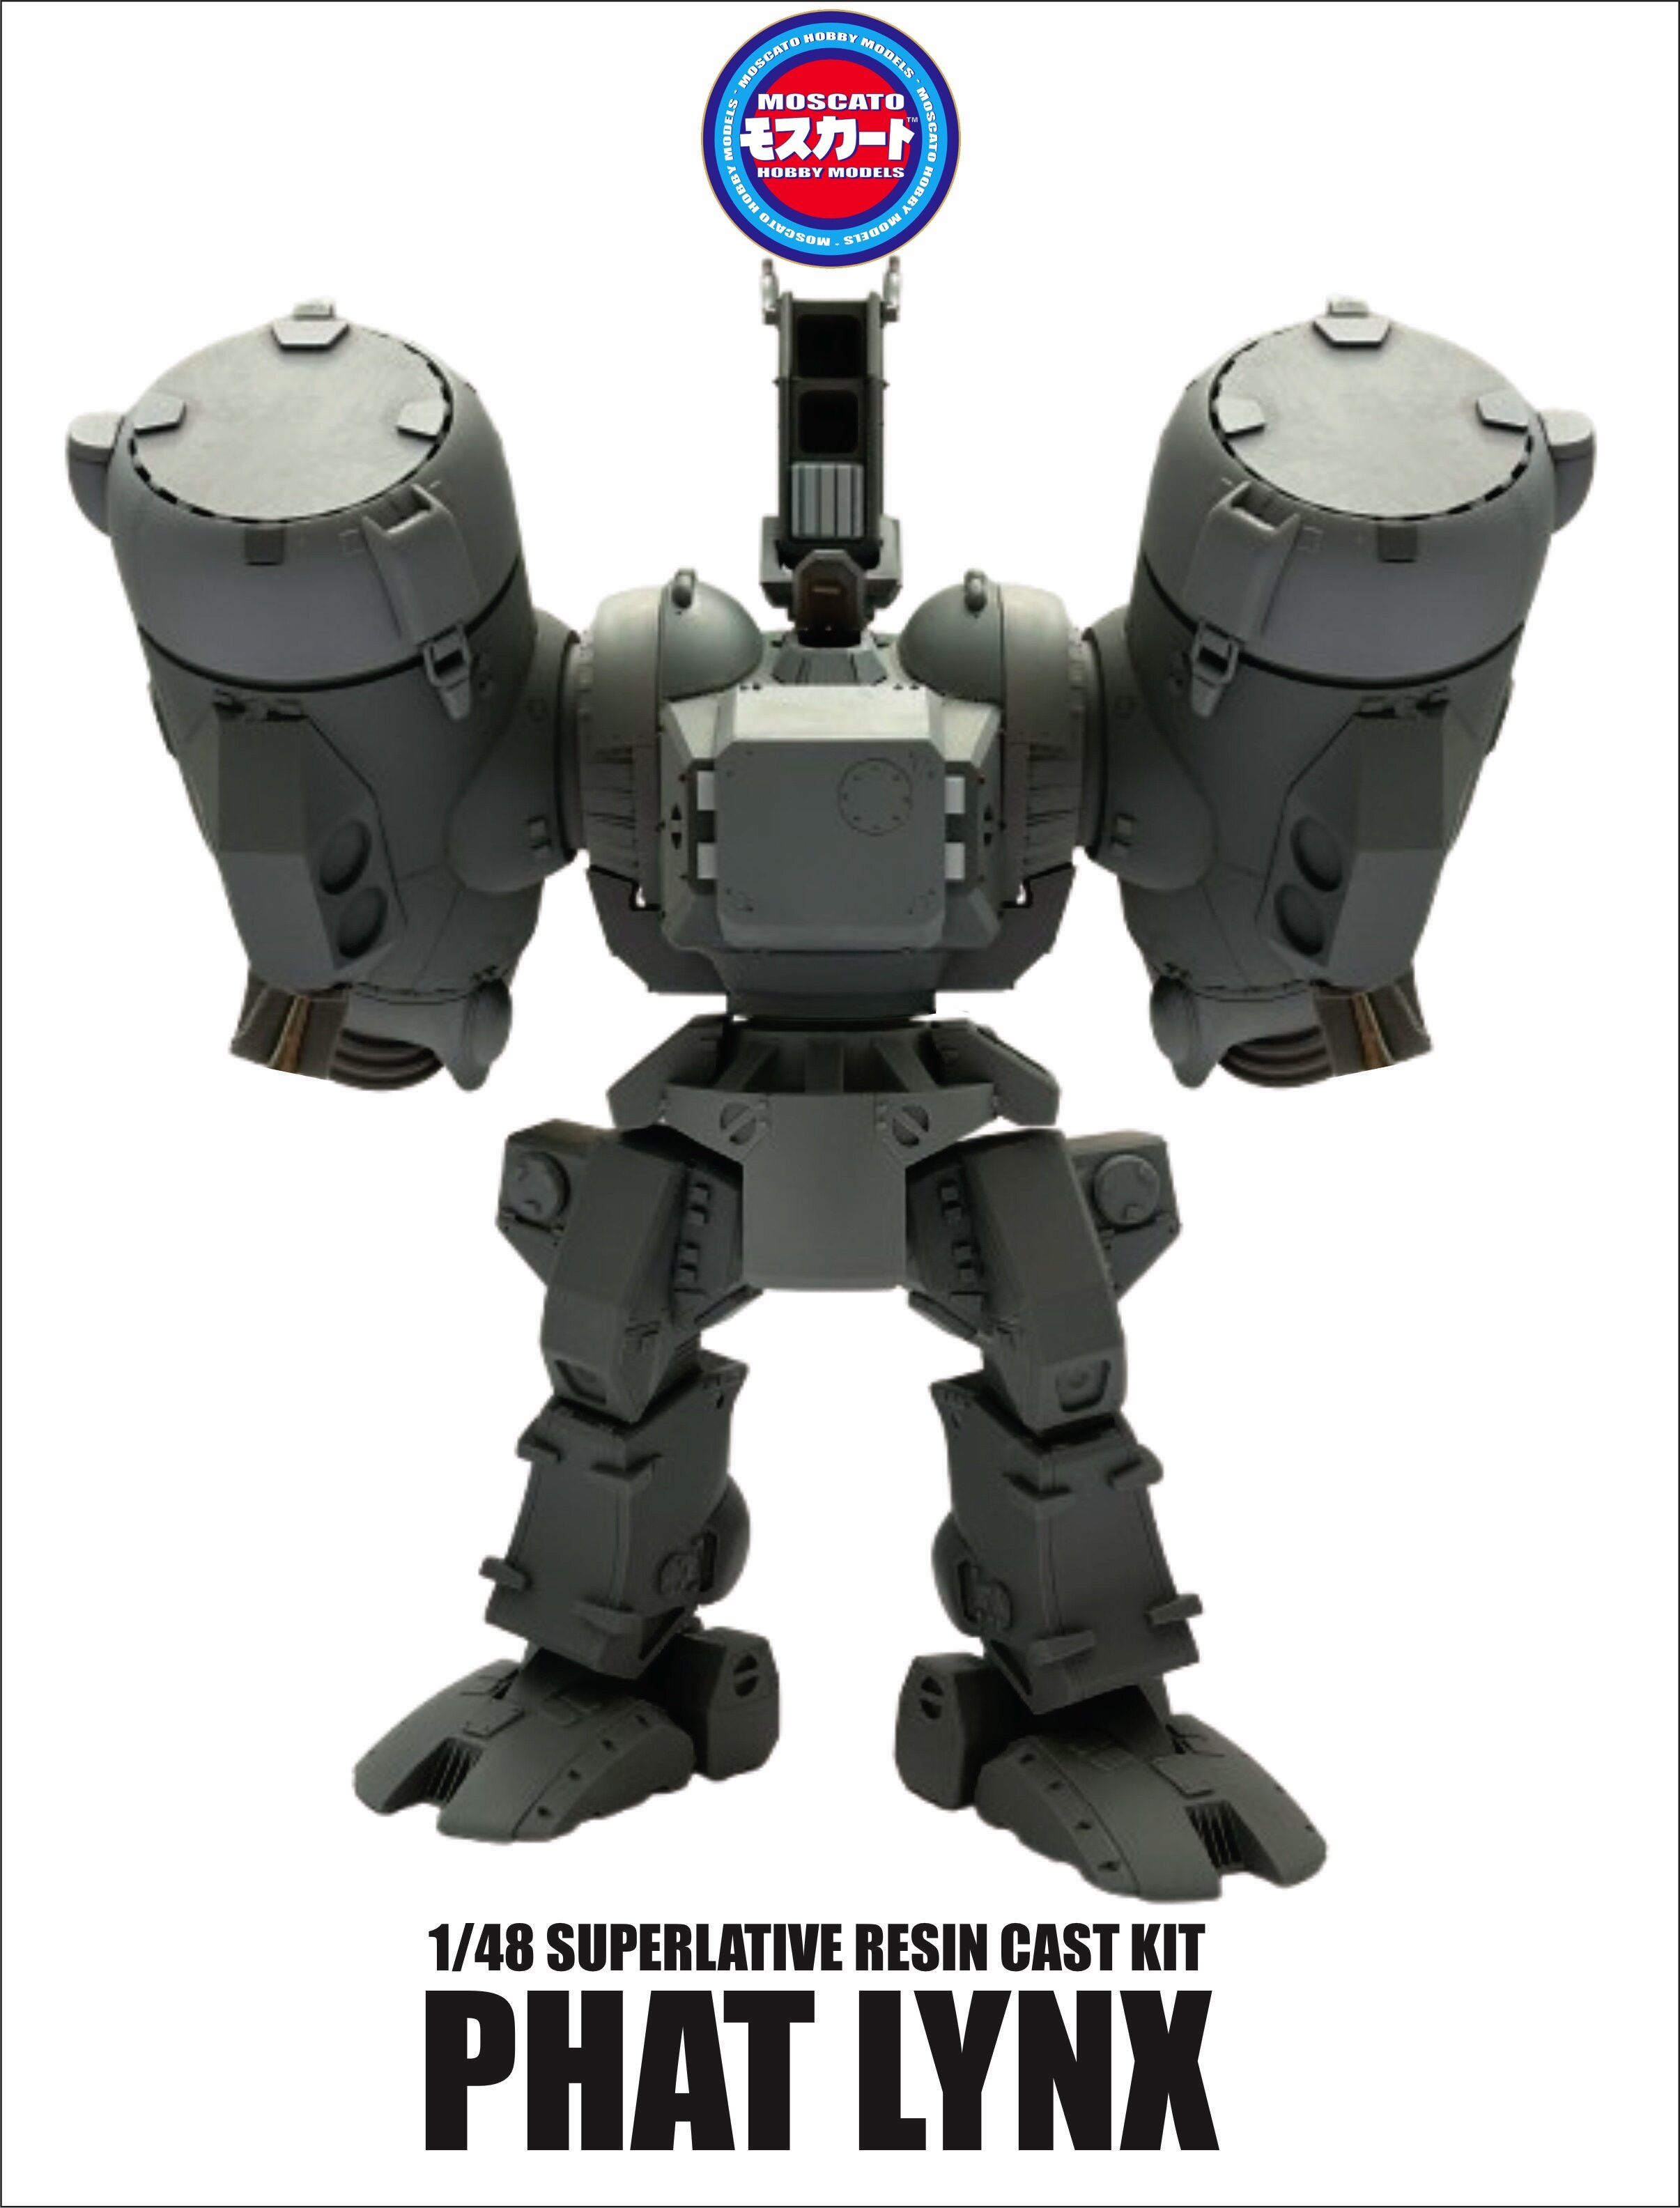
Captain's log: Thursday, April 24th, 2025 Here we are, boys and girls! The 1/48 PHAT LYNX resin kit project has now begun! As per my usual routine, I will provide a weekly build log to show you the progress being made, and some of the techniques I use to achieve those results. To that end, I'll also show-off some of the tools I use in the craft. While a few key parts will be 3D printed, most of the fabrication is done the old-fashioned way: by hand! Starting off with pics 00 and 01, we see the drafting process well underway. This is where a model is fundamentally made or broken: details can be added or subtracted, but proportions are very hard to alter once committed-to and a good (artistic) eye is key to getting aesthetically pleasing proportions all-around. I take my time in this phase, starting from the original line-art and then tweaking things to enhance the look. I'm fortunate that I can use 80% of the lower body from the Thomas Hawk project here, since the two mecha have decent parts commonality. Pic 02: once I have everything drafted and looking just right, I then print my plots out on paper and gather my tools. I think you can tell even in this pic that some of the components are massive! As such, I will need a lot of Renshape blocks as well as bar stock to turn the round parts. Other components will be handled by 3D printing, and I'll explain why later. Take note of the two squares next to the Renshape blocks: this is a must-have tool for creating parts with perfect 90 degree angles. Pic 03: this is a face-end mill. It's designed to create level surfaces on the lathe, and while a regular milling shank can do similar work, the face-end mill covers more real estate in one pass, so it's a time-saver. Pic 04: this is my milling machine. You can see the face-end mill in the chuck, ready to get to work, as well as the hand-crank vise I use to clamp the parts to be machined. I like this vise because it's very low-profile and allows me to machine taller parts than I could achieve with a regular swivel-vise. Pic 05: here is the lathe. While it's adequate for most parts, it will be a bit of a struggle to create some of the PHAT LYNX's components on this. In fact, some of the parts, like the missile pods, are so large as to be dangerous to turn on my lathe, which is why I will have the base structures rendered and 3D printed. This way, I get to keep all my fingers and forego a few scars! Pic 06: my trusty band saw! This is a critical tool for slicing blocks of Renshape, as well as whittling them down prior to machining. It's not as precise as a scroll saw, but then it doesn't need to be. These three machines working in unison are where 50-75% of the construction happens. Pics 06-09: because I will need to machine quite a few large, round parts, I will need to create some bar stock. Step 1: mix some resin and pour into a cleaned & prepped round yogurt container. Let it sit to allow the surface bubbles to dissipate, then place under pressure for 90 minutes, then de-mold! While the resin looks solid enough, it's still too soft to handle so I will let it sit for 24 hours before machining it. Pic 10: this bar stock is too large for the jaws of my milling chuck, so I “cheat” by adding a smaller mandrel with some CA glue. This will allow my lathe jaws to hold the part from the mandrel, yet still be adequately secure for machining, provided I don't cut too aggressively. Pic 11: I need blocks! Here I am cutting a large block of Renshape into more manageable segments on the band saw. Pic 12: once cut, the part will have an uneven surface, so onto the mill it goes to have its face made smooth. Pic 13: these are the jaws I normally use for turning bar stock, but they aren't able to clamp larger parts like the mandrel, so... Pic 14: I swap them out for the reverse-jaws, which are meant for bigger bars... Pic 15: Which look like this when installed. These jaws can clamp larger parts either from the outside, but they also have the ability to hold hollowed-out parts (like tubes) from the inside. Pic 16: I an now start trimming the patterns for parts to be fabricated. I can now check my blocks of Renshape to see if the size is adequate. Pic 17: lots of trimming going on. Blocks of Renshape are continuously trimmed to be barely larget than the parts to be created. To that end, I use my calipers to score a cut-mark in the block which is about to be trimmed. Pic 18: Back to the band saw, I remove the excess material... Pic 19: then re-surface the block on the mill. Pic 20: a cheat method I sometimes employ with smaller pieces is the drill press, fitted with a grinding stone. It works like the face-end mill, but I can hold smaller, or more complex shapes with my hand. This is better for small shapes that could otherwise be damaged by the jaws of the milling vise. That does it for the first few days of fabrication. While this and next week's reports may not be as exciting as some would like, I think they hold valuable insight into the tedious (and messy) process of hand-crafting. You may not think so, but this boring process lays the groundwork for all the good things to come, and mark my words, this model will be glorious! 00.HEIC 01.HEIC 02.HEIC 03.HEIC 04.HEIC 05.HEIC 06.HEIC 07.HEIC 08.HEIC 09.HEIC 10.HEIC 11.HEIC 12.HEIC 13.HEIC 14.HEIC 15.HEIC 16.HEIC 17.HEIC 18.HEIC 19.HEIC 20.HEIC

-
Captain's log: Friday, April 18th, 2025. Great news everyone: the technical drawings are done! I'm planning-out the production of the various components, and I have a special request: some of the parts on this model, namely the missile pods, are very much on the limit of what my lathe can handle safely. As such, I would require someone skilled in 3D modelling to produce the files for these parts, based on my hand-drawn diagrams (with dimensions) so I can 3D print them. Please DM me if this is up your alley!
-
The whole kit is a disappointment, to be honest. They weren't faithful to the source material in terms of details or proportions, and the whole mech is still too small, especially compared to the Regult. I've seen some modelers try to shoehorn a pilot into the cockpit, but it just makes the thing look worse.
-

Comparing my Wave and ARII 1/72 Tomahawks (except not really)
captain america replied to DeltaE27's topic in Model kits
@DeltaE27 I really dig the tactical blue-gray scheme on the Tomahawk. I'm told the Wave kits don't go together so well despite being new; would you say they're an improvement in the fit department compared to the old ARII kit? -
While I'm waiting for the balance of the deposits to come in, I shall busy myself with the technical drawing.
-
The Official Moscato Hobby Models Thread
captain america replied to captain america's topic in Anime or Science Fiction
Phat Lynx is going ahead! -
Not a reality yet, we still need to achieve MOQ.
-
Aircraft Super Thread Mk.VII
captain america replied to David Hingtgen's topic in Anime or Science Fiction
Hopefully it'll incorporate active flow control. -
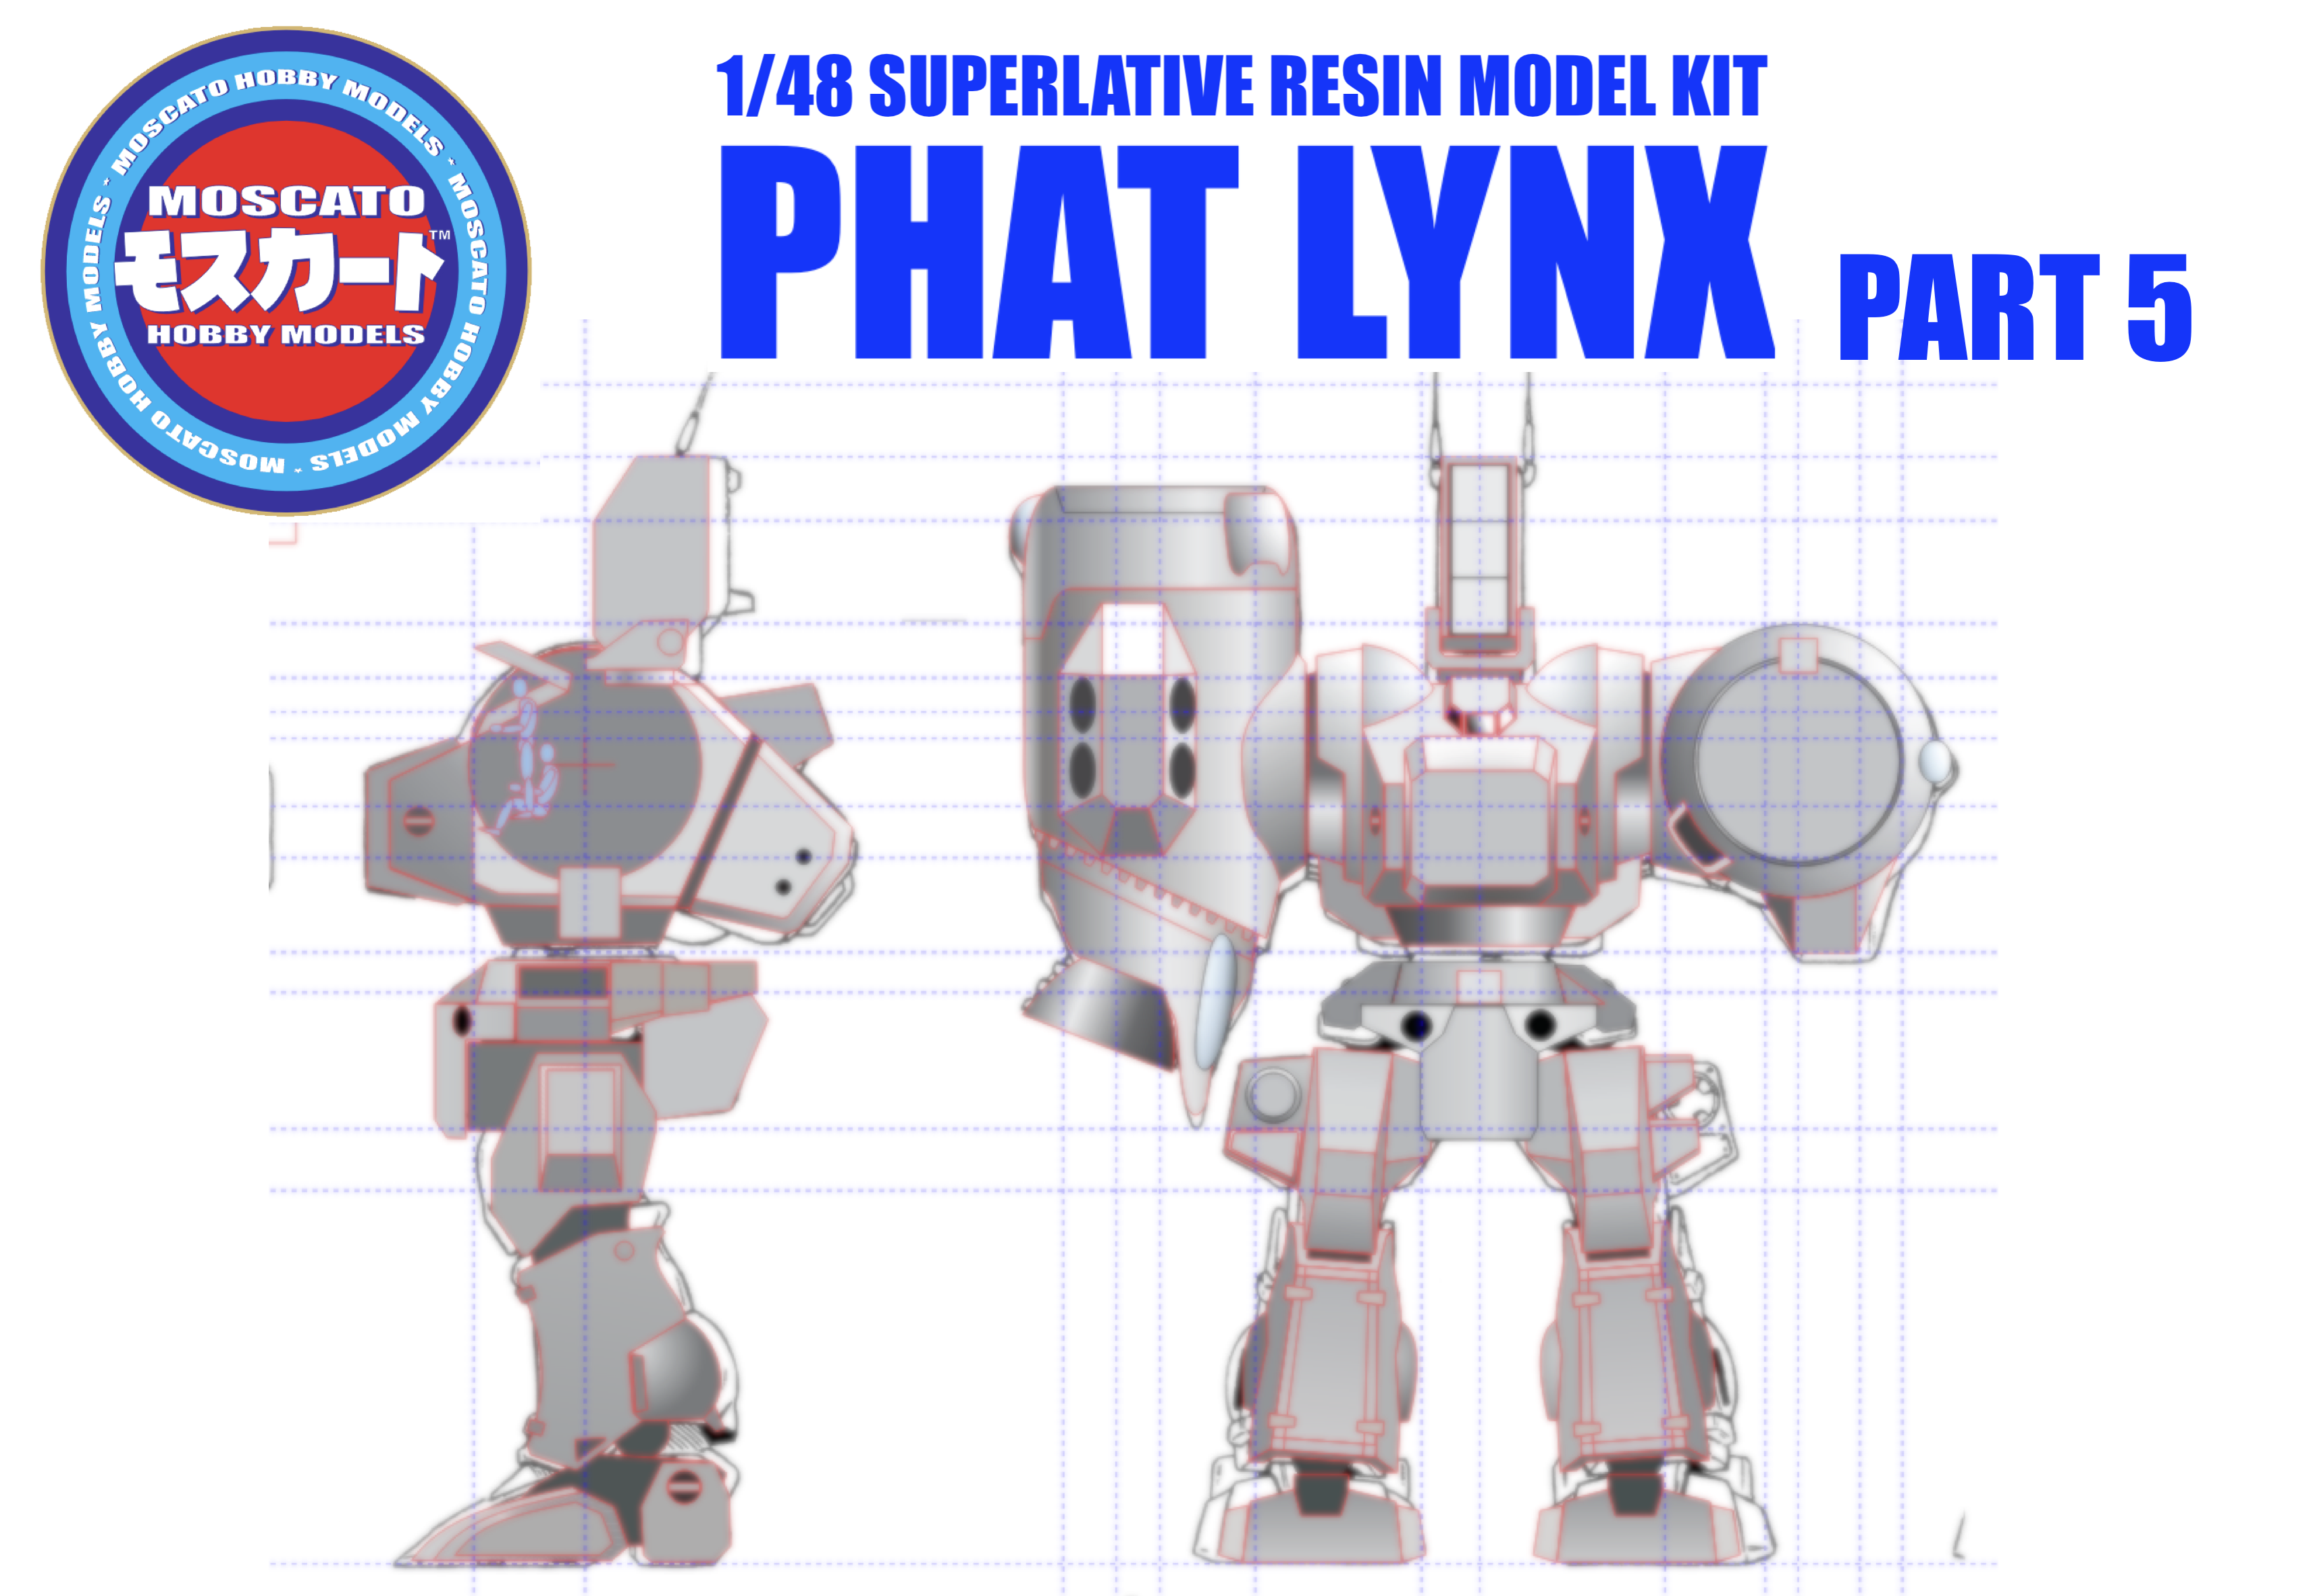
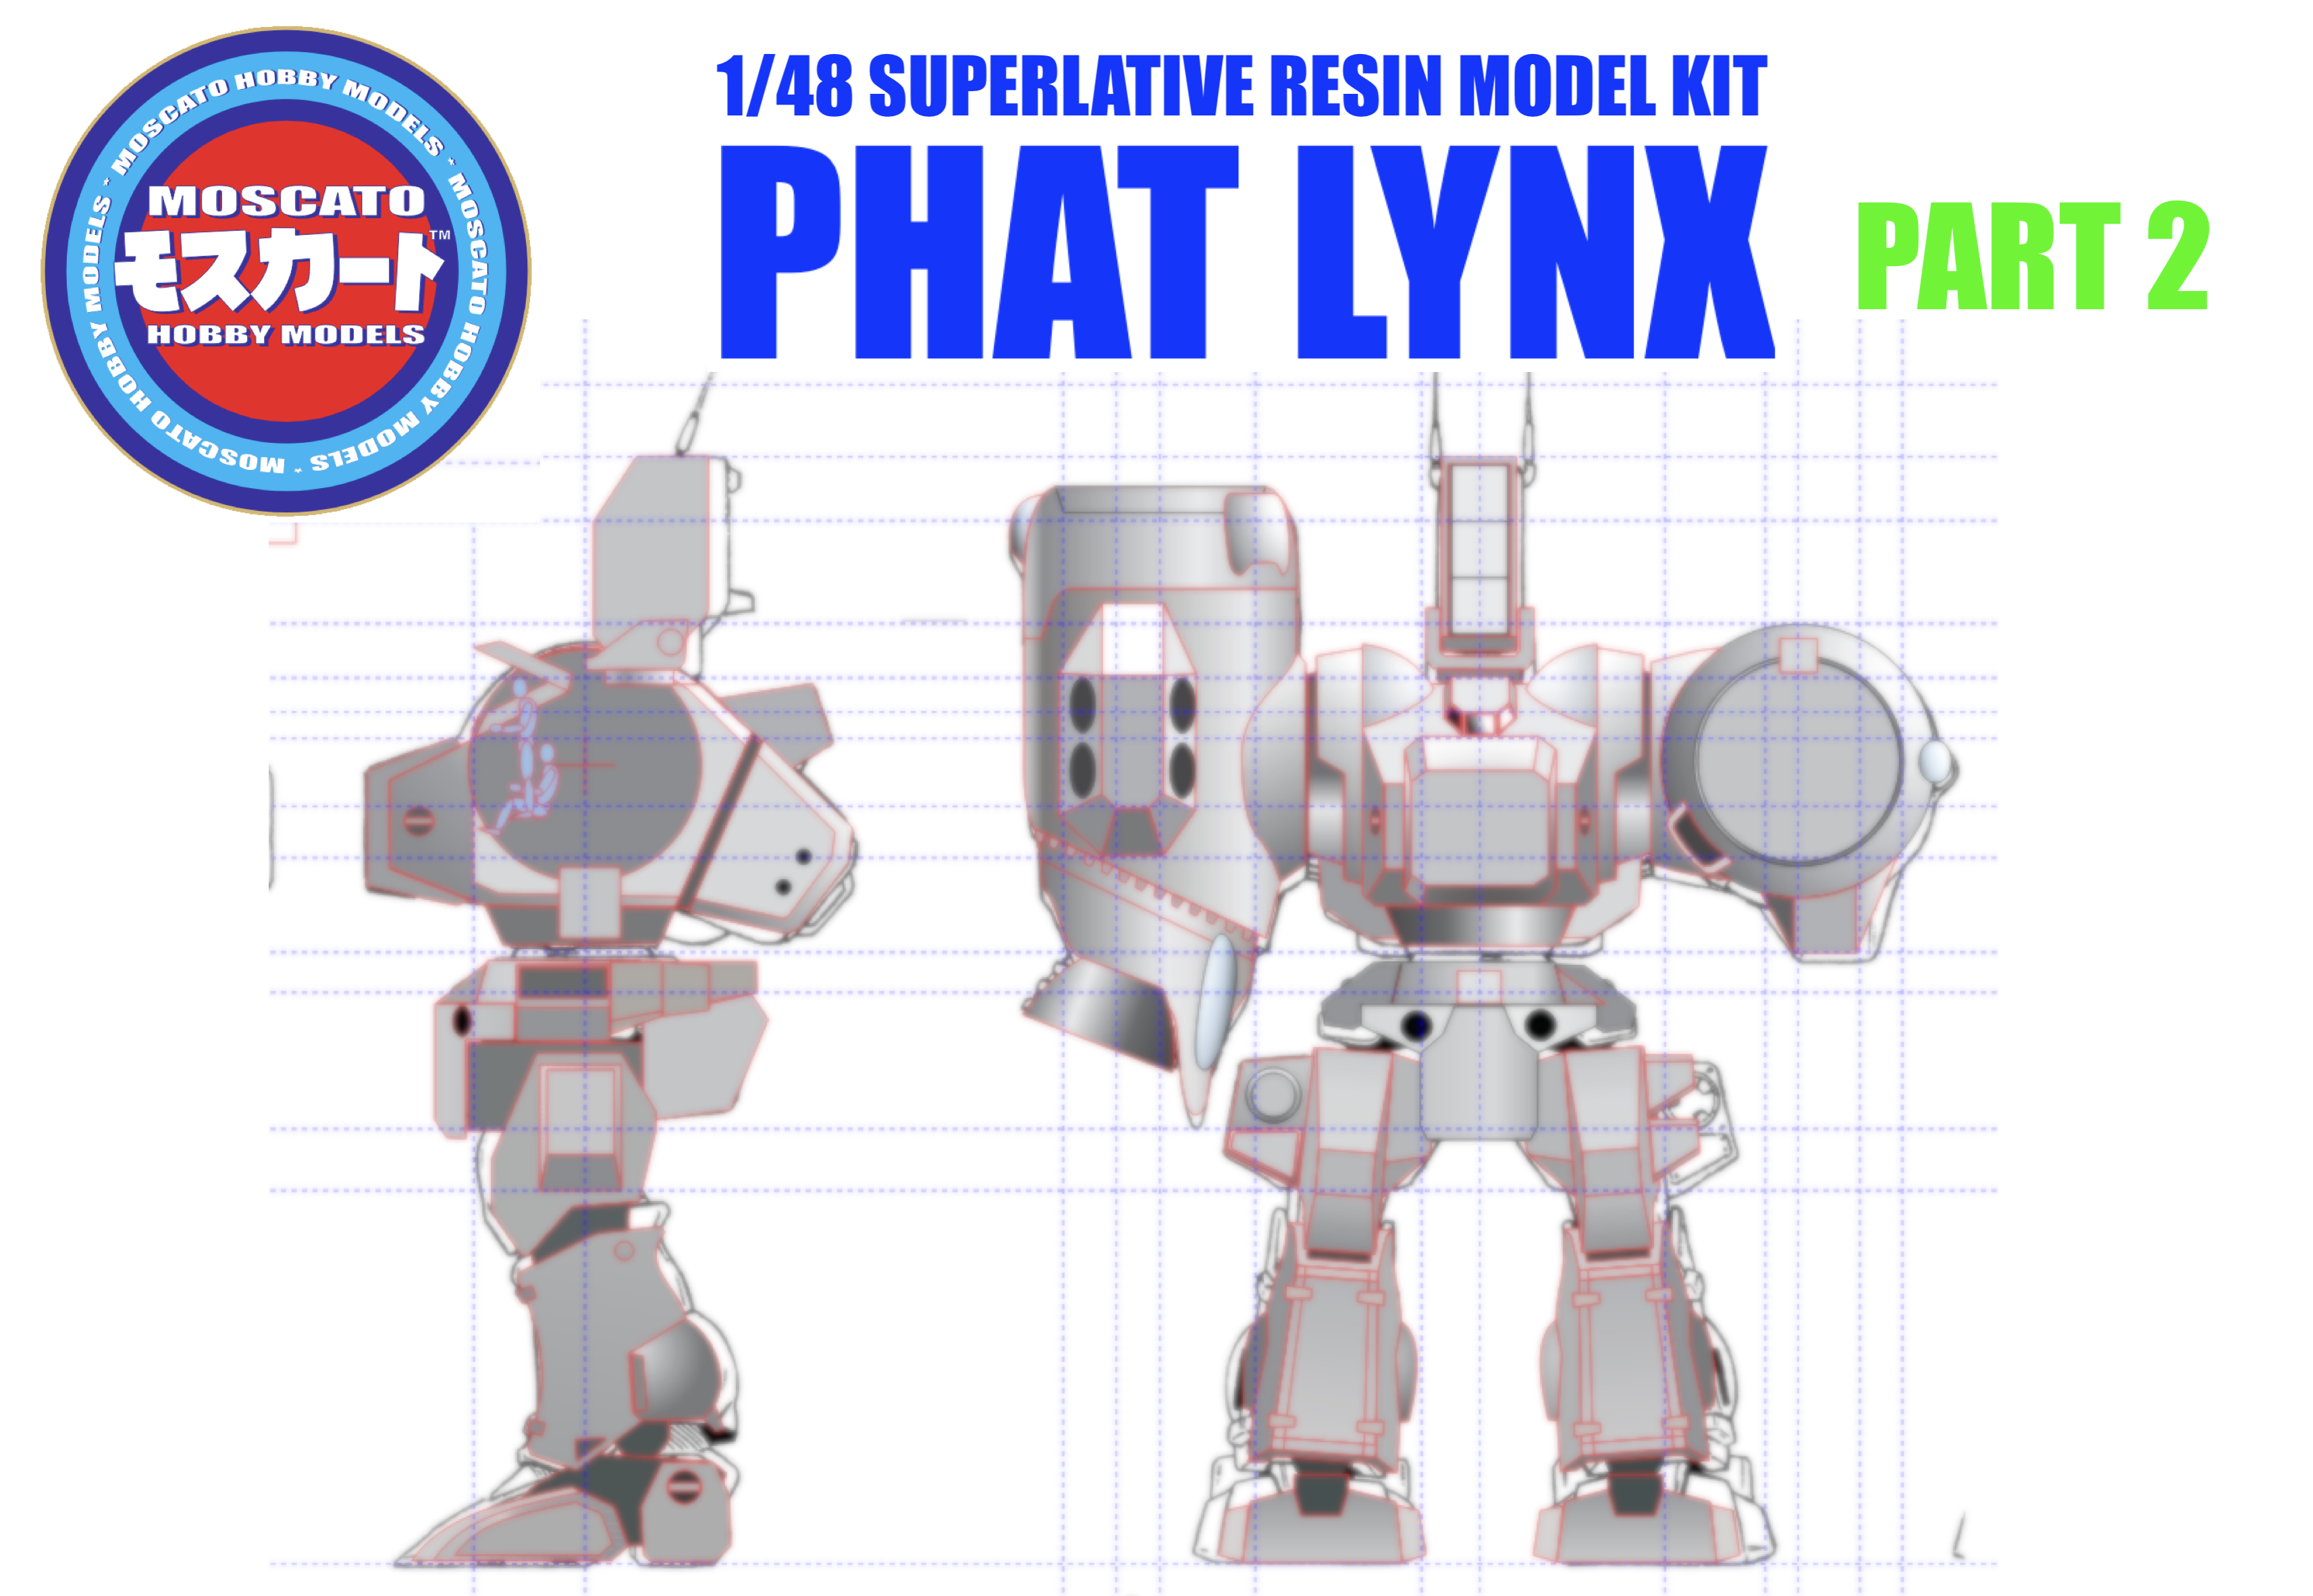
Greetings @everyone It's that time of the year again, when I announce a new Moscato Hobby Original Project, and this one is a whopper: a 1/48 Destroyed Phat Lynx (Destroid Phalanx). This ginormous kit would be based on a modified Thomas Hawk lower chassis, with all the features listed in the image shown. In order for this project to go ahead, I need a minimum of 20 orders, non-negotiable. Please read the following carefully. If you are interested in getting this model, send me a PRIVATE message. Posting in the comments will NOT be construed as interest. Kit price for the first twenty: $500 Canadian dollars (shipping not included) Kit price > 20: $525 Canadian dollars The standard shipping price for the US and Canada is shown in the image, while international shipping will be calculated based on destination and order size. If I gather the requisite interest for the project, know that I will request a $350 CAD deposit, with the balance due upon completion to make things more manageable You have until March 31st to pledge yourself to the realization of this project. If I fail to get the requisite interest by that date, I will simply move to another project. What say you?

-
1/48 SOUTHERN CROSS BIOROID PART II
captain america replied to captain america's topic in Anime or Science Fiction
The larger images show more variation in color ranging from an icy blue to sky blue. The smaller stills still show some color variation, but are much more consistent. Either way, I'm sure someone somewhere will choose to bicker with you over your color choice, but it certainly won't be me. -
1/48 SOUTHERN CROSS BIOROID PART II
captain america replied to captain america's topic in Anime or Science Fiction
Hey Ted! Has there been any progress on the Bug Face build? The Type II Bio Llloyds don't get nearly enough love. -
The problem is the seller keeps putting up pictures of the illustration taken from mostly head-on. He would need to post pics of the illustration at an angle with the light reflecting off the surface, so that we can see if there are any masking lines, brush strokes and other hints discernible in an original illustration. That would be the ultimate tell.
-
Just like with high-end watches, you buy the seller, not the item. Were this an original, I would think that anyone with above room-temperature I.Q. would have made a greater effort to demonstrate the authenticity of the piece, and in so doing fetch maybe 5X the asking price. Without better info, I wouldn't chance it... But that's me.
-
Assuming it's an original, the price isn't high. That said, it definitely needs higher resolution pics. Hand-rendered illustrations have brush strokes and other tell-tale signs of production which I can't discern with this piece. If anything, the reflection makes it look like some sort of laminated print. While the back looks like an illustration board, it's a bit too clean for something from the early 80s and, as mentioned above, why isn't it framed, if only to avoid damage? Also, there are no crop marks, which would be standard for original artwork for this era.
-
1/12 INBIT PROJECT PROPOSAL
captain america replied to captain america's topic in Anime or Science Fiction
Send me a private message; I'll need to take down your info.
