vt102
-
Posts
619 -
Joined
-
Last visited
Content Type
Profiles
Forums
Events
Gallery
Everything posted by vt102
-
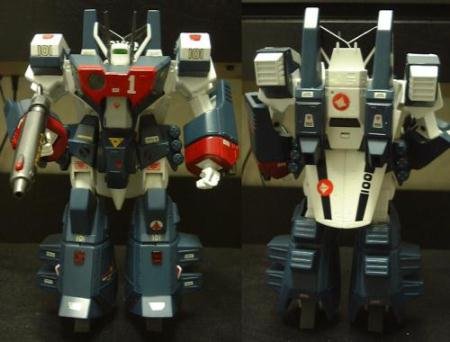
Sorry. The pictures are not mine. I found them on a Yahoo Japan auction a while back. Oh and all the armor is removeable for both valks. I have a picture of that too. I'll post it later tonight when I get home.
-
2
-
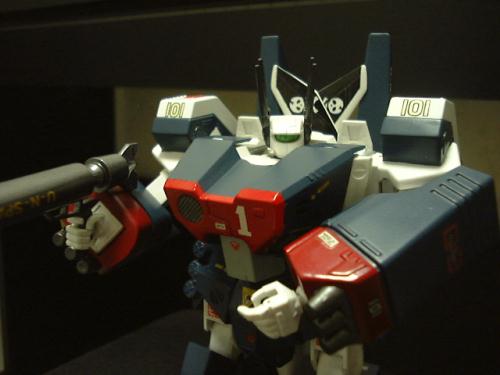
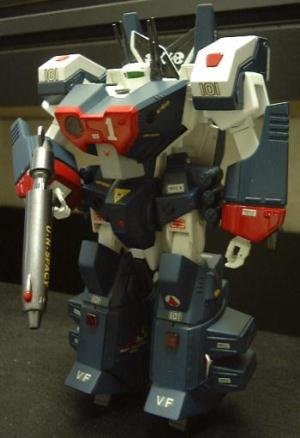
Here is the super version.

-
3
-
2

-
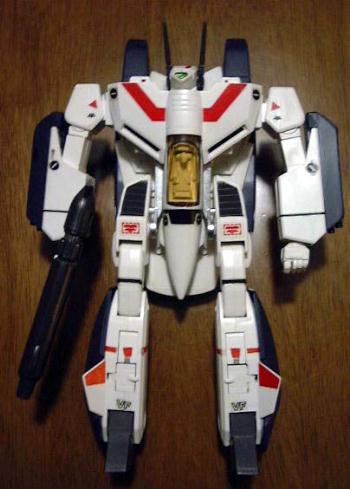
OK. Here are the pictures.
-
Very nice. To answer your question. If you can get your hands on a Imai 1/72 GBP, it would almost fit. I have a picture at home of one. I'll post it later tonight.
-
So why don't you tell us what brand it is? Please. Thanks. Don't be greedy.
-
Not sure if you found your last piece, but I know a place that still has some for sale. My friends shop here still has them. You can place an order with him from his website. Here is the link. Click here.
-
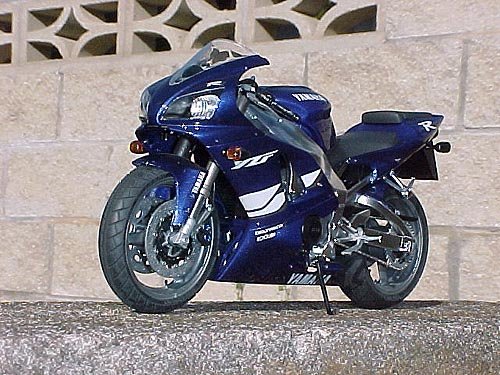
I also built 2 1/12 scale motorcycles. Here is my R-1. I'm building another one just like it for a freind of mine.
-
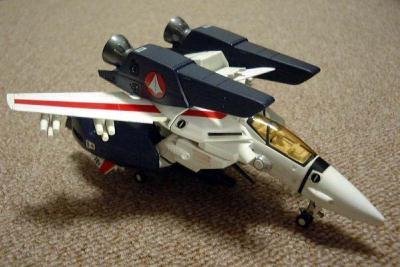
By the way....don't you hate that the wings sag. My fighter has that same problem on one of it's wings.
-
Very nice. I like the weathering and detailing on those small little buggers. I wish I had the tallent and supplies to detail/weather like that. Here is my 1/144 YS VF-X.
-
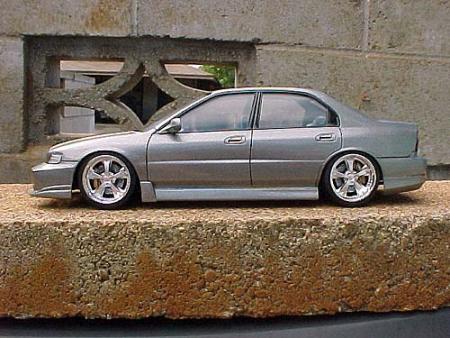
My other models are 1/24 scale cars. Mostly imports.

-
Man, you even make the toys look ultra detailed.
-
Wow, it can hold up a 1/48. I was wondering if it would handle the weight. I guess I'll buy at least 1.
-
Can't wait to get some of these. Thanks for the updated pics Graham.
-
Mines would have to be a Takatoku super valk I bought from Noel. Around $900. This was back when they were very hard to find.
-
Thanks Noel. I figured that it was supposed to be upside down. I don't wanna take a chance and mount it upside down, and have it come loose and smash the valk. I don't think I'll be getting the rest though, I am only fond of the VF-1 series valks. Probably the only way is if they are selling for cheap.
-
No problem guys. I wasn't sure if anyone had posted pictures of the box. I can't wait to get my pair. Still gotta wait till my local supplier gets his shippment in. About another 2 weeks.
-
Back.
-
Back.
-
fogot the pic.
-
Ostrich front.
-
Back
-
Well, I did find some pictures on Ebay. Here are pics of the boxes.