-
Posts
6292 -
Joined
-
Last visited
Content Type
Profiles
Forums
Events
Gallery
Everything posted by Jasonc
-
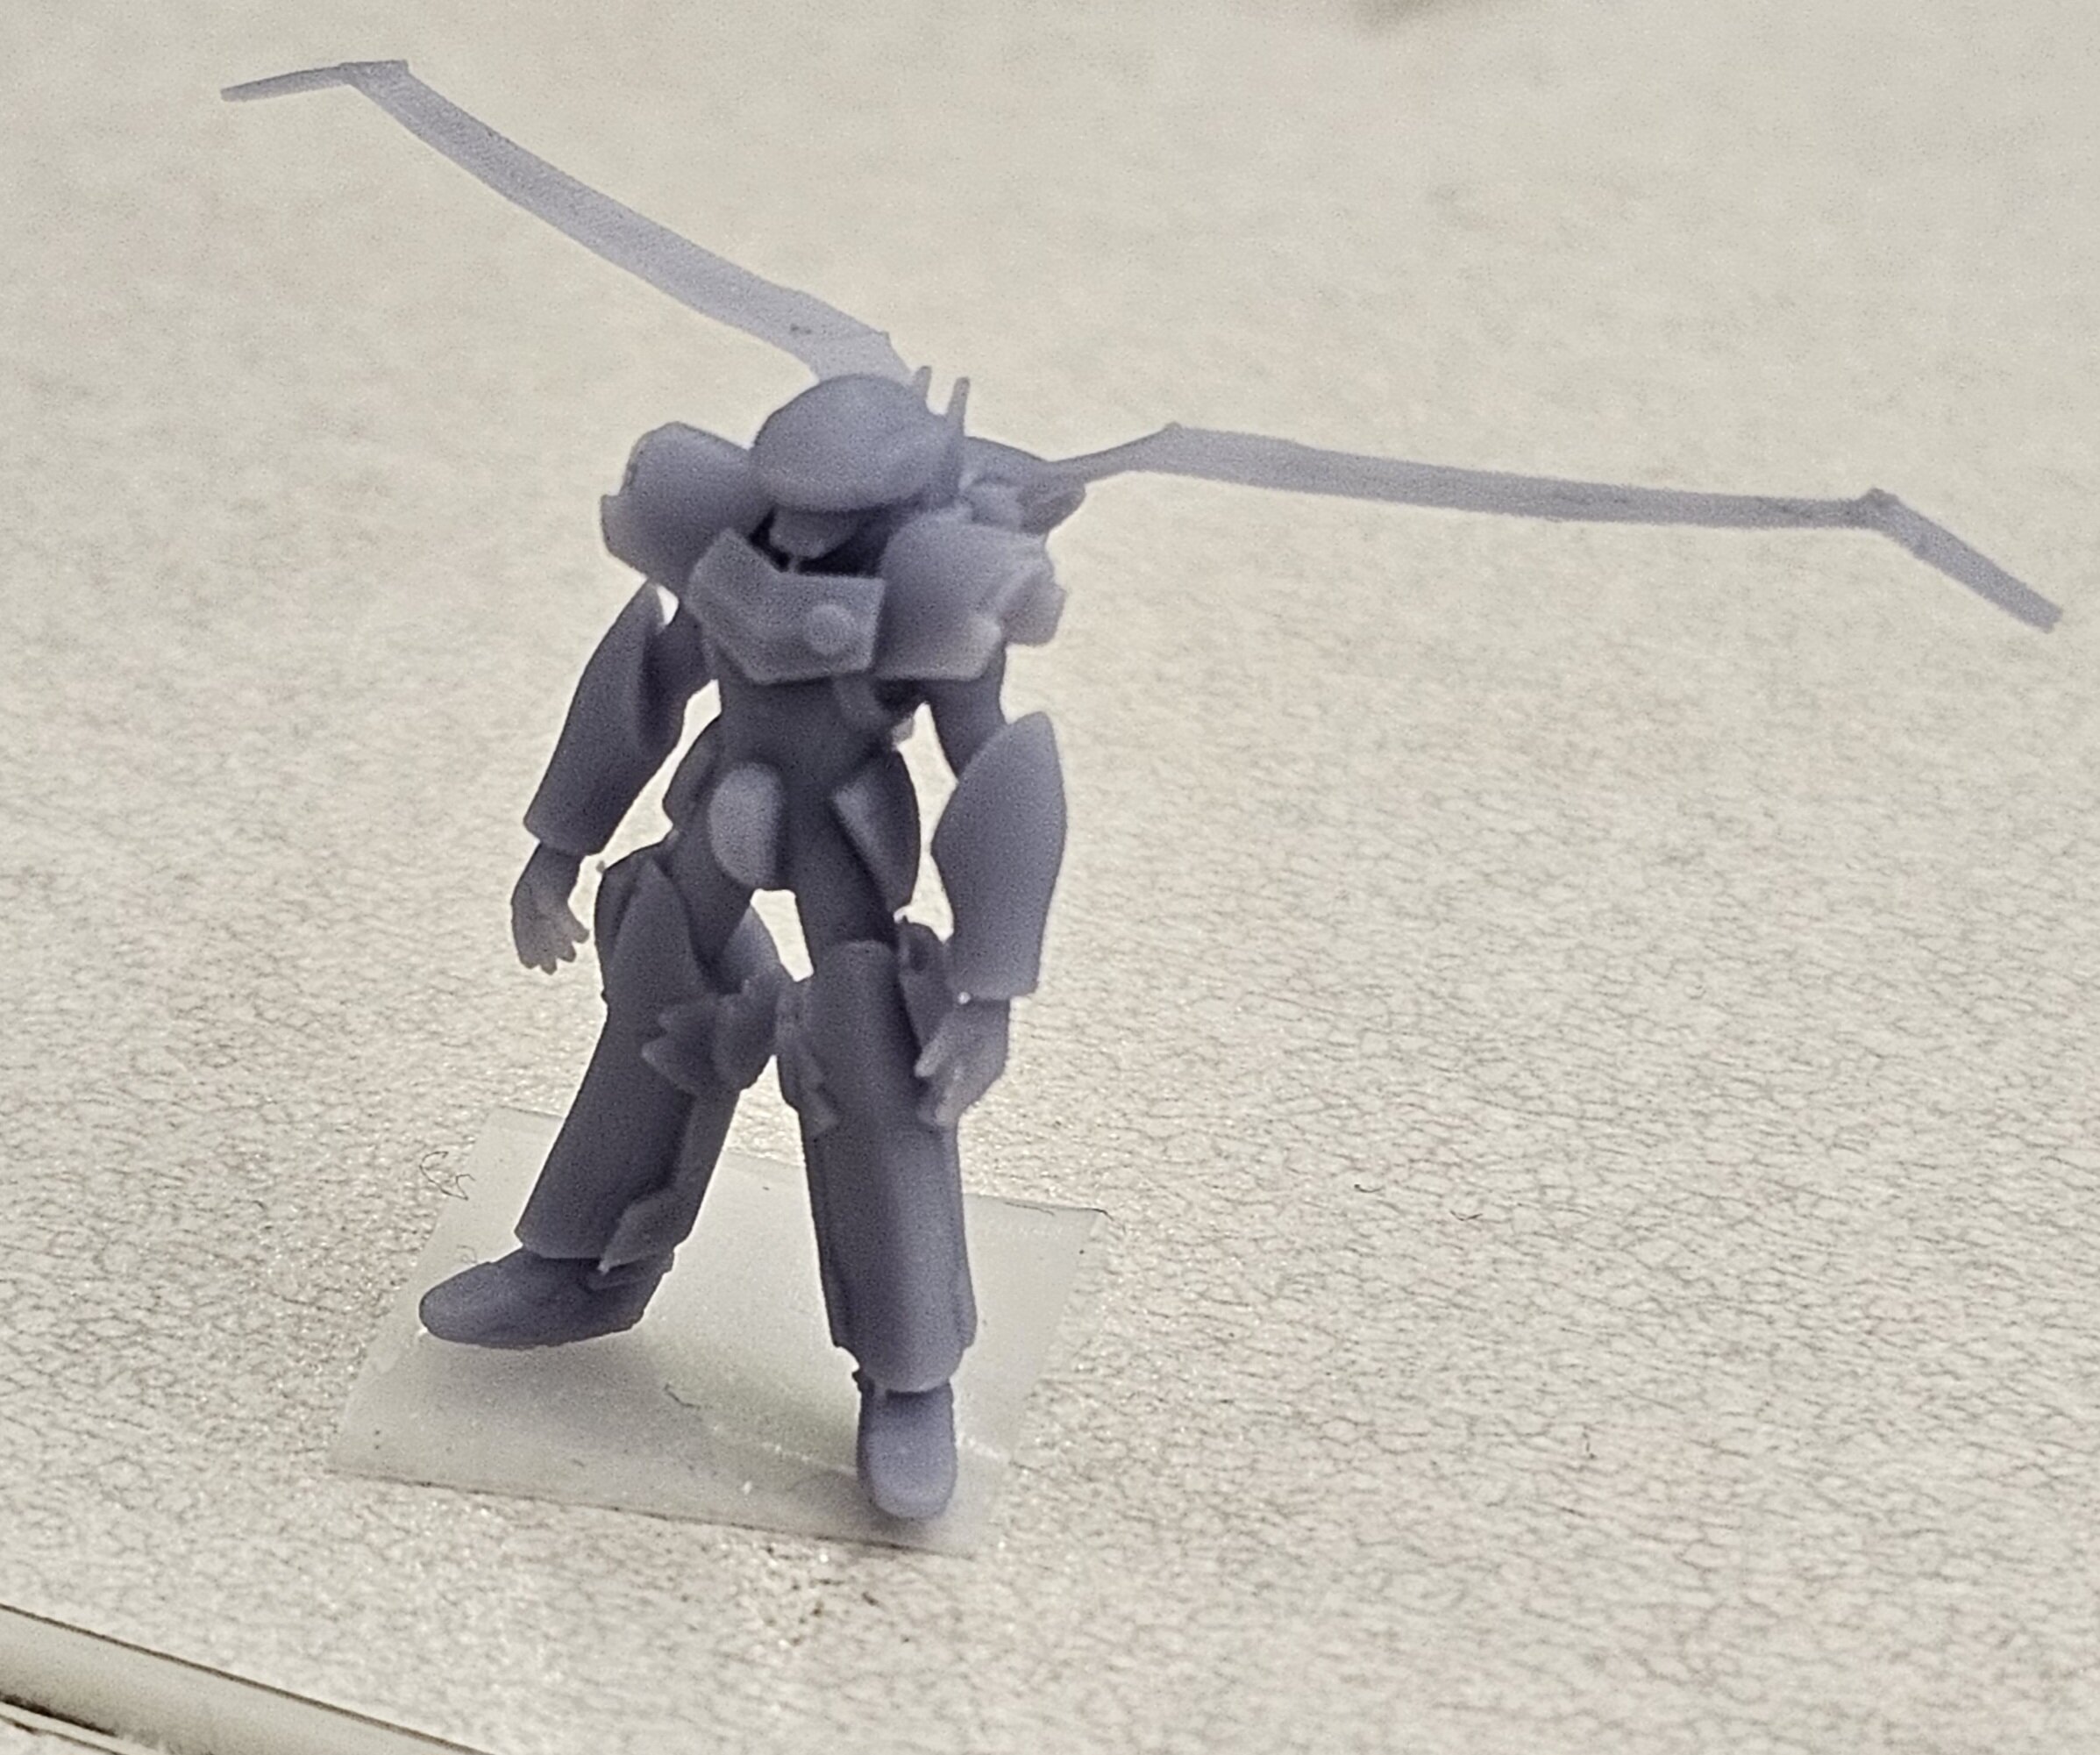
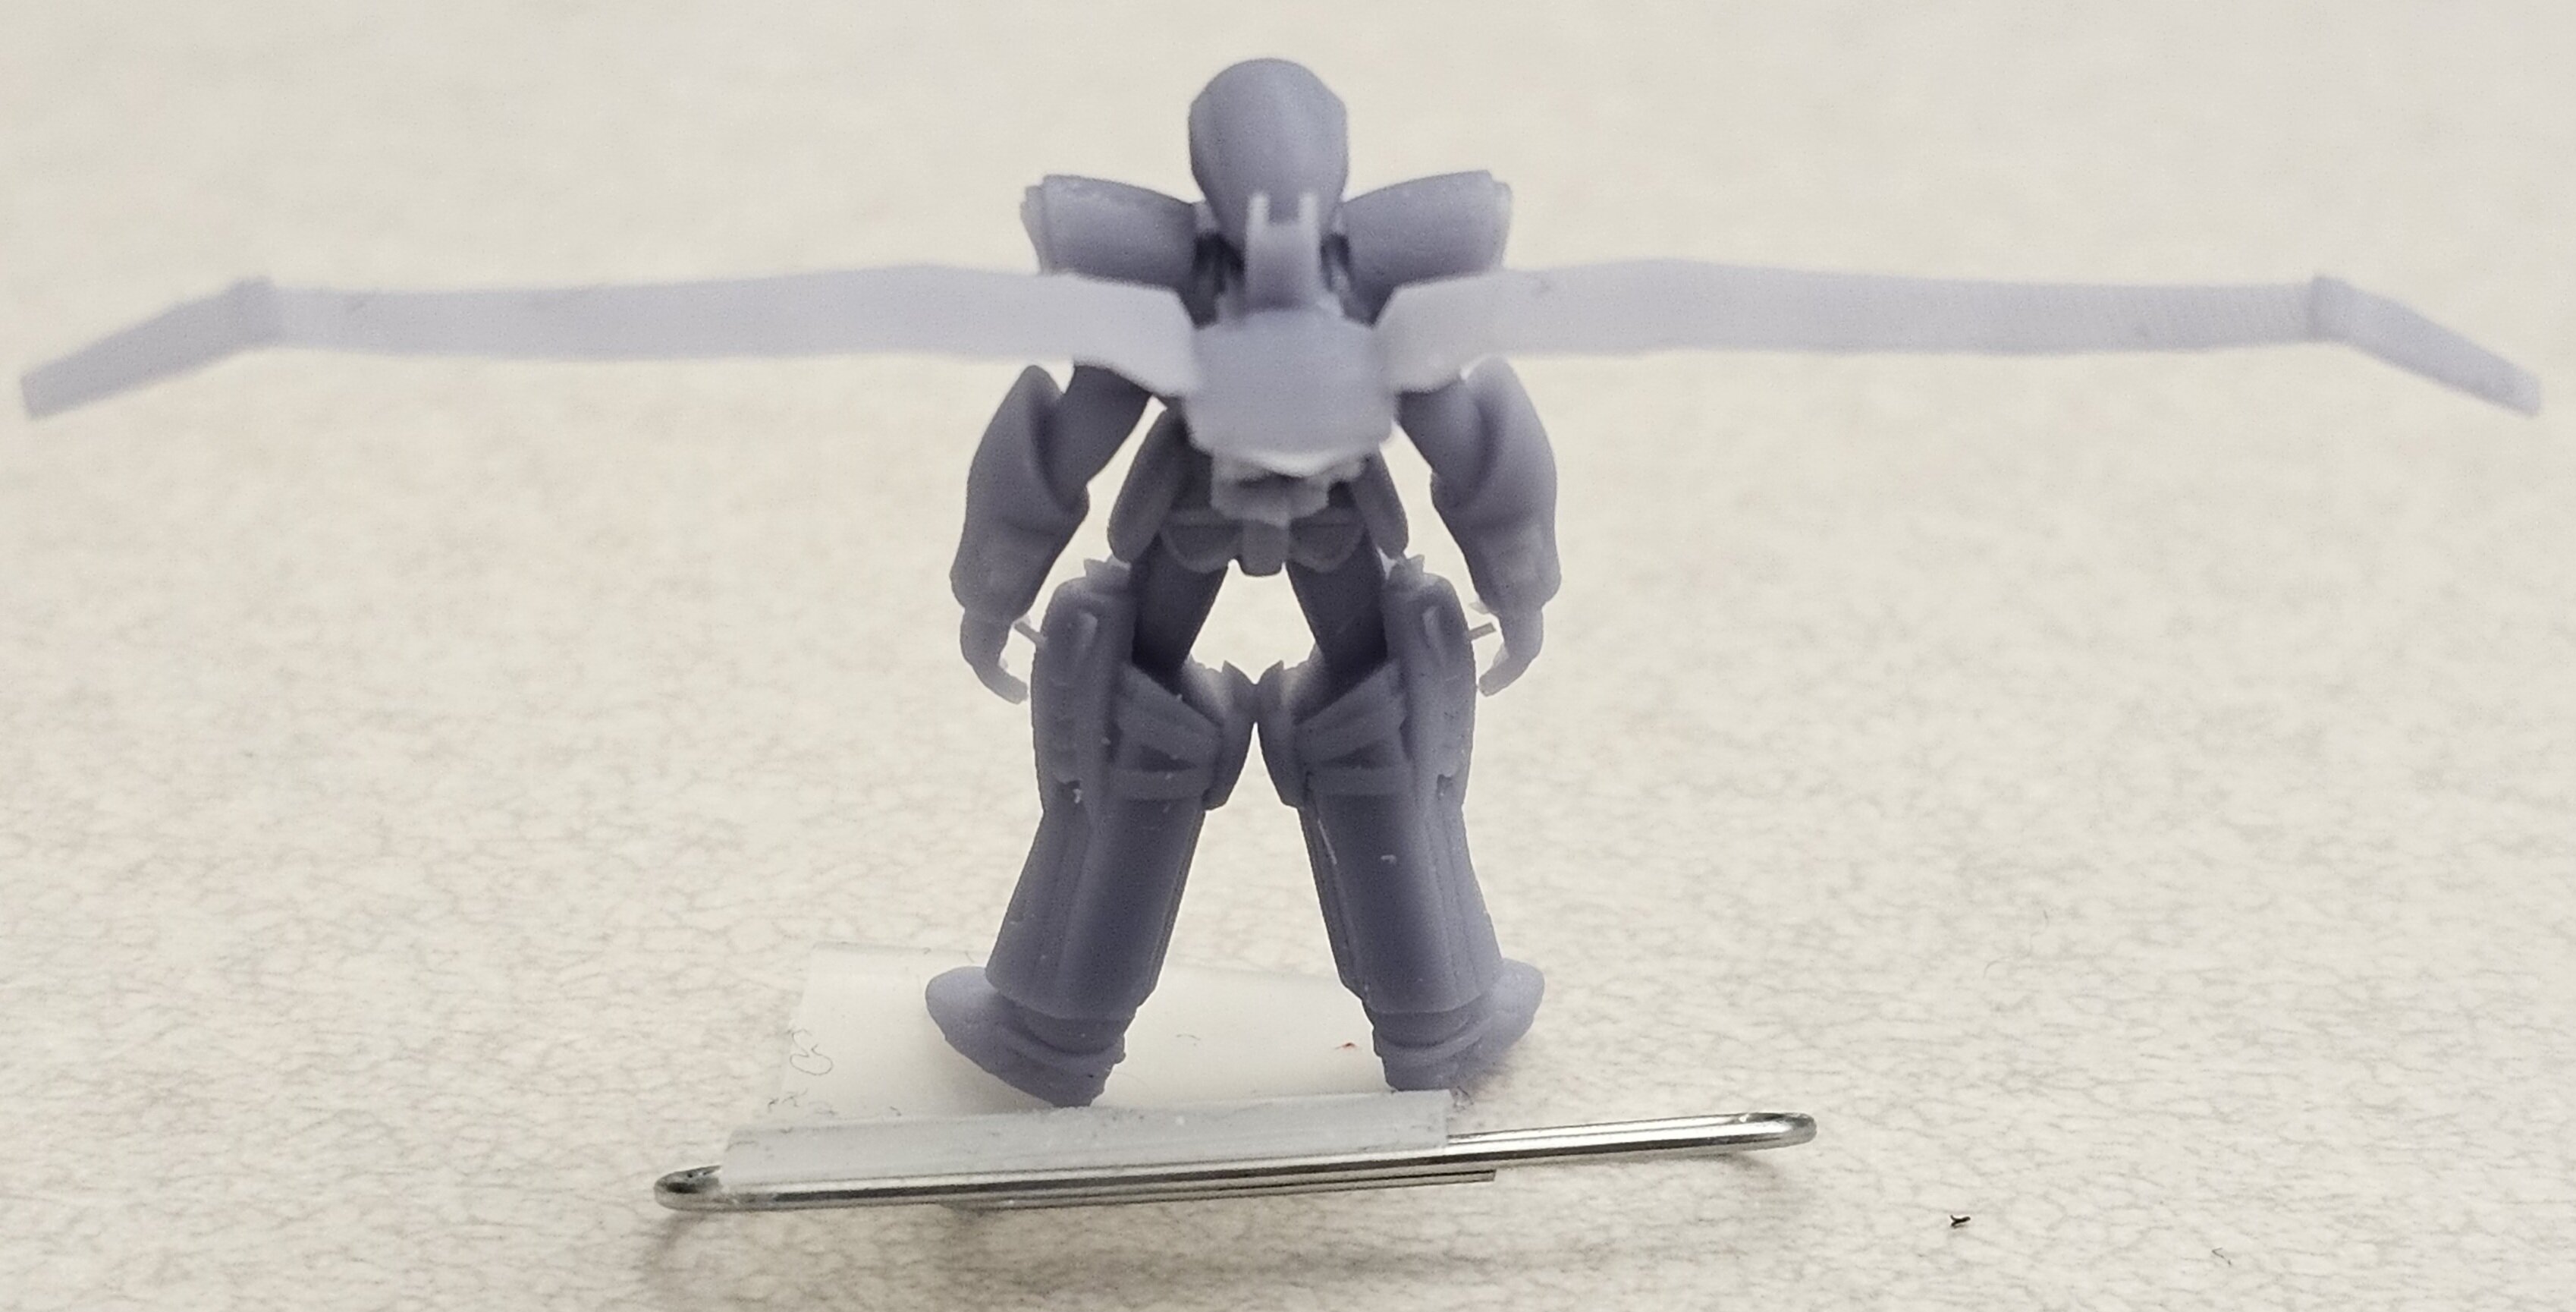
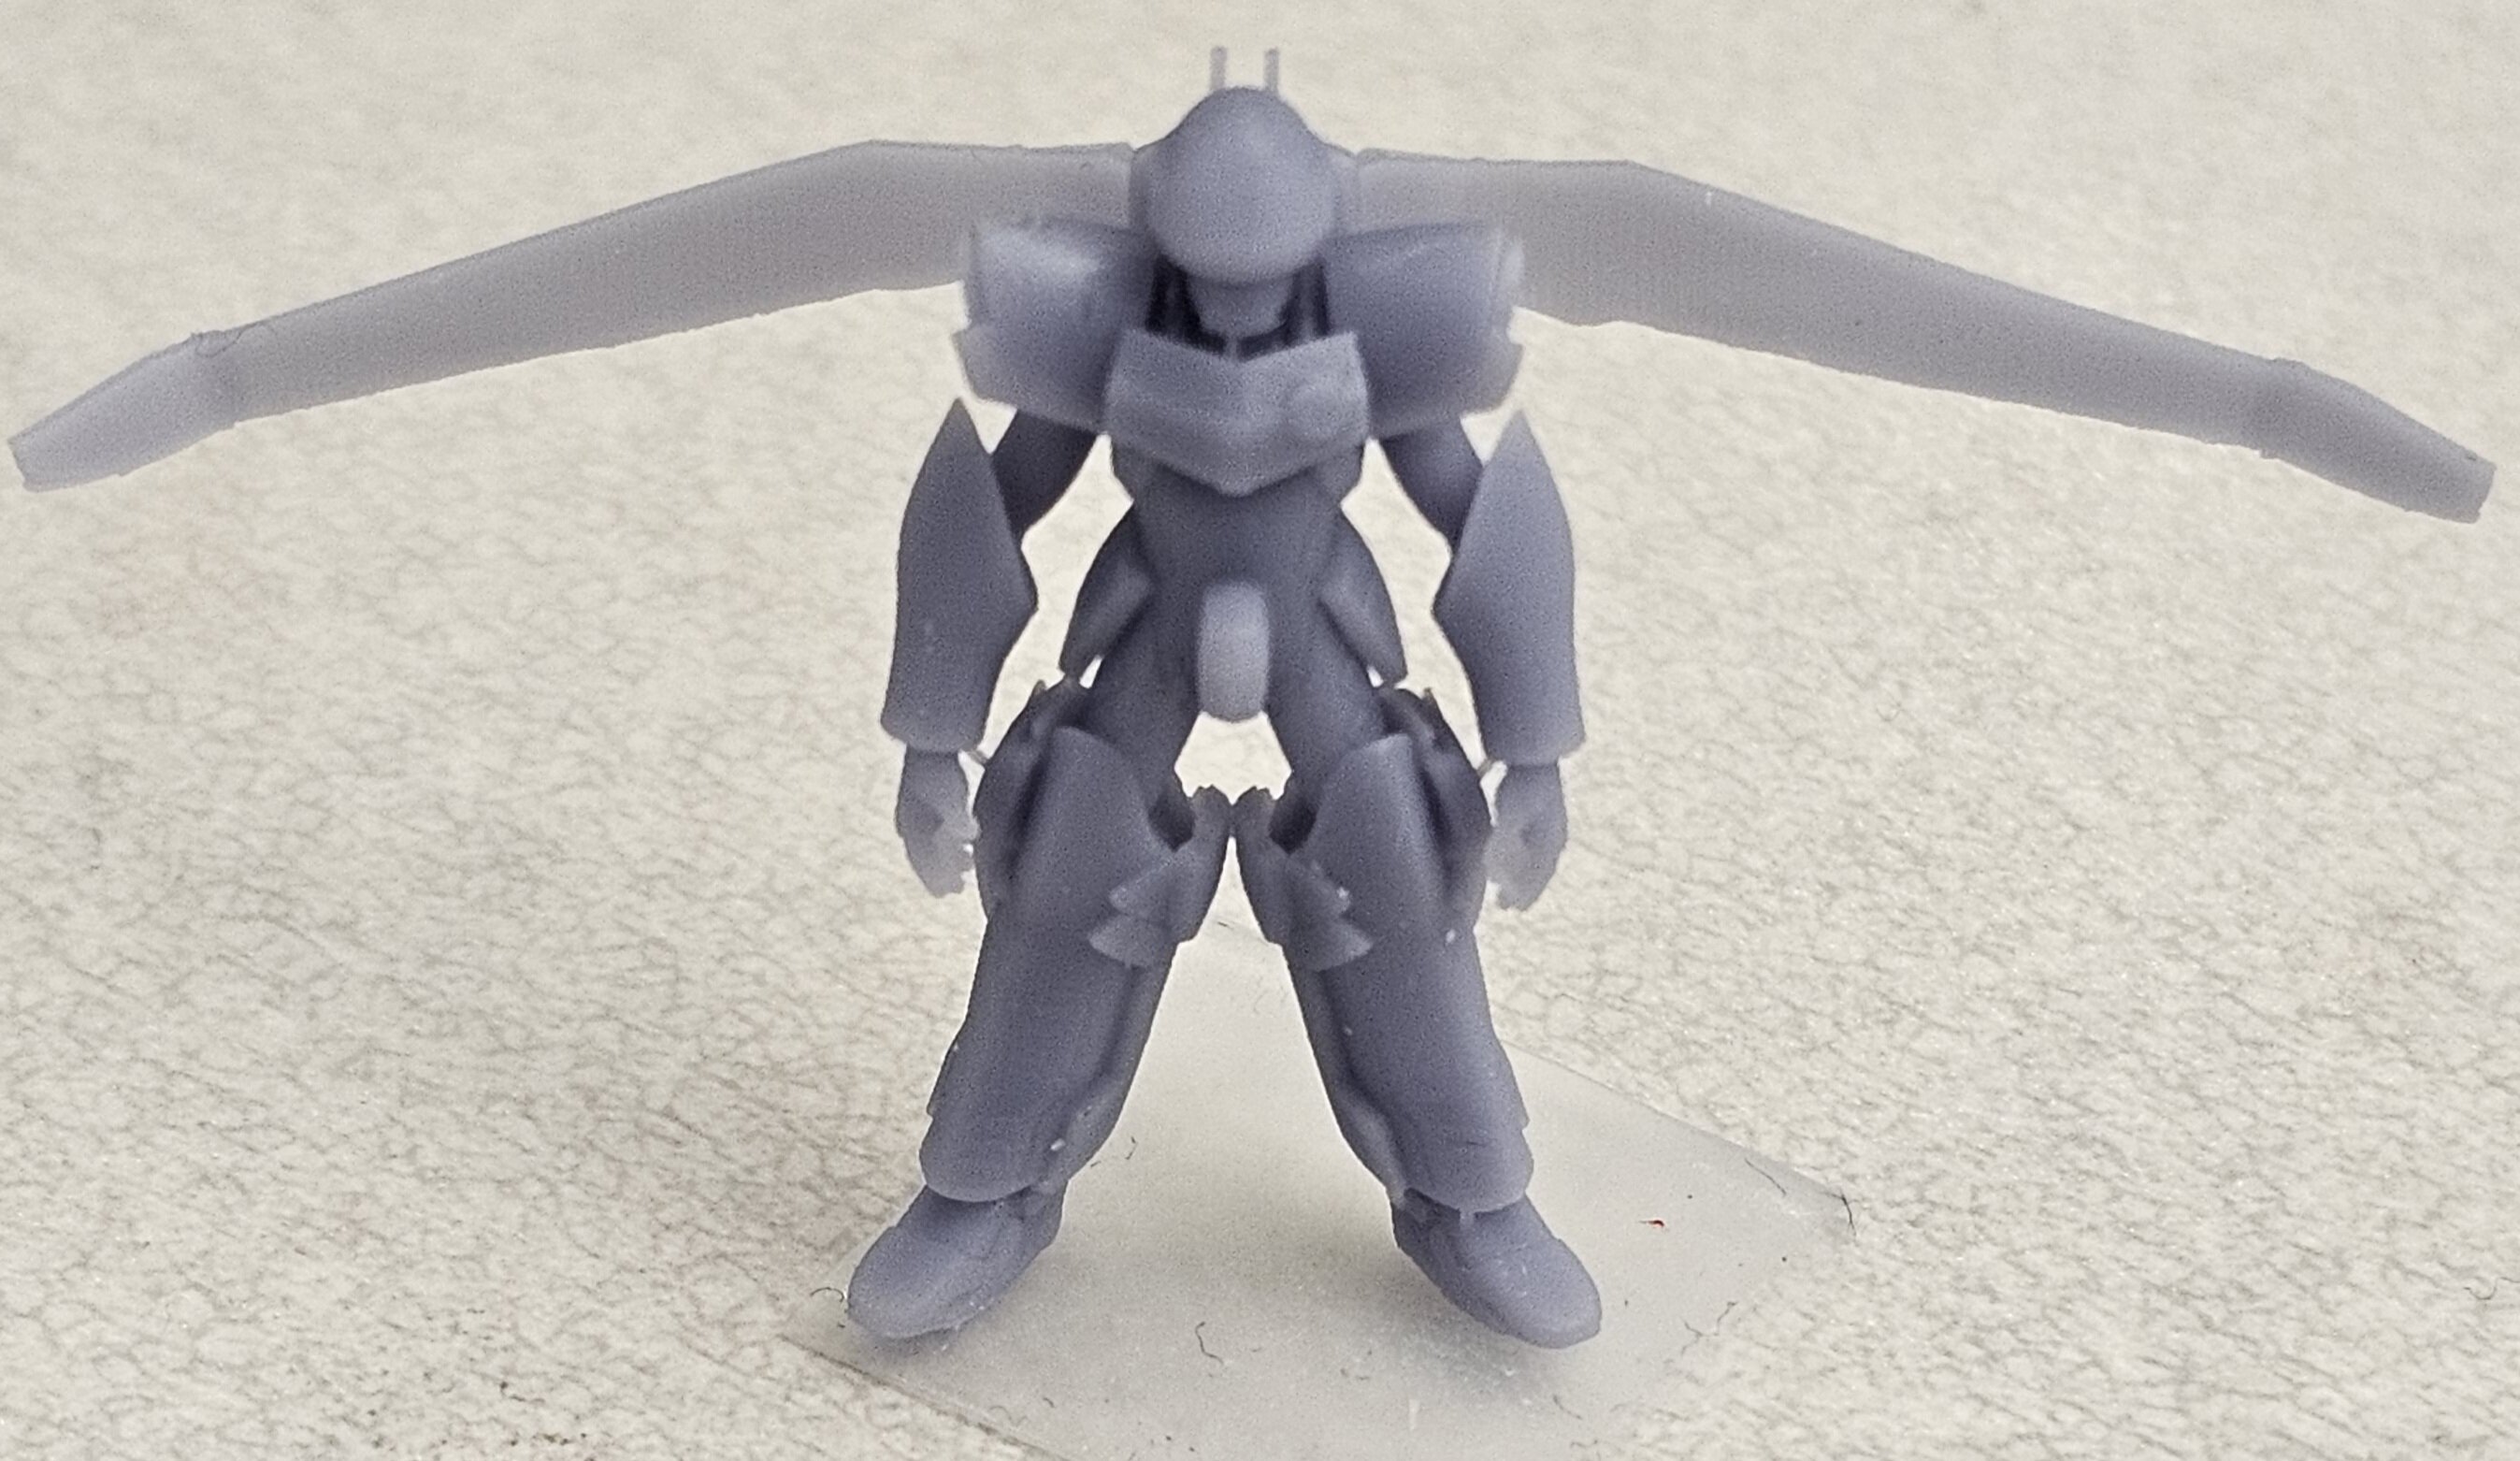
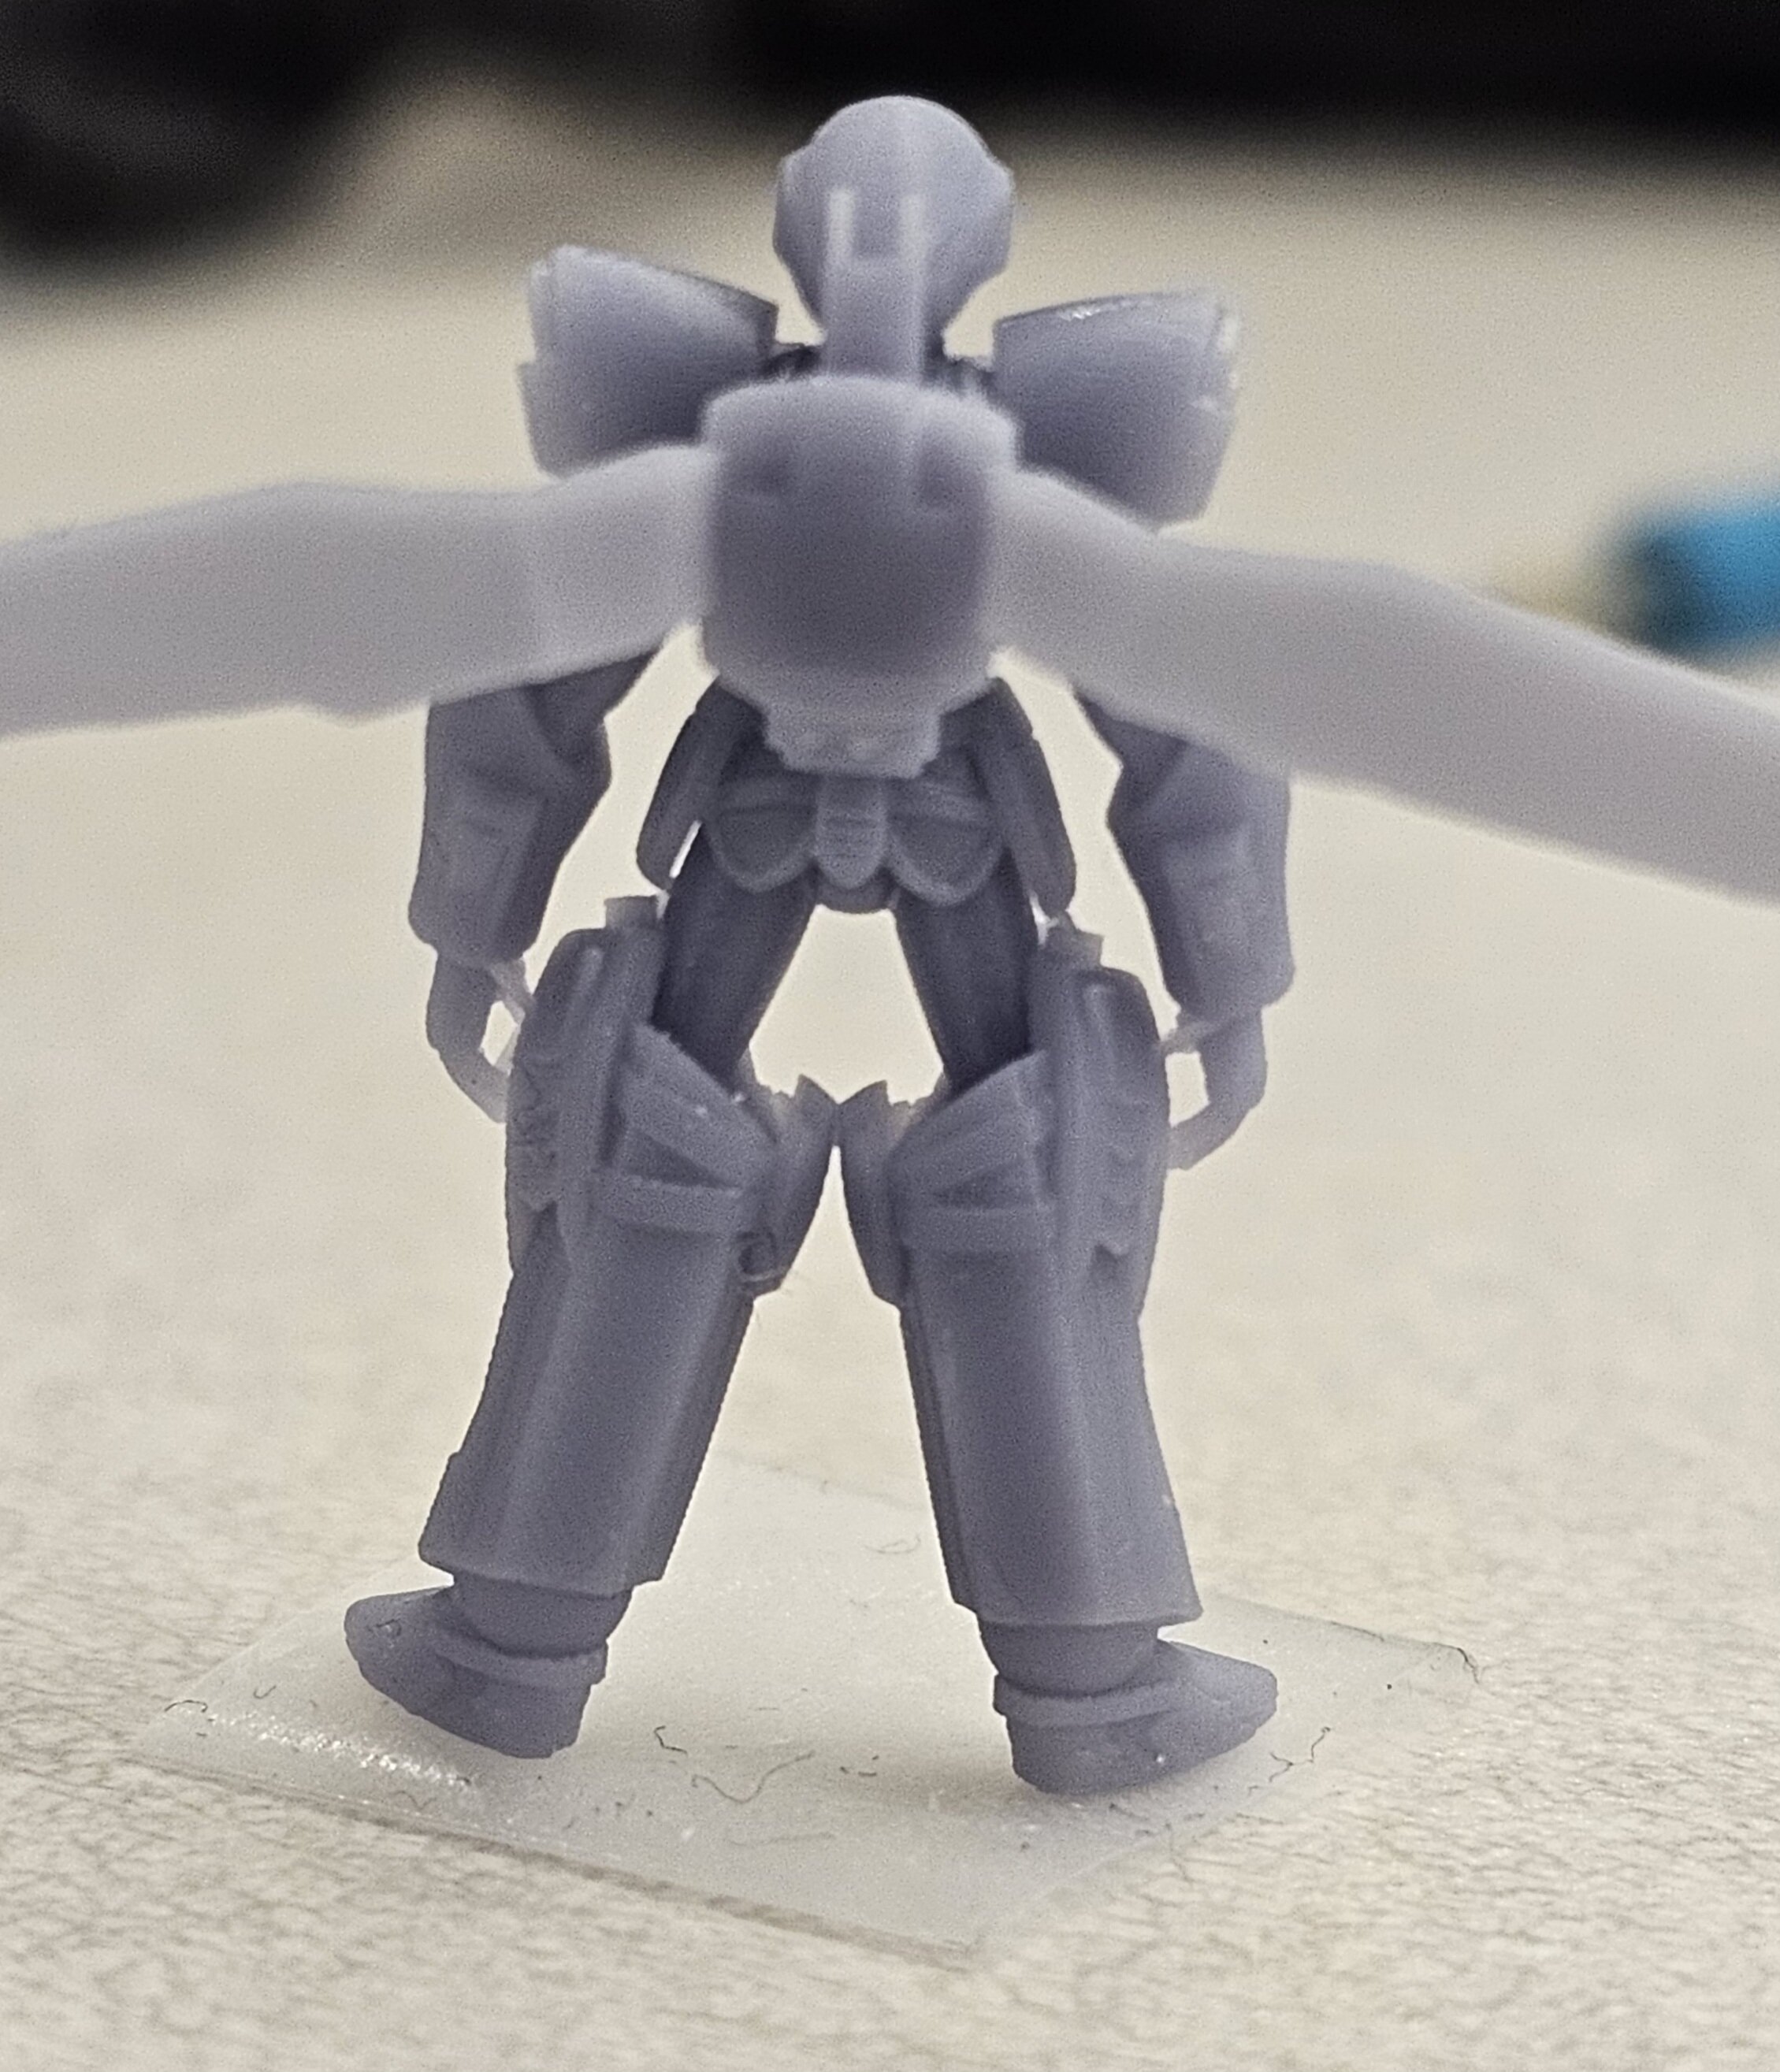
I got these files from one of the guys on FB (don't know if he's here), but these are pretty cool figures. The backpack was set wrong, and that spurred me to adjust it a bit for 3 options (one with wings contracted missing). I also designed a gun for it, so I'm gonna see what I can do with that. These are in the scale of the Bandai DX figures, maybe ever so larger, so 1/60. They were printed on an Anycubic M3 Max and their Photon D2.
-
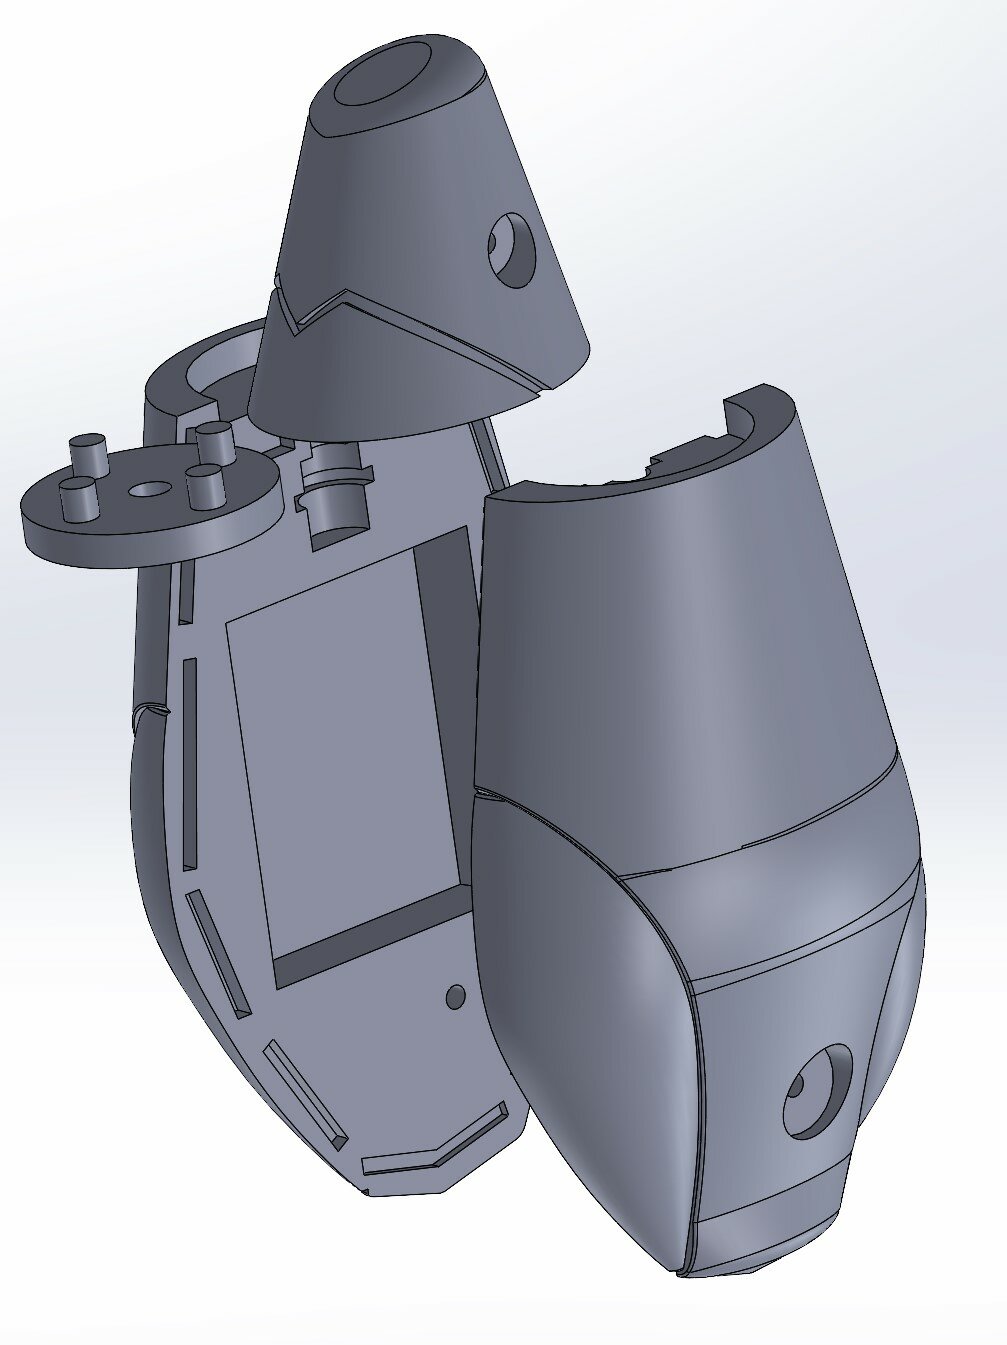
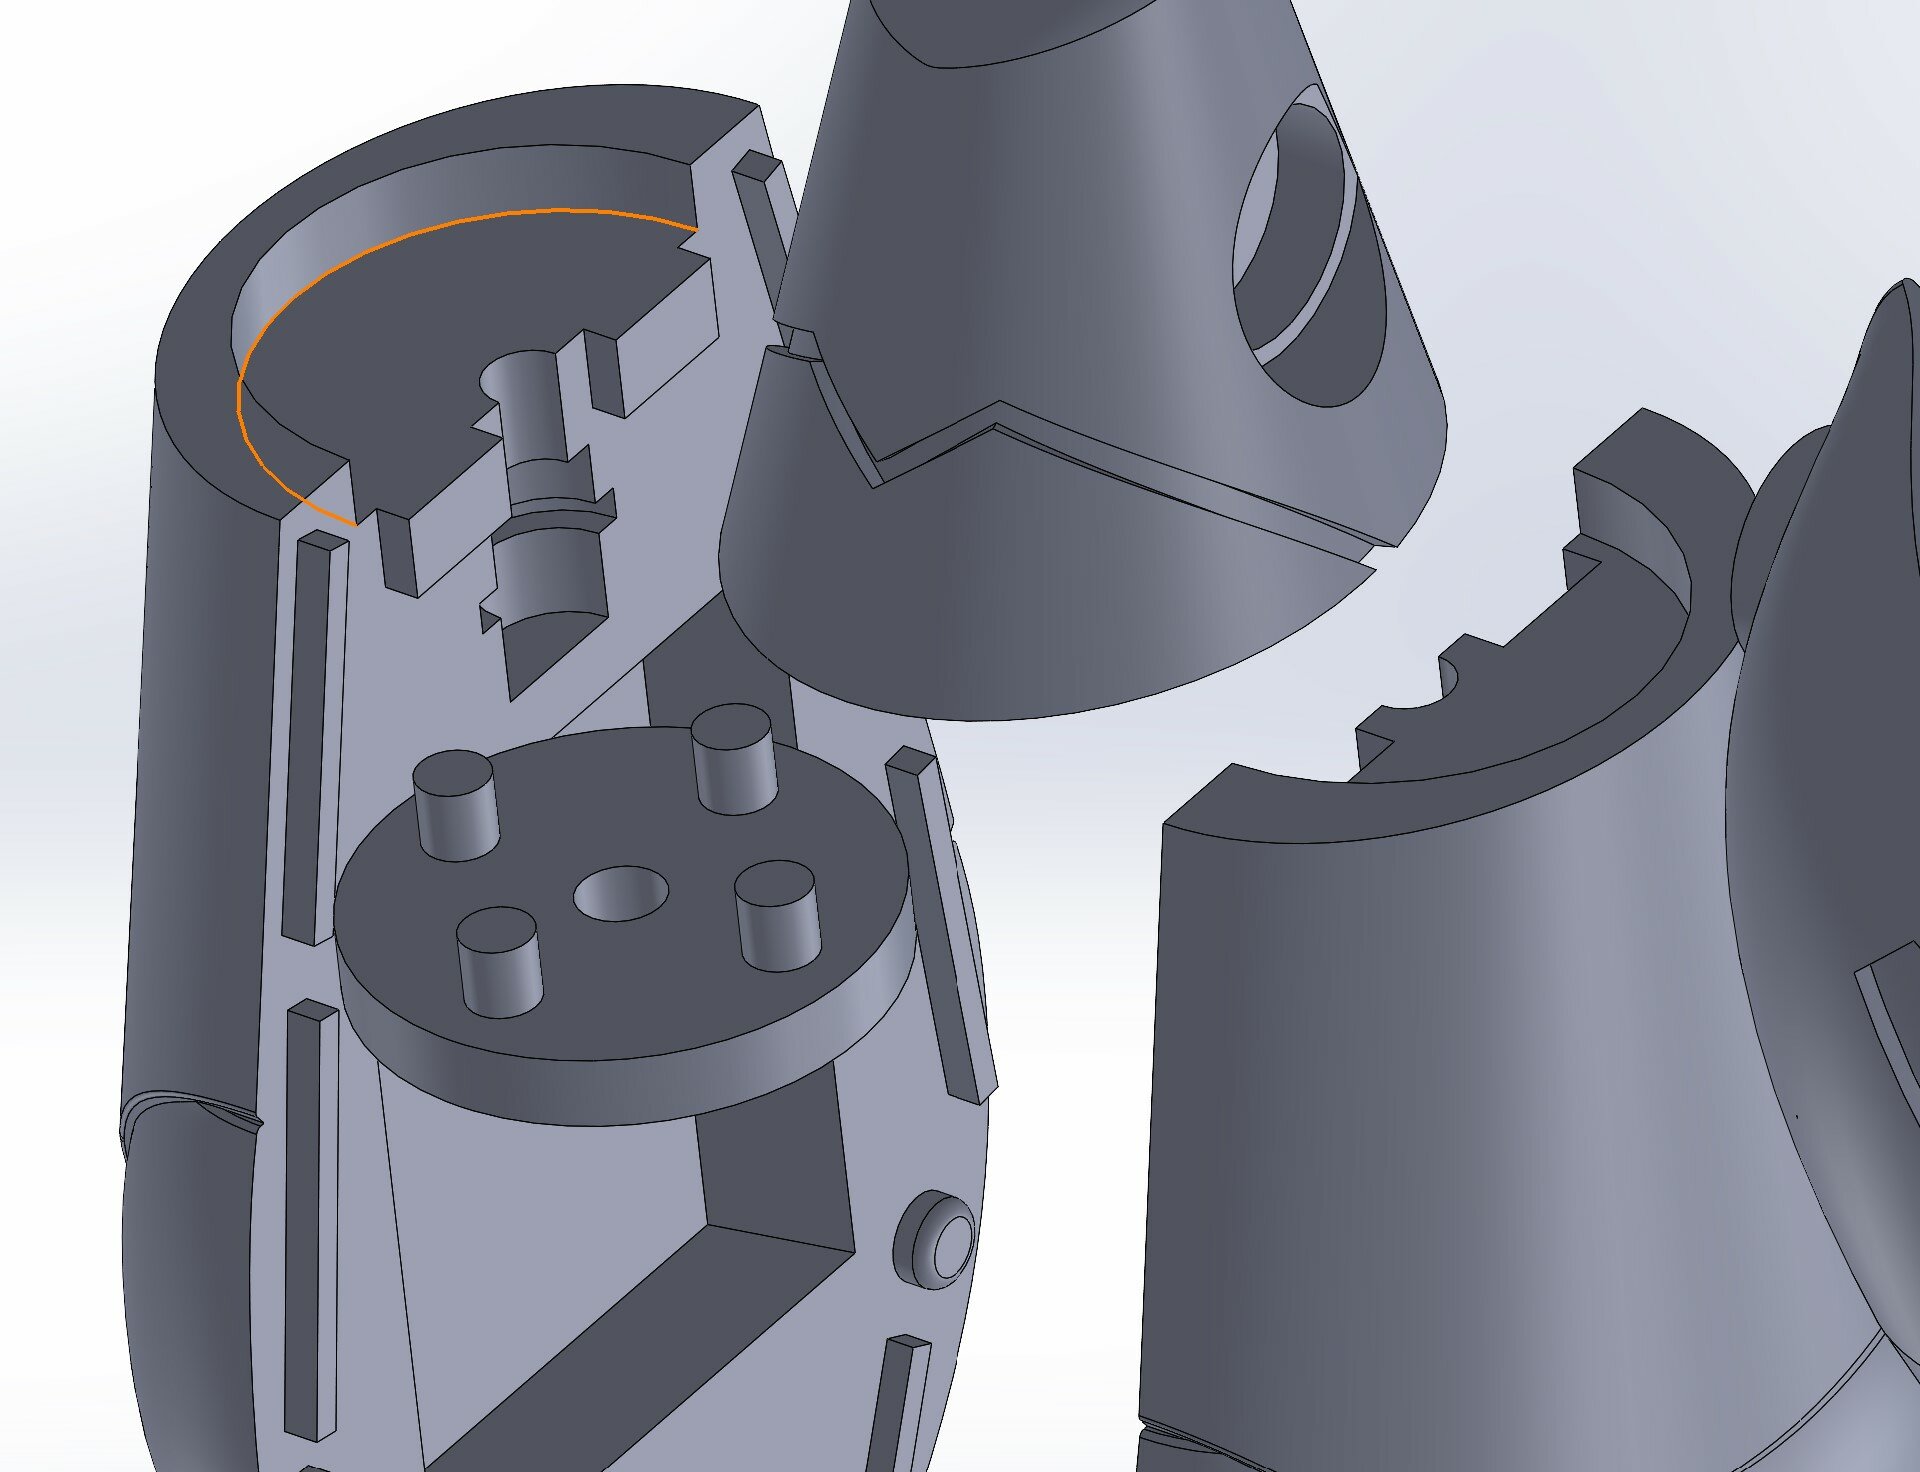
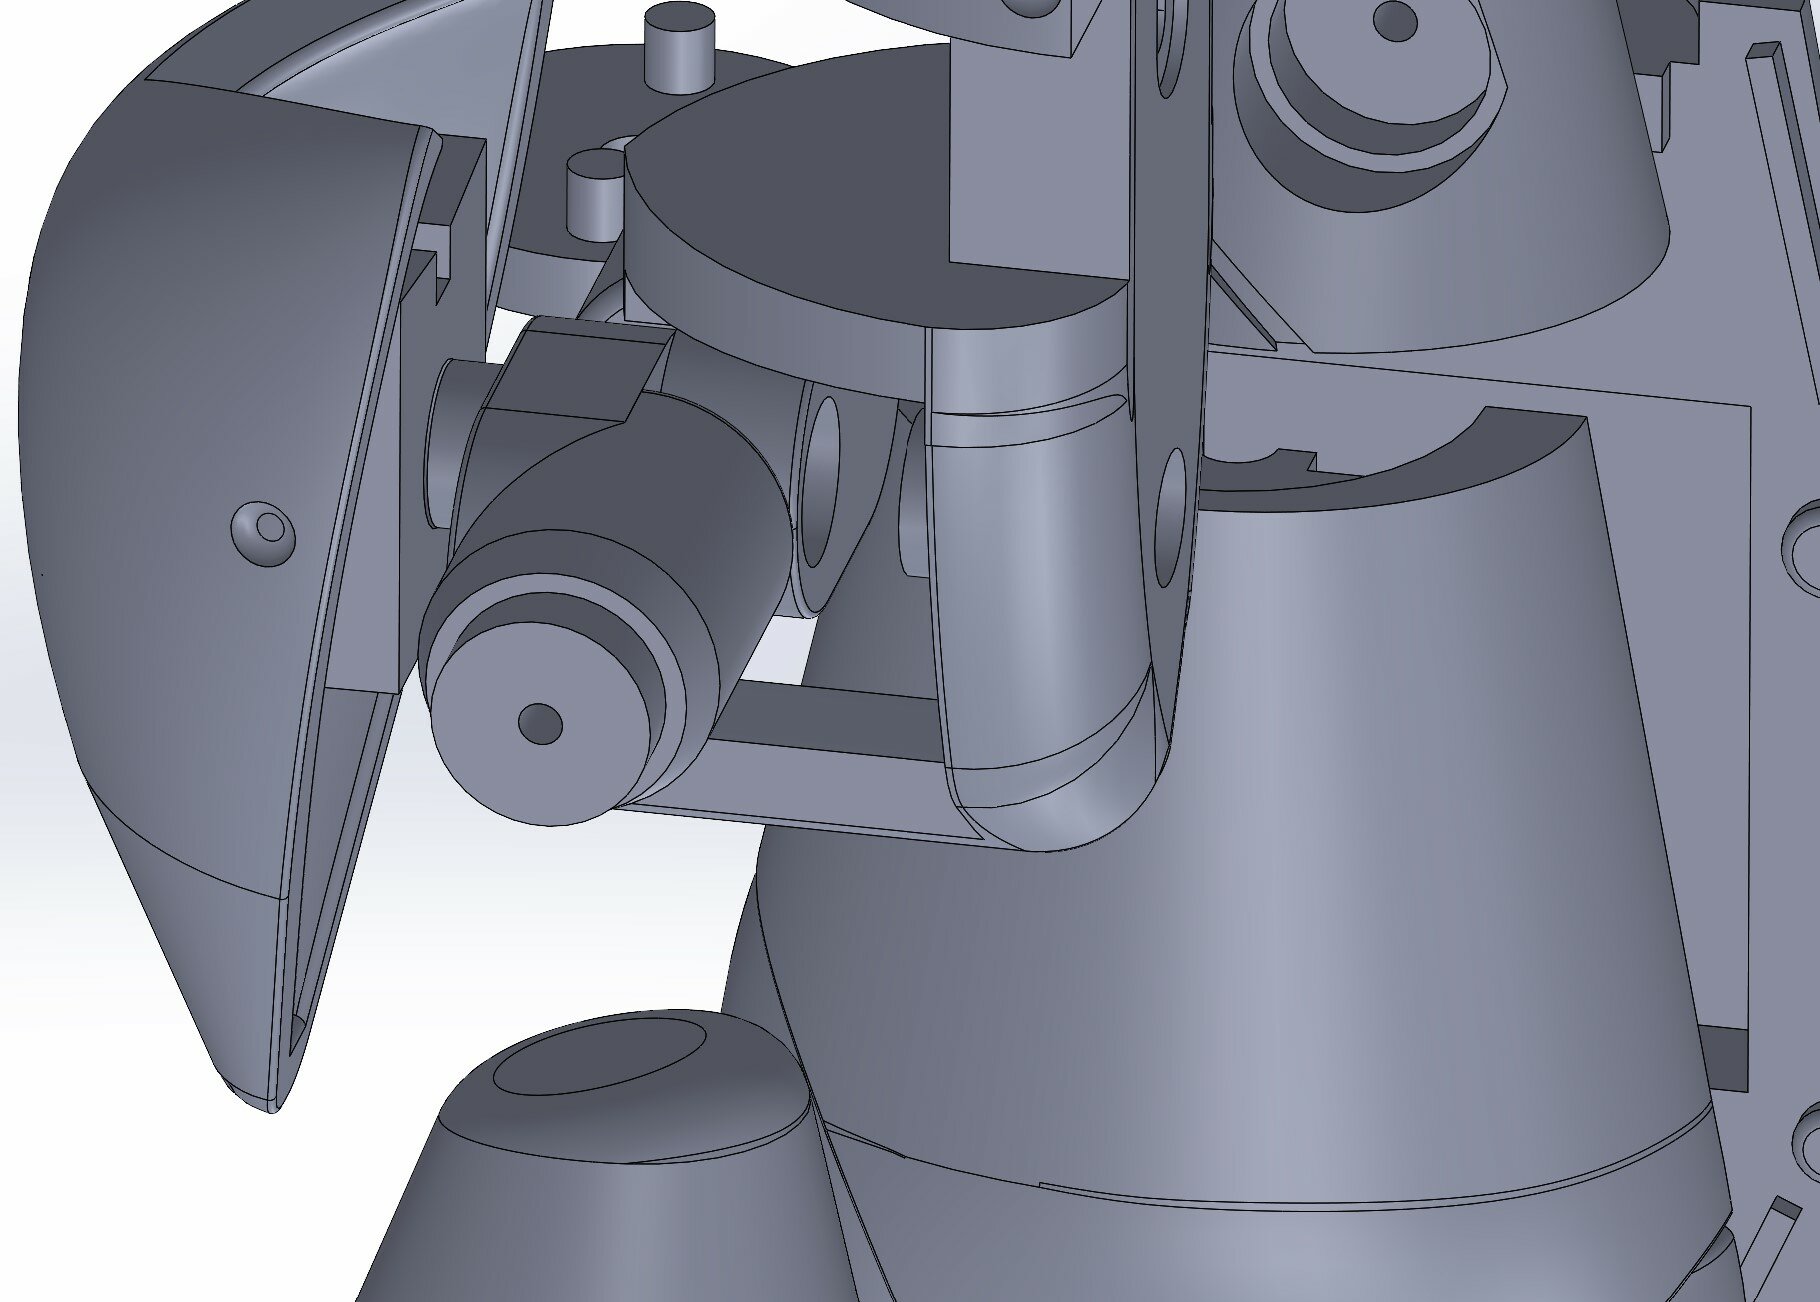
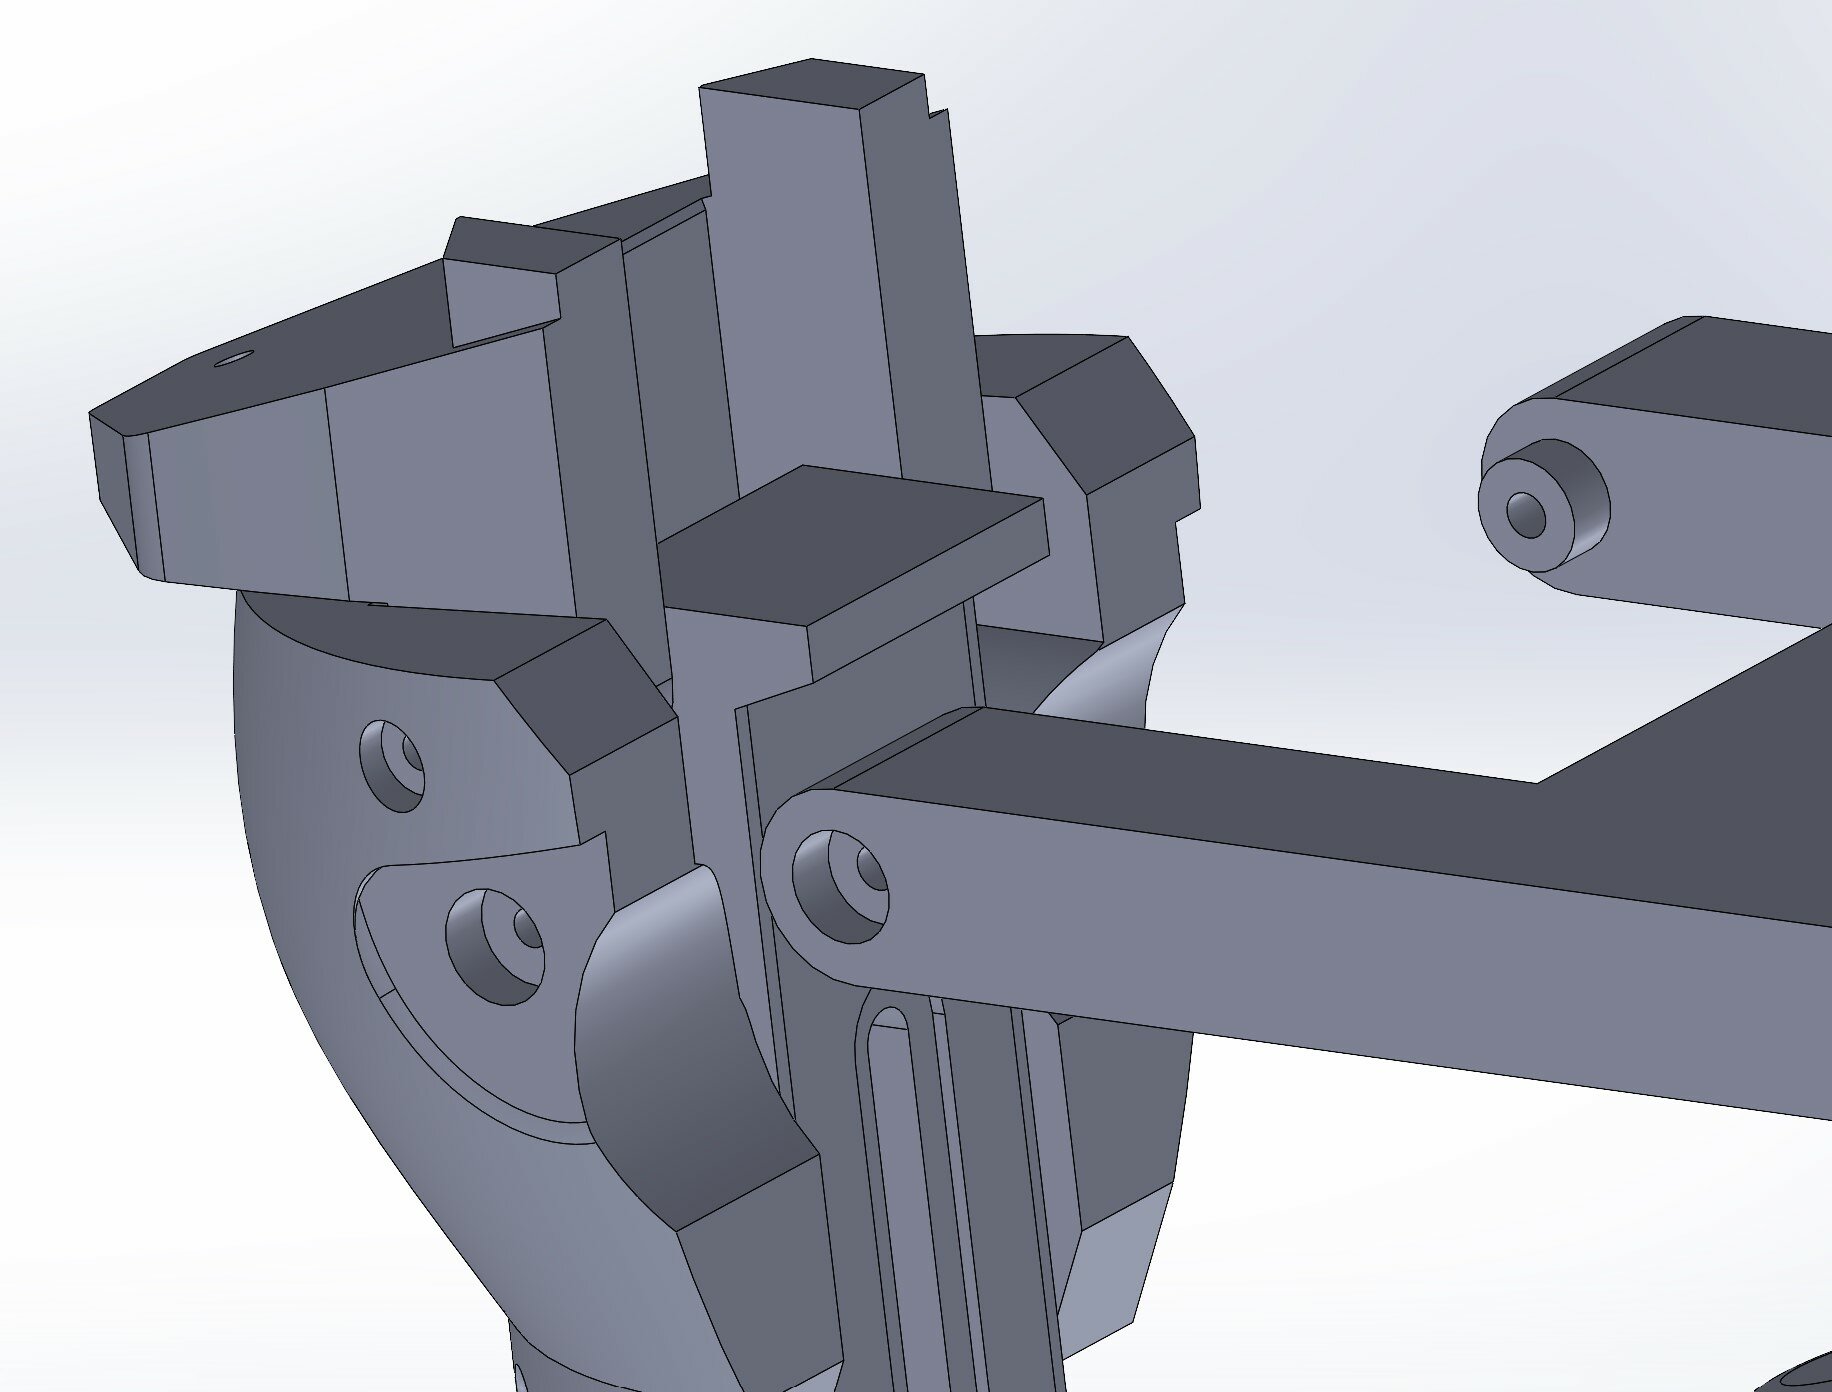
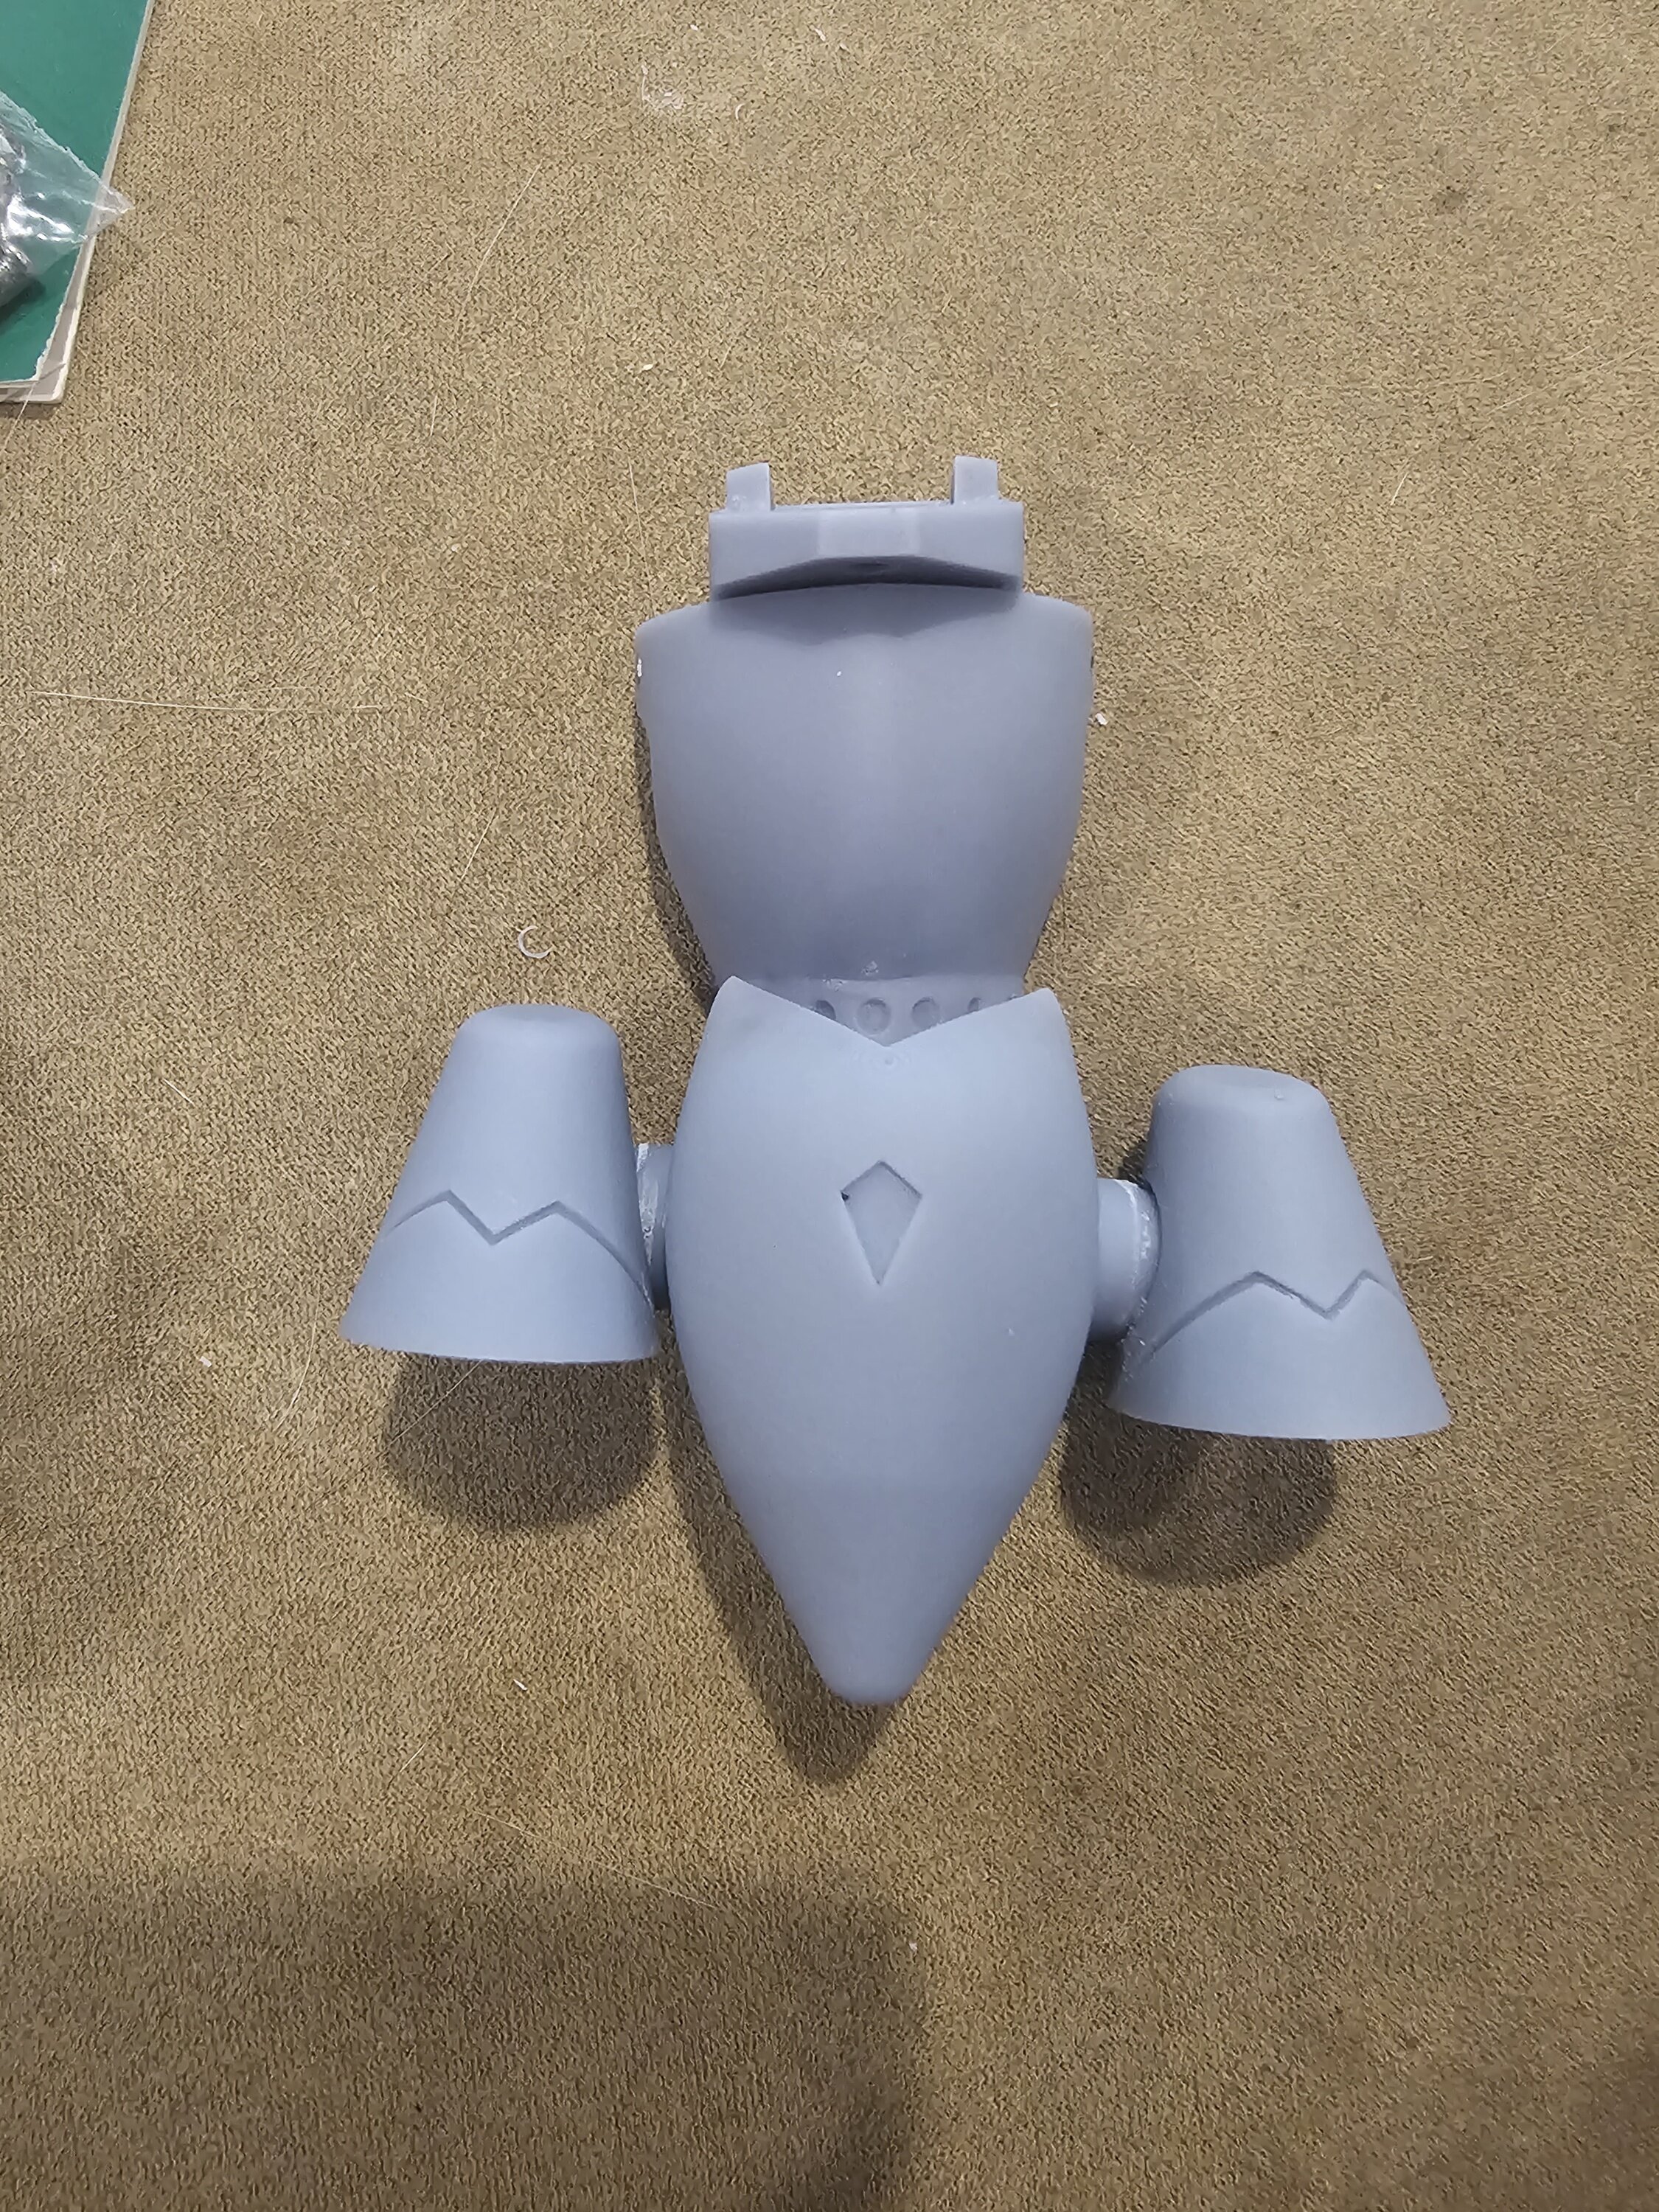
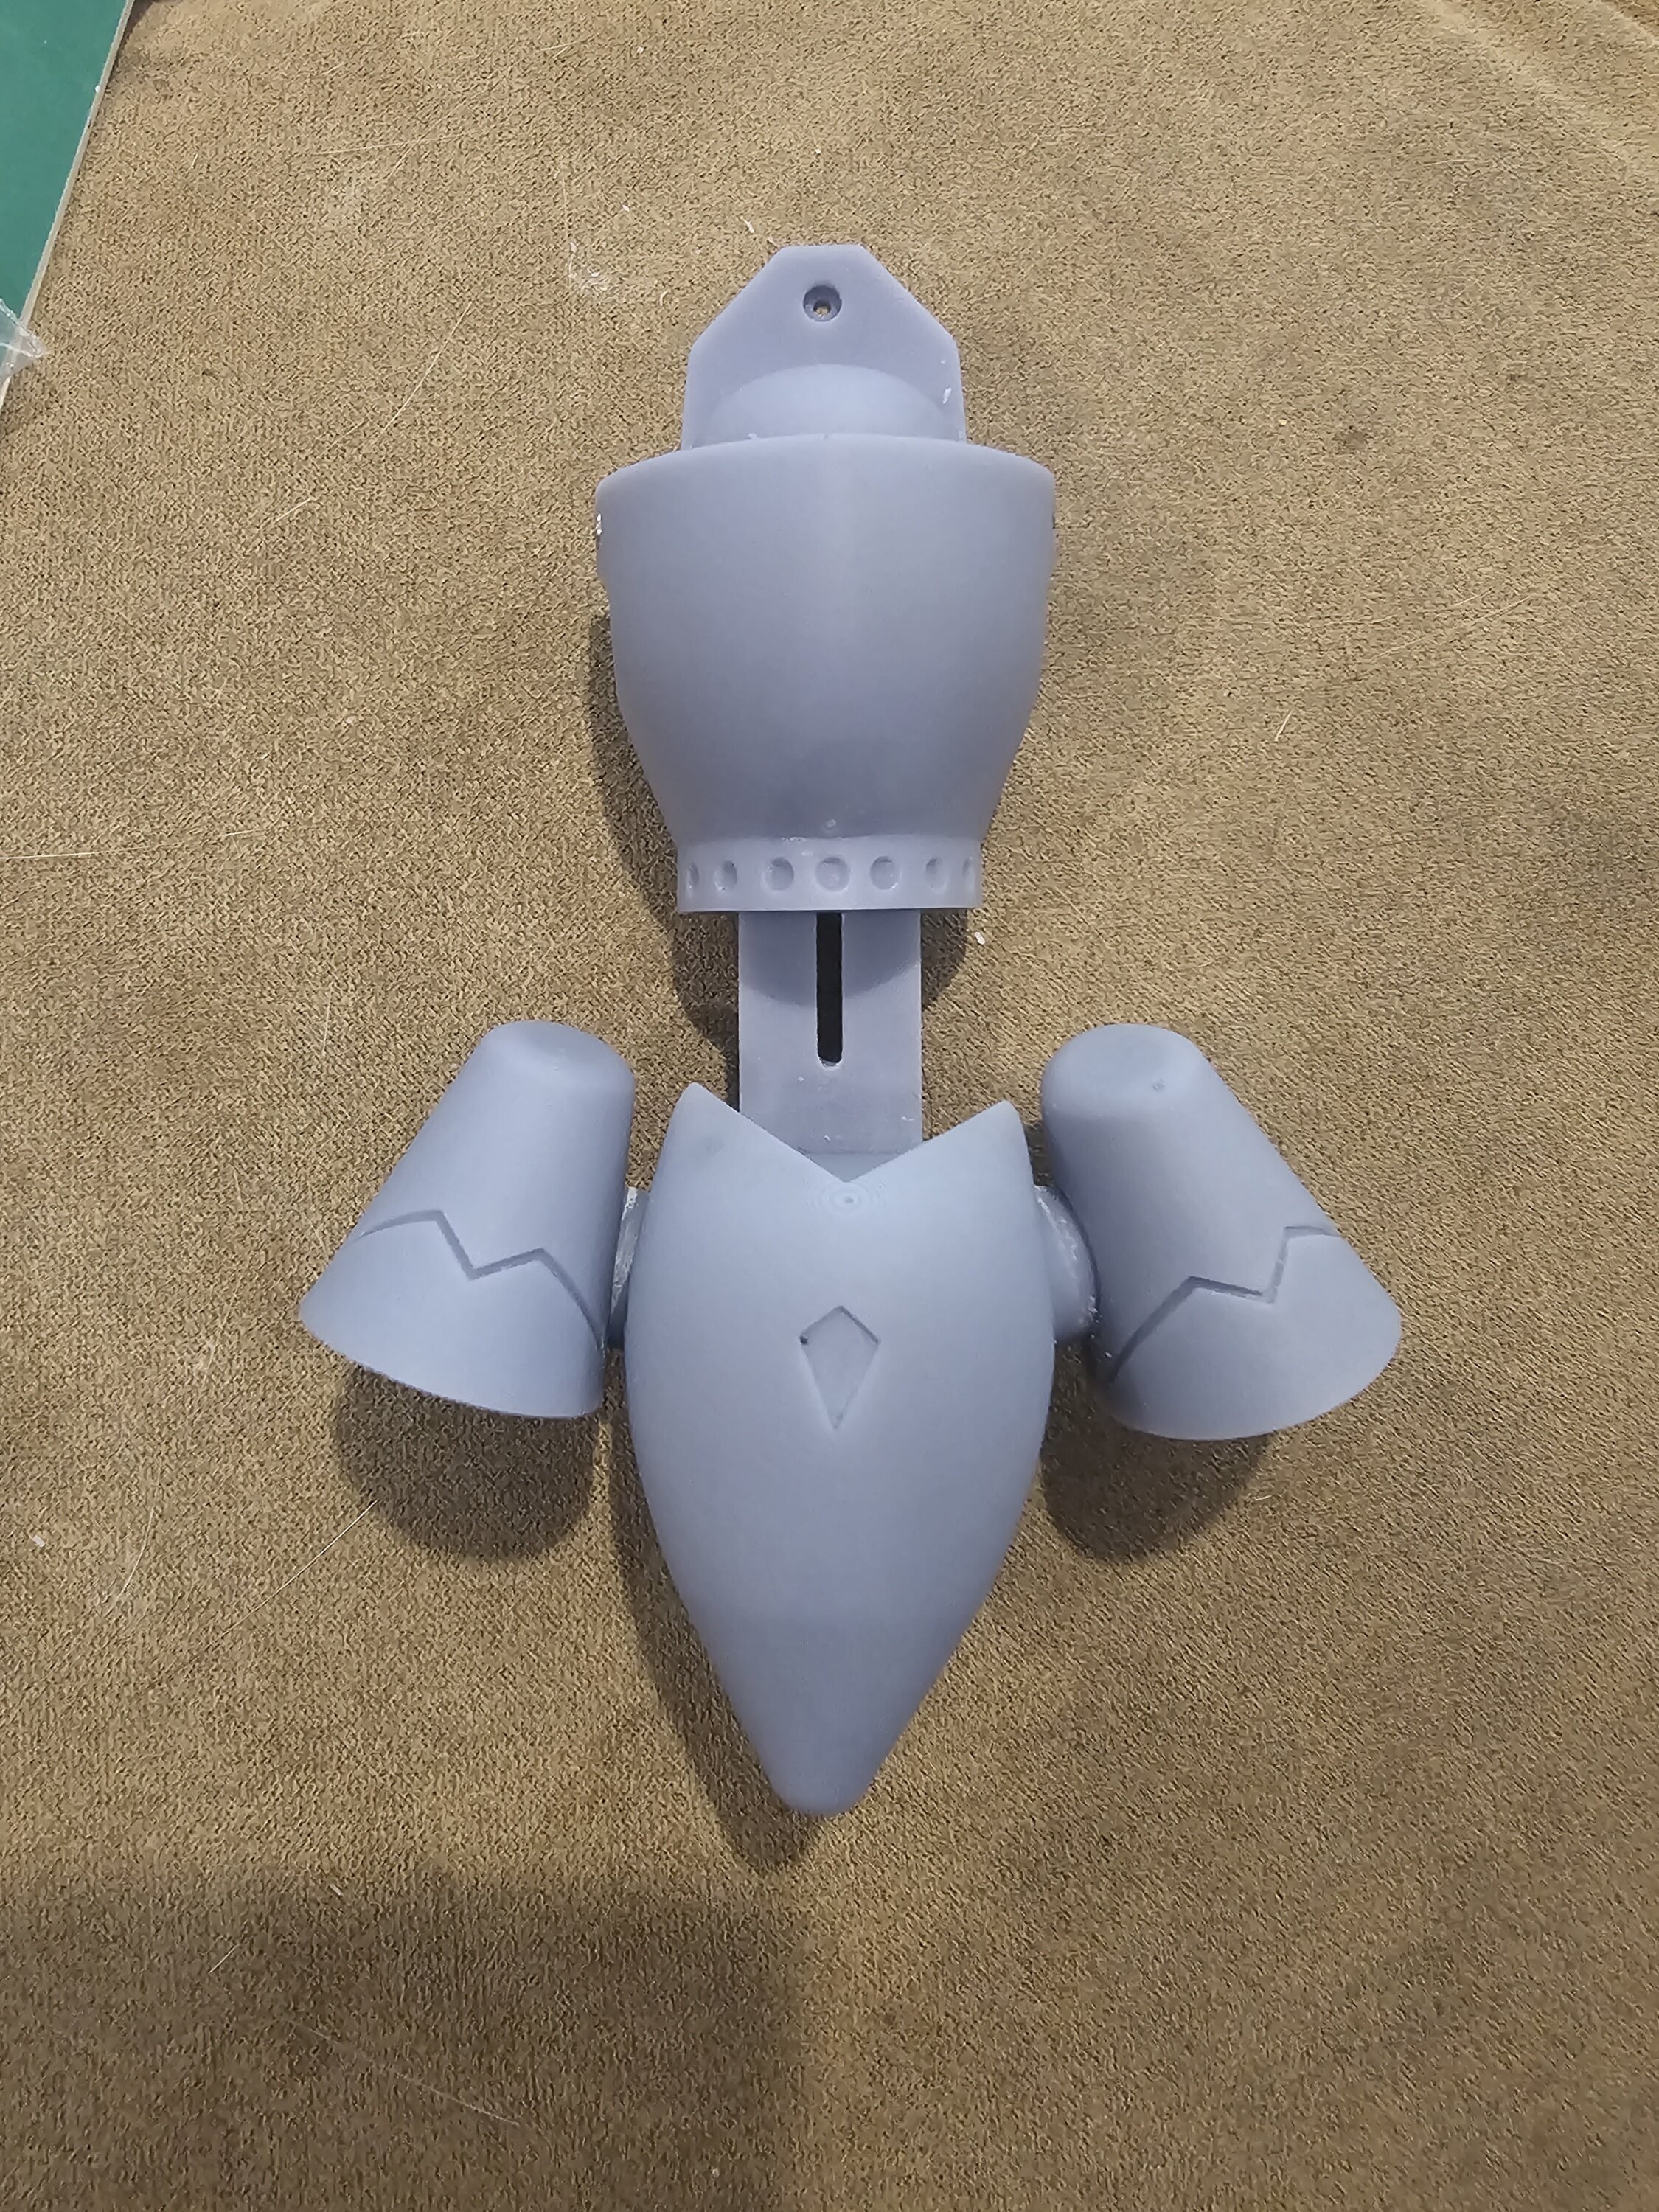
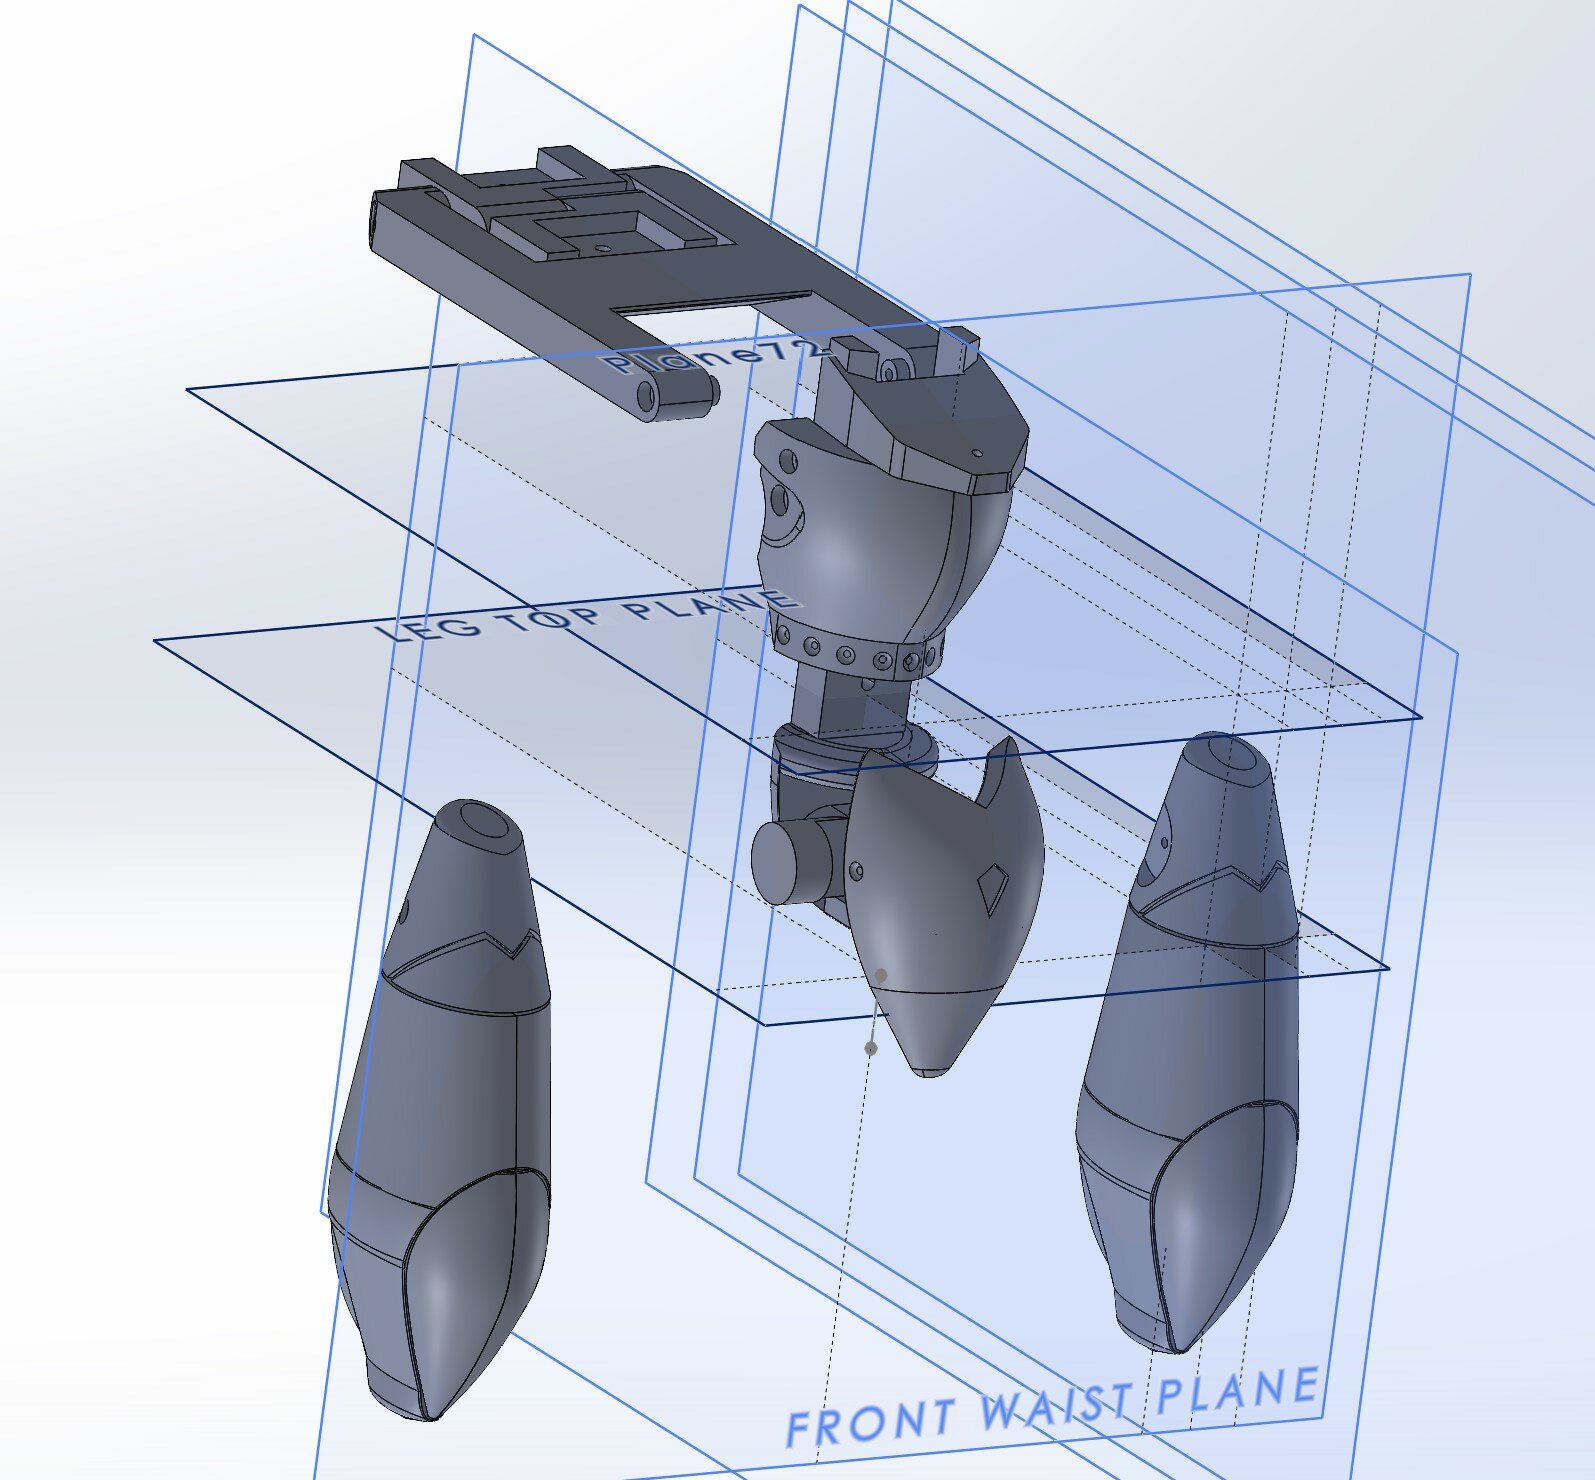
Not a huge update, but I had a little time this weekend to work on this more, and here are the parts so far. As you'll see, I changed a lot of the parts to make them integrate more into other parts, so that as they move, there isn't a lot of gaps and wobble in parts. I did a test print of the parts I had at the time, and I'm happy that they fit really well. All the moving, transformable parts work as they should, and so far, the newer updates since the last print will only make it more stable. I finished the inside of the thigh parts, and they will be able to swivel on a ball joint part that is stabilized by the round covers and the anchor section going into the thigh part. I'm printing now to test, and if it works, I'll be moving onto the lower leg section.
-
As of now, I've been printing and adjusting the parts that I am finished with. I'm sure once I build, I'll have more adjustments to do, but so far, I'm happy with the parts. I just got more ball joints and screws in, so I am now measuring for the upper thighs to rotate at the hips.
-
As I'm currently trying to fix the files of my Orguss Bronco II that I've been working on, I got a bit tired of researching, and decided to work on another project until I can get that going. So, I decided to take out the S.H.E. Feios kit, and see what could be done about making it larger (1/60). The resin kit by S.H.E. is transformable, and while I am going to increase the size, I'm also looking at fixing some things to make it a little sturdier. While the size of parts can do that somewhat on their own, I've ordered a lot of ratchet joints, and purchased a lot of various ball joints while in Japan 1 1/2 months ago. Anyways, here's what I've done over the weekend so far, and while it's got a lot of trial and error in printing parts, it's coming along pretty well so far.
-
At this time, I may have to redo it, as I ran into an error in the file that I can't fix. I'm looking at solutions now, and I'm sure I'll find it, but until then, it's on hold. Once I do get it fixed, it could be around November/December that it's done. As far as what I'm doing with it, it'll probably just be the files for sale. I can print it, but it takes a bit of time, material, and parts cleanup. If I do that, I'll be selling those for a lot more. Part of that, is that I also use combined resins that give a really good amount of strength and very slight flexibility that make it pretty sturdy.
-
The 31AX issue reminded me of this all over again. It does seem like they are slow walking this release, and with the time they've been spending, one would think they have found all the potential issues, but then again, nothing beats regular use of a toy with the exact materials. Fingers are crossed.
-
Nothing pops up for Macross except what I already mentioned. That said, I don't really use Twitter. It would be nice to have a place to consolidate it all though.
-
The no update may actually be a good thing, hopefully. It could mean that there isn't much to update, but it could also mean that they're just behind. I really wish I could go to WF this summer.
-
I've been trying to see what is going to be available for Wonder fest happening in 10 days, and I think I've only seen one item (a BJD Sheryl doll outfit). Does anyone know if there are any other bigger kit items going up this go around? I'm always amazed at the kits that come around for this, and hopefully there are some great ones again. Even the toy news that is up as previews is always fascinating. I can't wait to see pics of those, but I'm definitely interested in seeing what kits in small batches will be available.
-
Sorry it's been awhile since I've posted on this. I had some major fixes to do on a couple other projects. Plus, I was designing the mechanics for a custom project that I was getting paid to do. In any case, I will get back to it shortly.
-
Unfortunately, when I got back from Japan the day before yesterday, I found out that AX is sold out. I wasn't able to register my industry badge in time, so I'm out, although, I do live semi-close by, so I can meet up outside, if anyone is down.
-
I'm going this year, if anyone wants to meet up.
-
Here's the official banner announcements. Registration for attendees, vendors, and artists is now live. There are very limited number of tables for Vendors and artists, so if you want to do that, they may be gone by AX time in early July. We are going to have some cool swag stuff with the full body art of these characters, too, so that will be available coming later, as well as guest announcements, and some other cool stuff.
-
This is true. There are only a few that I can say stay true to the look and "attitude" that Sheryl is portrayed as having. I guess I am seeing that lack in this more since these are detailed images at different angles. In looking at it again after you said that, I think I see the problem. The "squared" face you mentioned seems to be due to her face not being as angled towards the chin area, and also what seems like her face being flattened a little. Her cheeks also look a little fatter, but I'm not sure if that's because of the flattening.
-
I know these figures are getting more expensive, and normally I'd pull the trigger on these figures, but I'm a bit hesitant simply out of the fact that the figure's face isn't that great. I don't know exactly what it is, but there isn't any sort of expression in the face, and the character that Sheryl expresses doesn't seem to be showing in this figure. Being a huge collector of Sheryl figures, I'll probably still pull the trigger on it, but I can wait for this one.
-
Thanks guys. That confirms what I thought.
-
This is the picture he sent me... Obviously he's opened it since, as the pilot is now in the cockpit, so I just wanted to see if I was somehow missing something.
-
I did bring that up to him, but he claims it came with that in a sealed package. However, when I look at his image, it is the same construction, at least the same color as the ones that were sold here. I think it was DarrinG that sold them, and they look extremely similar to them.
-
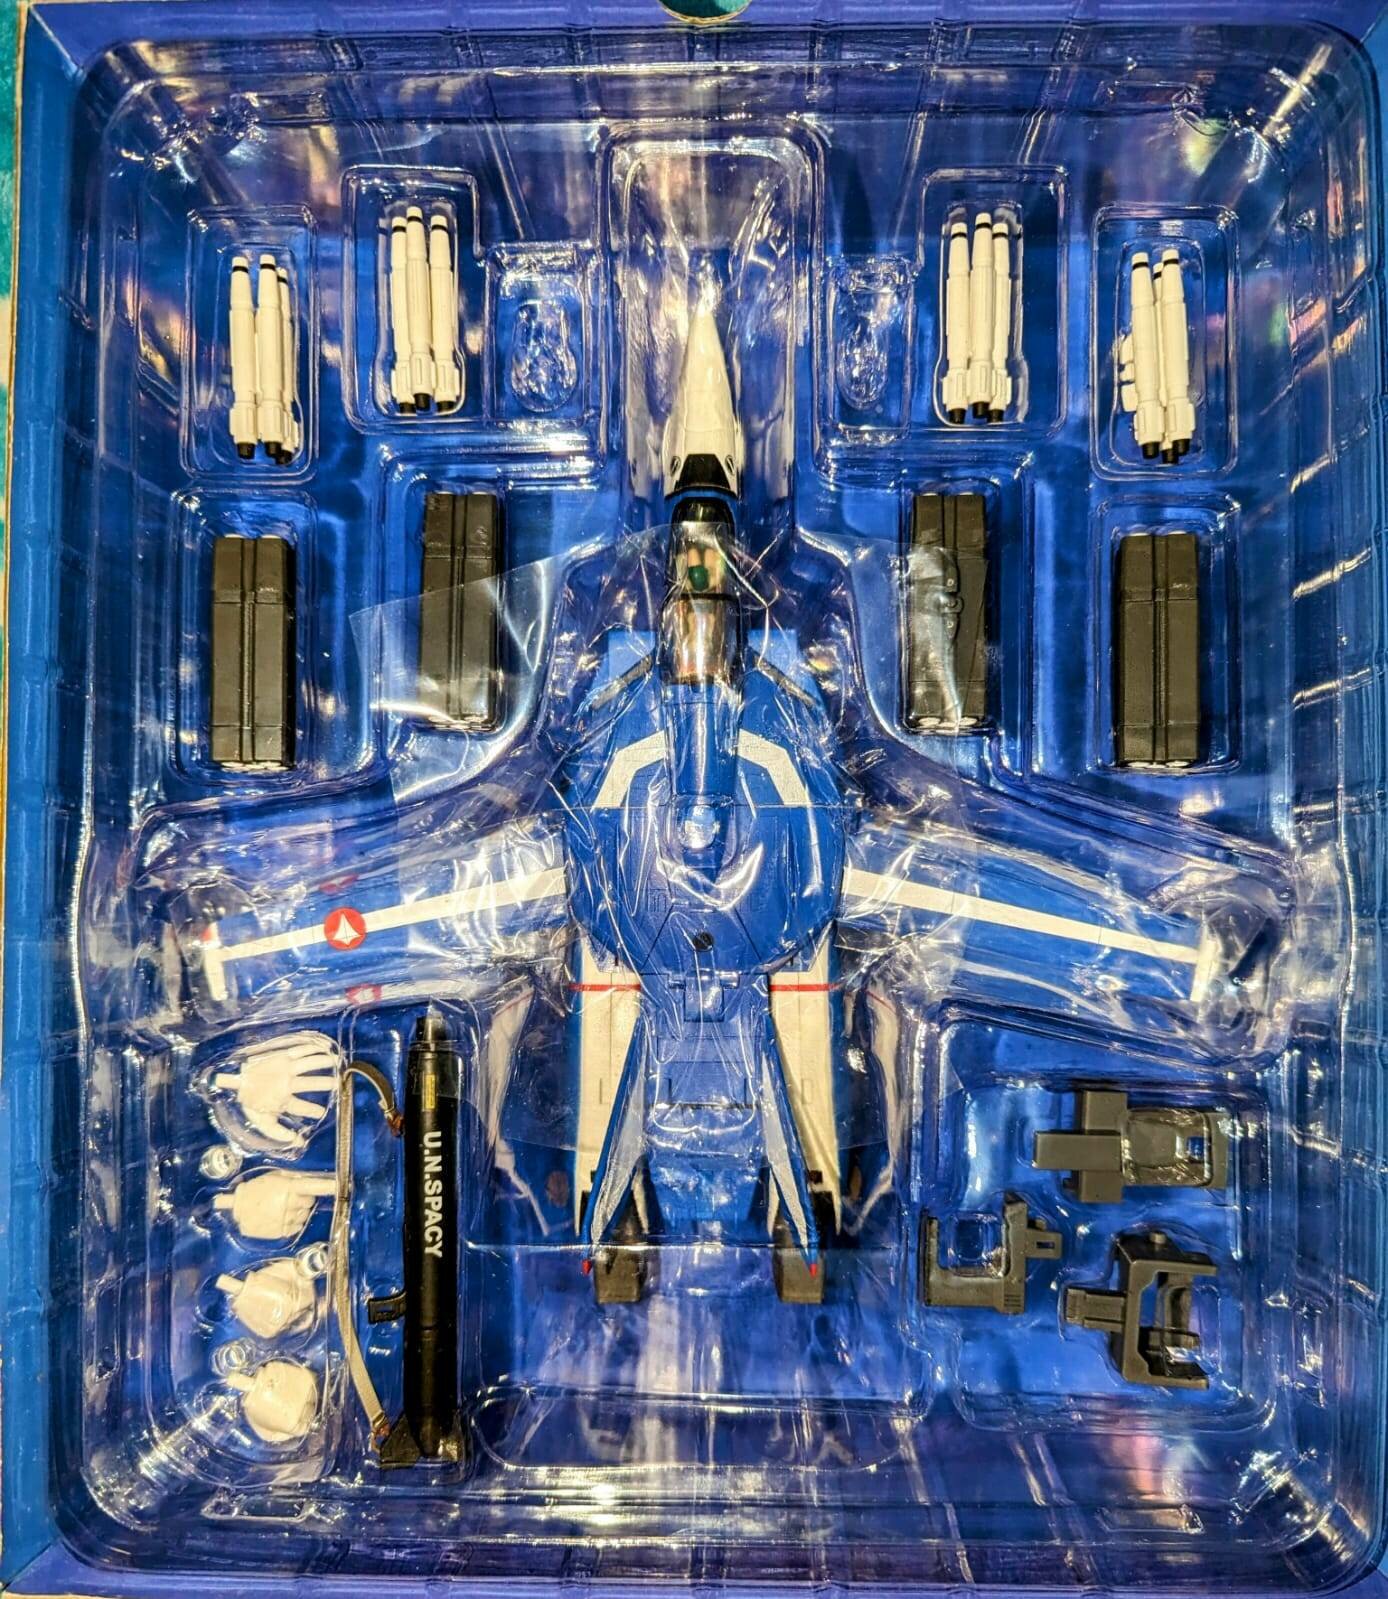
I recently sold someone one of the Yamato Virgin Road VF-1 toys, and the buyer is saying that another one he owned came with a strap. I don't ever recall these, or for the most part, any standard Yamato release coming with a gunpod strap. Am I missing anything? Also, did the Virgin Road just come out once, or was there a reissue that was different?
-
They bring good luck
-
-
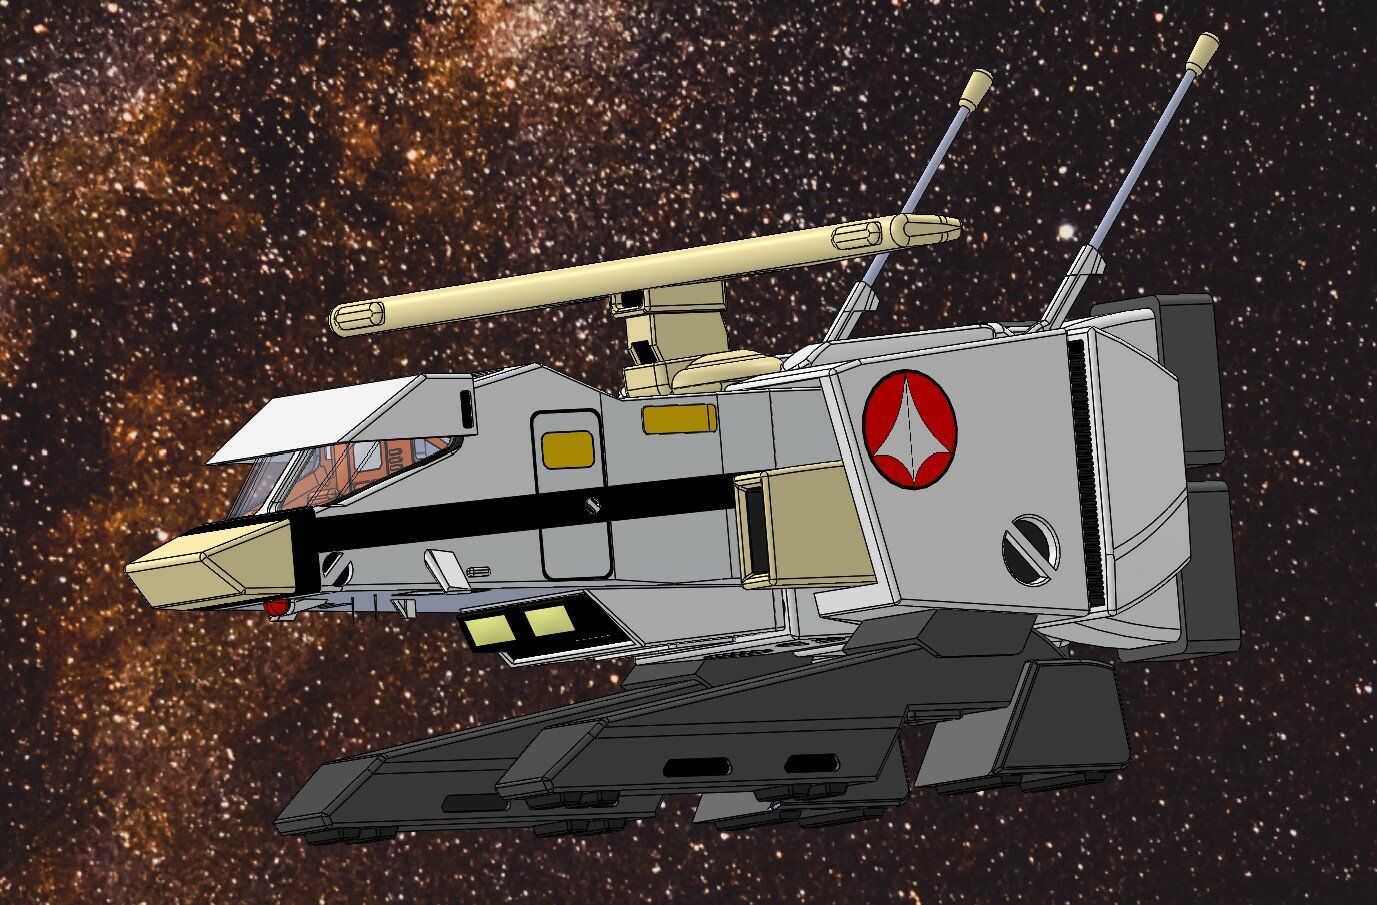
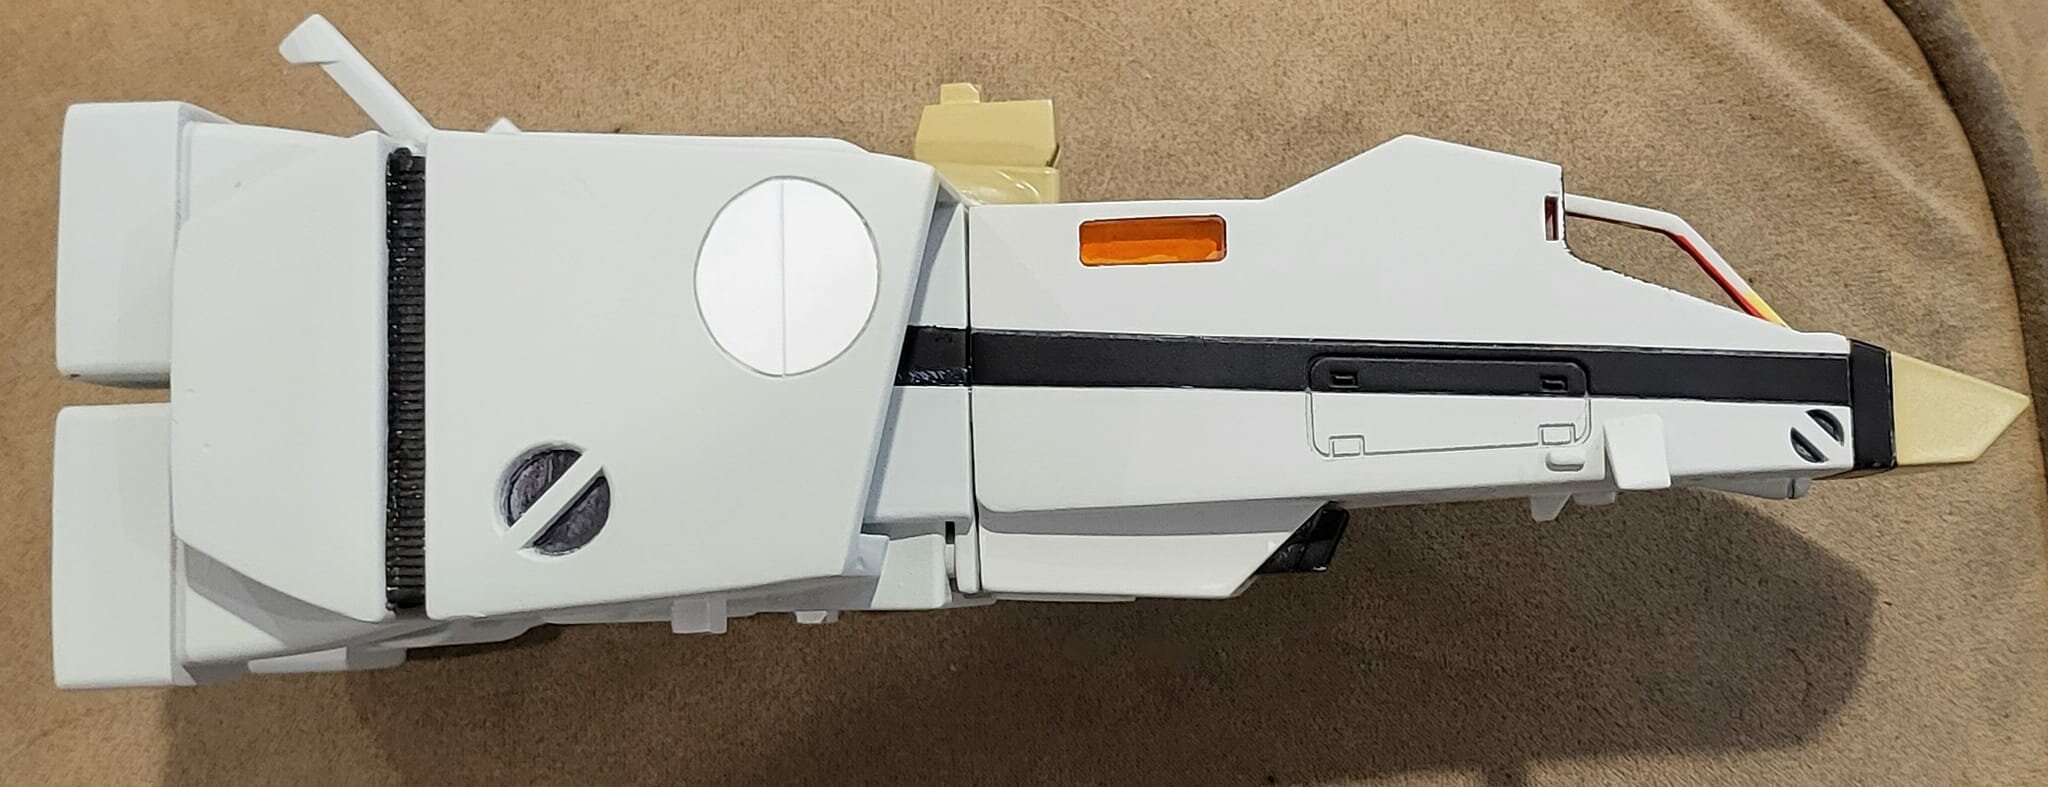
Oh, I was not aware that one did. I knew it split, but wasn't sure where. I just want to make access for construction, so there are a few options I can consider. I did test fit the legs, and once the legs are on, this really has the look it was meant to have. I'm really happy at how it turned out. Truth be told, I'm always amazed that I was actually able to put my brain to work to make these things. I thought I'd never really use my engineering education for anything after my career change 15 years ago, but here I am. I gotta start working on the decal for the 20mm diameter (maybe 21 will cover the recessed parts, and make those as well. With the white backgound I left it, probably don't need sheets with white background, but I'll make some anyways, just to be safe. I also need to start on sealing up the gap as well.
-
Definitely now done, and needs some more detail, but it's in the process. Because I'm not a fan of making it just a white color, I decided to customize an even lighter grey, using an 80/20 ratio of white to light grey of the Mr Color paint. I like the result. I left the space for the kite decal white for a better contrast. Some of the paint needs to be cleaned up, but otherwise, I'm pretty happy with the colors. I'm now trying to make the front glass parts as polished as possible, but I may need to just go and recast these to get the best quality possible. Nevertheless, here's the first pics of it in the works. I may end up adding a few extra parts to it for ease of painting, like removing the back 4 boosters, and maybe make the entire cabin just one piece, but that would make adding the "glass" parts in the door a little more difficult. I could also separate the entire cabin at the black stripe across it, and that would hide the seem. OPTIONS, LOL
-
Sorry for no updates lately. I started working on the cockpit and canopy. I'm not sure on how much to detail it, as the line art I have is quite detailed diagrams. I at least want to put a figure inside, so maybe enough detail for the control panel, and to give the figure some more detail when in the fighter. I also added two hard points on each wing that are the same size as the Arcadia attachments. I'll eventually make Orguss detailed missiles, but I thought it'd be cool to be able to add some of the Arcadia weapons. I'll probably need to do more cutting in the body for the leg assembly, but that's only in the thought out stages.
-
It's validation for complaints. Seeing this thing in person, it looks great. I really, really want it. I think if more people saw it in person, they'd probably be a lot more excited for it. If not, I don't think anything can help at that point, but that's just my opinion, and you know what they say about opinions...


