Jasonc
-
Posts
6336 -
Joined
-
Last visited
Content Type
Profiles
Forums
Events
Gallery
Everything posted by Jasonc
-
Sometimes I think the same thing of my own skill in doing it. It's all just practice, really.
-
The wing on yours is quite solid. If it warps, then it was next to a heater. Task resin is good stuff. Any issues, just contact me. I'll be happy to fix it.
-
I preordered the anniversary color scheme Sheryl. I had like 3000 yen bonus at CD japan, so it came out to, with shipping, about $22. I already have the Megahouse Blue and Red versions, so a new color is definitely cool. I don't really need another as the same color as what I already own, but that said, Sheryl is waifu material.
-
it's been extremely hot, so I wonder if during shipping it was left in a really hot area. If you want to try and fix it, the best thing is to follow the same rules for getting it straightened out. If you want to send it back, I can straighten it out and then ship it back. The painting part would just require a bit of sanding on it, then repaint the area by spraying a light coat of the Tamiya Orange TS-12, then follow up by matte coating the entire piece again. Send me a PM if you want to see what we can do.
-
Ah, OK, I did see those. they look great. I'd have to pull mine out to get a good color comparison, but I haven't printed his to compare. The ones I do won't be too much different, but just cleaned up hi-res copies of the original. Xigfrid, I'll have a set for you once I get to working on them. Between projects, work, and convention planning, my life is in overdrive.
-
I'd need to see his. I haven't seen them, but they are the official decals, so if he's already done them, then I may not need to make them. In any case, I will make a few sets. If you can link me to his, I may be able to get a better idea of them.
-
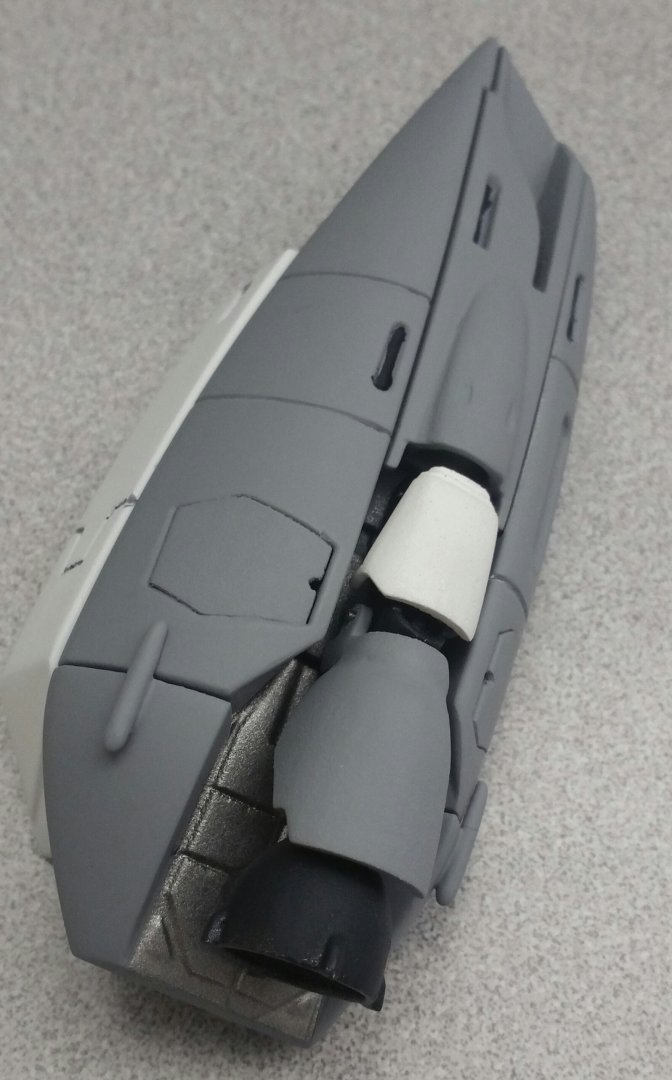
Looks great!!! I'm trying to work on some decals if anyone is interested. I have two sets from Frameout Models' kit, so I am going to do a hi-res scan, and then put them on some sheets. I have to try them out myself first, as I don't want to ruin any of the original sets. I'll probably tweak them a bit, but if anyone is interested, pm me. They're just the orange/red tribal decals, and nothing more. there's no "no step" or any other detailed ones, but those can easily be found, or used from another VF-1. As for the set I'm doing, I probably won't gloss coat them. The matte finish looks best with the finish on the VF-1, so it'll most likely stay like that. I just did the feet. Those were a bit of a challenge due to the screws that were on the directions. I decided to not use the screws, and instead, used some filler to gap fill the space in the insertion part, and then Gorilla glue, which is really strong and also foams and expands. The result is what I wanted. I did have to line the feet up by angling the foot in the bridge where the foot goes in while it rotates, so that it wouldn't get caught after it dries. The process of the feet was a bit cumbersome, but they came out great. For the area where the wing meets the body, I may actually cut these. In the line art, it looks like they separate in transformation, so I am going to line them up to the seem line of the body where it folds in half, and then make my adjustments. The wing front and side, as well as the extra flap that is on the examples is also being worked on. I am cutting the flaps off of the wings, and I will be 3D printing an extended flap to replace it. Once done, I'll need to recast the wing, as I want it to be solid for transforming purposes. As the lead edge parts, because those are thicker than the wings themselves, I can just design those to fit over the wing and the side. Lots of stuff to work on. I'm hoping to have it done before Super Dimension Con.
-
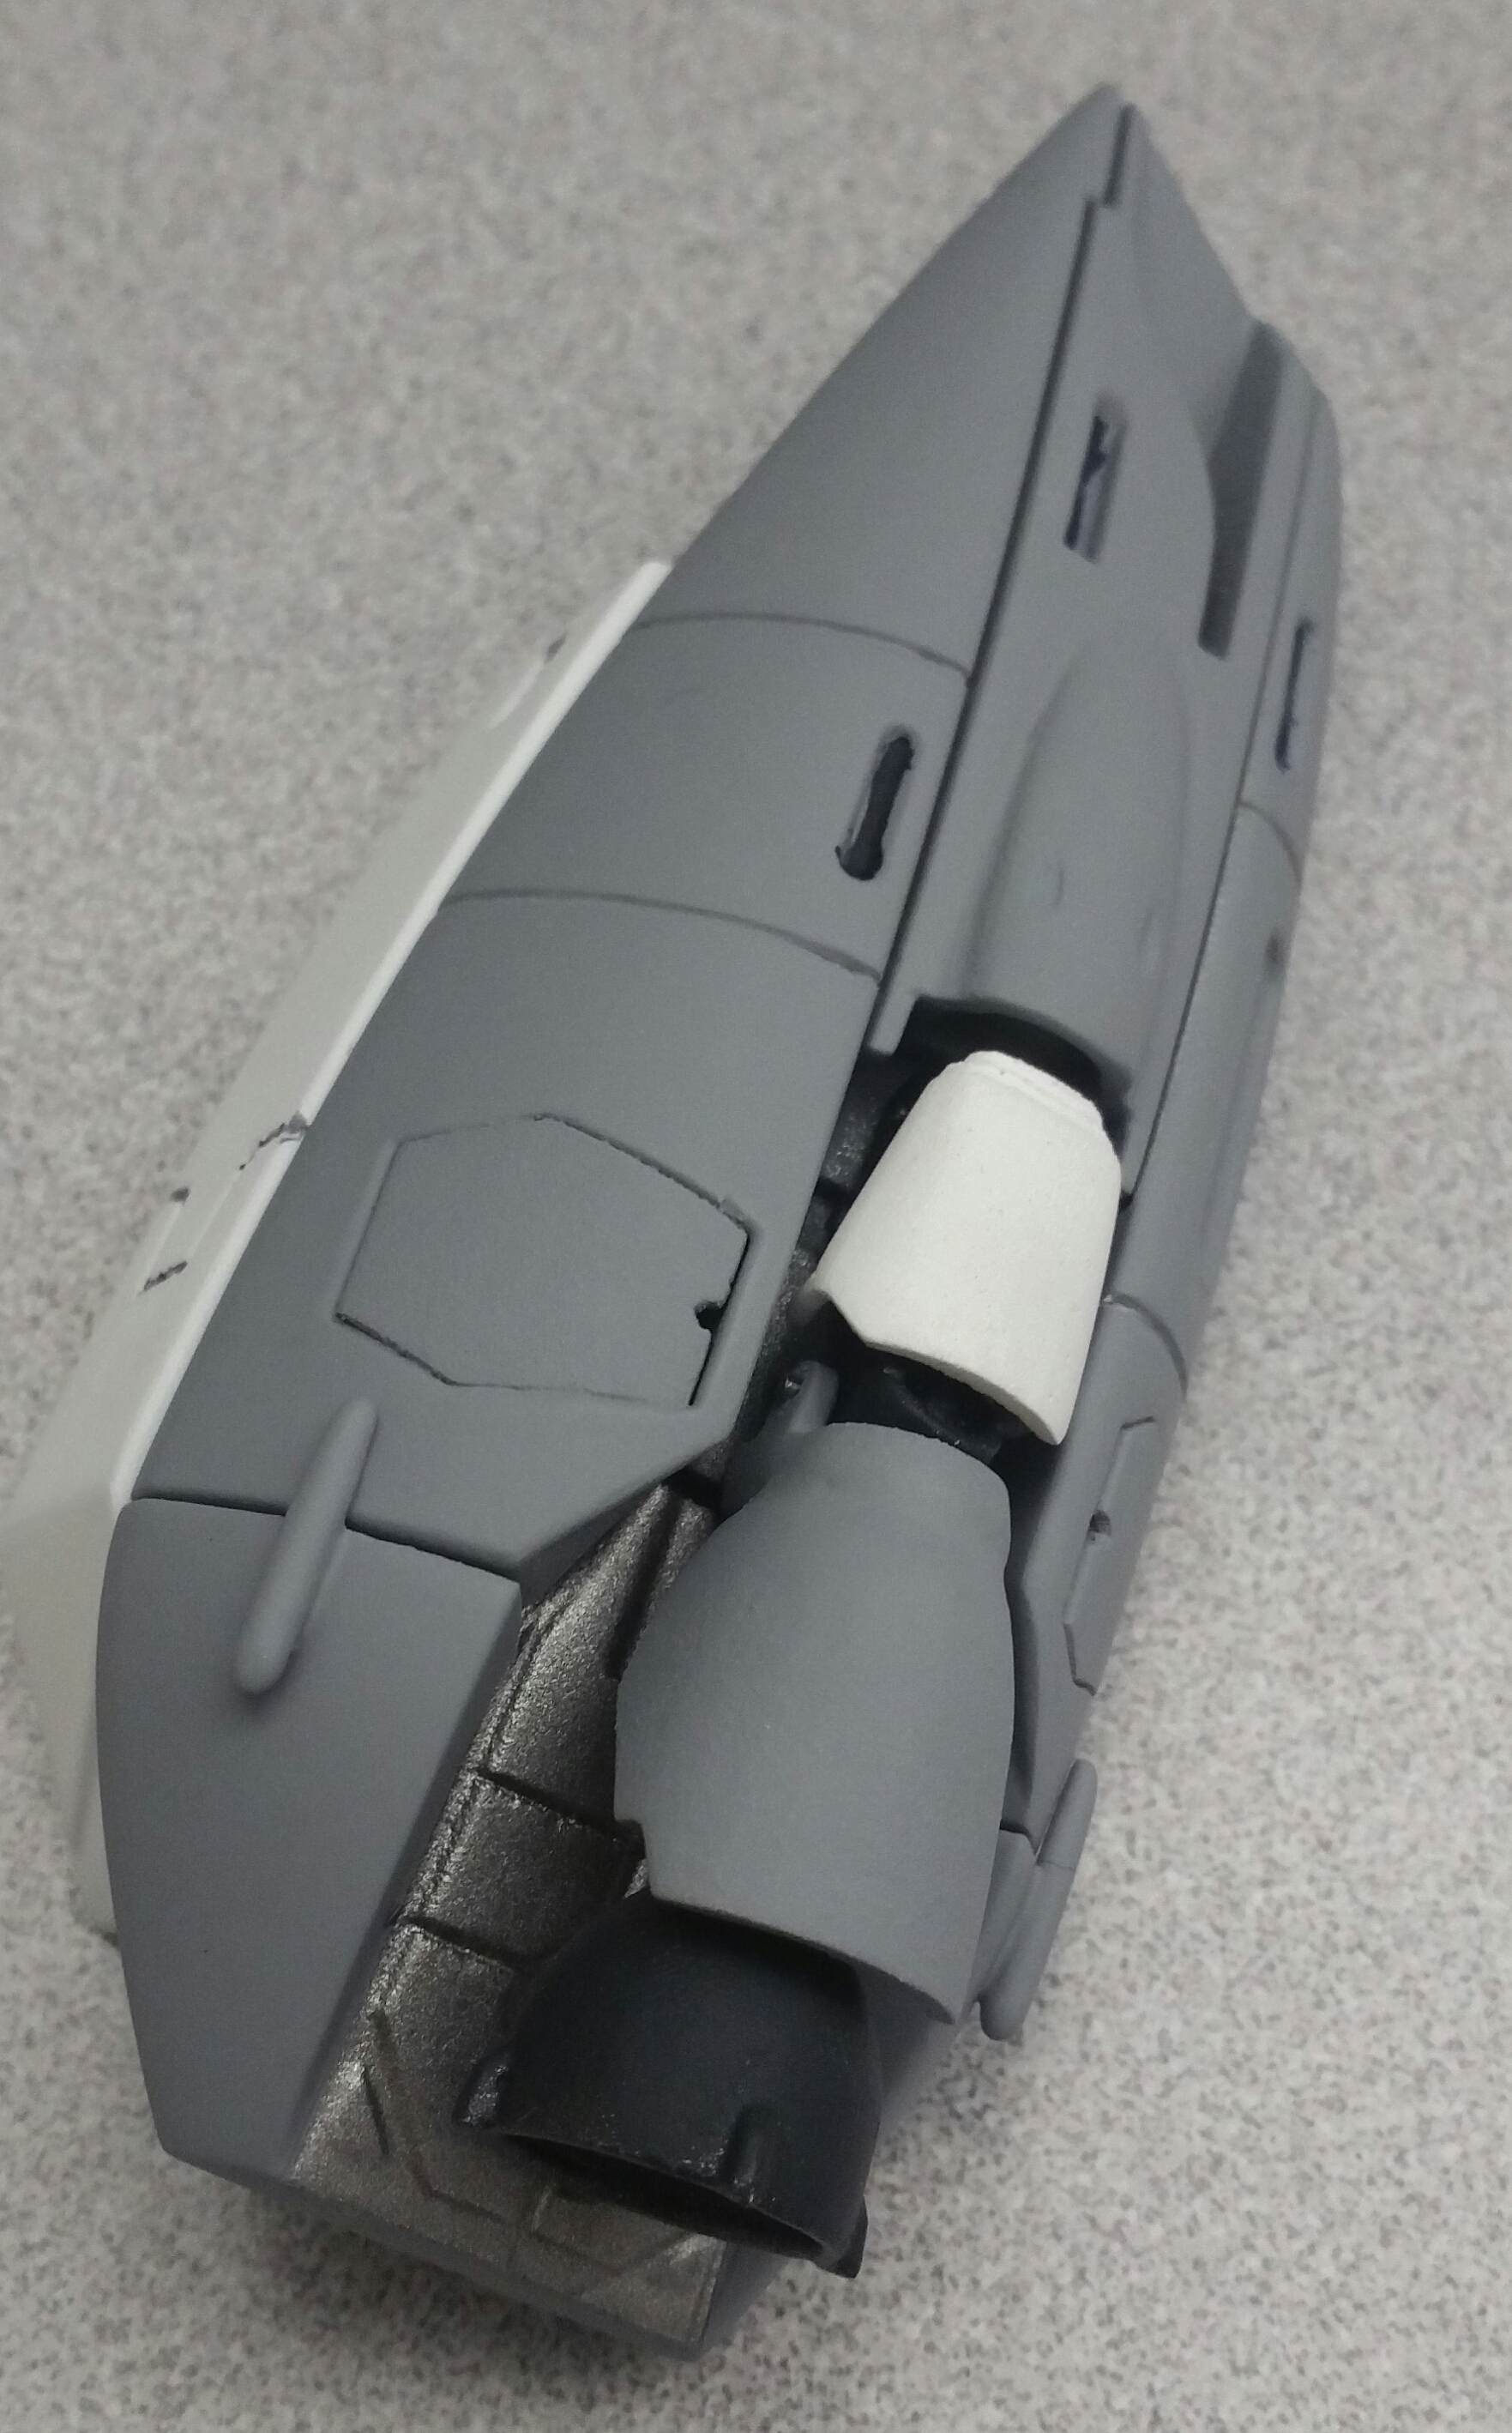
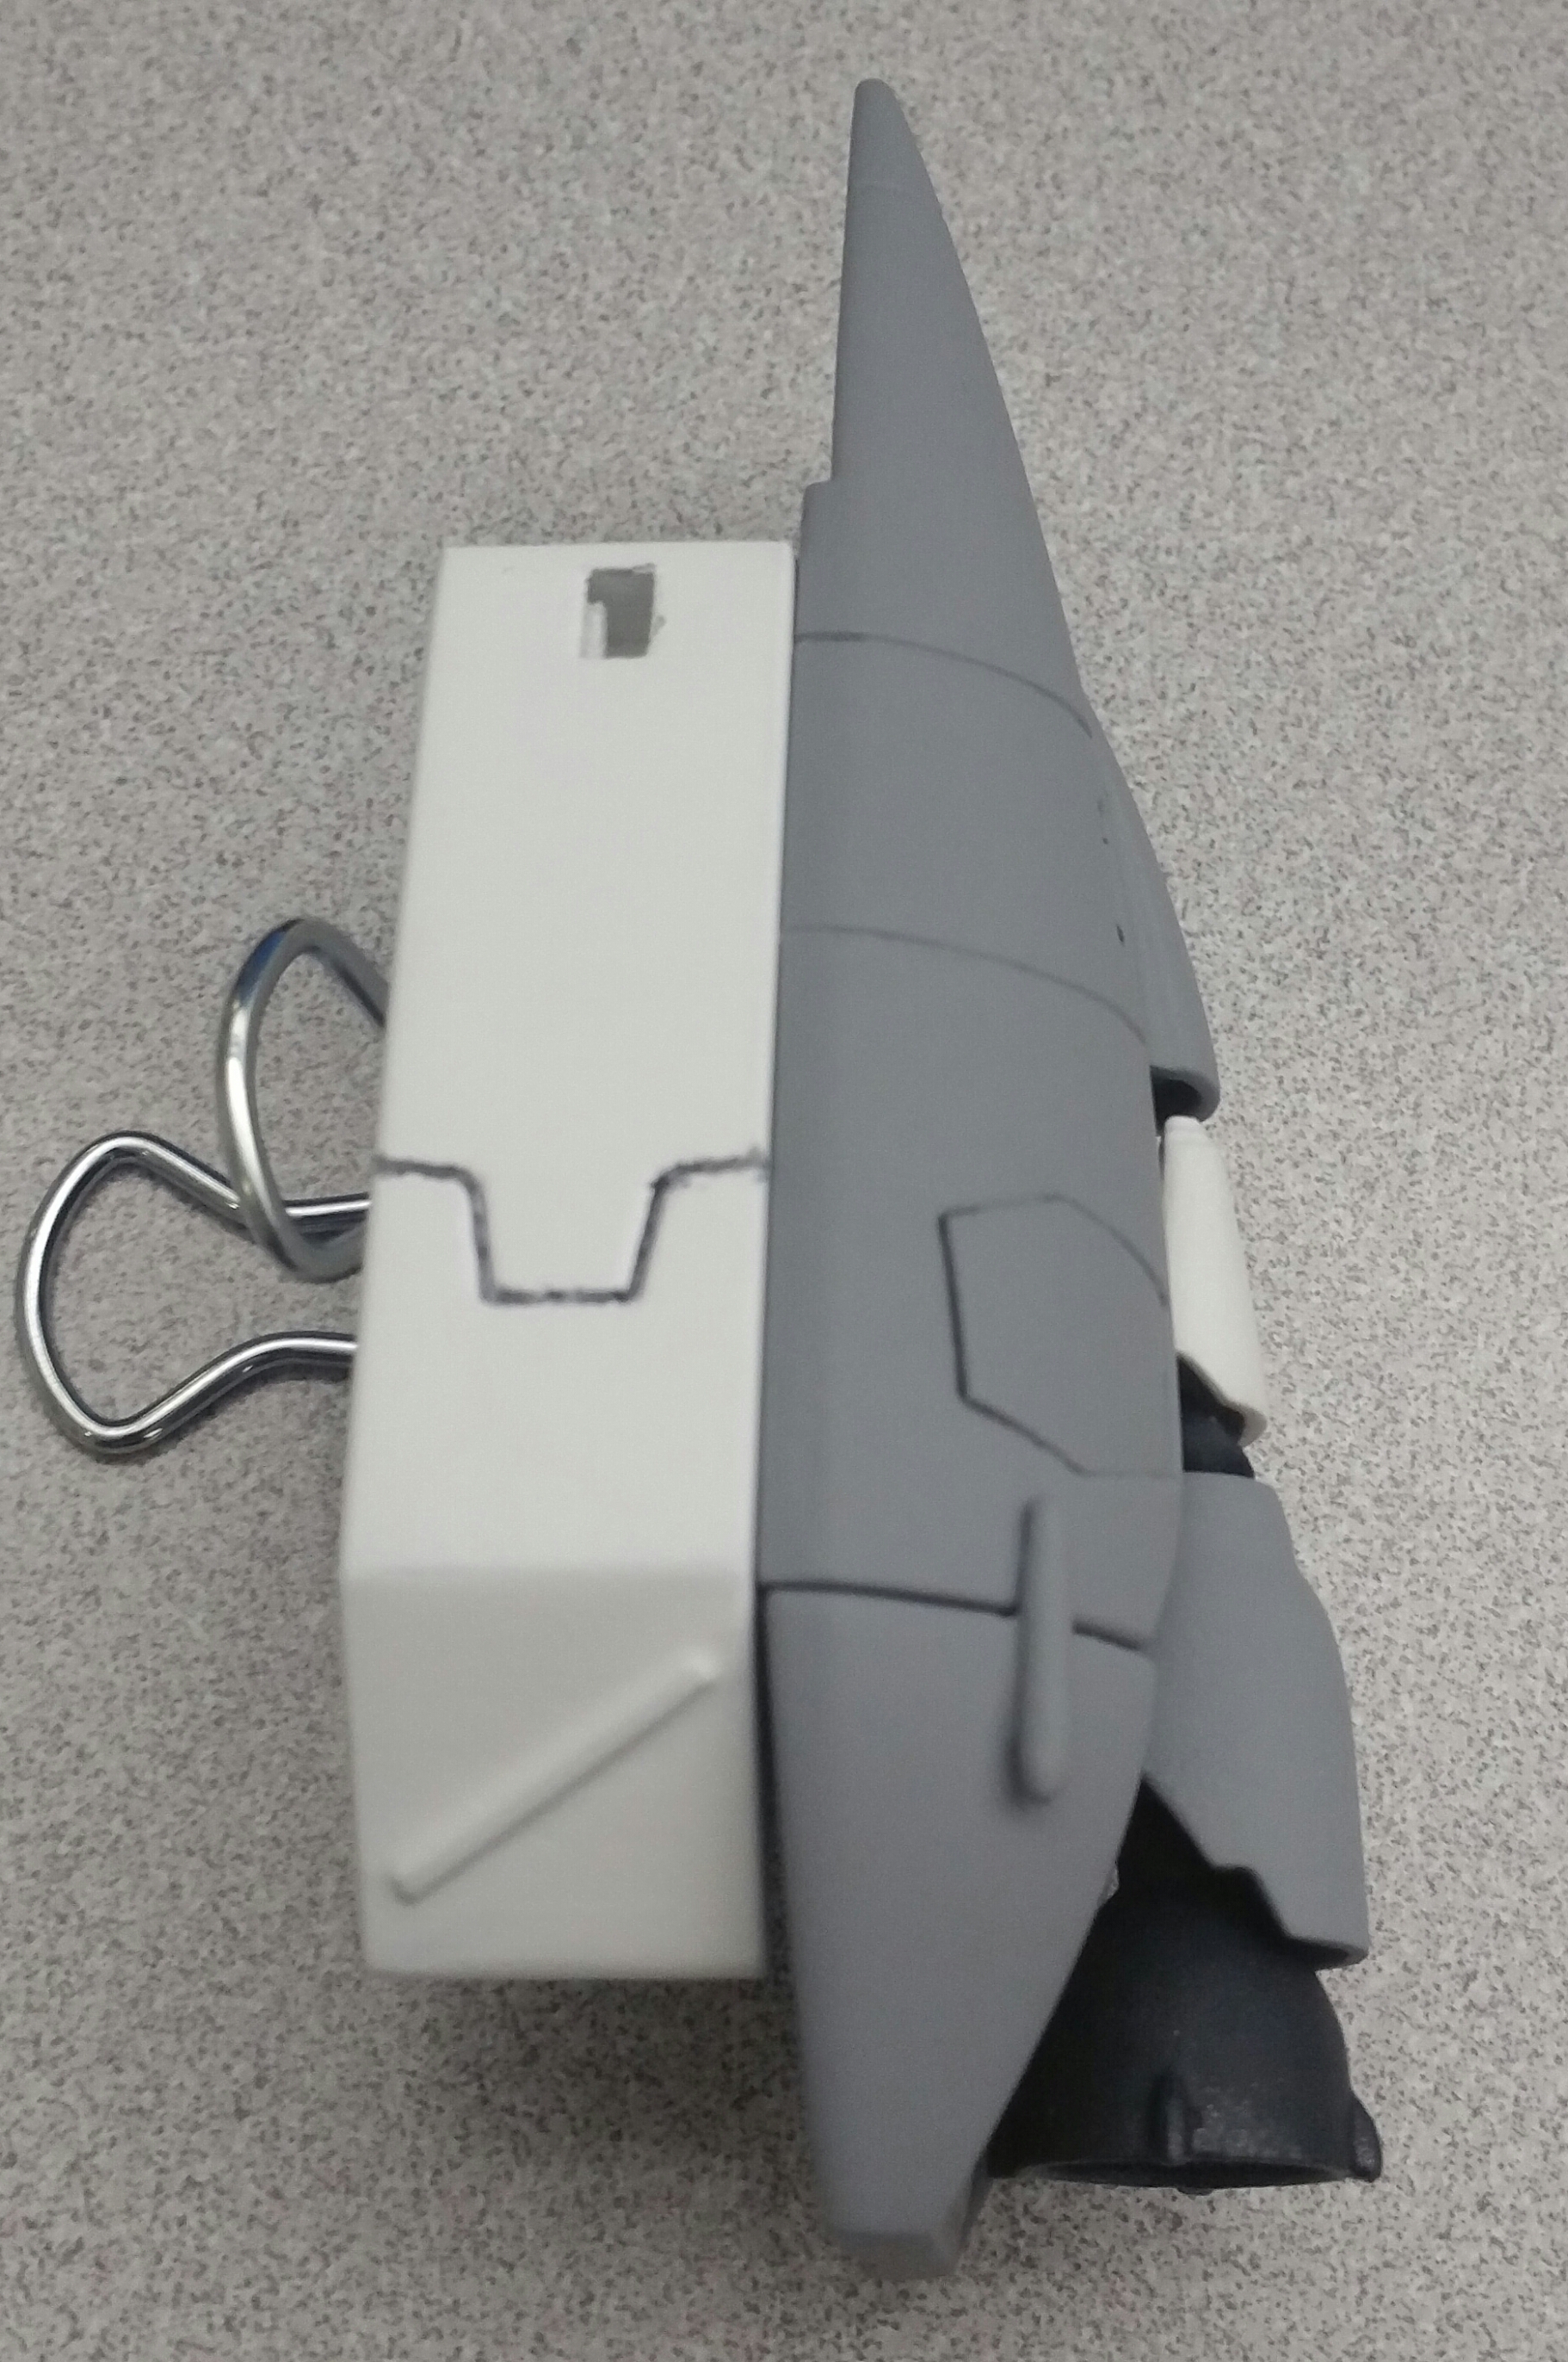
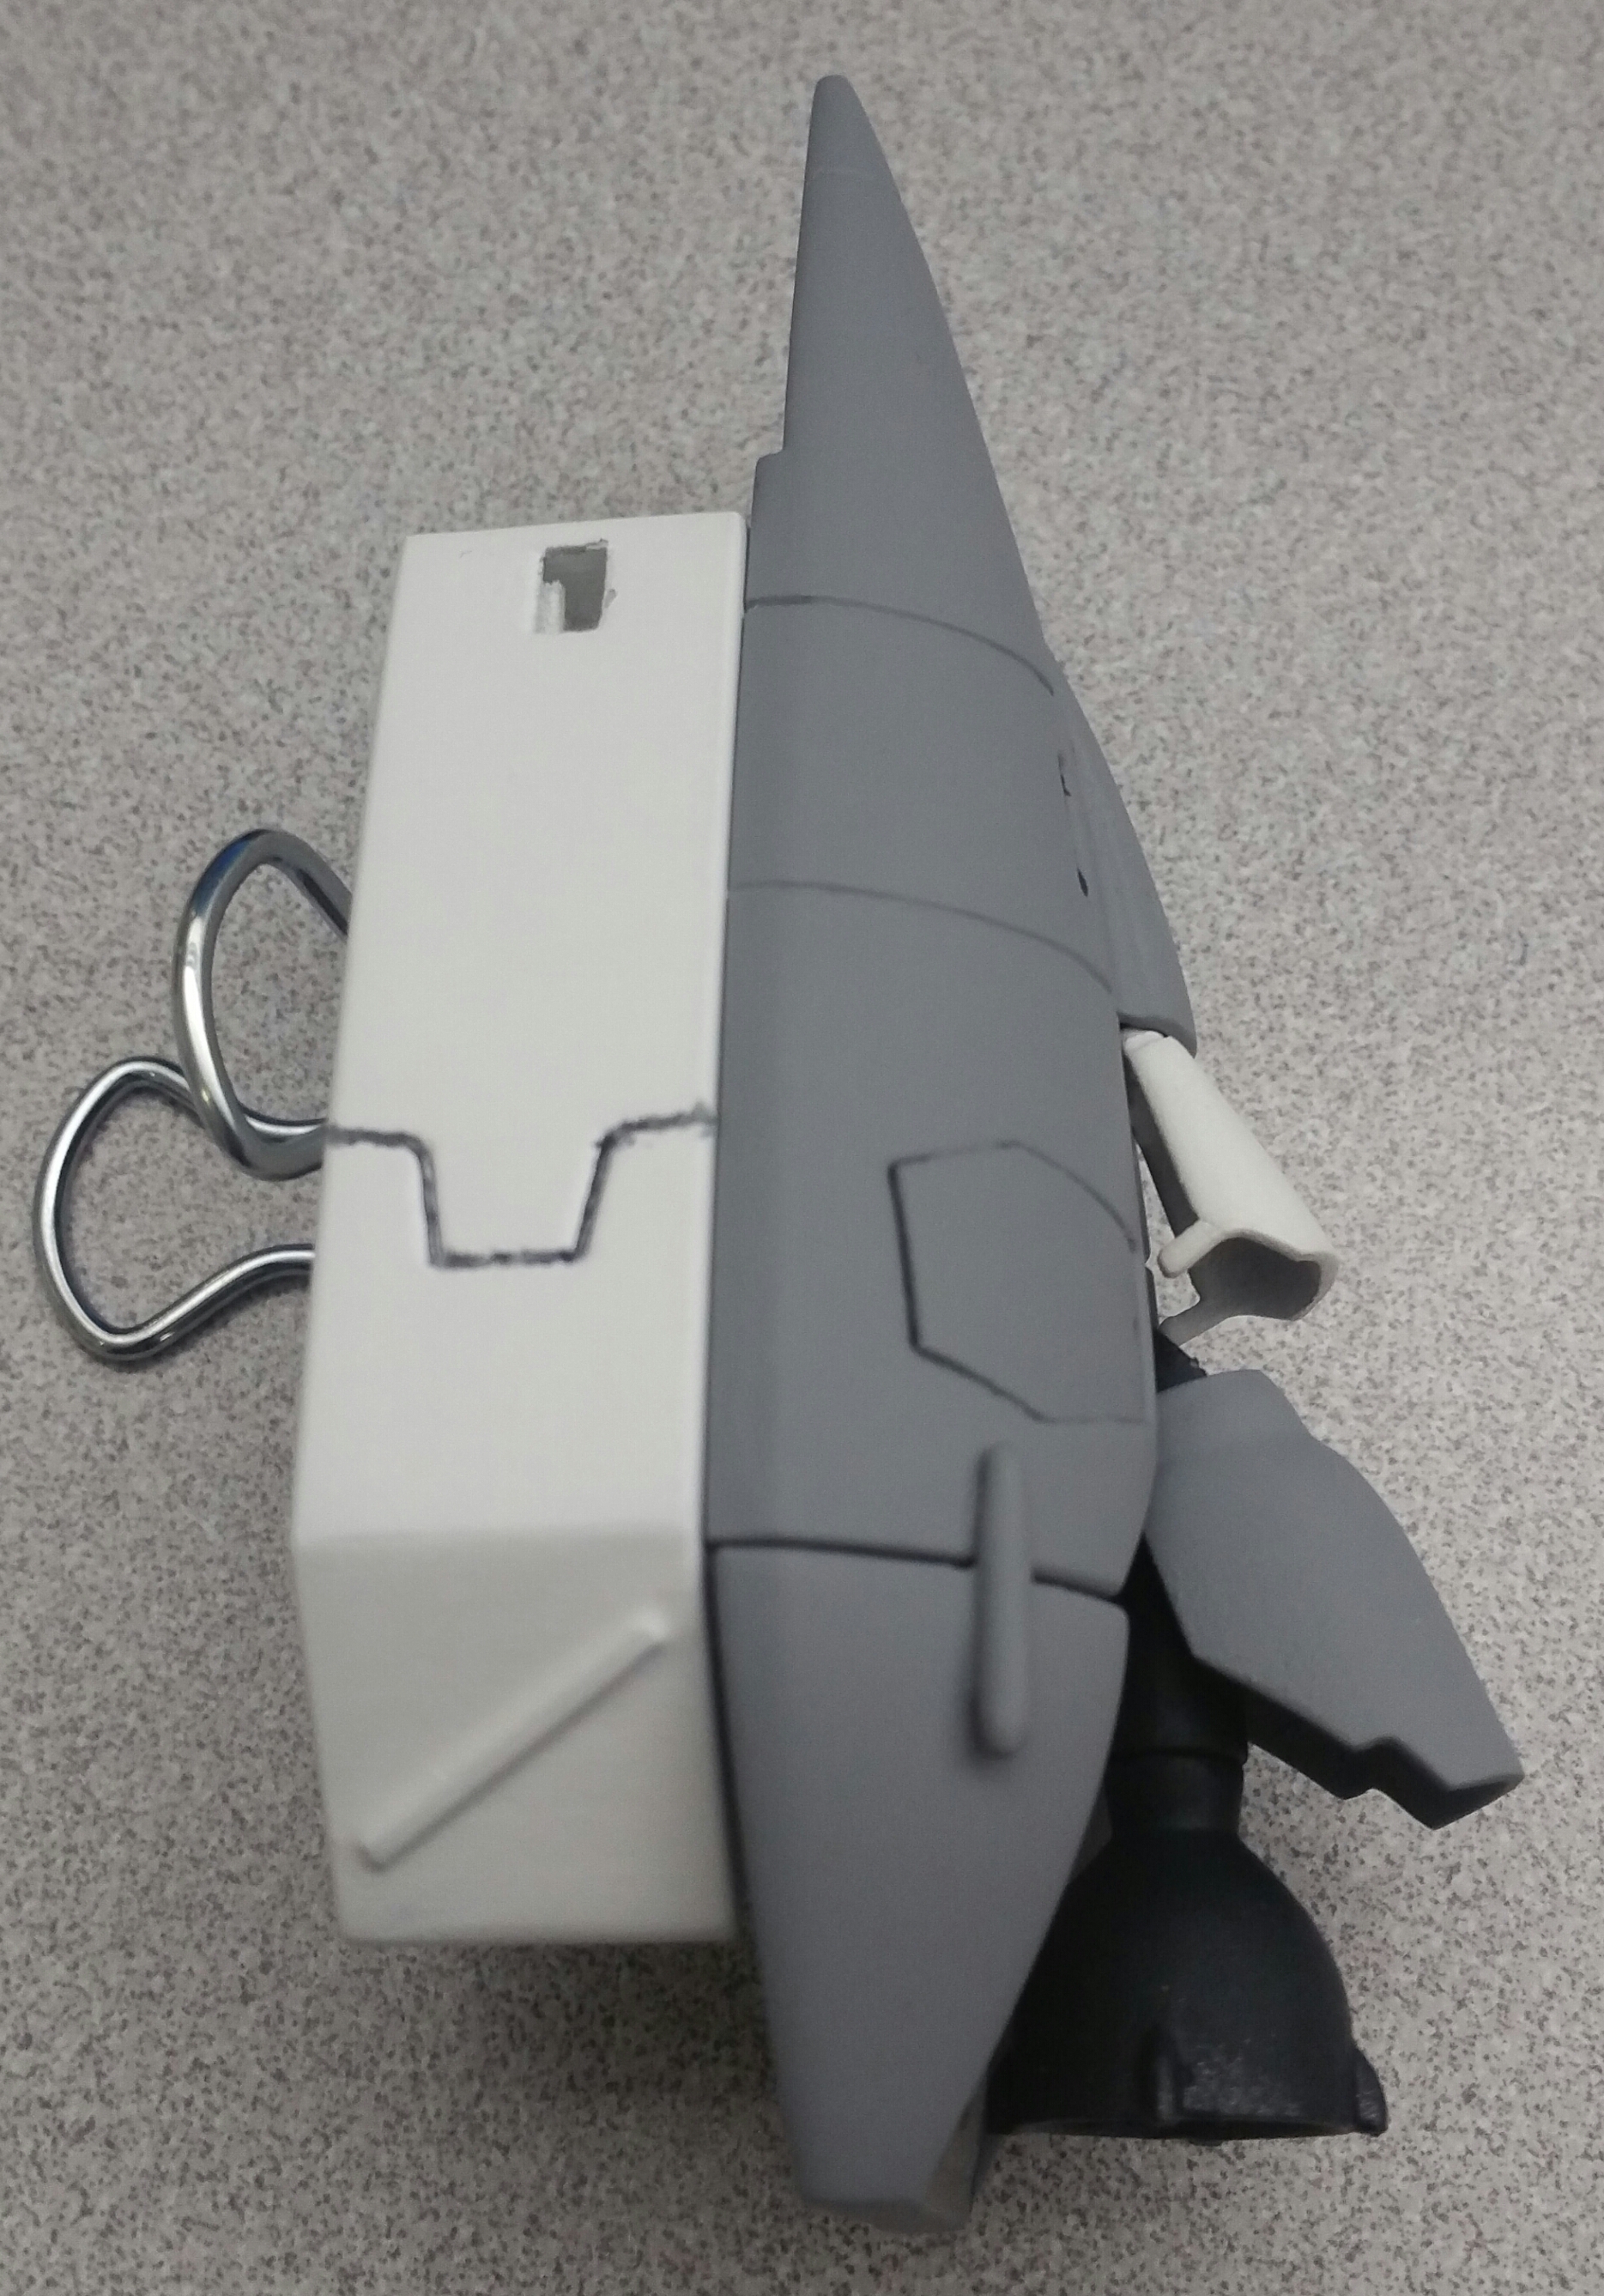
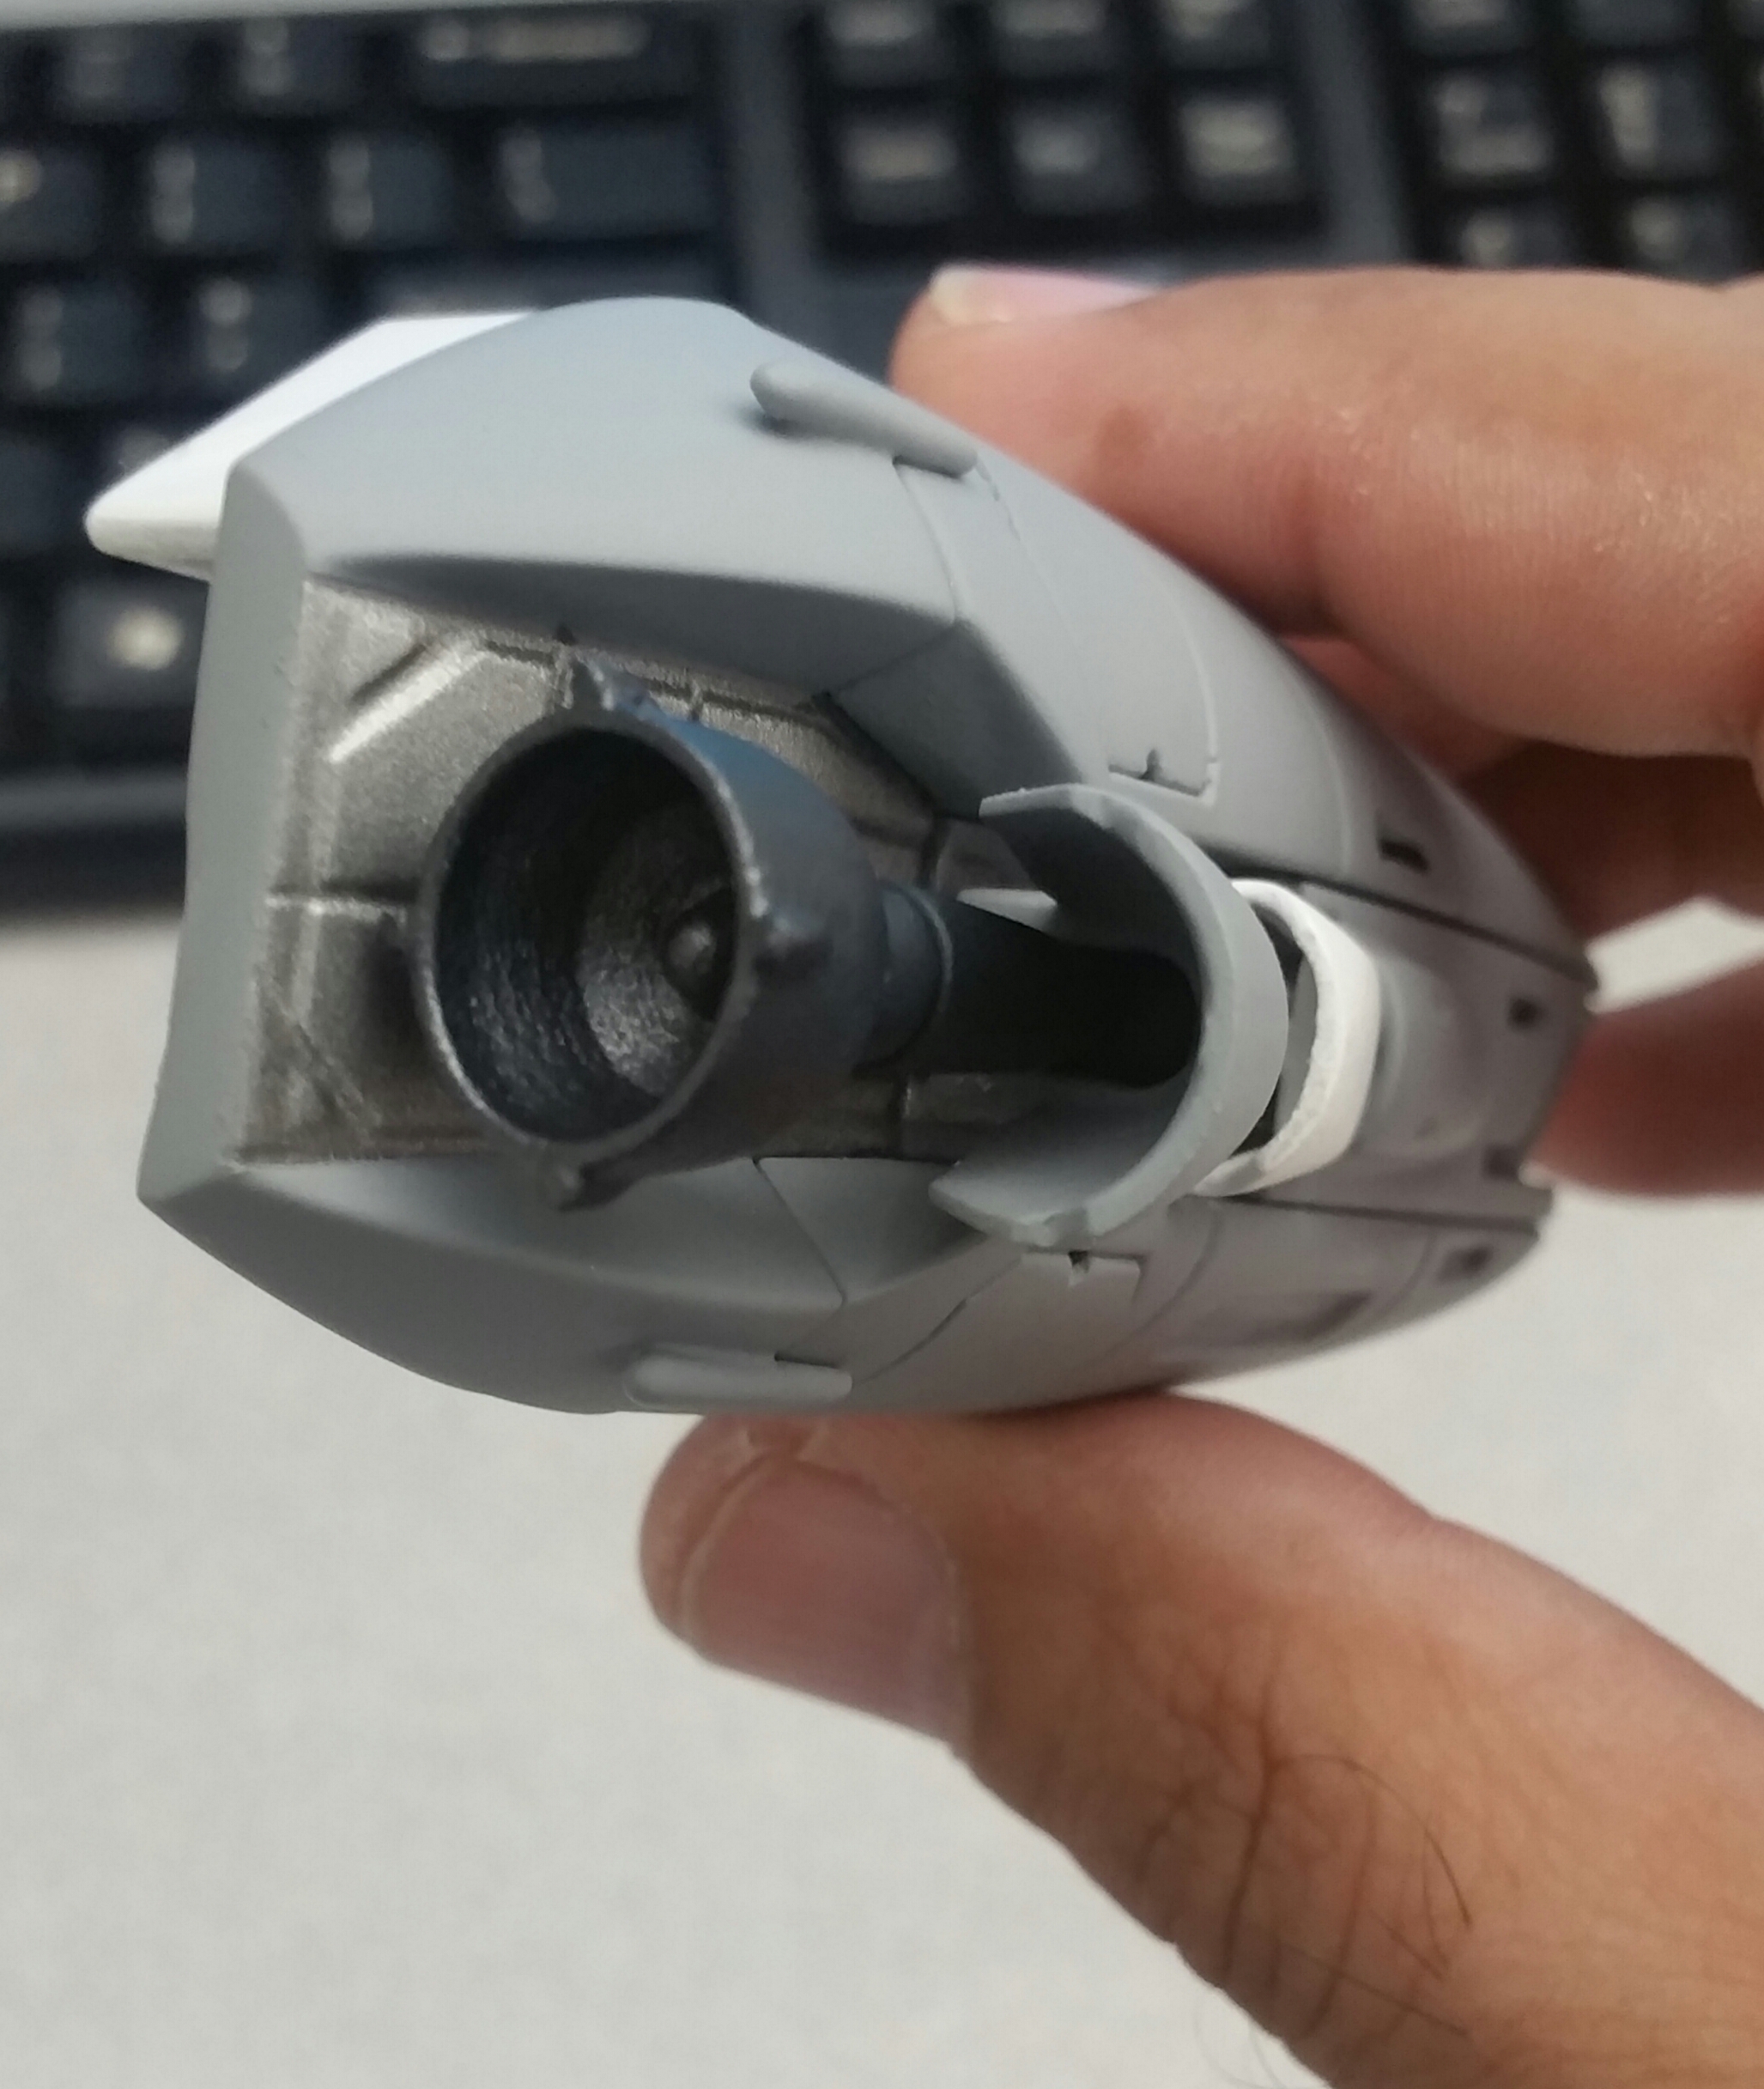
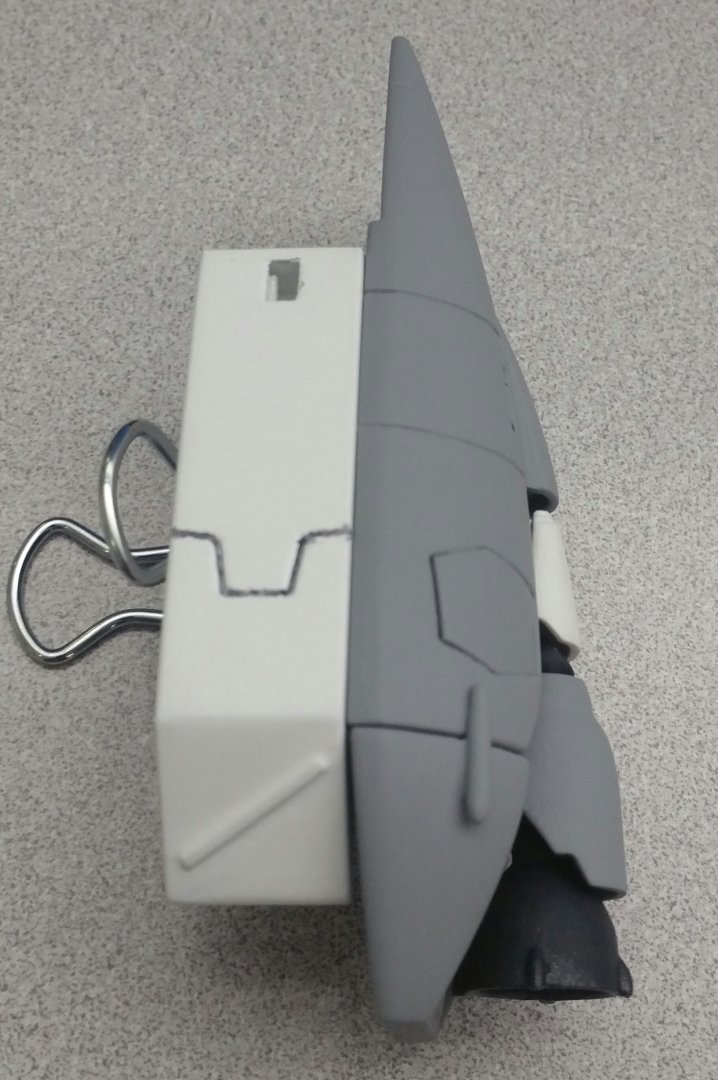
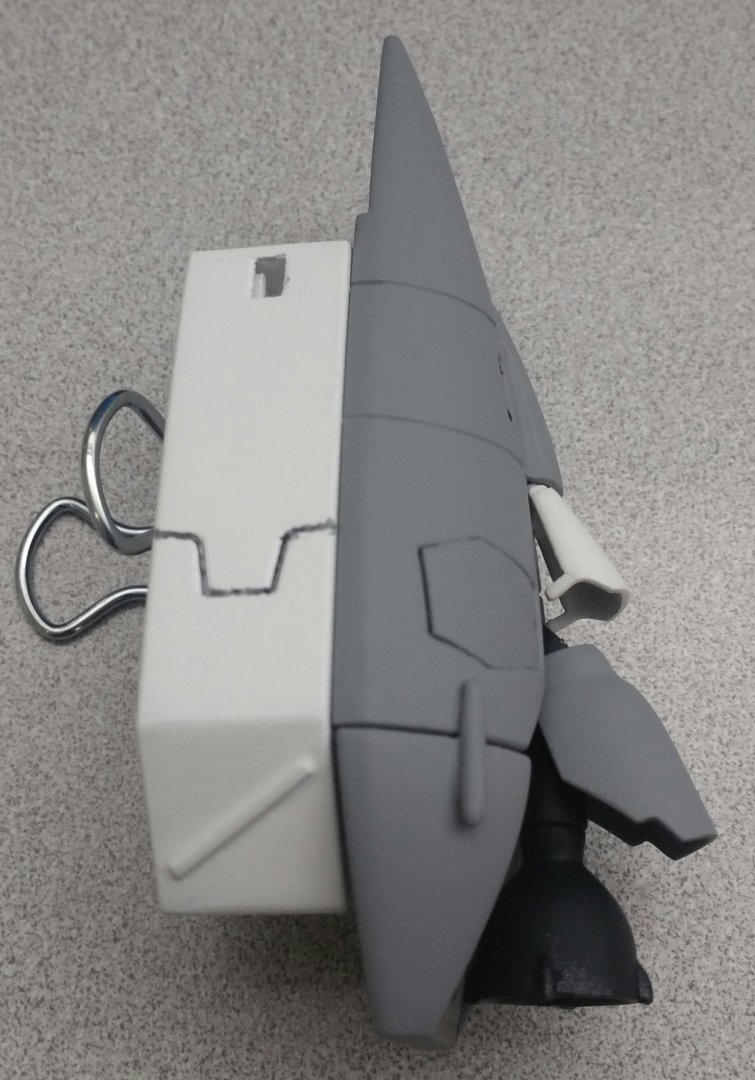
Ok, so leg piece for the right side is done. I also just finished the feet, and found a great color by Tamiya called rubber black, that is a bit lighter than regular black and is a matte finish. I used that for the feet and booster nozzle and engines, and used gunmetal inside the booster. The grey is simply Tamiya grey fine surface primer, and the whitend is model master super fine surface primer. The section under the booster is stainless steel metalized on black.

-
I'll eventually get to these. I know it's a different topic, but in regards to working with the WSF material, the hardest part is the small crevices and panel lines, but in any case, I was able to find a 1mm file to use in place of sand paper where the sandpaper cannot reach. that being said, I am still using both methods to fill the WSF (multiple layers of paint/sanding and the putty method). for the putty method, I have found that using a very thin layer of it is best. going too thick can make you lose perspective on where the base of the actual material is, and don't put it over panels and detailed areas. for that, I use the heavy primer/paint and sanding method. I'll try to put samples up here later today if I get time. To stay on topic though, I know I'll be happy with the product once I order these.
-
Boiling water will make the resin soft in a split second and will probably overheat it to where it just sags. It's best to cover up the parts you don't want heated, have a bowl of ice water, and a hair dryer. heat what you need to shape (heat it slowly) and adjust with straight things like rulers, popsicle sticks, etc. Then you can plunge it in cold water to cool it. If you're working with Task 2 resin, it takes more heat, but same rules apply.
-
Well, these aren't white. They'll be blue and red, but their white trim, well, most of it, will be paint, so that might be different than the off color white plastic people claim to see.
-
There might be a small plastic piece stuck in the rectangular connector of the housing. There were some in a few of the recasts that I removed, so I may have forgot that one, but I did test fit parts. If I forgot to remove it, it comes out quite easy with an exacto knife. If it still sits a little high, but is snug and staying on, cover up everything except the housing section, and warm it up with a hair dryer. It'll help it settle. you can use your fingers to manipulate it a bit, but don't do it to forcibly. You don't want to over bend it.
-
3 more to go, and I am working on 2 of them at the same time. These should be done by Friday, as I decided to take a day off to get those done. XigFrid, one of yours is being worked on now. The custom one will start soon.
-
That sucks. Is this an issue for only one region, or is this across the board for everyone?
-

Super Dimension Convention October 28, 2017
Jasonc replied to sh9000's topic in Conventions and Local Gatherings
So, for those of you who aren't on Facebook, we just added our first guest Reika to the convention. She is a world renowned cosplayer, and is famously known for doing male character cosplay. More guests to be announced in the coming weeks. sorry if the file is too large. It was meant as a FB flyer ad.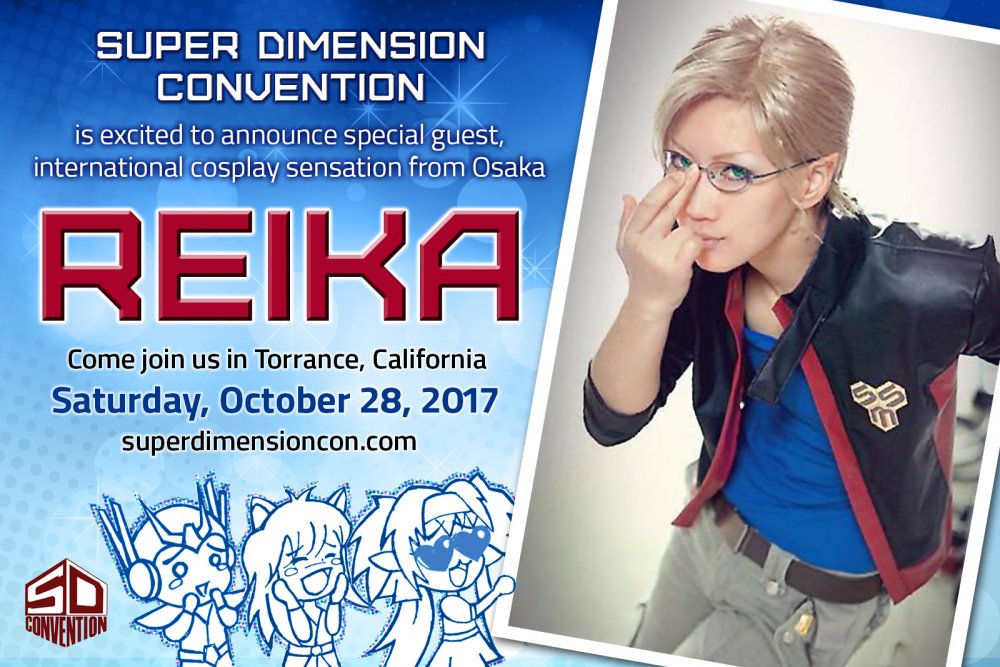
-
Like most here, I want it, but with the VF-1J M&M coming, 1/3000 SDF-1, SV-51 redesign, and so on, it's really hard to put this in the mix of so many things on the horizon. Maybe some overtime can fit it in, but not anytime soon. By the time I have extra money, Christmas will be here.
-
In general, I use Mr. Putty white. It's probably the best filler I've ever worked with, but it may require some sanding and then repainting. Sometimes, If I need to just fill in a simple glue line, I will glue it with putty at the junction, and when it all cures, you'll be left with the welded piece that only needs to be properly sanded. what area are you referring to specifically?
-
Yamato 1/60 VF-11C replacement hinges. 3D Print?
Jasonc replied to BluprinT's topic in The Workshop!
I've been asked to make one of these, and I can, but as stated, I would need a working one so that I can replicate the design, and assess for a better one. I can take either side, too, I just need a good one to work on, so that I can get proper measurements with a good digital caliper. -
it should look good with some missiles on it. BTW, yours is now ready, just waiting on paint to dry and it will be going out Monday (or tomorrow if I can get out of work early enough). Thank you very much. I really appreciate the compliment. I'm glad you like the kit. it is really easy to build, and if you have any questions, just shoot me a pm. For the remainder of you still waiting, I am finishing up the last ones. there should be 3 more I'm working on and they are all being worked on at the same time. Amongst them is a custom paint one, but that order is not counted amongst the rest of you. These hopefully will be finished next week, if not this weekend. that's how close I am to finishing them. Again, as I finish them, I'll be sending them out and providing tracking numbers through pm. Thanks guys.
-
Macross Δ (Delta) Movie Gekijō no Walkūre (Passionate Walkure)
Jasonc replied to no3Ljm's topic in Movies and TV Series
I'm happy for this news. Delta opened up and expanded a much wider environment for the story. It spans multiple planets, space, fleets, a colony ship. With that, there can be a lot to cover, especially with so much plot they can still cover. It was never fully resolved. In any case, I suspect the first movie will be recap, although I'd really like to see it continue and wrap up, or be something that goes into the next series. It seems like a few here are upset that it's not made just for them, but frankly, and I've said it before, it's really not made for any of us, so there goes that I'm glad it brought in a whole new group of fans, and with the success of Walkure alone, this move is well warranted. I was waiting for this announcement, so it didn't surprise me, but happy nonetheless. -
I finally got all the remaining parts, and the kit looks great. I do have a question for everyone. If you have the MtR books, what color is the leg fast packs? In some pictures it looks like a standard grey, with the obvious white trim, and in some others, it looks like there are parts that have a metallic finish. Does anyone have any pics of that section from elsewhere other than the book?
-
Macross Live Action Movie Script
Jasonc replied to Algebra Would Win's topic in Movies and TV Series
This is very cool. Thanks for sharing it. We've heard so little about it over the years, but I'm really glad to see something like this. To me, this is a gem. -
Arcadia Premium Finish Max and Miria 1/60 Super VF-1J
Jasonc replied to davidwhangchoi's topic in Toys
I am going to keep one of my regular versions of the Miliya, and then order the premium. It will be my first premium, and so I am a little concerned if the tampo is indeed a little delicate, but from what I've experienced in the past, it's been pretty solid. With all the extra unassembled kits I have, I may not even need a premium version, as I can just use those decals, but why not at least one. Geez, I feel like I'm making up for not having a M&M all these years. It is pretty bad that they announce it much later, but because they may be perceiving these releases as unknown territory (the Hikaru and Roy are always good sellers), maybe they waited to see how well the preorders went for the Miliya, and after a warm reception, they made the decision later? -
The last of the unpainted kits are done and going out tomorrow. I have Anubis up next, and his is almost done. any before on the list are going out tomorrow. Tracking numbers on the way for you guys going out tonight. Apparently, there's a shortage of the Mr. Super Clear matt that I use. I had to order some through other channels at a higher price, so hopefully my store gets more in soon. What that means, is that my finished parts are on hold until it comes in, which will be later this week. As for my primer I use, I received only half my order, so I'm not having good luck with paint at this moment. That said, I can still work with what I have there.
-
Just bare fingers. I keep a paper towel and water so it doesn't dry on your fingers. I guess you can use something if you have an applicator. Me, I dont, so it's just my fingers.