Jasonc
-
Posts
6324 -
Joined
-
Last visited
Content Type
Profiles
Forums
Events
Gallery
Everything posted by Jasonc
-
That was what I needed. The piece that has 3 holes, only had 2. Now I can continue. Thanks for your help.
-
I'll recast one for you. I will need to make sure it's sturdy enough to handle the stress of fiddling with it. So far, this one is still a little soft, but it could just be the mix I gave it.
-
I'm a little confused as to the head unit construction. It mentions that you need 3 pins, which I have, but the head has a section that appears to have one pin connection. Where do the pins go? I'm sure one goes into the head connection to the cocpit, so that's 2, but there's a third that I cannot figure out.
-

New Macross TV Series in 20xx (sometime this decade)
Jasonc replied to Tochiro's topic in Movies and TV Series
I'm an old fan as well. I watched it in '84. -
New Macross TV Series in 20xx (sometime this decade)
Jasonc replied to Tochiro's topic in Movies and TV Series
It's all greed, because fans get no joy out of these, and it's really all a bunch of spoon fed stuff that nobody liked, EVER! Sorry to say, but do you have any idea how ridiculous and ignorant this sounds? I guess if you dont know the trends or Delta's popularity, it'd go over your head, but you do realize that there's more than one company involved in these productions, and no, it is not all to 0ay for filming. You may want to think a little more before such a fallible comment. I hate to be the bearer of bad news, but if you don't like what has been coming out, it's because it is not made for you. It's not madd for the West, or most of our demographic. We aren't even considered on what should be considered, and I'm glad. If we left it up to most here, it would be some gritty war drama with no character and soulless. -
I'll let you know when I start them and post pics as I do them.
-
Very interesting. That's a great idea. I'm going to be redesigning those two top pieces so they look a little more accurate to the images of the MtR books. I think that's about all I want go change at this point.
-
What back piece are you referring to?
-
Thanks. I just scribed the lines again after several bouts of paint and sanding, snd it's quite smooth. I may do one more coat before it is how it's supposed to be. Thanks. I was actually quite surprised how clear it came out. I was expecting to need to do a lot more work, but it is not bad right out the mold, and it fits perfectly. This clear resin is pretty strong, too, so in a few more days, it'll be completely cured. I only used the back as the demos portion, so theres no real cleanup. I'm rather proud of this set. One of my finest works.
-
It's looking good.
-
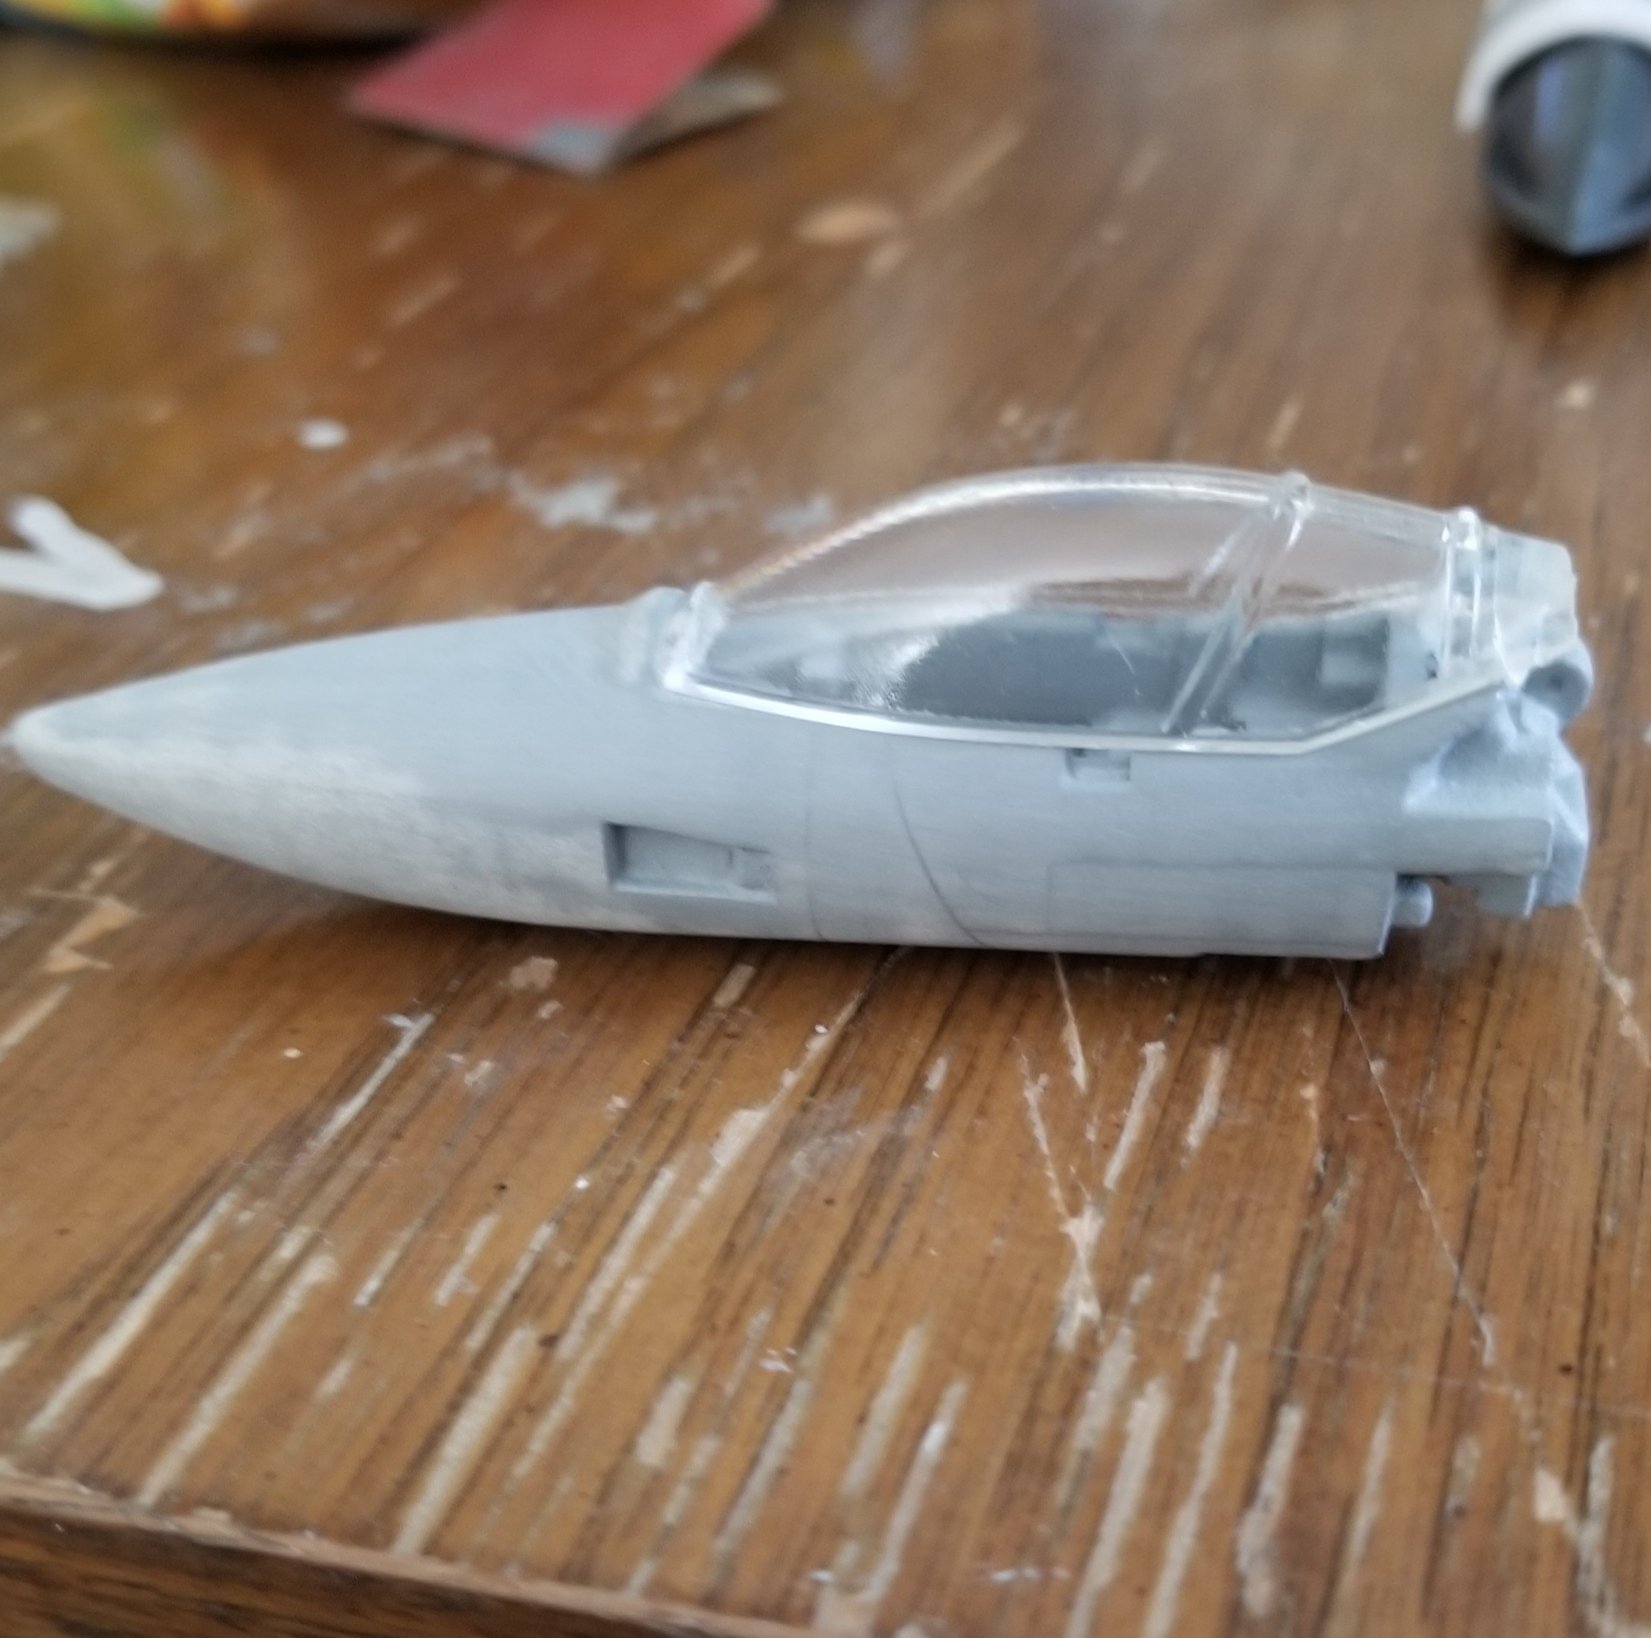
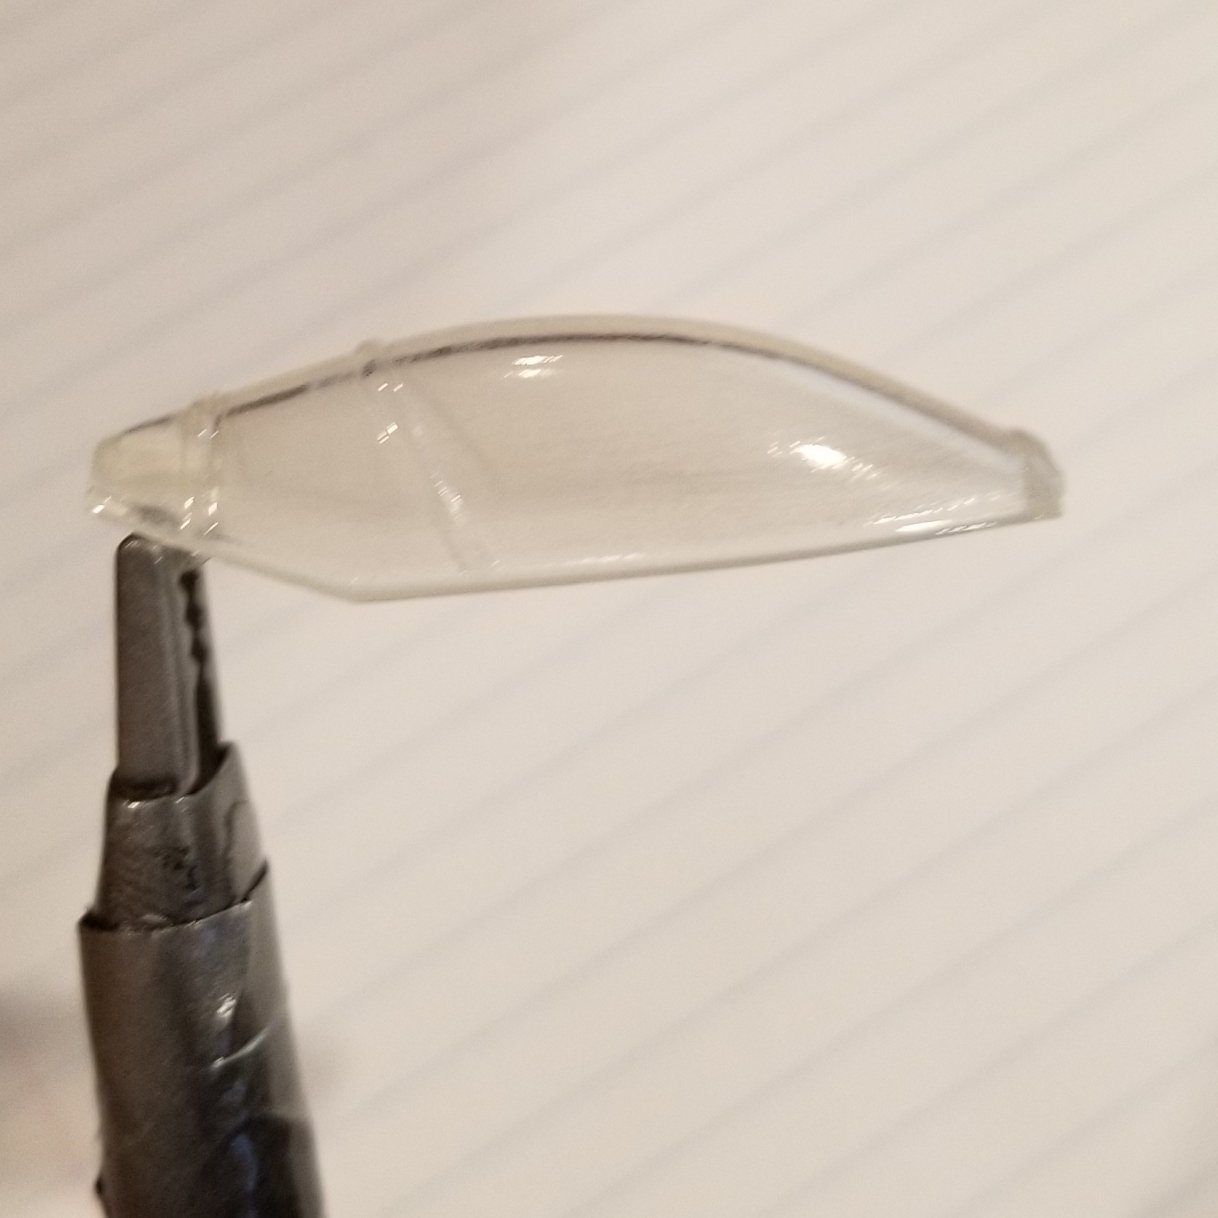
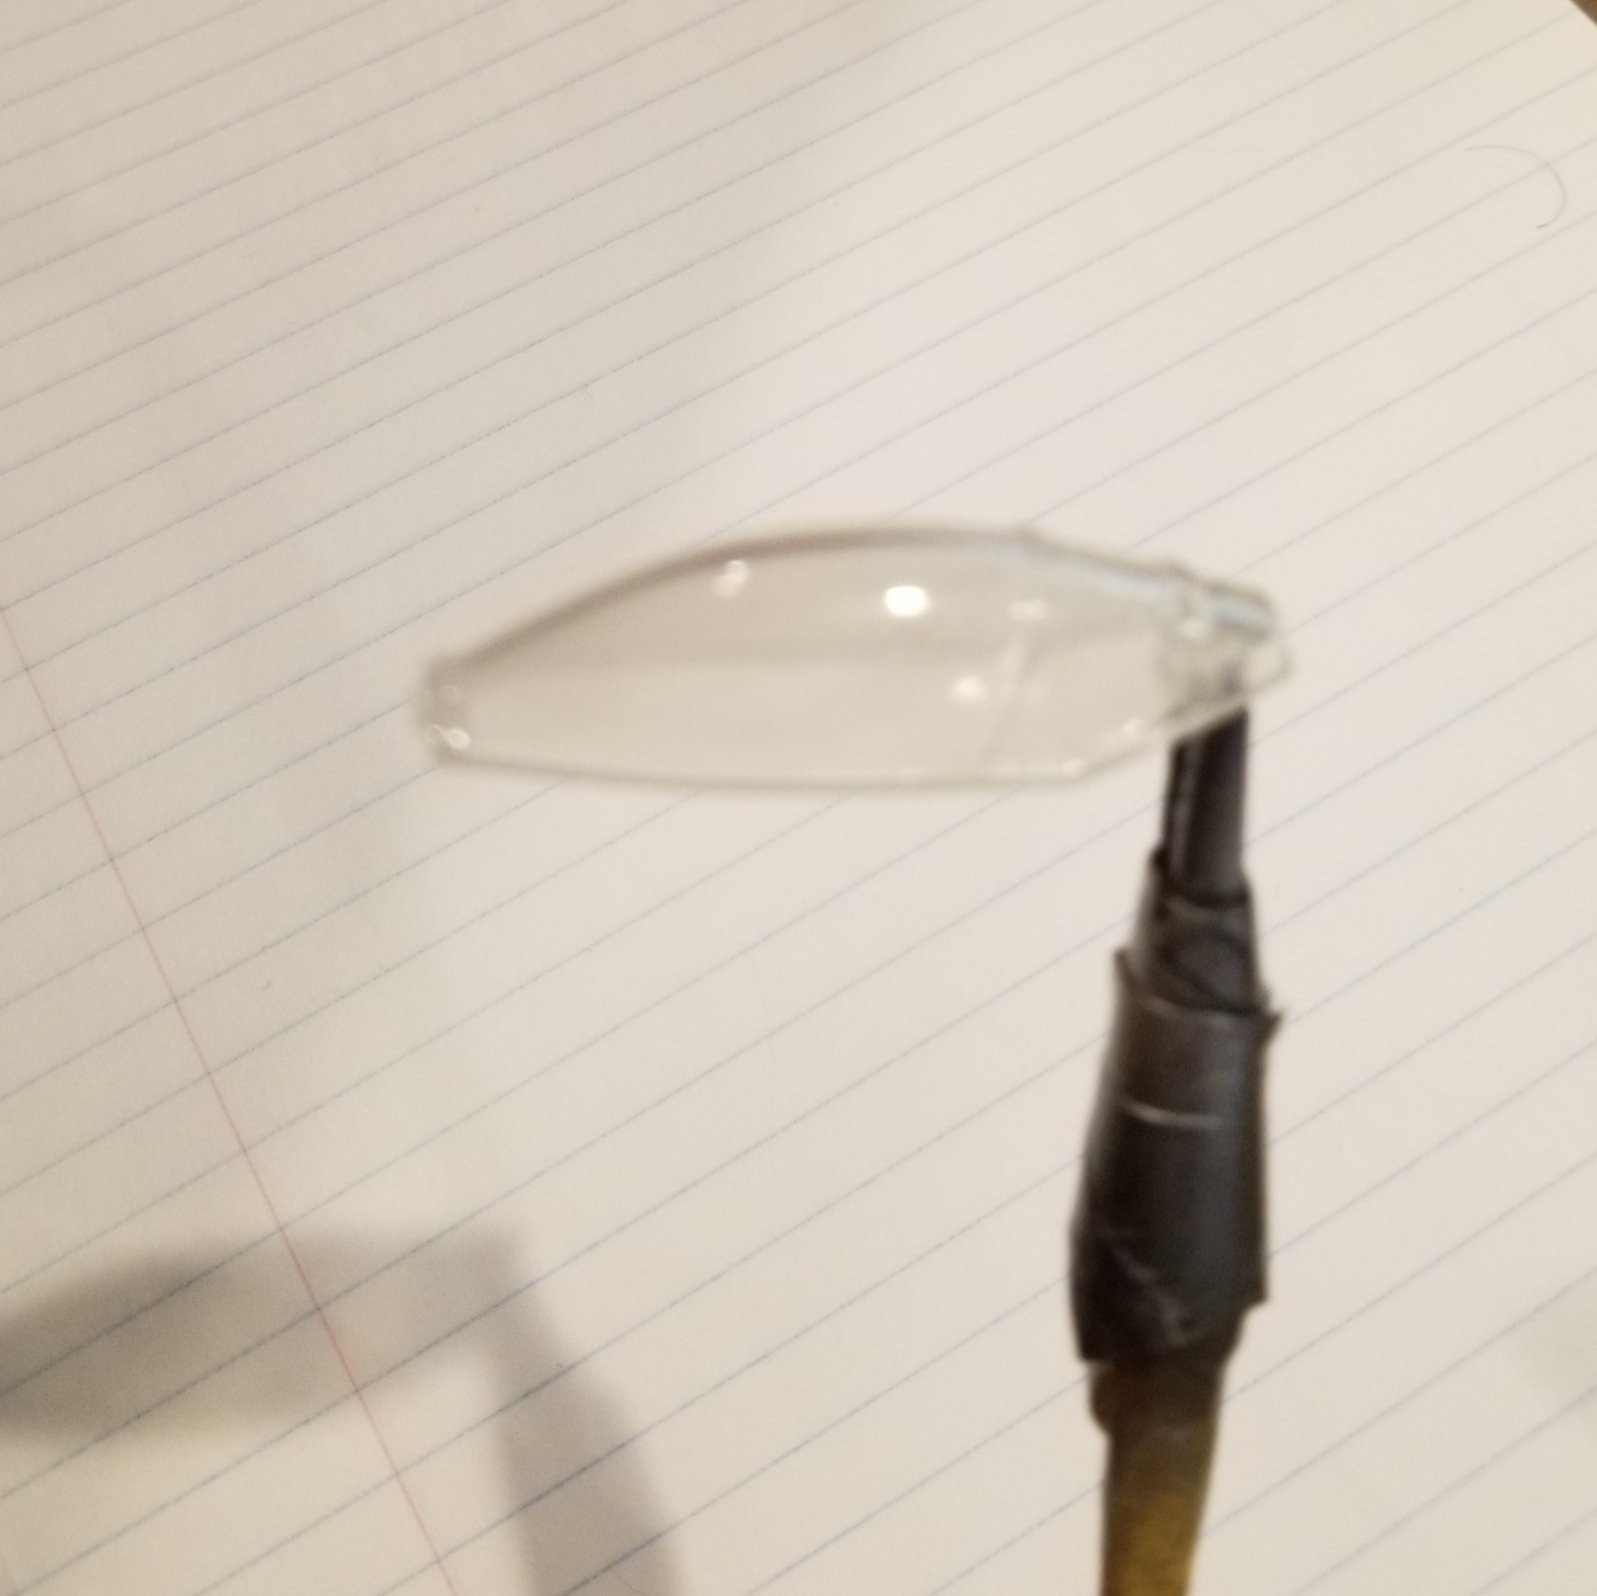
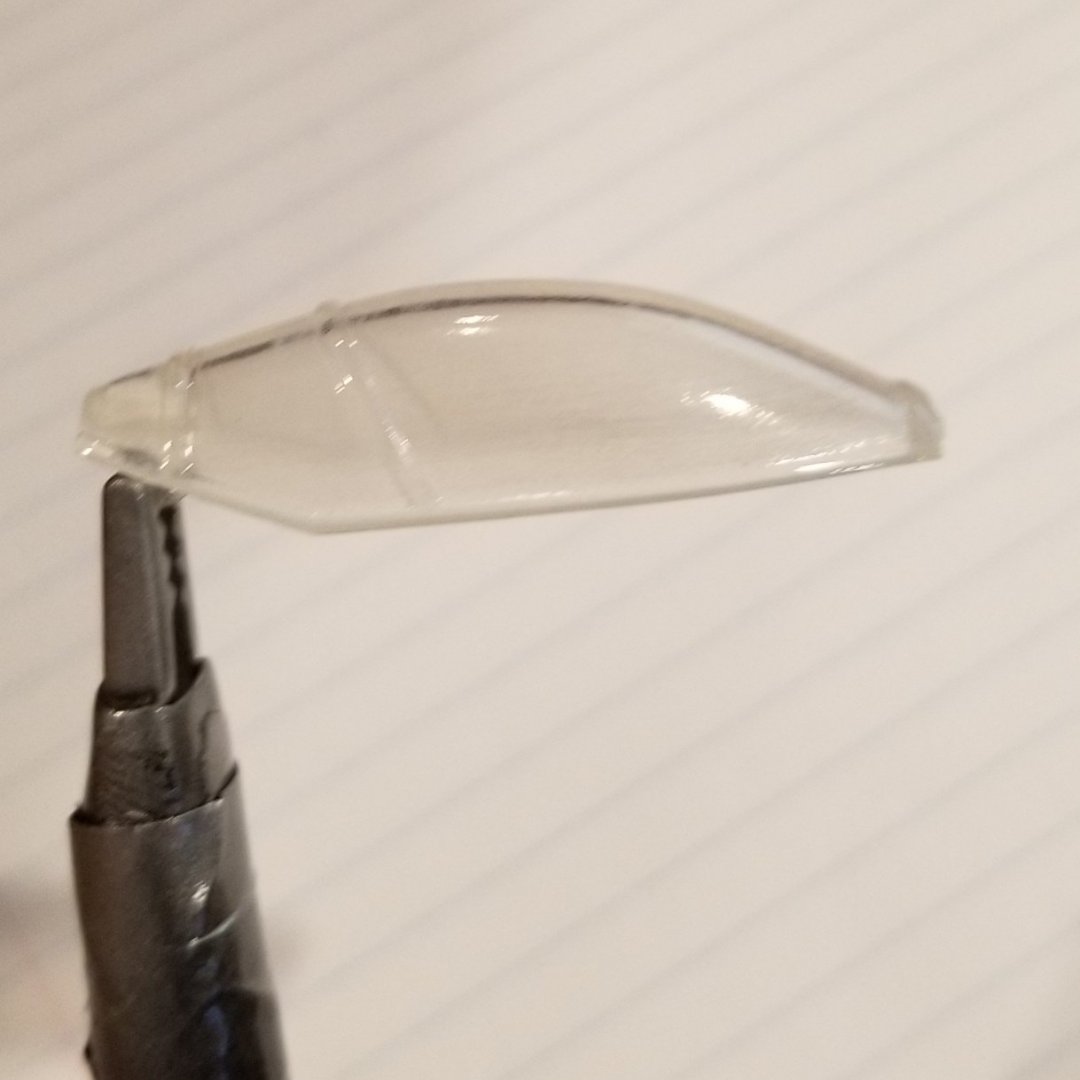
The canopy came out exactly as 8 wanted it. I can't be happier with the final result. Apparently it's quite clear. It really doesn't need any sanding or buffing.


-
If I had the money, I'd want that 1/1 Sheryl. That said, the $18K price tage (which I think is for both) is astronomical. I am expecting a large sum of money soon, so maybe. It depends on when that comes though. Plus the shipping, Yeah, not cheap.
-
That actually looks quite good. That material is nice and sturdy, and if I could get it completely clear, I'd just use it. I did notice that even after using a liquid polish, the material still had what looks like tiny ripples underneath the polished surface. it's probably just a part of the printed resin's characteristics, so I didn't want to go all out trying to fix that if it cannot be. I put the clear gloss coat over it last night, and it's shinier, so today after work, I'll be making the first part of mold. I need to work on a way to make it so that there are no seem lines, but can easily come out and I think I have a way to get a great recast. I'll show you once it's done, as the process will take me into later this week to finish, and I want a full cure time in the mold. Clear resin takes about 3-4 days at least to fully cure, especially if it is thin.
-
Except China uses one that isn't used by anyone else. I've had to work with a couple companies that got stuck with having to deal with this issue. It's some sort of proprietary program from what I understand, and isn't just a matter of converting. In any case, it's getting way off topic. I got some of the parts 9ver the weekend. First thing was buffing the canopy. Because the canopy comes foggy no matter what, I used a liquid buffer and a microfiber cloth to smooth it out, followed by clear coat. I'm going to recast it so that it'll be crystal clear. Thankfully, it is quite thick, so once it cures as a copy, it will be a good, solid piece, and look as clear as a toy manufactured part.

-
The problem, and I don't know if this has been resolved or if they even send these out for manufacturing, is that if they're done in China, what happens is that the original CAD is usually redone in their own specific CAD language, then it is manufactured. So any sort of design, if they still manufacture in China, is broken down and redone anyways. I wish they would do something like make unassembled kits still. It'd be cool to see some of the obscure designs. I still long for a VA-3 Invader.
-
So, all I'm missing now is the Kai version, and I'm simply not in a rush for it, or really anything, so I can now save up, wait, til the armor set goes up. Damn
-
My 31A will be here right before Super Dimension Con. It's about time.
-
That pew pewer is pretty unique in the picture of the blue VF-9. While I'm not the biggest fan of the GERWALK mode, I love that it has attributes that make it stand out different from what we usually see, such as the swivel cockpit. Design wise, it does look like one of the most stable designs, with everything in the center and situated below the wings. Yes, that's it. I don't remember how much I wrote of it, but it's a long process of fill and sand. There is a putty method, too, but that one requires a little more thought in execution. I usually dilute the putty and then rub it into the parts. You have to be careful to not fill in panel lines either, as those will quickly disappear if not careful. I usually just fill with paint using Model Master fine white primer, then the last coat or two with Tamiya grey primer so I can see and observe where I need a bit more paint, or where I need to fix things. It's costly though, too, but this project is worth it.
-
Is this a new Messer 31, or the original?
-
Still working on this, but I have so much crap to do this weekend, I have to clear up all my mess, so I should have an update on Monday. But so far, the parts for the back connector are done, sealed, and I'll be making the lance now work on the 25 in fighter. I have everything chromed out now as well, and sealed, and I just need to now detail each part so that they can look ready for action. The large wing armors are the most work, as I have to color match orange again, patch up thrust parts that I've removed, and all that. Oh, and that knee attachment. I'm going to use the original. I was able to build it up to where I'm happy with the original part, and recasted it in a mineral resin, which makes it similar to a metalic aluminum. Not a popular resin as it's 5:1 ratio by weight, but it's hard as hell, with .0006 shrinkage, so it's basically the exact same as what I set. Hmmmm, so much work to do, and I'm trying to finish this by SDC. May not happen. Pics either Sunday night or Monday.
-
Aside from the dye strategy, which I will not do, I take a long time to prep these parts, but they come out smooth as a hi-res toy finish. Not pretty, and a lot of primer, but it's a process. It's why I didn't buy the whole kit either. It'll give me shorter goals. I do plan, once I get the canopy, to do this process, then gloss paint it, then then buff the hell out of it, then recast it in a crystal clear. I also have a liquid buffer that I can use after that, so I should be able to make a crystal clear canopy. This is what I did with the Paladin clear head top when I had to redesign it, and it was pretty clear. Xigfrid, do you have a place to get rubber tires for this, or did you just paint yours? If there's a rubber tire to get for it, I'd love to get a set of them online.
-
I don't have a lot of experience with the professional plastic, and ended up ordering everything with the standard stuff. I can work with it, but damn. I may have to reorder those parts. As long as I can still do my process with them, (sand, prime, sand, prime and rescribe lines). My real dilemma is, what color do I do? There's so many versions. MtR version? Max, Miliya, or the standard color that was first shown?
-
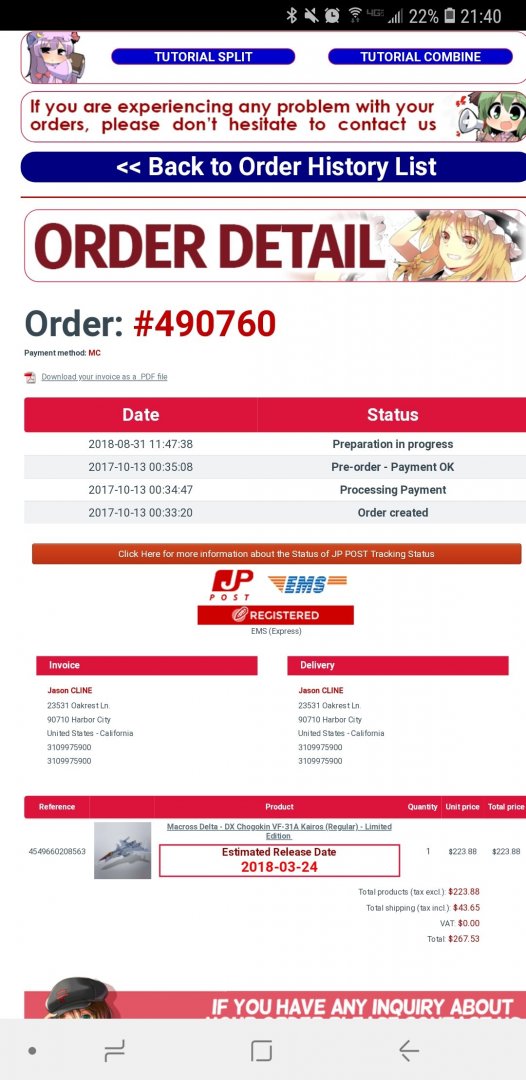
OK, get this. I send them a message, telling them that they passed my order up, and I reference order numbers that past mine and by how many days. They come up with something that didn't make too much sense, so I then reply, "So, does this mean I will be next? I've literally been passed over". I check back in my email, go there and find this. .
-
I'll have to get it in pieces. So next check will complete it.
-
See, and I created my order 3 days before this, and I'm still waiting.