Lolicon
-
Posts
7342 -
Joined
-
Last visited
Content Type
Profiles
Forums
Events
Gallery
Everything posted by Lolicon
-
That's some insane masking! Your masking fortitude and precision amazes me! I went nuts just at the amount of masking to paint the tailfins. I want to see how the airbrushing turns out. Bandai decals are pretty thick and require a lot of coats to hide the edges...
-
Not to worry about coats filling in panel recesses. The Gunze Sangyo coats go on real thin (assuming you spray properly in passes and not like an overzealous graffiti artist heh) and it dries very quickly. It's dry to the touch within minutes so it doesn't take long to apply multiple coats. And they always some out smooth and even. Just be careful since the clearcoats are lacquer based. Although they didn't eat into the Tamiya acrylics, they can possibly eat into other non-lacquer substances. I only use Tamiya so I don't know how it will react to say Testors or other brands.
-
Thanks! I tried to get the light to catch it at different angles. I rarely trim the clear excess from around decals; only if I absolutely have to to get a decal to fit properly. For the back piece, the edges of the carrier film are almost completely in with the background. You can only just tell if the light is really bright and my camera is up super close. I wish I had done as well with the earlier decals; those you can see where the edges are if the light catches it just right. Tried to get some close ups with the light glaring off.


-
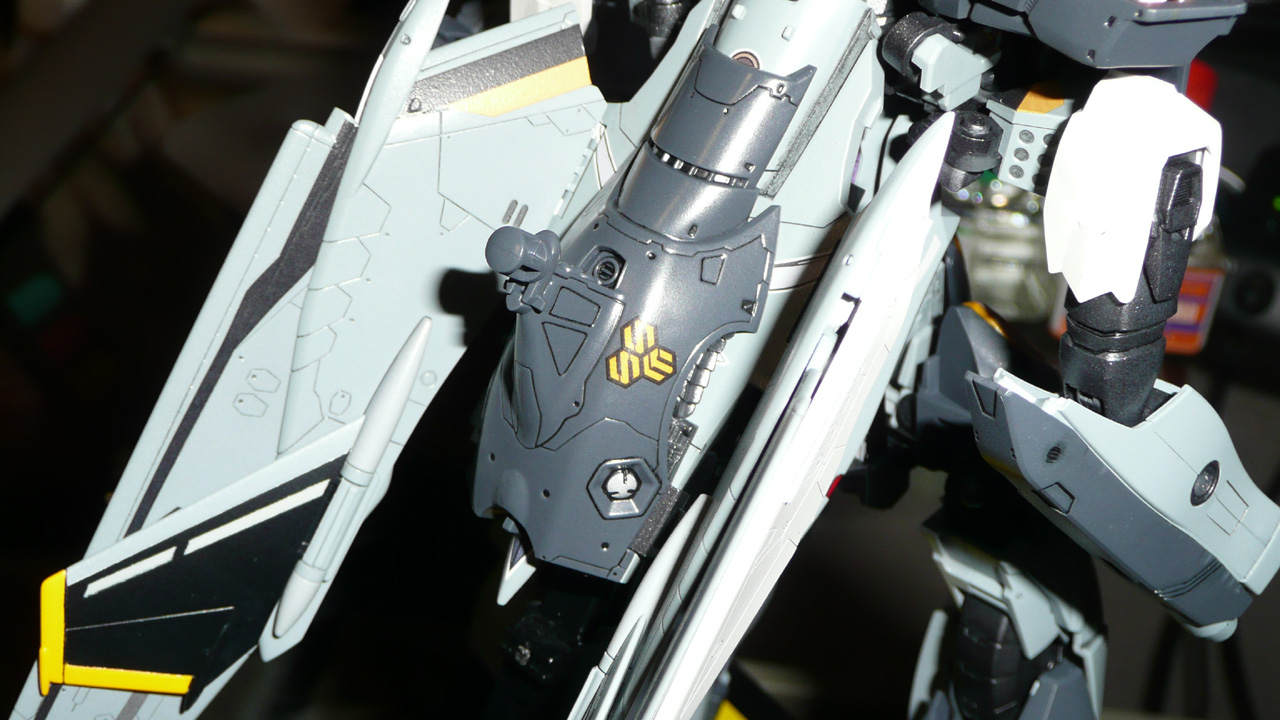
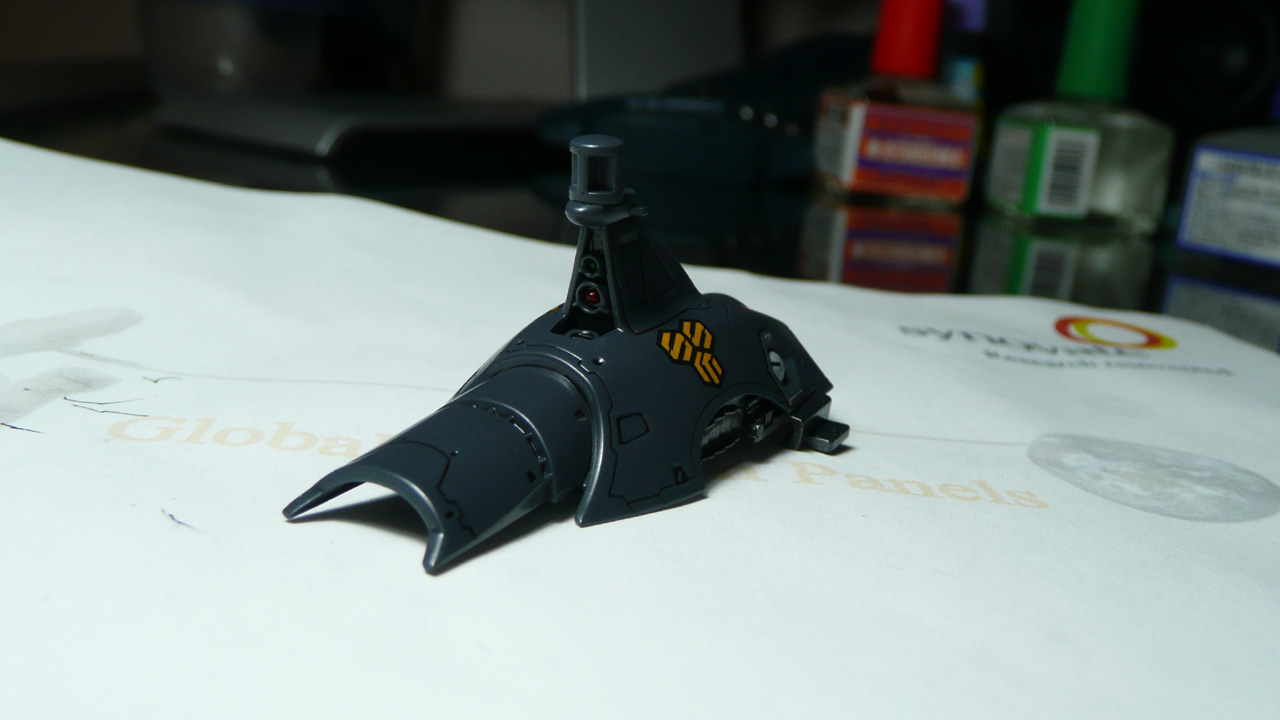
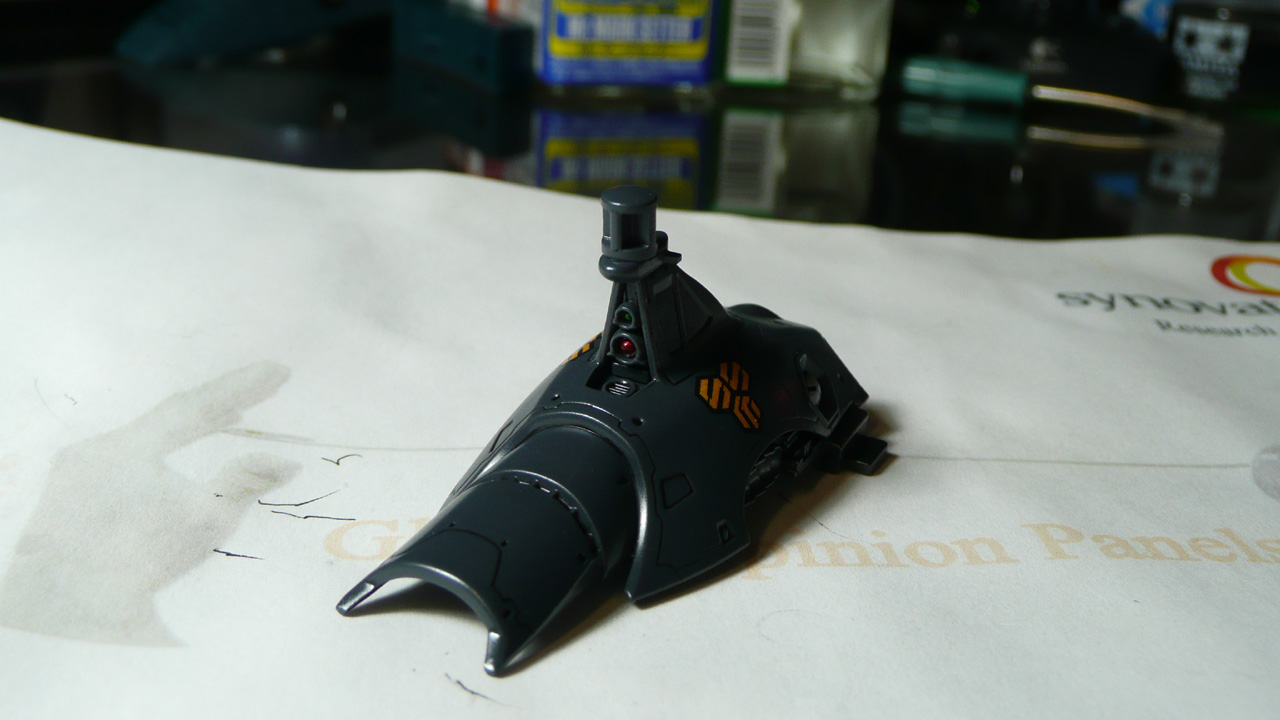
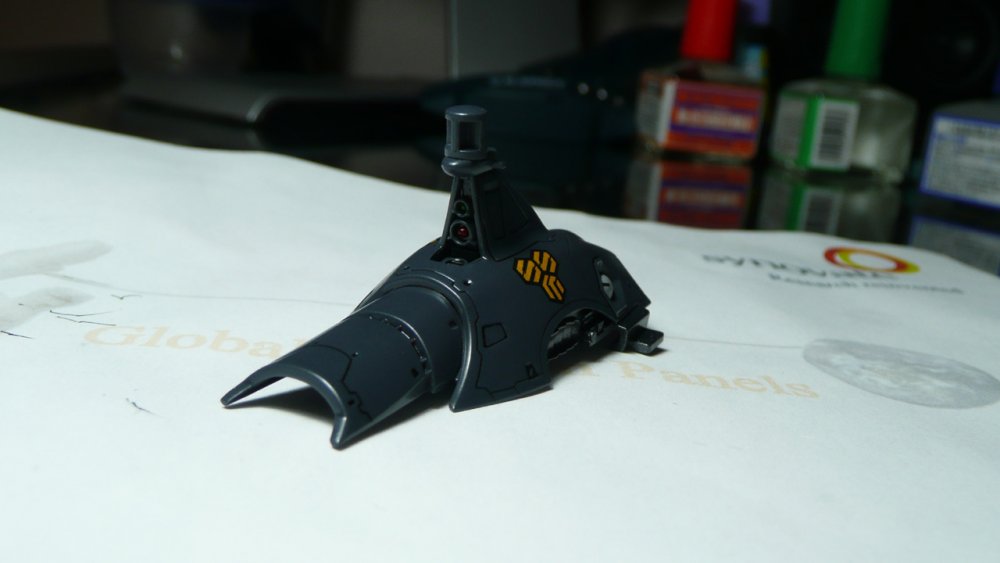
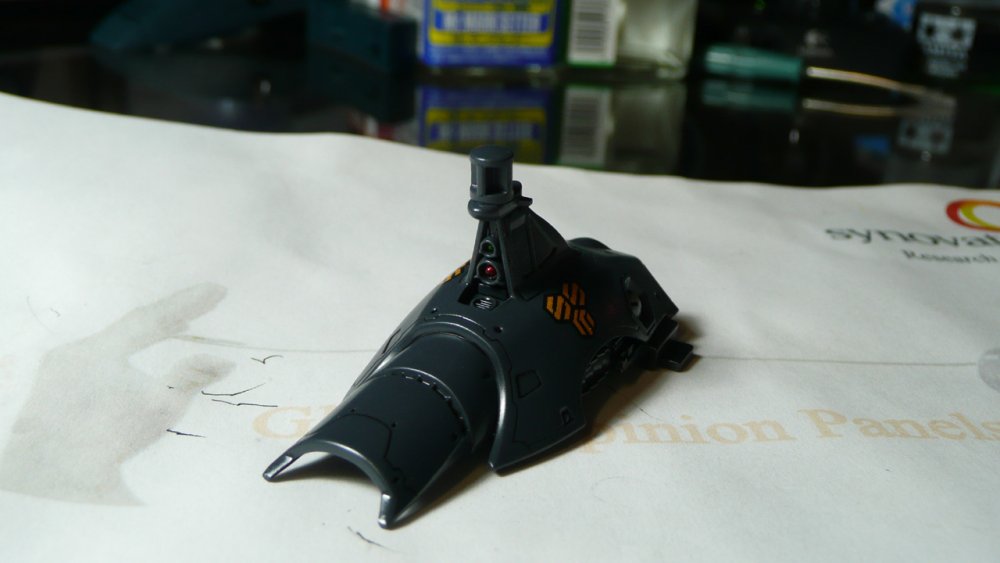
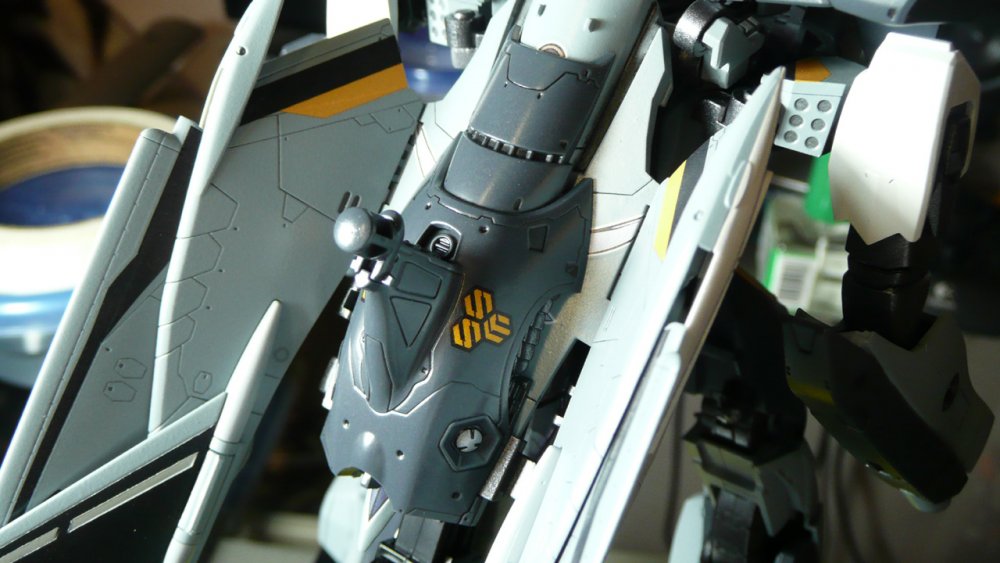
I've been asked what I use for finishing coats so I'll put it all down here. I dislike Future because it's kinda clunky to deal with, takes a long time to dry, and is prone to dust during its long drying time. And I had problems with it lifting up decals when I brushed it on. Awhile back I also used Model Master semi-gloss lacquer clearcoat, which worked fine most of the time, but occasionally it would inexplicably bubble up in a few spots; when it dried it left a pock mark. If I attempted to apply a second layer over the first layer after it dried, it would wrinkle up and ruin the smooth finish. WTF? So now I use all Gunze Sangyo clears. I have never had any of the above problems with them. The clearcoats are lacquer based but I've safely used them on Tamiya acrylics. I prefer a semi-gloss finish for mecha models. For gloss clearcoat: http://www.hlj.com/product/GNZB-513 Semi-gloss clearcoat: http://www.hlj.com/product/GNZB-516 Semi-gloss topcoat: http://www.hlj.com/product/GNZB-502 Sadly I only started this specific layering late in my model, but it basically goes like this: plastic part > paint > gloss clearcoat* > panel lines/wash > decals > gloss clearcoat* > semi-gloss clearcoat* > semi-gloss topcoat (as the final layer to ensure a uniform finish) *Add as many layers of clearcoat you feel is needed to protect your decals, paint, etc. The second gloss clearcoat step I only added recently, when I accidentally picked up the wrong spray. But it turned out even better and made the finish smoother and more even, so I'm keeping that step. Some pics of the backpack unit done using the above steps.
-
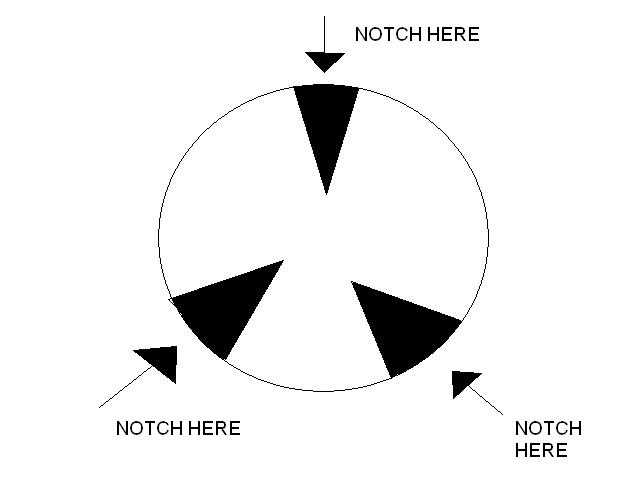
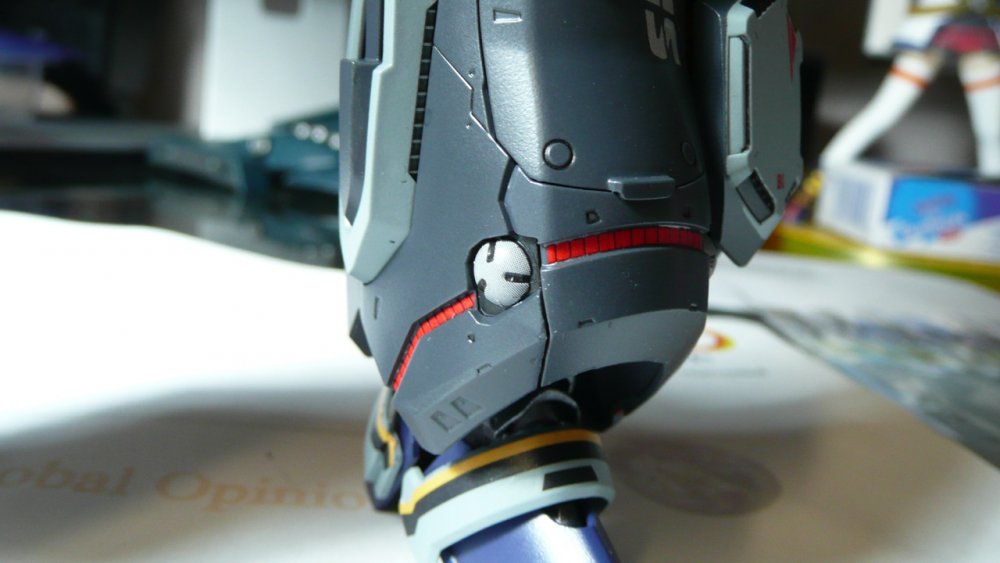
You're using a knife to apply decals? If you want to know, here's my clunky over-the-top amateur's guide to applying Bandai's Macross Frontier decals. First, you want to make sure you're applying onto a fairly smooth surface; applying a coat of Future or other gloss coat is good for this. I apply Mr Mark Setter to the area where I'm laying down the decal and then I use either a Q-tip or the tip of my tweezers to nudge them into position. Now if it starts to dry before I manage to get it perfectly positioned, I'll use my fingertip, dab it in some water, and touch one of the decal edges so the drop of water gets absorbed *under* the decal to moisten it and keep the decal from sticking to the part before I want it to. Once the decal is perfectly lined up, I'll use a Q-tip or a cloth to touch one of the edges of the decal where there's liquid showing (being careful not to touch the decal itself) to soak up excess liquid. Then I'll touch the edge of the decal again with a little Mark Setter and then repeat soaking up the excess. Afterwards I'll let it start to dry into place for a few minutes; with Mr Mark Setter, if you've soaked up most of the excess, it should start drying and holding the decal in place. At this point i will take a Q-tip and gently dab the decal *straight downward* to squeeze out any remaining liquid, which is soaked up by the Q-tip, until the decal is flat against the part and all the liquid is squeezed out from under it. If you happen to nudge the decal out of place doing this, as long as there's a little liquid left, you can gently nudge it back into place with the Q-tip. You may need to re-moisten it if it gets too dry and you've moved it out of place. The ankle spheres are especially annoying and prone to wrinkling. Be sure you notch the three black sections with a knife before attempting to apply them. I've attached a crude MS Paint diagram. After applying them, since they're in a recessed section, I applied a generous helping of Mr Mark Softer and let it pool, so it gets all soaked up and will flatten out most or all the wrinkles. Like all things, you'll get better with practice and develop your own techniques that will work for you.

-
Say what? The Japanese government forbade the use of the image of the central character in SDF Macross because Hase Arihiro died? In what universe does that make sense?
-
That is the most interesting thing that's been said in this thread for awhile. So Big West could potentially have HG's trademark overturned if they were inclined to spend the time and money in court? Since that's all HG is really doing: exploiting someone else's work. Not that it would worth the cost involved to fight it out in court, since Macross already has de facto worldwide distribution, but a man can dream...
-
I only like the original 85 episodes of Deep Space Nine.
-
What's legal and what's moral/ethical are two different things. Since HG nabbed the Macross trademark, they can legally claim a cut of the profits off, say, a US release of Macross Frontier. But is it right for them to claim monetary compensation for a series and intellectual property they had nothing to do with just because of a legal technicality? (Inadequate or outdated laws might be a better way of putting it.) Isn't merchandising where most of the money is anyway? Refuse to buy products with the HG label (an easy thing to do since their crap is so shoddy anyway). The only thing I own with an HG label are my Animeigo Macross DVDs, bought when they first came out and before I knew how sleazy HG is. To me, what HG is doing is akin to internet domain squatting. I'm no lawyer, but aren't there laws preventing that now?
-
Off-topic a little, but I just wanted to say that I wouldn't lump a talented creator like Kawamori in with a hack like Roddenbery. Eugene Wesley Roddenberry had the seed of a good idea, but couldn't write a good show if his life depended on it. This is the man who hated having Worf as a primary cast member, had Picard solve complex socio-political problems every week with a stern lecture (because he's an enlightened Federation citizen bringing, uh, enlightenment to the backwards aliens of the galaxy), and who wanted Wesley to be the "breakout" character on TNG and tried to cram him down our throats. His mantra on TNG was "Humans are perfect and should not be depicted with any flaws whatsoever." Star Trek became good when creative control was taken away from him and he died, as macabre as that may sound. (The franchise was later driven into the ground, but that's another story.) He also screwed Alexander Courage out of his music royalties. http://www.snopes.com/radiotv/tv/trek.asp An interview with Ron Moore shortly before his new BSG series started. Long interview, but gives lots of great info on what happened behind the scenes of Star Trek. http://tv.ign.com/articles/444/444306p1.html Anyway, back to Macross. I support an official worldwide international release of Macross shows and merchandise in principle. In reality, I'm just fine with the way things are. Things are great thanks to the Interweb. I can get any Macross shows and products I want, and I can rest easy knowing that not a penny of my money is going to HG. HG is a sleazy company that does little more than try to profit off the hard work of more talented people, and I simply cannot support that in any way. Why should HG get a dime for contributing absolutely nothing to the creation of any Macross series? Why should HG get one centavo for the sale of Bandai's Macross Frontier products? If Big West decided they wanted to market Macross officially in America, why do they have to do business with sleaze like HG?
-
Why does Big West need to "find a way in?" They seem to be doing just fine without giving HG a cent.
-
I was pissed that the VF-1 was replaced by the VF-25 in Frontier.
-
Started assembling more completed pieces together. Nothing much new to add, as most of the parts I've done as of late are the plain VF-25S parts. That'll change soon enough; next up are the armored wing boosters and antenna pack. Some minor paint chipping occurred while assembling. Strange that a model, something not known for durability, has parts that require brute force to assemble. Also noticed that the grey looks rather blue in all my pics. I used a slightly darker shade of grey than the grey plastic and it definitely does not look blue in person. Odd.


-
Hehehe the answer to 90% of the problems associated with Bandai decals: just paint it! Heck, you don't even have to paint the whole thing. You could trim off the problematic section of the decals (say the white part or one of the blue sections) and paint that in, then just apply the easier part of the decal over the rest. I don't have the decal sheet in front of me right now, but could you say paint the entire intake part in blue, and then just trim out the white part of the decal and apply that? Or vice versa?
-
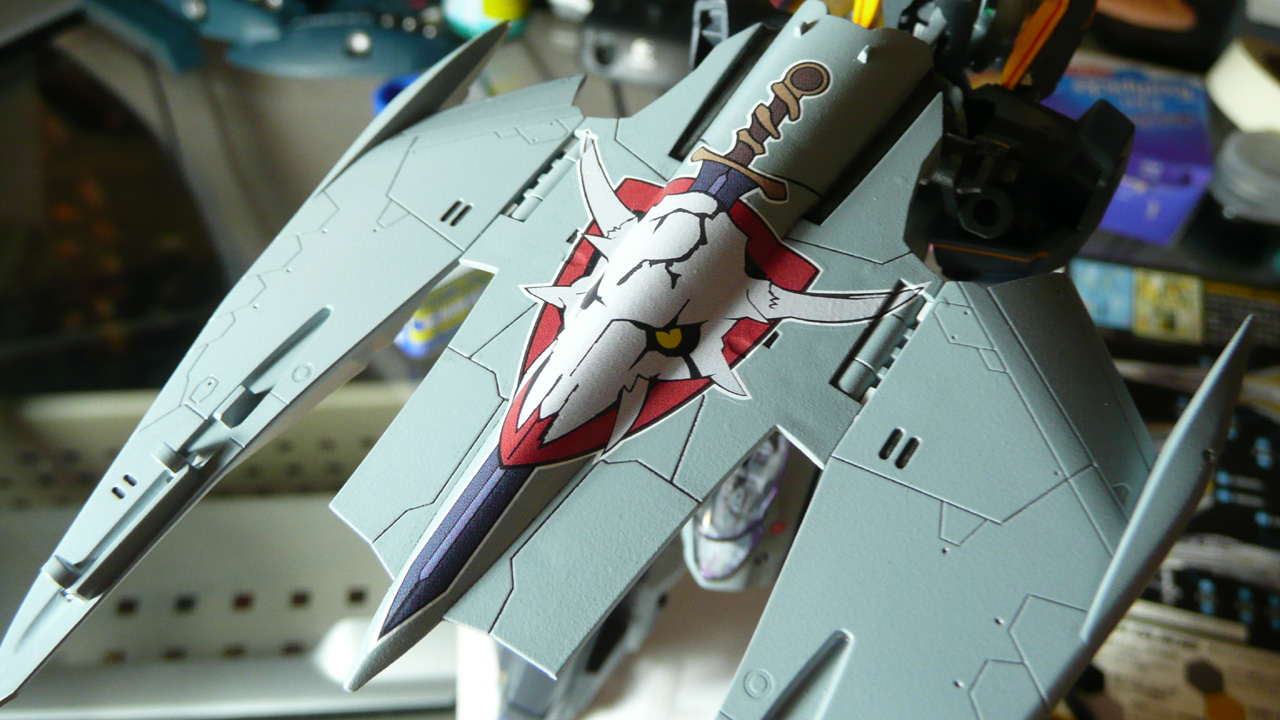
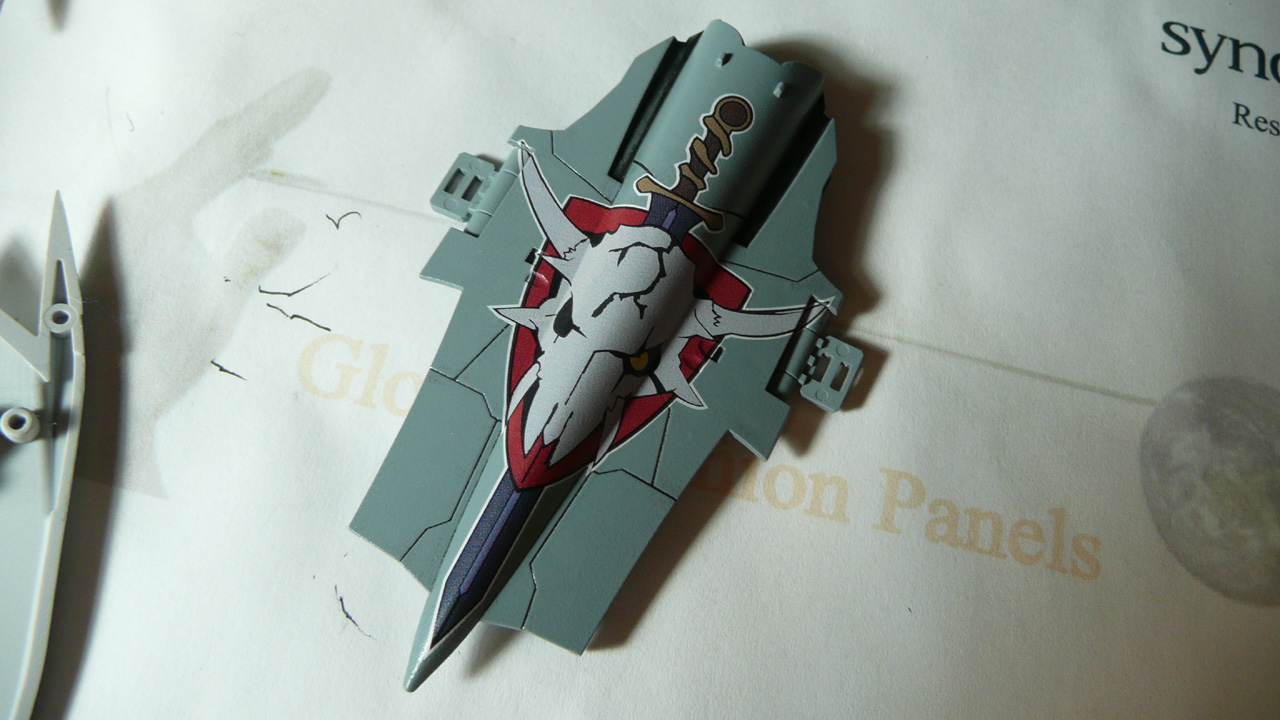
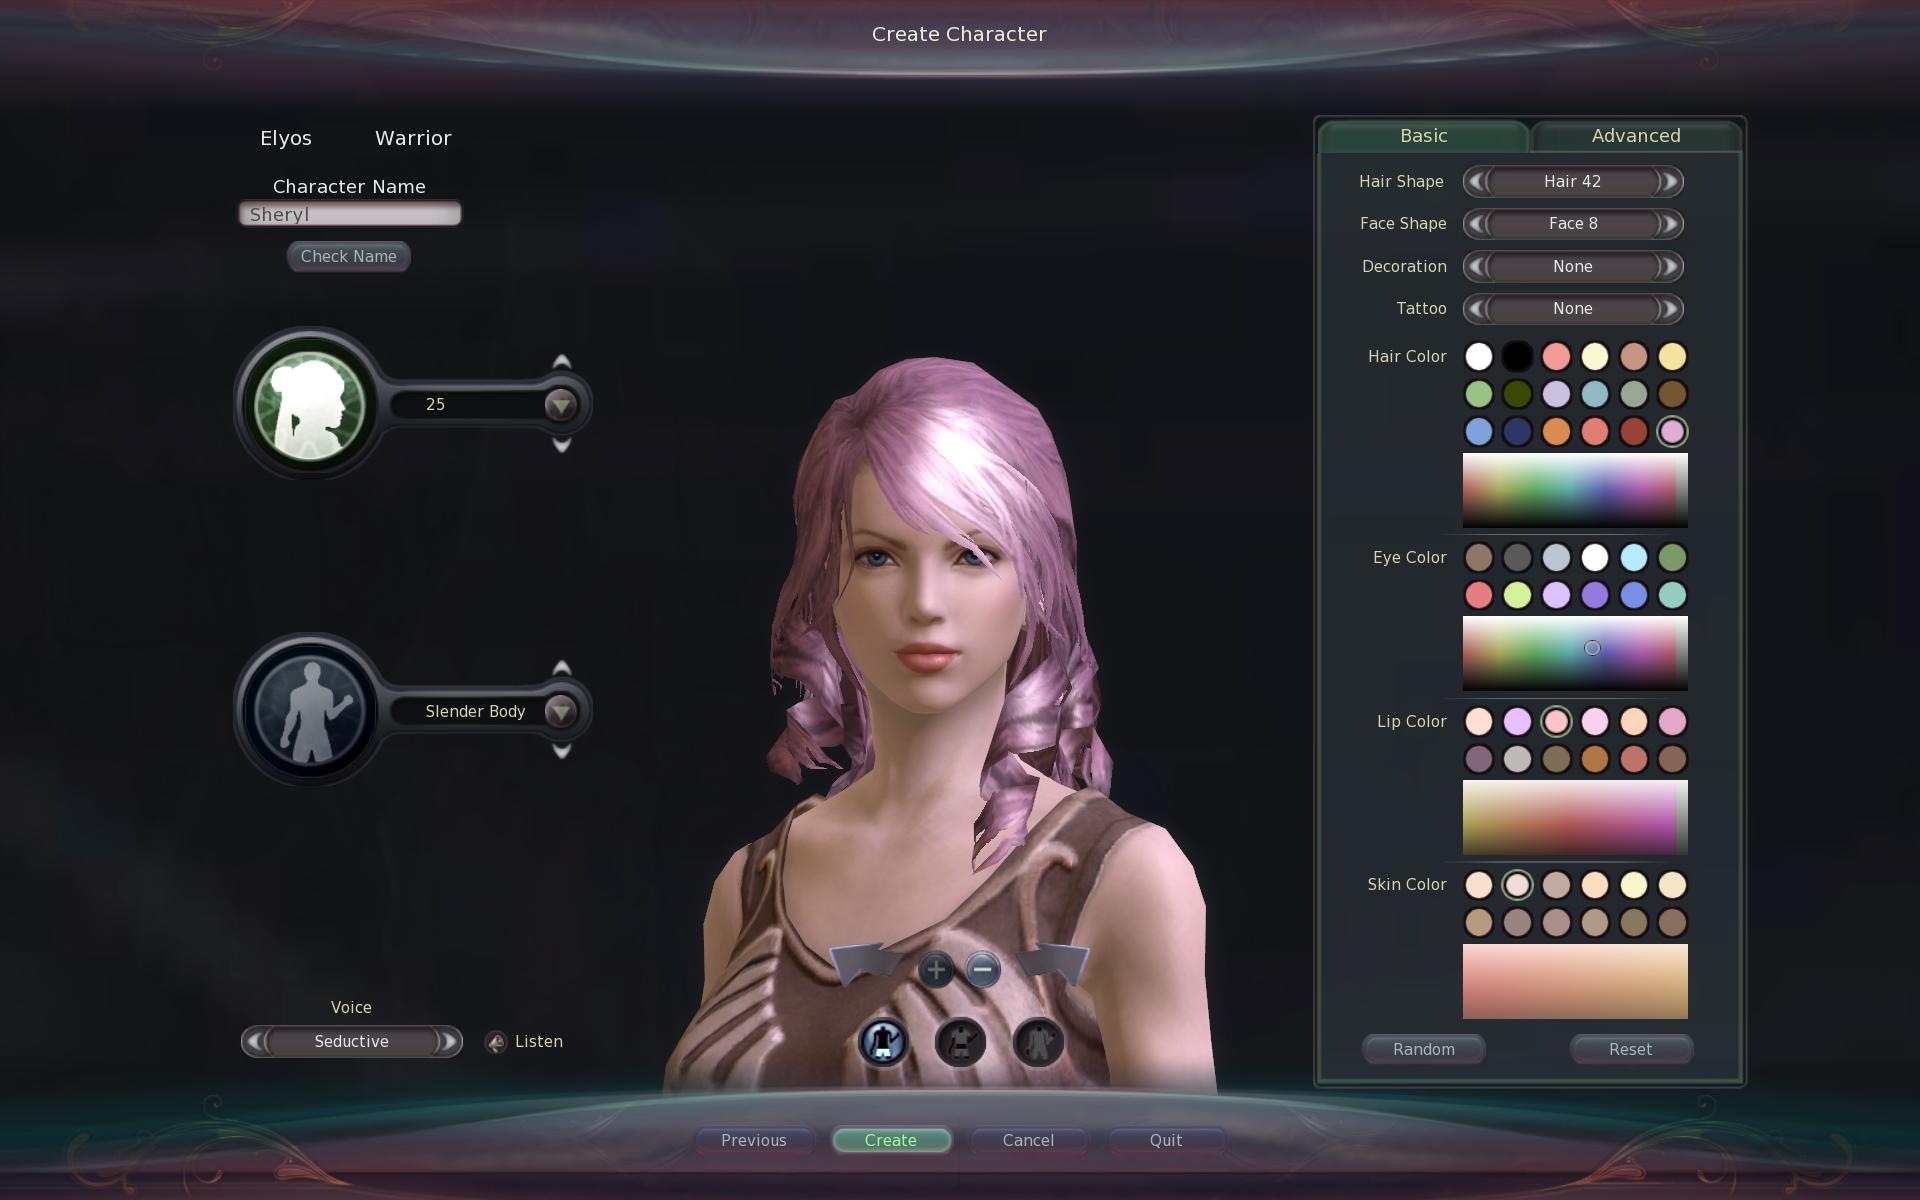
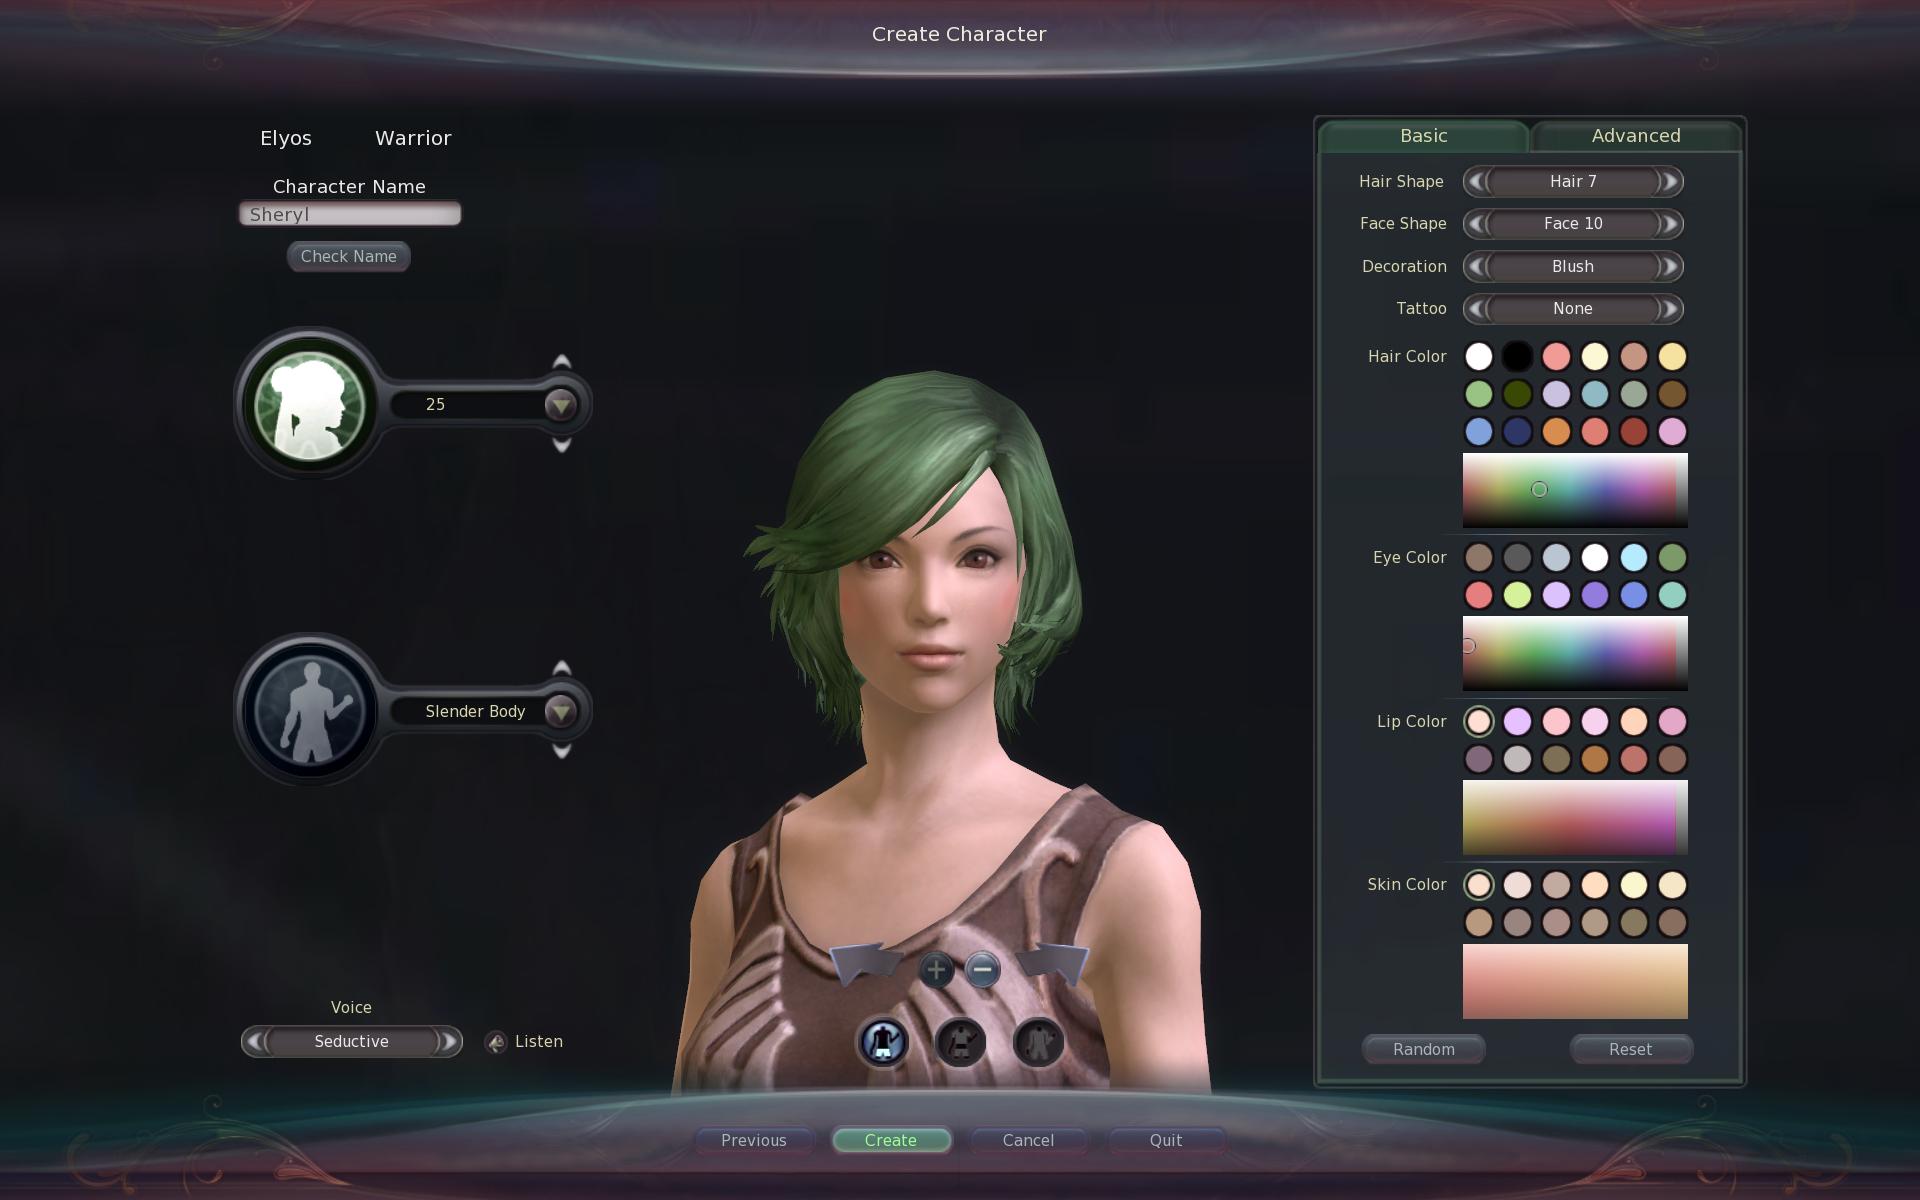
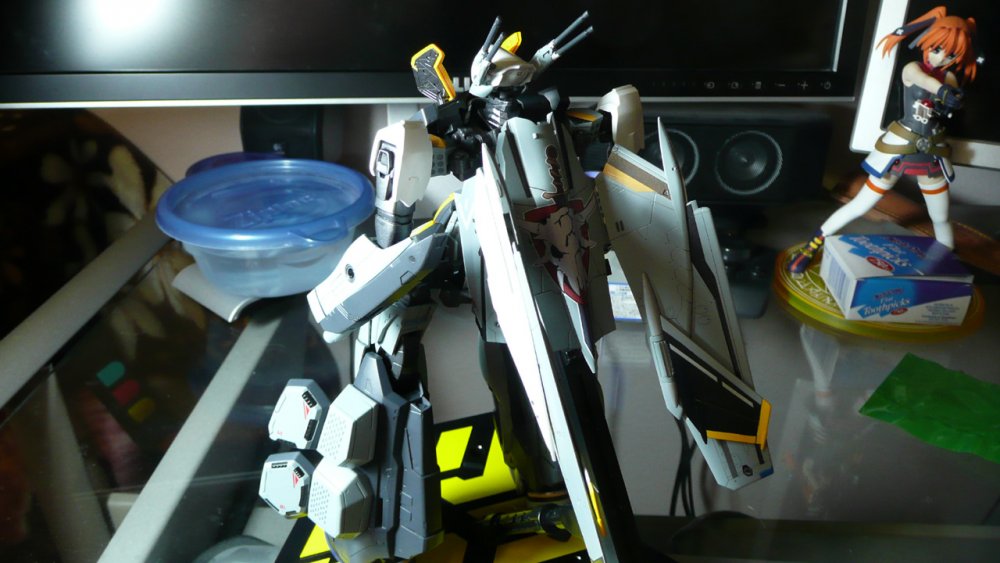
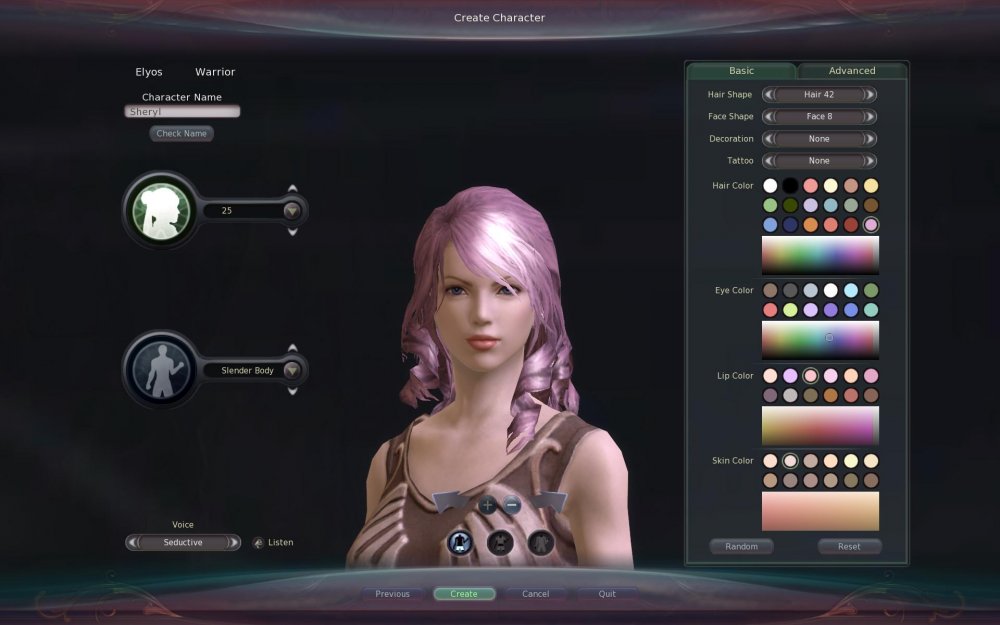
I take back everything I said about previous decals: the shoulder hexes, Alto's head stripes, everything. The worst decal I've dealt with is the giant skull emblem on Ozma's back. I guess it's just because I don't have much experience with such large, irregularly shaped decals, but I had a hard time with this decal. As soon as I lifted it out of the water, it wrinkled up and folded up on itself worse than any decal thus far. Then I spent a few minutes with the decal underwater, trying to flatten it out so I could try to lift it onto the backplate. I've labeled the whole ordeal "amateur hour" because that's what it would've looked like to an outside observer. At one point I chucked my tweezers aside and just used my fingers to flatten it out. Once I actually got it onto the backplate, the rest was fairly easy. The horns spread across onto the swivel joints for the wings. I pressed it as flat as I could and let it dry before carefuly slicing that section to allow movement without tearing the decal, since this is going to be in battroid mode. Also, off-topic slightly, but my friend convinced me to play Aion with him. I like their character creator.


-
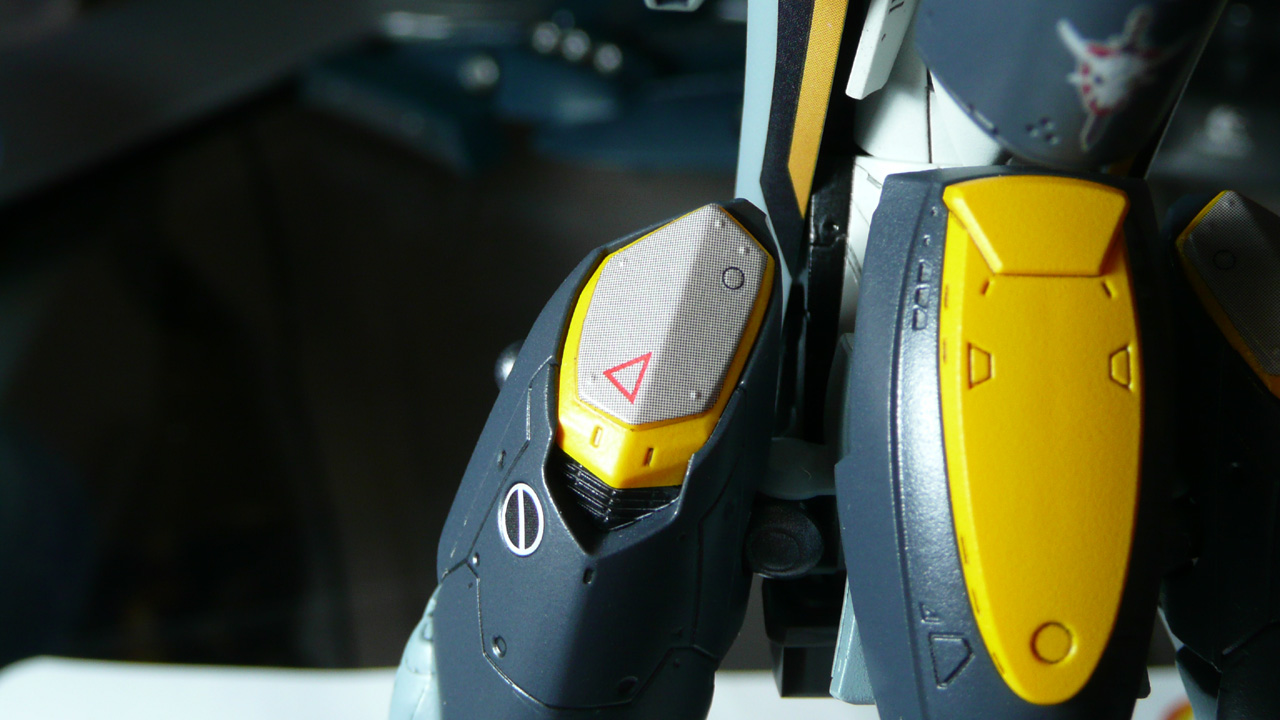
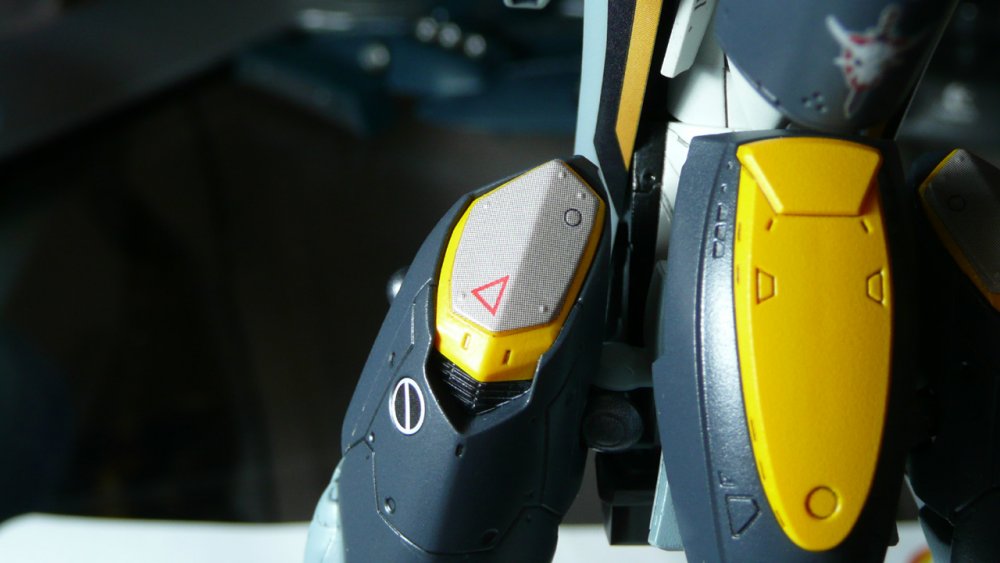
Hey MickyG, are you talking about the decal that goes over the top of the legs and wing boosters? The Armor parts have a similar decal. I was able to get mine to fit well. You have to accept that it's not going to be a perfect fit and work from there. I always put down Mark Setter on the part before attempting to apply a decal, so that may have helped. However, this is one of the few decals where I had to break out Mr Mark Softer. Using a fine tip brush (the default brush out of the bottle is way too big) I applied Mr Mark Softer across the decal... and then sat there for a little while softly brushing the entire decal to keep the liquid from beading up and spread evenly across the entire decal. Rather tedious work, but it worked out in the end! In the future, I'd rather just paint that part and apply the little red triangle decal separately (the kit comes with alternate decals for those who wish to paint that section). Looking at my Super parts decal sheet, it looks like the intake decal is even worse. I see that the decal requires you to notch the edges of the decal. The circular spheres on the ankles are very similar to that also. I carefully notched the decal where the edges were supposed to fold together, and after application, I applied a large amount of Mr Mark Softer and hoped for the best. As I've said before, I avoid using Mr Mark Softer if I can on these decals, due to poor absorption. I believe those two decals are the only ones on the entire kit I've used it on so far! Hope this helps!

-
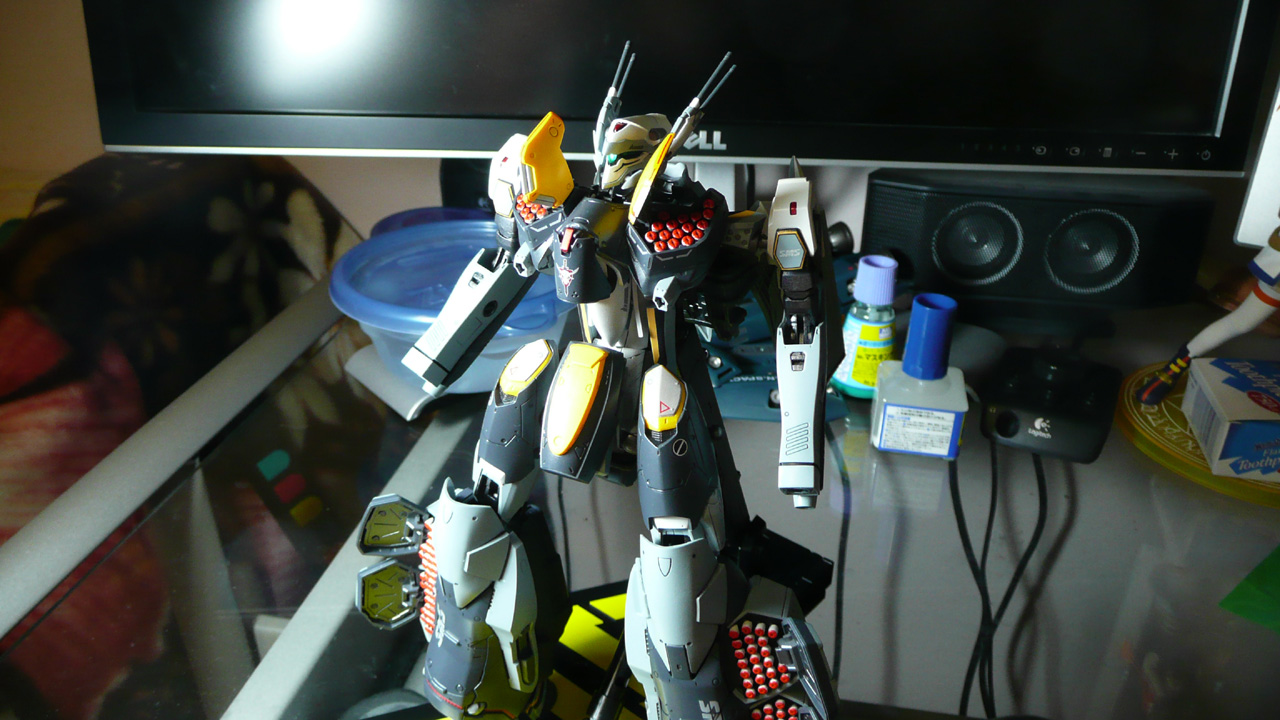
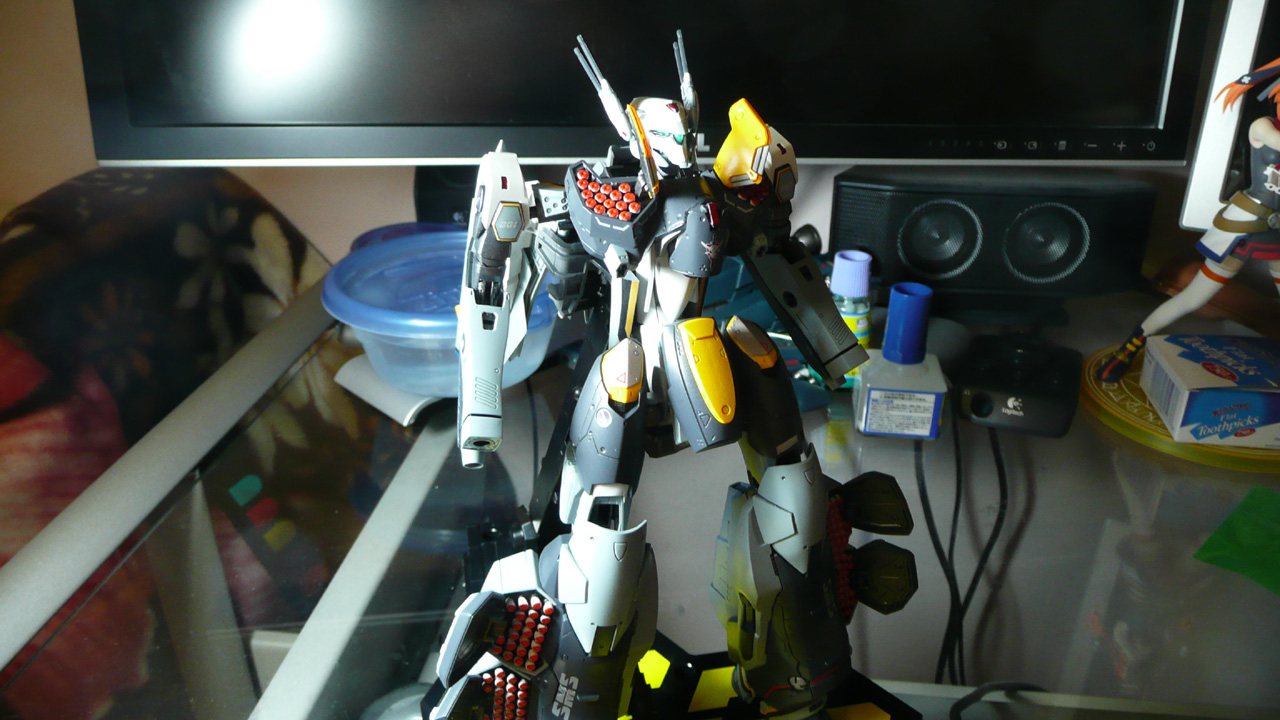
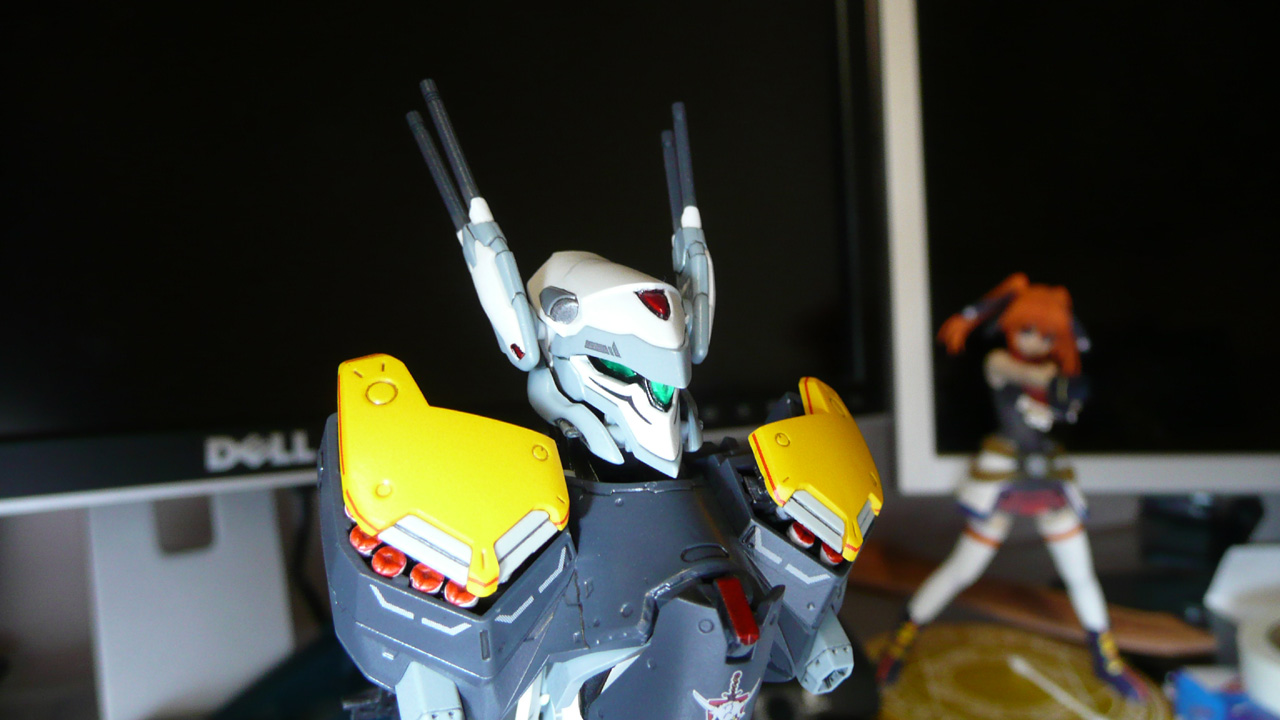
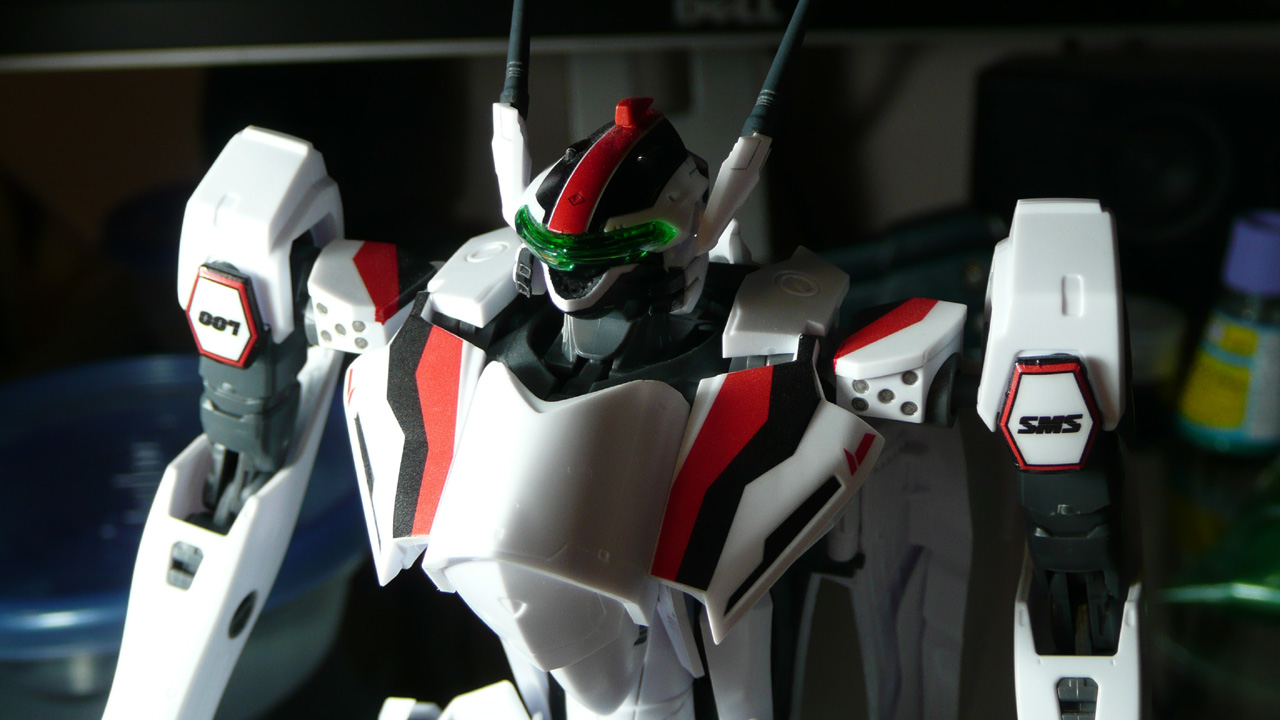
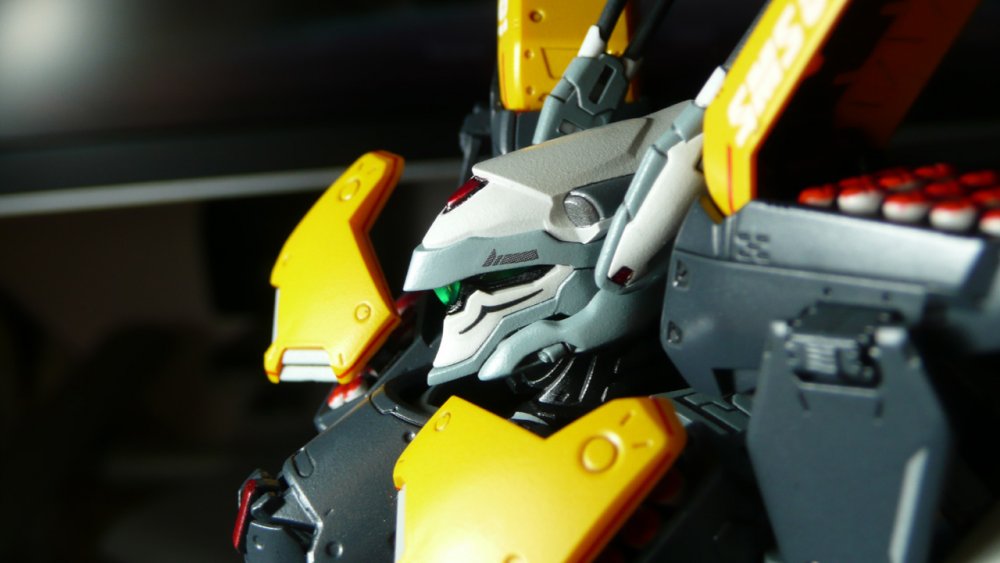
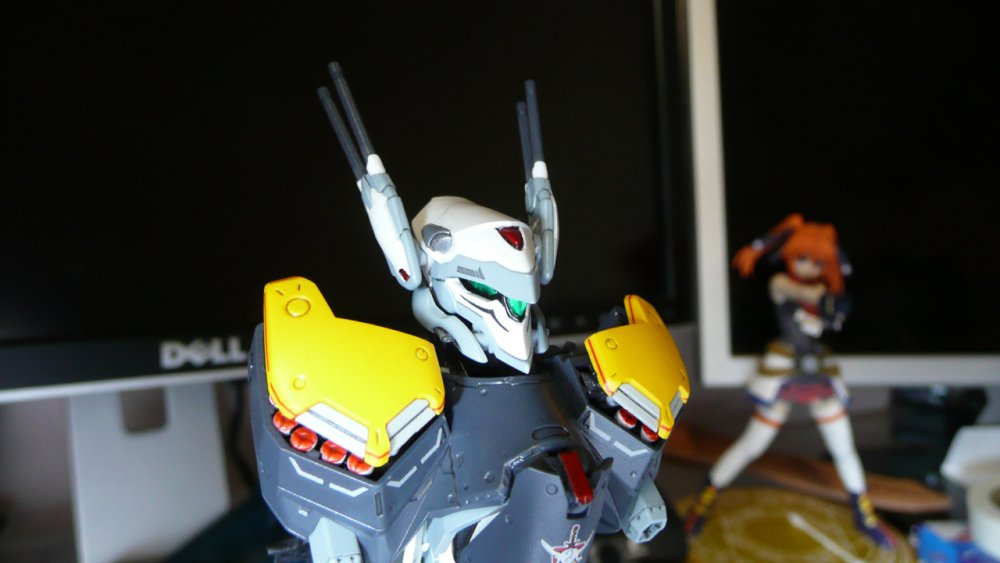
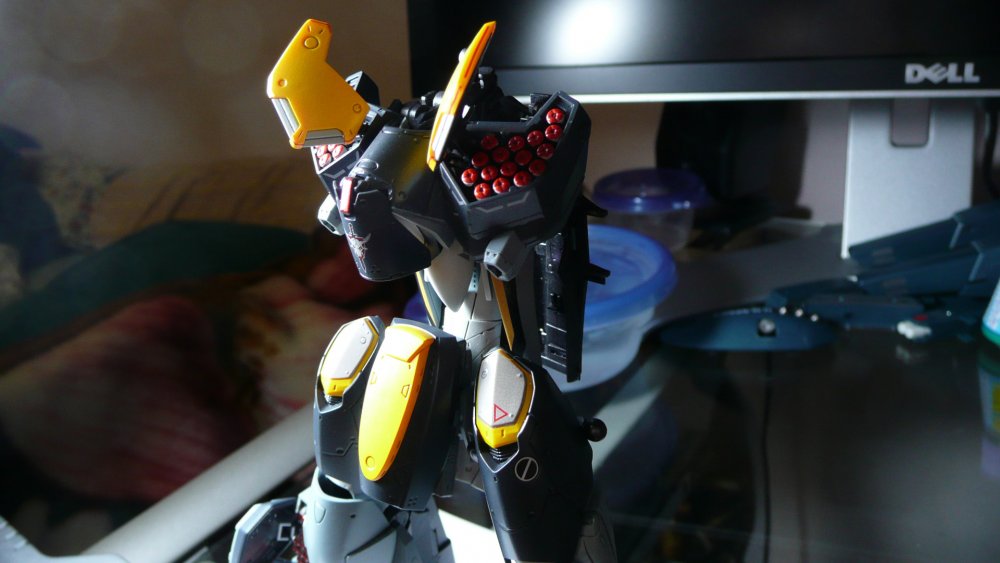
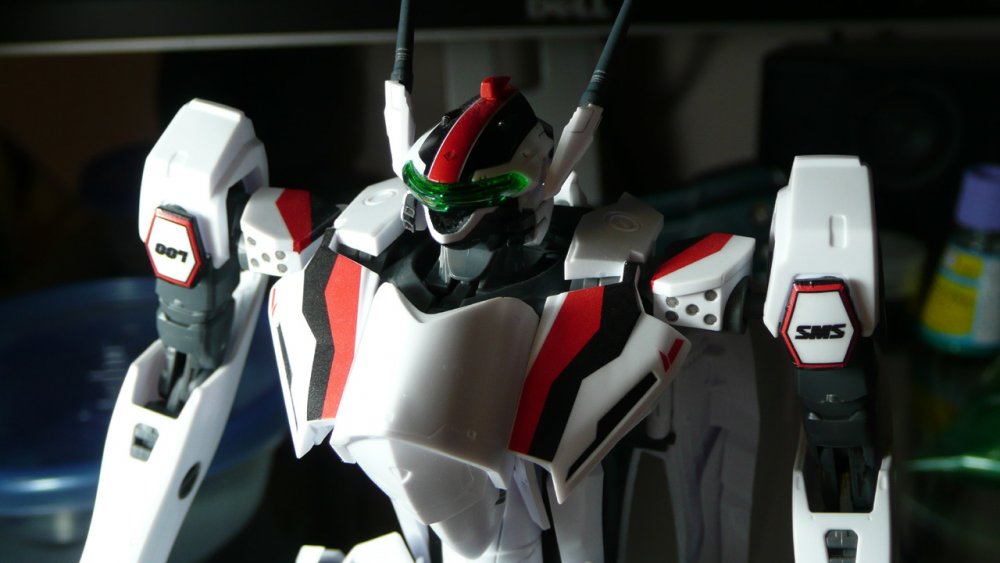
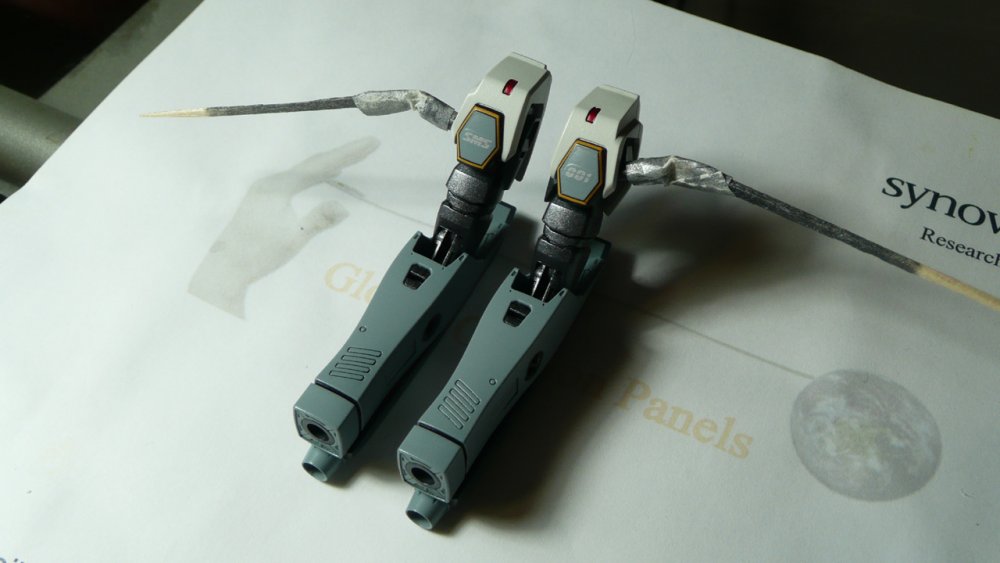
There sure are a lot of WIP VF-25G's in the wake of HLJ's clearance sale. Yay! Ozma's unit finally has a head! The 25S head has more moving parts than the 25F; the head collapses downward and the side vents swivel up and down, in addition to the head turrets. The head was somewhat difficult for me because it involved a fair amount of hand painting, which is probably my weakest skill. The black area around the "eyes", red sensors, base of the head turrets, and those grey thingamajiggers on the top of the head are hand painted. The kit does not have decals for any of the sensors. You get one wonderful foil sticker for the big red sensor at the top of the head. And another for the eyes. The single hardest part for me was just attaching the head to the neck because of the collapsible head. I accidentally chipped the chestplate while fidgeting with it.

-
Occam's Razor, my friend.
-

Bandai 1/72 Scale Macross Frontier Model Kit Thread Ver.3
Lolicon replied to azrael's topic in Hall Of The Super Topics
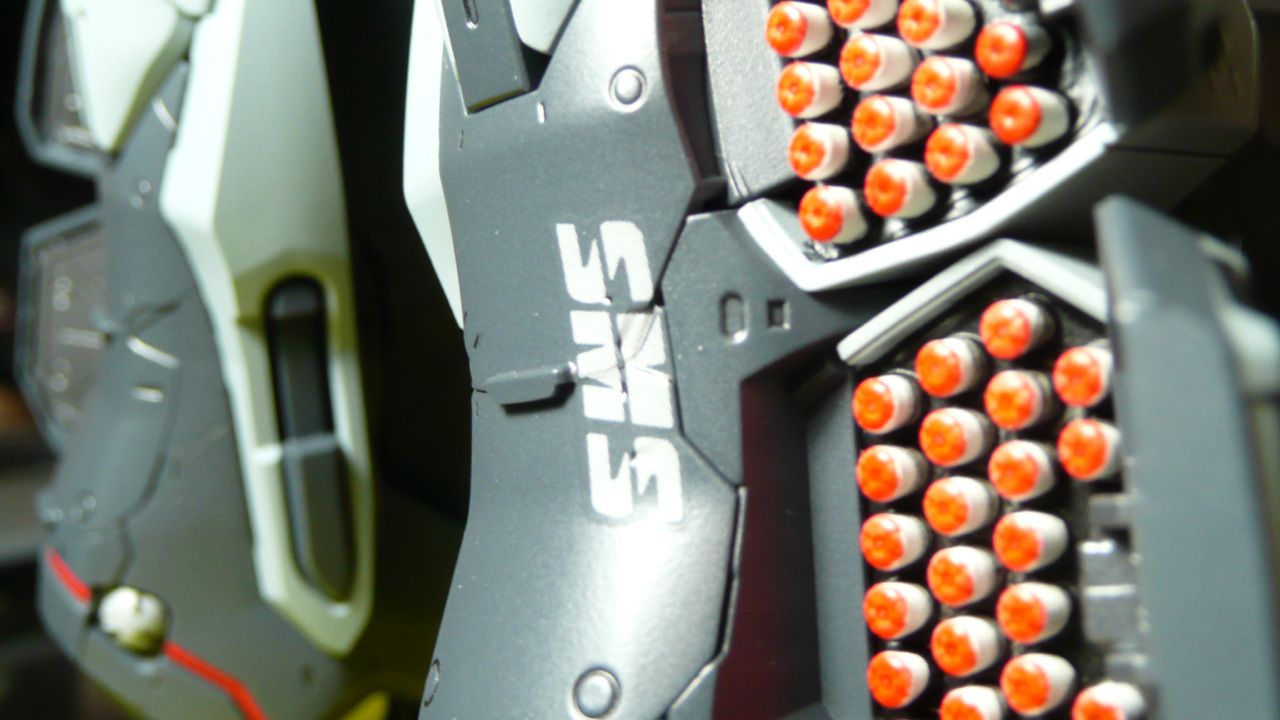
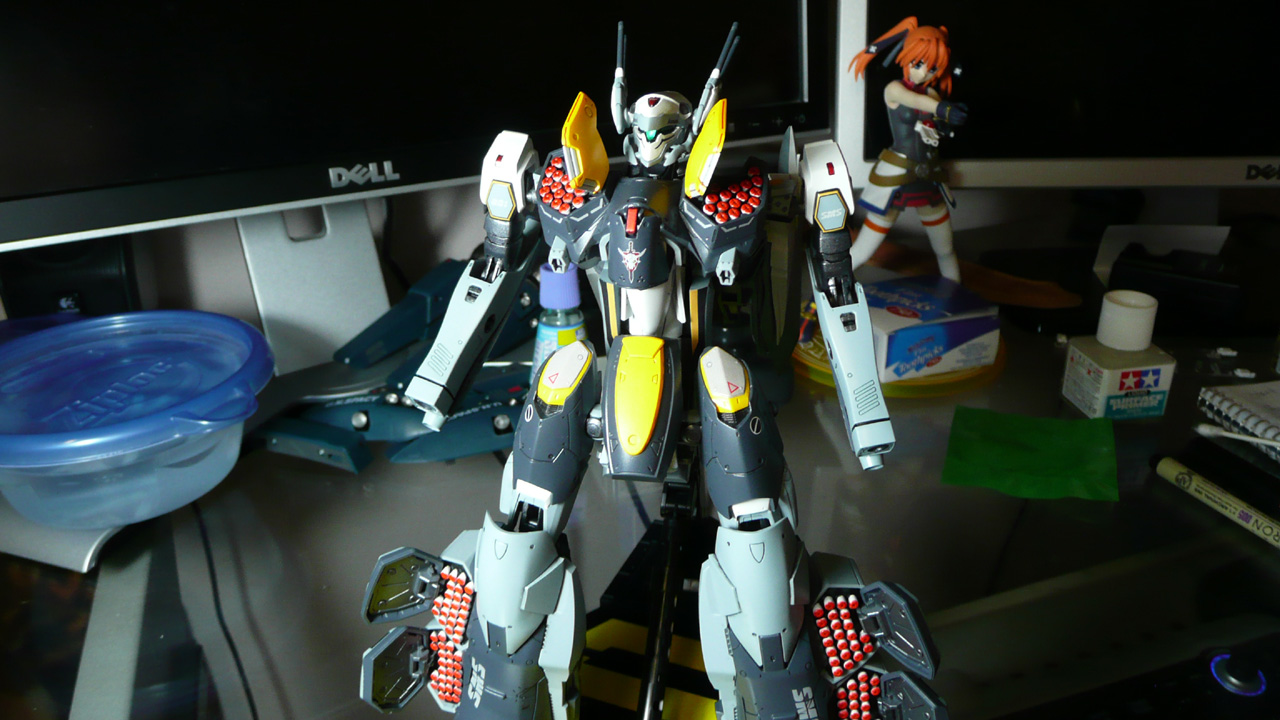
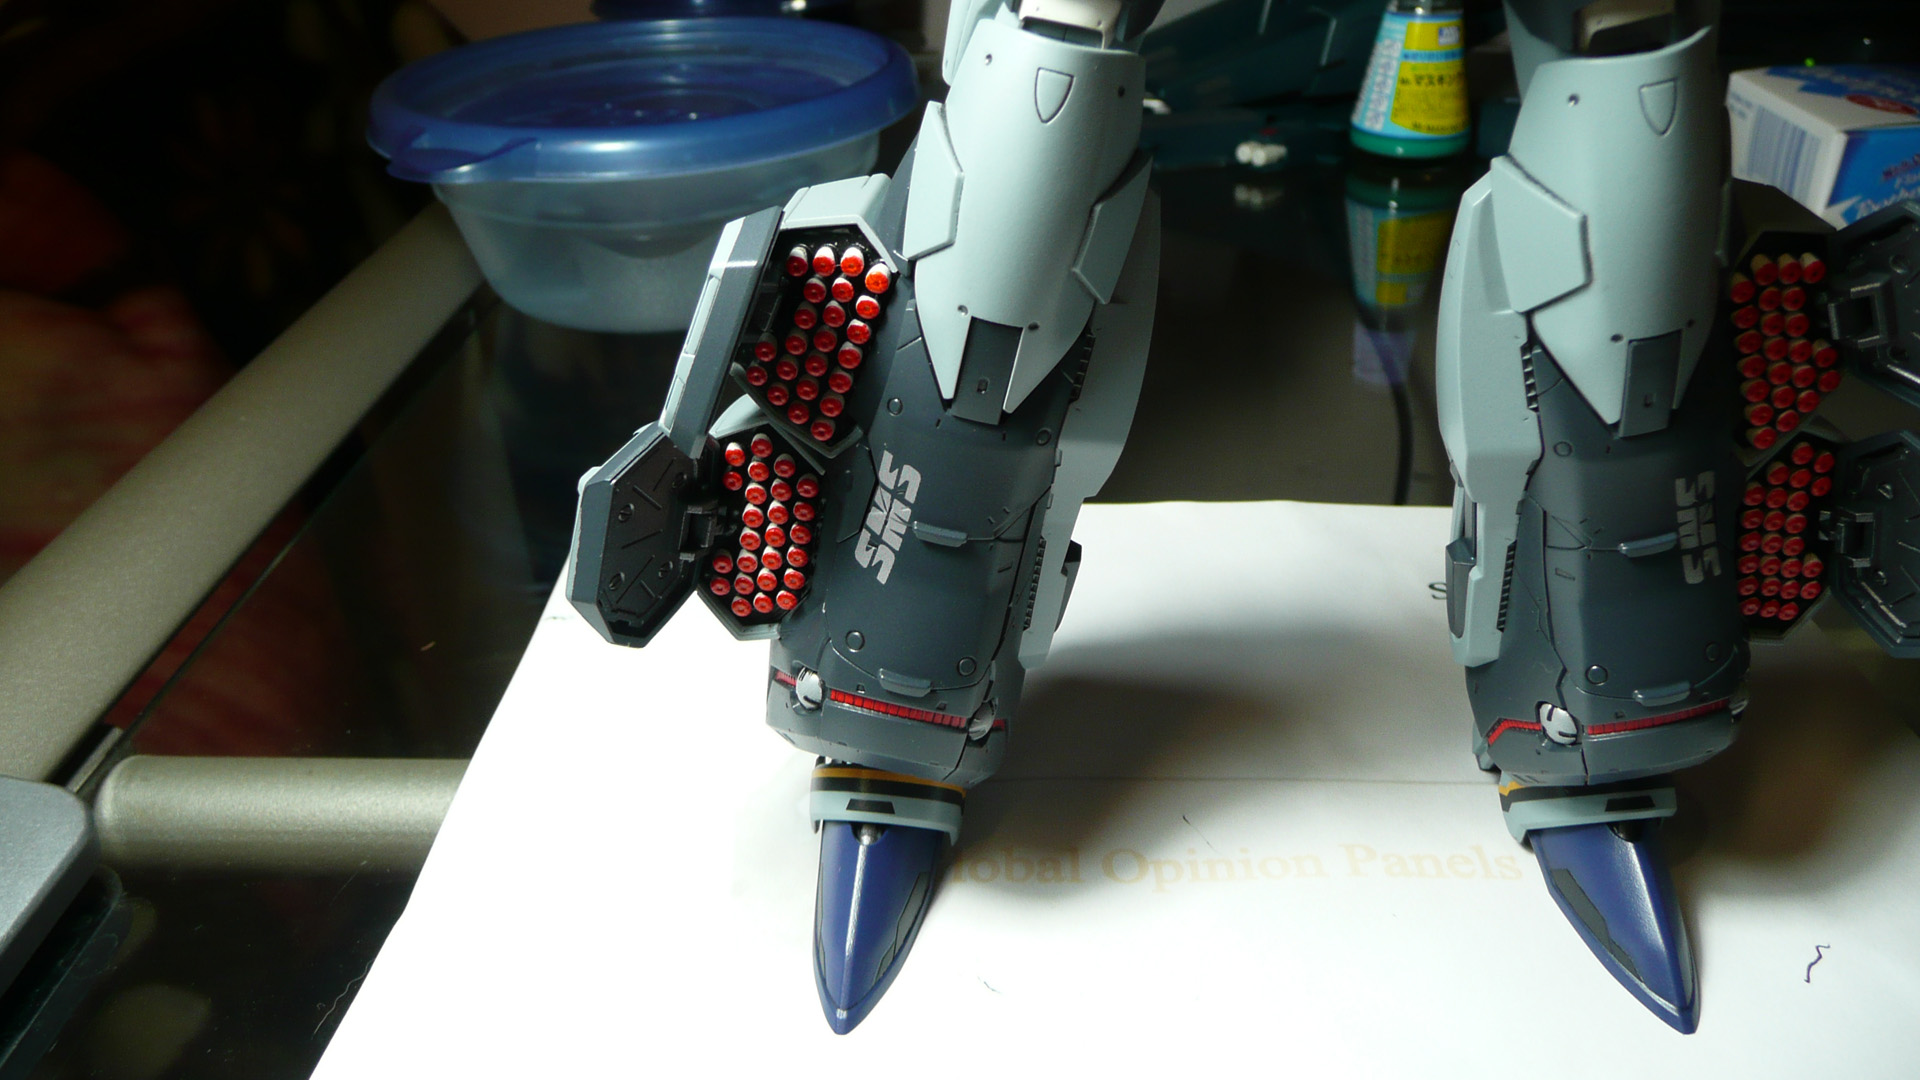
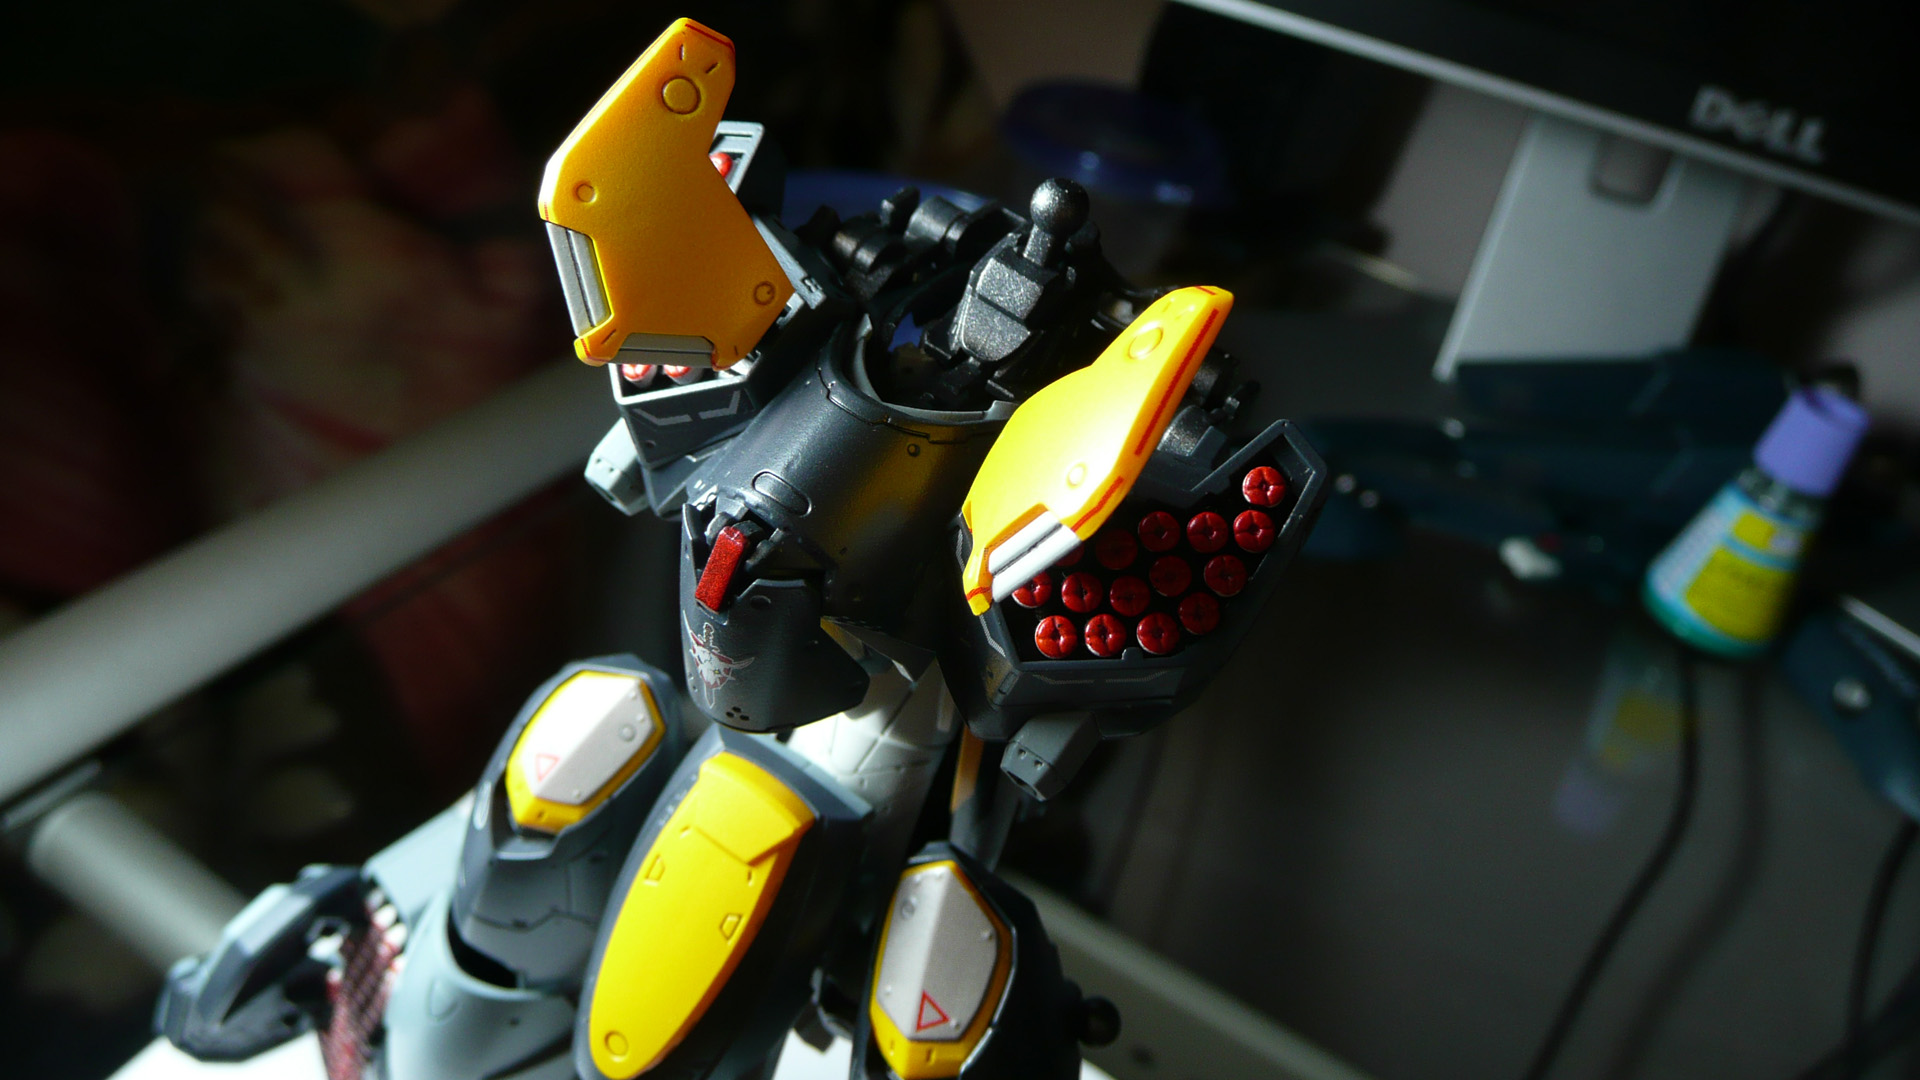
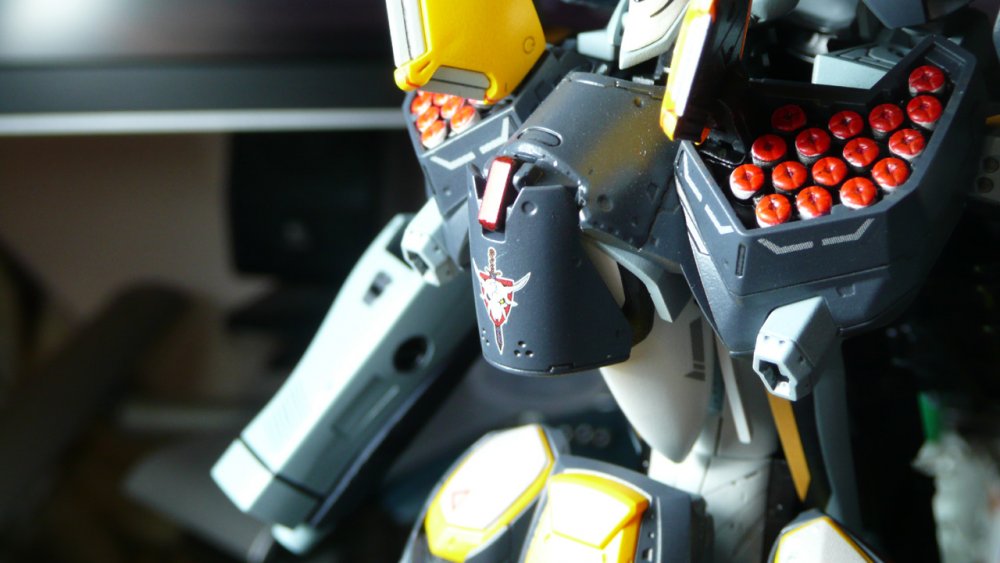
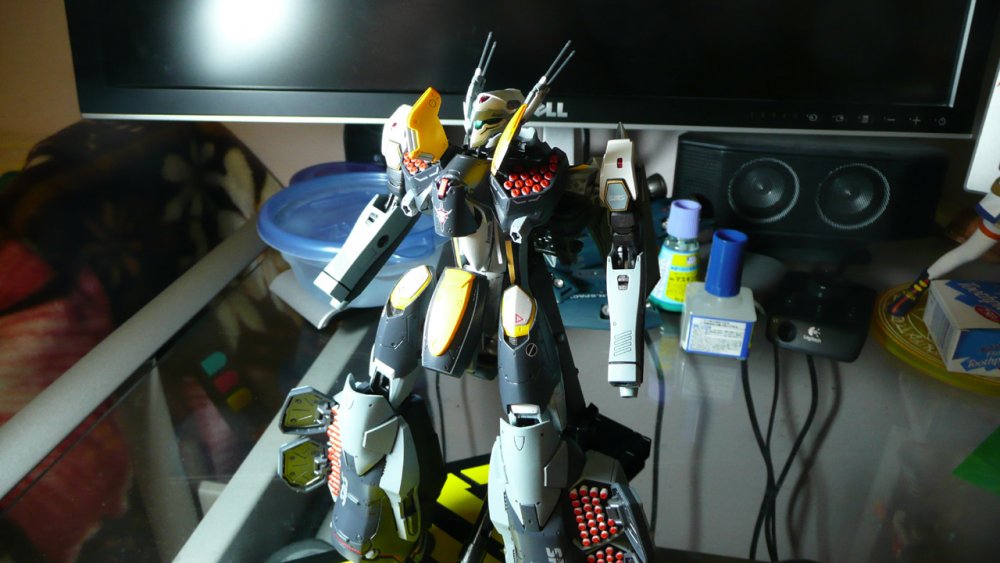
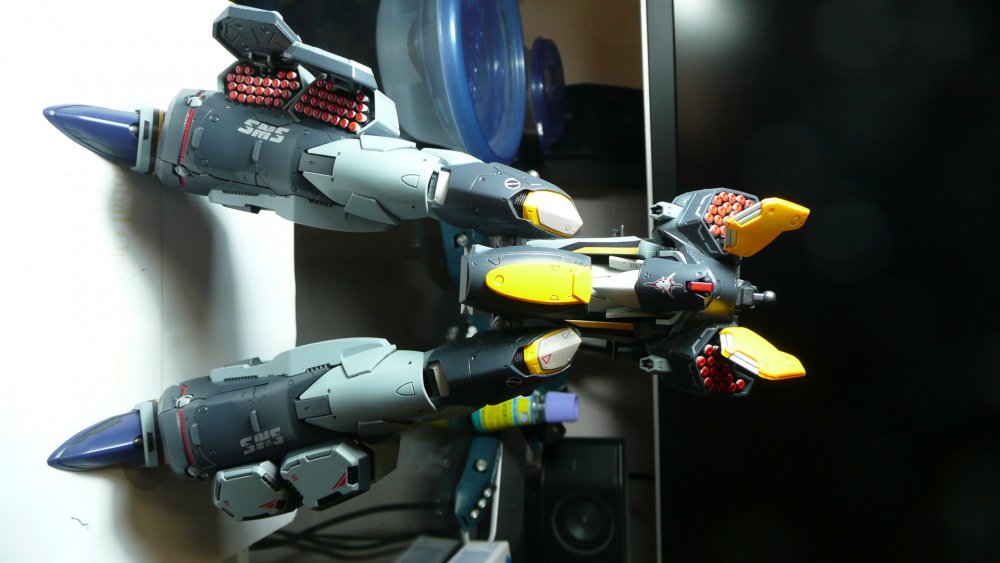
I did the heavy black wash method and it works well enough, though I was bit a sloppy about it and some of the wash got on the sides of the missiles. However it was acceptable to me since it just made the insides look kind of dirty. The problem with simply dipping the missiles into some red paint is that half the missile racks are not flat, even rows. They're mutiple rows sitting at different heights. Check out the attached pic. The missiles look like they're in level, even rows, but they're not; they all sit at different heights. The innermost columns (closest to the leg) stick out the furthest.
-
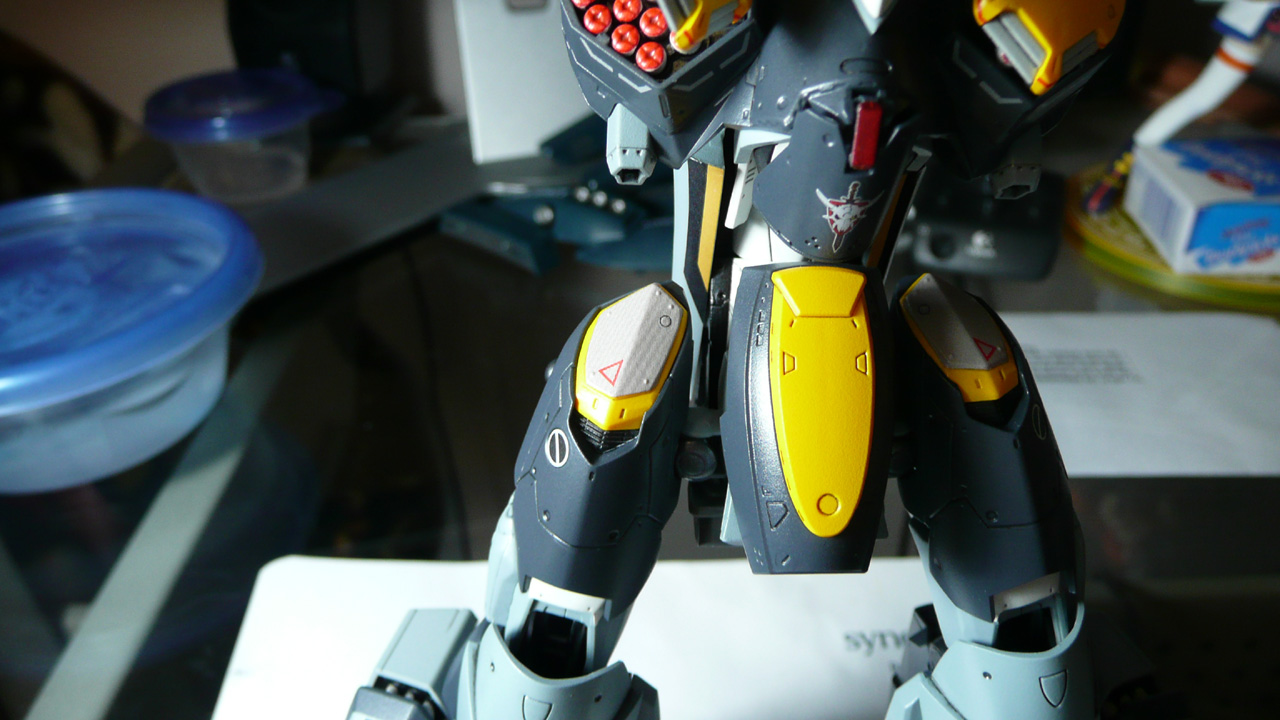
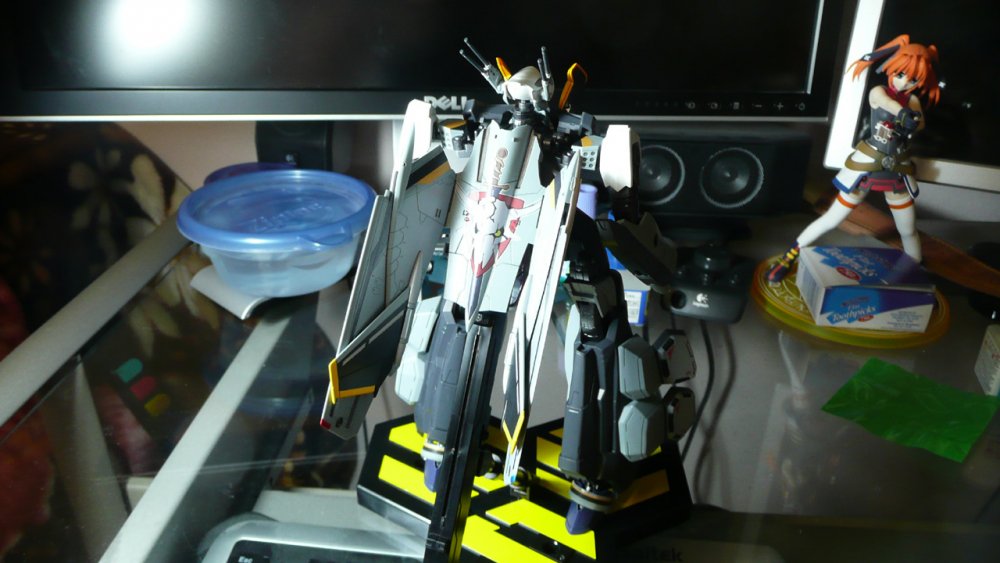
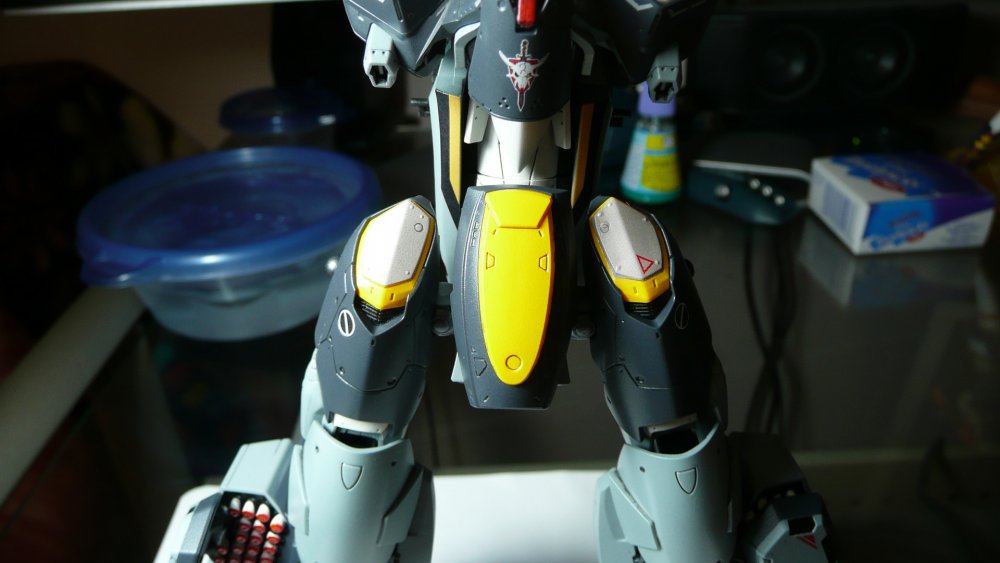
Despite the long three day weekend (for us in the States), I didn't get to spend much time working on it. Most of the remaining parts are in that limbo state of being painted but still needing panel lines/decals/clearcoats/whatever. But I did manage to get enough done to start assembling some sections. It's starting to look like a VF-25 finally!

-
I trimmed them at the upper and lower corners, skipping the "middle" corners. Good grief it'd be too much of an ordeal trying to line up six decals into an even hexagon, considering it's a bit dodgy with four.
-
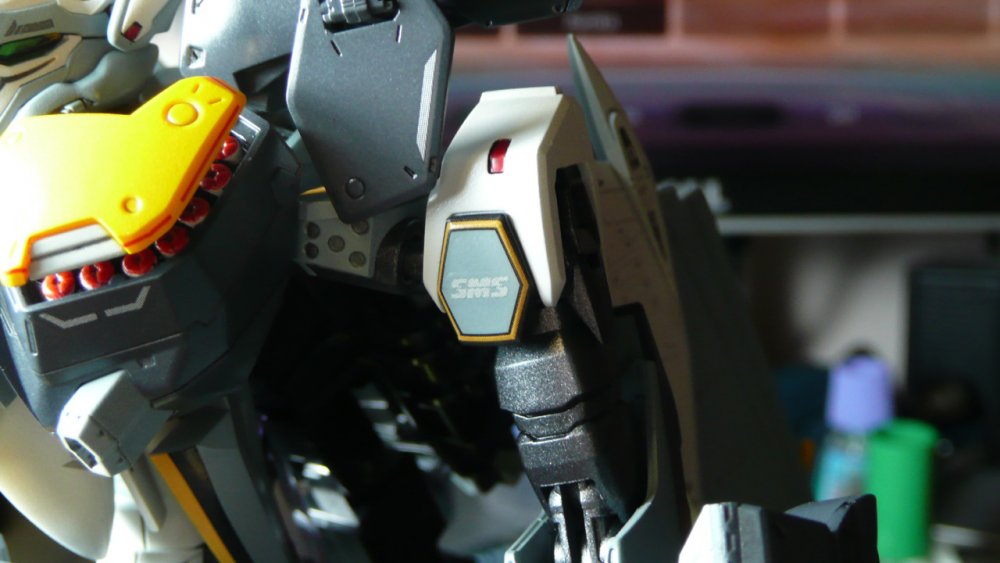
Managed to squeeze in a little progress today. Hopefully I'll get some more time with the long Labor Day weekend. Finished the arms finally. They're not terribly complicated; I just felt reluctant getting to them after the ordeal of the shoulder hex decals on the VF-25F. Although I think I did a serviceable (though not great) job on Alto's, this time around, instead of trying to apply the entire decal at once, I cut it at the corners into four separate pieces. This didn't really make things any easier, as the decal is a poor fit to begin with, and trying to line up all four pieces was a vicarious experience. But it did allow me to avoid the wrinkling issues that have plagued many a VF-25 modeler. Once I got the hex decals on, the rest was a breeze. Painted the edges of the hexagons black as it's supposed to appear; the pro modelers never bother for some reason. Just like the underside of the lerx. The shoulder sensors use another pair of ill-fitting decals. I just painted them in with silver and clear red. (This VF-25F is my WIP progress battroid that's currently on hold.)
-
My experience with Mr Mark Setter is that it really makes it easy line decals into place. I don't know how to really describe it, but the buoyancy of the liquid is different from water and it's not as easy to shift a decal out of place on accident. And as it dries o as you wick excess off, it just pulls the decal down into place better and has some kind of sticky element to it that makes decals stick better. This is poor explanation, as I don't know how else to describe it. It's helped me avoid using Softer on almost every decal. If you have no problems with just water though, more power to you! With modeling, do whatever works best for ya! Gloss clearcoating over acrylics (or any paint really) is good since it protects your paintjob and makes decaling easier (smooth surface). I'm finishing up the arms myself. I am now master of the shoulder hexes!
-
Ouch! Sorry to hear about the problems with the decals and softener. It's those kinds of issues that make me reluctant to use Mr Mark Softer except where absolutely necessary. Although I've never had any decal tears like that, the areas where excess wasn't wicked off right away would have a pock mark where the texture differed, though it was visible only from certain light angles. Do you use any kind of decal setting solution like Mr Mark Setter? It's made decaling so much easier, it's unbelievable.
-
Bandai 1/72 Scale Macross Frontier Model Kit Thread Ver.3
Lolicon replied to azrael's topic in Hall Of The Super Topics
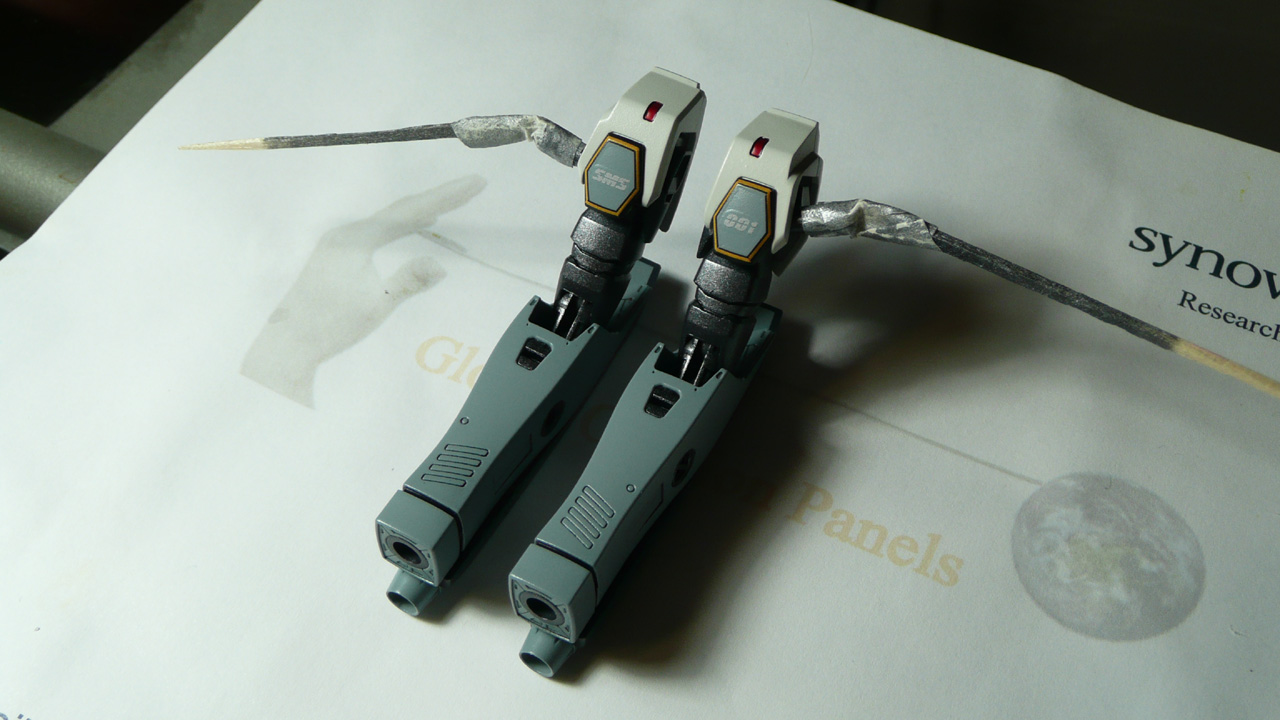
Fair enough. They still look like generic SMS pilots though. Ranka's really been hitting those weights!