
Kurt
Members-
Posts
735 -
Joined
-
Last visited
Content Type
Profiles
Forums
Events
Gallery
Everything posted by Kurt
-
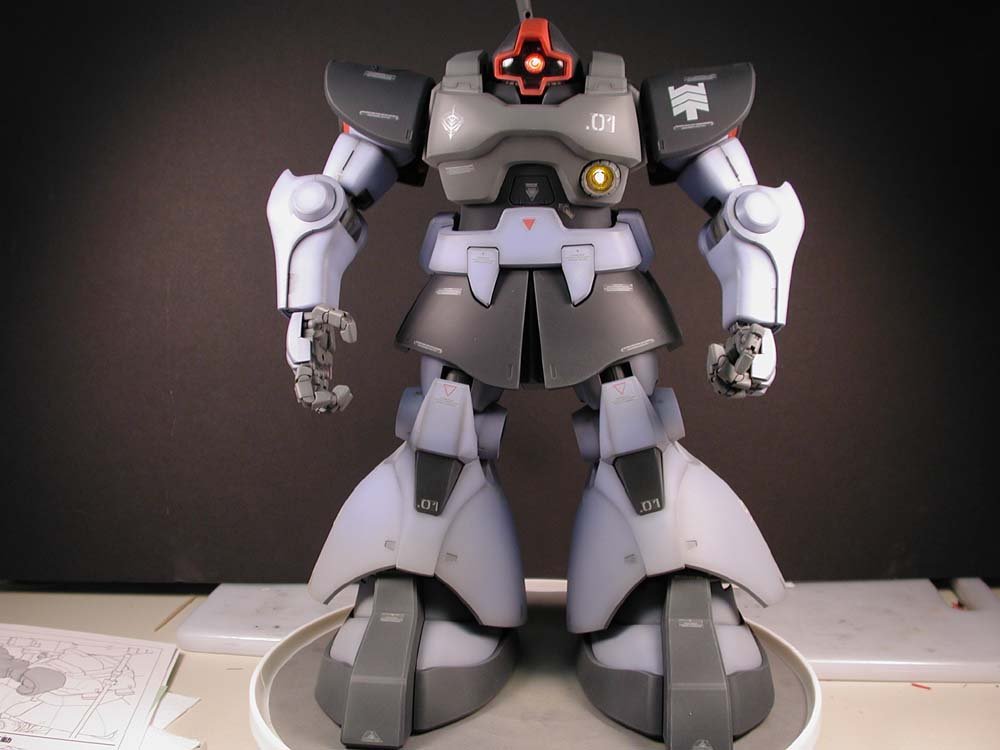
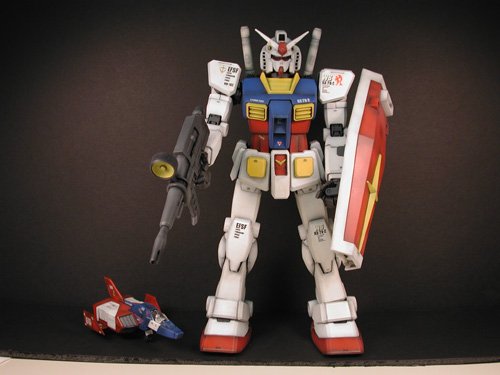
Hi, Here are two 1/60 scale Gundams that I recently finished for a customer. I thought some of you would like to see. These things are huge, but a pleasure to build. Let me know what you think. thanks!
-
The Tamiya flat is ment to be added to paint to make them flat. If you spray it unmixed you will turn your model a chalky white, which I am sure is not your goal. The gloss can be sprayed by itself, just thin it with either alcohol or Tamiya thinner. Thin just like you would paint. I never record by exact ratios, just mix until it sprays nice and smooth. I would suggest using Polyscale flat. It needs very little thinning and gives a dead flat finish.
-
This model is now up on Ebay for anyone that is interested. http://cgi.ebay.com/ws/eBayISAPI.dll?ViewI...item=3158457284 And I am available for commission work, just PM me! Thanks
-
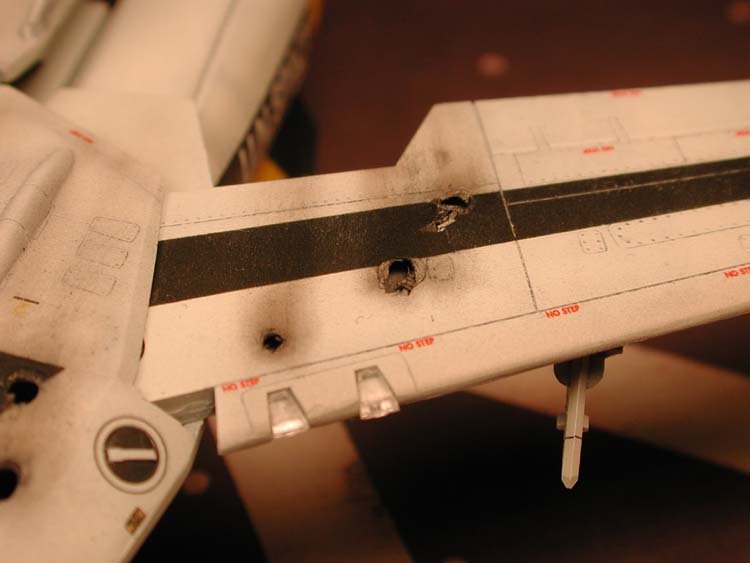
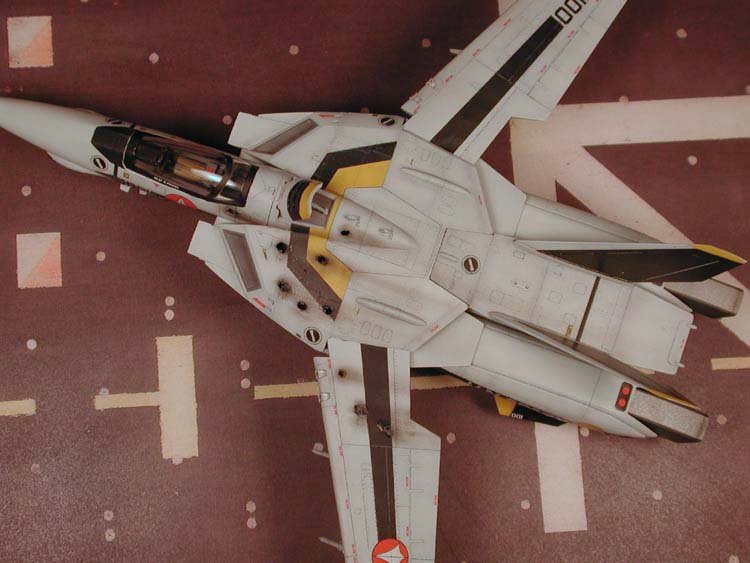
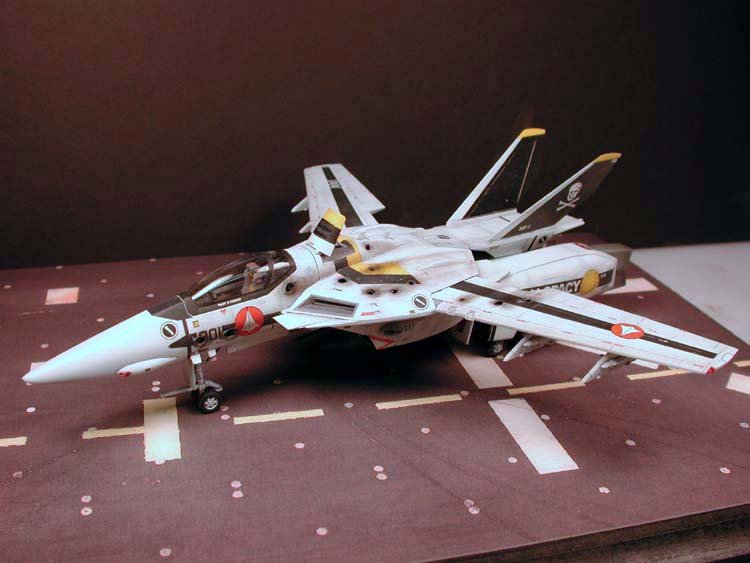
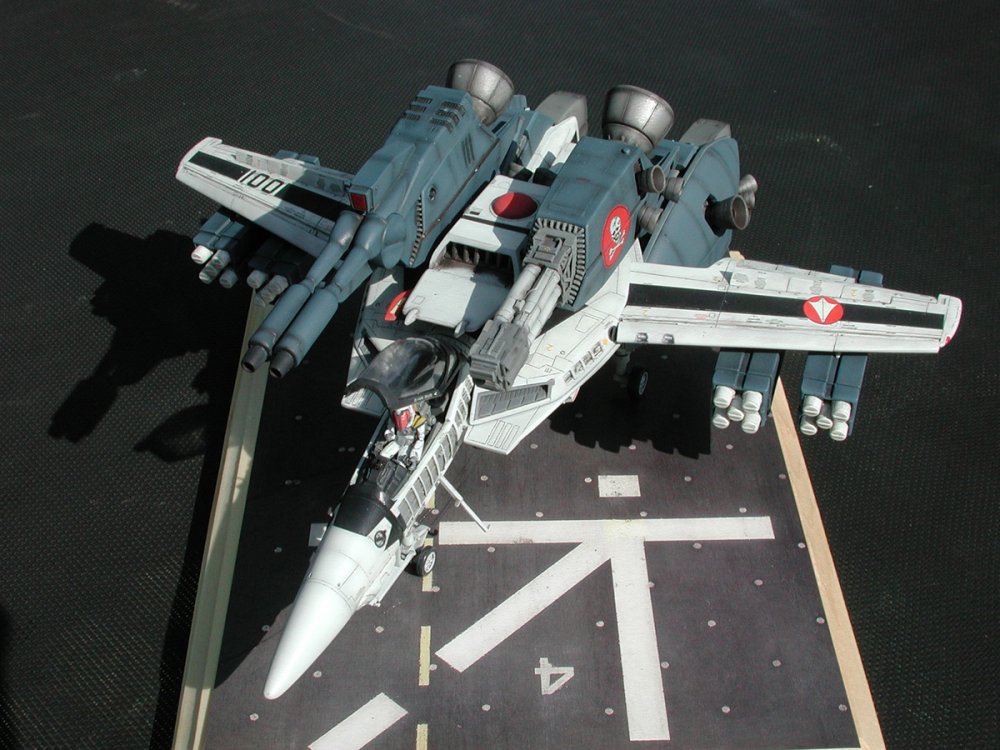
Thanks again everyone. Newca - those are holes on the wings, not just craters. They go through the upper surface of the wing but not the lower, I wanted to give the Valk armor some credit.
-
-
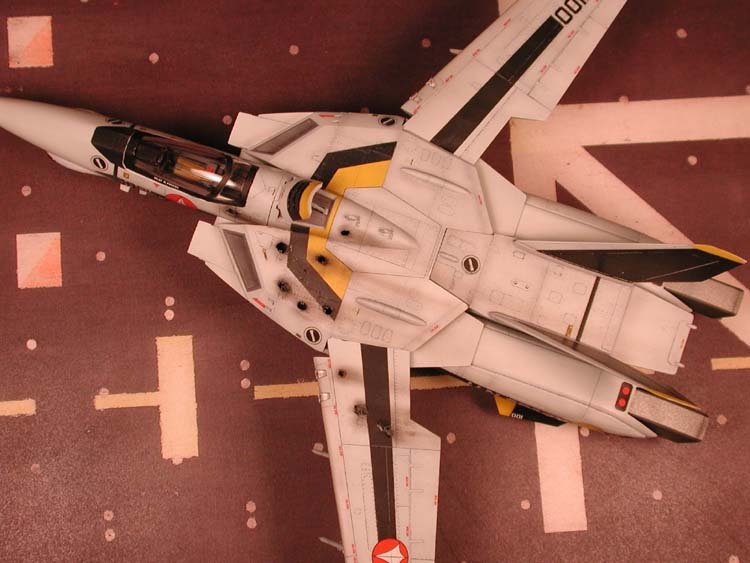
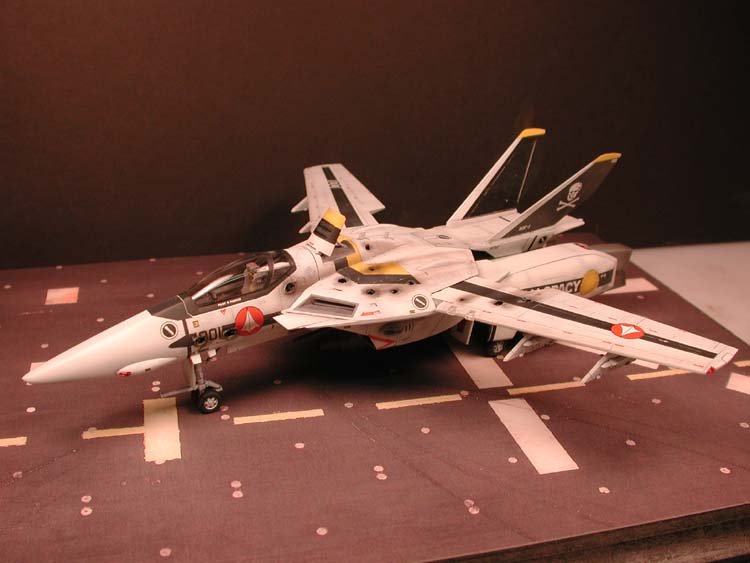
Here are the images with the light corrected. wrylac77 was kind enough to do this for me, thank you.
-
Monkey-N - I forgot your other question about the air brake. I suppose there could have been damage to it, but who really knows. I like to display them with the brake up and I figured he would have needed it to land.
-
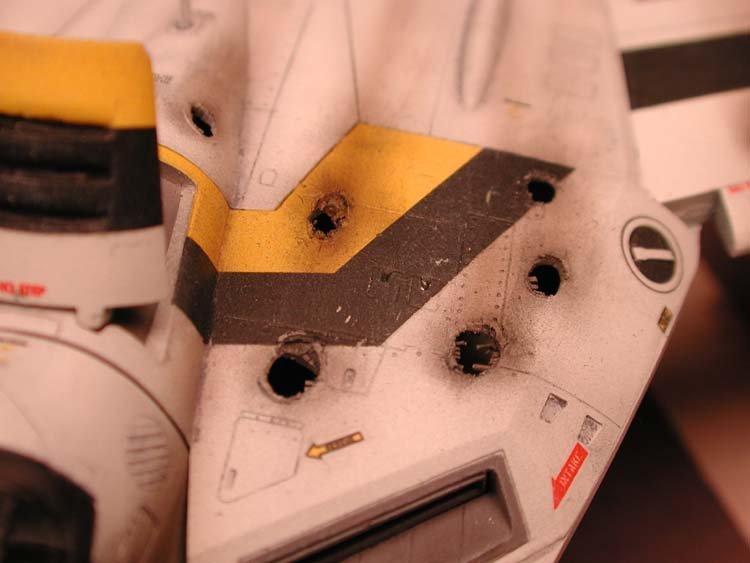
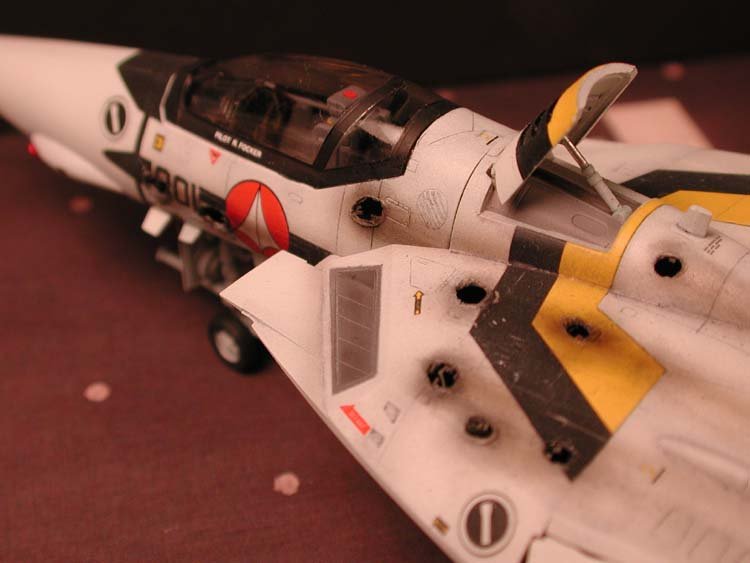
Thank you everyone for the compliments. To answer a few questions. Monkey-N - To create the damage I thinned the plastic from behind and then used a soldering iron to represent the holes. If anyone is interested in making me an offer, pm me. I will hold off on Ebay for a few days. pfunk - I wasn't feeling ambitious enough to modify the canopy to display it open. I did condsider it though. wmcheng - Yes, I did add some internal details. After I added the holes I then added small strips of styrene and brass wire to the edges of the holes. They are hard to see in these images. I will try to take a better one and post it. And you are correct on the Verlinden carrier deck card. Less then Super Ostrich - I actually used both pre and post shading. I try to use mainly pre-shading. I like that effect better. However there is always some areas that end up being covered up too much by the primary color. I will then go over those areas with a bit of post shading, either using paint or pastels.
-
There is some blood stains on the seat. It would have been difficult to take a picture because of the canopy.
-
Hey everyone. I just finished my latest project and thought I would share. I had this idea for a while to portray Focker's damaged valk after his final battle. I used a bit of creative license as to exactly where to place the damage. In watching that episode it appears that the enemy fire came from his left rear direction. I figured I would place some damage to the cockpit that surely was responsible for the mortal wounds he received. I will probably have this up on Ebay in a few days. Let me know what you think and if there are any questions. Thanks for looking!
-
-
I built one about two years ago. I don't recall any special tricks. The parts didn't fit that great and a lot of filling and sanding needed to be done. I will post a pic if I can find it. Have fun!
-
Just beautiful.... For those that are interested, I am willing to detail your 1/48's for you. See what I did with the Club-M Ultimate 1/48. I could do the same to your Yamato. PM me if you are interested. Great job wm cheng!
-
It all depends on what product you use. Treat it just like you would paint, if it seems to thick than thin it as required. If you are getting good results without thinning, then continue that way. I use Pollyscale matt finish and I have never had to thin it.
-
I always find it helpful to cut the canopy decal down into easier sections to apply. The decal comes as two halves. I always cut those in two and then apply. This makes it much easier to handle and gives you adjustability to get a perfect fit. I will do this for any decal that may cause problems.
-
Hey Chan, it is good to know that you taking good care of your Club-M. I put a lot of work into it. Thanks for the pictures. I'll get back to work on your next project.
-
bigkid24 - Everyone has their own technique for pre-shading. Pre-shading means that you shade all of the shadow areas of the model before you apply the main color. Most people people suggest using a darker mix of the main color, I like to use a very dark grey or even straight black regardless of the intended color of the model. I used black on that Gundam model even though I was using pure white as my main color. I found that using black to pre-shade you can tone down the contrast to your liking when applying the main color. This also saves time because I can pre-shade an entire model without considering what the color will end up being for each area. However a word of warning. If the main color is dark, like a dark blue or grey, I have found that the pre-shading tends to get lost when applying that color. That is when it is necessary to post-shade, meaning to shade after painting the main color. I will also use this time to go over any areas that I toned down to much and add more shadow. I also like to post shade in select areas with pastel chalk. I have actually post shaded entire models with chalk and had excellent results. But I really like to use a mixture of all three in addition to the usual washes.
-
Looks great! I do like to use the canopy as the mask for the cockpit. If you are using acrylic paint, and after all painting is done, just soak the canopy in Windex. It cleans up in a matter of minutes.
-
bigkid24 - The white areas on the Gundam where first Pre-shaded, then the white was painted on. Then a several washes were applied followed up with drybrushing. As a final touch I use pastel chalk to obtain a few effects. David Hinggen - I will put together a description on how I hide seam lines. It is very similar to wm cheng's technique.
