PetarB
-
Posts
1573 -
Joined
-
Last visited
Content Type
Profiles
Forums
Events
Gallery
Everything posted by PetarB
-
Thanks for the heads up on opening preorders, just snagged a Glaug.
-
Lucky for you. I didn't have any money at that time... So I'm quite keen to get a couple of these kits now. I would look forwards to going to town and doing up a couple of these... the Glaug in particular.
-
Z O M G I went to order a Glaug... preorders are full?!!! W T F!!!!
-
Wow nice find. I'll probably pick up a couple of those! This is the only sad part: 1/100 VF-2SS Val. II w/Armed Pack.... can you imagine if that was 1/72...!
-
Boring as hell. Do they not have a marketing department to tell them these things?
-
Hurry up, dammit!
-
Perhaps he's just venting frustration - for him it's probably kinda like putting a bright yummy looking sweet in front of a little kid, then taking it away...!
-
AWESOME!
-
Ruben, this is an extraordinary post. Not only do we see the evolution of your skills, but also the culmination in that amazing Regult you've done. It truly shows how far your skills have developed. That paint job on the Regult - and clean build - looks amazing! I may have to track down one now. We certainly dont see enough Moscato build-ups here. Thank you so much for sharing these pictures, this is why I come to this forum.
-
Thanks for everyone's kind words! I sketched the ideas roughly out on paper first. I found the image of Minmei on a scan, I think from this website. I clipped her out and corrected the colour in Adobe Photoshop, and imported it into Adobe Illustrator. I created all the curves, text, and other graphics in Adobe Illustrator, and also printed directly out of there. If you have the right printer, it's the best program to produce sharp edges in (it's vector-based), which for this scale decal is absolutely essential. I've received many 'inkjet printed' decals where its quite obvious they've produced the artwork in Photoshop for example, and black lines turn into dots, which is quite frustrating and poorly detailed for a 1/72 model... anyway enough of that. I did a couple of test prints on ordinary paper, cut them out to check the size on the Valk. Finally, I printed onto some decal paper, let it set for an hour, then gave two light coats of and one heavy of Tamiya Clear acrylic. I think I overdid it, and hence some of the decals are a bit thick. Next time I will see what I can get away with. I will try and take some pics of close-ups of the decals. I think you will be surprised at the quality - modern inkjets can make wonderful reproductions if you know how to use them.
-
VF-1S Strike Battroid Valkyrie step-by-step
PetarB replied to DrunkenMaster2's topic in The Workshop!
WOW! Very, very nice! -
Planning customising/weathering 1/48 VF-1J and GBP
PetarB replied to winterdyne's topic in The Workshop!
As for putting 'too many coats on' . . . As long as you use an airbrush, and thin your paint down, you will be surprised at what you can get away with! Looking forwards to seeing more progress! -
VF-1S Strike Battroid Valkyrie step-by-step
PetarB replied to DrunkenMaster2's topic in The Workshop!
He looks great - nice subtle work on that gun, too. I'd like to see a lot more pics though...! -
Apologies, my photography is not the best. Hope you enjoy! Time for a couple more little 'fix-ups' then this one can go on the shelf. But it's not the end of the story. I've ordered another one...! This will be distinctly more 'military' including all guns and options.
-
Haha, while I agree in principle with your sentiments, lets not alienate other members of the community!
-
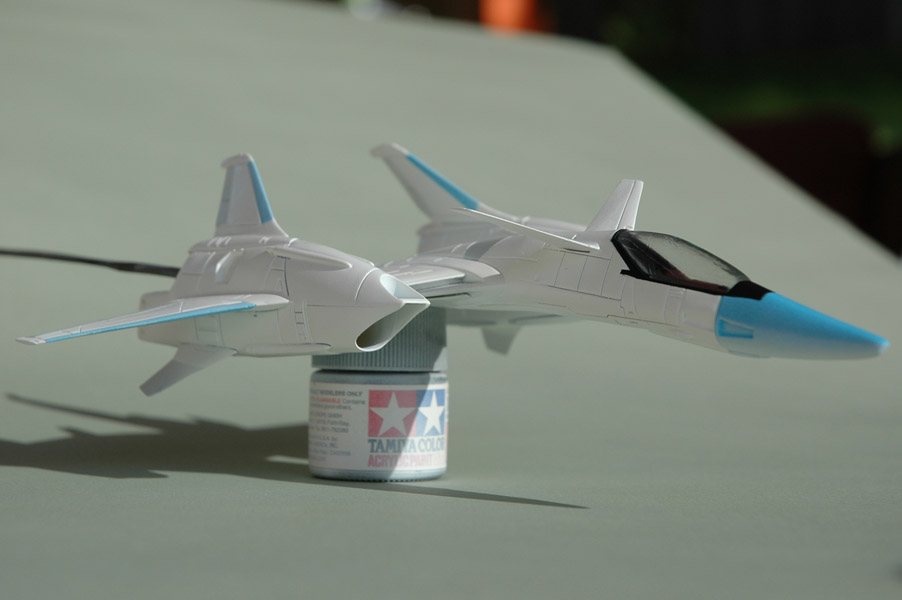
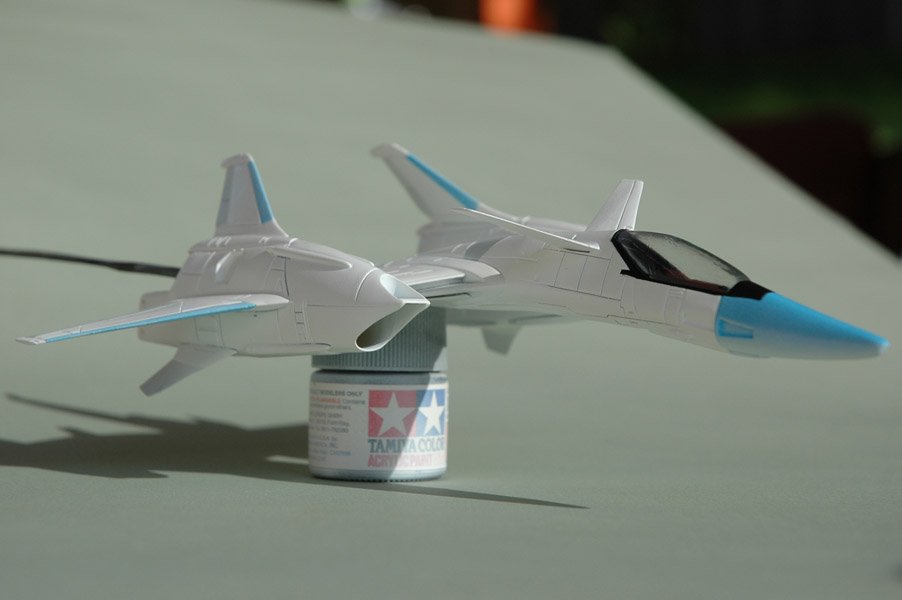
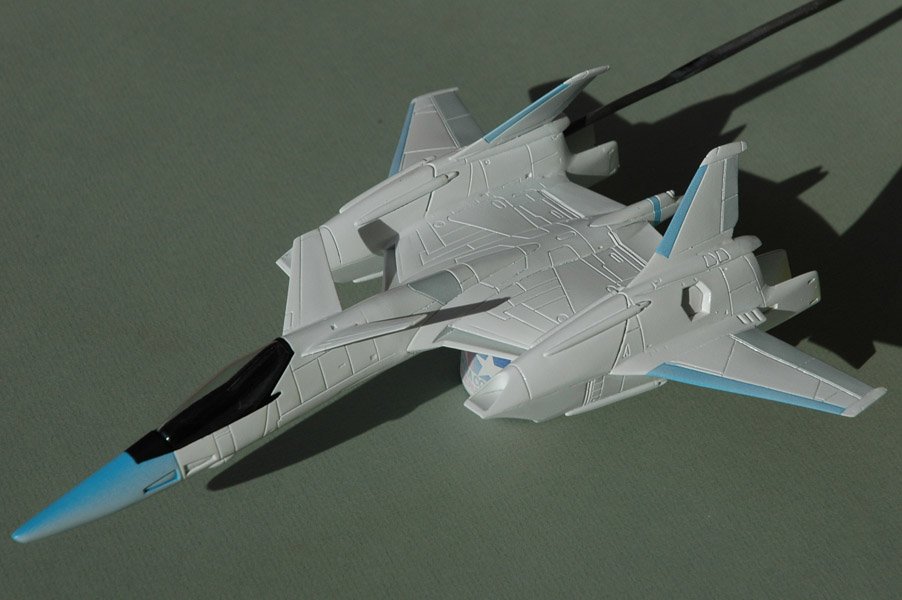
I use Adobe Illustrator to create the decals. By trade I am an art director for a design studio, so I know how to get a good result out of this sort of thing. Having said this, I printed the decals out... and wasted about $10 in decal paper. I used decal paper for a laser printer in my inkjet. D-OH! I didn't realise until they came out poorly. I did a test print on ordinary inkjet paper and they looked awesome, but I need to get some more inkjet decal paper now, unfortunately. Anyway I pressed ahead and did all the base colours on the fuselage with my airbrush and tamiya acrylics, which I quite happy with. More pics below! You can see I'm going for a non-canon look, but it still should look pretty 'Macross'ish. As I've worked on this I've envisioned another colour scheme, distinctly more 'military' which I'd like to do, so I am going to order another one. Hopefully the next update should have all the decals on.
-
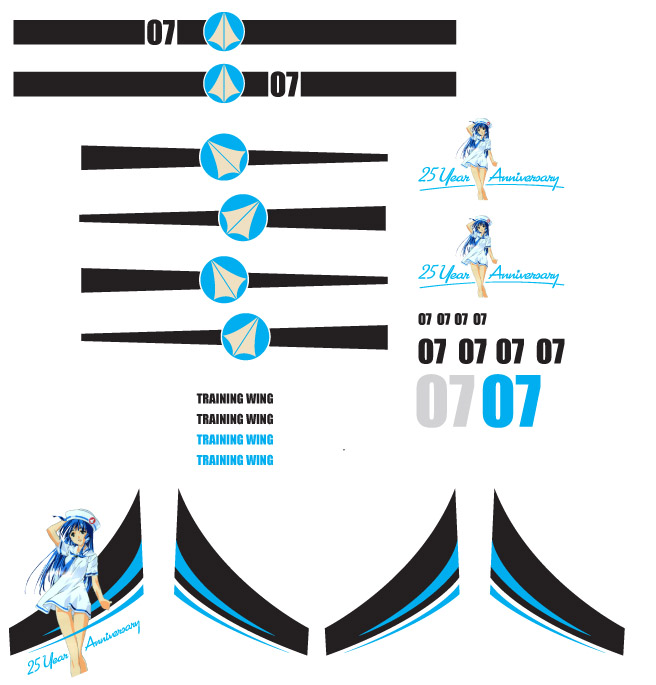
Here's a lo-res file of few of the custom decals I finalised last night. I couldn't find the Alder's nest stuff or I would have got some. Apologies for the slow progress, it's such a busy time of year, and I am also now working on another model project, which I alternate with this one. Just learned to put attachments into the website, rather than link to to large files... should go easier on those will low bandwidth.

-
Simply beatiful work. Your extra effort really, really shows!
-
I just got back from a spare-of-the-moment couple of weeks in Japan yesterday. Spent quite a bit of my leisure time there hunting down rare resin, but didn't find much. Got a Swordfish II, The Macross 'Monster' model (was there only one?) and a few rare Orguss pieces. However, I swagged a bundle of Kotobukiya option parts from Yellow Submarine, which will replace the verniers supplied with the original resin kit for this baby. I hope to post some updates next weekend. I have a feeling this week's evening will be spent catching up on 'real' work...!
-
Indeed, indeed...
-
A metal armature sounds like the go. I think Umi Ryuzuki on the SSM forums put in some pretty good advice on using two way mirrors to achieve the hollow effect you're after... I believe they did that sort of thing for some of the effects shots in Return of the Jedi, specifically when the Falcon was flying through the Death Star Mk 2. Good luck!
-
SV-51 gamma Ivanov type figther 1/72 Hasegawa finished
PetarB replied to Isamu test pilot's topic in The Workshop!
Great work! Can't wait to see the VF-4 also! -
VF-1S Strike Battroid Valkyrie step-by-step
PetarB replied to DrunkenMaster2's topic in The Workshop!
The mesh looks much much better. The discolouration on the exhausts look great too. Looking forwards to the next stage... -
VF-1S Strike Fighter Valkyrie 1/72 Hasegawa finished
PetarB replied to Isamu test pilot's topic in The Workshop!
This is one of my favourite Macross subjects. The launcher base here looks great. -
In the words of Borat: "Niiiiiiiiiiiiice!"