valkyrie13
-
Posts
296 -
Joined
-
Last visited
Content Type
Profiles
Forums
Events
Gallery
Everything posted by valkyrie13
-
Very inspiring.... keep'em coming. I love your work on the F.S.S. fatimas as well!
-
Some bankers are calling it the American "peso".... (No offense to our Latin American friends!)
-
Was this a Bandai booth? I guess that means the 1/72 plastic model will be issued by Bandai as well. I hope they make it up to Hasegawa's standard. By the way, did anyone notice the Roy Fokker scheme spacesuit displayed next to this booth/counter in front of a yellow T-shirt?
-
I'm in.
-

Finished Hasegawa 1/72 VF-19A "Ravens Excalibur"
valkyrie13 replied to maximilian_jenius's topic in Model kits
Very nice indeed! -
I haven't received mine yet but I guess that's because it's coming through NY. I can't wait. I second the vote on a Glaug.
-
In some cultures, the children assume the mother's maiden name (last name) as their middle name while succeeding to the father's last name. So if we assume that: Max was Maximillian Jenius Miria was Miria Falyna then, Komilia could be Komilia (Falyna) Jenius As for Miria's last name, there is a scene in volume 5 of the anime manga (book) of SDFM (TV series) where Brittai watches the wedding of Max and Miria and exclaims "Isn't that Miria Falyna?" So I would have to say that Falyna is indeed Miria's last name or part of her full name if Zentradi had such a thing as a last/family name.
-
Dr. Evil (from Austin Powers): "In the distant future, I predict that average people will be able to electronically capture and record still images in motion on their own without the aid of movie cameras or film. These motion images will be called (making a "quotation" gesture with hand signals) 'video' and will be stored and processed on a cassette tape instead of film." No. 1: "But we already have..." Dr. Evil: "Sshhsh... I am not finished, No. 1! This new revolutionary technology will be called Video Cassette Recording, or (again, making a quotation gesture with hand signals) "V.C.R." for short." No. 1: "With all due respect, sir, we already have that technology. In fact, that technology is now out-dated and are seldom used. We have moved onto greater things." Dr. Evil: "People! People! I've been frozen for thirty frickin' years! You have to tell me these things~" OK?
-
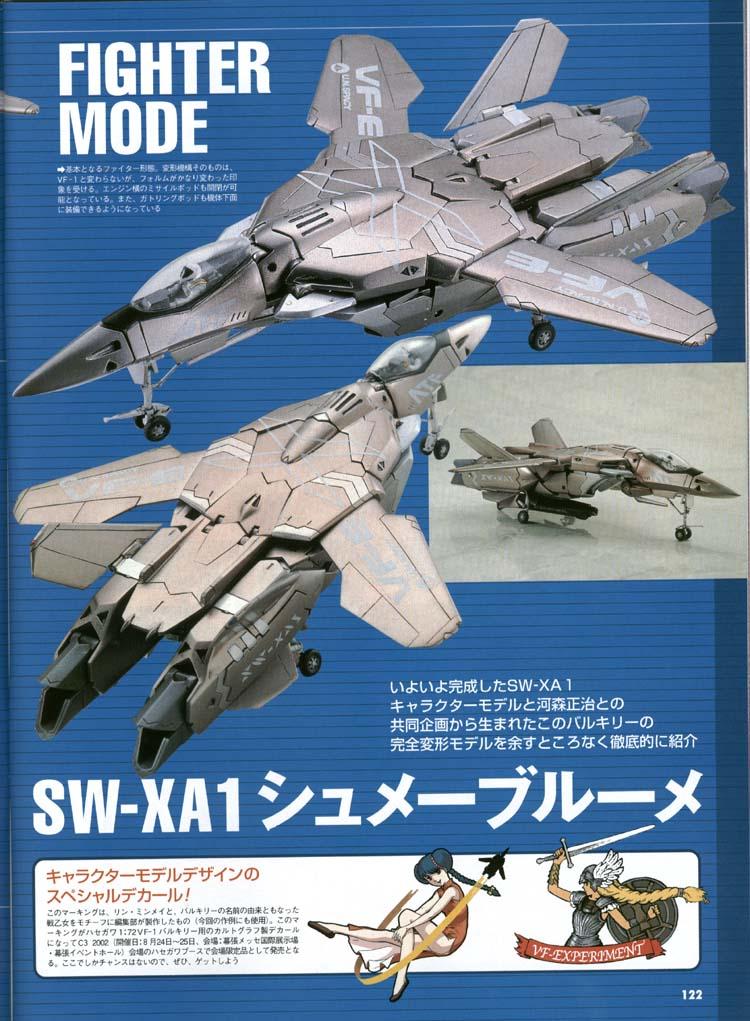
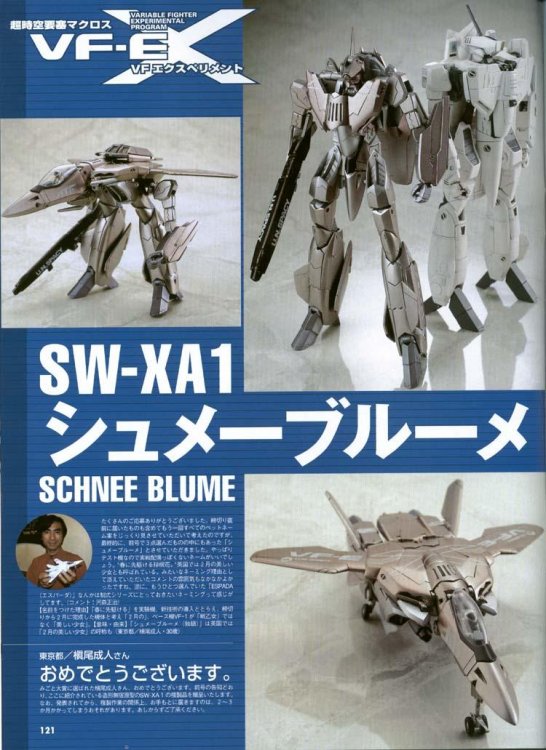
I believe these are what you are lookng for. It showed up in a special article in a model magazine. I believe there is a thread discussing this somewhere, too.

-
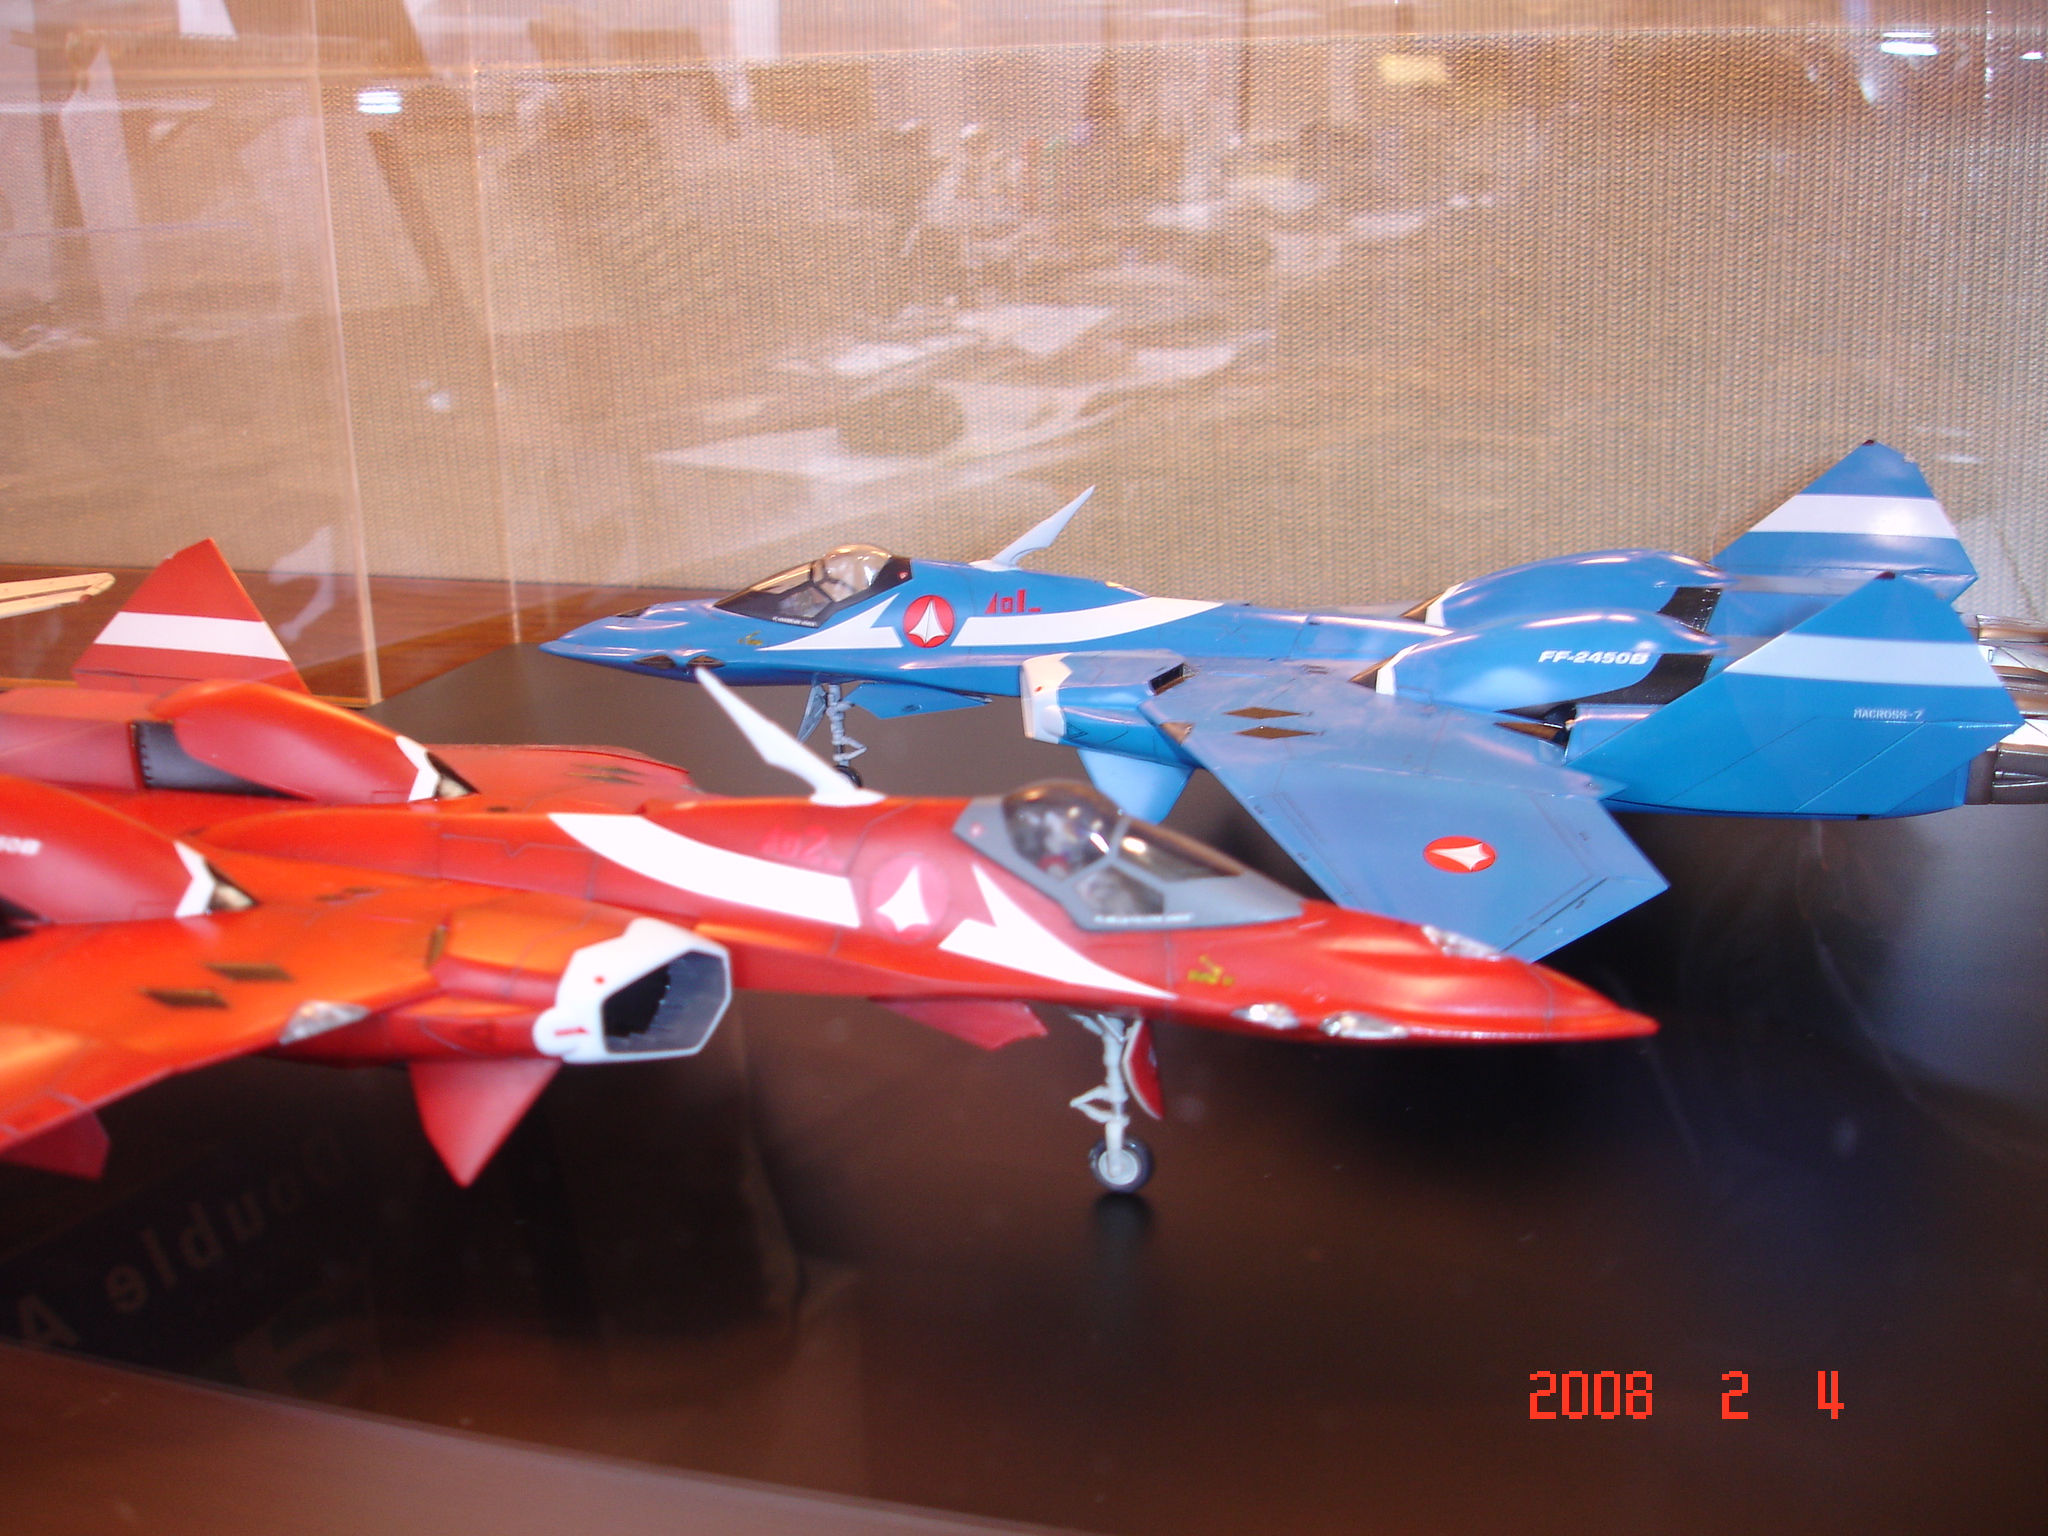
Thank you all again. Like I said, some of them were purchased or commissioned and the VF-0D was the one I won off of Yahoo Auction Japan. I really like the finish on this model and it actually looks better in real life.
-
I would have to agree. However, I am just wondering if these prototypes were deliberately made smaller for a larger product. Graham, would this be a possibility? If not, then I would bet that these are in 1/100 scale and not my favored 1/72. Hmmm... I wonder if Bandai would be releasing these as part of their "Master Grade" Macross Series.
-
There is also a thread with a build-up of this kit on MW somewhere...
-
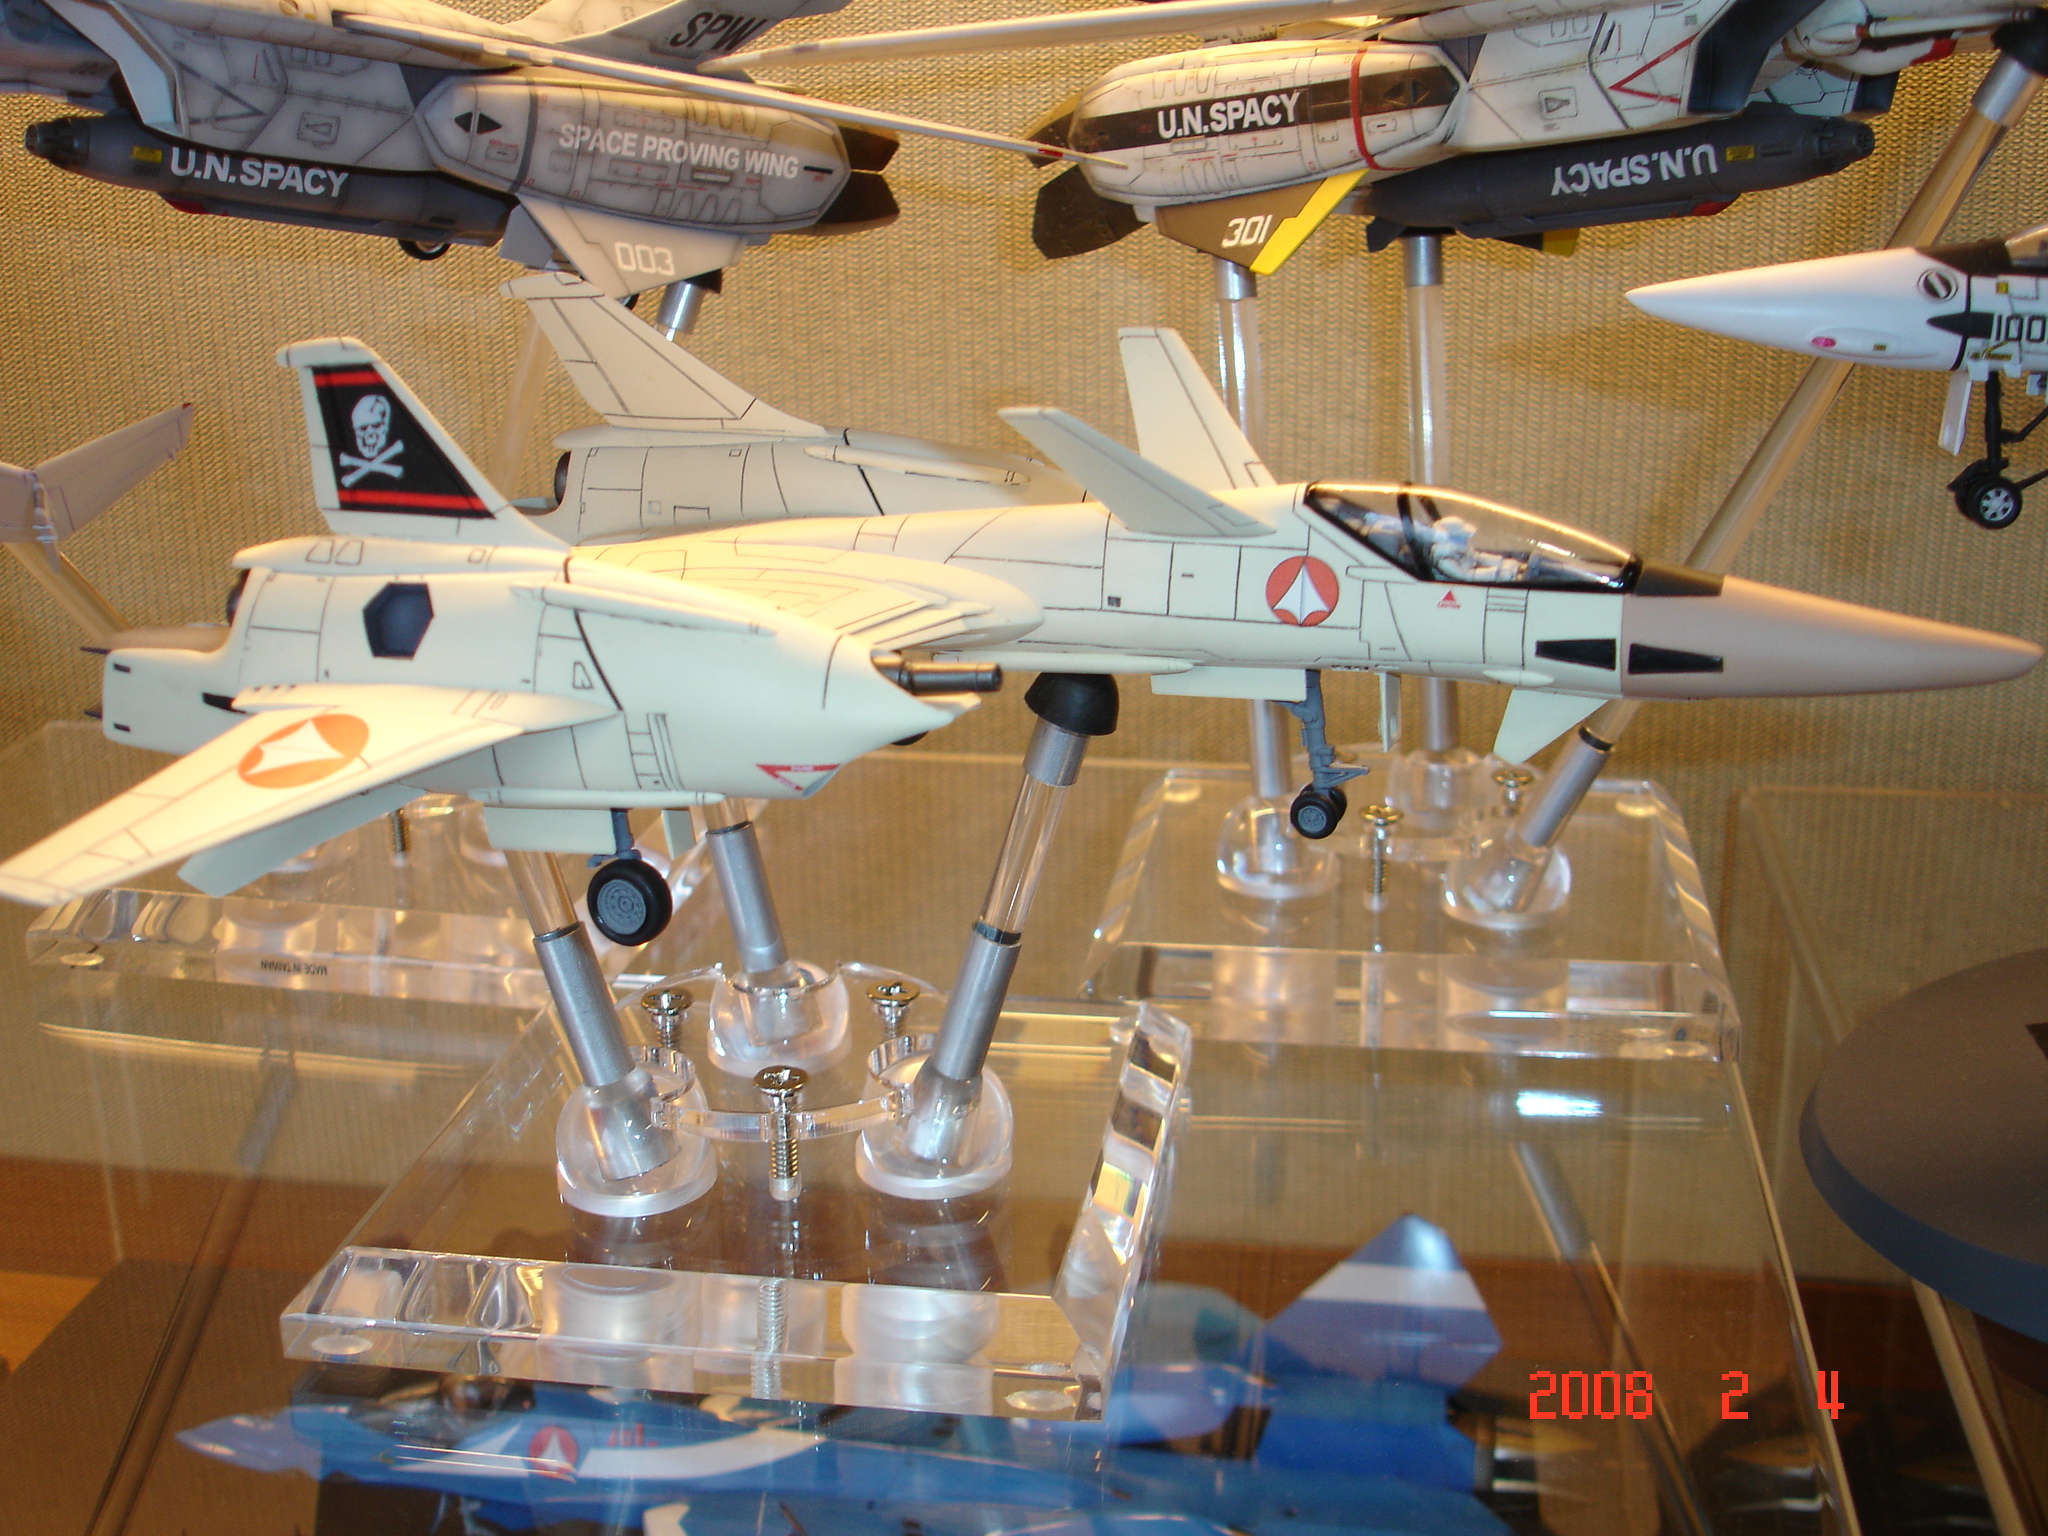
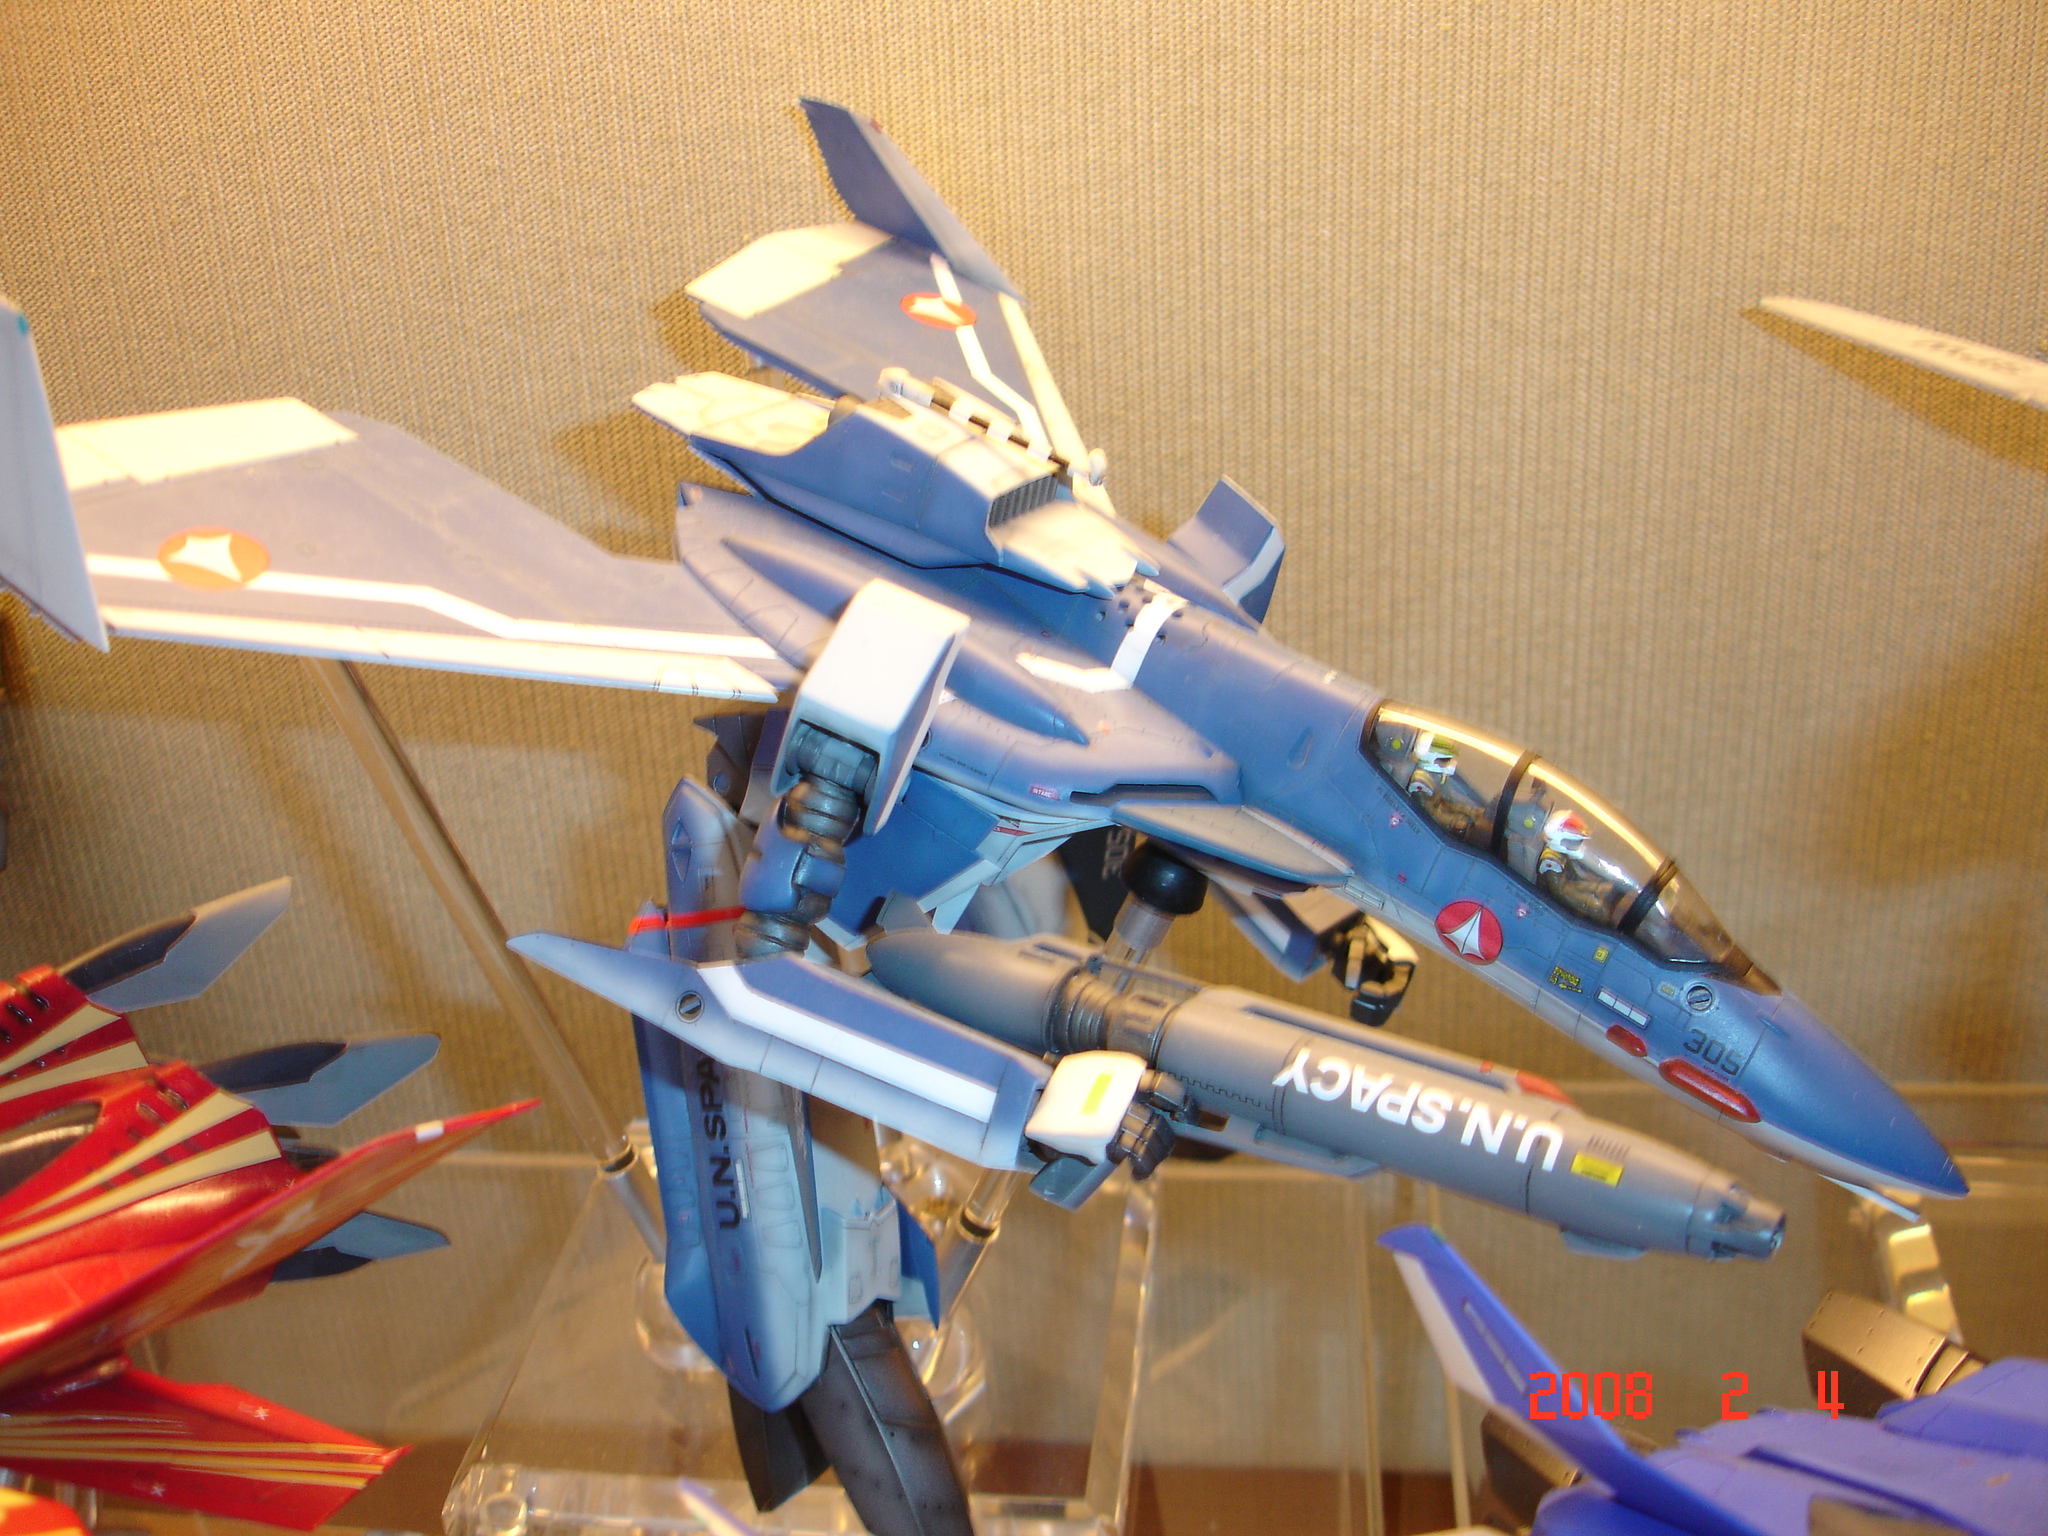
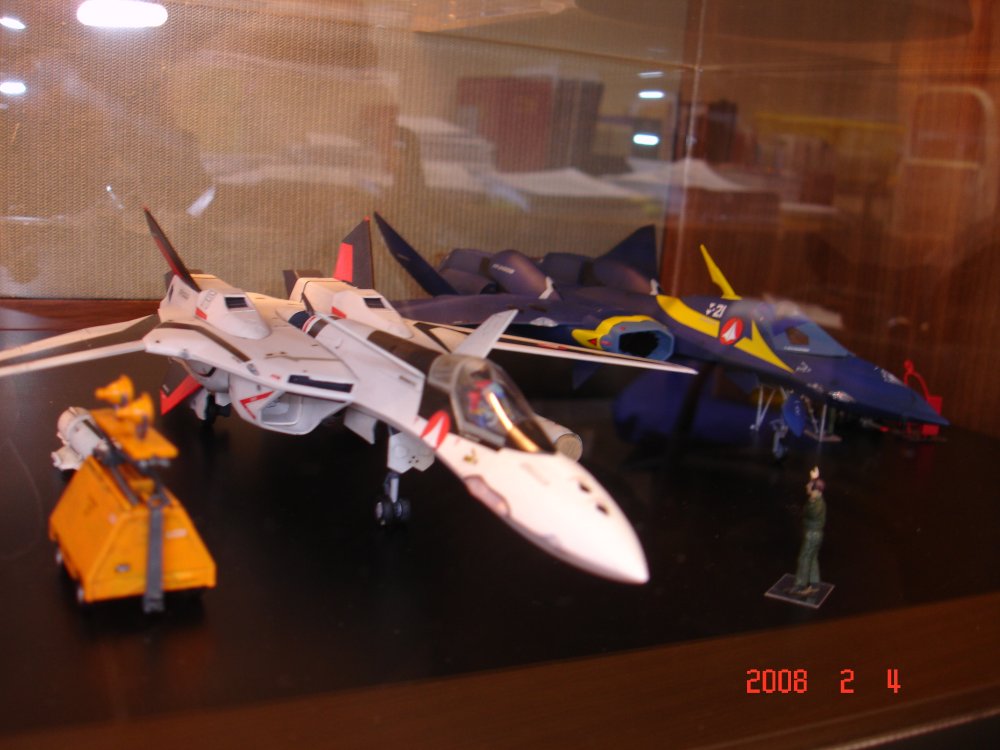
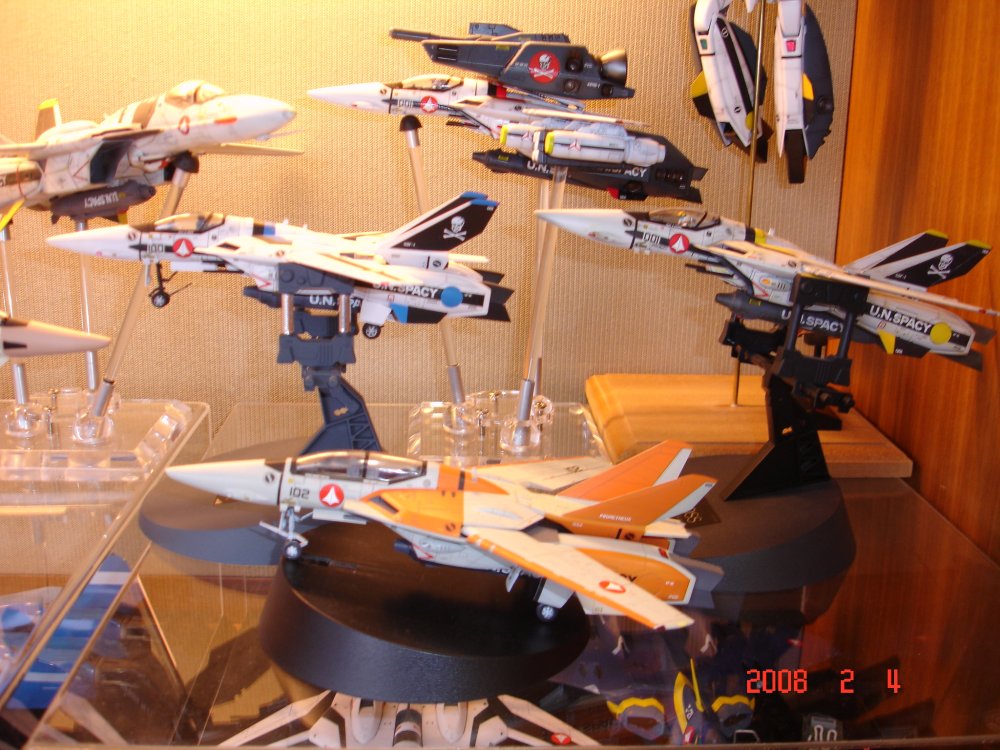
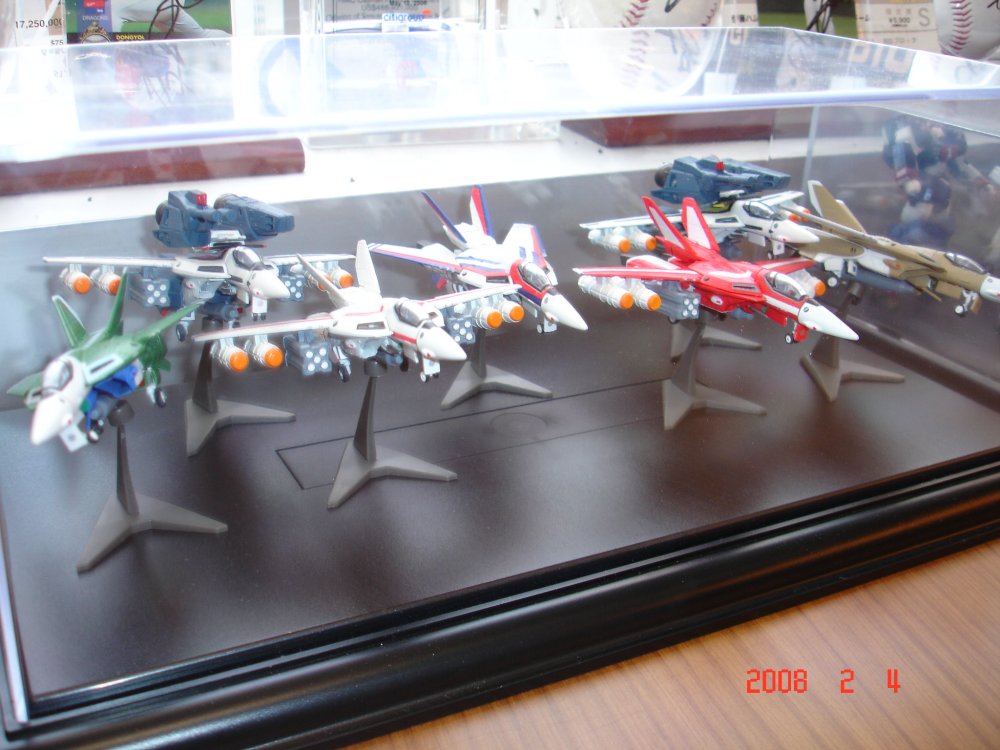
Thanks. The ones covering the YF-19/YF-21 and the two M&M VF-22Ss are the Tamiya Display Cases. I believe they were originally produced with the 1/32 or 1/48 aircraft models in mind but these will fit two 1/72 Hasegawas just fine. The one on the left covering the VF-0S is a custom built acrylic case. You can find them for a reasonable price here in Asia.
-
Thank you all for the compliments. I am waiting for more resin kits, too. Well, the YF-21/VF-22 conversion is a part resin kit and I have the Lancer II and another Club-M recast VF-4 in the works (which is currently on hold). The next project will be a scratchbuild of a VF-X-4 (not VF-4) using a VF-1 kit and a SHE recast VF-4 kit (from Valk009). Working on some research since I can't build or paint anything this week. I also have most of the Moscato Kits and will be building one soon.
-
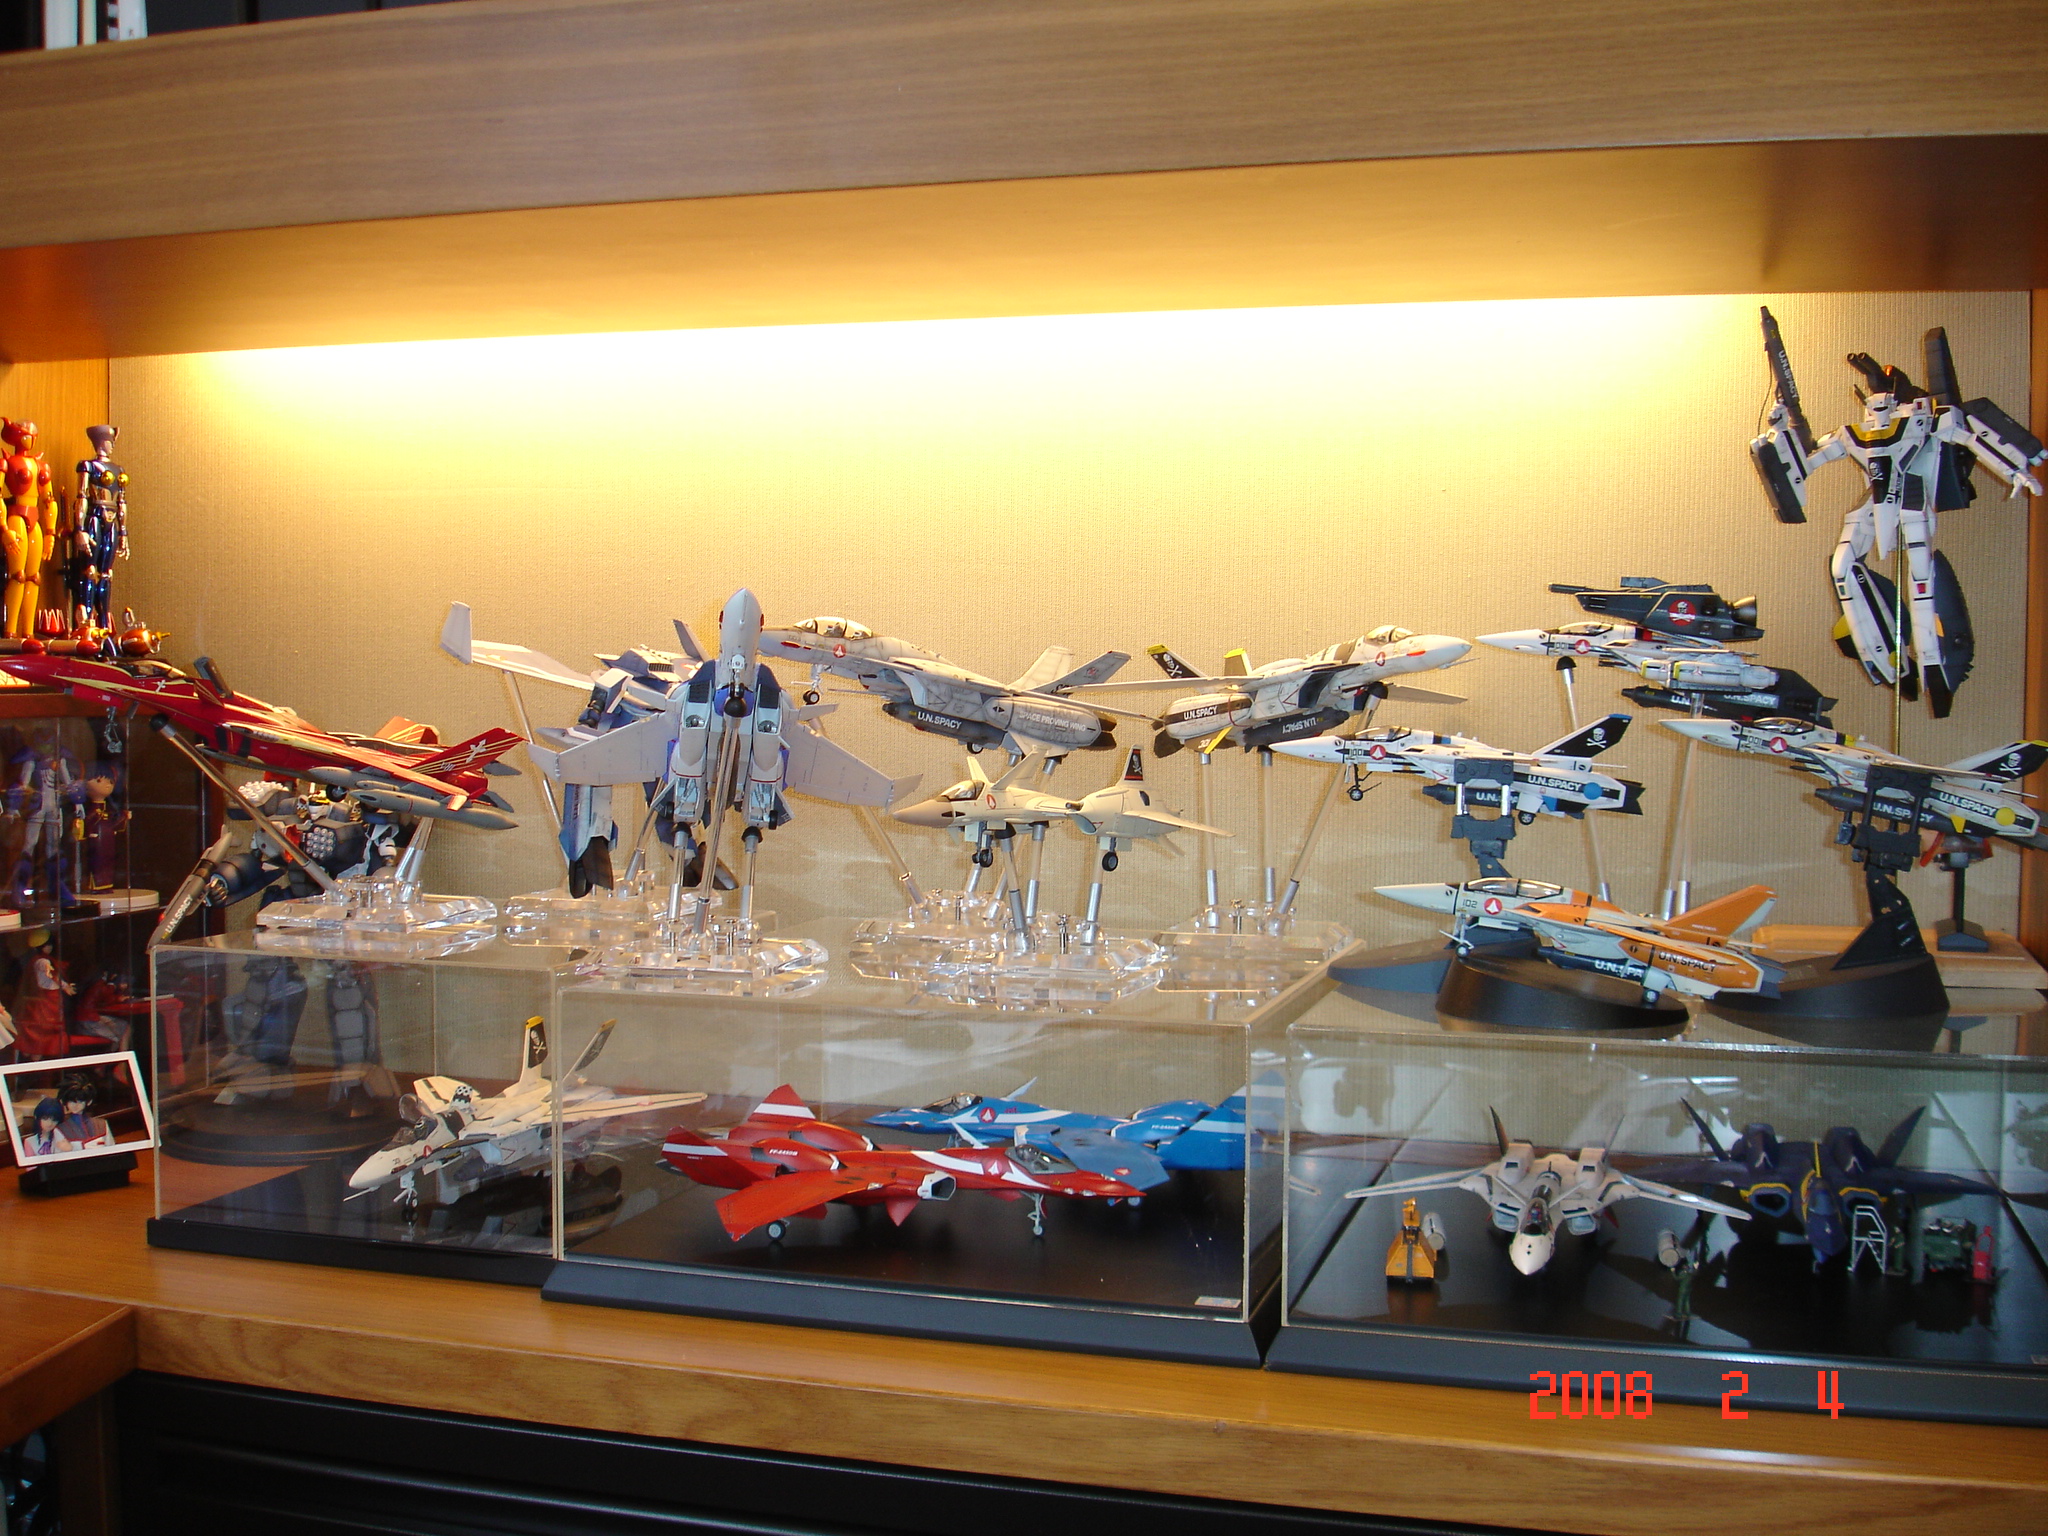
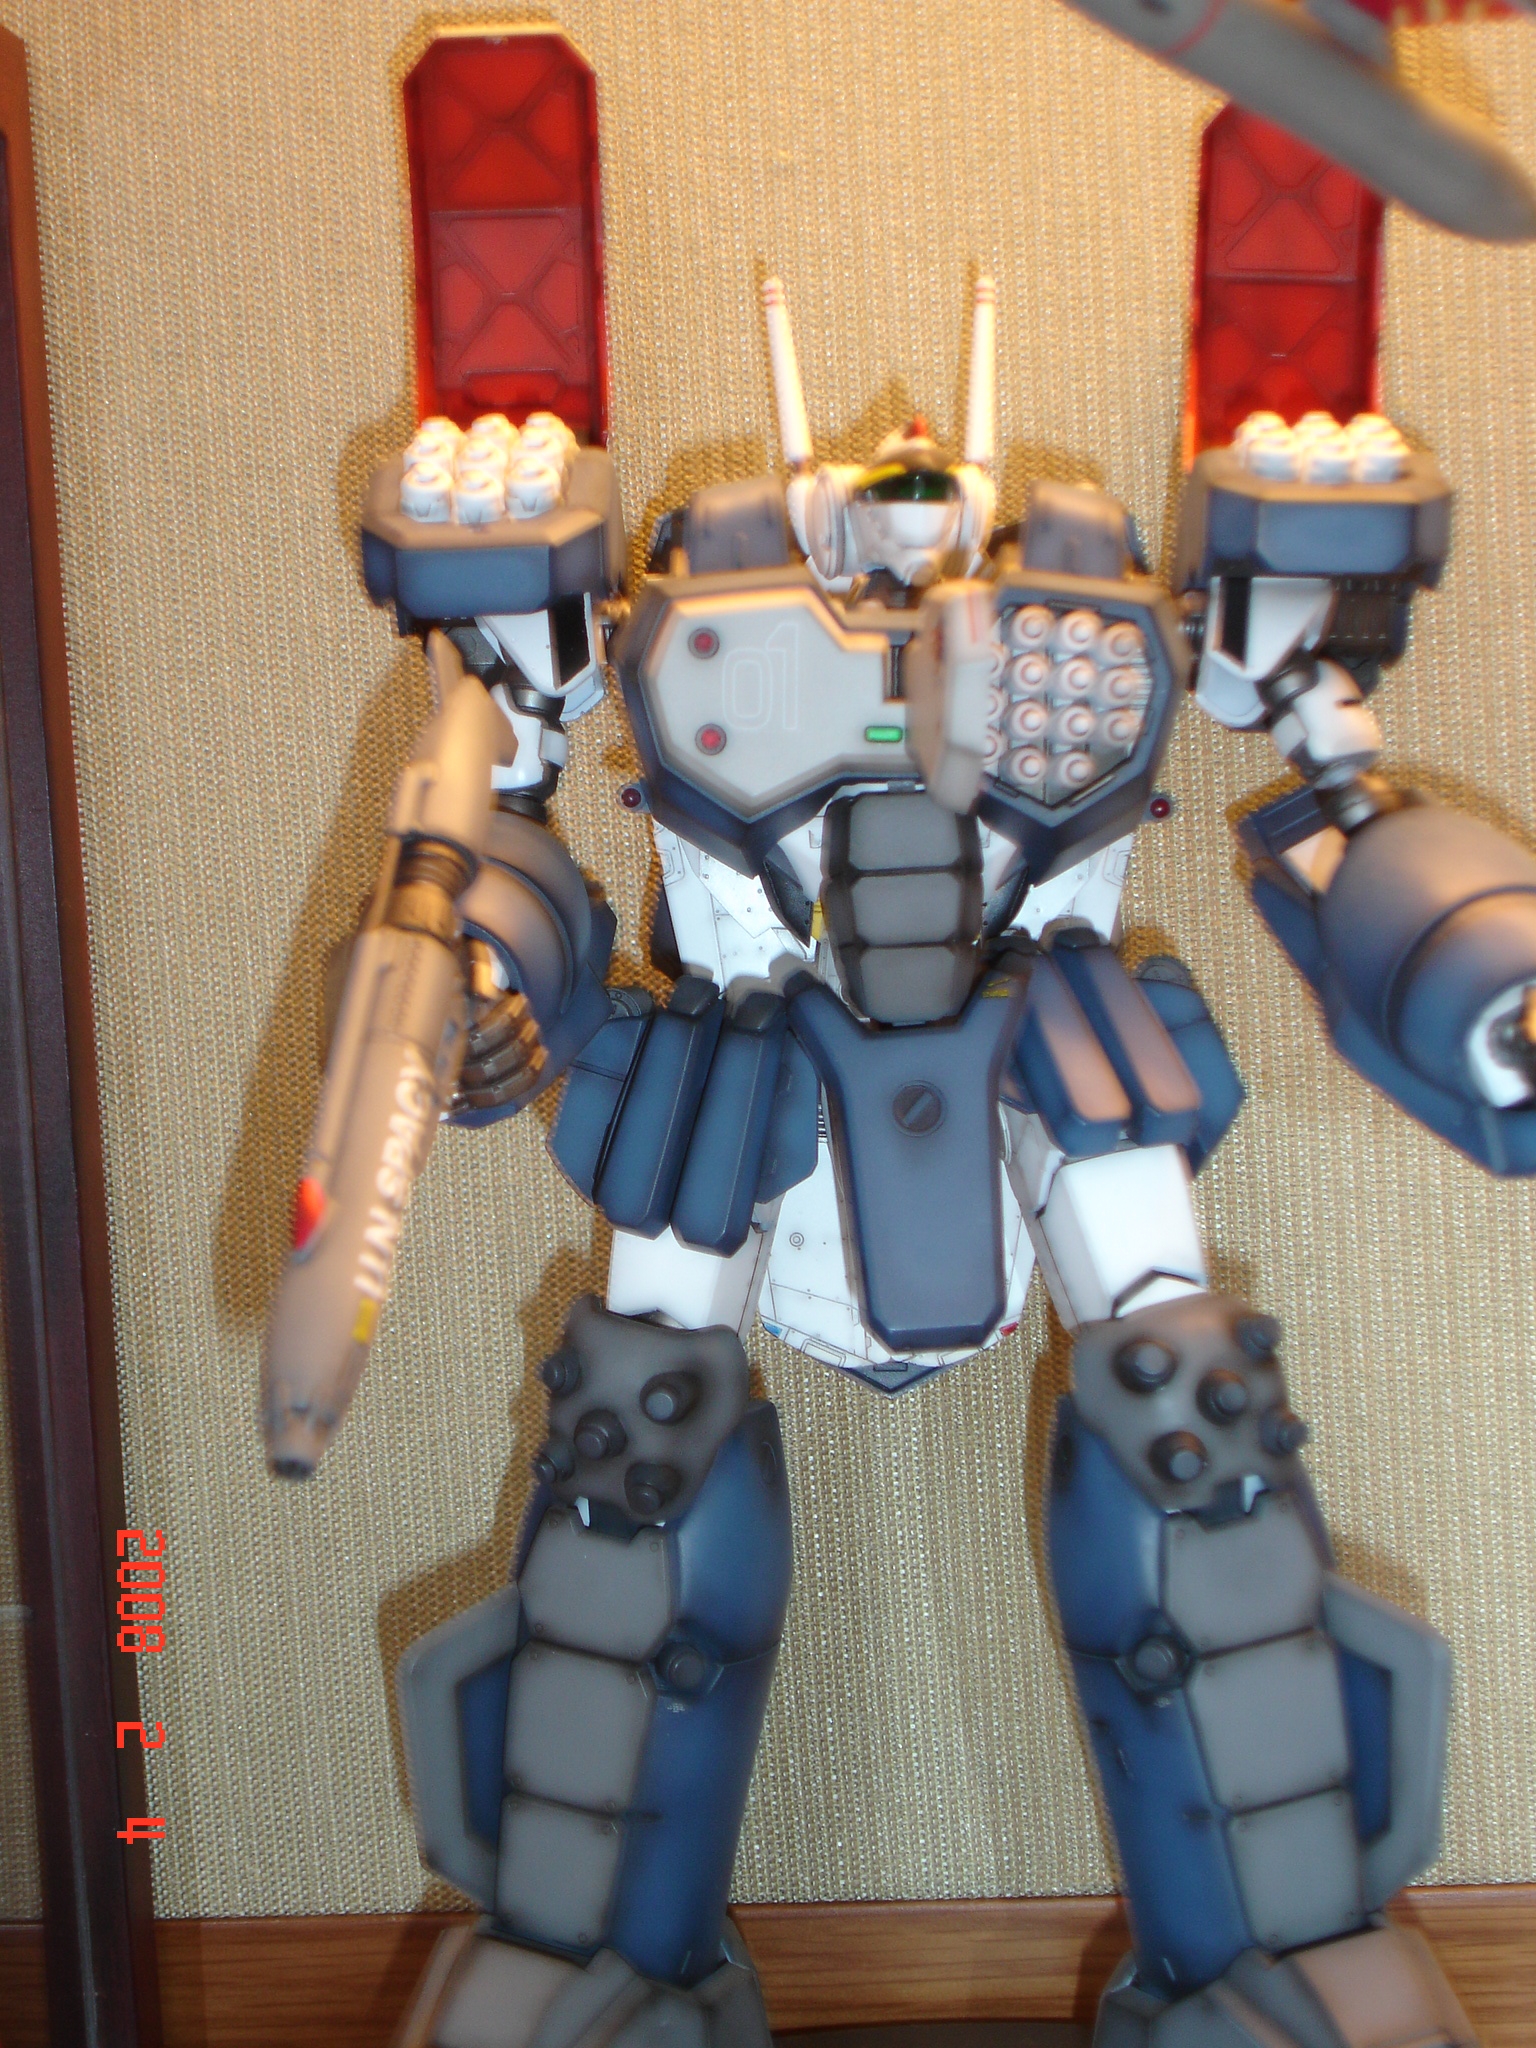
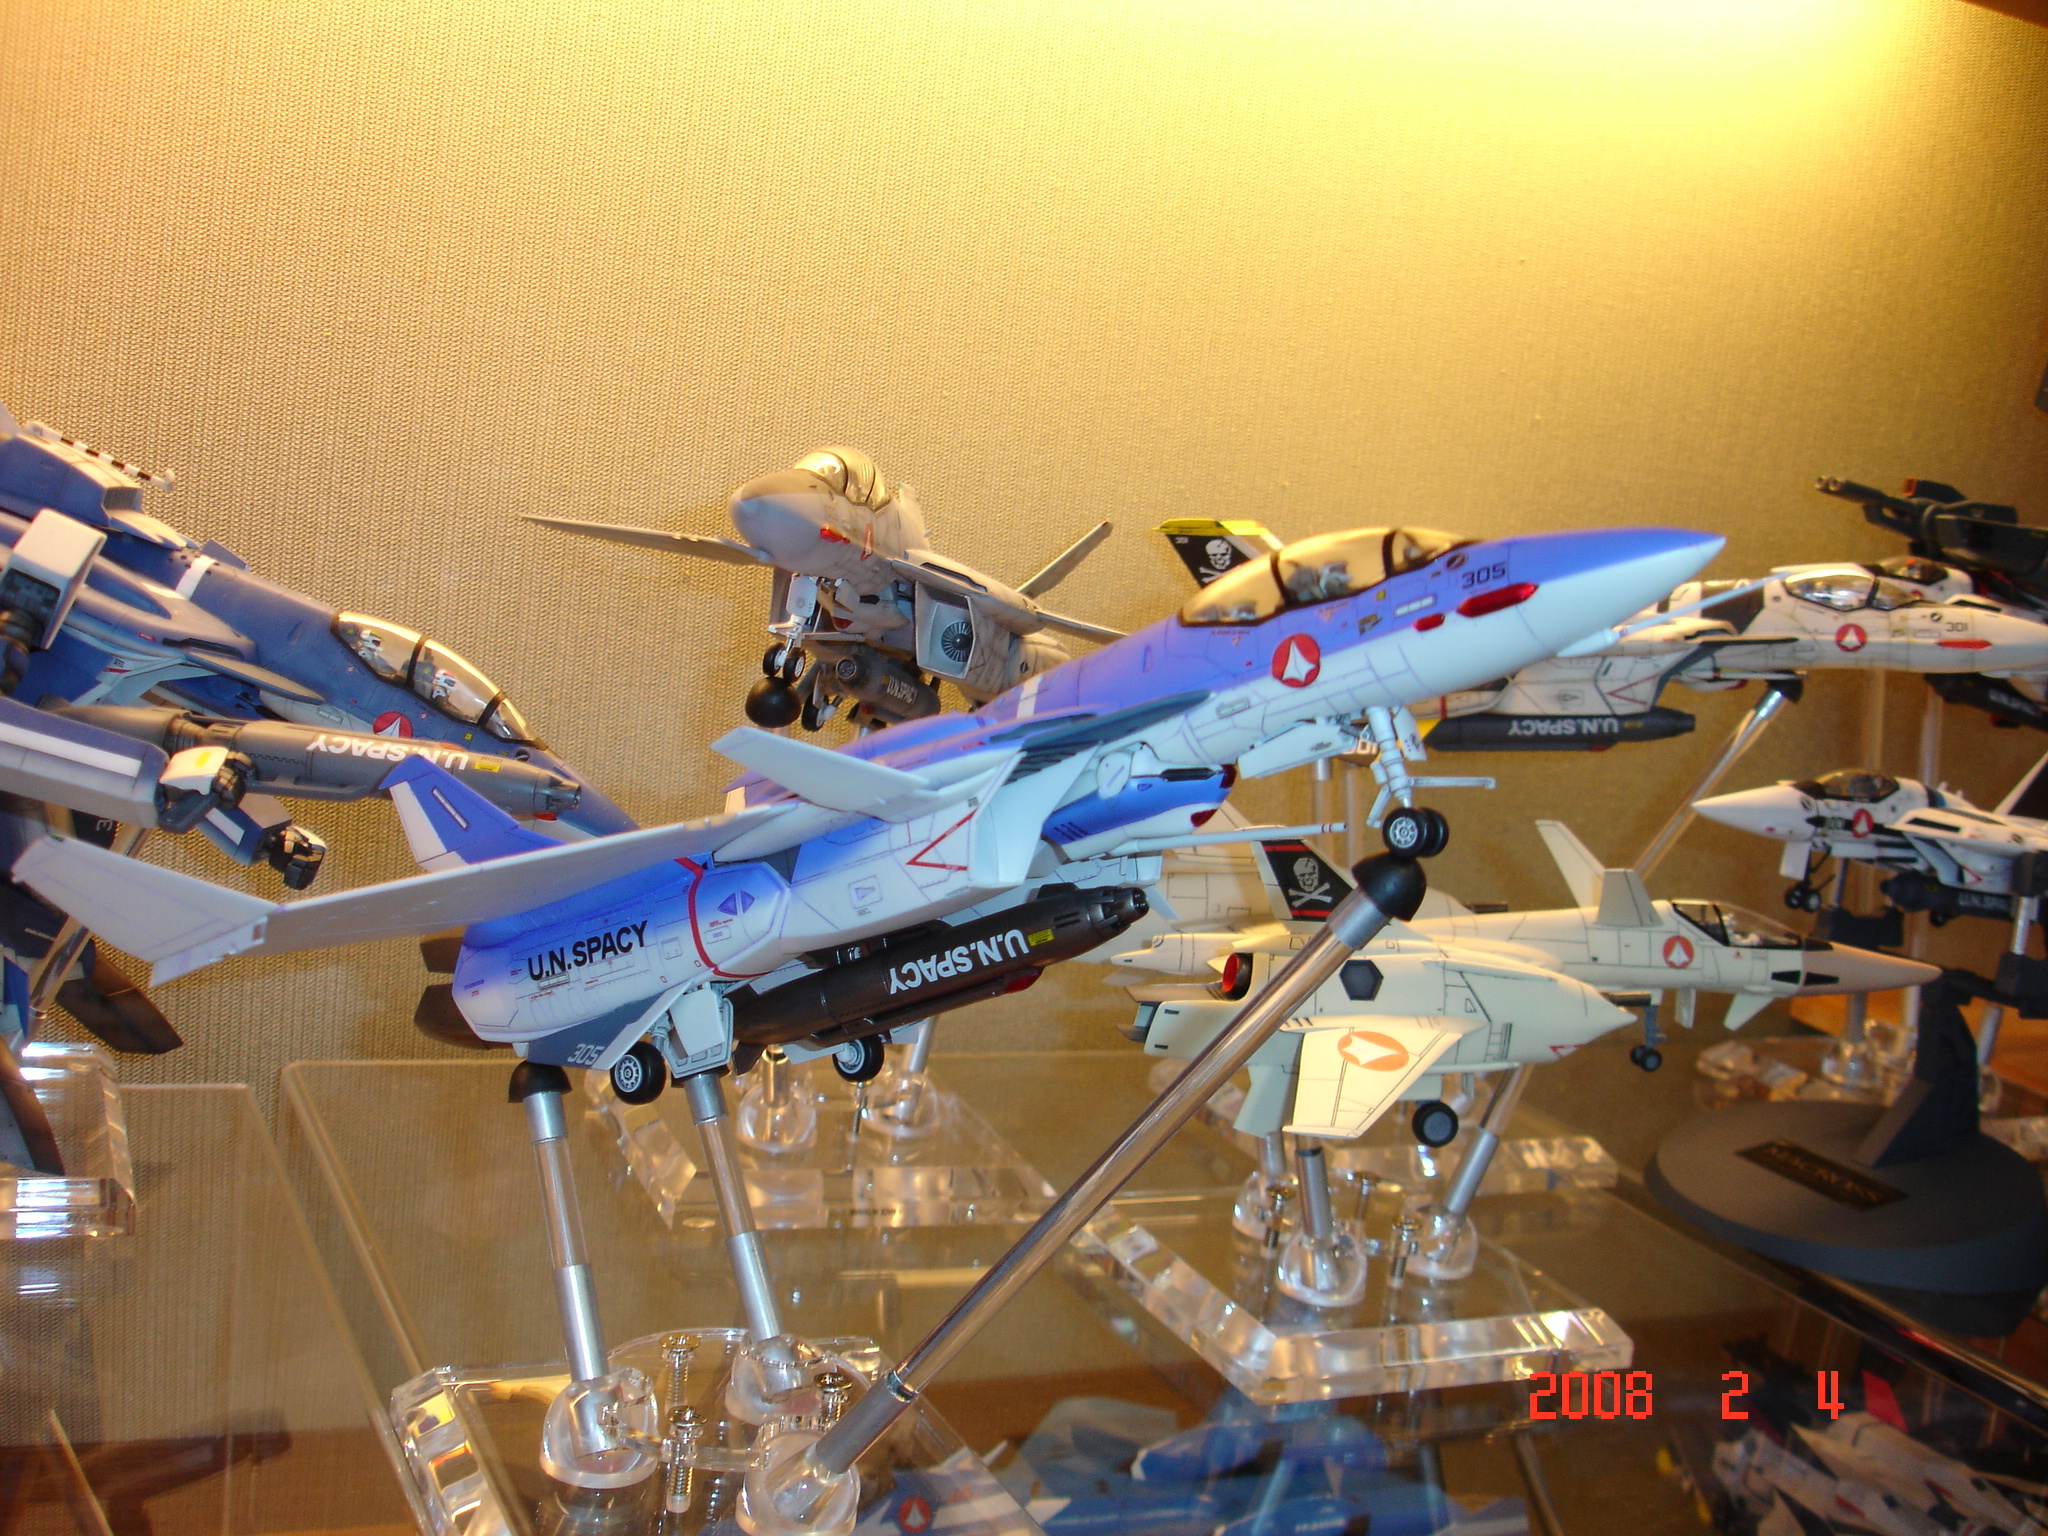
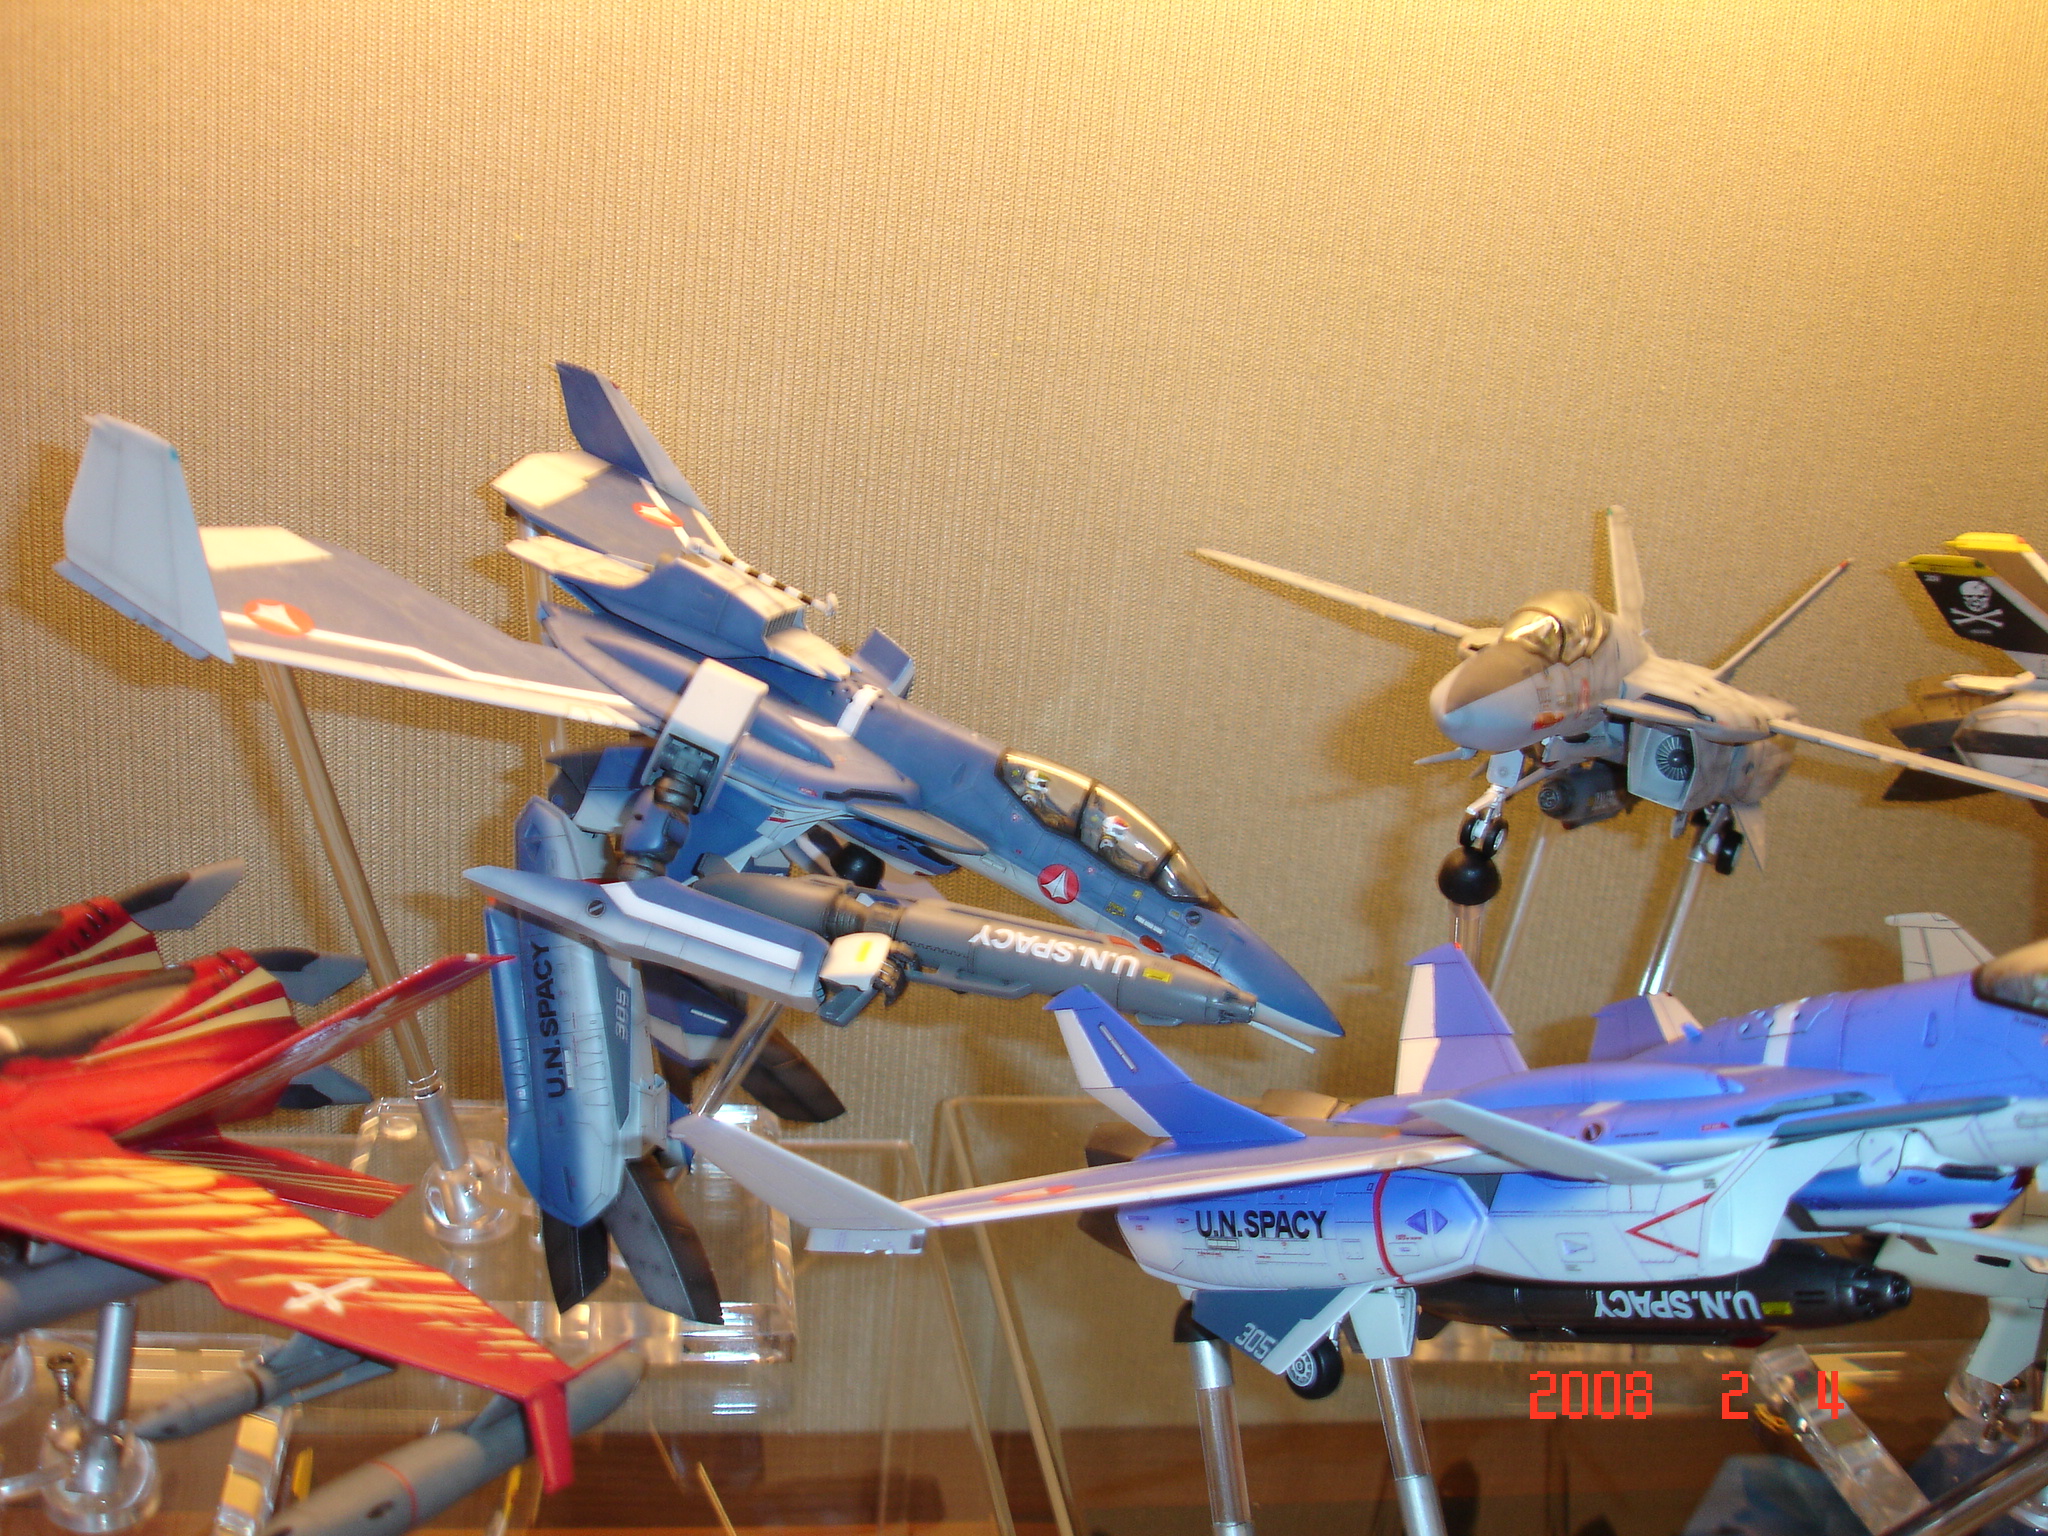
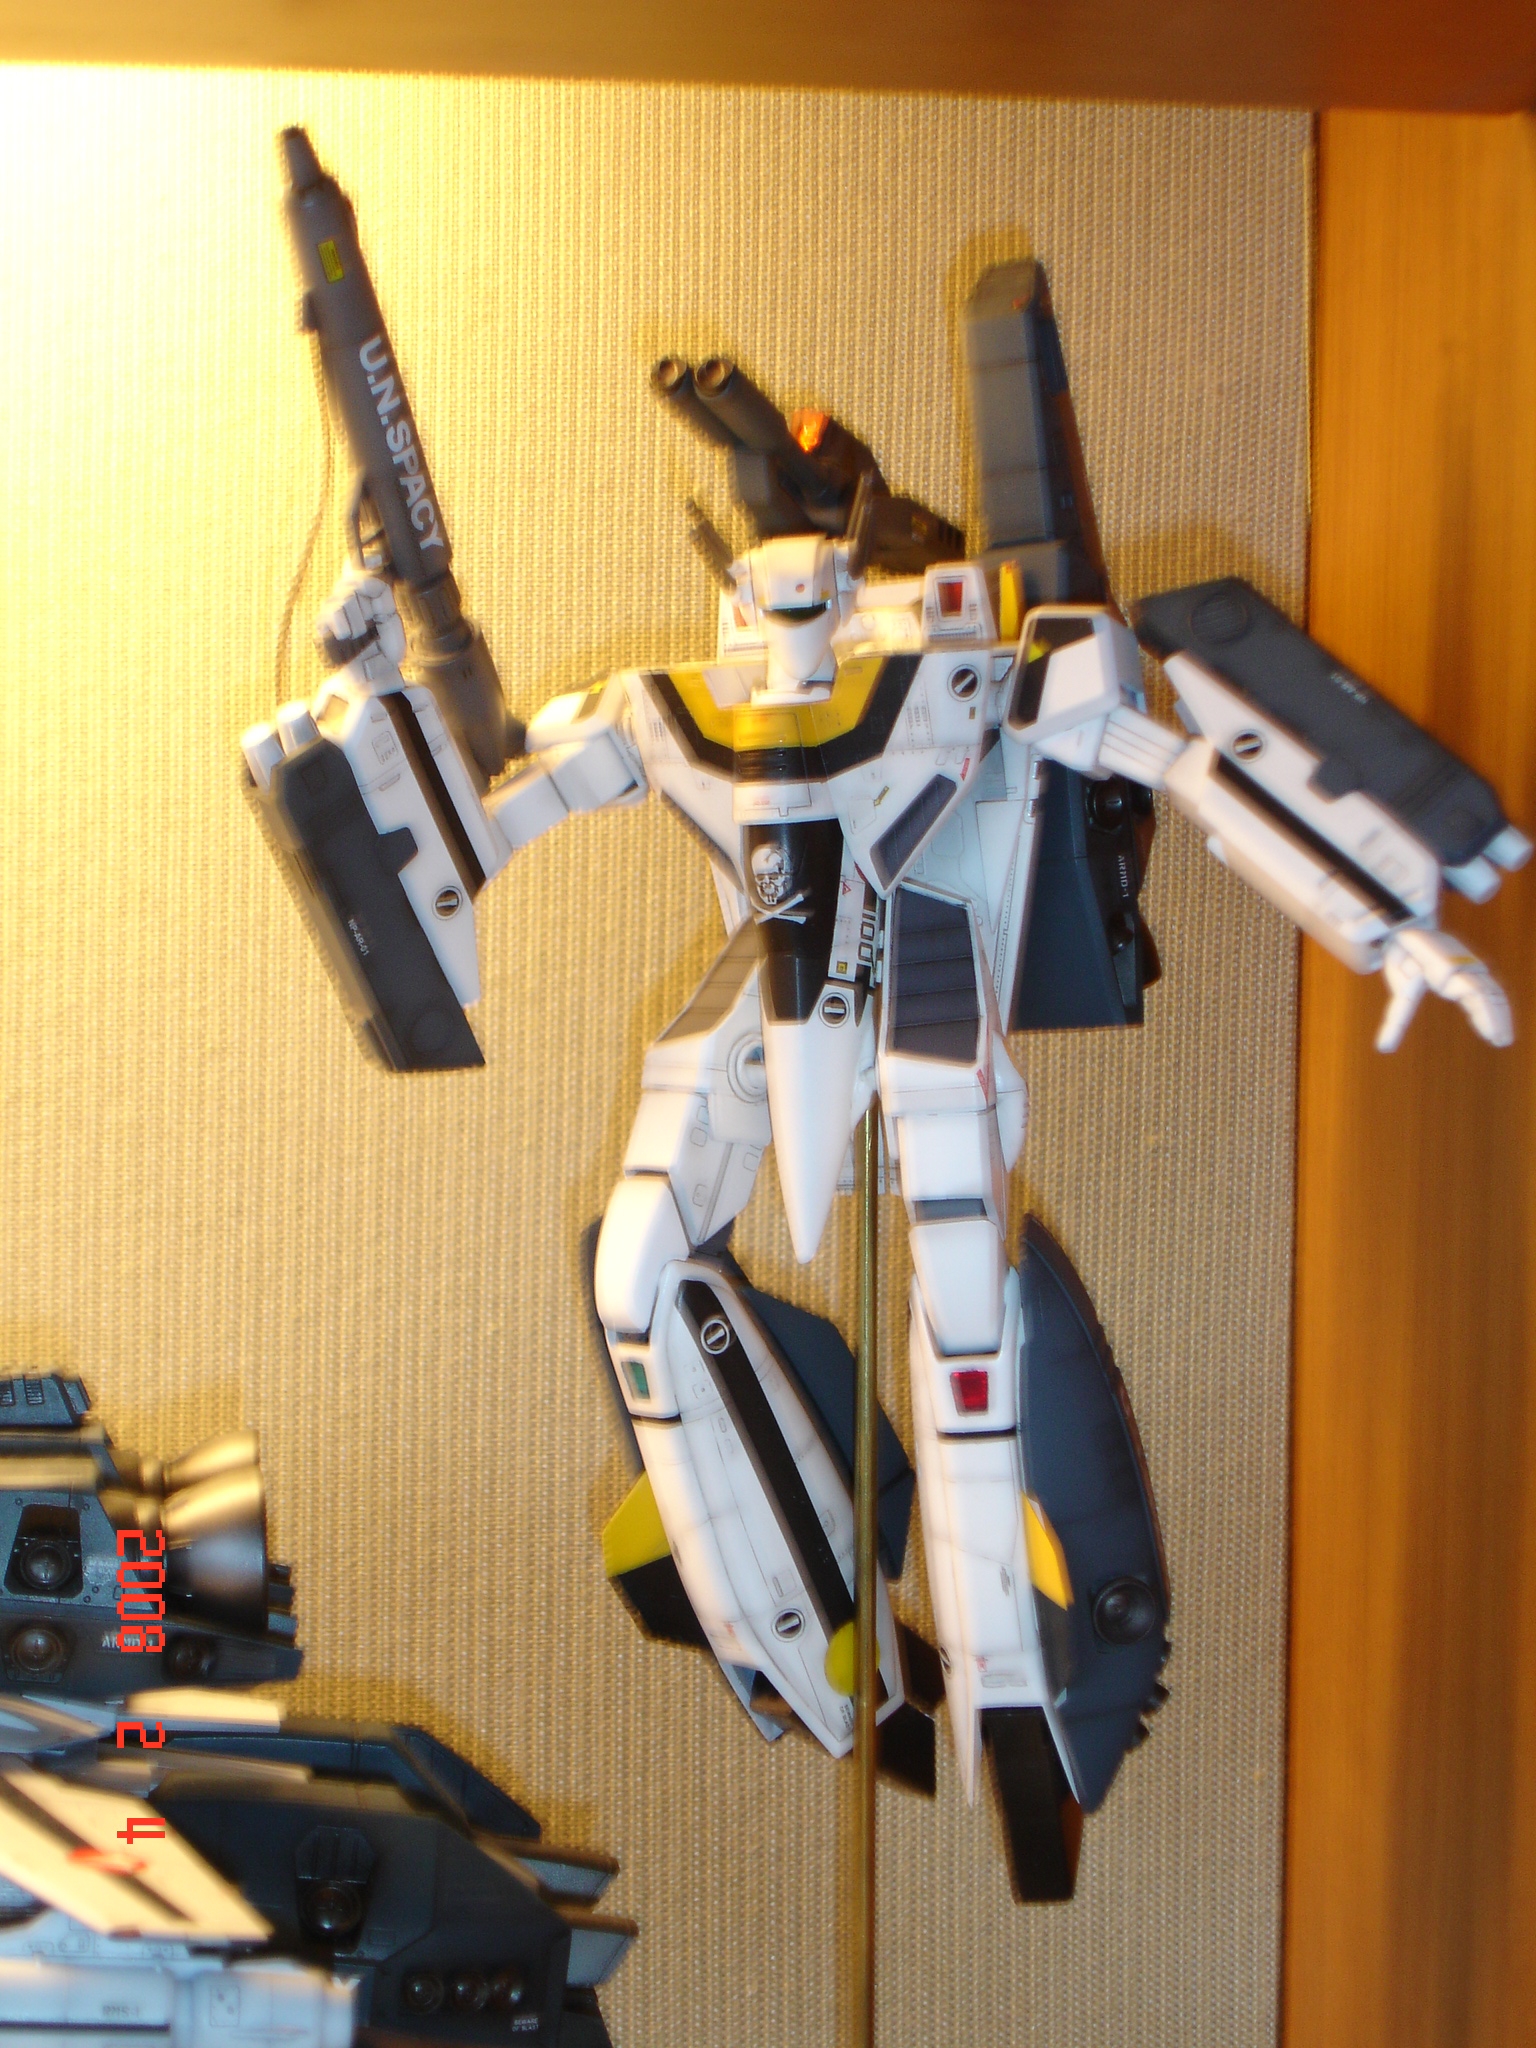
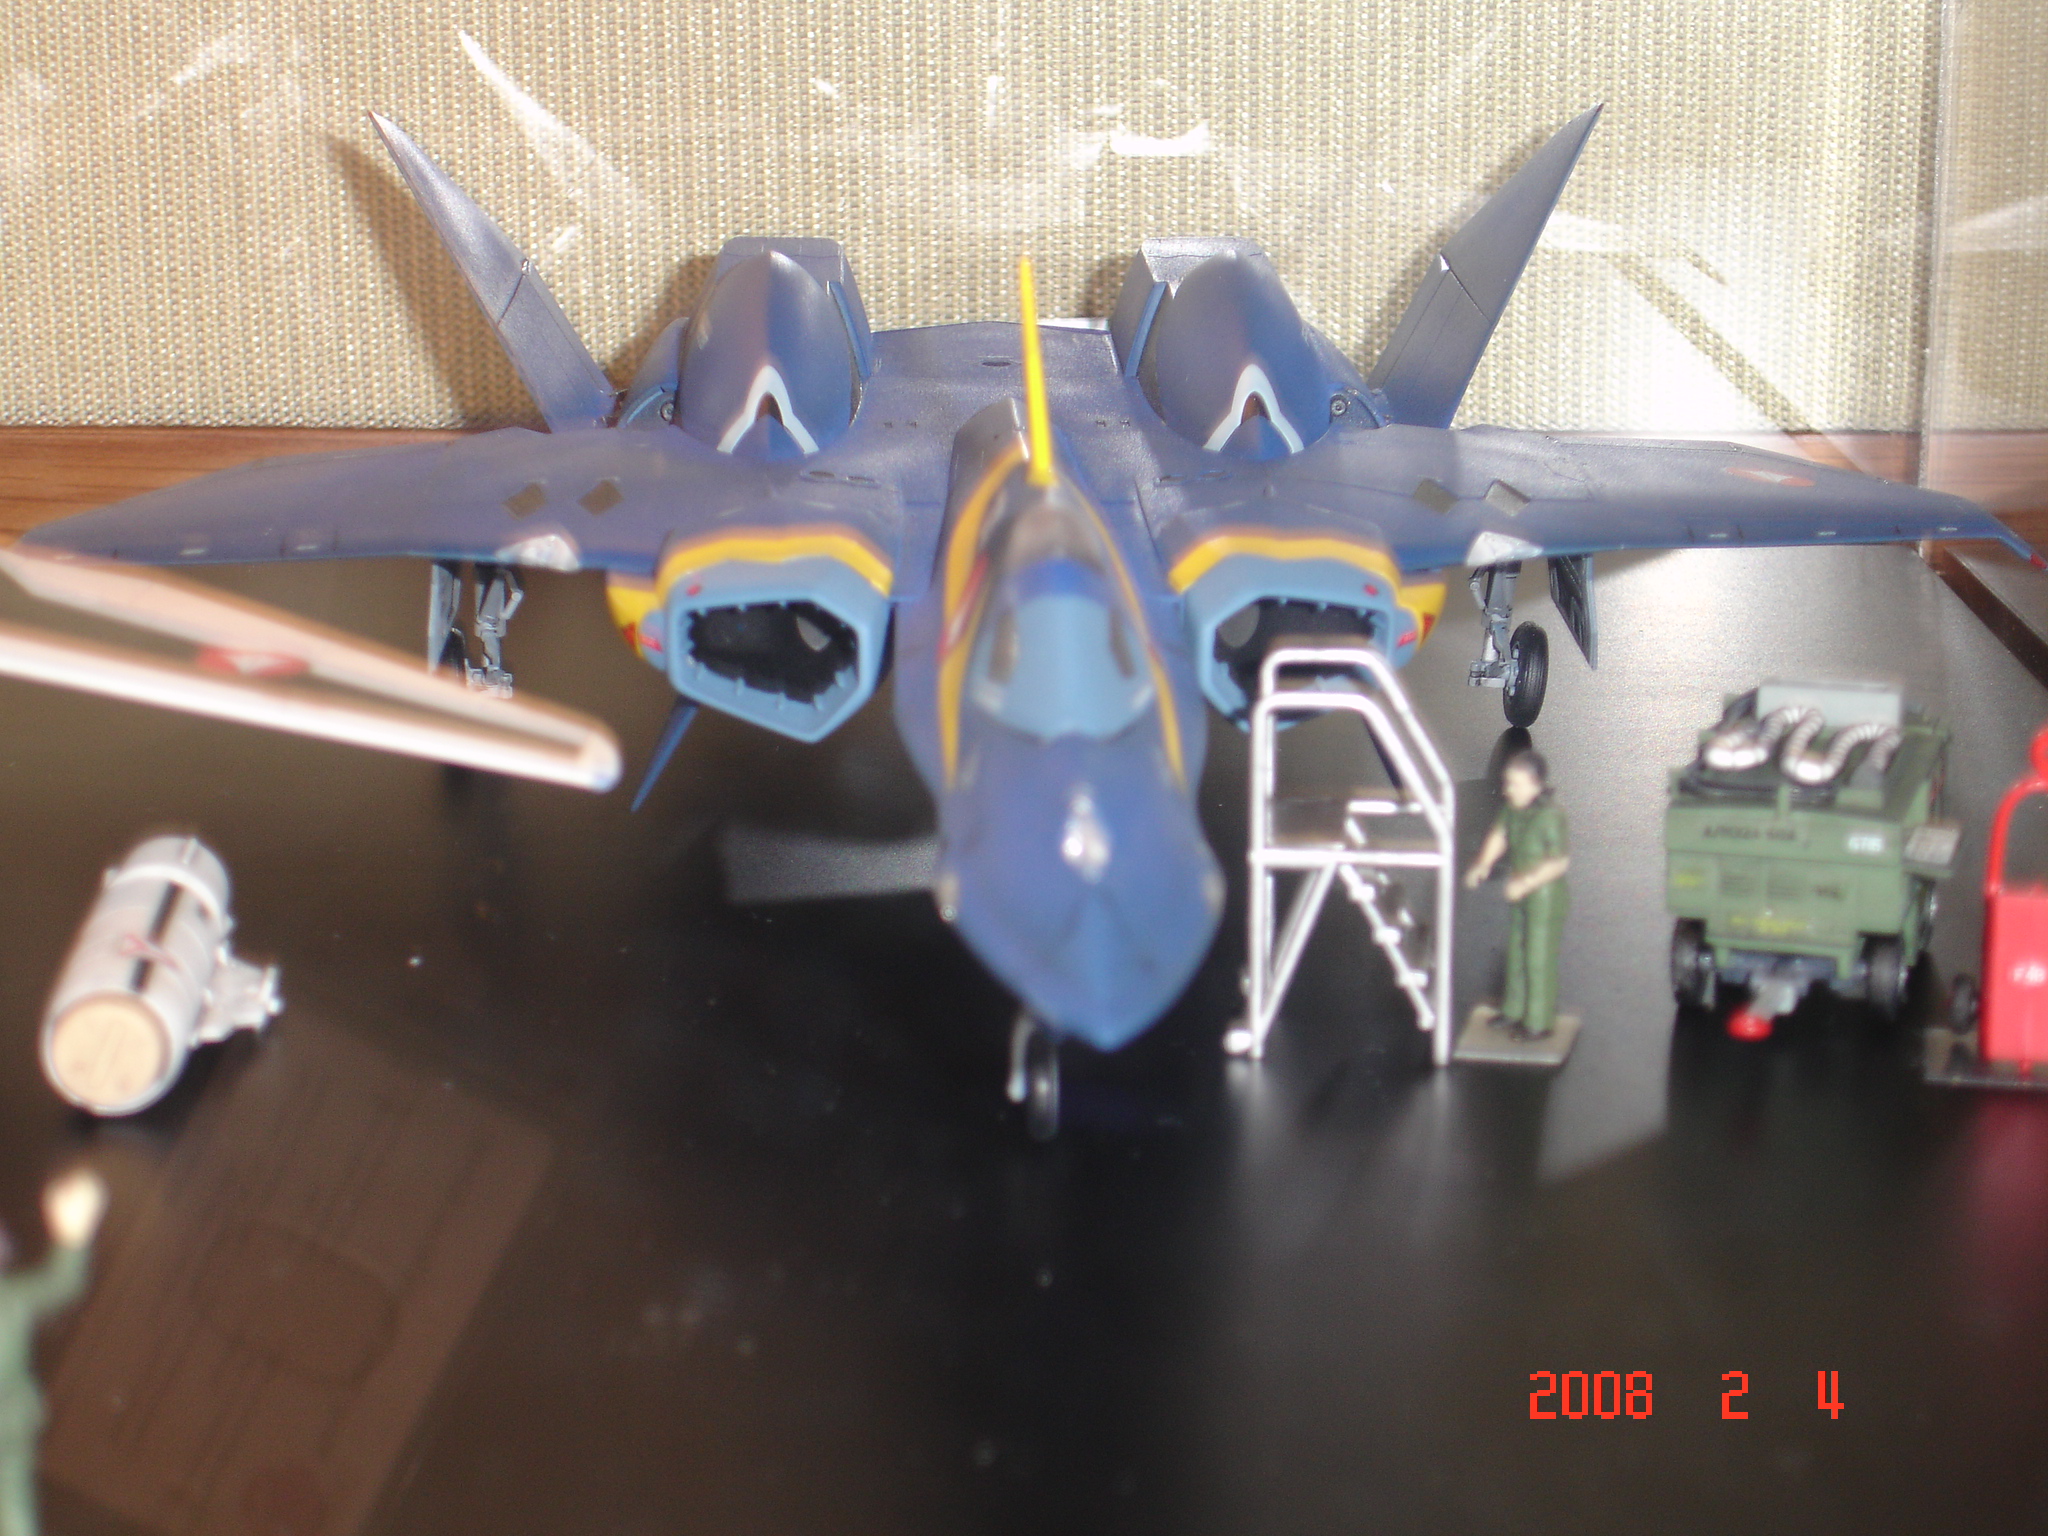
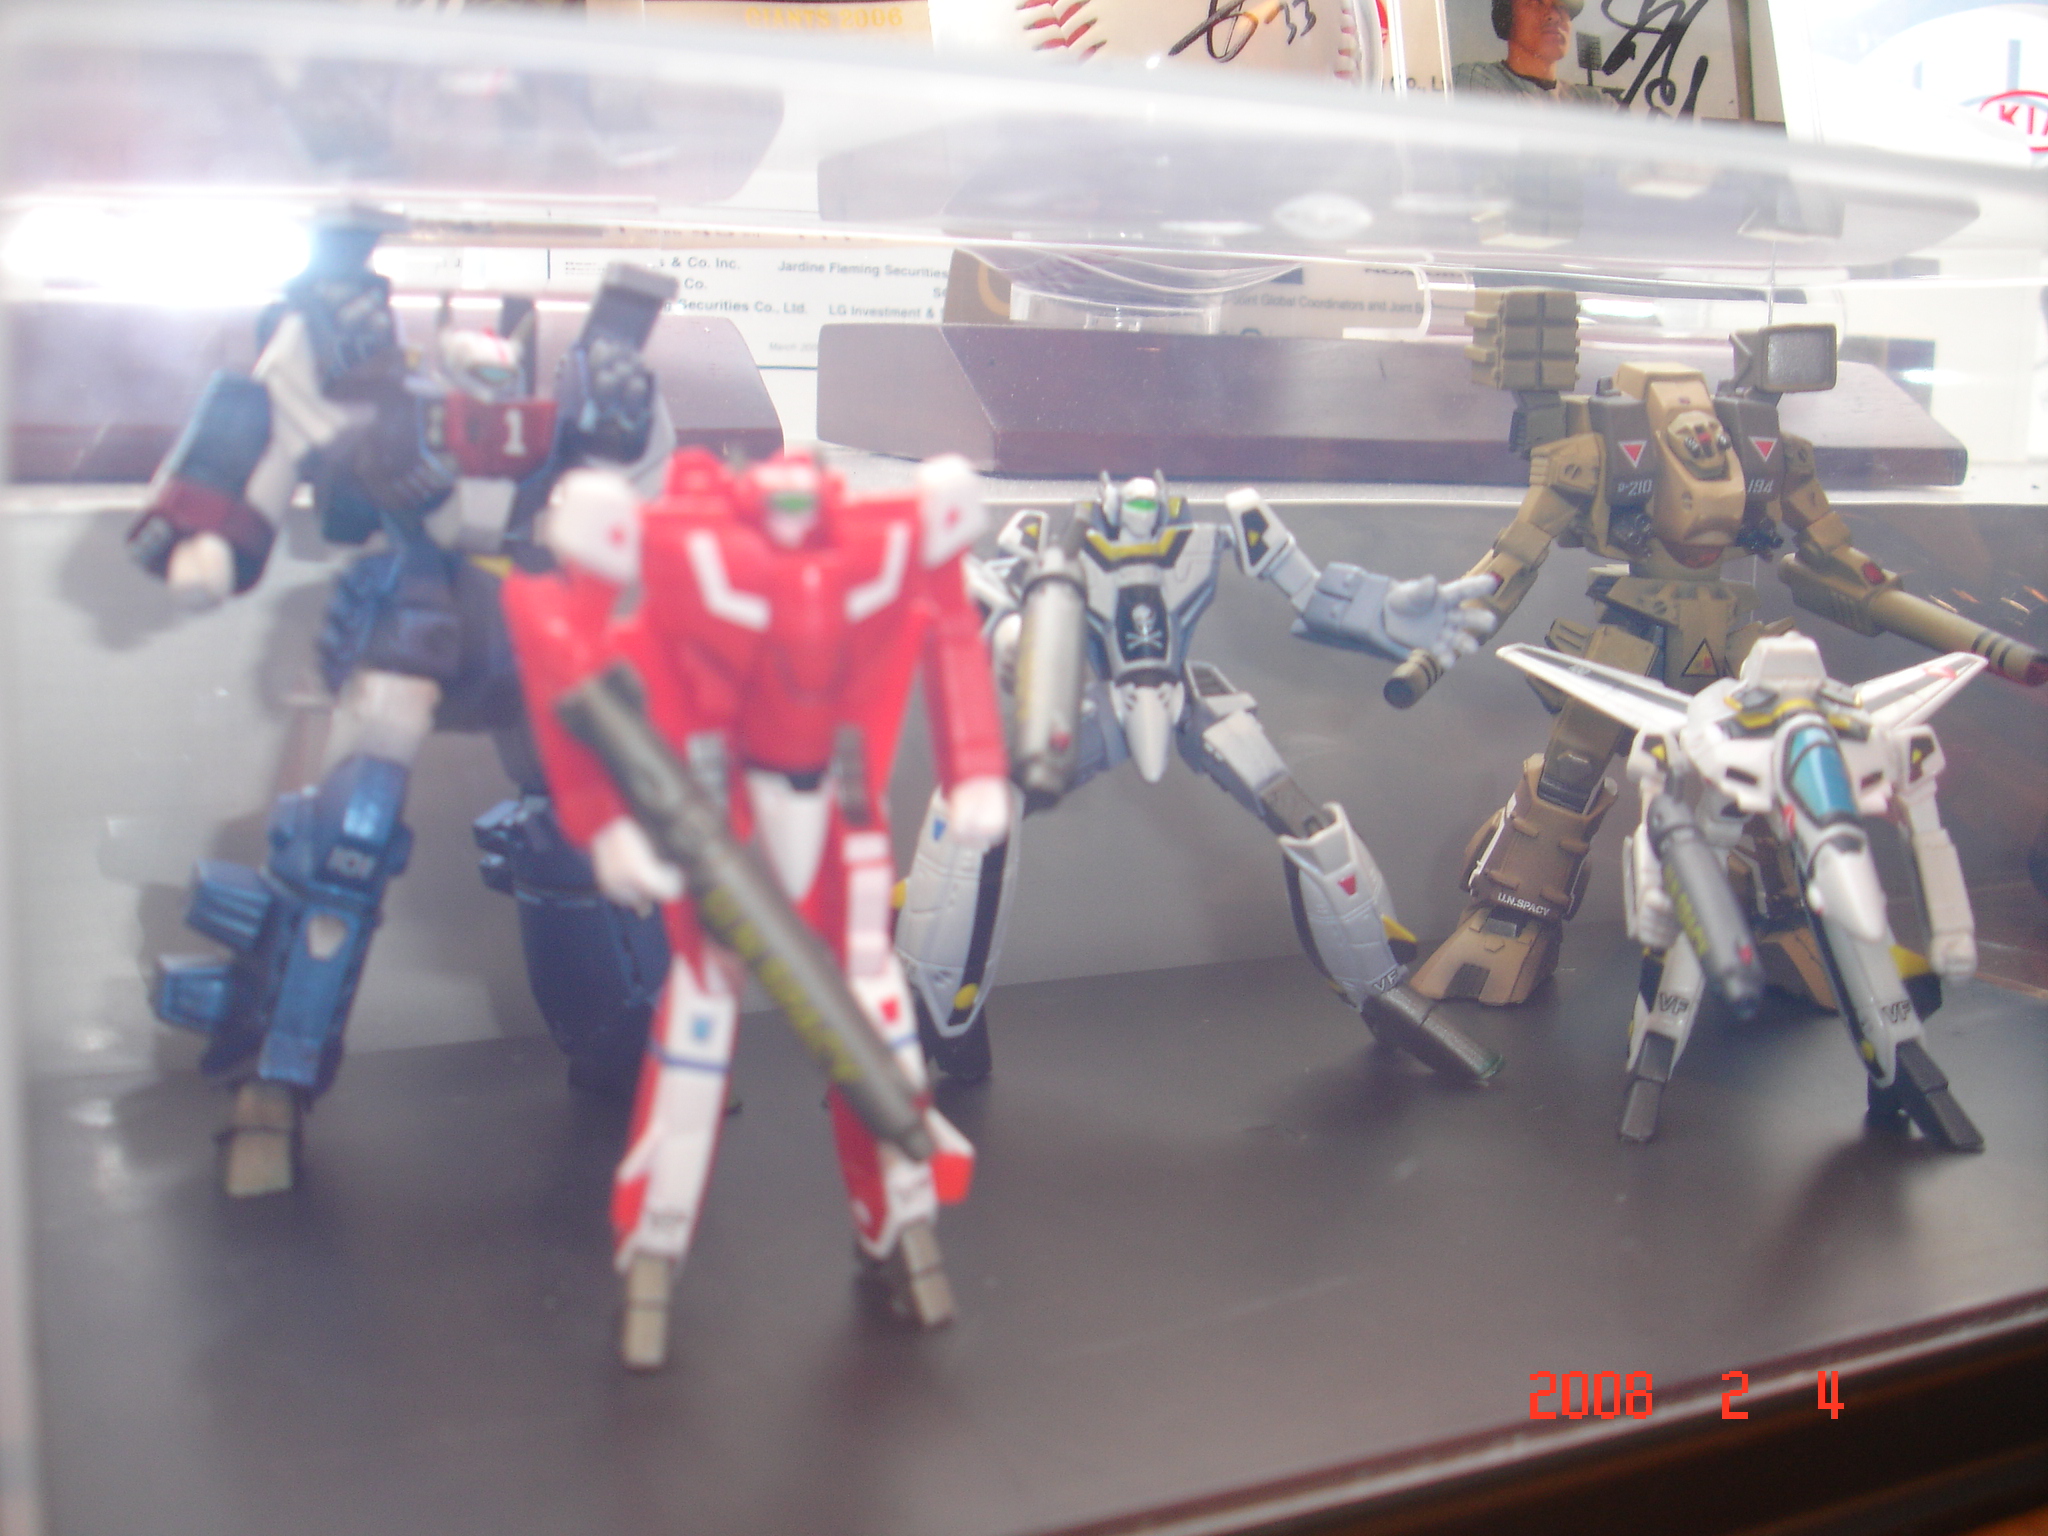
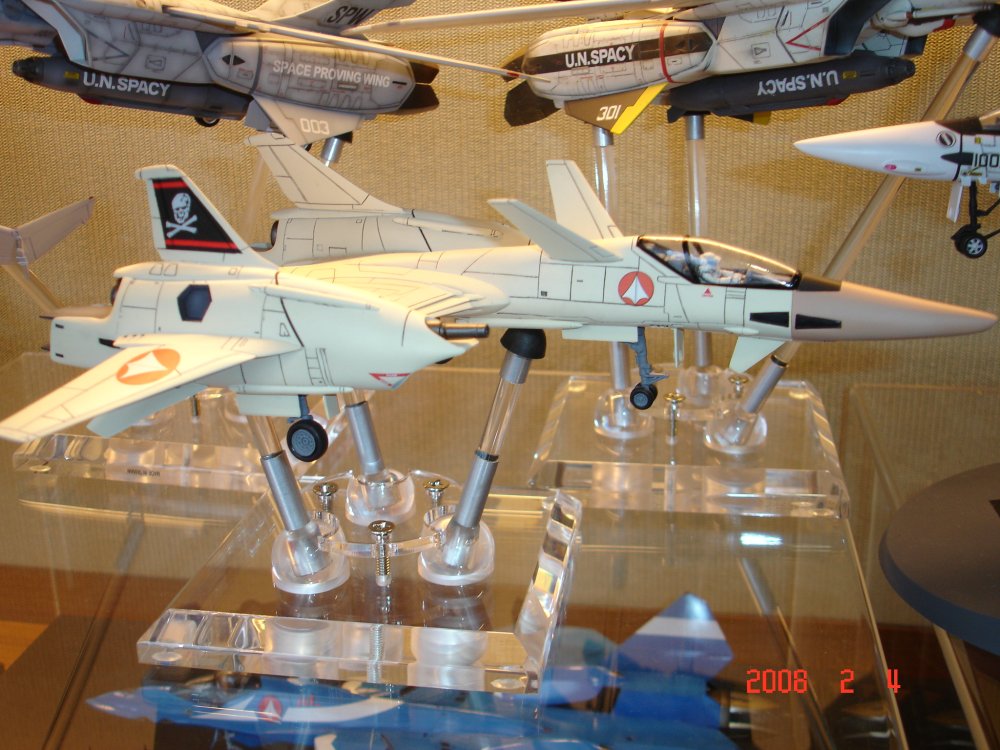
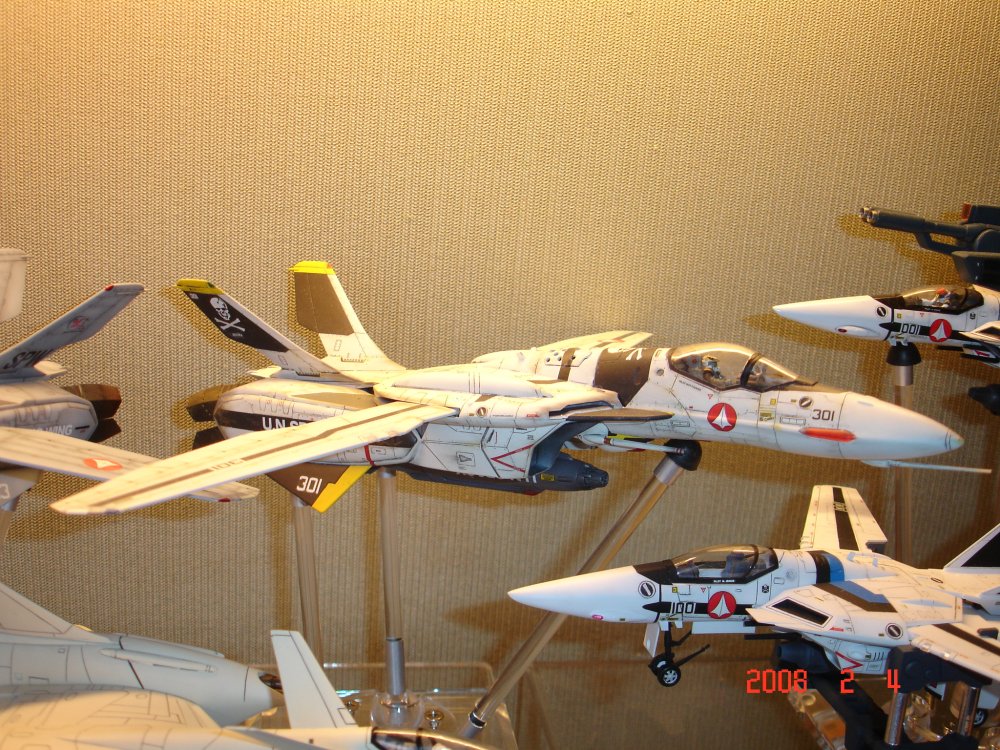
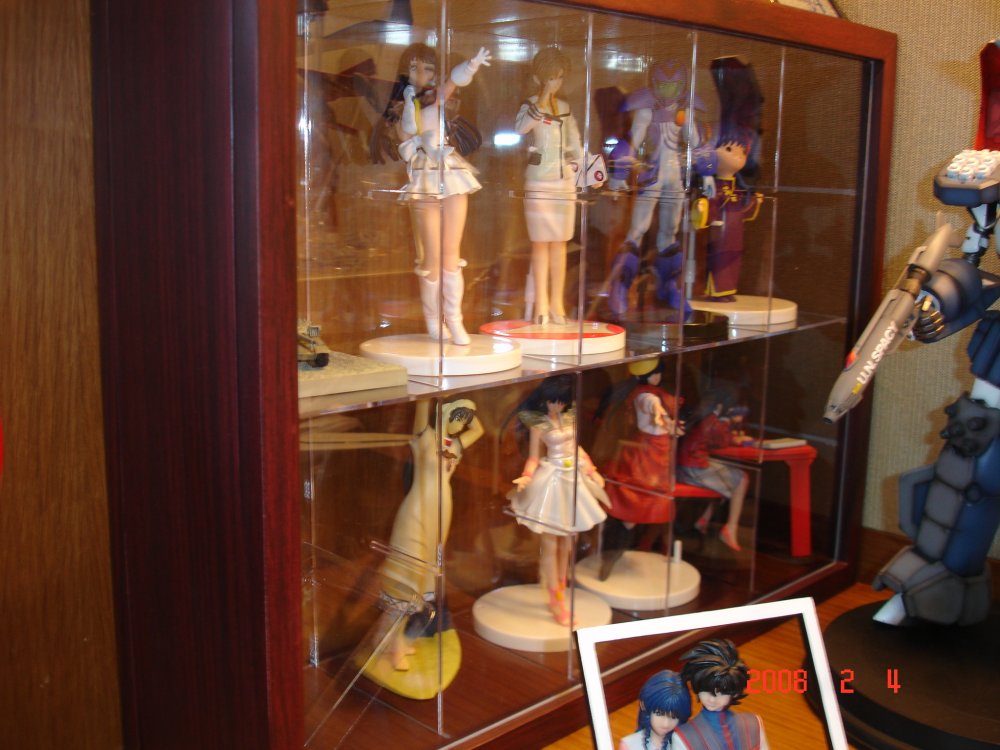
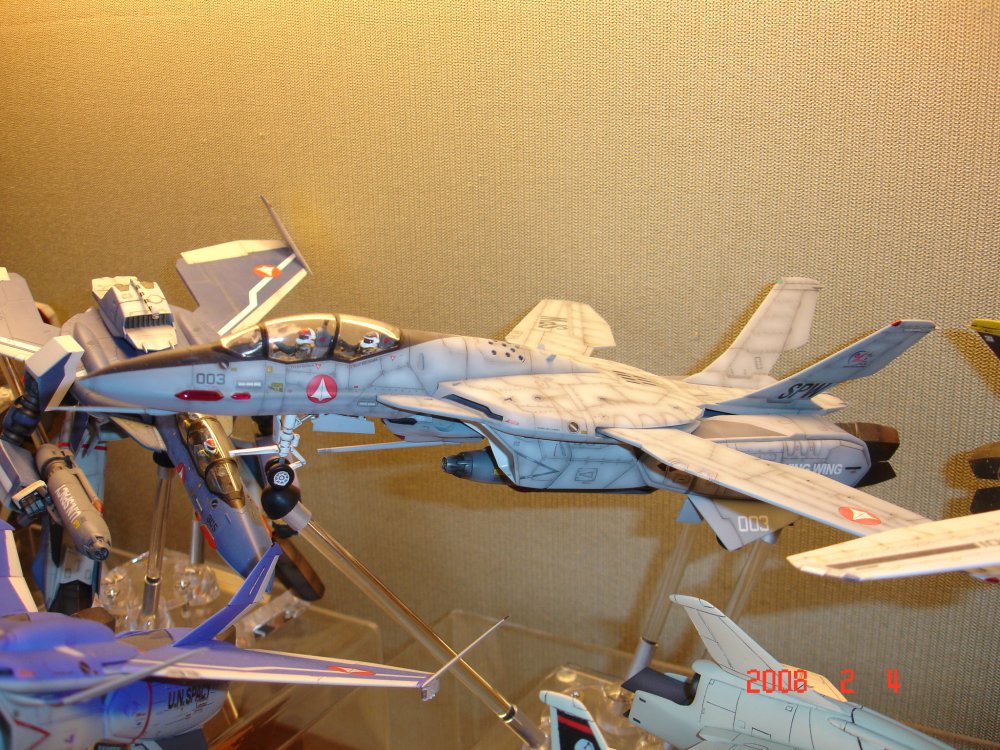
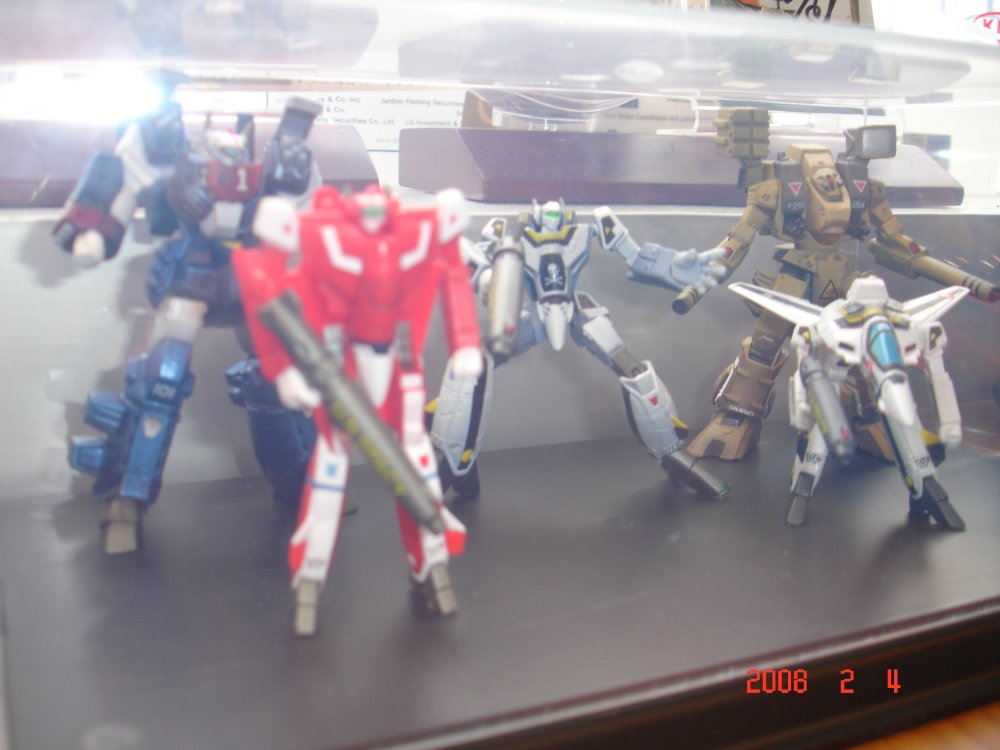
Hi guys! I have to admit... I prefer models to toys and I attribute it to my fondness for authenticity (appearancewise and not functionality). With that said, I just wanted to share with you my collection of completed models, some of which I built myself but others were purchased or commissioned. I also have a couple of more models on their way, including the YF-21/VF-22 battroid that I am working on and an Elint-Seeker that I just won in an auction. I hope you like them. And below are a few CM character figures I've collected. And for those smaller scale fans out there, below are the Chara-Works and Bandai figures for valks, battroids and a destroid tomahawk.


-
Over on this page is what I was working on until last week. http://macrossworld.com/mwf/index.php?showtopic=24956 I have guests in town, who have taken up the room I need to complete this. Plus, too humid these days to get any spraypainting done.
-
Awesome work as usual, Andy! Put me down for 2.
-
Guys, thanks for the encouragement. I spent an hour last night fine-tuning the details (and more sanding) as well as adding the details and hinges for the wing part that folds. Initially, I was thinking of using photoetch hinge detail to make the wings workable. But given that the fuselage is attached to the torso and can't move, thus, the wings won't be able fold out and fold in anyway, I gave up on this idea. Instead, I added a thin layer of epoxy putty and ran a pattern using the outer barrel of my pin vise and added hinges (photoetch and kotobukiya option parts). I will post more pics as they are available. I was hoping to get the priming done tonight but it's raining again today so I doubt that.
-
I just saw this priced at HK$738 in one of the shops here (which is US$95). I was so tempted to buy it and walked around to check the prices in other stores and found it much higher (HK$888 = US$115). I went back to buy it but the shop will only take cash. And what do you know, I only had HK$700 with me.... I am beginning to wonder if this is a sign... God telling me to stay away from it... But who knows? Tomorrow, I may regret not hitting the ATM.
-
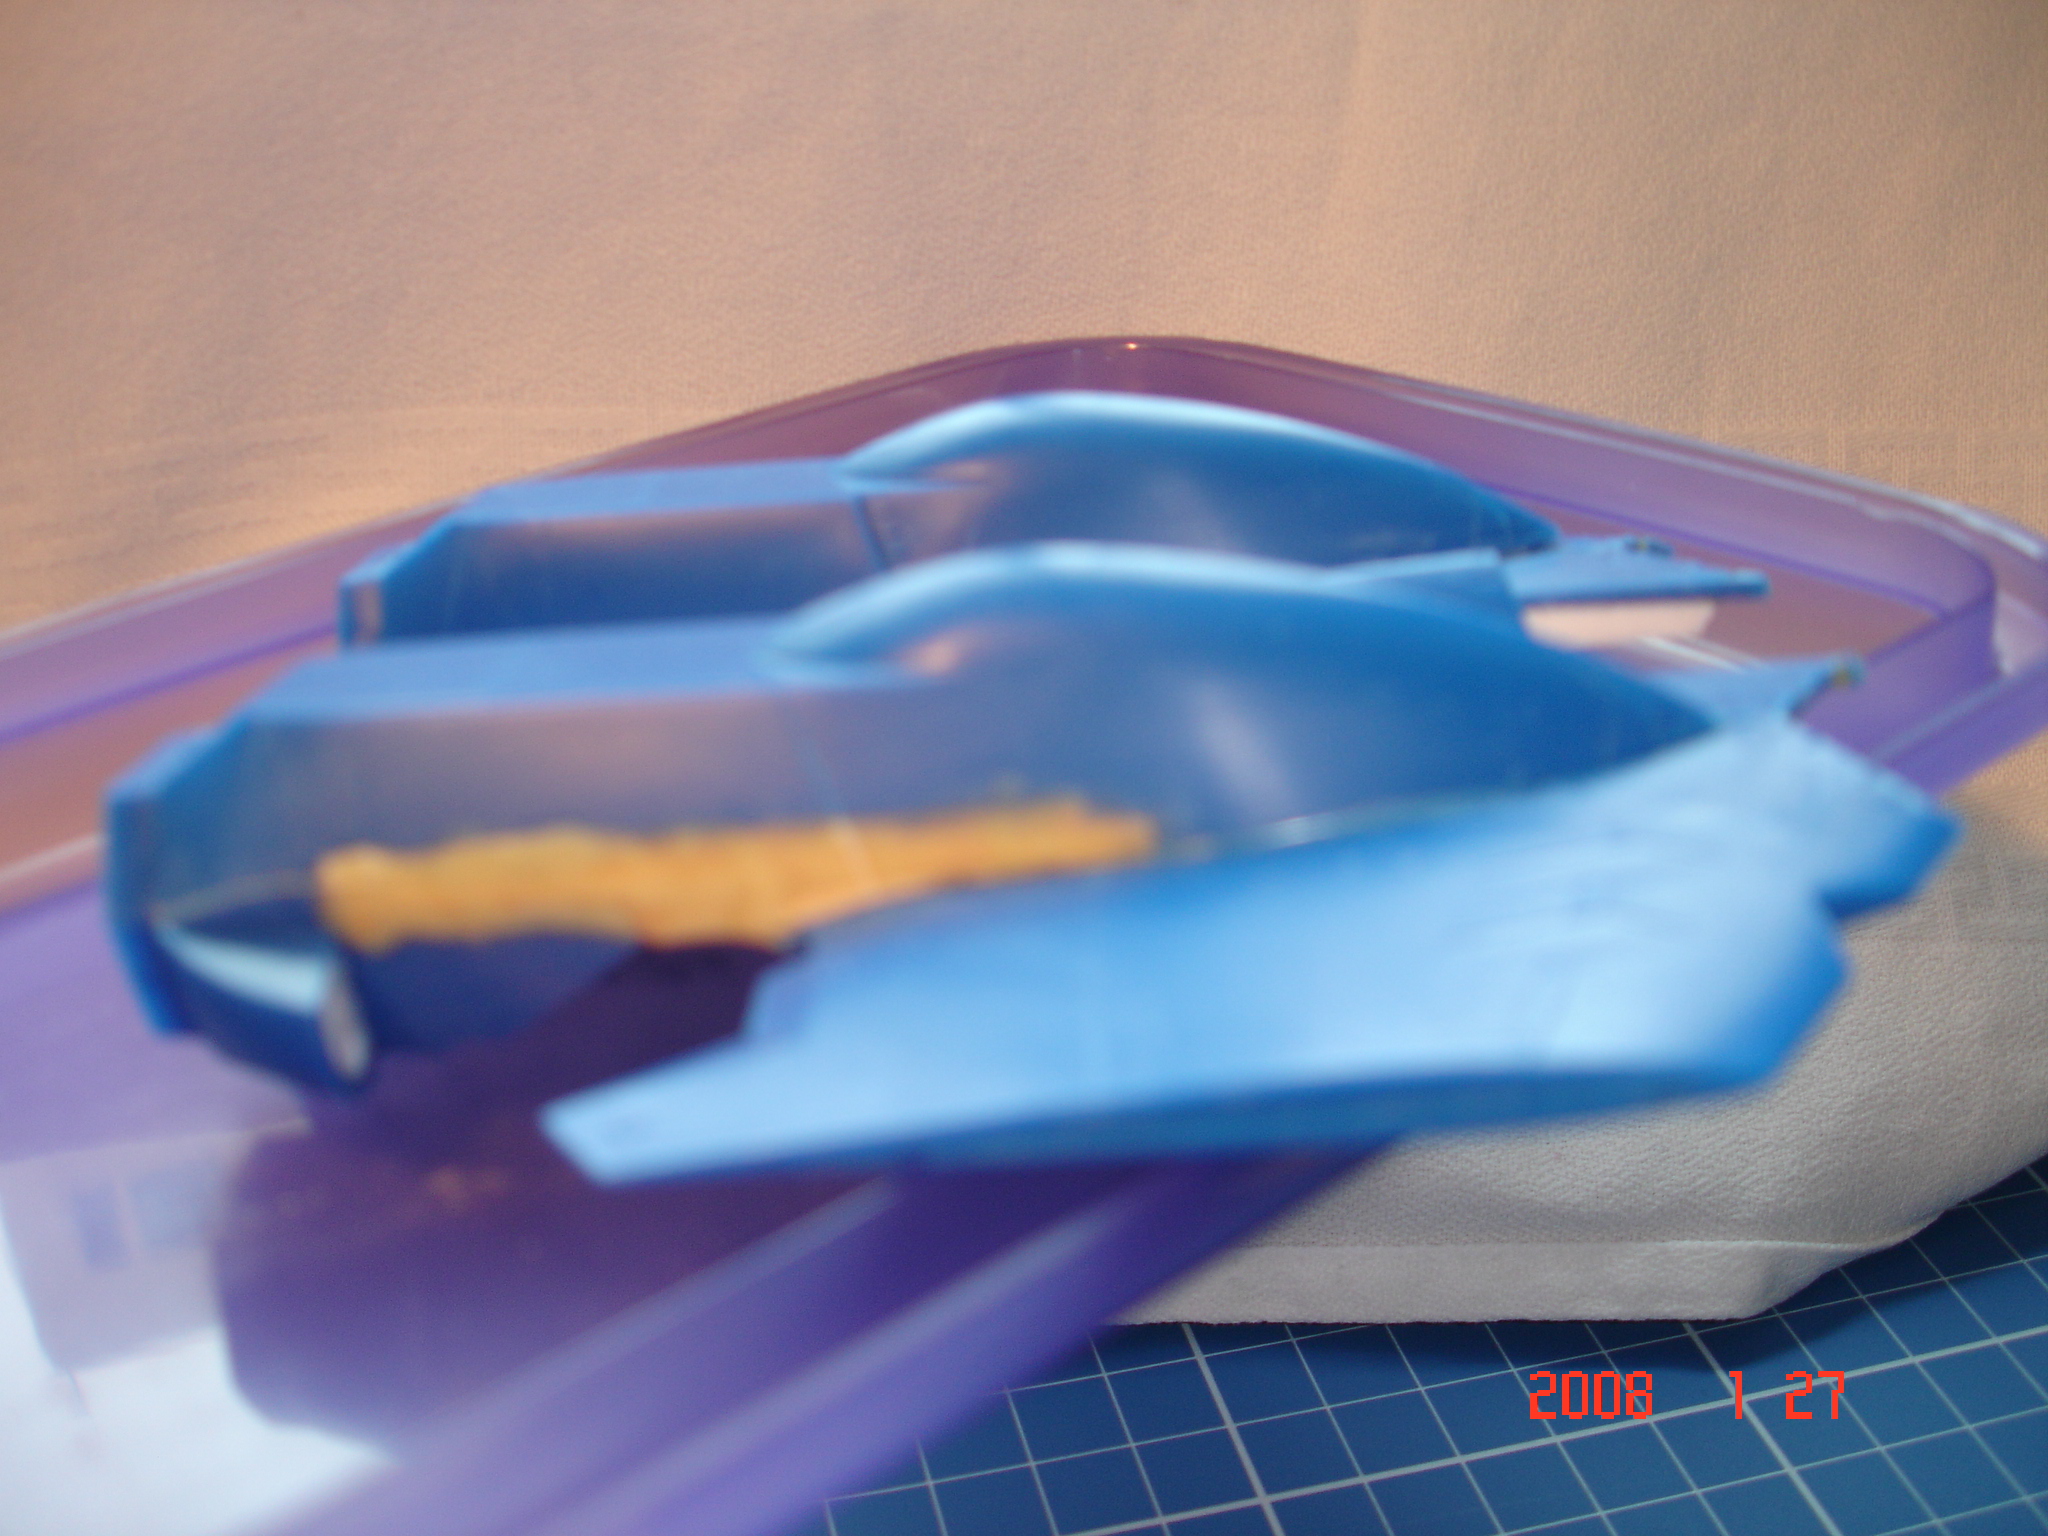
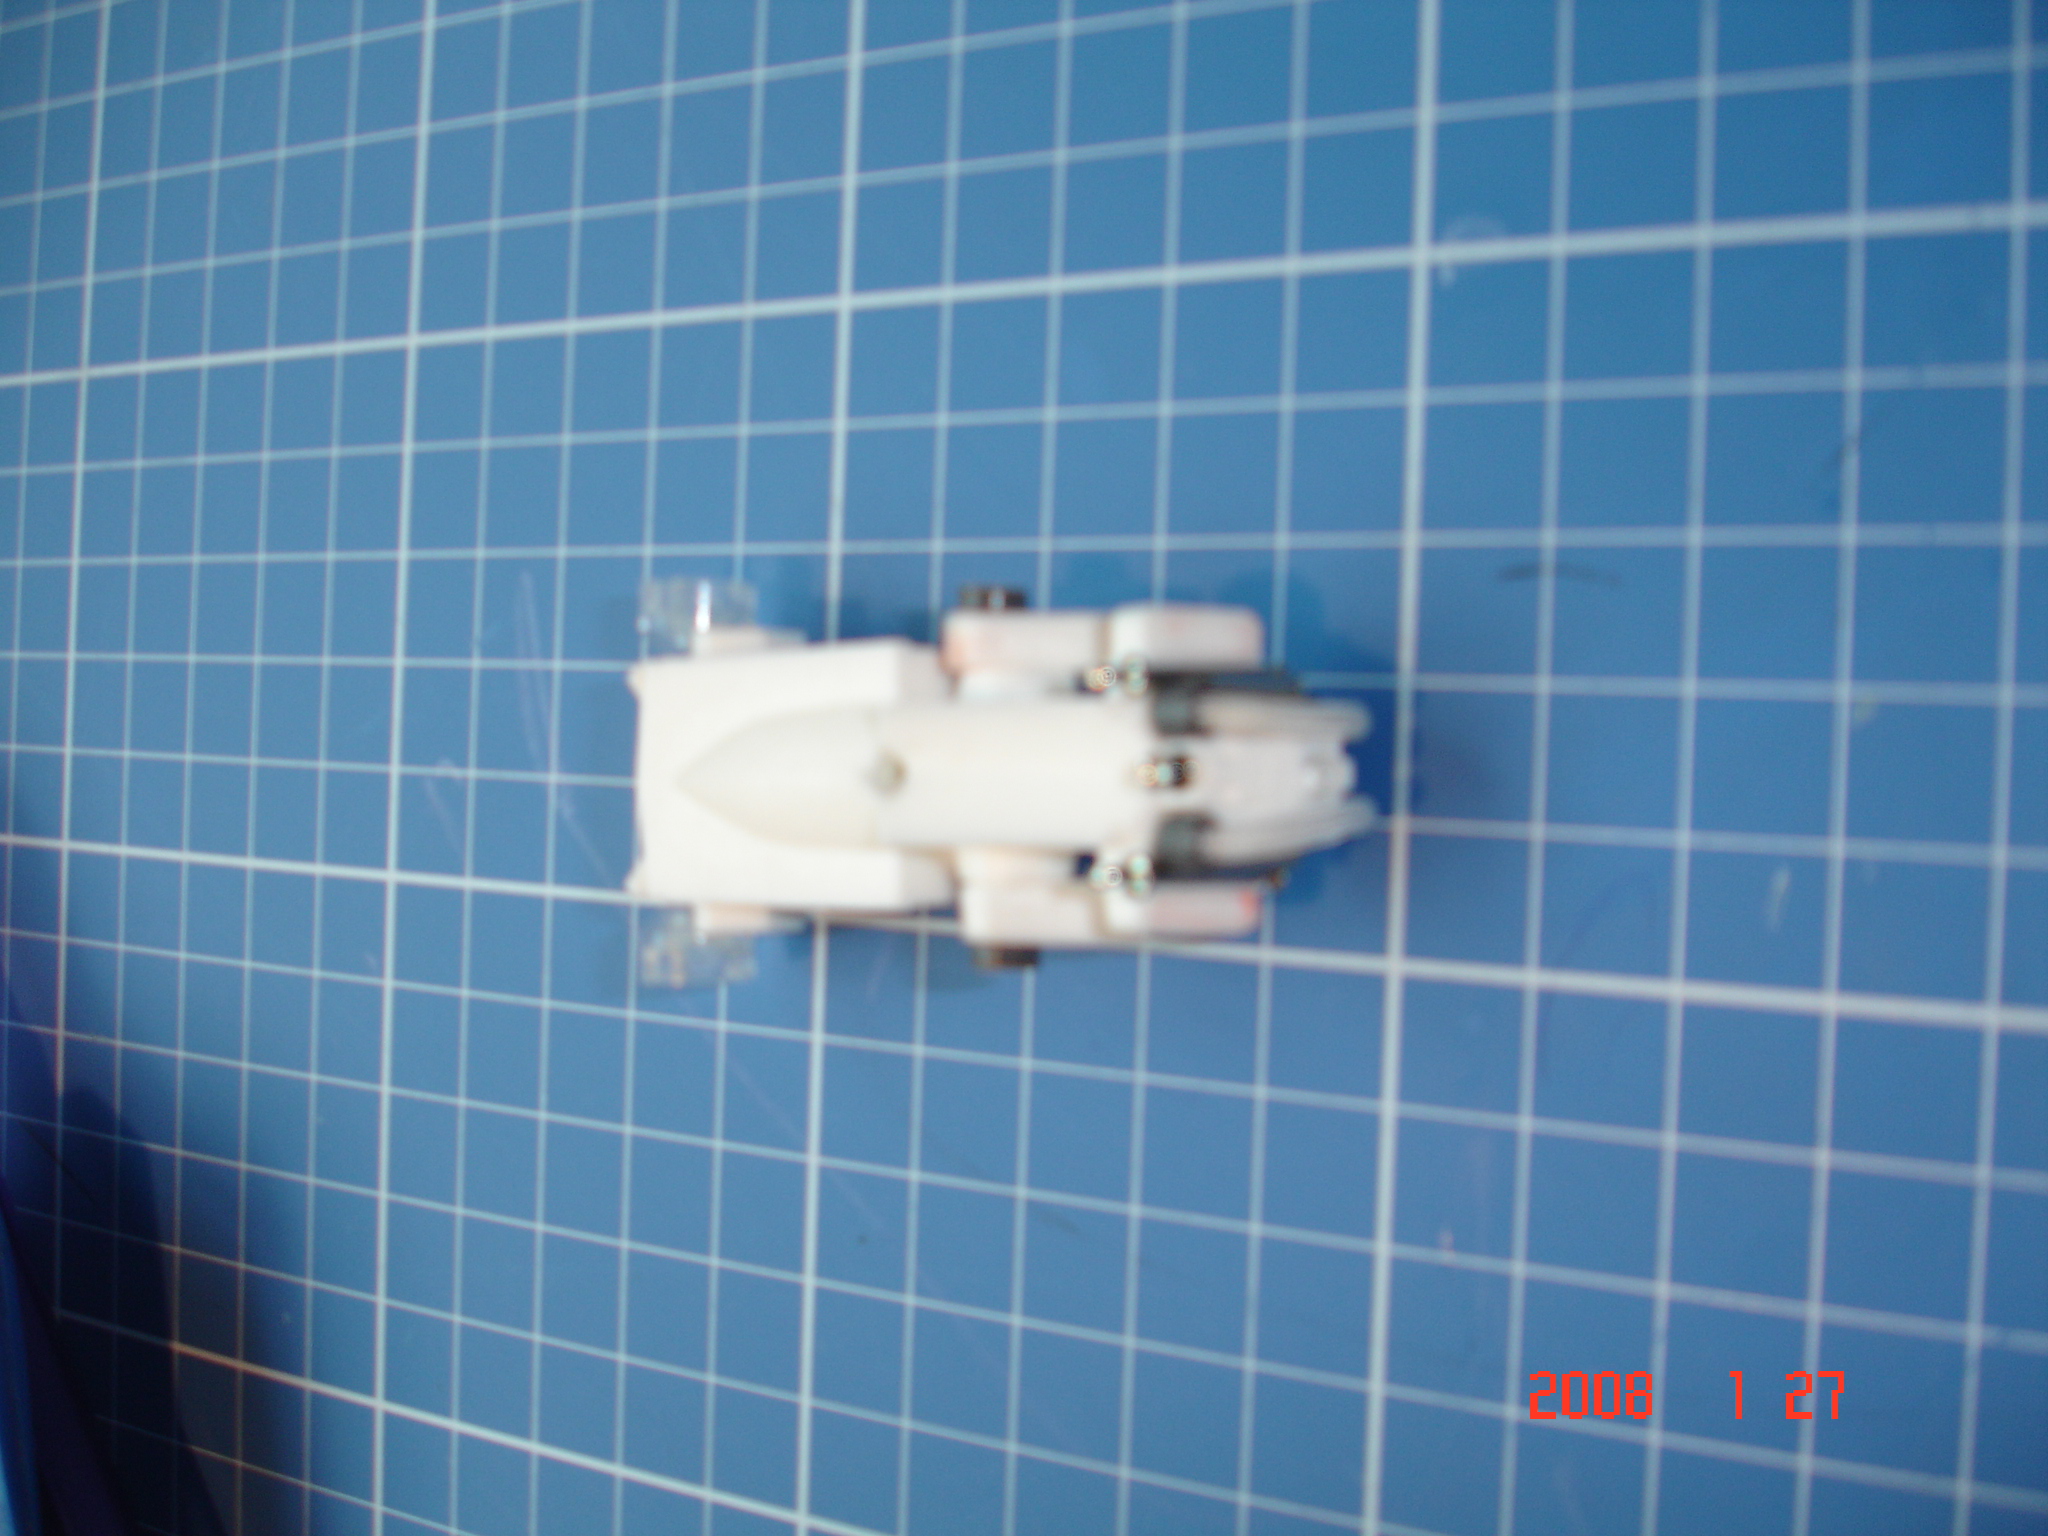
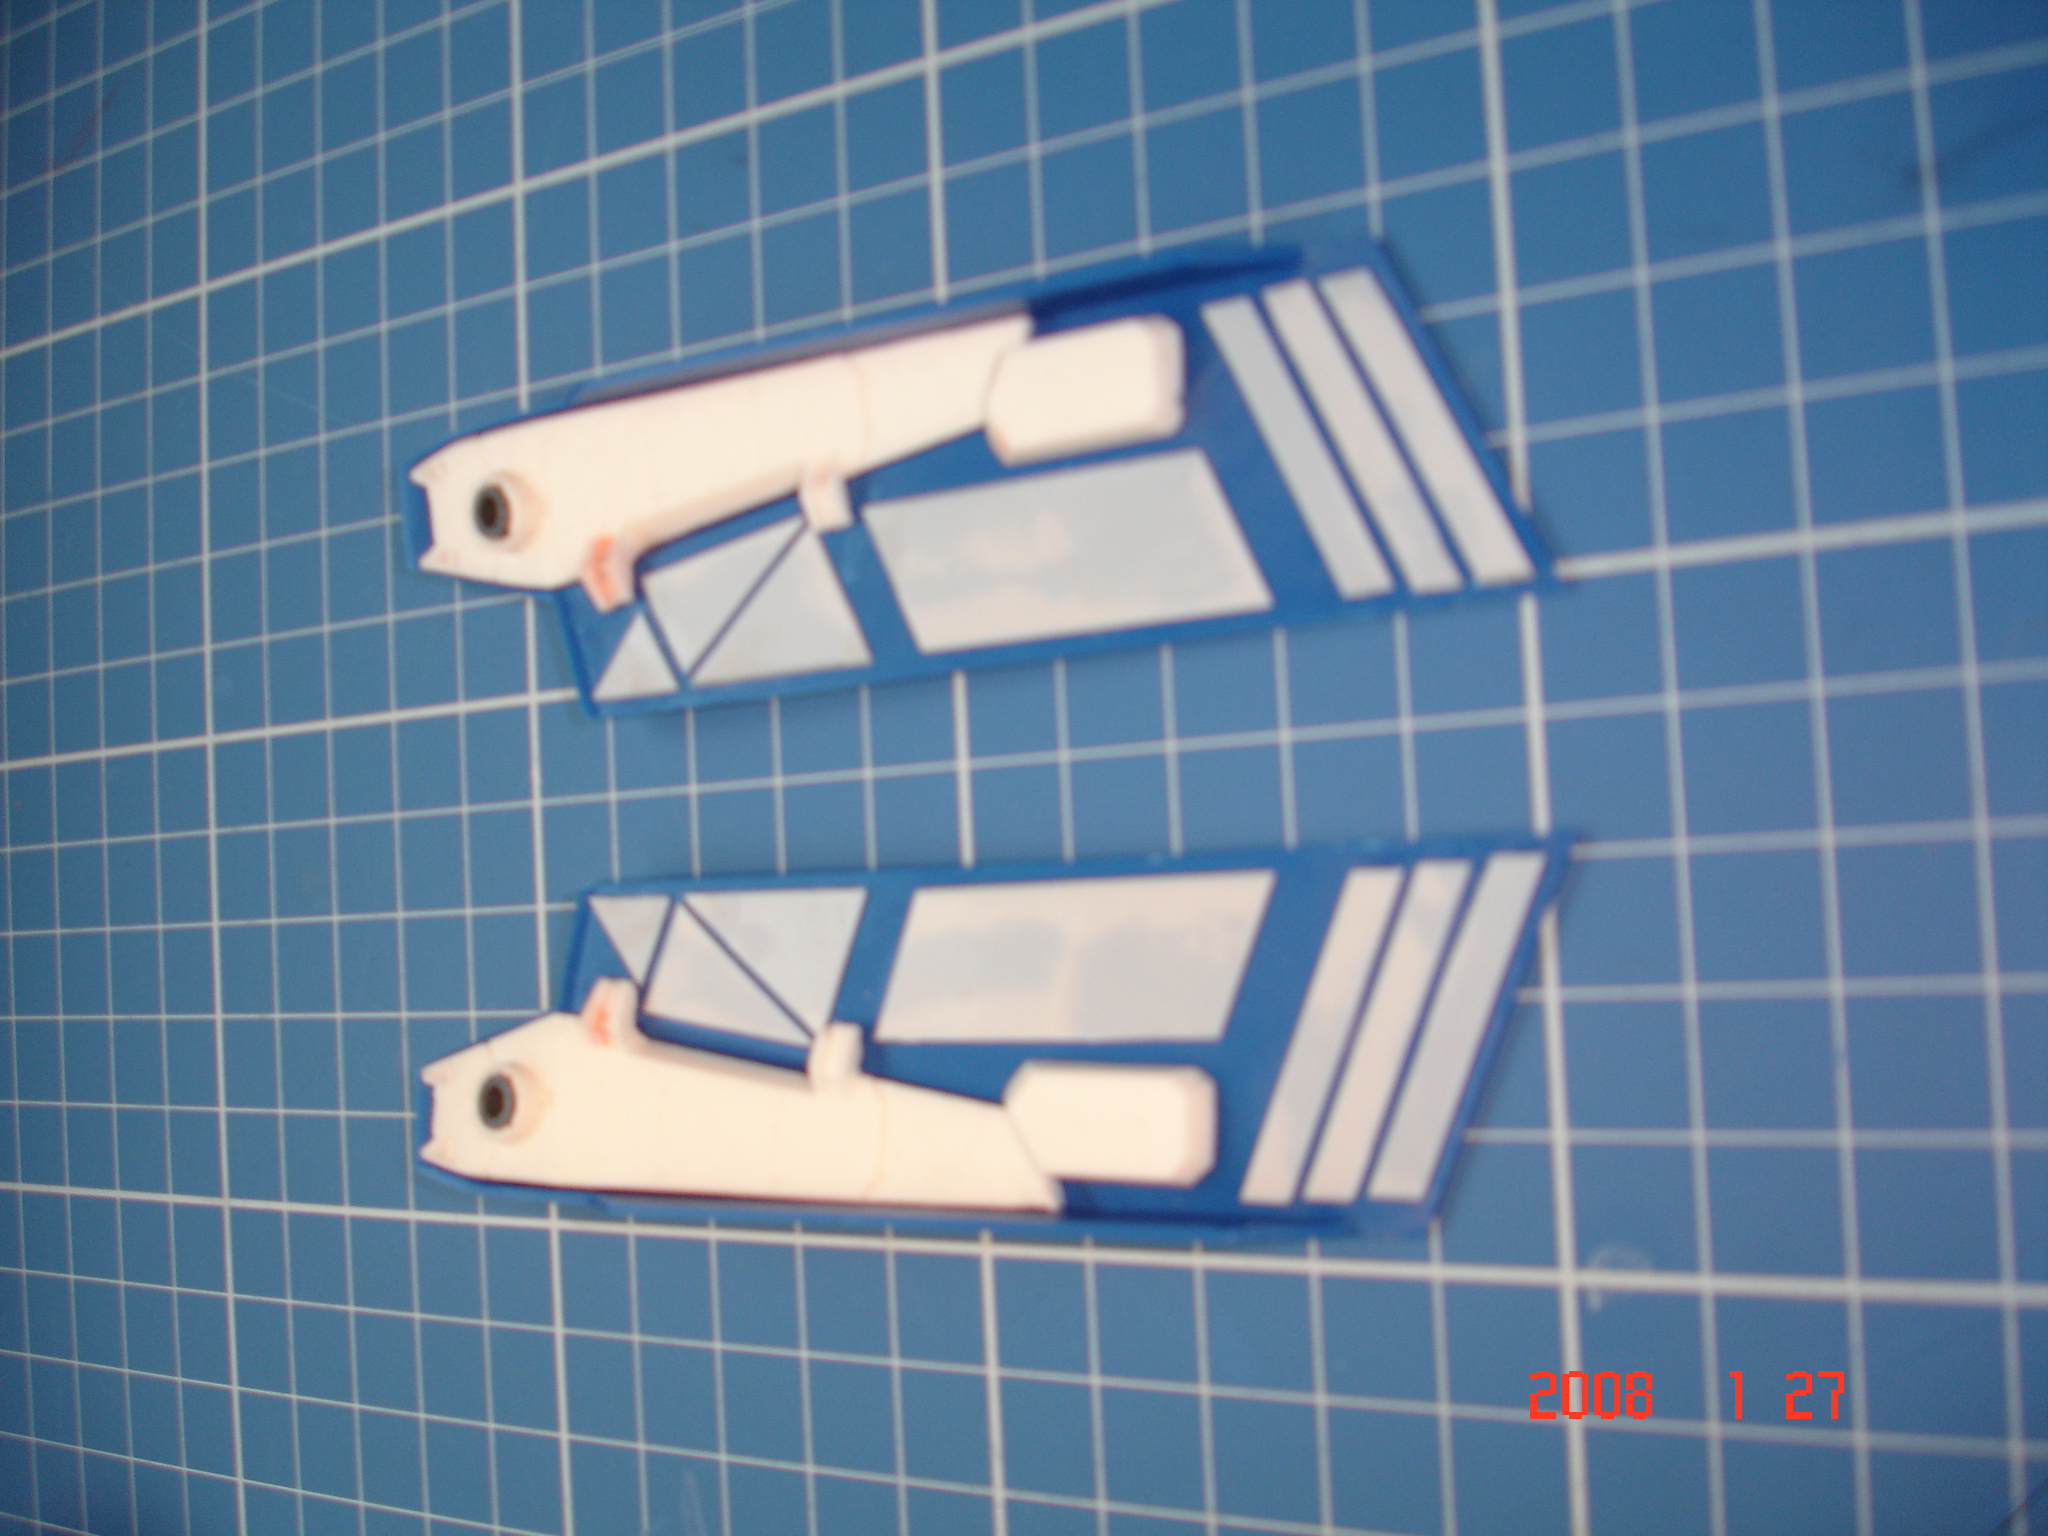
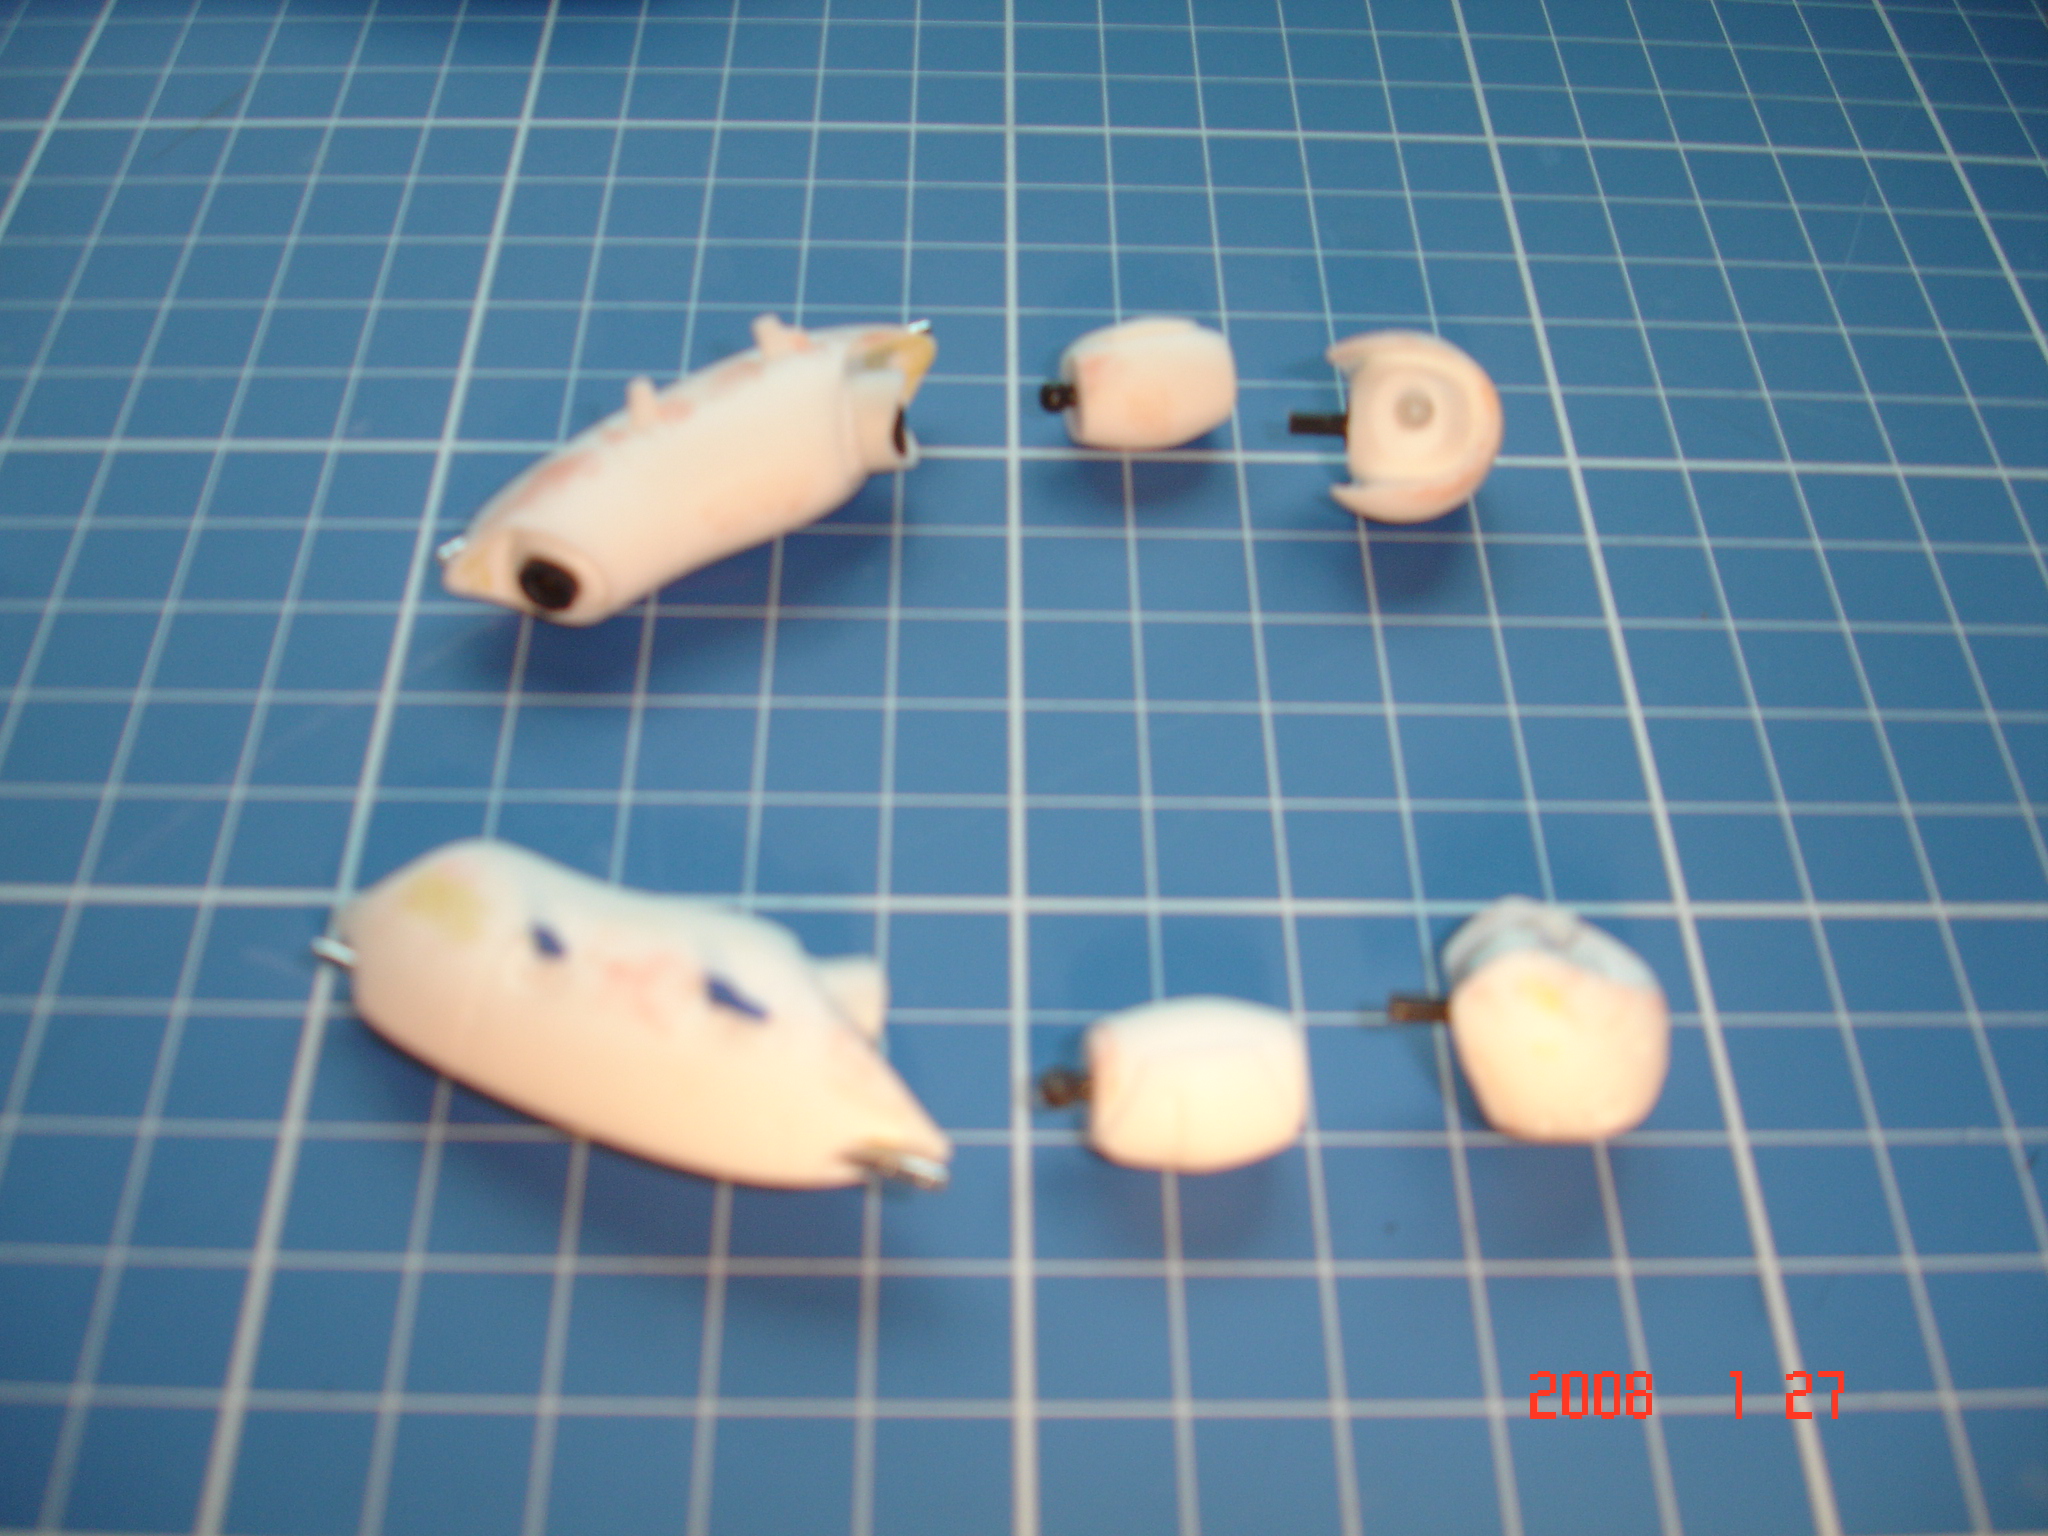
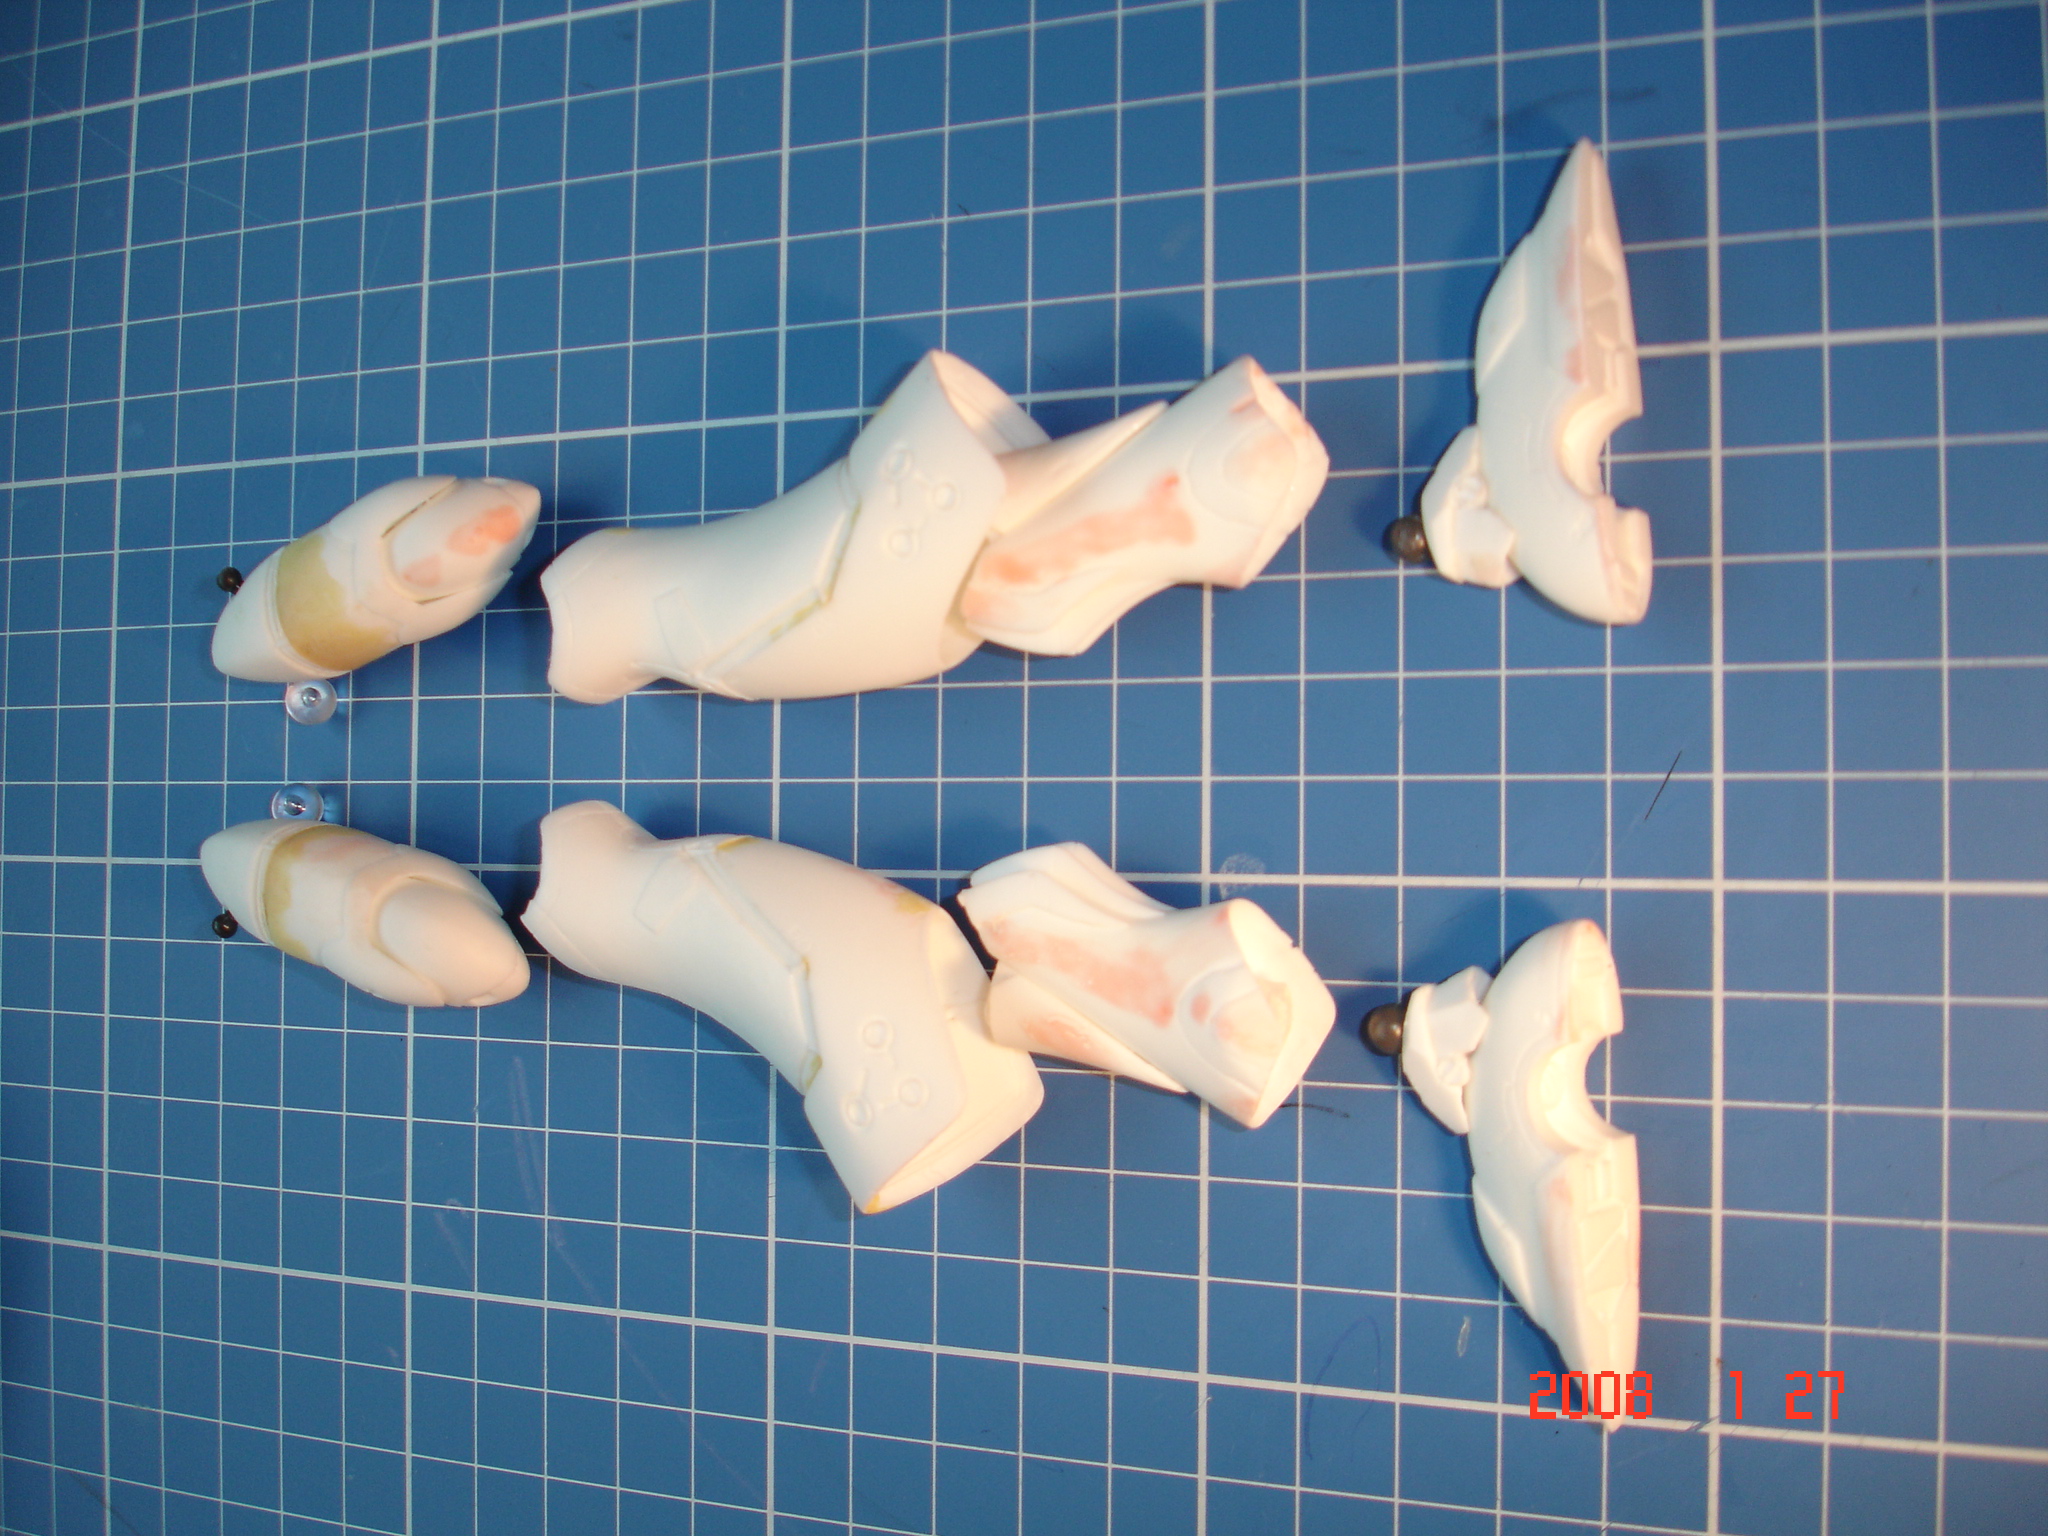
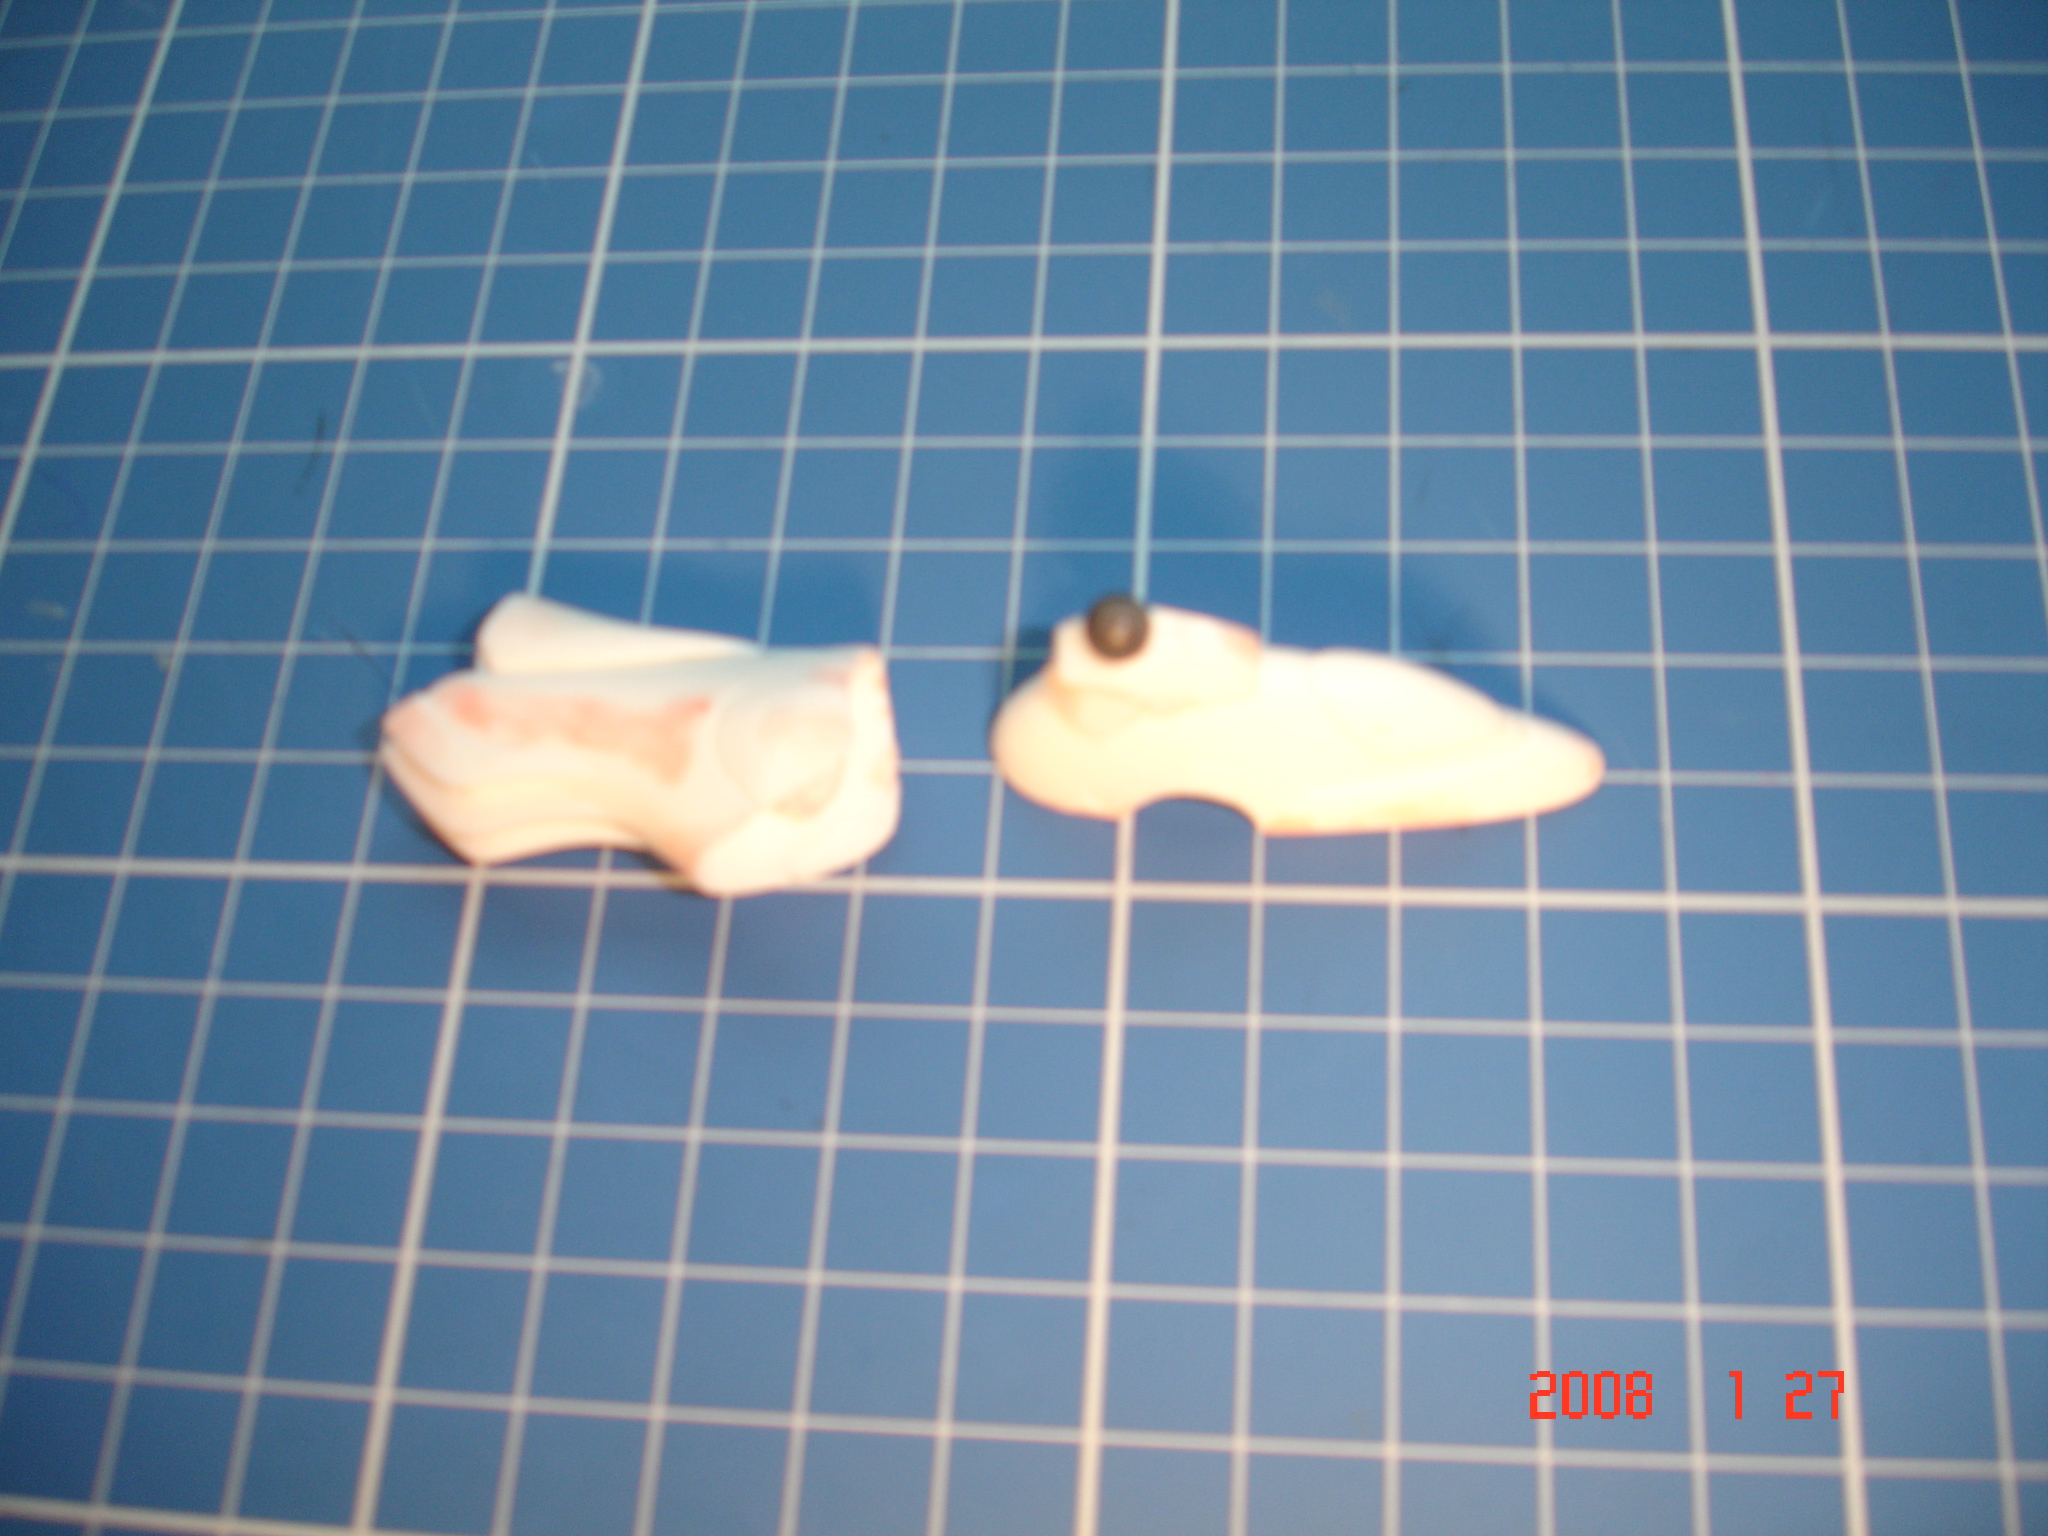
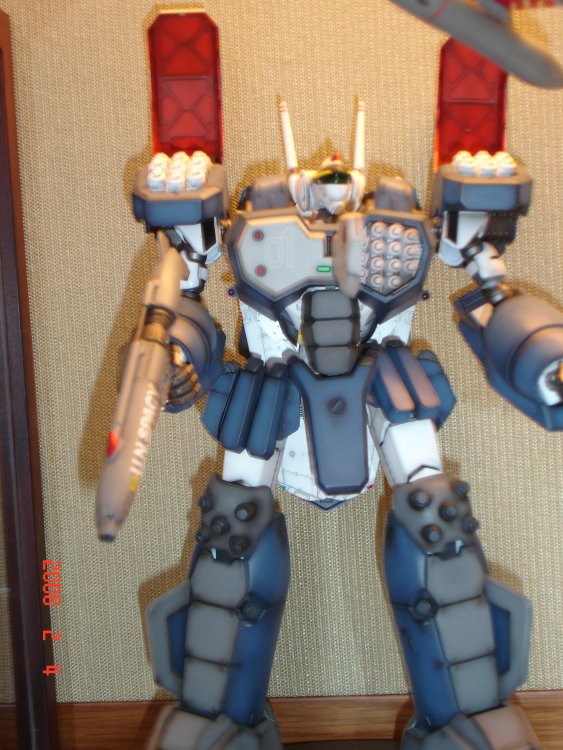
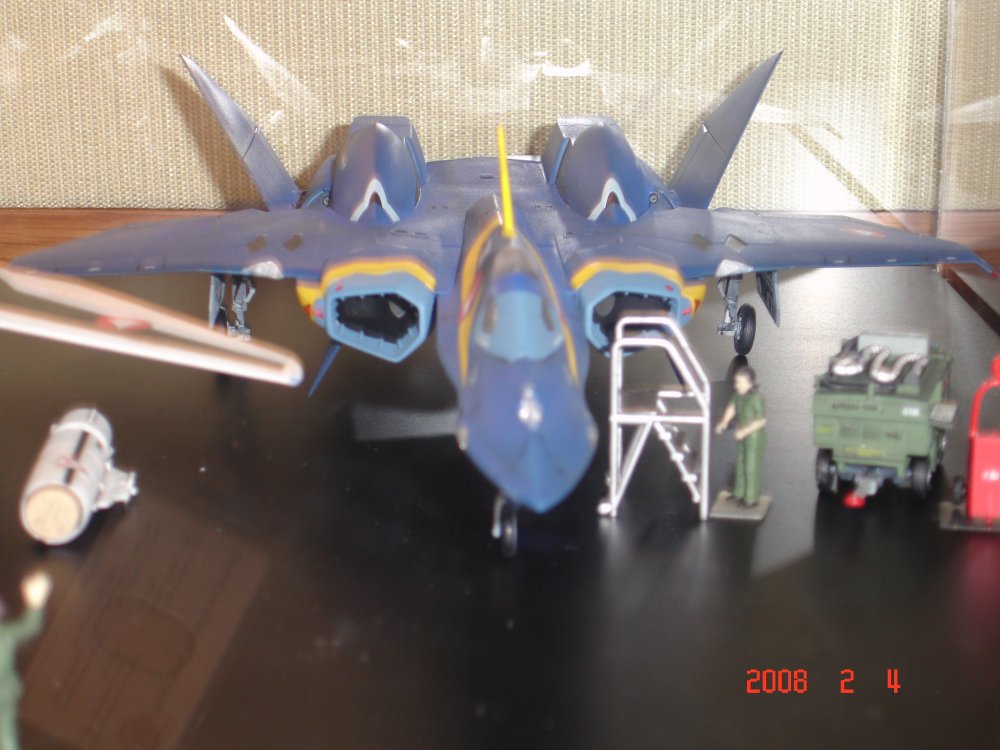
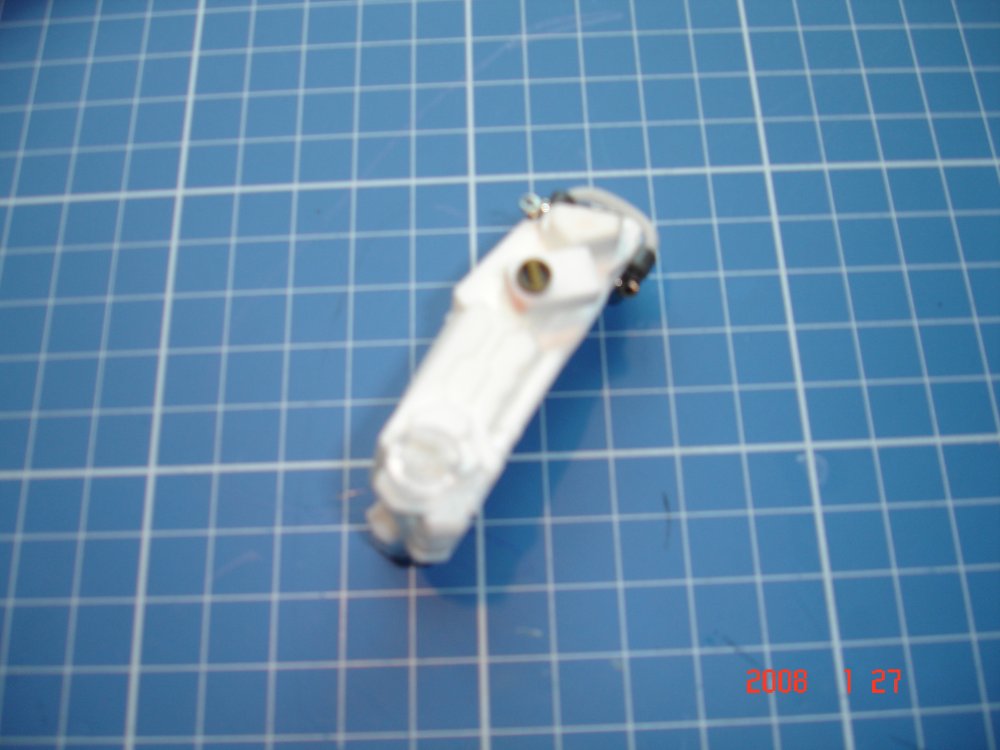
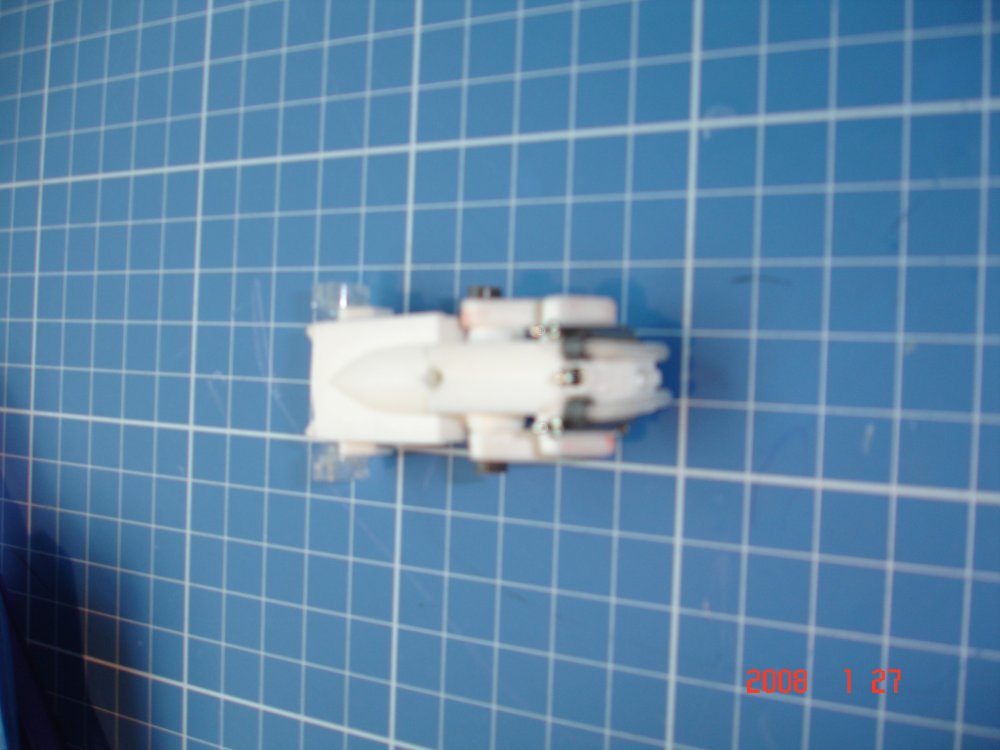
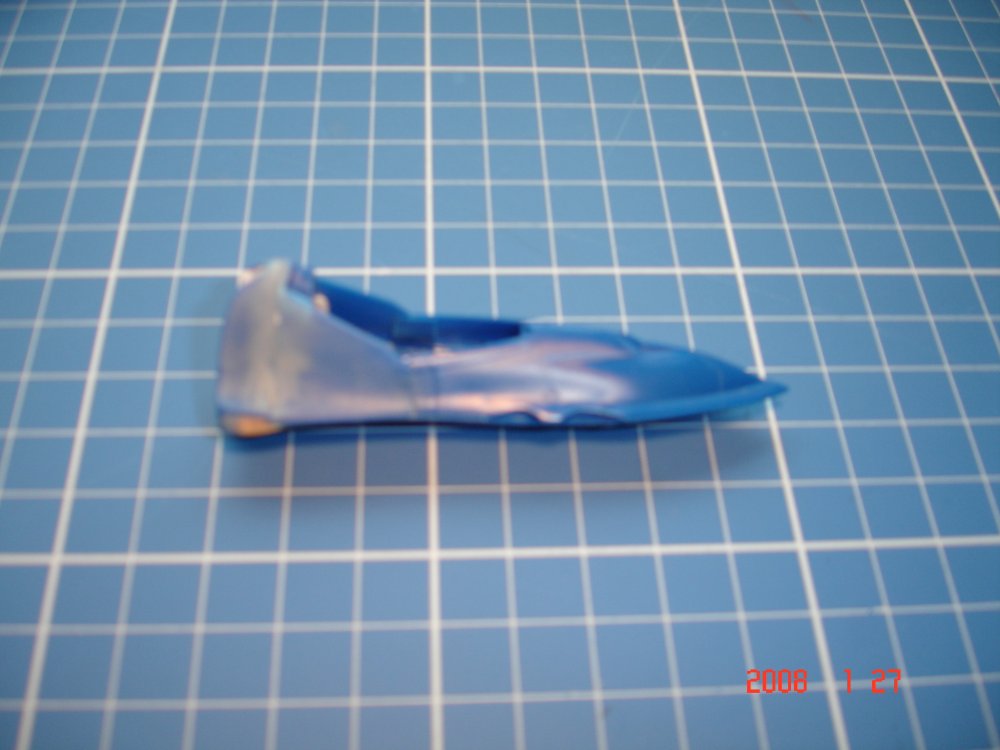
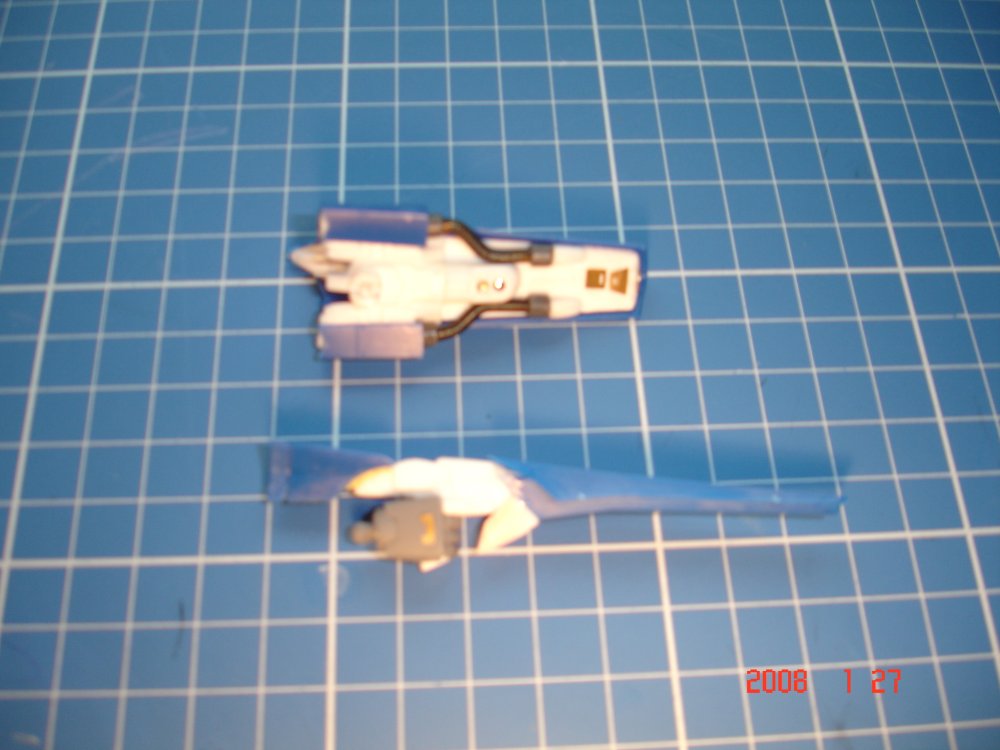
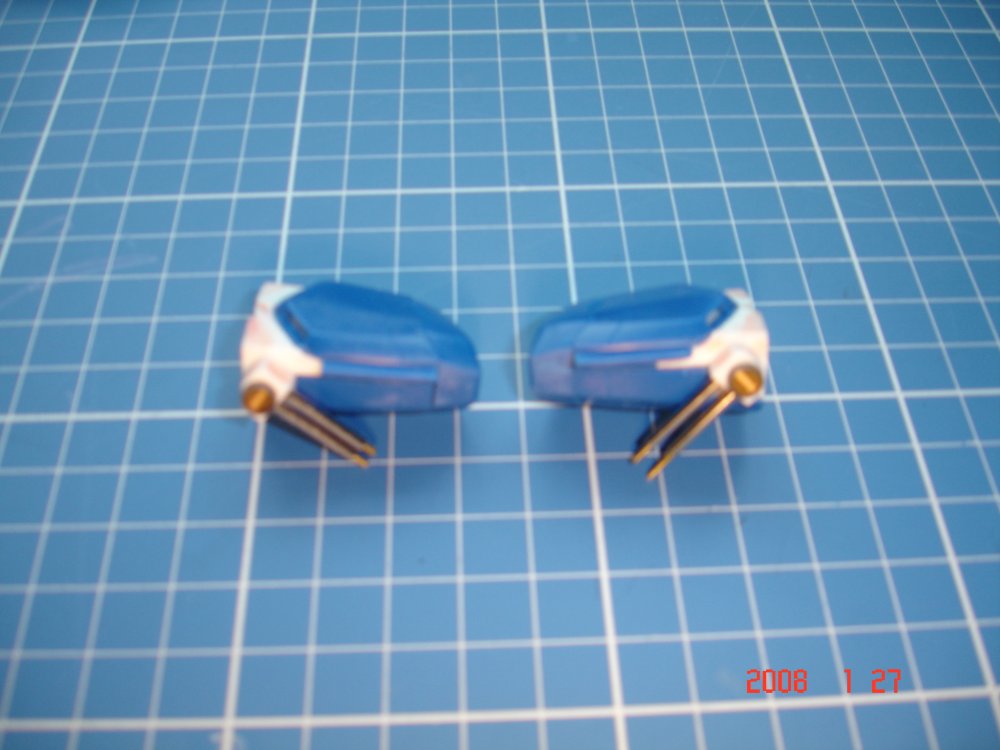
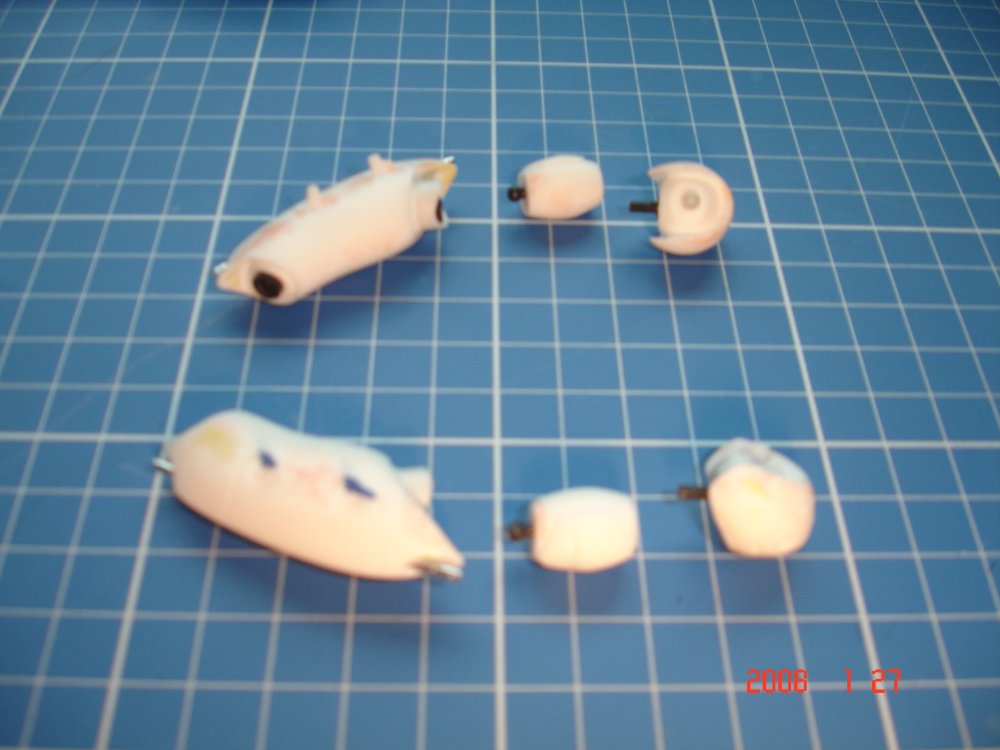
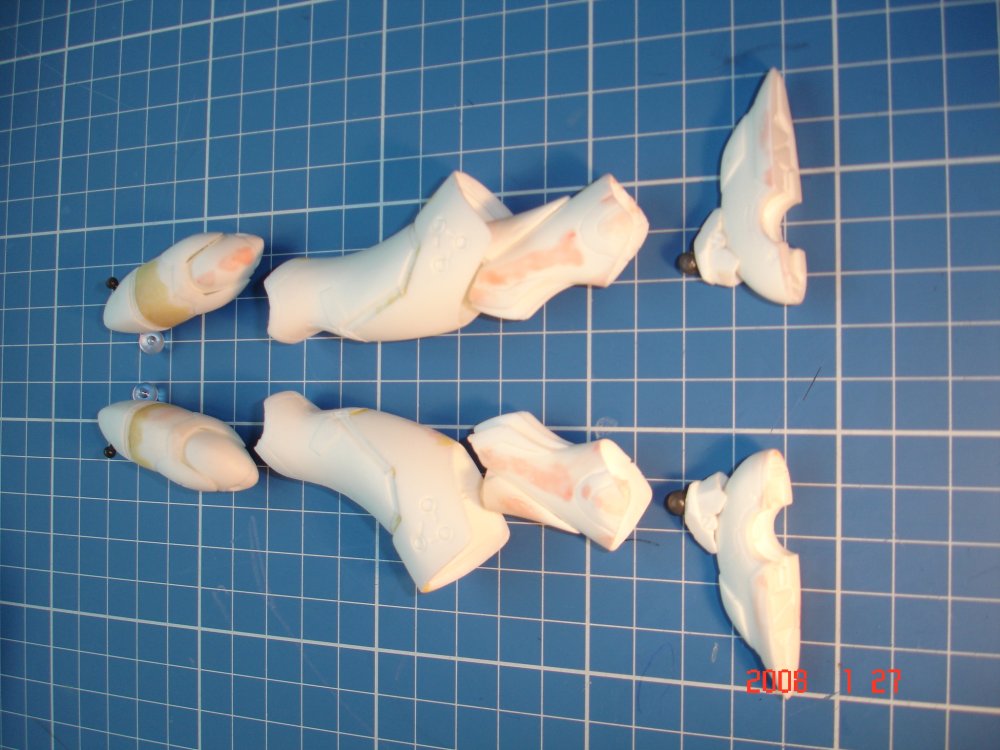
Hi, as promised in a post last week, attached are some pics showing the progress of the conversion of the Hasegawa 1/72 scale YF-21 to a YF-21/VF-22 Battroid. The resin parts were courtesy of the recast kit ("Gokigen-Seimitsu" conversion kit) from fellow MWer PsychoDynaMix. For your information, I have the original conversion kit (which I got off of a Yahoo! Japan auction a couple of years ago) and compared the two. The details and shape of some of the parts were different. I am wondering if there were multiple versions of these. I checked the photos of a WonderFest event from a few seasons back with completed battroids and it seemed that some parts were different for the YF-21 and the VF-22. At any rate, where I think lacked details, I used modeler's creativity to build in the blanks. Hope you like them. By the way, apologies for the low resolution/quality of the pics. Once completed, I will try to post with better resolutions. Above is the fuselage reshaped into the shorter Battroid mode. I followed the instructions to the letter but attaching the two main engine/burner covers was a pain. I filled in the blanks with epoxy putty, regular putty and resorted to a lot of sanding. Even the instruction says, use your modelling skills to achieve this. It would be nice if someone could just recast the shorter version of the fuselage. The instruction requires you to cut off a few panels in the lower body/hull to shorten it. But upon examining the linearts from KS, they are supposed to swivel and fold into a stack of slanted panels. Perhaps I will try that next time. The second photo shows the resin part with photoetched details I added. Above shows the body of the Battroid to which the limbs attach. As you can see (again, sorry for the poor picture quality), I have added ball joints for the legs, the shoulders and the head (Yellow Submarine - which I consider the best but quite hard to pull them apart once you attach them). I also added mecha option parts from Kotobukiya and photoetched parts for details as well as mesh pipes. The small recast parts to beef up the detail around the neck area were cast with too many bubbles and was impossible to clean up. So instead, I took some pipes and Gundam details to add hooks. Above shows the two intakes. I didn't like the pipes that were recast so I replaced them with brass pipes and wire. By separating the two parts, it makes them easier for me to clean them up, paint and assemble at the end. These intakes are to be attached to the fuselage. The lower side of the head unit with details I've added using springs, pipes, photo-etched and G-option parts. Above is the nosecone and the cockpit area which was sawed to shorten the length. Added epoxy and regular putty, after which a lot of sanding was done. The shoulders and the arms of the Battroid. I decided last minute to add the elbow joints. Thus, the shoulder attaches to the intakes using a ball joint. The upper arm attaches to the shoulder using regular poly cap. The lower arm with a scratch built elbow area (8 mm pipe and ball joint poly cap (Wave)) attaches to the upper arm using a ball joint. The hands (not shown in the picture - a 1/144 Gundam resin manipulaters) attach to the lower arm using ball joints (Wave). Above are the pics showing the legs and the joints. As previously discussed on another post, I decided not to make the knee joints move. Firstly, to preserve the linearts of the beautiful leg design as much as possible and secondly, for fear that anything short of a metal screw would not hold up the weight of this model. I believe another MWer had thoughts about this piece so I am open to suggestions. However, I did use the largest ball joints (Yellow Submarine) to attach the thighs to the body and the ball joints to attach the feet to the ankles. Above are the pics of the shields that will be attached to the outer side of the thighs, again, using ball joints. Details were added on the inner panel using sheet styrene. Thanks for looking and again, apologies for the poor picture quality. I finished masking these and other parts not in the pics for priming and will be painting them as soon as soon as the humidity drops a bit in Hong Kong. It's been too humid for a winter (even by Hong Kong standards). We have lunar new year holidays coming up and as I plan to have guests over, I may not be getting around to painting for quite some time. In the meantime, if any of you have suggestions for improvement (falling short of making this into a fully transformable model ), please let me know. I welcome criticism as well as comments.


-
I have the first one as well, all cleaned up and waiting assembly. I was thinking of scratchbuilding the cockpit but will put that on hold. Sign me up for one.
-
1/72 YF-21/VF-22 Hasegawa Battroid Conversion
valkyrie13 replied to PsYcHoDyNaMiX's topic in Model kits
Sure. I will post some pics later this week or early next week. For me, the ankles were easy. I just took the medium-size ball joints available (I used the clear ones made by Yellow Submarine - which tend to be the sturdiest in my opinion) and connected them. Because the socket protrudes a bit, a lot more details of the top of the feet show now (which I kind of like) and makes the battroid stand taller. As for the knee joint, it should be a lot more work. Since I have an extra kit, I might try tackling this next time. -
1/72 YF-21/VF-22 Hasegawa Battroid Conversion
valkyrie13 replied to PsYcHoDyNaMiX's topic in Model kits
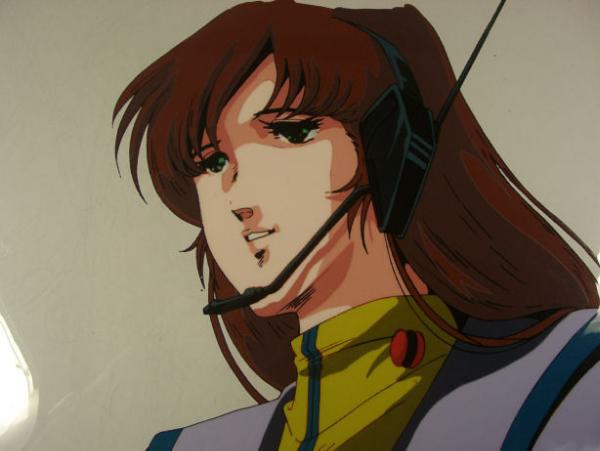
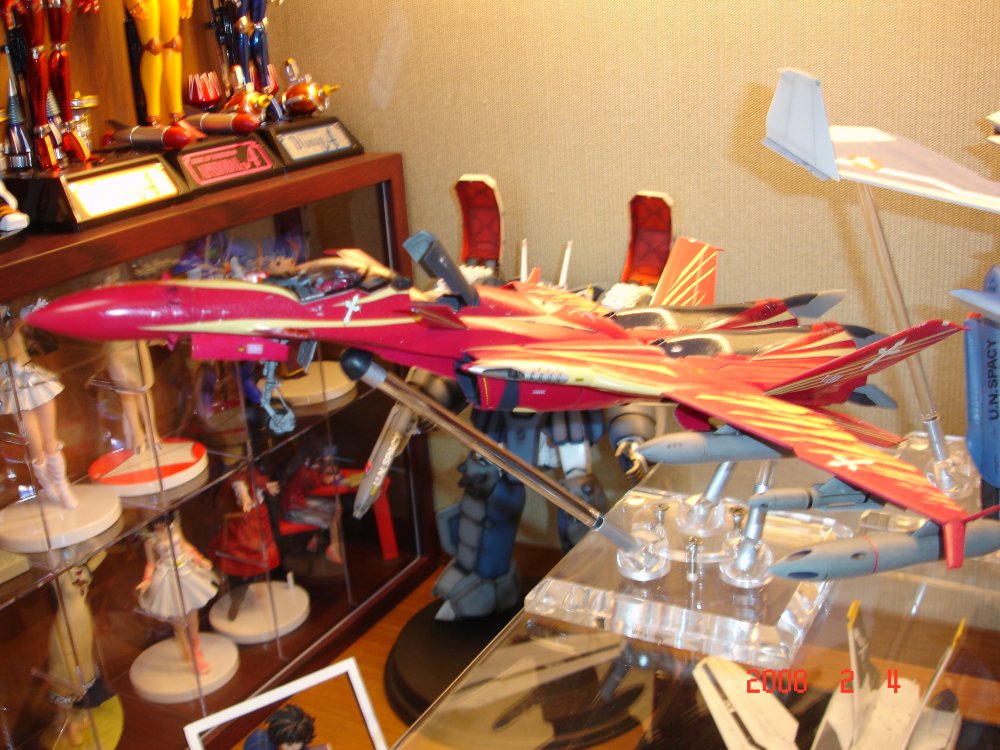
Has any one completed this conversion kit? I am near completion on mine (putty applied and requires last bit of sanding - a lot of sanding and drilling went into this one) and expect to post some pics later this week or early next week. I would like to see what others did on this as well. FYI, I have added a few ball joints and poly caps. It's not completely poseable since I did not add joints to the knee or elbow. Adding them could ruin the original design (unless I completely rebuilt/resculpted those joints - for which I didn't have time or the energy after all the sanding and drilling). However, with the joints added, I can get the arms and the legs to rotate, the wrists and the ankles were attached using ball joints for better poseability. By the way, does anyone have a cool color scheme for a battroid YF-21/VF-22? I am thinking of going slightly off-canon... I am considering a prototype Milia (with the red-tone color scheme) but if there's anything else that might catch the eye, I am open to suggestions. -
I would not necessarily translate "de" to connotate a negative of "culcha". It is pretty obvious that the word "culcha" came from "culture" which the Zentradi lacked. However, unlike the use of "de" in English words such as "denounce" or "degrade", I believe the producers looked to a Roman language other than English such as French or Spanish (or Portugese?), etc. in coining this word. In French and Spanish, the word "de" means "of". So in other words, "De Culcha" would mean "of culture" or "belonging to culture", which to a Zentradi would be an unthinkable event. It also matches the original Japanese word "baka-na". The word "na" in Japanese is used to turn a noun into an adjective. Thus the word "baka", literally translated to "fool", becomes "foolish" or "fool-like" by adding the word "na". Note that one of the earliest explorers from the West to visit Japan, China and other parts of Asia were Portugese, Spanish, Dutch and so forth (who all speak the Roman languages that derive more of their roots from, and thus more closely resemble, Latin) as compared to the English and the Americans (who speak English).
-
While the word "バカな" would mean "stupid" or "ridiculous" if literally translated... in colloquial Japanese, it is used as an exclamation which can have multiple meanings, including WTF, What the hell, Holy Cow, Holy Crap, Holy Macaroni, Ridiculous!, Sweet Jesus, Incredible! and the like (you get the drift). So if the word "De Culture" was coined to mean "バカな" as used in Japanese, then the phrase "gorgeous, delicious, de culture" would not necessarily be so weird. The most appropriate translation in my view would be "gorgeous, delicious, incredible"....