Fly4victory
-
Posts
1646 -
Joined
-
Last visited
Content Type
Profiles
Forums
Events
Gallery
Everything posted by Fly4victory
-
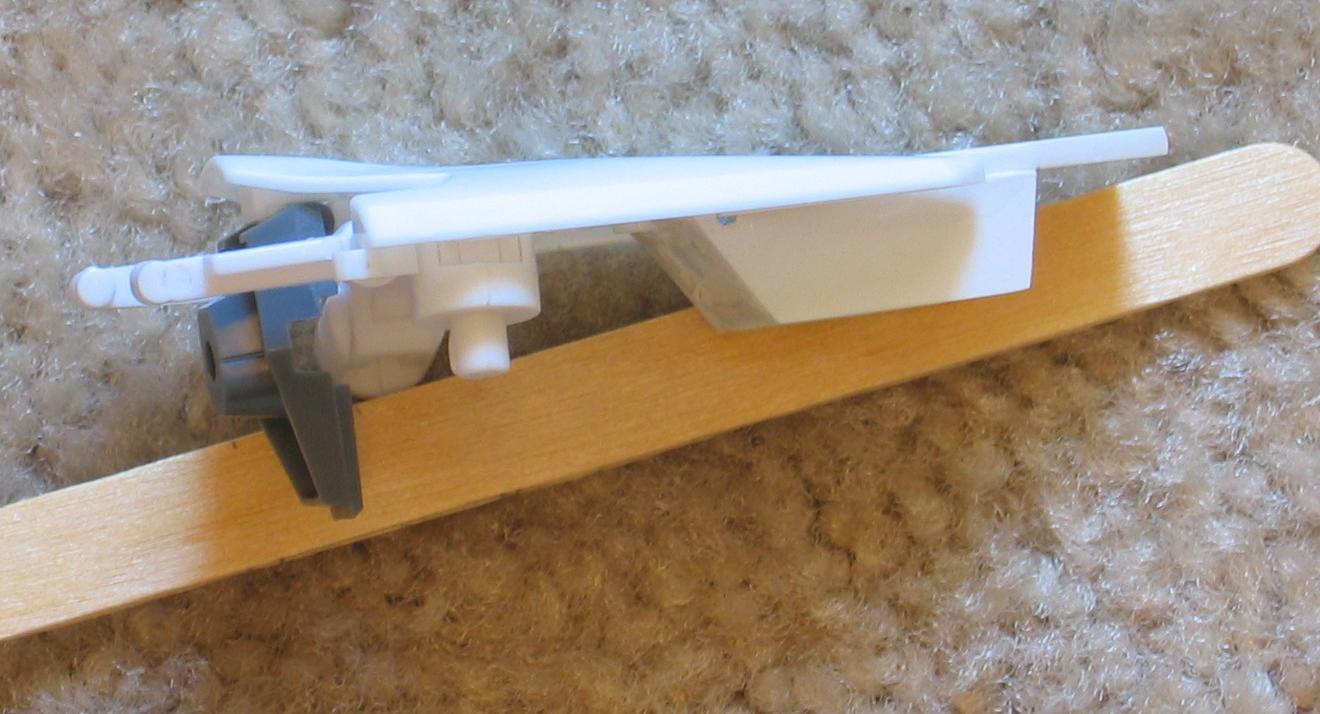
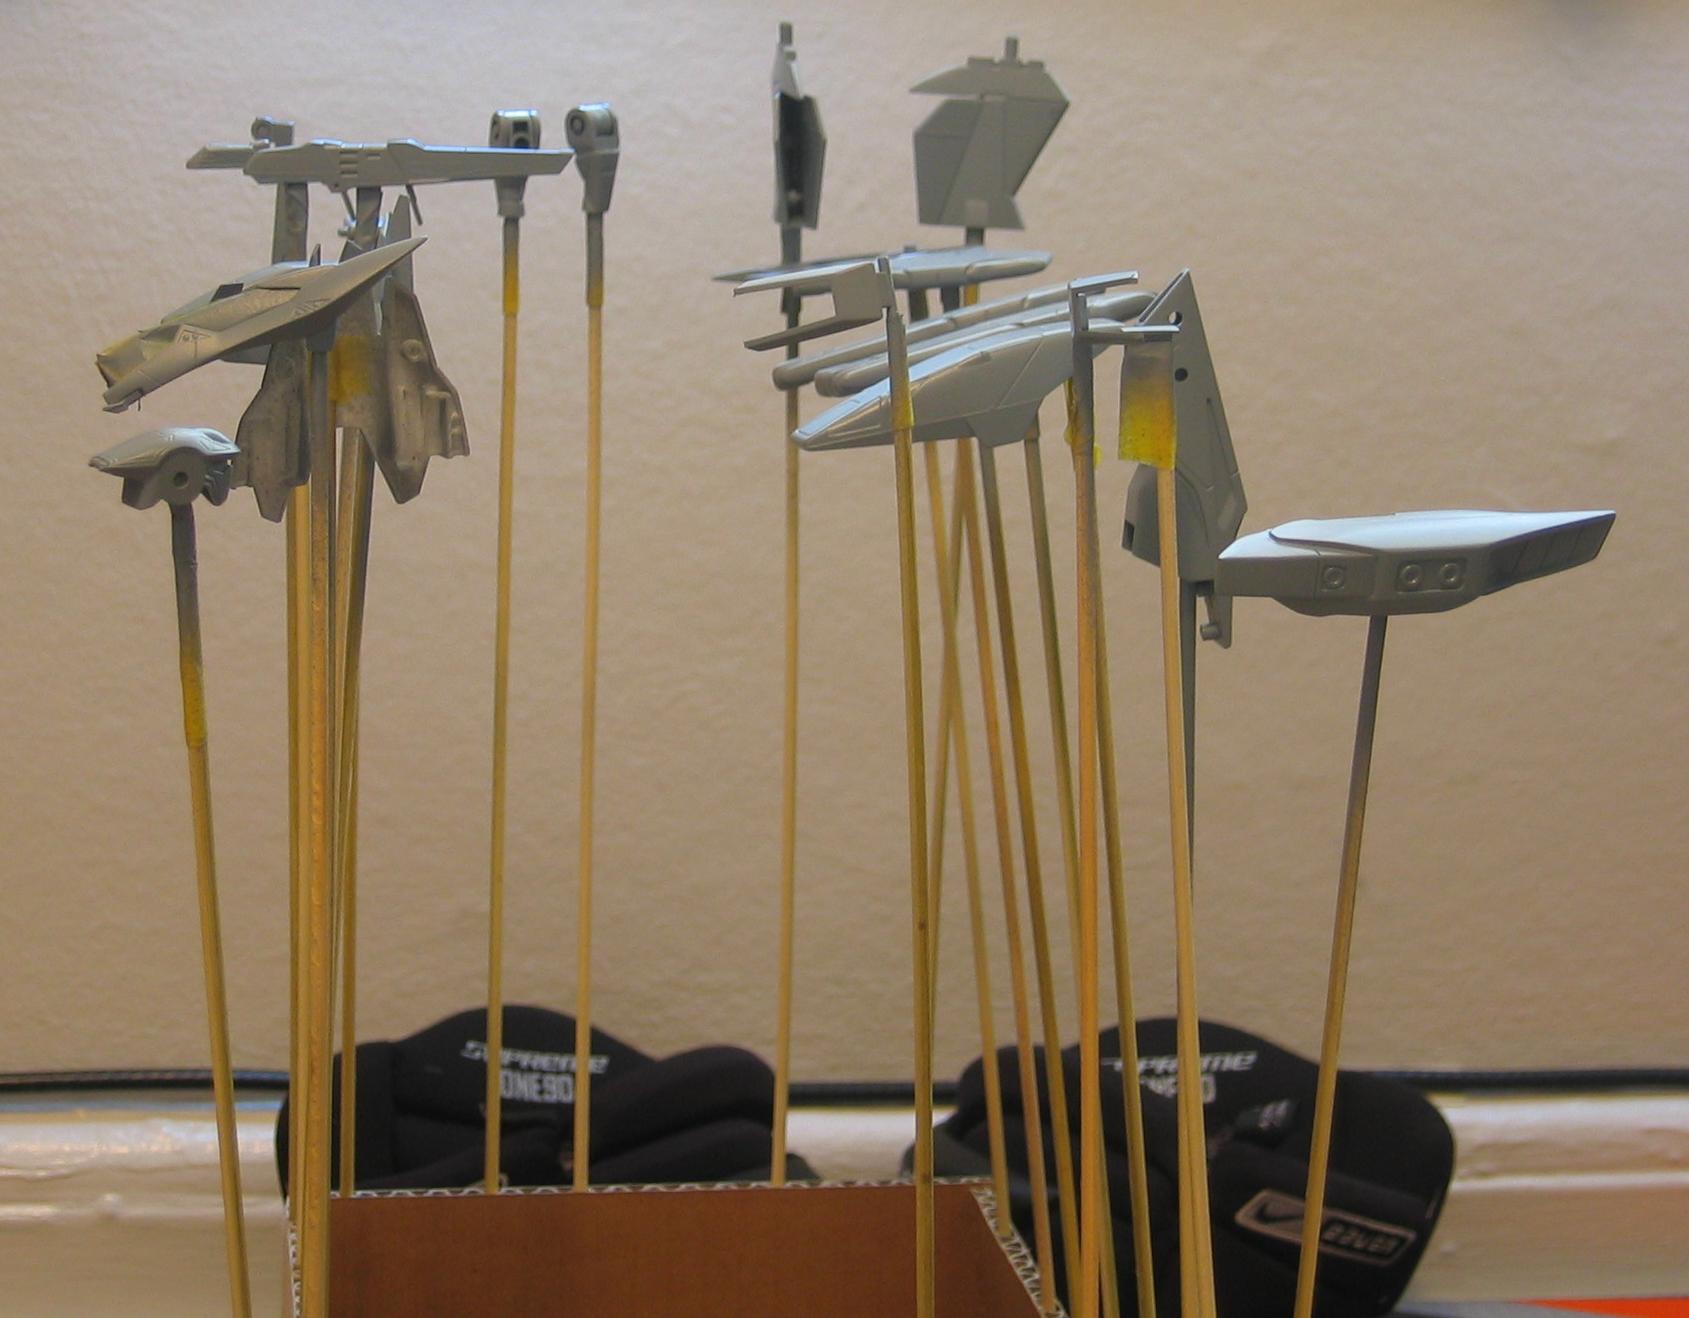
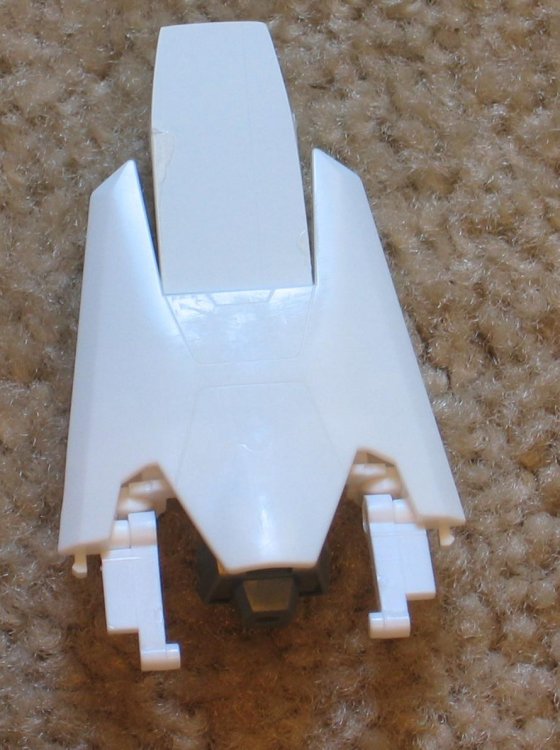
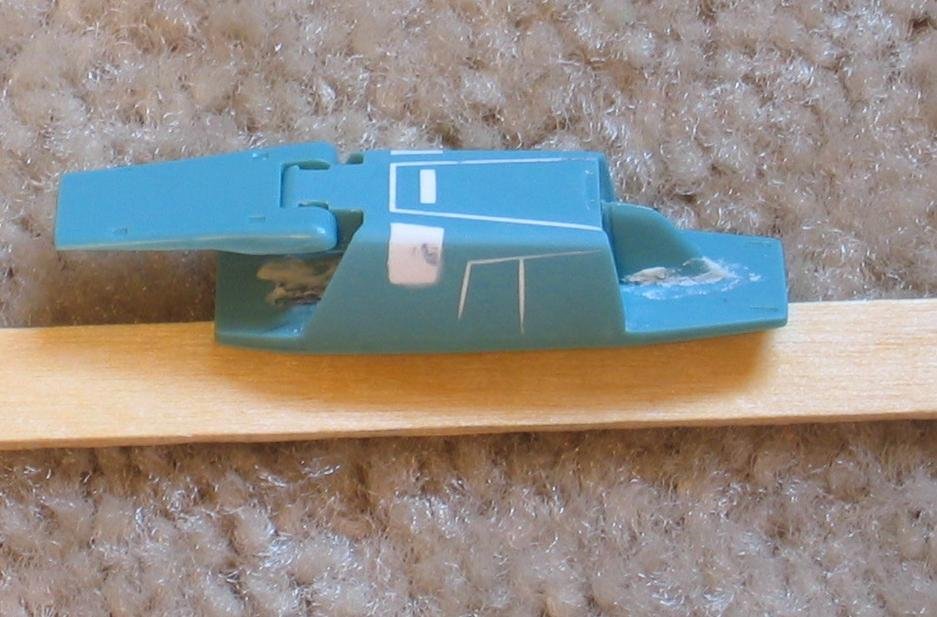
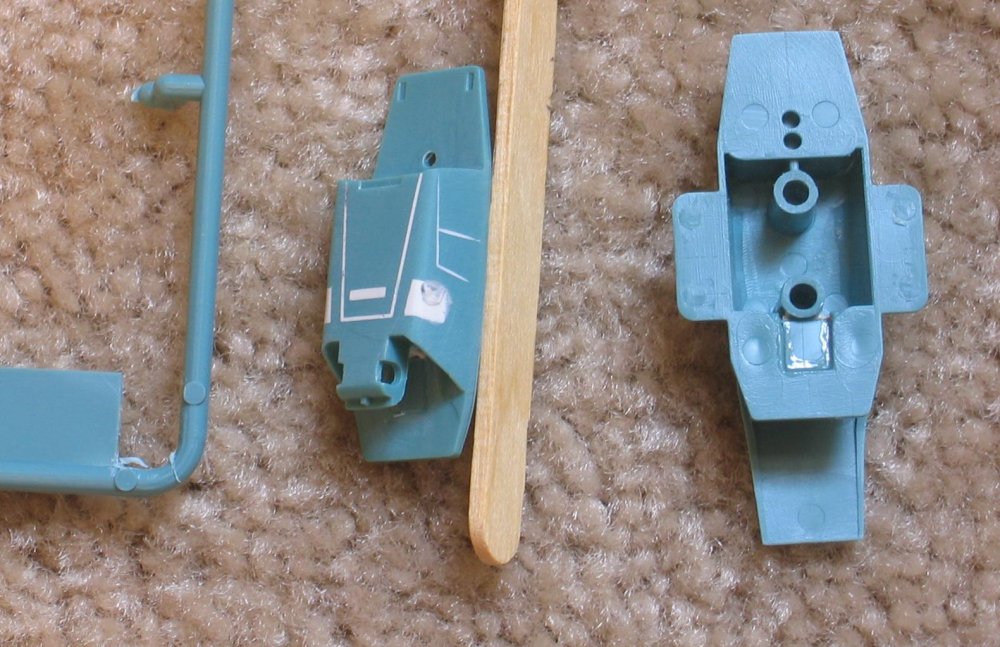
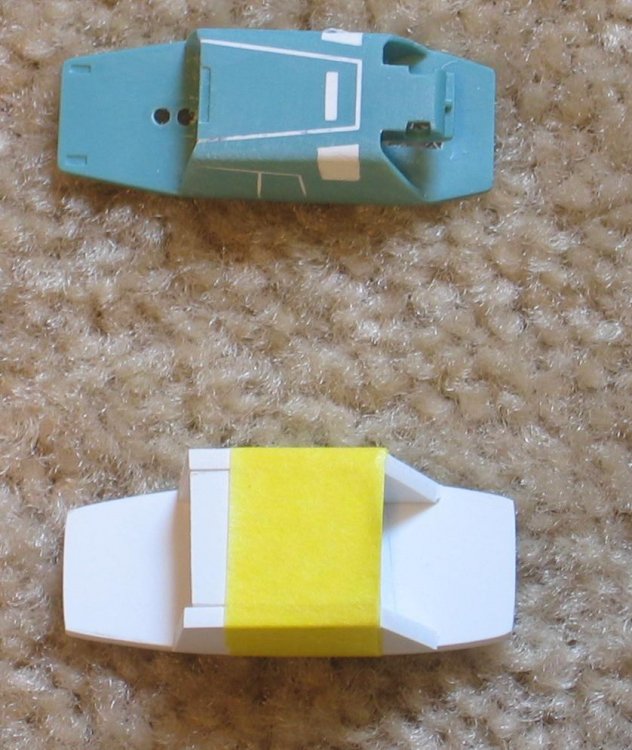
After the epoxy is dry on the airframe, trim any excess. It is difficult to see but it is shaped like an I beam. Now fit the styrene backpack to the bottom of the airframe. This part is required for the tail section (minus SAP) when in fighter mode.

-
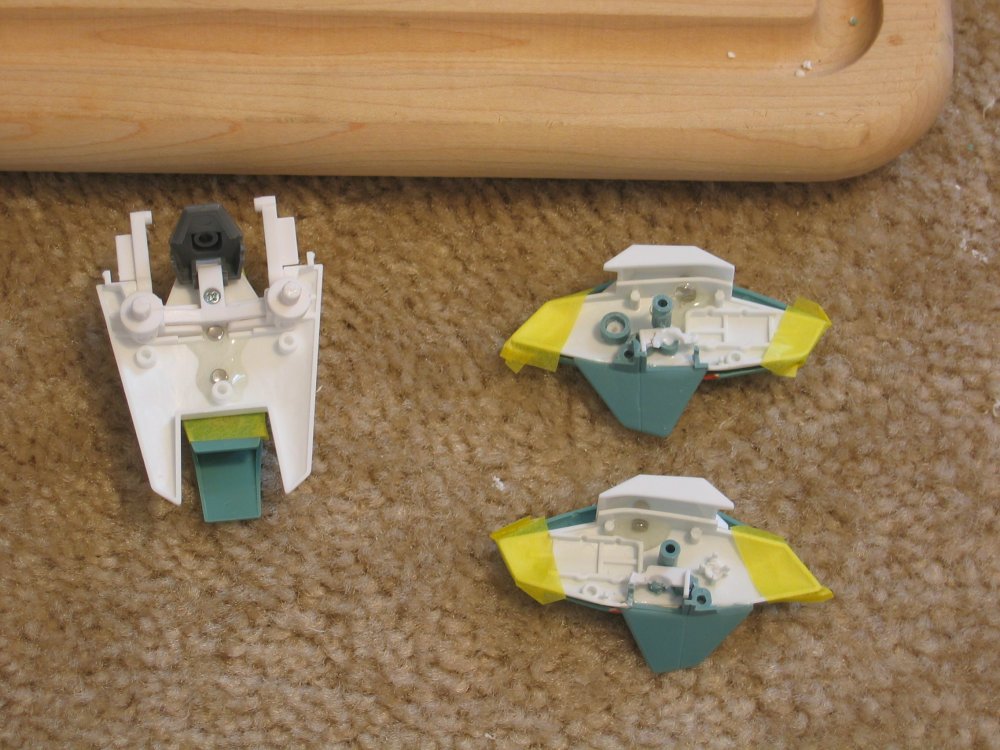
Not much done in the past few days, hate when work interrupts fun. Installed the magnets on the airframe for holding the backpack and inside the engines to hold the SAP leg armor. Taped the armor, placed the magnet and then dropped some epoxy. Installed the magnets on the wings and sanded. Primered what parts I could. Forearms done minus some finish sanding.


-
The way the kit was is why this thing stayed in the box so long.
-
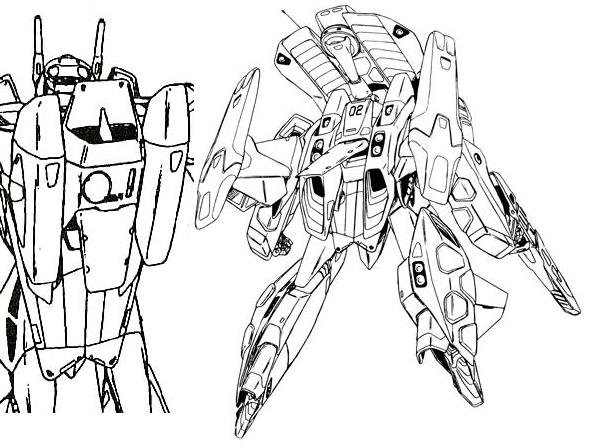
I think the Urban GBP is close enough to the Thunder Hammer. If it is molded in light gray then then I'd strip off the odd patterns and then decal it like the Thunder Hammer. Here's a quicky.
-
HLJ went from August to Future Release.
-
Official Releases of DVD & Blue-Ray.
Fly4victory replied to ruskiiVFaussie's topic in Movies and TV Series
Interesting Idea but I am old and don't like down loads. Guess I will wait for a Hong Kong release of the DVD with subtitles. -
Macross Ace Frontier for the PSP.
Fly4victory replied to UN Spacy's topic in Hall Of The Super Topics
And he the bringer of false hope for early release is condemned. The sentence last to receive the Macross F Game. Very clever to put your photos on the PSP. -
Official Releases of DVD & Blue-Ray.
Fly4victory replied to ruskiiVFaussie's topic in Movies and TV Series
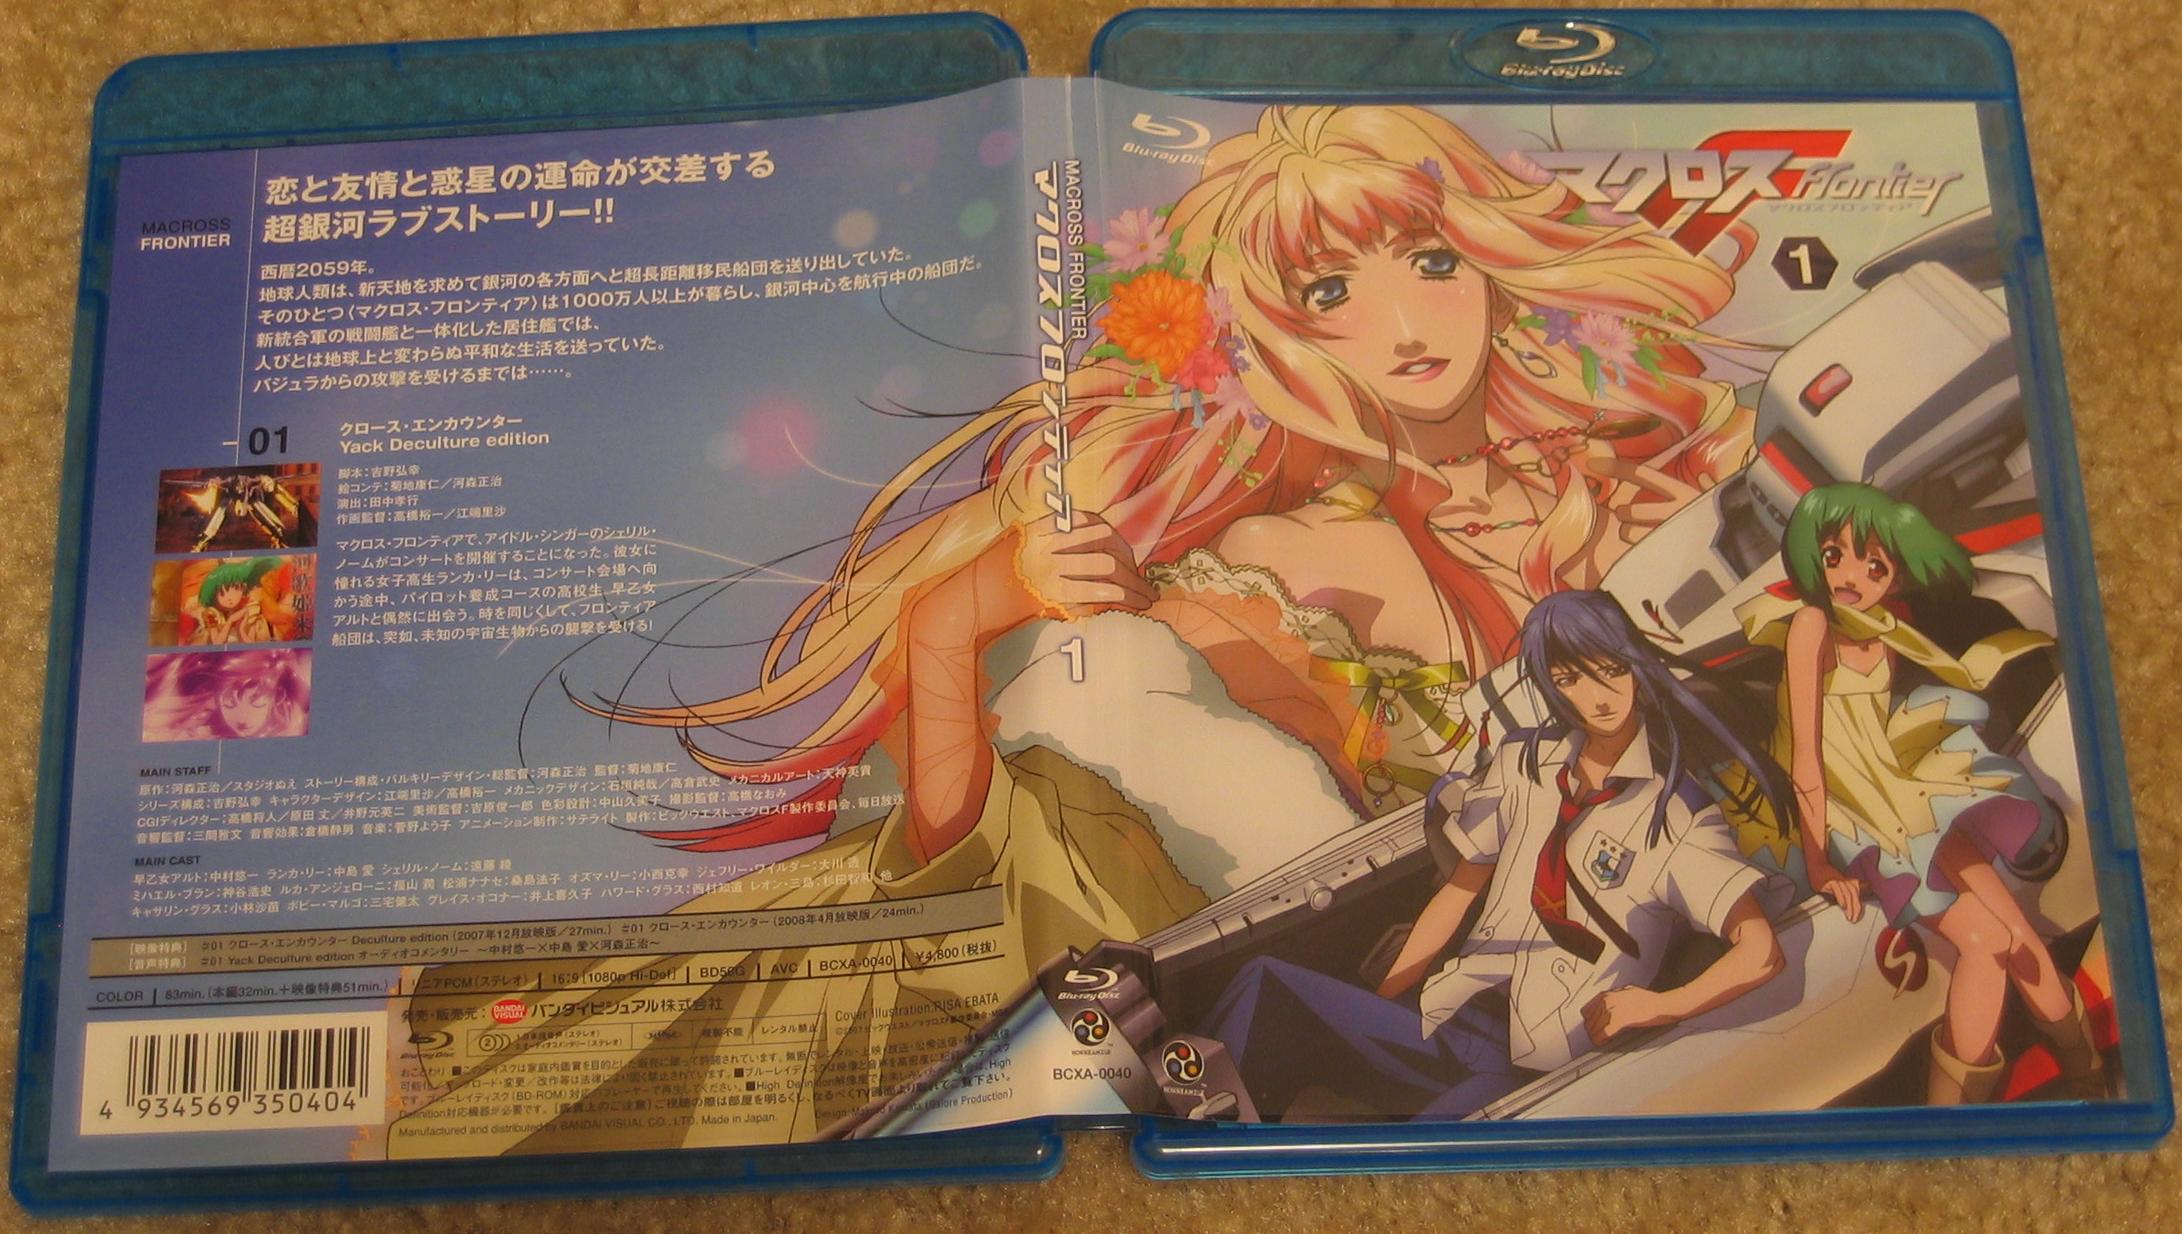
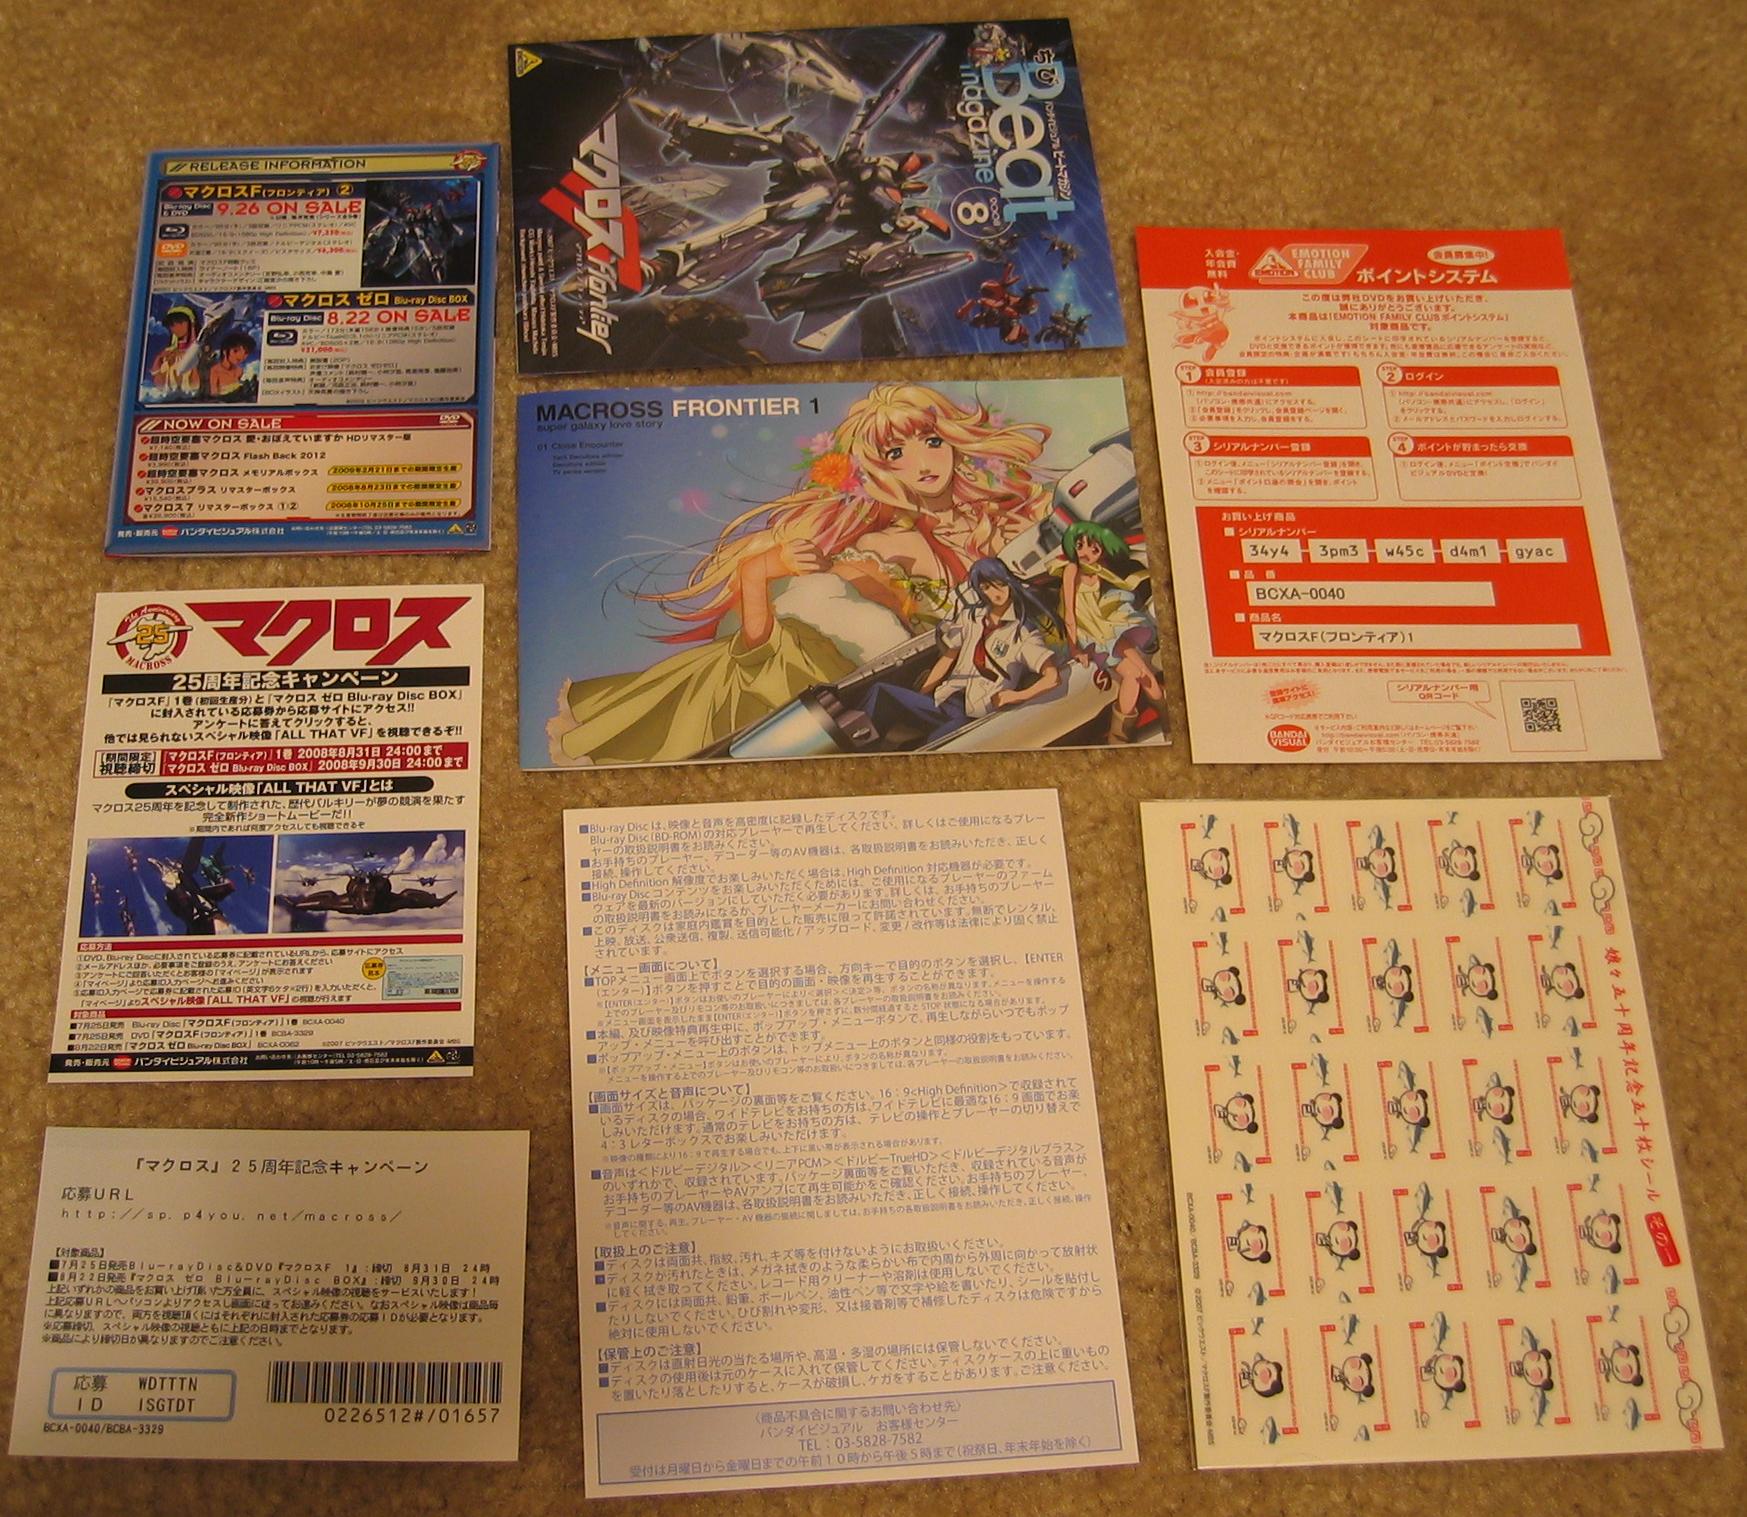
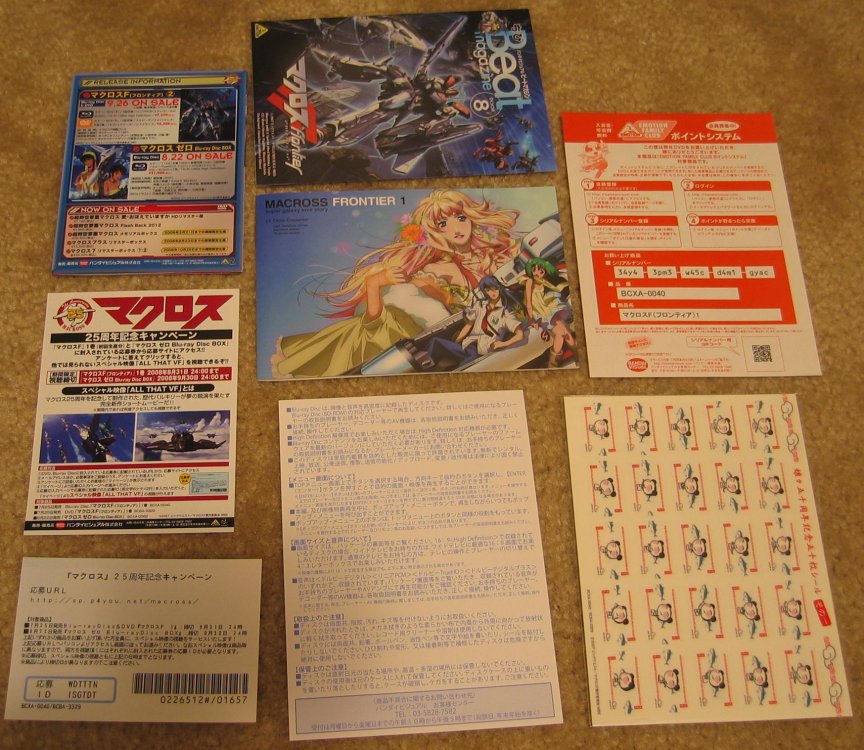
All that stuff in the photo was inside the case. Working from the lower left corner up. 1. Card that I guess is proof that this is a real Bandai Visual Blu-Ray or a way to register your disk. 2. Future release information on Macross F with a picture of VF-25s and VB-6 information. 3. Future release of other Macross DVD's note the Blu-ray Macross Zero. Center column 1. Technical info on Blu-ray disks. 2. The Macross F story and art book. 3. Beat Magazine is a list of music releases, not all Macross. Right column 1. Yum Yum stickers, like bonus stamps for a restaurant. 2. Membership card to the Emotion Fan Club. This is all a guess. Hope that someone that can read Japanese can confirm or deny my speculation. -
Macross Ace Frontier for the PSP.
Fly4victory replied to UN Spacy's topic in Hall Of The Super Topics
I just got the Macross F Blu-Ray from Yesasia.com this is also where I got the Gundam and Eureka Seven PSP games. Here is an advertisement for the Macross Ace Frontier game that was in with the DVD.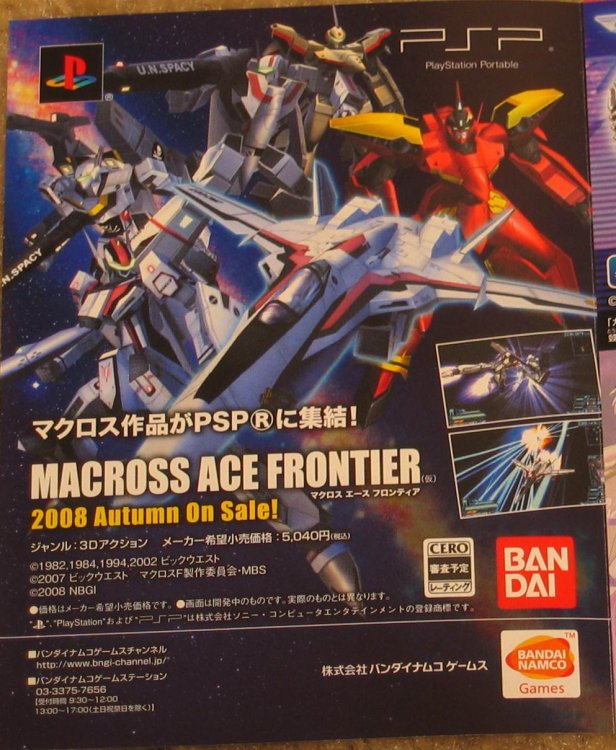
-
Official Releases of DVD & Blue-Ray.
Fly4victory replied to ruskiiVFaussie's topic in Movies and TV Series
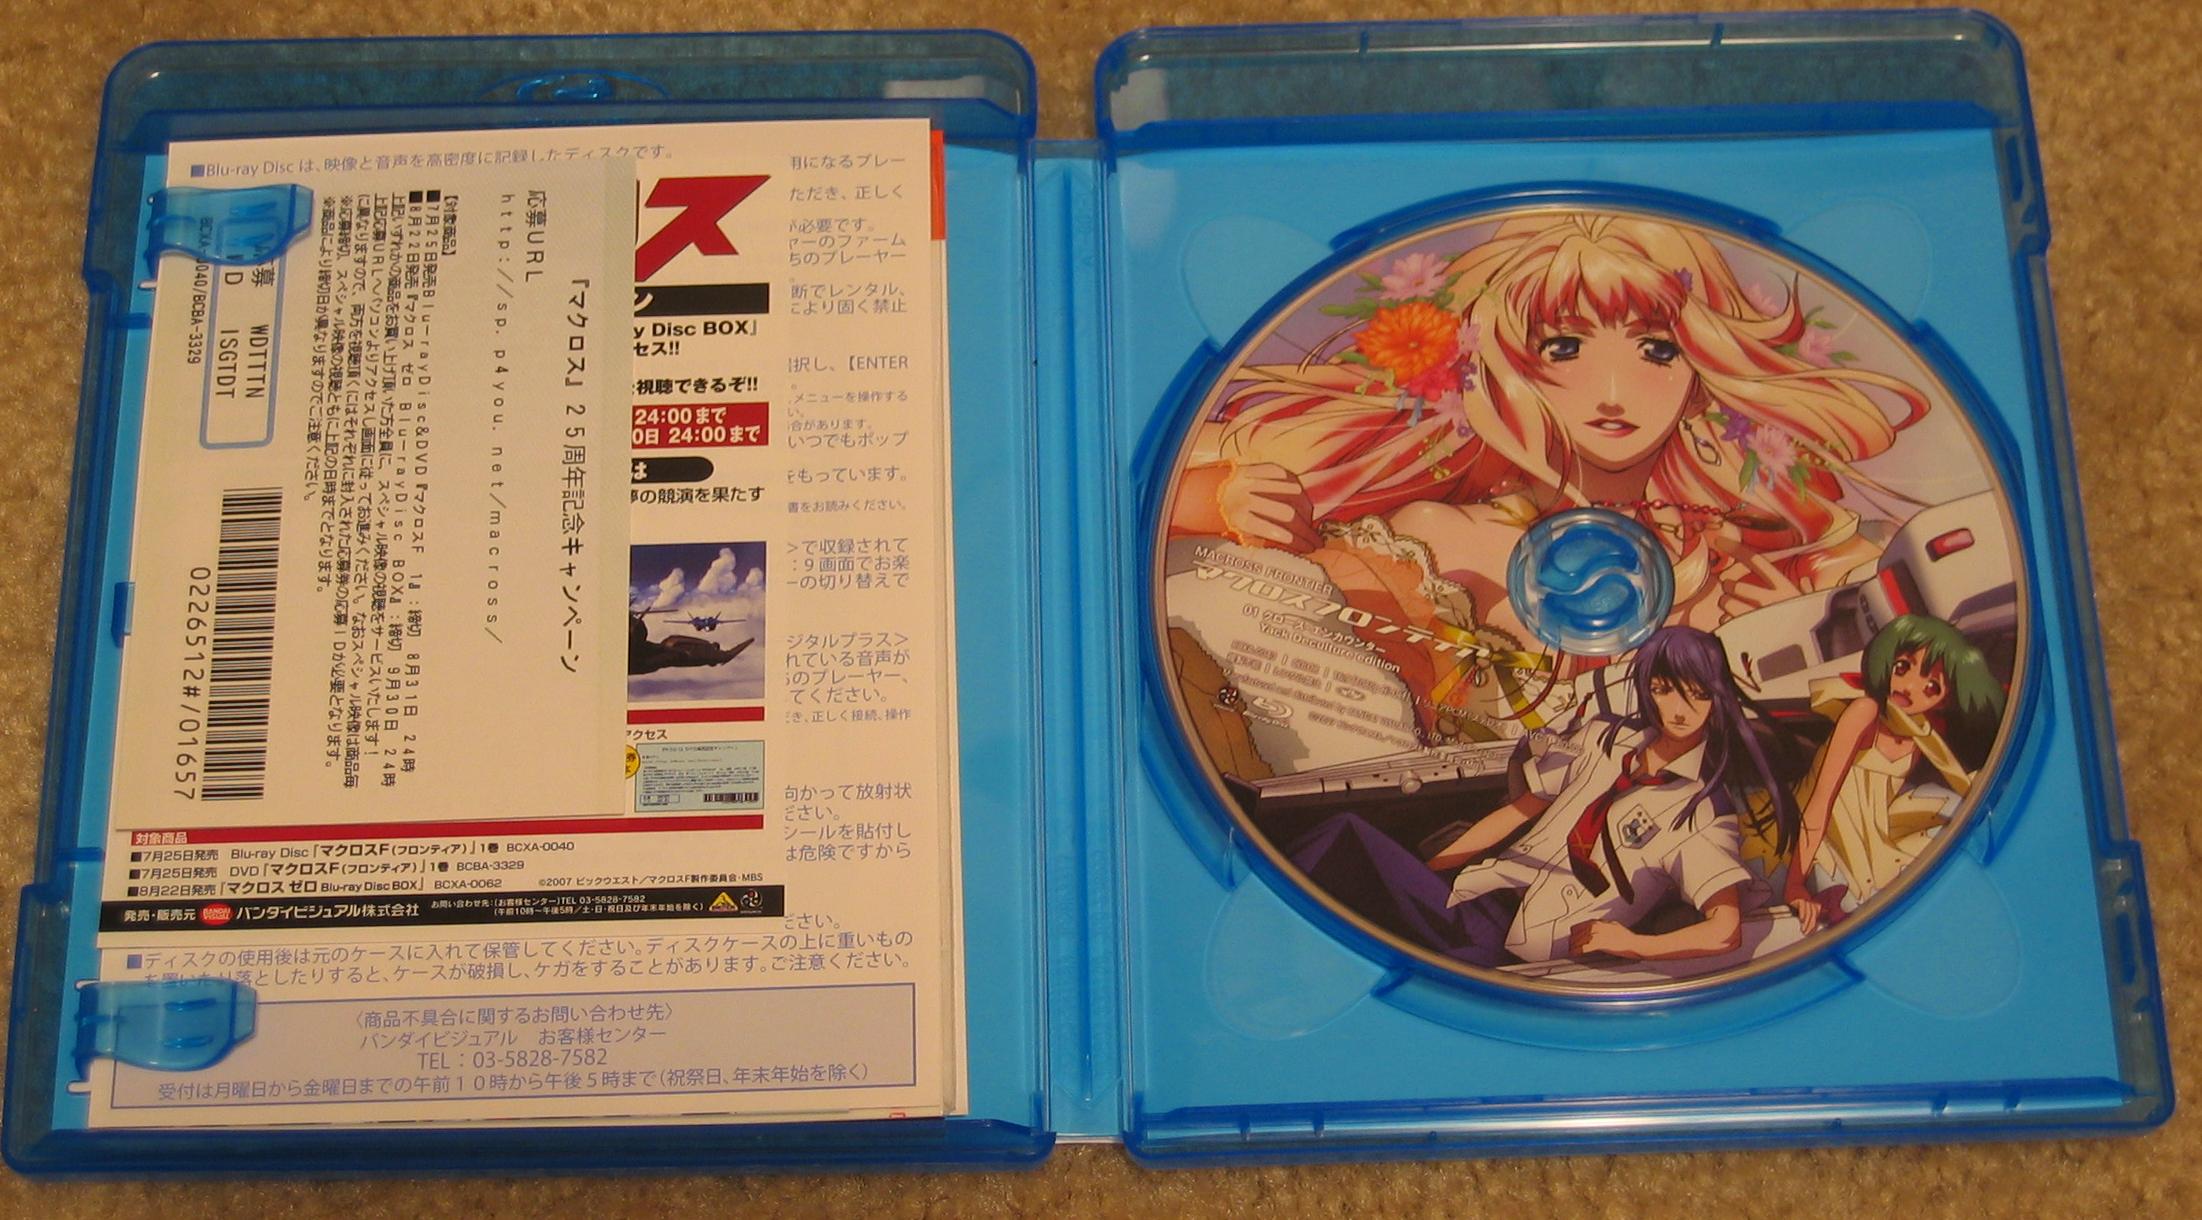
For those with a HD TV this DVD looks great. Can confirm that this has no subtitles or none that my PS3 could select under subtitle options. If the first release is to have an art card then you... or at least I was out of luck with Yesasia.com. Unless that sheet of stickers that looks like the Yum-Yum commercial is the bonus item.????? The DVD does have a little book that appears to have history of Macross, the Macross F story, Two character outlines, two mech descriptions, and line art. All in Japanese. Looks like a little book will be included with each disk. On the disk is the Yak Deculture #1, Deculture #1, TV Episode #1, and Yak Deculture with commentary. The menus are all in English!!!! Just hope that future releases have more than one episode or this will be really expensive to watch. So how much is Rosetta Stone Japanese? We'll need it if Bandai doesn't want to give us subtitles.

-
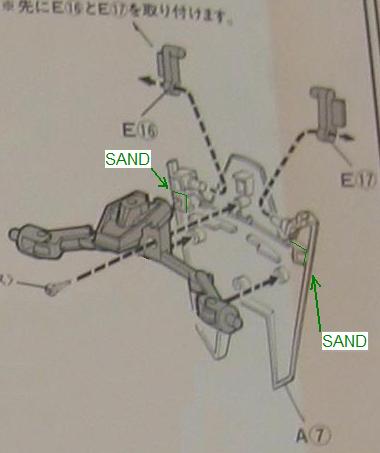
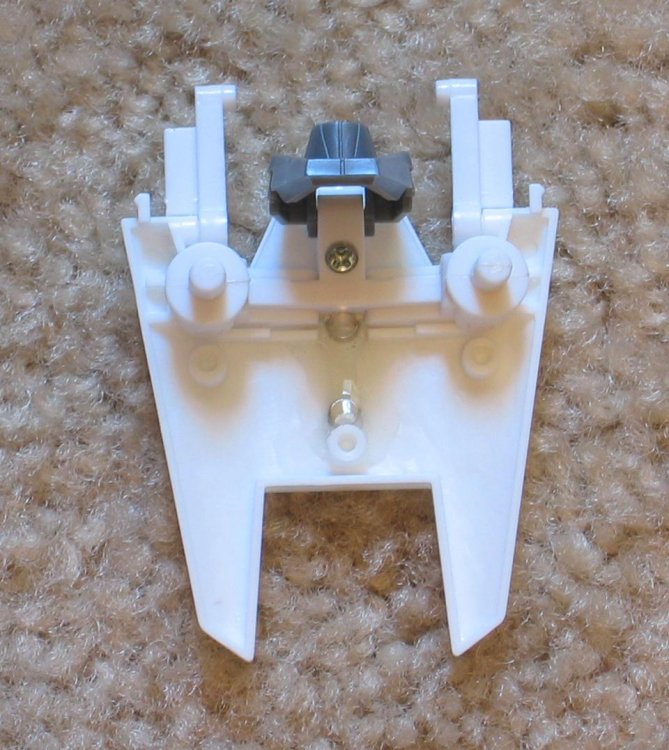
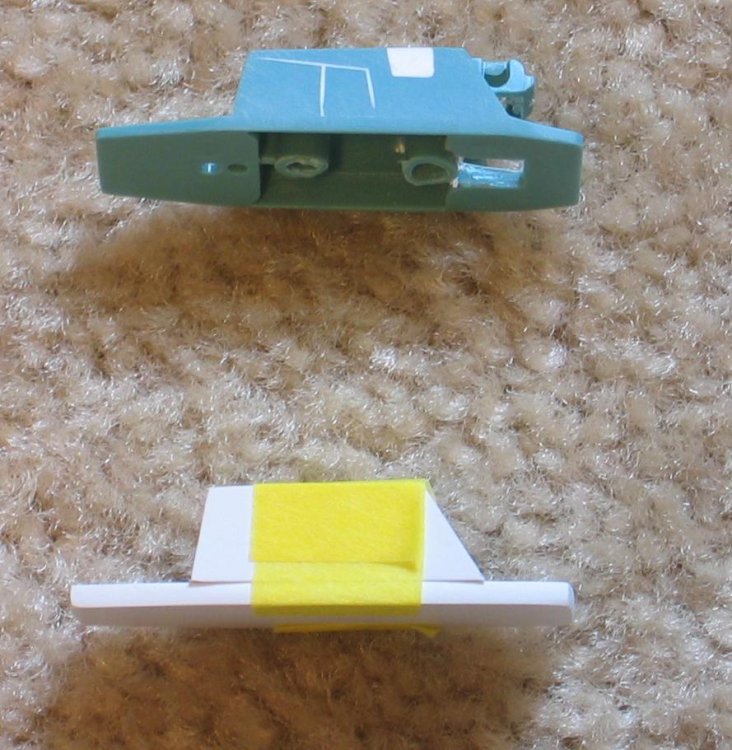
Take A4 and A6, drill a 3mm hole next to the forward mounting pin. Insert magnet into the hole. Check fit, you may need to remove some plastic from B7 and B8 under the magnet. Glue A4 and A6 to B7 and B8, respectively. Use the leg assemblies to maintain the correct angle while the parts dry.


-
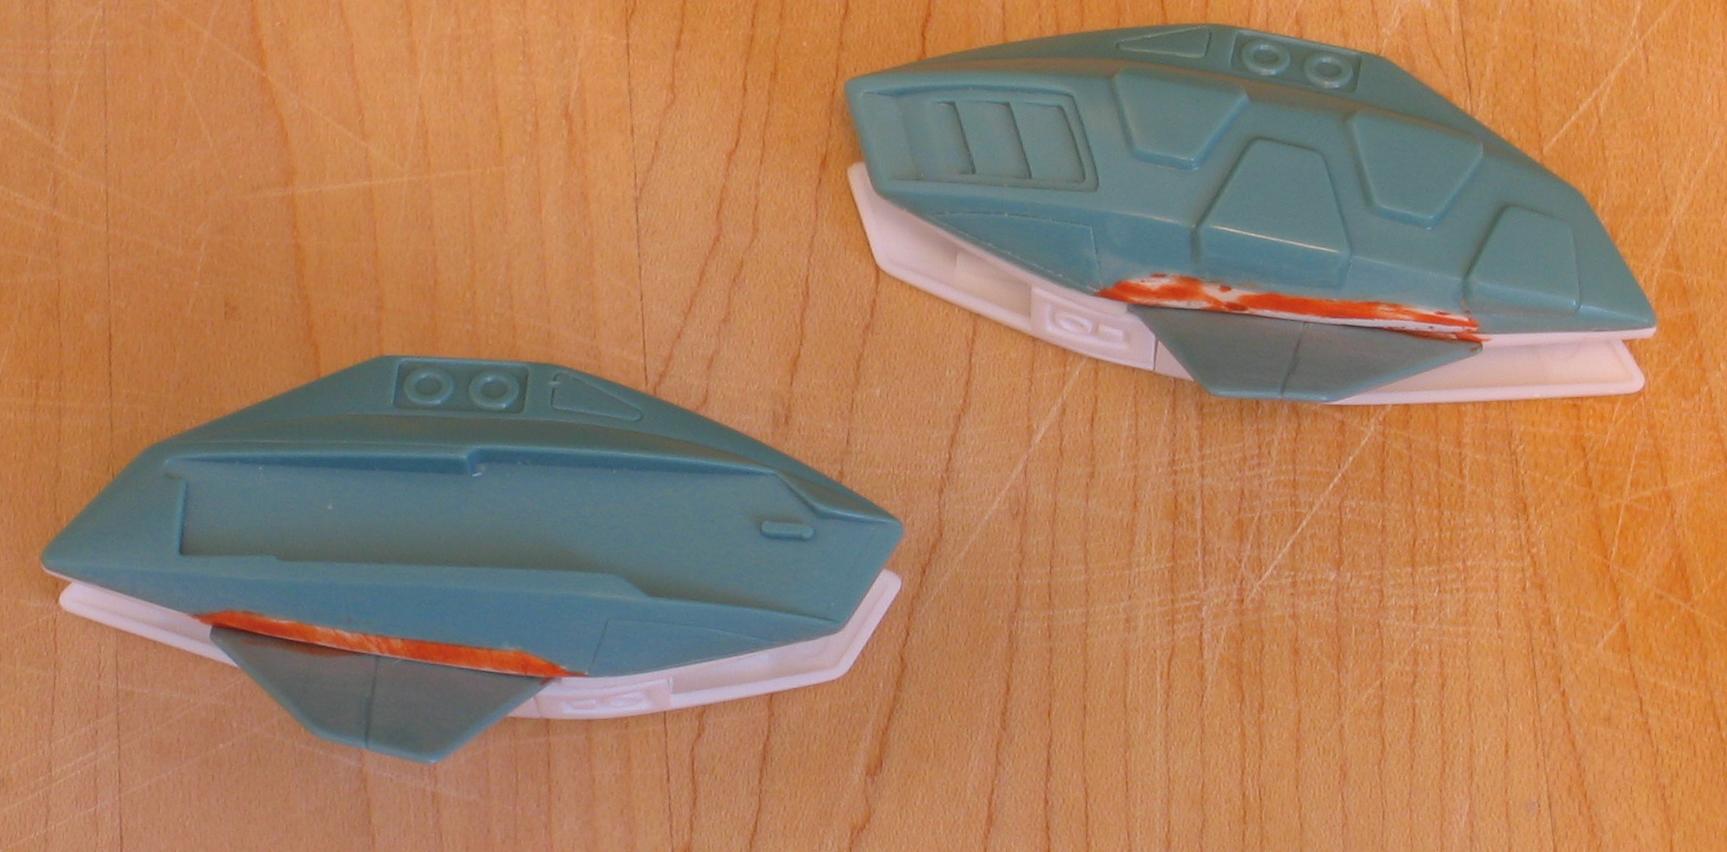
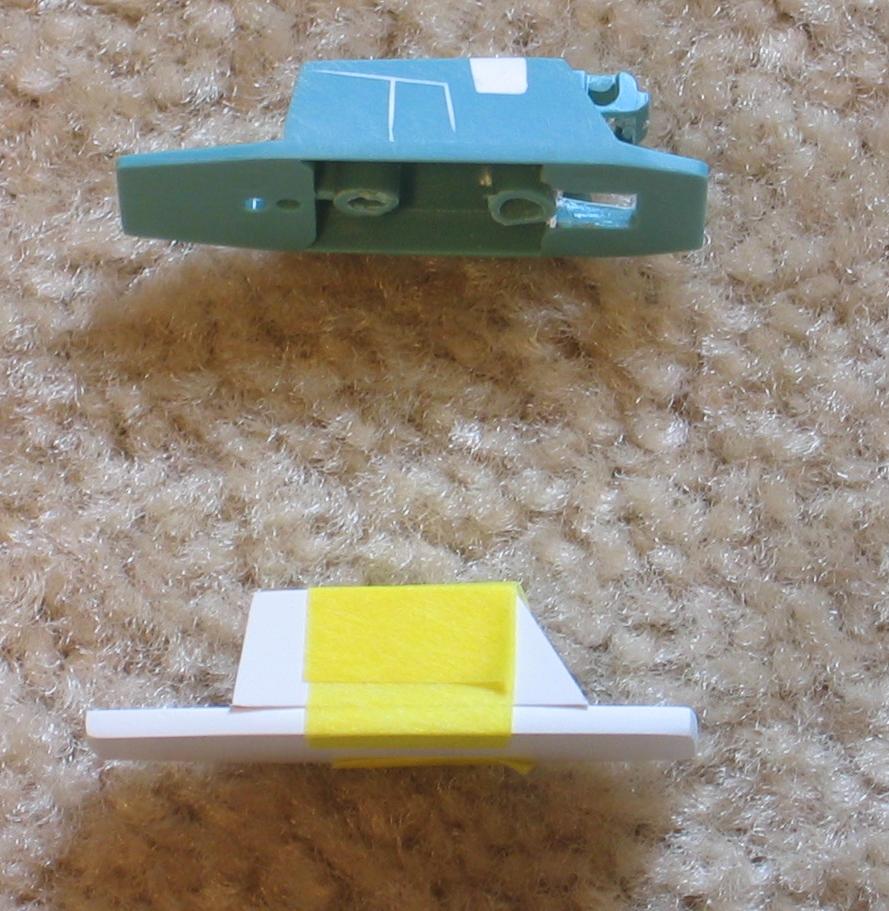
For the non-SAP backpack B22 cut a small fin shape and glue to the front. If using two model kits just use the front part of an extra leg fin.
-
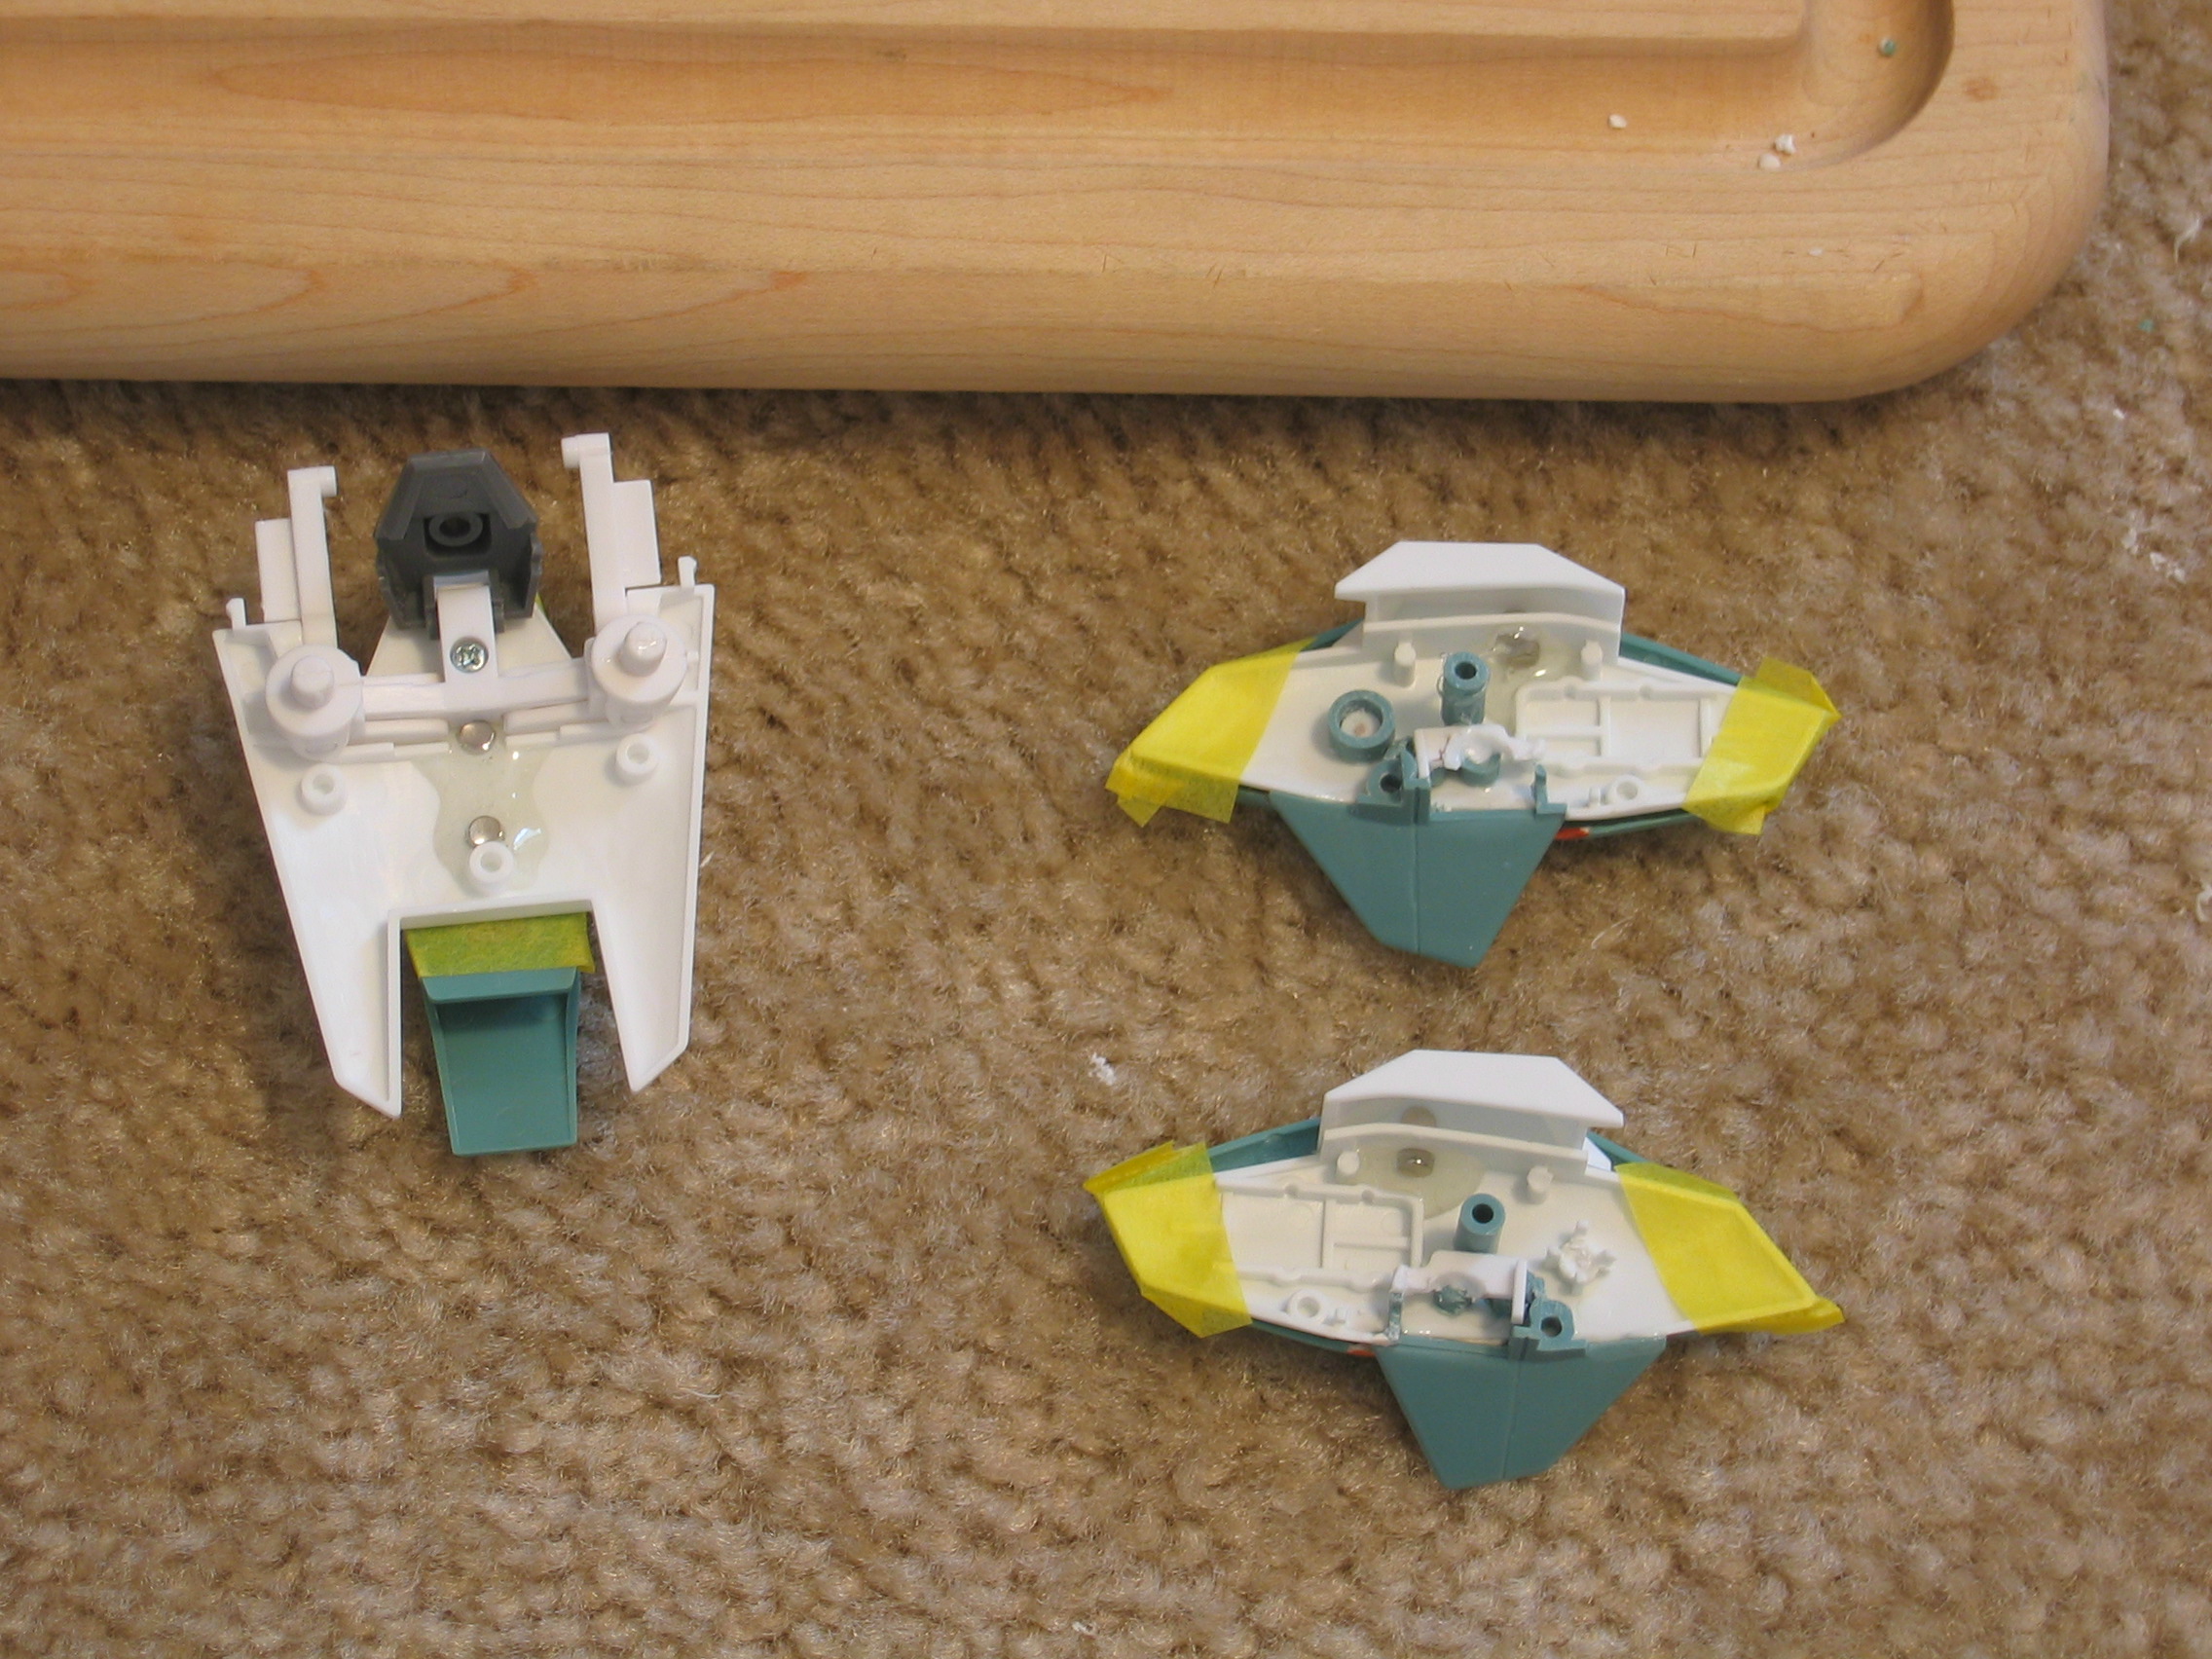
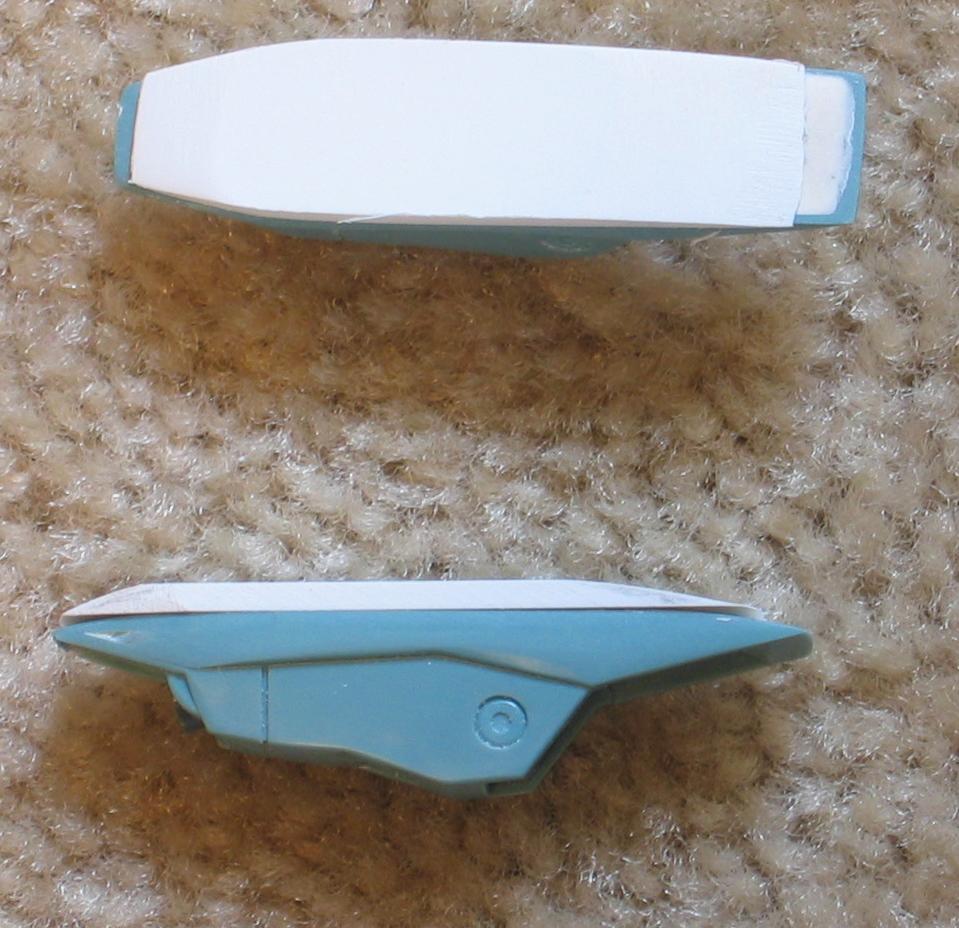
The SAP sits too high on the back. Sand down the two mounting tubes inside B22 and the four posts that would have engaged B9 and B10. Fill the inside of B9 and B10 around the mounting holes. Install both PC E. Glue B5 and B6 to B10 and B9, respectively, as shown in Step 10. Cut a grove in B5 and B6 under the rectangle hole on each side. The grove should allow each side tab on B22 to sit flush with the bottom. Fill the rectangle hole and seams. Edit: Sanding the mounting post lowers the backpack and SAP unit closer to the aircraft. Raising the engines closes the gap between the cannon assembly and backpack hiding the gray swing arm.

-
Cut two small squares from the Green Parts Tree. Sand to fit the square hole in the bottom of B22. Glue so the top surface is flush on both B22 backpacks.
-
I googled it and it looks interesting making silicon molds much better than wax master and plaster mold for metal. The complex shapes will require mult-piece molds and then scary part for me is the resin. I have had some bad mixes when glassing surfboards, turned into a ruinous mess. I know that molding resin is different but I think just a fickle about proper mixing. Plus, there is the bubbles when pouring into the mold. Casting really is art and science.
-
What about the Toynami Cyclone that is a re-stickered Megahouse Ride Armor? The Toynami is on delayed pre-order forever while HLJ just got a restock of the Megahouse. The Tread/Beta looks nice in the other colors but will celebrate when we have it.
-
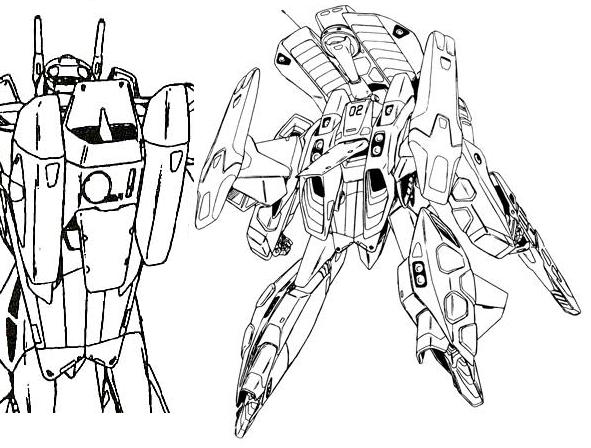
Like this one?
-
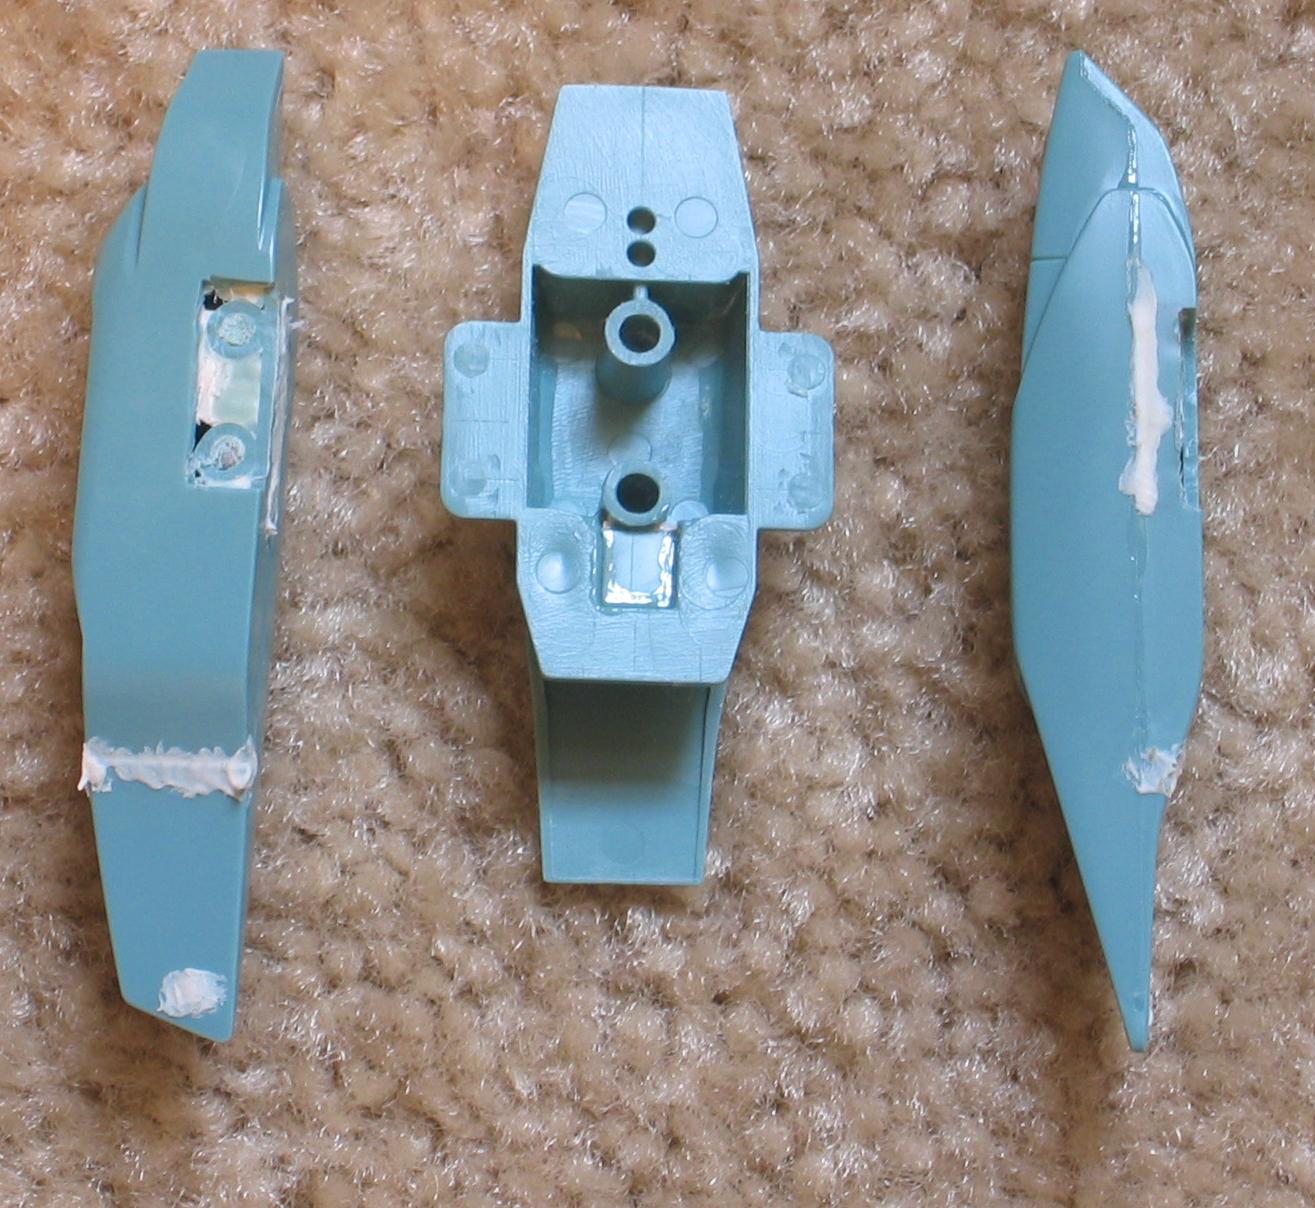
Parts from the second kit. Glue B5 to B10 and B6 to B9 without PC E. Sand each side and contour to the same angle as the front. Cut the lower extension behind the exhaust port. Cut just to the inside of each bulkhead where PC E would have been installed. If the cut was not square, file to fit. Rotate the exhaust piece 180 degrees and glue.

-
That looks great together. Are you going to recast the parts prior to painting? Just need some of EXO's free joints and start selling kits.
-
Thanks Pochimus Prime, This is the first thing on Macross World that my wife likes.
-
Sand down the two tabs on the bottom of A7 with the outer edge. Remove the two posts on the top of A7 and file the surface flush.

-
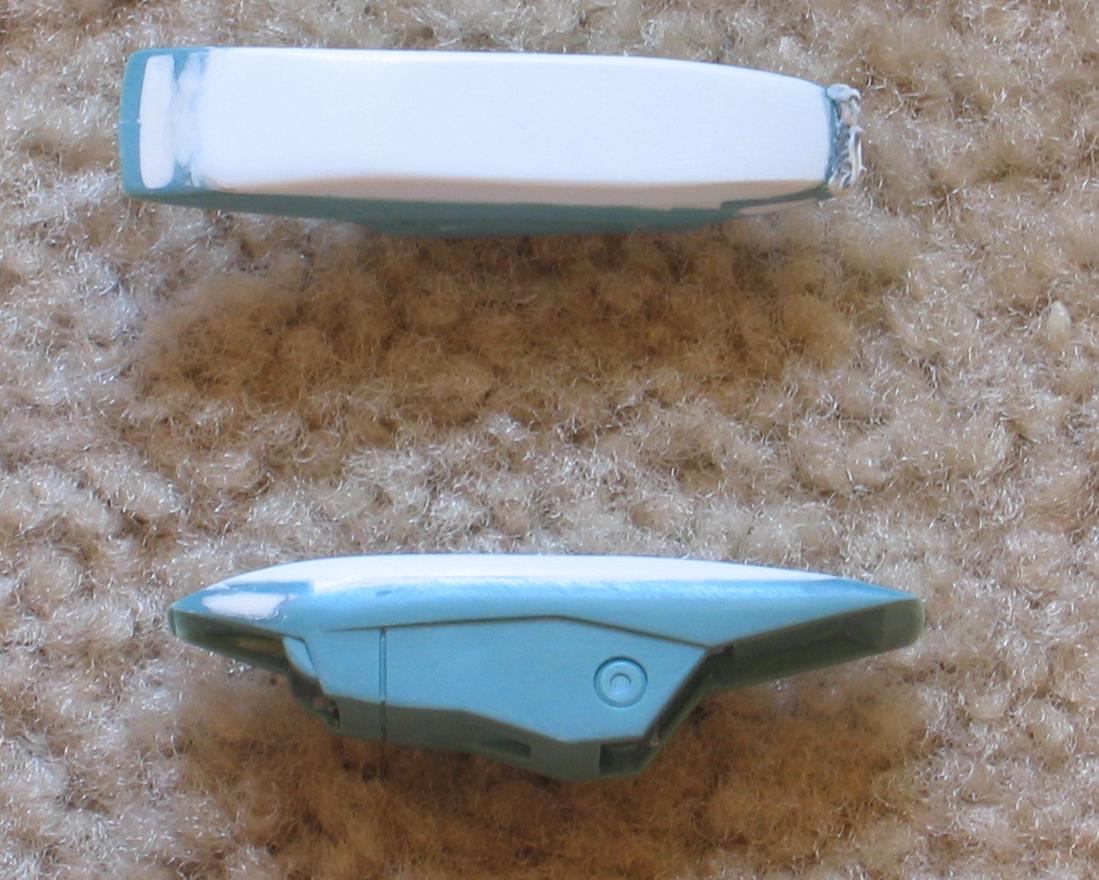
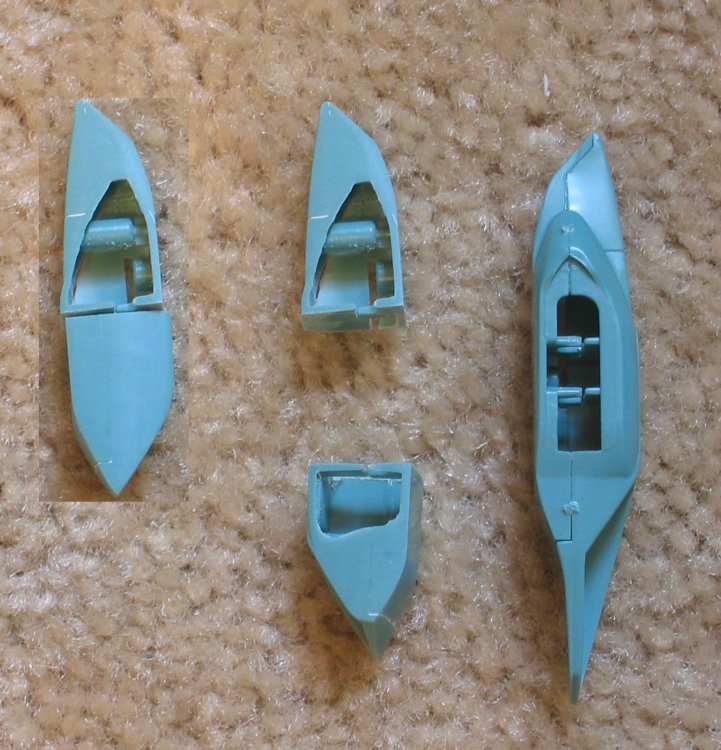
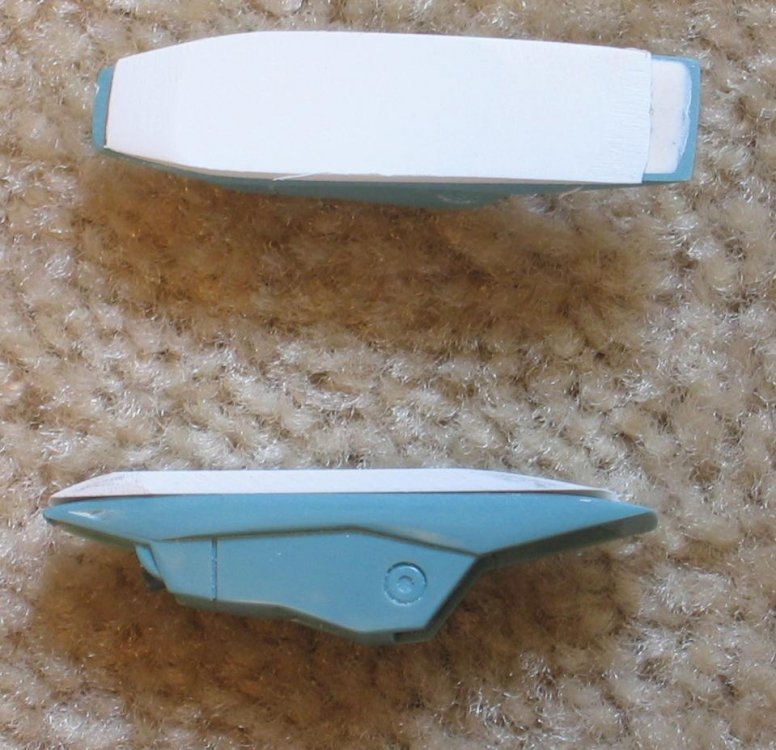
Take your second B22 and cut the tabs from both sides. Sand the two mounting points flush on the bottom. File off the attaching point for the B24 and B25 assembly. Cut out the square under B23 as with the first B22. Fill the panel lines and under B23. Or use the first B22 and cut pieces of styrene to build a second backpack. Even if using a second kit you will need a part similar to this later. Edit: Sorry, The reason for two backpacks. The panel lines on the Battroid are different than the SAP also they are different colors. Please see additional photo.
-
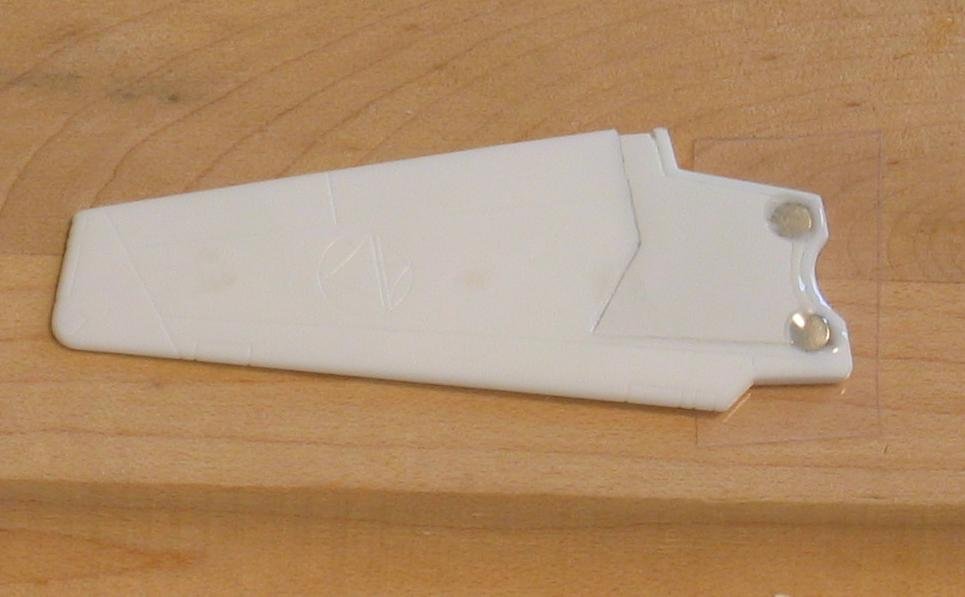
Cut a piece of styrene the outline of the arm and rough sand top to the contour of the arm. I left my pieces large so they can be finish sanded with the original arm. Edit: Glue in place.
-
Bandai 1/72 Scale Macross Frontier Plastic Models
Fly4victory replied to Graham's topic in Hall Of The Super Topics
So you're a real modeller? :lol: Do you airbrush without a mask and sniff glue or just say "I am a real modeller" in front for a mirror over and over again to be so rude. Edit: Comments aren't clever when spelled wrong. -
Bandai 1/72 Scale Macross Frontier Plastic Models
Fly4victory replied to Graham's topic in Hall Of The Super Topics
This is not good news. Bandai is an interesting company. They can do a great to good and a poor job at the same time. Their performance is not line discrimination. I would like to think that they were lazy with Macross in the past and stellar with Gundam. BUT! The VF-19 Kia metal coated was a variable model that looked awful in fighter and gerwalk but makes a decent battroid. The normal color that was released is just plain ugly in all incarnations. The VF-2SS, again a variable model but when I first looked at it left it in the box. Parts are molded in the wrong color... other parts poorly engineered. Best described as an almost but not quite. Re-released with no improvements except a glossy finish on the box and a 25th anniversary sticker. Bandai's M7 toys awful. The VF-19 model was better than the toy but not by much. The VF-17 toy is built like a tank and looks like one in fighter and gerwalk. The Battroid was decent and makes a better toy with modifications. Now Gundam: I can see why people both like and dislike the Zeonography and the other Gundam toys. They look like airbrushed models but are toys. Not very good articulation and some poor fit others great. All very expensive. But Gundam is Bandai's flag ship and a cash cow. The Gundam models range for spectacular to what were they thinking. The performance is still inconsistent. I just got a 1/144 Desert Color Dom and 1/144 Zaku sniper. Great kits that needed no paint and are well designed kits. They are just beautiful to look at even before assembled. I also got the 1/144 Strike (Normal Colors) and the 1/144 IWSP. No where near as nice a kit. Only a little more effort and a few more parts molded in the correct color, especially the shield gatling gun and shoulders, and it would be a great kit. I really don't know what to expect from Bandai but I do know it will not be on par with a Hasegawa. We can sit and hope that Hasegawa will get the license in the future but we have yet to see any M7 Hasegawa models. It really doesn't matter if one person with lots of putty and styrene can make a great looking kit out of a POS. I just want a model that I look at and think wow this will look great finished. Bandai can do it but will they?