Fly4victory
-
Posts
1646 -
Joined
-
Last visited
Content Type
Profiles
Forums
Events
Gallery
Everything posted by Fly4victory
-
Folded for storage.

-
Now that the information is public. I want to see squadrons of VF-2SS. I have got to feel it. More Cow Bells! erh.. VF-2SS
-
1/48+fp's, 1/60, And 1/72 Picture Gallery Pt 2
Fly4victory replied to VF-18S Hornet's topic in Hall Of The Super Topics
New ideas are what this is all about. Keep up the good work inventing stands. Here is my new piece under glass. Edit: That was New not News but then I guess this is news to some.
-
Bandai/Tamashi Nations 1/100 lineup. 2009 takeoff!
Fly4victory replied to UN Spacy's topic in Hall Of The Super Topics
Best is that the Bandai's are in scale with Yamato's VB-6 Monster. Lets see the entire line produced. -
Yeah, your poses don't suck. For you want to see the big suck look at Yamato's GN-U compared to your creation.
-
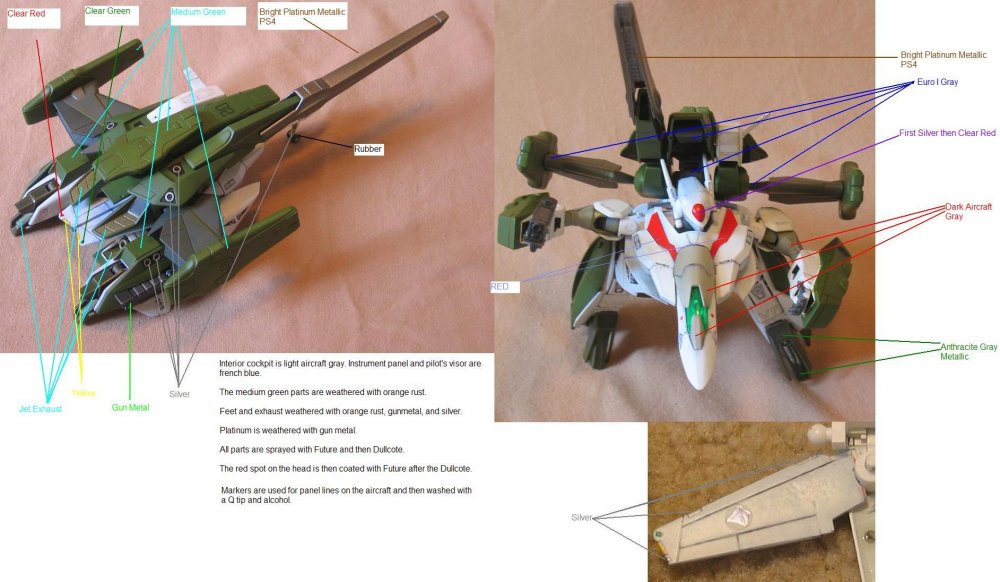
The paint is pure. No mixtures. Here is a list of stuff outside of the two Bandai VF-2SS kits that will be required. Mr Surfacer 1000 primer (Spray Can) Testors Enamel Rubber 1183 Testors Anthracite Gray Metallic 2911 (Spray Can) Testors Flat Light Aircraft Gray 1233 (Spray Can) Testors Dark Aircraft Gray 1226 (Spray Can) Testors Bright Platinum Metallic PS4 28140 (Spray Can) Testors Dullcote Flat Lacquer 1260 (Spray Can) Gunze Sangyo Aqueous Yellow FS13538 H329 Gunze Sangyo Aqueous Silver H8 Tamiya Matt White TS-27 (Spray Can) Model Master Acryl French Blue 4659 Model Master Acryl Stop Light Red 4622 Model Master Acryl Gun Metal 4681 Model Master Acryl Jet Exhaust 4676 Model Master Acryl Clear Red 4630 Model Master Acryl Clear Green 4668 Model Master Acryl Semi-gloss White 4701 Model Master Acryl Medium Green 4734 Model Master Acryl Euro I Gray 4750 Model Master Acryl Aircraft Interior Black 4767 One sheet .08 inch White Styrene Model Master Red Putty Testor Contour Putty Gundam Marker Black Staedtler Lumocolor Permanent Brown Tamiya Weathering Master C 87085 3mm magnets ¼ inch magnets Hands BCL2770 1/144 HDM-154 Gundam Exia #1 Future I will post a color placement guide photo. Edit: Added Photo.
-
Grape Tang and Frosted Flakes that was the real breakfast of champions. Sorry, Childhood memory. GT you are the greatest. Thanks. It won't get lost this time. Valkyrie addict, don't forget to tune back in after the weekend to see the non-SAP version. After your VF-11 I will really need to turn up the wow factor.
-
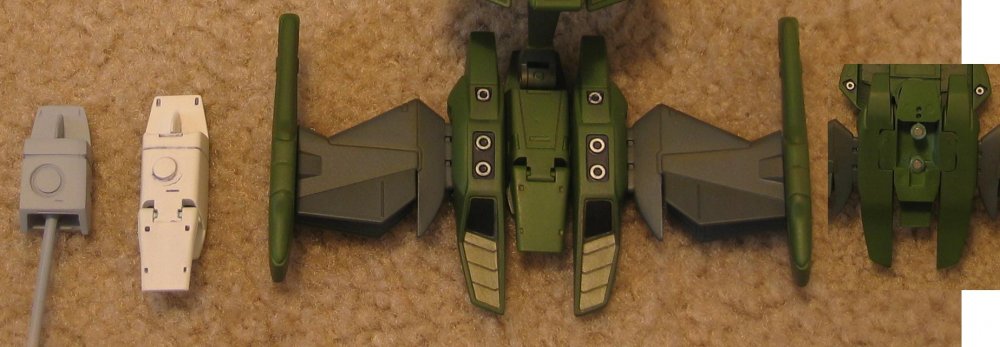
Utiliser un couteau de passe-temps et fractionner les ailes (Sépare A-1) au centre. Utiliser un dossier et un sable en bas la plaque verrouillant au contour de l'aile. Utiliser styrene de feuille 0,08 et fabriquer la partie pour insérer dans chaque aile. La coupure rugueuse les parties grandes et alors dossier pour ajuster. Une fois ajusté, coller les parties fabriquées dans chaque aile. Quand la colle est sèche, remplir et sabler pour égaler le contour de l'aile. Utiliser époxy et installer aimants de 3 mm sur les ailes et le sable. Utiliser époxy et installer aimants de 3 mm sur le fuselage. Ceci est où les ailes attacheront et tourneront. Il n'y a pas de mécanisme. Tout est fait avec les aimants. Le sac à dos se déplace et est détachable. Il y a trois sacs à dos séparés. Le sac à dos vert SAP, le sac à dos blanc non-SAP, et le sac à dos d’avion de combat blanc. Les premiers deux montent avec les aimants. Le tiers, dont vous avez besoin de fabriquer, cliquete à sa place. Hope this is what you are looking for. Edit: Added photos.
-
PLEASE HELP There was a fan art poster with orthographic views of the VF-2SS: top, side, etc. I thought I had saved it on a different computer but I didn't and I cannot find the image. If you have it please post a copy here or provide a link to the website. Thanks.
-
Please let me quote :lol: :lol:
-
OOOHHHH! The display case so many other things to look at Armored VF-11. Your VF-11 is amazing now that your finished which is next the VF-4 or VF-5000.
-
Mr Surfacer revealed that I need more work on one vertical fin and one engine nacelle. To see the finished model without being a member of Macrossworld you can go over to Samurai Monkey. http://www.samurai-monkey.com/boardz/viewtopic.php?t=1500
-
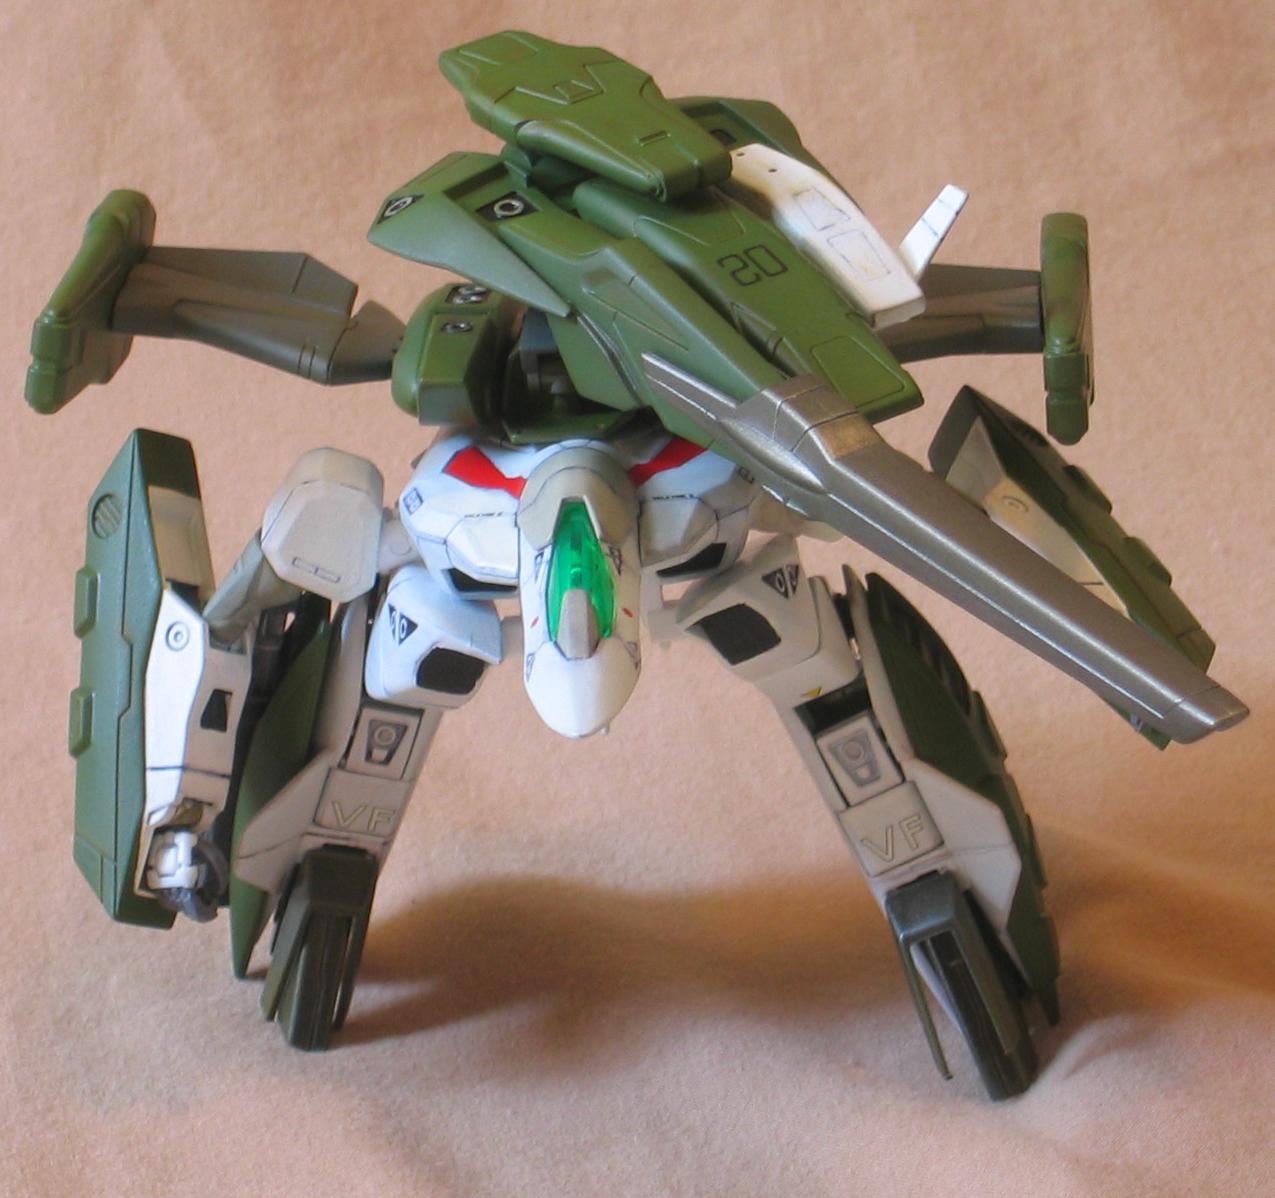
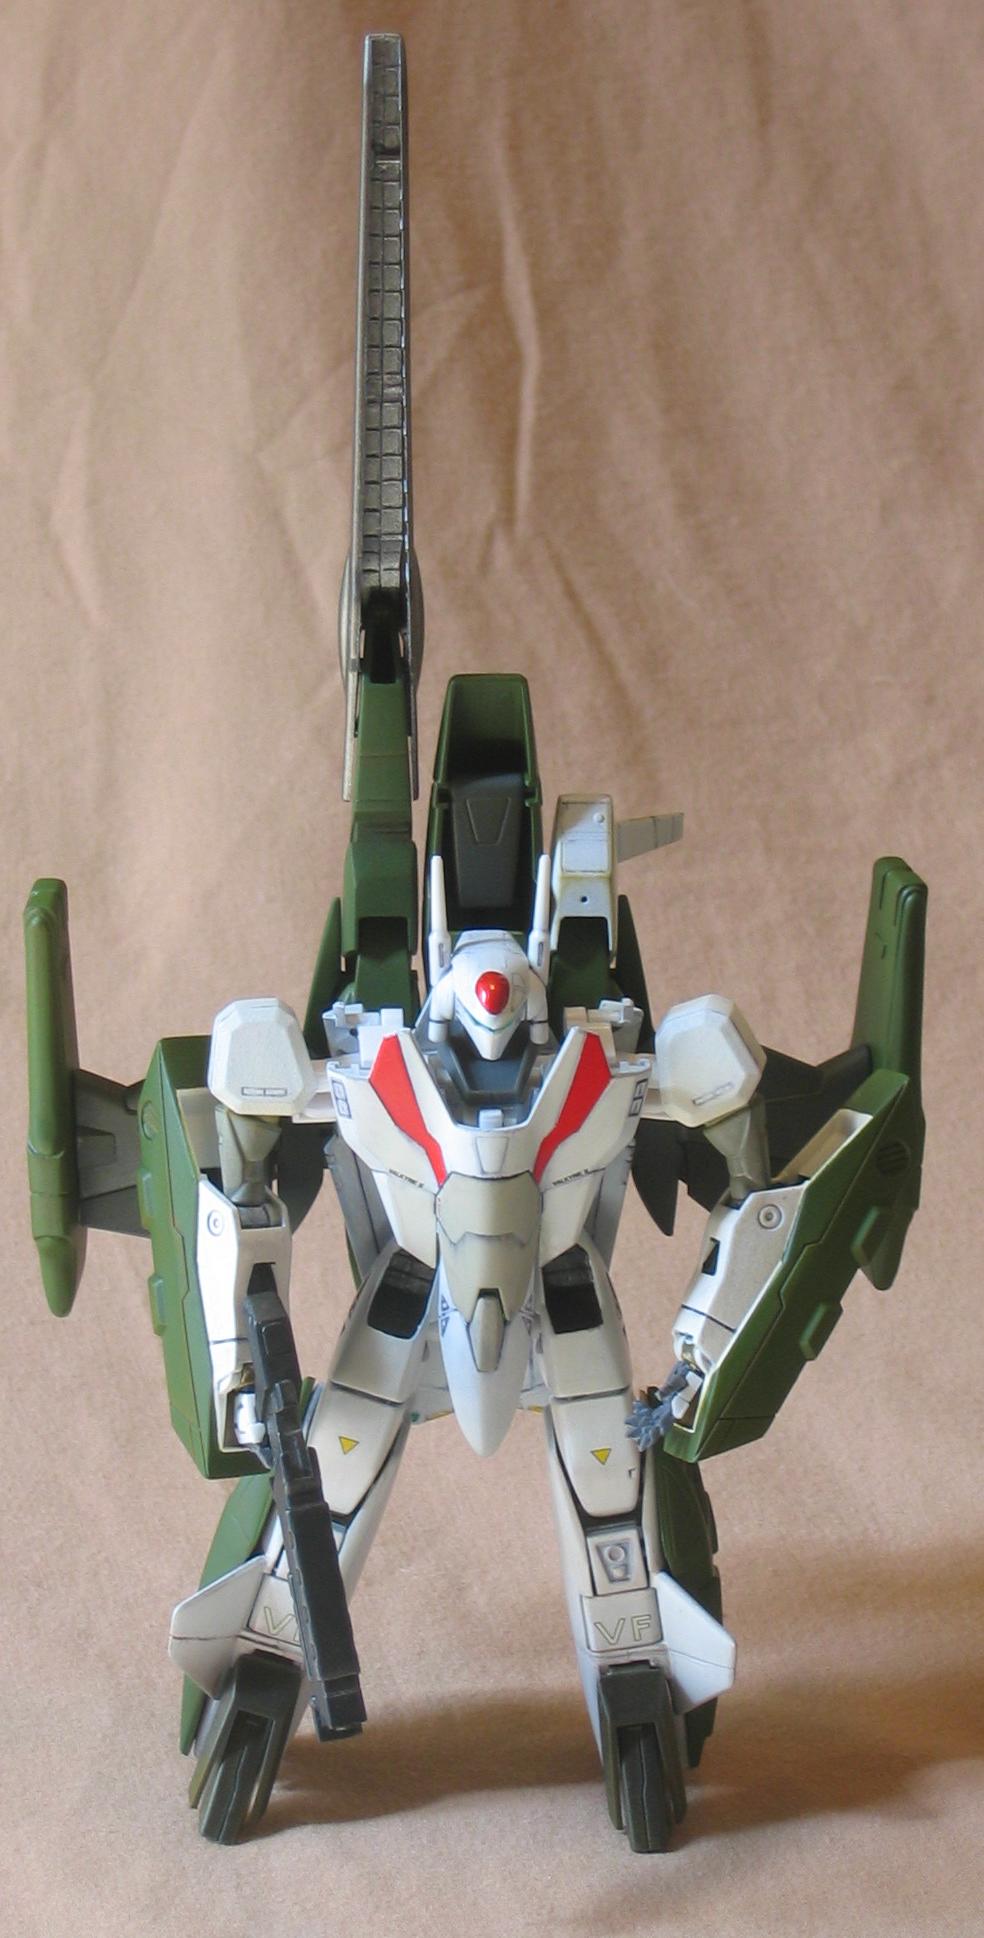
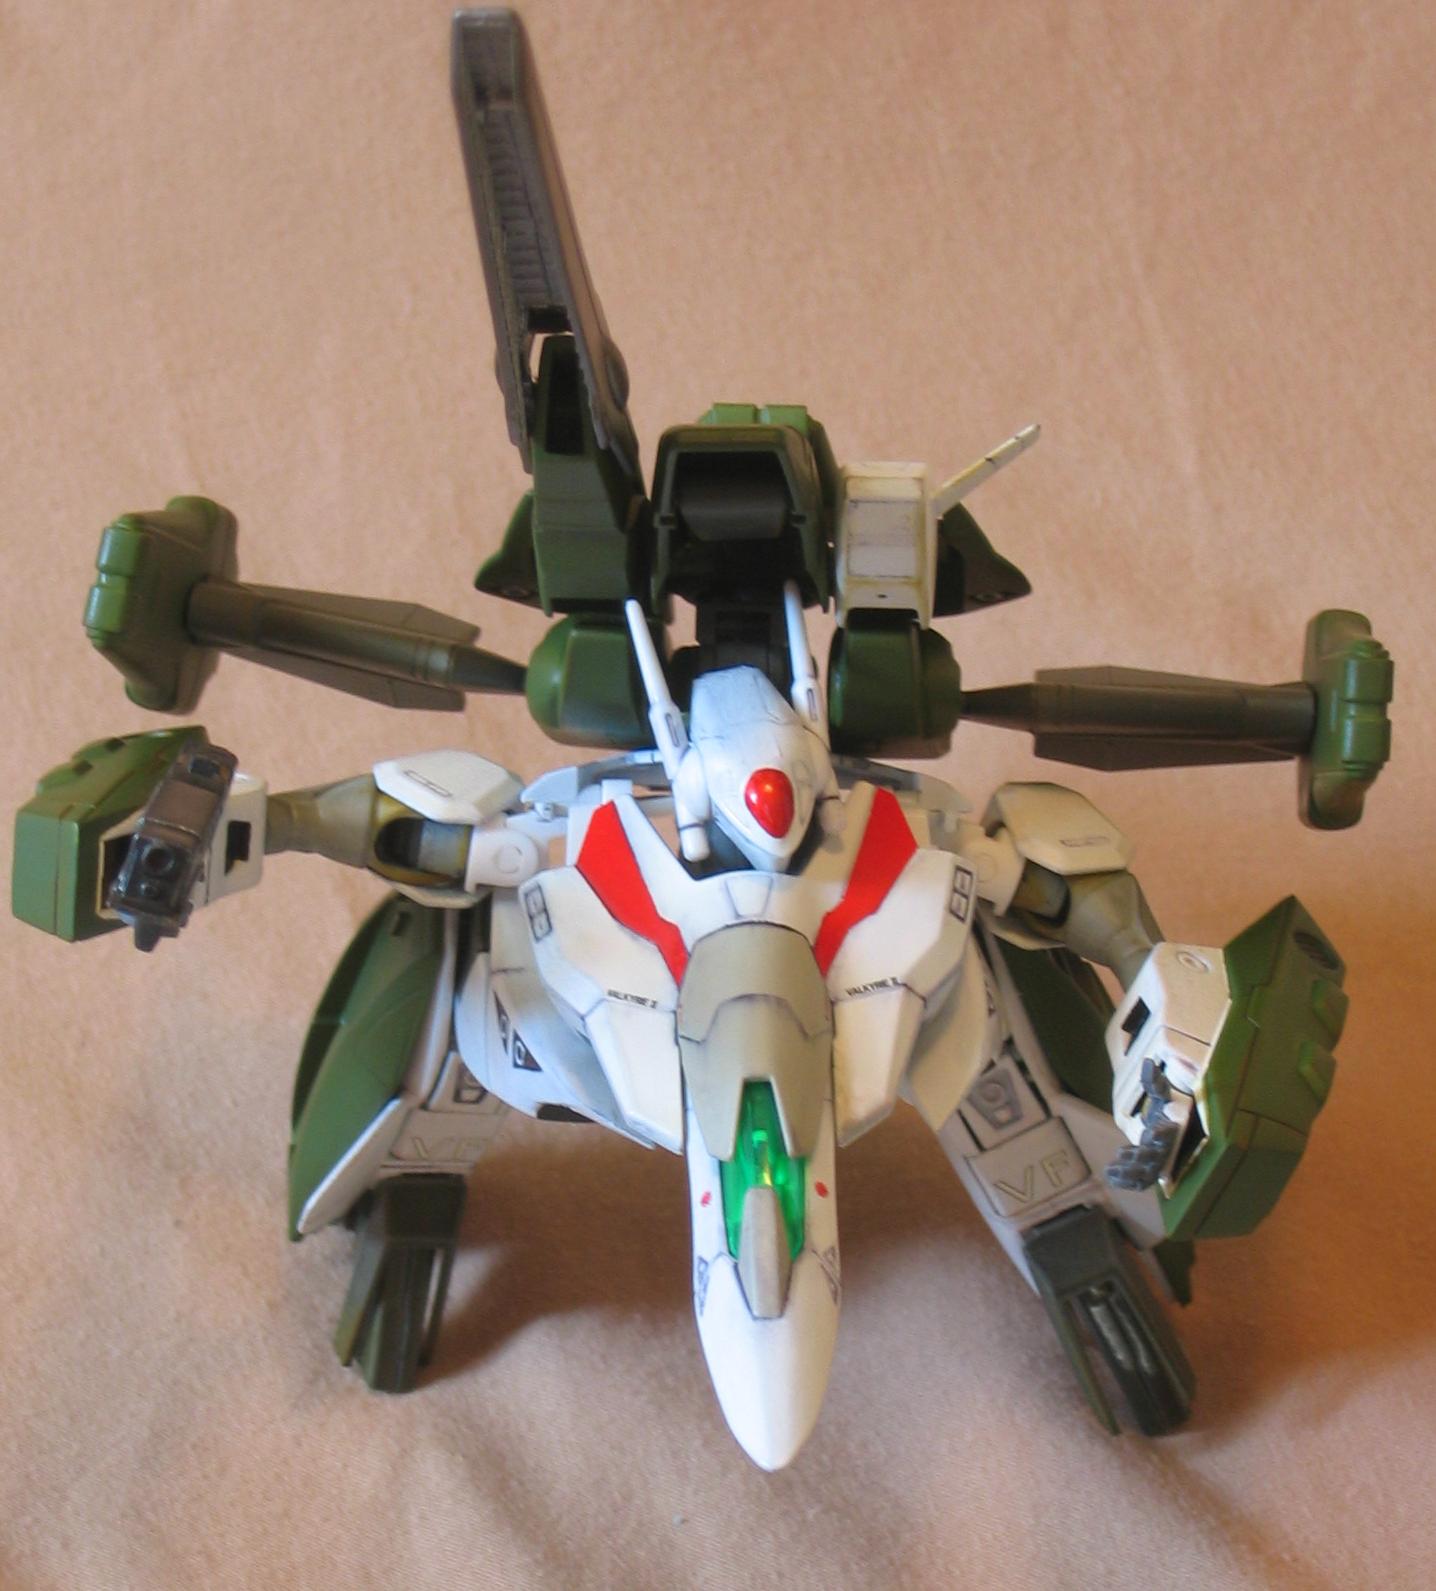
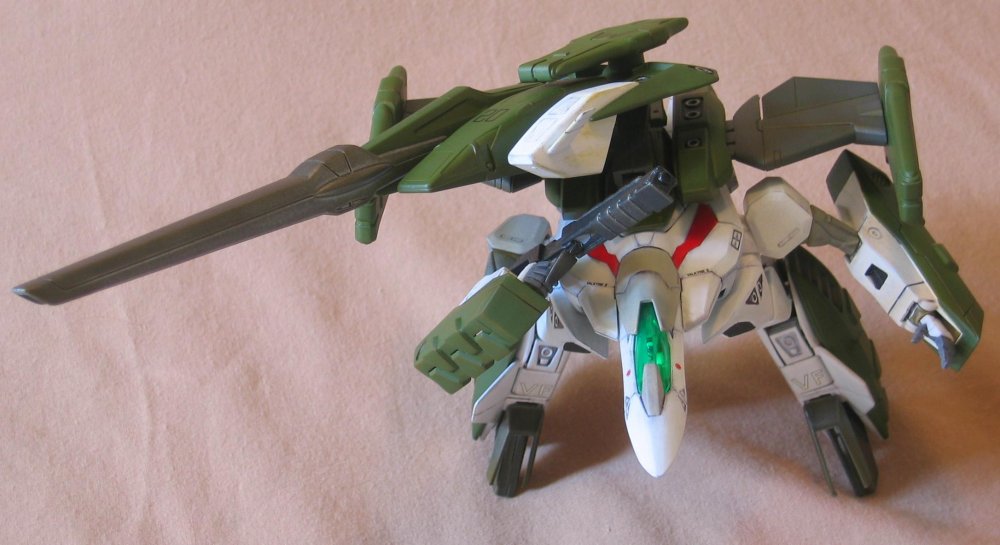
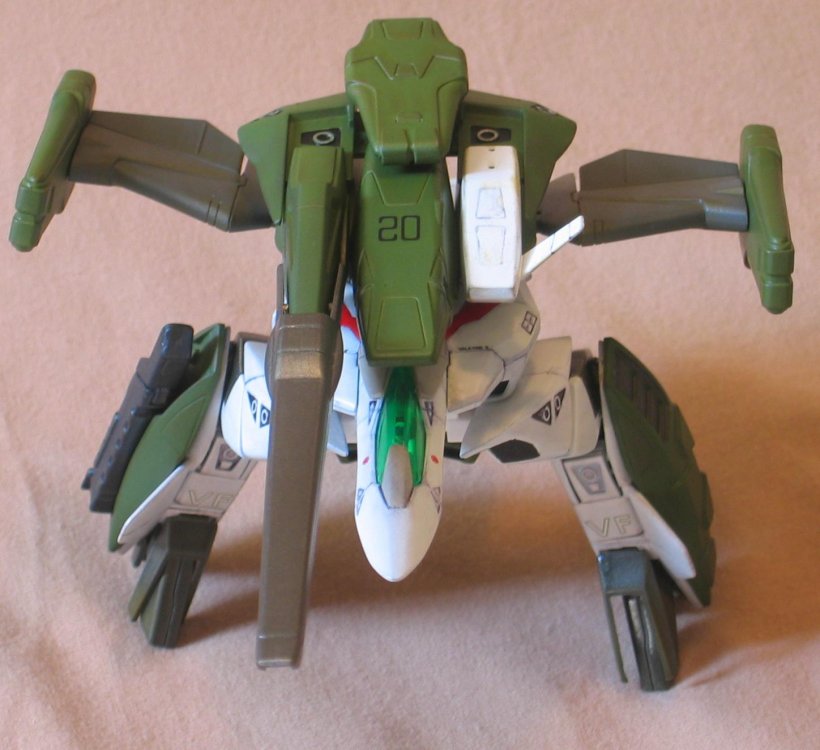
GERWALK.


-
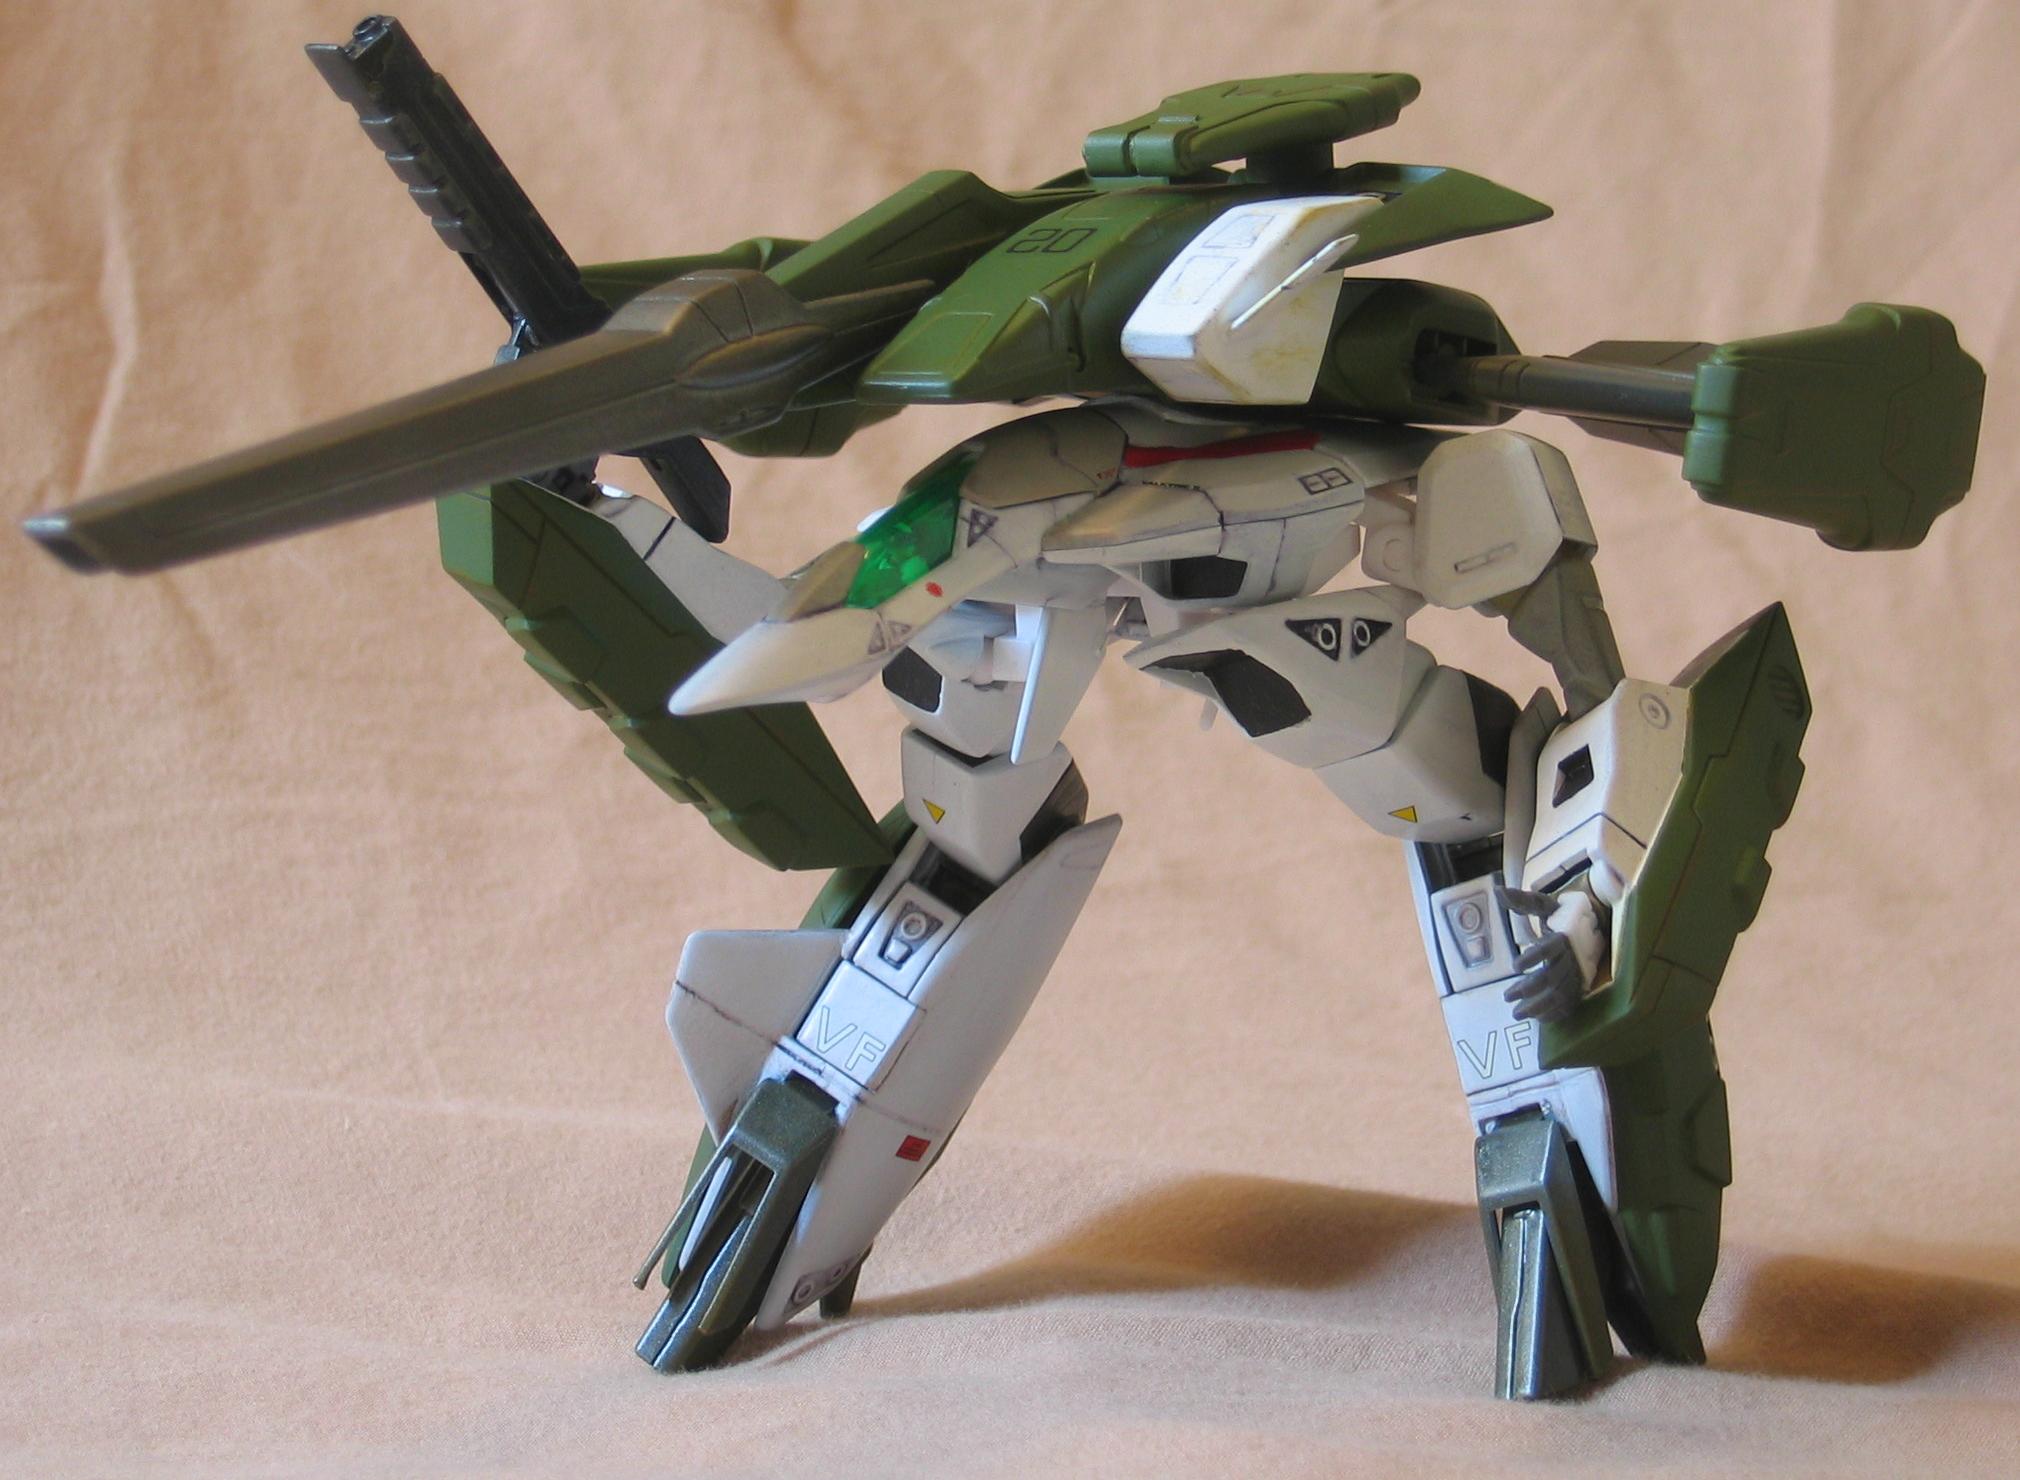
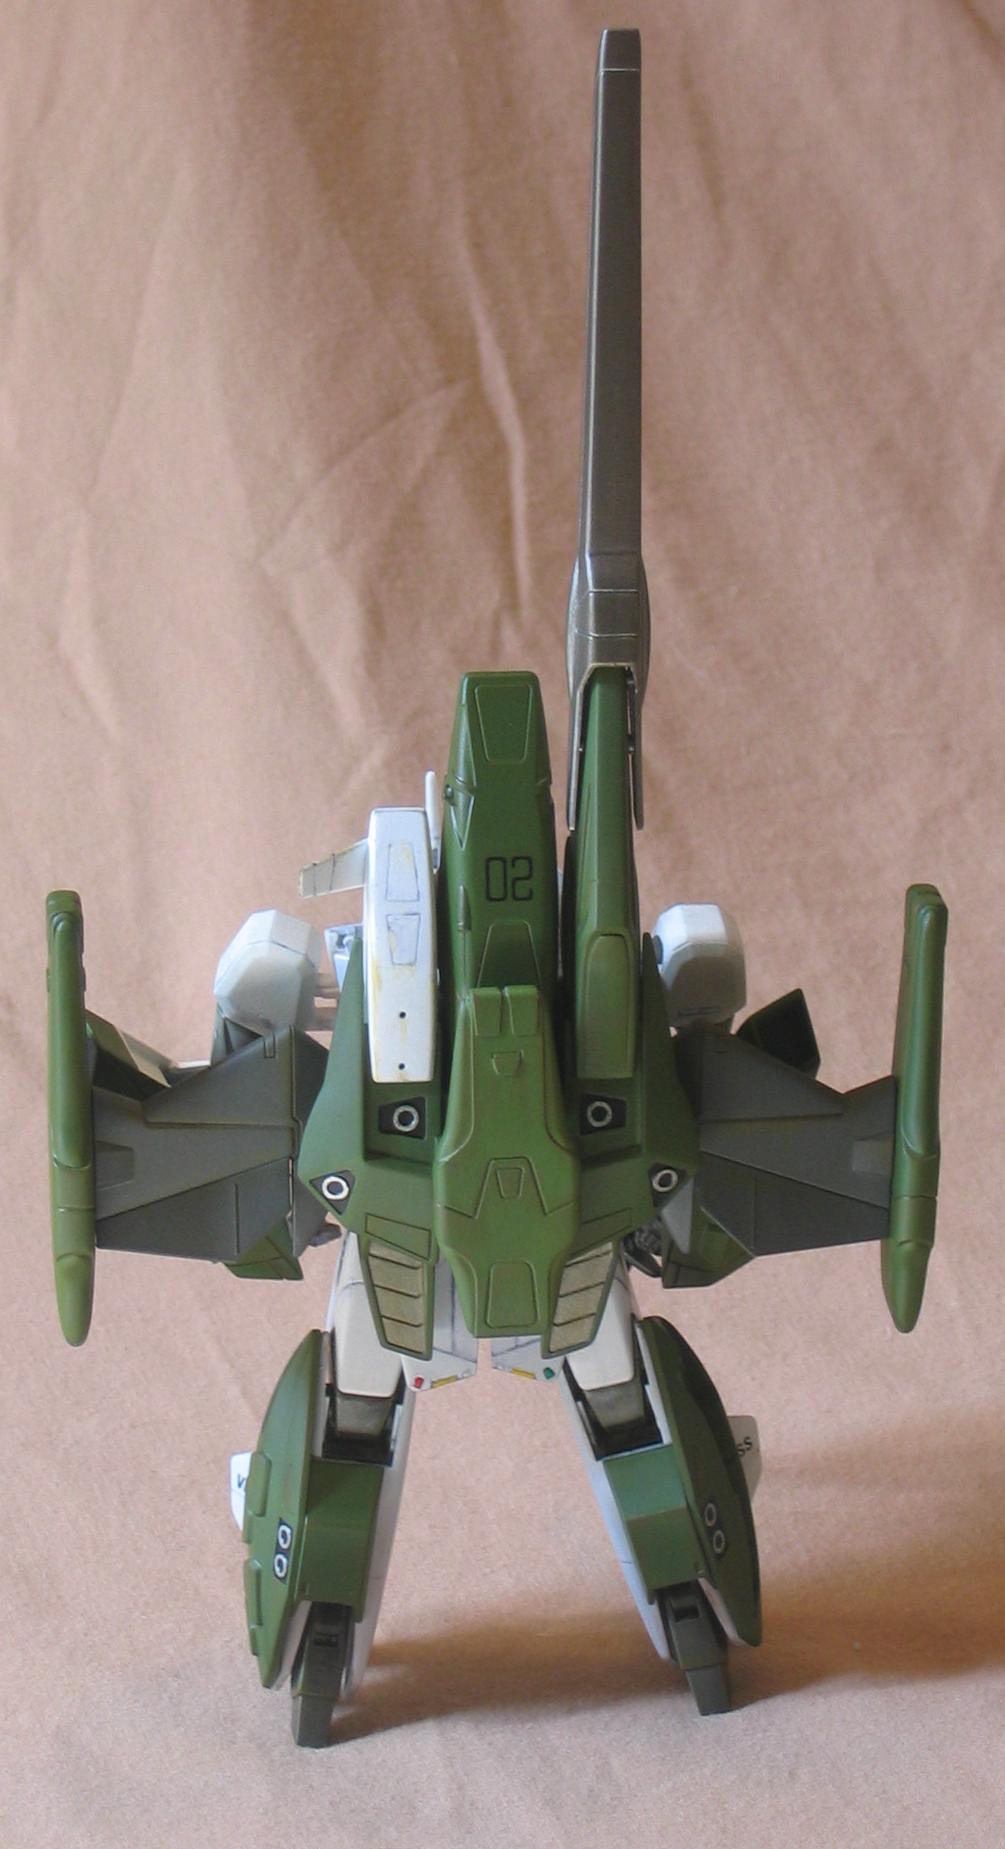
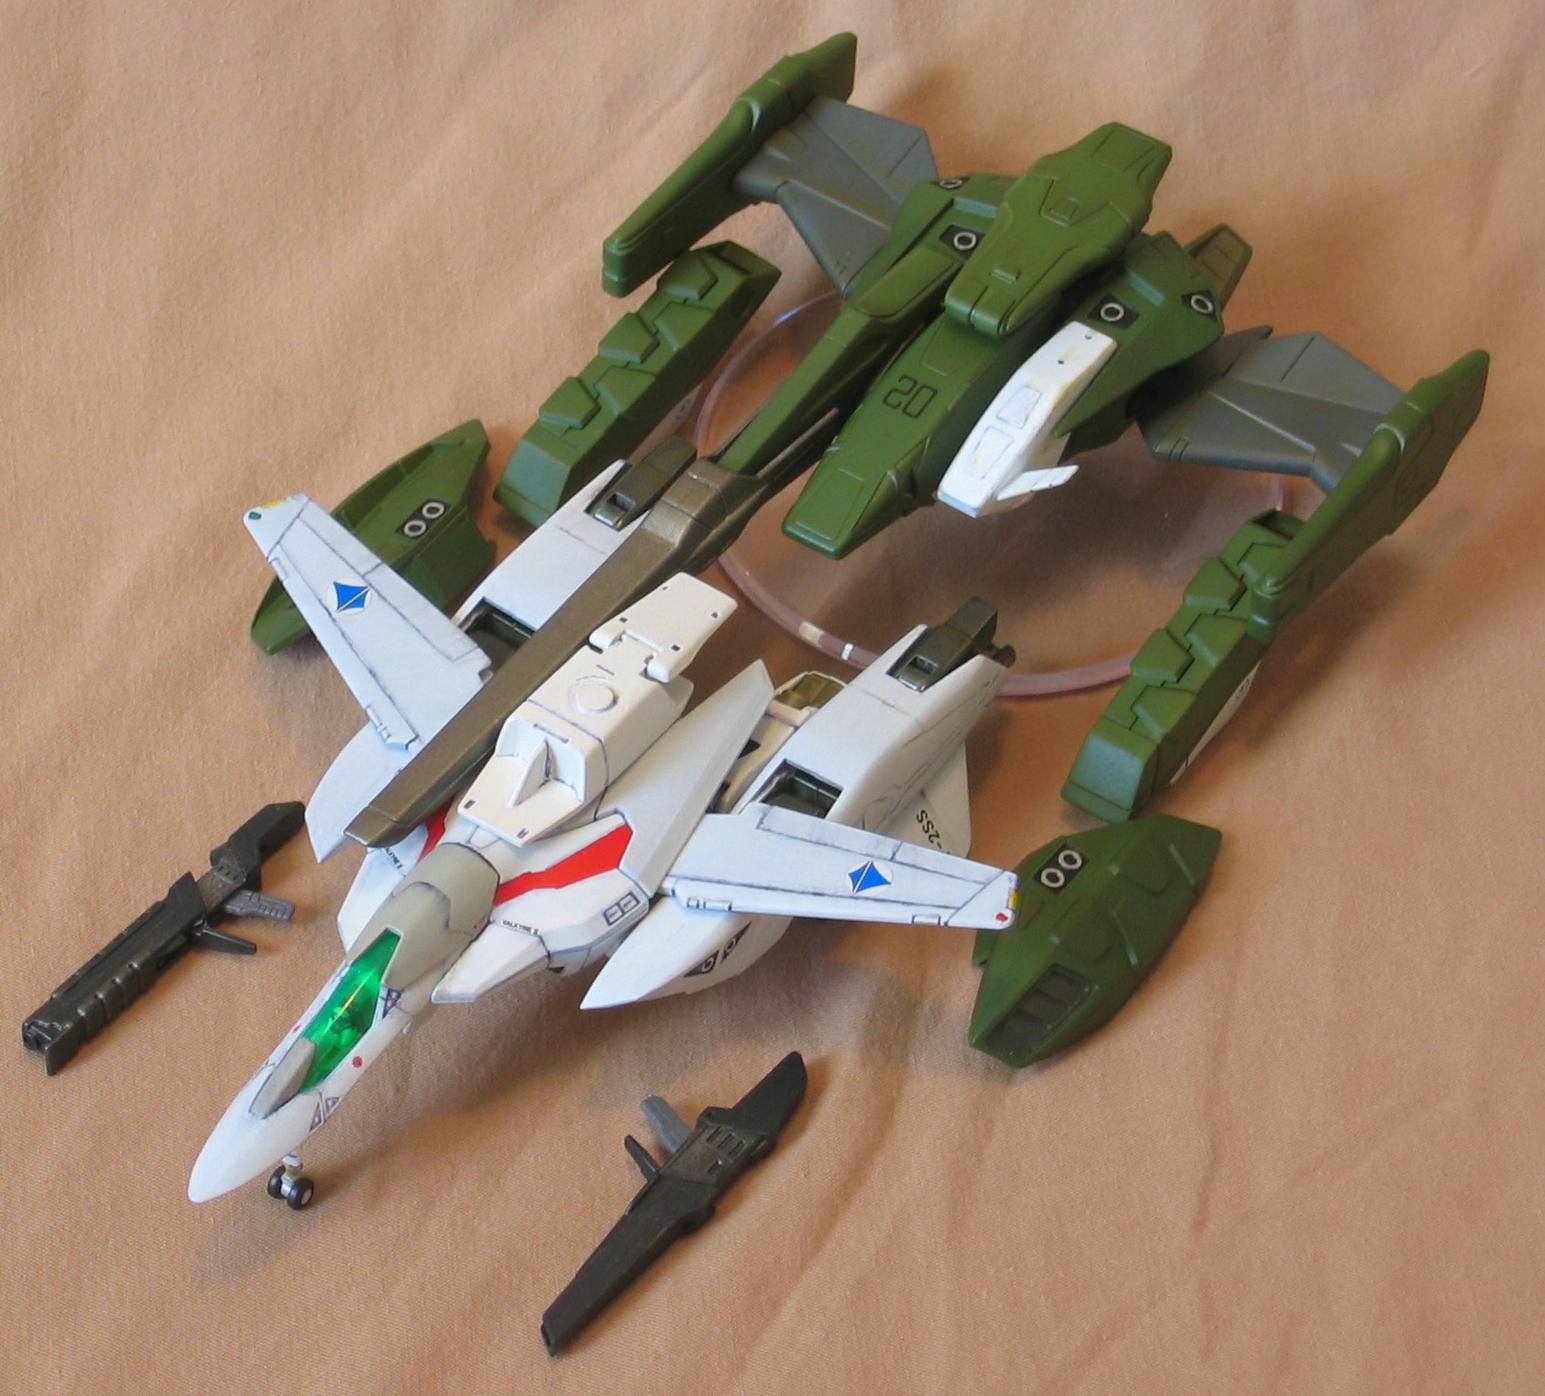
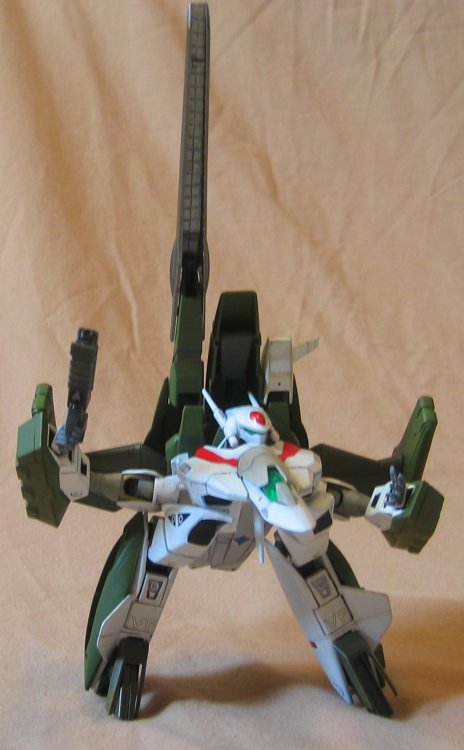
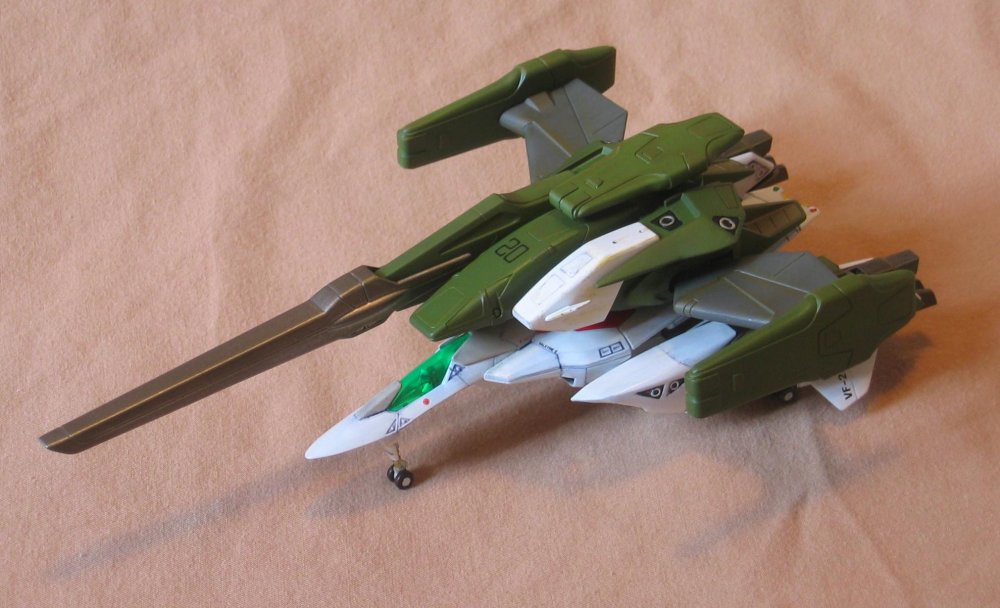
SAP Deployment.
-
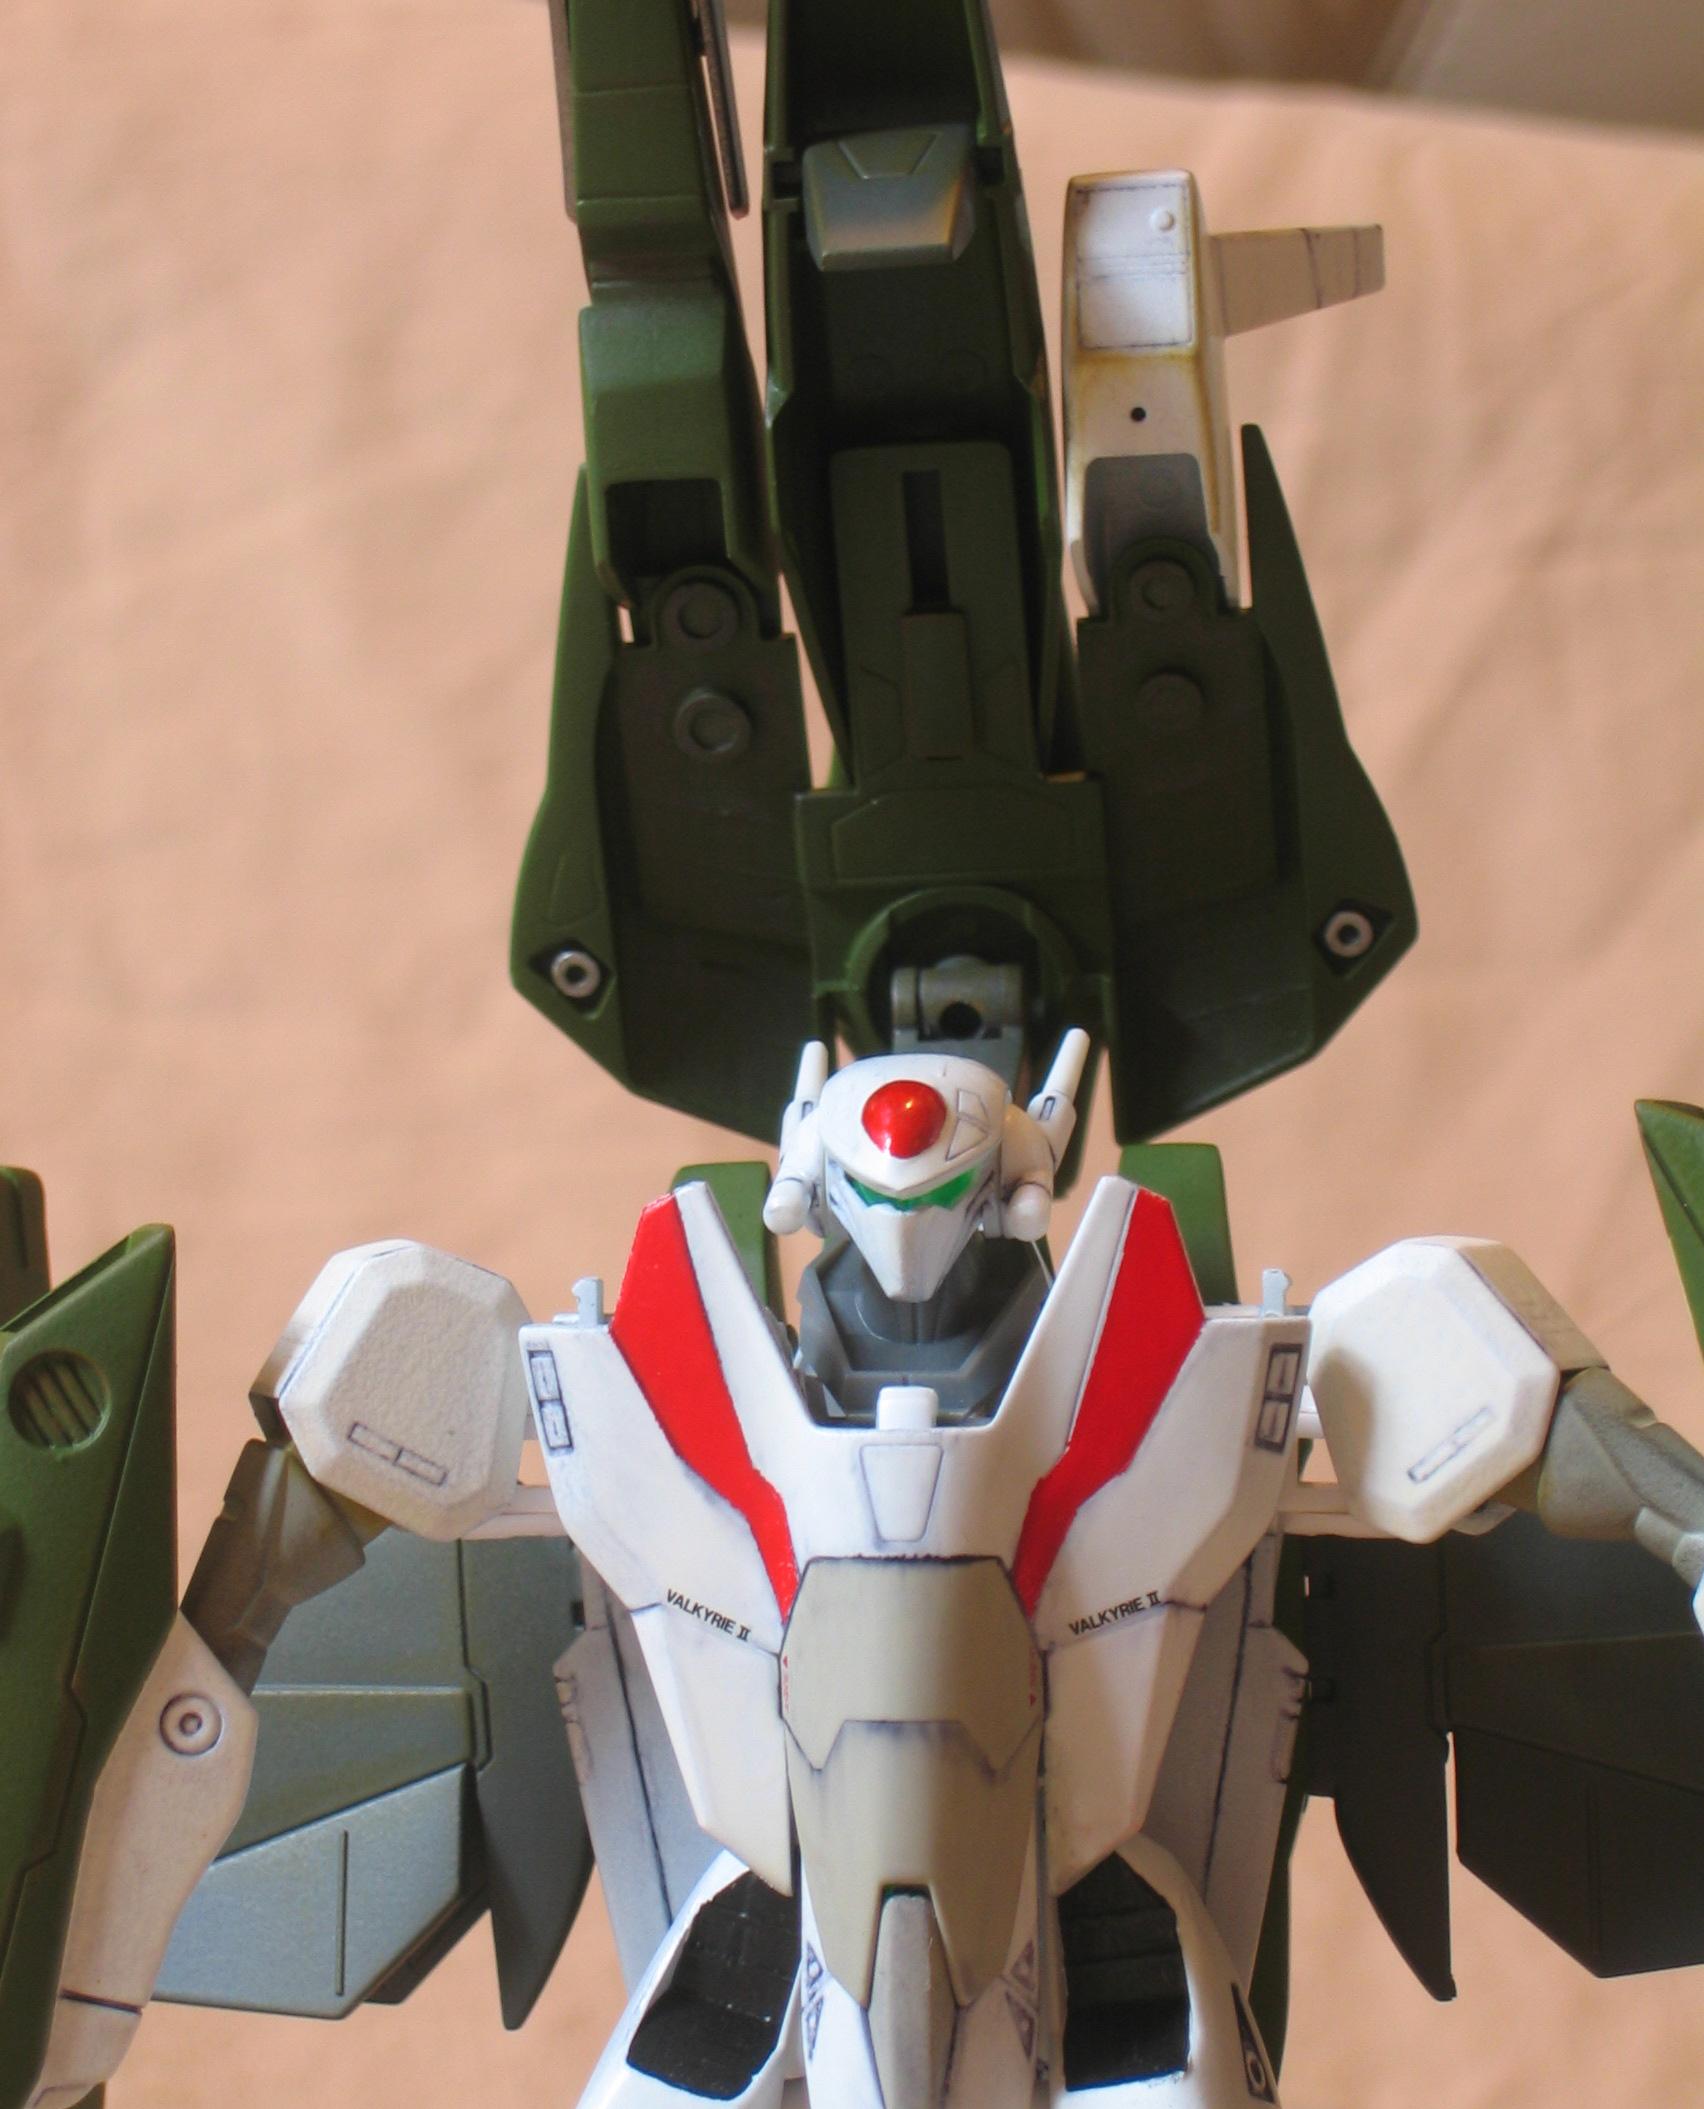
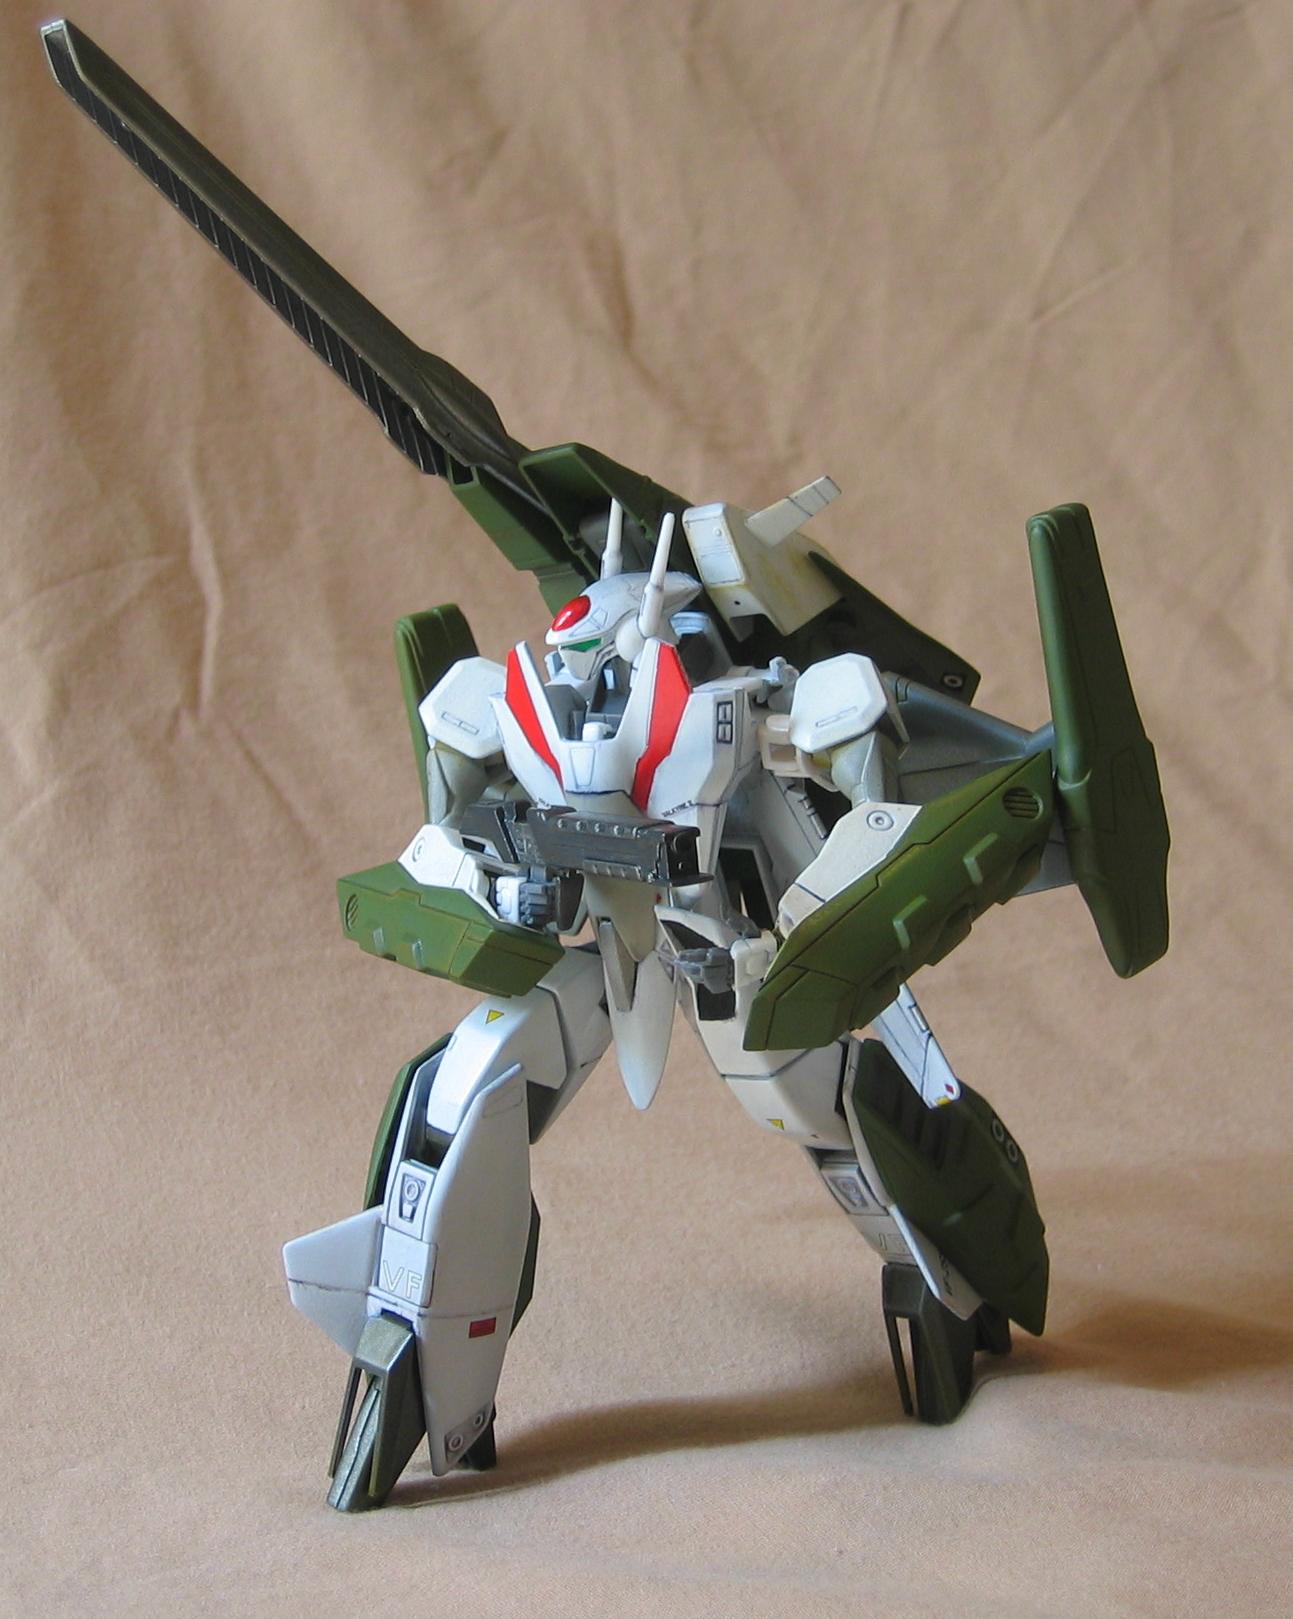
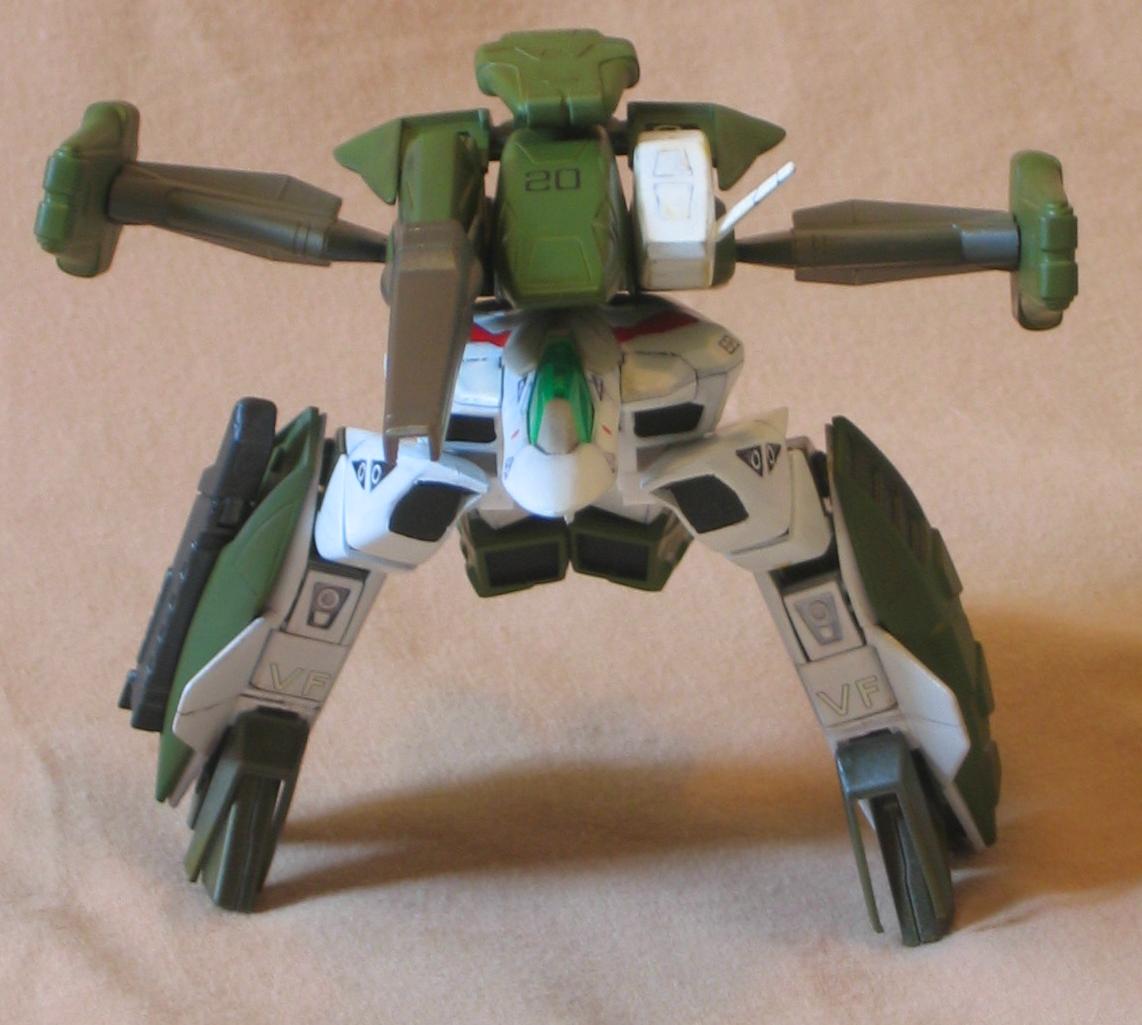
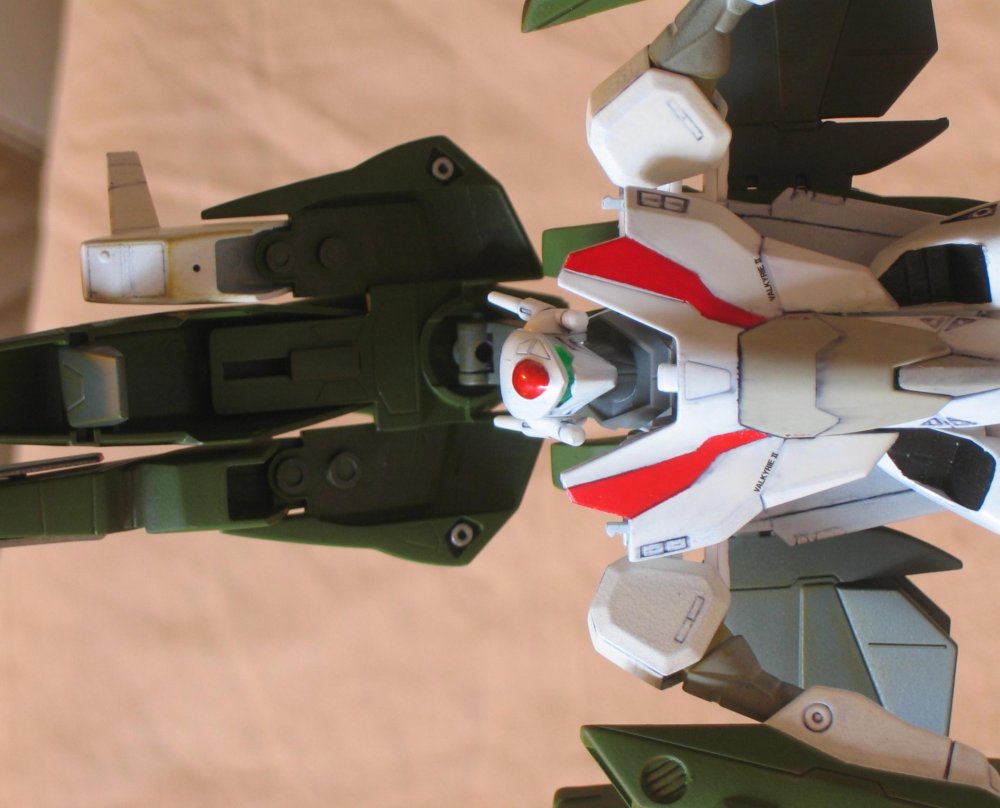
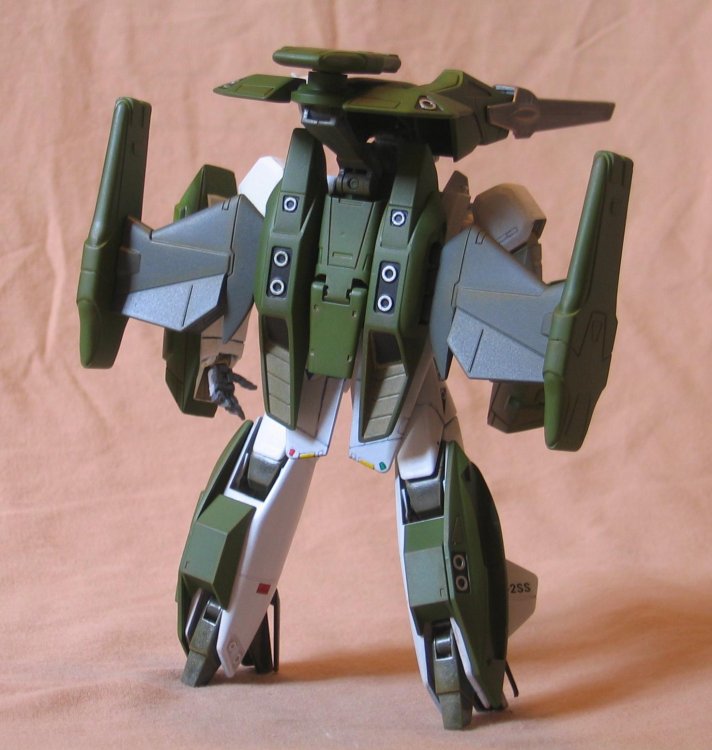
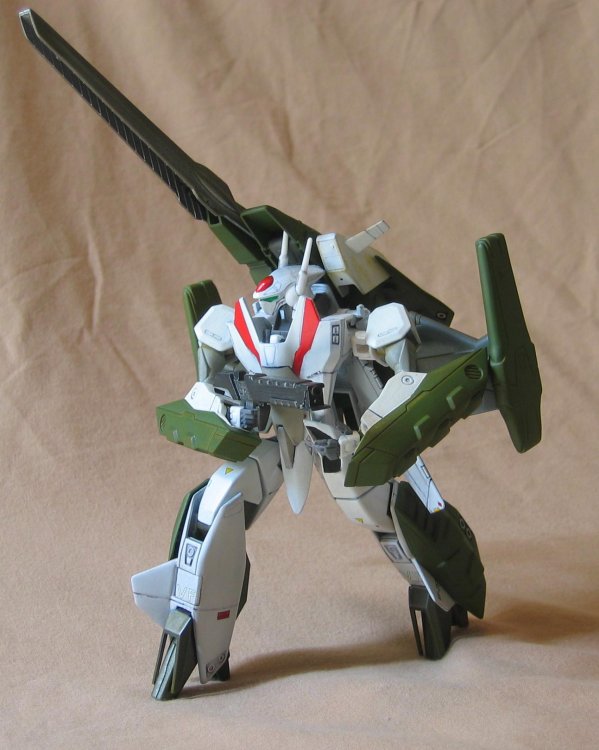
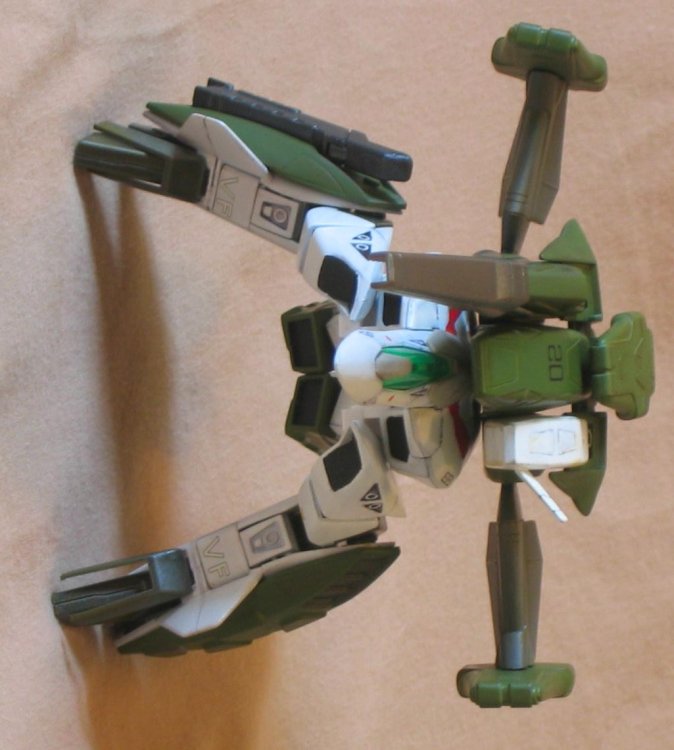
Battroid.
-
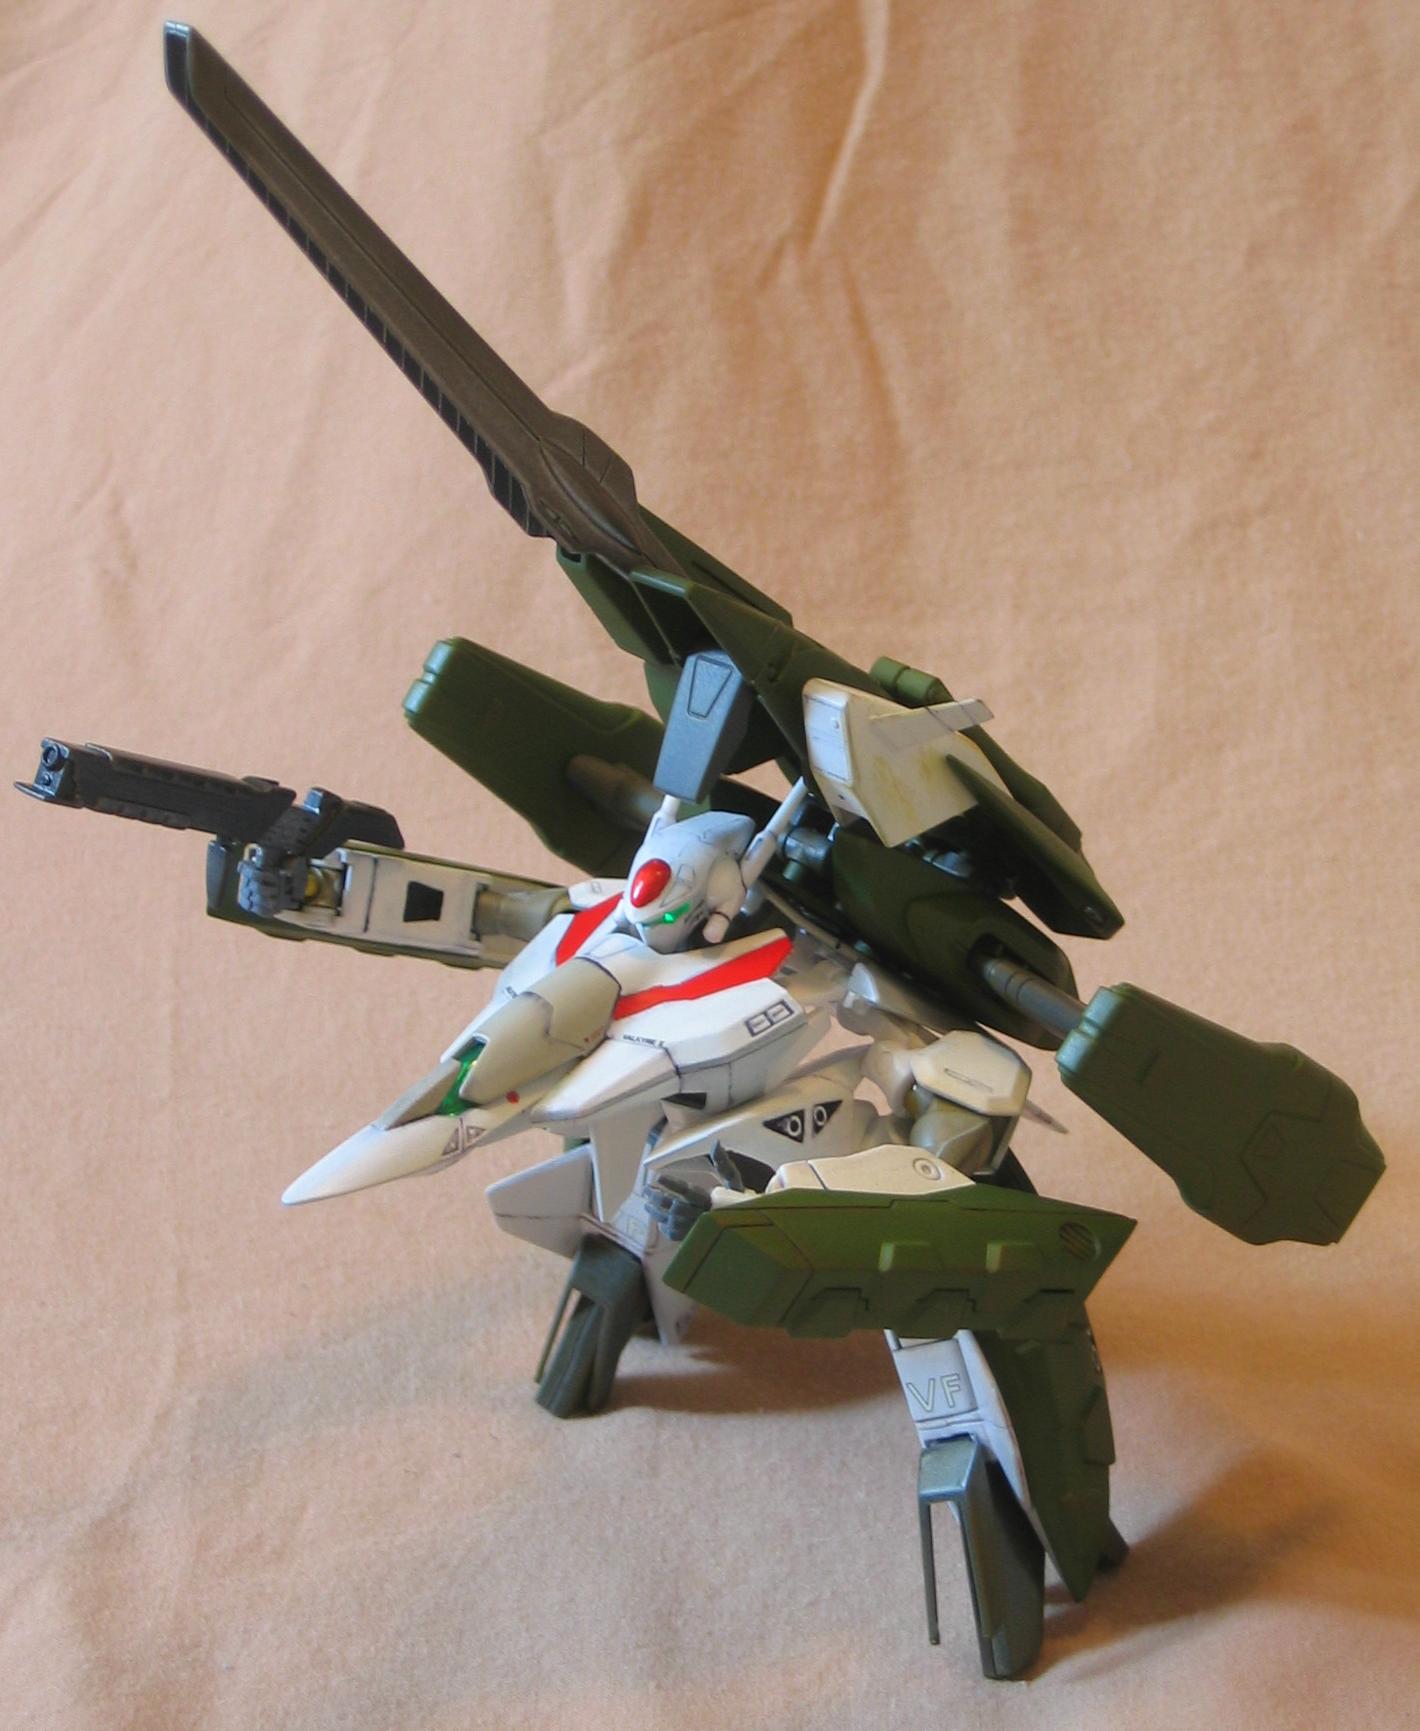
Mid Transformation.

-
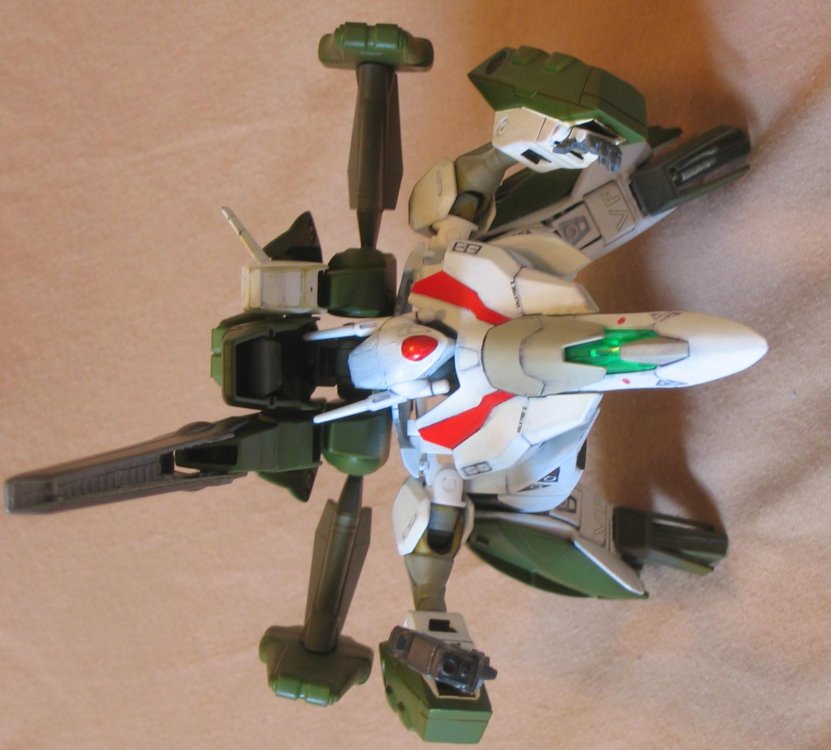
Half GERWALK.
-
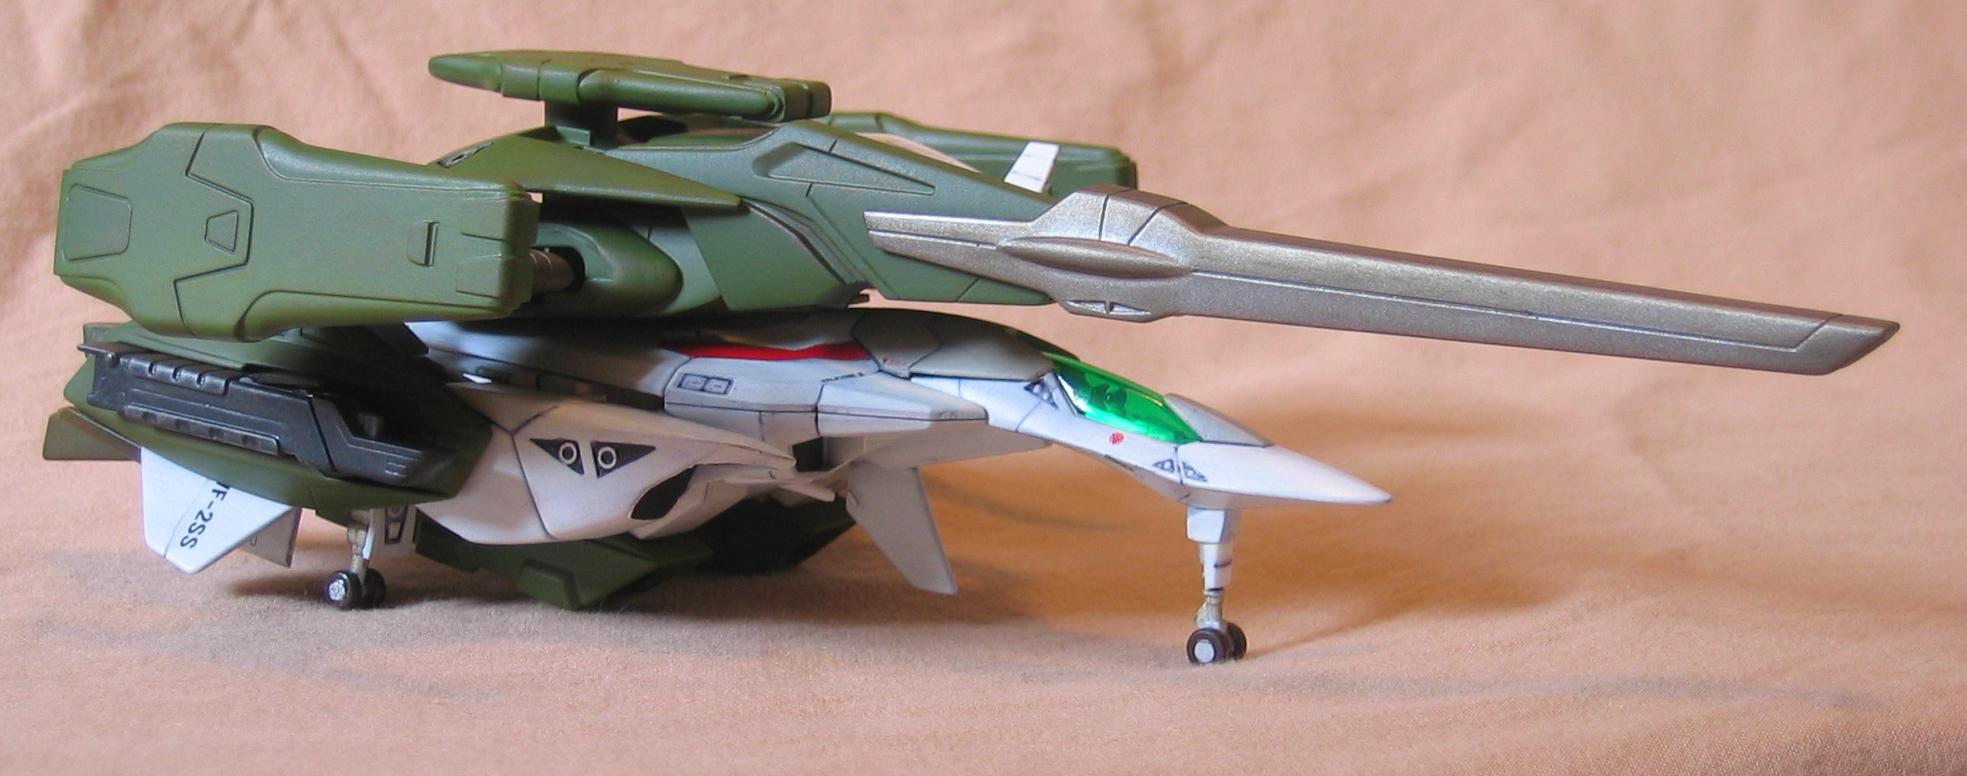
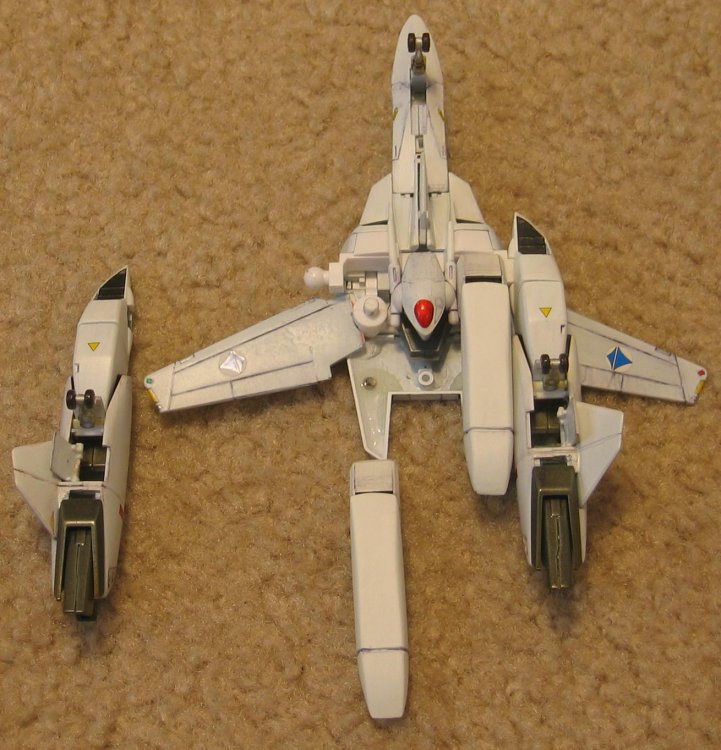
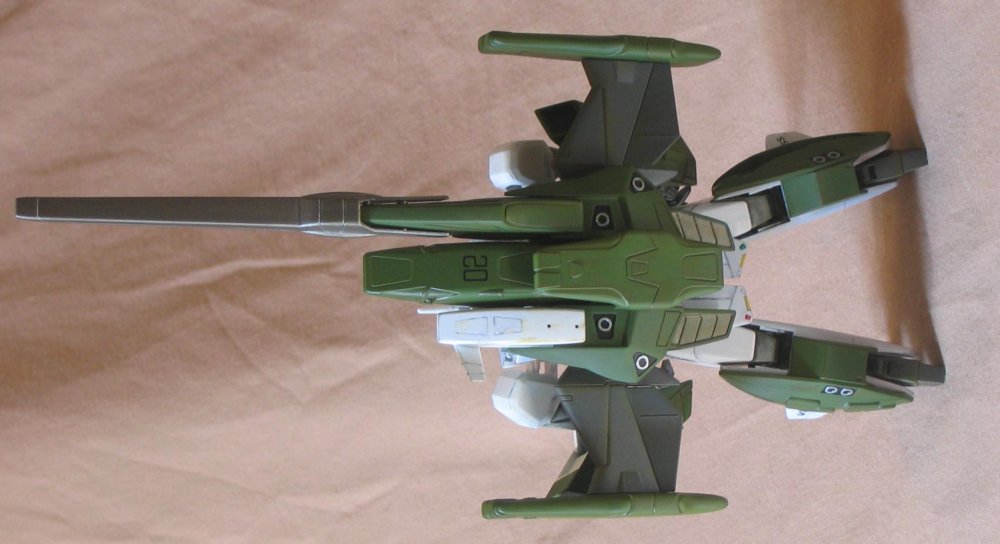
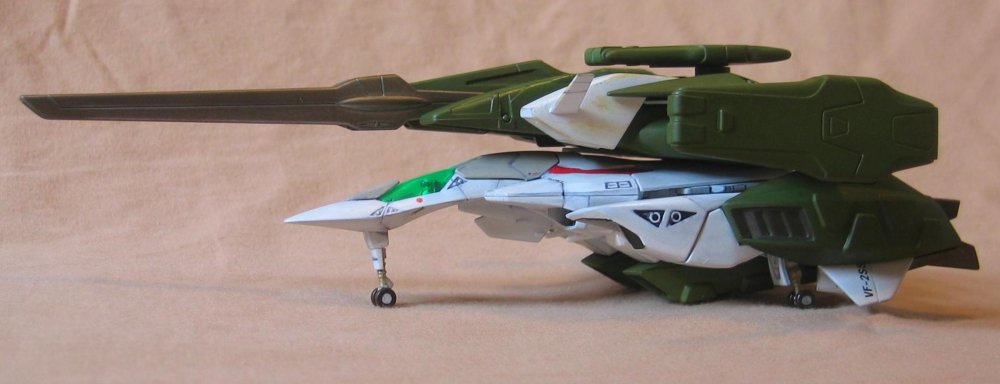
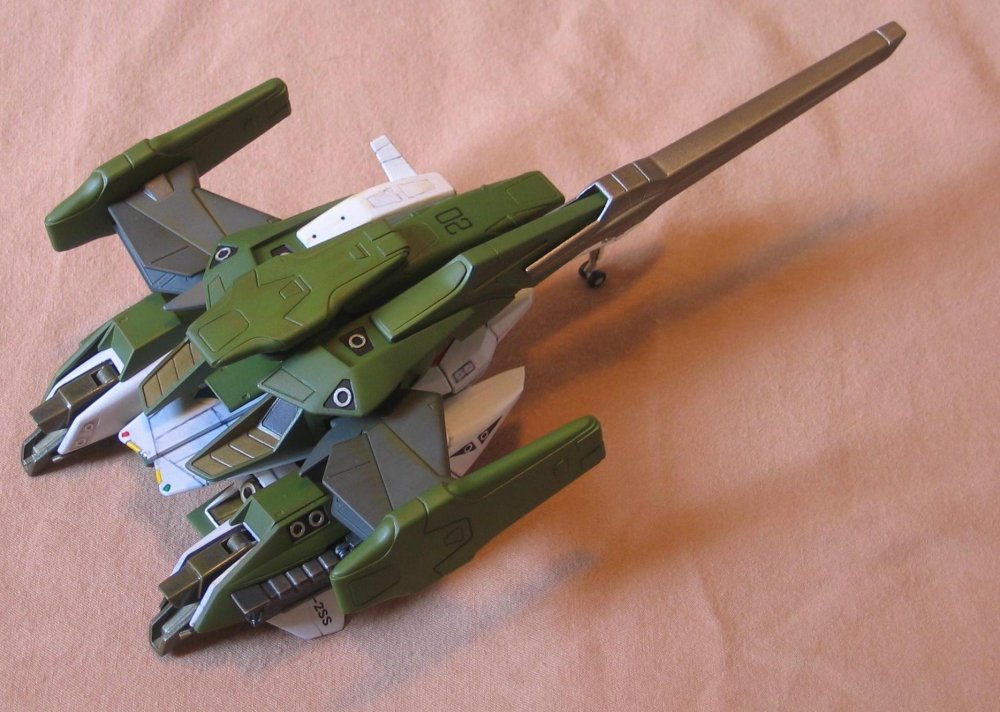
SAP fighter.


-
My plan is to have this done by Labor Day Weekend. Those that are on Samurai Monkey were able to see the SAP version early.

-
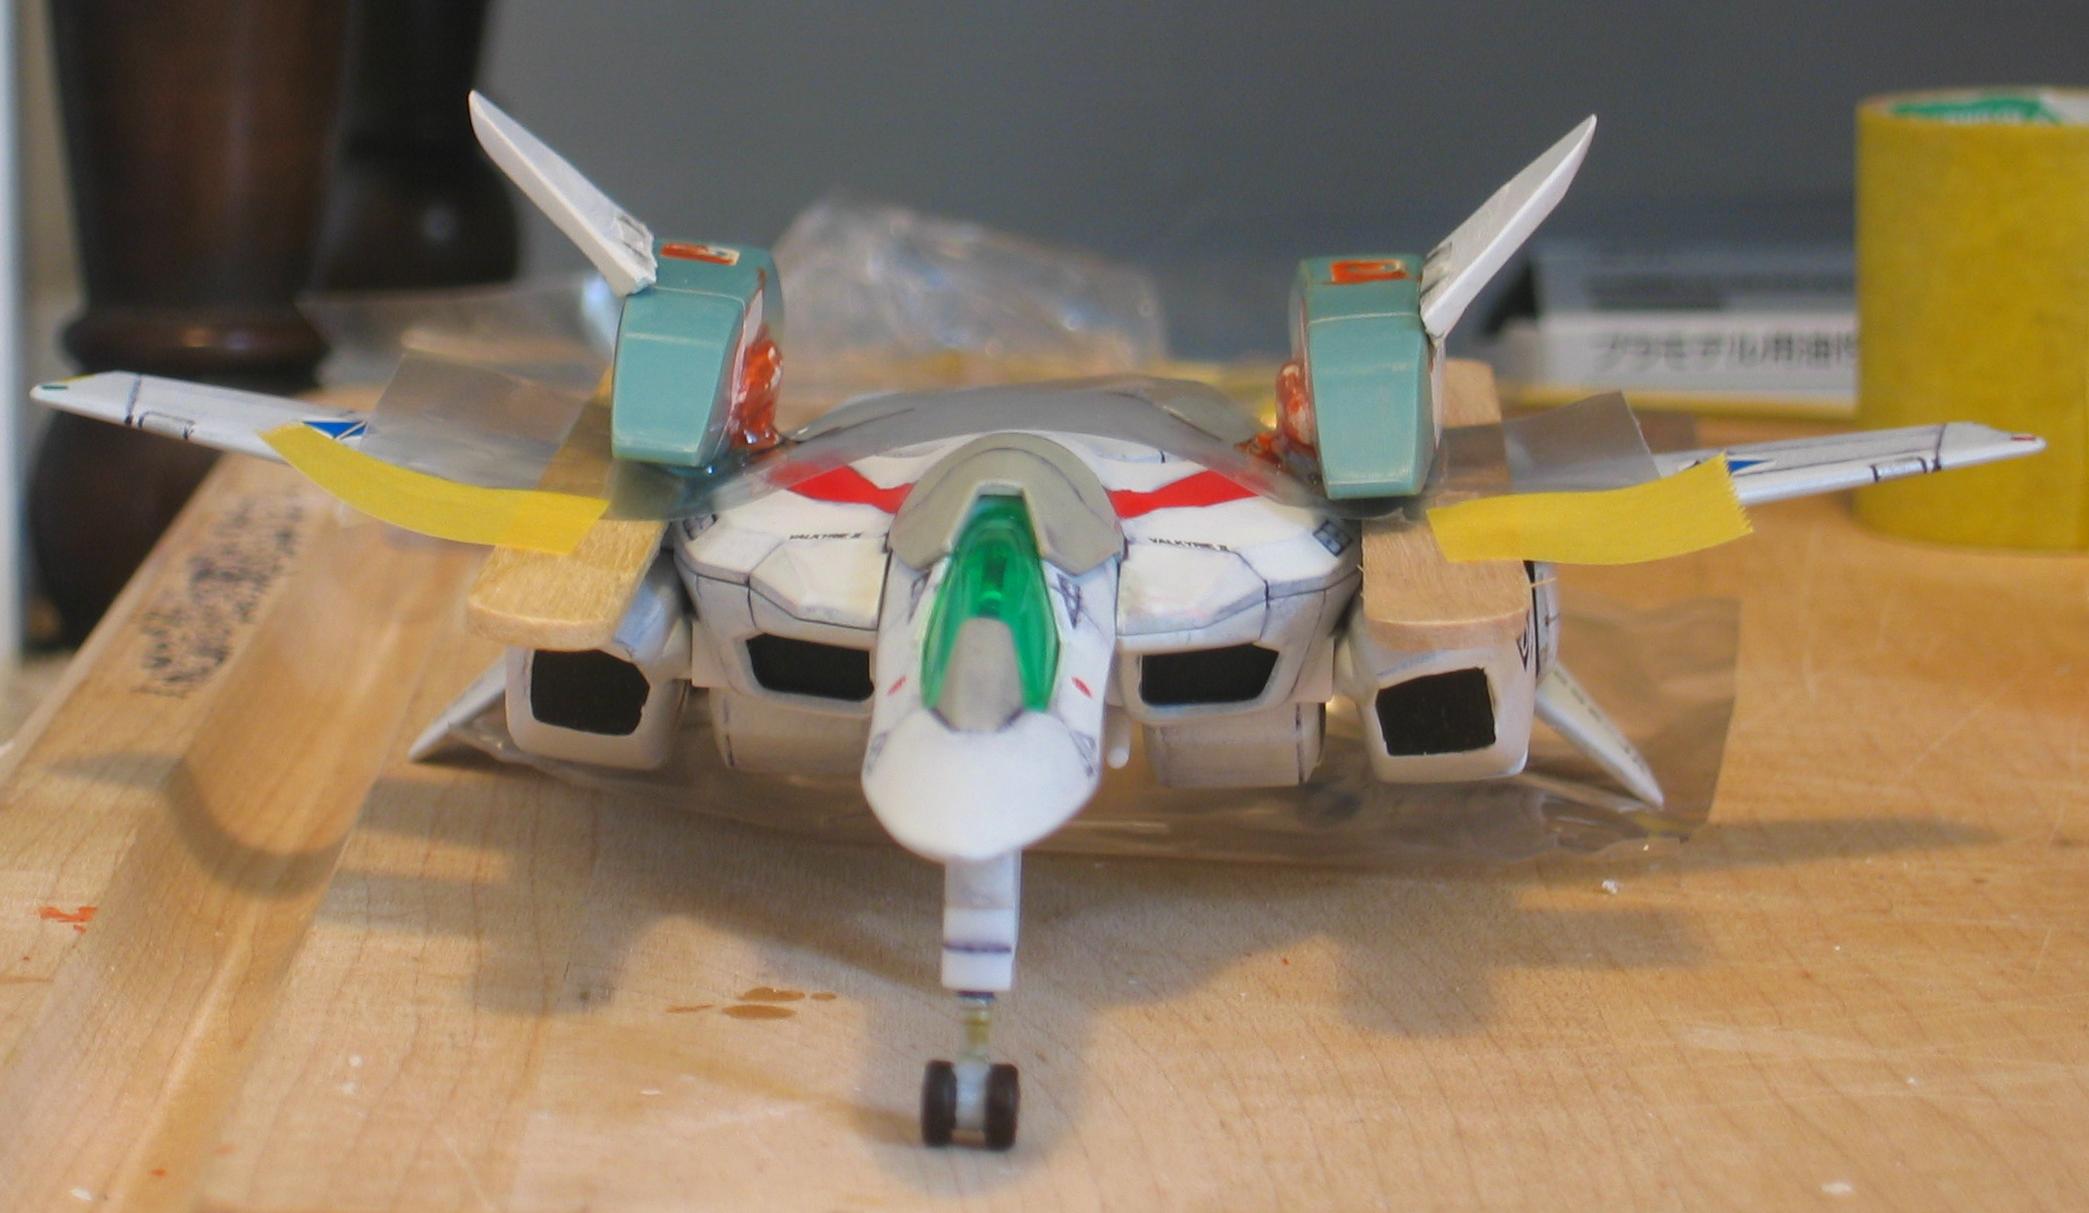
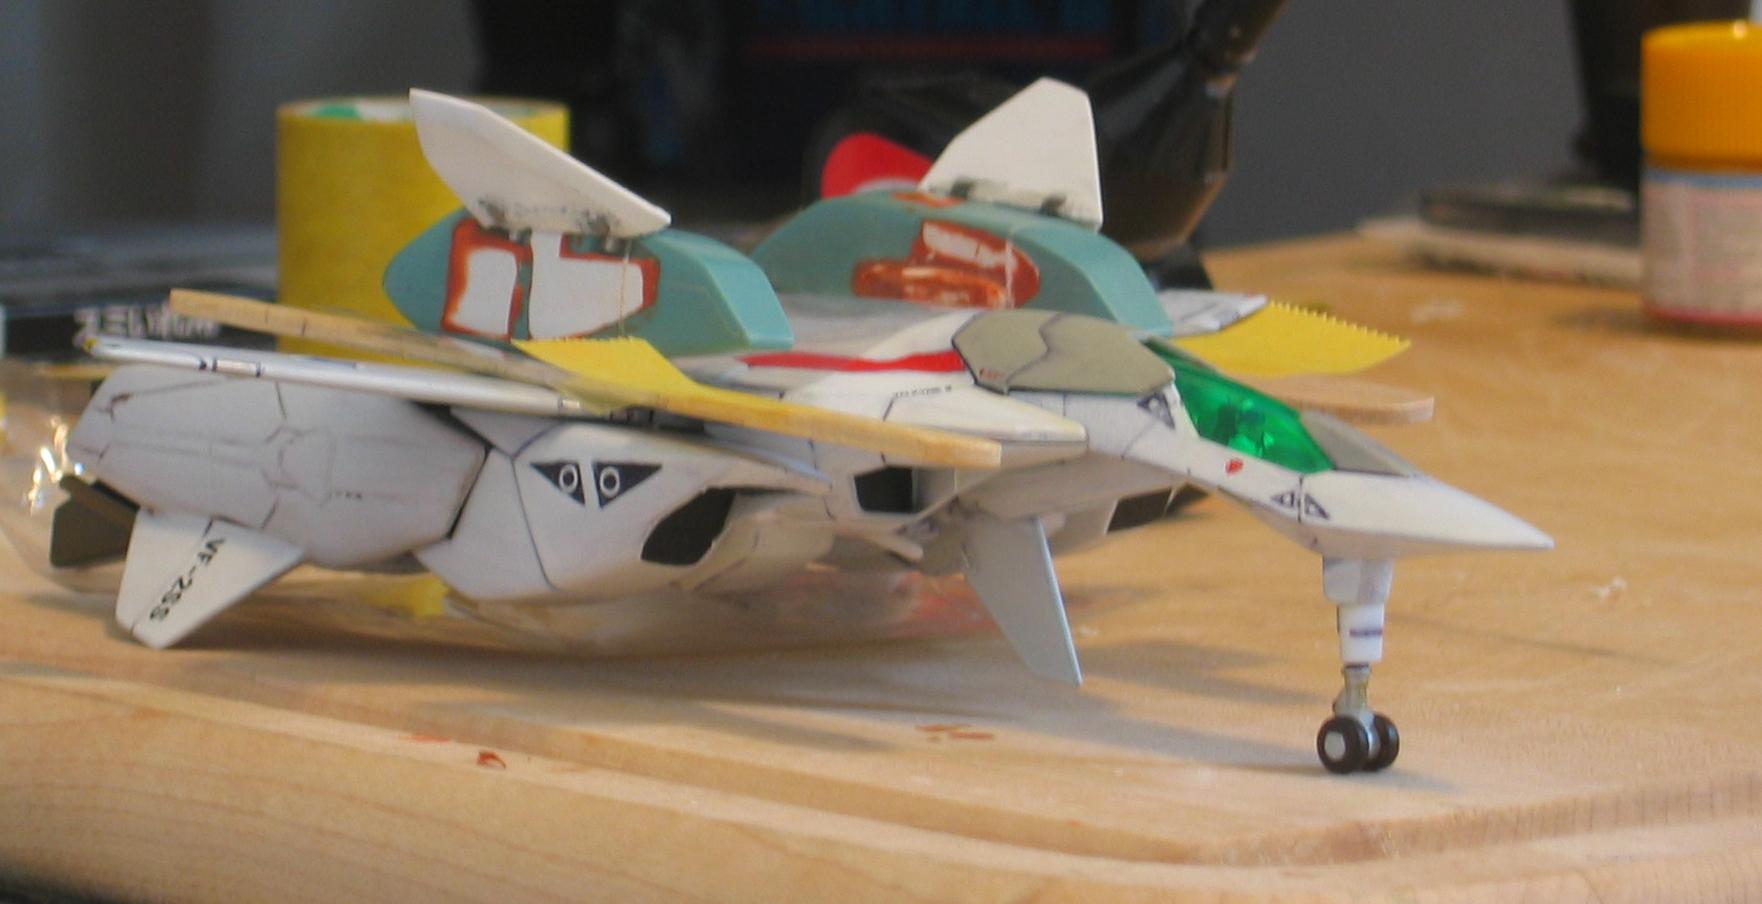
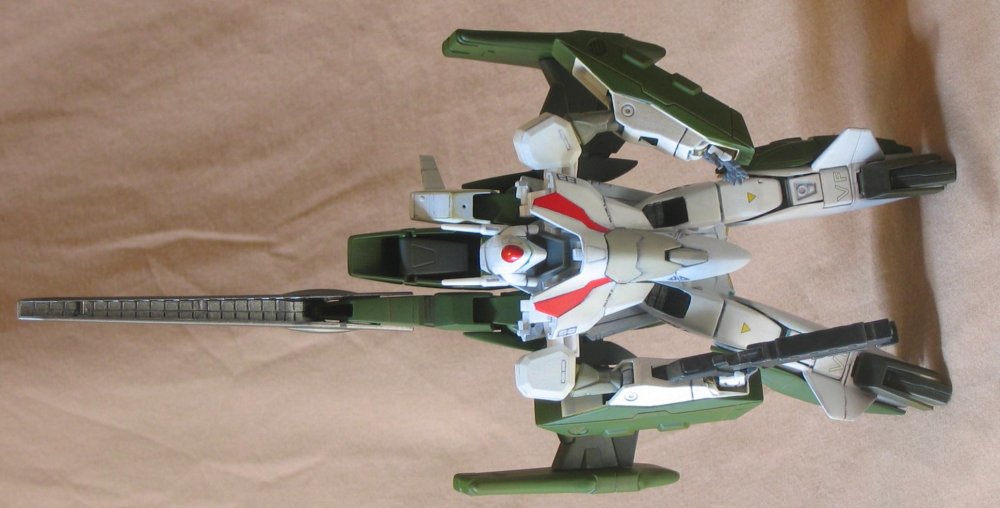
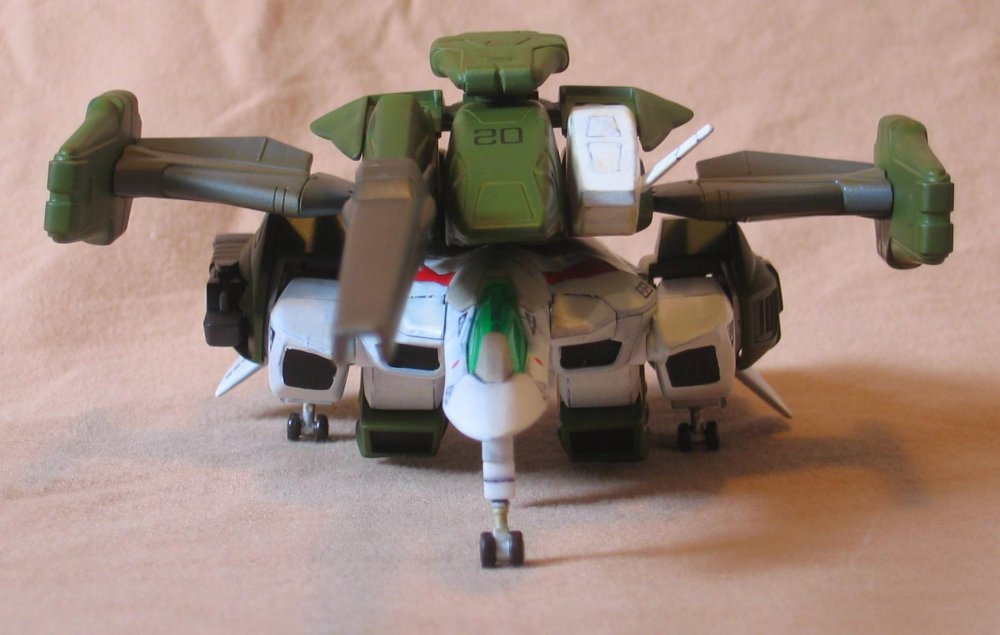
Doing that was not enough. The nacelle engines were too far forward. Never had them on the fuselage with the legs attached. Added two additional magnets in the aft of the fuselage. Yes, I cut the intakes after these photos. Did lots of work when the site was down. You can also see that the jet backpack is installed.


-
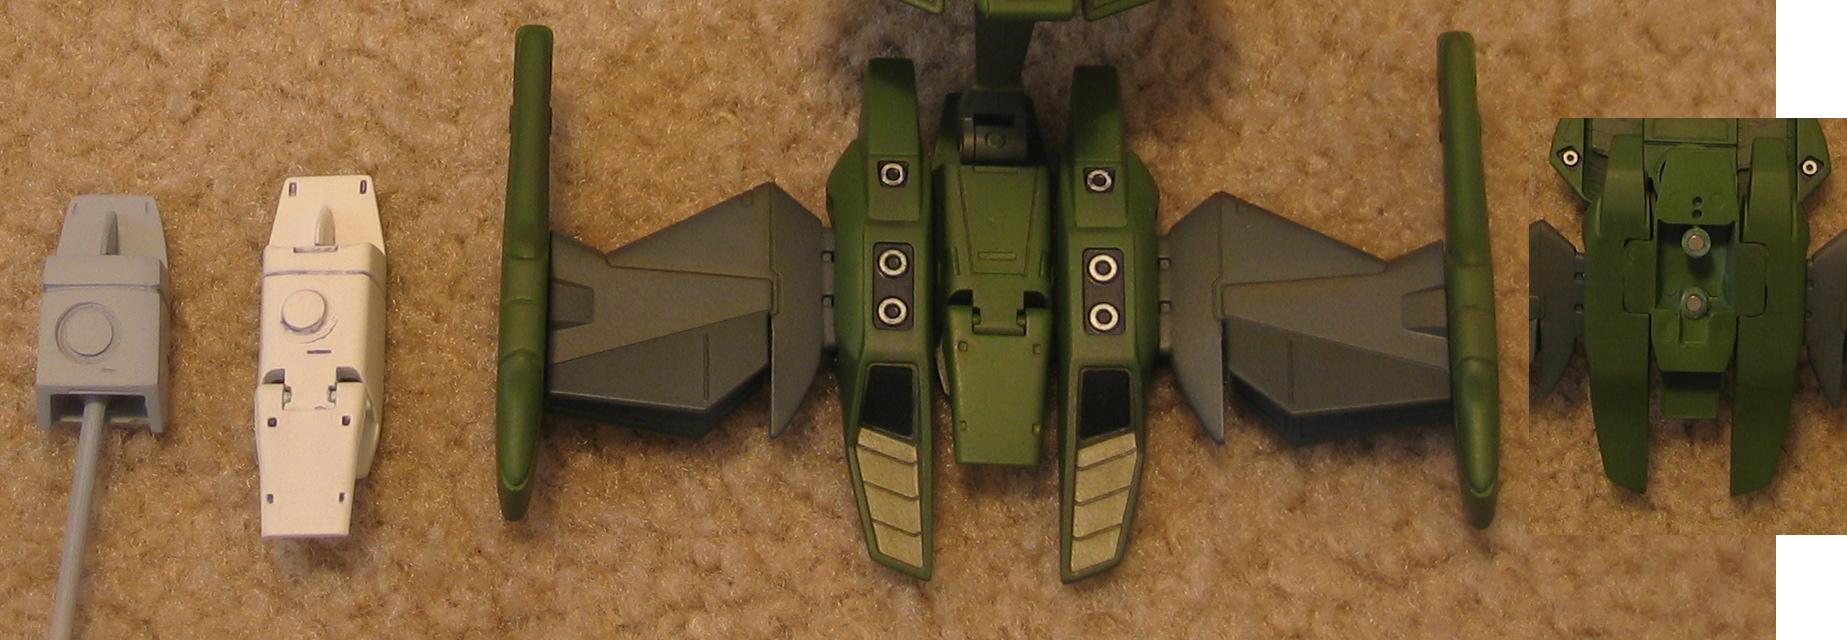
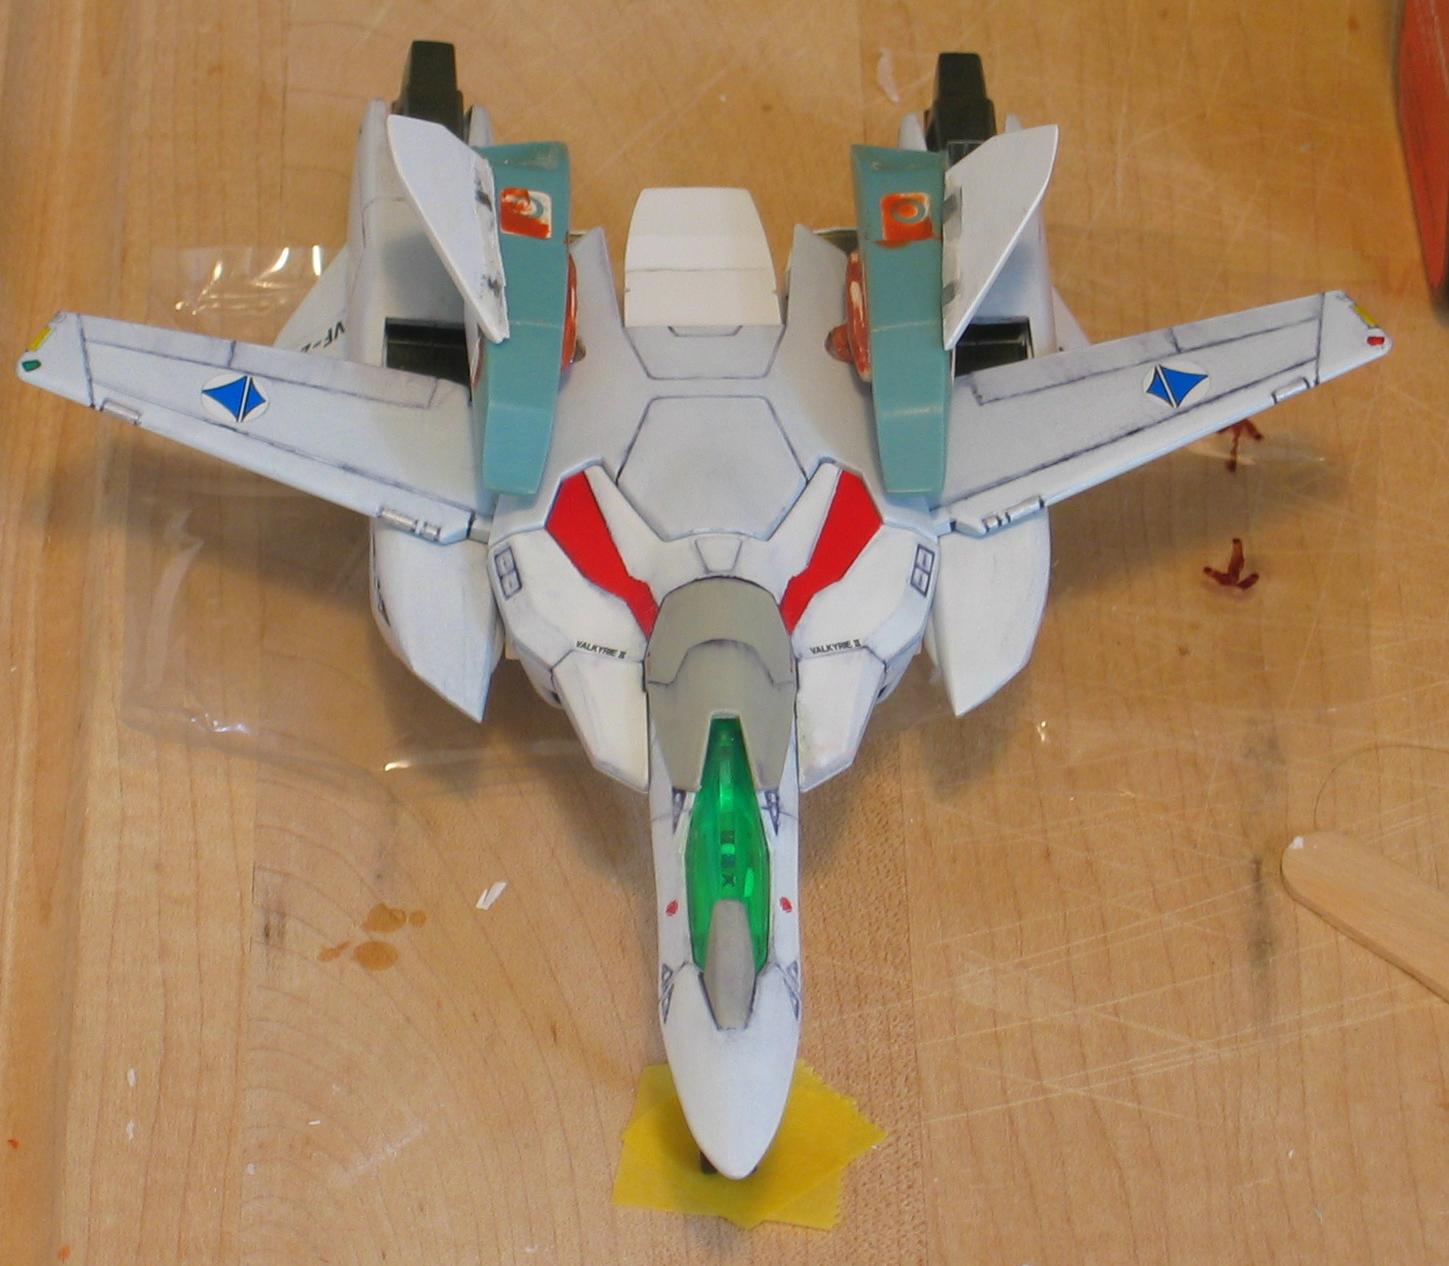
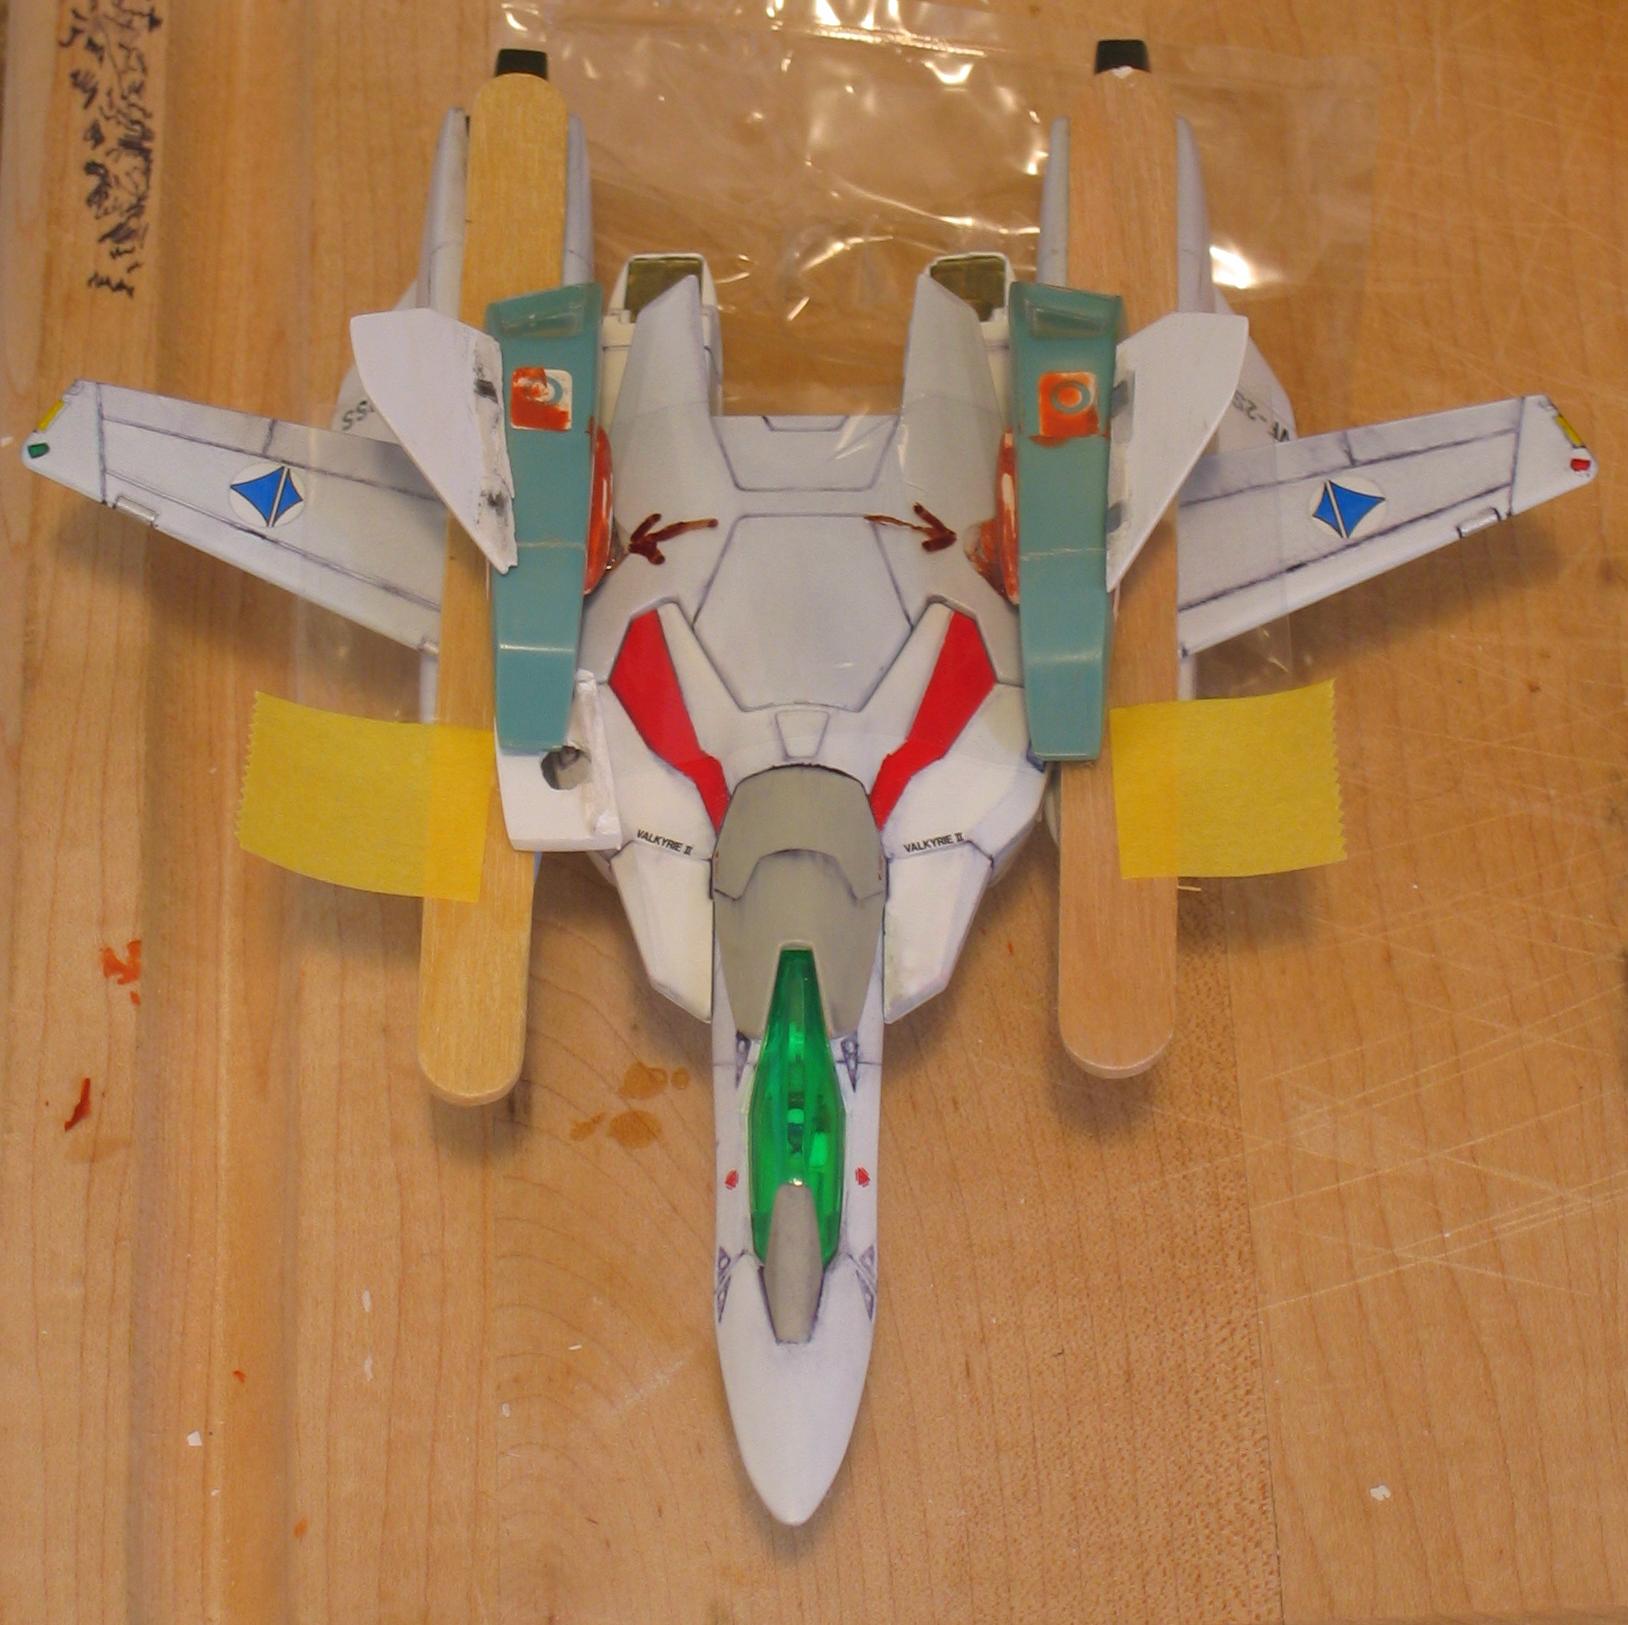
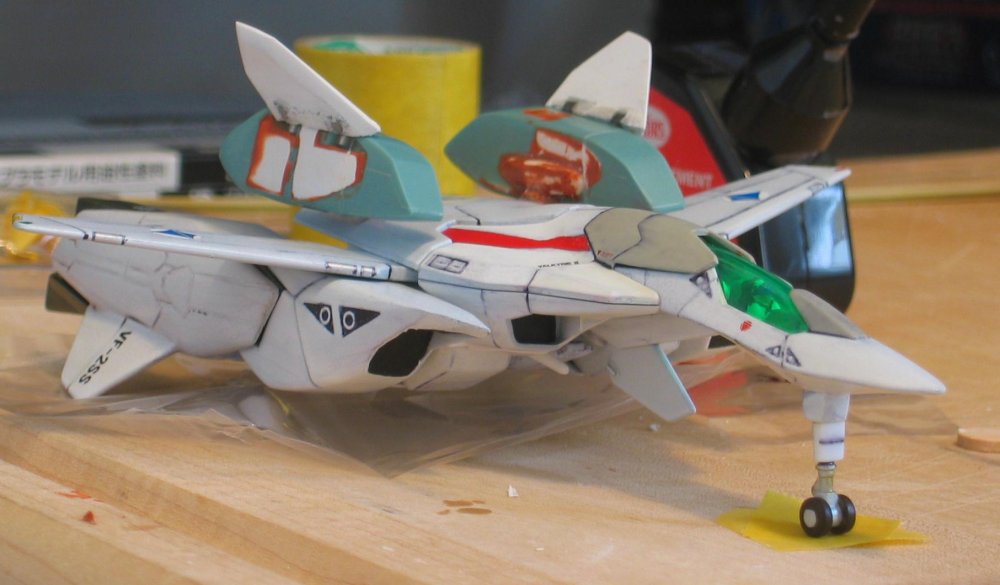
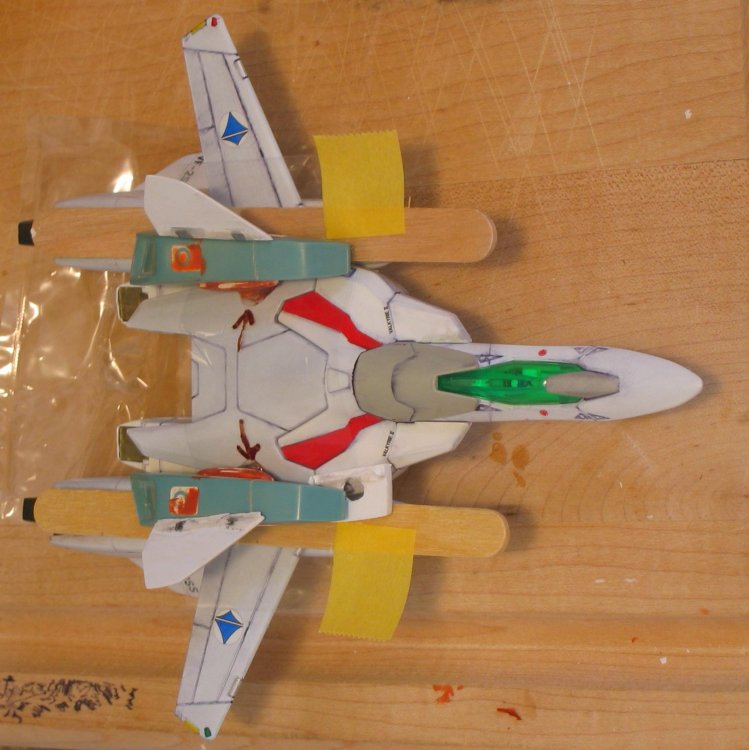
Cut too much on the epoxy mounting brackets for the nacelle engines. Had to remount. Use sheet plastic to keep the parts from sticking to the fuselage and tongue depressors to elevate the engines and keep the bottom parallel with the wings.


-
"canon" design ...Woah!... lets not get personal. Who really knows what canon is? Macross II is the "My Little Pony" of the Macross universe.
-
Wonder if Graham will toss your mod Yamato's way. That is the way a cockpit should look. I have resisted the new 1/60 up to this point but the mods are making it more attractive.
-
Bandai 1/72 Scale Macross Frontier Plastic Models
Fly4victory replied to Graham's topic in Hall Of The Super Topics
Are the feet/afterburners molded in Red or Black? Hope black. For a quick build she doesn't look too bad. -
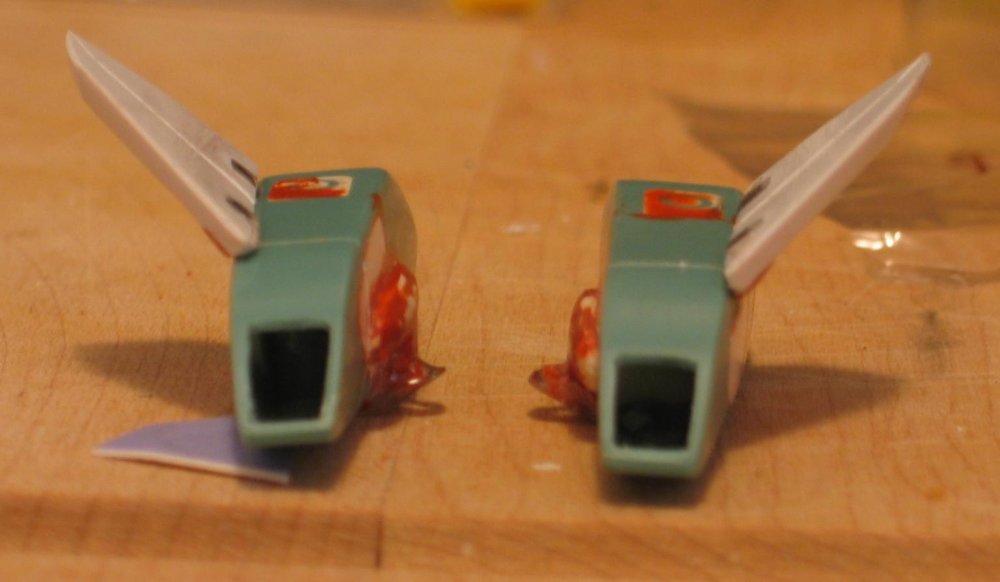
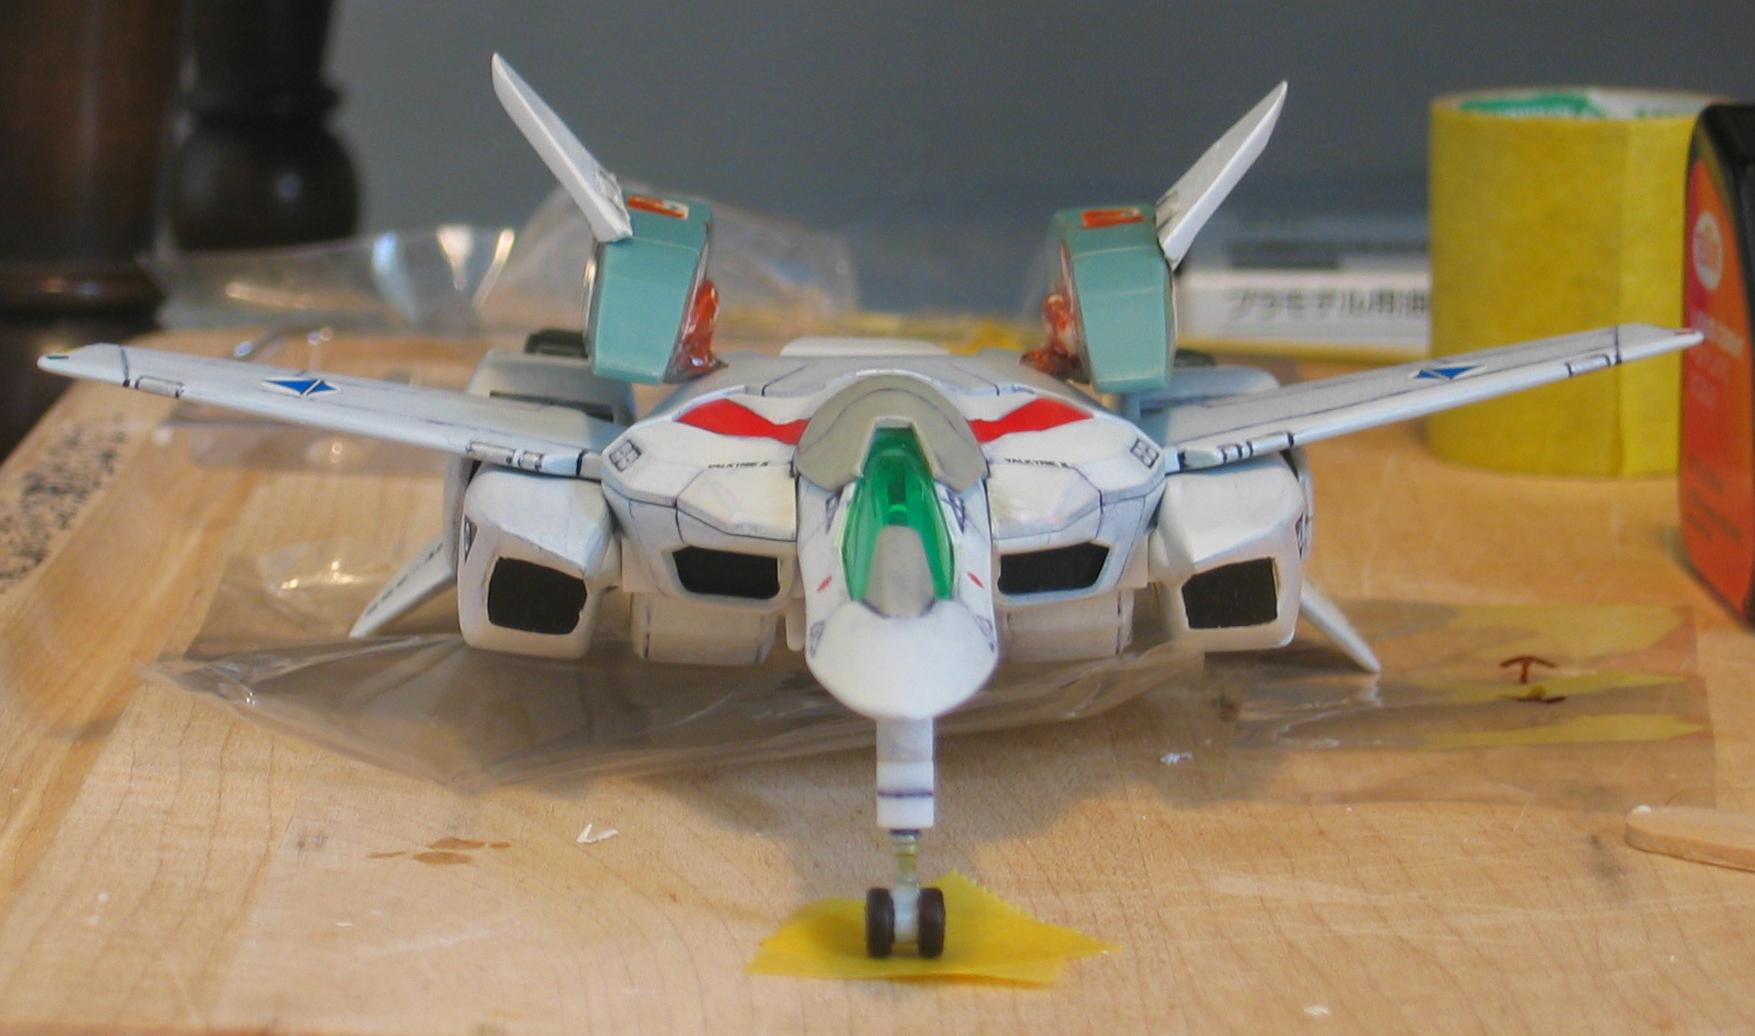
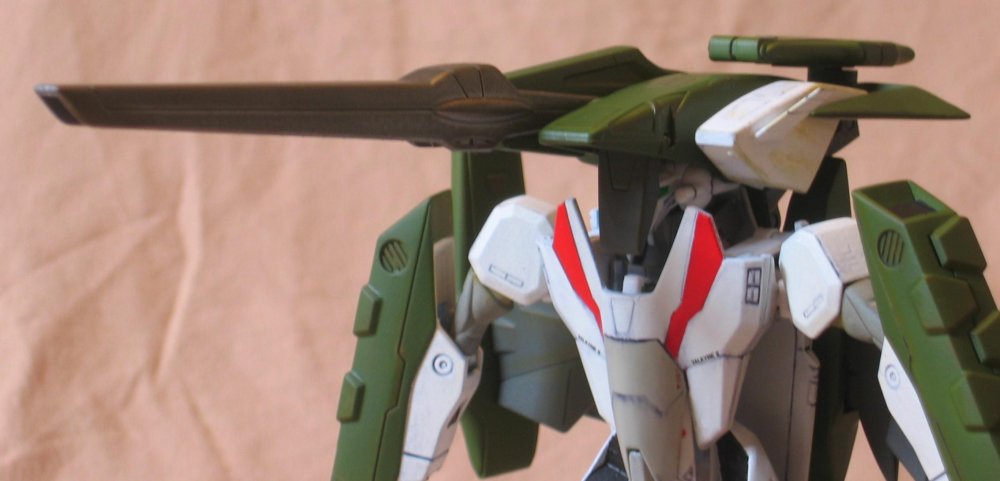
Cut the intakes on the front of the nacelle. Use a square file for the corners and to clean the inside edges. Edit: The panel lines on the vertical fins have also been cut.