GutsAndCasca
-
Posts
1103 -
Joined
-
Last visited
Content Type
Profiles
Forums
Events
Gallery
Everything posted by GutsAndCasca
-
Man I wish I could help. (sorry!)
-
Automotive paint??? Geesh. Sounds pretty hardcore. Where would I go about getting that, and how much would it be, and how do you apply it, etc? Any help is appreciated! Someday I'd like to have customs that I can transform without having to spew out foul language everytime I nick up a decal/paint/etc.
-
I don't have three of every valk I own, so I end up having to transform them from time to time. this is especially so for my customs. It would be nice to have a paint that's durable.
-
*snap*
-
Thanx, all!
-
If enamel doesn't chip or wear as easily... then why shouldn't I use enamel? I mean, I like using acrylic, BUT, if I can get paint that won't flake off without having layers ontop of it for protection and then STILL being in fear, that'd be great.
-
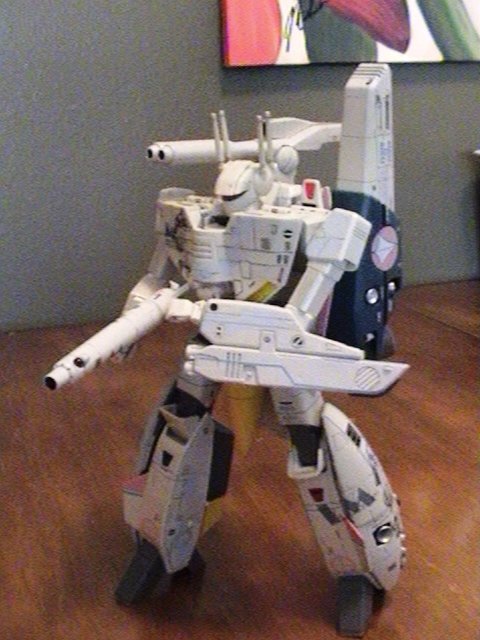
I know, I suck at taking pictures! Or maybe it's our camera, I dunno'. Probably me.
-
You're right, big daddy's gun was in the shop getting detailed. Hikaru: "Your'e looking a little small today, Sempai. Let me take that big gun off your scrawny little arms." Roy: "Read the box, baka! My gun's bigger AND it's only 1/60..." 411649[/snapback] Hahahaha!
-
I wanna' see battroid mode!! By the way, do enamel paints not chip/peel as easy as acrylic??
-
You'll be amazed how great it works! Hope you love the stuff as much as I do.
-
I haven't gotten around to putting a non-gloss finish ontop of the future on my mg customs yet. I reckon when I do, I'll just head to home depot and ask for a non-gloss finish that won't make my valk have that fine sandpaper feel to it. I'm willing to bet that Citadel makes a great non or semi gloss finish spray.
-
Okay -- sorry I haven't done the step by step paint removal pictures yet. Yesterday was my b-day and I spent it in the hospital for some kind of stomach flu going 'round. today I managed to gather the will to take pictures of my Minmay Guards for the forums, but I seriously cannot be around any chemical products for a few days at least. But, the MG1 was depainted using Brasso, and the MG2 was depainted using Chameleon. -to haterist: So far, the MG2 isn't falling apart! (no bad side effects)
-
PHEW. Well. Let's just say days. Take into account you have to cut out each individual decal with scissors, then let them soak in water, then cover the spot to apply the decal with setting solution, then put the decal on and get it perfect, then smudge with a damp paper towel, then put more setting solution ontop, let it dry, repeat. Once a piece is totally done... airbrush future finish ontop and let it dry for a day or so. Some pieces like the gunpods, need to be flipped... add more extra time for that... Geez. I spent a lot of time on those suckers.
-
It looks way cool! Nice work!
-
100% complete. Finally.

-
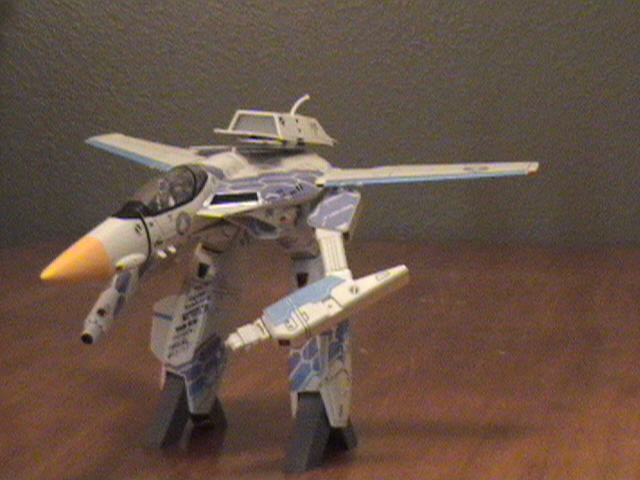
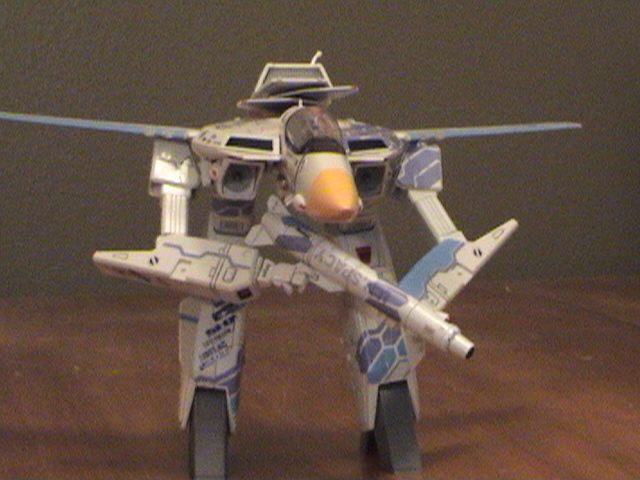
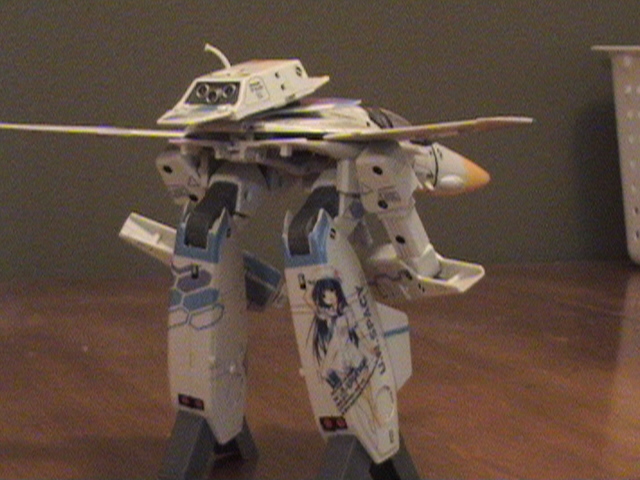
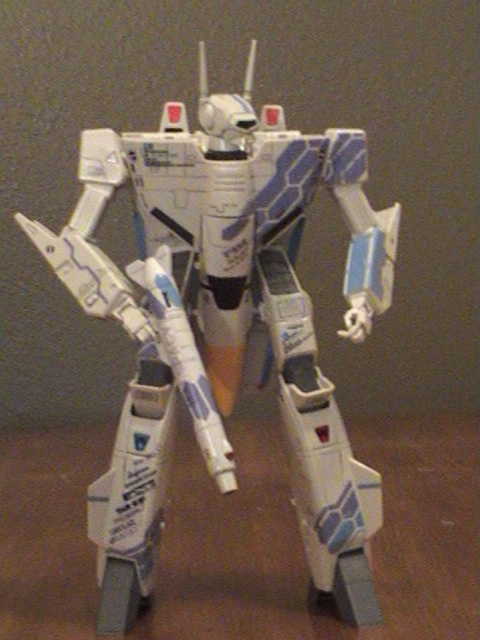
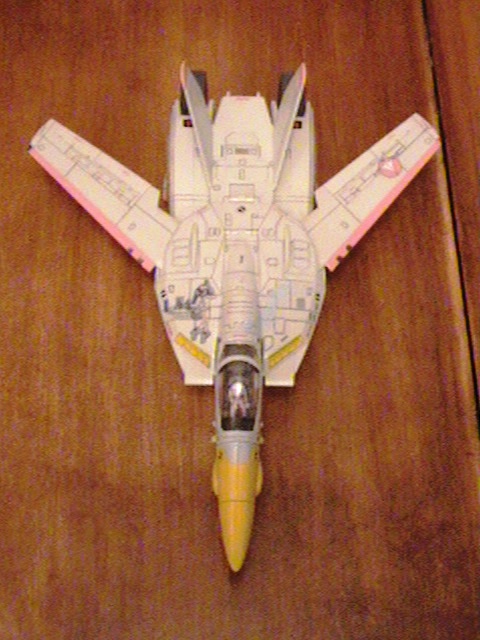
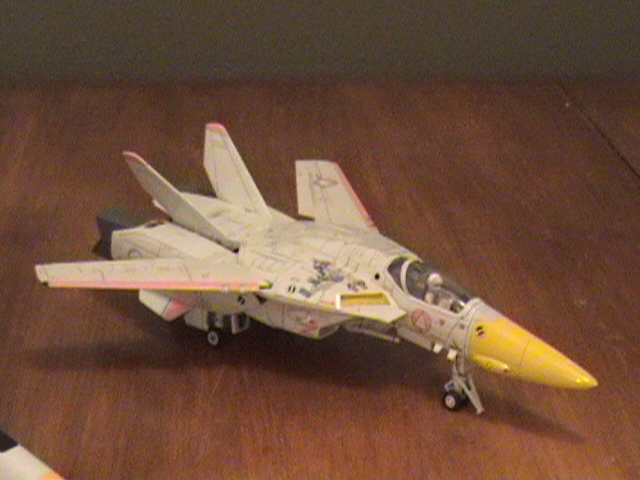
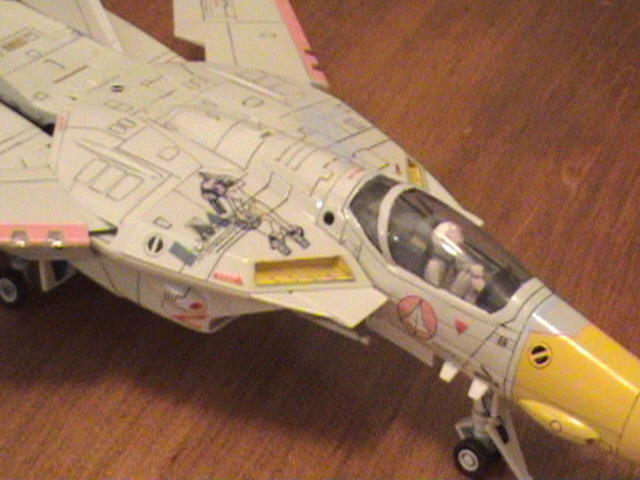
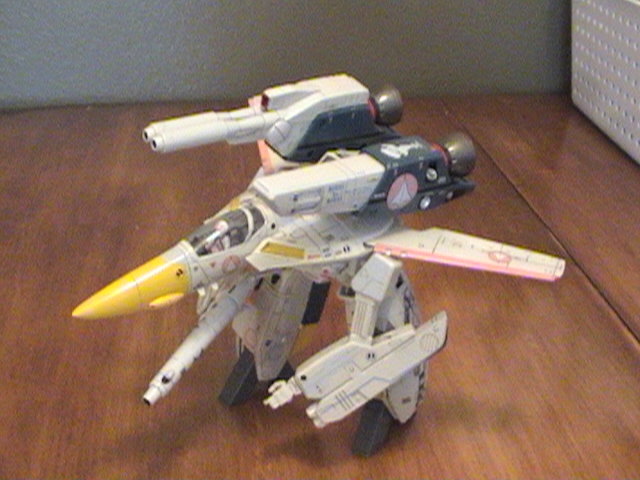
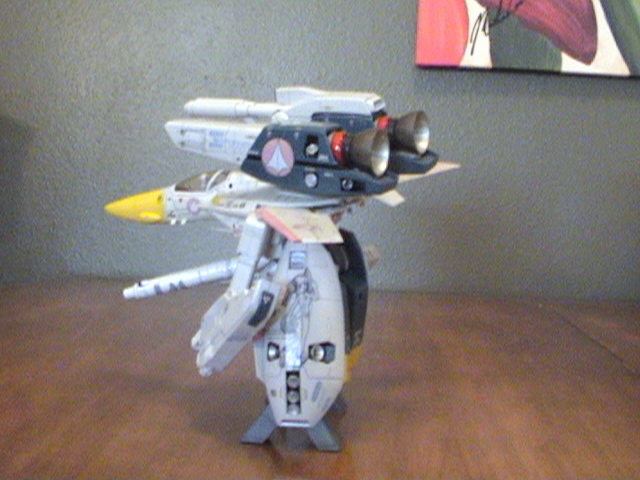
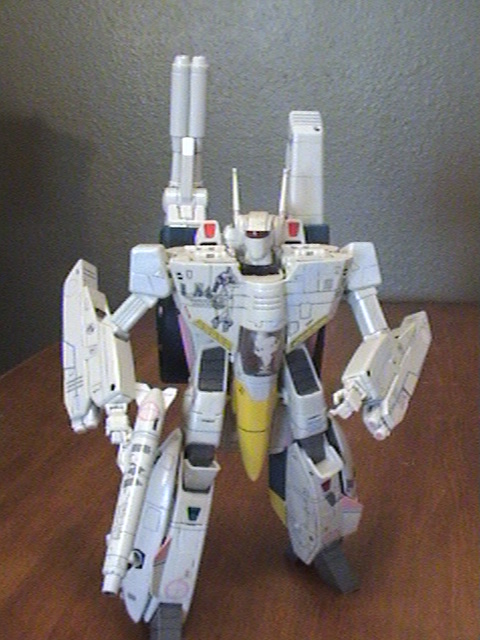
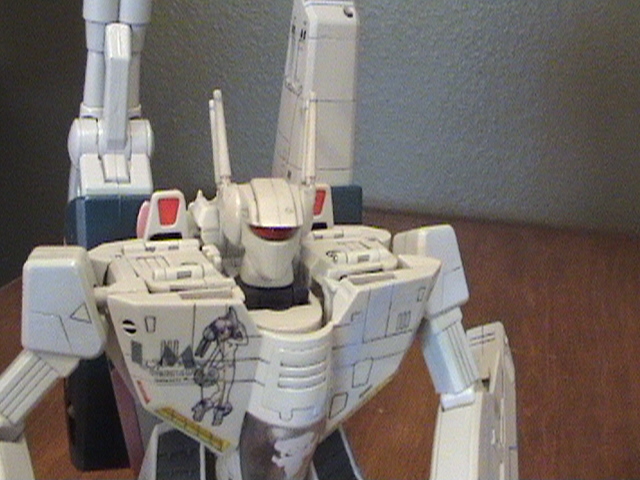
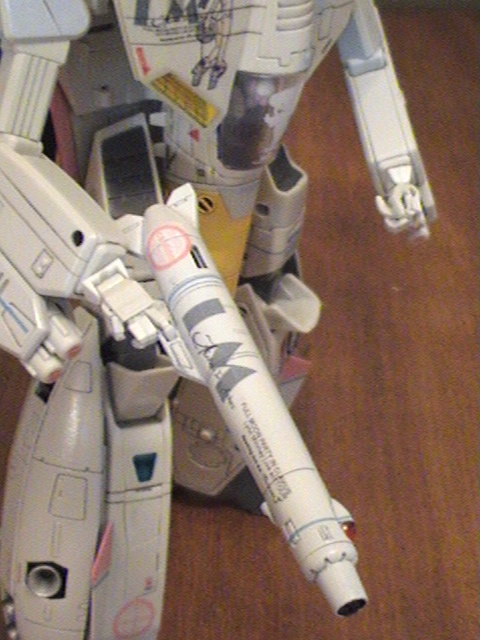
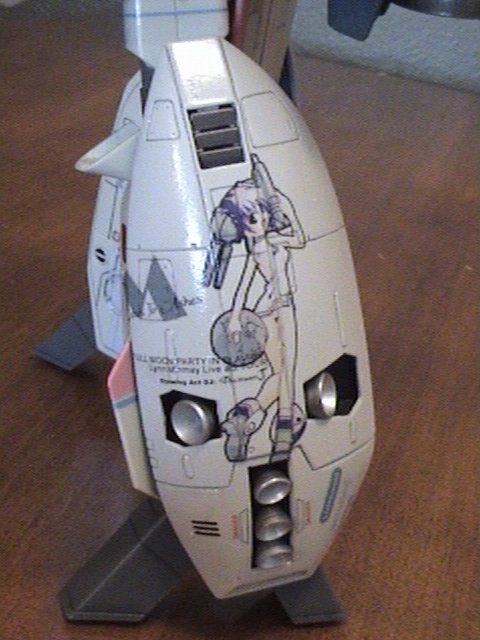
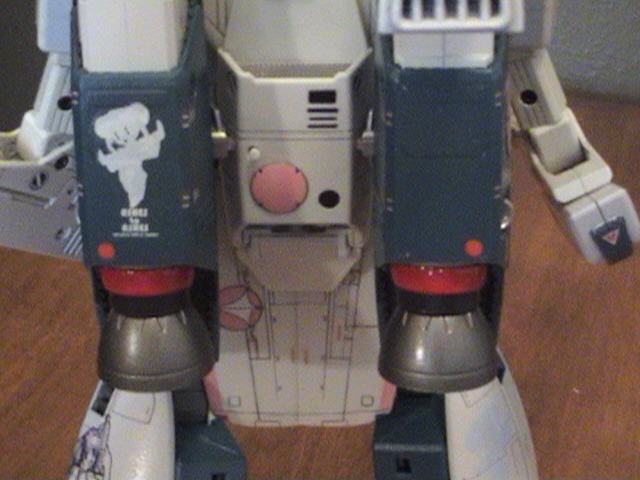
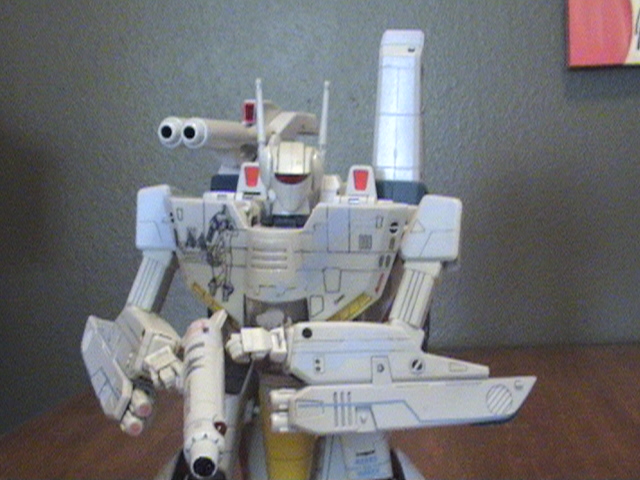
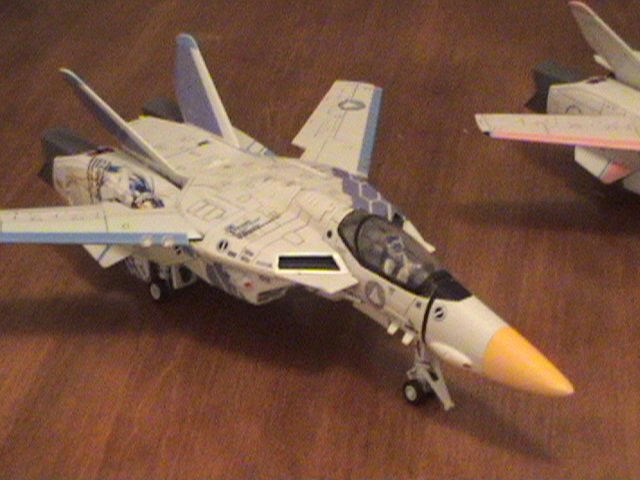
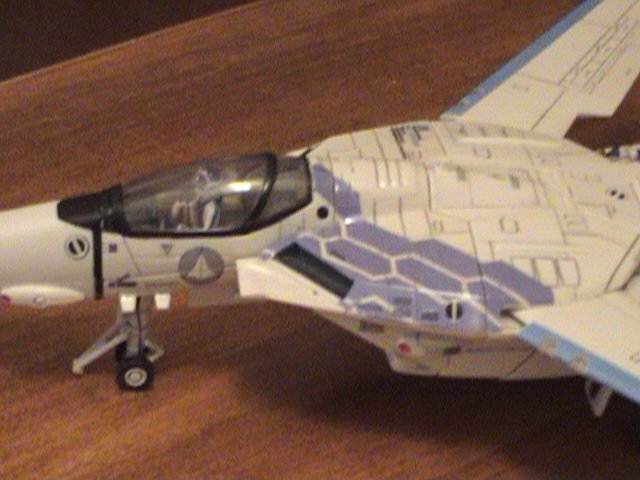
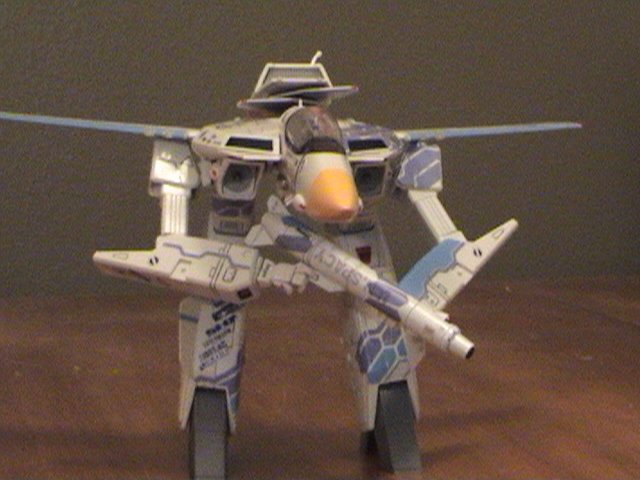
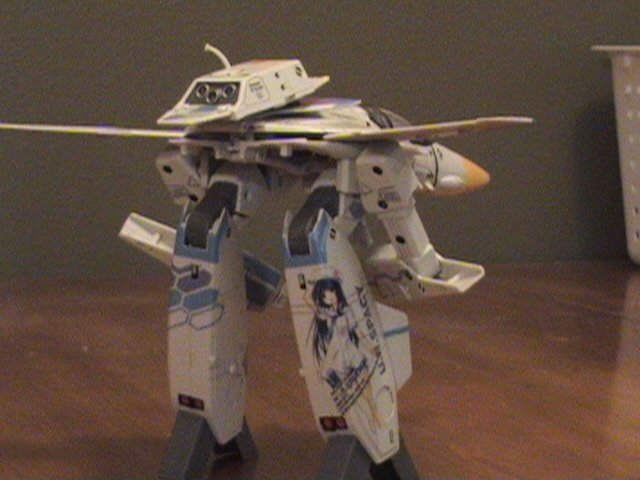
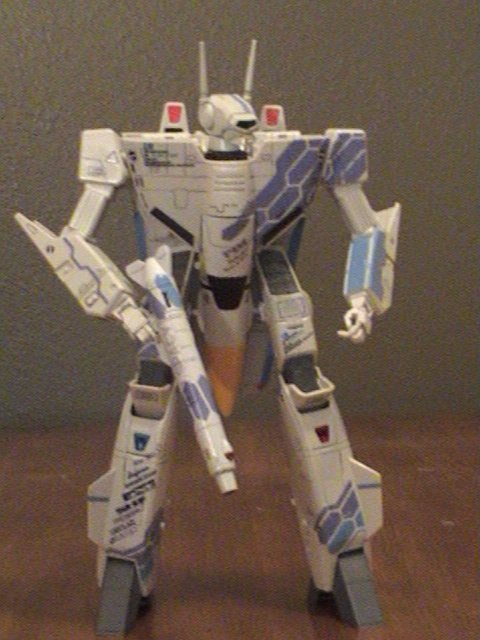
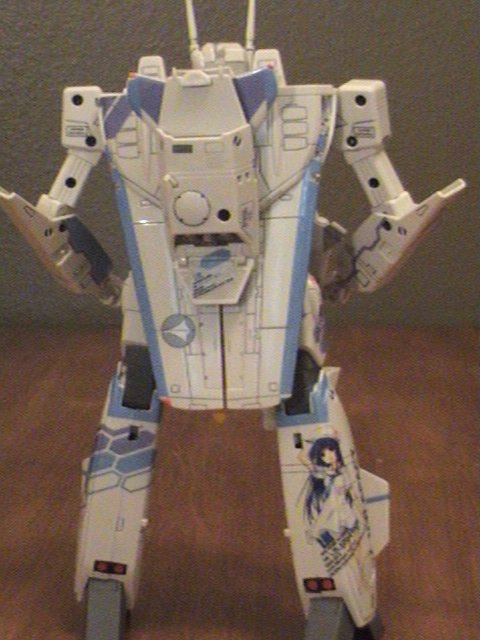
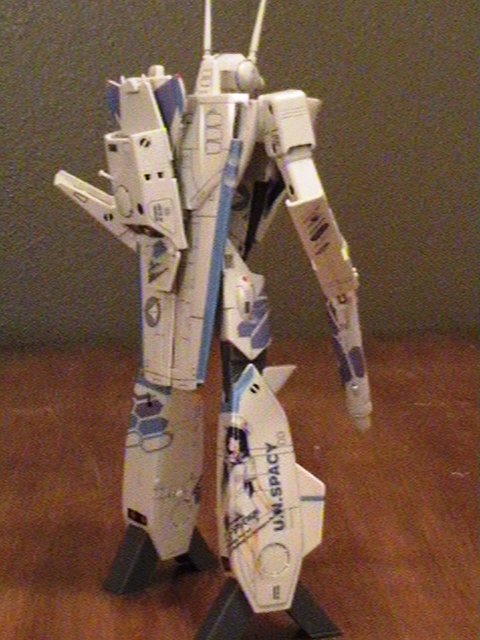
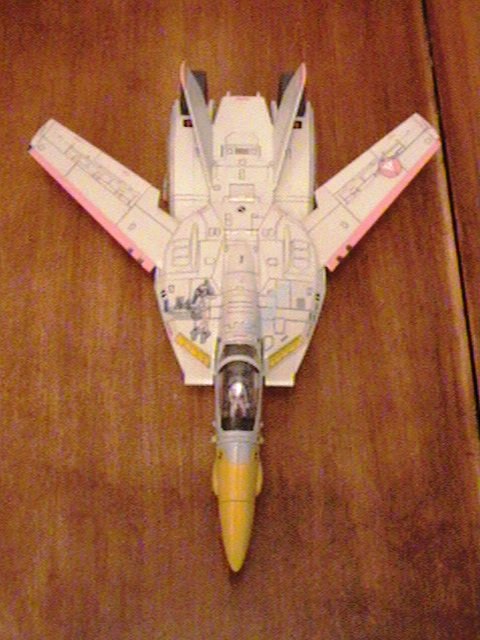
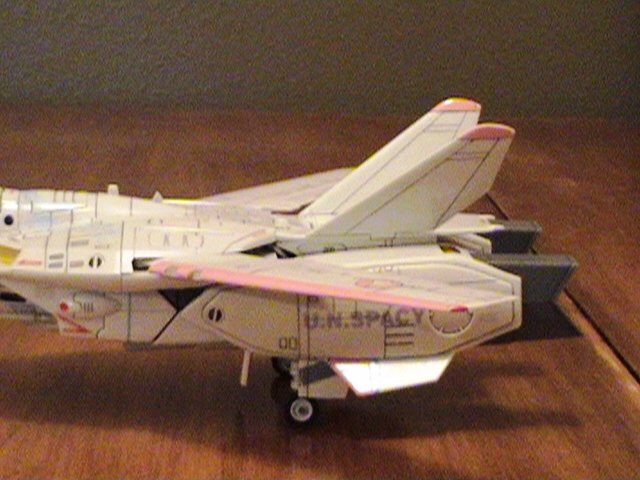
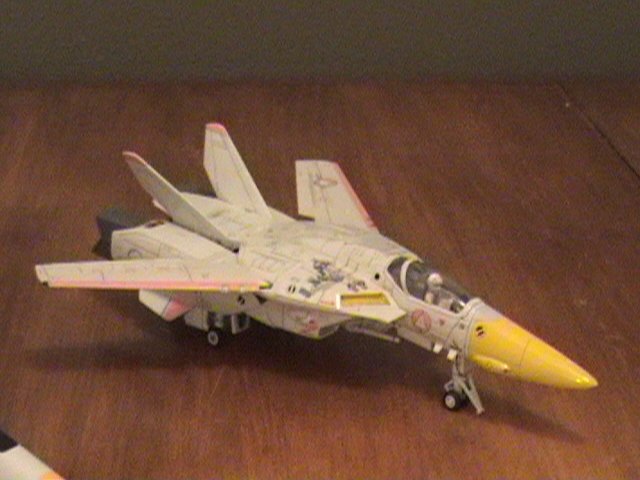
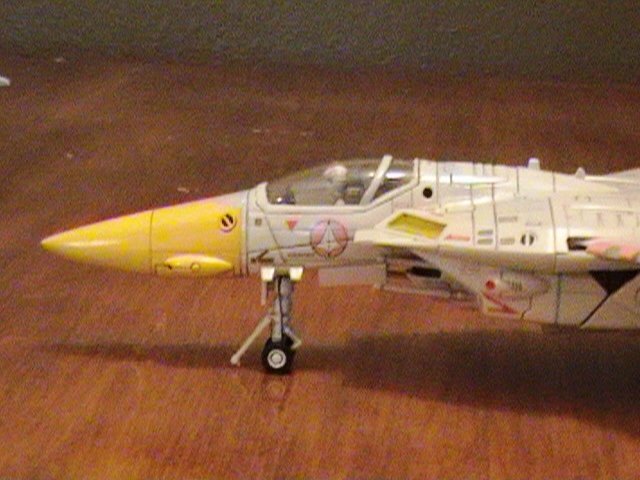
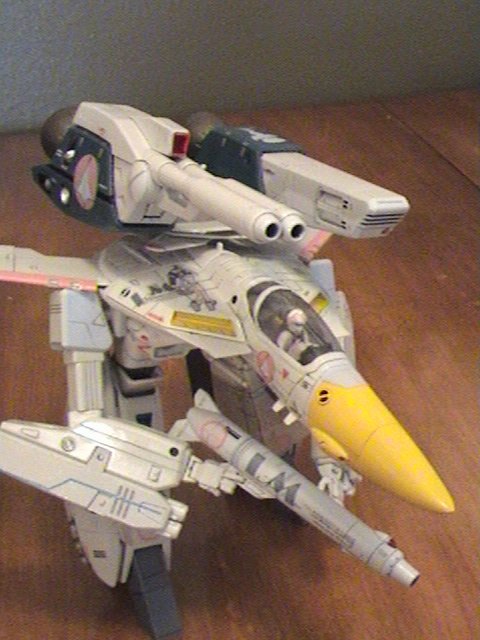
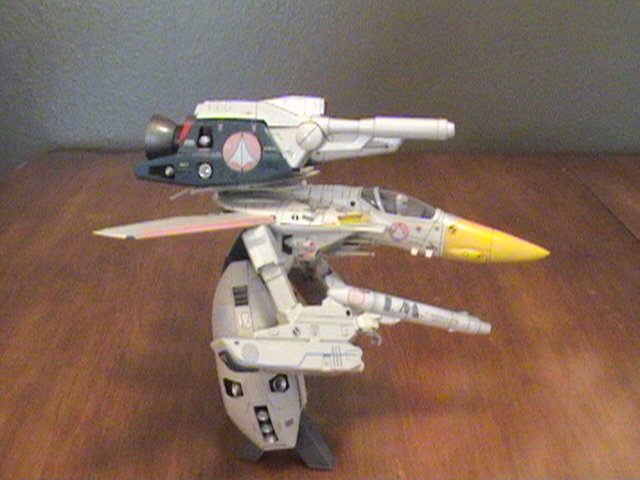
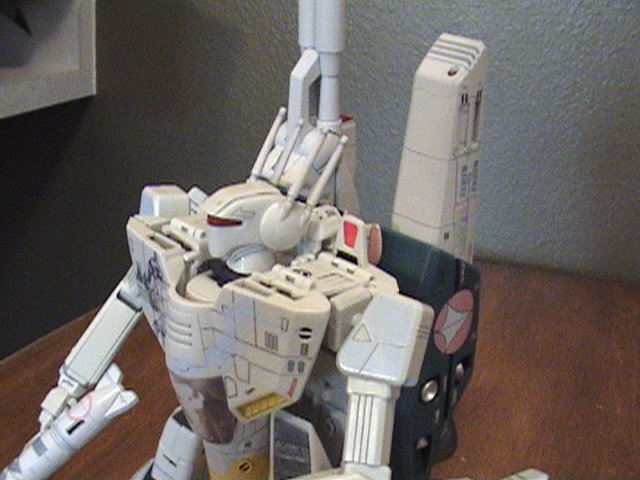
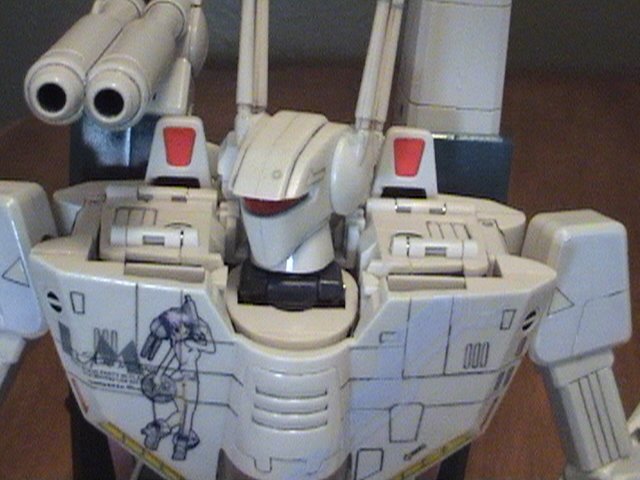
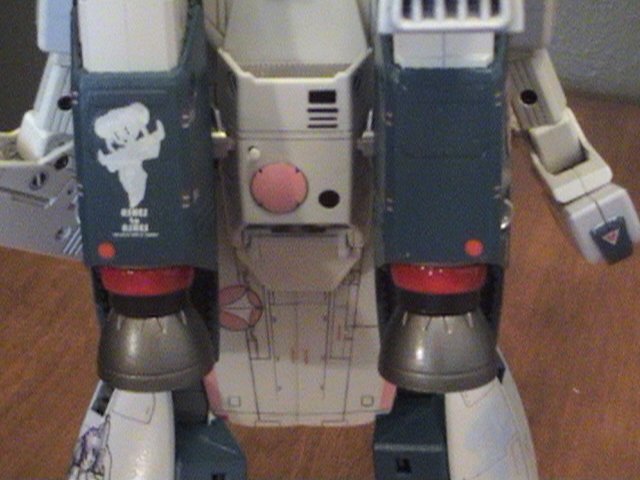
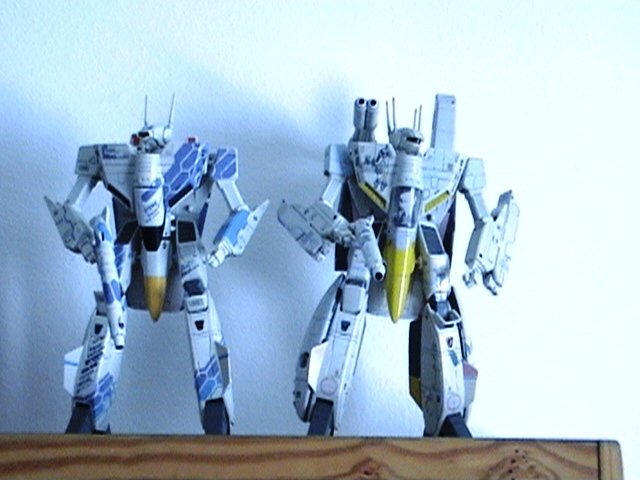
Okay, I finally finished my MG2, as well as the MG1 actually. (I never got around to the heat shield and gunpod) One thing I noticed looking through pictures of MG1s and 2s is how every one I looked at online was a bit different than the others. I guess this would be a customizers flare or something - making your custom exactly yours and like nobody elses. Soooo, here I end up with my preferred MG1 with a VF1J head, and you'll also notice (once I get all my pictures up, I'm on dial up, may wait until tomorrow) I made the heat shield for the MG2 clear, minus the little Minmay cartoon on it. It ends up looking really cool. Also, the overall scheme is pretty light, mainly because the decals I got were really light colored. But enough talk, I'll start uploading pictures here. Before you laugh, remember! - before I did these the only thing I did was repaint a VF1S head, and convert a hikaru 1S into a Max 1S. So yes, I kind of suck. One more thing - I made this and my MG1 by removing the paint from the toy - I did not paint the whole valk white. I removed the paint using Chameleon paint remover, and it worked like a charm. I had to color-match the right "white" for the strike armor by eyeballing it. Turned out matching well though.


-
Airbrush Future-Finish acrylic floor finish. Once you airbrush it, make sure you give each piece/pieces at least 2 hours to dry before you handle it much. Ideally, give them like a day or two. Hope this helps! --Brian
-
Humans can do it too if they prepare properly. The common belief that your blood pressure will make you explode and die is a myth. You won't last very long, and you'll probably spend a good deal of time recovering, but you CAN survive in a vacuum briefly. According to the liner notes, that sequence was inserted partially to remind people that it wasn't impossible. ( http://www.animeigo.com/Liner/MACROSS.t and scroll down to episode 10 entry). It actually goes into a bit of detail on what actually happens, too. Says you only have a few seconds before blackout, but it's unclear how long Britai was actually exposed. In the end, the dialouge undermined the point by emphasizing how freakish it was that Britai survived being spaced. 411520[/snapback] Man, if more people knew this information they'd sure be shocked. That's nuts.
-
I want a stealth so bad I could cry. Oh damn I'm crying! *sniff* (jus' kiddin')
-
I always wondered about Breetai surviving in space in that particular episode. Can other Zentraedi do the same thing simply because they're so big, or is that "just a commander" thing?
-
Please lemme' know if you have a place where I can download these and keep'em! Thanx!!
-
I knew I should have taken more pics... anyhoo, the white thigh halves are held together by 1 long screw, and only the back seam is lightly glued (on mine anyways). I was able to break the glue joint no prob. Once you do that, there are 2 tiny screws that hold the lower gray pieces above the knee. The swivel socket and stem are inside these gray pieces. Just spread about <1/2 mm of 1-ton epoxy on one flat side of the swivel joint, let set, and put back together. I didn't even bother to re-glue the white thigh halves. Next up, I may try the elbow swivels, but those don't bother me as much. edit - watch out for those 2 metal pins inside the thighs, almost lost 1! Two more for the road... now where's that darn pitot tube?? 411036[/snapback] Done! Worked like a charm... figher mode holds together NICELY and the knees are all tight and lovely. And the glue on the back gives way with no problems, actually, only one of the thighs had been glued shut anyways. 411488[/snapback] Isn't that a VF-1 gunpod? WHAT THE HECK ARE YOU DOING TO ROY, MAN?! (jk) Had to mention that.
-
A 1/48 huh ? Lets see some pics . BTW, does it remove the paint completely to where the area that had the paint matches the color of the rest of the valk? I tried a different paint remover someone here suggested, but it didn't remove the paint completely. 411239[/snapback] And yes, it removes the paint completely, with no poop-stains remaining. When I'm back from school tonight I'll do the whole pics thing.
-
*hahahahahah* Believe me, if my as-of-yet unassembled mg2 starts dissolving, I WILL have a brain aneurism and it WILL be posted on this site. It will be the first time a live mental breakdown will be somehow broken down into exact stages and written eloquently for everyone to read and enjoy. I don't look forward to this day! And Big-F, for the time being, rejoice! Slow stinky methods are hopefully a thing of the past. *crosses fingers*
-
You guys got it! I'll take some pictures of some painted up legs today, use the remover, and then post what happens.