

Papa Rat
-
Posts
1060 -
Joined
-
Last visited
Content Type
Profiles
Forums
Events
Gallery
Everything posted by Papa Rat
-
@joscasleLooking good!👍
-
Love it! Thanks for sharing. 👍
-
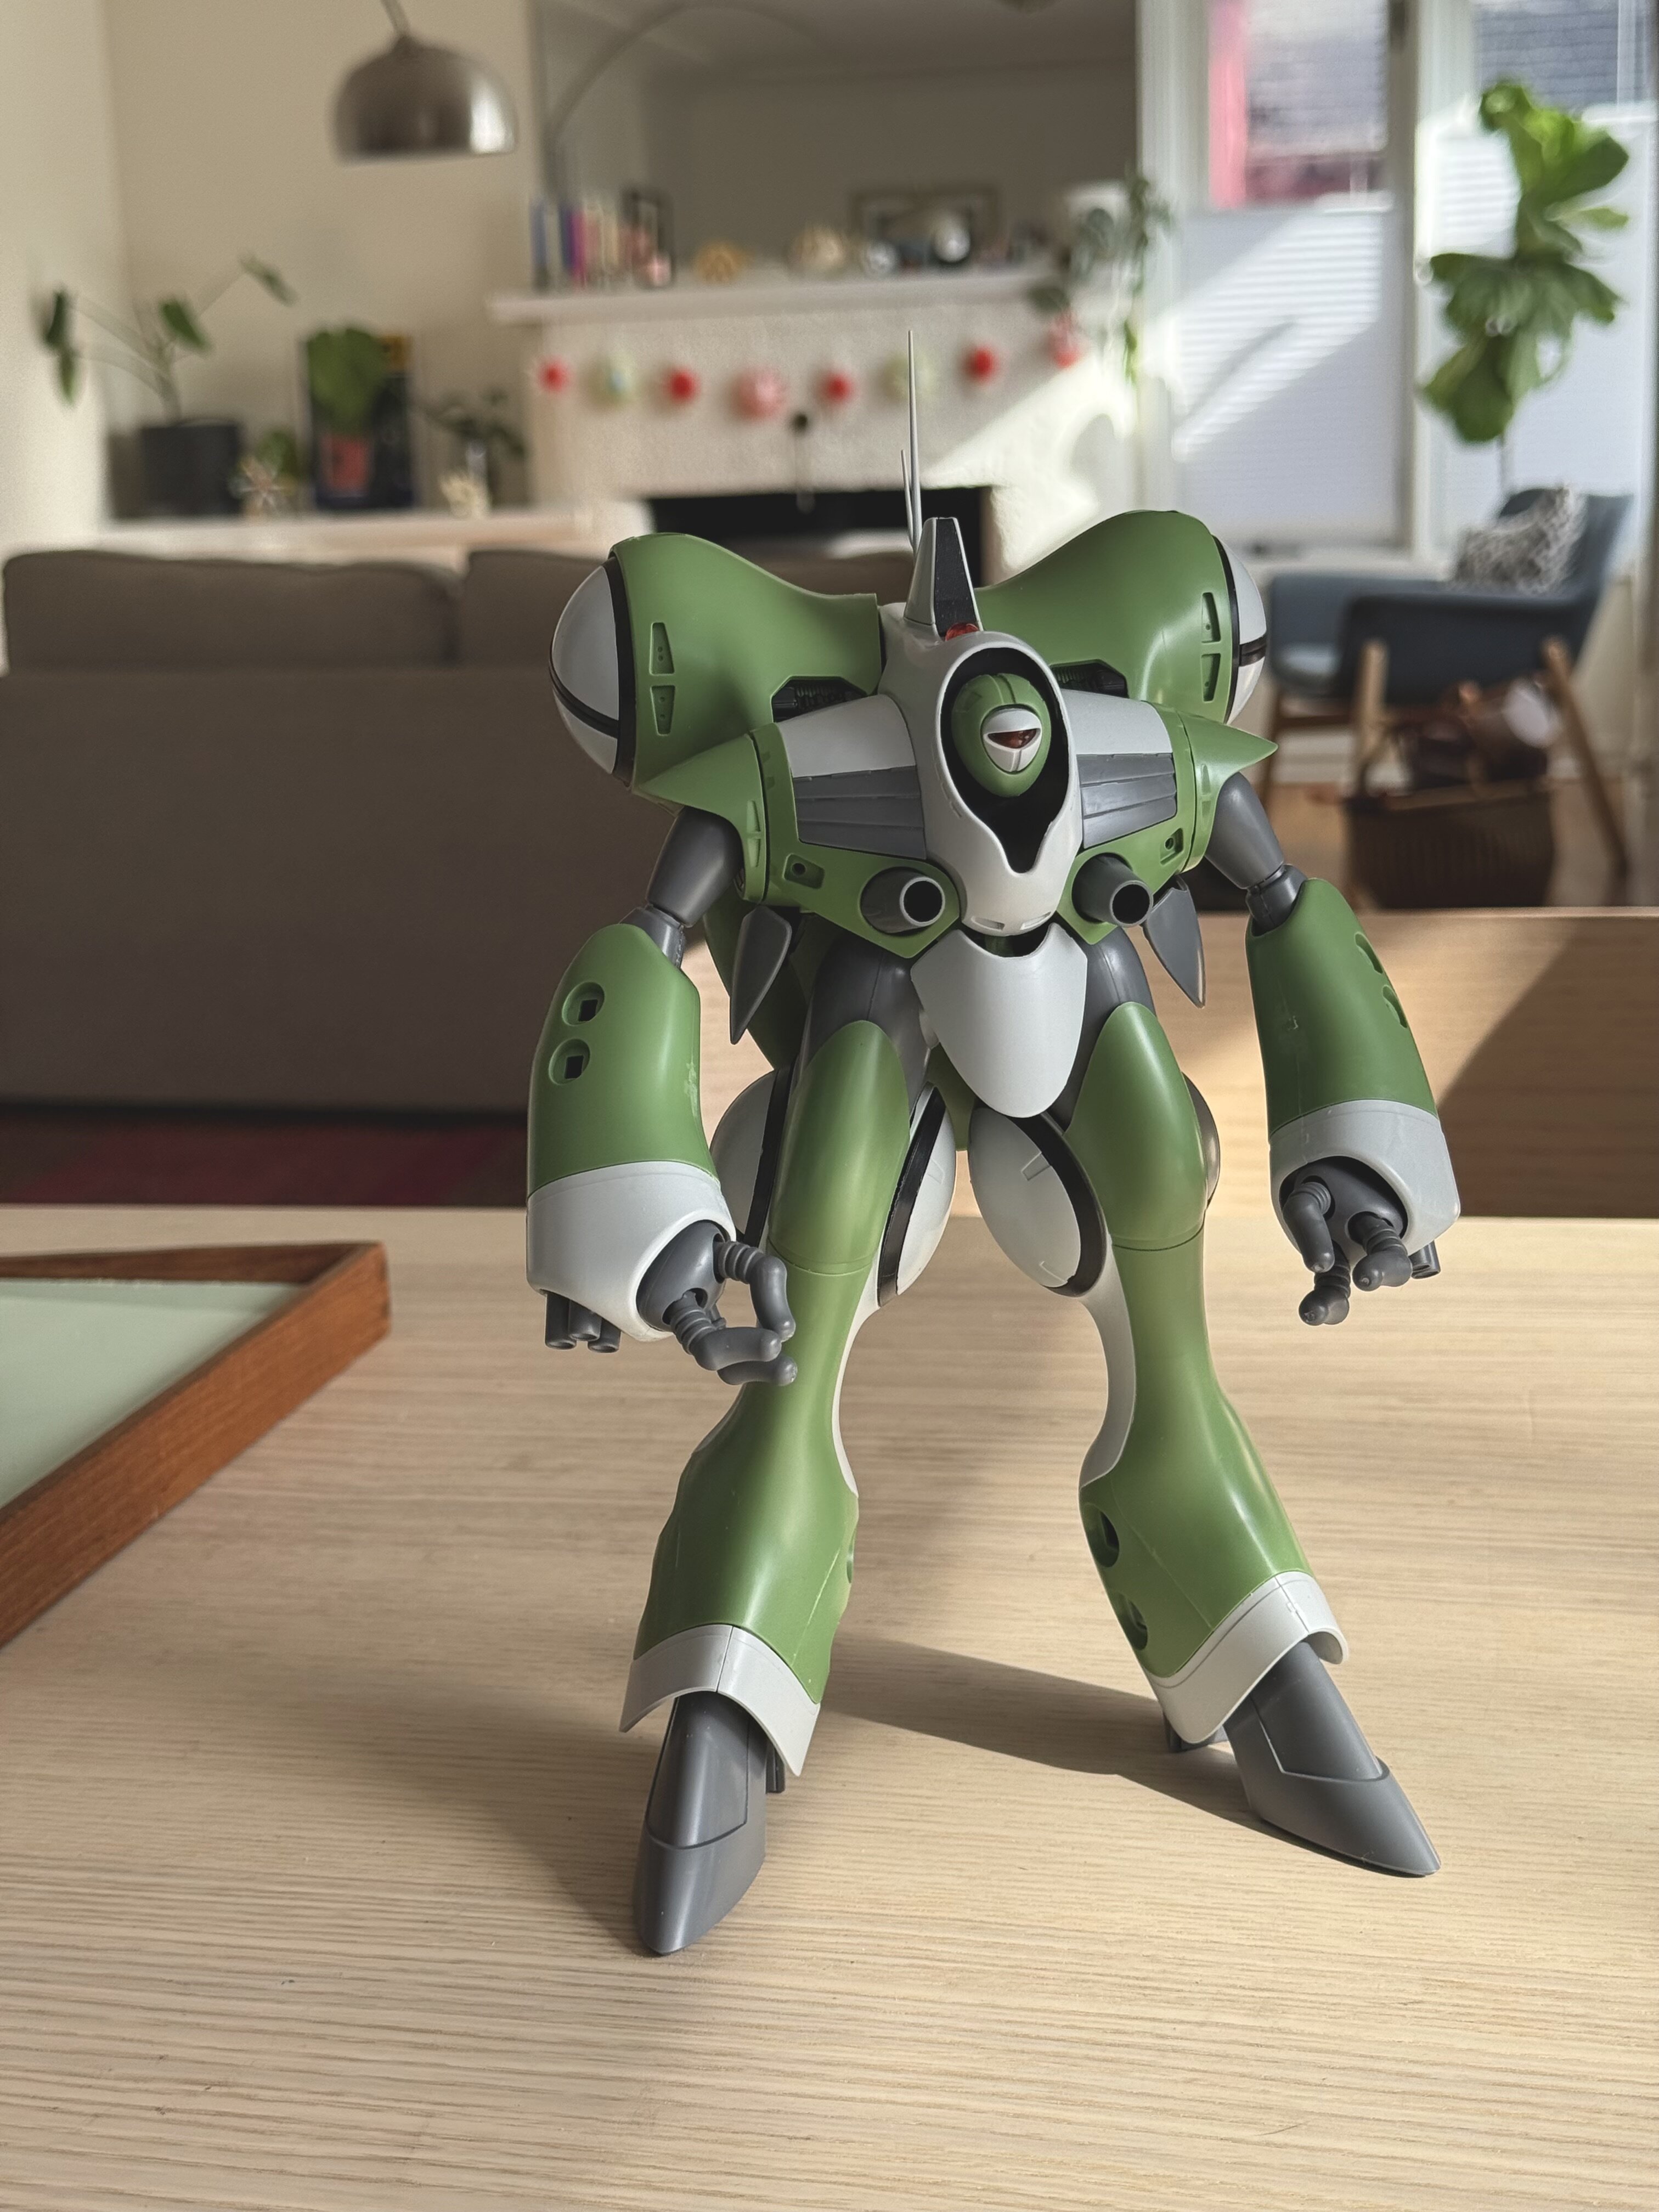
@SteveTheFish Wow that’s looking great! It’s cool the kit comes with a helmet and head option as well as glove and cannon arm. Super excited to see this one completed. Do you think it will stand on its own in those heels?
-
Finished up pinning and test fitting the 1/72 Baga. I gloved up for the final assembly and had no reaction which is telling. I’ll keep gloves on while working on this resin kit until primer is down. Also have this little Tachikoma buddy in the mix. Needs lots of love to remove seam lines, but painting should be a breeze.


-

The 'Hey look at this really cool model build I saw' post
Papa Rat replied to Shawn's topic in Model kits
Beautiful! Come on in for some mutant purple fish. Yummmmm. -
Stunning paint job. Goals!
-
Thanks. I’ll make sure and do that.
-
Thanks. Appreciate it. Mask and gloves will be part of my process. I haven’t sanded any of the surfaces yet but I have been drilling with a pin vise which did release some strong odors for sure.
-
Started to test fit this FSS 1/72 Baga resin kit. It’s way larger than I had expected and probably won’t fit in the display case. I’m more than halfway there and hope to finish up test fit today, but I have notice my fingers are feeling a little sore and tingly. I have been pinning and not using gloves. Does exposing yourself to resin kits cause sensitivity issues? Should I be gloved up? Edit. Washed hands good and put on gloves. Seems to have helped already. Hmmmmm. I guess that’s the path I’ll take using this material. also pinned everything I could with 2mm and will switch up to 1mm the the remaining small bits.

-
@Gabe QThat sucks. 😞
-
Yeah, good looking bunch right there. I sort of want to do the more colorful version inspired by the old kit box art. I forget the name of that scheme.

-
@derex3592 That’s awesome! I need to build my Glaug soon. Instead I went straight for the TV Q-Rau and it’s an amazing kit too. It’s soooooo easy to “snap” together. I know I built the DYRL version but must have amnesia since I don’t remember it being so simple. Anyway, you are in for a treat when you get to yours. 👍 Test fit in about 3 hours. Started it before bed last night and finished it up a minute ago before I head off to have a ton of fun at the dentist. 🫠 Now I need to disassemble it and get to work on seams which there are many. For $140 I need to get this looking A+++ going all in on this one.
-
@derex3592Congrats. Now just make the $255 look like a $ million.
-
I so wish I was able to find the vinyl or plastic versions of anything BGC. Your build is inspiring me. Hanami time. My wife and I were in Japan for Hanami 8 years ago. Such a beautiful time. 🌸
-
@Big s Thanks. @joscasle Thanks. You have a great trio going there. Looking great!Any thoughts on the Strike? I have it in my stash and look forward to building it. Oh and that ghost in the shell stand alone. I have always wanted that kit. Do you have any more pics?
-
Yeah that blue is really nice. I’m so excited to see this one completed. Bubblegum Crisis was one of the first Anime I saw back in the 90’s along with Akira and Appleseed to name a few. Need to have a rewatch
-
@slide @derex3592 Thanks. She’s a dirty bird that’s for sure. Oh and Derex3592, the ship is looking outstanding! Also when you go to test fit the Gundam RX make sure and trim down the pegs so you can separate the parts easier for paint etc… it was recommended to me and seeing as the fit on those kits are super precise you will save yourself a lot of headaches if you reduce the pegs by half their length. I built a Bandai LGaim recently and shortened the pegs, cut them at an angle and it really helps for disassembling @Return To Kit Formlooking great!
-
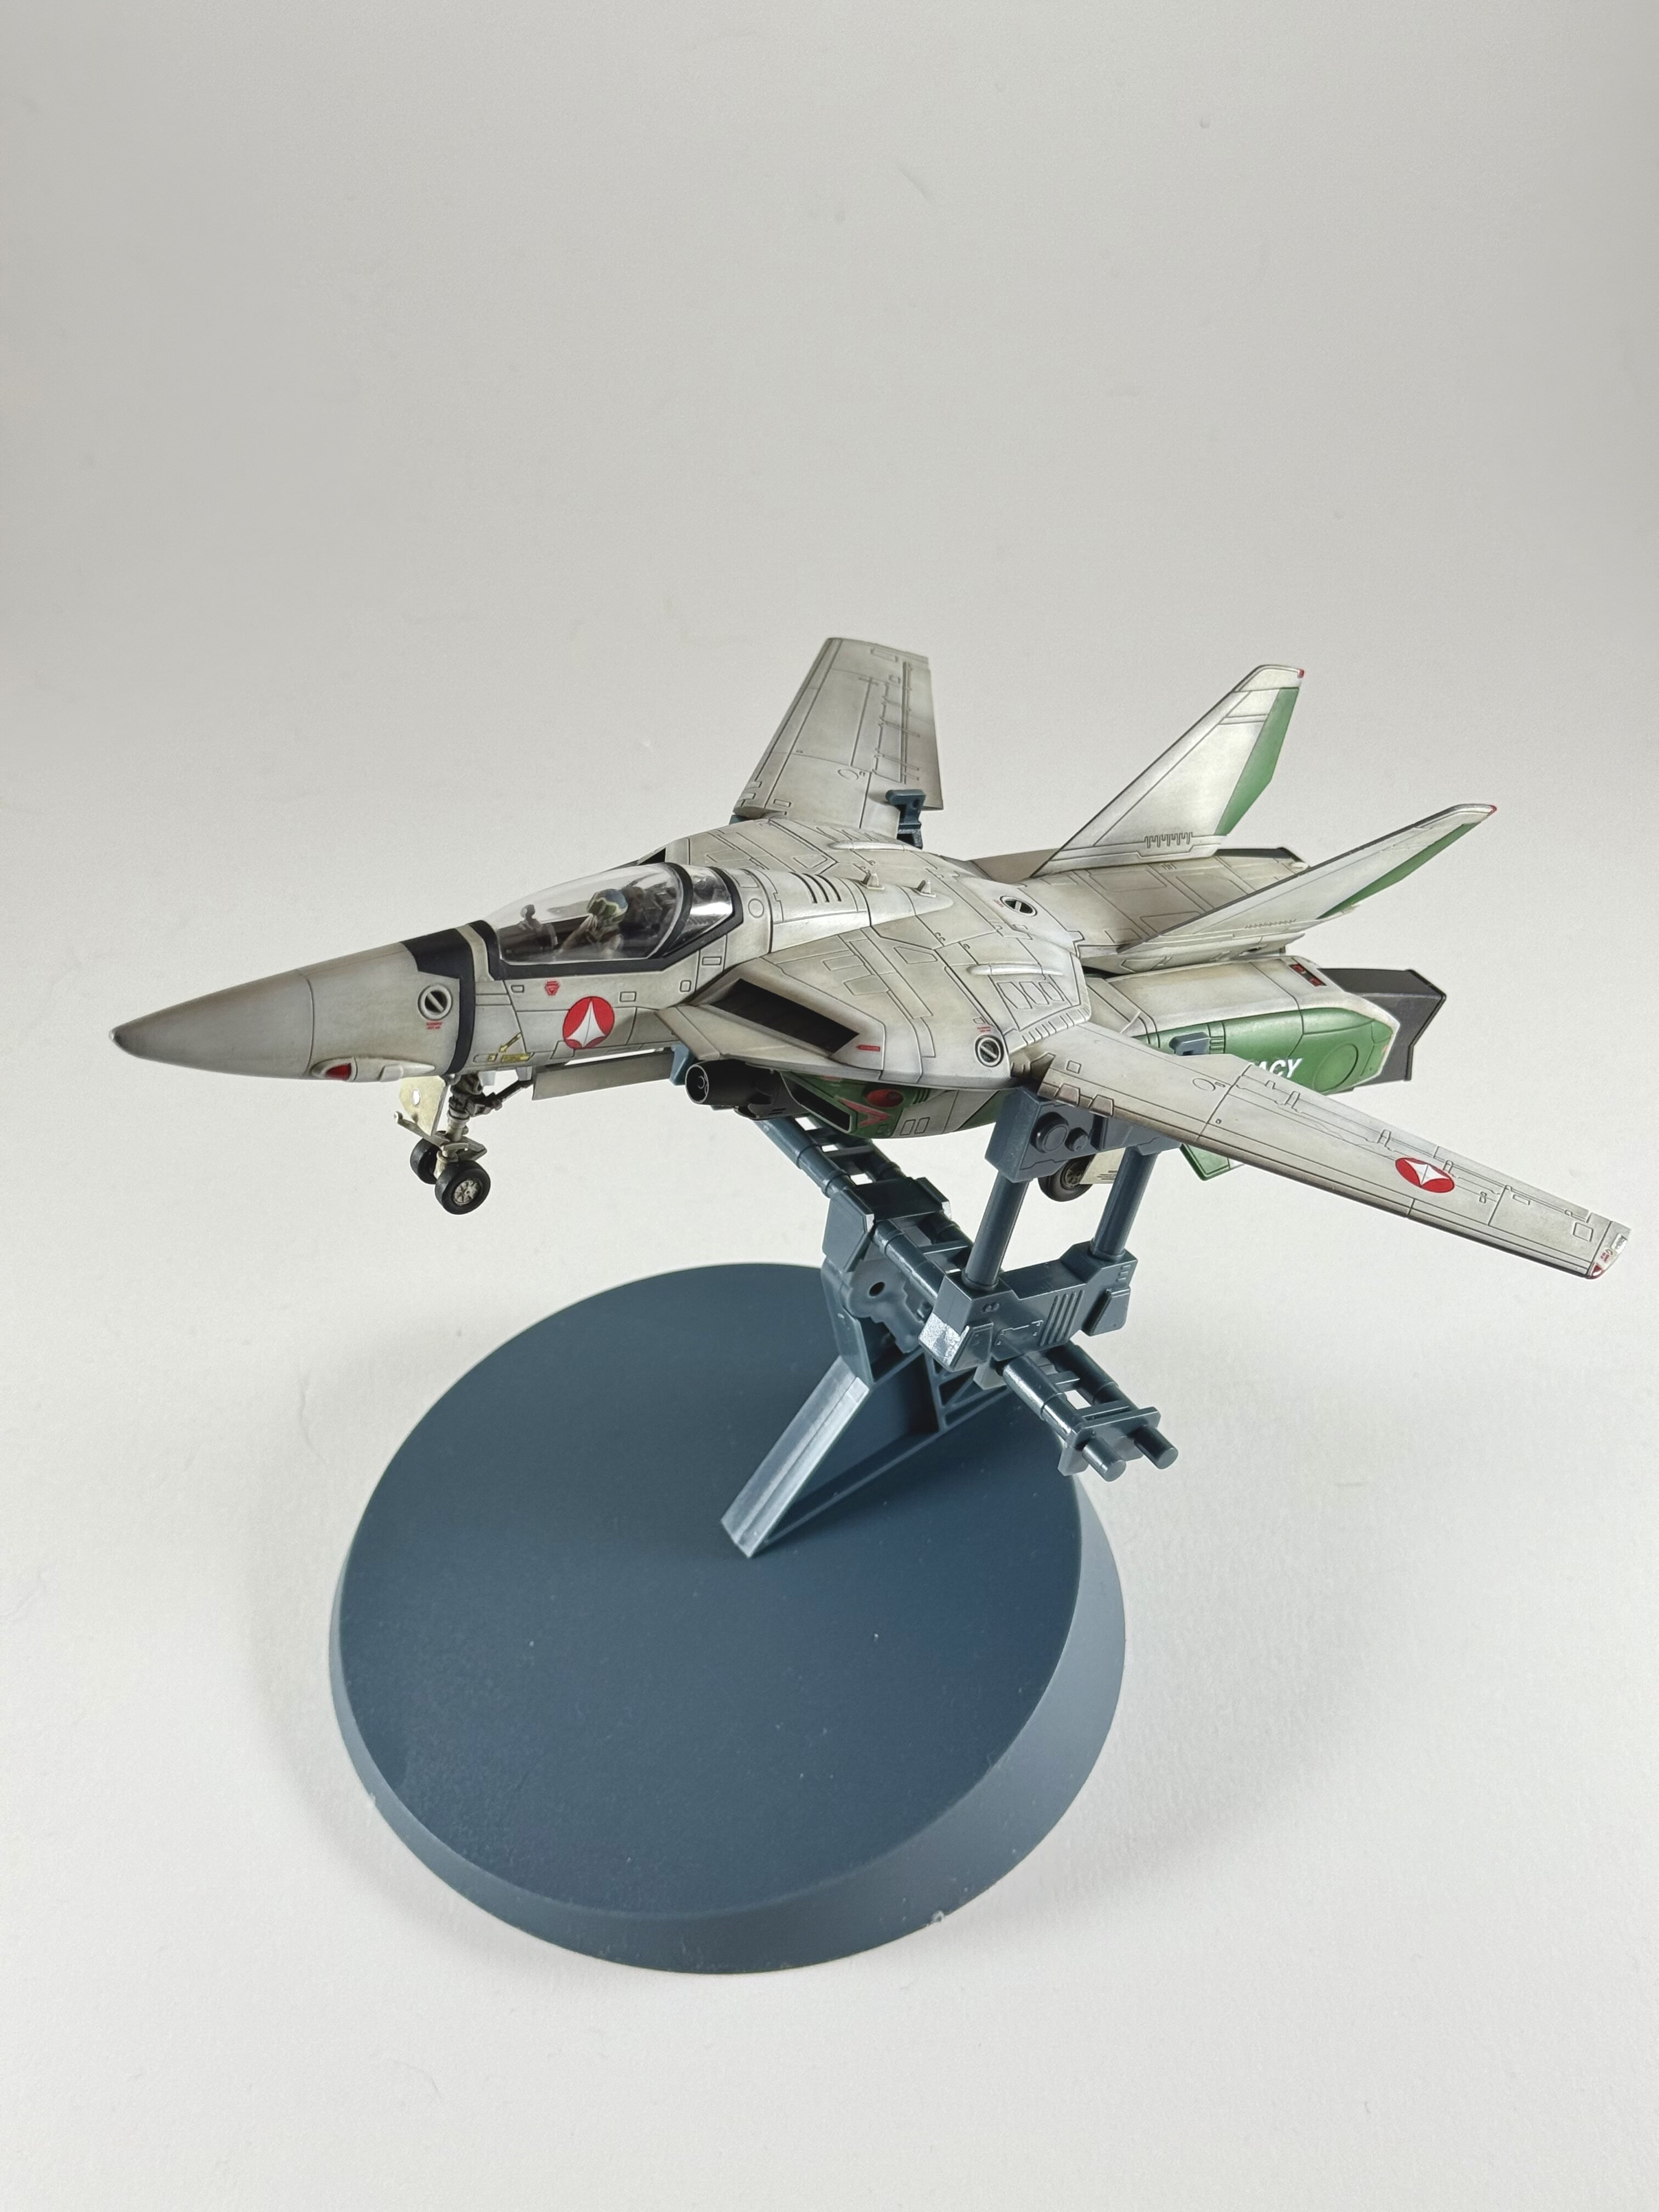
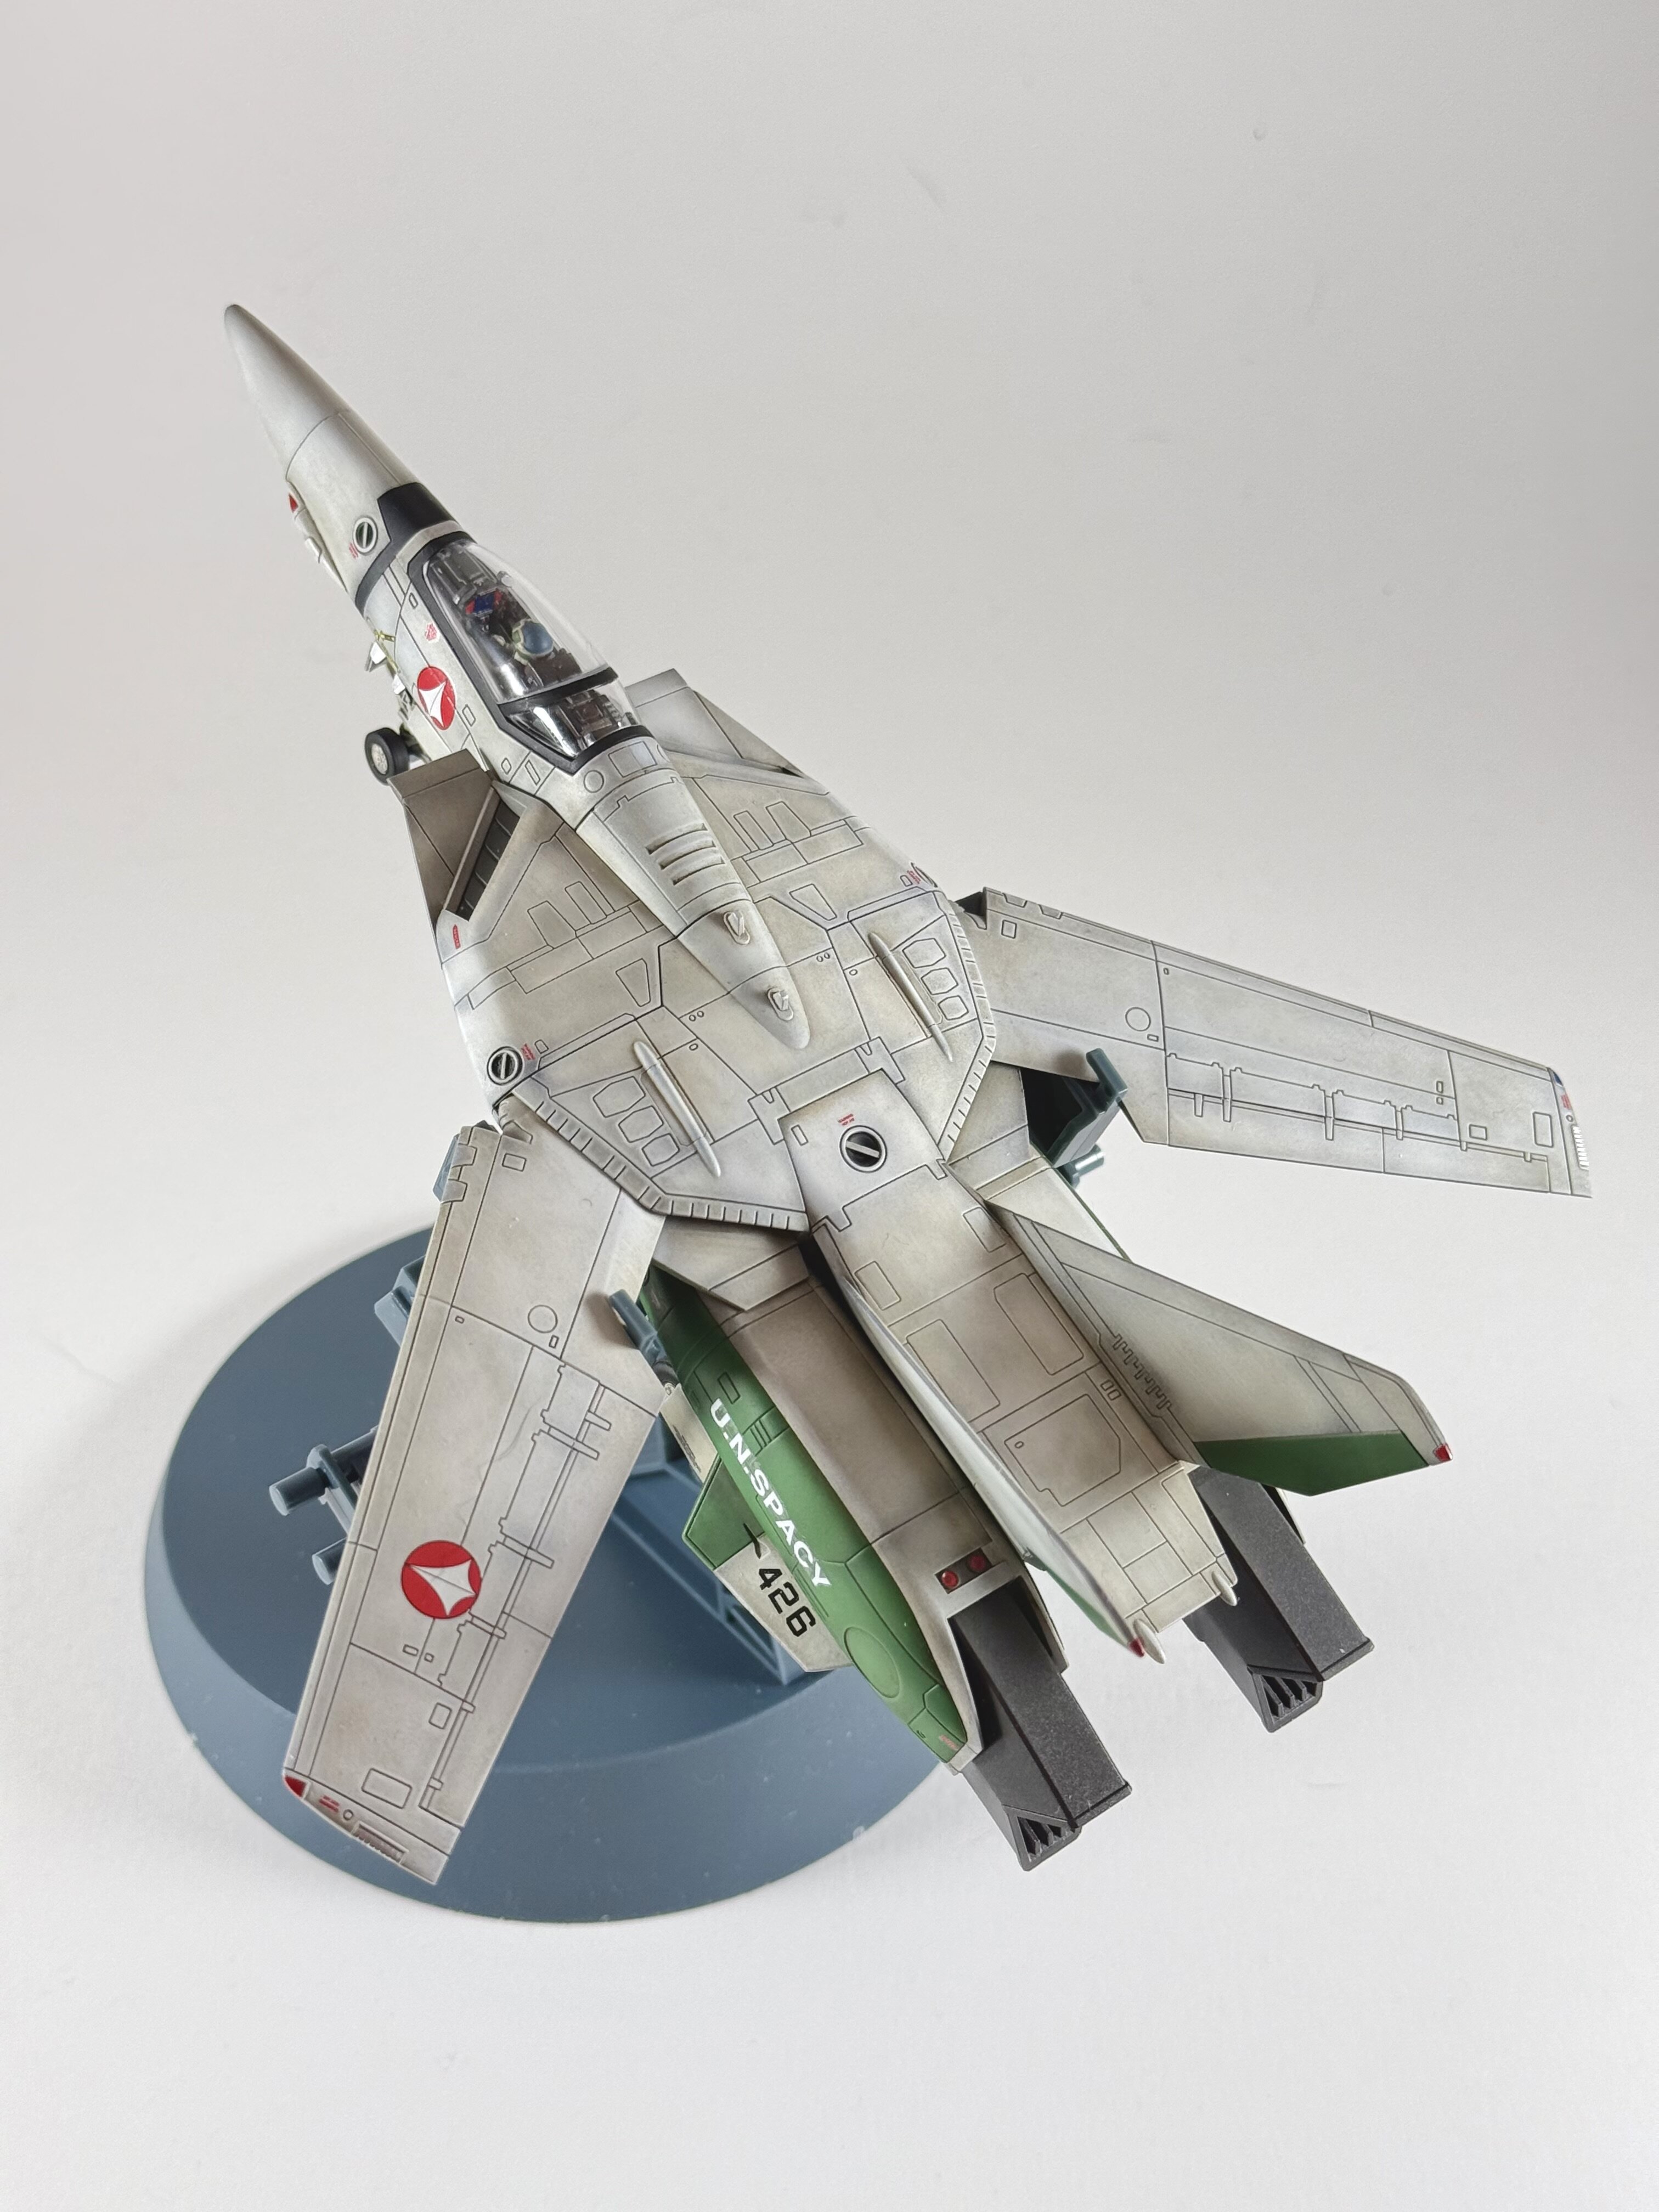
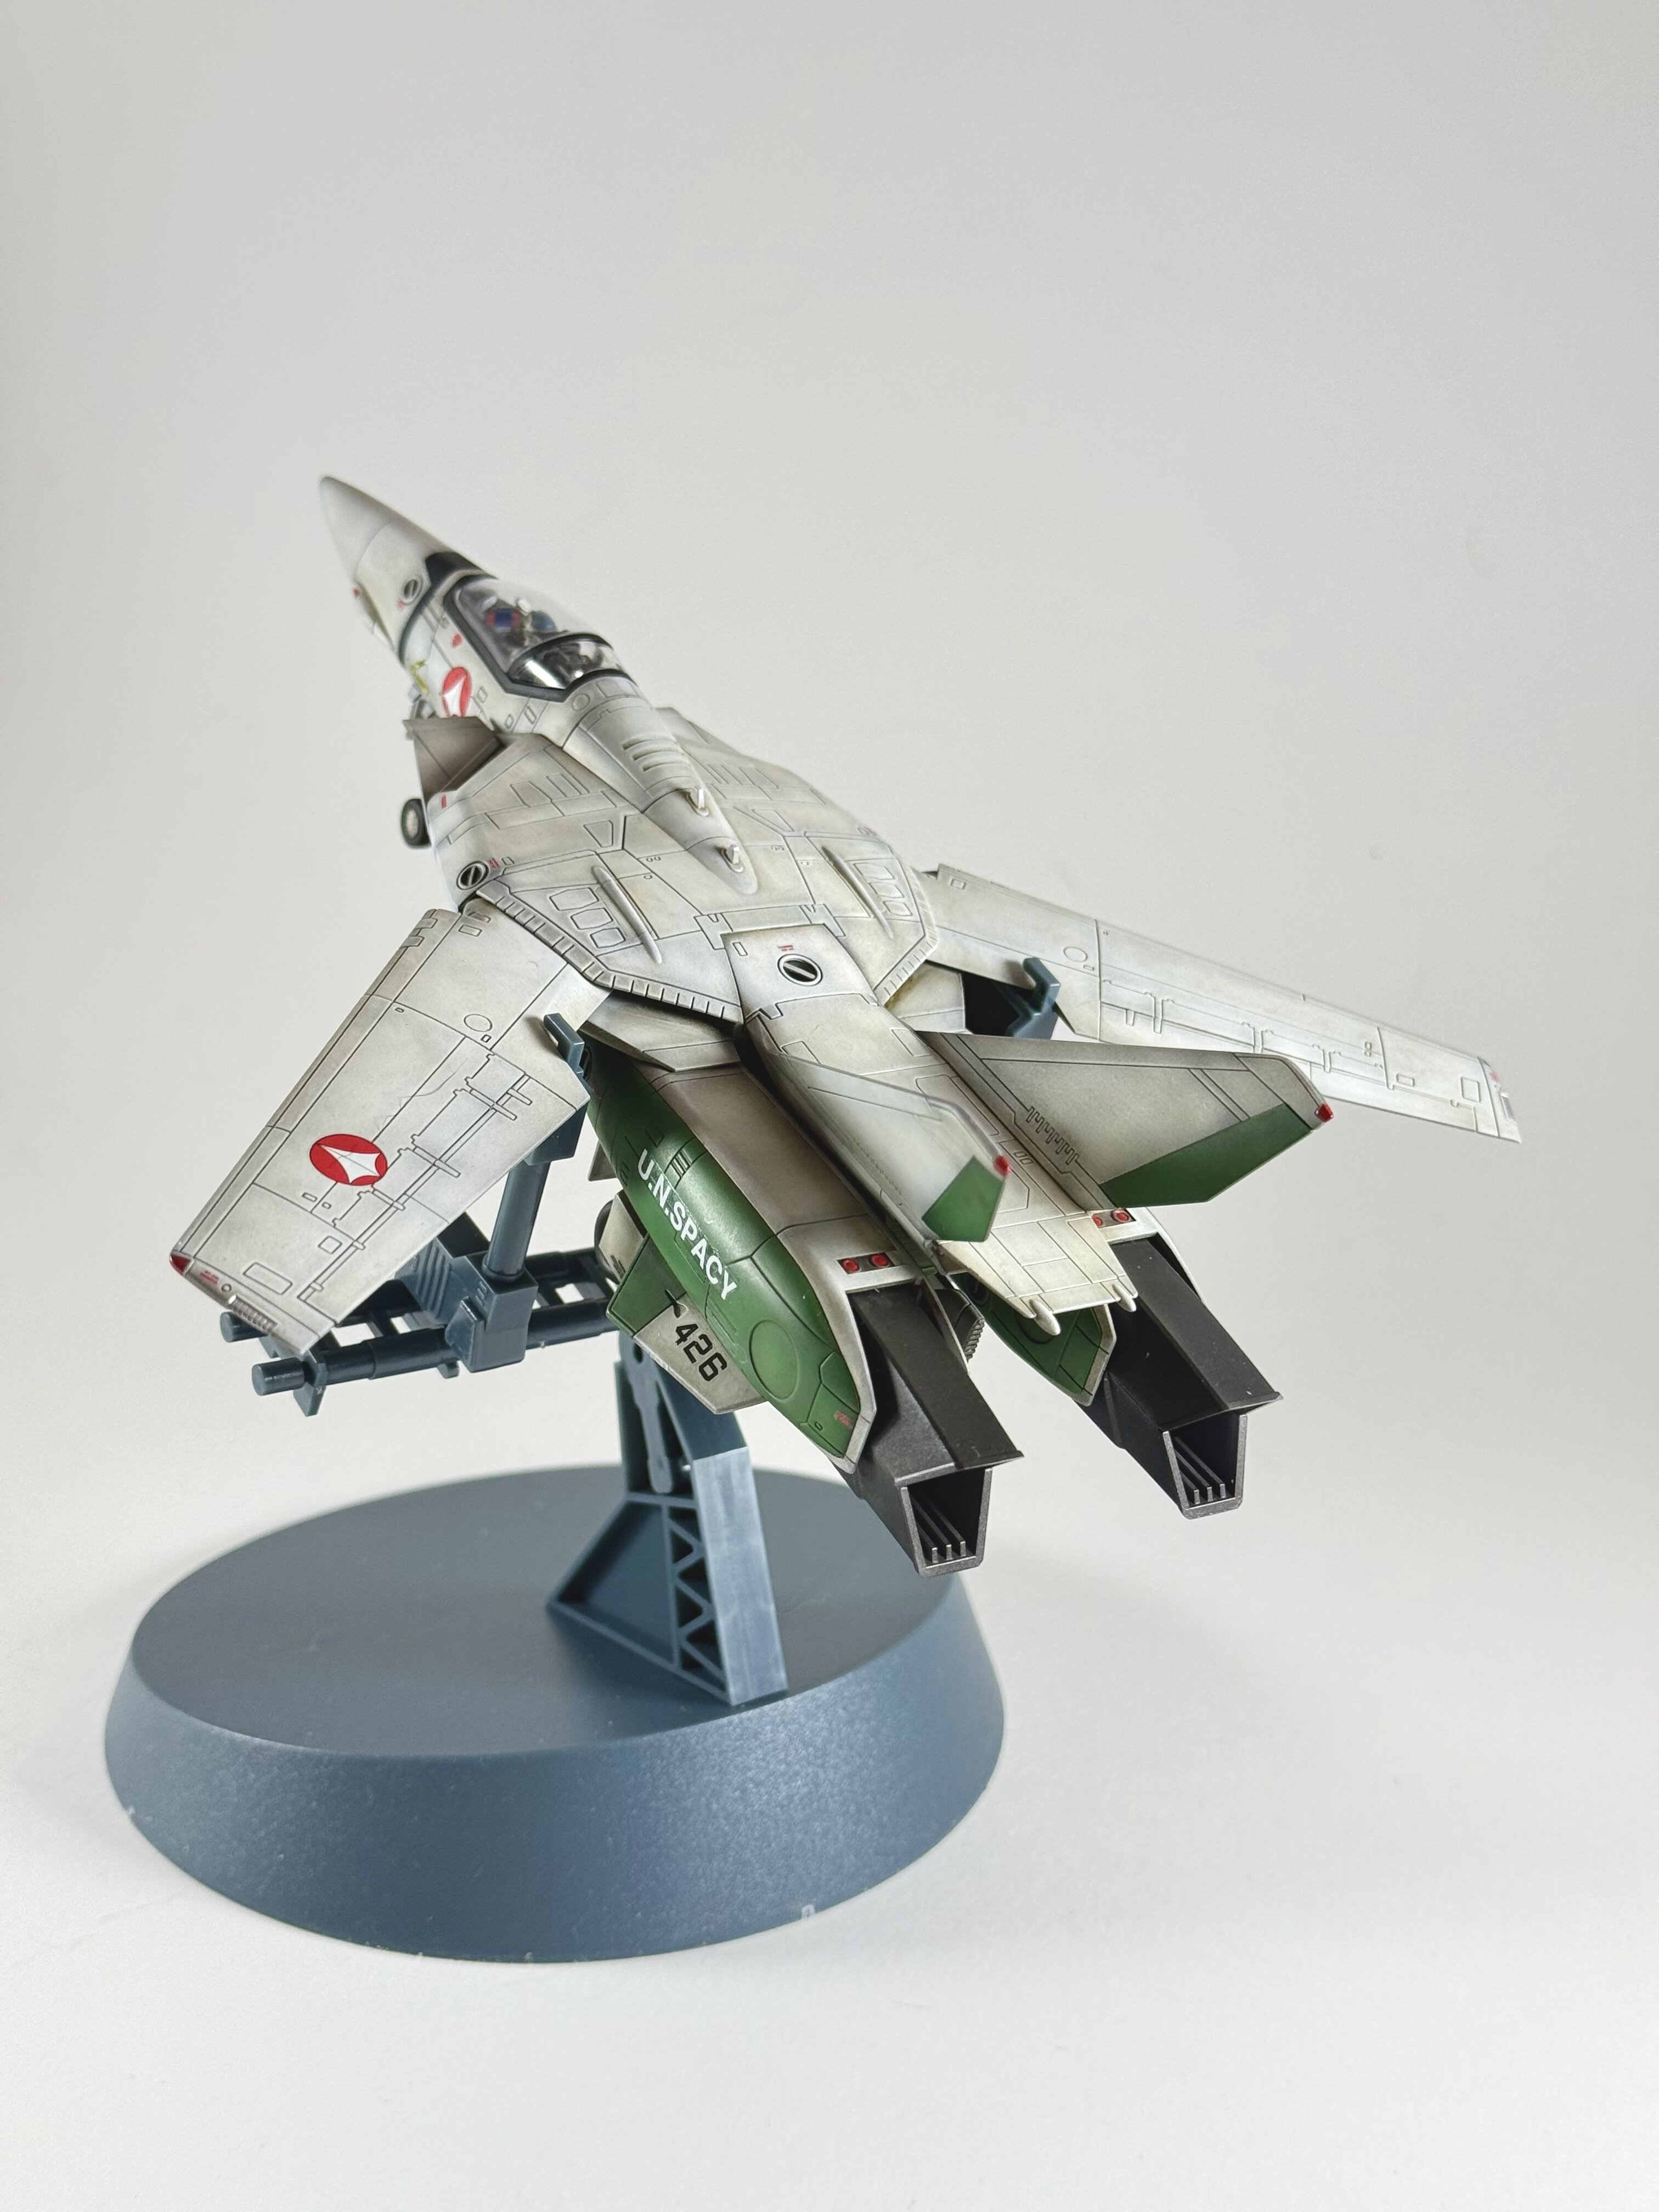
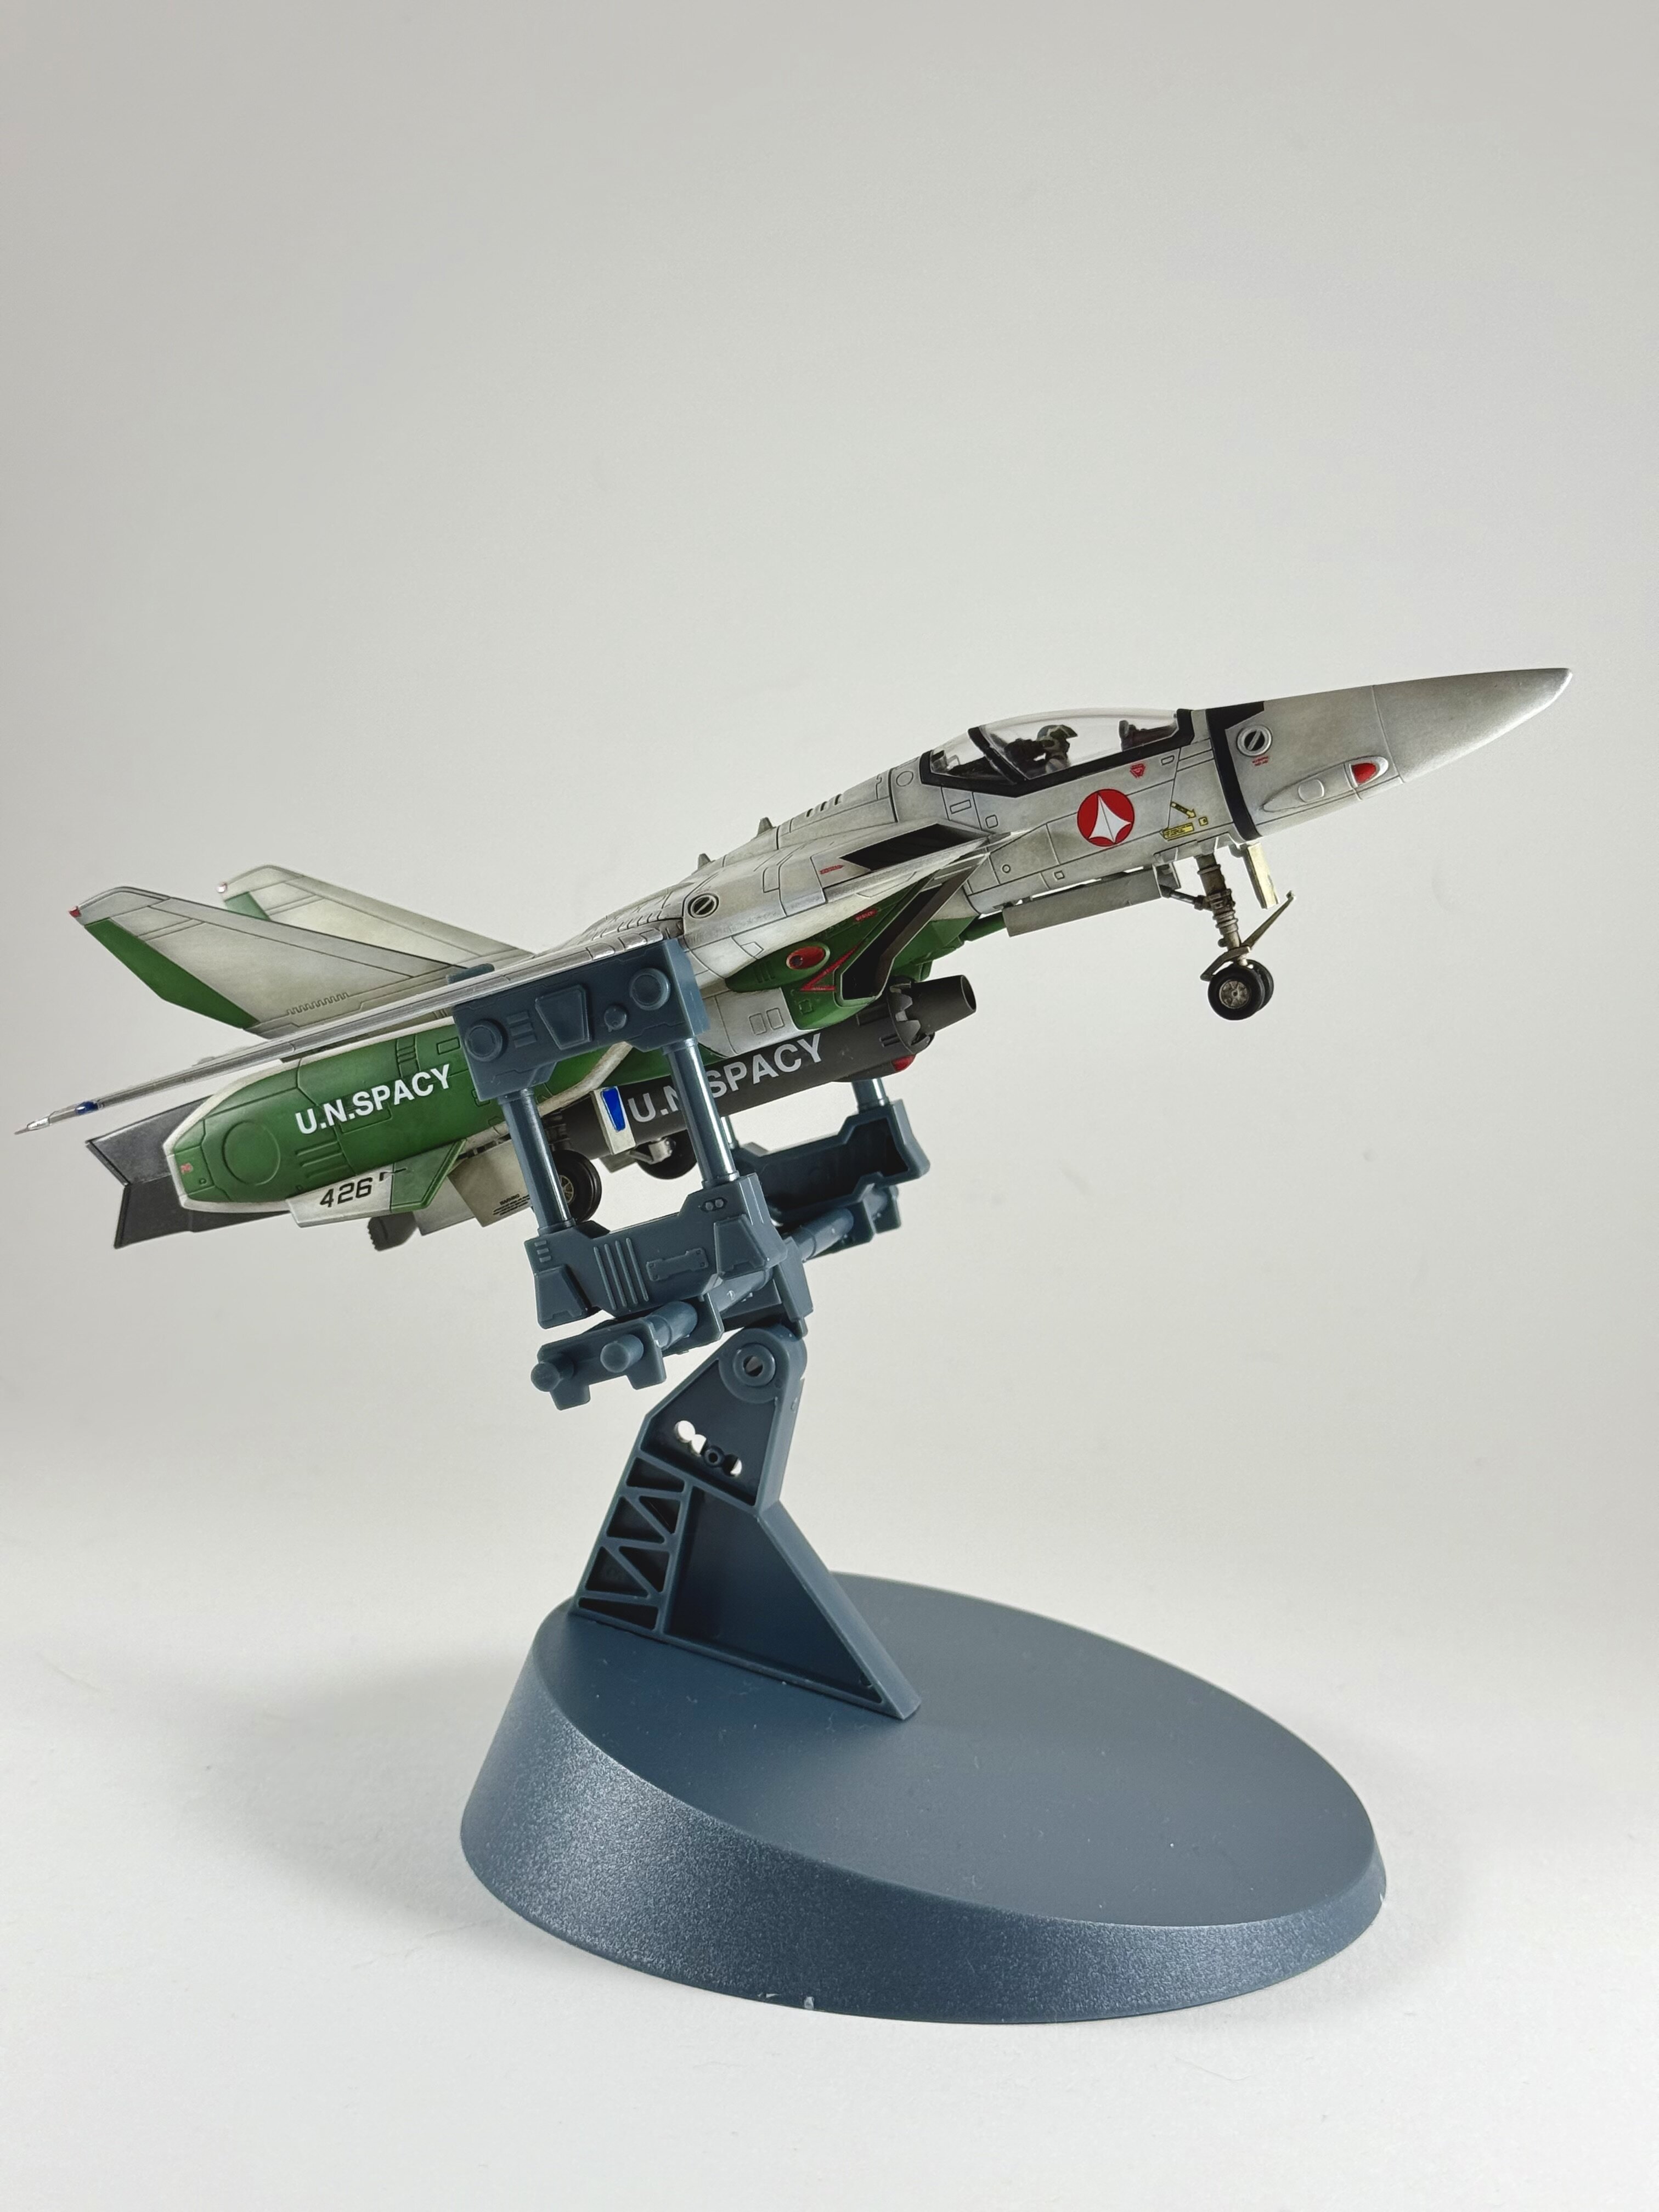
Plamax VF-1 Alaska scheme. Just using an unfinished Hasegawa stand for photo purposes. I would like to get a brass rod and make my own stand later. This was a fun one, but think it’s a bit sloppy. 🤷 don’t mind the dog hair 😂

-
What a good score!
-
Getting closer. Need to clean up the oil wash a bit, enamels for lights etc… and lastly decals. So far so good.

-
Hahahaha. No way 🫠
-
It’s here!!! After a total of $140 spent, I can finally add this to my to build list for summer. I will have to give it a full 75% effort. Hahaha The Q-Rau golden ratio. 😂


-
The base is a mix of MR Color 66 bright green and 56 IJN green. 4-1. Then put in some highlights using same color mix with a little white added. Then I sprayed straight IJN green through poly fill to get some random texture areas. In hindsight I think the texture is a bit too heavy handed but I’ll work with it.
-
Oh Yeah! It’s a great kit. Hope to get the small stuff finished brush painted and cured by the weekend. I finished up the airbrush portion of the build. Got to do touch ups and panels etc…

-
@slide so clean and organized. My bench is a pigpen 😂
