Pontus
-
Posts
475 -
Joined
-
Last visited
Content Type
Profiles
Forums
Events
Gallery
Everything posted by Pontus
-
Oh yeah, I found it now, thanks. Sorry for bringing up stuff that's already been covered (including my bs theories, lol).
-
They probably include differences so that they can claim plausible deniability. Maybe they're using old molds or something. What are the differences? But then how do you explain the next preorder being a Bandai knock off?
-
I have a theory. Aren't all the Yamato and Arcadia toys made in China? I just looked on Anymoon.com and yes, there by the UPC, "made in China". They probably build them in bulk and then sort out the good ones for Arcadia, ship them to Japan, and then sell off the seconds as "knock offs" instead of throwing them away wastefully. When building something this complicated involving molding, assembly, painting, etc., you can't get everything perfect every time. There's going to be some seconds, probably a lot. Or they may be getting returns from Arcadia as they inspect prior to packaging (although they probably package in China too). If Arcadia complains, what are they going to do? Make it themselves? HAH! Yeah right. Find someone else to make them? Good luck with that. Speaking of which, do you really think there's some OTHER factory in China making these knock offs? Probably not.
-
IT ARRIVED! And my head cannon was broken, but I don't mind. The hips were completely immobile, but I just loosened the screws. And the glue failed on the orange arm cannon cover. I didn't have much probs transforming it. I had the same problem as others with a stiff spine cover (?) but you just have to press a finger behind the head and squeeze the backpack together. It also seemed to help having the head slid back far enough.
-

Your most recent Macross or toy purchase! General thread.
Pontus replied to Gakken85's topic in Hall Of The Super Topics
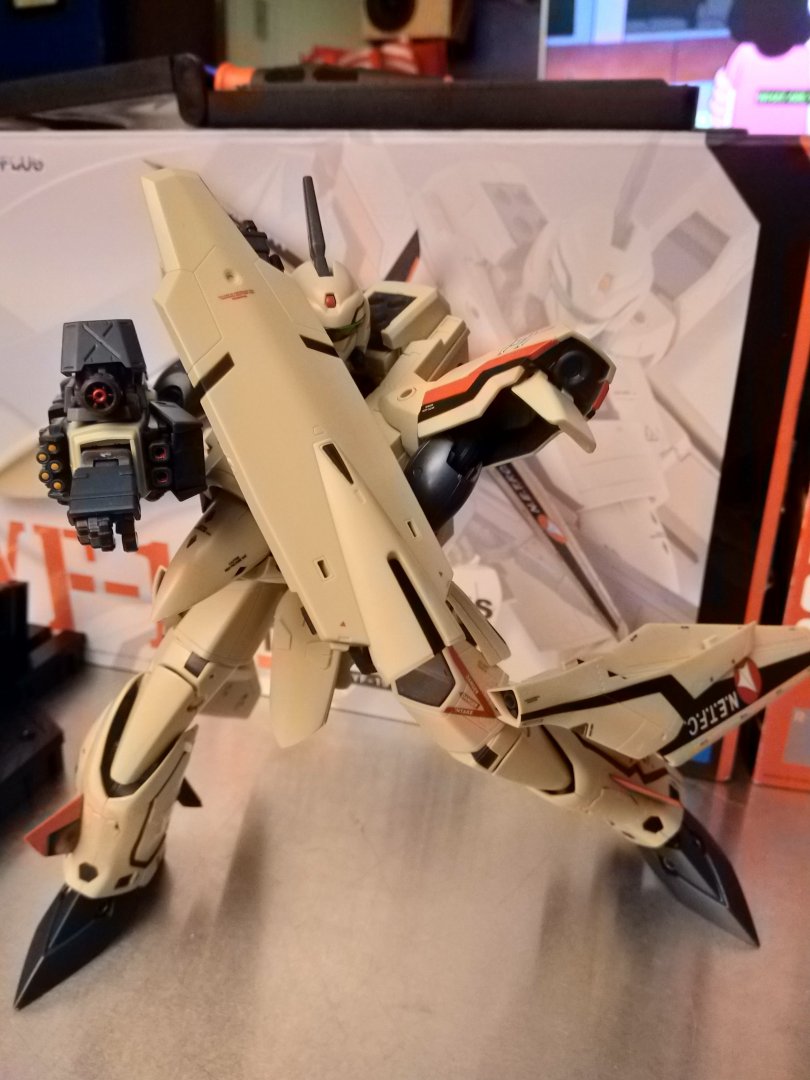
I finally got 2 of 3 of my orders from Japan including a YF-19 full set. My SDF-1 anatomy and papercraft book seems to be lost somewhere between here and Jersey despite coming in the same shipment as the Queadluun. Unfortunately, I got a broken head cannon. Also, the queadluun hip joints are quite loose. But ah well, now to transform this awesome valk...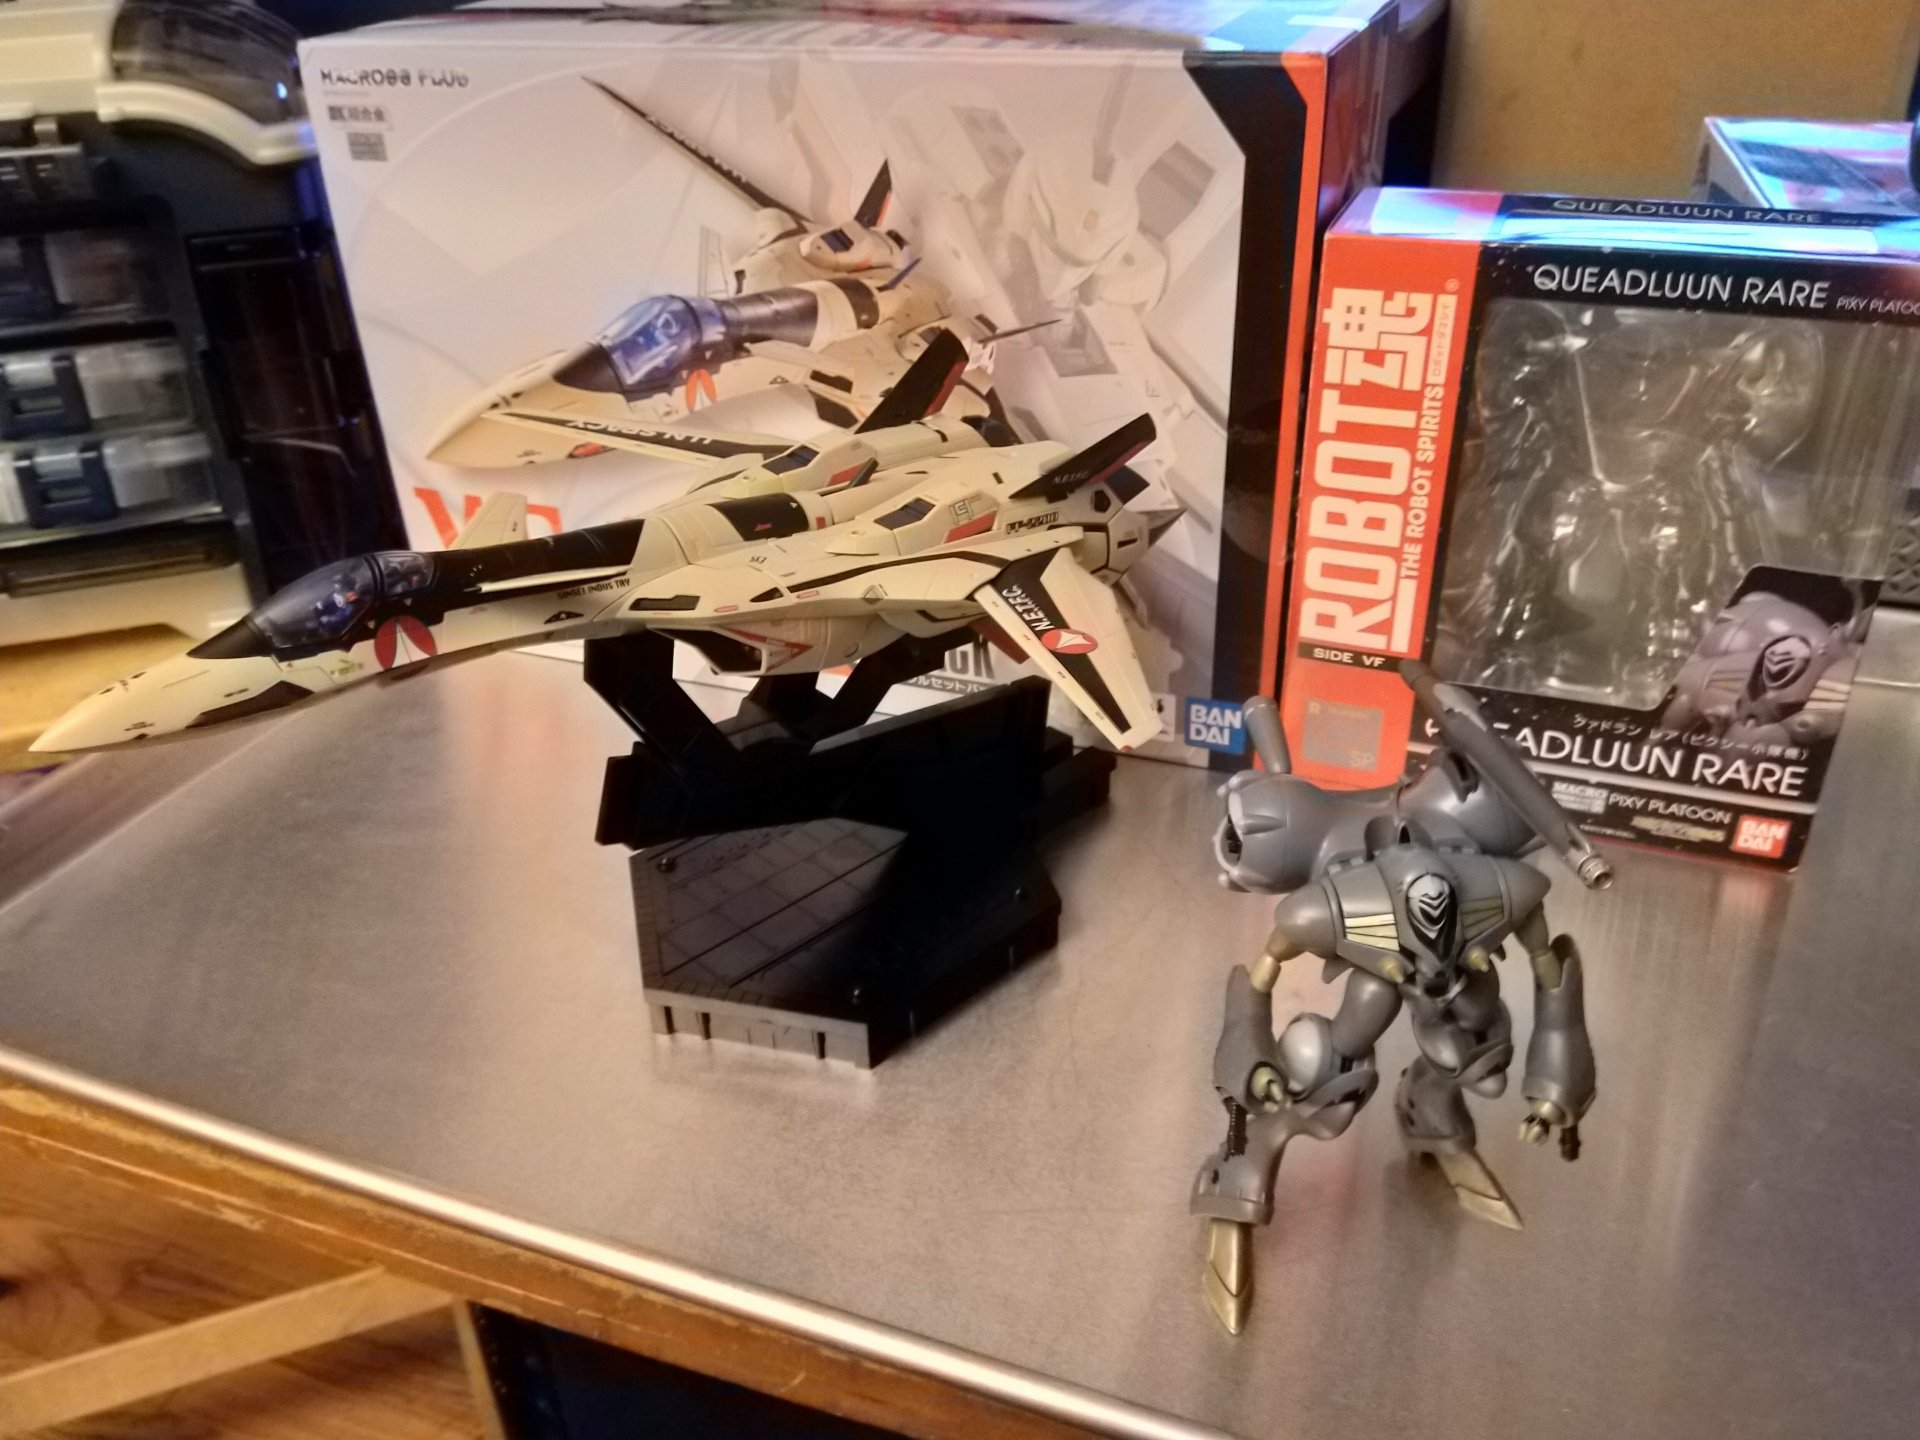
-
Your most recent Macross or toy purchase! General thread.
Pontus replied to Gakken85's topic in Hall Of The Super Topics
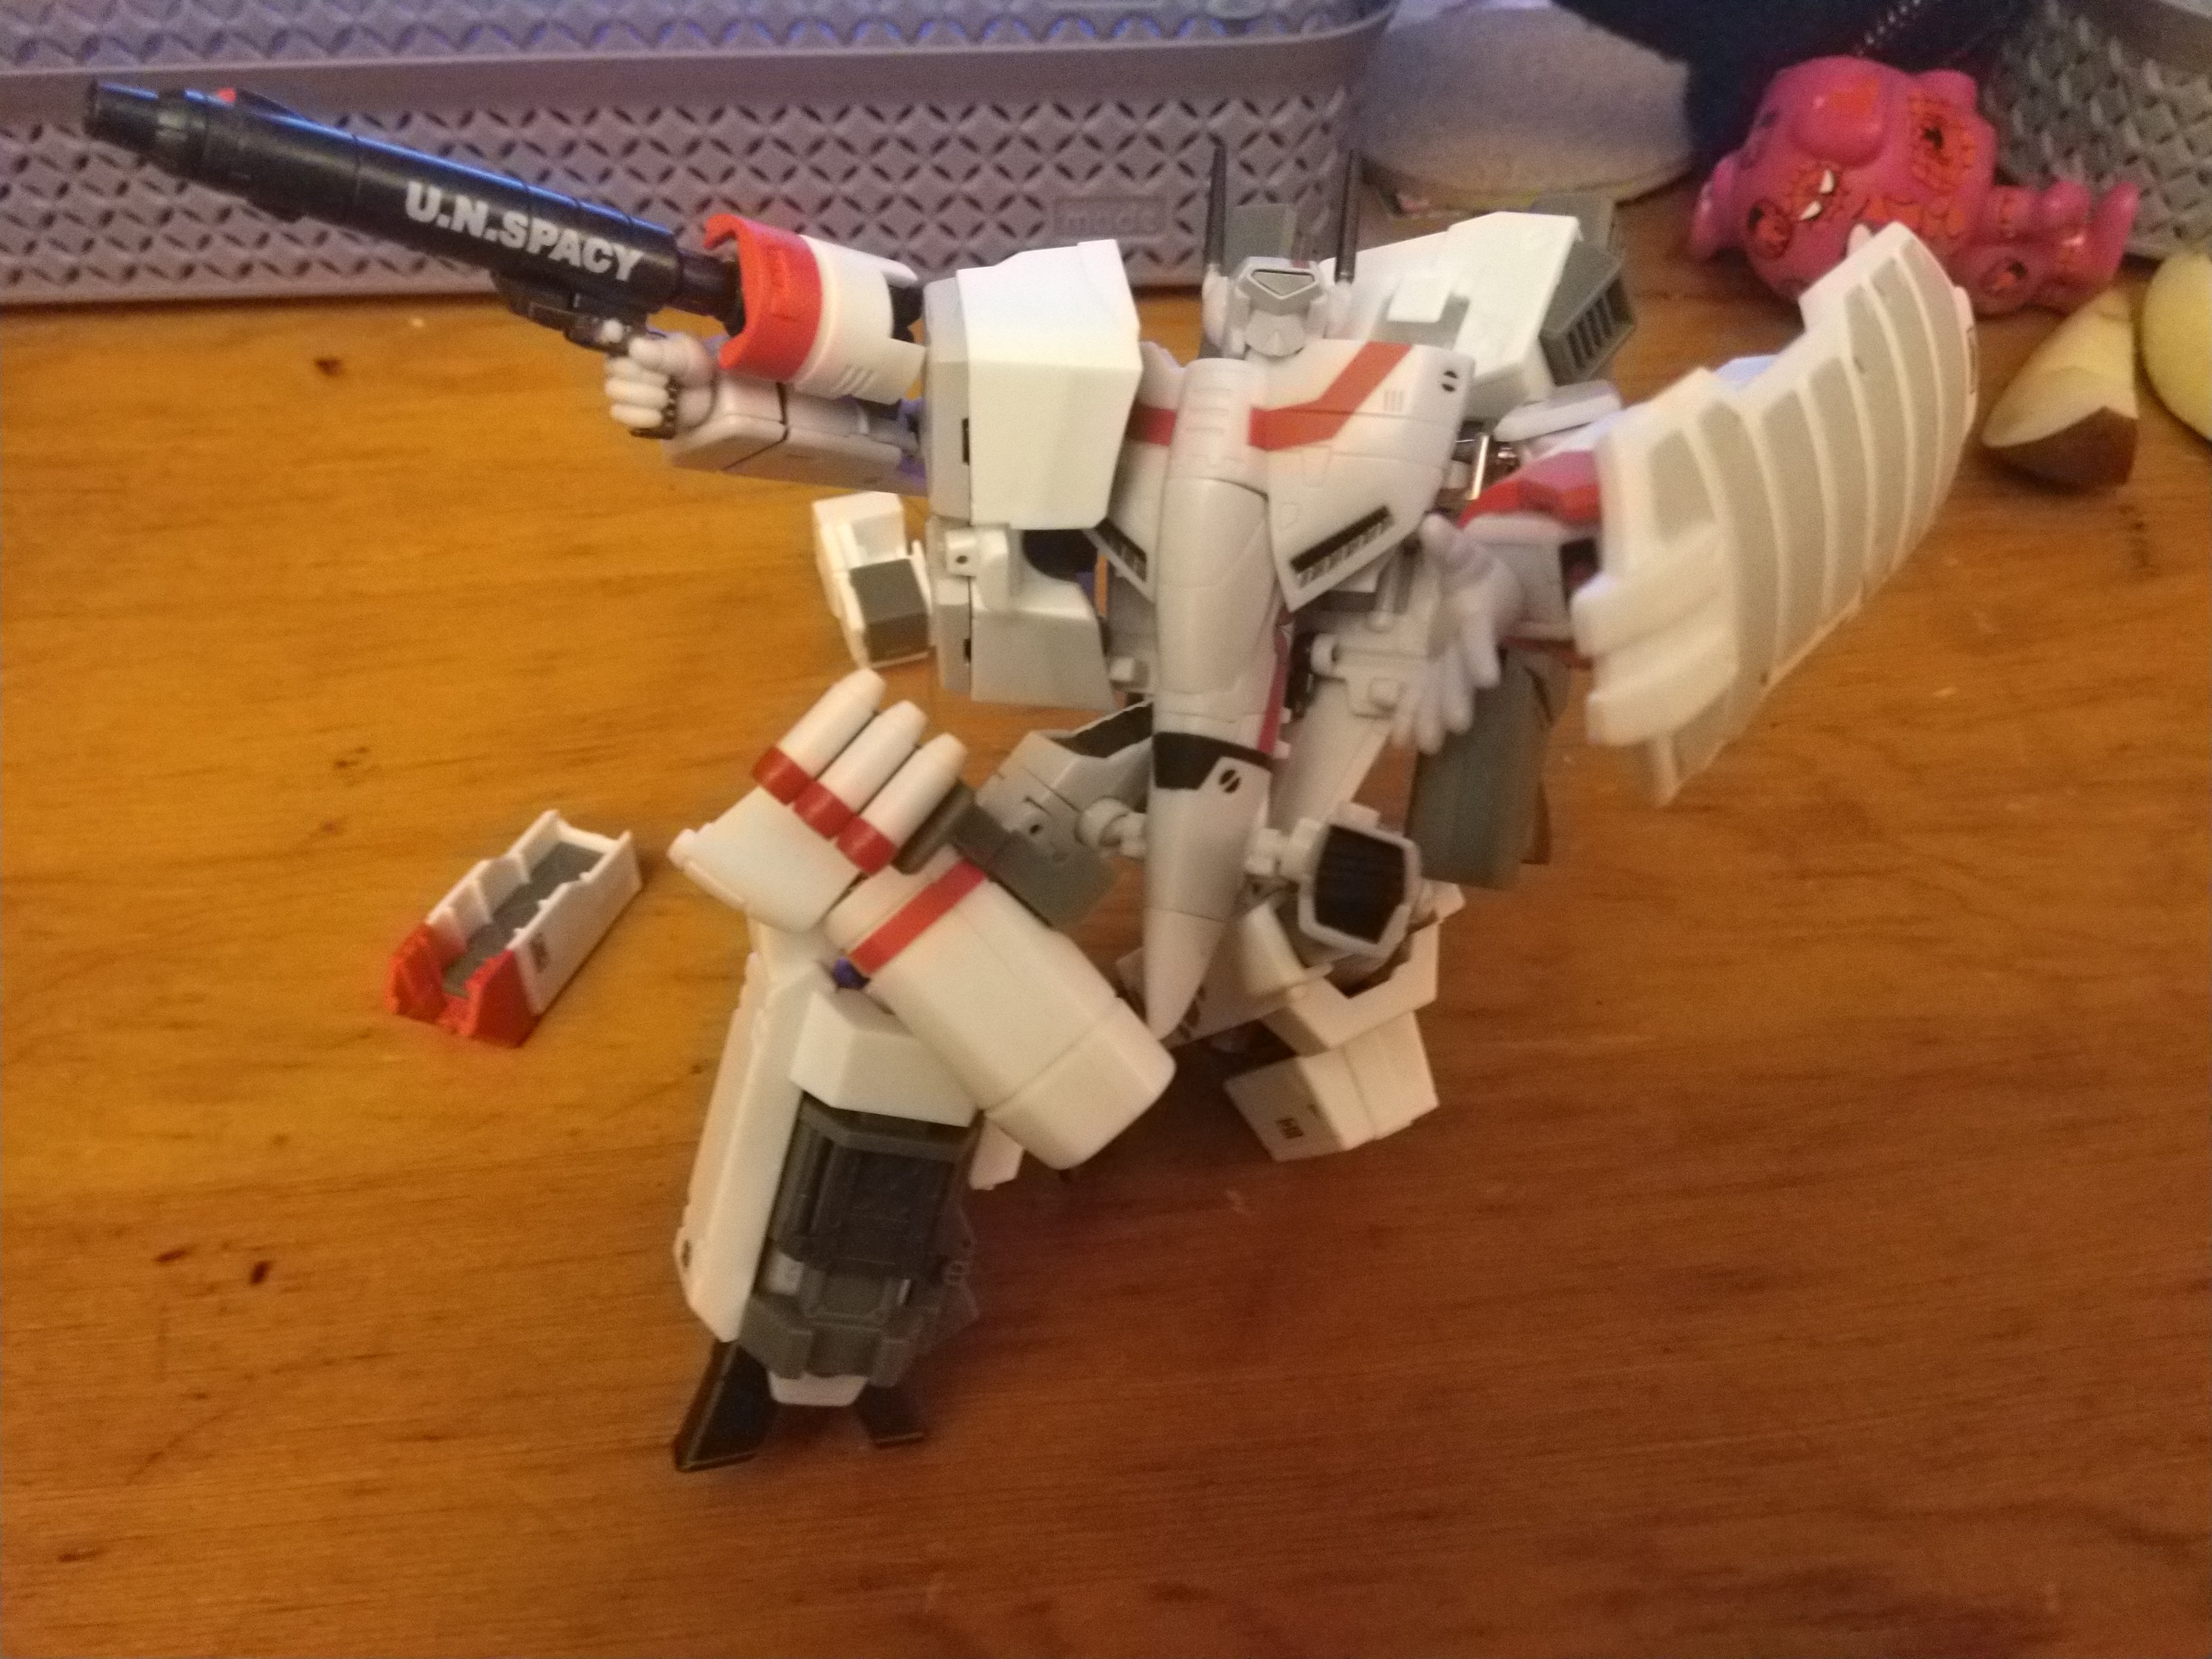
Not to disparage your work but rather the design here... is he wearing slipper sandals with white socks? Is that really what their boots look like? Man he is ready to do battle... in COMFORT! I guess that's not any more ridiculous looking than those shoulder pads. Are those flood lights under there? -
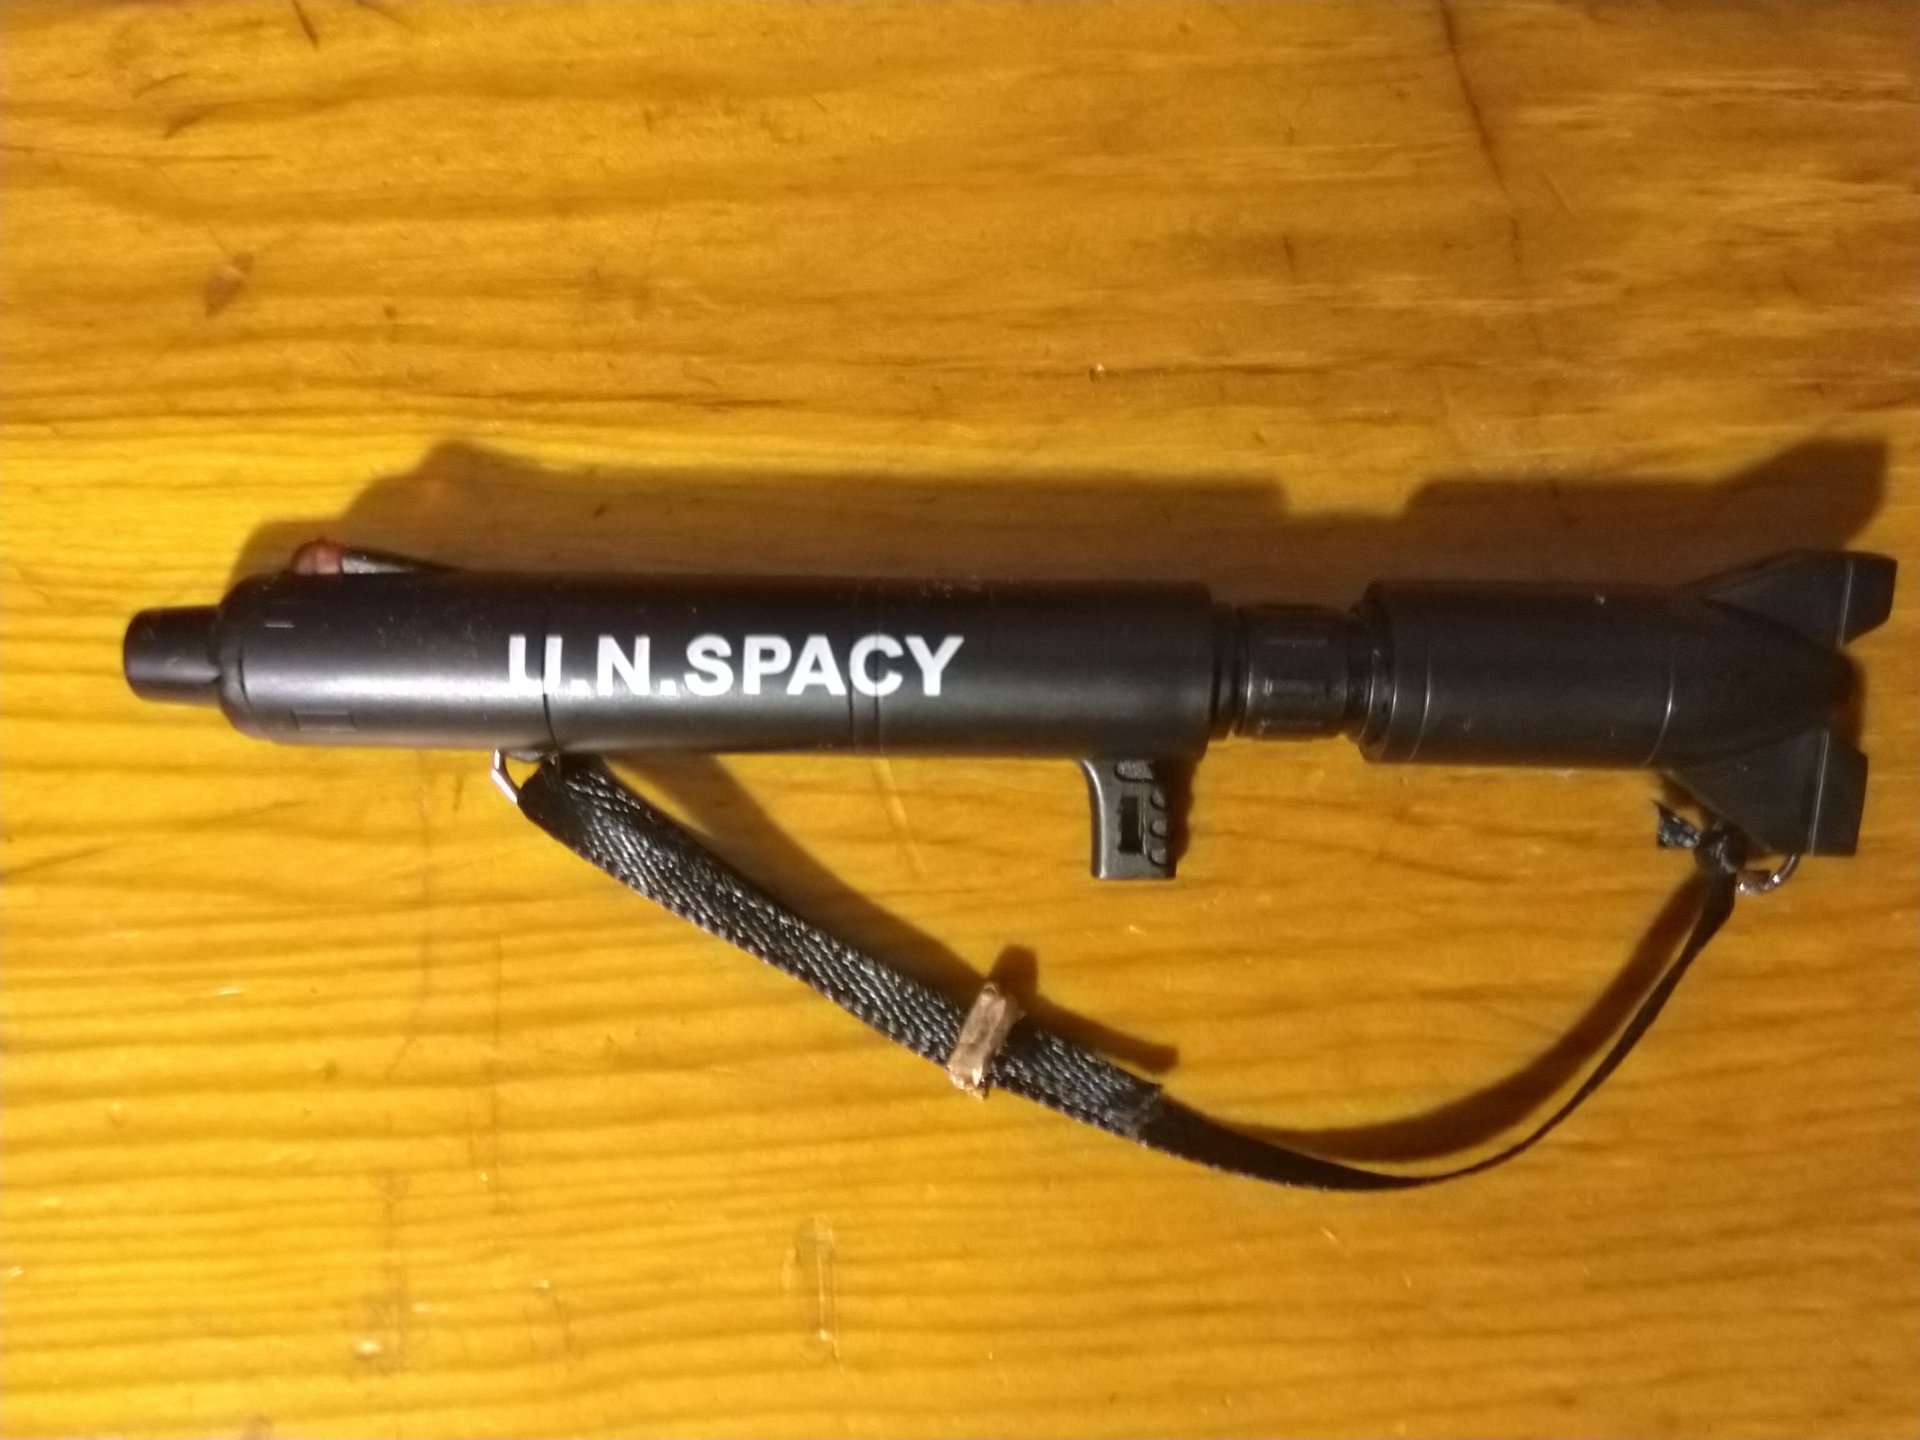
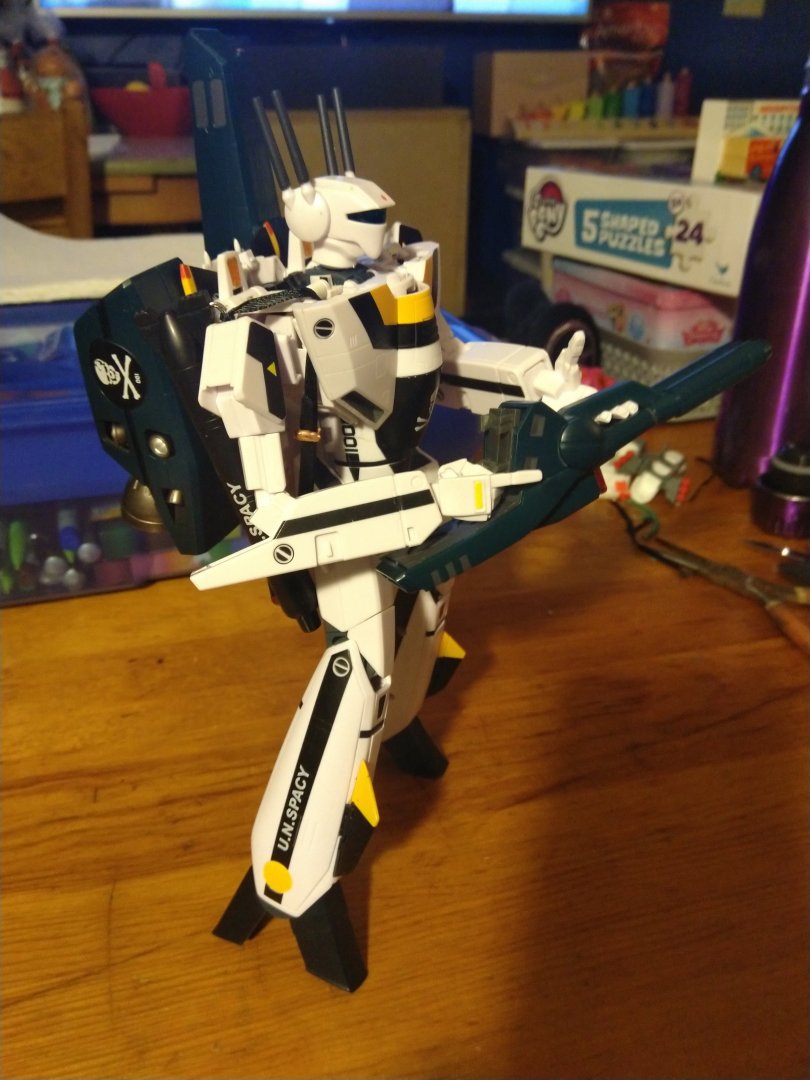
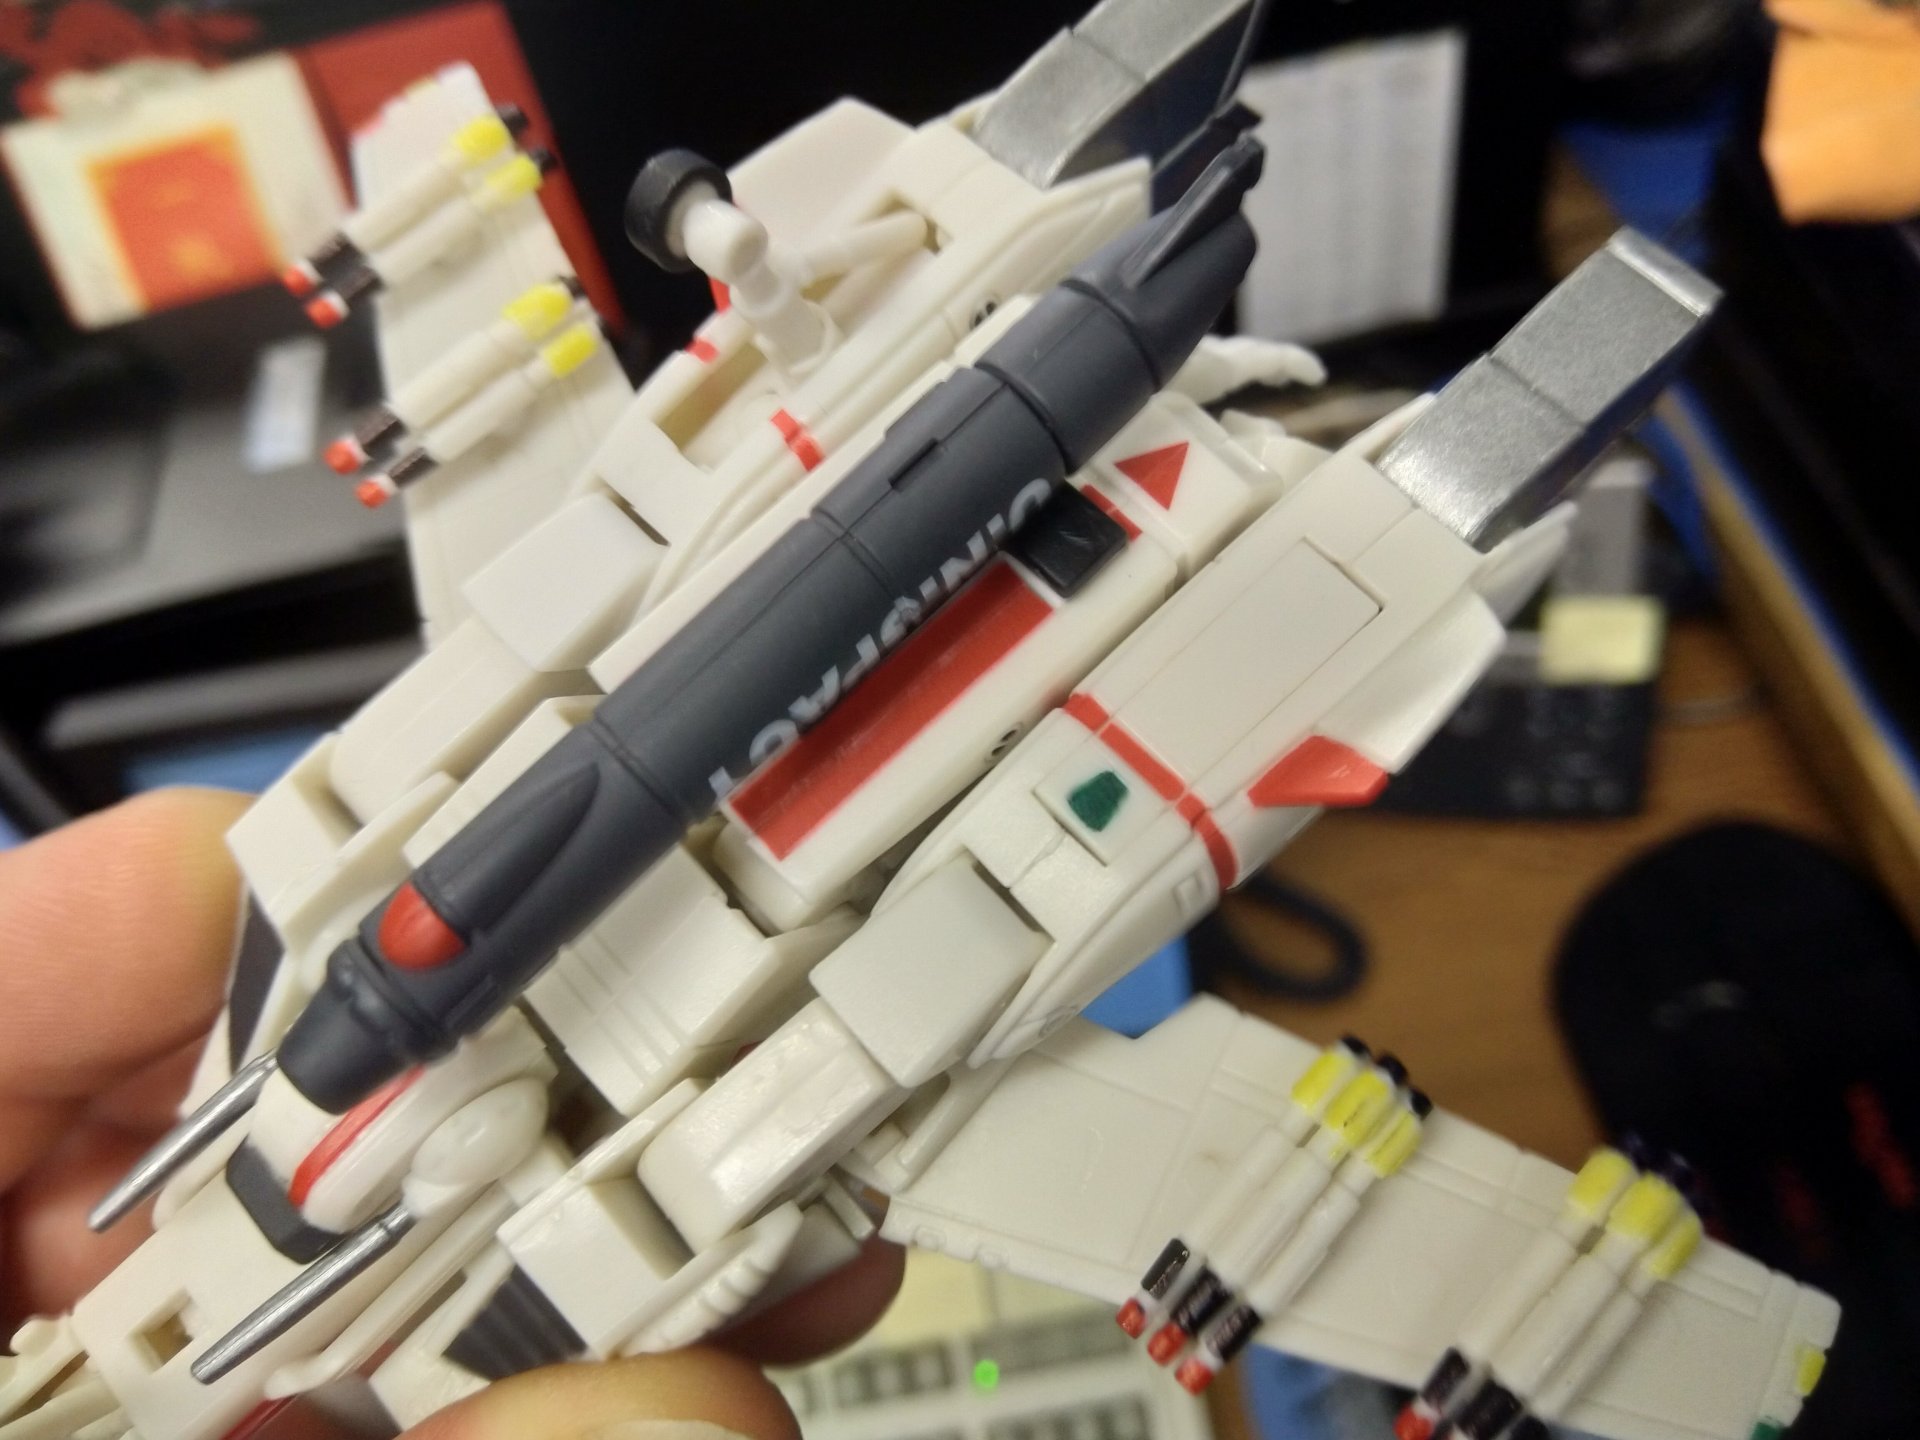
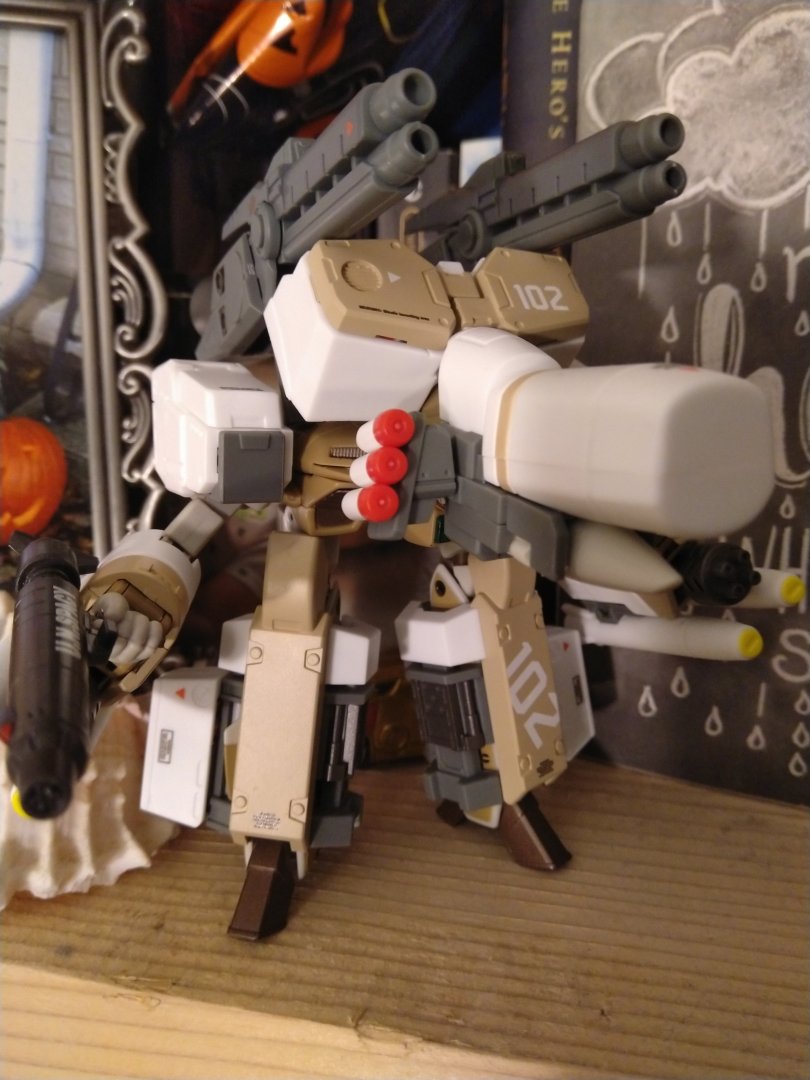
I was walking by some ribbon on the shelf... is that 1/60 gun sling strap?! Flattened a bit of copper wire out and made a buckle. I noticed two pairs of holes on either end of the gun for strap connections. Rolled in some paperclip rings, and... Tada!
-
DIRECT HIT! Good thing he's got that sweet armor. He recovered quickly though.

-
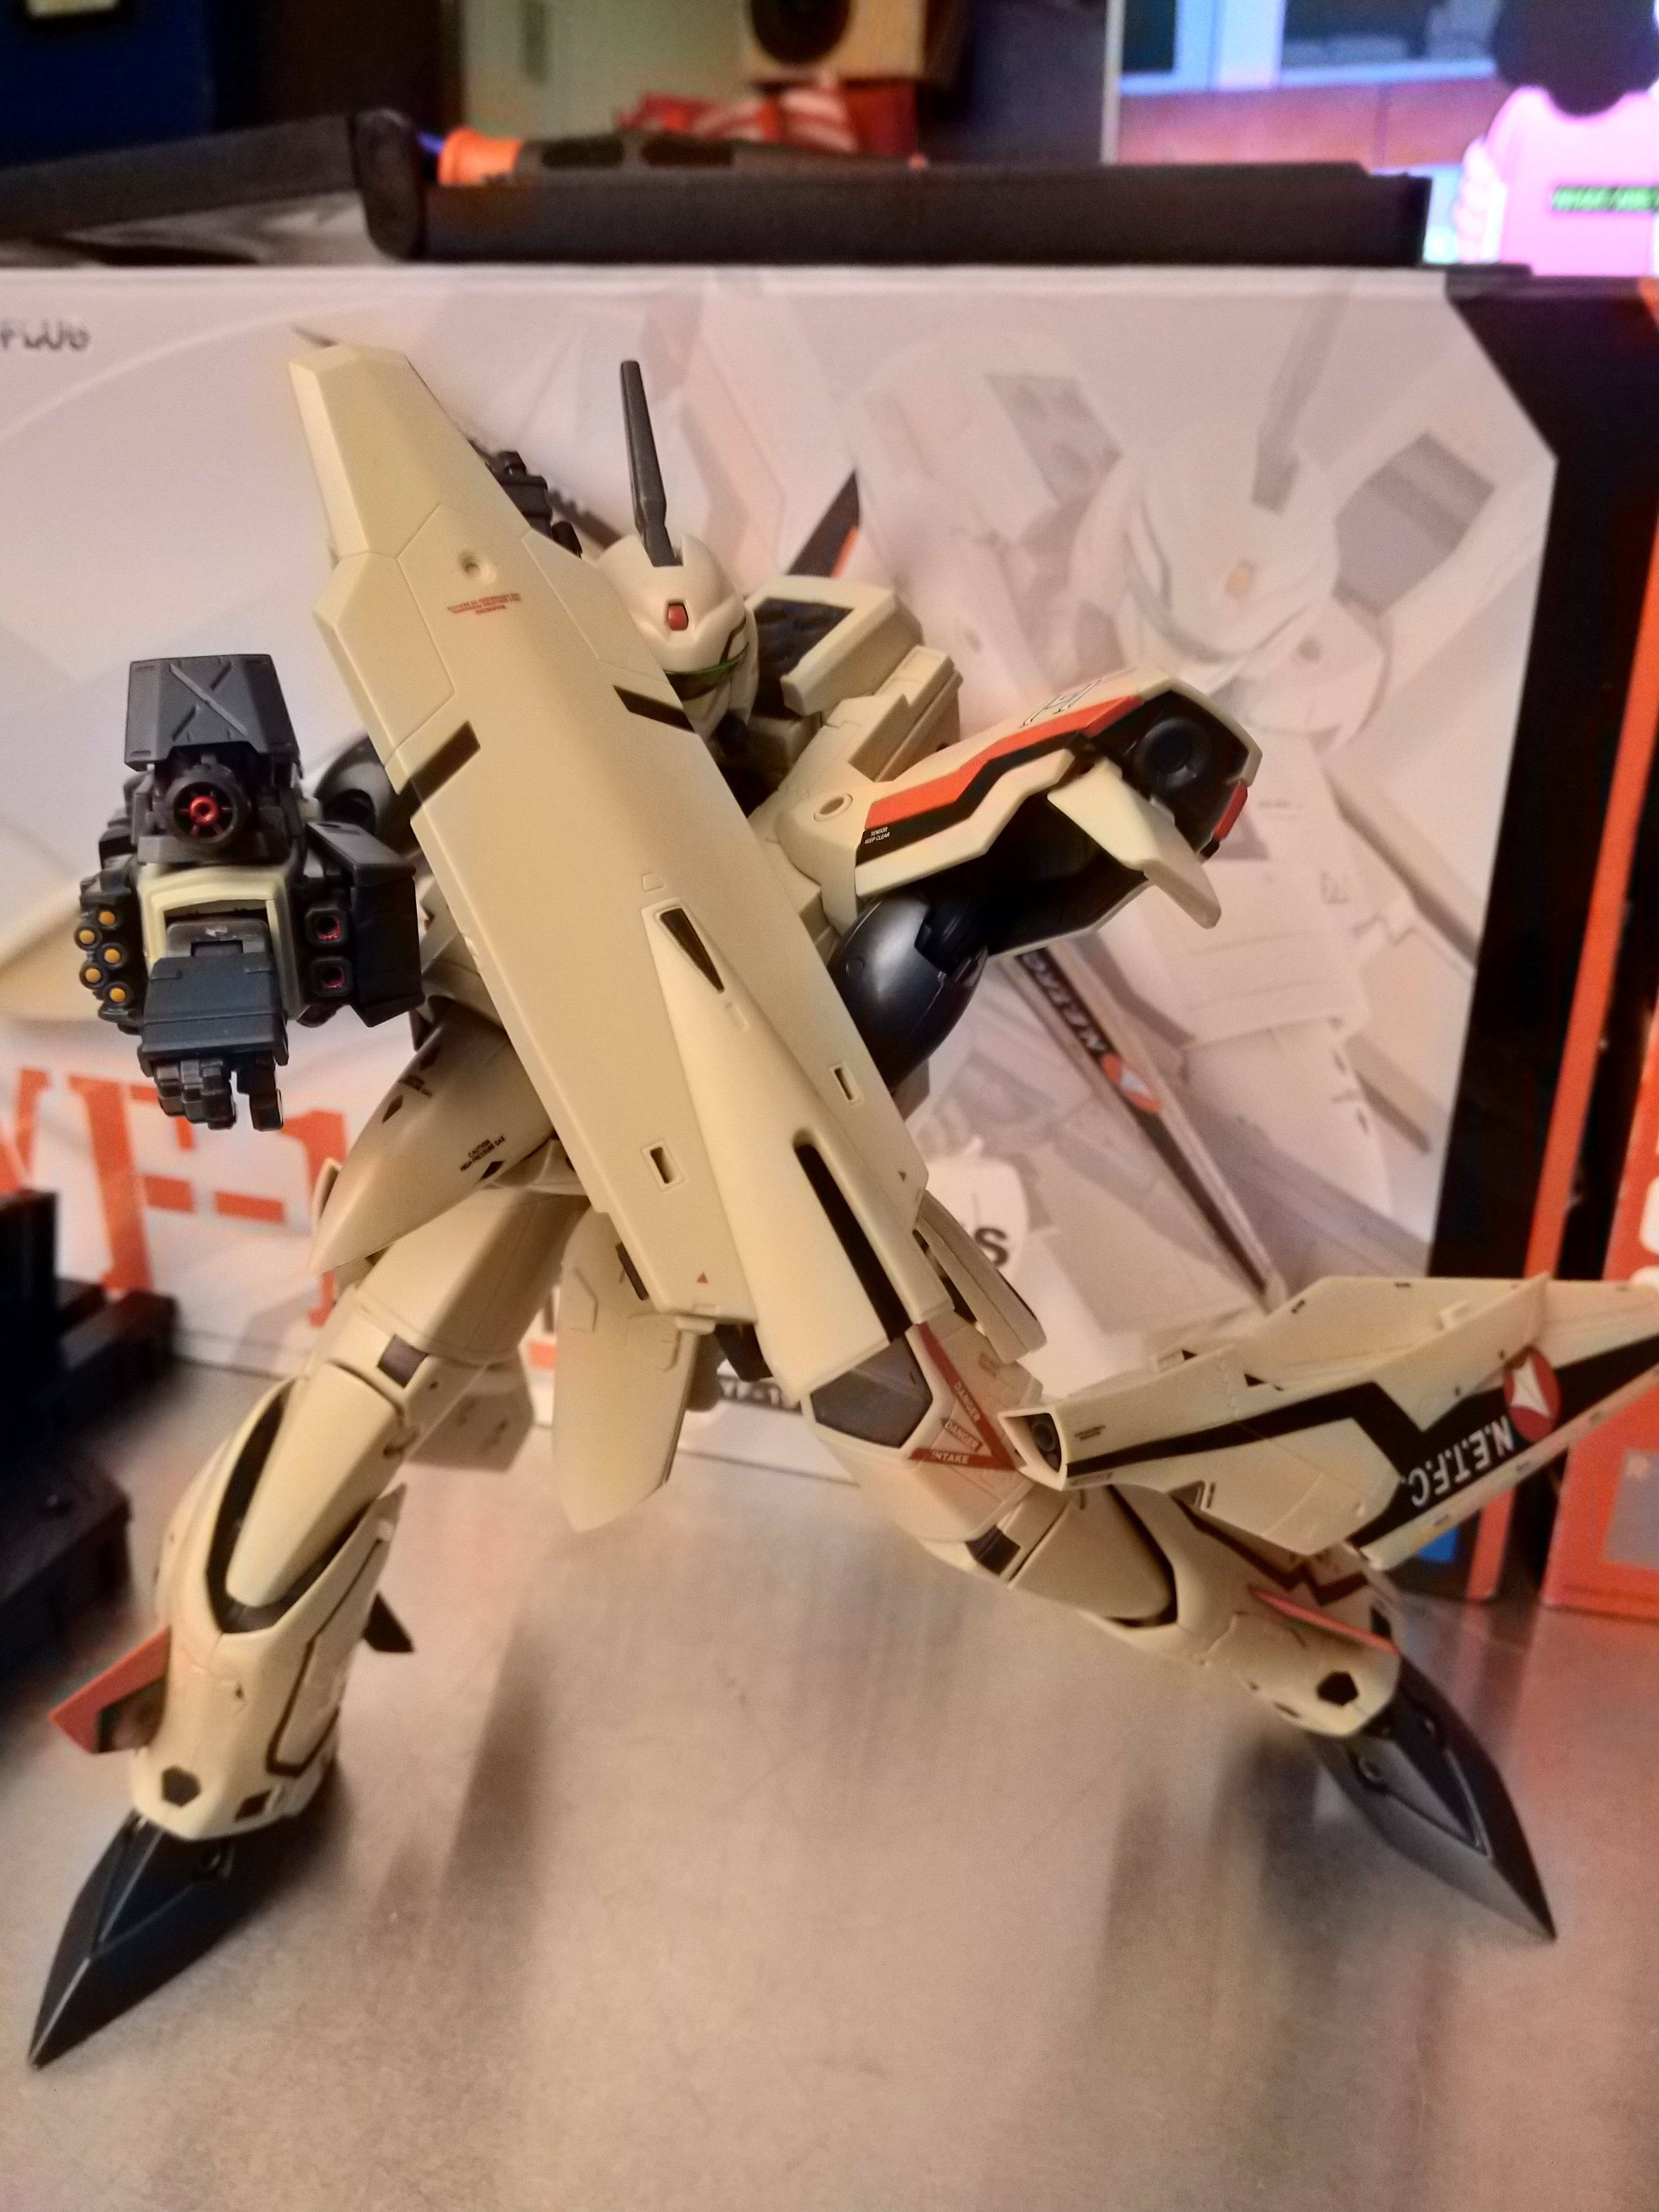
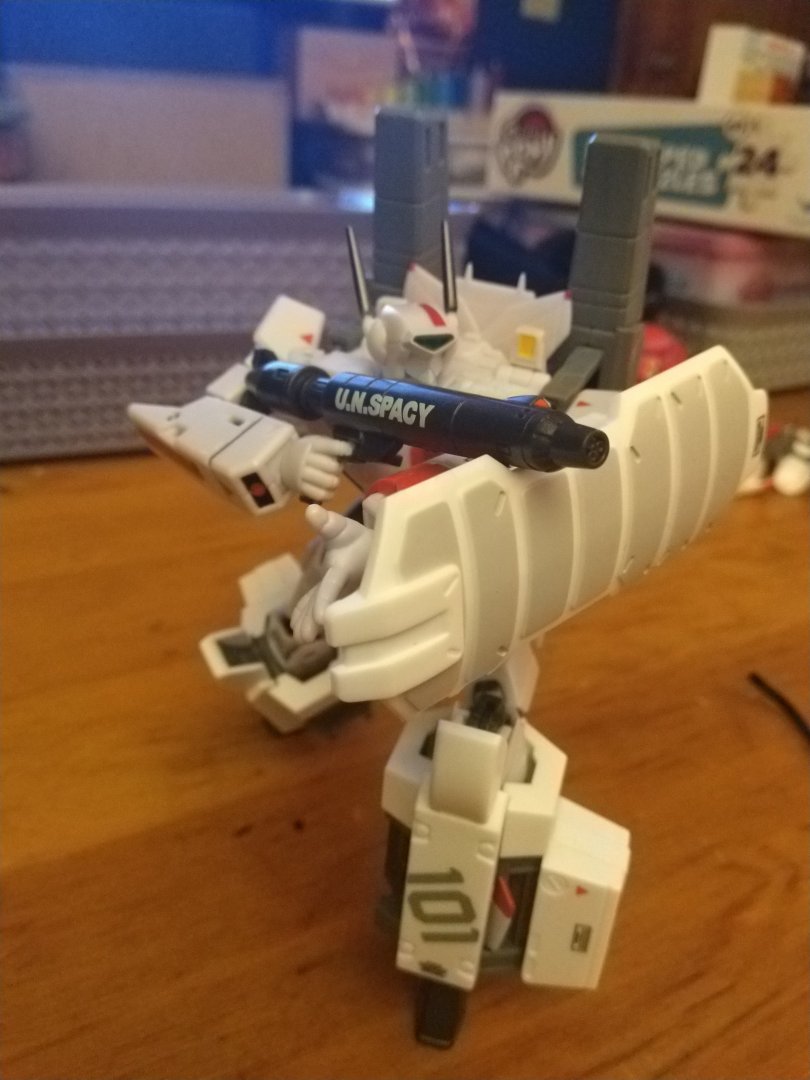
Manual cannon deployment! "Am I doing this wrong?"
-
Well I'll be damned. I did NOT notice that on mine as it was very stiff and the back of the connector popped out instead of the extra joint popping up. I just looked at my cannon and, although I had to hold it down on its mount while forcing it around to get it to pop, sure enough, it popped up this time. Well, anyway, I like my way much better. Why have an extra joint that puts stress on the cannon mount points instead of just allowing the hinge to extend down farther? Plus, that's not quite 90°, and with the extra joint, mine now comes past that down to right beside the head. Anyway, thanks for the tip! Wow, I love this toy more and more every time I play with it!

-
Ok, from the description, I thought the workshop was more for modeling, but if this needs to be moved in there, that's cool. I guess that's why I didn't see much of it here, duh. I saw the maintenance thread which is why I thought it appropriate for this here. I was concerned about maybe making it too broad and thought maybe I'd limit this to 1/60 mods but talked myself out of it. Would it be better if I just made my own thread in the workshop? I'm just a big fan of reference threads where people can find scattered info in one place.
-
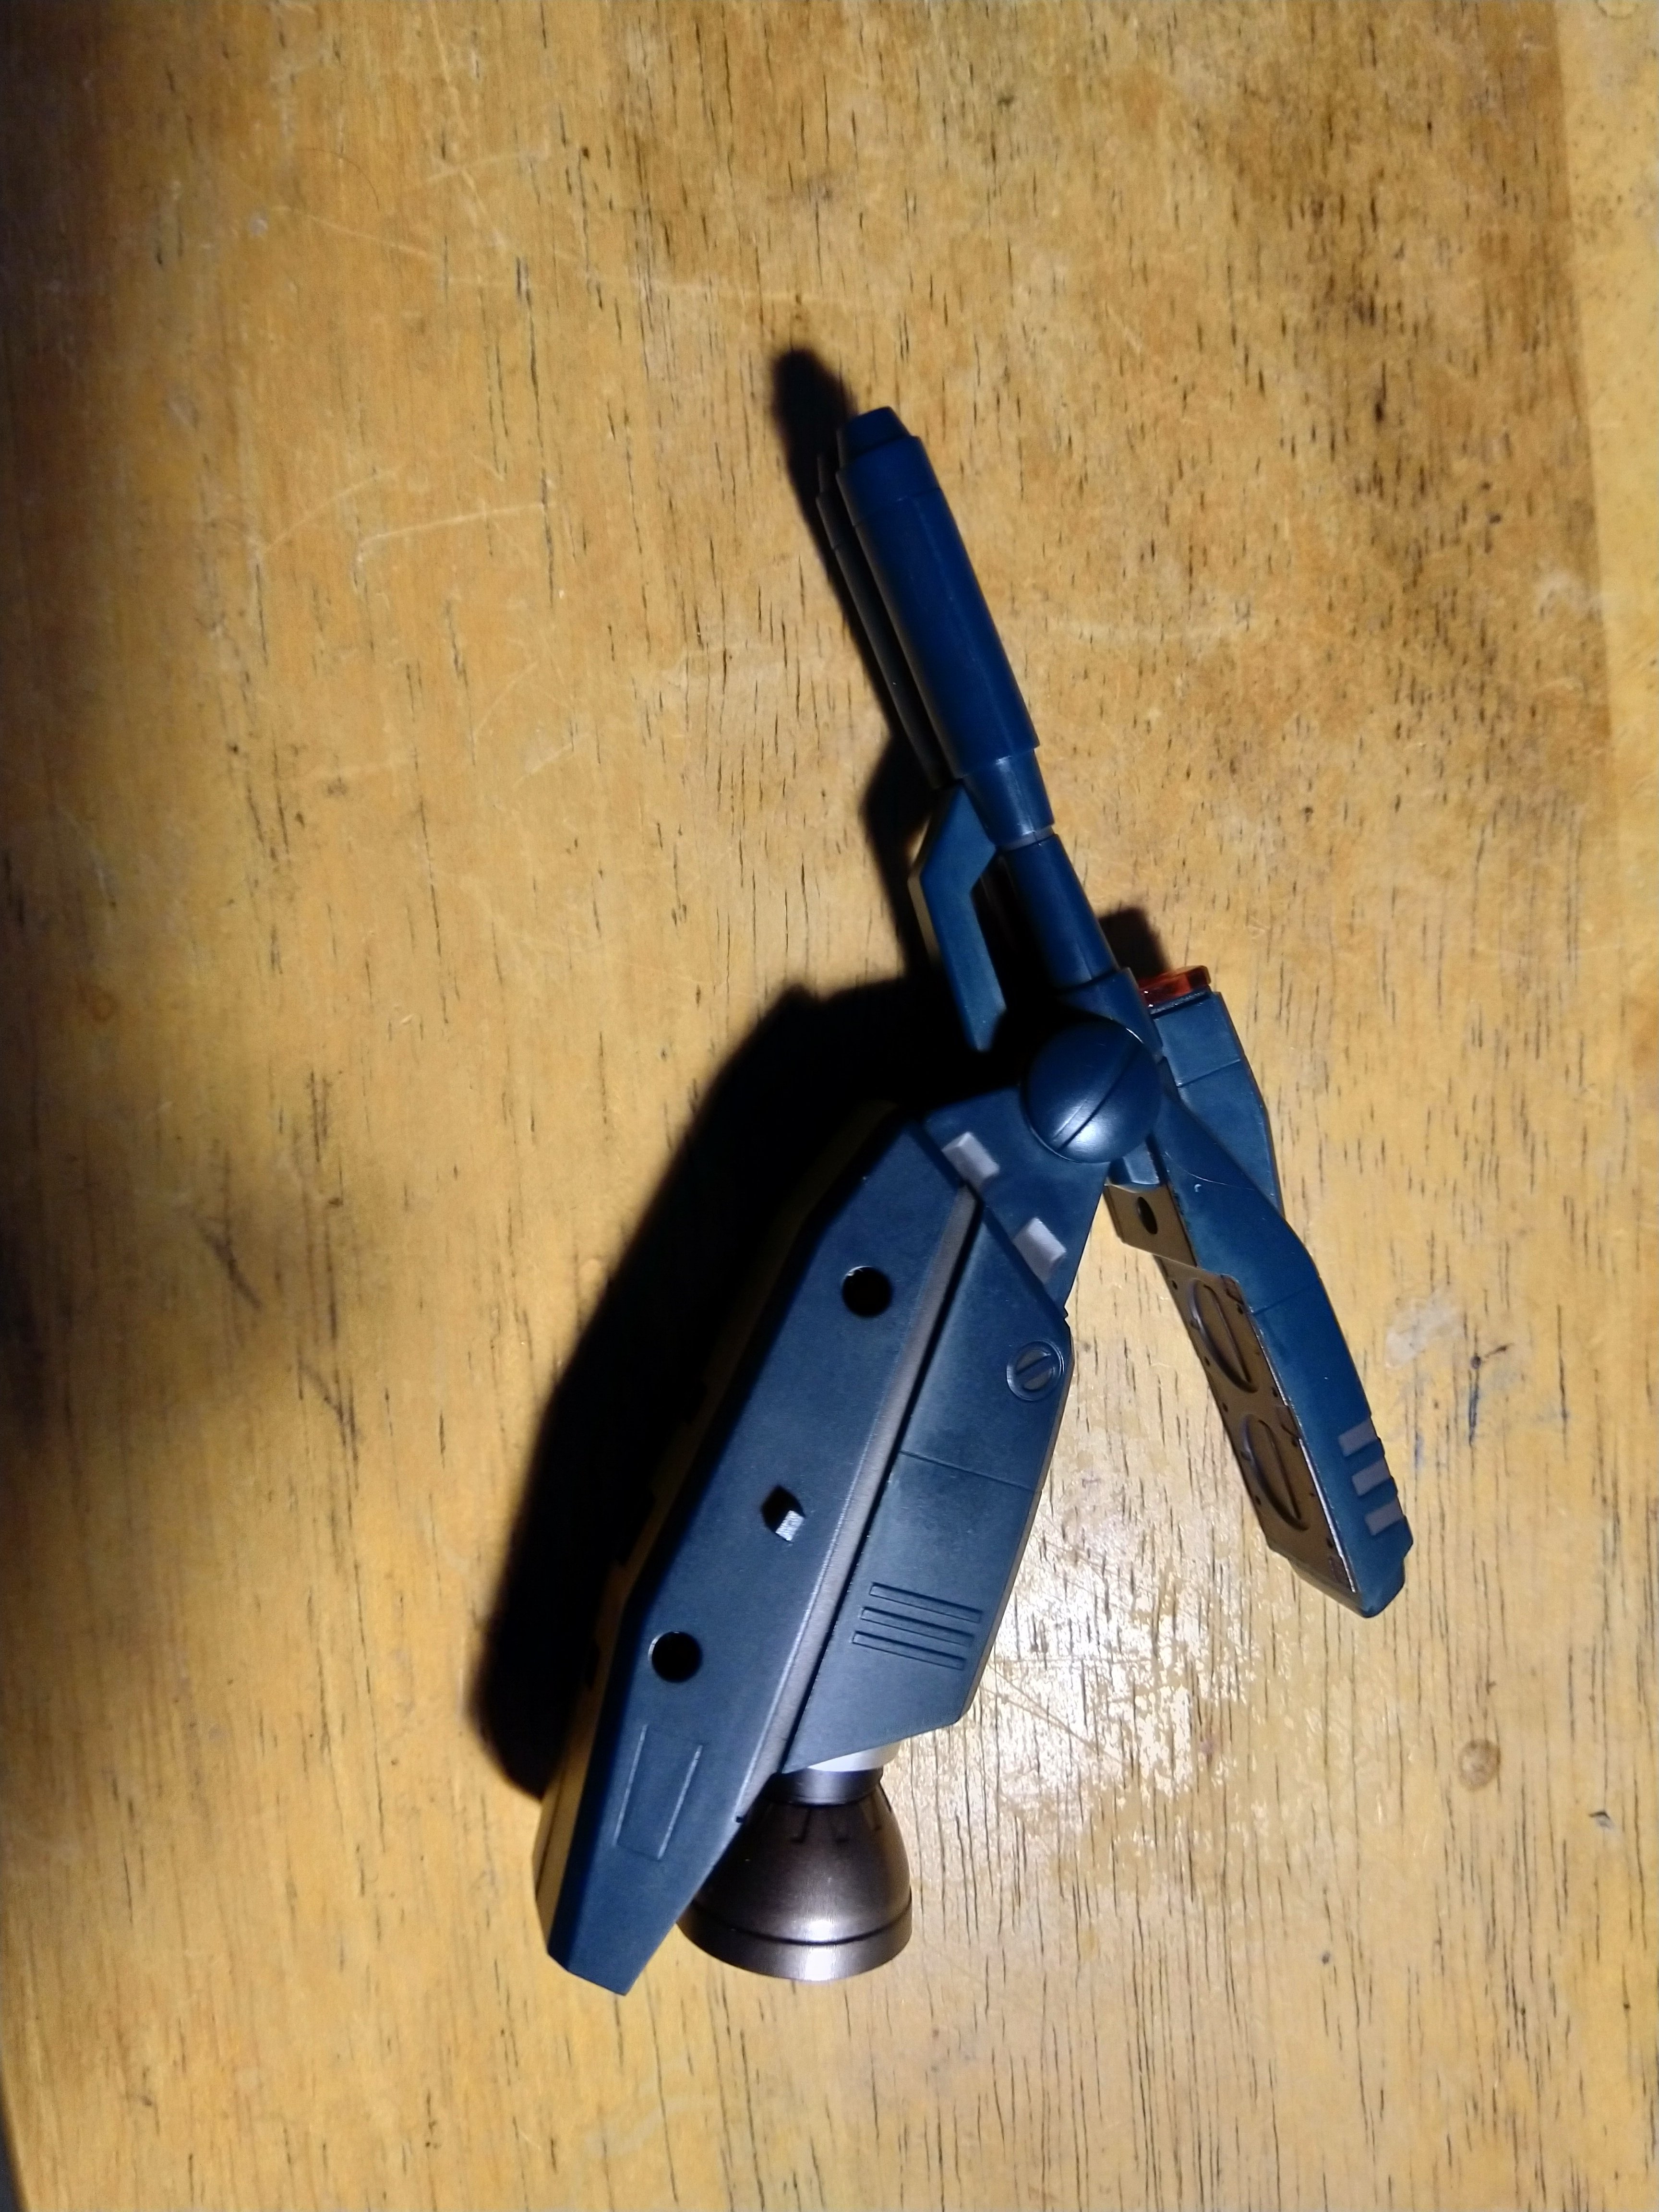
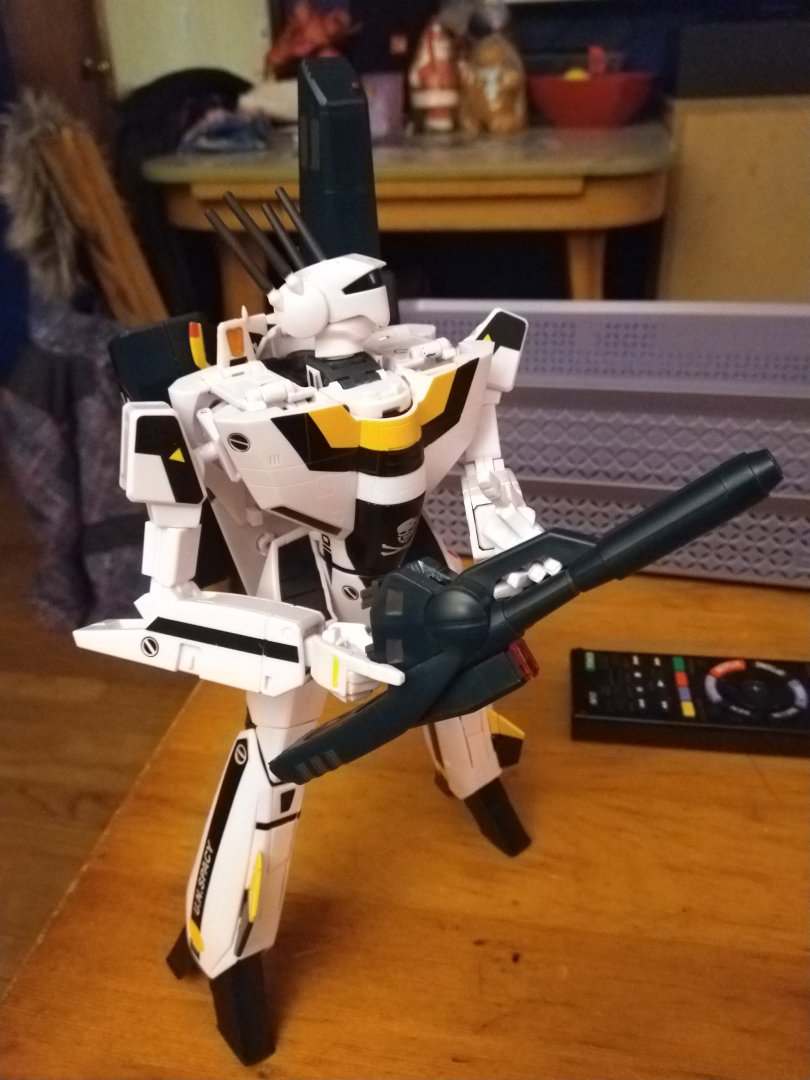
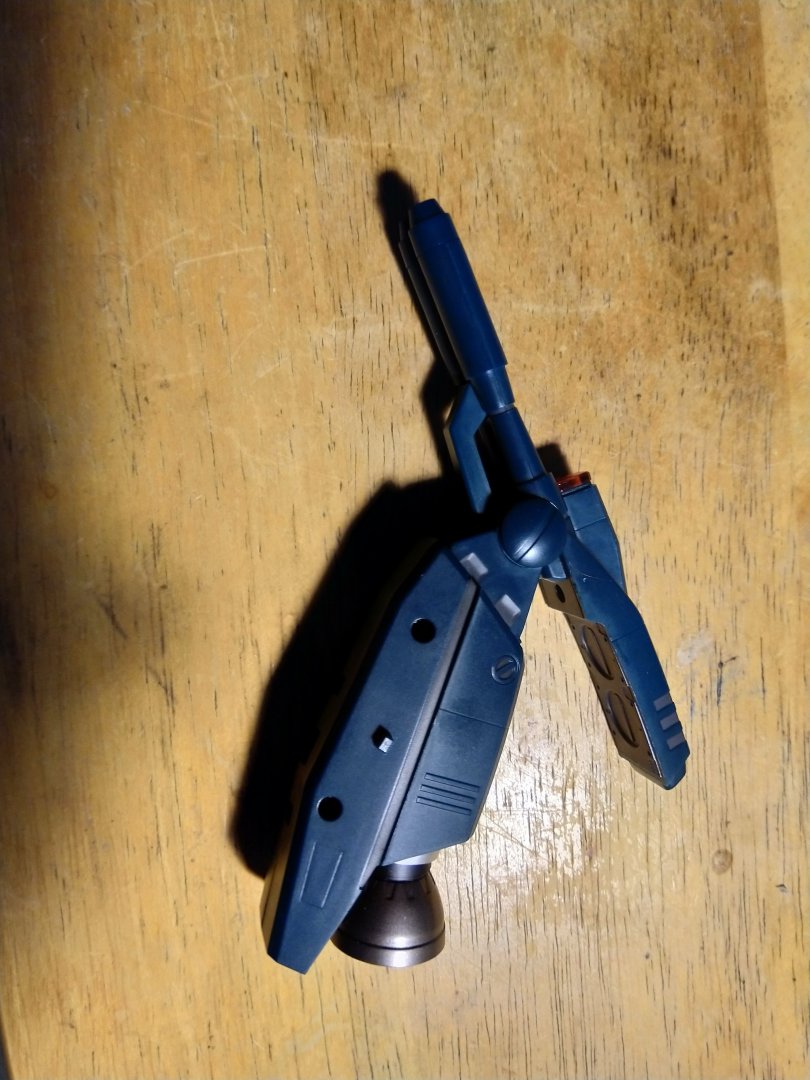
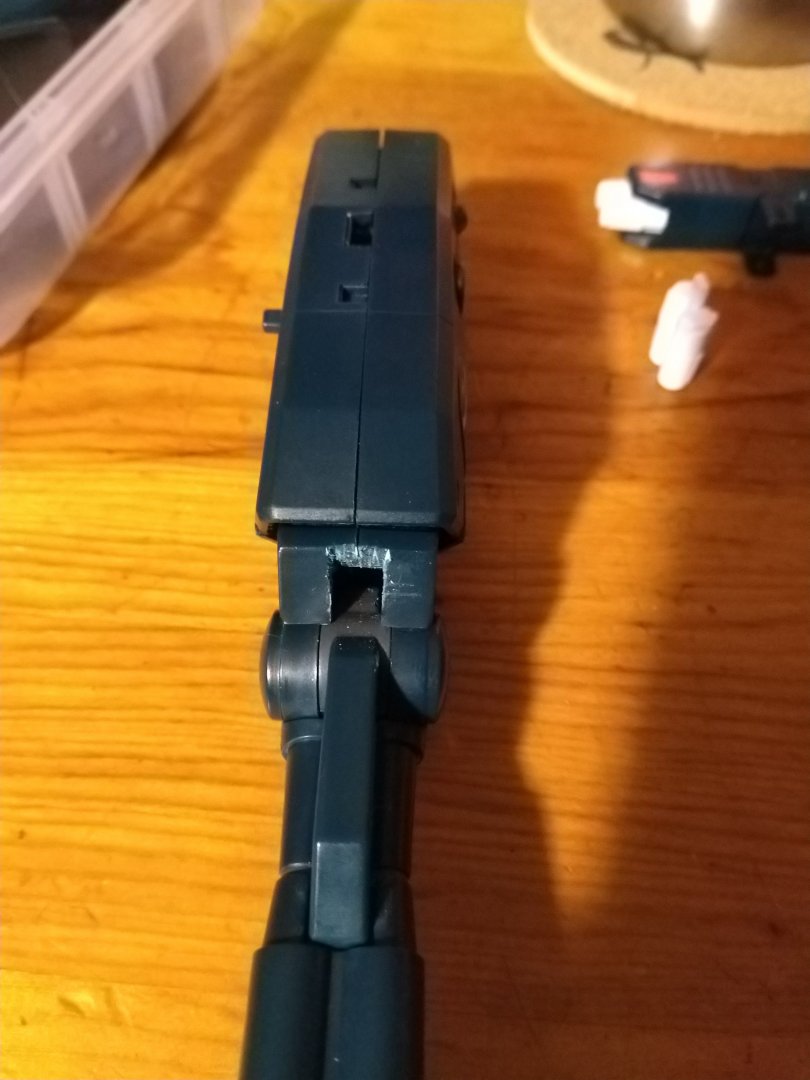
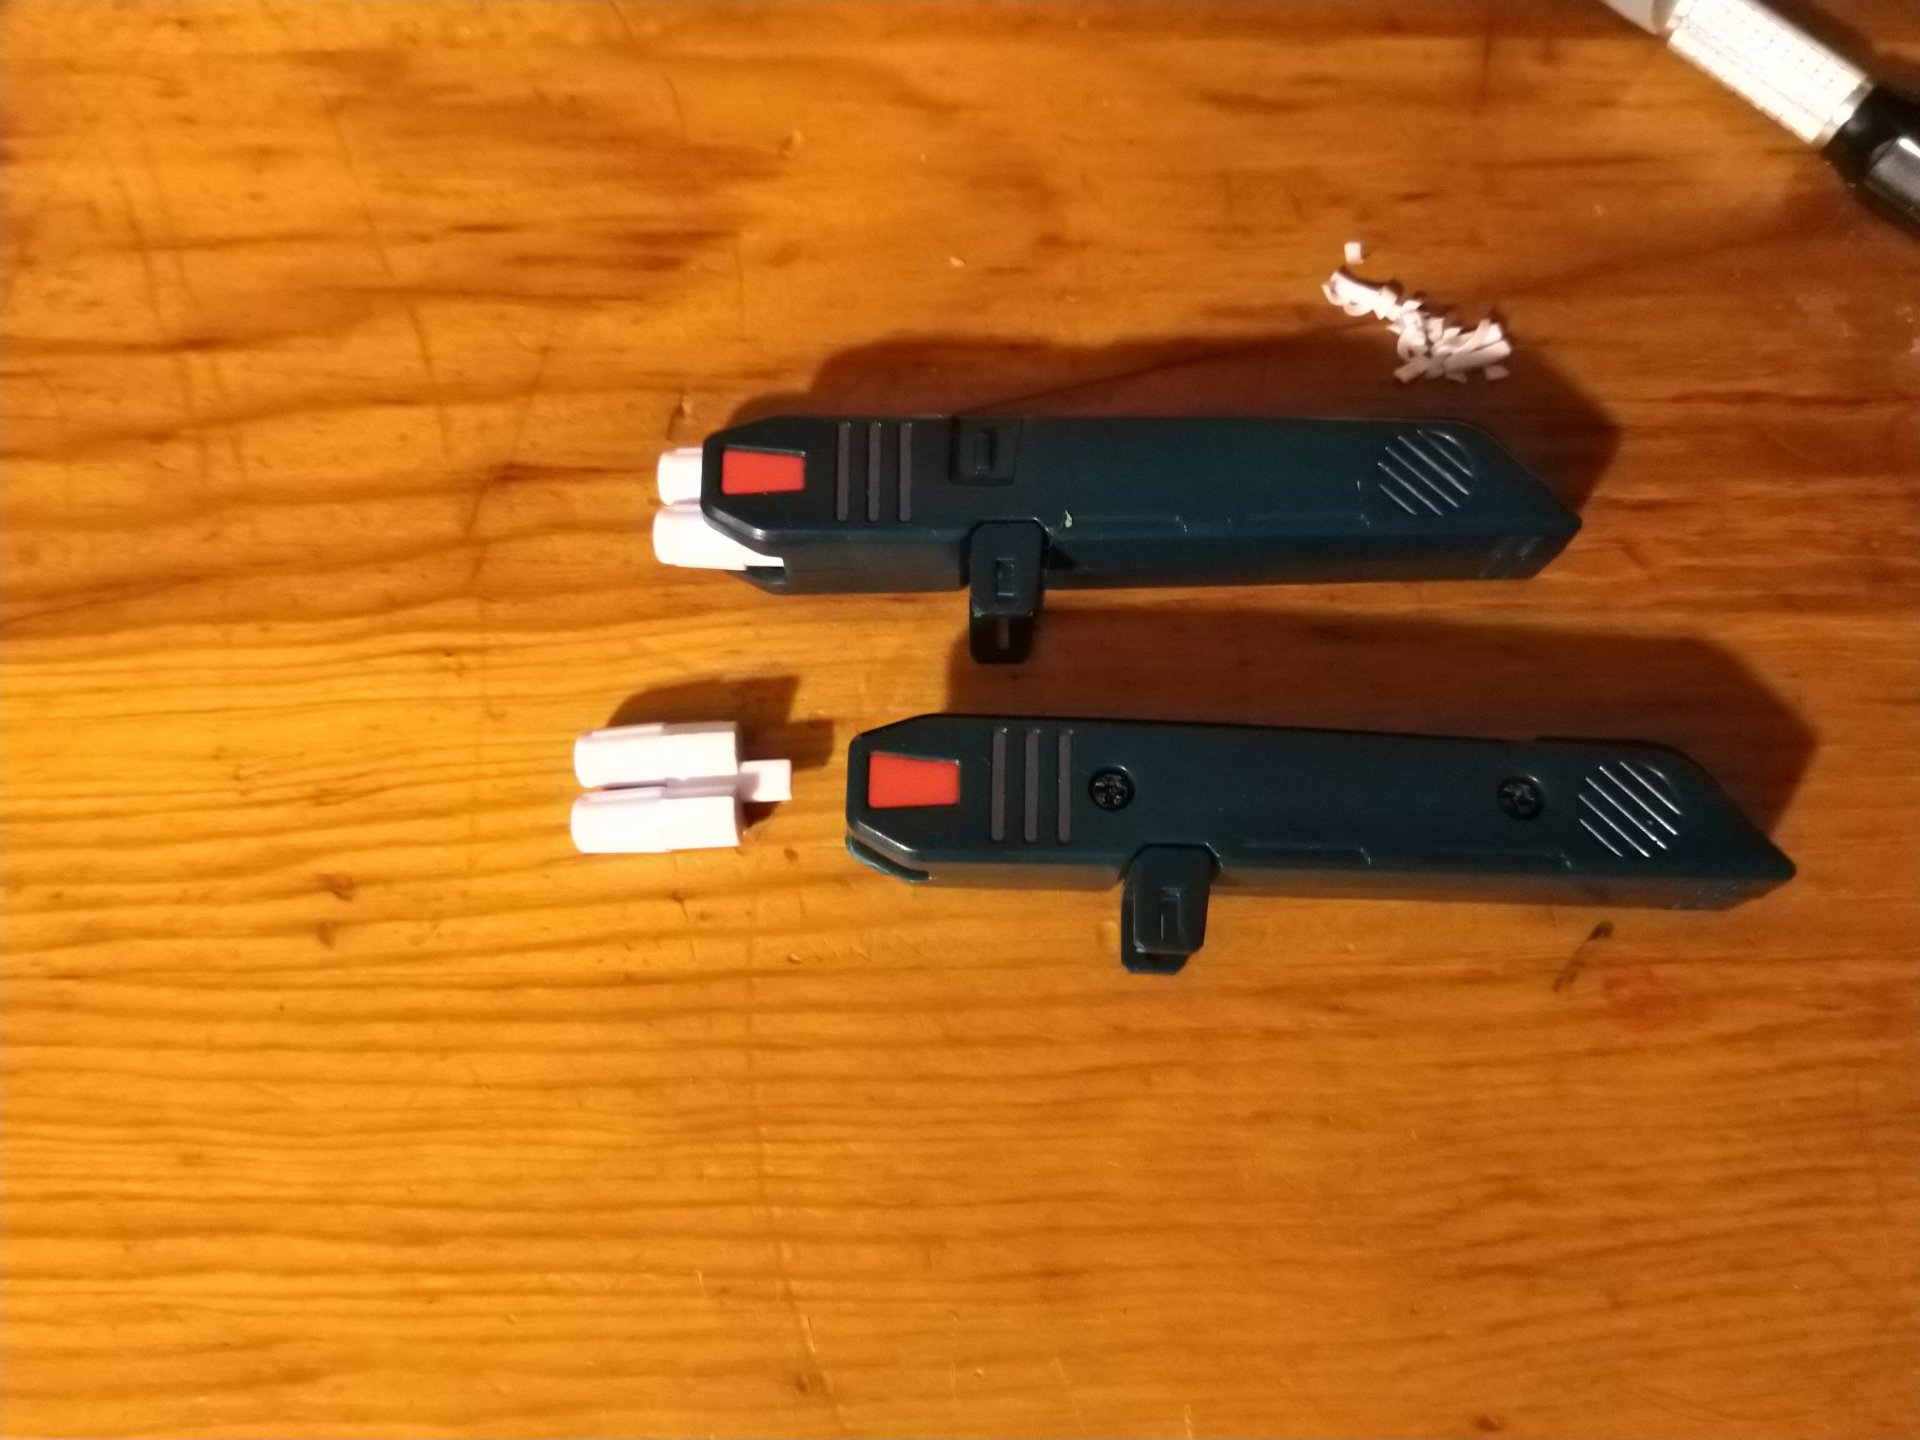
I was dissatisfied with the amount of angle you got with the strike cannon. It didn't seem to be all that useful for a cannon to only have about 15° of range: So I took out my trusty exacto knife and got to work: Much better now. It may be a cannon, but it doesn't have to be canon! Then I noticed that the arm missiles weren't glued in place, but they also don't come out. So I took the two screws out, disassembled, and noticed that all I needed to do was shave down the sides a bit. Be careful though - if you shave too much off, they'll just fall out, and if you shave too little, they will pry the sides apart and stress the little screws. I did too much on one side, but a little creative melting of the tab fixed that right up. I think they need some additional detail too... someday.


-
If there's already a thread for this topic, I was unable to find it in a quick search, but please let me know and I will continue there. What hacks/mods have you done to your valks? Have you done any repairs that have left the valk improved over stock? (although I don't mean for this to become a repair/maintenance thread) Has anyone added lighting or even electronics? If you already have a project thread about this, post a link and I'll add it here for reference. Perhaps we can make this a sticky reference post for all hacks/mods if this is a thing people do a lot of or are interested in. If not, enjoy my own mods in the next posts. I'll reserve this first post for links to project threads or posts below. Feel free to post your own below and I'll link those here as well. Personally, being Mr. Fixit for just about everything and working in the repair field, I'm not squeamish about taking things apart and making them better if possible, although I do suffer from a condition known as "scope creep" among vehicle project circles where the scope of a project tends to creep unsustainably larger until you've got a monster you can never hope to tackle. Just ask my motorcycle and camping van. And this new obsession is no different as I'm already forming big plans for lighting and modding my 1/60 VF-1S and making a large, well lit SDF-1 model (that hopefully transforms) based on the papercraft model. Anyway, I'm eager to see what others have done and hoping we can share ideas and do cool things. Cheers!
-
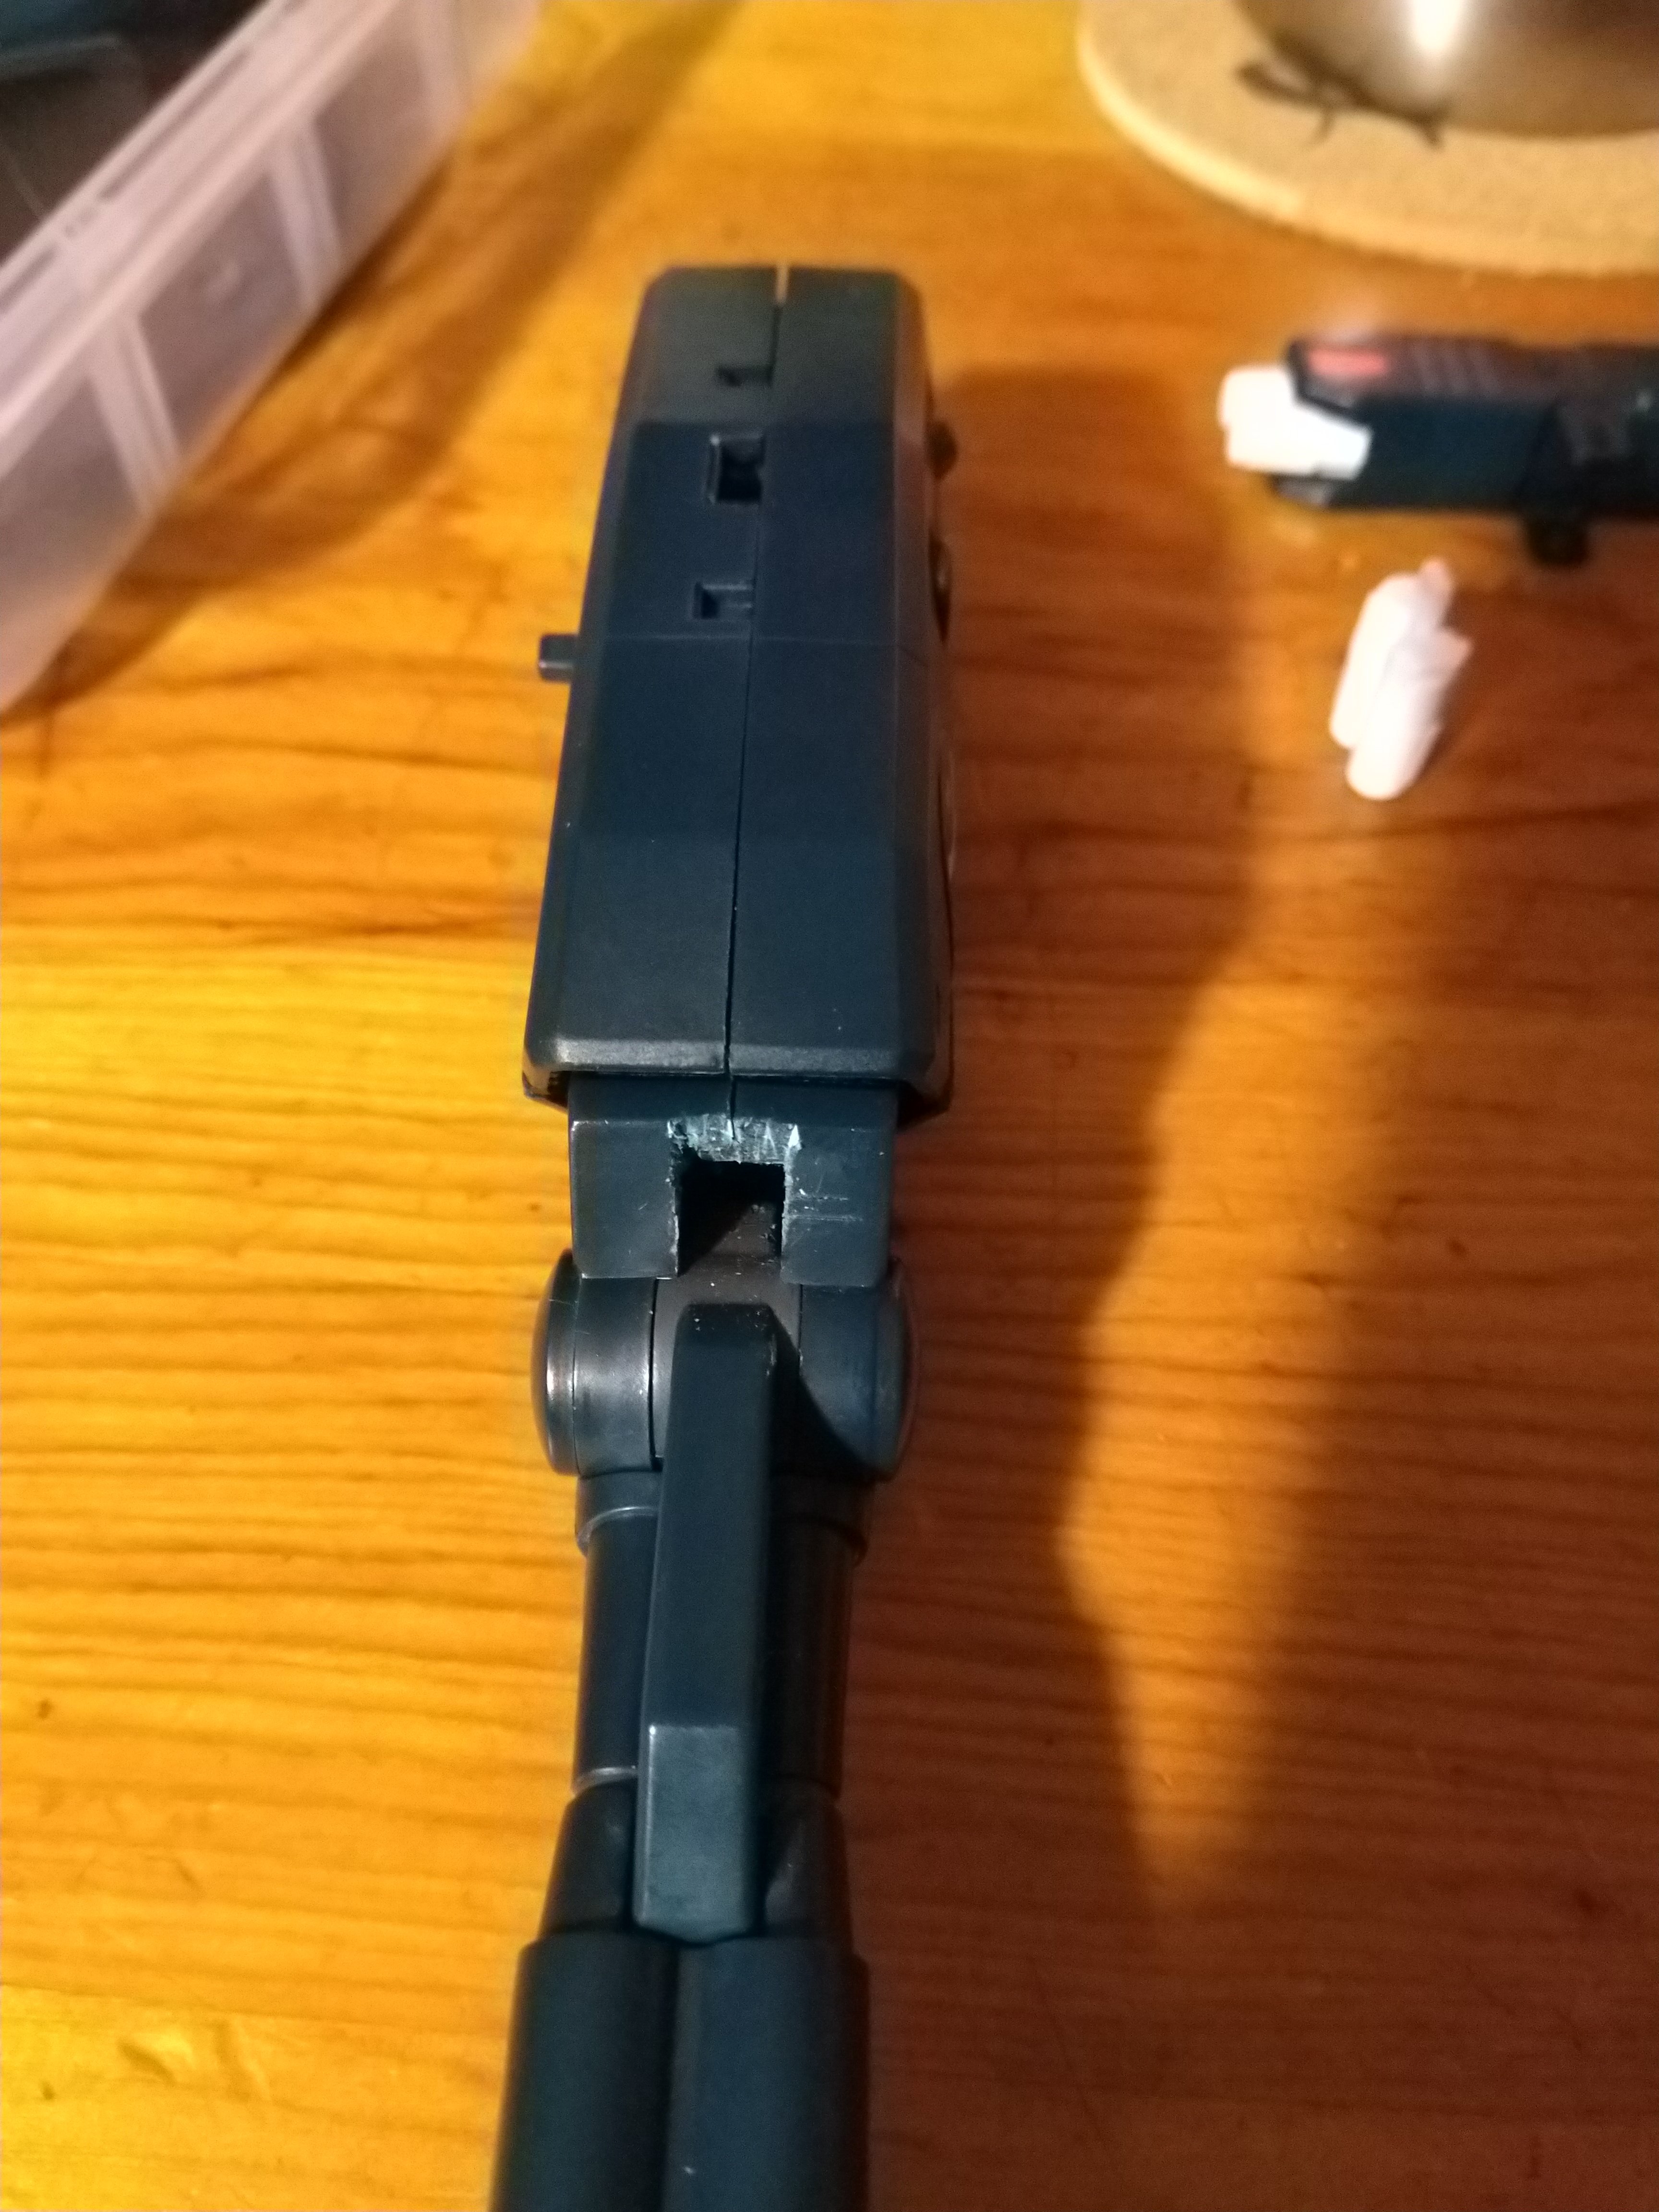
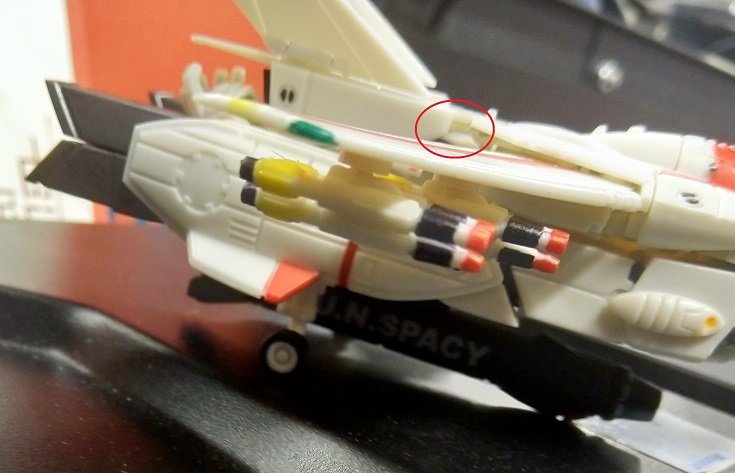
Also, if you have issues like @jenius describes in his review where your tail section never lays flat, you can make a little slot where the backpack thrusters meet the... wing base? Anyway, cut a slot there and it will snap together in fighter mode much better. Also note the aforementioned pin off the right on the chest piece - much better than tiny plastic ones.
-
On mine, the tiny plastic pins broke on the piece that allows the chest to assume fighter or battroid position. At first, I tried to find a tiny drill bit and put a pin in from a piece of paperclip, but then I realized it was plastic and that, being in electronics repair, I had sharp dental picks and a soldering iron. Worked wonders. You can see the pin I installed in my pics if you look at the chest piece. It's a PITA to get that little plastic piece to snap back into the body tho and it comes out easily. I'm thinking of putting in another pin there.
-
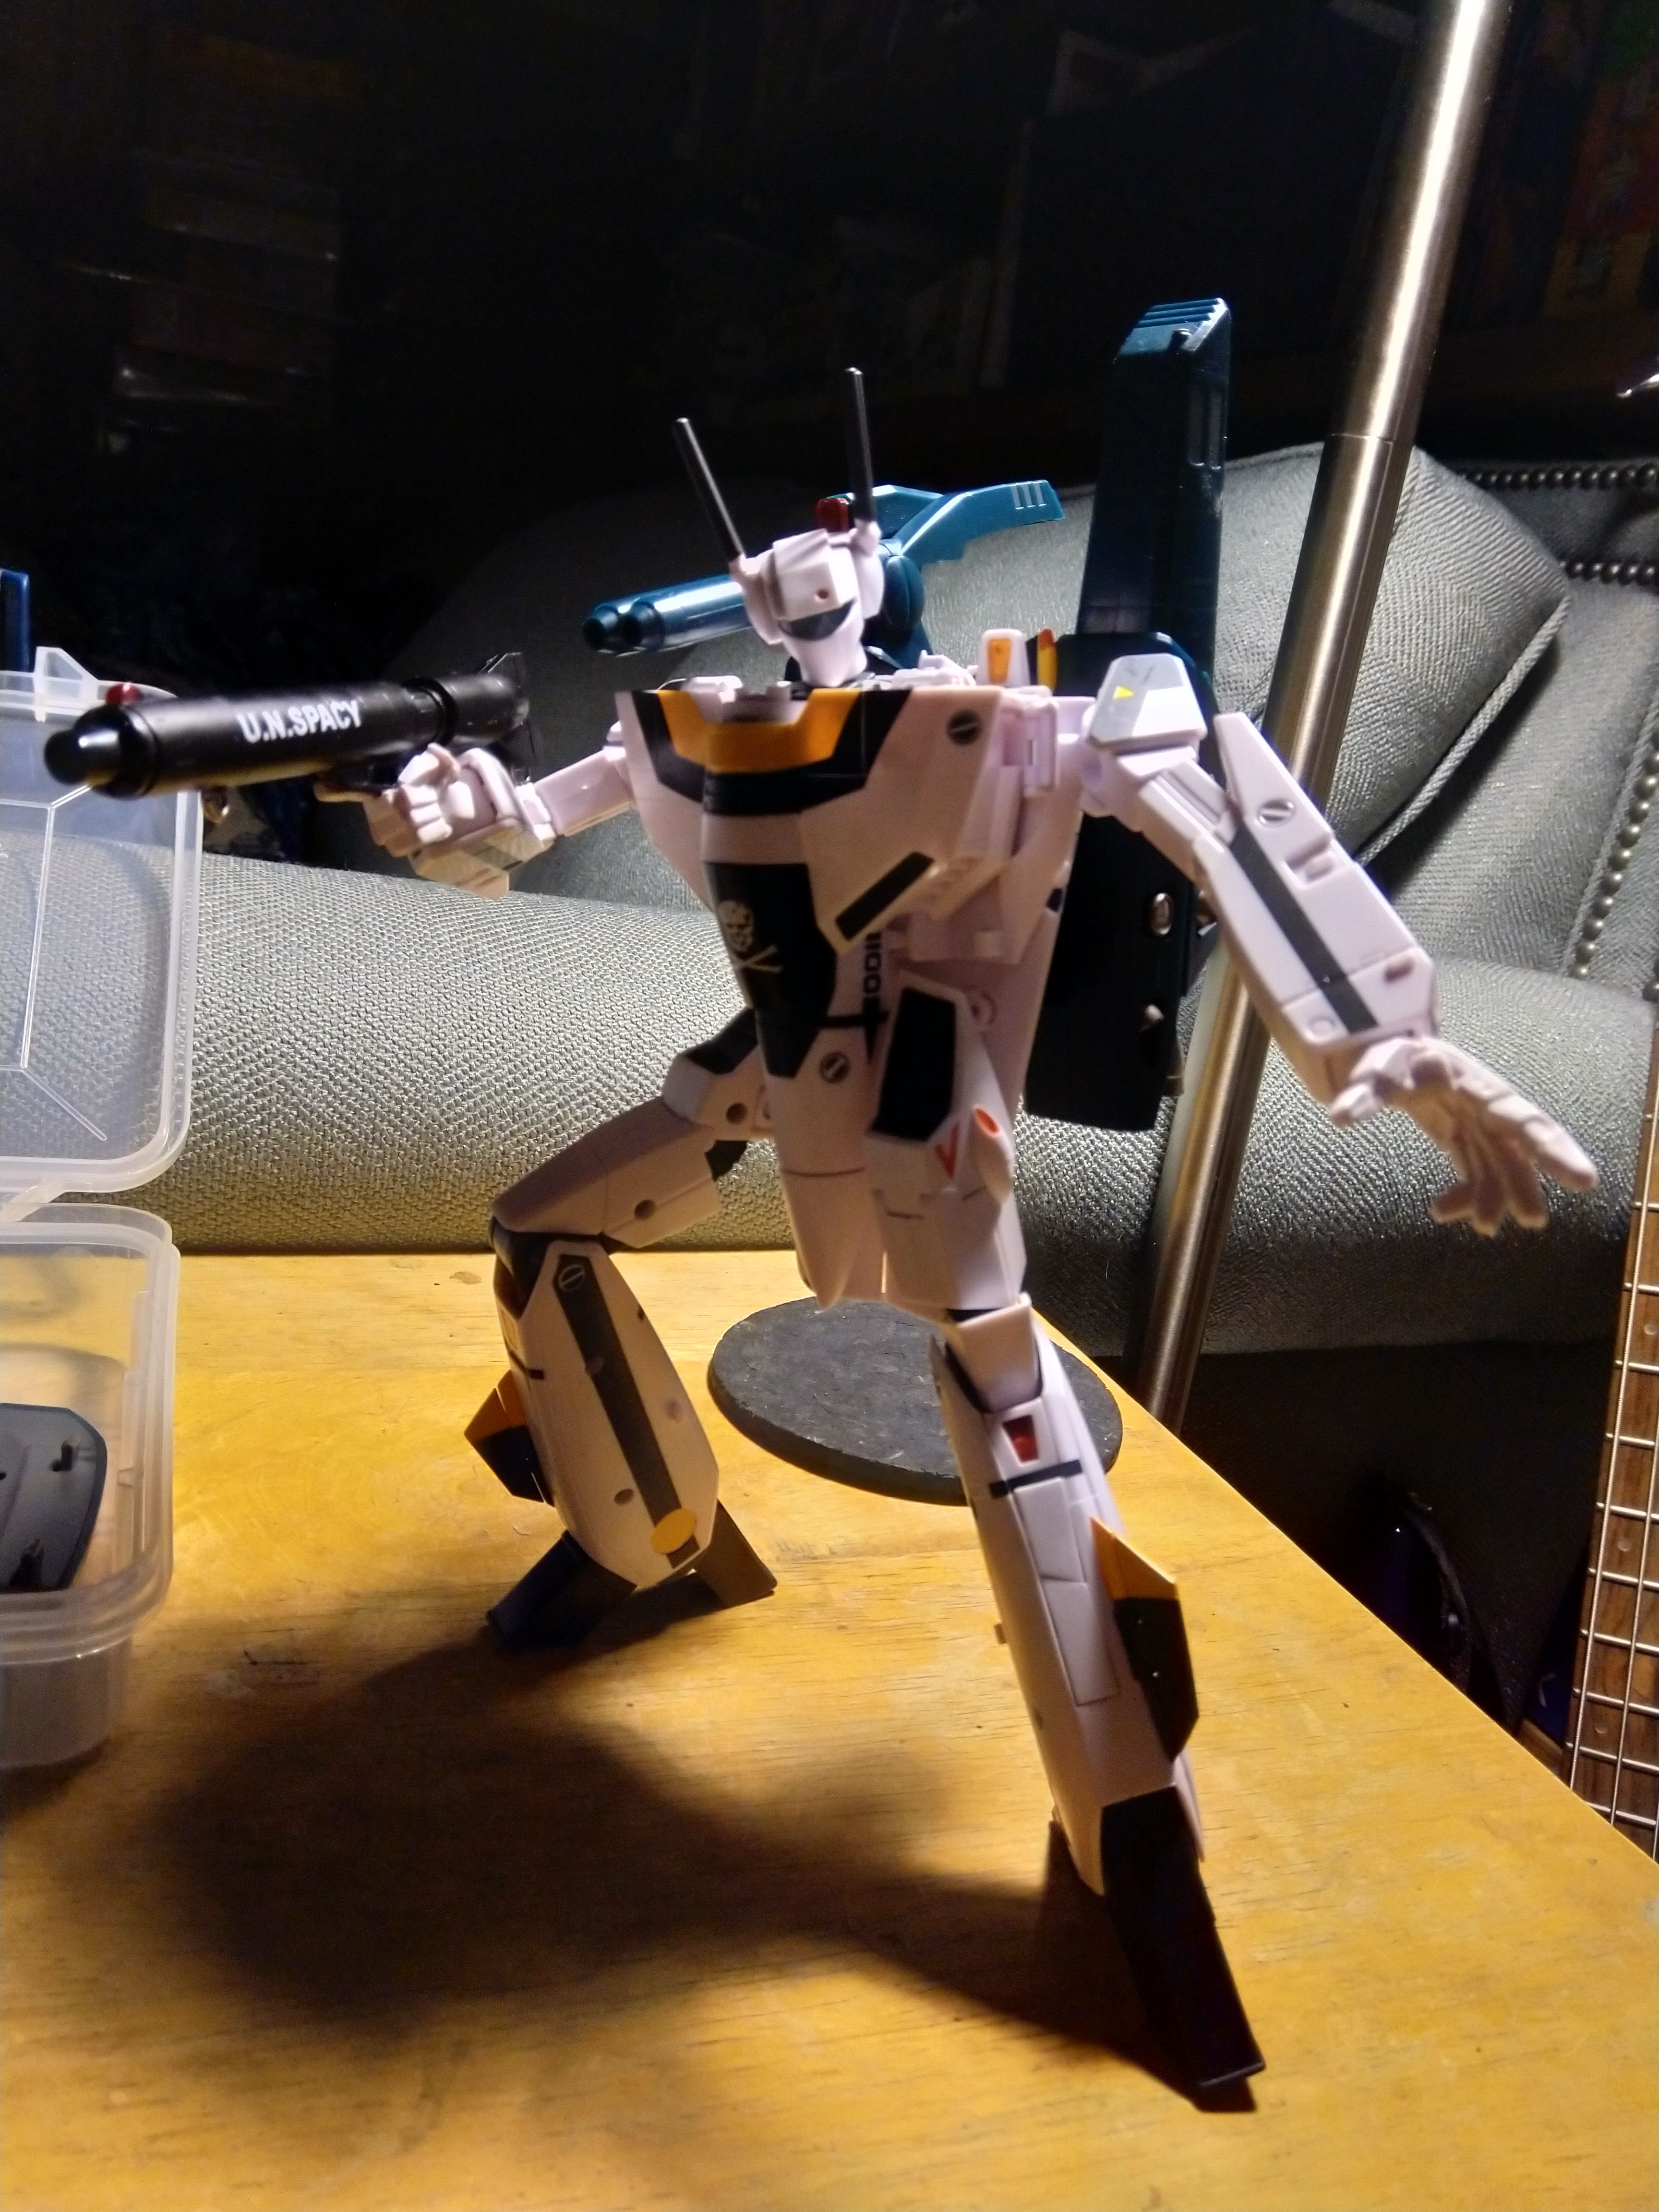
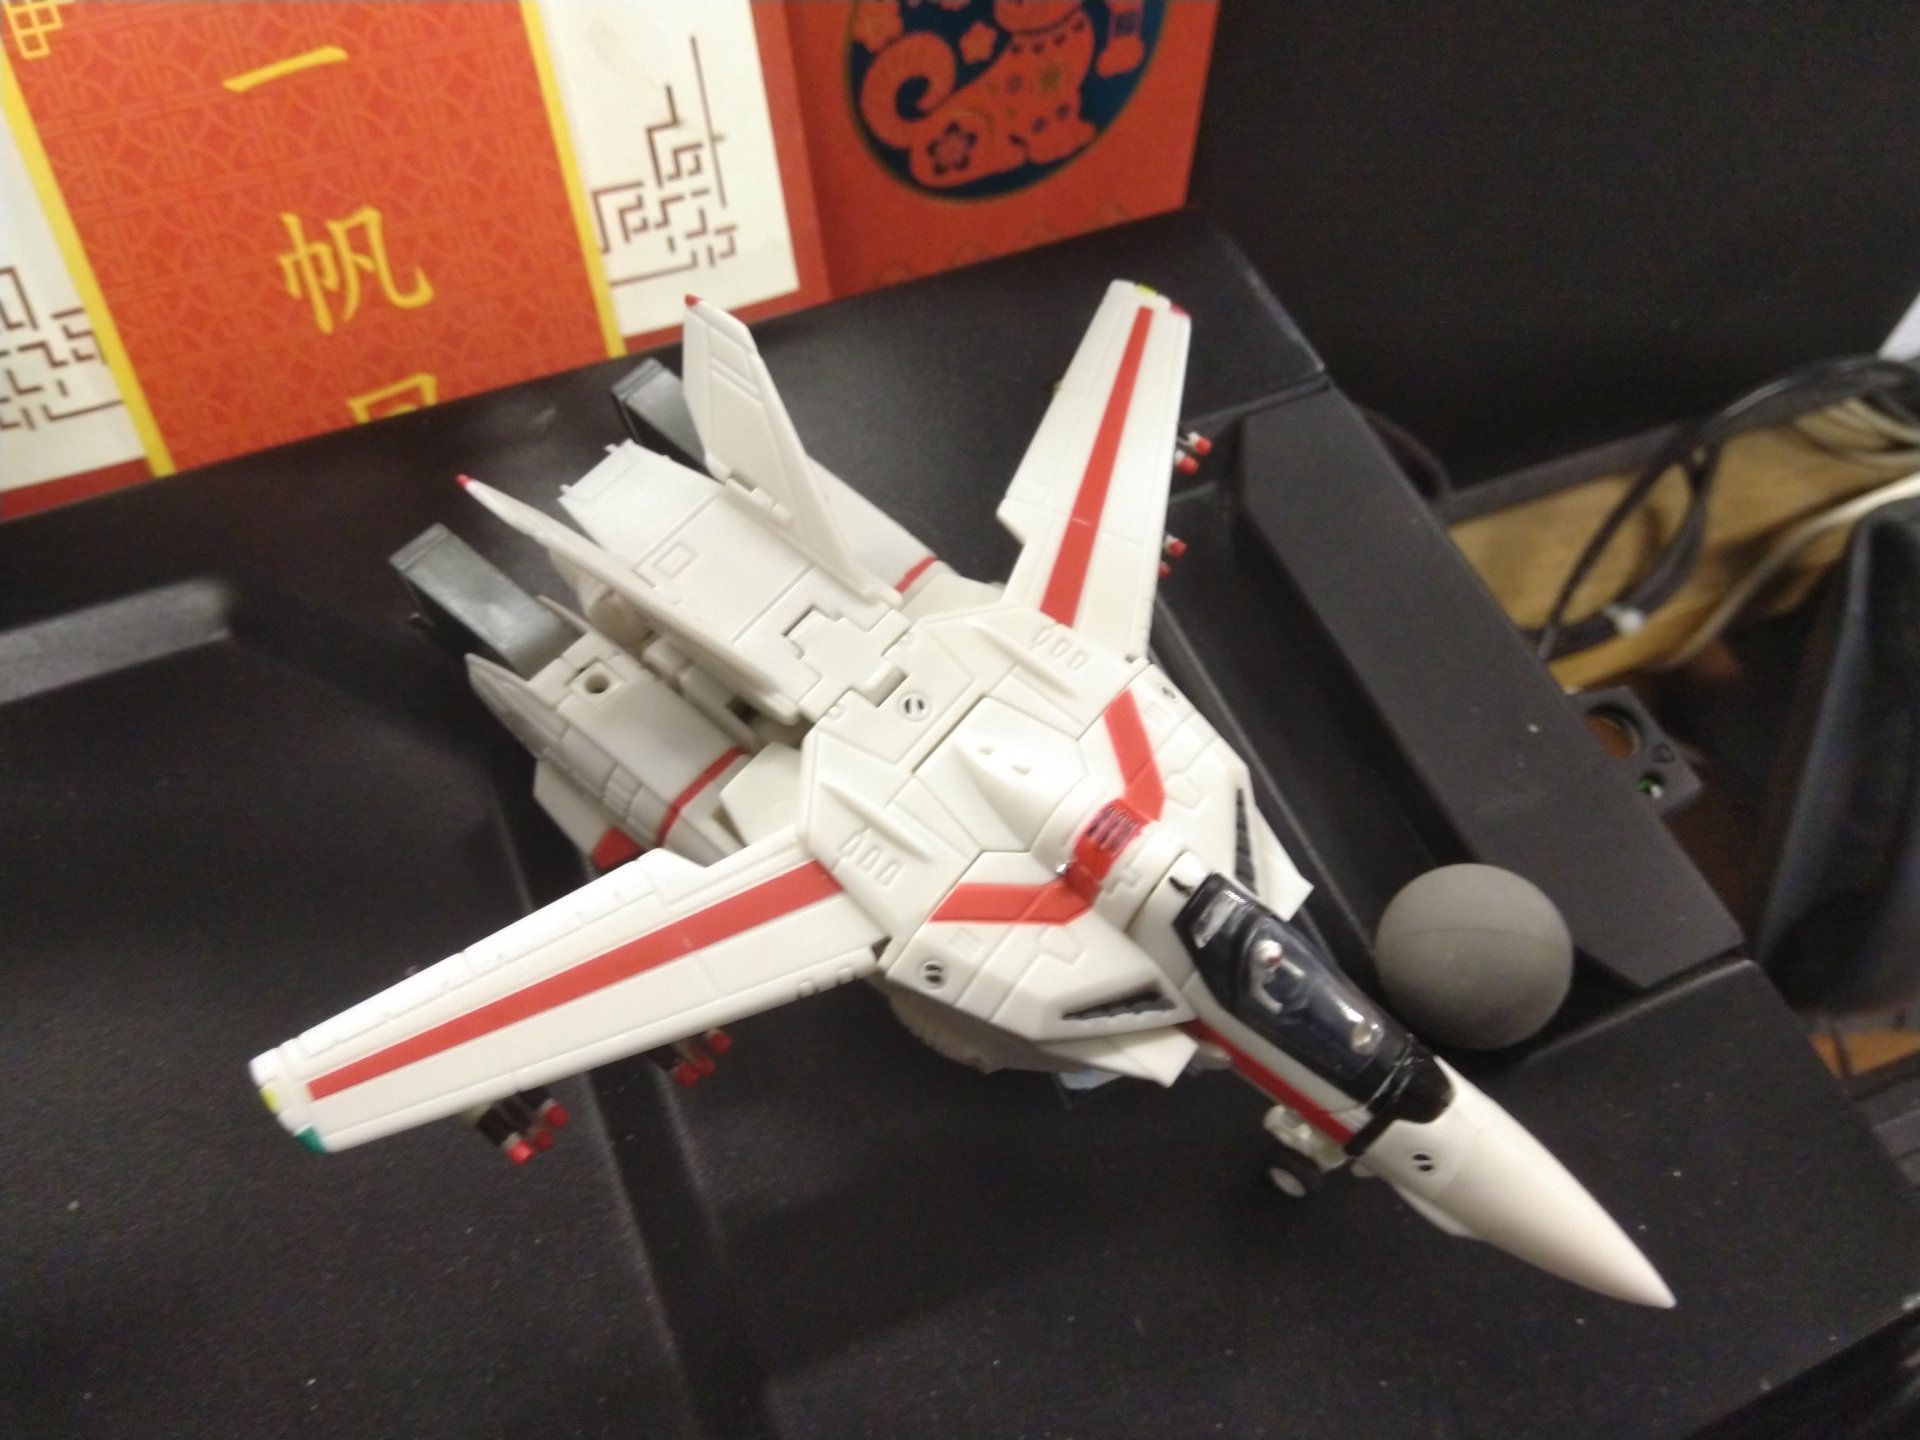
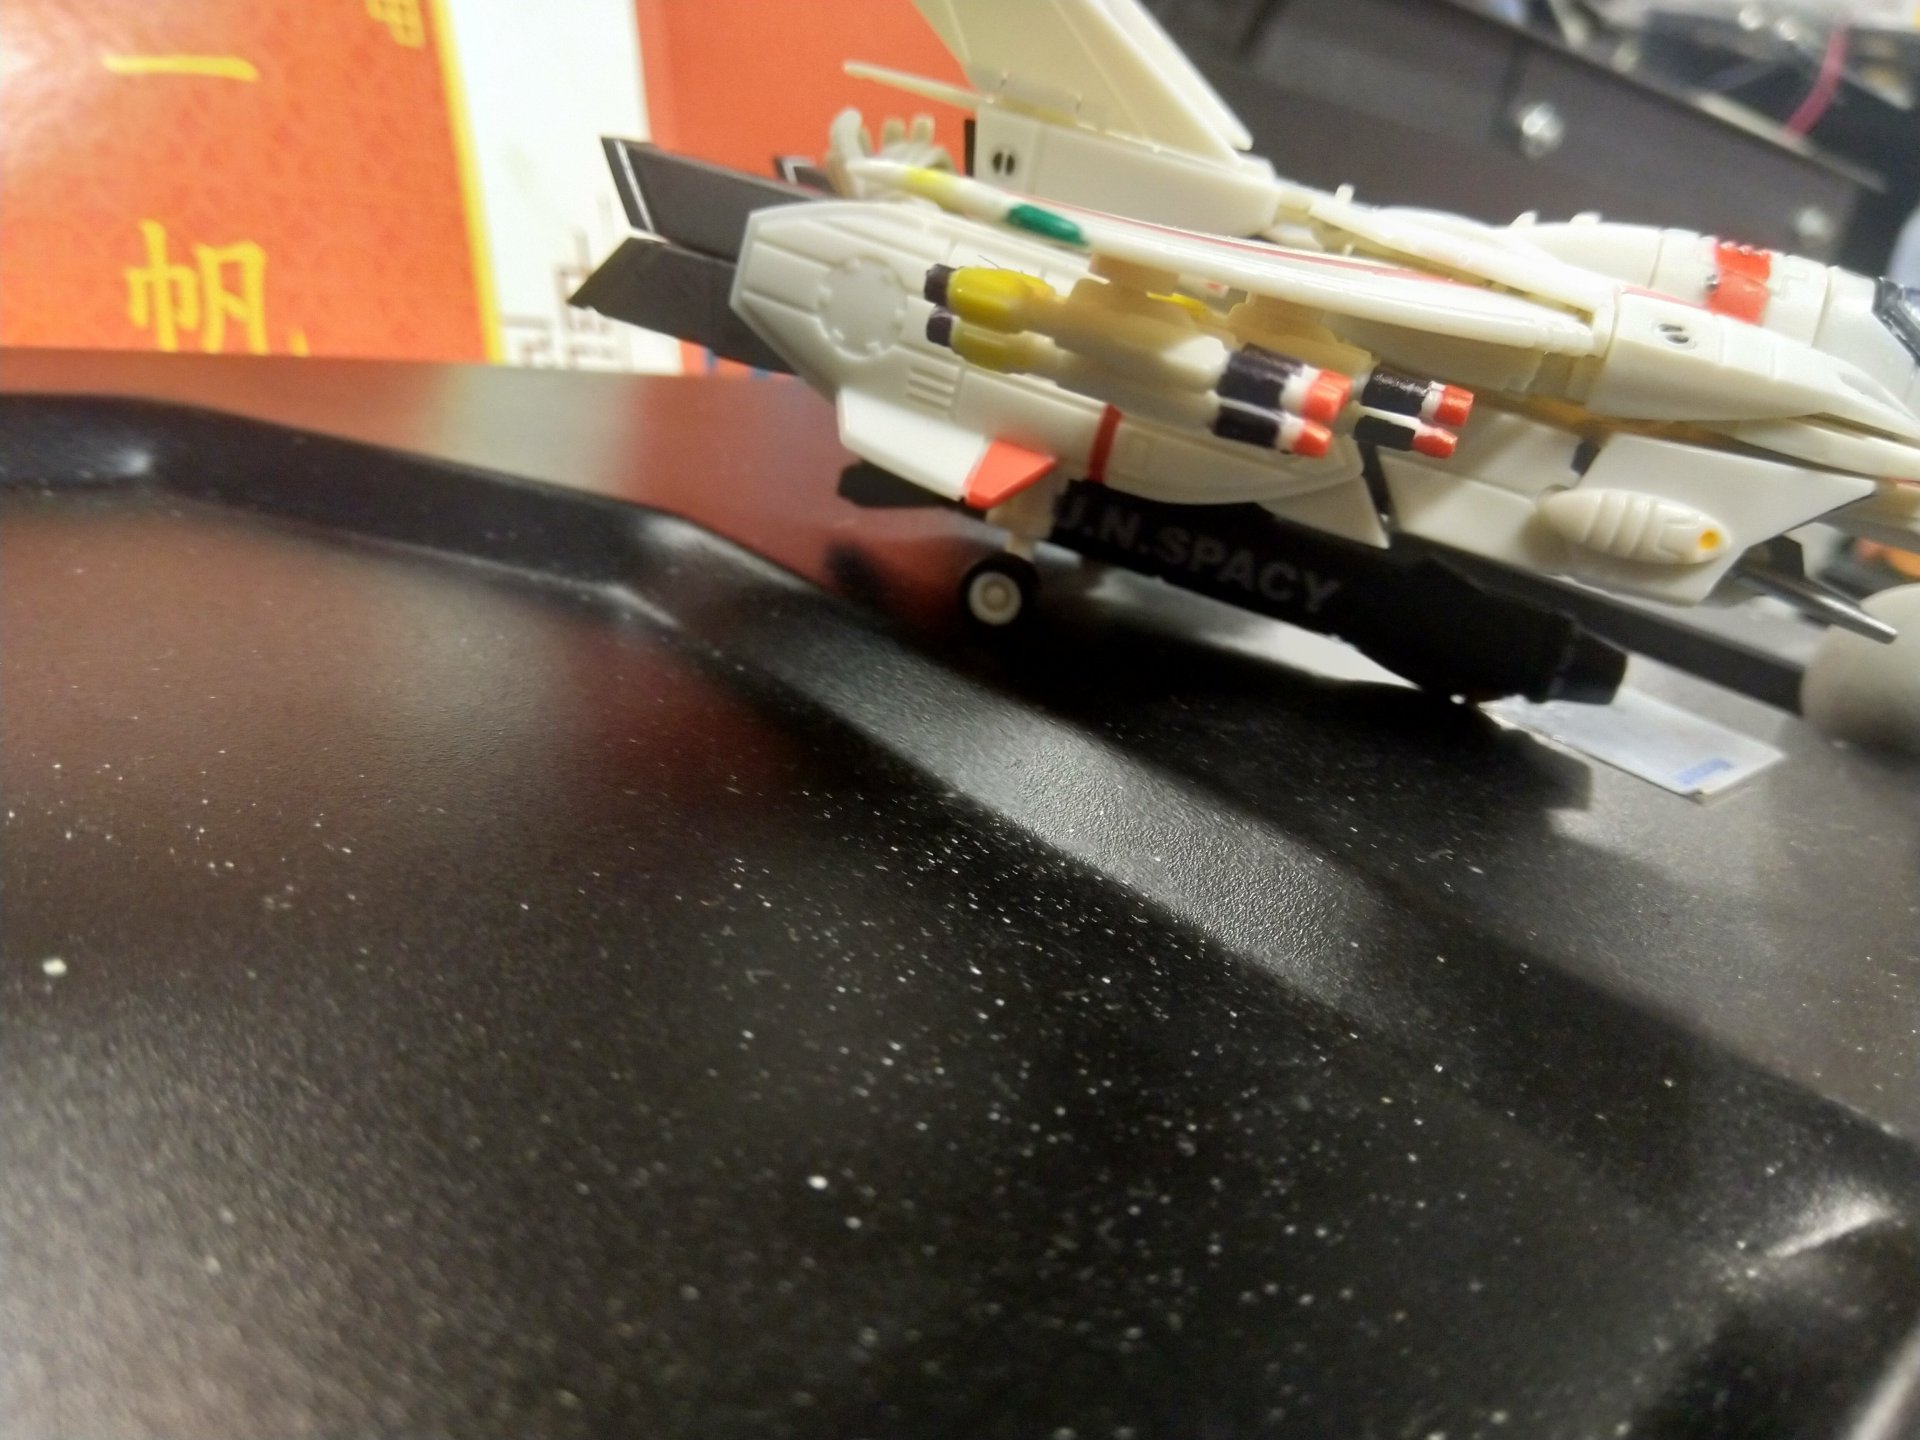
Yesterday, I decided to put a little more lipstick on the pig,and got creative with some sharpies and highlighters. Yes, I know the coloring on the missiles is not cannon, but I just wanted to add some color. I also added the marker lights and whatnot. Why does every valk use blue instead of green for the starboard side? That's just wrong. The standard color world over for starboard side markers is GREEN and it just makes sense since the sky is BLUE. And yes, I realized after painting it that the red band is broken across the air brake, but why is it not so on the VF-1S? I think it looks better this way. I need to put the stickers on too but haven't gotten to it yet.
-
Your most recent Macross or toy purchase! General thread.
Pontus replied to Gakken85's topic in Hall Of The Super Topics
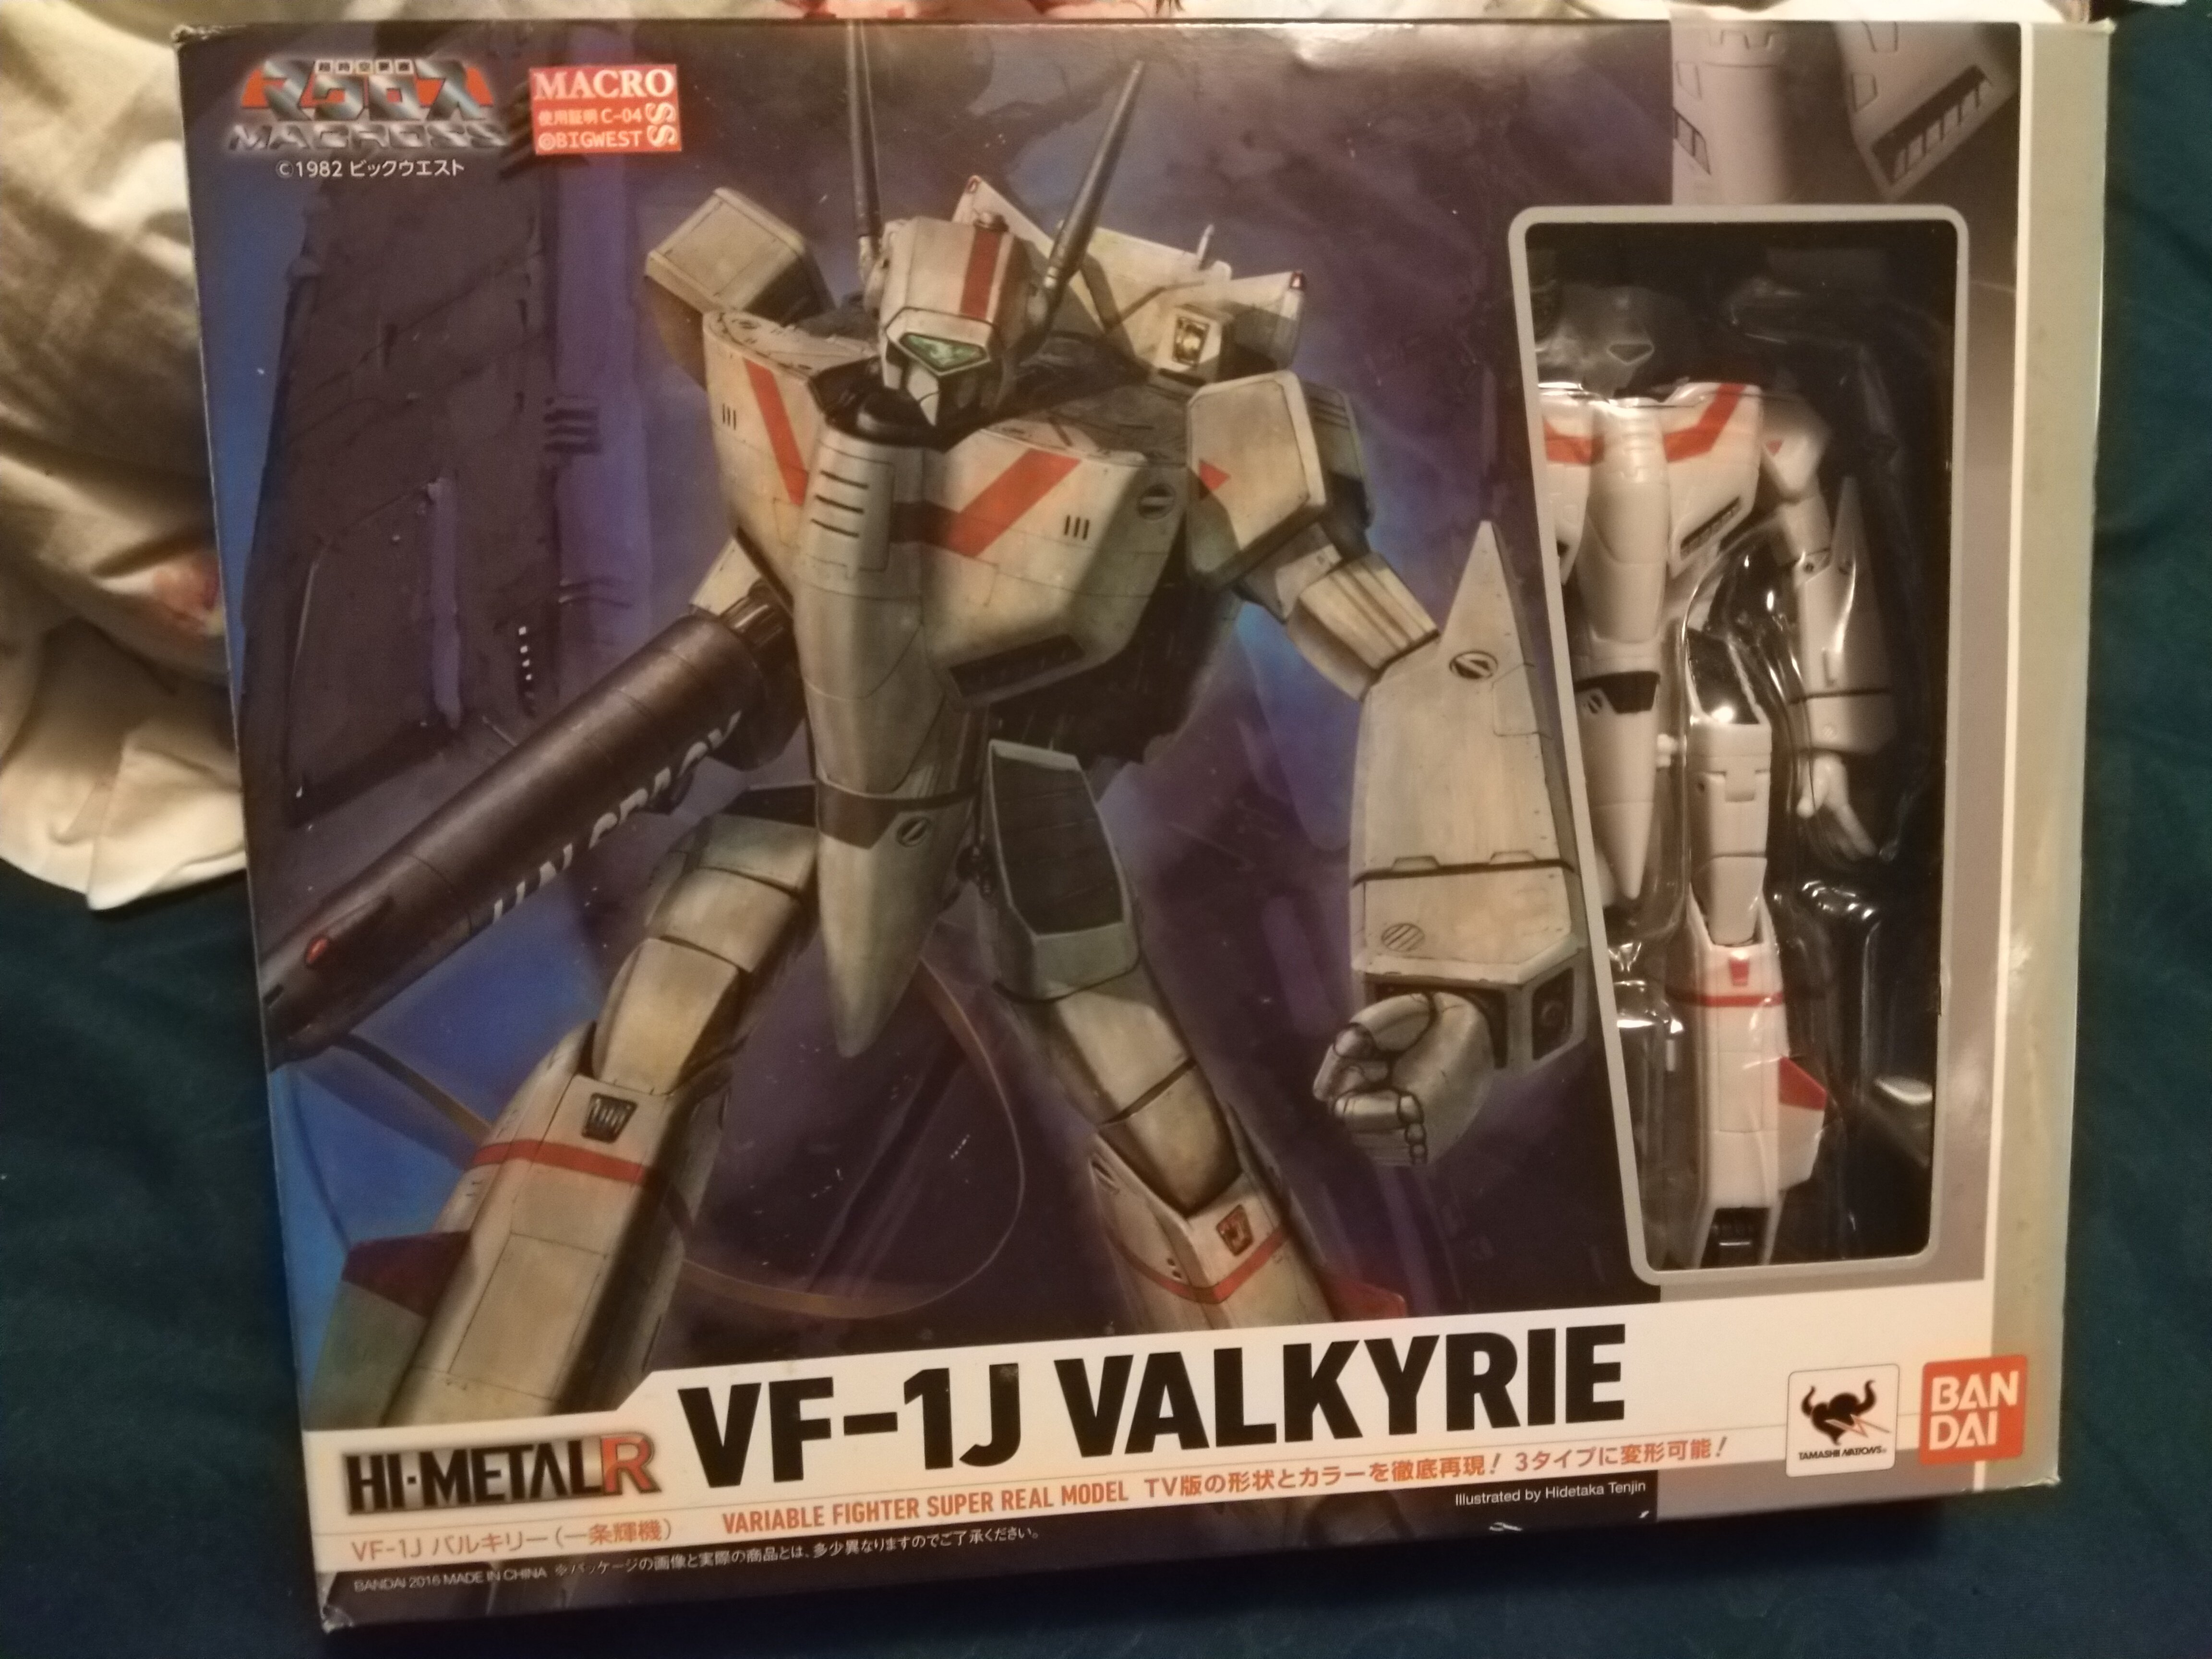
I came home last night to find my HMR Hikaru VF-1J came in the mail. This completes my HMR collection - all that I desire anyway. Now I have good, high quality toys of all the important characters from the TV show plus some excellent accessories... except Misa, but there doesn't seem to be a decent model of her that's poseable. Maybe Kitzconcepts will come out with one. And Global would be nice (although, I sort of see the SDF-1 as being his machine). Someday I might get Kamjin's glaug, a regult, and a Monster but by the time my account recovers they'll probably be too expensive and/or rare. I'm happy with what I got though. I've already gone down the rabbit hole more than I wanted to. Told myself I only wanted Roy's VF-1S 1/60, then added more than a few lengths of rope to my rappelling rig, but I haven't fallen in yet. It seems like I chose an excellent and very fortuitous time to discover and collect these things considering that most of what I bought came out in the last year or so. It was meant to be! And yes, I've had it open which is why it has the TV hands attached, but my wife has started complaining about edging out her stuff on the shelf, so it's time to start making my own space.
-
Thanks for the tips! Shock oil tho? You mean like suspension shocks like motorcycle fork oil? Or is this a brand? I need to do the same for my 1/60 VF-1S shoulders. I haven't broken them yet surprisingly. I was going to attempt to take them apart and lightly sand them, but perhaps this shock oil trick will help.
-
I can't wait to get mine! The seller took 3 weeks to ship the damn thing where it seems to be sitting at the local Japanese post office for the past 8 days. I'm getting more than a bit impatient. I've watched Jenius's videos so many times that a majority of his views are probably from me, and I've got the transformation memorized (I hope). As for difficulty transforming it, I figure if I can learn to love the Yammie 1/72 YF-21, this will be a breeze.
-
Your most recent Macross or toy purchase! General thread.
Pontus replied to Gakken85's topic in Hall Of The Super Topics
Yeah, I bought the recent Roy and Hikaru Rick releases because they were cheap and I was curious, but they both broke immediately with careful handling. I had to fix one with a metal pin just to keep it together. I don't know how they even assemble them without breaking them. Cheap POS. But, that said... I pose them everyday at work, and for $35 (ok, they're only really worth $20), they aren't totally horrible for a toy you don't care much about, don't mind other people handling (it's funny to watch them freak out when it falls apart on them) and can actually play with. And you don't have to wait for them to ship internationally! -
Your most recent Macross or toy purchase! General thread.
Pontus replied to Gakken85's topic in Hall Of The Super Topics
Haha, I knew someone was going to call me out on that one. I suppose I could paint it. But there was no HMR Kakizaki, I didn't want to mix in Toynami with my HMR, and anything else was too expensive and didn't match scale. I'm not picky. It's Kakizaki enough for me. I wish there were more Kakizaki valks, and they should each and every one come with a tiny, very large steak complete with cutting board, even if not to scale, just like an inch long. -
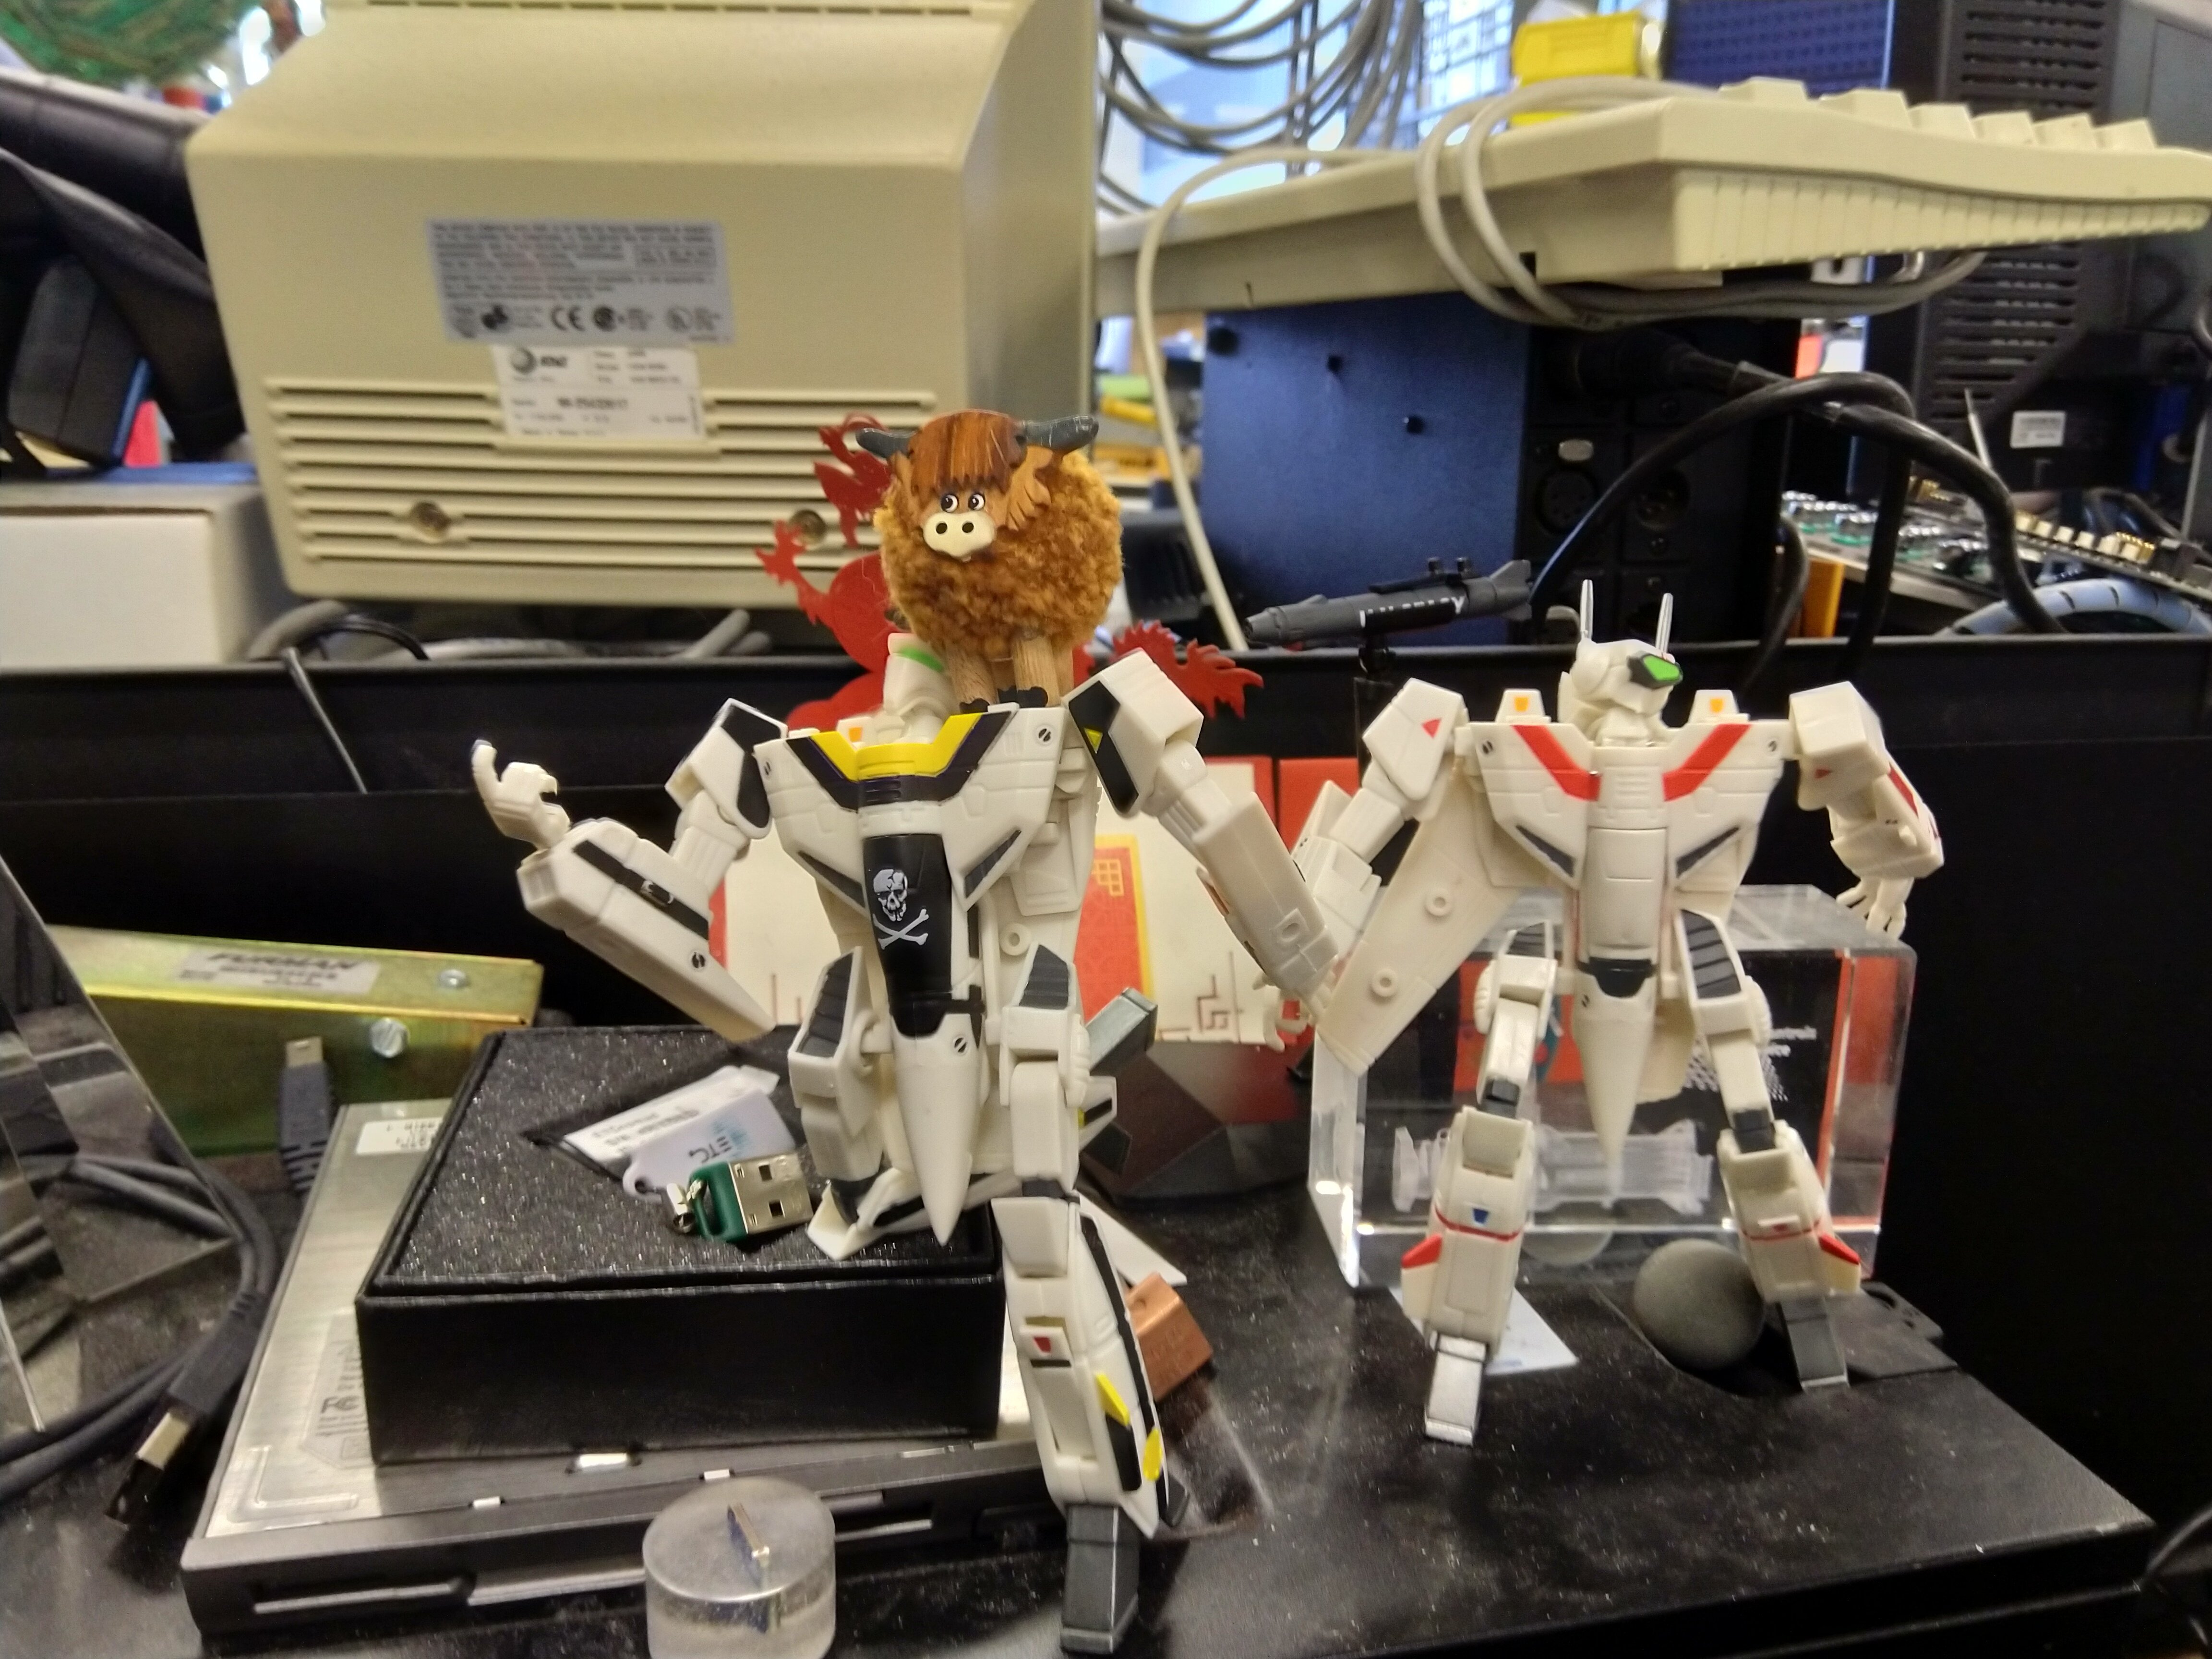
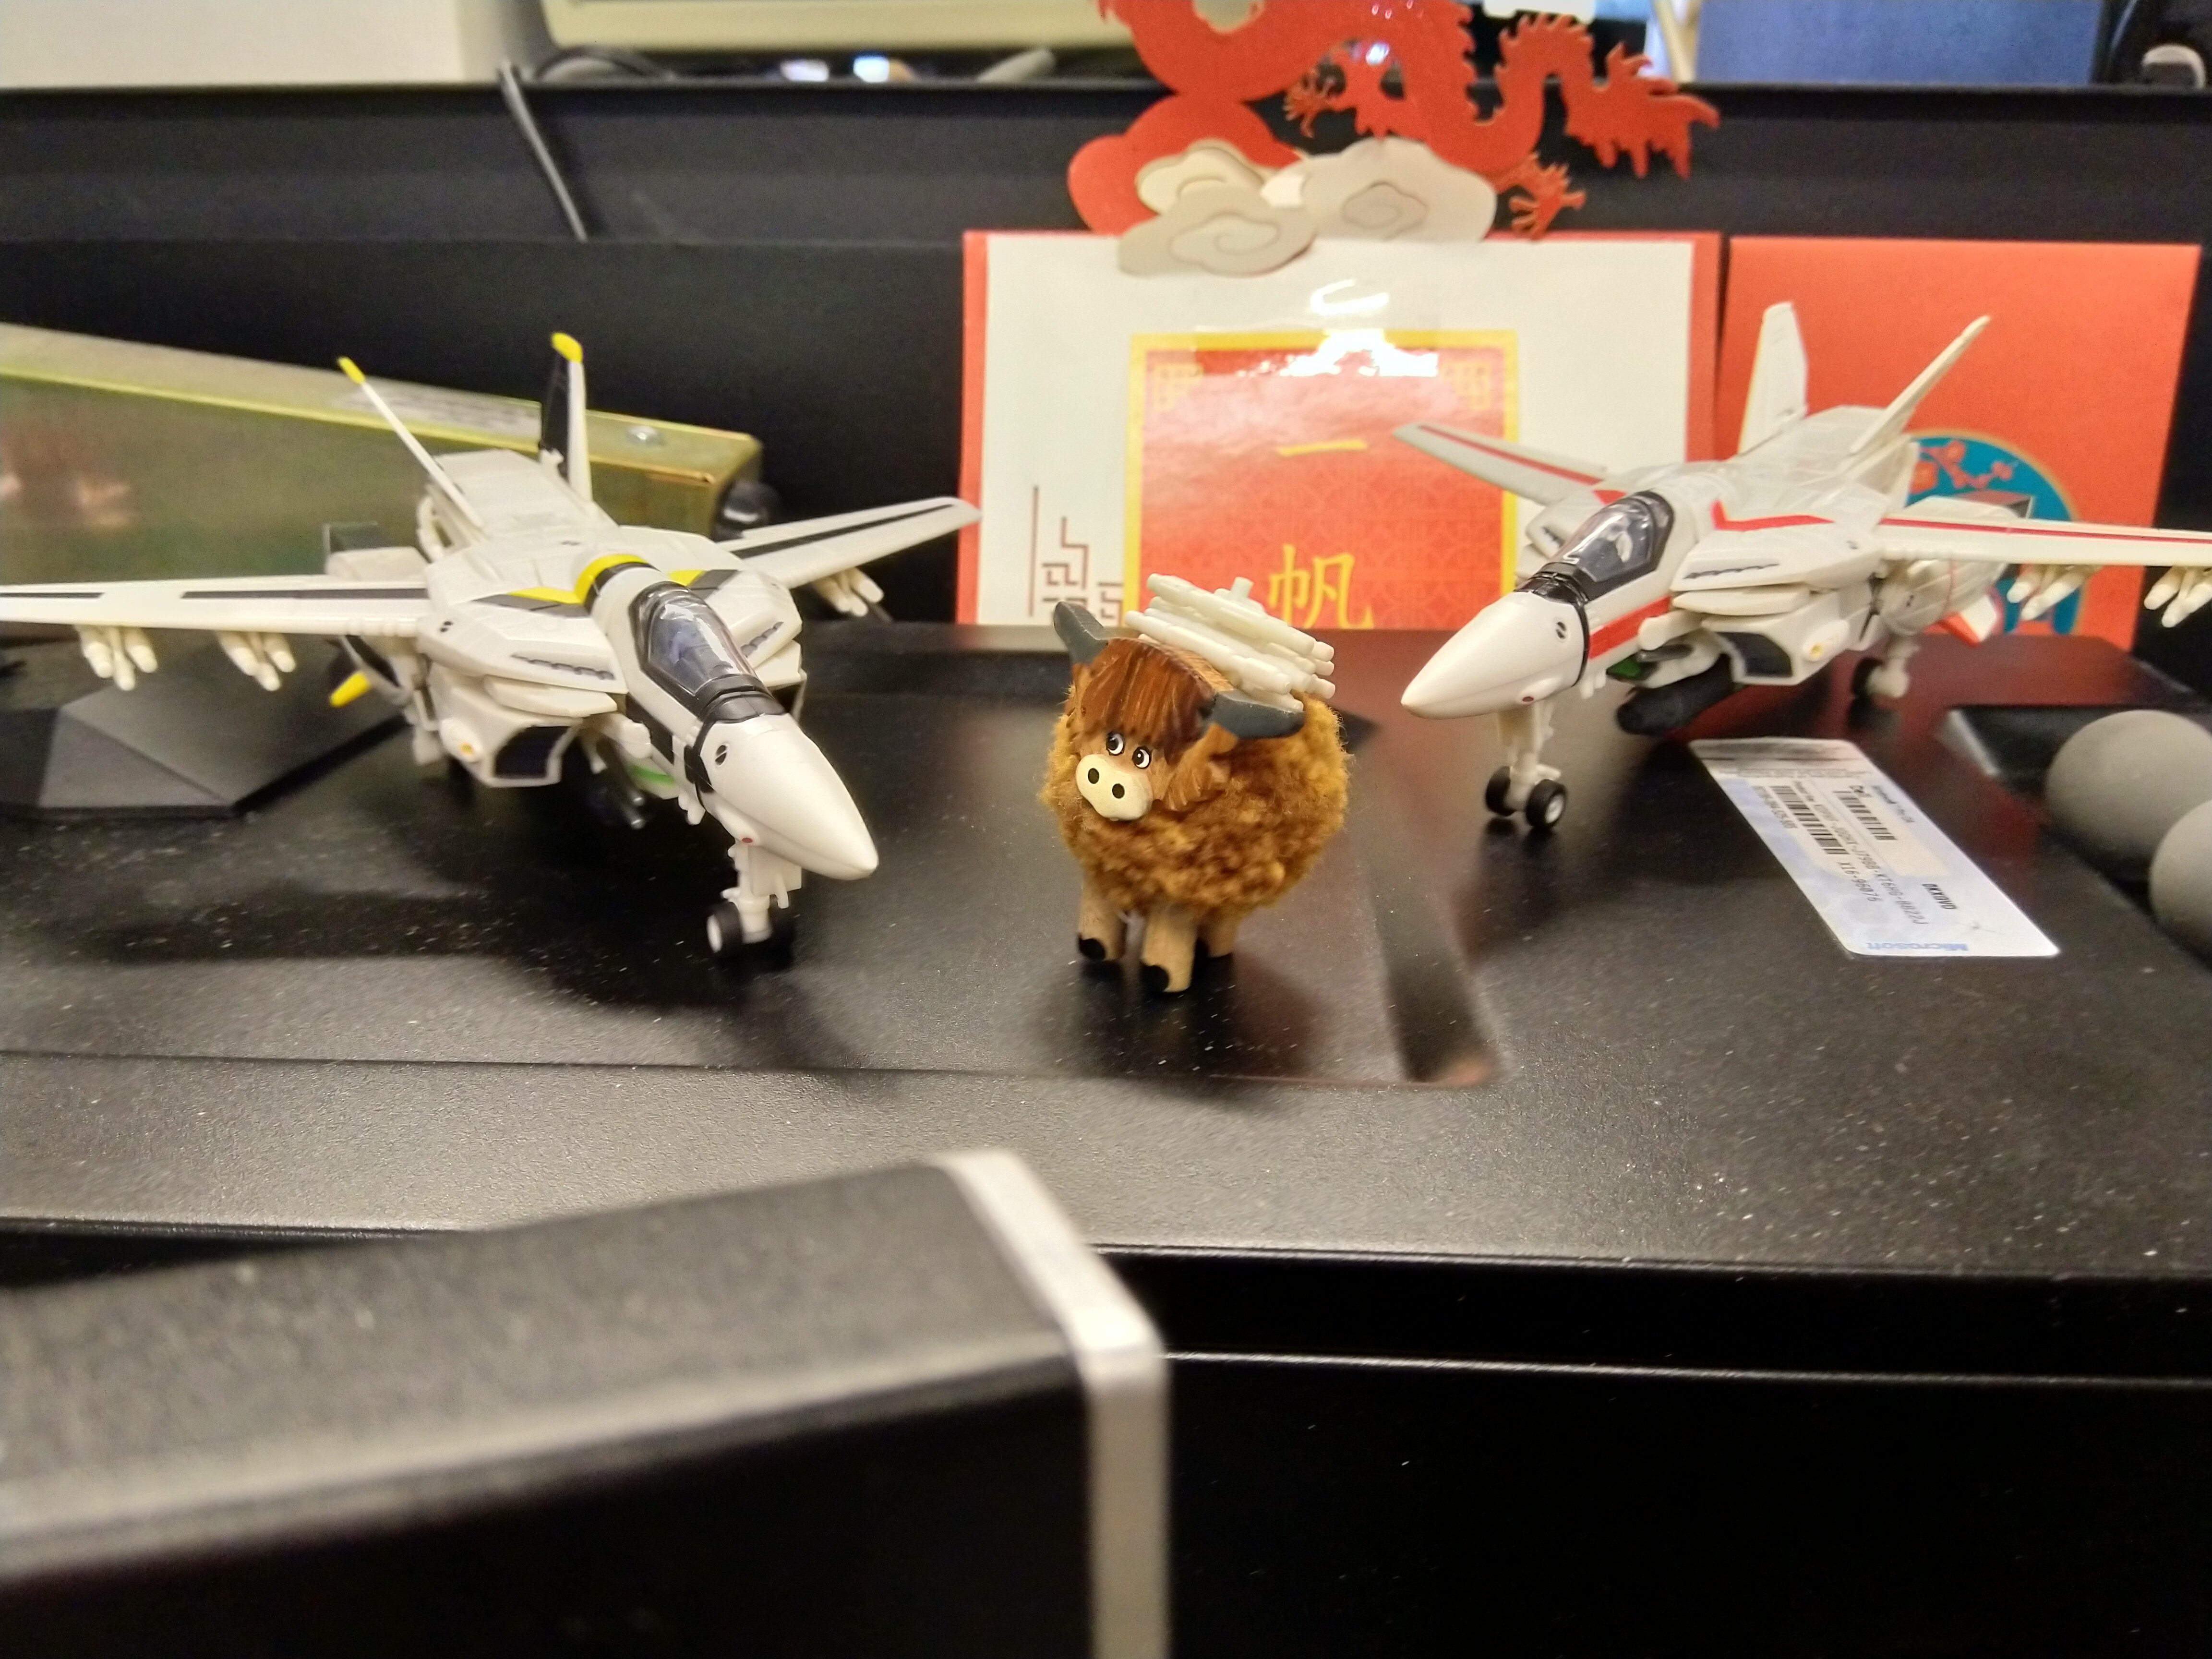
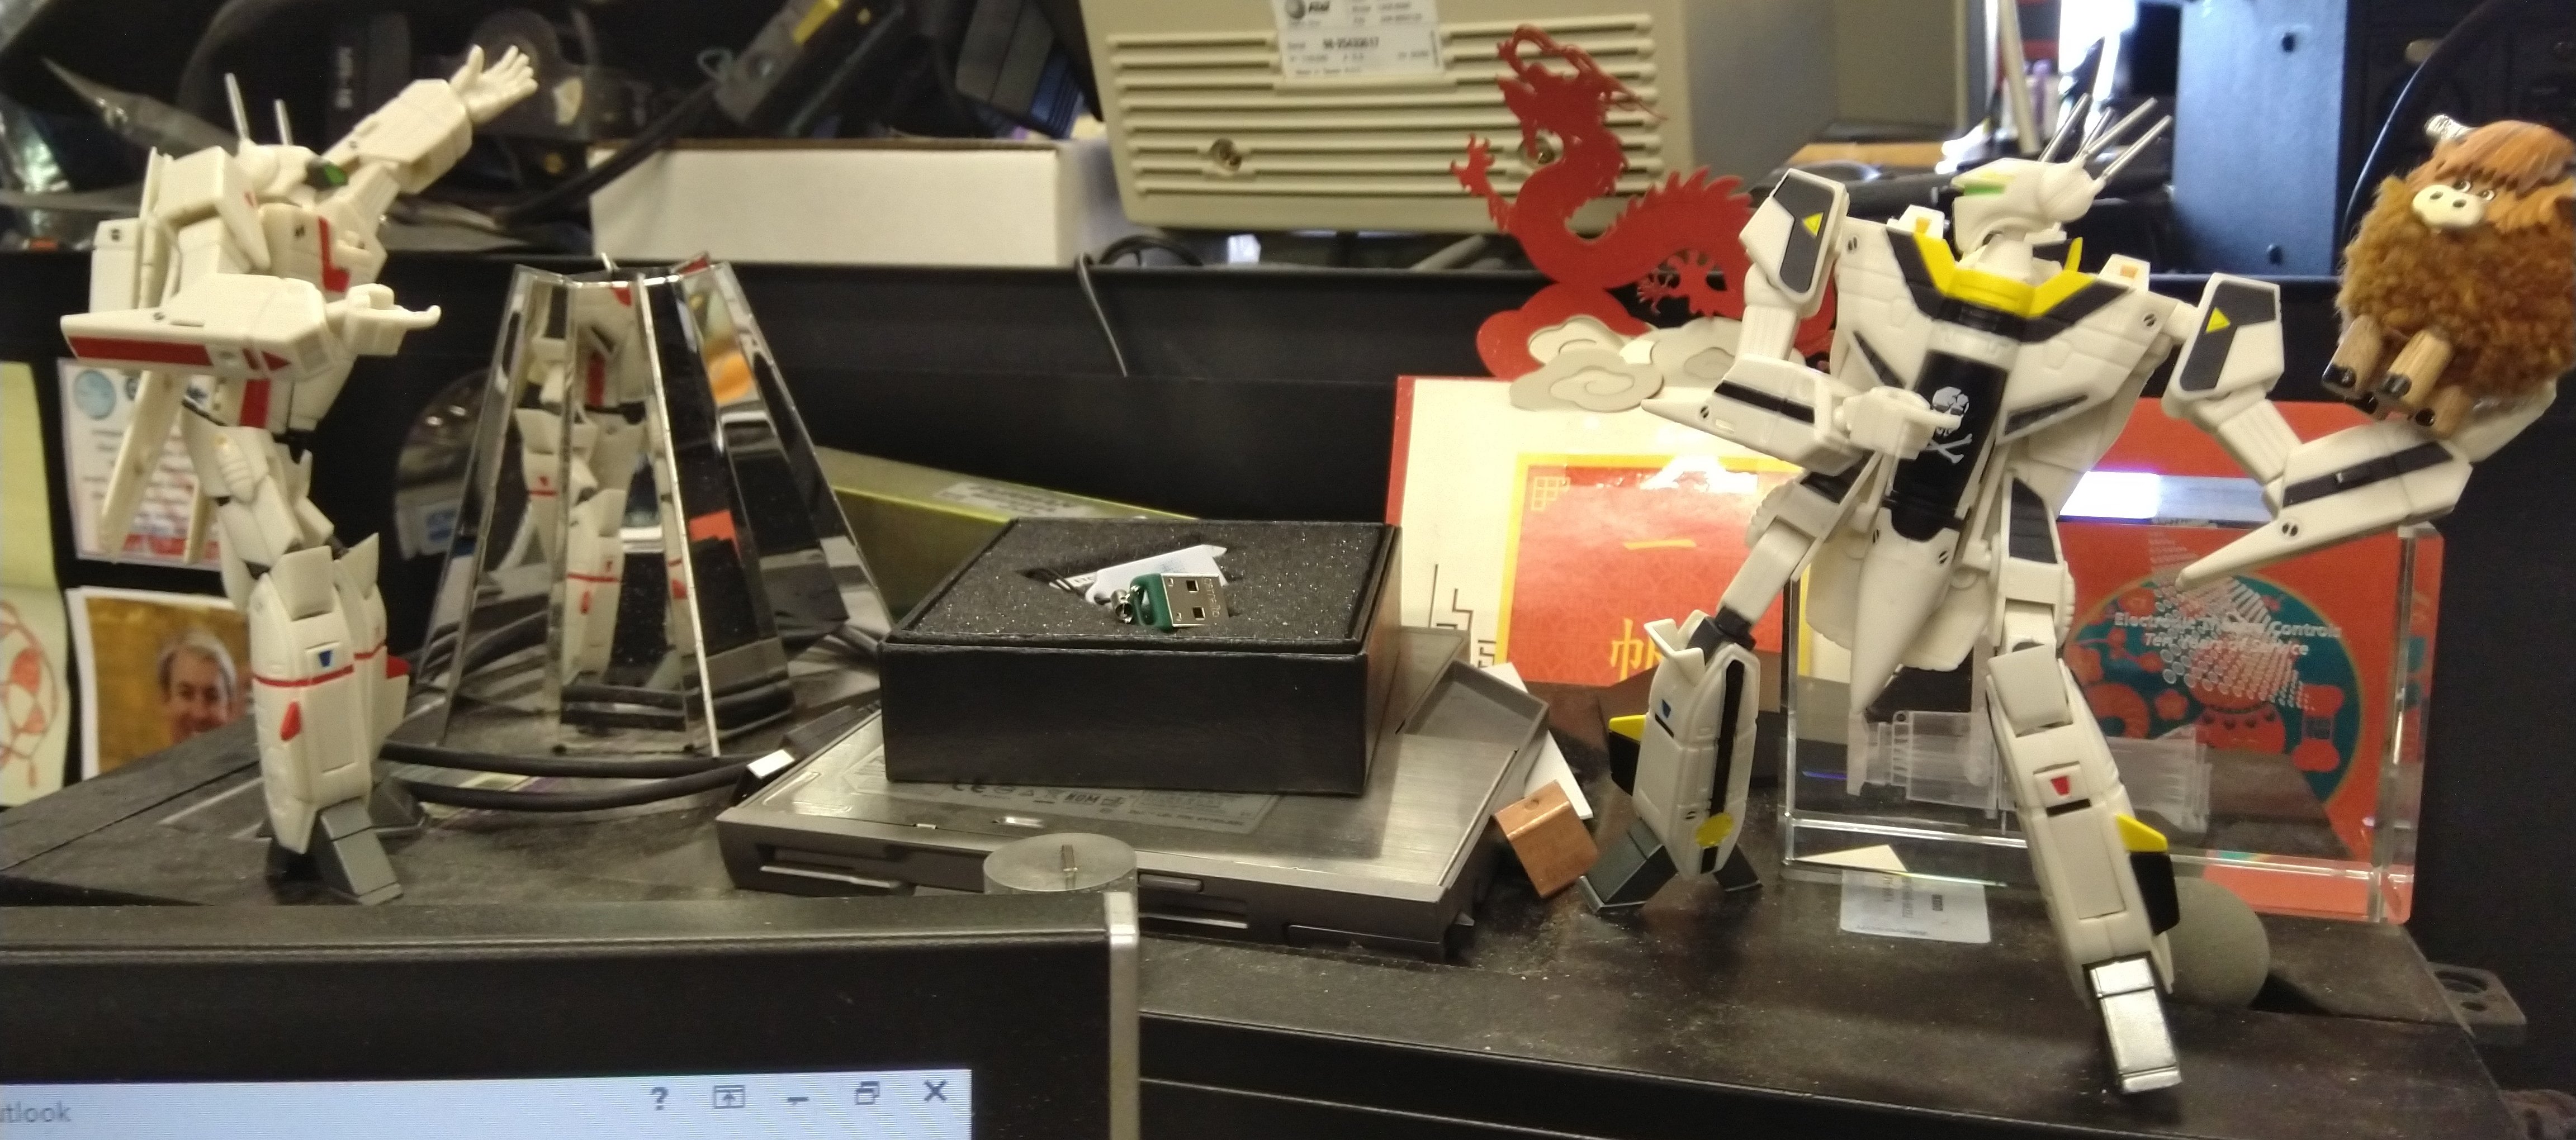
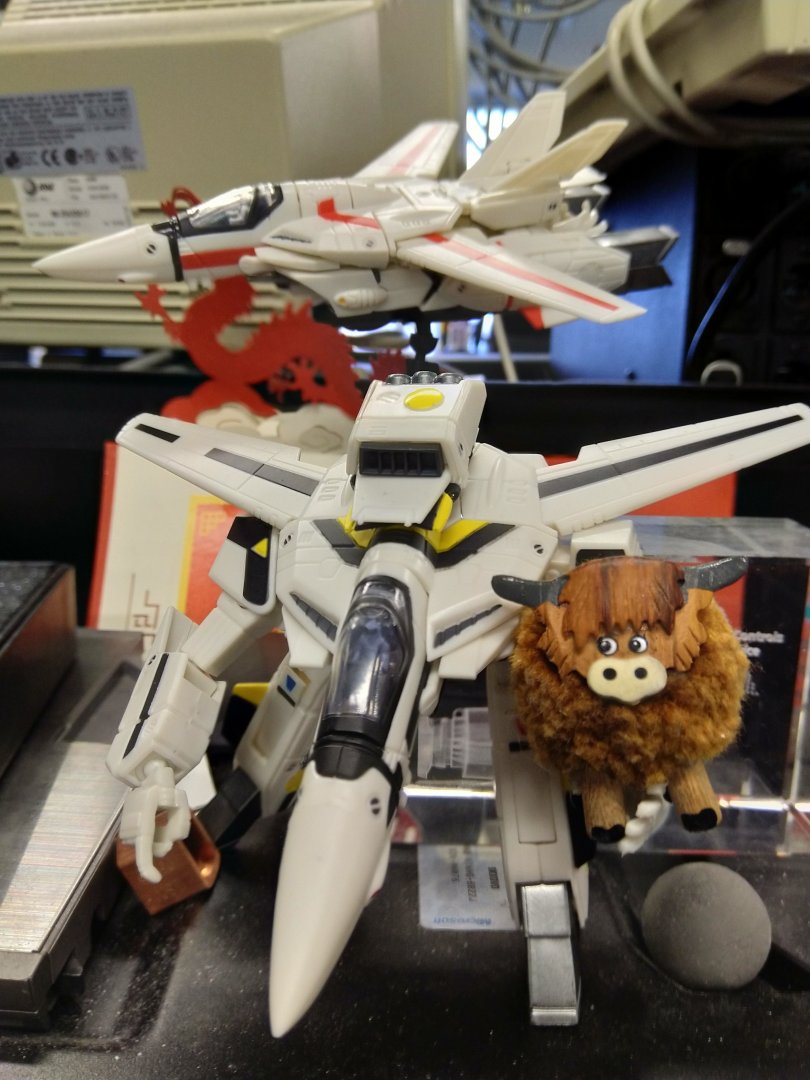
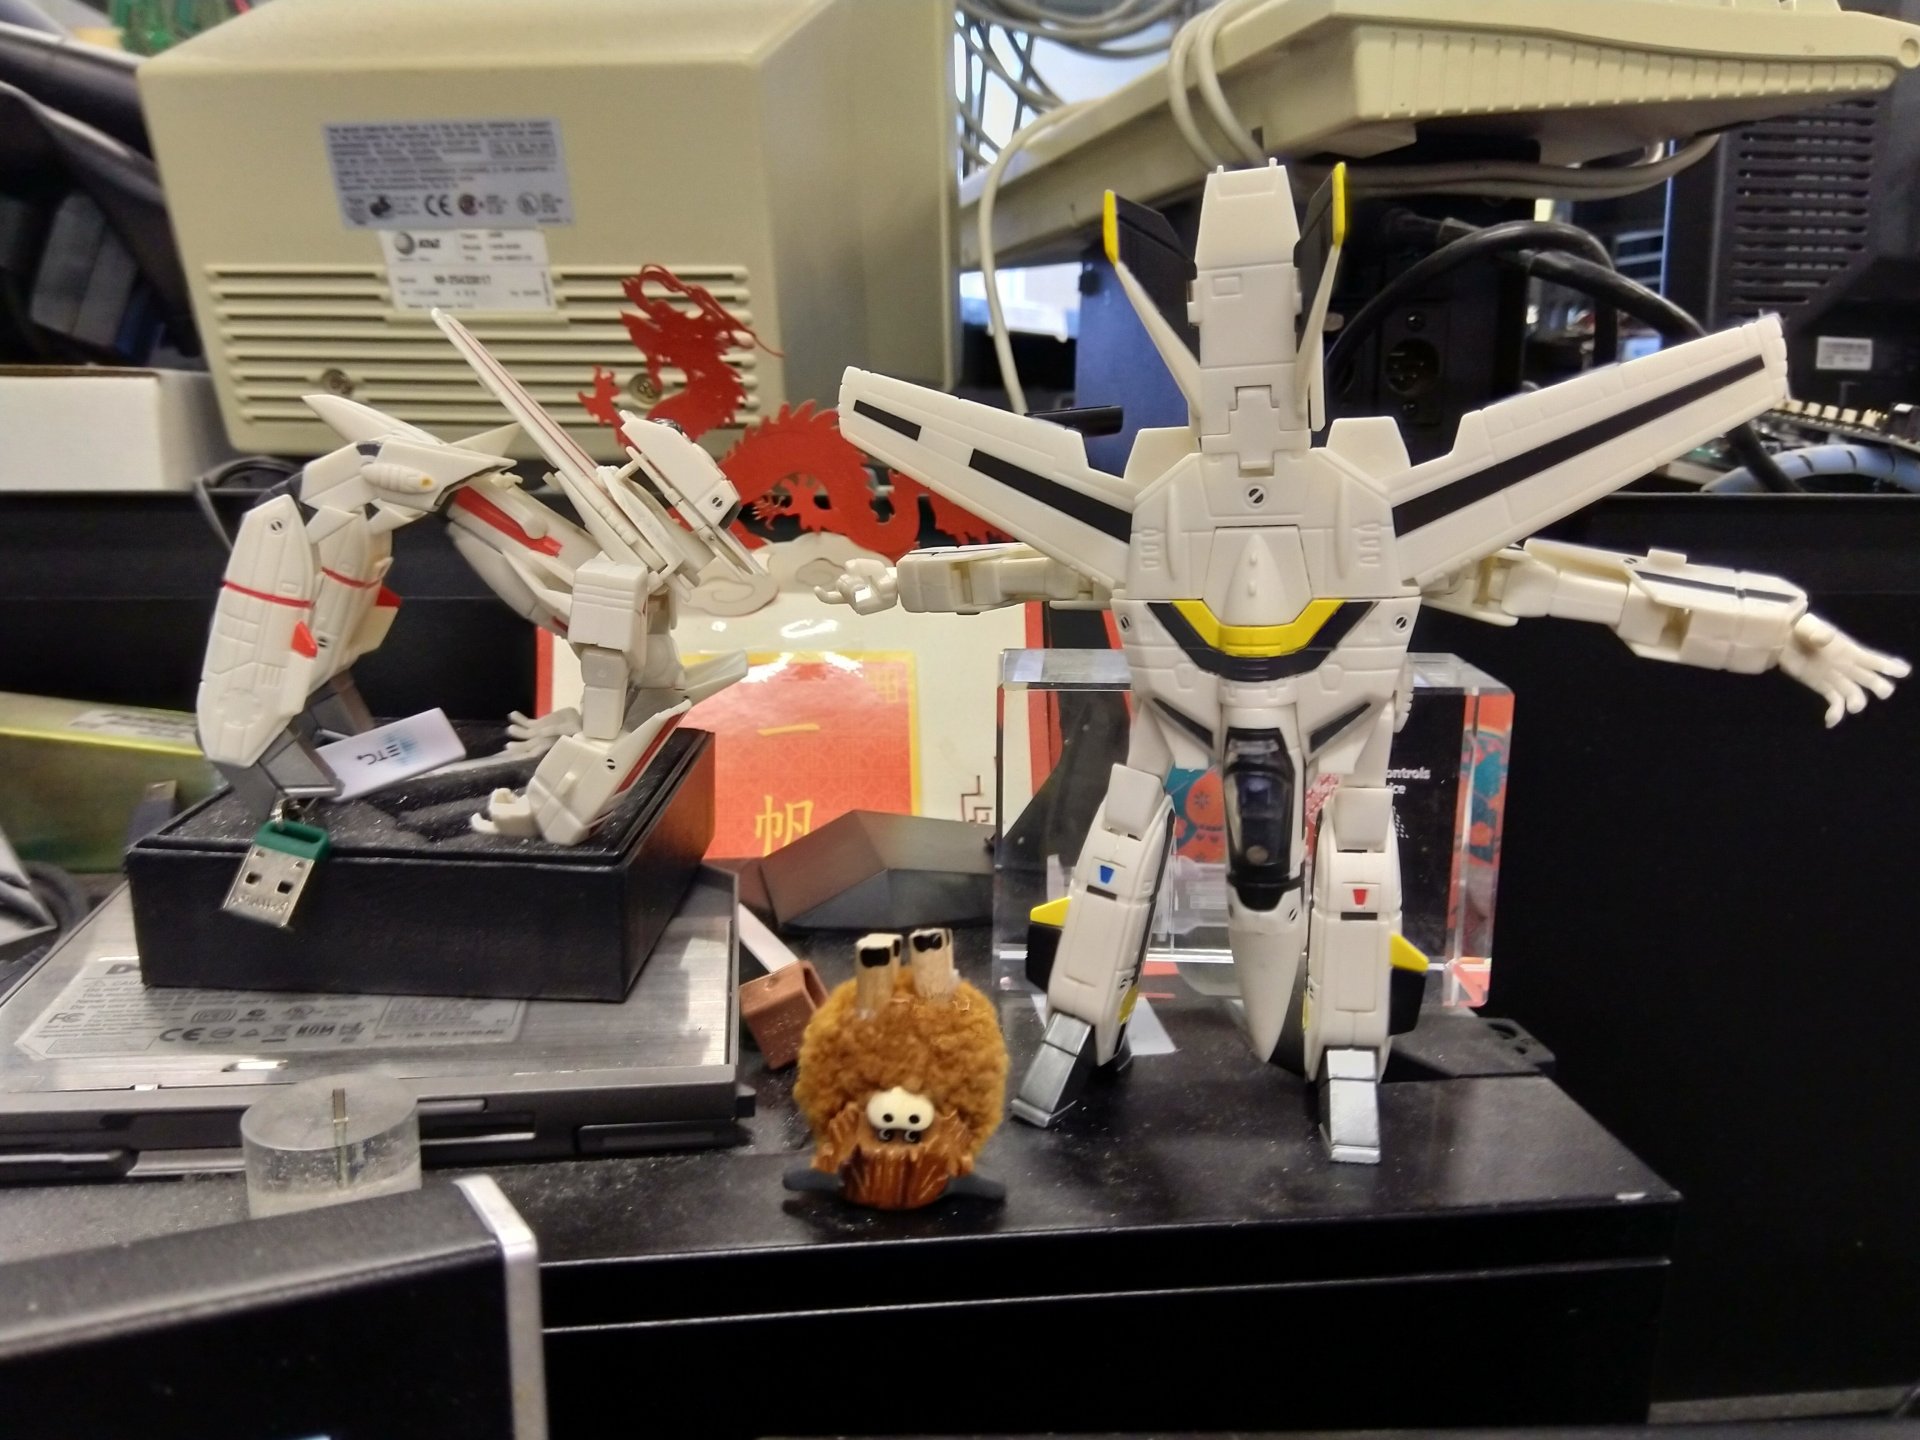
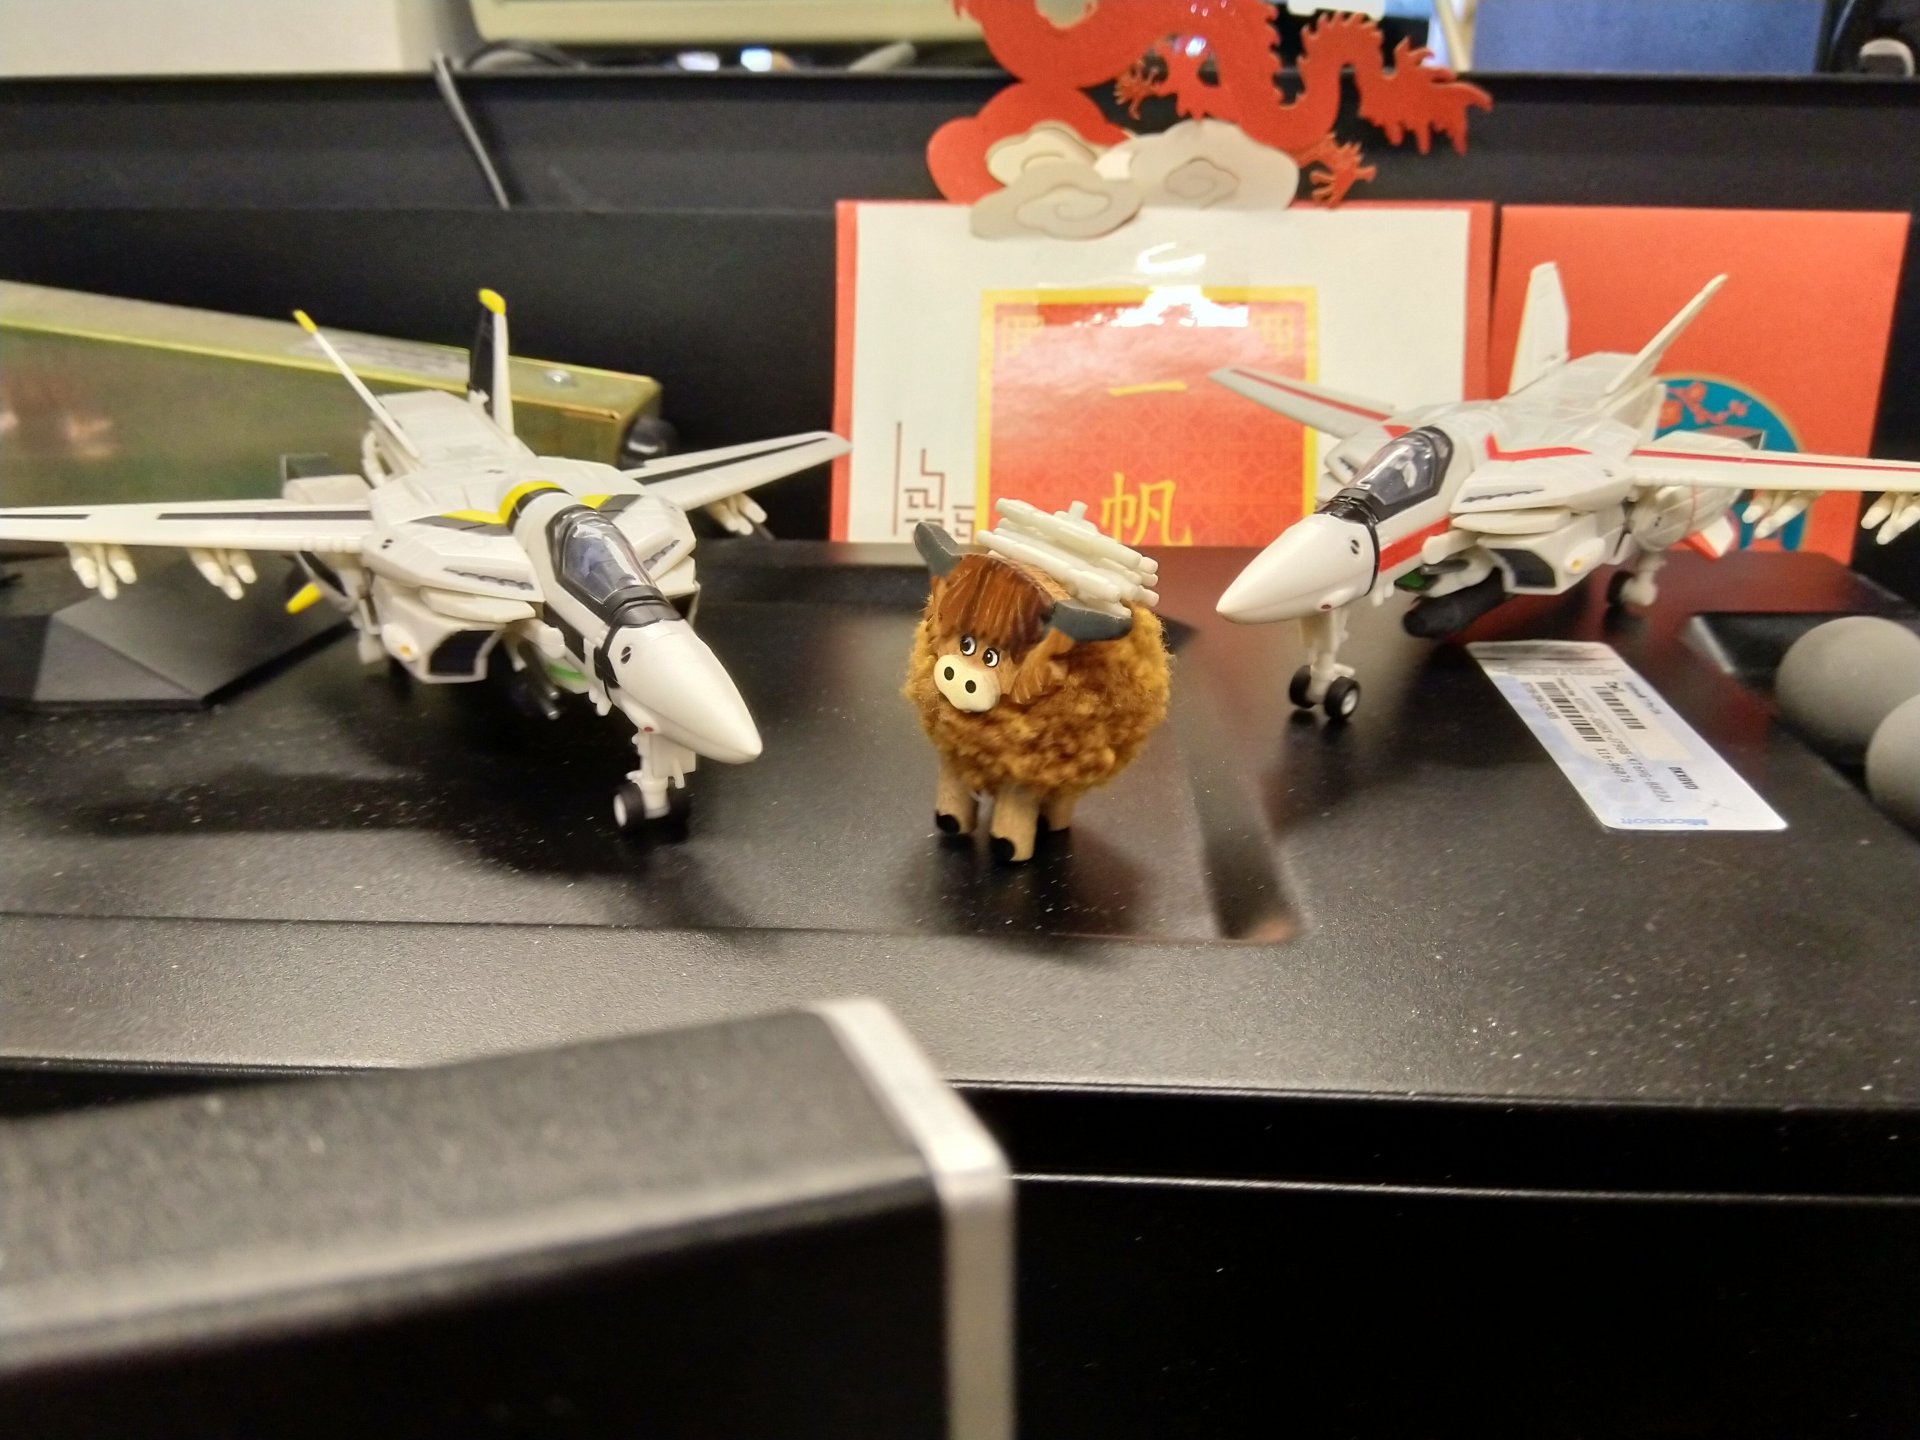
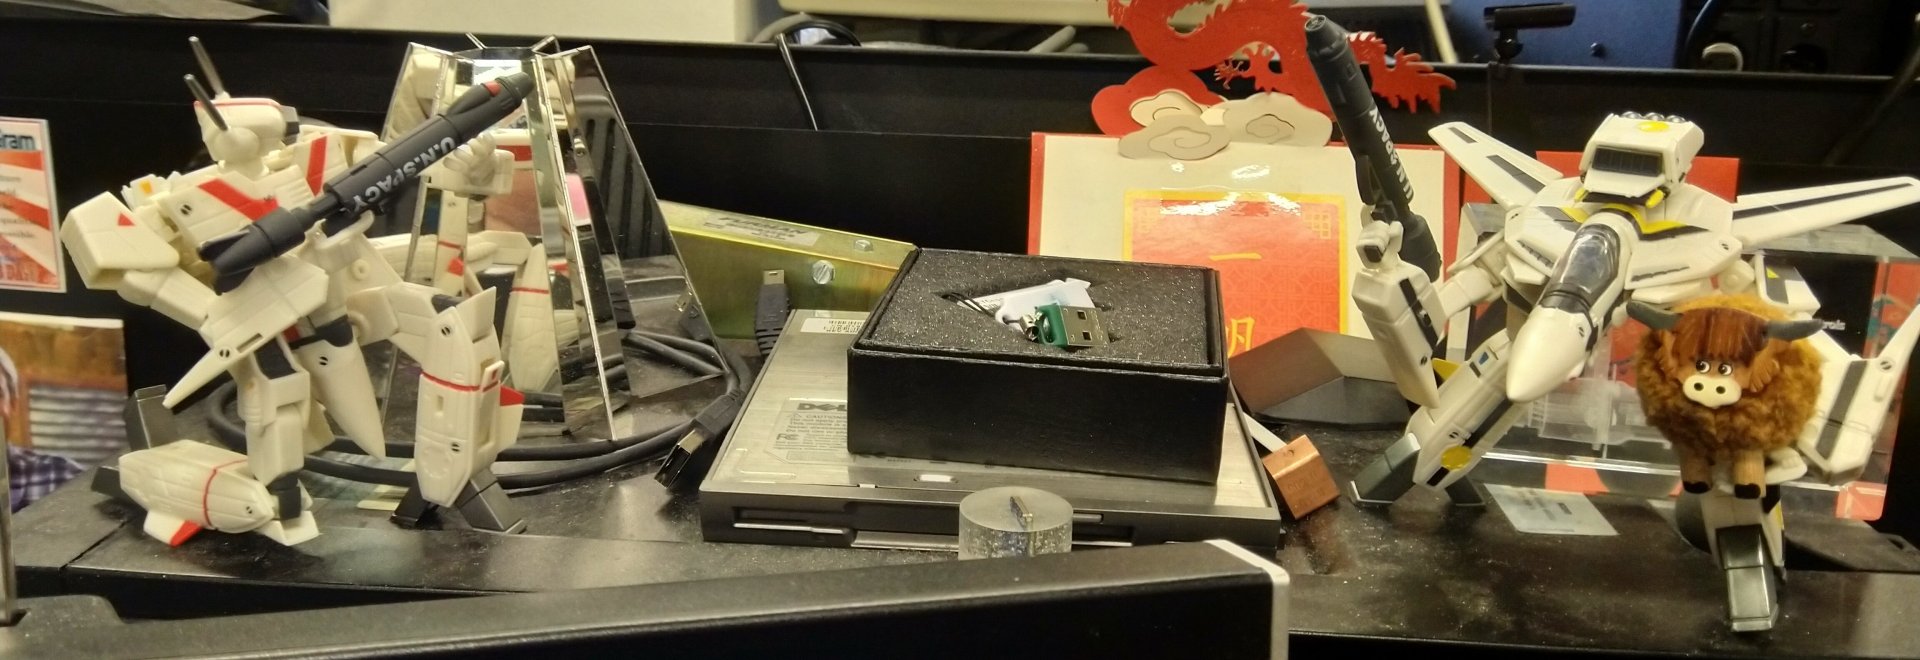
I took my Toynami toys to work for displaying on my computer. I forgot to take Roy's hands with me at first, but he made fast friends with Haggis the "hah ree coo" (Scottish hairy cow). Now Roy and Hikaru have decided to take up farming... Hikaru, CATCH! mmmMMMOOOOooooo.... Roy, Hikaru, and Haggis go skipping through the fields. We're under attack!!! Quick, get Haggis into the barn! Time for some valkyrie yoga! Haggis helps load up the missiles. (Just noticed that I put the wheels on the wrong way)


-
Kakizaki forgot he was wearing his new GBP armor and accidentally hit the G switch. You're doing it wrong Kakizaki!
-
Your most recent Macross or toy purchase! General thread.
Pontus replied to Gakken85's topic in Hall Of The Super Topics
No like @S... oh, a popup box comes up when you type @something. Nevermind. It didn't work in my original post though. I'll try again. -
Your most recent Macross or toy purchase! General thread.
Pontus replied to Gakken85's topic in Hall Of The Super Topics
How do you make proper attributions like that?