Skull-1
-
Posts
1342 -
Joined
-
Last visited
Everything posted by Skull-1
-
You need to redo that poll... I could be in the 20-30 group or the 30-40 group depending on how you look at it. 0-09 09-19 20-29 30-39 40-49 etc......
-
Dude, the Tiger Meet scheme ROCKS.... Hey, I've tried to give Hikaru a good home and nobody wants him. Time to experiment on his happy ass....
-
How hard is it to take a Yammie 1/48 apart and put it back together again? I am contemplating something very drastic for my unloved DYRL Hikaru "A" model.... Tiger meet anyone? MUHUHUHAUHAHAHAHAHAHAAHAAAAAAAAAAAAAAAAAAAAAAA!!!!!!!!!!!!
-
How much? I'm speechless....
-
Already been done, man.
-
How do you guys adjust those colors like that (on the plain Valk you made to look like Max's and Milia's)? I'd love to do one for my "John Deere" Valk.
-
No, dude, I like it just fine. I only wish I could have given you a better image to work with. Can you give the Valk in the photo a more "paintbrushed" look or is that beyond possibility?
-
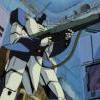
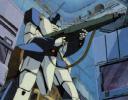
I think you guys are missing my point!!! (BTW, thanks for the images, that is some funny stuff! I laughed my arse off.) I don't care that Cheng's models look "photo realistic to begin with." That's not the point! The point is, they are models and have been made to look like paintings! How do you do that with anything, be it a Yammie or a Bandai or a Matchbox airplane? THIS IS WHAT I WANT TO KNOW. The pictures I have of the Marine Valk look like ass because the camera I used was low resolution. But I am working on other customs and have a decent camera now... With some help, I would like to create backgrounds using high quality pictures to achieve a "painted" look. How do you do that with anything, not just a Wm. Cheng model? 1) What software do you need? 2) What steps do you need to do to "extract" the model from the original photo and turn it into a painting? 3) Is JASC's PaintshopPro capable of this stuff?
-
I thought I would try again since I haven't been clear enough in my query... The photo that immediately follows this post is a model converted to look like a painting. How do I do that?
-
I have close to fifty of 'em. I can't even remember the totals. My only disappointment is that I only have one Milia re-issue instead of two. I have at least two of everything else and in some cases a dozen or more. Six Supers.....eight Jetfires....eight DYRL "A" models, eight Cannon Fodders, four or five "S" models, two Max models....six Hikaru "J" models.... I'm losing track of them all.... But a lot any way. I kinda' went nuts and bought everything that came out in big bunches. I have no idea what I will do with them all. I think I was simply compensating for my childhood lack of Valkyries. I had a JF mint in the box that got stolen/lost when I was in high school. I have yet to recover from that incident.
-
Man, we really need to try and do one Valk with all of these mods on it. Any links to the mods you've listed? I lost all my good custom websites sometime back...
-
Good stuff. Thanks for the shots. I am working on a version of the chest plate intake. I hope I can make it work....but I have my doubts....
-
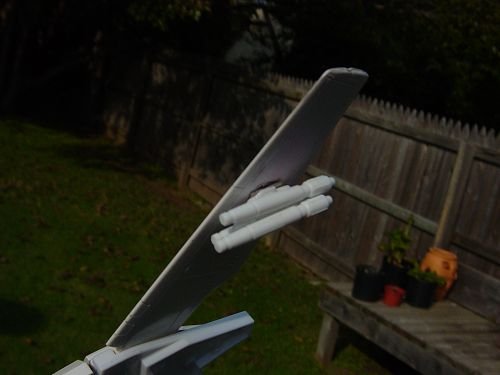
As noted, they are flush with the bottom of the wing. I embedded them fully. The wings close just fine. I plan to use the UMMs on these Valks soon... Maybe an AMRAAM or Snakeye just for fun.... Hmmmm.....
-
Depends upon the strength of the magnet and the weight of the missiles. Normal maneuvers do not seem to cause any problems. Just keep the roll rate below 200 degrees/second and they will stay on. (IOW, don't whip it around and they stay on just fine.) I've tested this very phenomenon and they stay on through anything I would do with my toys while playing (and then some).
-
No problem. The magnet will not punch through the wing. It is glued in place with Super Glue or JB Weld and there is plenty of surface area on top of the wing if you want it. The magnet doesn't ever get mashed into the wing so it won't pop out. Glad everyone likes this one. It works really well. As long as the magnets don't "de-magnetize" over time....
-
Here you go... I imbedded the magnet in the wing so it is flush....
-
They look awesome. Several of the guys have completed customs with the1/72 weaps and they were fantastic looking.
-
Nice Charger. I own a '69. I work almost exclusively with yellowed Jetfires for my customs. I see no reason to butcher a perfectly good Re-Issue when I can take a yellowed hulk and transform (pun) it into something beautiful.
-
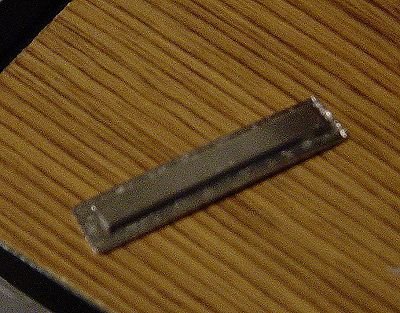
You can sand and shape the magnet/metal to the perfect size. I did this in about three minutes just to give you guys and gals the idea.... It is a really great mod. I can't wait to use it.
-
Voila! Removable and poseable missiles for the 1/55!
-
Step Three: Attach the Magnet to the Wing and the Metal to the Pylon or vice versa. You can also core a hole into the wing and JB Weld the Magnet INSIDE the wing. This may be the best method. I left my cored out wing elsewhere so I won't be able to do it this week....but later....
-
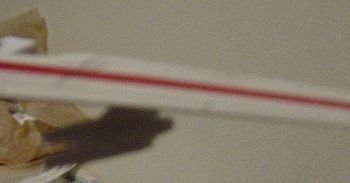
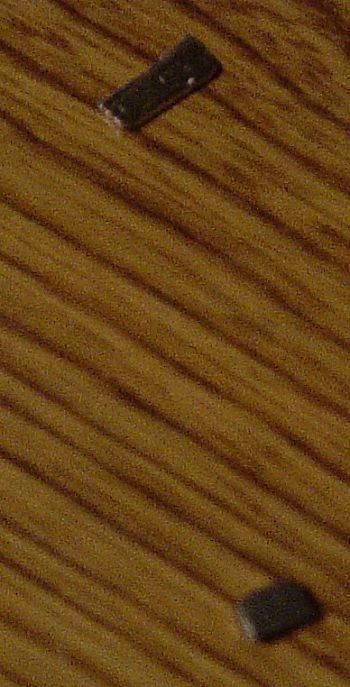
Step Two: Trim the Magnet
-
Step One: Find the Magnet
-
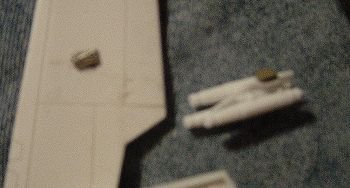
With a little putty and some work you can imbed the magnet inside the wing. This is actually easier than it sounds. I did it on the surface just to make it easier to take the pics....
-
I have seen folks use the 1/72 Valk Weaps Kit from Hasegawa. The problem has been how to attach the missiles to the Valk's wing so they can pivot. I have solved the problem, though other variations may exist. Go to your local nametag store and pick up one of those small nametag magnets. They are a two piece set with metal and a magnet. Trim the metal and superglue it to the wing of the Valk where the missile pylon will be. Trim the magnet and glue it to the missile pylon. Attach as needed. Voila! I'll post photos shortly.