-
Posts
1342 -
Joined
-
Last visited
Content Type
Profiles
Forums
Events
Gallery
Everything posted by Skull-1
-
Pictures to come. Just use some JB Weld or something to tighten up the swing bars so they are all but locked together. Fill the left side hole on the side of the fuselage below the cockpit and remove the friction pin from the left intake. You will only need one friction pin on the right hand side of the fuselage to hold the legs in position for fighter mode. This, in conjunction with a trimmed swing bar, allows you to put a much more detailed set of nose art and markings on that side.
-
By accident I had a very tight swing bar that allowed me to fill and sand the hole on the left side of the Valk's nose and only use a single "friction pin" (on the right side). The nose is smooth as glass and thus will be perfect for the nose art I am going to print up for this Valk. Gawd it is so close to being done.....
-
I love them both. If only Yamato would buy a clue. Why these two schemes don't exist as production models is beyond comprehension. Great work.
-
Thanks. Slowly but surely we're getting there...
-
Swing bar trimmed down..... Canopy lines drawn (not FUTURED yet which is why it looks "starred" so to speak, but that's next)... Nose sanded and filled. Primered. Final paint to go. Still awaiting a nose landing gear... Damn.
-
I wasn't here for long prior to the appearance of Yamato on the scene but..... Customizers seemed to be a lot more active when Bandai was the only game in town. Am I wrong?
-
1/55 Bandai "J" Head Laser Recast - Anyone Doing Plastic?
Skull-1 replied to Skull-1's topic in The Workshop!
I have tons of resin ones but they are weak and break easily. Once broken they are almost impossible to repair. Perhaps if the resin was reinforced with a thin metal rod from a paperclip or something then the lasers would hold up better. *shrug* I just wish someone could make some that are very strong. Plastic seems to be the only way to do it but I don't know of anyone using plastic. The resin that SILVERDRAGON used on his Ostrich recast was more like plastic than anything. If he could do some with that material I would be all over 'em! It was flexible and strong. I don't think they would break very easily. -

Novice Panel Liners Rejoice - New Tool For Your Use!
Skull-1 replied to Skull-1's topic in The Workshop!
Where do you live? I have never seen one smaller than 0.5mm and I have looked all over. It also says, "NEW SIZE" on the package. My thinking is it is a new product. If this is old news for some then I am sorry--just trying to be helpful. -

1/55 Bandai "J" Head Laser Recast - Anyone Doing Plastic?
Skull-1 replied to Skull-1's topic in The Workshop!
*Bump* Anyone? Getting desperate here. -
Oh and I forgot I have to do some other things to it before it is finished. - Trim the Swing Bars. - Collapse the Gun Pod. - Sand the Nose Blisters. At least you can see the slow progress.......
-
Thanks guys. I still have to do a lot of things to this one before she's done but give me a week of time without having to stop and I should have it finished. I still have some sanding on the nose to do I just noticed. Crap. I am also screwed for decals now that Devin is retired.
-

1/55 Bandai "J" Head Laser Recast - Anyone Doing Plastic?
Skull-1 replied to Skull-1's topic in The Workshop!
The brass still goes into the resin laser base... So that breaks. Resin sucks IMHO. LOL. -
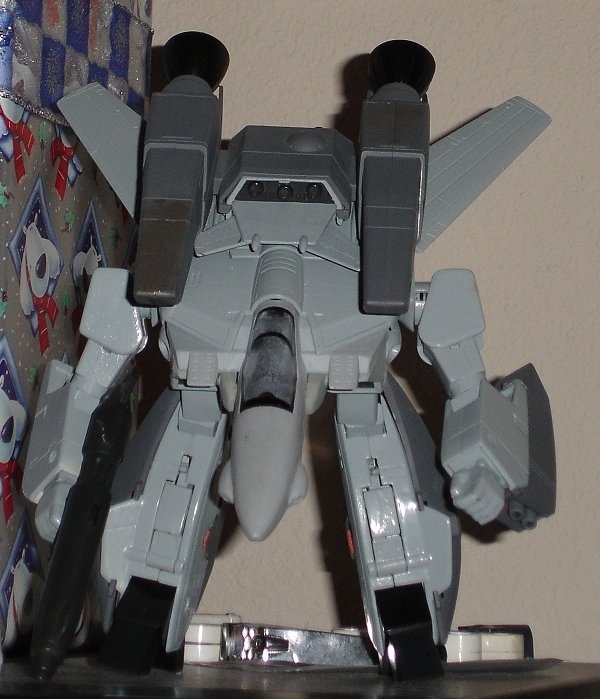
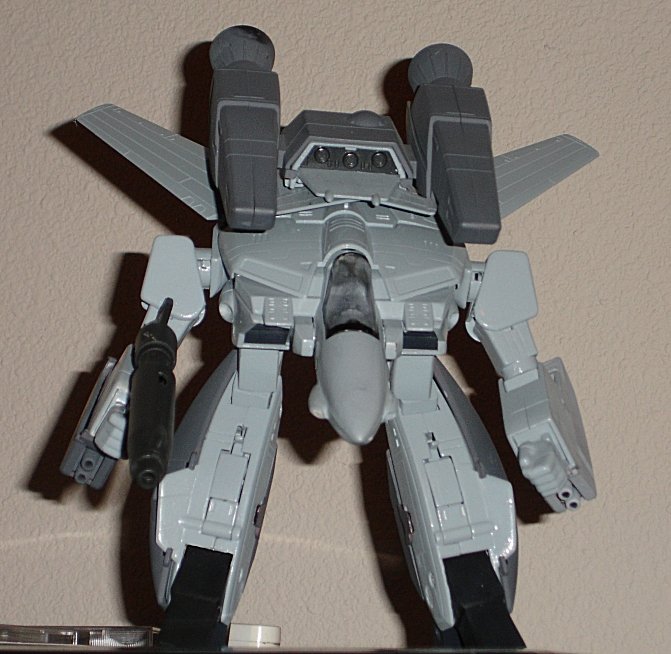
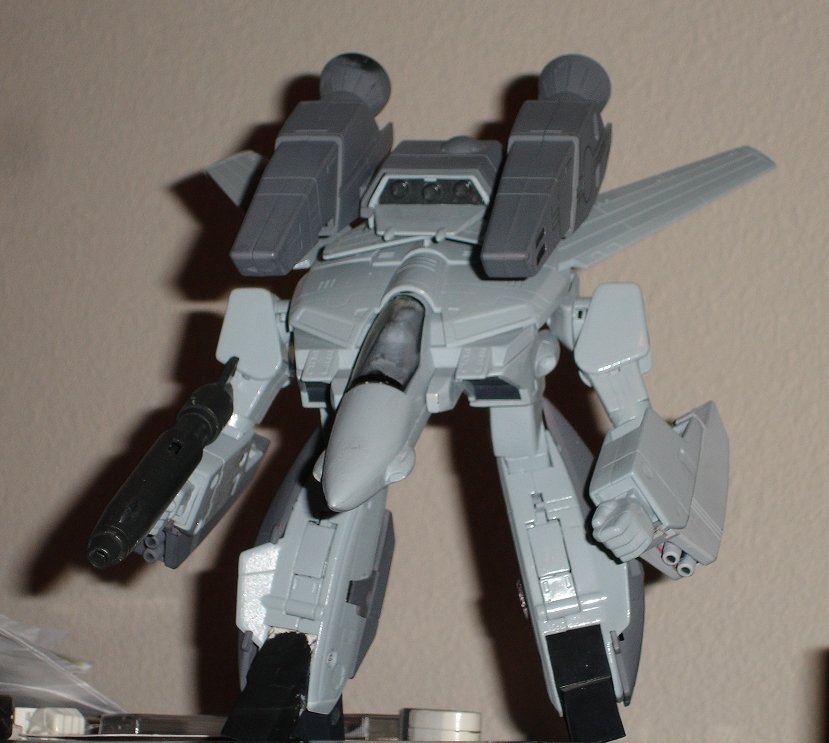
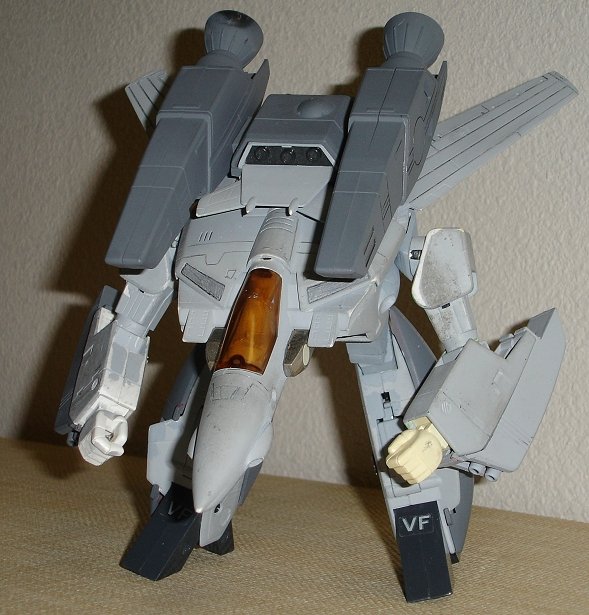
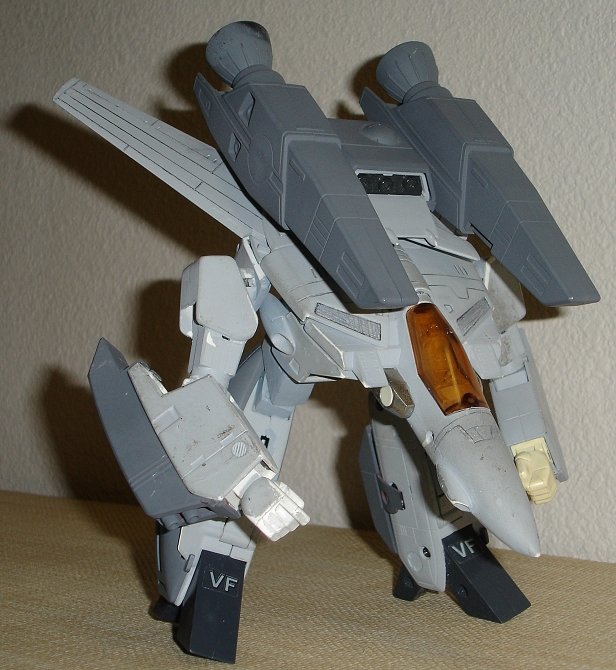
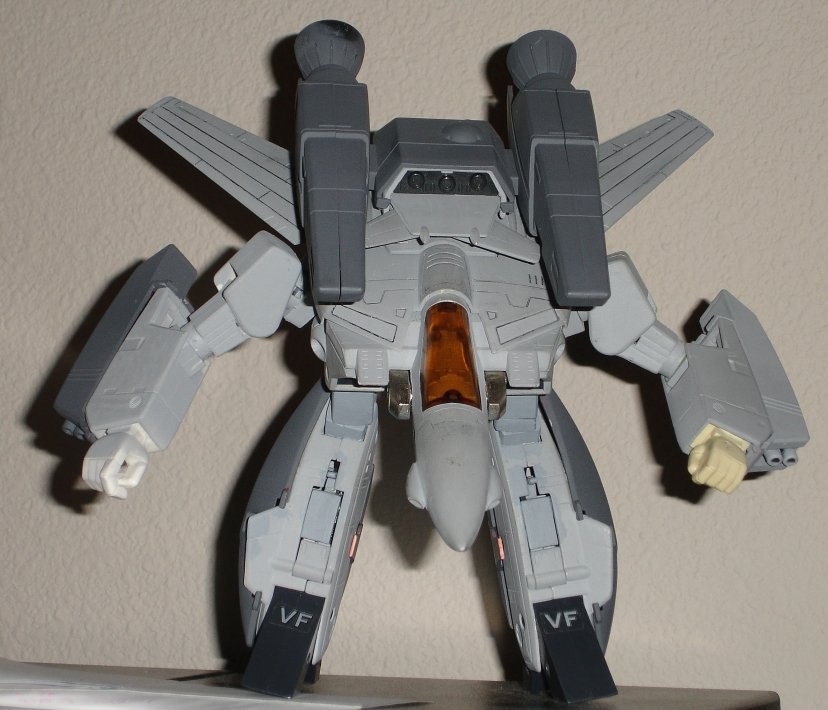
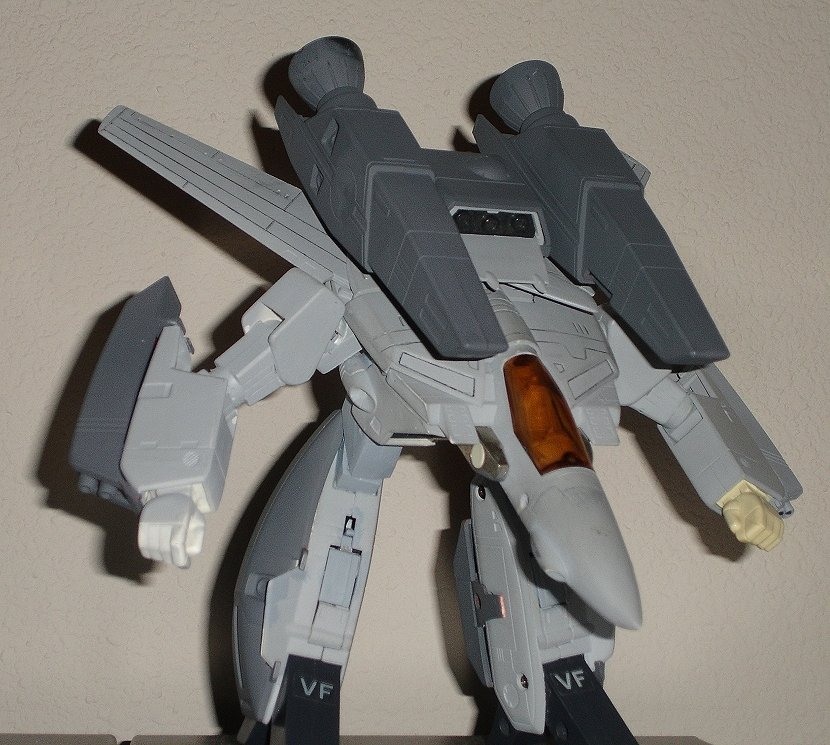
Arm armor paint to go. A couple of minor seams to fill. Have to modify the shape of the canopy a little. It looks warped in the first view. Will fix that. Features in this shot: - Final paint application. - Tapered Feet - Modified Nose Blisters - Modified Arm Position - Modified Feet (Variable Position) - Custom Beers Canopy (Center Frame to be Added) - Painted Cockpit I think we're about a week from being finished. [attachmentid=38547] [attachmentid=38548]
-
Anyone doing slightly lengthened versions of the Bandai 1/55 "J" head lasers? I would like to get some plastic sets because the resin ones I have keep snapping. The problem with the stock ones is they are waaaaay too short and I don't have any spares to experiment upon. Any help is appreciated in advance.
-
Is there a decent step by step guide for recast newbies like myself? I am thinking I had better learn how to do this. I'd prefer to use plastic vs. resin assuming I have the skills, time, money, and patience.
-
The 1/60 takes liberties, too. I just happen to prefer the liberties taken on the 1/48 as they enhance the look of the toy while the liberties on the 1/60 make it look like crap. Especially the nose and tail fins on the latter. 1/48 is the king of Valks.
-

Gerwalk Mode Shoulder/Arm Position - What is anime accurate?
Skull-1 replied to Skull-1's topic in The Workshop!
-
-
I hope you paint it or seal it so the paper doesn't dry up and fall apart. What an amazing thing that is.
-
Any thoughts on how to preserve it? I hope it's acid-free paper!
-

Gerwalk Mode Shoulder/Arm Position - What is anime accurate?
Skull-1 replied to Skull-1's topic in The Workshop!
That solved the problem. Thanks. -

Gerwalk Mode Shoulder/Arm Position - What is anime accurate?
Skull-1 posted a topic in The Workshop!
What is anime accurate regarding the position of the GERWALK shoulder? The Bandai has it where the shoulders are not parallel to the ground. Is this how it is in the animation? I just trimmed mine down after being inspired by another customizer and it looks odd to me. -
Sorry the updates are slow and they basically suck.... But I wanted to show the nose blisters and the painted thighs... I will color match them better later but I still have to fill some more seams. More to come... Next Steps: 1) Trim Swing Bar 2) Fill Seams, Finish Hand Mod 3) Disassemble, Sand, Paint 4) Reassemble, Clear Coat 5) Decal
-
HOLY MOLY INDEED!!!!!!!!!

