-
Posts
968 -
Joined
-
Last visited
Content Type
Profiles
Forums
Events
Gallery
Everything posted by ghostryder
-
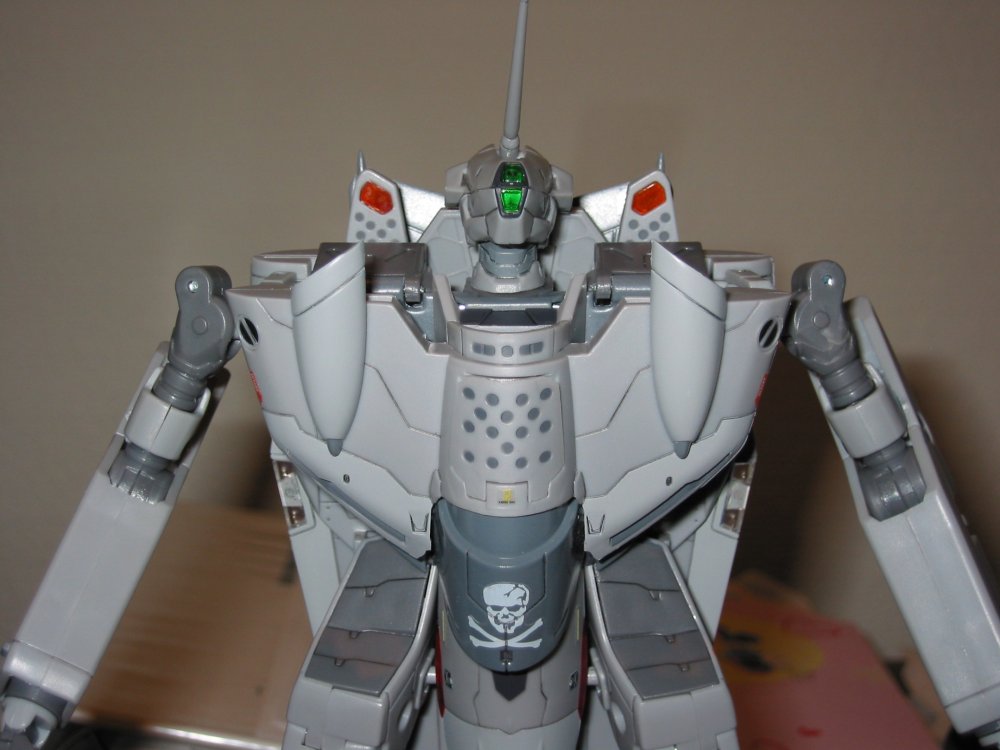
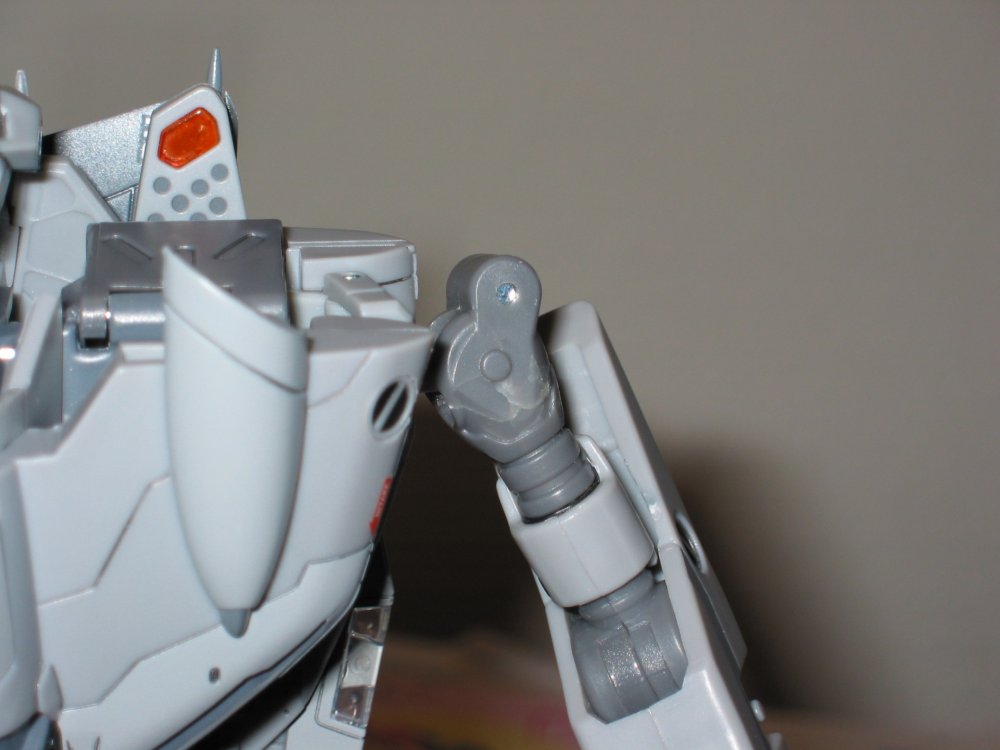
This was exactly my thought. On my 0A (on the shoulder that's not busted) I can't figure out how to remove it from the ball without giving it a hard yank, even with the screws removed. Which means assembly at the factory must have been like resetting a dislocated shoulder . Of course, the cracked shoulder just falls off with or without screws.
-
WTF??? My heart sinks for you. Best case scenario, the shoulders are indeed POM, but the stress marks are just from hasty careless assembly, and the cracks won't propagate and shatter (like eugimon's avatar).
-
A light swipe of 2-part epoxy on both the leg-backpack square tabs, and the intake-chest hexagonal tabs help keep the fighter mode more snug. Not 1/48 snug, but better. Hey, I haven't transformed my "CF" 0A in 6 months! I should check the 1 good shoulder for chemical reactions .
-
I haven't revisited this shoulder topic in a while. What a flying load of crap. I'll stick with my $5 tube of epoxy, and no more Yammies until the VF-11B.
-
I've given up and moved on . I'll enjoy my epoxy-shoulder static-posed VF-0A as-is. It's holding up like a champ. Skipping the SV-51, I can't spend that much money on stuff that's destined to break. Bring on the VF-11B...
-
What was the first Macross toy(s) that started your collection?
ghostryder replied to UN Spacy's topic in Toys
Joons 1/55 VF-1J that I traded a busted thundercracker and wheeljack for - 1985 1/55 Strike Valkyrie w/ Jetfire armor - 1986 1/48 Roy - 2005 -

What's wrong with my Yamato, Bandai, etc.
ghostryder replied to UN Spacy's topic in Hall Of The Super Topics
Looks like if you take the top screw out, that crack could be pried open a bit to get epoxy in. That's the only way to get a strong joint. Even if it broke off completely in the process, I'd feel better about a good solid epoxy mend vs. a flimsy surficial (but permamnent) band-aid. Of course, it's no tmy $150 toy, so you should do what you are most comfortable with. -

What's wrong with my Yamato, Bandai, etc.
ghostryder replied to UN Spacy's topic in Hall Of The Super Topics
I was checking the other shoulder today, and I thought I may as well take some pics. Here they are... left shoulder still goin' strong, and tighter than the right one that wasn't broken. -

Anyone attempt a VF-0S with a 1/48 VF-1S head?
ghostryder replied to bravo5's topic in The Workshop!
I'd like to see the 0A head on a 1/48 LV1 -
Well, aaajin is selling his if you must have the bundle.
-
The plain valk can be found at Lost and Found Toys, or Toy-Wave. The the plain valk and Super Pack can be found separately on Ebay from multiple sources. The only difference is you get the toy in 2 separate boxes with graphics, rather than in 2 plain white boxes stuffed in a gigantic oversized super box. The super pack *might* be more collectable in the future, but if you're going to open and play with it, who cares.
-
You can always buy the valk and super parts separately, at a price similar to or less than the bundle.
-
Another method that I've used that is also safe for heatshields, is soaking in ethanol for about 5-20 minutes, with periodic toothbrushing.
-

What's wrong with my Yamato, Bandai, etc.
ghostryder replied to UN Spacy's topic in Hall Of The Super Topics
I only applied epoxy inside the crack itself, nothing smothered on the outside. Basically, I gently pried the crack apart, applied epoxy with a toothpick, pressed together, and wiped off any excess. If you still need a pic, I'll see what I can do tonight. -
If you dont use imageshack or photobucket, try shrinking the pics down to 500 KB or less. That seems to work for me.
-
I was thinking about a siple text logo, but this being a land-based unit I wanted something more air force-ish. I like these AFB shields, the Tinker AFB shield even looks like a Grand Cannon going off .
-
I still don't have one! The squadron markings are the dragon & cloud ones from the Takatoys Low-Vis set. The Alaksa Base shield/logo (if I ever come up with one) will be small and possibly relocated to the side of the legs and near the cockpit like on the Hasegawa Angel Birds. http://www.macrossworld.com/macross/models...tructions-7.jpg
-
I like it! - Actually more than the Max scheme. The color scheme ties together very well.
-
Custom VF-1A - Alaska Base "Arctic Dragons" http://www.macrossworld.com/mwf/index.php?...mp;#entry456625
-
Of course, land-based VFs probably wouldn't wear fastpacks:
-
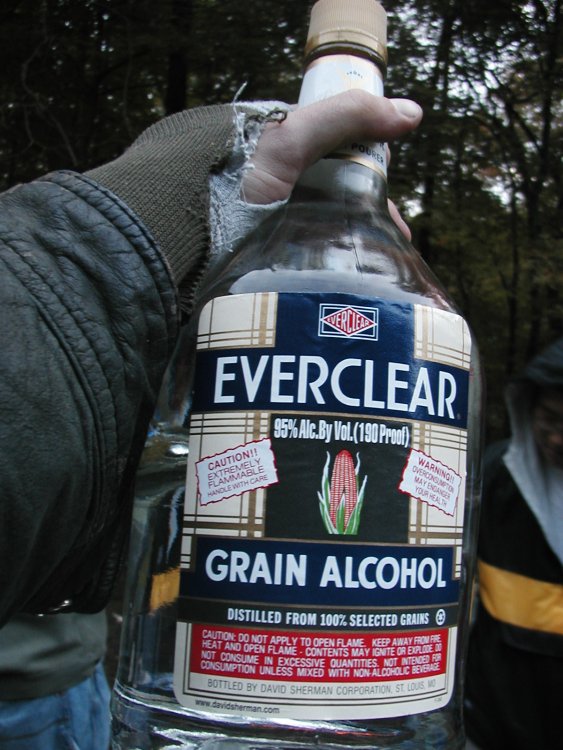
I think I got the heatshield color close enough on the 3rd try. Luckily, ethanol (Everclear brand ) does not make the clear plastic brittle, even with multiple soaks: I think shots with Stealth Fastpacks are in order. Updated fighter pics
-
Technical difficulties, my friend (that and two little kids, but you know what I mean ). I thought matching valk white was hard enough, now I have to compensate for the tint of the clear heatshield plastic .
-
Thanks all for the kind words, considering this custom took minimal effort and no real modeling skills . Still need to decide on and find tail markings... and I still need a white heatshield...
-
Take a look at the MW Toys Pages and judge for yourself. Yes, the VF-0 has more detail and gimmicks, but he VF-1 is no slouch. From a strict toy enjoyment and nostalgia standpoint, the VF-1 wins. If you get more than one (hint hint) the VF-0 is nicer to display in different modes.
-
Yamato employees should focus more on not over-tightening screws, not mis-matching R and L parts, and not jamming VF-0s into boxes. Let's keep things as simple as possible for them.

