
Big s
Members-
Posts
7916 -
Joined
-
Last visited
Content Type
Profiles
Forums
Events
Gallery
Everything posted by Big s
-

General (1/12, 1/18, 1/24 Scale) Action Figures Thread
Big s replied to no3Ljm's topic in Anime or Science Fiction
I was thinking instead of killer croc, the gator guy from tmnt. It has the shotgun and almost the same outfit. I’m blanking on the name -

Gundam Show Thread - MSG thru Witch from Mercury
Big s replied to Black Valkyrie's topic in Anime or Science Fiction
That’s a sad looking Zaku. I saw an ad for a web exclusive high grade of it, but I don’t know if it will be the repair version or if it will be a pre replacement parts version- 3575 replies
-
- gundam
- mobile suit gundam
- (and 17 more)
-
I meant that the explosive bolts blasted the armor towards him instead of away
- 146 replies
-
- dana sterling
- southern cross
-
(and 3 more)
Tagged with:
-
So it exploded at him? That’s a weird design
- 146 replies
-
- dana sterling
- southern cross
-
(and 3 more)
Tagged with:
-

1/48 SOUTHERN CROSS BIOROID PART II
Big s replied to captain america's topic in Anime or Science Fiction
Damn, that looks so much better than it ever did on screen- 144 replies
-
- southern cross
- robotech
-
(and 4 more)
Tagged with:
-

The 'Hey look at this really cool model build I saw' post
Big s replied to Shawn's topic in Model kits
Looks pretty front heavy in Gerwalk but definitely interesting -
As far as that duel bridge goes, it seems smaller, but I don’t think the Captain ever bumped his head in the movie version like he did in the much bigger looking tv version. Macross scale confuses me so much.
-
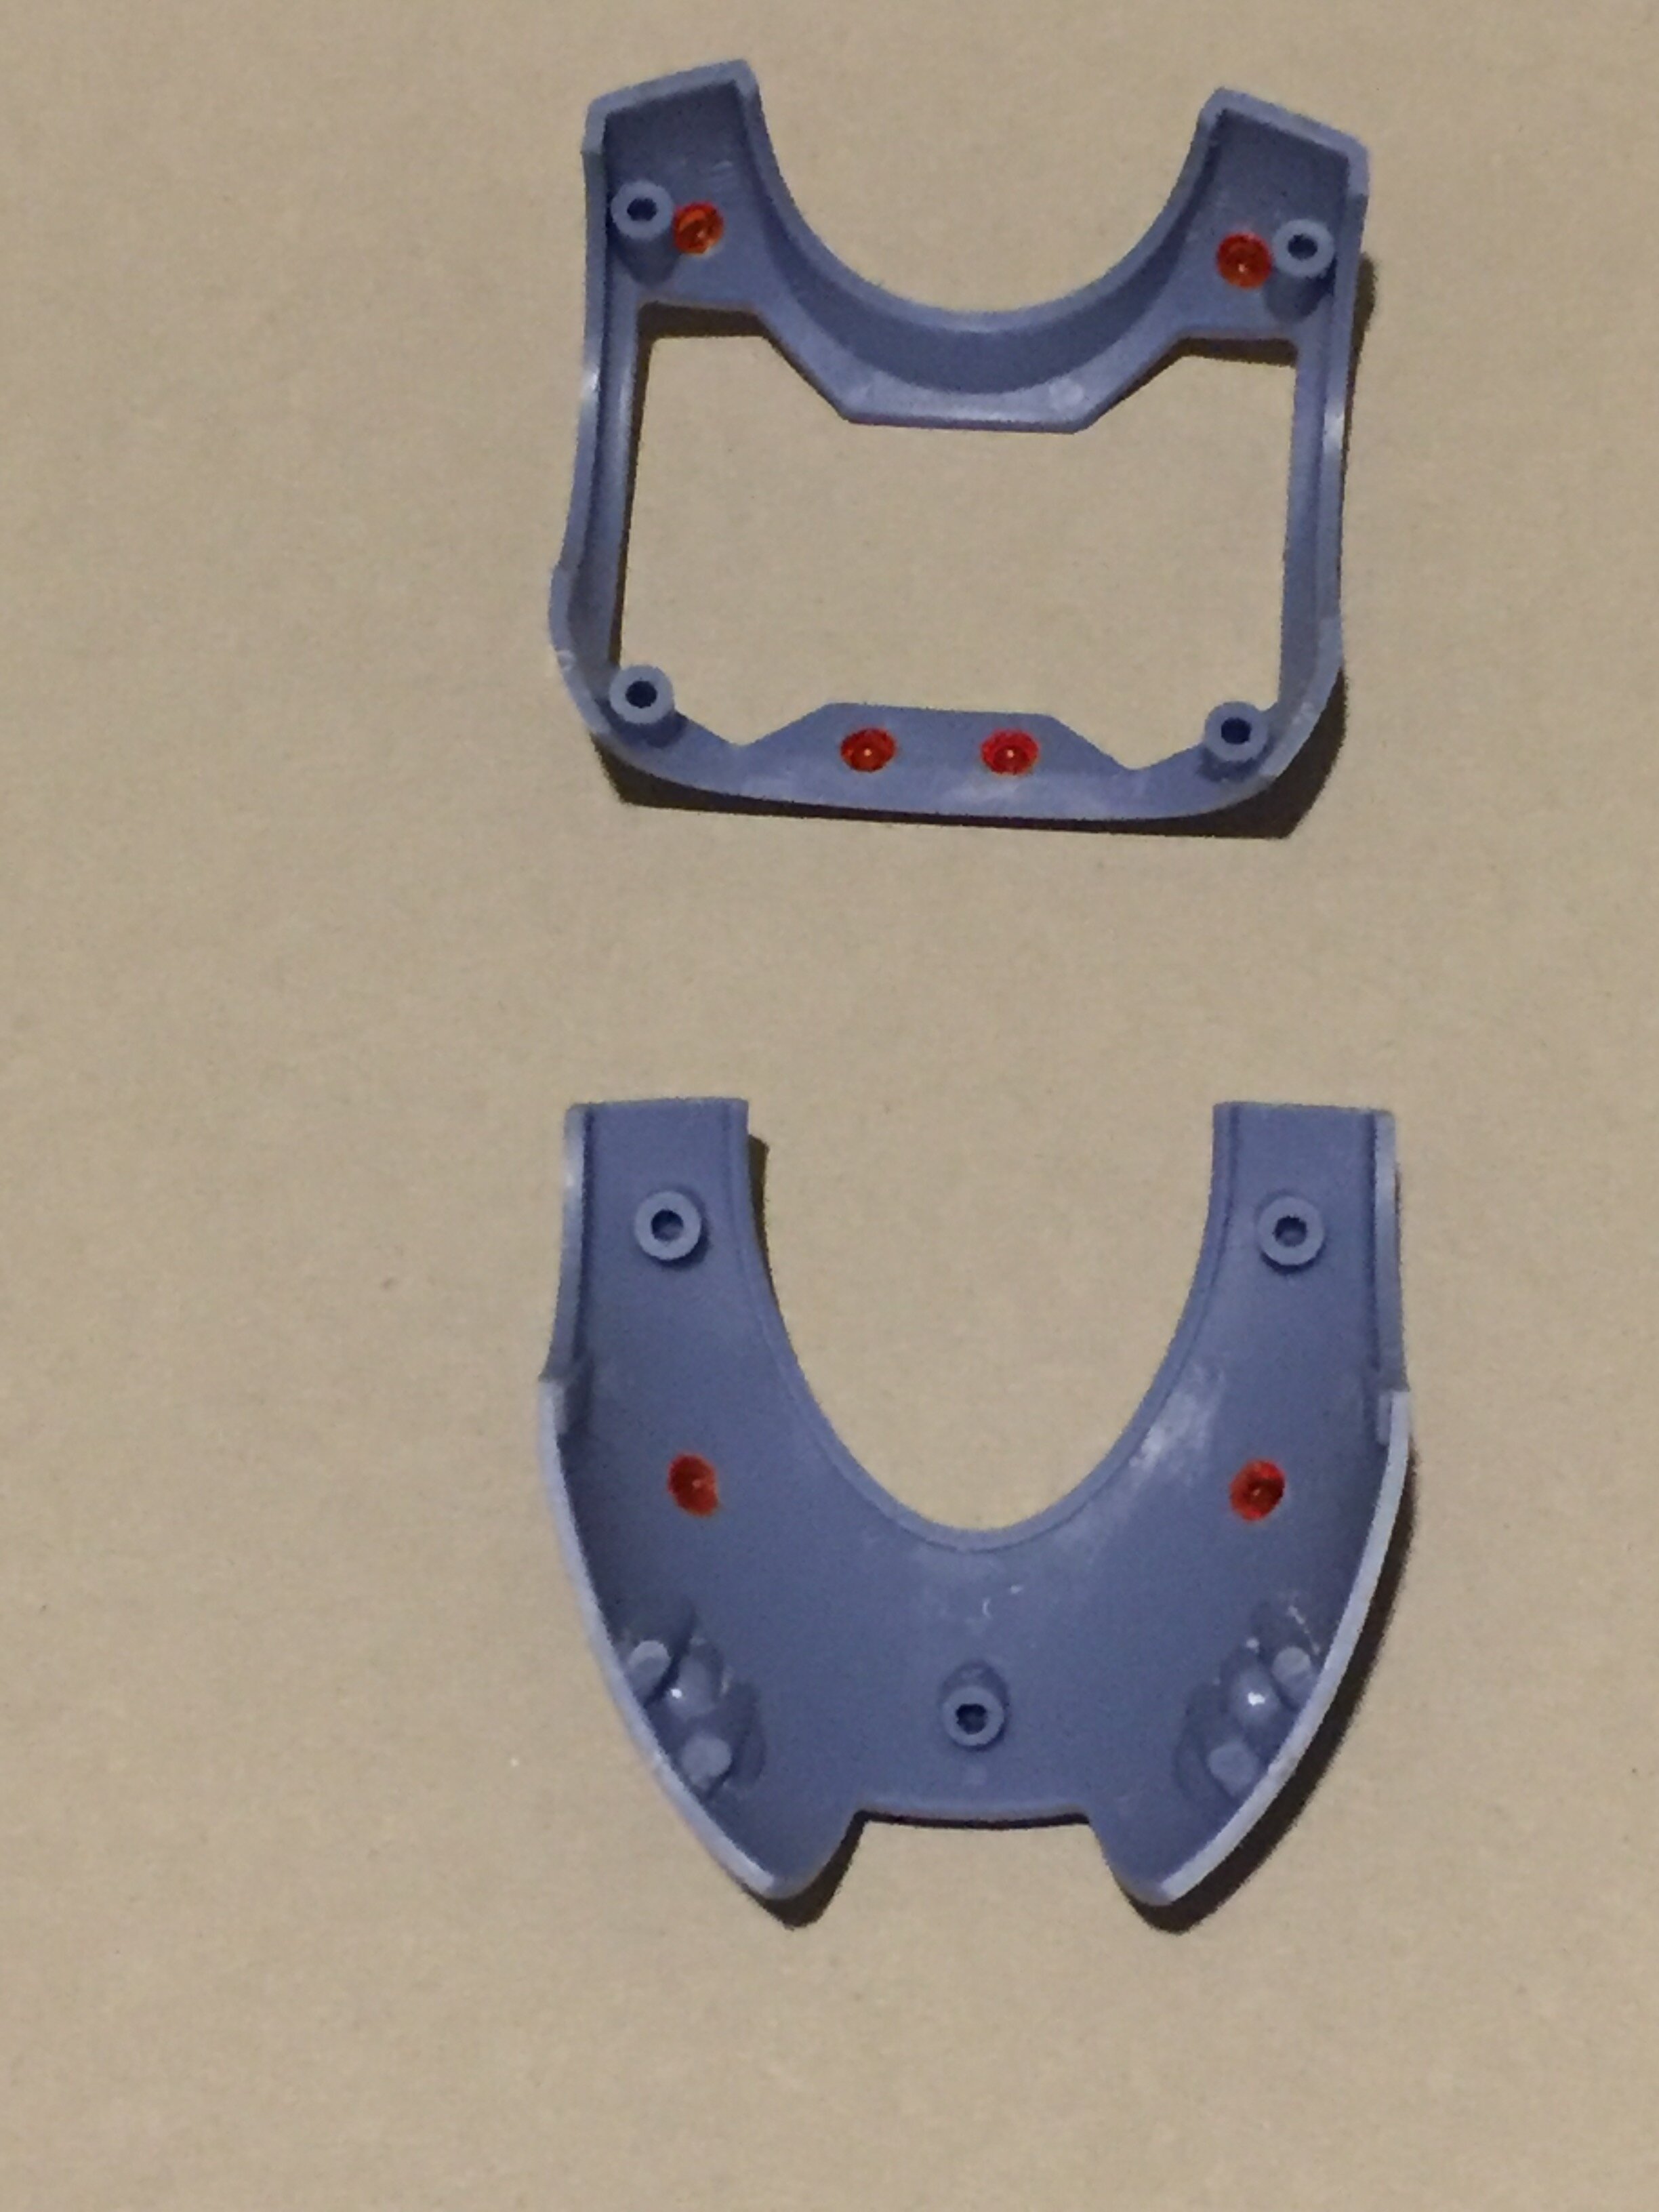
Thanks guys. Those clear pieces luckily weren’t too difficult to put in. For anyone who is working on the kit it was a pretty simple addition. I just used a small pin vice drill with a bit smaller than the actual sensors. Don’t know why Hasegawa molded them in the body in dull blue, but I marked around them with a panel liner, so I would know where the edge was then drilled in. I’m not very good at centering especially over a round surface, so starting with a slightly smaller bit helped. Then I just widened and centered the holes with a needle file to the point where the panel lining was barely visible. Then just used the included clear red sensors and set then in, added a little dab of thin cement on the back side of the armor around the sensors. Then pressed a bit longer lightly with the back of some tweezers while the glue was still wet and they sick in pretty well just take your time if you do it on your own kit and drill and file those holes slowly so you don’t make the holes too big otherwise you will need to make some kind of backing for the little sensors. My biggest tip is just relax take your time and listen to some good music while you work. hasegawa easily could have avoided making the builder do this mod by just leaving the holes open and having a similar attachment like they did on the leg sensors, but oh well
-
Made a bit of progress on the hasegawa regult. Drilled out holes to attach the clear sensors and set them in place
-
the bridge in the movie versus show is a huge size difference. I think the idea in the movie version is to make the overall ship seem bigger by making the head smaller
-
I liked the starcom gimmick with the magnetic feet. My brother and I were always in my moms way while she was cooking because we would have a war in the kitchen sticking those guys against the fridge
- 229 replies
-
- 1
-

-
- silverhawks
- super7
- (and 17 more)
-
Nice cell shading
- 12780 replies
-
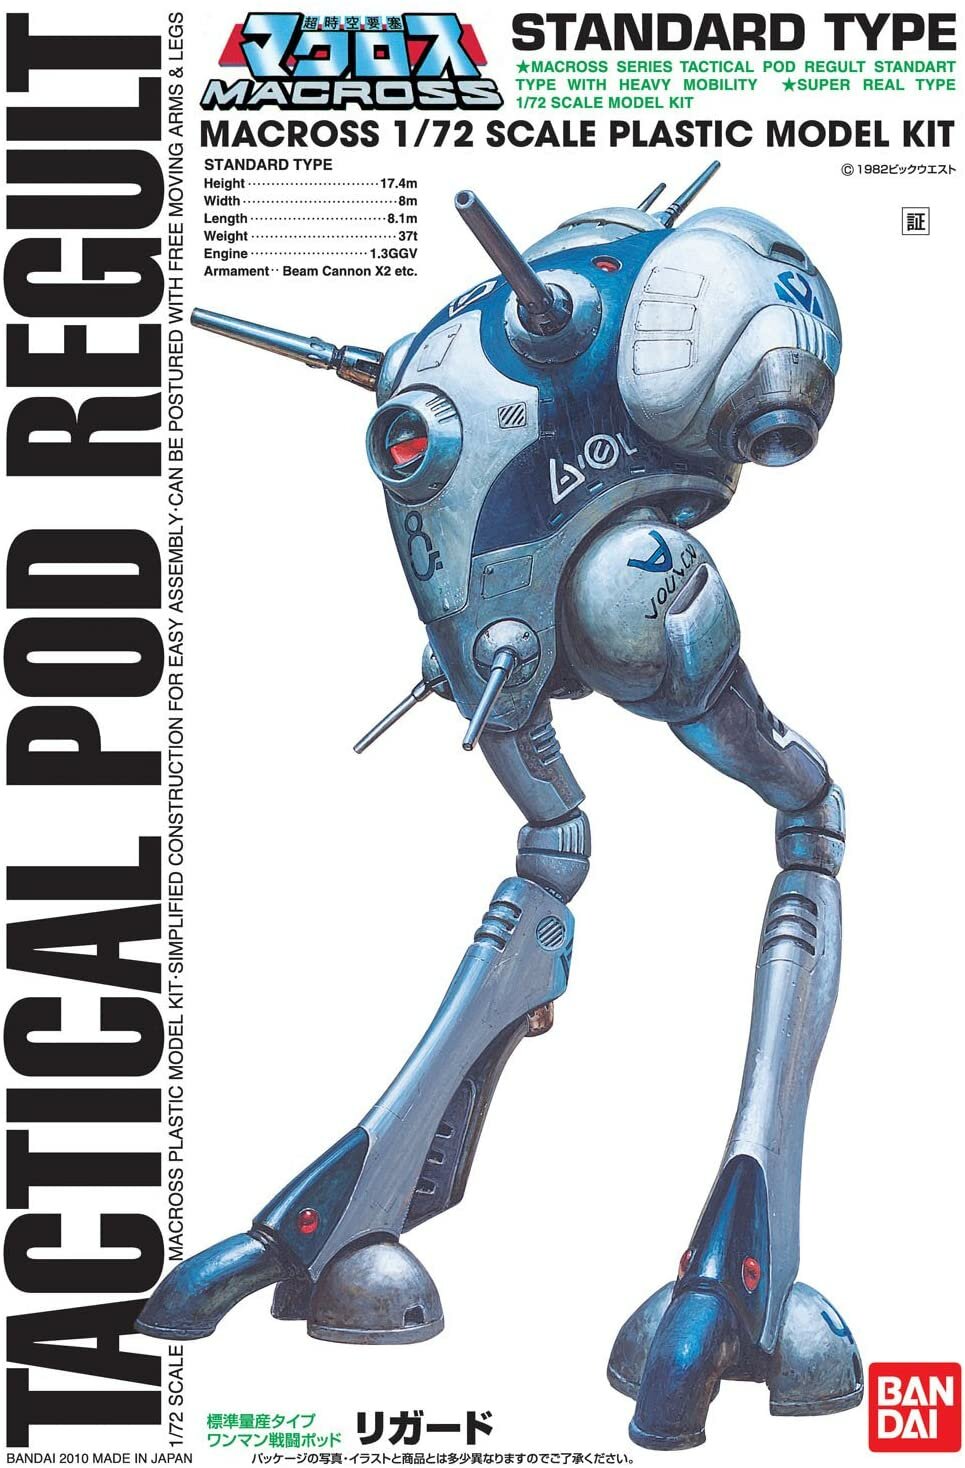
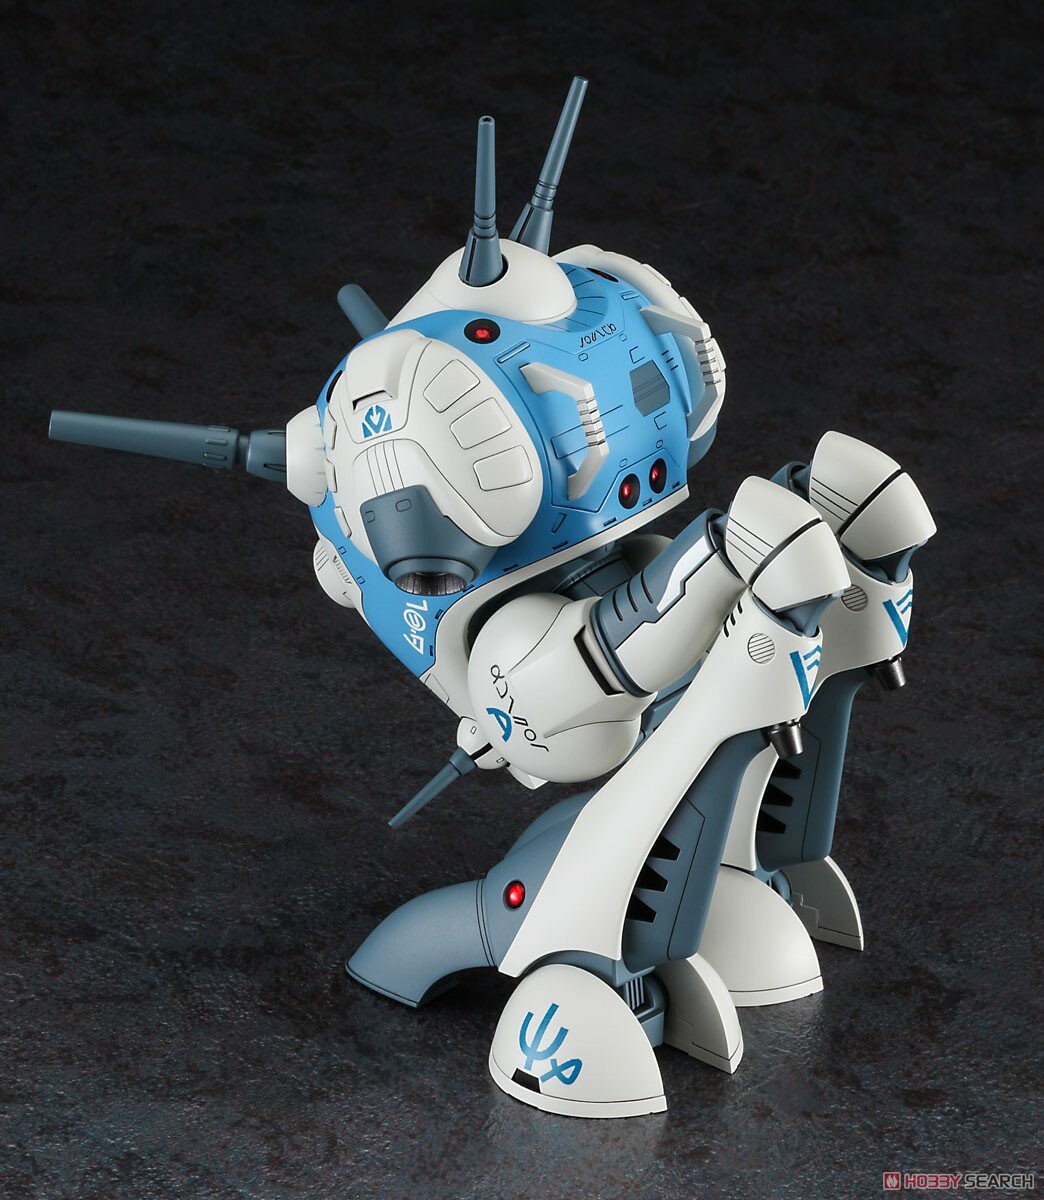
The colors vary quite a bit here and there, but even the hasegawa pro built kit for the box has a more gray white and lighter blue than the decals, so I don’t think it’s too important to match the decal colors at all. C87ECE8F-C8E3-49A3-9A24-A87920D15C90.jp2
-
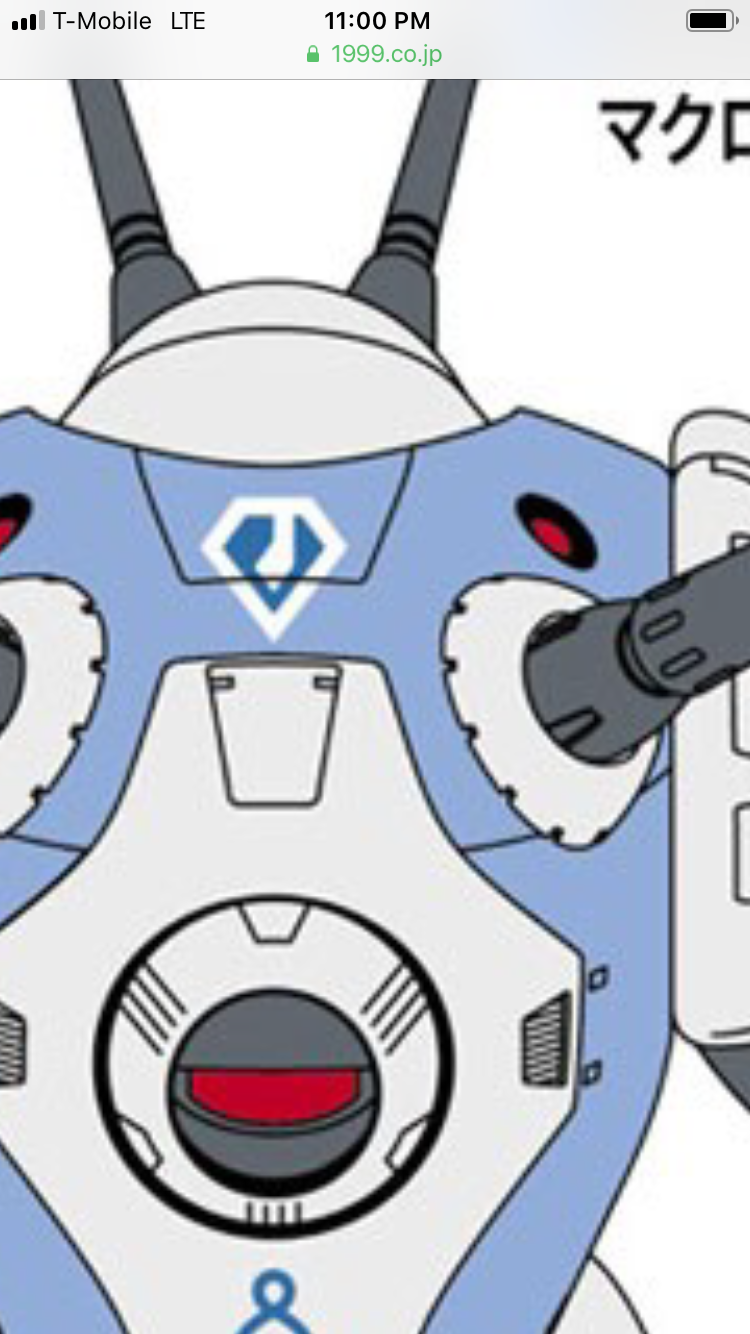
I am currently building it and as mentioned there are a lot of seam lines. I don’t think it’s necessarily Hasegawa’s fault, but more of the way things are designed. The majority of the nubs are undergated, so you won’t be damaging the surface during cleanup. But you wanna get those nubs sanded pretty well for a better fit. I couldn’t find it mentioned in the instructions, but someone here mentioned that if you want to use the included smaller sensors, then you have to drill out the ones molded in the body to replace them. as far as the decal issue mentioned above, when looking at a lot of images the Zentraedi seem to use a brighter white and even a darker blue on their writing and emblems, so you shouldn’t have to match the blue and white to the actual model.
-
Oh it definitely was old. I’ve used plenty of it in the past, but getting refunds on open products can be a pain as pengbuzz mentioned. In my case, I was able to get a resuply, but it was a waiting game to get the new batch in. The local hobby shop was out, so I ordered from amazon, I had to ship it back and I think overall I just should’ve waited for the hobby shop to get it in stock. and it is pretty good. I definitely like miliput better than most putties, but I do still feel like around edges that a second or even third application are needed.
-
Nice weathering. I imagine these getting pretty scorched from dropping out of high atmosphere and constant battle. I don’t think Zentraedi were well known for basic maintenance or cleanup of mecha. Hopefully they at least showered after
-
Nice job on the shading. It’s more subtle than most people go with and gives more of a weathered look. Can’t wait to see the finished pictures
-
Keep up the good work and happy belated birthday
-
Those look so good painted up that if you’re hand wasn’t there for scale, I would have thought they were larger action figures.
- 12780 replies
-
I’m not gonna trash the food trucks. There are quite a few really creative and good ones here in so cal. They’ve come a long way since the roach coaches of the past and some are better than a lot of good restaurants.
- 2171 replies
-
- star trek
- patrick stewart
-
(and 4 more)
Tagged with:
-
Looks nice and filthy. She’s dirty in a good way
-
Honestly, some of the undergating gets in the way. Like the nub on some parts will be right next to a peg. But overall the plastic is softer than Bandai, so they do clean up fairly easy for such wide gates. I’ve gotten spoiled by Bandai lately with the super thin gates
-
Good to know. I have that issue sometimes with other epoxies. I ordered some milliput, and the lighter color part was crumbly and the yellowish part turned dark and oily. It didn’t mix well.
-
Nice
-
Tamiya stuff is usually easy to find, but their polyester putty is the hard one to get these days. The permatex plastic welder that pengbuzz recommended was at the local hardware store, so I’m gonna see how that one goes on a couple of projects.
