-
Posts
439 -
Joined
-
Last visited
Content Type
Profiles
Forums
Events
Gallery
Everything posted by Mintox
-
From the album: VF-1S Strike Pack in VT Colours
© Mintox2015
-
From the album: VF-1S Strike Pack in VT Colours
© Mintox2015
-
From the album: VF-1S Strike Pack in VT Colours
© Mintox2015
-
From the album: VF-1S Strike Pack in VT Colours
© Mintox2015
-
From the album: VF-1S Strike Pack in VT Colours
© Mintox2015
-
From the album: VF-1S Strike Pack in VT Colours
© Mintox2015
-
From the album: VF-1S Strike Pack in VT Colours
© Mintox2015
-
From the album: VF-1S Strike Pack in VT Colours
© Mintox2015
-
From the album: VF-1S Strike Pack in VT Colours
© Mintox2015
-
From the album: VF-1S Strike Pack in VT Colours
© Mintox2015
-
From the album: VF-1S Strike Pack in VT Colours
© Mintox2015
-
From the album: VF-1S Strike Pack in VT Colours
© Mintox2015
-
From the album: VF-1S Strike Pack in VT Colours
© Mintox2015
-
From the album: VF-1S Strike Pack in VT Colours
© Mintox2015
-
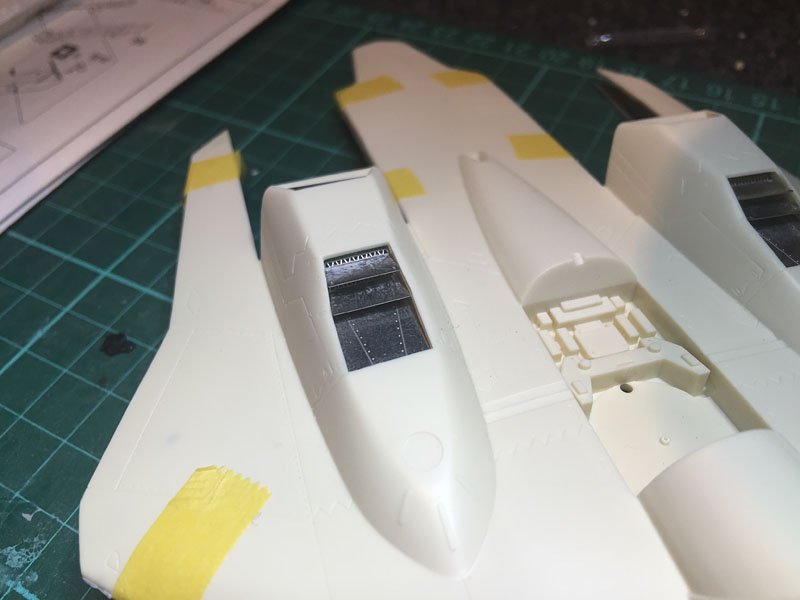
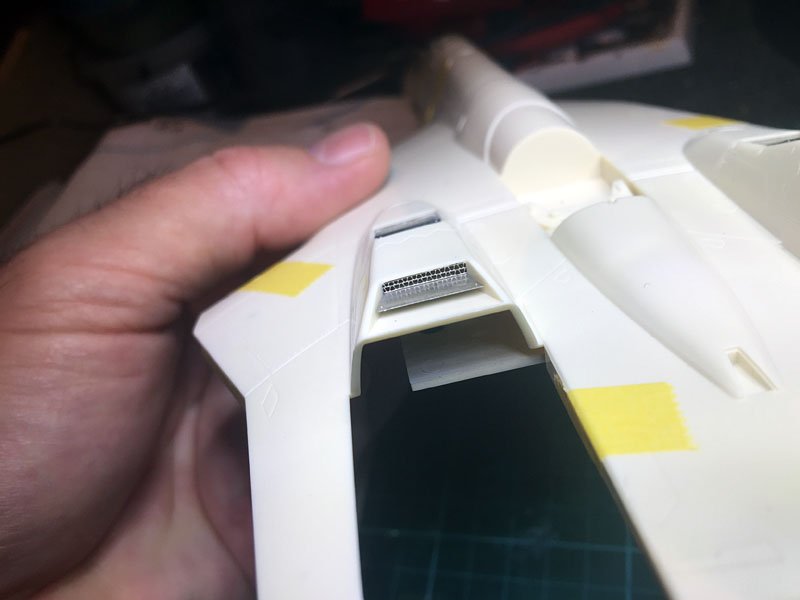
Closed the two hull halves together. Here are some shots of the etched metal parts for this kit. The extra detail looks good.
-
I would say that the Citadel paints are probably a little easier to dry brush given they are purely designed for brushes and nothing else. They have a great range of colours and are non-toxic. I love them and use them with other acrylic paints so no issue of this paint eating into the other paints.
-
Nope ask away - Ok if you are airbrushing I mix about 50/50 thinners/paint regardless of brand of acrylic except Vallejo where their airbrushable range is spot on for me in terms of thinness. They do have a thinner if you feel it is still too thick. As for Citadel paints, they come in various consistencies from their glazes and filters to their brushable range. They also have some thicker stuff for undercoats too and for effects like mud etc. I have successfully airbrushed their range. I did try water first for thinning but they seemed to want to form droplets (i'm guessing the waters surface tension is playing a part here). I tried Tamiya thinner and that seemed to be ok. So you can airbrush the stuff. As for paint brush and using it to dry brush, Citadel paints tend to dry quickly but I find it inst any worst than using acrylics such as Tamiya for the same effect. I would probably add a few drops of water to the mix (not necessary to use acrylic thinner in this instance) for Citadel paints and give that a go. As for dry-brushing with Tamiya or Gunze or Mr Hobby (my preferred paints at the moment), I would add a drop or two of their thinners. I also as a rule make sure that the surface is dead flat so it "grabs" the paint off the brush. For this I use the Vallejo clear acrylics. Their flat is the best I have come across but by all means try other brands.
-
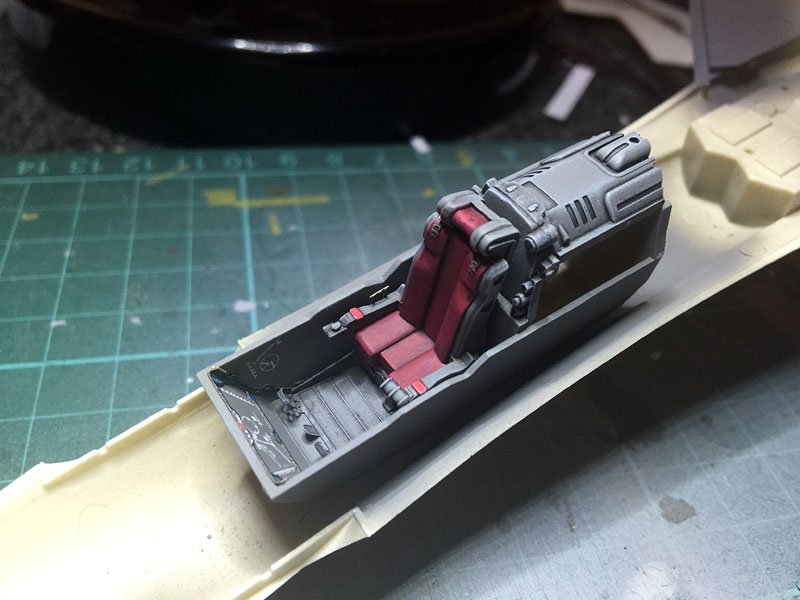
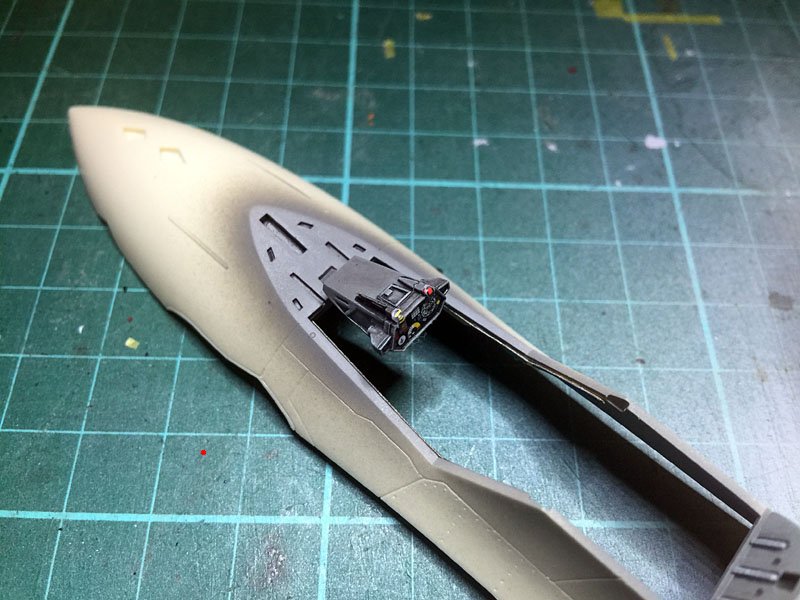
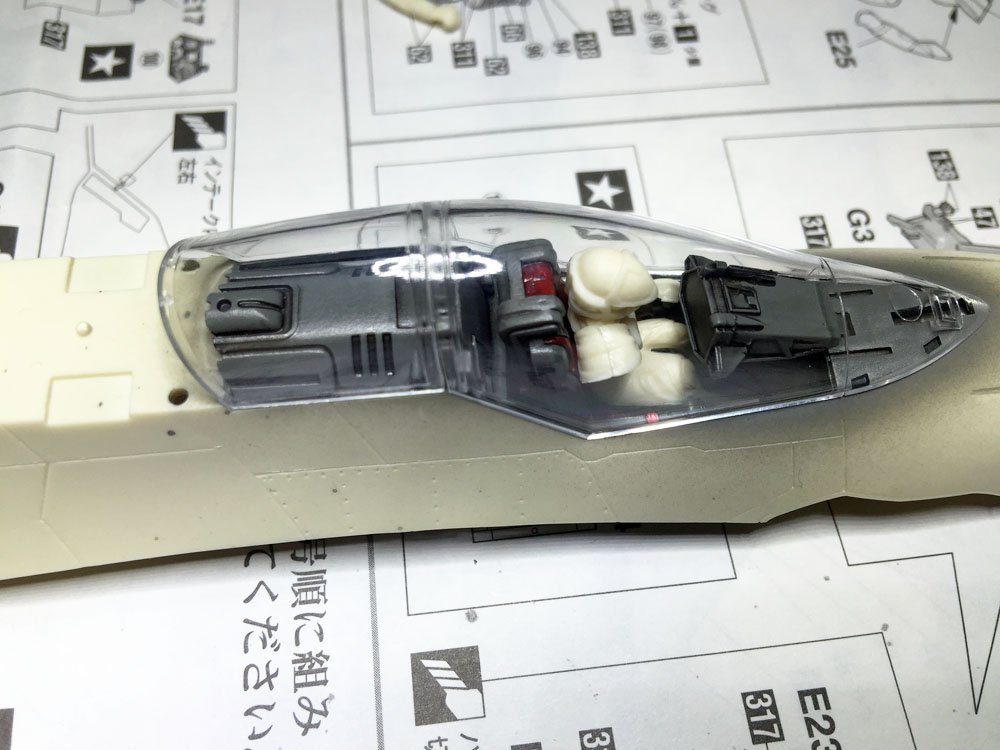
I've added some more touches to the cockpit. Dry brushed with Citadel Astronomican Grey. Test fitting here before I close the two hull halves together.
-
Precisely what I plan on doing here. I would have scratched built them if not for the fact of that bulge on the doors for the wheels. It's no biggy really and pretty much expected. The curve on the other hand wasn't something I was aware of. I don't think the line-art even has this or at least not to my eyes. As I said the 1/48 side profile is closer, if not exactly correct, in this area.
-
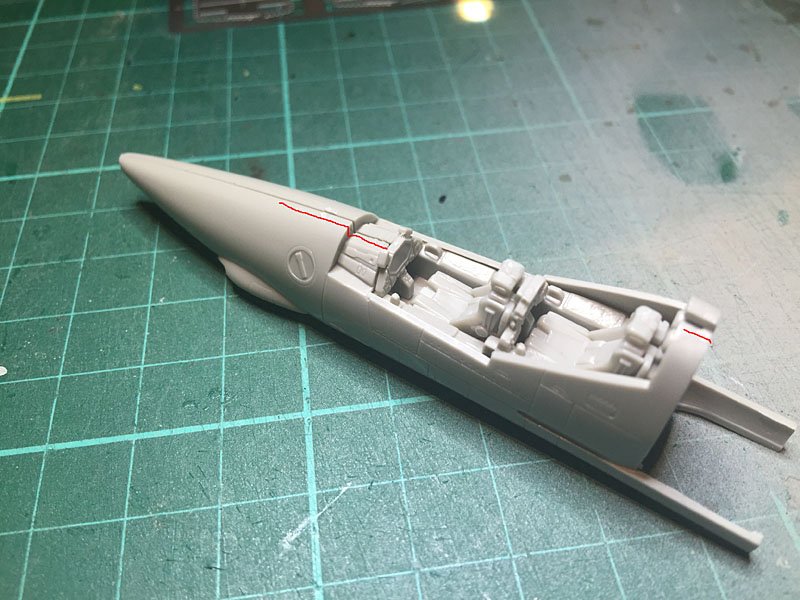
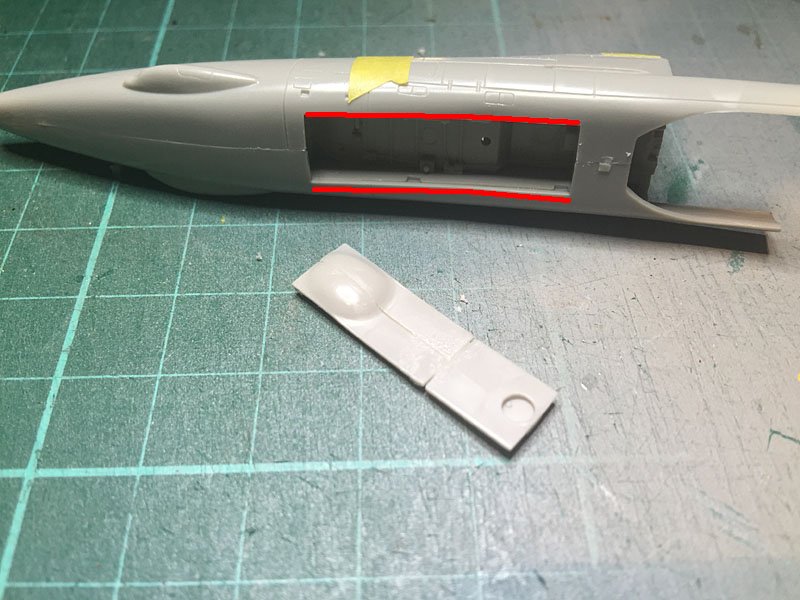
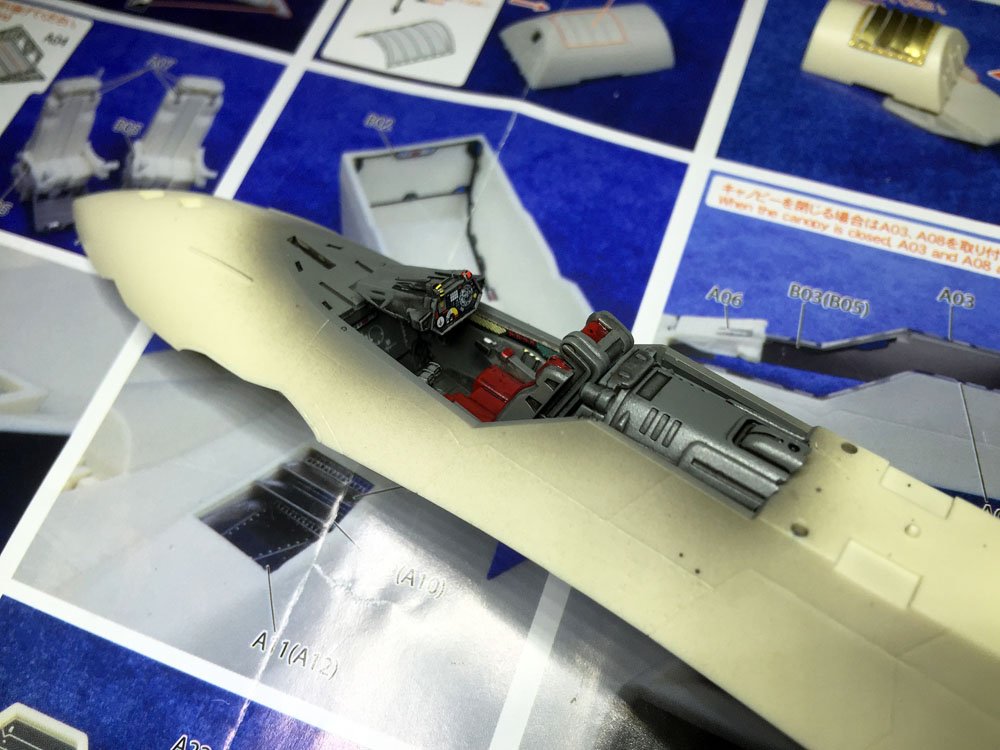
Ok I am building this in parallel to my 1/48 VF19. And boy is there a noticeable difference in ease of construction. I don't know what possesses anyone to like anything smaller than 1/48 scale unless the subject matter is a very large vehicle, such as a heavy bomber or something like the enterprise from Star Trek. 1/72 is just a pain to build. Having said that the kit is very detailed for the most part and is pretty much a scaled down version of the 1/48 kit. Did I mention its also SMALL? Arrrgh! The cockpit. Like most aircraft modelers I paint and detail the cockpit tub first and then insert and close the hull halves together. In the case of this kit, there were some issues with the fit around the cockpit dashboard(?) and the rear above the backseat position. I decided to close the halves together and put the tub in now. It'll make it trickier to paint but that''ll be the challenge. The gaps are marked in red. The rear I'll have to put a bit of plastic card in the seam gap as it wont pull all the way over. The seats haven't been permanently fixed yet. Flipping it over, I have decided to display this bird in flight so that necessitated modifying the forward gear doors so they can be closed. Now the first of the two issues I have with the Hasegawa 1/72 Valkyries, scale aside. The forward fuselage has a very pronounced bend like a banana in side profile this is evident when you try and fit the doors closed as they do not following the bend in the fuselage profile correctly.The rear doors are very straight where there should be curve in the plane when closed. Easy fixed by gently bending them. I believe the profile of the 1/48 kits to be superior in this area.
-
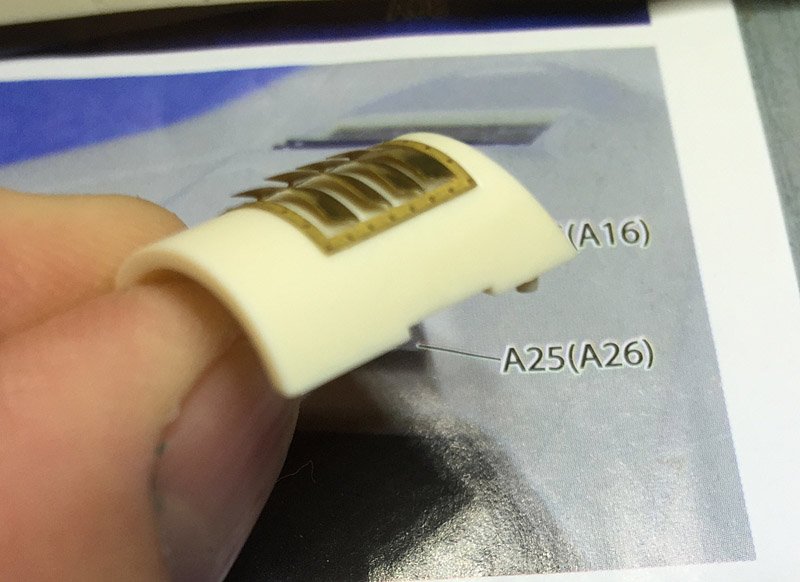
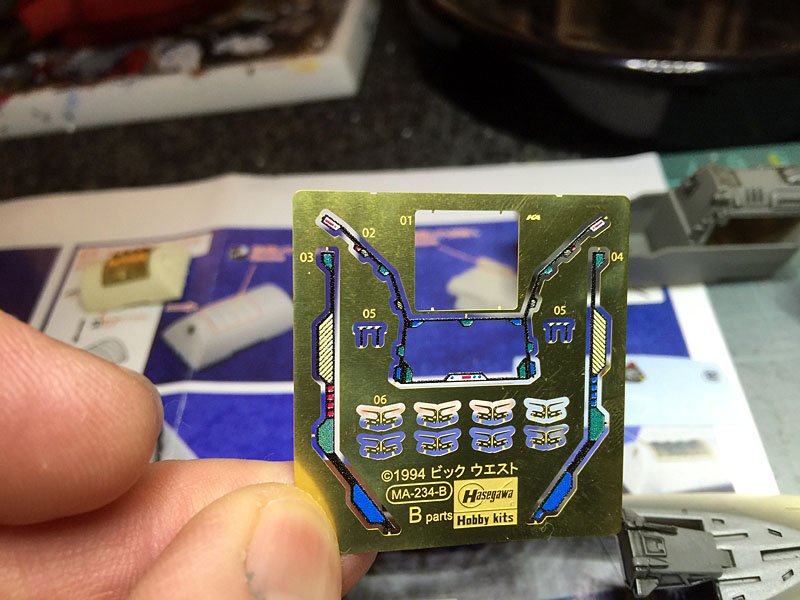
I've managed in between pulling tree stumps out this today. Cockpit still needs some highlights with a lighter grey drybrushed on. This is the cockpit after the brass etch and decals have been applied: More brass goodness. Vent thingys behind cockpit. Hasegawa brass cockpit detail fret:
-
Just started on detailing the cockpit. This is of course the Hasegawa 1/48 YF-19. A beautiful kit. Very detailed and big. I have the etched detail kit for this by Hasegawa too. It adds some nice little touches like the open vents behind the canopy, little detail bits on the main thruster thingys etc. I'll show these as I progress through the build. For now I am just test fitting the pilot here. It needs cleaning up on the mold seams on the shoulders. Cockpit needs to be given a coat of flat Vallejo clear and then dry brushed to bring out some of the detail. Cockpit displays needs to be added via a kit supplied decal.
-
Mate have you tried the Vallejo range of acrylic clear coats? If not they are brilliant. Flat is FLAT. Semi gloss and gloss and are very good too. No thinning need but you need to stir the pot so to speak and make sure the solution is thoroughly mixed. Sprays straight out of the bottle.
-
Very nicely done and painted. Any Valk with a strike pack needs building.
- 17 replies
-
- strike valkyrie
- club m 1/48
-
(and 3 more)
Tagged with:
-
Cheers mate for the kind words. I've started on my next strike pack in 1/48 so I hope to have that finished in a month and post some picts of it.

