-
Posts
439 -
Joined
-
Last visited
Content Type
Profiles
Forums
Events
Gallery
Everything posted by Mintox
-
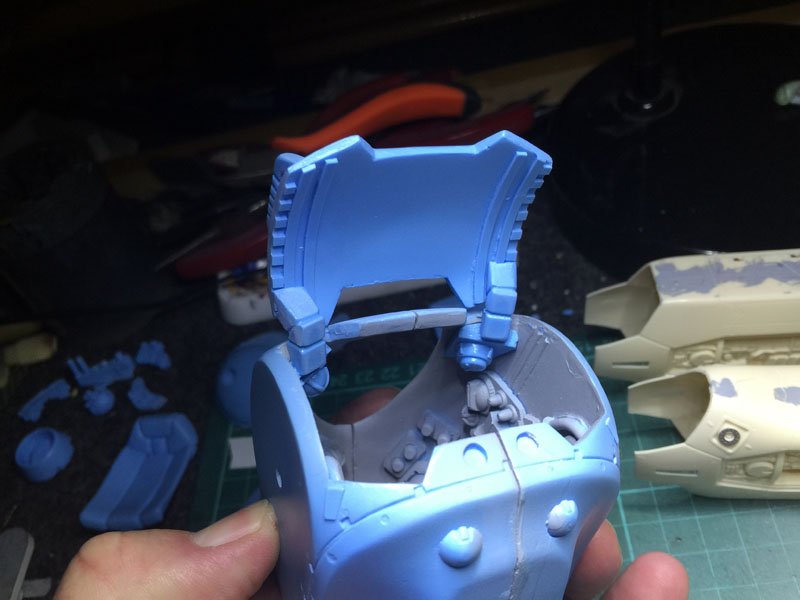
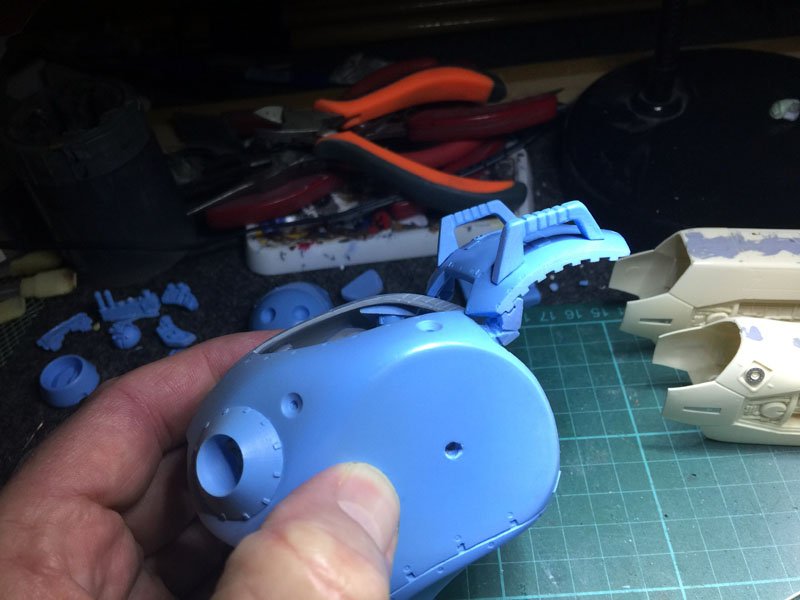
Working on the hatch hinges. A bit of a fiddly job but I think they now look decent. Nothing is glued here the pressure from the fit is holding the hatch to the hinges.
-
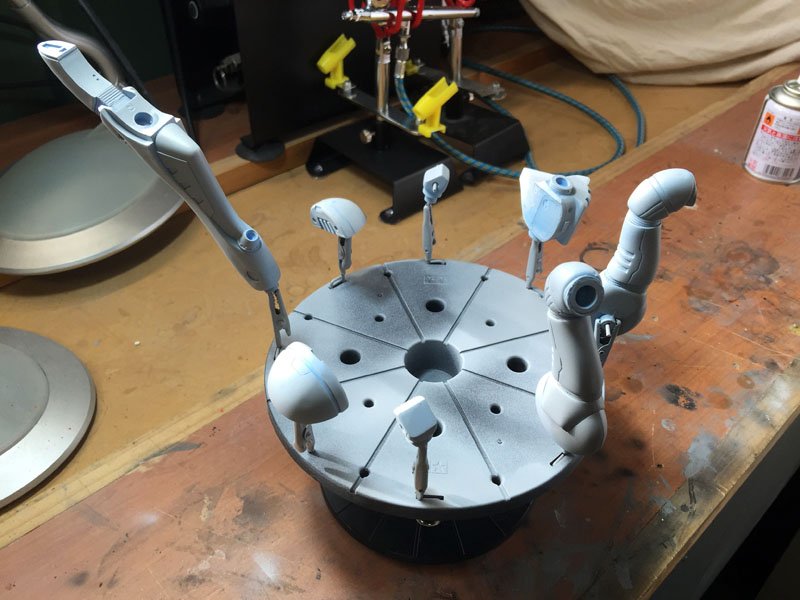
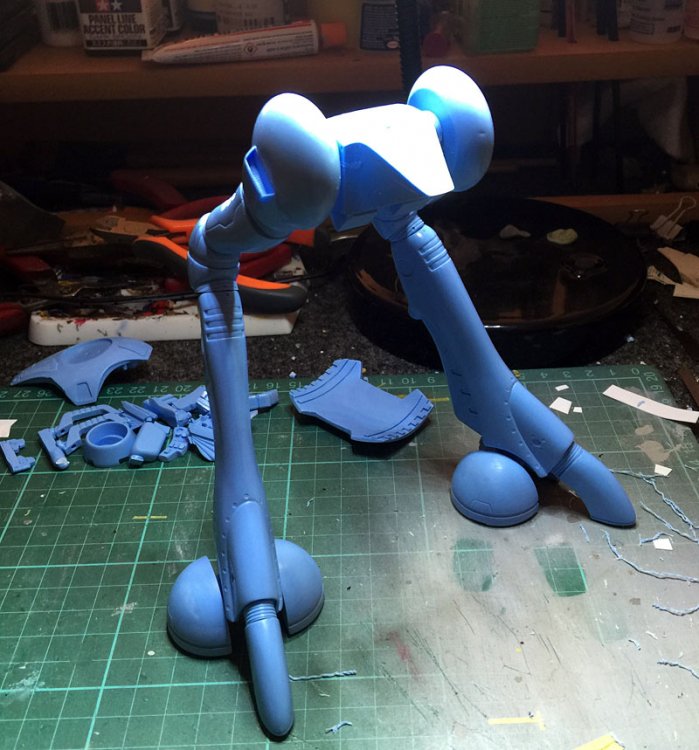
A little bit more progress on the Regult body. I've added the hatch hinges and foot pedals. Undercoated the legs, feet etc. They'll need some sanding with 600-1200 grit W&T as there are lots of little marks etc over the surface.
-
A mate of mine I think or I might have swapped another kit for it. Cant recall now.
-
I have also used alcohol to clean my kits where I have stuffed up. So far on the Hasegawa plastic there is no effect. Obviously try it yourself but the stuff I use seemed to do a good job of stripping off Mr Hobby acrylic paint even after several weeks.
-
I c I know I'm being picky but your build is looking fantastic. Ignore my anal retentiveness on details. One thing I love about this kit is the detail you can get from the panel lines. It really makes the kit stand out. Cant wait to see it finished.
-
Weather the crap out it sounds good to me! I already have in my minds-eye how I'll tackle this. I have this kit but have never built it but your looks bloody nice mate. Good job on the weathering. I have a Quell-Quallie that I want to also detail and dirty up (the old Imai kit) 1/720 scale. Its odd that its green or is that because its more a ship that a mech? Can you imagine it in 1/72?! Hmmm now there's a thought...
-
Here is something I have been thinking about - should the Zentradi pods be gloss, semi-gloss or flat in tone? I was thinking gloss originally but now thinking maybe semi-gloss or flat? Does anyone have any suggestions?
-
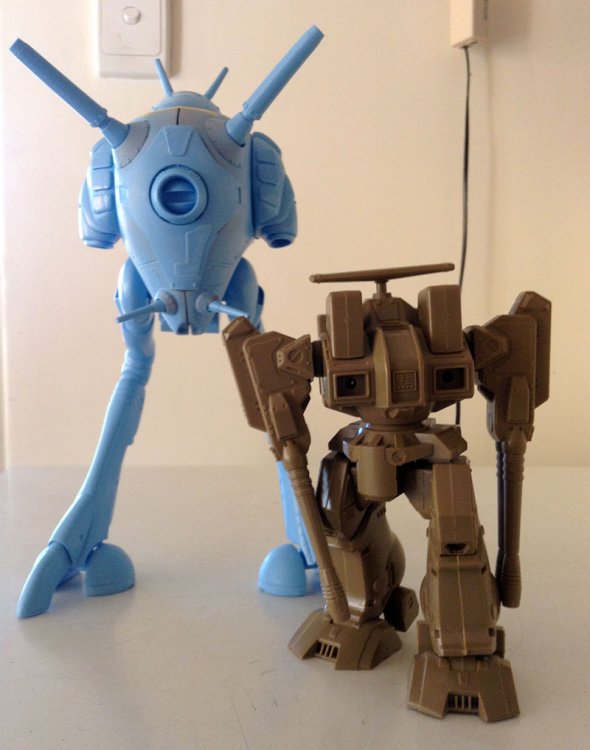
More progress. Pinned and fitted all the legs. They went together with a minimal of fuss. I decided to see for scale comparison what it looks like next to the 1/72 imai Defender kit. I forgot how big the Zentradi pods are.
-
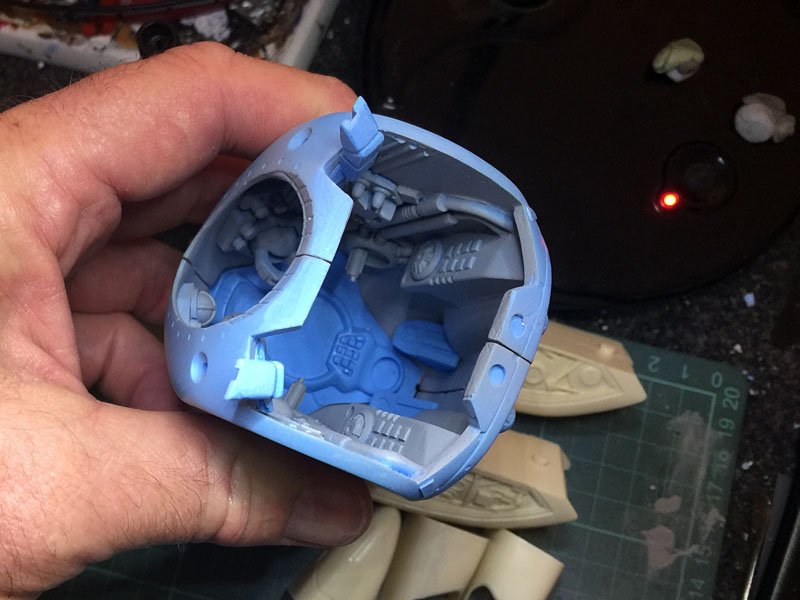
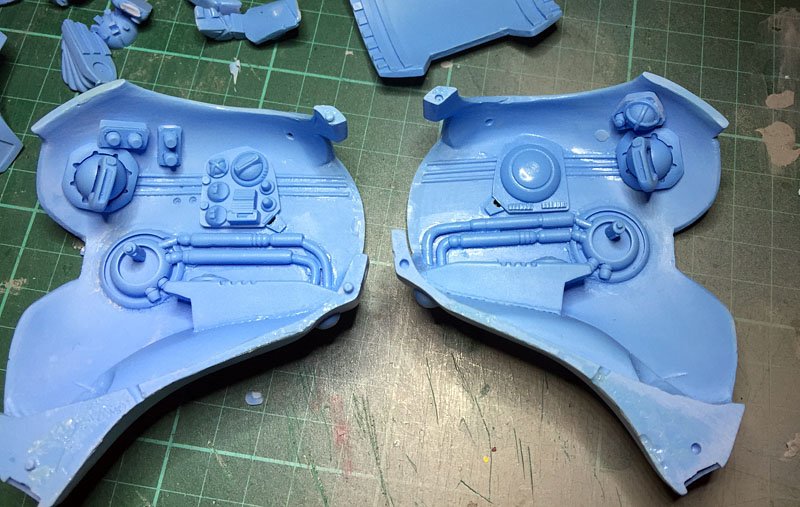
Work is proceeding slowly as its winter here and not good model making weather. Anyway, got most of the parts on the inner walls of both halves of the pod. All goes together relatively easy. I have worked on a way to hide the joins that might be seen inside of the cockpit but more on that later as I get to it.Tomorrow weather permitting I will spray a grey undercoat on the cockpit and start with the painting and detailing of it.
-
The only thing I would say to not do is seal the edge of the top and bottom of the main body. Simply because if my memory serves me these split apart so there should actually be a gap between the two halves. Just MO.
-
Mate that looks great. That weathering effort on the blue certainly brings it out. Well done. Now, whats this salt weathering all about?
-
Just plain old Tamiya but I used their scribing tool which I find so far to be the best tool I have used. Very sharp and gives a great panel line. I used the tape from those printers that print labels as it is hard and gives a good, straight edge to scribe against and is flexible enough to go over things like the door bump.
-
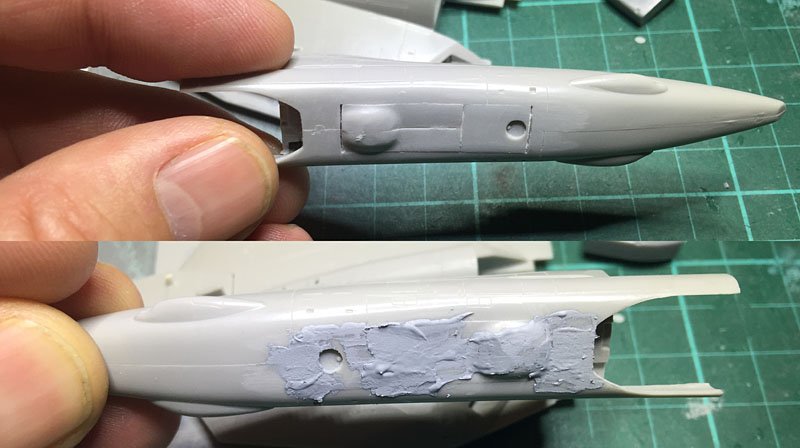
More progress on the forward undercarriage doors. Sanded flat, puttied up and sanded then rescribed the doors.
-
This is coming together really nice. The big boosters are my favourite part of this kit.
-
Thanks for the insight but yeah my comments aren't a slight on the kit and the way it was produced, rather an observation if people have purchased one and are ever considering building it, this is one of those construction issues you'll face. Its no biggy for me to remedy but good to hear from the horses mouth how you approached this build originally. I couldnt even begin to work out how to cast a kit so kudos to you fine sir! Anyway I am looking forward to building it (finally) and posing it next to a Hasegawa 1/72 Battroid.
-
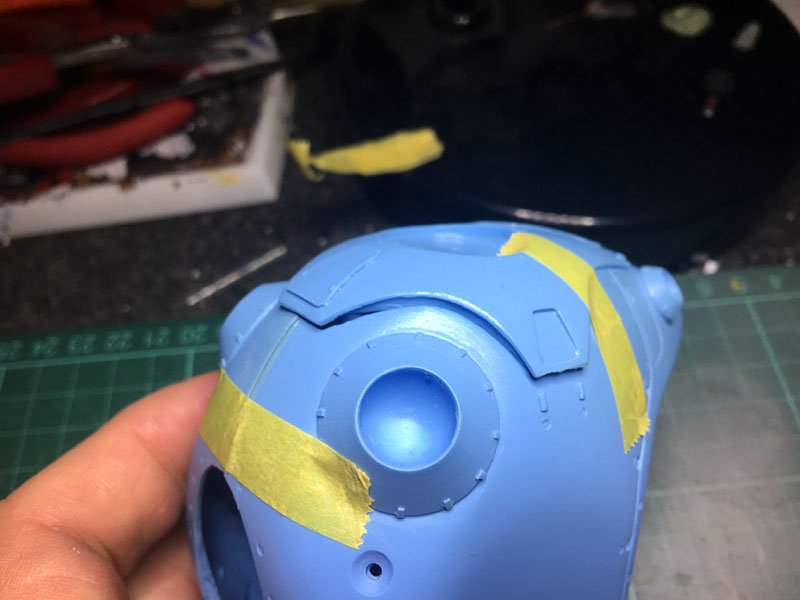
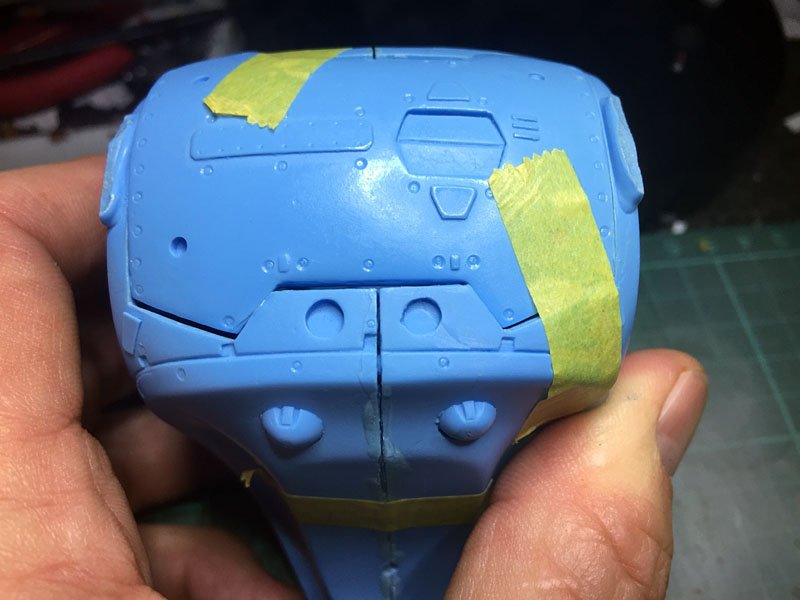
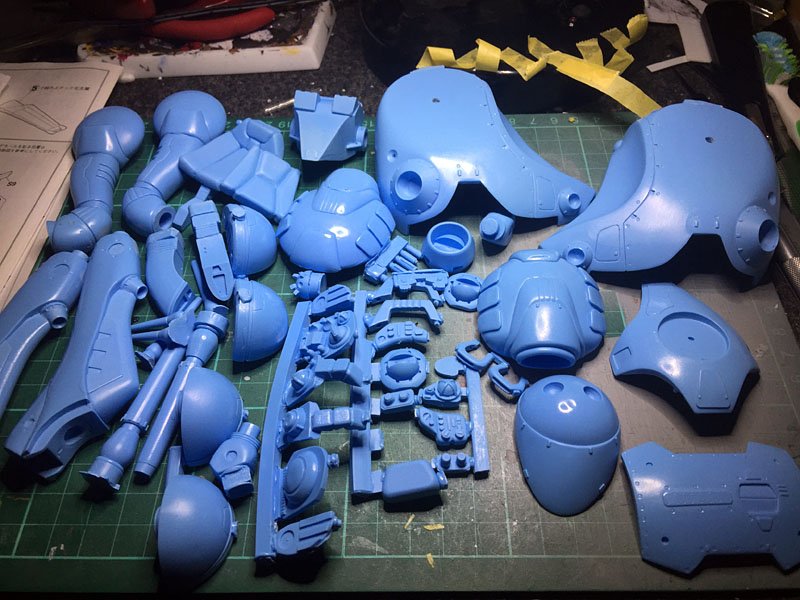
Im guessing everyone on this site knows the Moscato Regult kit so I wont go into details other than to say it is nicely done, free from bubbles and done in a funky light blue colour resin. Most of the parts fit together really well with the exception of a couple of areas. The first area is the front hatch? around the top. Not sure if it is the hatch not aligning or the hull sections itself. Hot water should help here to bring the gap closer. The next part is the rear hatch. Some serious gaps here all around the hatch but nothing some plastic card wont fill in. Then the two halves themselves create a nasty seam that can be filled on the outside might pose some problems in the inside if I am going to do the interior so I am going to have to figure out a way to cover those interior seams up.
-
-
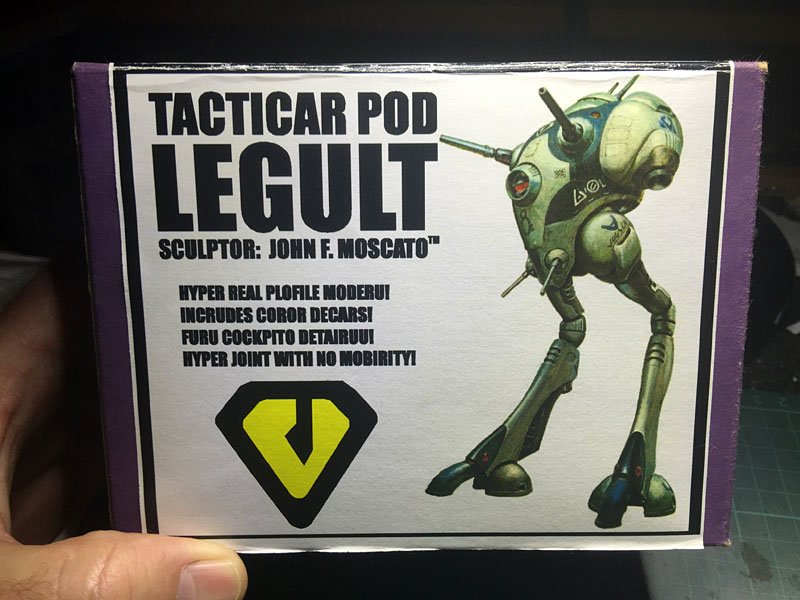
Ok since I'm a gluton for punishment I have decided to start on the Moscato 1/72 Regult - Gulp! For now I'll leave you with the rather spiffy box it came in. Parts and fit comments to follow.
-
VF-1S Strike Pack in VT Colours. I always loved the VT colours. Something about the combination of the orange and tan colours just makes any Valkyrie standout from the crowd. I know its not canon but who cares. It looks dead sexy in this scheme.
-
From the album: VF-1S Strike Pack in VT Colours
© Mintox2015
-
From the album: VF-1S Strike Pack in VT Colours
© Mintox2015
-
From the album: VF-1S Strike Pack in VT Colours
© Mintox2015
-
From the album: VF-1S Strike Pack in VT Colours
© Mintox2015
-
From the album: VF-1S Strike Pack in VT Colours
© Mintox2015
-
From the album: VF-1S Strike Pack in VT Colours
© Mintox2015

