

Firesped
-
Posts
68 -
Joined
-
Last visited
Content Type
Profiles
Forums
Events
Gallery
Posts posted by Firesped
-
-
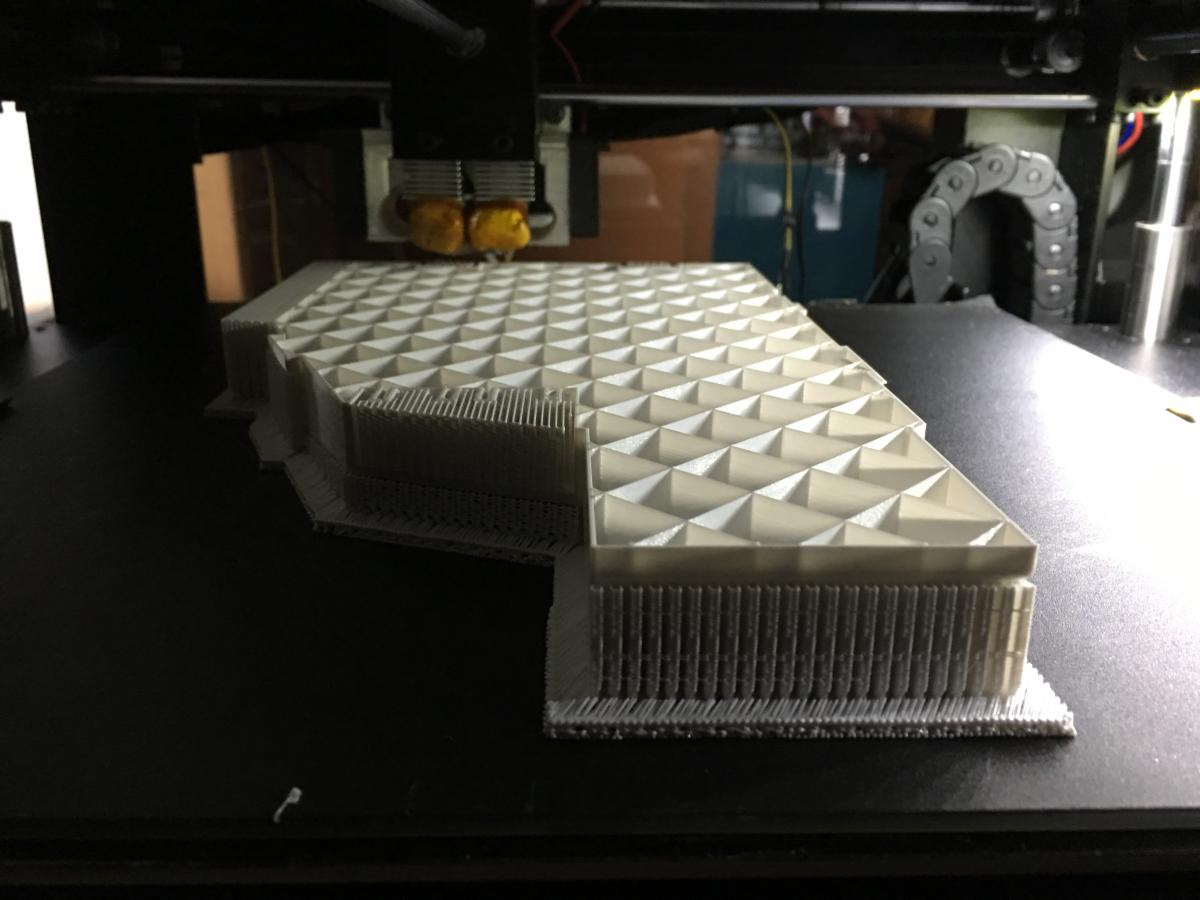
had to reprint the top and I cut back the part that printed before then glued them together. I should be able to print it without issue in the future, just need to fine tune some settings. I think because it is printing the top solid layers faster, they are not bridging well, so I need to add more top solid layers.

Right now I am at the 20 hour mark on the left side bottom.
here is an earlier photo as well.

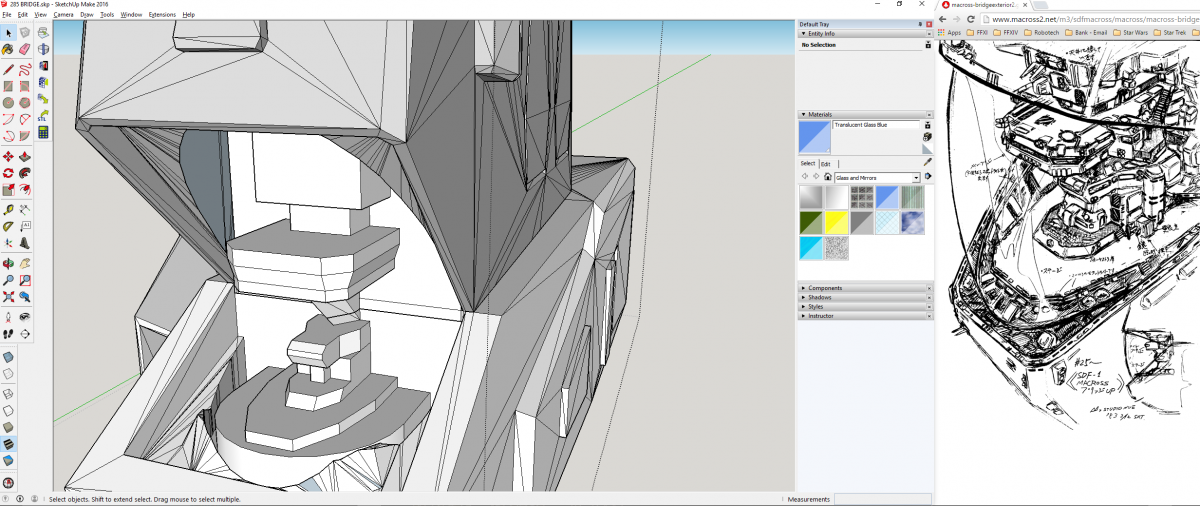
You can see the bridge details I added.
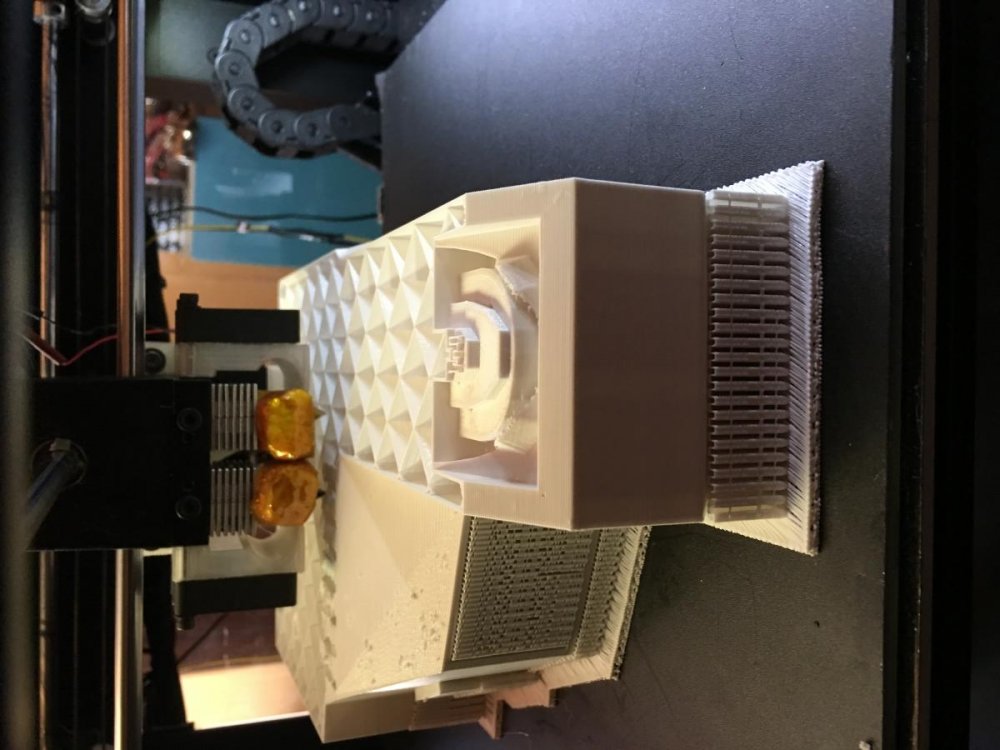
I'm going to print the dome in ePC, a polycarbonate filament and see how it turns out. If it doesn't turn out well, I have a transparent blue filament.
-
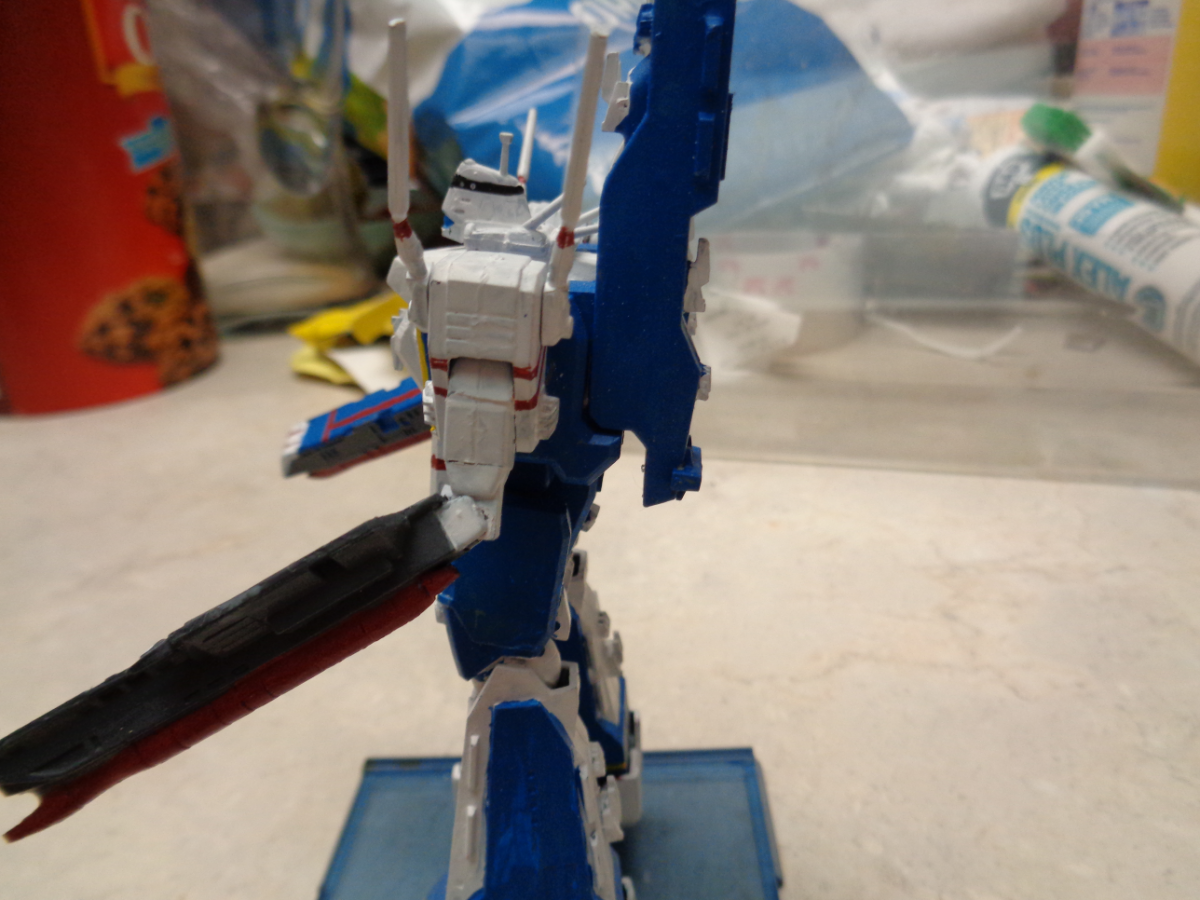
I just had to have a detailed bridge in this print!
so I kinda added some simple facsimily of the internals.
I'm breaking the front left part into 3 pieces. the lower section, the dome and the tower. I've finished my bridge details for how I want them and I have the dome and the lower part done. I still have to make the tower interface with the dome.
I have the dome hidden in this screen shot.

-
I have a SDF-1 model I got from the internet, I scaled that up to 1:1 scale then back down to 1:285 scale. had some issues with my printer, still learning how this works. ultimately I had the flowrate set to high for the slower speed I was going and the pressure built up to high and caused a clog. I've got it fixed now though.
just found who made this model as well, seems to be the SDF-1 model from John Hoagland
-
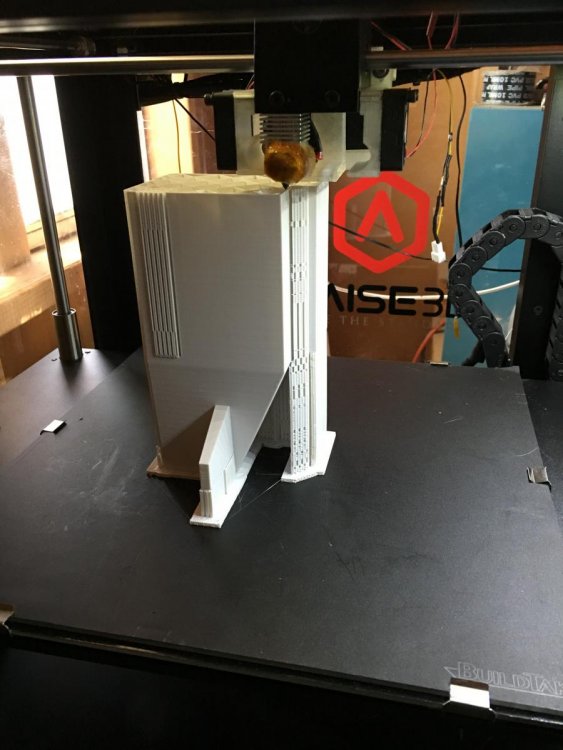
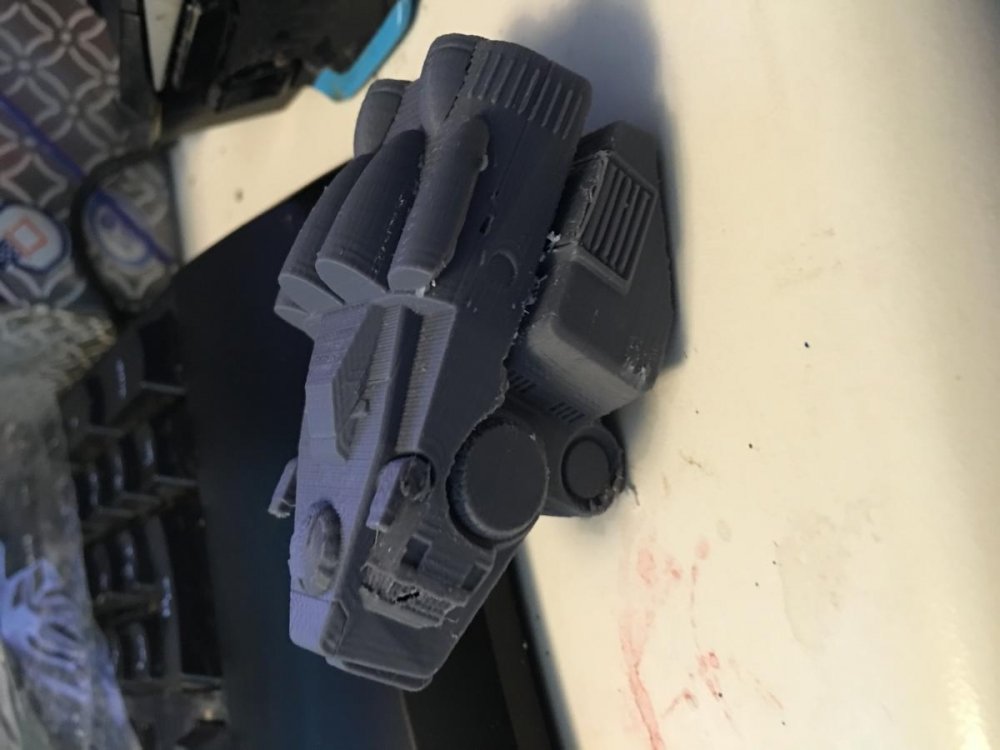
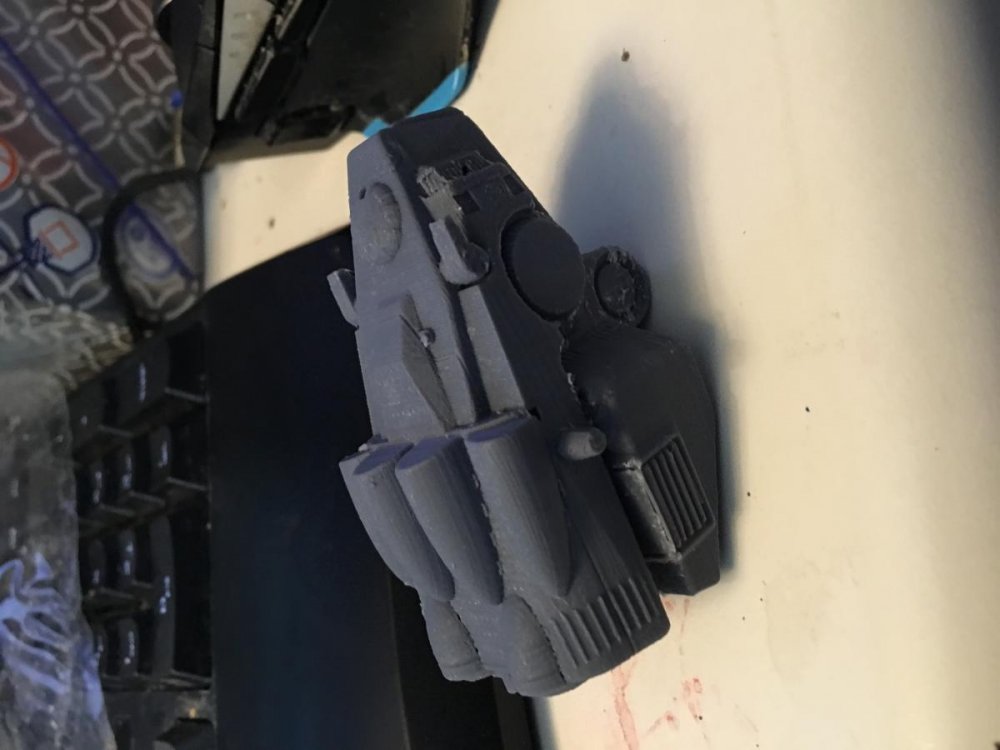
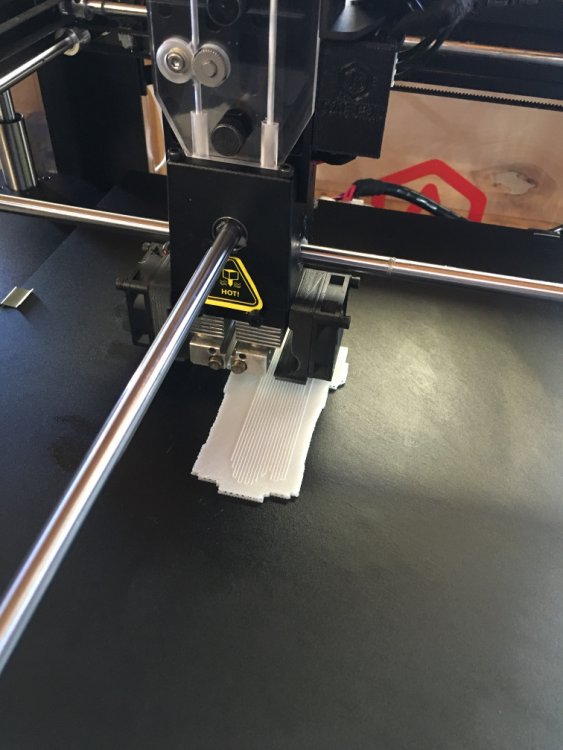
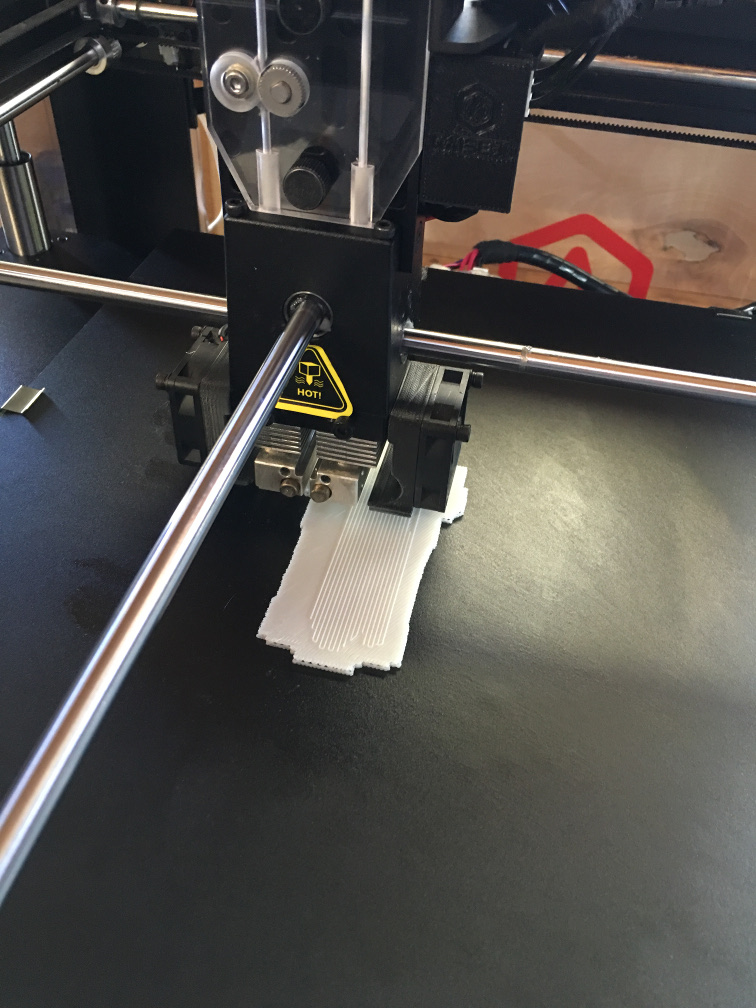
3D printing the SDF-1 Bridge in 1:285 scale. I didn't make the 3d model, but I did scale it to 1:285 and broke it into pieces to be printed on my raise3d N2 FDM printer. I did redesign the four large antenna that stick out to be replaced by rods. so there are insert holes in the model for that.

so far I have printed out the back of the left side.

I tried to print out the front part of the left side but I am having some issues. so I went ahead and started the right side.
Here are some pictures showing various states of the print.

I want to go in eventually and update the left side so it has all the inner layers of the bridge modeled out. There is a kickstarter I am backing for a new material called Polysmooth, that comes with a polysher device. They are going to make a transparent filament for this that will polish see through.
-
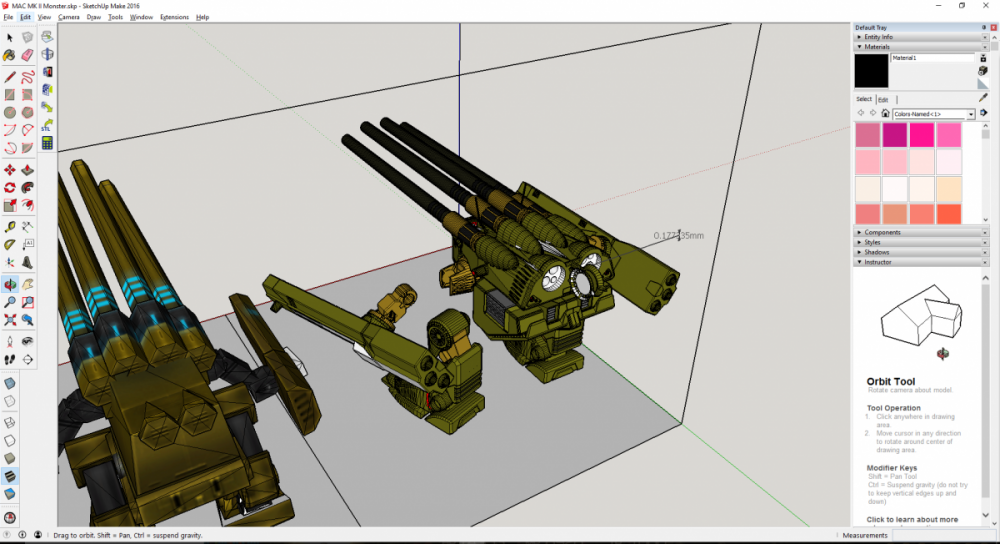
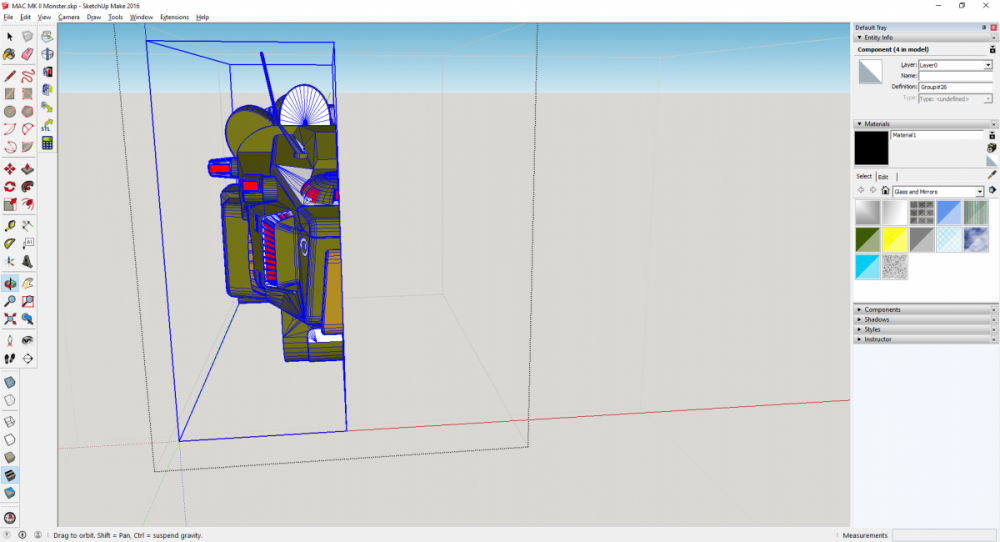
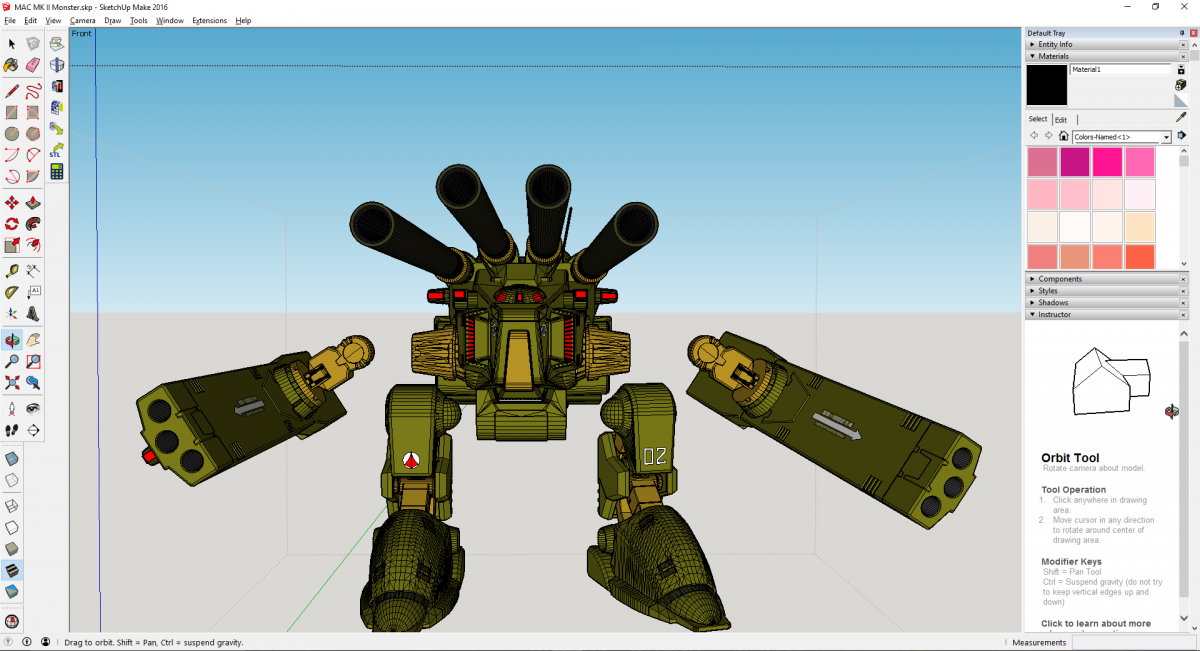
There is a sketchup file floating around for the MAC MK II monster. I've been working on it to make it 3D printable for a while. Then about a month or so ago, grimmindustries on thingiverse put out an articulated version.
http://www.thingiverse.com/thing:1461419

(note the other monster pictures in wip 2-21-16 was from Macross VOXP)
I had printed out a prototype of the original file for the torso in ABS on my Raise3d N2 printer.

many print issues, the door ended up breaking off. I was working on fixing it up.
grimm put out his version and I tried rescaling it down but it wasn't reliable enough to get the scale correct. the parts didn't fit together right.
I discovered though I could import the STL files back into sketchup and rescale it in there.
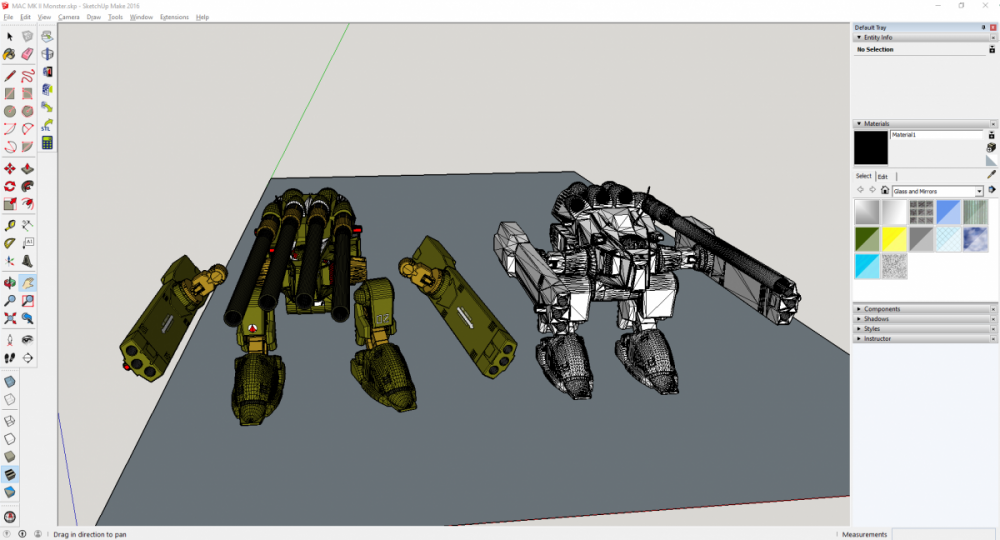
Layed out the parts and printed them off. Far cheaper then shapeways.

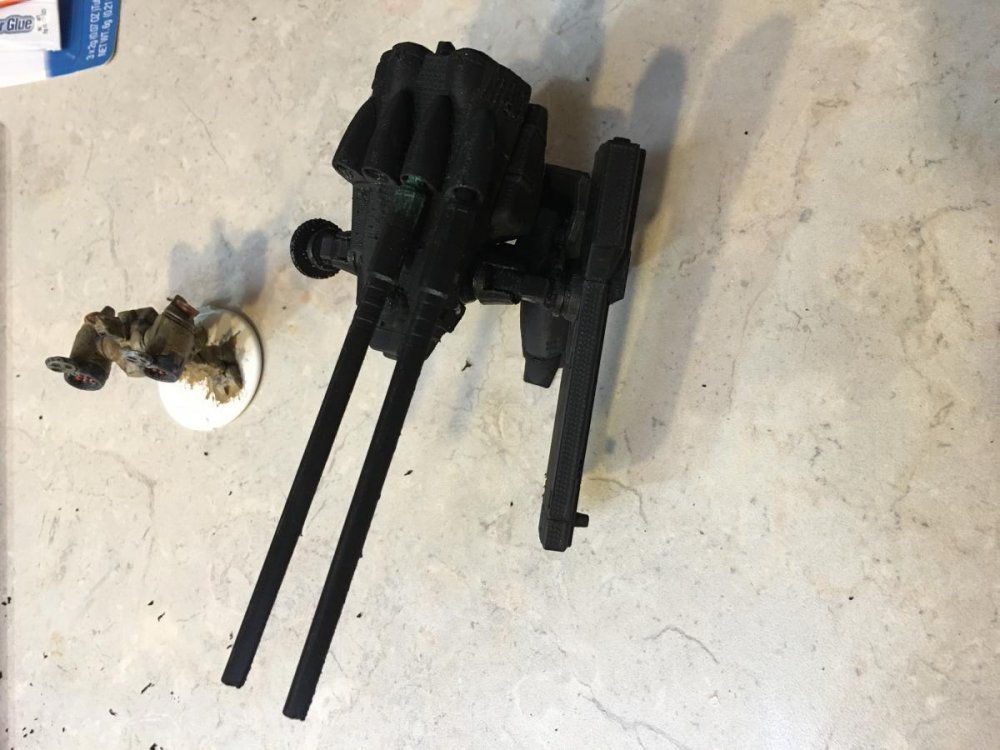

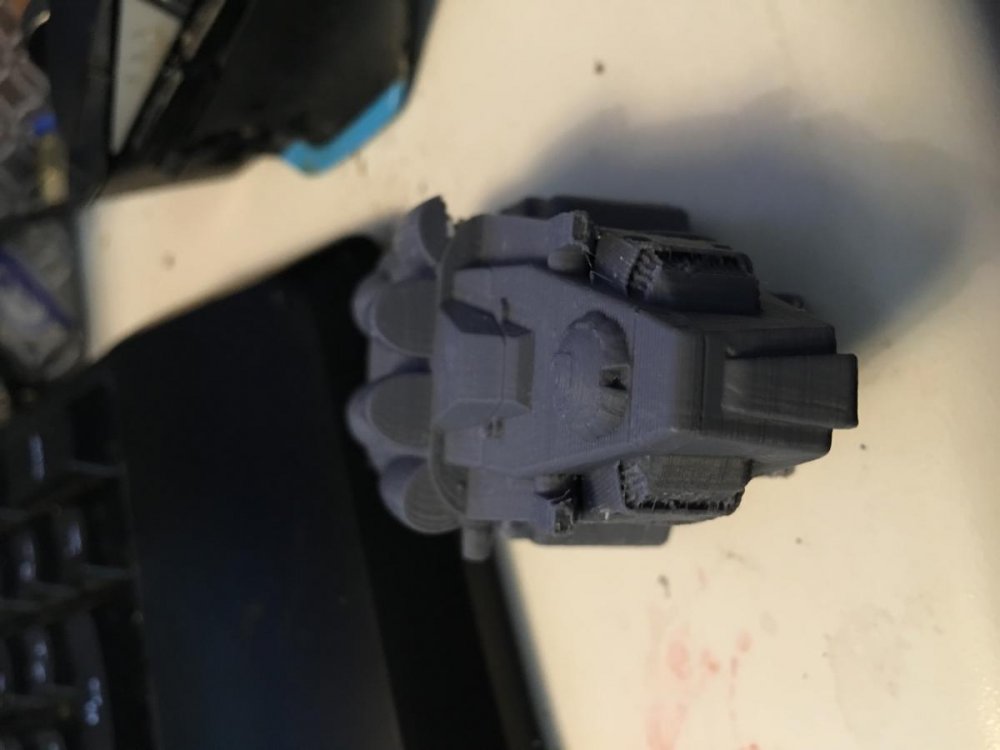
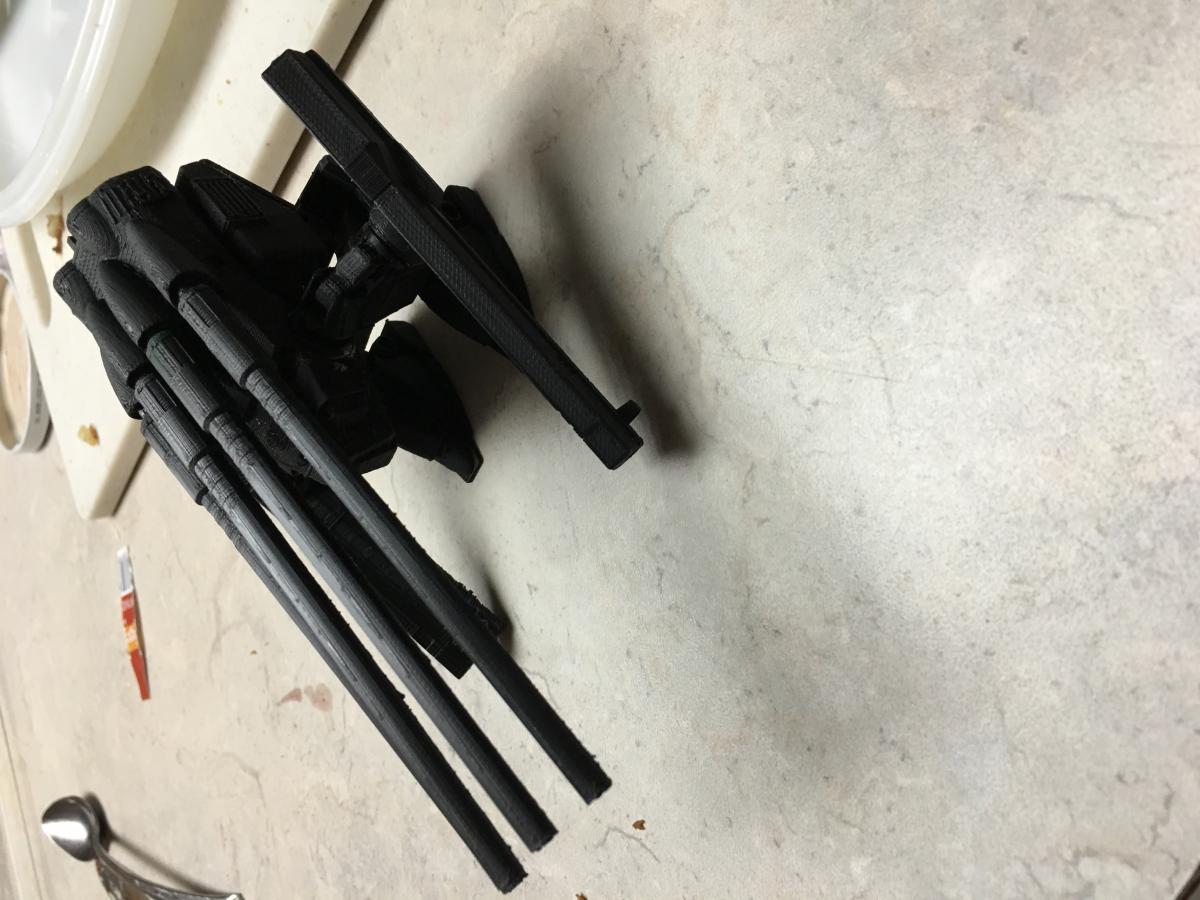
Ended up having to super glue it together because the parts were still too loose and I had to use a dremal tool on a number of the joint sockets to make them fit.
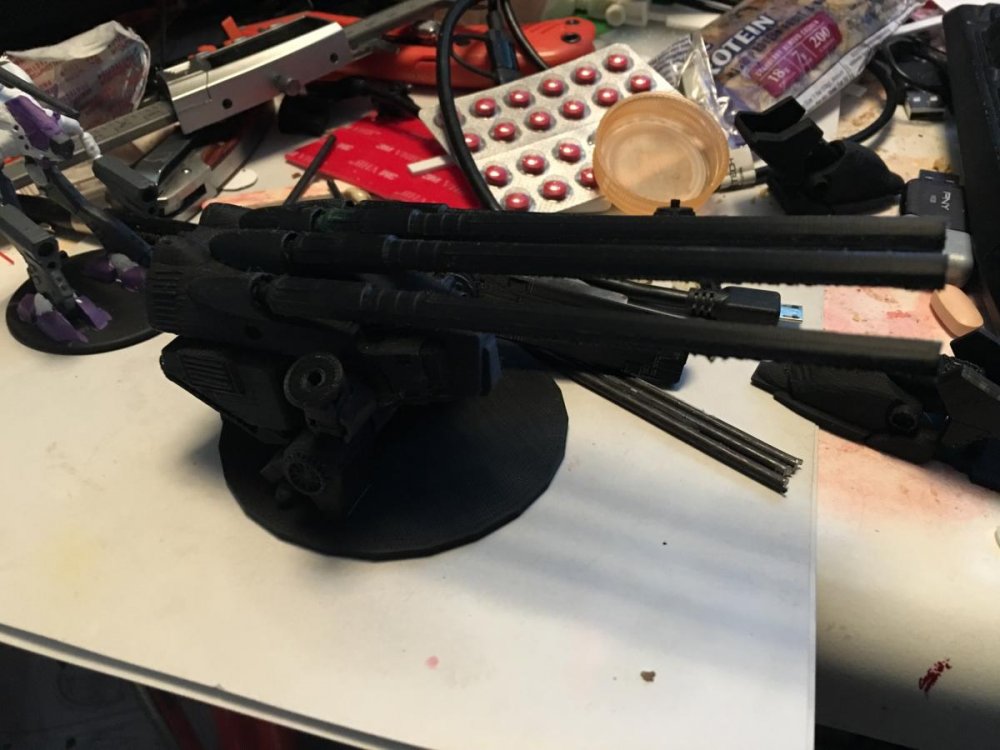
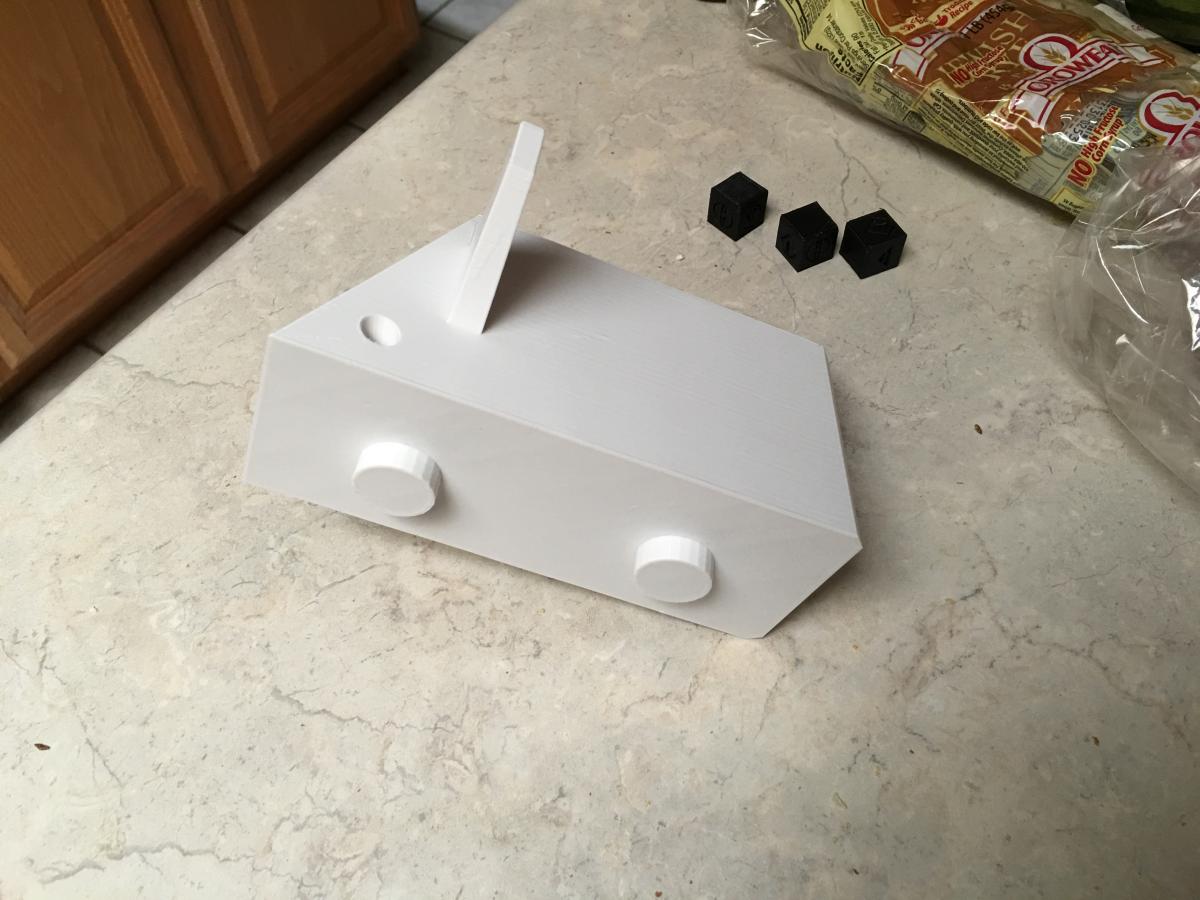
Made an 80mm base for it.
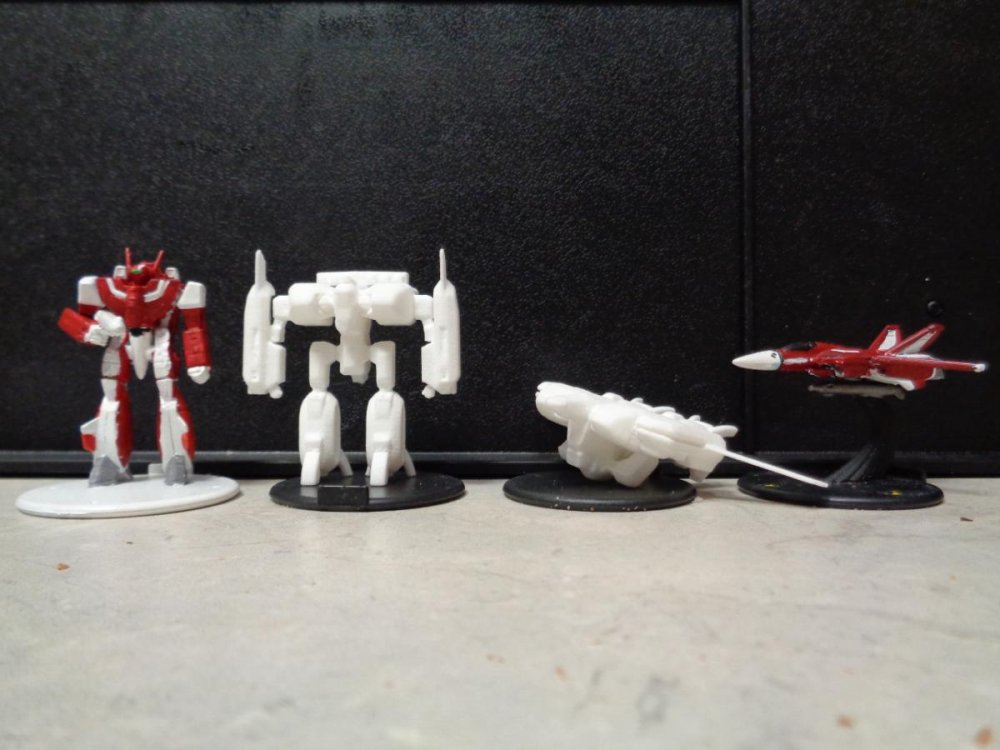
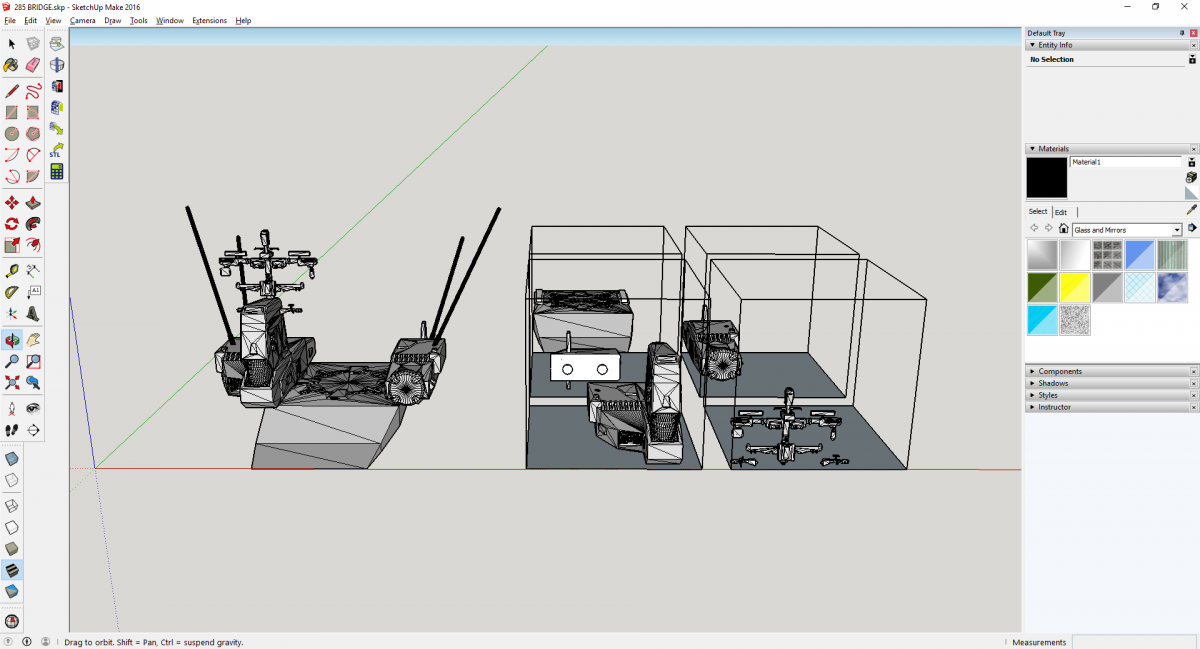
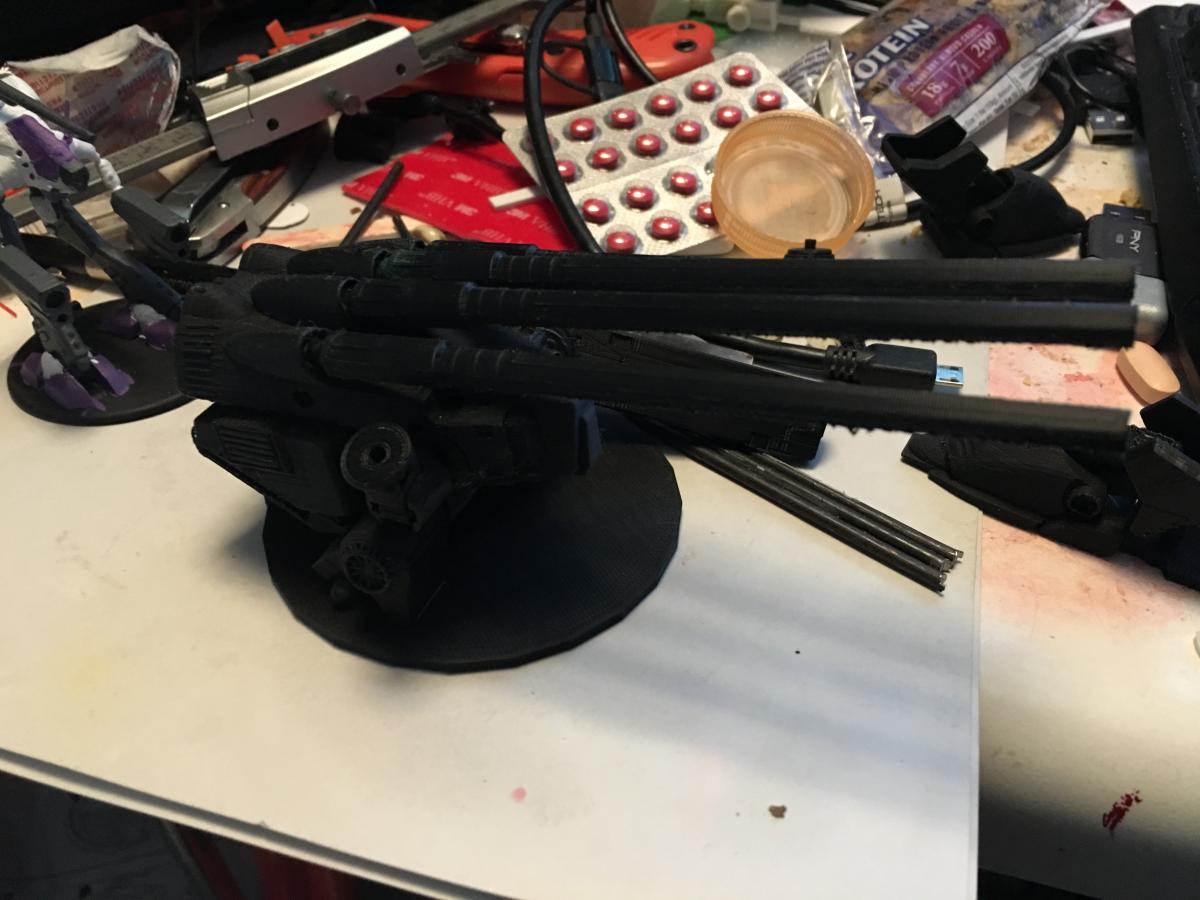
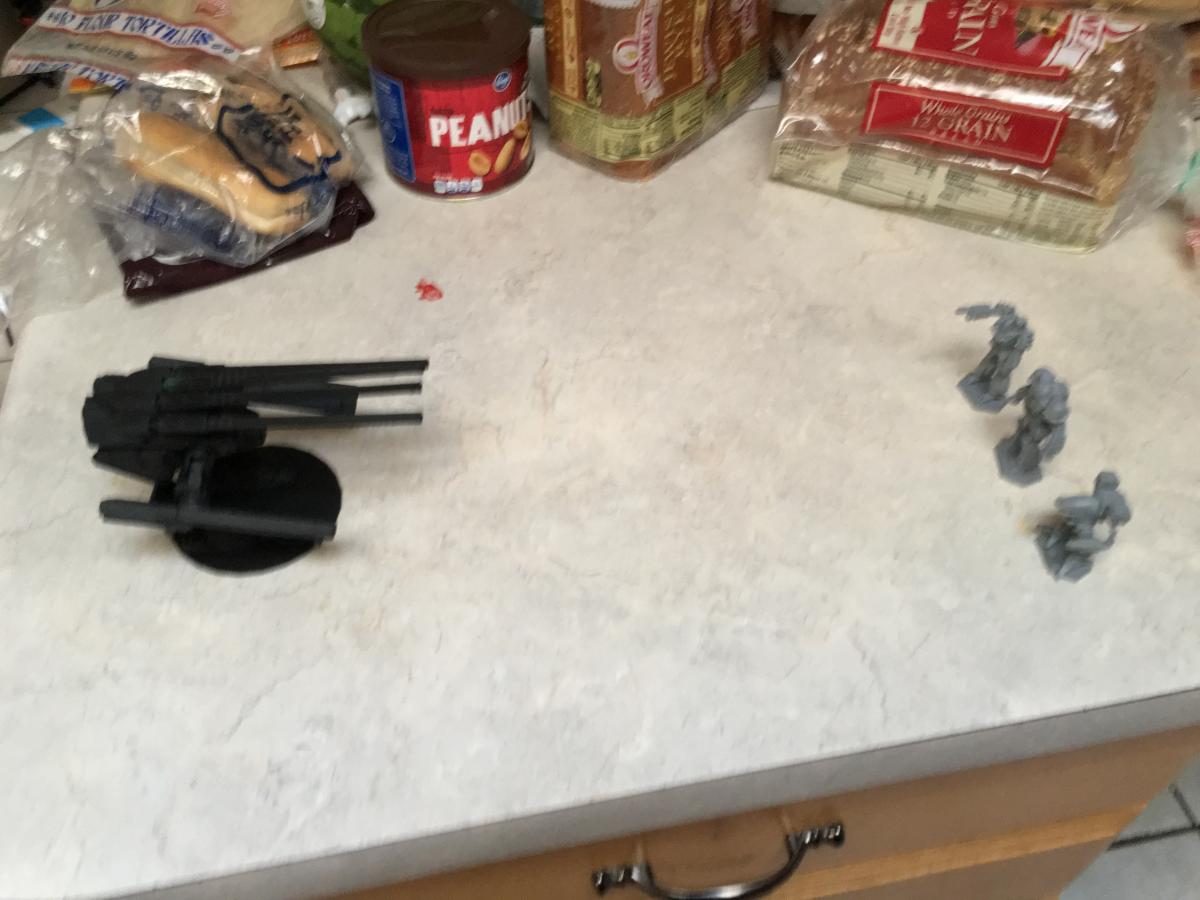
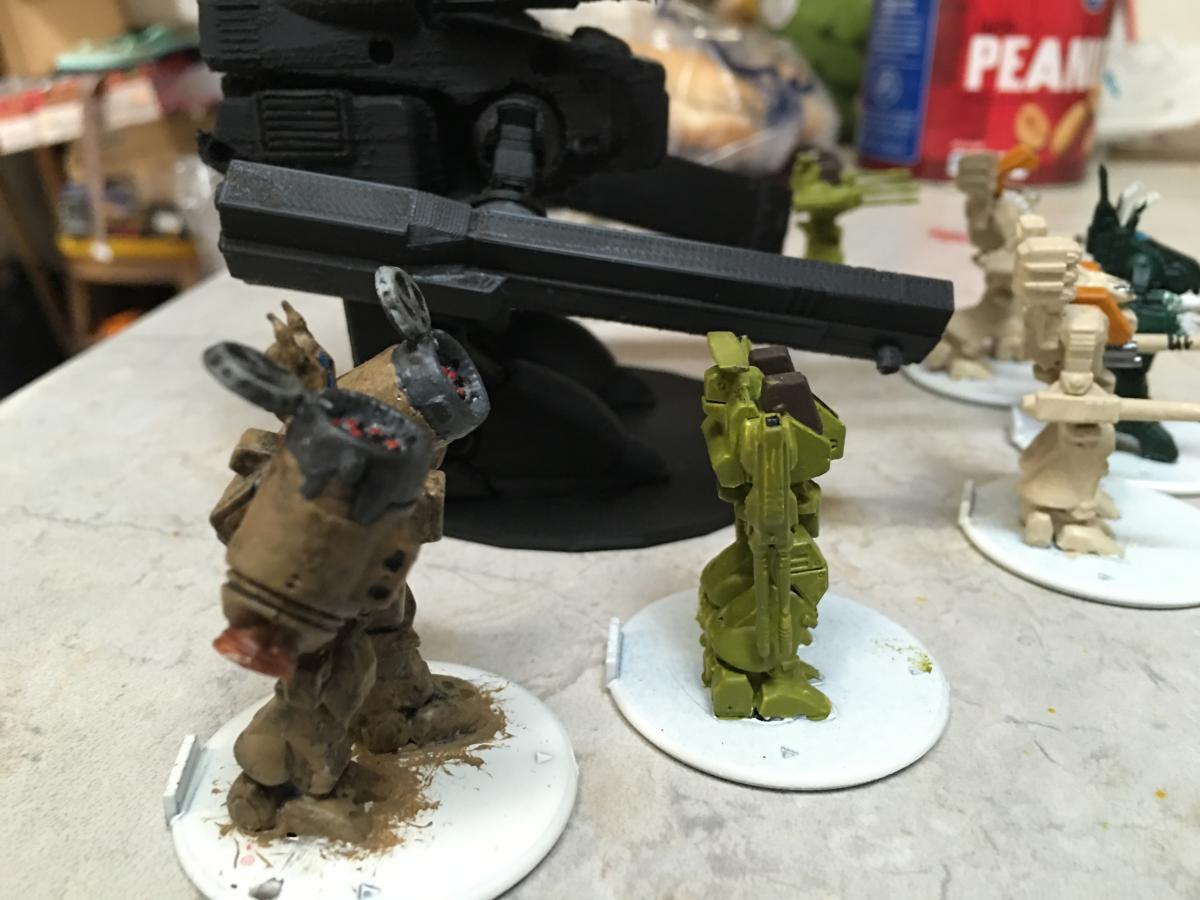
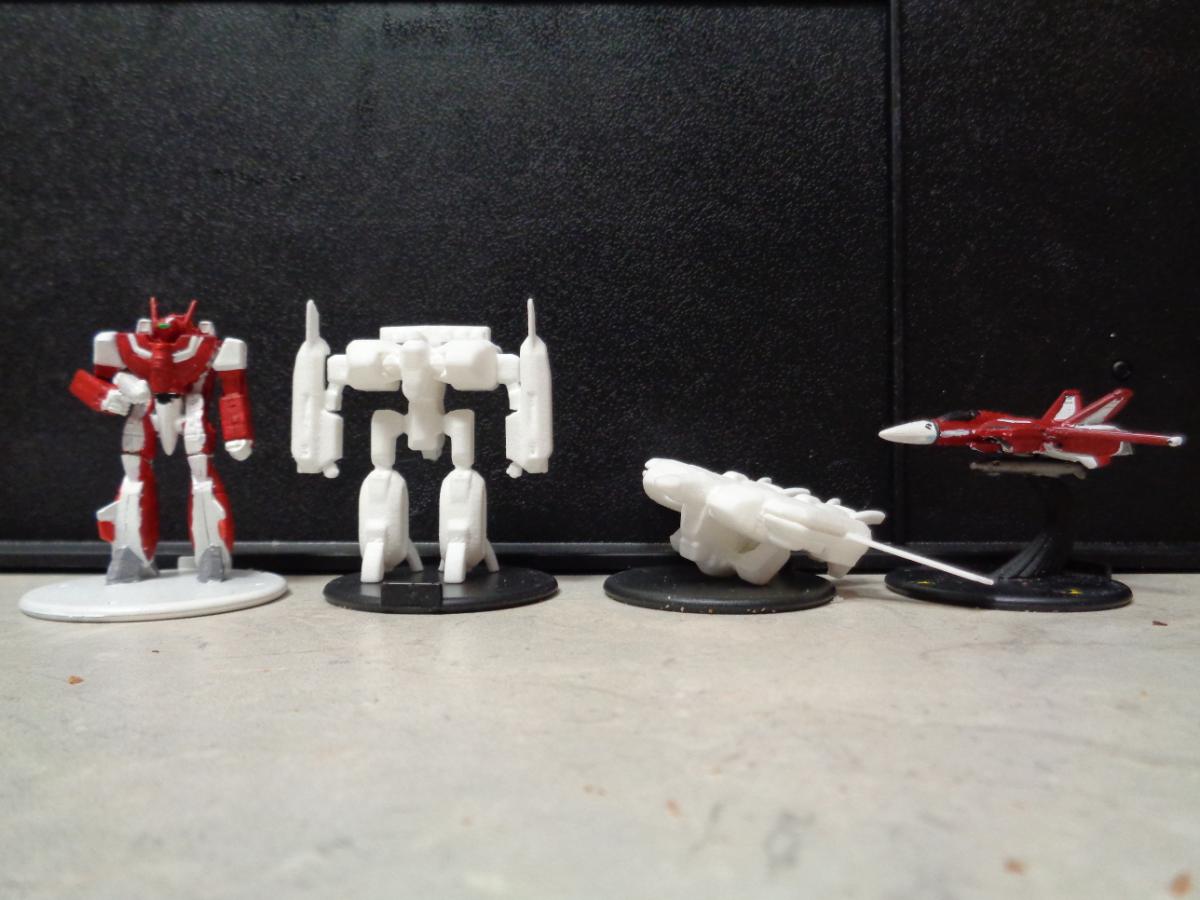
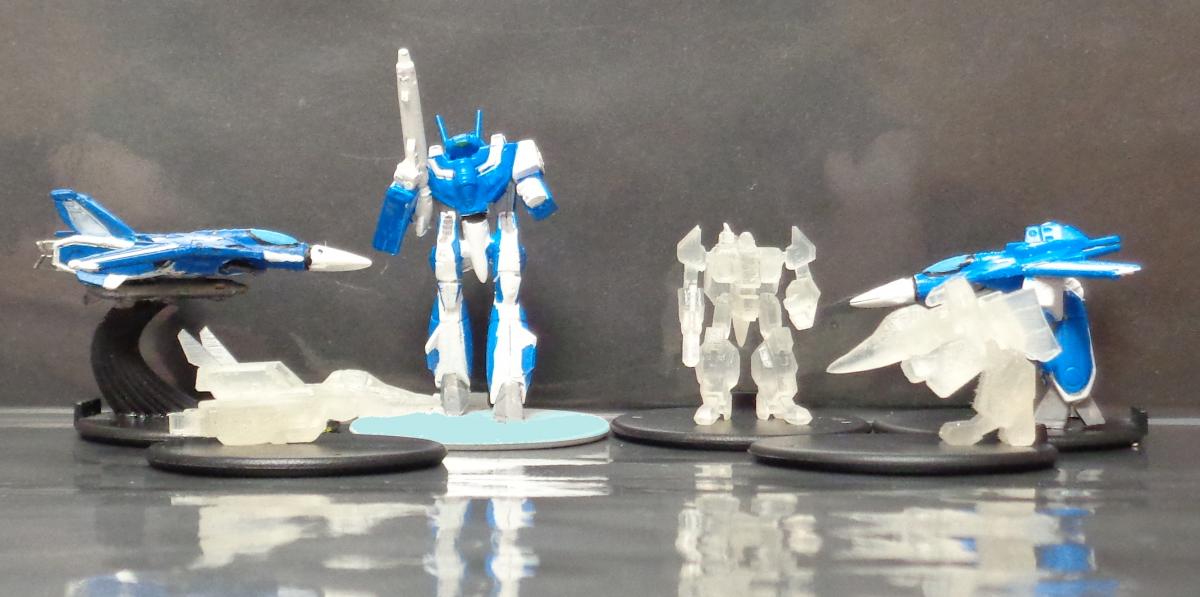
I laid out a battle force of the various factions I have stuff for to take some pictures.
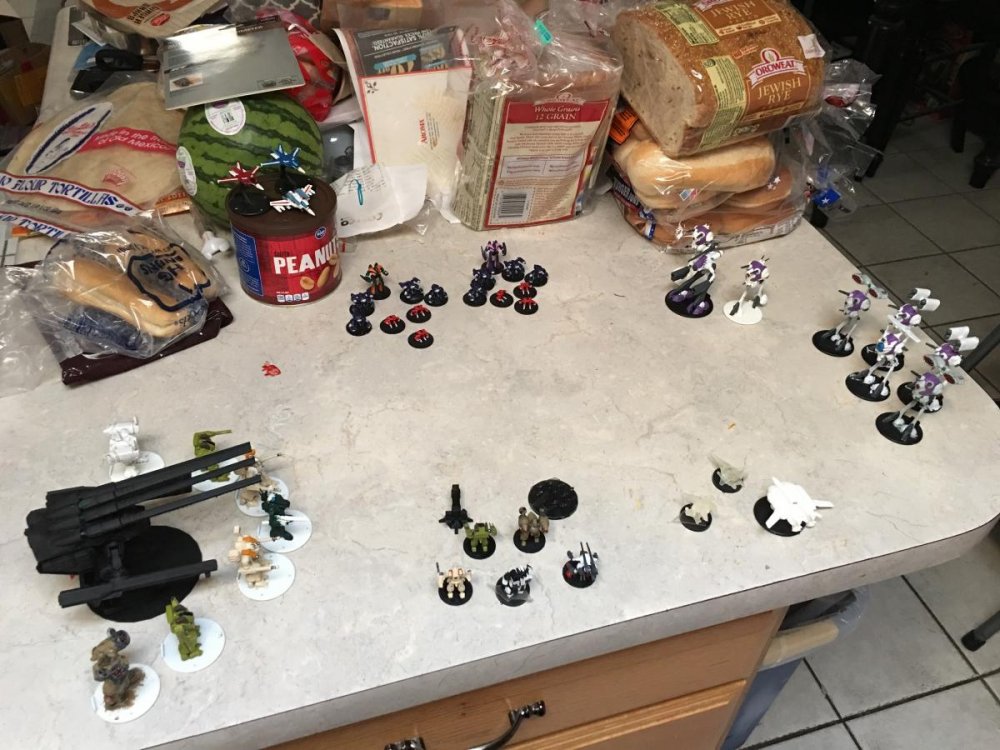
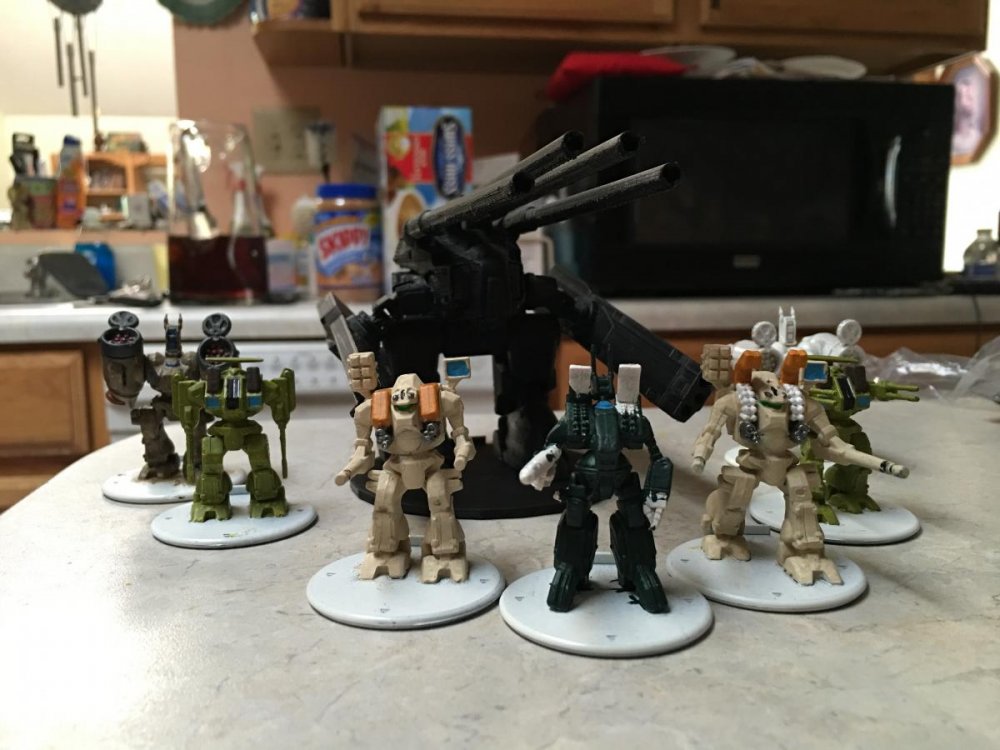
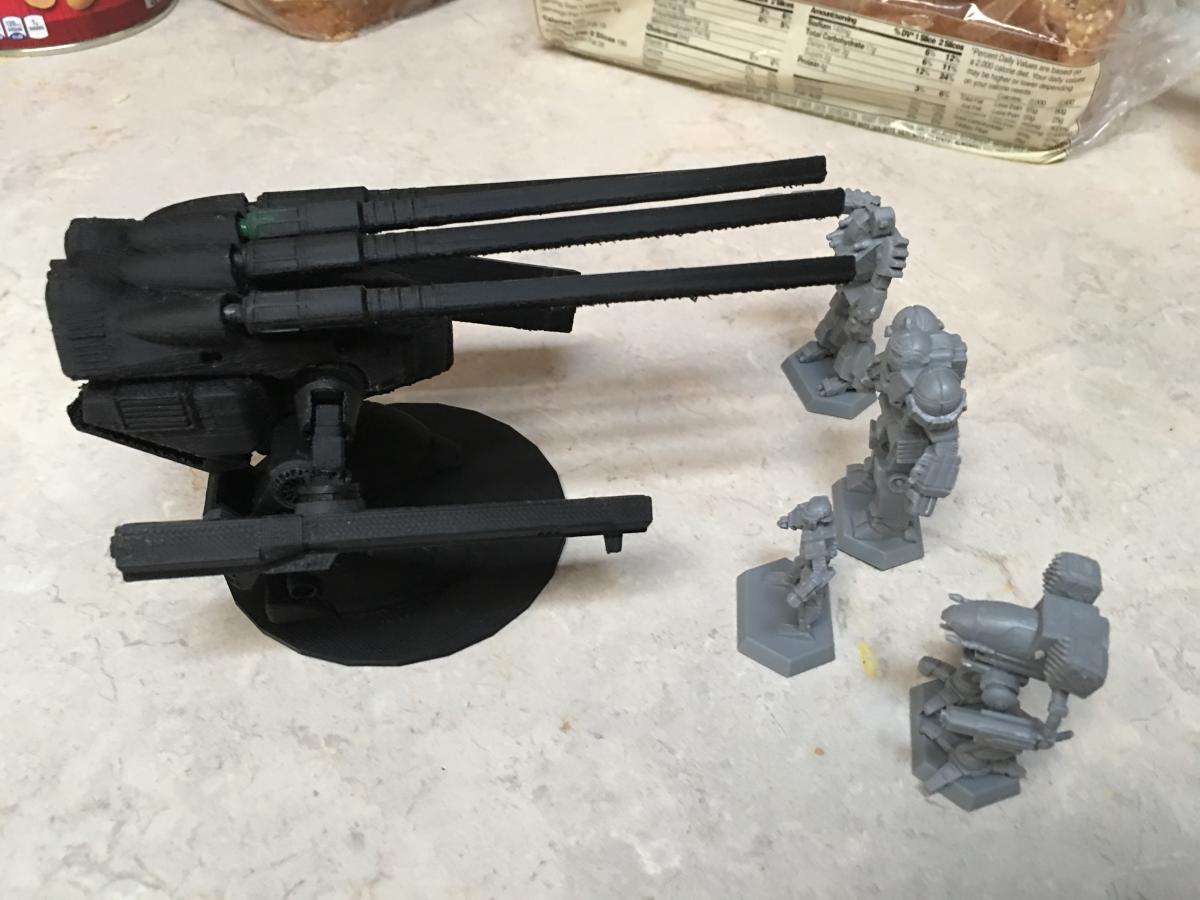
Did a Monster verse BT as well to show the scale of it to BT mechs


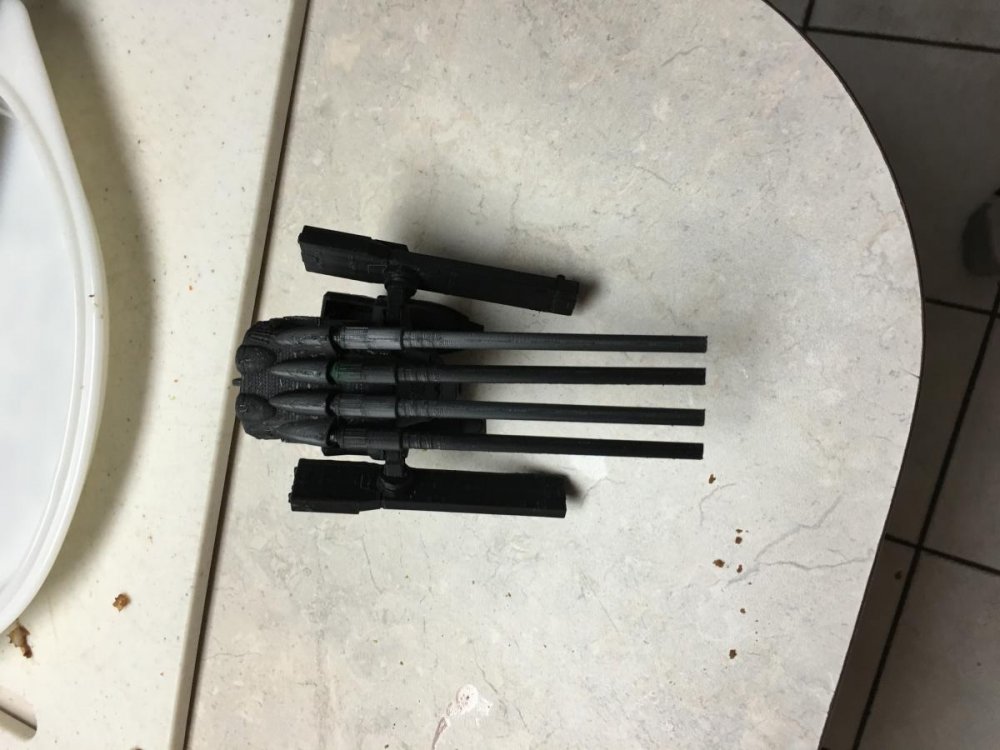
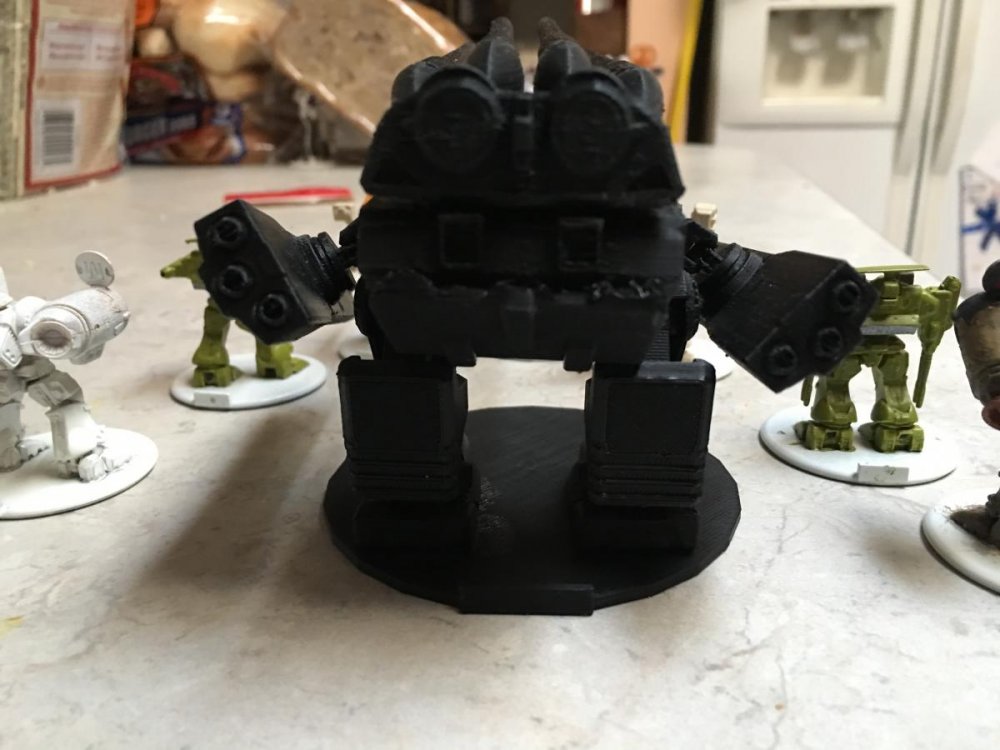
Close up of it before I painted it.
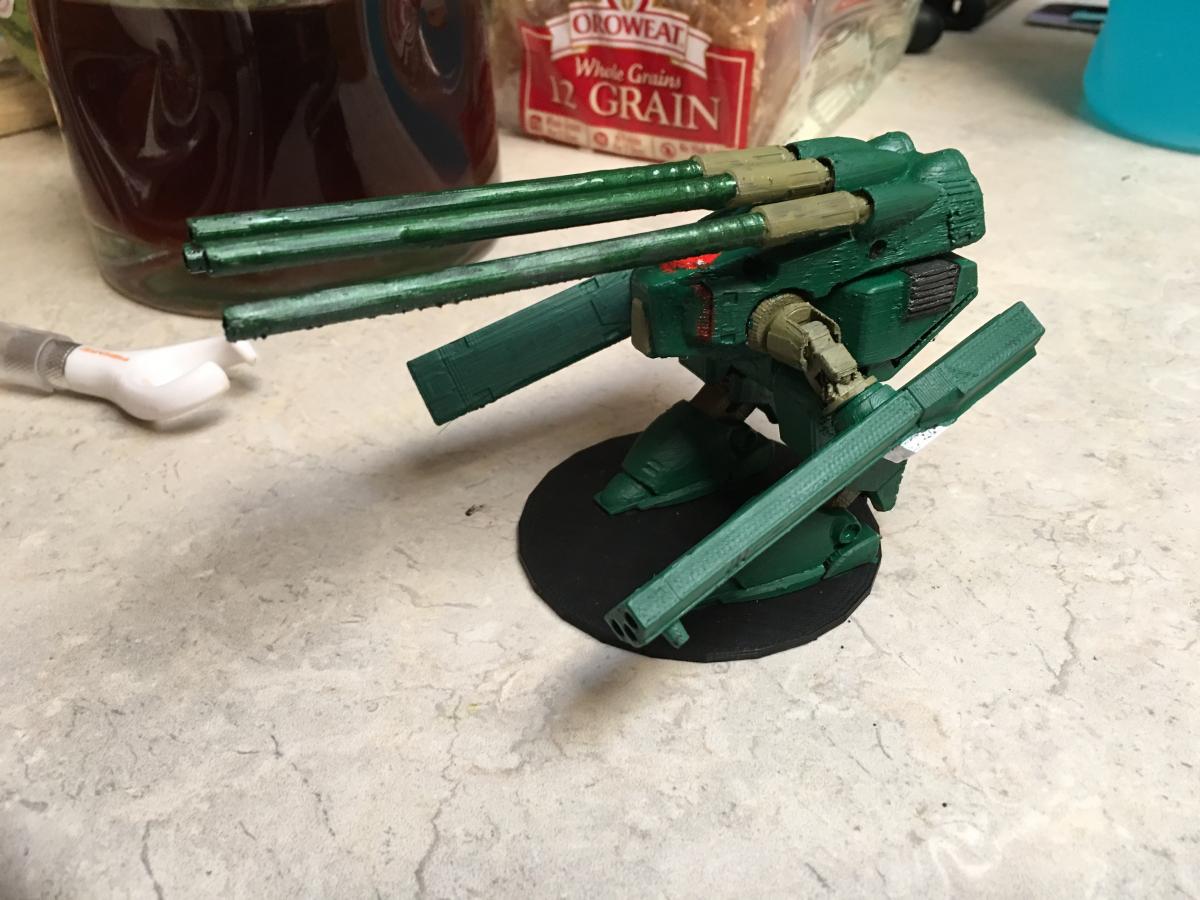
and painted.

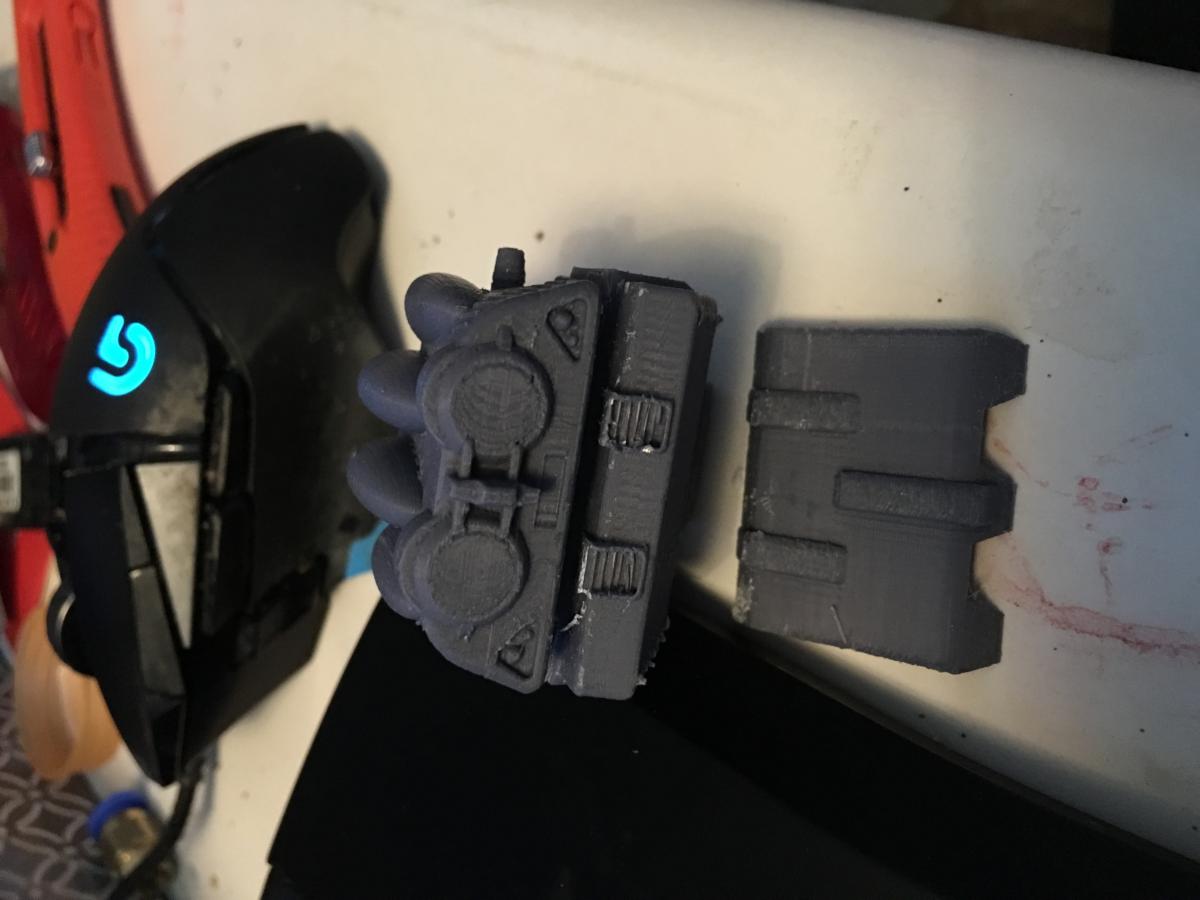
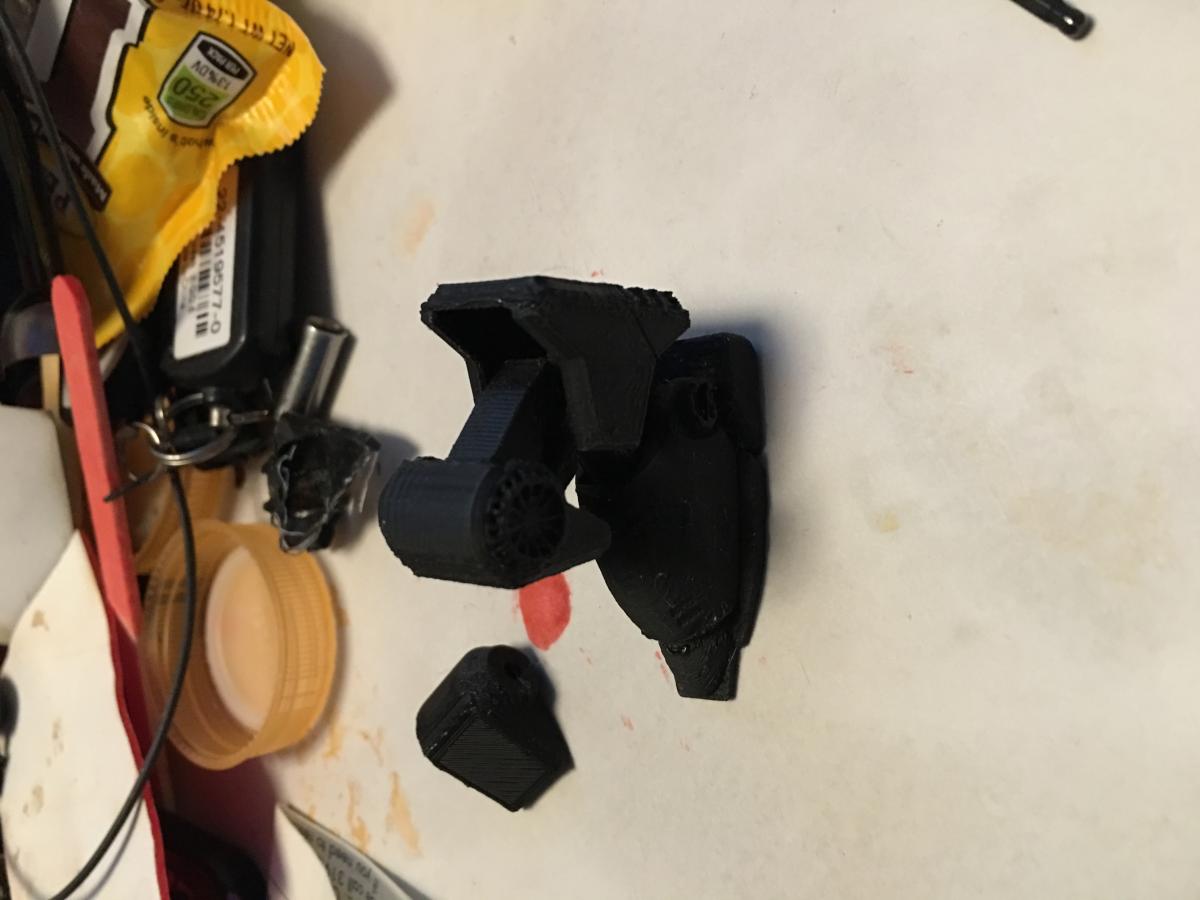
It still has many issues which have to do with how my printer is printing it, I'm working on enhancing the torso section by splitting it in two. The joint parts in his model don't fit in their sockets completely. Not sure if it is an issue with my printer or his model. I am going to add details below the loading door and add in the front access door in the front.
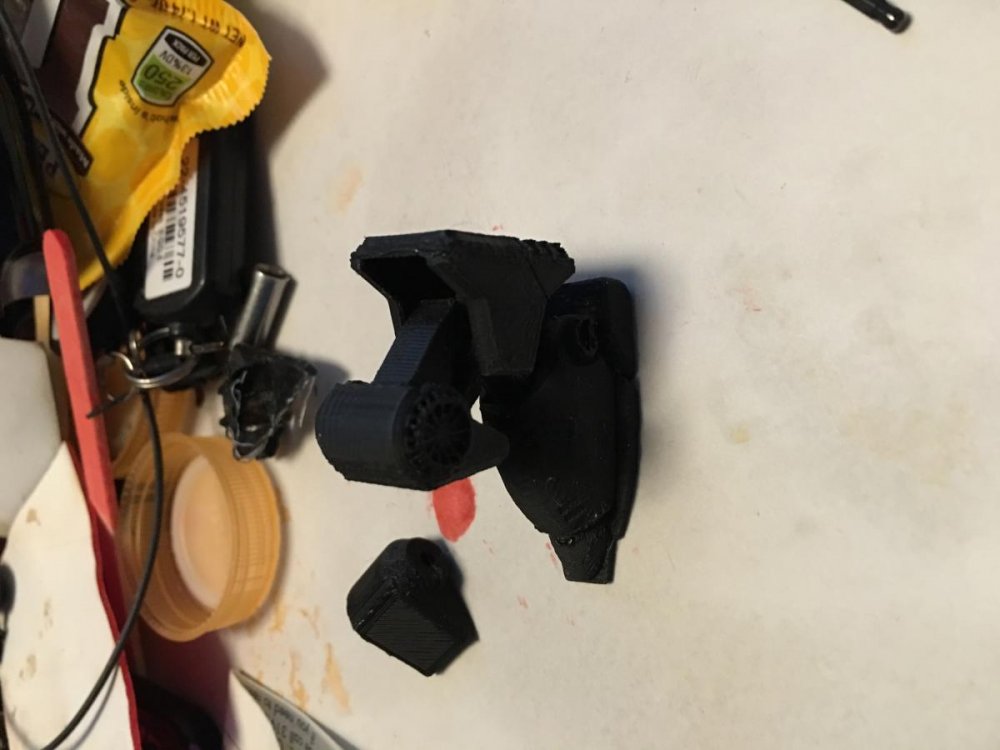
Here is how I split the original in two to fix it,

-
Got to watch it live today. VV
-
the draken went gerkwalk in the first episode at 17:06
-
the stream was buffering too much for me to get anything from it.
-
sweet, gotta get this one and figure out how to actually make it transform
-
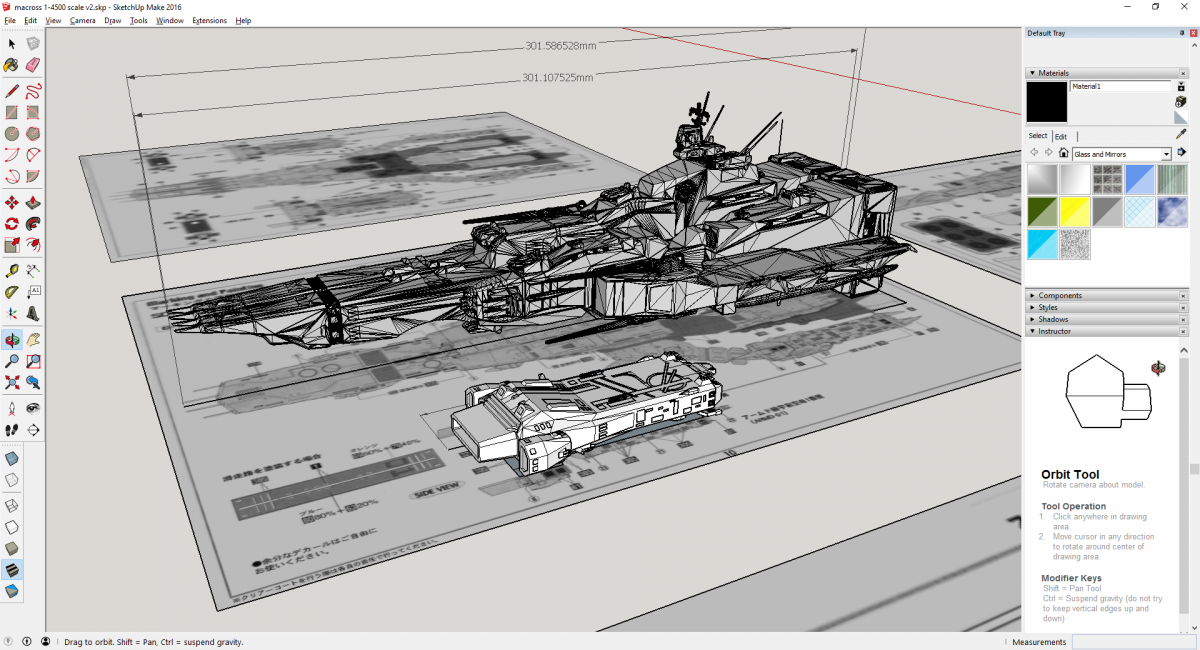
got my raise3d N2 3d printer so for my first print/experiment with settings, I am doing this one. just as a prototype to compare to the ARMD refit from the DYRL SDF-1
-
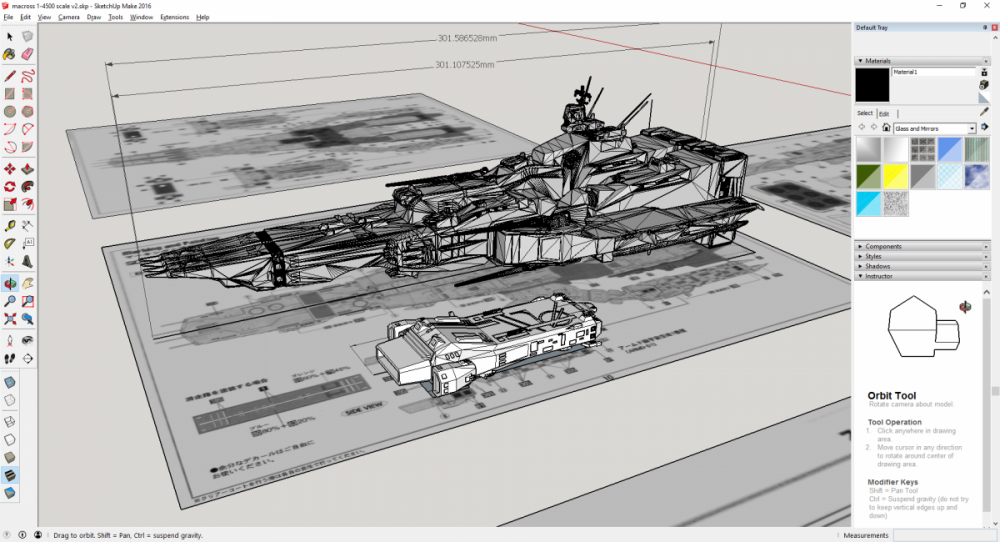
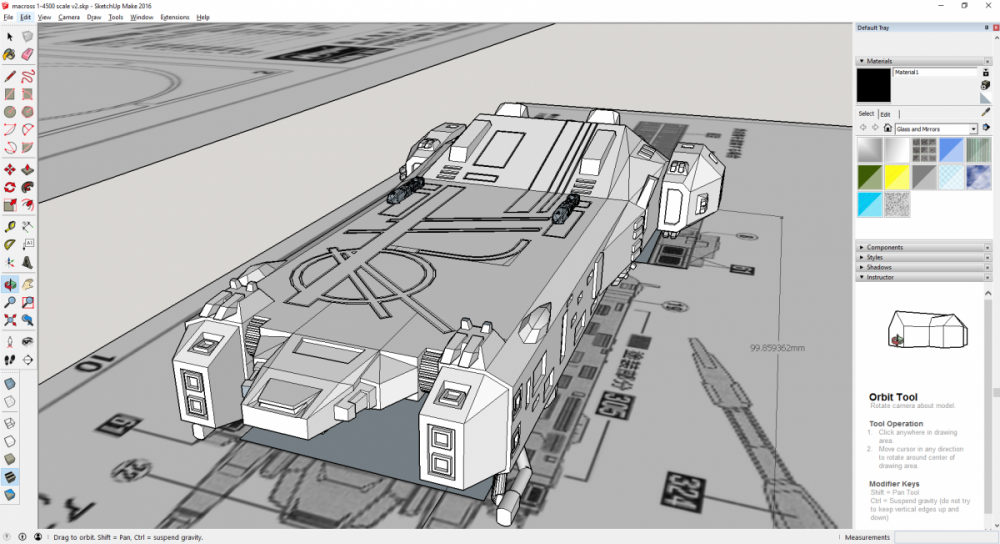
I did not model this SDF-1 model, I resized it to scale as close as I can get it to 1/4000. the ARMD space carrier is my model I am working on. It is scaled to 1/4500 to match the size of the ARMD (DYRL version). the blueprints are scans of the instructions for the DYRL kit scaled correctly.
-
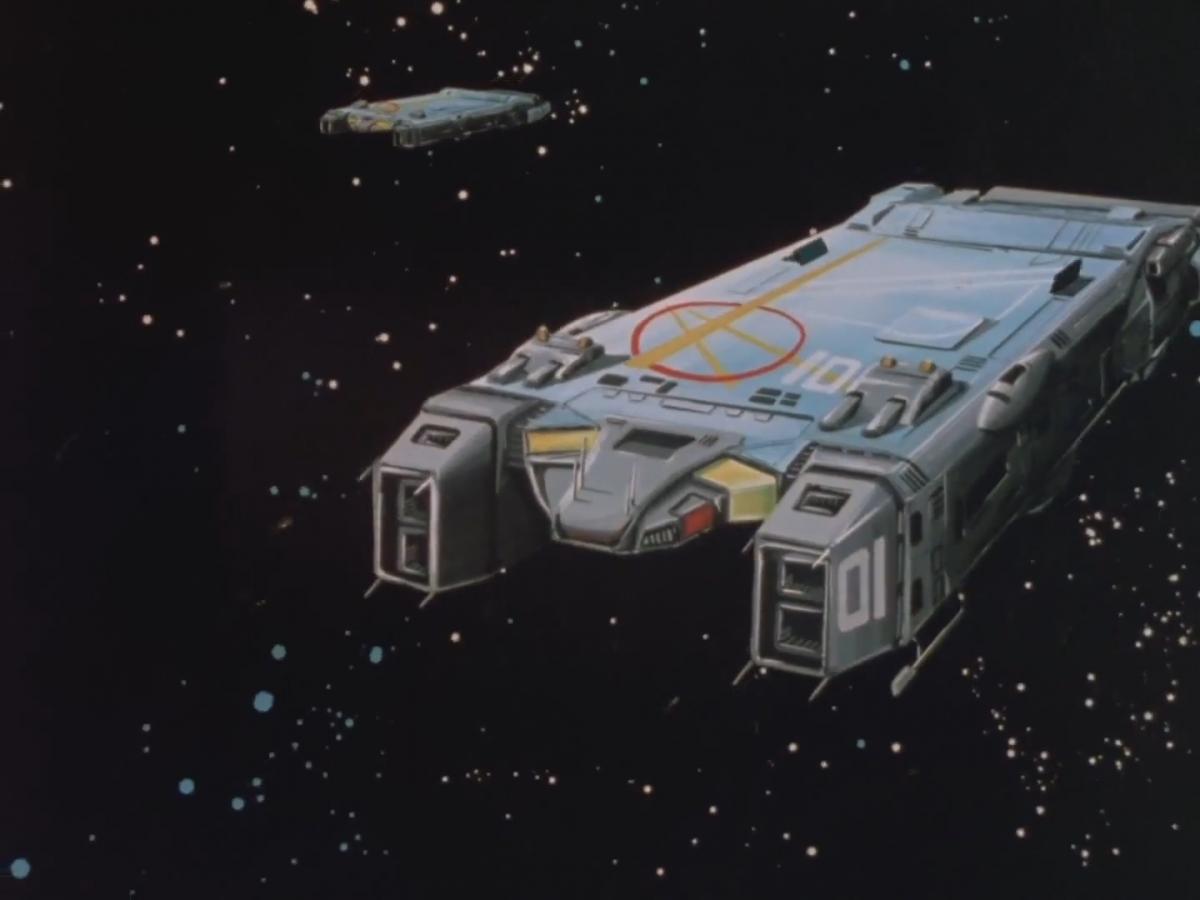
was watching macross in 1080p and got a critical screen shot or 2 showing the ARMD launching the missiles. I need to rework my deck lines to so I have room for the launcher on the left side. a friend of mine had a file that contained the missile that he had downloaded long ago.
I did some updating on it.


-
I was going over my 3d file for the SDF-1 and discovered that while the ARMD refit ship is 1/4500, the SDF-1 itself is actually 1/4000 scale.
-
So just to confirm, this is showing next Wednesday 12/30 at 4pm EDT?
-
just download the software, and install it
click on "VPN gate public VPN Relay Servers"
then pick a server in Japan.
-
not sure is this will display but you can use the softether vpn project. http://www.softether.org/ open source vpn software from the university of tsukuba.
-
Got mine yesterday. Looks good. now I just need time to build it. Thanks
-
I'll have to figure out what I need then, cause the box art was showing them as warm light.
-
I want to put lights in the main thrusters and I found a place to get them, but what color should I go for? I'm thinking going with warm light, but not sure if that is the right color. I don't want to do the blue colors.
warm light
red
yellow
orange
-
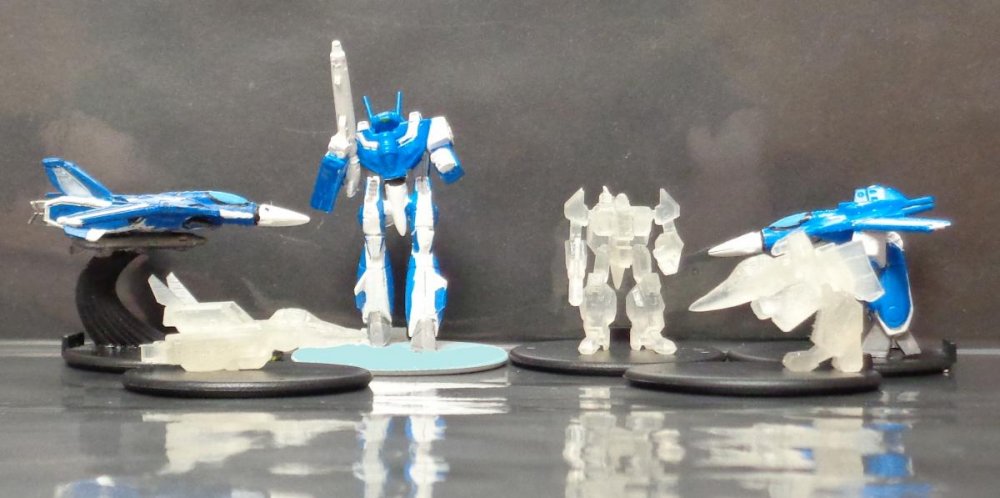
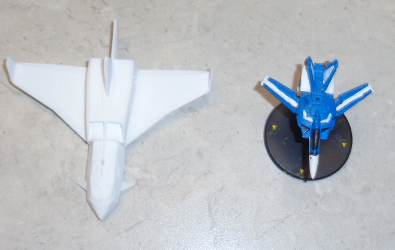
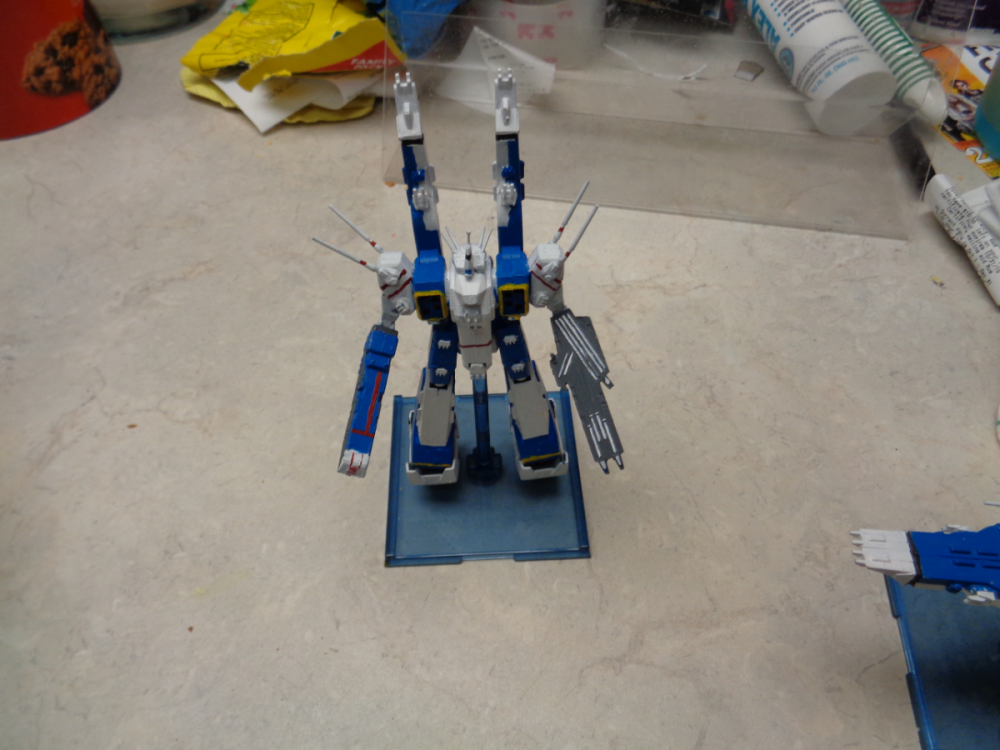
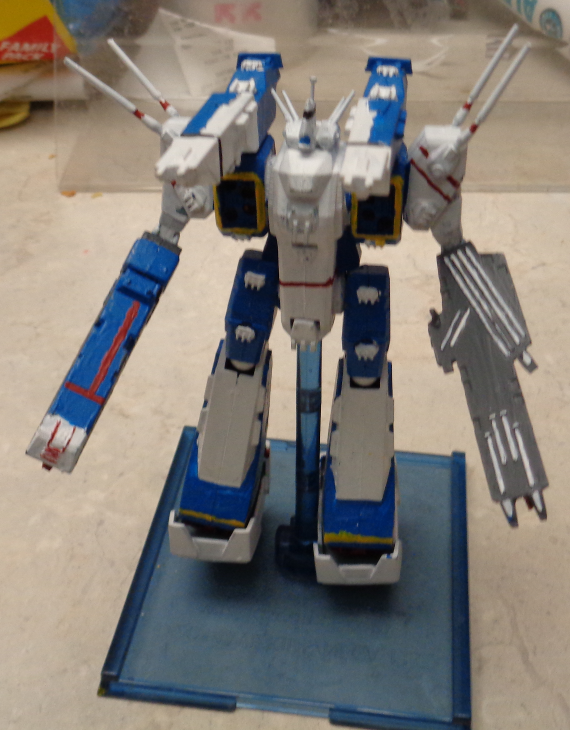
the Alpha and Beta. the more I work with these, it kinda turns me off to robotech. I've already corrected the foot issue with the Diver/Gerwalk/Guardian mode. note these were sized to robotech's size. according to Robotech's stats the Beta is actually larger then the VF-1 series. You could probably link up a VF-1 series to it.
-
well, I've made it in a 1/285 scale, parts of it need correcting tho.
far from perfect though.
I need to stop using those figure for comparison shots.

-
The Prometheus does have an angle in the arm, it is just not that visable due to the linkage being shorter. looking at the 2 schematics for the ships, I just found my central hull issue that is not messing with the 2 version. the linkage part for the chest/leg assembly is totally diffirent between the two ships. In the TV version, it is built into the central hull and points down. While in the DYRL version it is a separate part that points back.
Ultimately, trying to build the TV version using a DYRL model will only result in a hybrid. and by the time we have invested in fixing the errors with new plastic, we will have just replaced the whole thing.
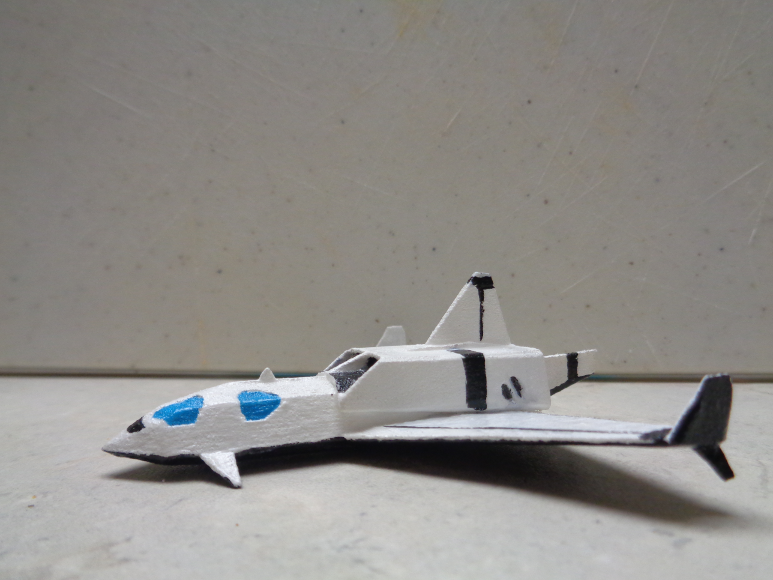
I started putting the feet together. they part where the vents go, should be in a part that was not redone. I'm almost wondering if a decal could give the illusion of making it look right. They did provide an extension ring that fits into the back of the foot.
I think I will get that transformable version when it comes out to use for my purposes.
meant to post this last night before work, oops.
-
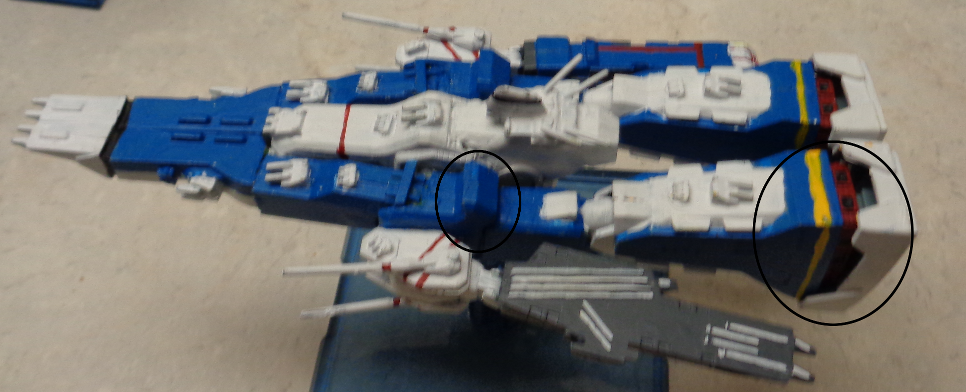
I put circles around the parts I am talking about with the leg extention (the red and black painted area in the foot) and the chest part that is missing (part sticking up in the forward circle).
-
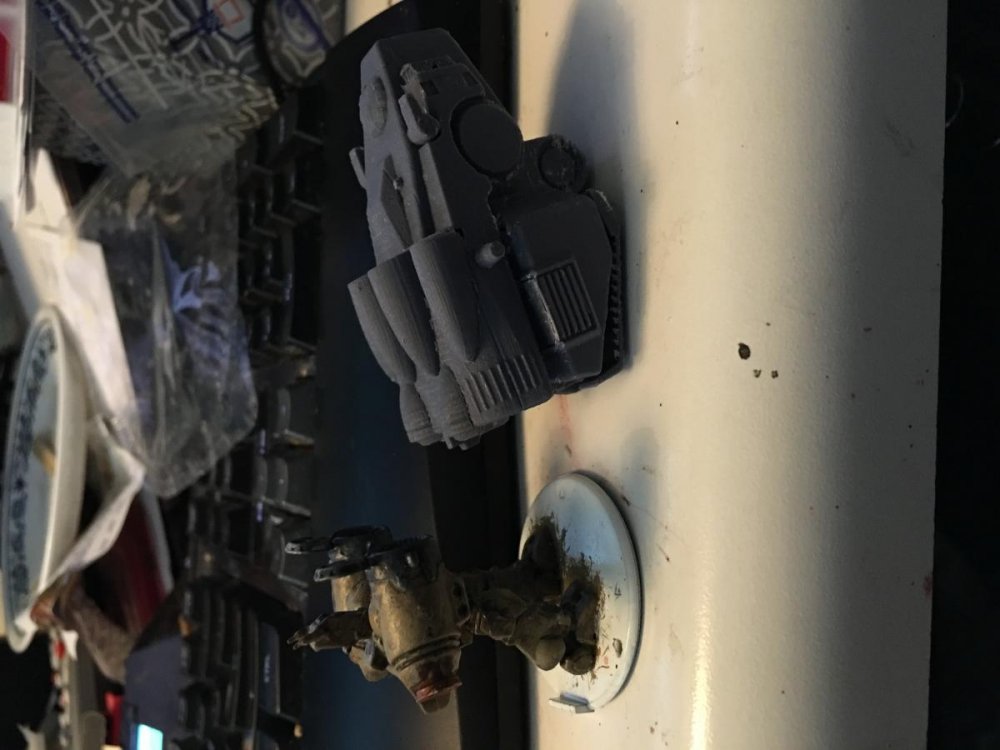
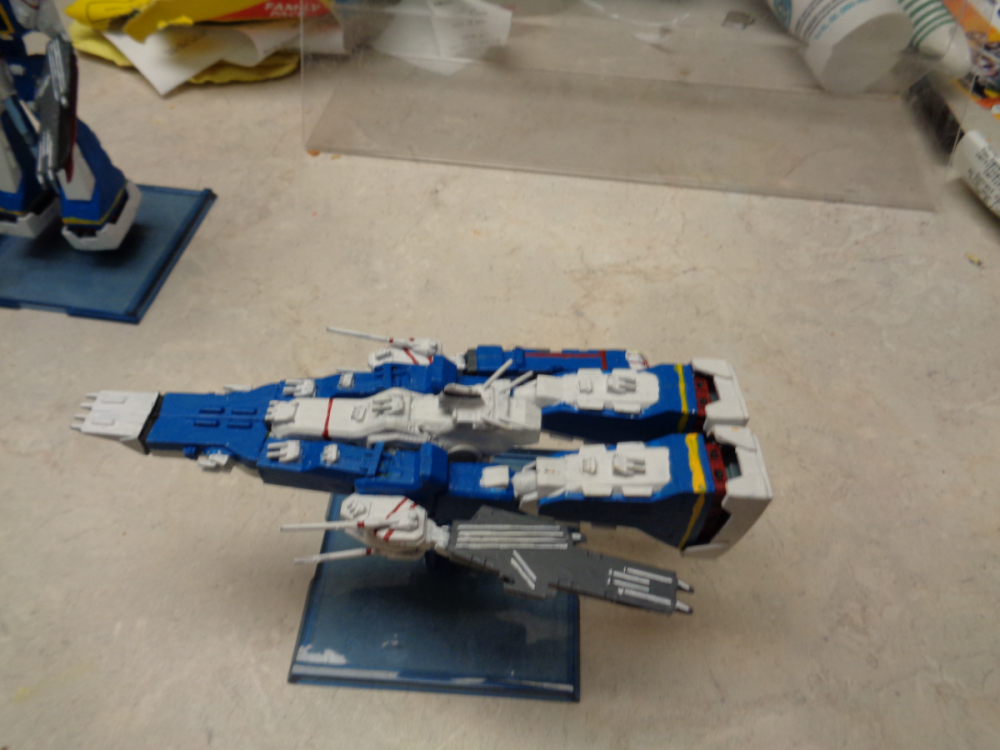
and in case you are wondering what that foot is in the 3rd photo.
This is my 1/8000 SDF-1 kits I painted up.
I had bought 2 of the model kits and modified one of them to build into Cruiser mode.
I didn't do a great job on perfectly replicating the cruiser mode though.

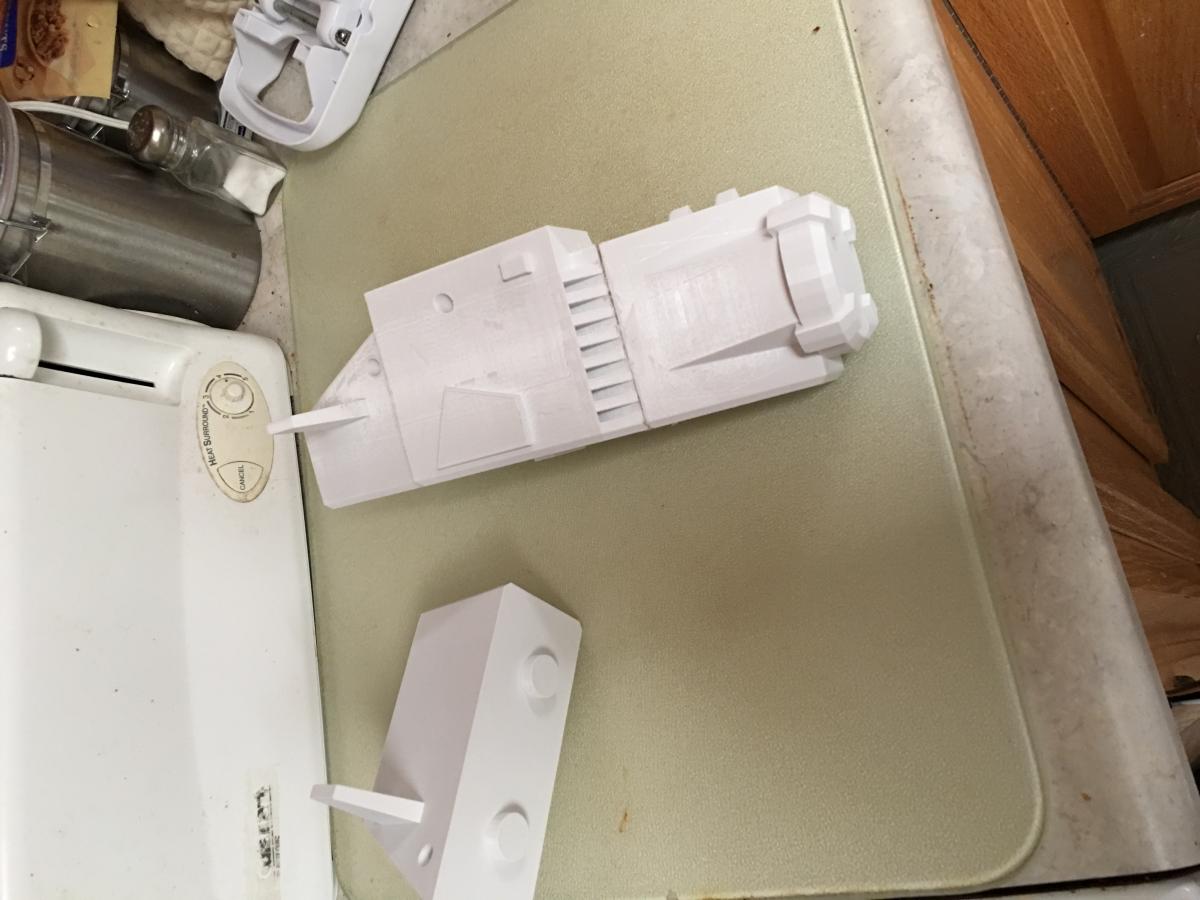


3D printed SDF-1 Bridge 1:285
in The Workshop!
Posted
another member here is making mock up of the rest of the ship. This is to go with it.