macroadster
-
Posts
159 -
Joined
-
Last visited
Content Type
Profiles
Forums
Events
Gallery
Everything posted by macroadster
-
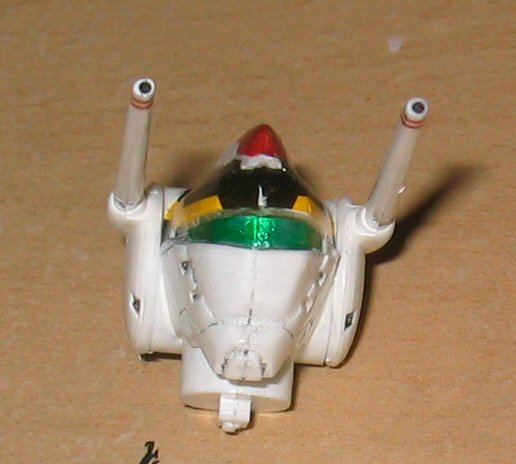
The safty handles didn't work. I ripped them out and plan for a major change. I drilled two holes right above Roy's seat to insert the safety bars into those tiny holes.

-
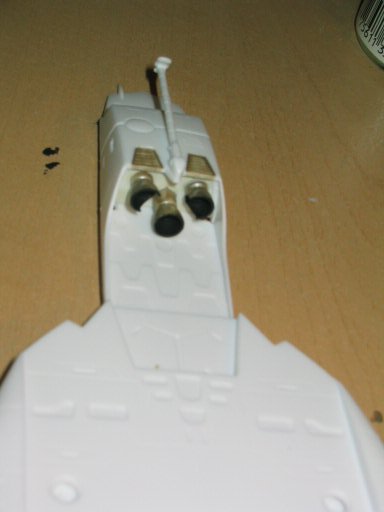
The head laser piece was drill out at the tip to make the laser canon more realistic. The green section is again composed of chrome silver then painted clear green.
-
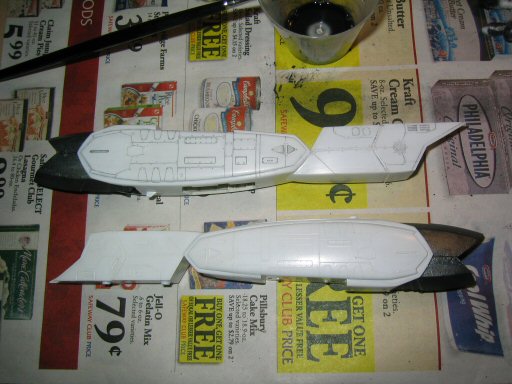
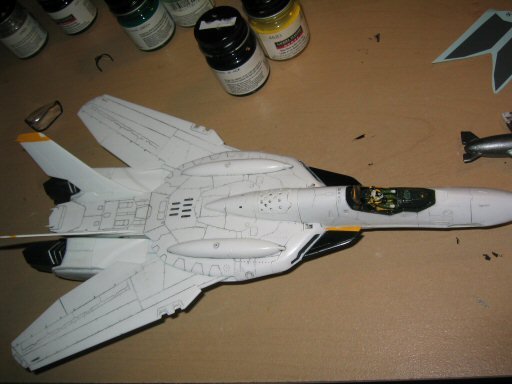
Finally all of the parts started to join together. The white paint and panel lines look great together. I still couldn't believe I hand painted everything. I wouldn't be able to do this 20 years ago.
-
The black fin above the jet engine was supposed to be a decal. However, the lack of experience with decal, my decal melt away with the decal protecting solutions. I guess I was spreading it to close. Therefore I end up painting the parts, and the top yellow parts. I guess I am lucky the chrome yellow was the same color as the supplied decals.
-
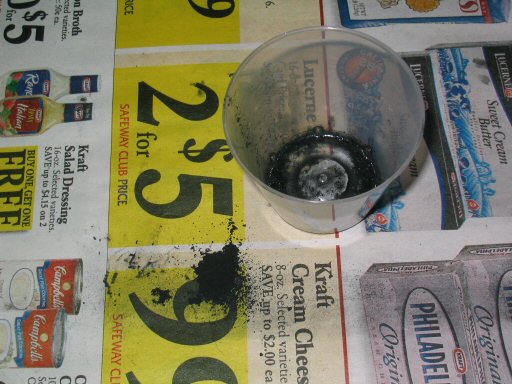
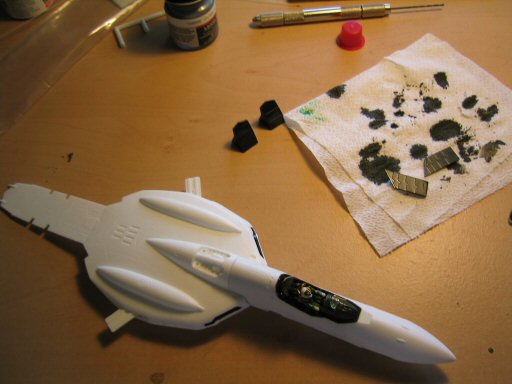
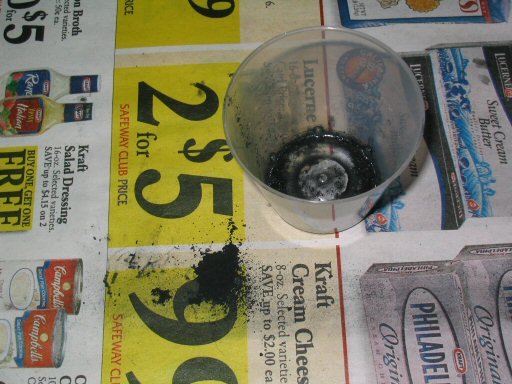
The solution is composed of dish washing soap, charcoal and a tiny bit of water.
-
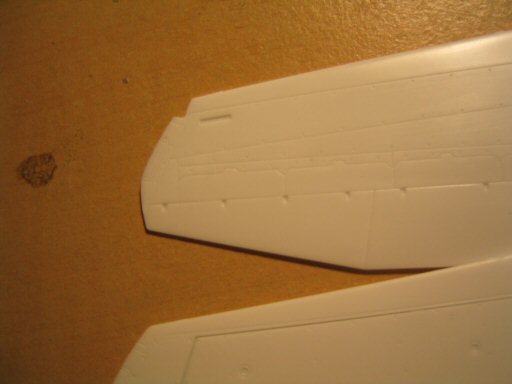
The chalk pastel wash tip is demostrated by Steve Bamford at his website. It is really effective and panel lines can be done in minutes.

-
The panel lines are created with my charcoal solution. It really bring out the panel lines.

-
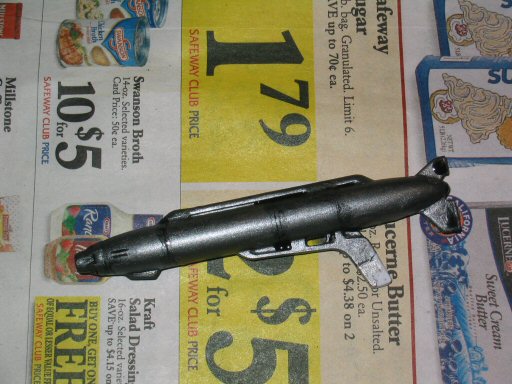
Finally after washing and paint the gun n times. I finally got to a point that I am happy with the color of the gun. This shot is taken after I did the weathering with charcoal.

-
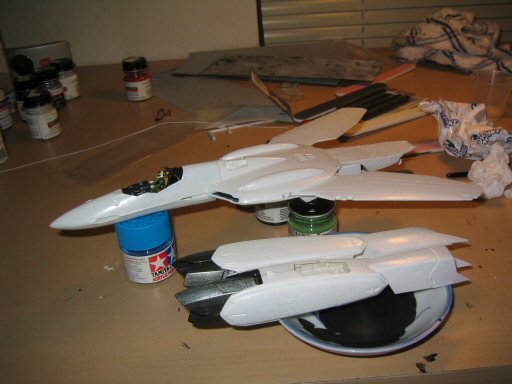
The major pieces are completed. It will take some time for them to dry up. I was really excited with building this kit. It was nothing like what I would have done 20 years ago.
-
Talk about detail. Hase keeps their kit in the highest standard. The little corner was required to be removed and a clear piece will go into that corner.

-
Again, my foolish attempt to use eproxy putter to fill in the gaps between the arm section. I will sand out the uneven surface later.

-
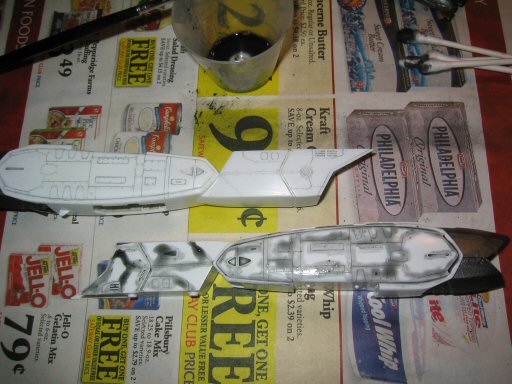
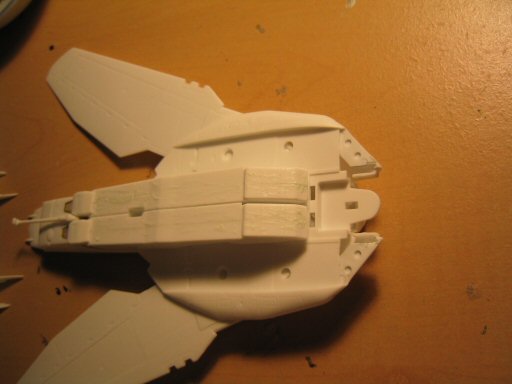
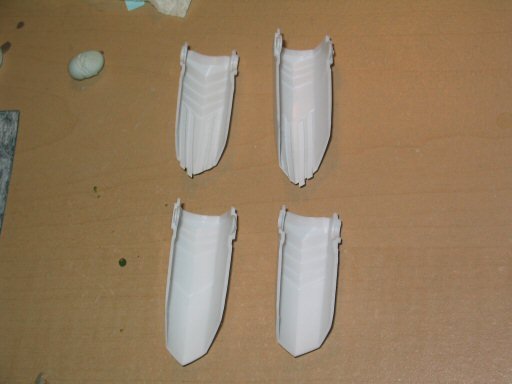
The interior of the engines are painted black and the room for landing structs are painted in camouflage gray. It worked out pretty well.

-
The steel color didn't work It doesn't want to stick on smooth plastic. I couldn't paint the gun correct for two nights. I was frustrated, and I finally read about prime the plastic to make silver and steel color to stick on the plastic. I am glad that it worked well on the feet.

-
Adding a few styrene strips to the foot. It's a technique from mw_cheng to make the exhaust. Time to call it the day for the glues to dry so I can sand off the uneven strips later.
-
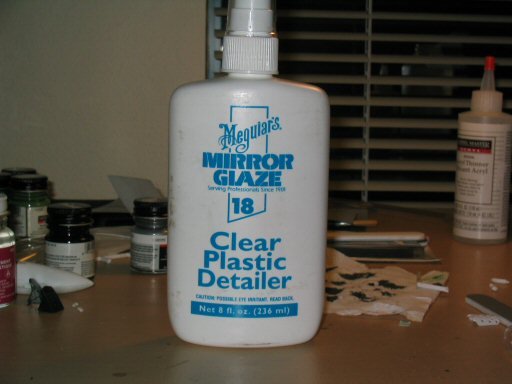
The great plastic detailer from Megular. It works on almost all kind of plastic. You can purchase it from z3solutions.com.
-
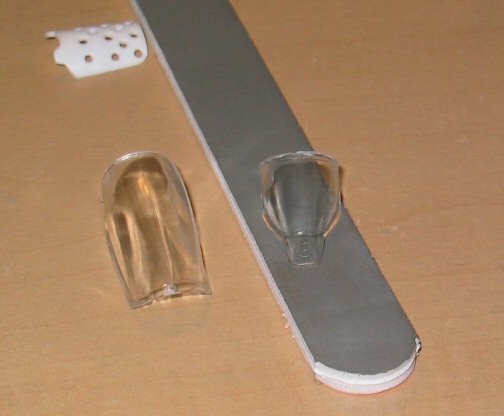
Now you see it, now you don't. The canopy is clear once again. I thought of a new idea that I used the clear plastic detailer for my Z3 rear window on the canopy, and the result was amazing.
-
There is a little fine seam on the canopy. I used the 2000 grit sand stick to sand out the seam. As you might notice, the canopy became less clear after the sanding.

-
I tried to use eproxy putter to fill out the gaps for the air intake section, but I found out the hard way that eproxy isn't really for the small filling area. Polyster putter would probably do a better job.
-
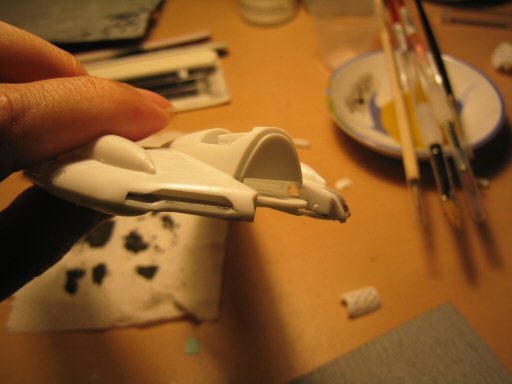
There are some gaps between the two pieces that makes up the nose of the plane. I taped the entire nose and plan to fill the gaps with eproxy putter, then sand off the difference later.

-
Steel color paint from Model Master has some strange yellowish flavor to it. I wasn't sure that it is the best color to represent those engines. It's alright for now, since the part will be covered by other parts.
-
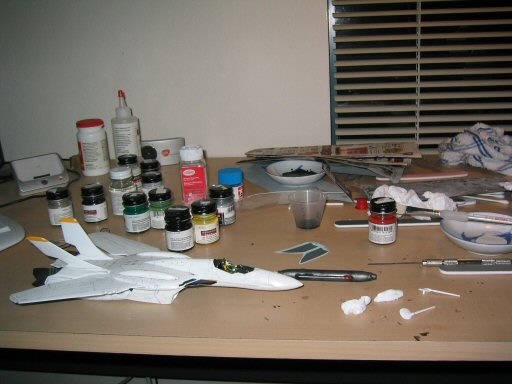
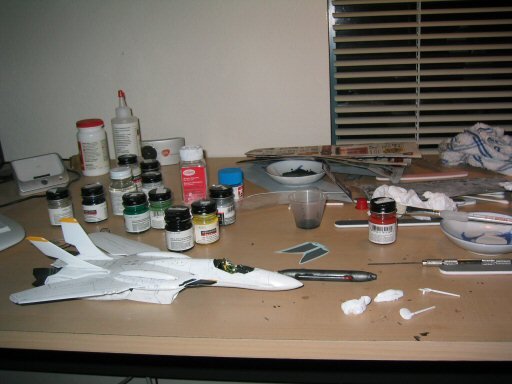
I am painting the plane with brush only. The brushes start to get really hard to clean now and there are brush strokes trailing all over the place. Your VF-0S is amazing. I hope mine would be half as good as yours.
-
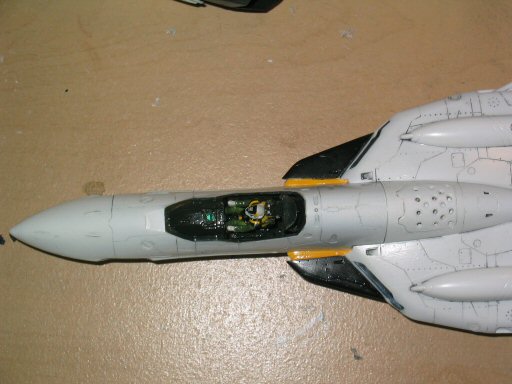
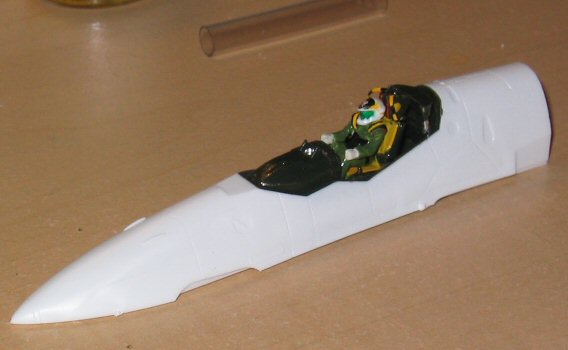
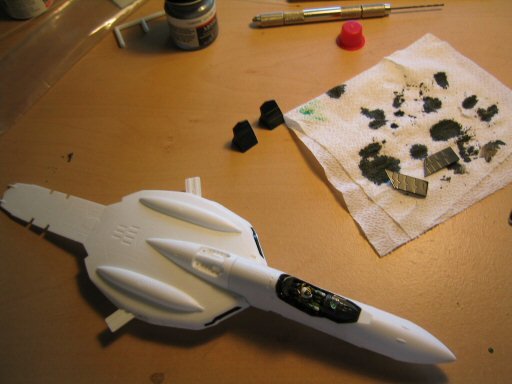
The plane started to take form. I was happy that I got over the cockpit details and move on to the larger parts of the plane.
-
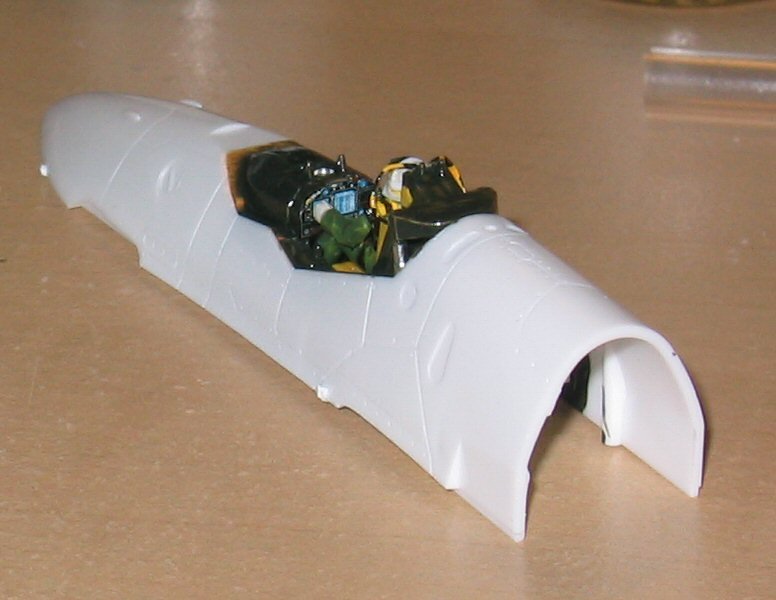
I was very happy on how the cockpit turn out on the third day. The chrome silver really brings out the projector lamp on the console.

-
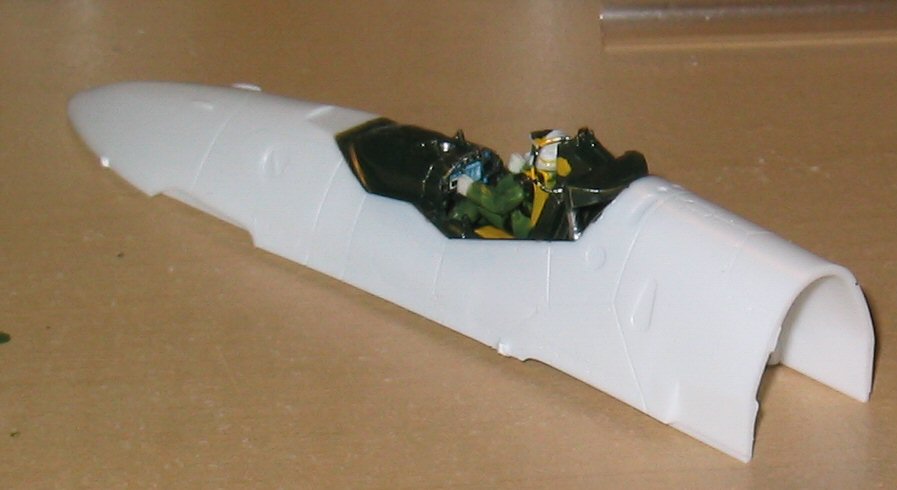
Here is the shot of the console with a excellent decal provided by Hase. It really makes the cockpit shines.
-
Dry fitting the cockpit. Every piece fits perfectly. The cockpit is so small that I had a hard time trying to glue the safty handle to the seat.