macroadster
-
Posts
159 -
Joined
-
Last visited
Content Type
Profiles
Forums
Events
Gallery
Everything posted by macroadster
-
Thanks. Now I just wish I can finish my current project as fast as the VF-0S before going back to work.
-
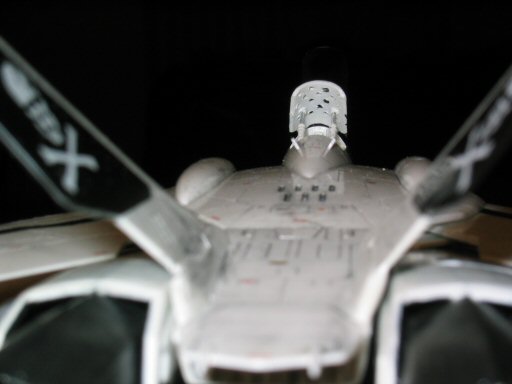
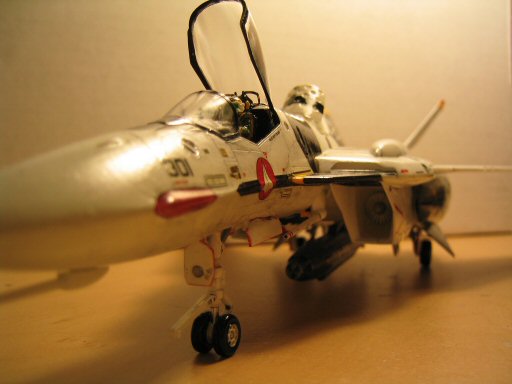
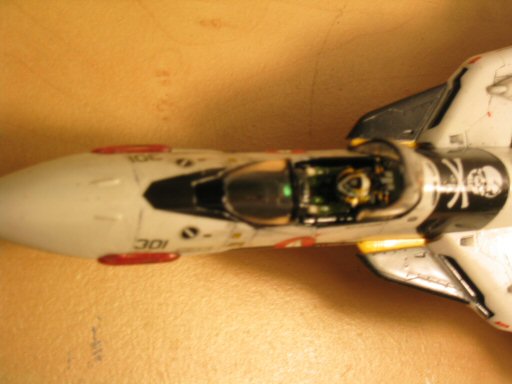
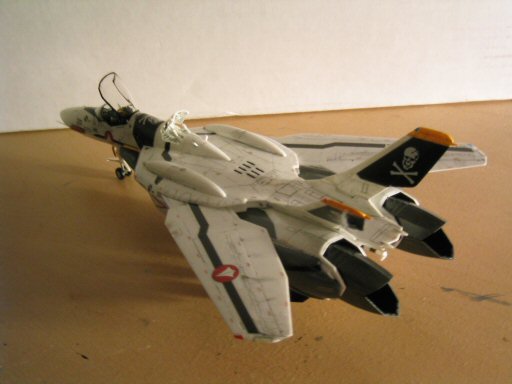
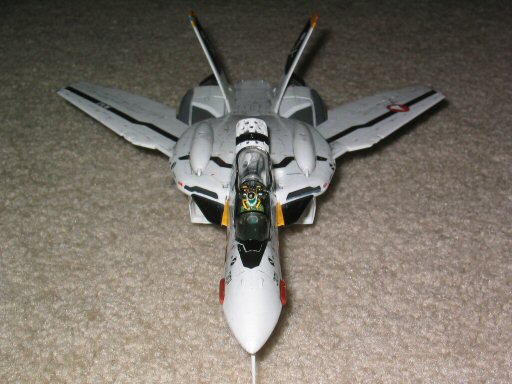
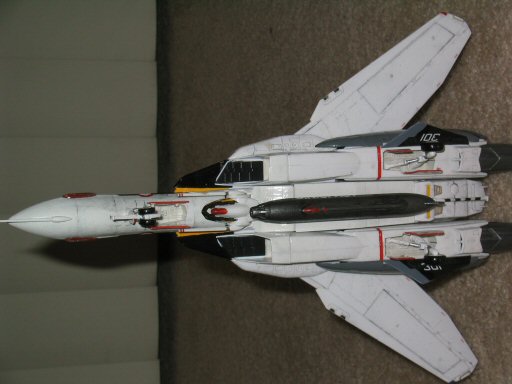
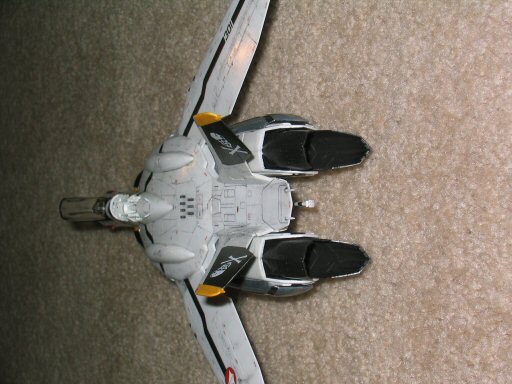
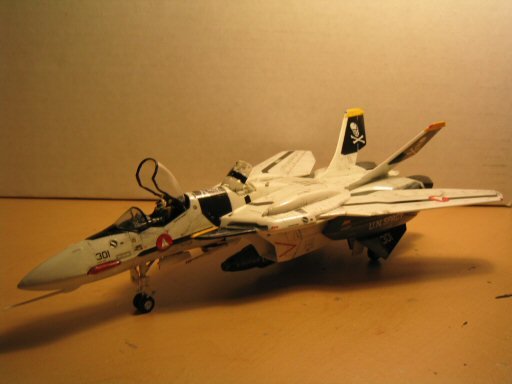
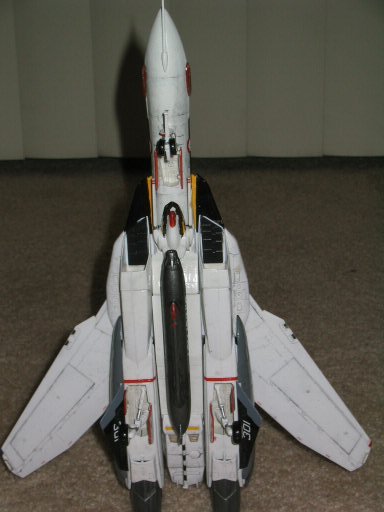
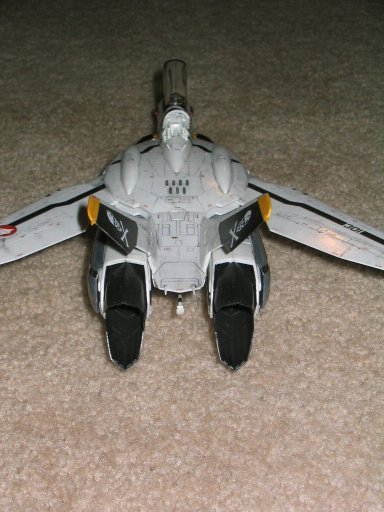
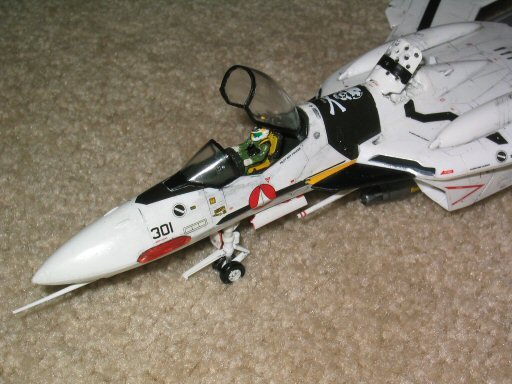
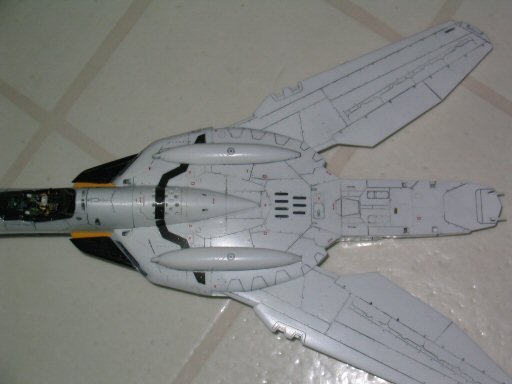
Some finished shots:
-
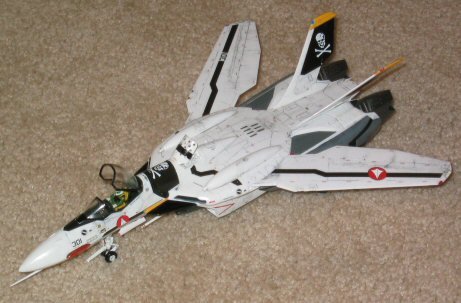
Some finished shots:

-
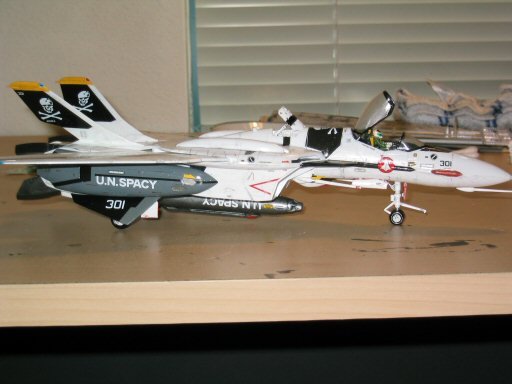
Some finished shots:
-
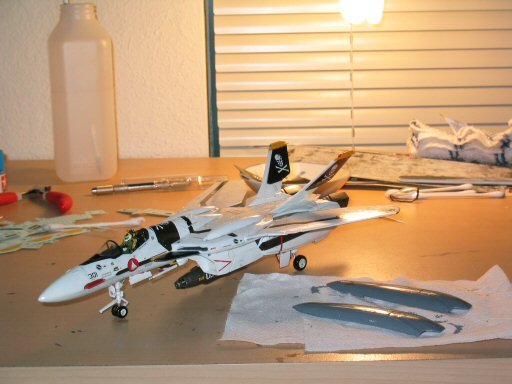
Some finished shots:
-
Some finished shots:

-
Some finished shots:

-
Some finished shots:
-
Some finished shots:

-
Some finished shots:

-
Some finished shots:
-
Some finished shots:
-
Some finished shots:
-
Some finished shots:
-
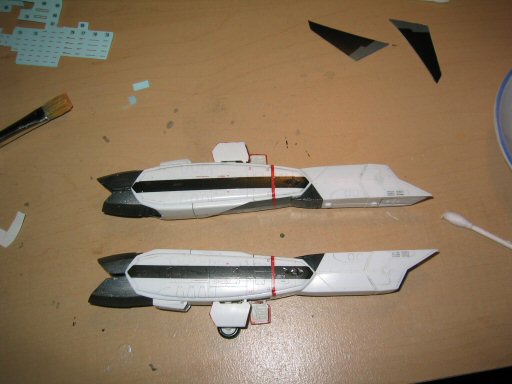
Lessons learn: 1. Do not use eproxy putter for small gaps. Try to use much of the plastic cement and glue the piece together, then sand the pieces together until the glue and plastic melt together to create a smooth surface. It is much more efficient and pretty. 2. Decal then clear coating then weather the plane. There are several parts that I weather the panel lines first, then clear coating. However, the clear coating and dish washing soap interact with each other to create junkie sticky paint on the plane. It makes the plane dirty automatically, but that might not be the desired effect. 3. Hase's decal expands in hot water. Use cold water to rinse the decal. Otherwise the decal will expand too much to fit on the plane. 4. Enjoy the process, rush will only ruine the fun. Happy holidays.
-
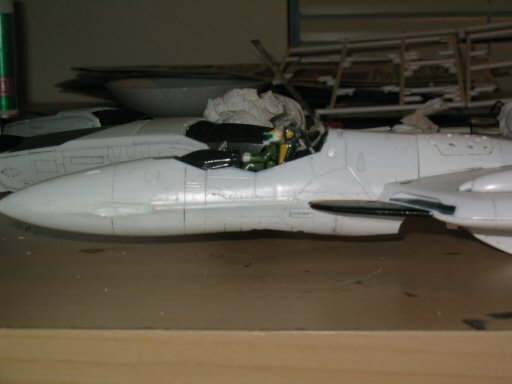
I tried to keep the plane as clean as possible. I only made a few dirty spots on the air breaker and the wings. The rest are kept as clean as possible. However, it still gets pretty dirty when you look at the plane in close distance.

-
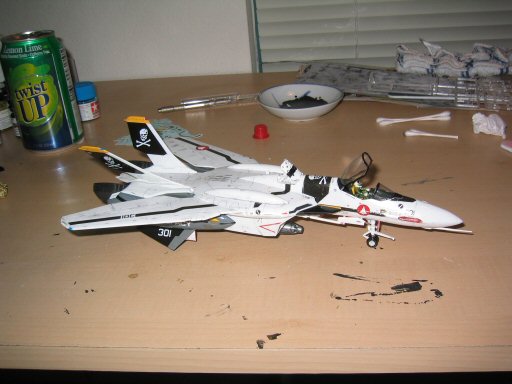
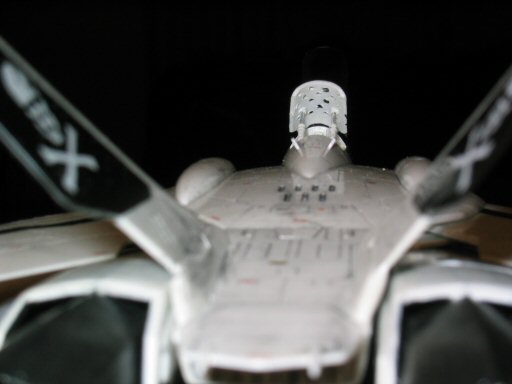
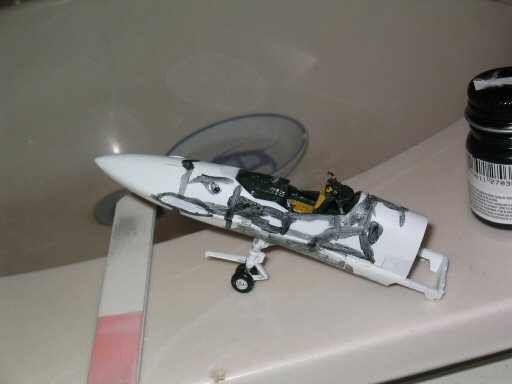
Finally all of the parts are assembled. Time to weather this bird.
-
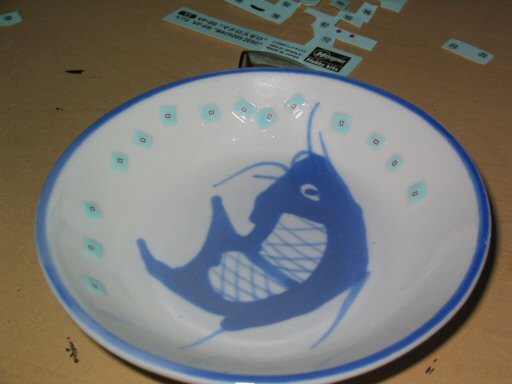
the decal bowl. I cut them into little piece and place them one by one. There were as many decals as the plastic parts.

-
Instead of buying another dark grey. I mixed my own paint with 98% flat white, 1% steel and 1% semi-gloss black, the grey turn out to be excellent color for the armor. Most of the decals are in place, and I spreaded the decal protector to melt them into plastic. Next I painted a clear coating to make sure the decals won't be removed in the future.
-
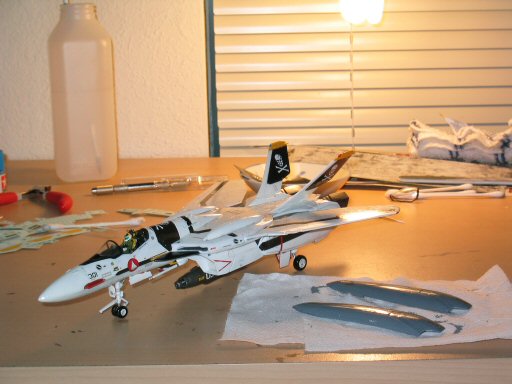
Another day has gone by, and I just decal the inner side of the legs, and added landing structs. The landing doors are painted red. Another tip from mw_cheng's build.

-
There are so many tiny decals on this plane. It took me 15 hours to decal the top of the plane.
-
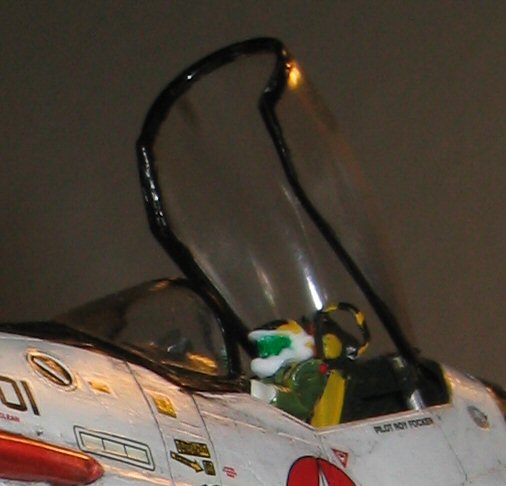
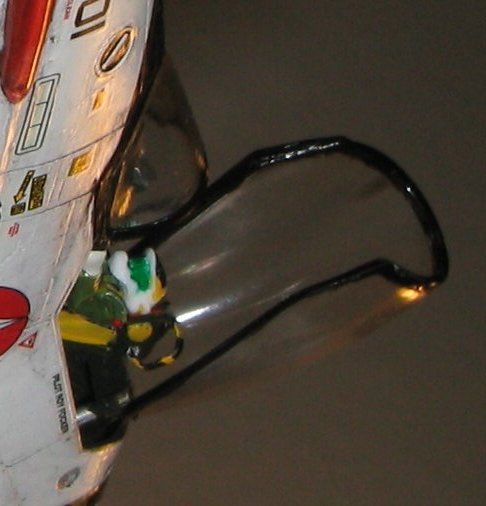
Roy decided to jump out of the seat when I weather the nose. Many parts were falling out. It seems like the project is heading toward a doom.
-
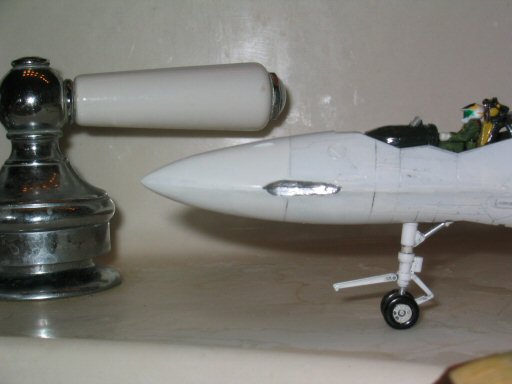
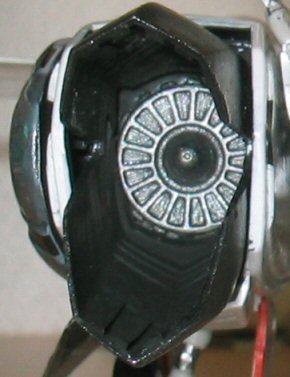
The silver area was filled with eproxy and hopefully the clear red will make the lights stand out.

-
Time to take a break from the safty handles. They were driving me crazy. I decided to weather the landing struct instead.
-
Sorry for the blur, I was intend to show the little white hole right after the yellow circle. I drilled the holes for the safty bar to connect from the top of the seat to the back of the seat.