macroadster
-
Posts
159 -
Joined
-
Last visited
Content Type
Profiles
Forums
Events
Gallery
Everything posted by macroadster
-
Since the black strips are linear, I thoguht it would be easy to use the painting tape to tape all parts and brush away quickly..
-
Wow, compliment from mw_cheng. Thank you very much. We need more modellers, that's for sure. I hope more people would put up some eye candy of their building process. I could learn a lot from reading them. I am still waiting to read the juicy details for your latest 1/72 Hasegawa VF-1 + Booster step-by-step. I hope you had done some during christmas. Check out my VF-1S to VF-0S battloid Conversion too.
-
I haven't got much done today. I only painted the chest, and air in-take part is looking more like VF-0S than VF-1S now. The air breaker piece has been hand drilled, but I probably should have used a pan to align the holes before I drill them. They don't look aligned when looking closely. I sand away so much detail today that there is no turning back to a VF-1S now.
-
The cutting tool helped in dividing the top right arm into two pieces for my new pose. I was extremely pleased with the cutting result.

-
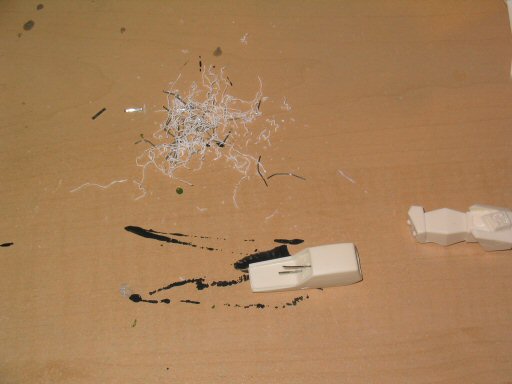
I brought a new automatic sanding and cutting tool today. It used to take me hours to send a single part. Now, all parts were sanded in 10 minutes...

-
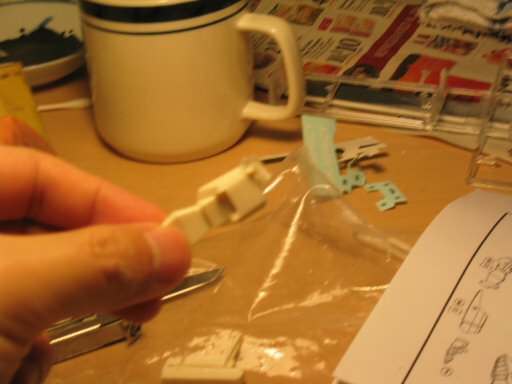
I put the kits back together and wait for them to dry...
-
I am trying to fill some of the holes and alter the details with epoxy putter. I am not sure if I am doing it right. I used my fingers to mold the parts into something that look like the shoulder pads, and fill in the circle on the legs. I also added some putter to the head so it would look like VF-0S's head. However, those hand made parts don't look professional at all. I am waiting for the parts to dry. Next I will sand those parts to remove finger prints from those parts. If I am not doing this right, let me know. I will try to remove the putter as soon as possible.

-
Yes you are correct. My bad for using a big "X".
-
I will try out the ZAP glue. I don't want my kit to glue together too fast by super glue, so I can model it a little while I am building it. Thanks for the tip.
-
I breath in a lot of the white powder. I will watch out from now on...Thanks I hope I don't die any time soon.
-
Got it at hobbyfan.com. I think that's the only place available online now.
-
Thanks. As long as you keep your brush clean, I think Citadel colour paint will work. Good luck.
-
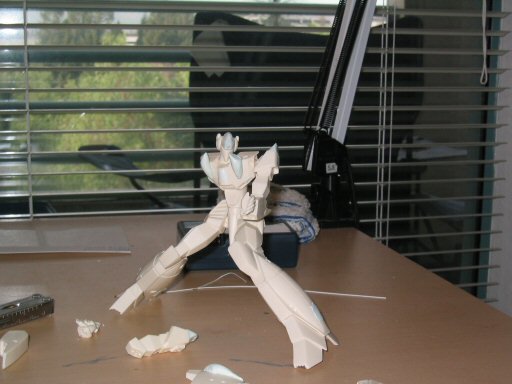
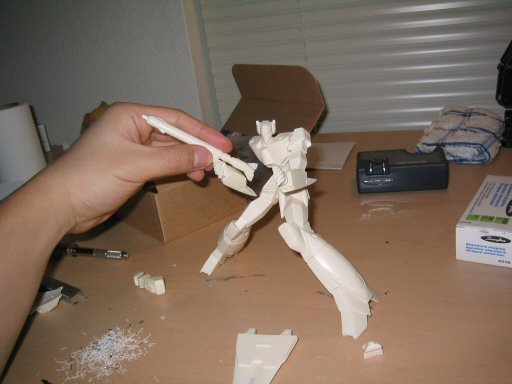
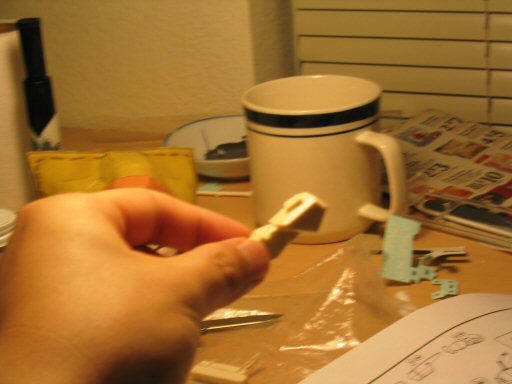
Here is a rough visualization of the pose. The gun is pointed in the different direction instead of holding by two hands. I am almost convinced to alter this kit to become a VF-0S, but it will be a lot of work to reform the legs and various parts using eproxy putter. Lucky for me, I got some extra eproxy putter left over from my VF-0S plane project. Now, I just need to wait for someone to enlighten me on how to glue resin parts together.
-
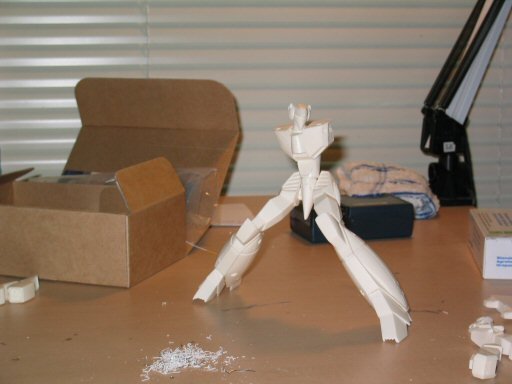
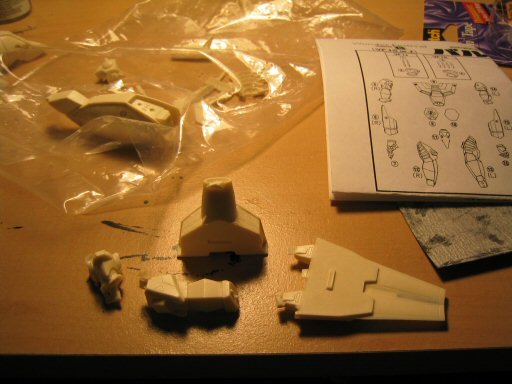
Here is a dry fit of most of the pieces of the kit. The drilling and pinning were done in matter of couple minutes...
-
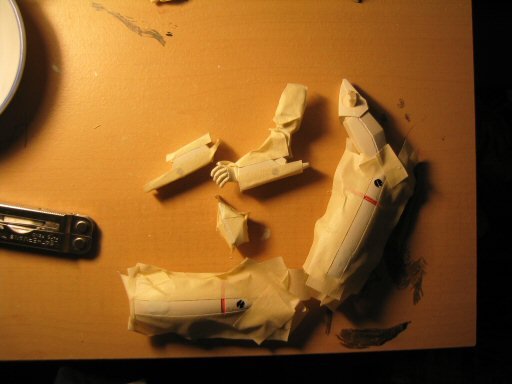
Here is a shot of the staple pins in the left arm from a different angle. Note, try to avoid using the bended section of the staple pins.
-
Here is a shot of the staple pins in the left arm.
-
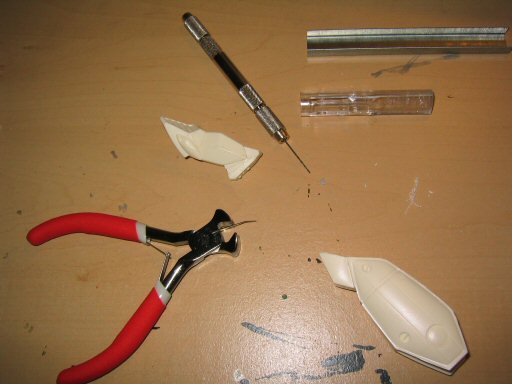
I am not so sure what to use to glue the resin parts together. Hints anyone? For now I am drilling holes between the pieces and pin them with staple pins.
-
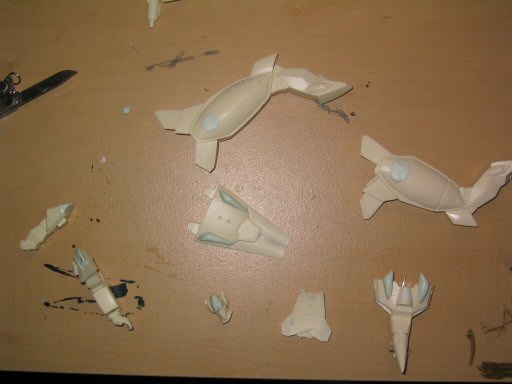
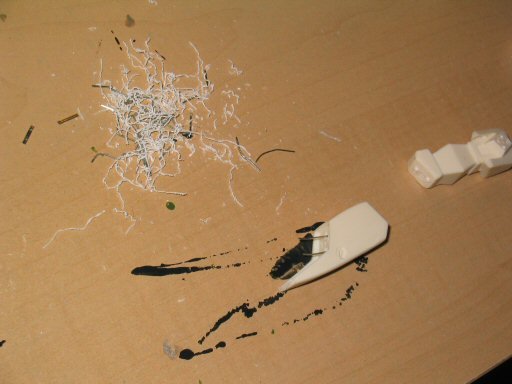
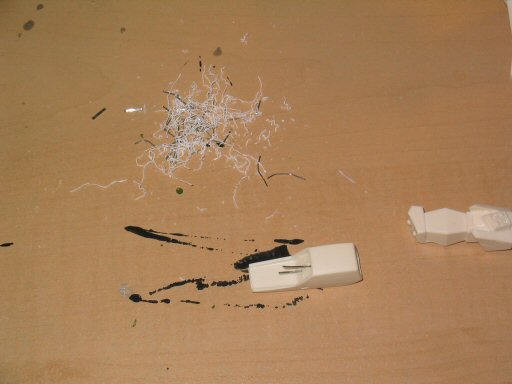
I manage to sand all of the pieces. Resin is much more easily to sand than plastic. Resin turns to powder rather quickly.
-
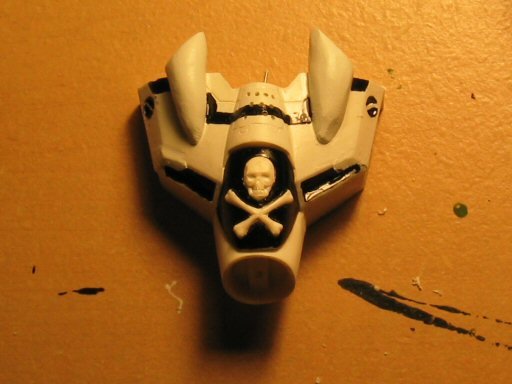
Here is a piece of the shoulder. I apologize for the blury picture, but you can see there is a big junkie piece stick out of the shoulder.

-
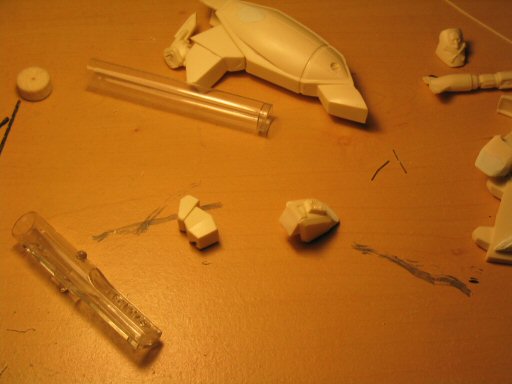
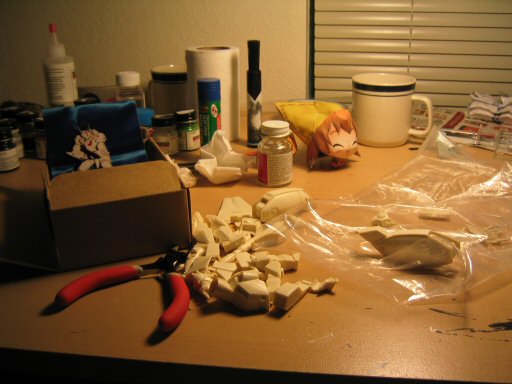
This kit comes with really rough parts. There are things sticking out all over the place and some of them ruin the details...
-
I got the kit 2 days before Christmas. My initial plan is to make this VF-1S a different pose from the stock kit. However, I am not sure if I should convert this to VF-0S for uniqueness. Here is how I started it...

-
Post your progress making.. We love to see more people's building process and helpfully learn something too.
-
I hope you had done some of it over the christmas time. Some pictures of the progress would be nice to see. I used flat white on the plane, and the charcoal weather makes the plane a little grey, and clear coating brings the metal feelings to the plane afterward. There is more than one way to make the plane, so enjoy it.
-
Anyone can do as well as I did. The hase kit is really great. Everything fits perfectly. I only had one minor defect on my kit. If you take the time to make the kit, you can bring it to life too.
-
I doubt that I could reproduce the same paint job again. Brand new paint brushes really helped on the paint job. We'll see if I can keep up the paint job quality for my current project.