macroadster
-
Posts
159 -
Joined
-
Last visited
Content Type
Profiles
Forums
Events
Gallery
Everything posted by macroadster
-
When I was a kid, I was so into variable model. The 1/72 VF-1S Bandai Variable Valkyries had so much more details compare to TAKATOKU VF-1S toy. However, transforming the kit would take forever on the model. I still remember the last time that I transformed my Bandai Variable kit 10 years ago, I was so afraid that I would break the kit due to the age of the kit. When I come back to model scene this year, my original plan was to make a variable VF-0S. By the time, I completed my first Hase VF-0S. I realized that there is no way for a variable model to have the exquisite details of a static model without a huge amount of trade off. Now, I only make static kits. It is like a piece of art that is meant to be viewed but not played.
-
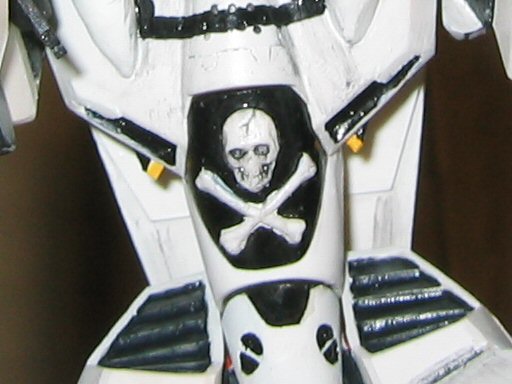
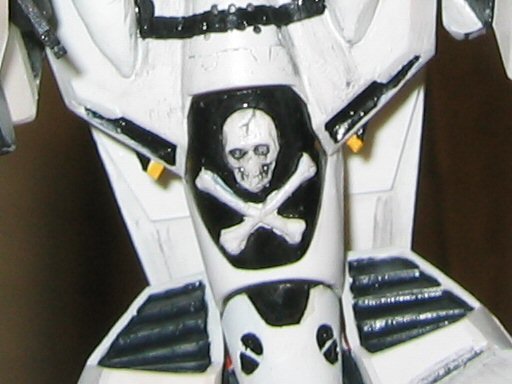
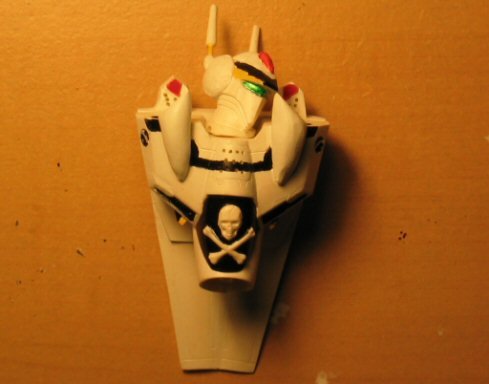
I manually painted white paint over the black paint several times. It's harder to cover white paint over the black paint because white paint were more transparent. It ended up more work than it was supposed to be.
-
Thanks. The 3D skull is really detailed. It's possible that Roy did that...
-
Sweet kit! What will be the price range for this kit? I would love to start working on a YF-21. It appears that the kit is a fixed pose kit, is it not? After the conversion, it's not possible to transform back or is it? Keep us updated.
-
Thanks. I look forward to your build.
-
This thing is beauty. How long does it take for you to build a craft like this? I would love to see some pictures of the building process, if you have them. Good job!
-
More pictures:

-
More pictures:
-
More pictures:
-
More pictures:
-
More pictures:

-
More pictures:
-
More pictures:
-
More pictures:

-
More pictures:

-
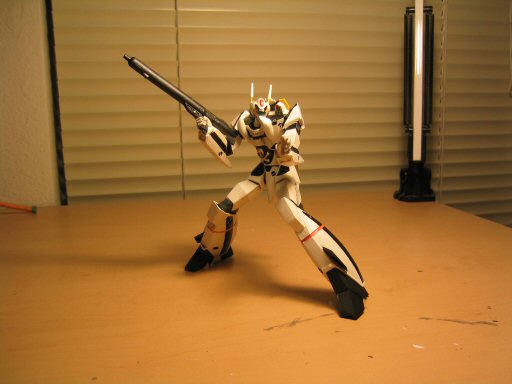
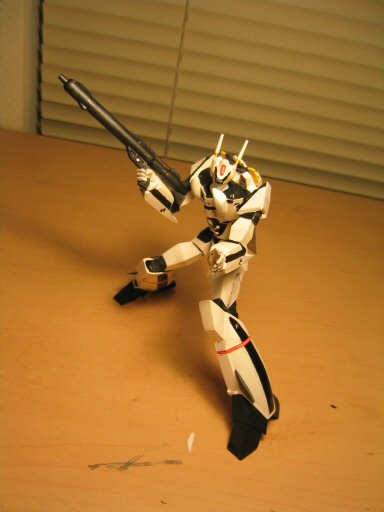
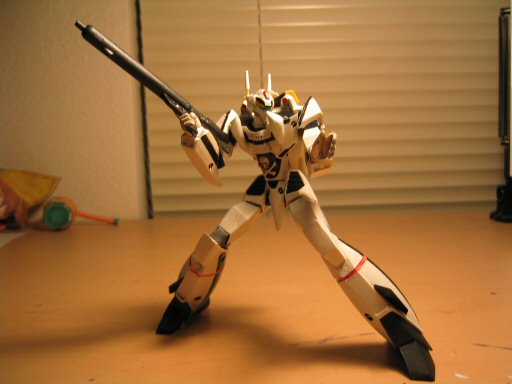
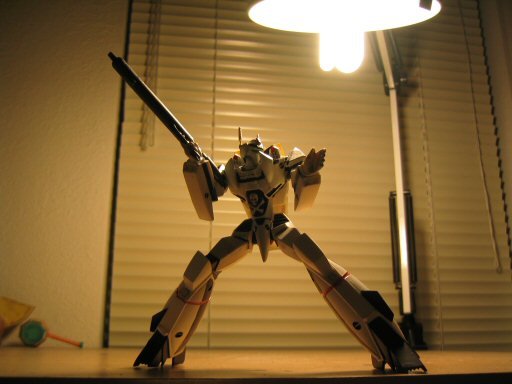
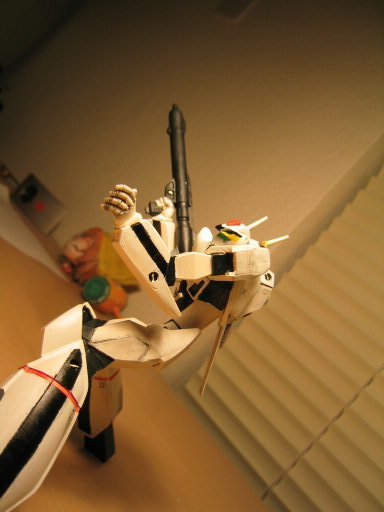
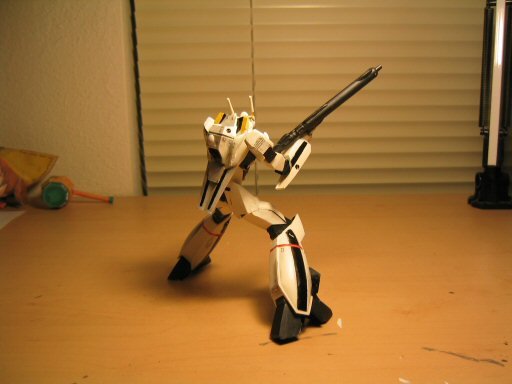
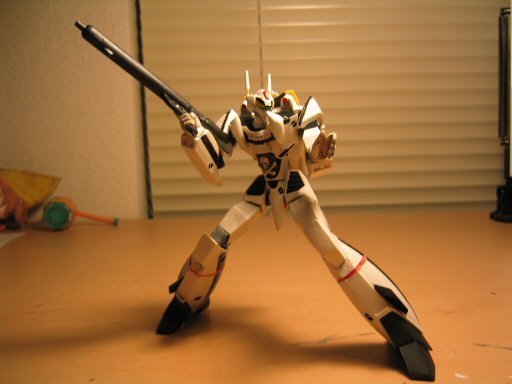
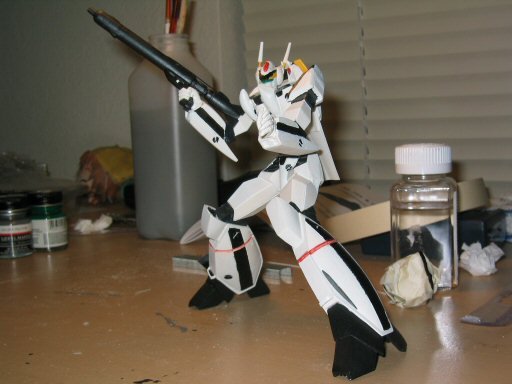
Here it is...finished! I feel sorry that I don't have time to pay more attention to this kit. However, most of the parts wroked out alright. This kit does not supply any decal, but I might buy a optional decal from ebay to make it look even better when I have the chance..
-
I used charcoal + dish washer soap again to weather the model. Hopefully, the skull will look good after weathering..

-
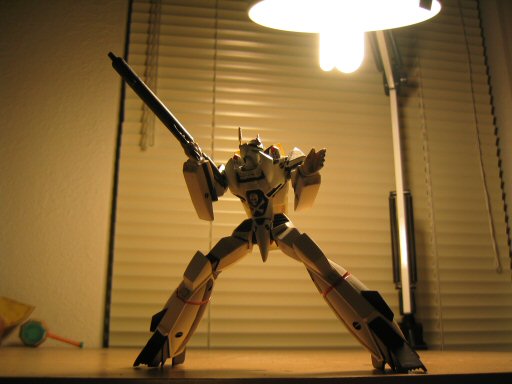
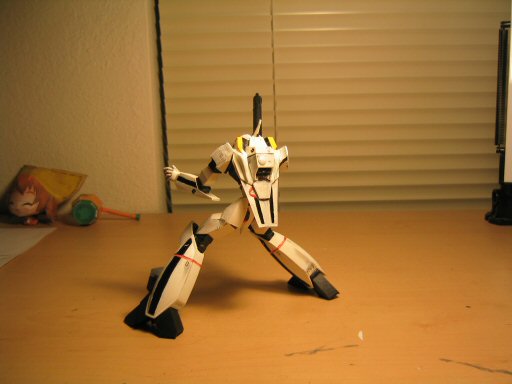
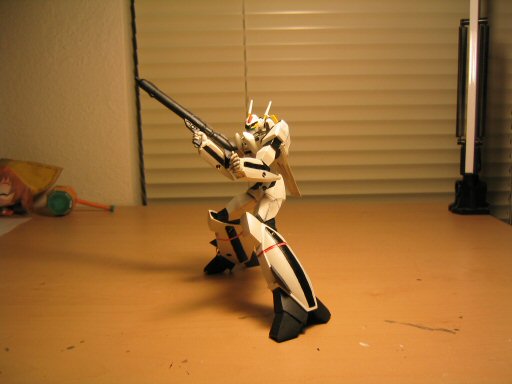
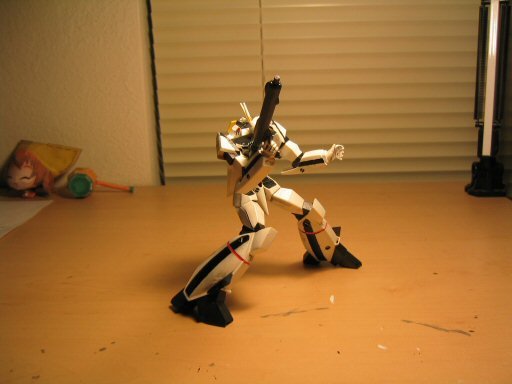
Here is the look from another angle.
-
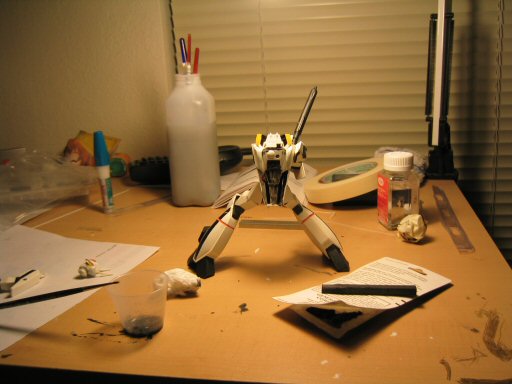
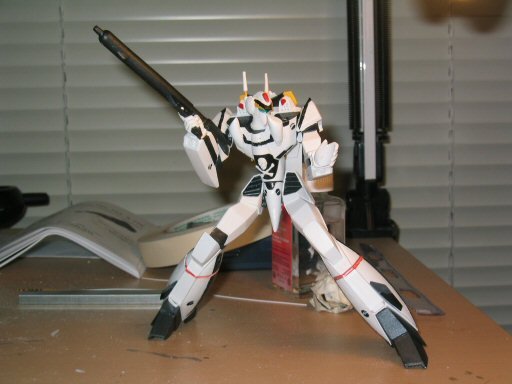
I rushed a little to finish this model by today. It is too bad that I don't have more time to work on this project. This is the model before it has been weathered.
-
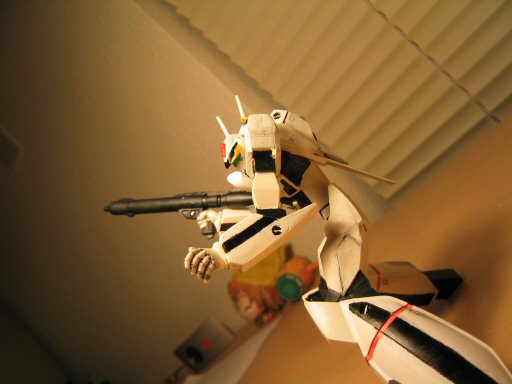
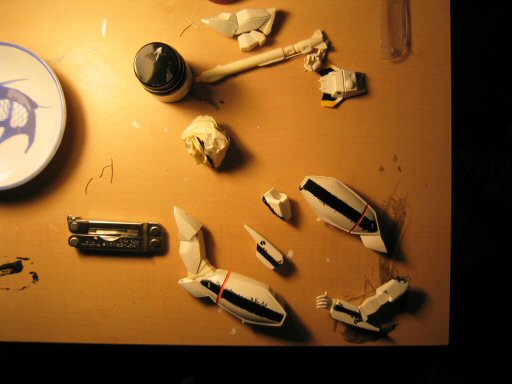
I used epoxy putter to join the right arm too. This is because I cut off the right arm and re position the arm to another angle which is probably hard to be joint by crazy glue.

-
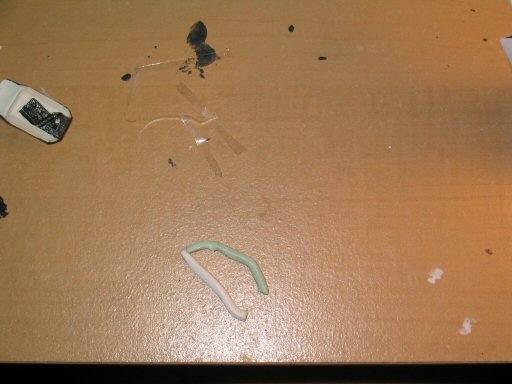
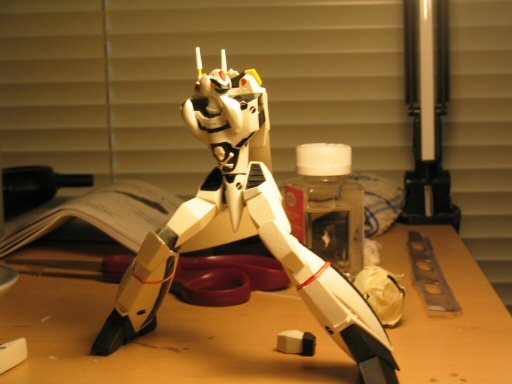
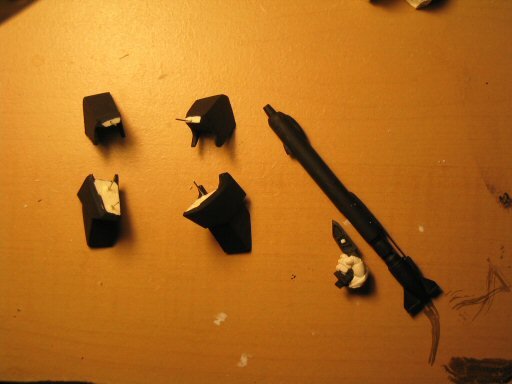
The right leg has been assembled and joined by epoxy putter, and the left leg has been joined by crazy glue. The original kit's right leg does not really connect, so I add some putter to ensure there is no gap in the knee section. In addition, I sand away the olive shape of detail beside the air-intake to make the robot looks like VF-0S.
-
prime the steel parts to ensure the steel color would stick on them.
-
Things are starting to look up again after I pin the legs together and realize that this model is really good looking..

-
Let's not panic. I decided to paint the head to boost my mood to continue to work on the model.
-
By the time the black paint were dryed, I peal off the tapes and realized that I screw up big time. I probably didn't tape it tight enough or I was using too much paint. Perhaps, this method only works with air brush. I was pretty discouraged for the mess that I made. In addition, my new boss called me that I will be starting in a new job soon. Therefore I won't have time to play with the model anymore.