MechTech
-
Posts
4702 -
Joined
-
Last visited
Content Type
Profiles
Forums
Events
Gallery
Everything posted by MechTech
-
Hey Arbit! Finally on semester break! From experience, not all LEDs are created equally. It looks like some are drawing more amperage than others since they are higher voltage. The dim ones look like they are 4.5v vs 3v. You may need to go with one manufacturer. I've had that same issue with a special flashlight I made with multiple colors on it. - MT
-
That came out really good. I'll have to look into the crystal resin too. - MT
-
He looks really good! - MT
-
That looks great Salamander. I hate Airfix kits fit. They seem to be hit and miss lately. I got the new 1/350 HMS Invincible and the deck parts and hull parts fit so bad, my son and I built it and I made the top deck hinge like a tacklebox to store his small planes in and play with. On the other hand, some guys in the local club have built their fighter planes kits and love the fit of the new stuff. - MT
-
Is it too late to buy real estate aboard the Macross? - MT
-
That Viggin is looking nice! It looks like you could use magnets Thom to attach the parts and then easily remove them. The magnetic bond is strongest when they touch each other, but you can probably get away with a thin layer of plastic between them to keep the paint nice. - MT
-
Hey Arbit, yes. ANY petroleum based lubricants will eventually if not right away, break down the the styrene. I used to use it on my model ships with R/C and started to notice brittleness and breakage. Your kit is styrene unless the parts were marked "ABS" on the runners. Even vegetable oil will screw it up. Pure silicone oil is your safe bet (and also what I'm using on the boat). It gets all over so be careful with it - MT
-
Hey Arbit, be careful NOT to use petroleum jelly on your styrene parts. It weakens the molecular bond sometimes and you'll get a pile of junk. Graphite is safe and some silicones. I found this out the hardway! If it's on, just wash it off thoroughly. - MT
-
Ha ha! We saw that last one wit the anti-idol missiles. I forgot what anime that was from. That looks great Arbit! It will be great automated. Now where's my photo of the squid juice missile...? - MT
-
WOW! That is crazy HUGE! Like you need to put ducted fans into it and make it R/C! Will the paper support all that weight? It's starting to look thin already. - MT
-
Arbit, I just prep and superglue them! Just have to watch the glue and gears if its that open gearbox. That stinks NZEOD! I'm afraid of the same thing happening. I need to buy mostly new paints and I'm afraid if I switch to another brand (other than Tamiya) I'd have the same issue. Those look great Thom! I'm so used to seeing them in green. - MT
-
More breadcrumbs, but no loaf of bread.- MT
-
Those trees did not die in vain! - MT
-
NZEOD, all the same, that sucks! We'll be your polystyrene support group! Arbit, if you connect the switches to a meter or a light, you'll know when they trigger. That might take some of the guesswork out for you. Yes, it is tough to work that out. The downside to scratch building, YOU engineer the whole thing. If my ship was a kit, I'd be done with the second one already! - MT
-
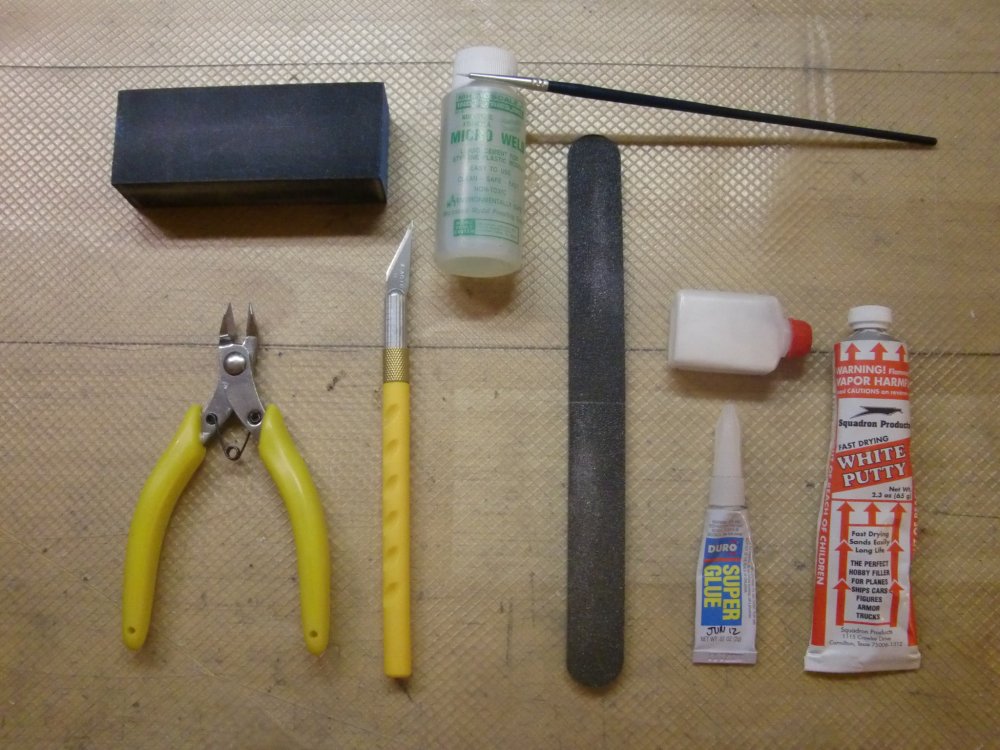
Thanks Pengbuzz! I'm thinking the stern too, plus the "blast zone" is farther back in the event of any issues. Arbit, my favorite thin (solvent) cement is Microscale Micro Weld. The best part is it's solvent free and non-toxic. It has that citrus smell, BUT IS NOT like the other junk on the market that is non-toxc! It is just as strong and fast as the solvents and if you like all the Microscale decal chemicals, you'll love this stuff too (same bottles). You can use an old brush to apply it too. There are faster cements on the market, but you have to wear a mask with them and use on a windy day outside! My daughter and I found that out the hard way with Plastruct Plastic Weld. It is a neural toxin and kept my daughter and I awake all night after we built her first model. I tossed it the next day. Someone on the boards here was like, "Never use that stuff man!" For superglue, long story, but the only stuff I could get locally overseas back in the day was Duro Superglue. So for superglue I use that. Plus it comes in 2 and 4 packs pretty cheap at hardware stores (blue and white label). The formula has remained consistent through the past 20 years or so I've been using it. I date the tubes so I keep my stock rotated. For CA accelerator, I use Arm and Hammer baking soda (and it keeps the fridge fresh too) Just put a little in a small bottle. I use a small soy sauce bottle like they used to give at sushi take out places and still sell in some sushi places. Whatever works for you. Just a little powder sprinkled into the joint and BAM! No stink and fumes. Then you can use it to build up and fill in gaps. My ship has places where the plastic was sanded away and only the glue and baking soda remain. It makes a stronger faster bond than stinky accelerator, its edible and CHEAP! Did I say it's strong? I attached a photo from a tutorial I did four years ago so you can see what I mean. - MT
-

Has anyone heard of UV Adhesives/weld products? - seems interesting...
MechTech replied to wm cheng's topic in The Workshop!
As far as I know this is the same acrylic type resin from SLA printers. I've had other people tell me I need to try some out, but I honestly can't think of a use for it - yet. DON'T LOOK INTO THE LIGHT! I think it may just be a clearer substitute for the other acrylic based glue, Cyanoacrylate (CA). Maybe make windows or navigation lights with it. The problem is most of these yellow with age too. If you try it, let us know how it went. The sun will also make it more brittle like SLA resin (that I do have experience with). - MT -
I hate it when mecha fight in the kitchen! This is looking great Mike! You have the right balance of line art and anime magic combined! - MT
-
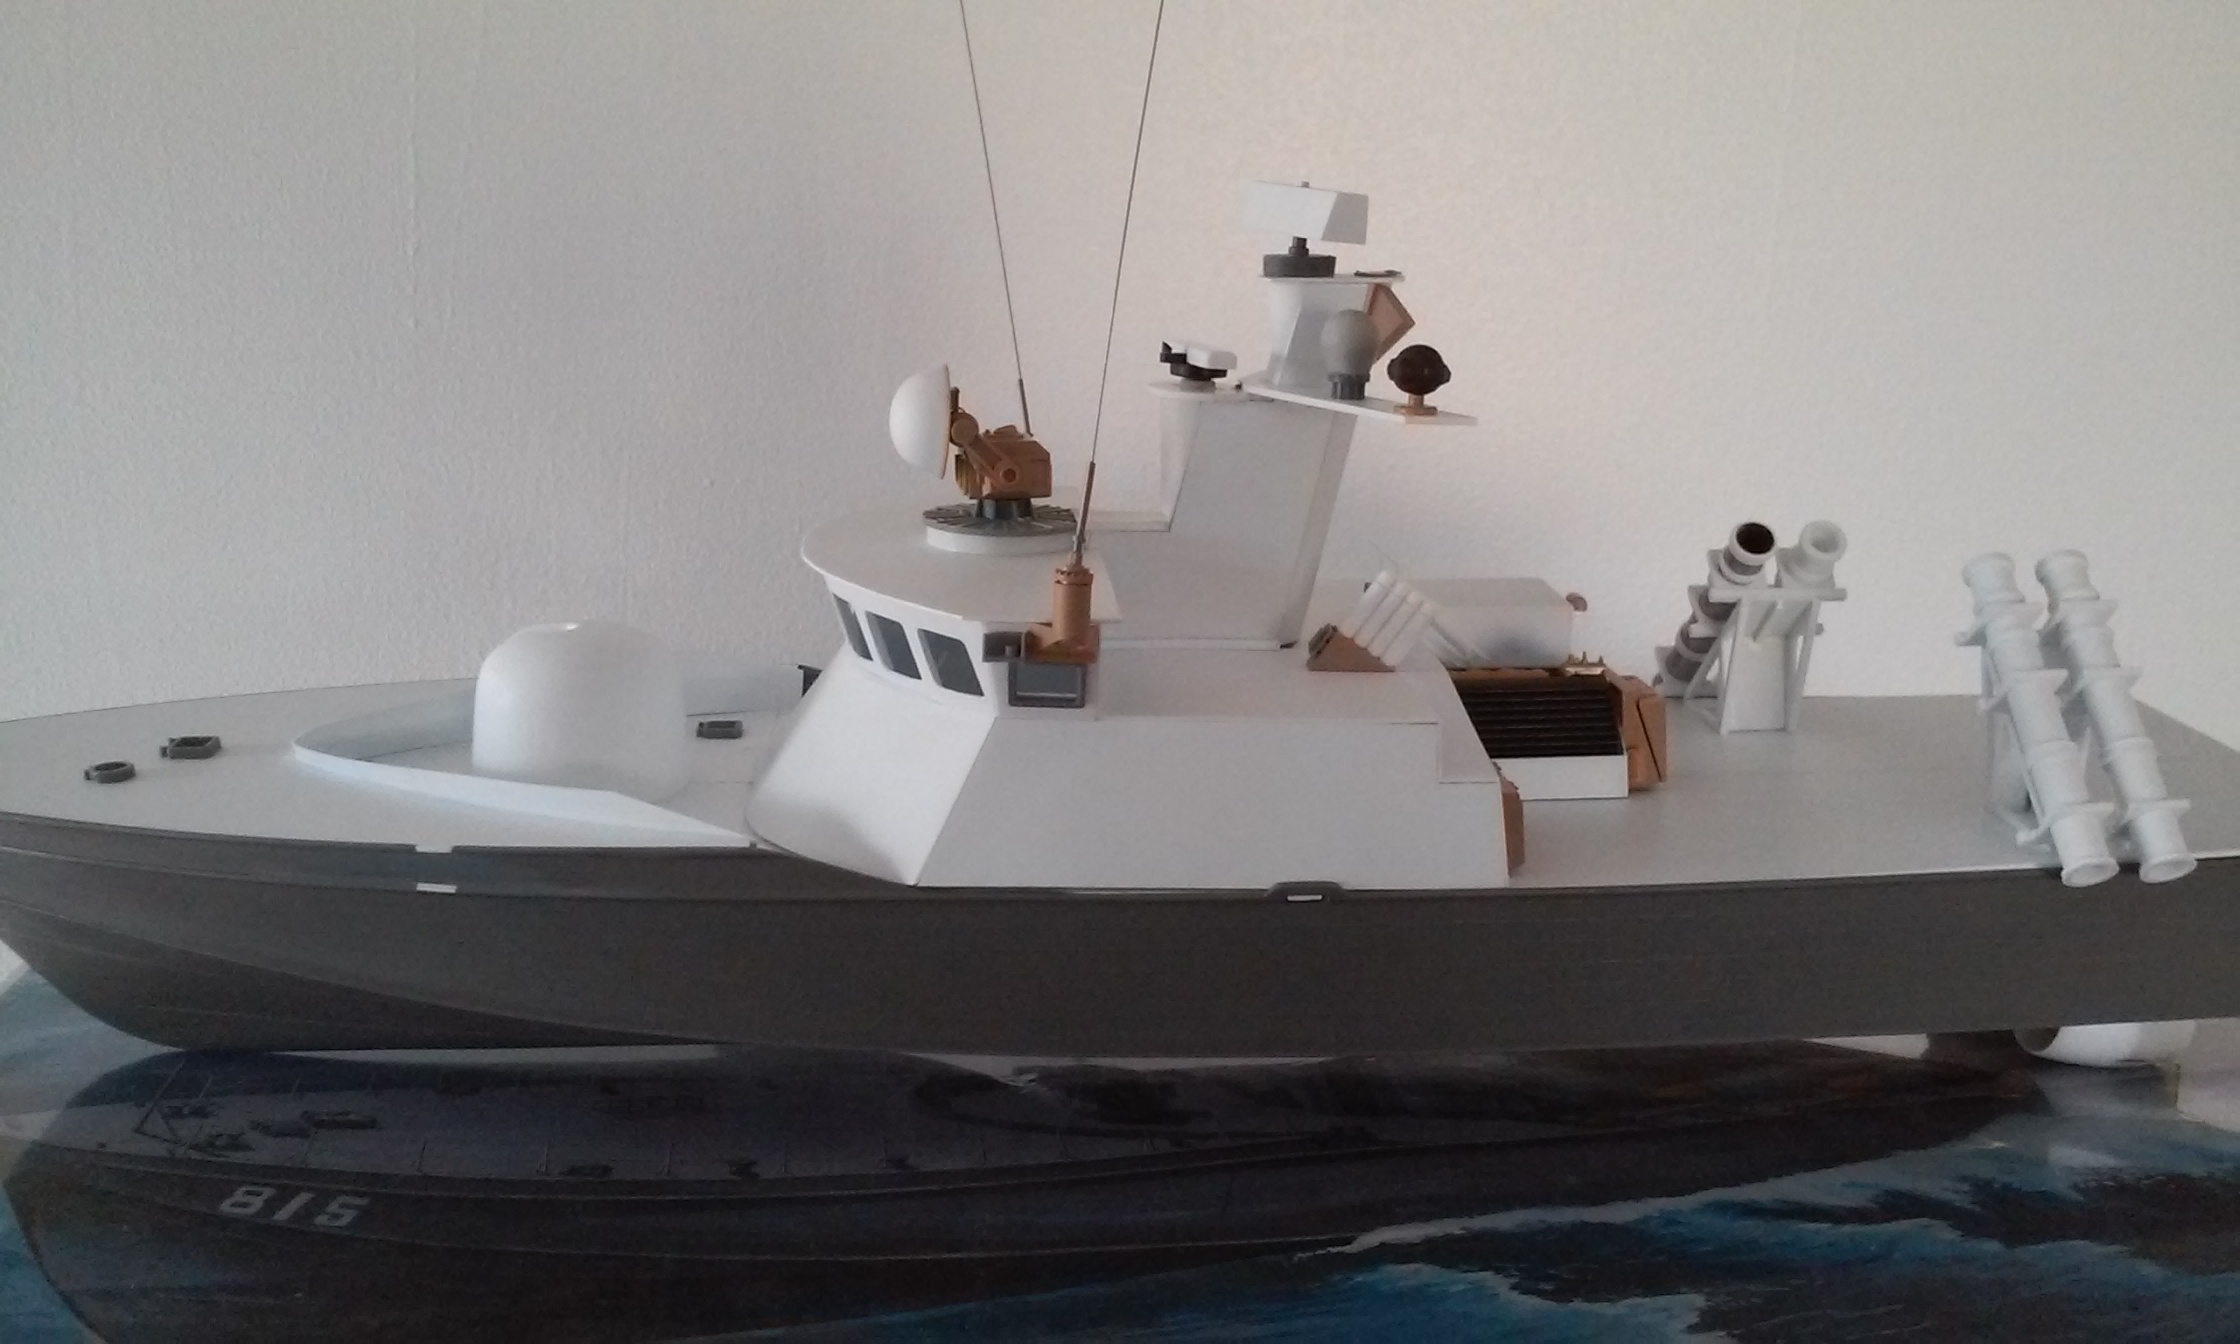
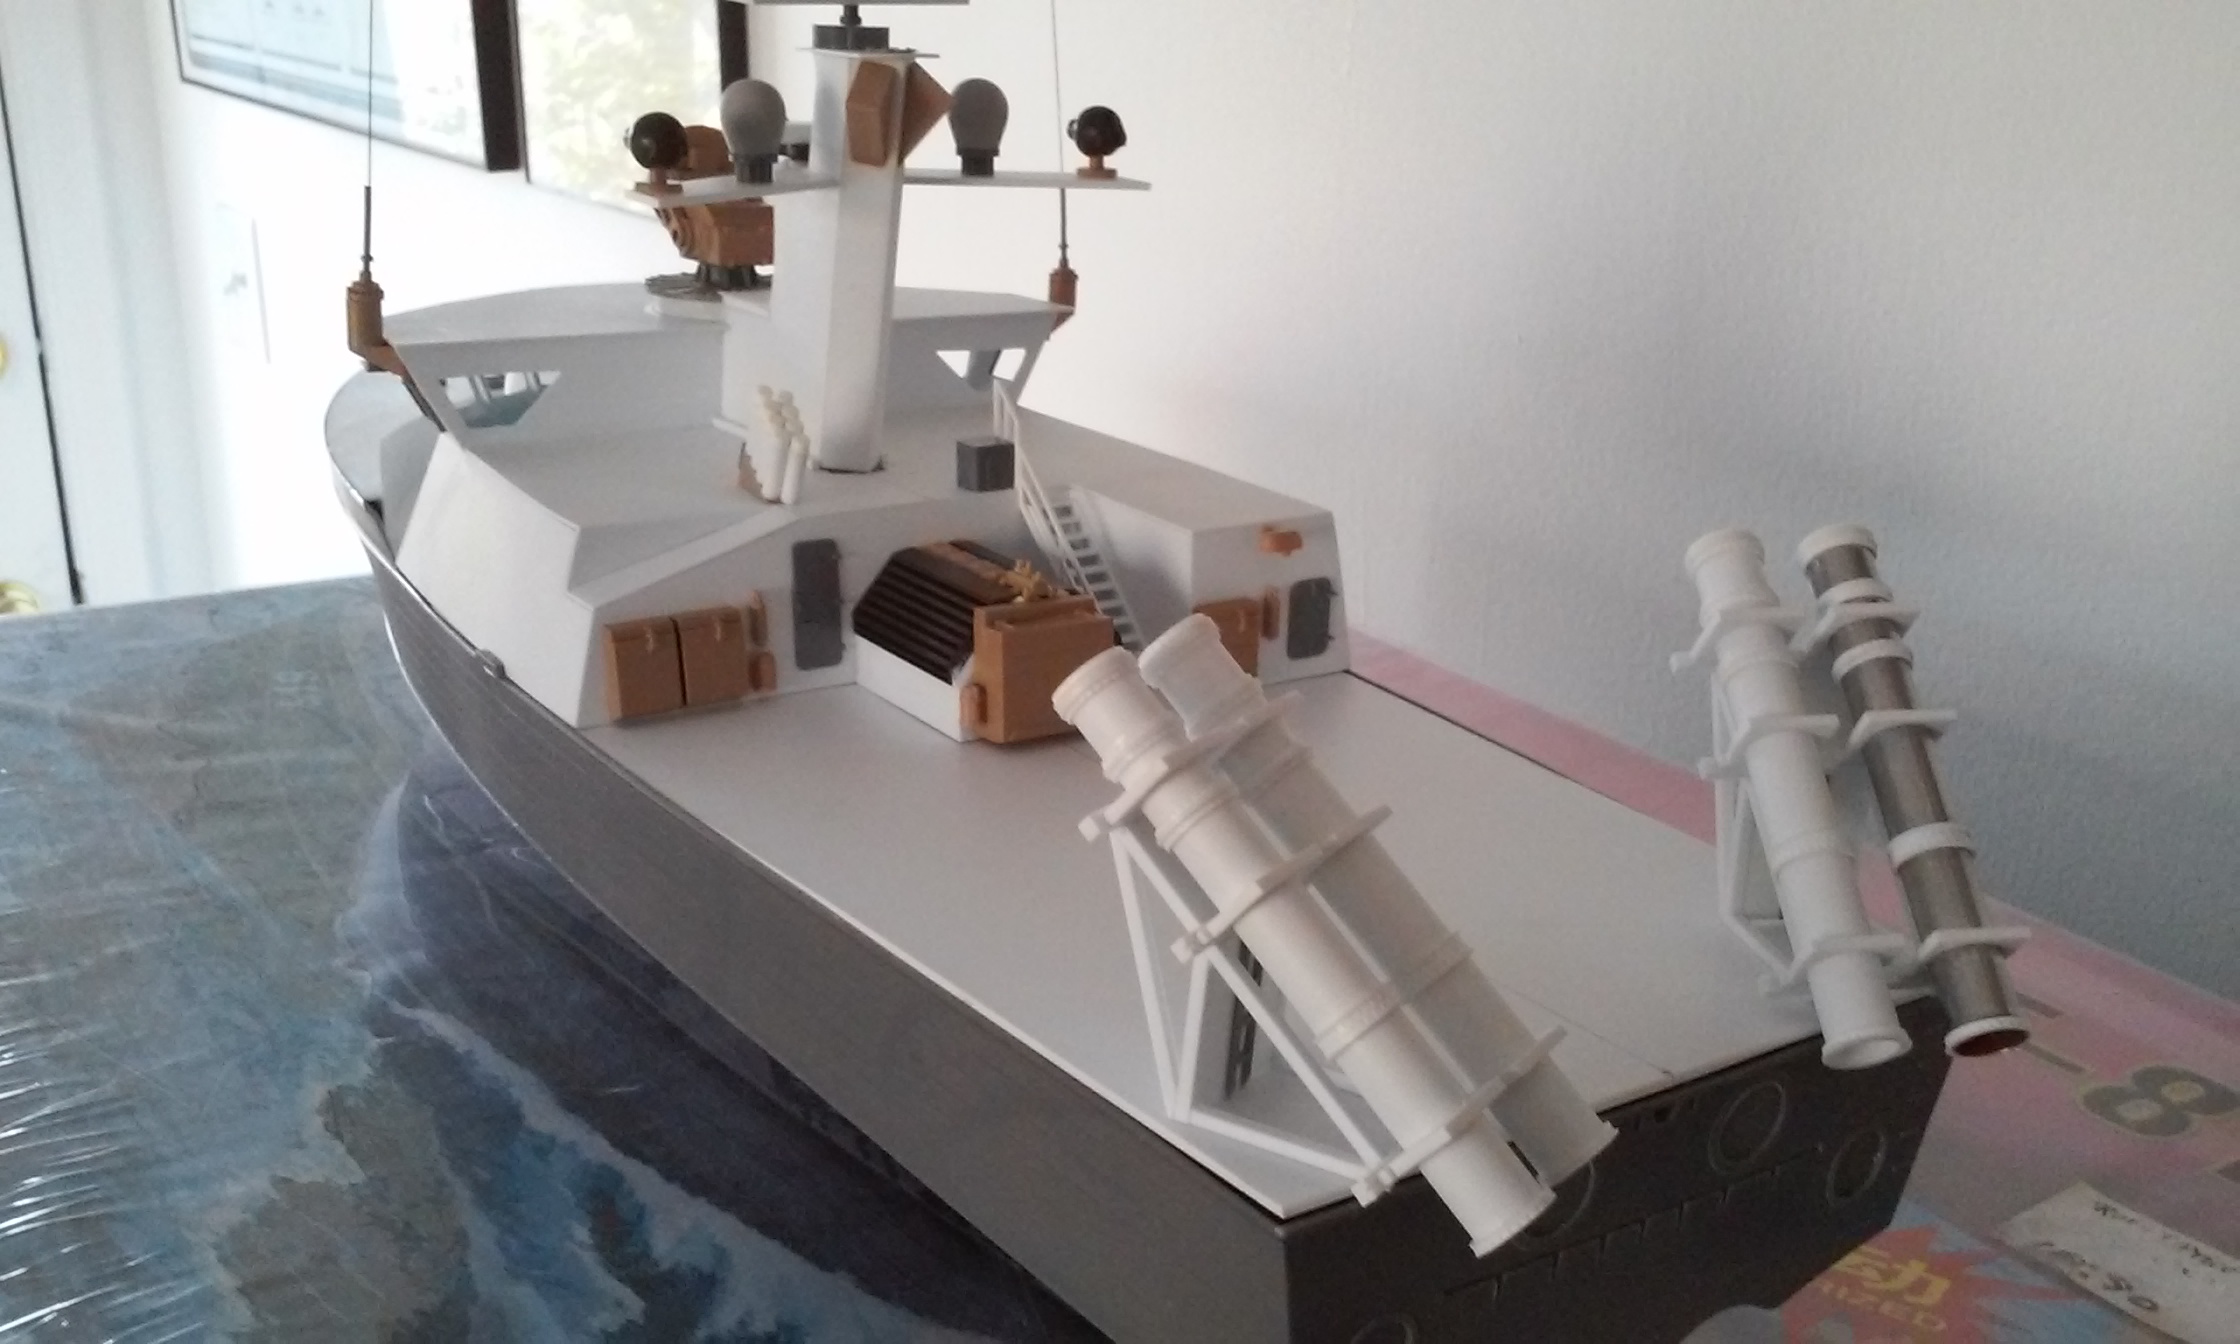
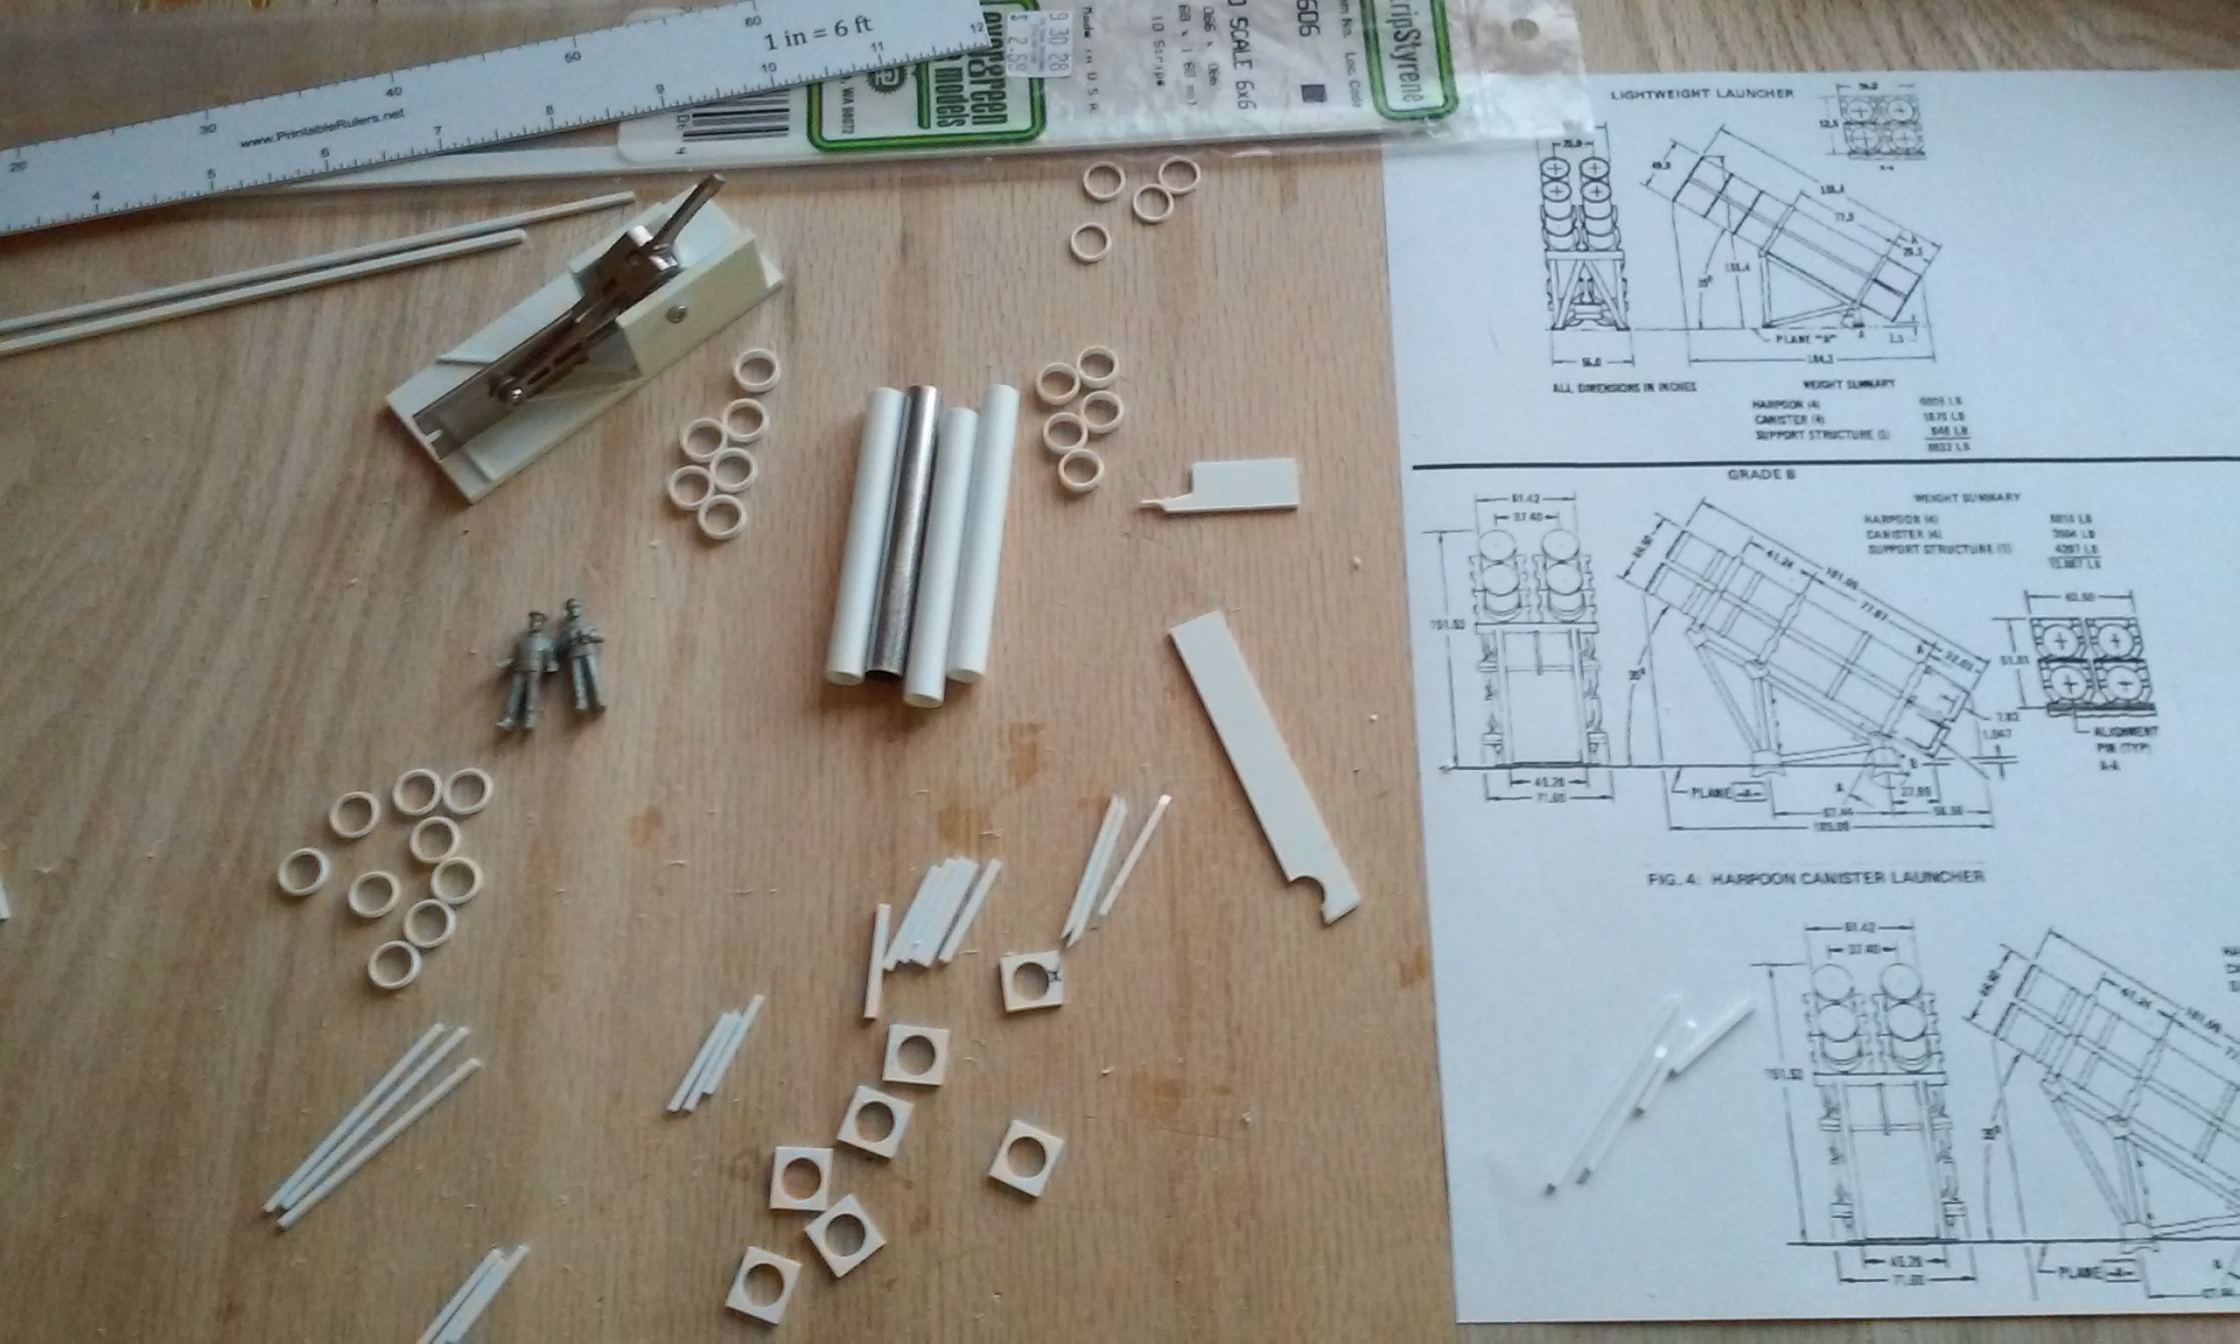
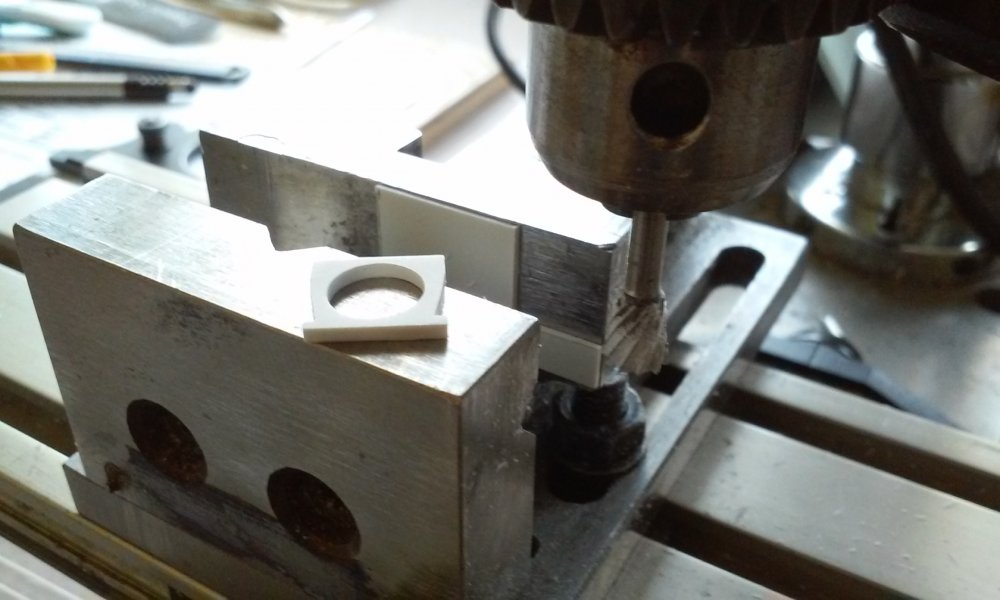
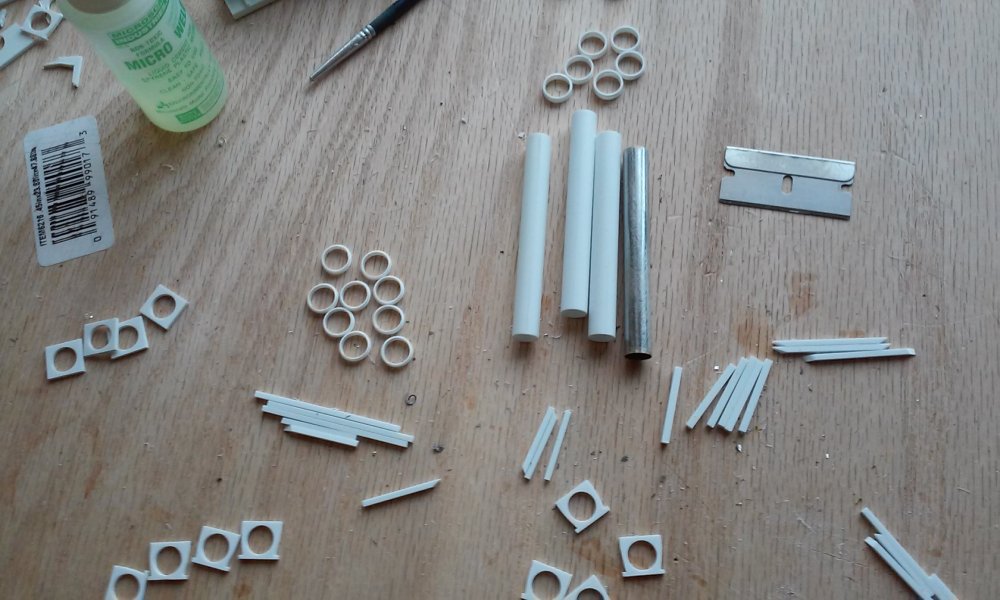
That's the first I've heard of issues with Bandai's plastic from those kits. Were the parts well washed? Maybe some wax got onto the joints preventing adhesion? NEED YOUR HELP guys! FINALLY got to build something! These are ONLY THE TOP HALF of the 1/72 scale Mk-141 Harpoon launcher tubes. The older ships used them so I went with them for accuracy (of course they have WAAAAY more detail on them too versus the lightweight mounts which are smoother). I still have to build the bases. I can't decide whether to let them hang over the stern (back) or from the sides. What do you guys think? Note the metal tube? You can guess whey it has to hang over the edge. These took a lot of work to get all aligned right with a depth gauge for placement and a jig to cut part of the braces. Now I just have to get some tiny model rockets! - MT


-
That's cool Electric Indigo. I had the kit they did of the giant flamethrower from 88 or 89? It was a great big expensive kit! I also didn't have a family to feed then The Mistrel is looking good Herve! You can do it Arbit! - MT
-
That illustration looks great Pengbuzz! Which kit is that Electric Indigo? - MT
-
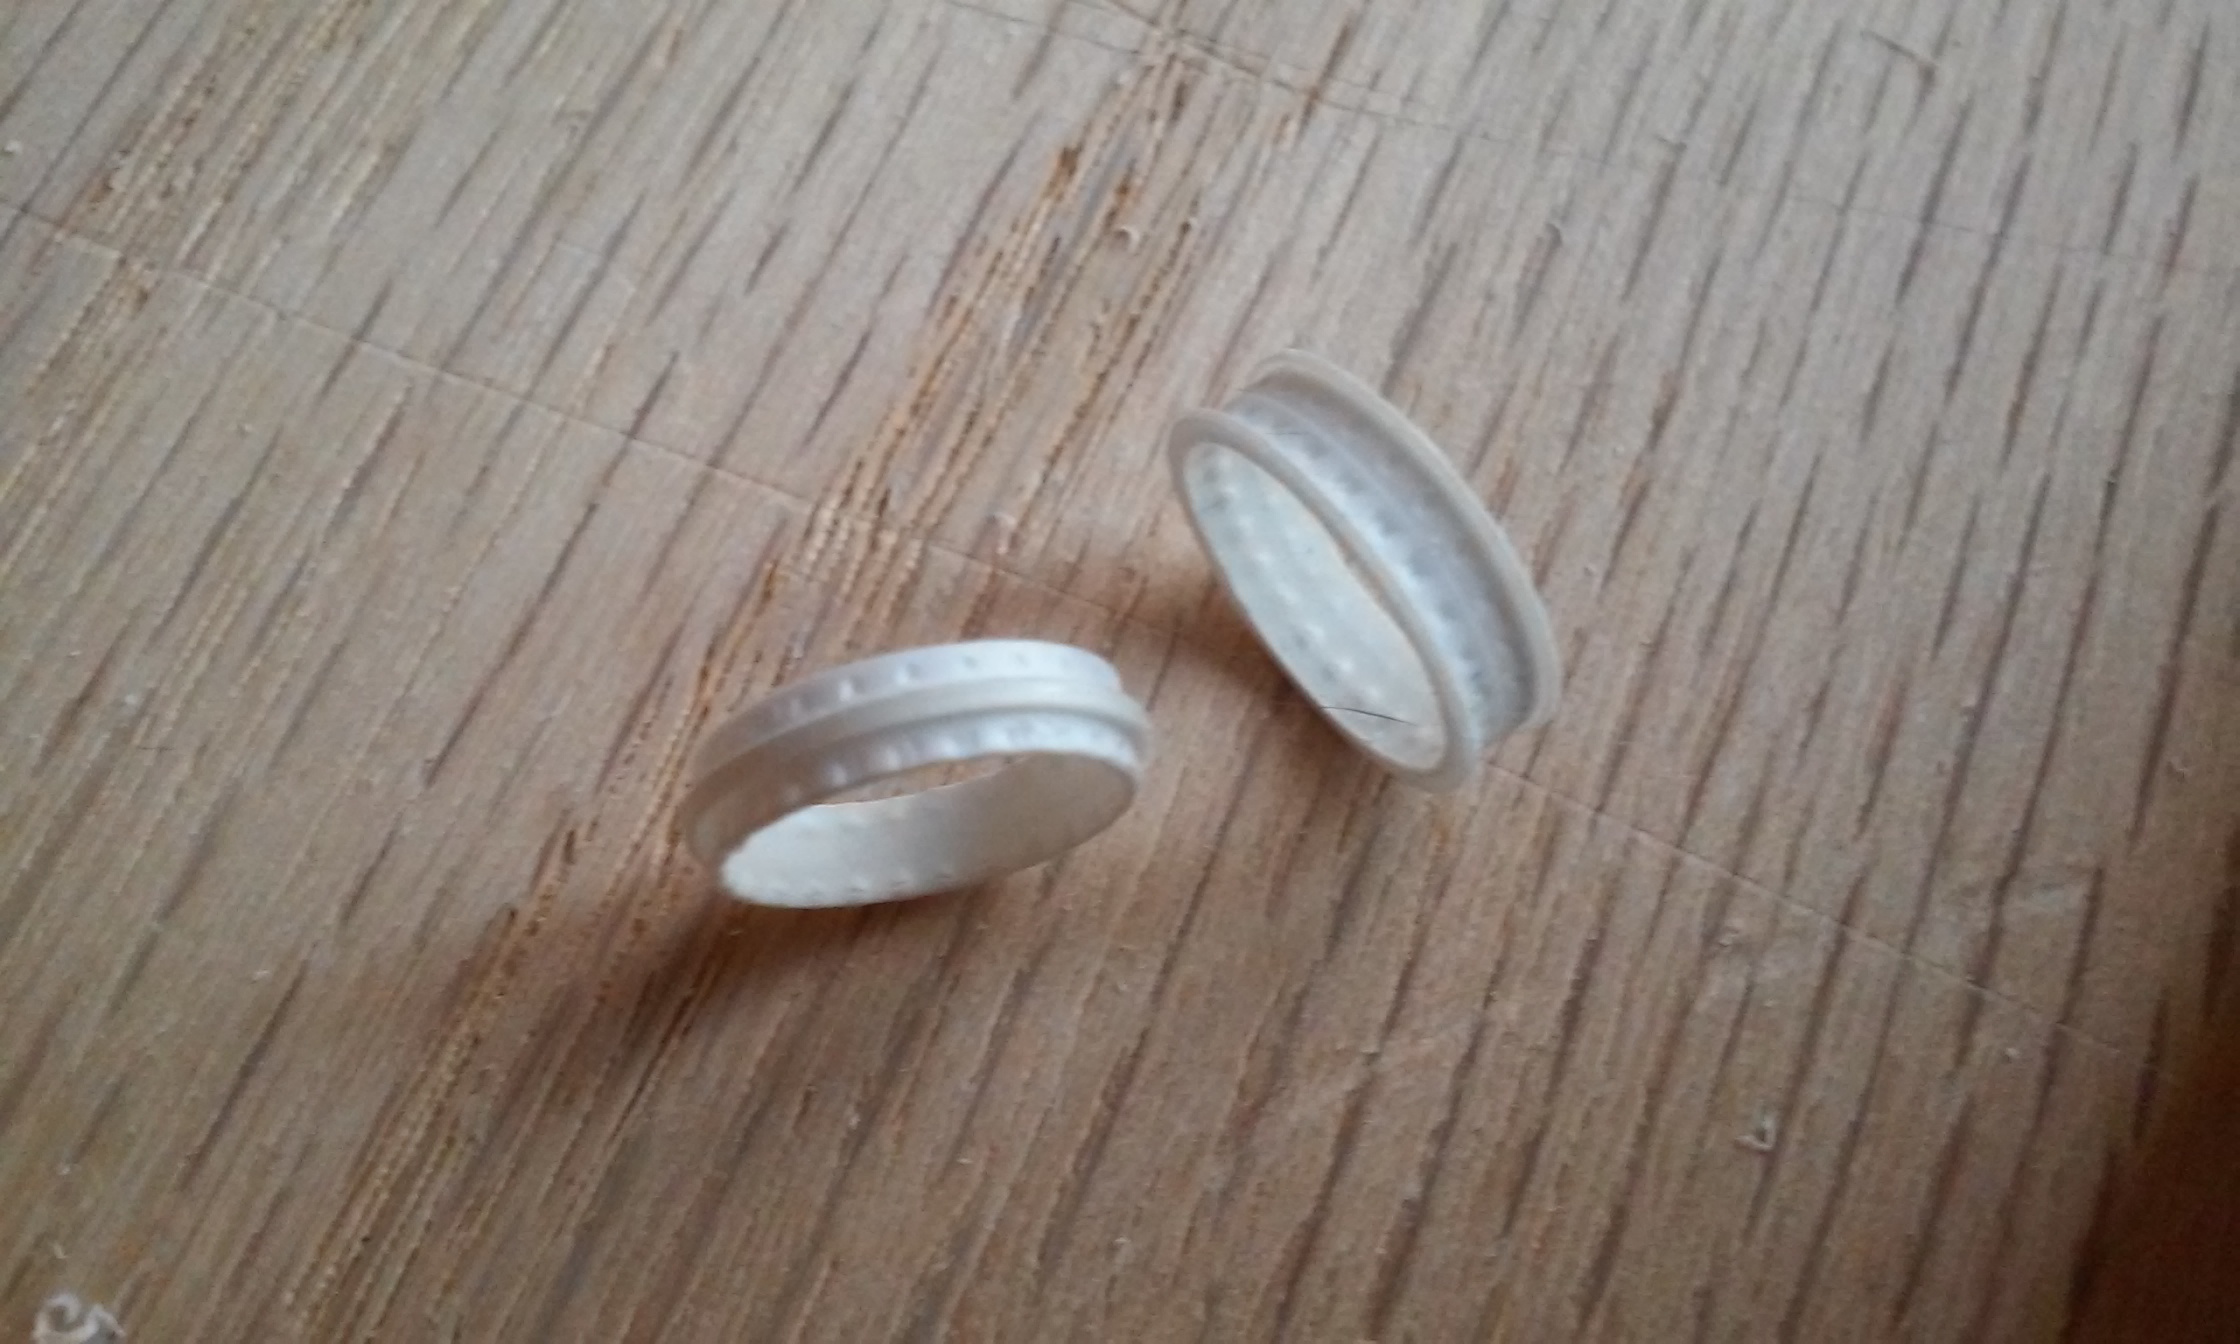
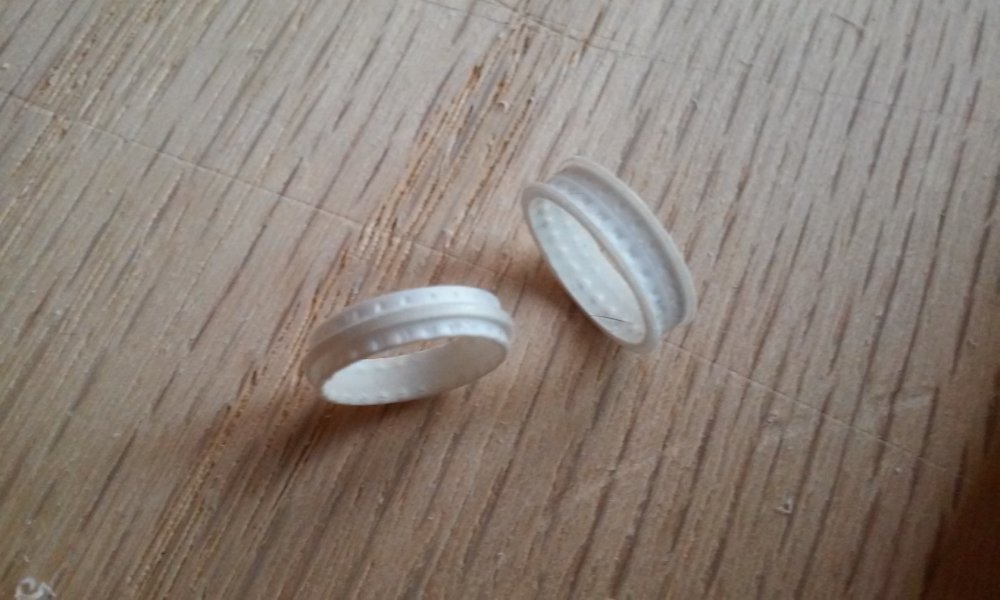
That Falcon looks movie prop perfect William! Q-Rau Kelsain! Derex, I thought about you last week. Brewster Rocket Comic of two AT-AT's attacking ground troops. One has the bumper sticker, "How's My Driving? Call..." and the other says, "My child is an honor student at Coruscant High School." I found it on line: http://www.gocomics.com/brewsterrockit/2017/03/26 That's cool Pengbuzz! I like the idea. Yeah, it could almost pass for the ASS -1 . School is keeping me tied down so not much here. Working on two Mk-141 Harpoon missile launchers. The simulated connector rings were cut on the lathe and a pounce tool was rolled against them to simulate bolt patterns. You can see they're square patterns, but look round at non-magnified distance. HMmmm, what's the metal tube for...? - MT


-
Just look up "geared motors" on ebay or "brushed motors" at Hobby King. Hobby King has had great service to include a return so I'd trust them. Maybe a cheap servo would be the same and a better way to go? - MT
-
Great move with the magnets NZEOD. I did the same with my 1/350th valk. Gotta watch those drills. Now we know why you're not NZMARKSMAN Hopefully you didn't feel it! Congrats Derex! That came out great! The decals may not be canon, but they do add a nice touch. Meanwhile mine is calling out to me from the basement, but I'm so busy, I have to ignore it! That build came out awesome William! The photoetch and fiber really add realism and dimension to the Falcon. Take away the background and it could pass for a movie prop! Nothing major to photograph this week. Too busy catchin up with school! - MT
-
Cool! - MT
-
I've noticed that the metal geared robot style motors are now less than $5.00, so that's cool! They were like $10-15.00 on average. Someone's even got a 6mm diameter with metal gears in it for about $10! You guys could kick butt with all that. - MT