MechTech
-
Posts
4679 -
Joined
-
Last visited
Content Type
Profiles
Forums
Events
Gallery
Everything posted by MechTech
-
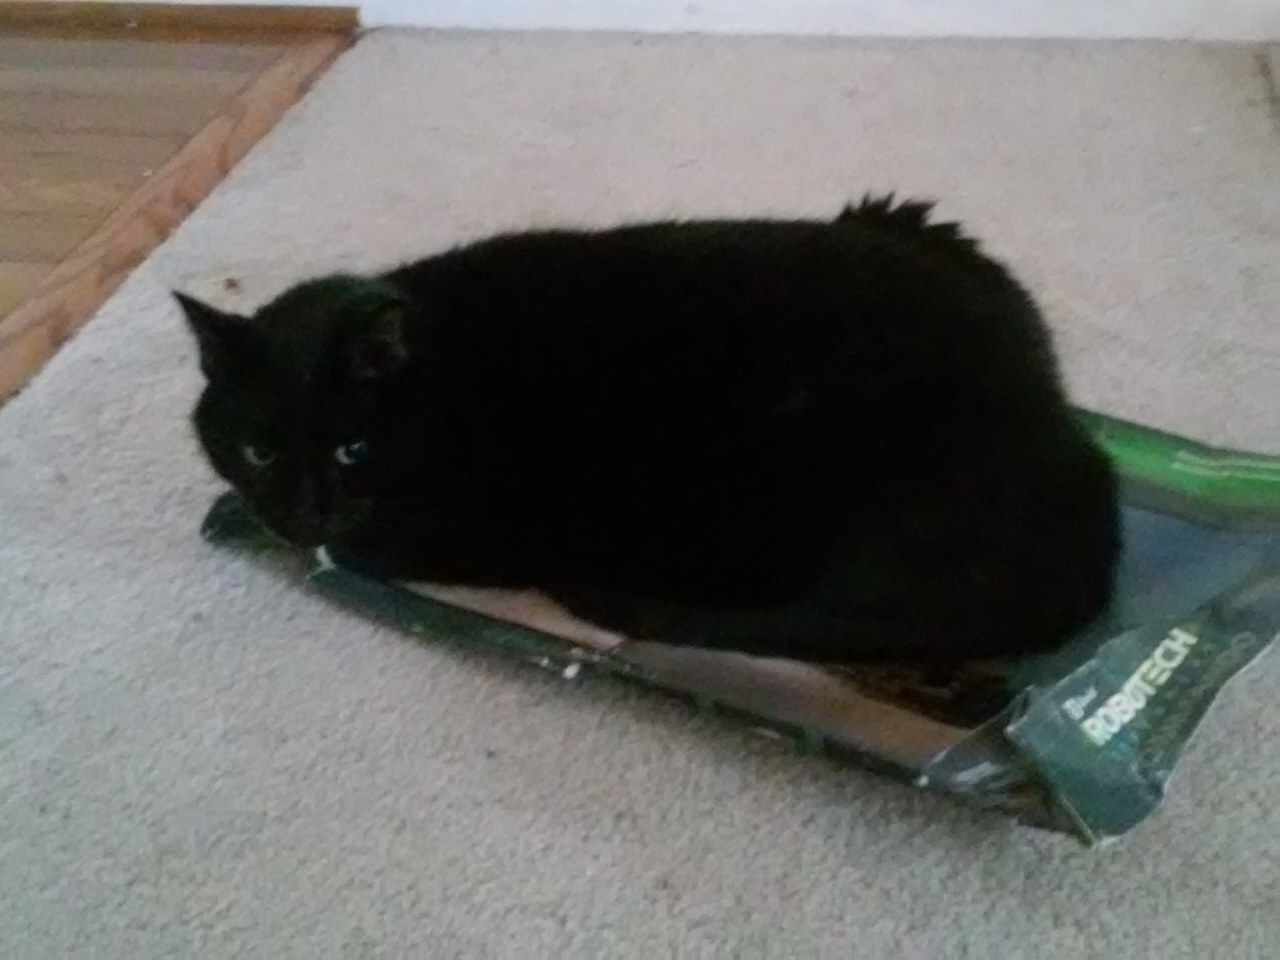
Ha ha ha! OK, my parents wouldn't let me have ANYTHING that resembled a weapon (because they knew me too well). BUT, my glue all over the place models got re-used to add more weapons onto some unsuspecting valkyrie kit or other Robotech kit. Today, EVERYBODY gets involved in model building in this house! (see attached) - MT
-
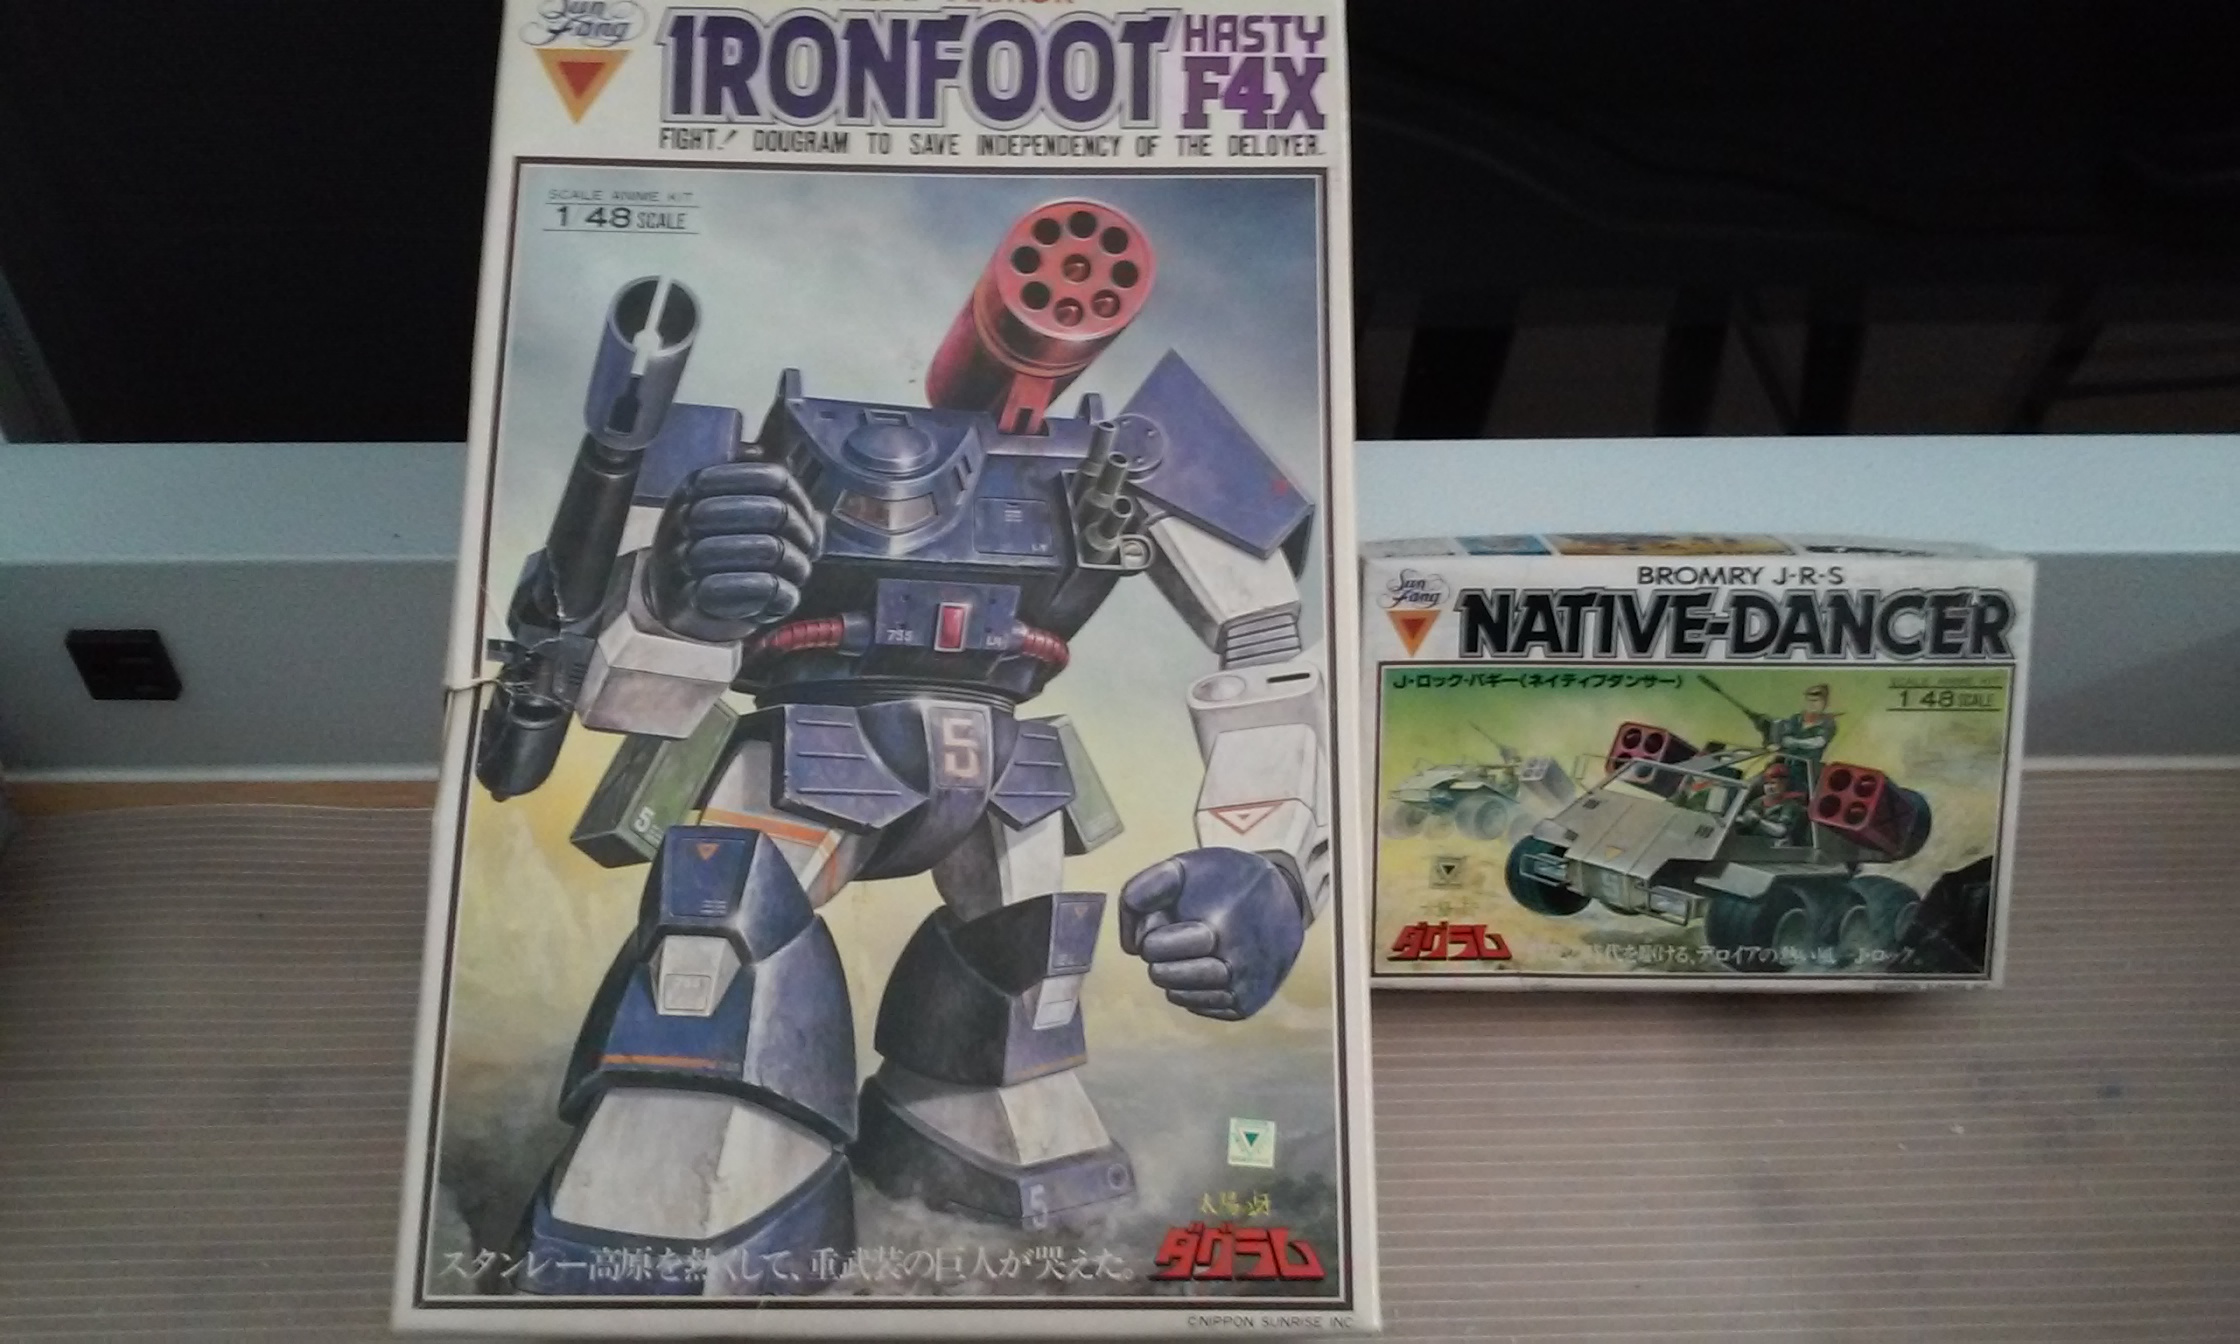
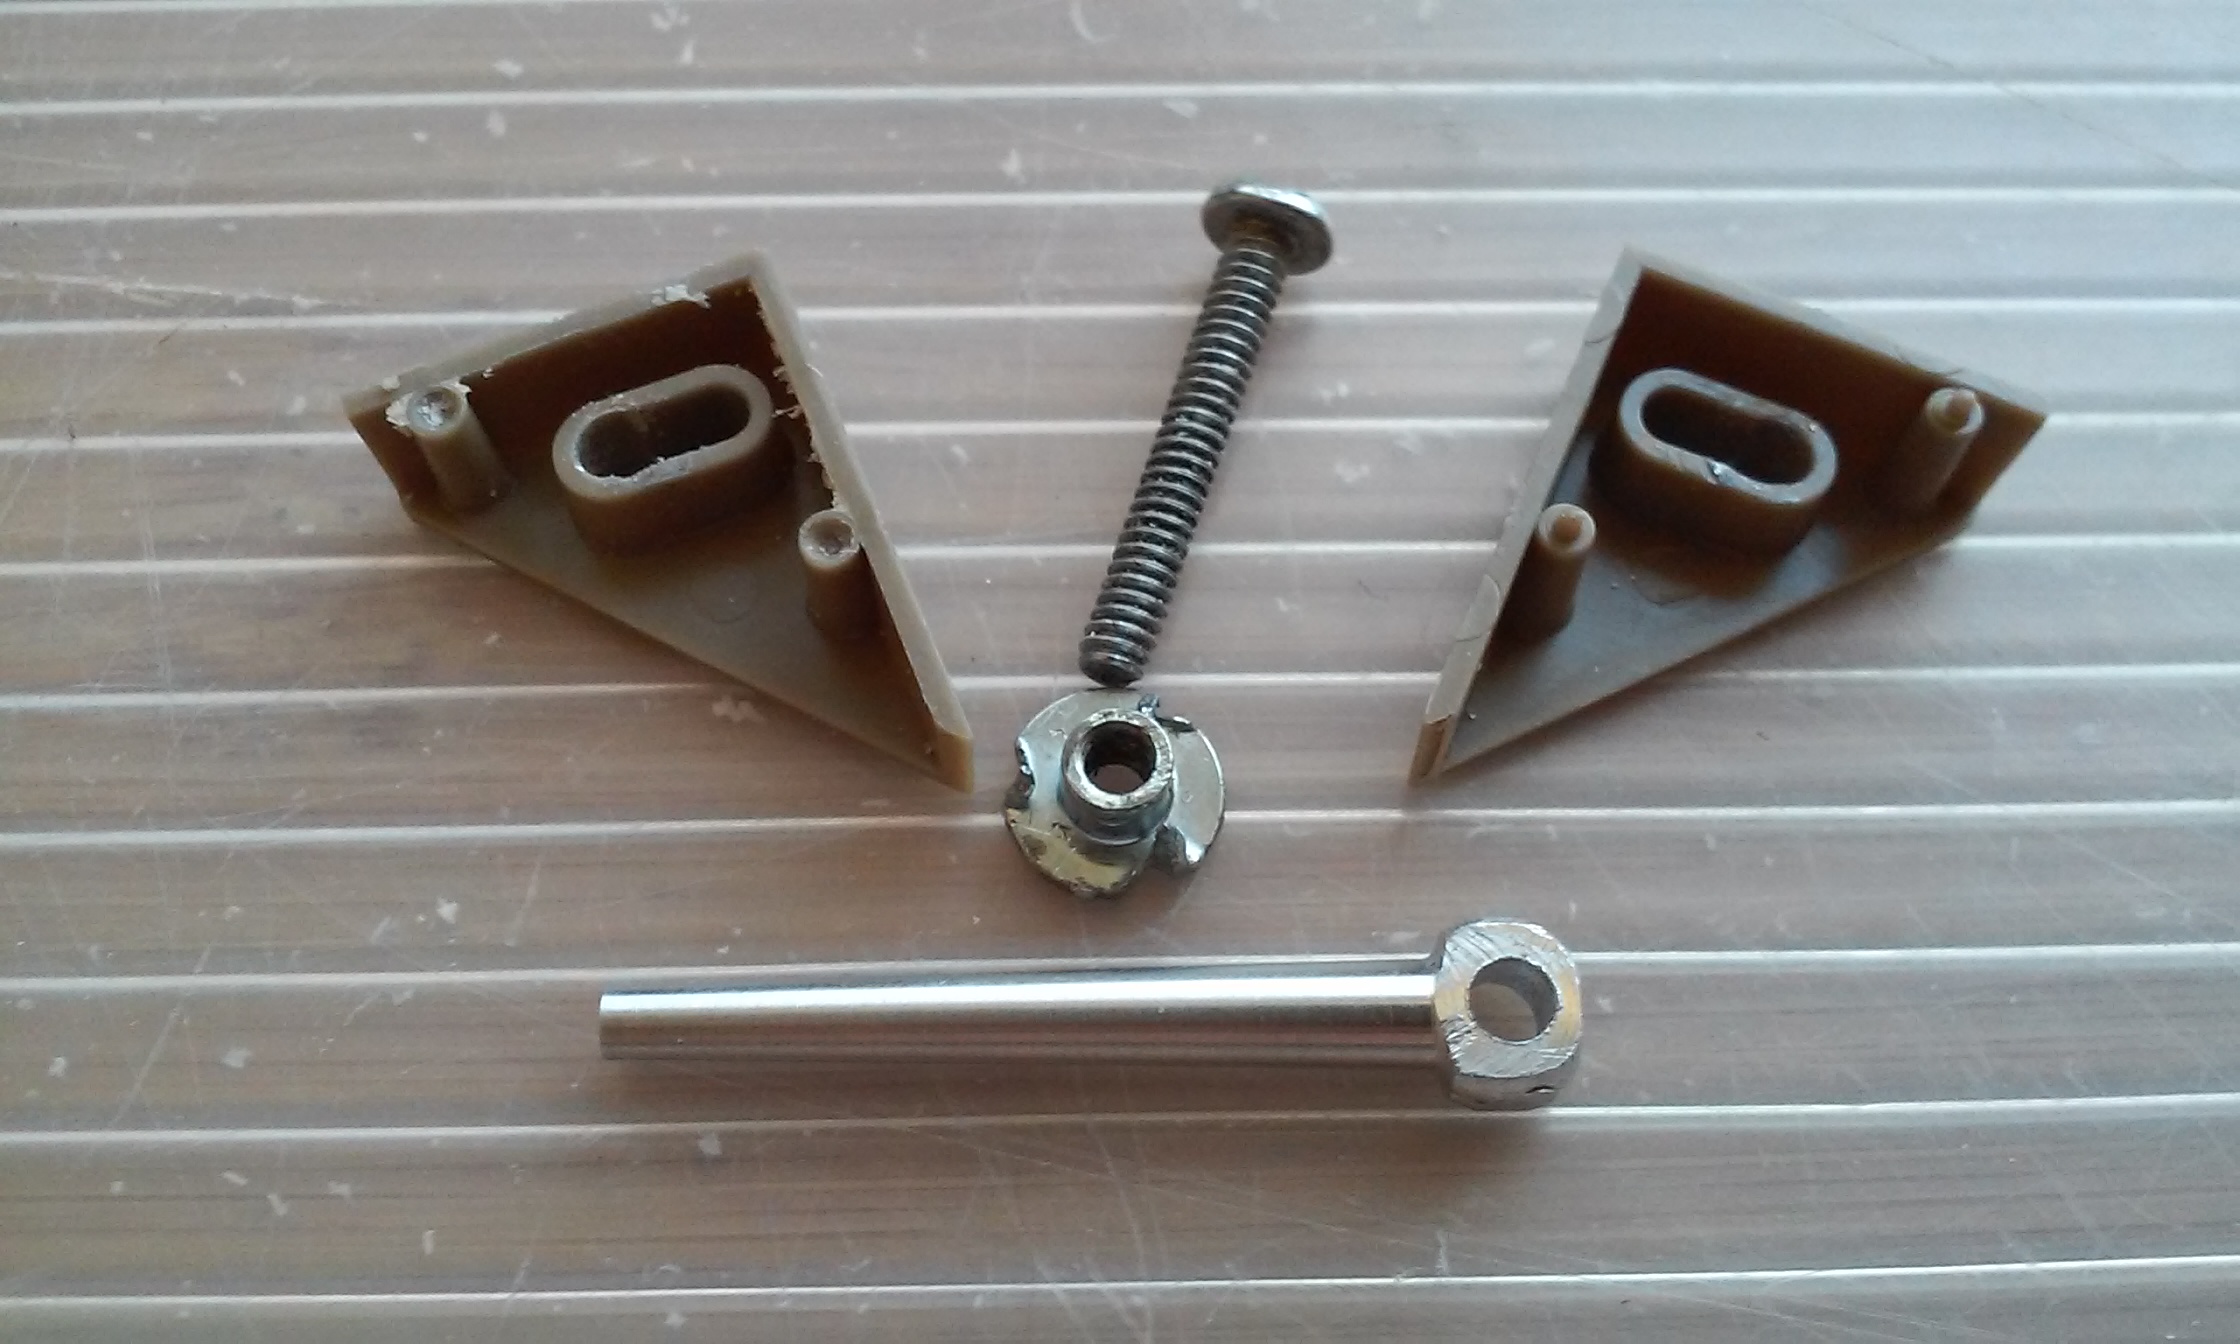
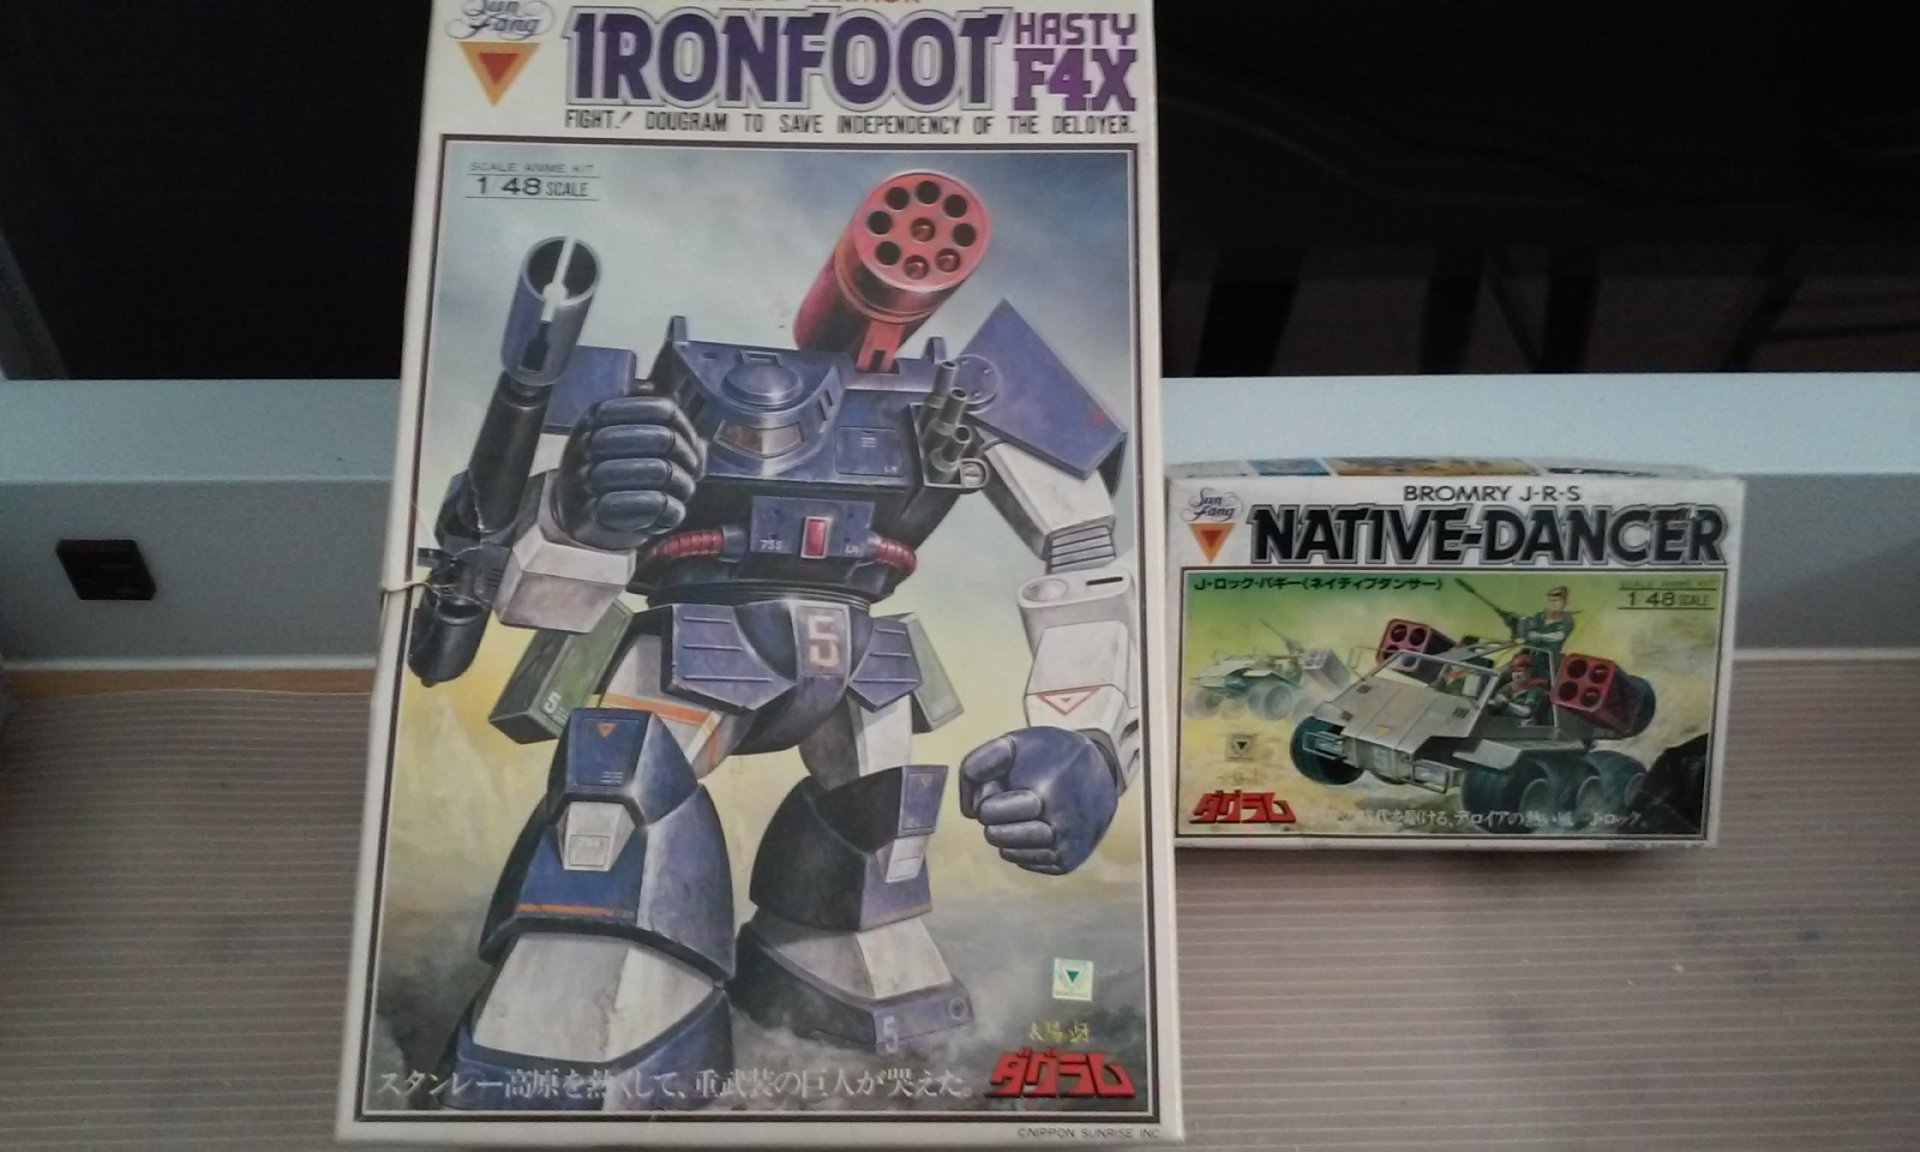
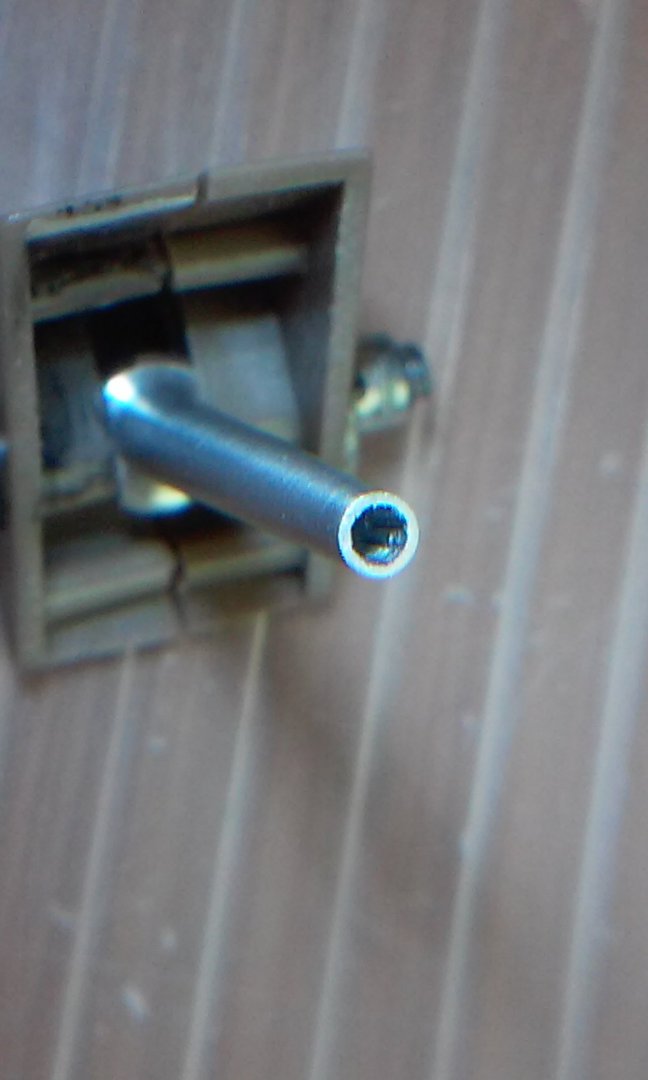
The 190 is looking great Herve! My next two vintage victims came in! I actually had a choice of two "Native Dancers" so I picked the cheaper one with a dirty box. Mandarake is SO cool to shop on! I built both models when I was a LOT younger! I forgot how advanced the Ironfoot kit is complete with various shaped PC parts for articulation and several cool details like a full cockpit and all the missiles being separate and removable. I'm thinking of lighting the "headlights" and cockpit. Did anyone every use the TINY lead tube of glue that came with these things - MT
-
I'm just now catching this. This is a REALLY awesome build! Thanks for sharing guys! - MT
-
That's looking cool! - MT
-
Thanks! The stand is a great touch! - MT
-
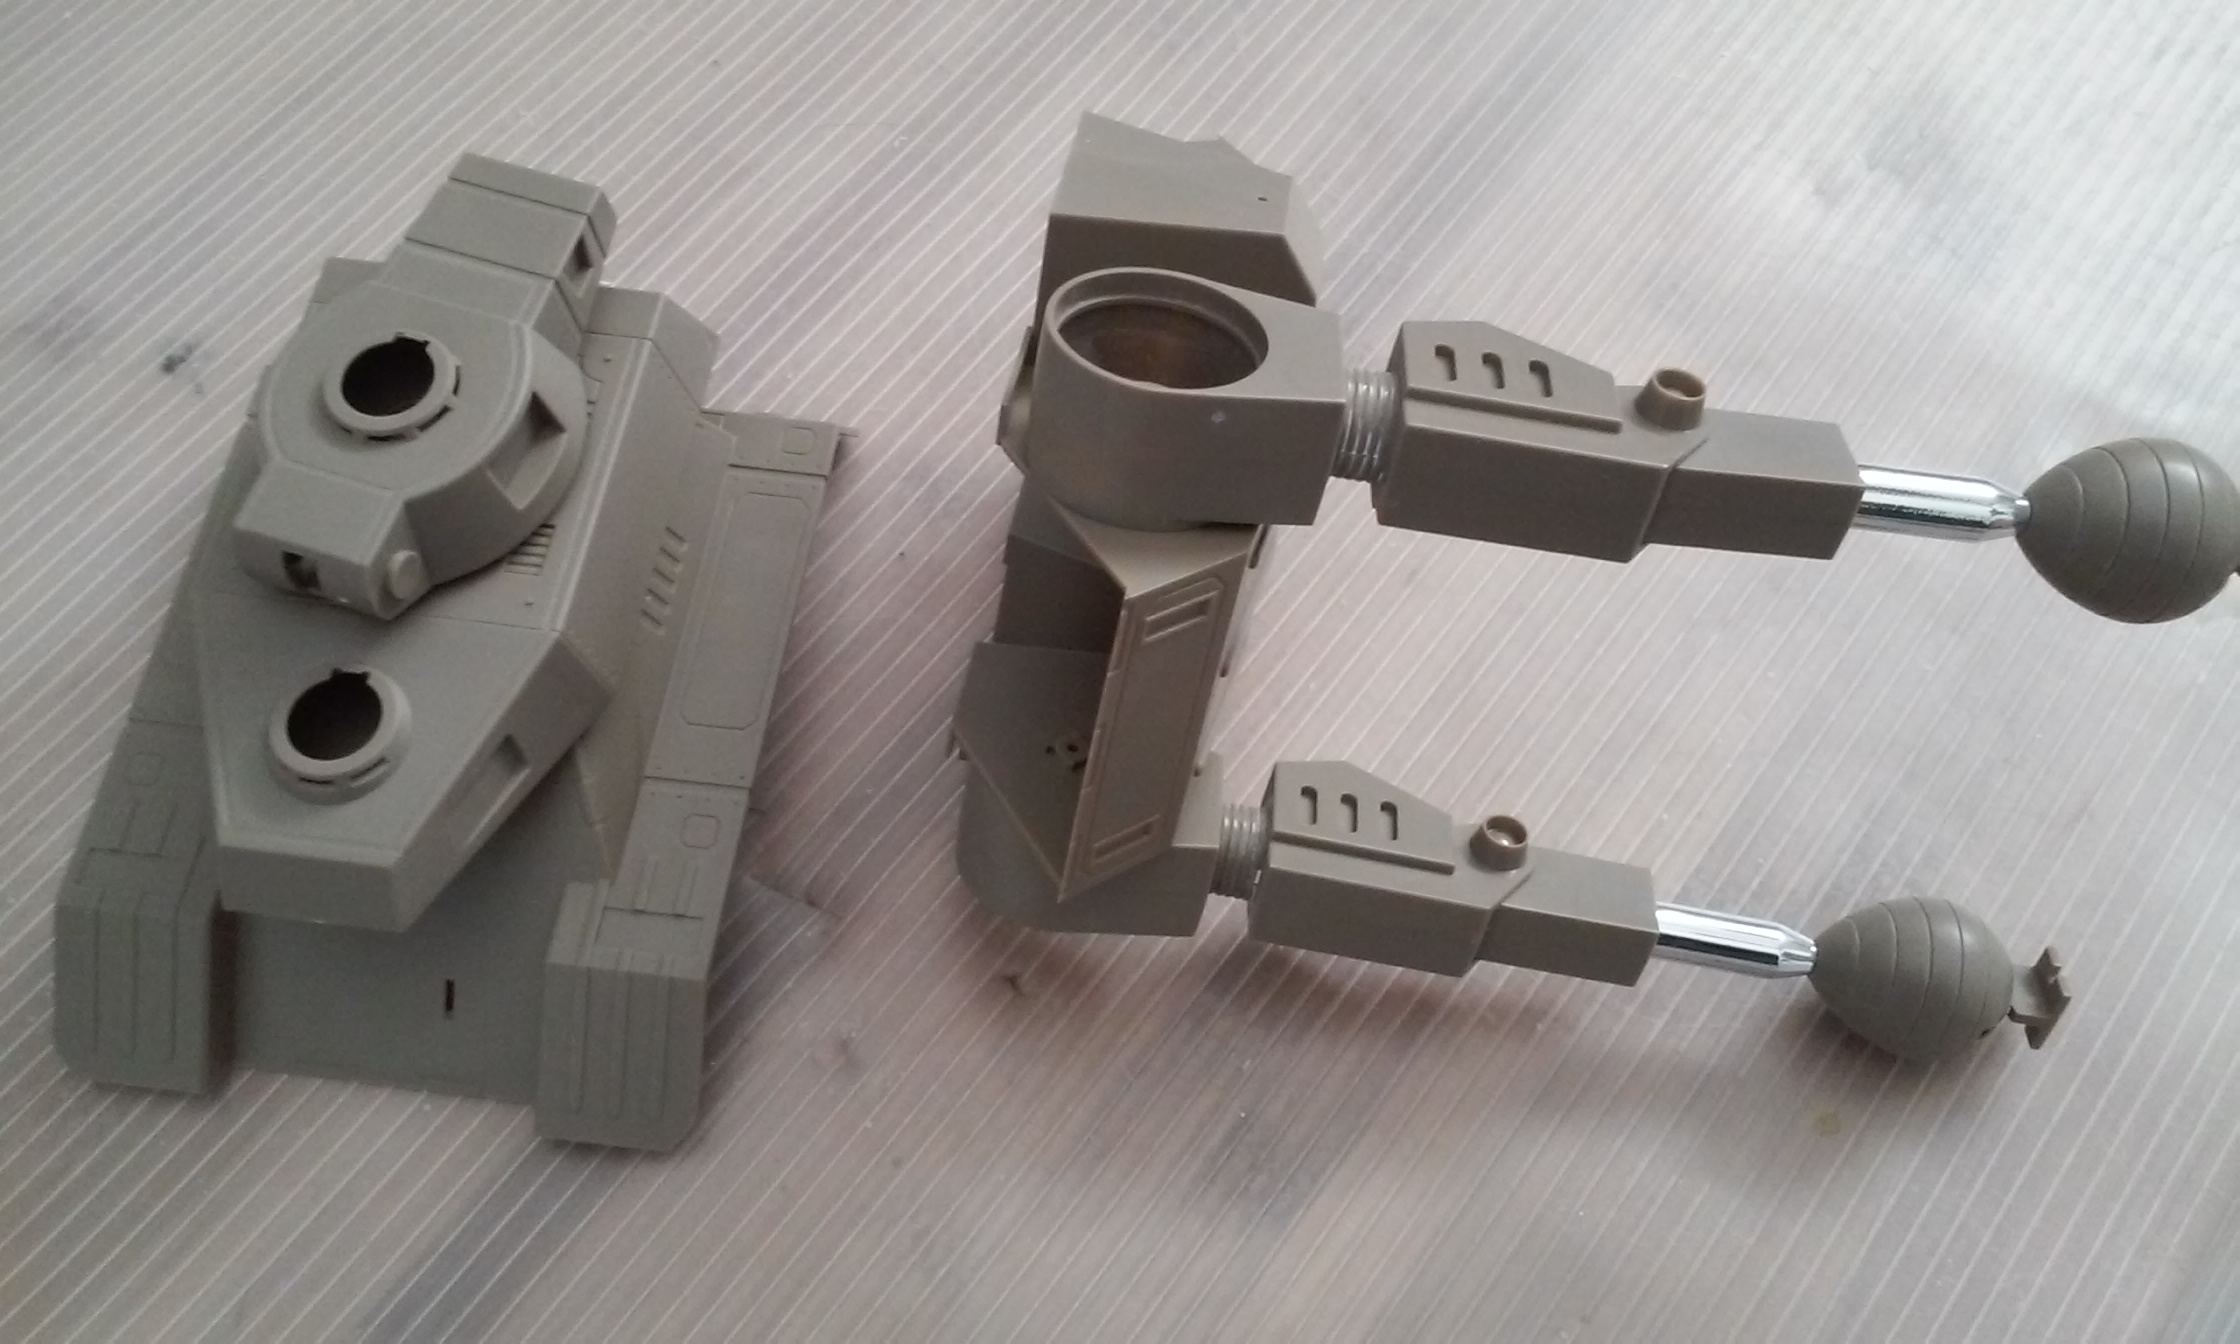
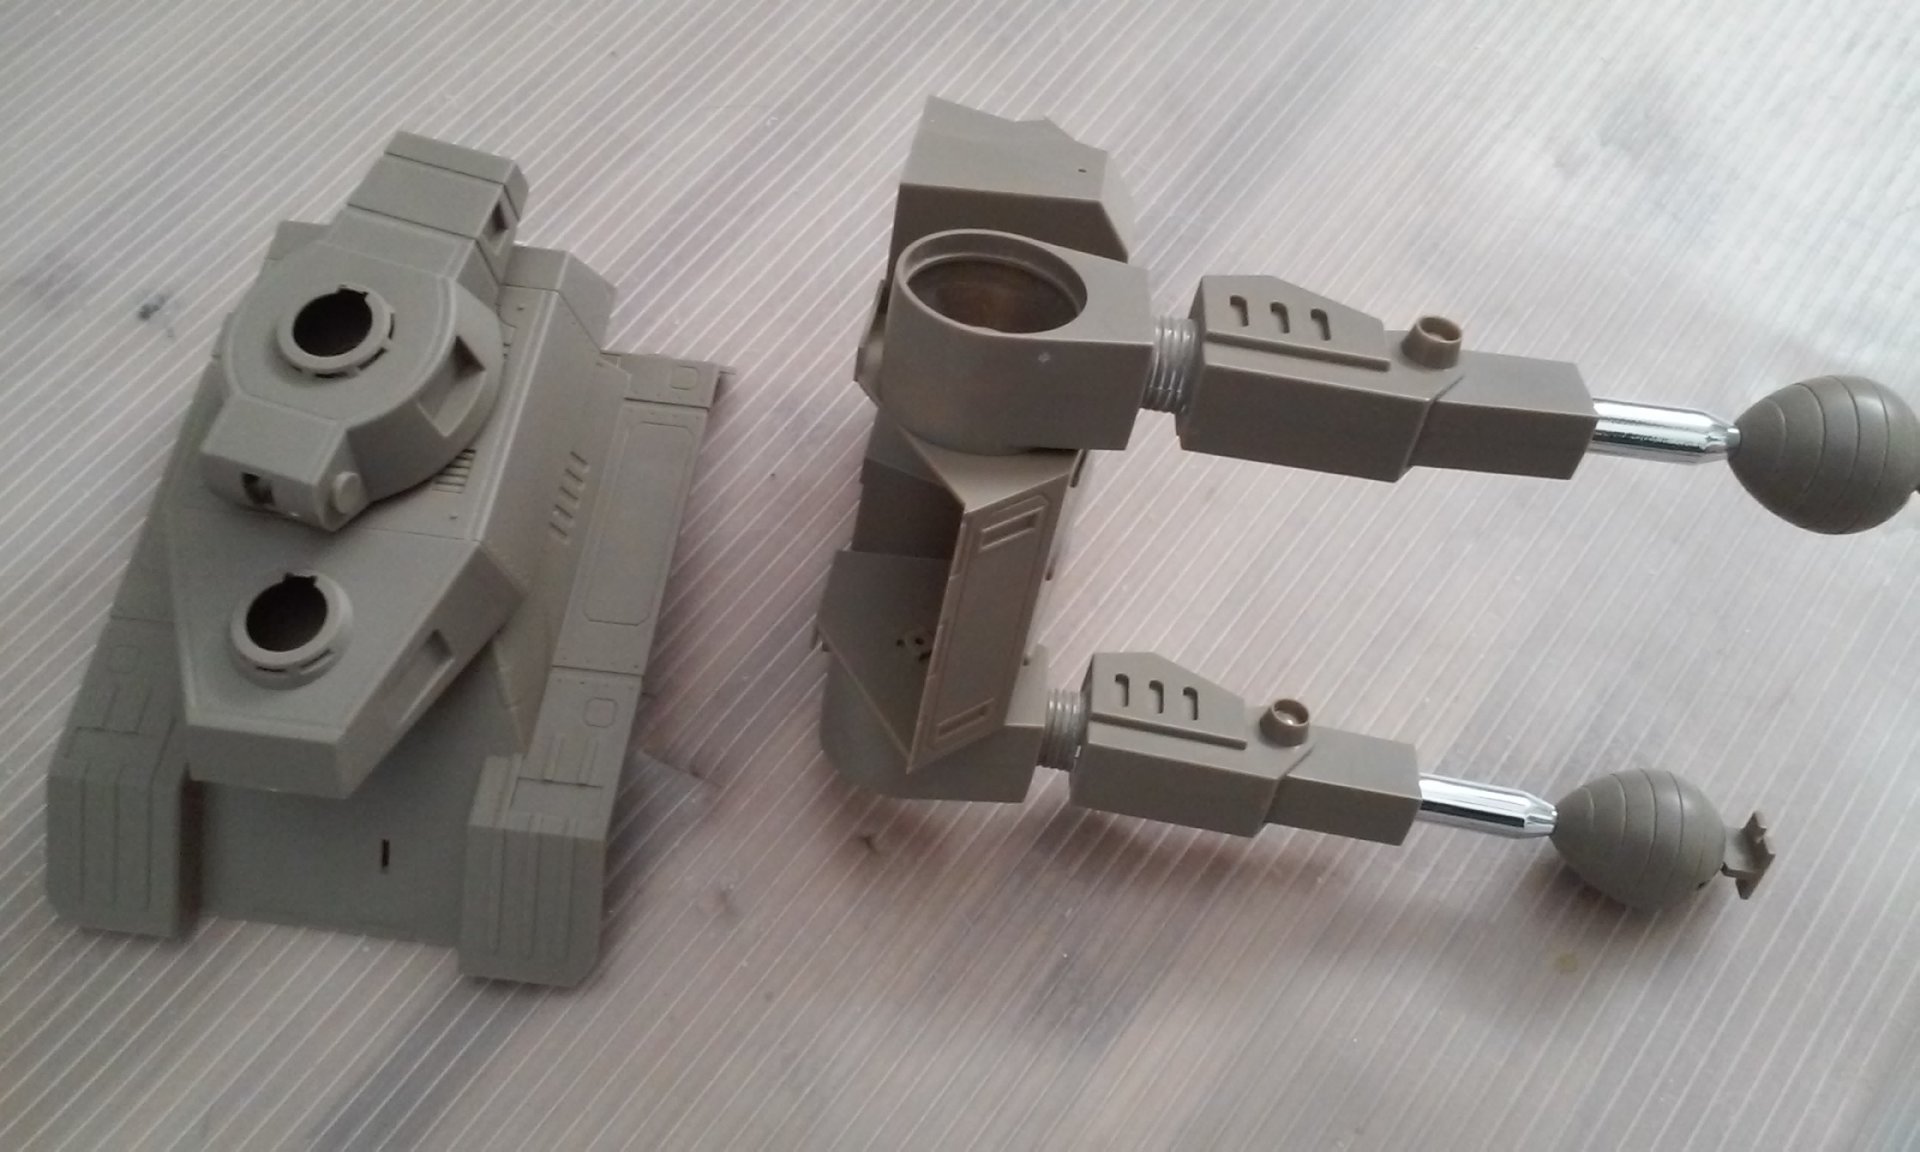
The paint is looking good Zombie. The colors on the ordinance will make it look more realistic. Derex, you scored on that one! The lining will help it stand out nicely. Brett, I didn't realize how small the Elysium kit is, but you're making it look great! 505, the natural light makes it look much better! I'm actually picking times of the day to do certain things because I find the natural light makes certain things stand out better. The Tequila Gunner's gun barrels were both horrible. The smaller, auxiliary cannon had a ejection mark right into the barrel. So the easiest thing was to lathe a new one. It has a 1/16" bore that I rammed a smaller Dremmel bit into to create rifling. Same thing with the main gun. It was actually squarish or oval depending on what part of it you looked at. So I machined a new one for it too. I also made it a little longer. Likewise, I also made rifling marks inside of it too. Nearly done with the construction parts now. - MT


-
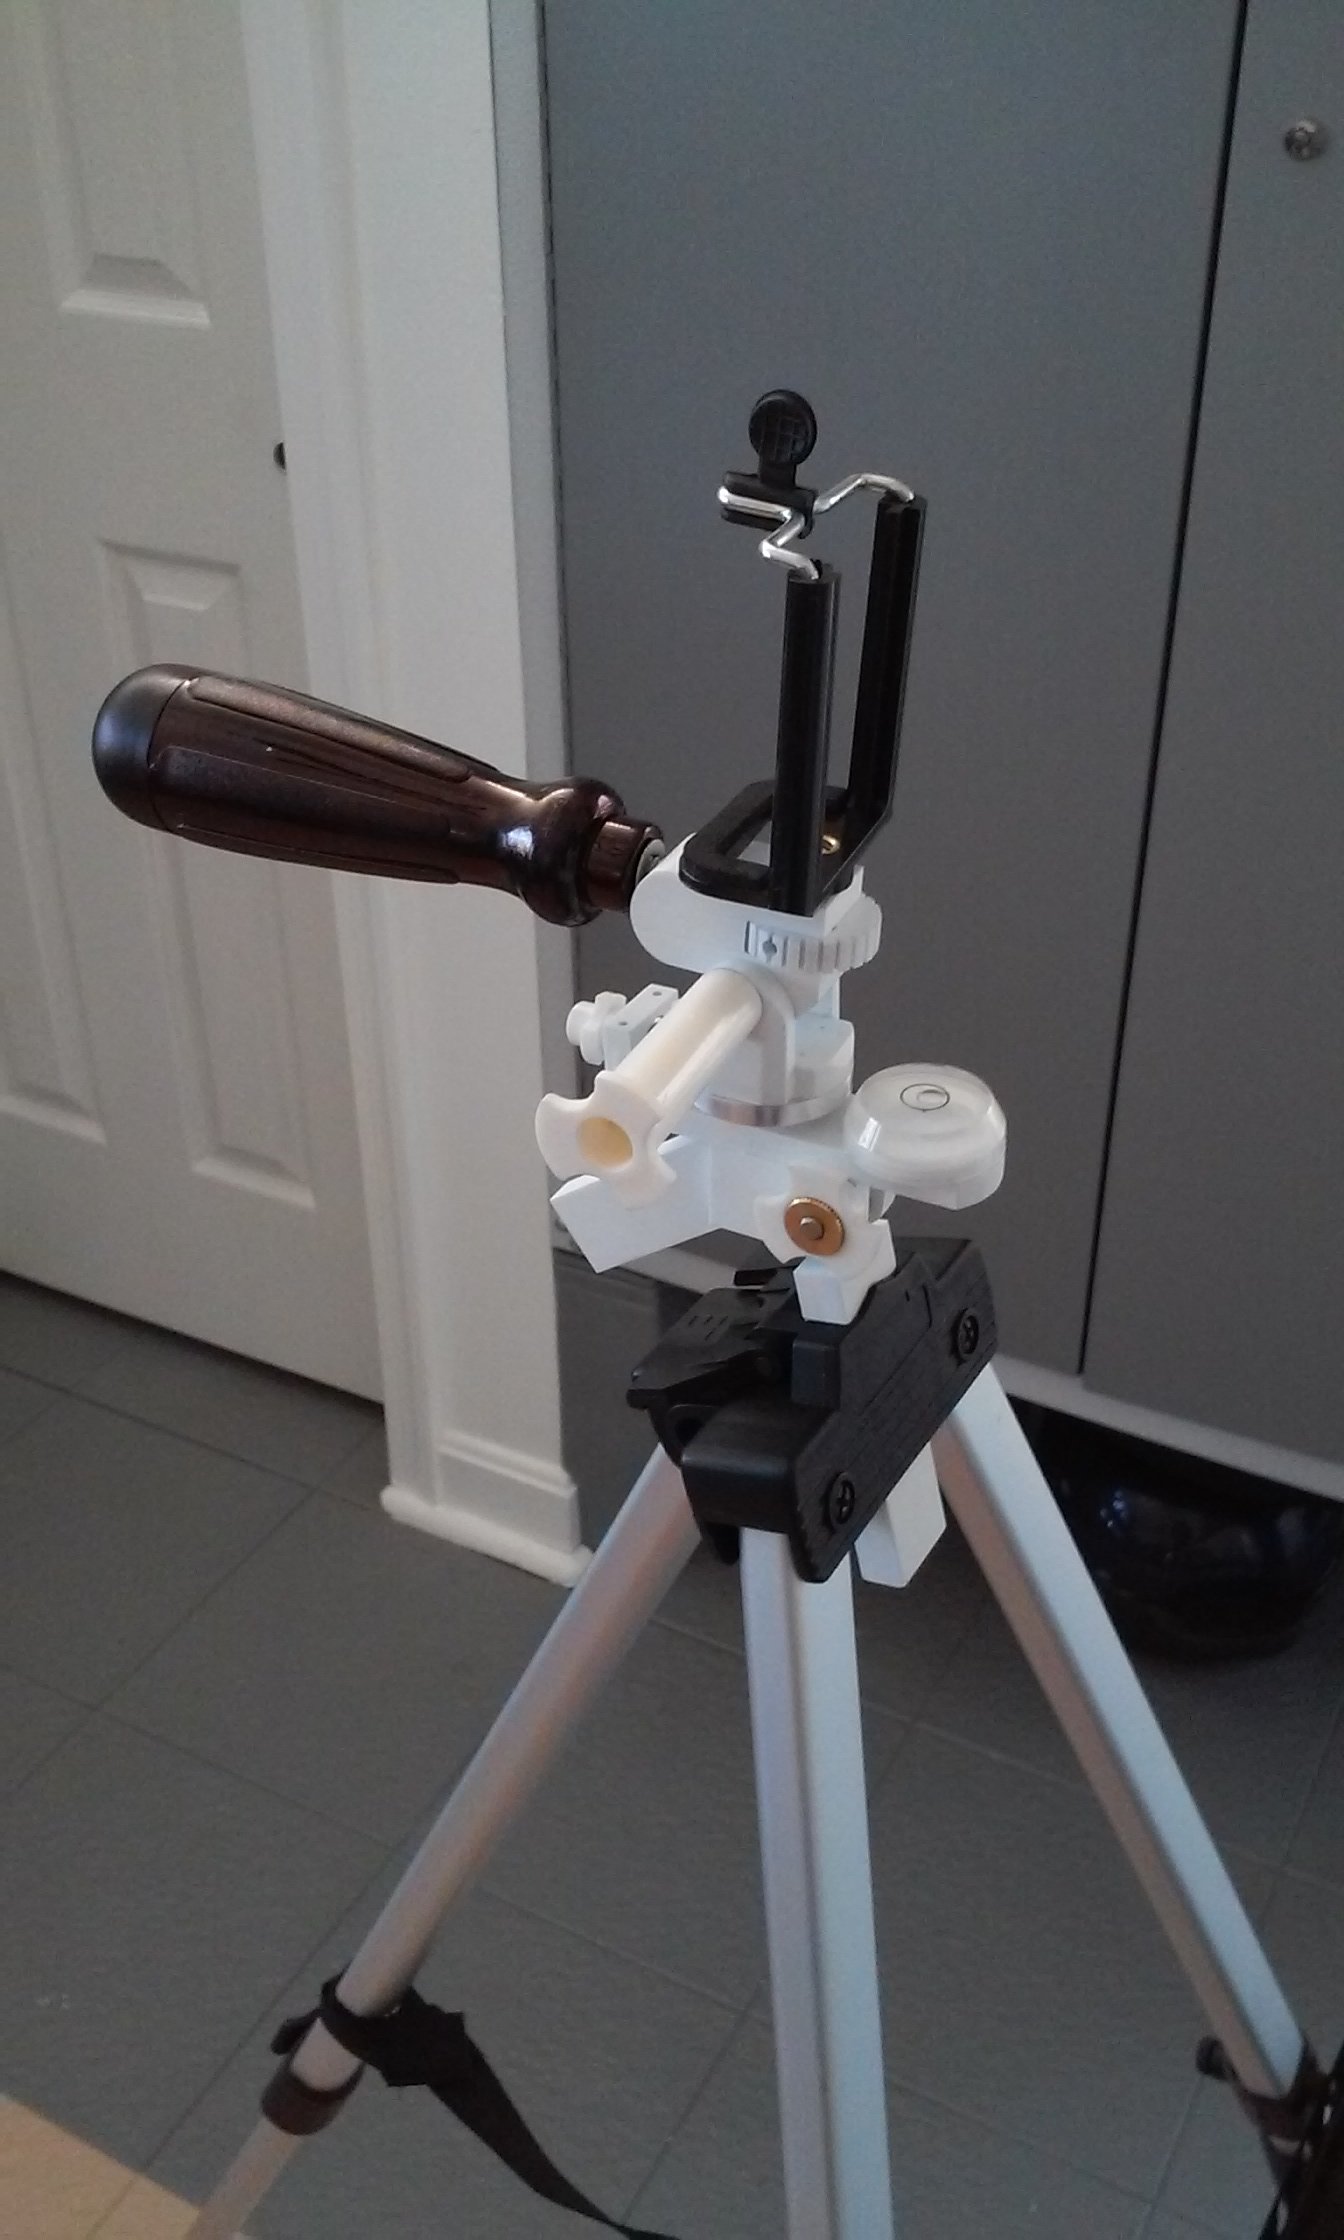
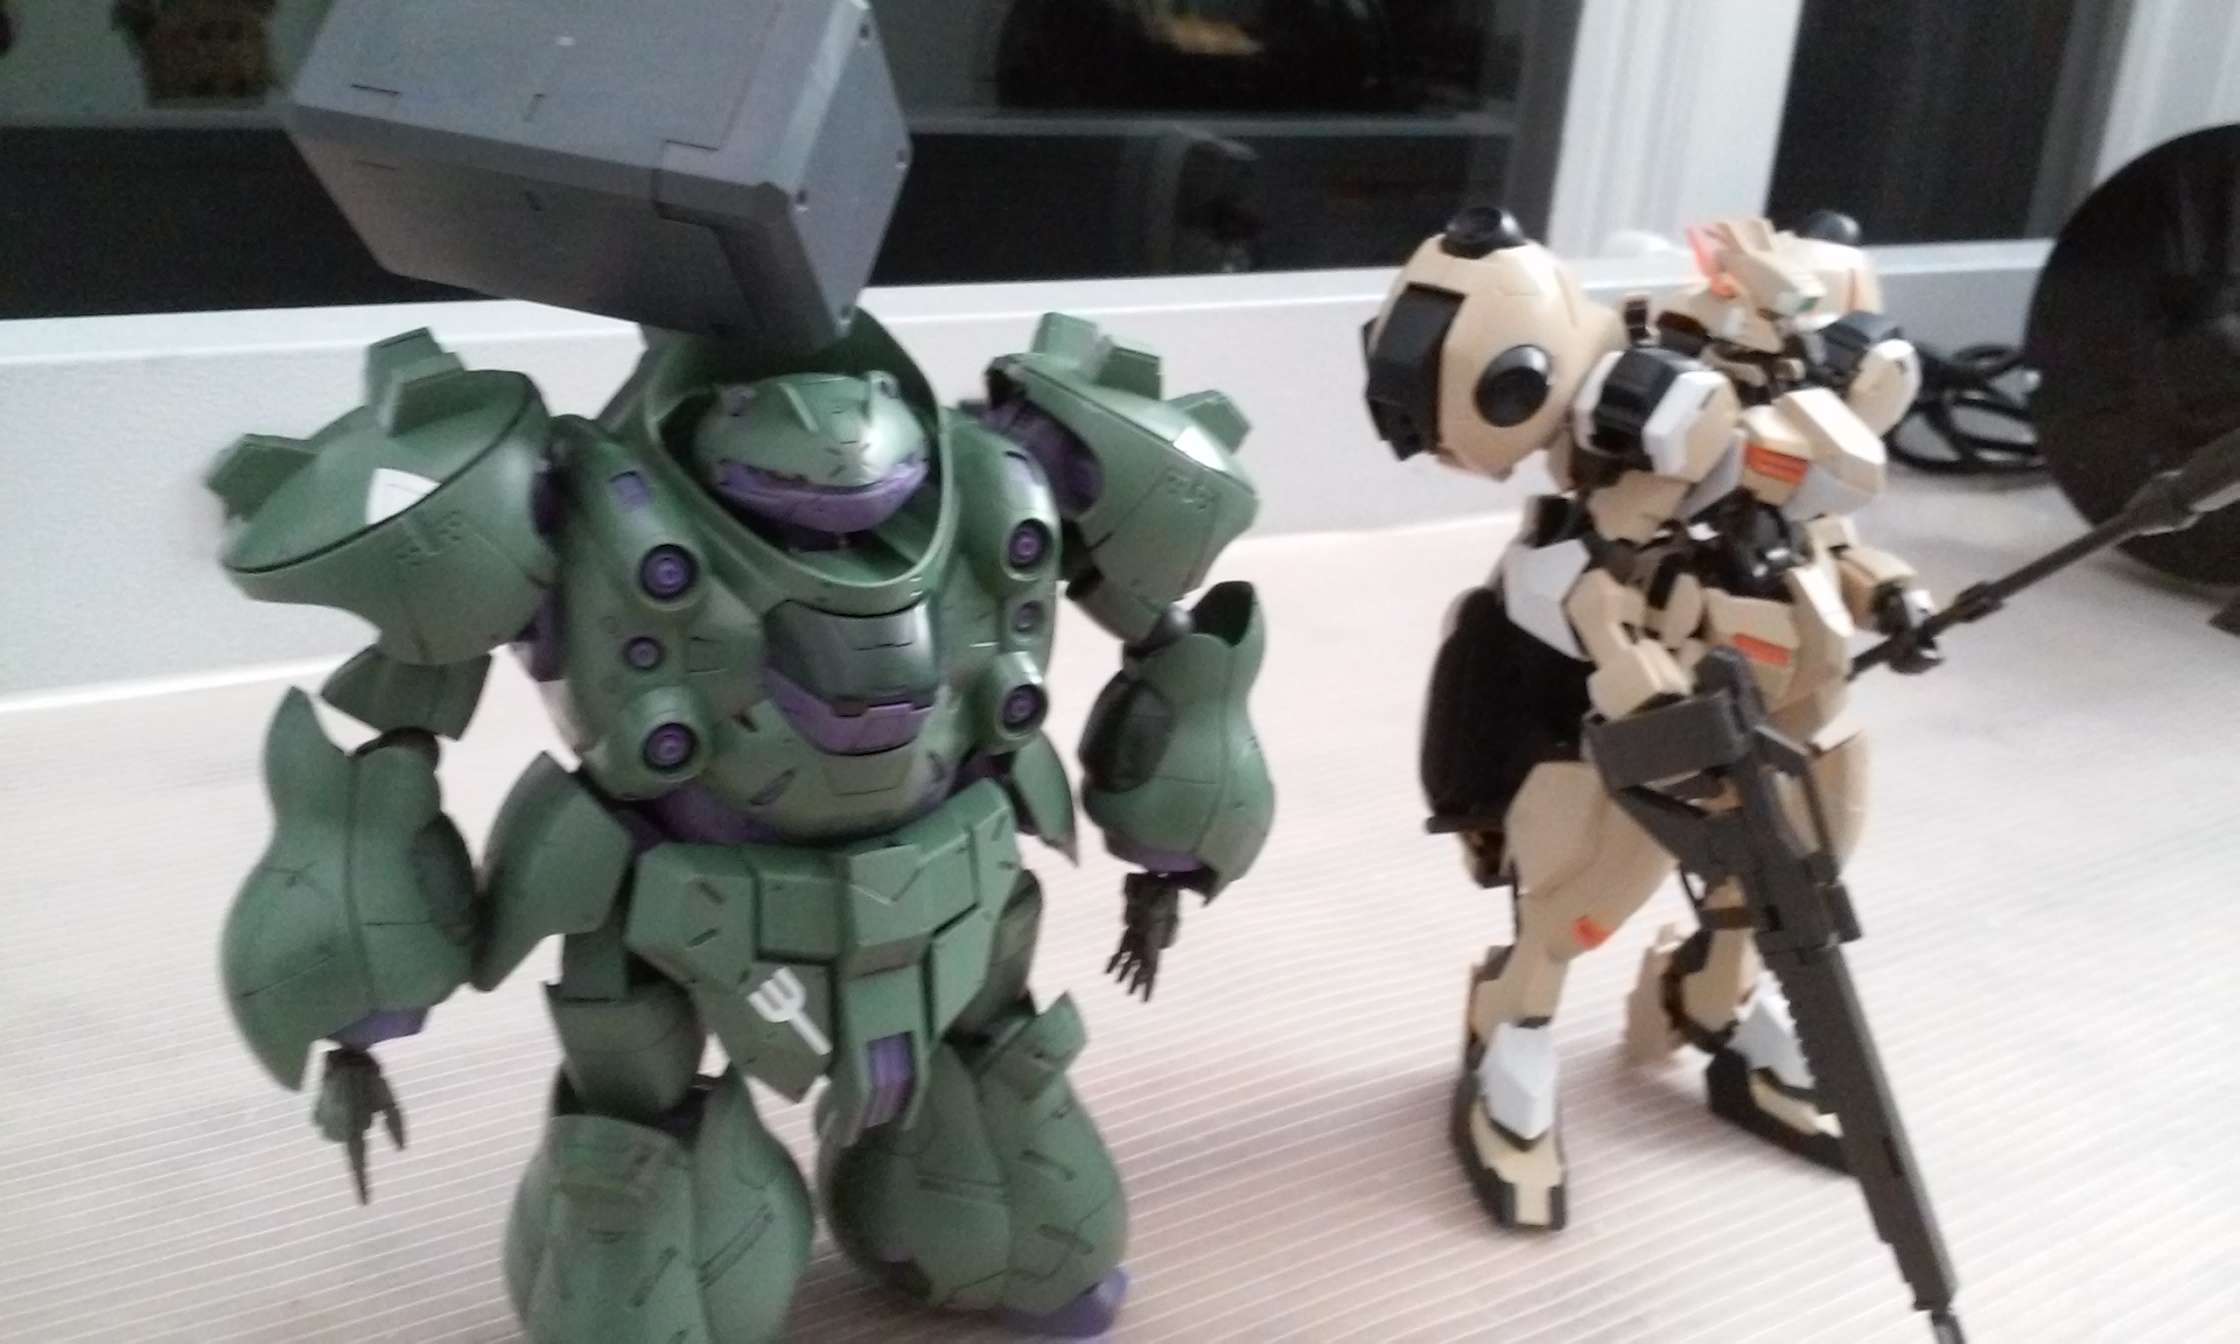
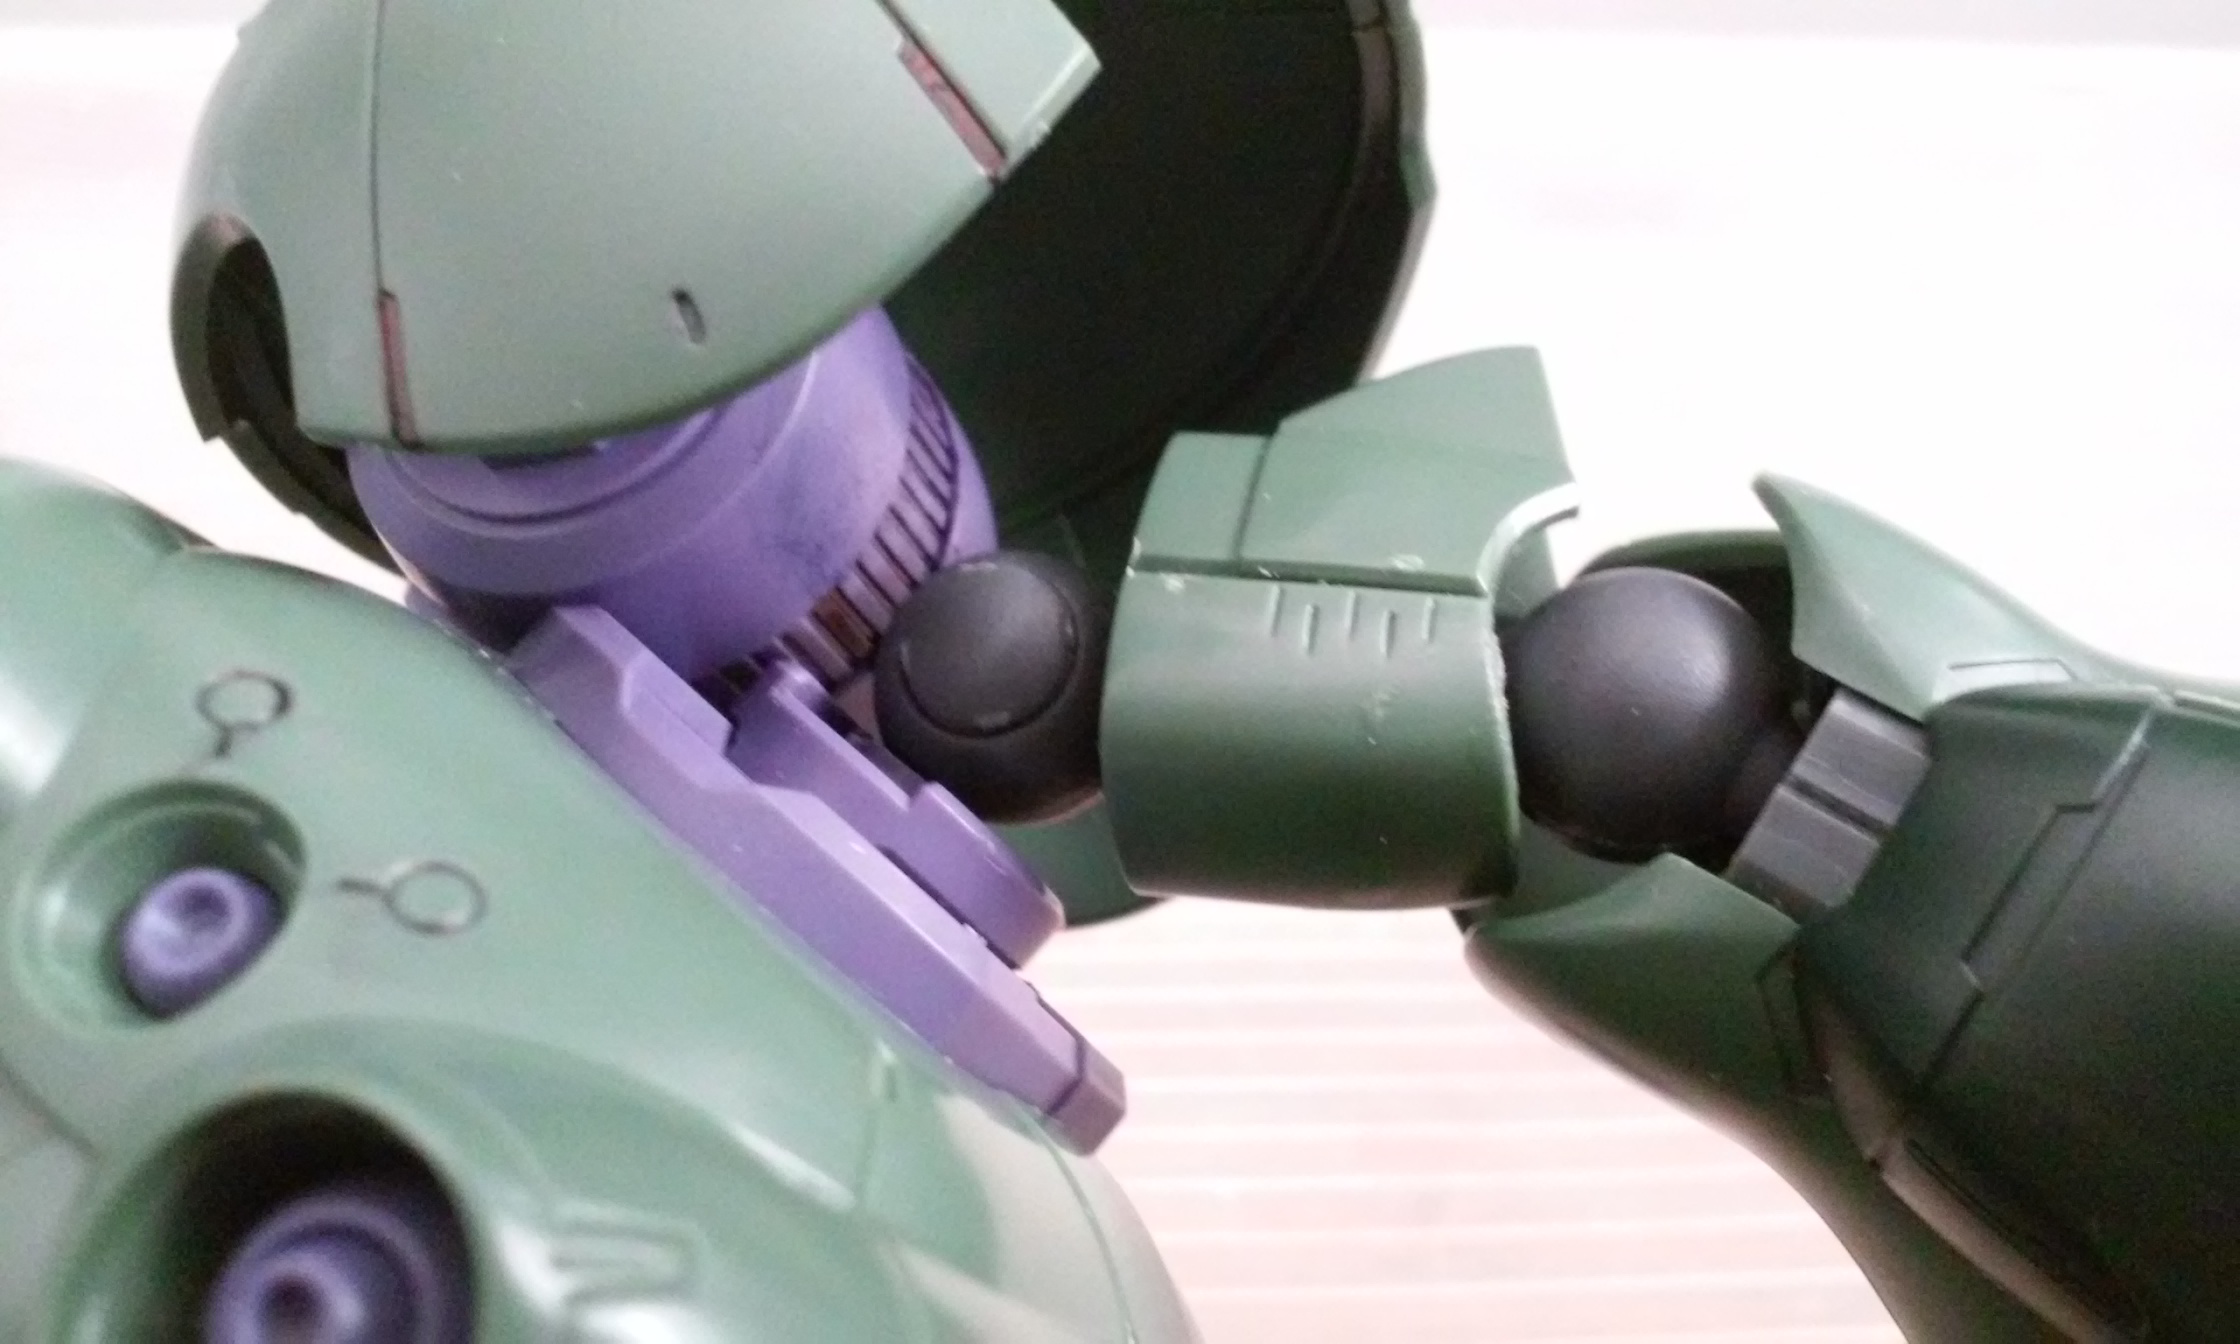
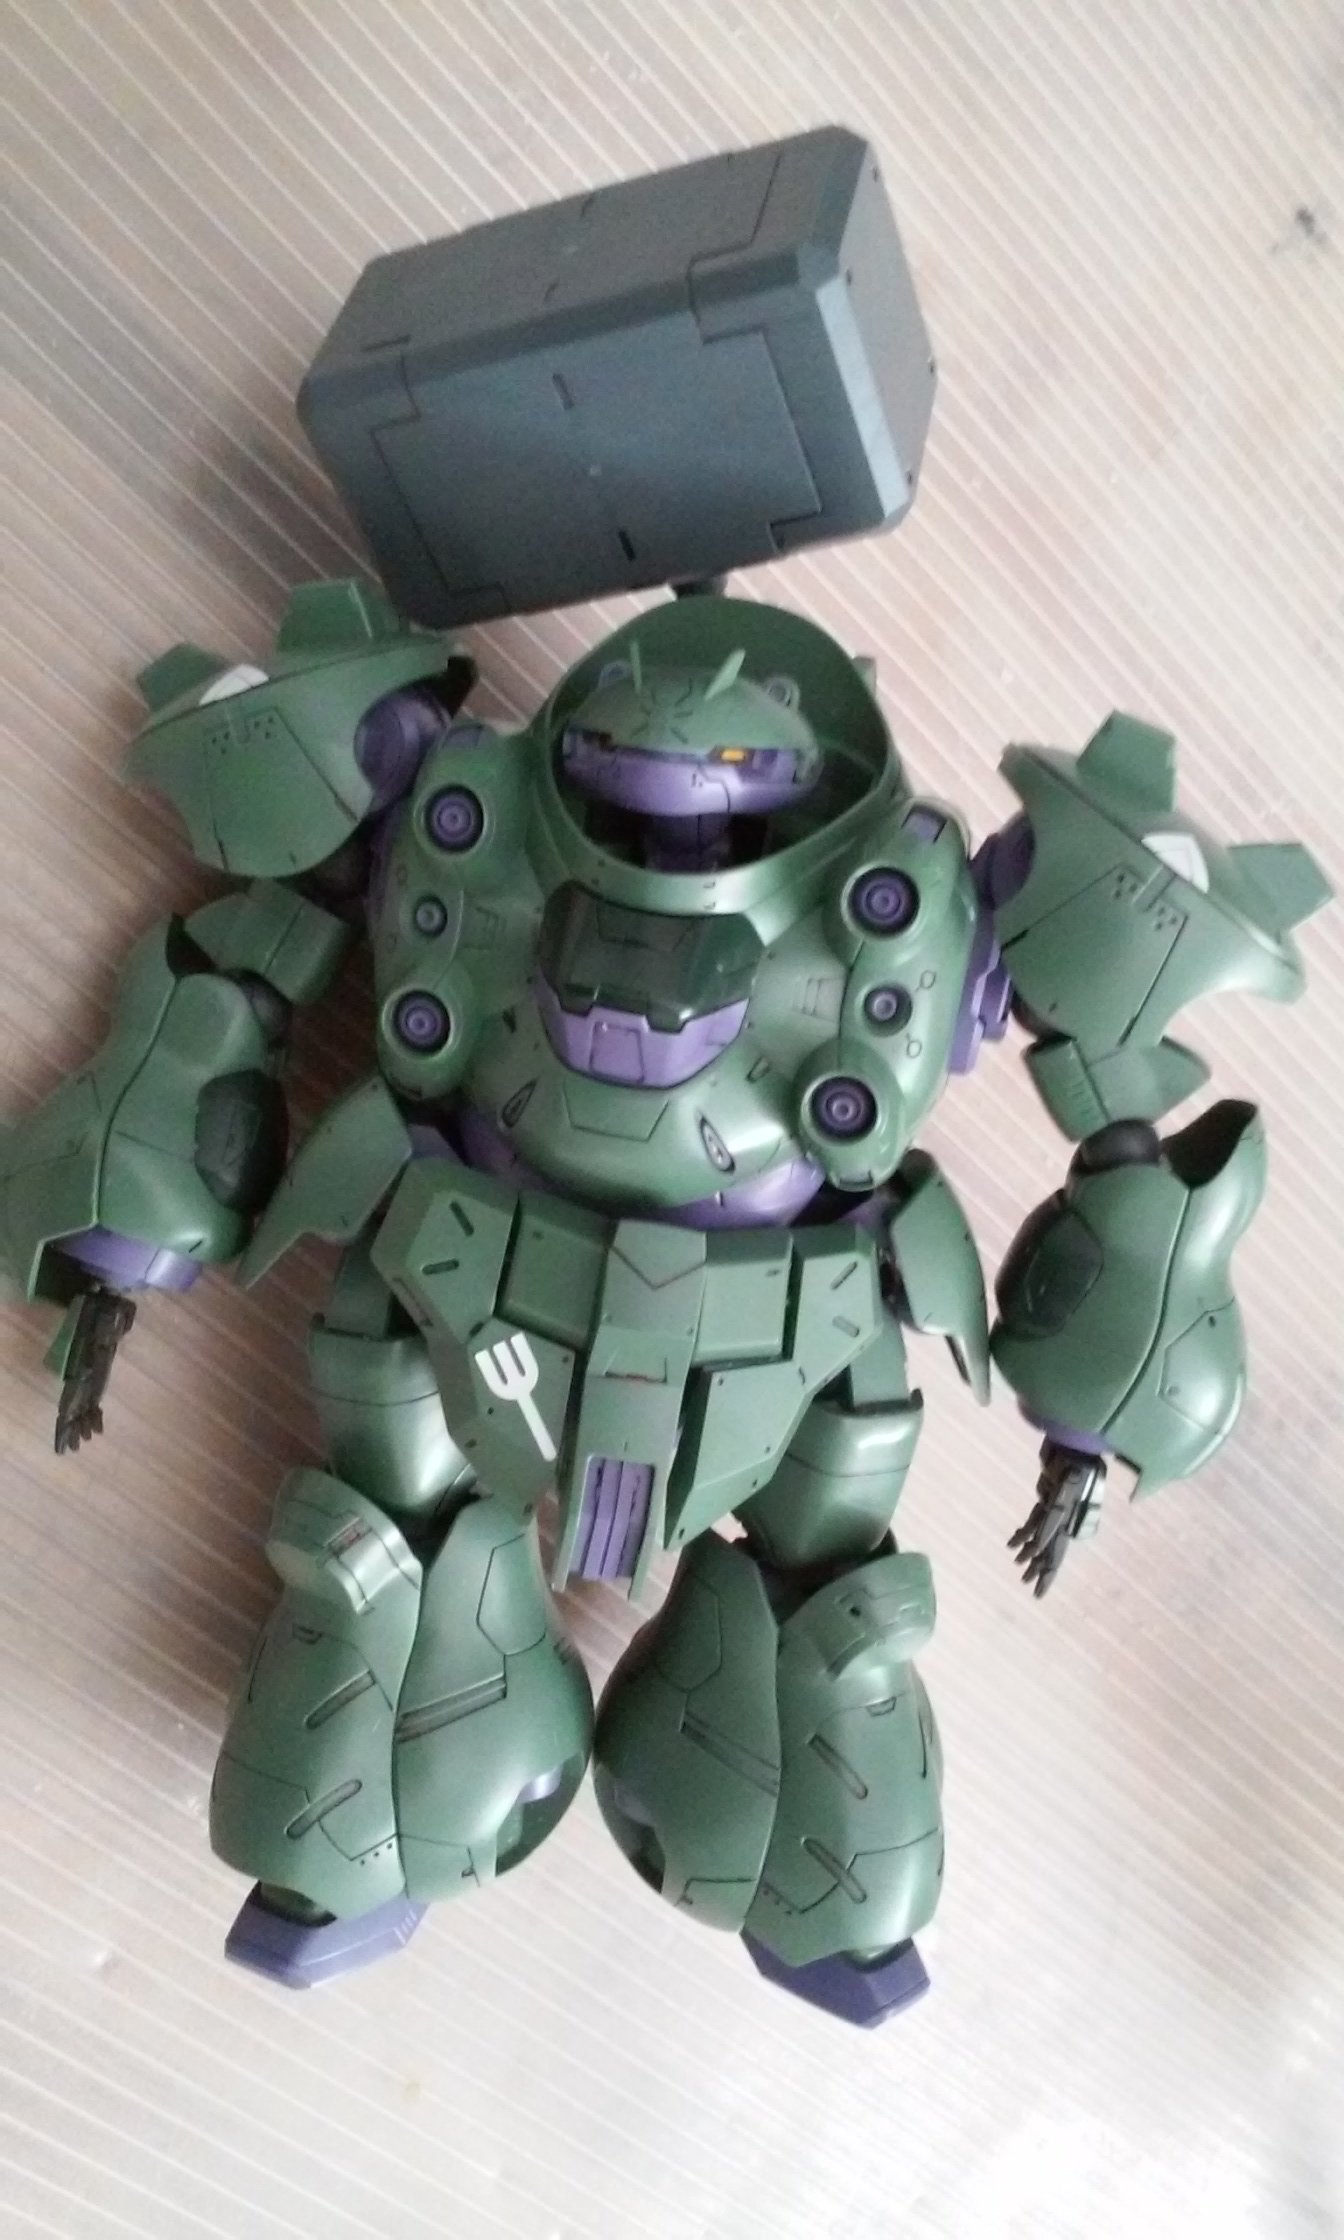
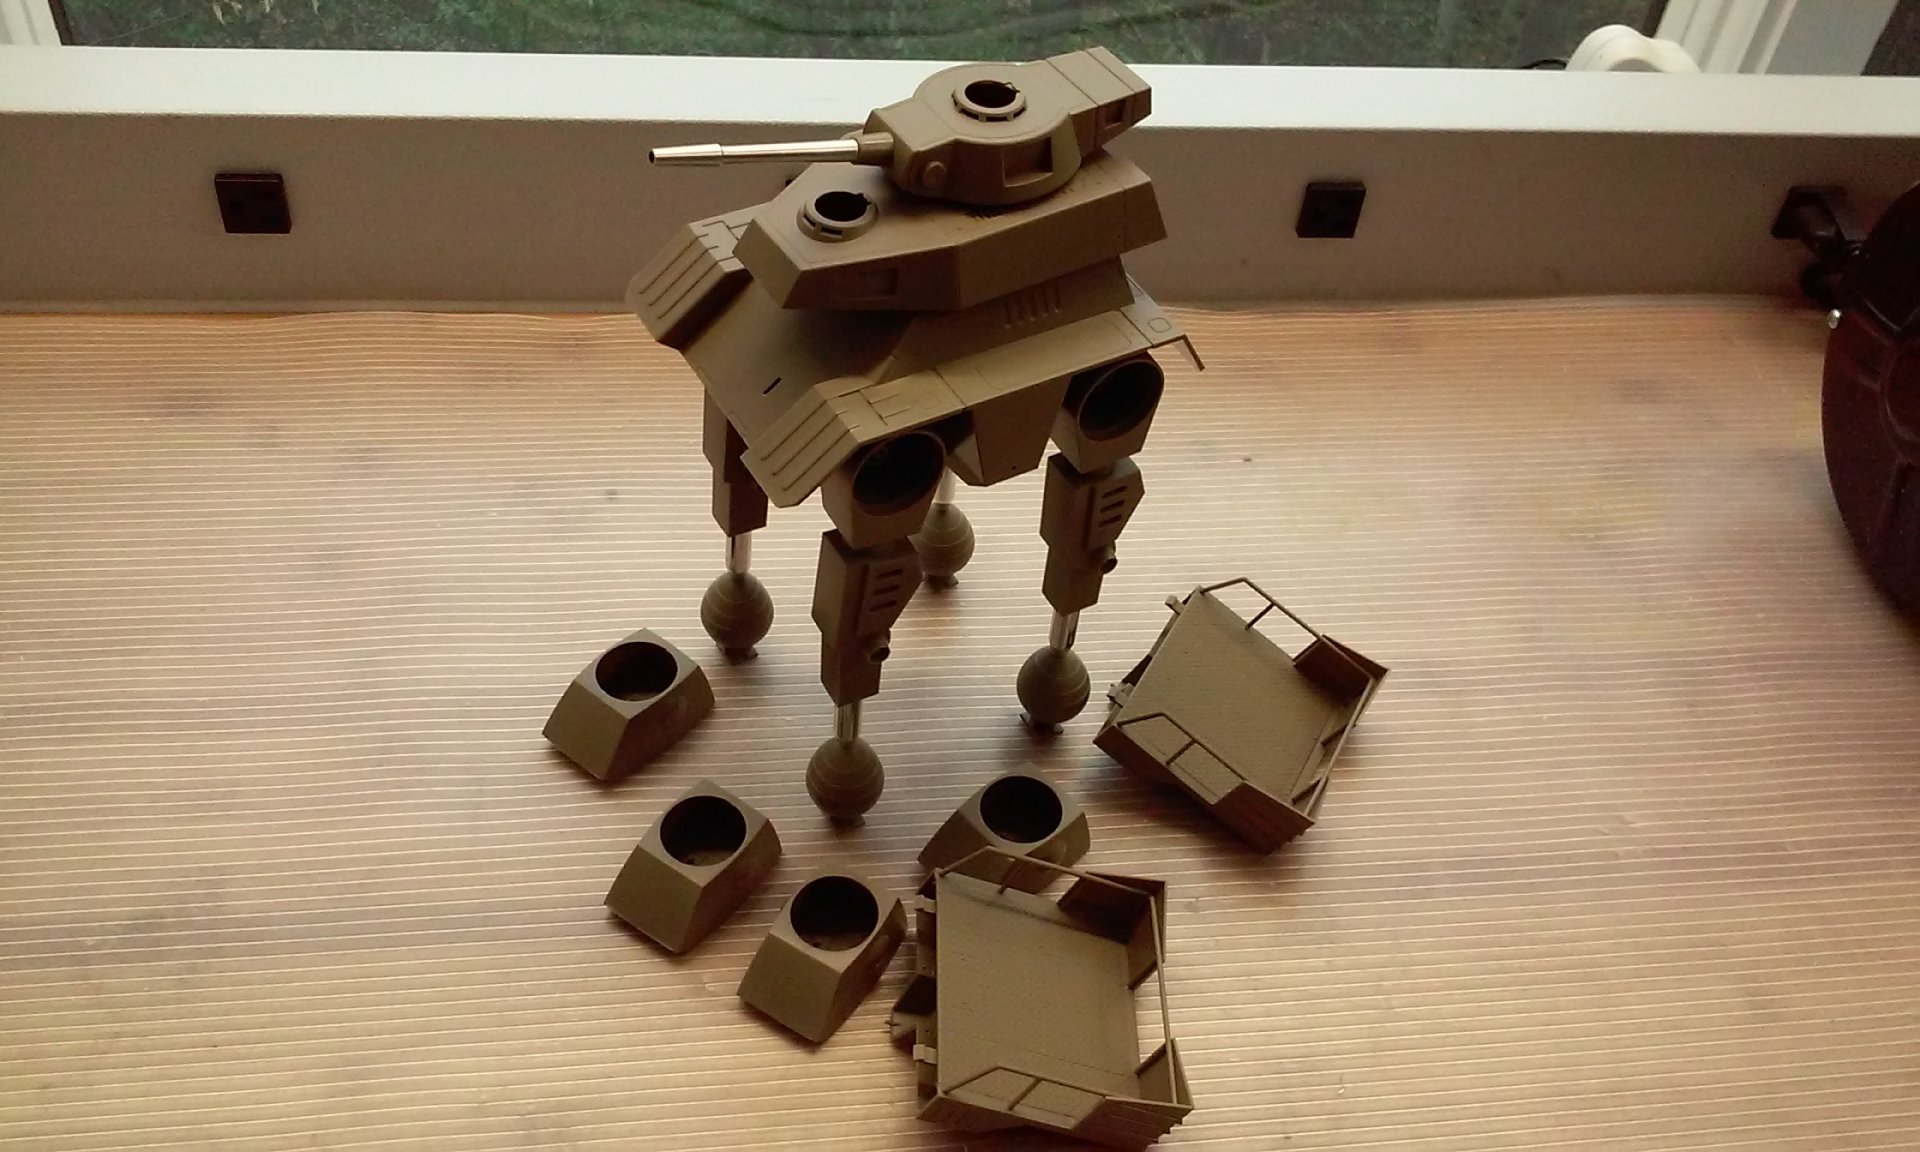
Nice conversion UN Marine! I think that's from the "Side Story" isn't it? The Raptor looks great 505! I wouldn't want to meet that down a dark alleyway - or ins space! That's cool looking Nyankodevice! You need a bigger cannon on that thing! Sorry I haven't been online much lately guys. Work and actually doing some modelling gets in the way. The photos aren't loading in order, but long story short, I got an easel tri-pod for only $5 and decided to go all "styrene" on it and make a head for my camera and cellphone camera. That took a couple of weekends and a lot of styrene, but it functions pretty well. Next, my son and I worked on the 1/100 Gundam Gusion. The kit comes with one frame that you can build either the original or rebake bodies onto. I hated to choose, so I took the original Gusion and used Kotobukiya ball joints and other spare PC parts and styrene to add joints to it. Then I built the Rebake version onto the frame since so much of it is exposed. The Gusion is mostly done with minor weathering and detail, but the Rebake is unfinished so far (sorry, cellphone didn't want to focus very well). Lastly, I'm on a Dougram kick now. I got the 1/48th Tequuilla Gunner (Robotech "Commando") for around $49 (busted box - who cares) on ebay and am building it. If you guys haven't discovered Mandarake yet ( https://earth.mandarake.co.jp/shop/ ) you gotta check them out! I purchased the 1/48th Dougram Ironfoot / Hasty and Native Dancer (also Robotech Defender models) from them for a good price and no messing with bidding on ebay. They are next in line when they arrive. Yes, I am building some 1/48th scale models - it's been about two decades since I have! Thanks for checking in guys! - MT


-
I love all the detail you are putting into the kit! The eye is great especially. The kit was big enough to have fun with. I think your paint job is coming along much better than mine did! - MT
-
GREAT collection and great builds! It's rare to see these all together in one pose. - MT
-
Your Valk is coming along AWESOME Arbit! Great details and electronics work! - MT
-
I think it is cool that they have the other destroids too. That was a nice touch! Thanks for sharing that with us Sanity! - MT
-
Great stuff guys! I never finished anything last year (except my Graphics Communications degree) I almost finished my ship, but the weather froze up preventing me from painting. The lake is frozen over anyhow so I would need an R/C icebreaker to do anything. I've almost finished a 1/100 Gundam Gusion. I built it without the frame and built joints into it. The frame will be used for the Gusion Rabake version instead. 2 kits for the price of one! - MT
-
First its people dressing up their pets, now its mecha. What's this world coming too!? Seriously, that is cool. - MT
-
Awesome job Xigfrid! That came out great! - MT
-
Great paint and finish Firefox! The choice of scheme is cool too. Very convincing of being a real squadron! - MT
-
Welcome to MW Tee! You did a great job on that kit! That is a fun kit to work with and transform too. Thanks for sharing! - MT
-
WOW! Lots of cool stuff guys! I wish everyone here a Happy New Year! - MT
-
Merry Christmas everyone!!! That's cool Arbit! Maybe a light spring would help tension and smooth it out too? That's gonna be great! - MT
-
Merry Christmas! And the final video is cool! Glad to see it done! - MT
-

Finally!! Access to white printing for the masses!
MechTech replied to Grayson72's topic in The Workshop!
Thanks for sharing Grayson! I may think about this for work graphics too! - MT -
That came out great! Nice job all the way around! - MT
-
That ECM version is cool NZEOD! I think it falls within the timeline perfectly. Thanks for sharing about the LEDs too. Much better than what HLJ offers and they are in stock! That's cool Arbit! That motor is noisy, but the concept is REALLY cool and looks clean! - MT
-
It IS cool to see a 1/72 heavy missile version. And yes, don't tell your wife about her hands unless you want to become the ghost of Christmas past! - MT
-
That looks great Xigfrid! It will be nice to see it assembled whole. - MT
-
Looking great! See, that sucker is deep. Dad had to help