MechTech
-
Posts
4702 -
Joined
-
Last visited
Content Type
Profiles
Forums
Events
Gallery
Everything posted by MechTech
-
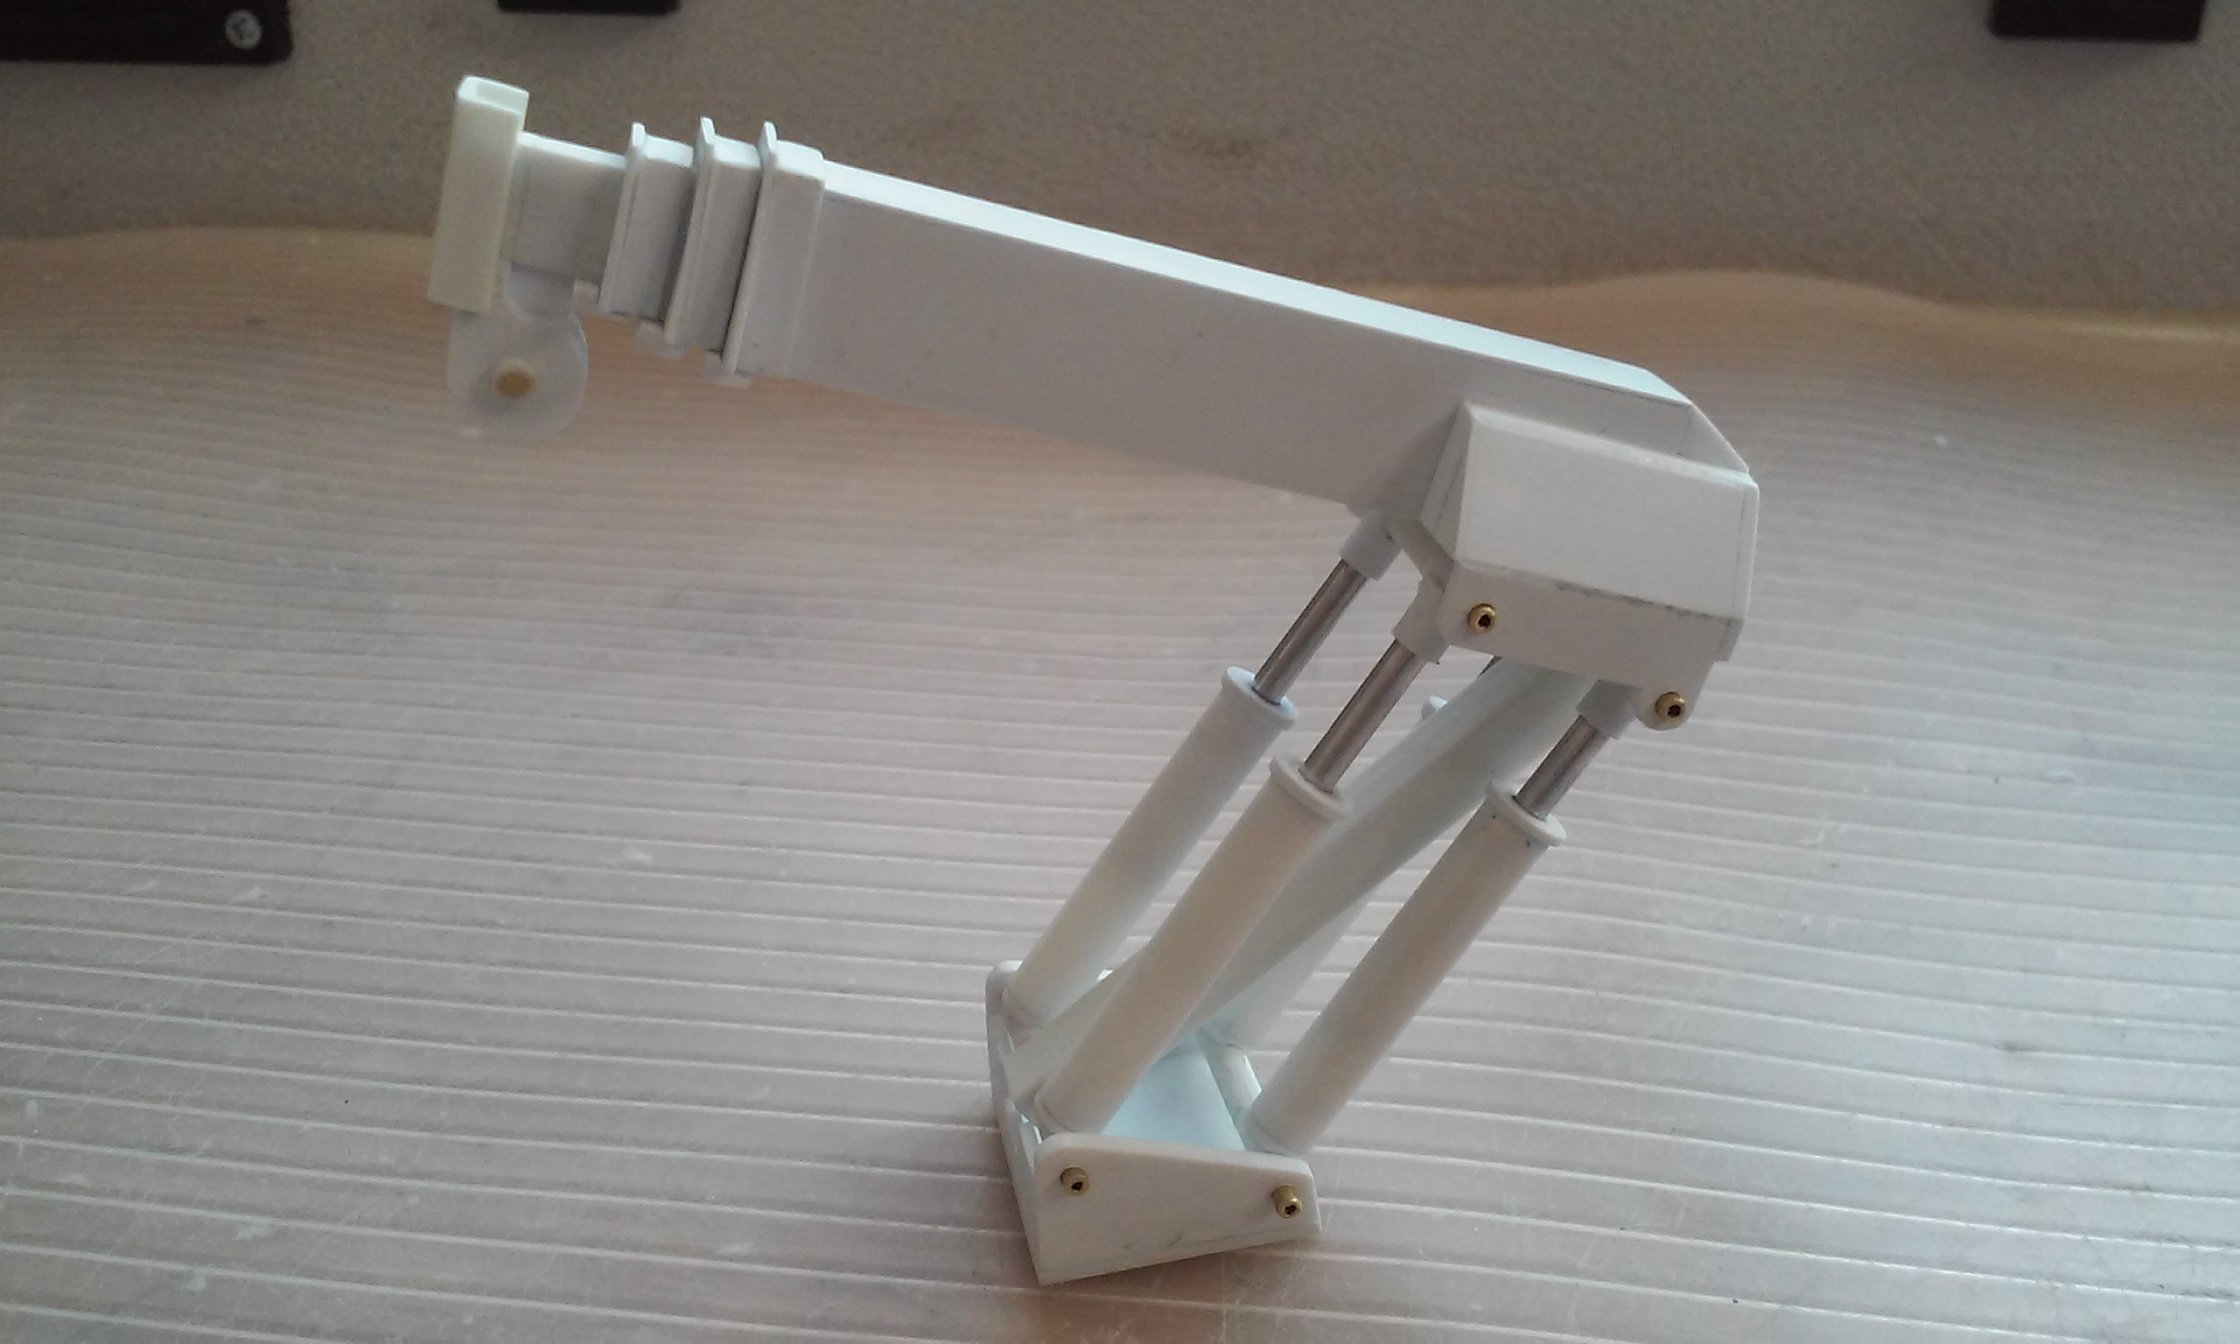
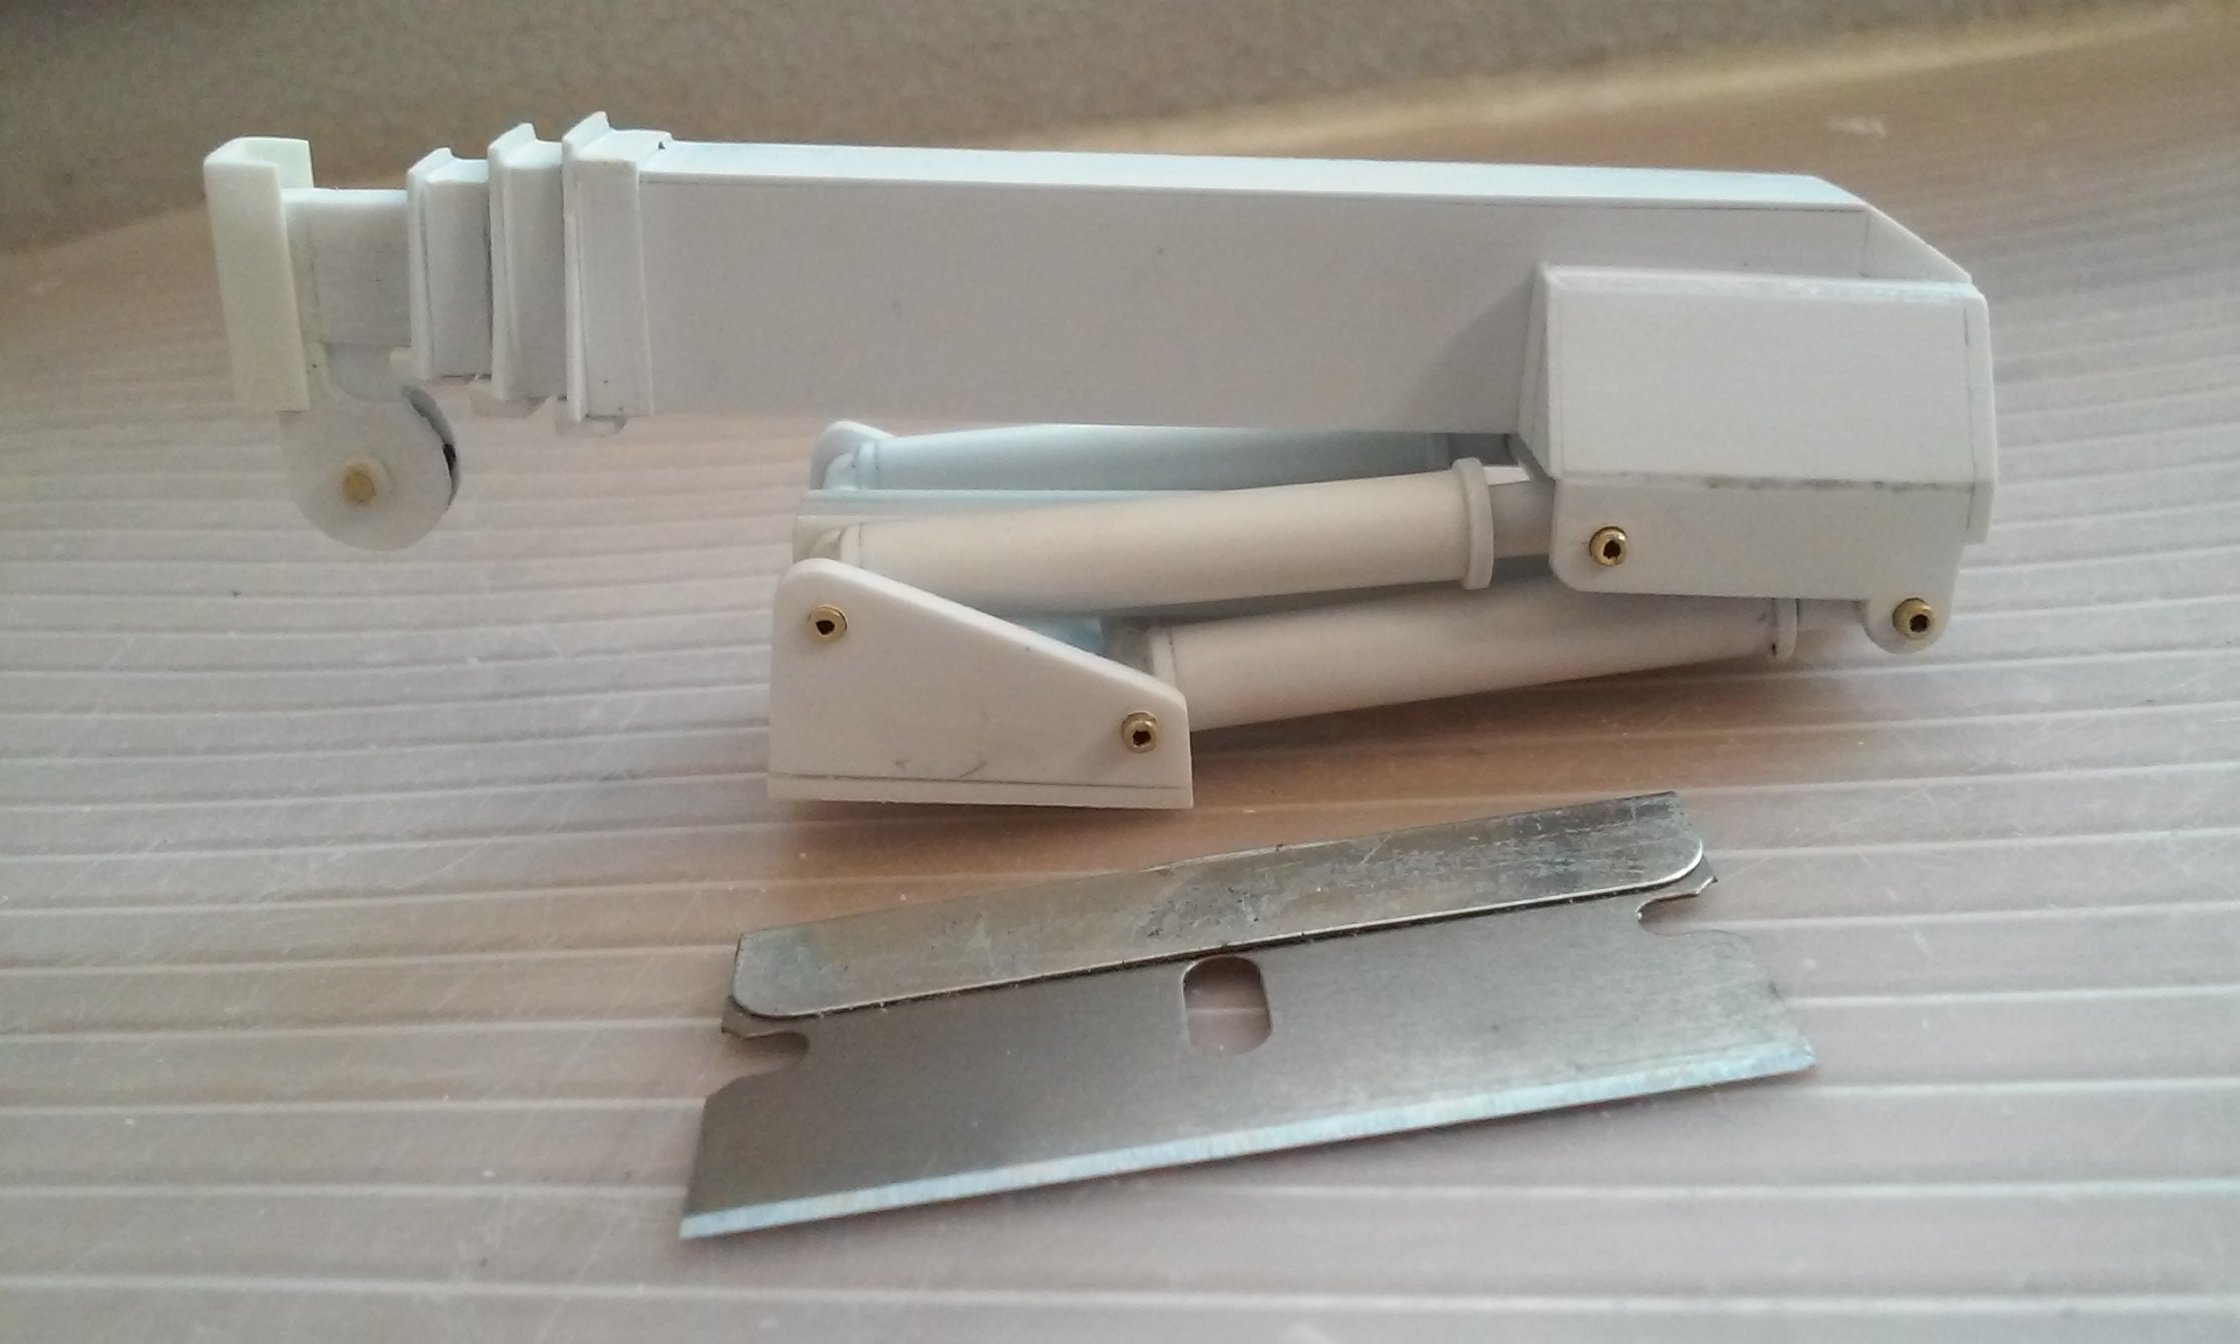
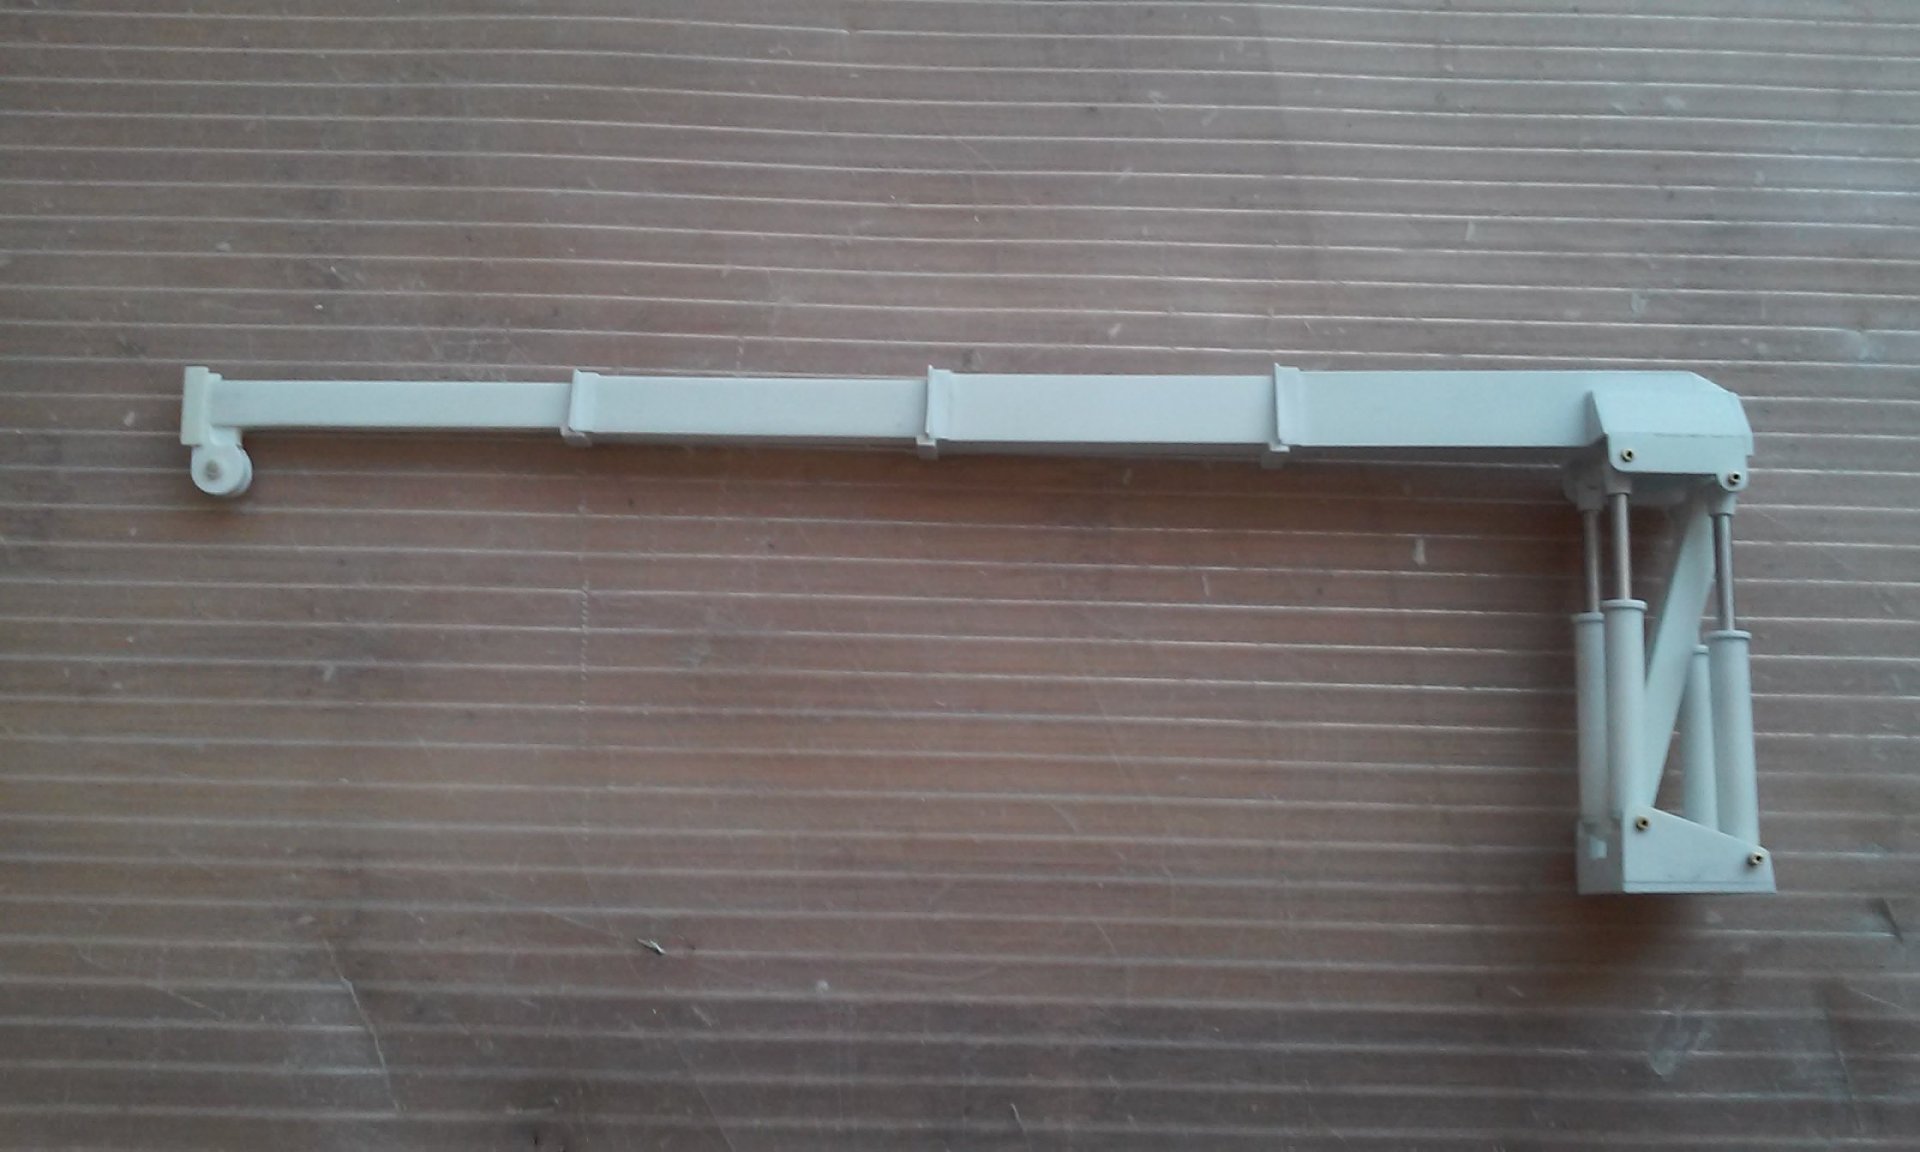
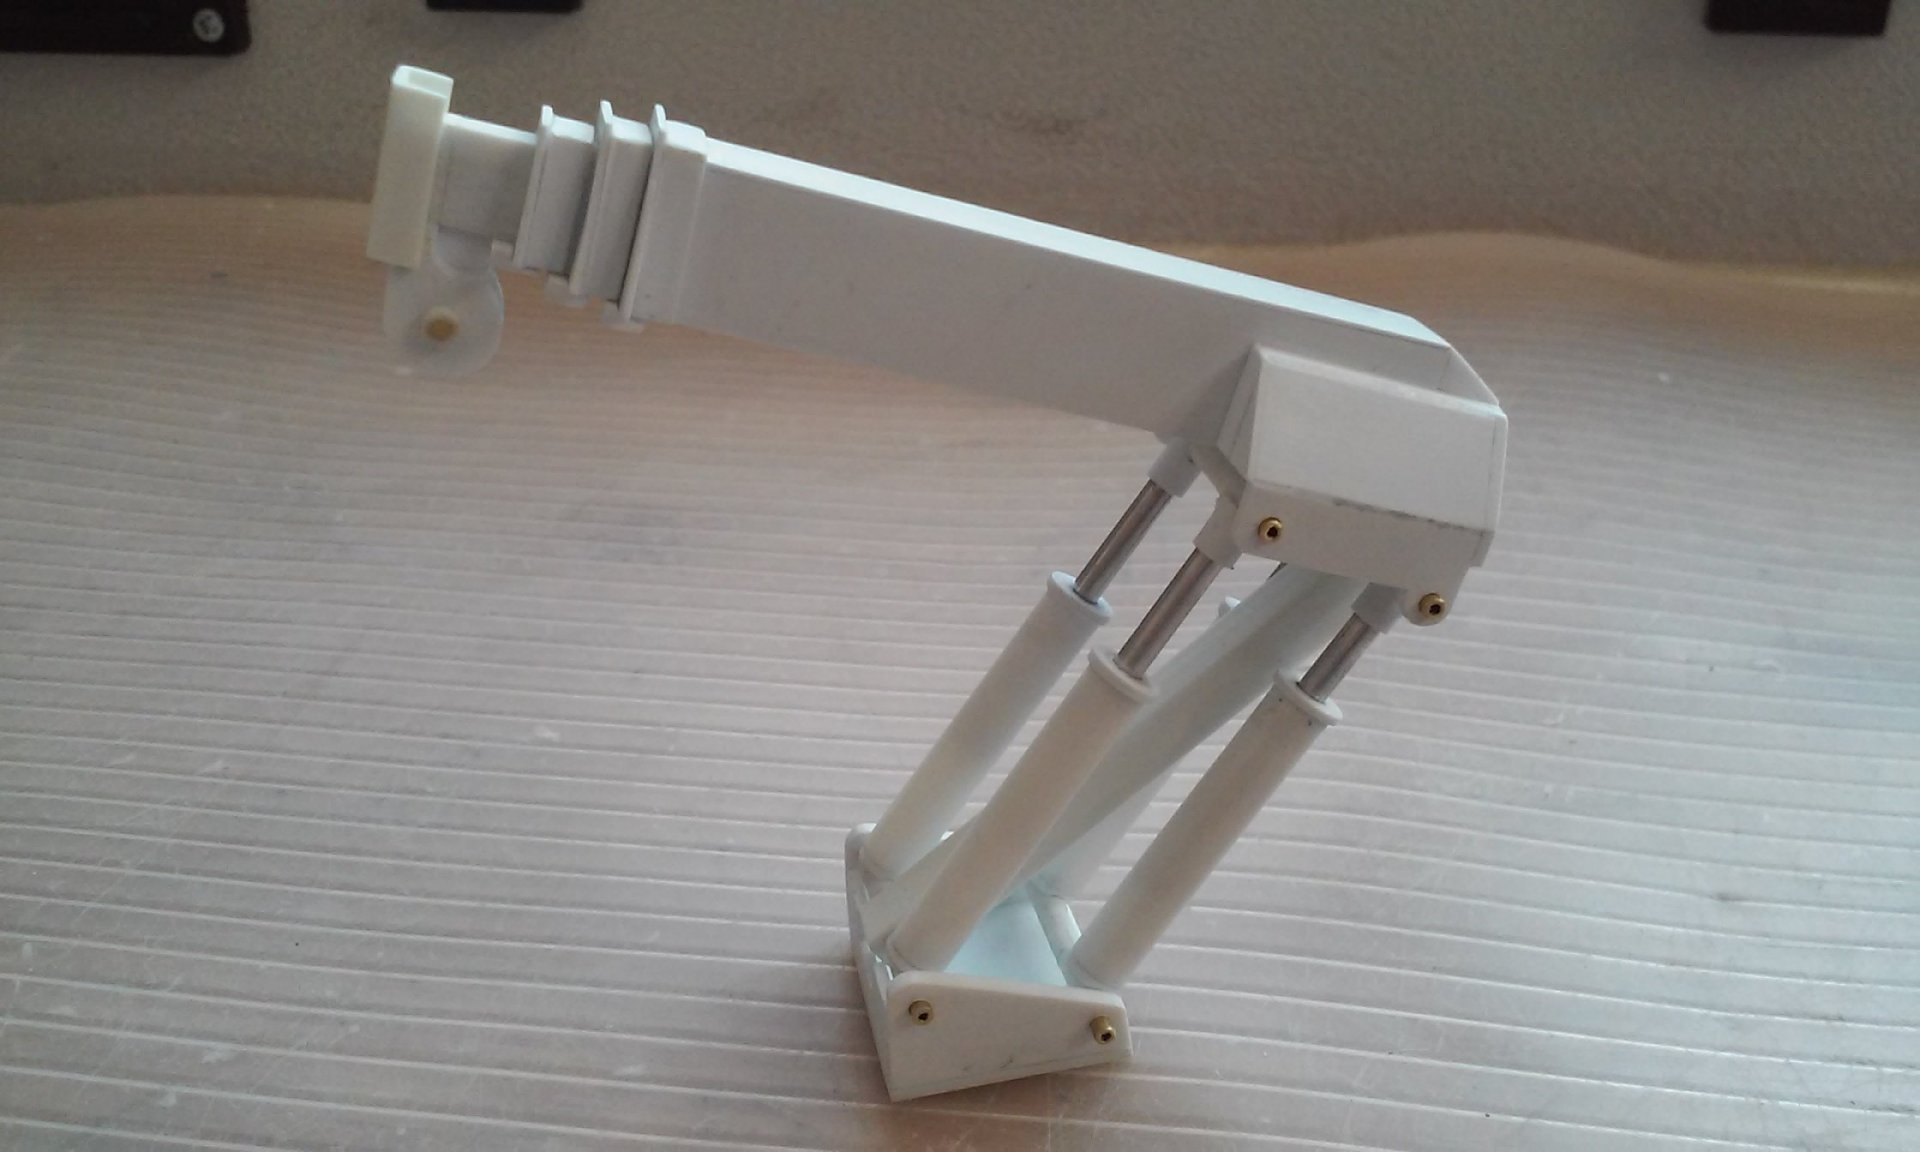
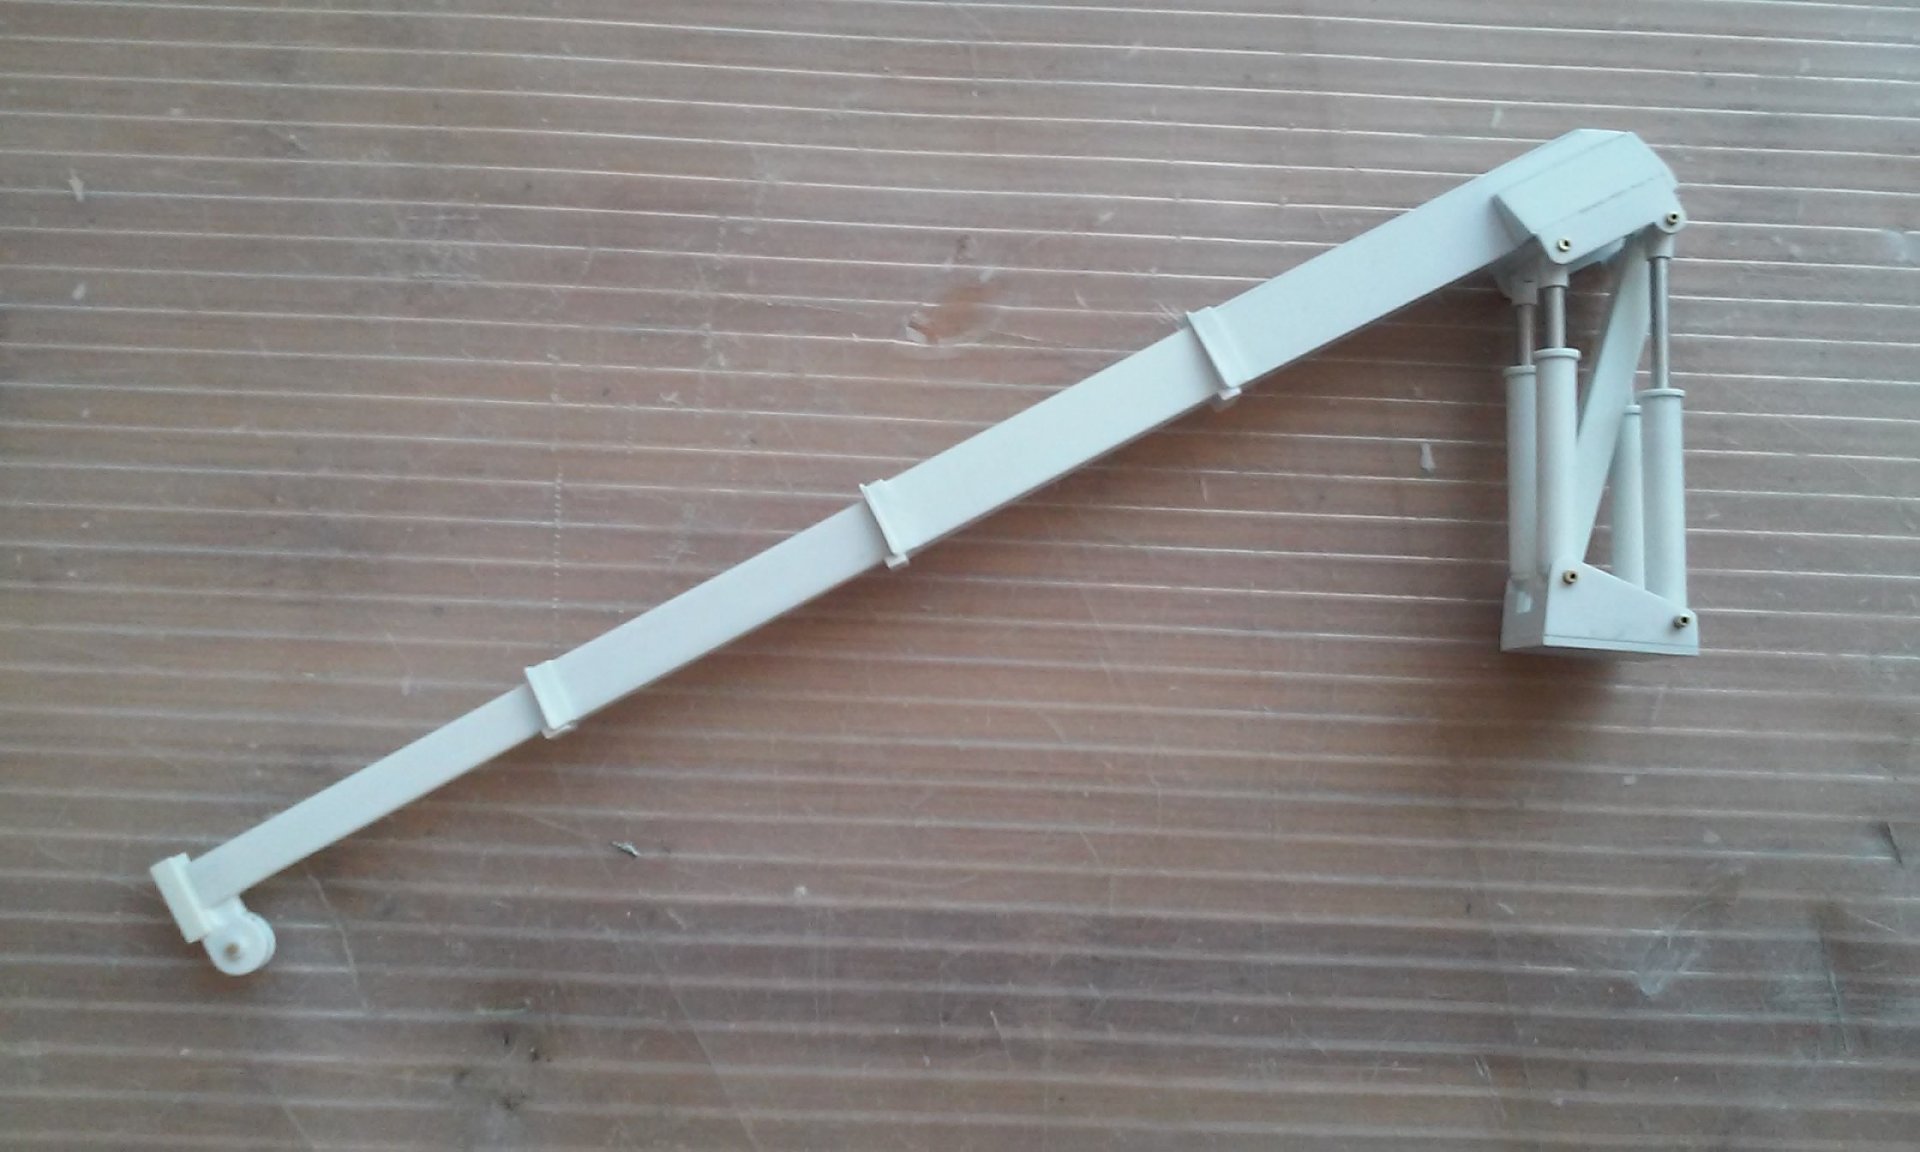
Merry Christmas everyone! Nice n clean Thom! It looks great! Been working this week on the crane for my ship. Its a hydraulic style folding crane. Its all styrene except for hollow brass hinge points and aluminum tubing for the hydraulic shafts. Still has more detail to be added. - MT


-
The Superbug is looking good Thom! Great diorama Salamander. The details really make it! That car reminds me of the three wheelers in England and Italy. Choice rides for pickin' up chicks in! Electric Indigo, that thing does look like its from Macross! Maybe that's where they got the look from? The paint scheme is looking cool! - MT
-
BEAUTIFUL work Capn'! Thanks for showing your build process and technique. - MT
-
He he! I dreamed that someday radio gear would get small enough to fit in tiny stuff. And 30 years later, it finally happened! - MT
-
Yeah, I was doing that back in the 80's That's when servos were MUCH bigger. -MT
-
Hi Arbit! The gears and motor are the only original guts. Two wires power the motor and two go to the switch. Push the transmitter for a bit and a little rotation activates the switch. There's no exact on or off, just "hit and miss tech," but its simple. The motor will only go in the direction the diode allows it to. One servo only will go when forward is pressed and only one will go reverse when reverse is pressed. I hope that makes sense? - MT
-
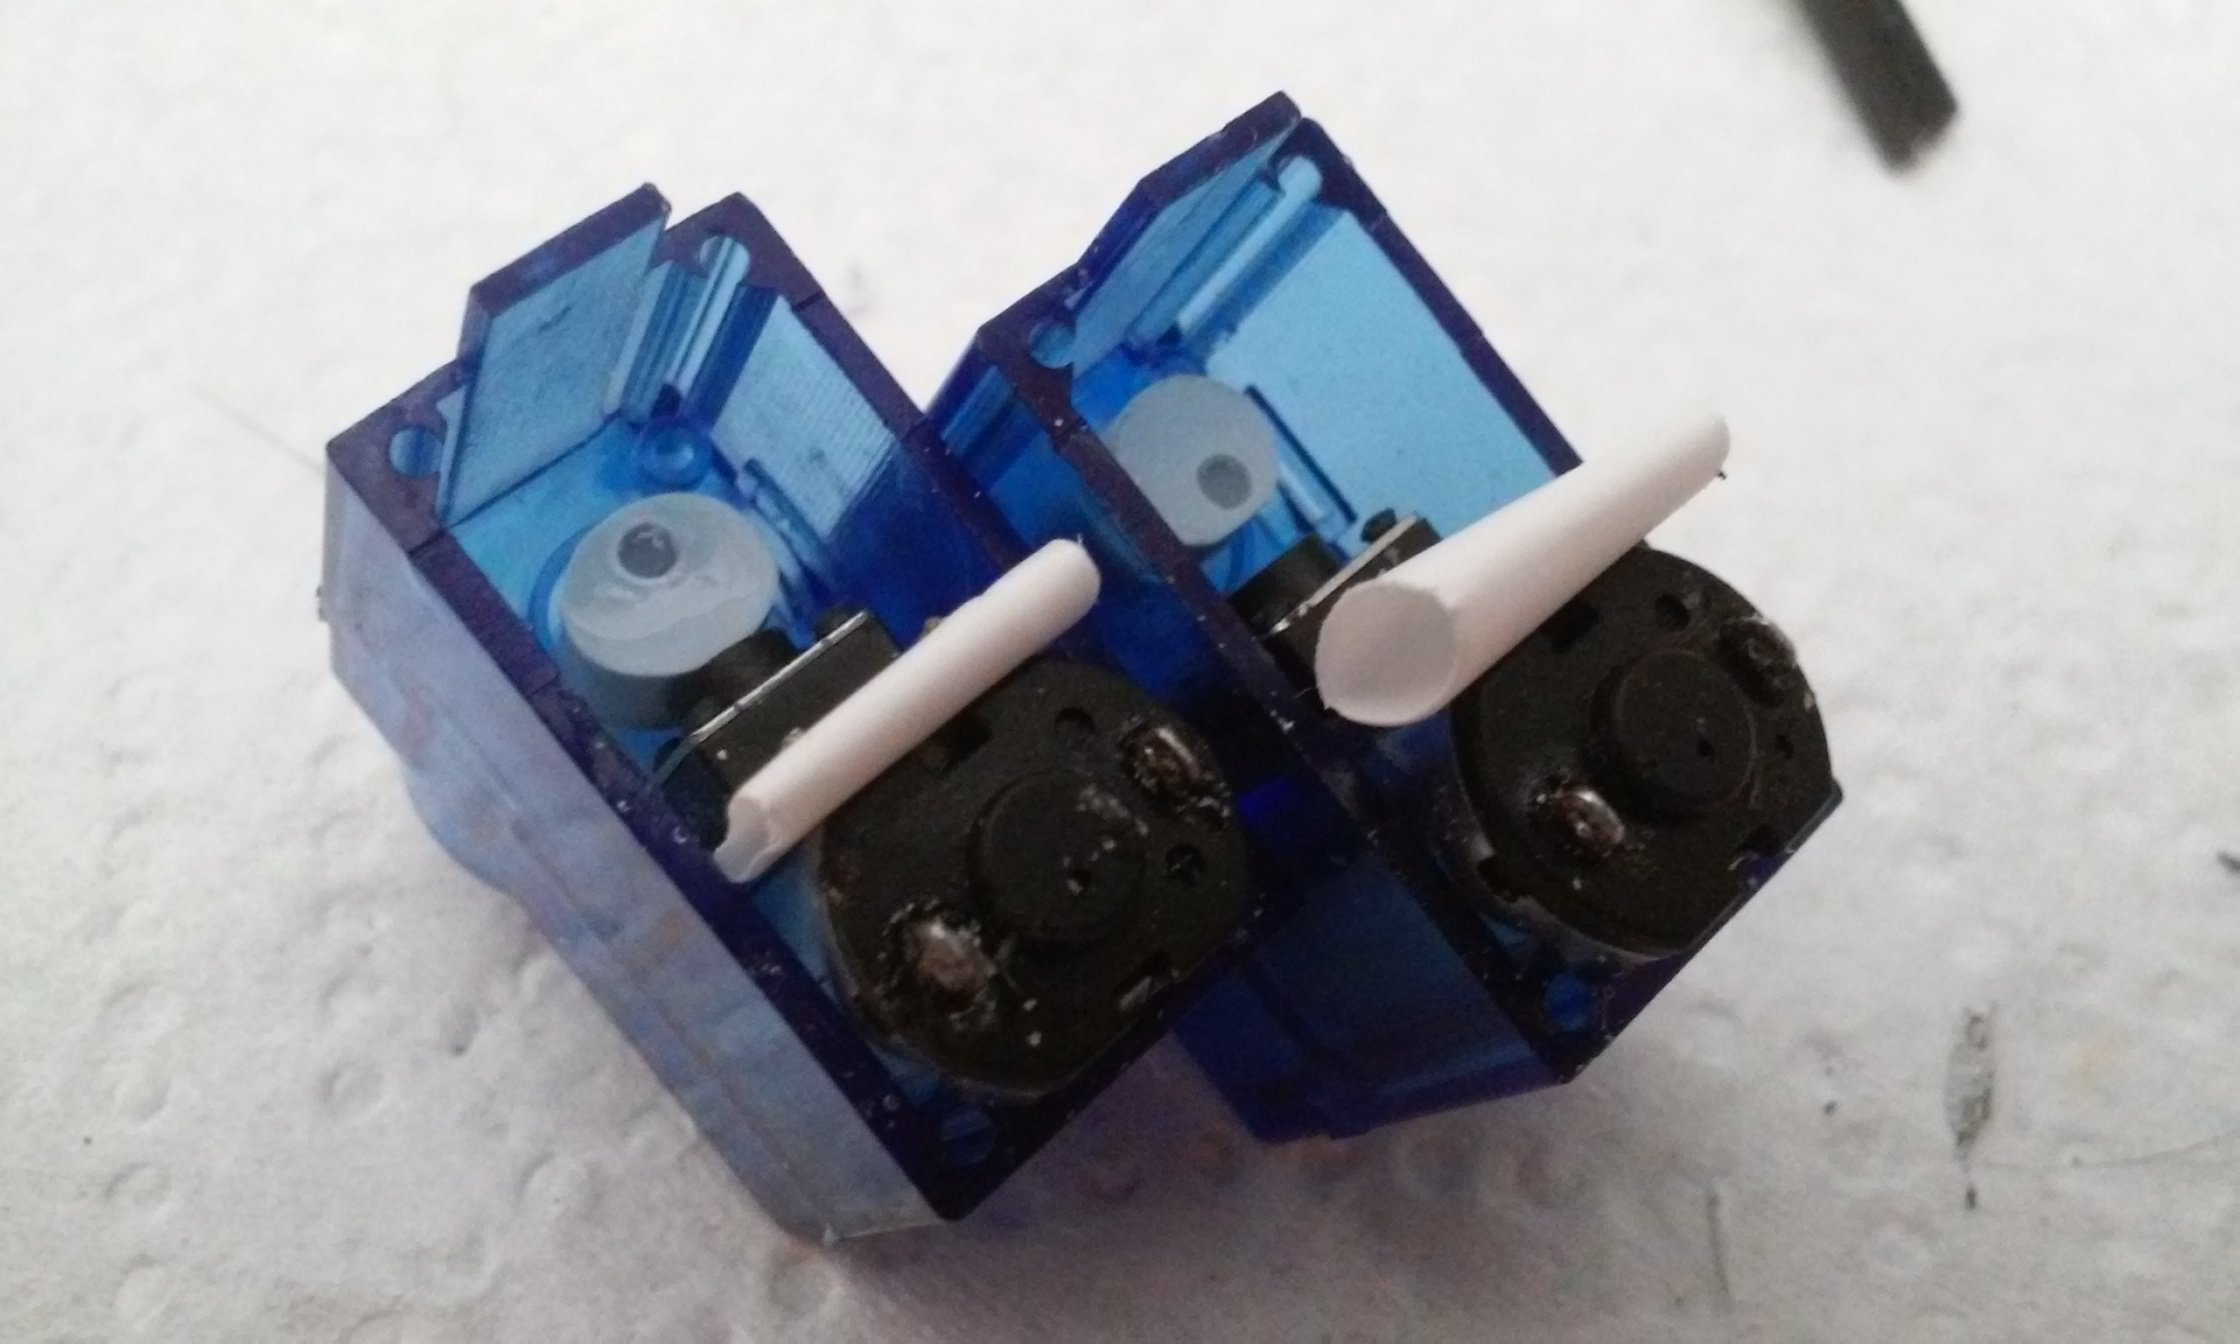
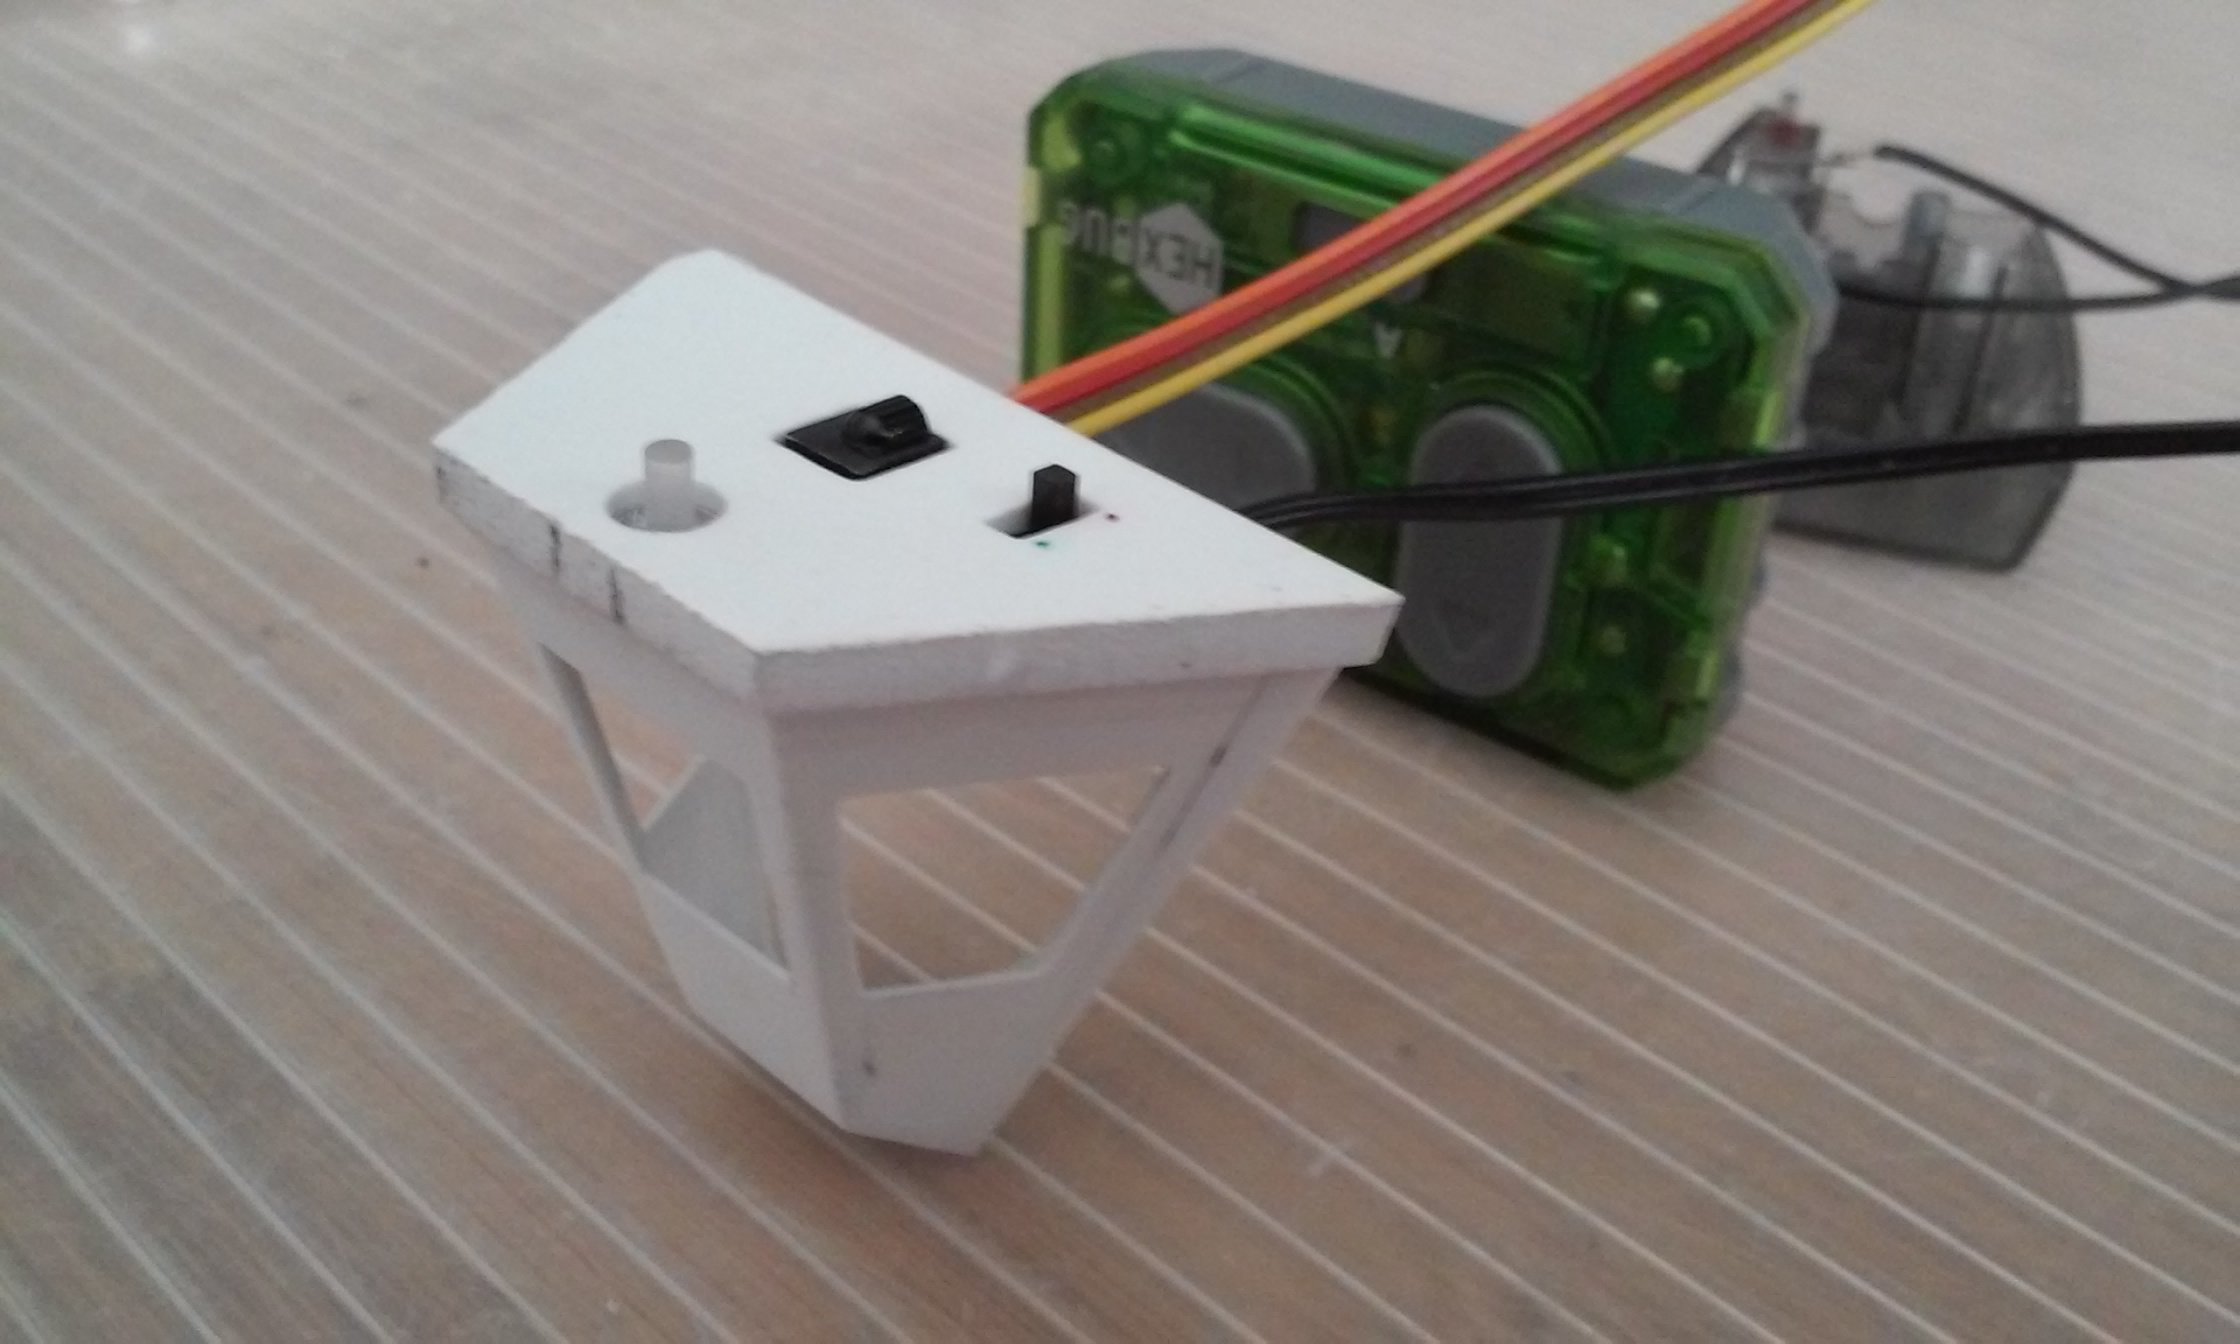
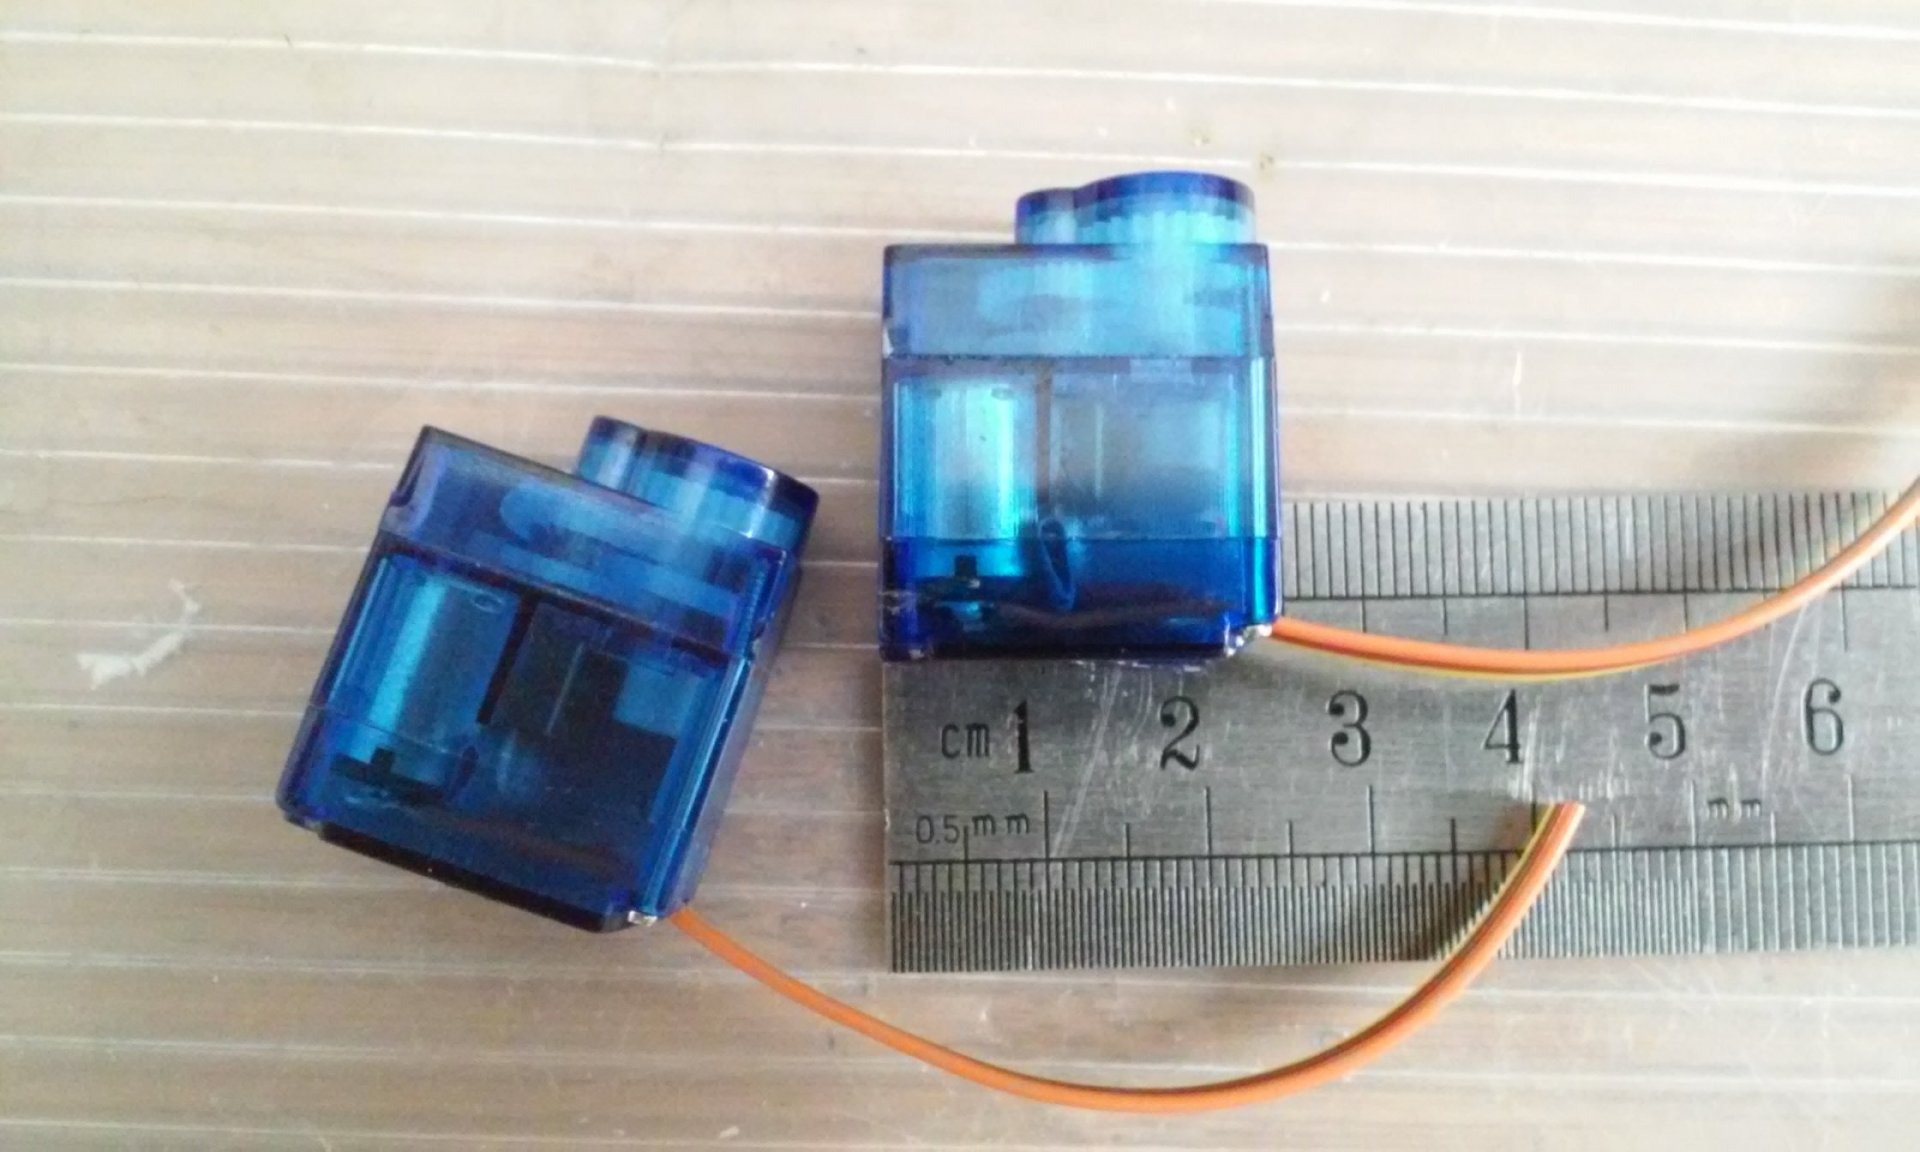
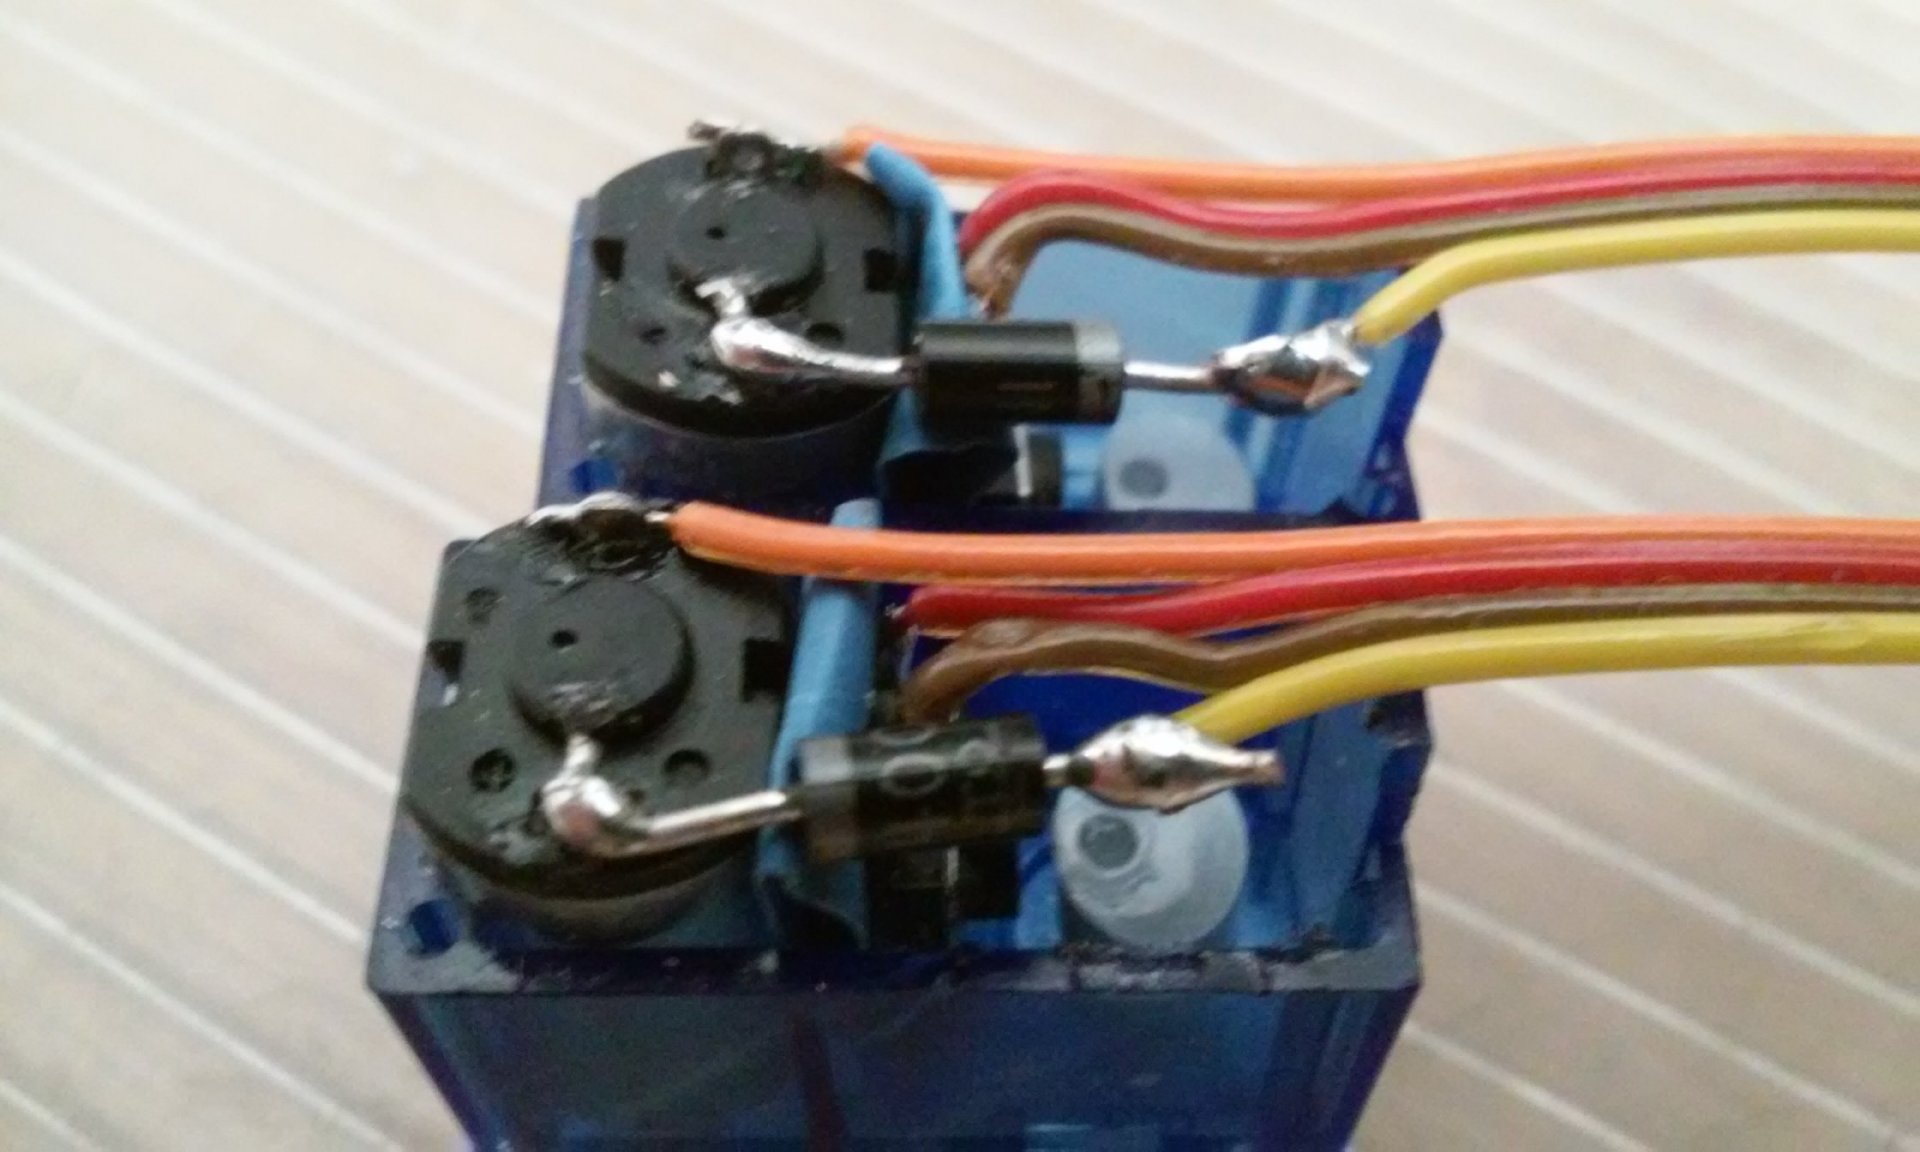
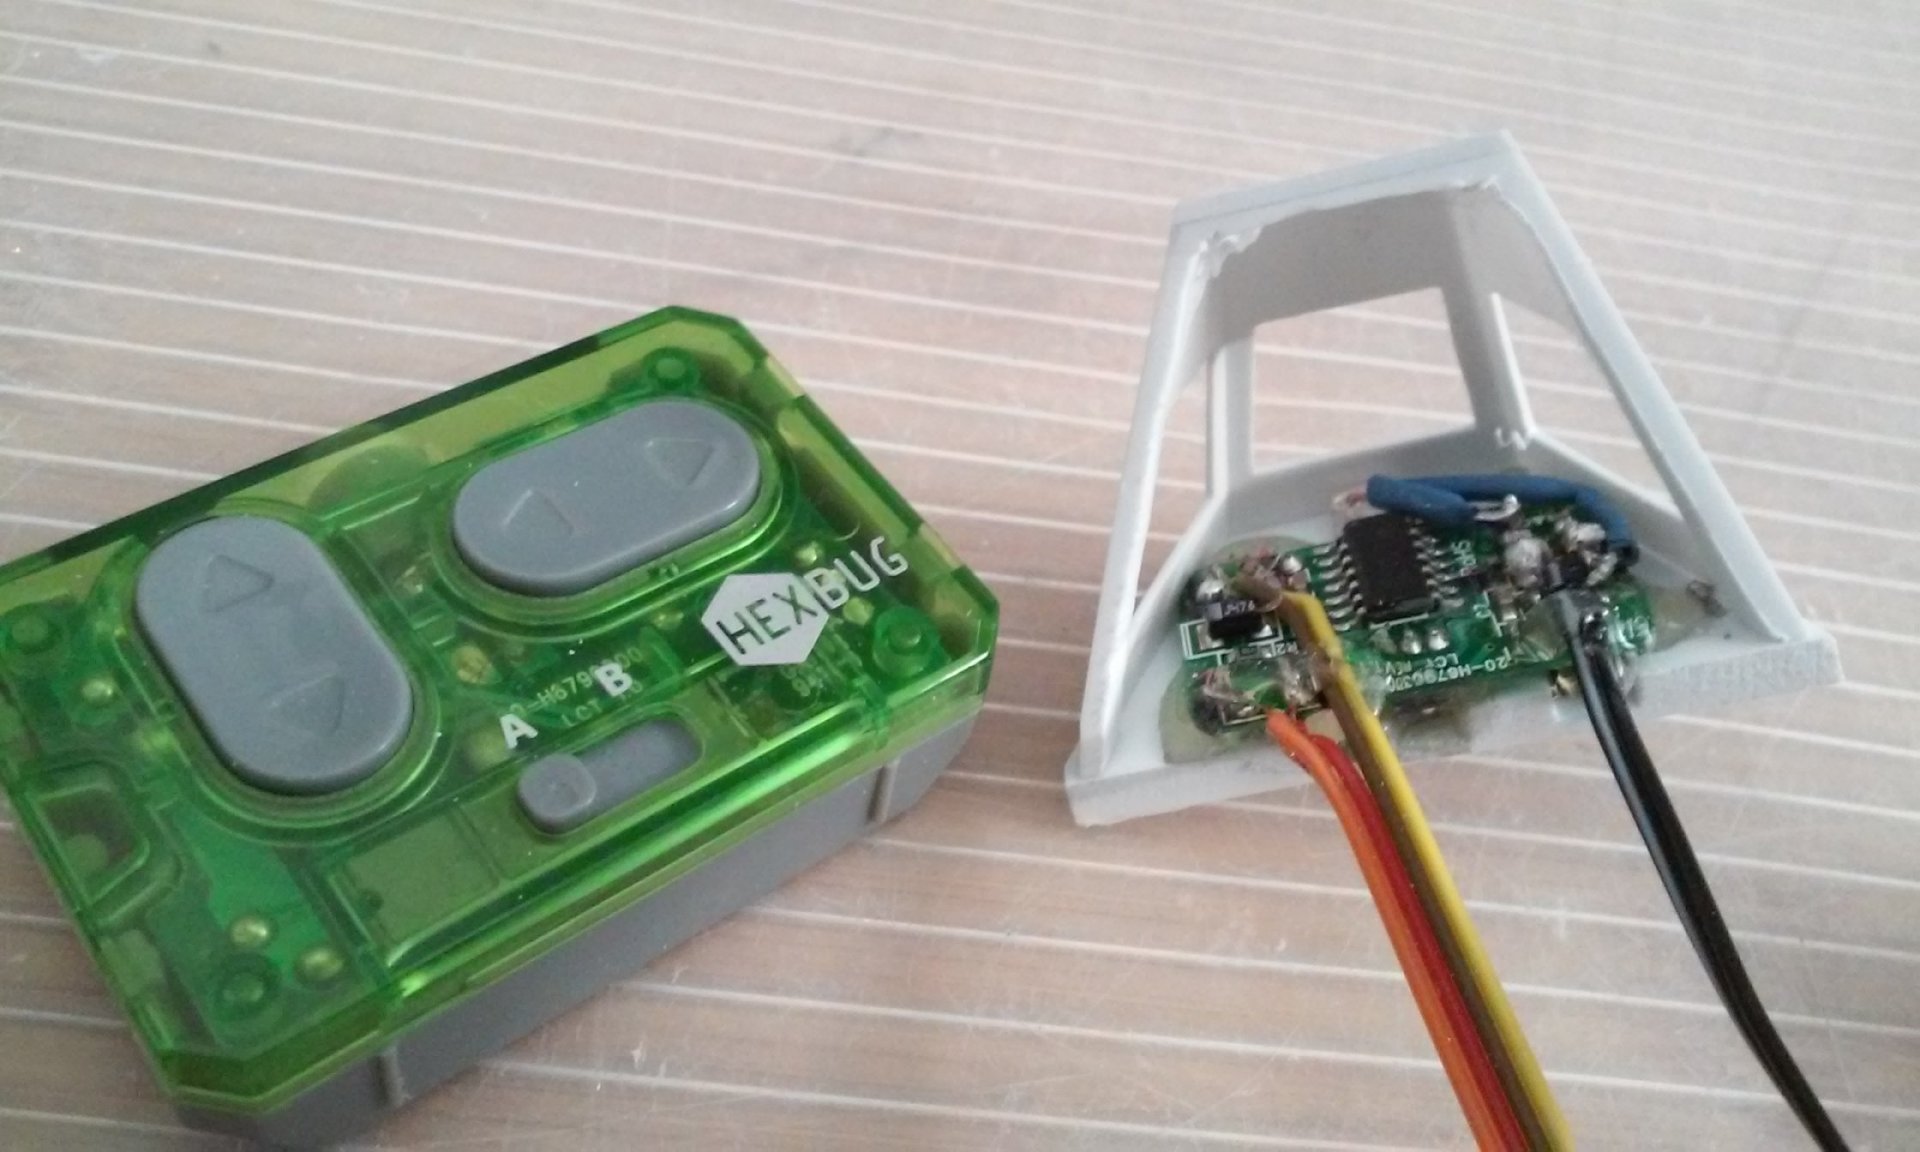
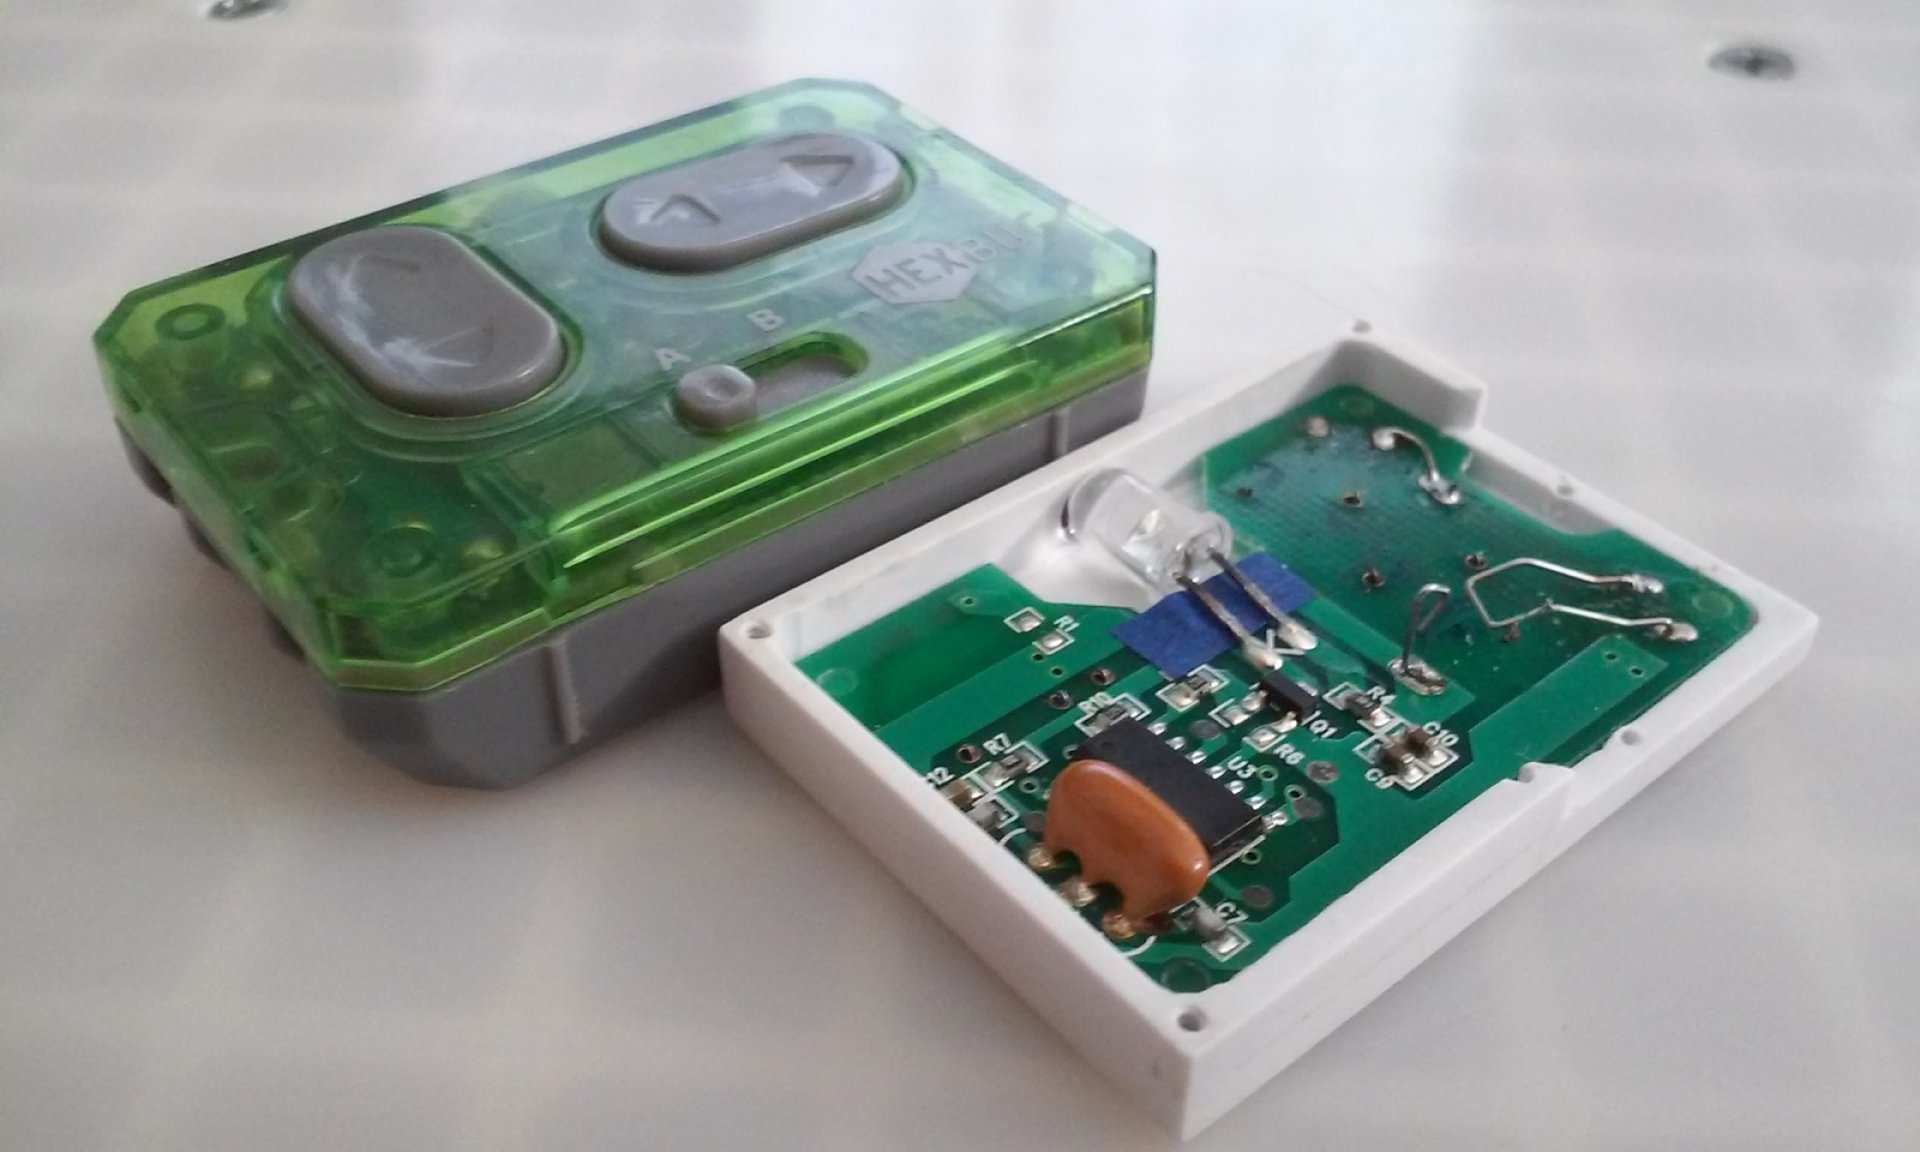
Hi guys! The Hexbug remote basically has two channels on it. They both go forward and reverse. One channel will power the hangar door (previous drama in the last few posts) and the other will trigger both lights and the radar. I got 10- 9gram micro servos cheap on Ebay. Two will be made into mechanical switches for the lights and radar. The servos have a shaft that runs down into what used to be the potentiometer so the servo knows where it is turning. I put a cam on that shaft which "pushes" an on and off push button switch (you can see them in the photos-one is open, the other is pushing the button). I'm doing it this way instead of a relay or other electronics because this requires no power to keep the accessories turned on. To make one channel into two, I'm cheating. The one photo with the wires and soldering exposed shows the diodes (the black cans soldered to each servo motor). Sorry, it's blurry. If you notice the stripe on the diodes, one is facing towards the motor and the other is facing in the opposite direction. For those not familiar, diodes allow electricity to only flow in one direction. So when I push forward on the controller, only one servo switch will be allowed to work and the other won't and then visa versa. It kinda makes two channels for the price of one. Now they just have to be wired up to the accessories. - MT


-

Macross II Destroids & Power Suit Kits Sources
MechTech replied to ChristopherB's topic in Model kits
Thanks guys for posting the links. I always loved that version of the Monster. -MT -
Looking great Arbit! Yeah, you're not done until we have a good video - MT
-
That's funny Arbit! Picking up chicks with garage doors!? I can have fun with that one! "So baby, are you a roll-up, slide to the side, or tilt-up canopy type of garage door lady?" (I had to look those up) UPDATE: So, I got out the other Hexbug just to check it with the treansmitter and I noticed I flipped the notch I made for the switch. The switch has three positions, I only made the slot big enough for two so it would always stay on the same channel (A or B). In all my wisdom, I reversed that! Duh! So for the heck of it, I opened up the slot to get both channels working. I think being able to power cycle it fixed it! So now it works. So the new score: SCOREBOARD SHIP ME 4 1 The ship gets to keep that one for getting the better of me and for me making a dumb mistake, but I'm taking a point (and impressing my wife) - MT
-
Thanks Arbit; I think you are right! Maybe that's why the toys were on sale so cheap!? I've NEVER blown anything electronic until now. Updated score... SCOREBOARD SHIP ME 4 0 I finished wiring up and testing the hangar door. With the remote, it was like a REAL garage (hangar) door opening and closing. I showed my wife and she was like, "That's cool!" After dinner I went to show my children and only the LED blinked. I checked everything and nothing works. There's a second motor on there for other stuff. It's dead too! How frustrating! I tested it again tonight - still dead! Of course this happens AFTER everything is glued in place! Oh well. I have radio control (vs IR) controlled boards I can use. The transmitters are just more bulky and radios can receive interference. I'm going to have to mess with it some more. - MT
-
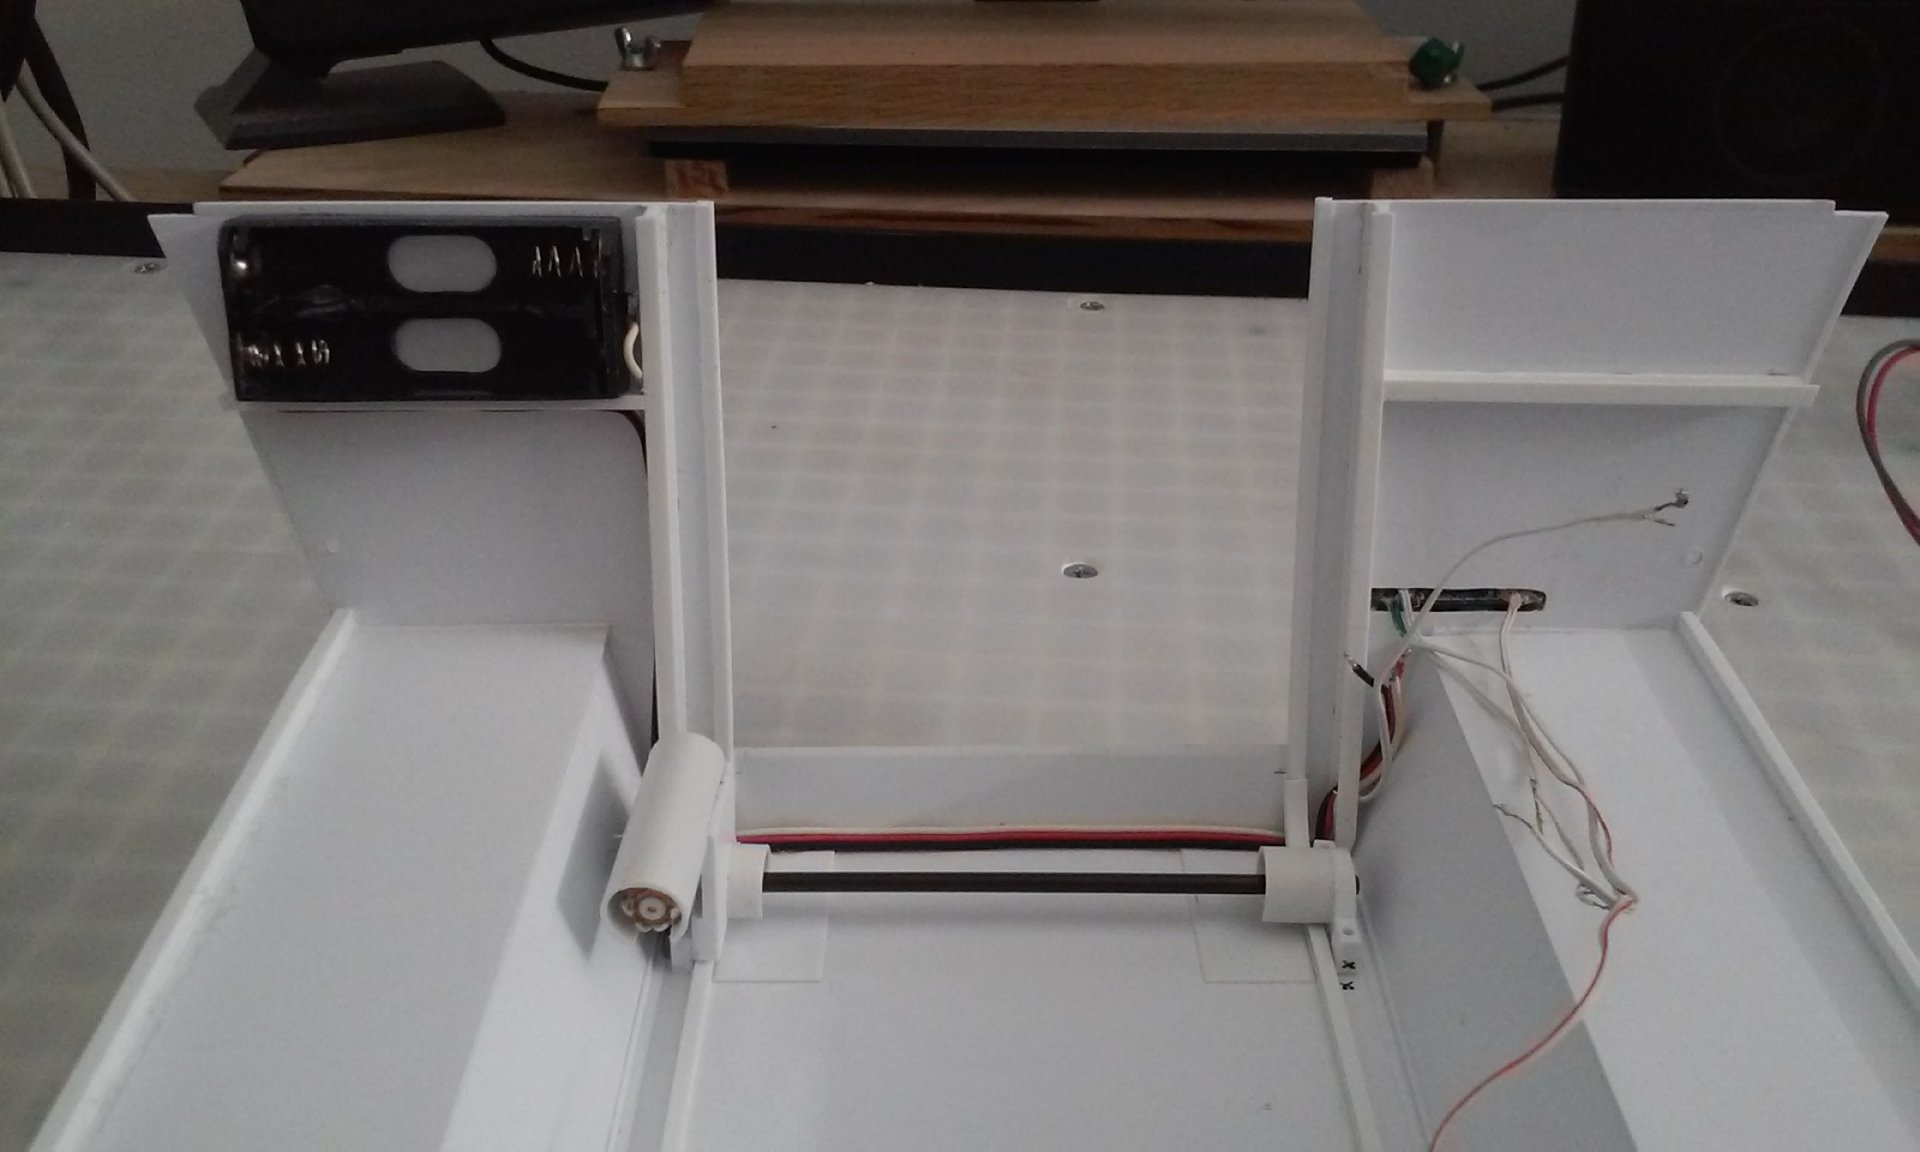
Cool Derex! Remember, a pay check is a GOOD thing SCOREBOARD SHIP ME 3 1 So, the score's not so good. Three dead circuit boards to one working. I think the dry air is making more static than what I think. Not having an ESD electronics mat, I got a sheet of aluminum foil and grounded it to my drill press (which is a big chunk of steel). I then used a lot of hand cream on my hands. Then I kept a hand on the foil at all time. I think this receiver in the ship will be alright. I have to wait to wire it up until the styrene glue dries tomorrow. We'll see! In the mean time, whether the receiver works or not, its in the ship's aircraft control station and is glued in now. The seems just need sanding down. Two AAA batteries will sit in a box inside the hangar and will power the accessories. Its hard to believe Thanksgiving weekend is already almost over! The remainder of the turkey is going into soup tonight! - MT

-
Happy Thanksgiving Everyone! It might sound weird, but I thank God for Macross World and you guys! It's a nice break from work and cool to see all the stuff people are creating. I've also learned a lot here too over the years. Cool, Electric Indigo! Some pilots are way too big or the older sculpted ones look like they are "defiling themselves" as one guy put it nicely in our modeling club. Nice Pengbuzz! You are the master of masking tape! - MT
-
That looks absolutely fabulous Arbit!!! I think it would be worthy of entering into a model show and garner you a prize! You brought electronics, mechanics and styrene to a whole new level! - MT
-
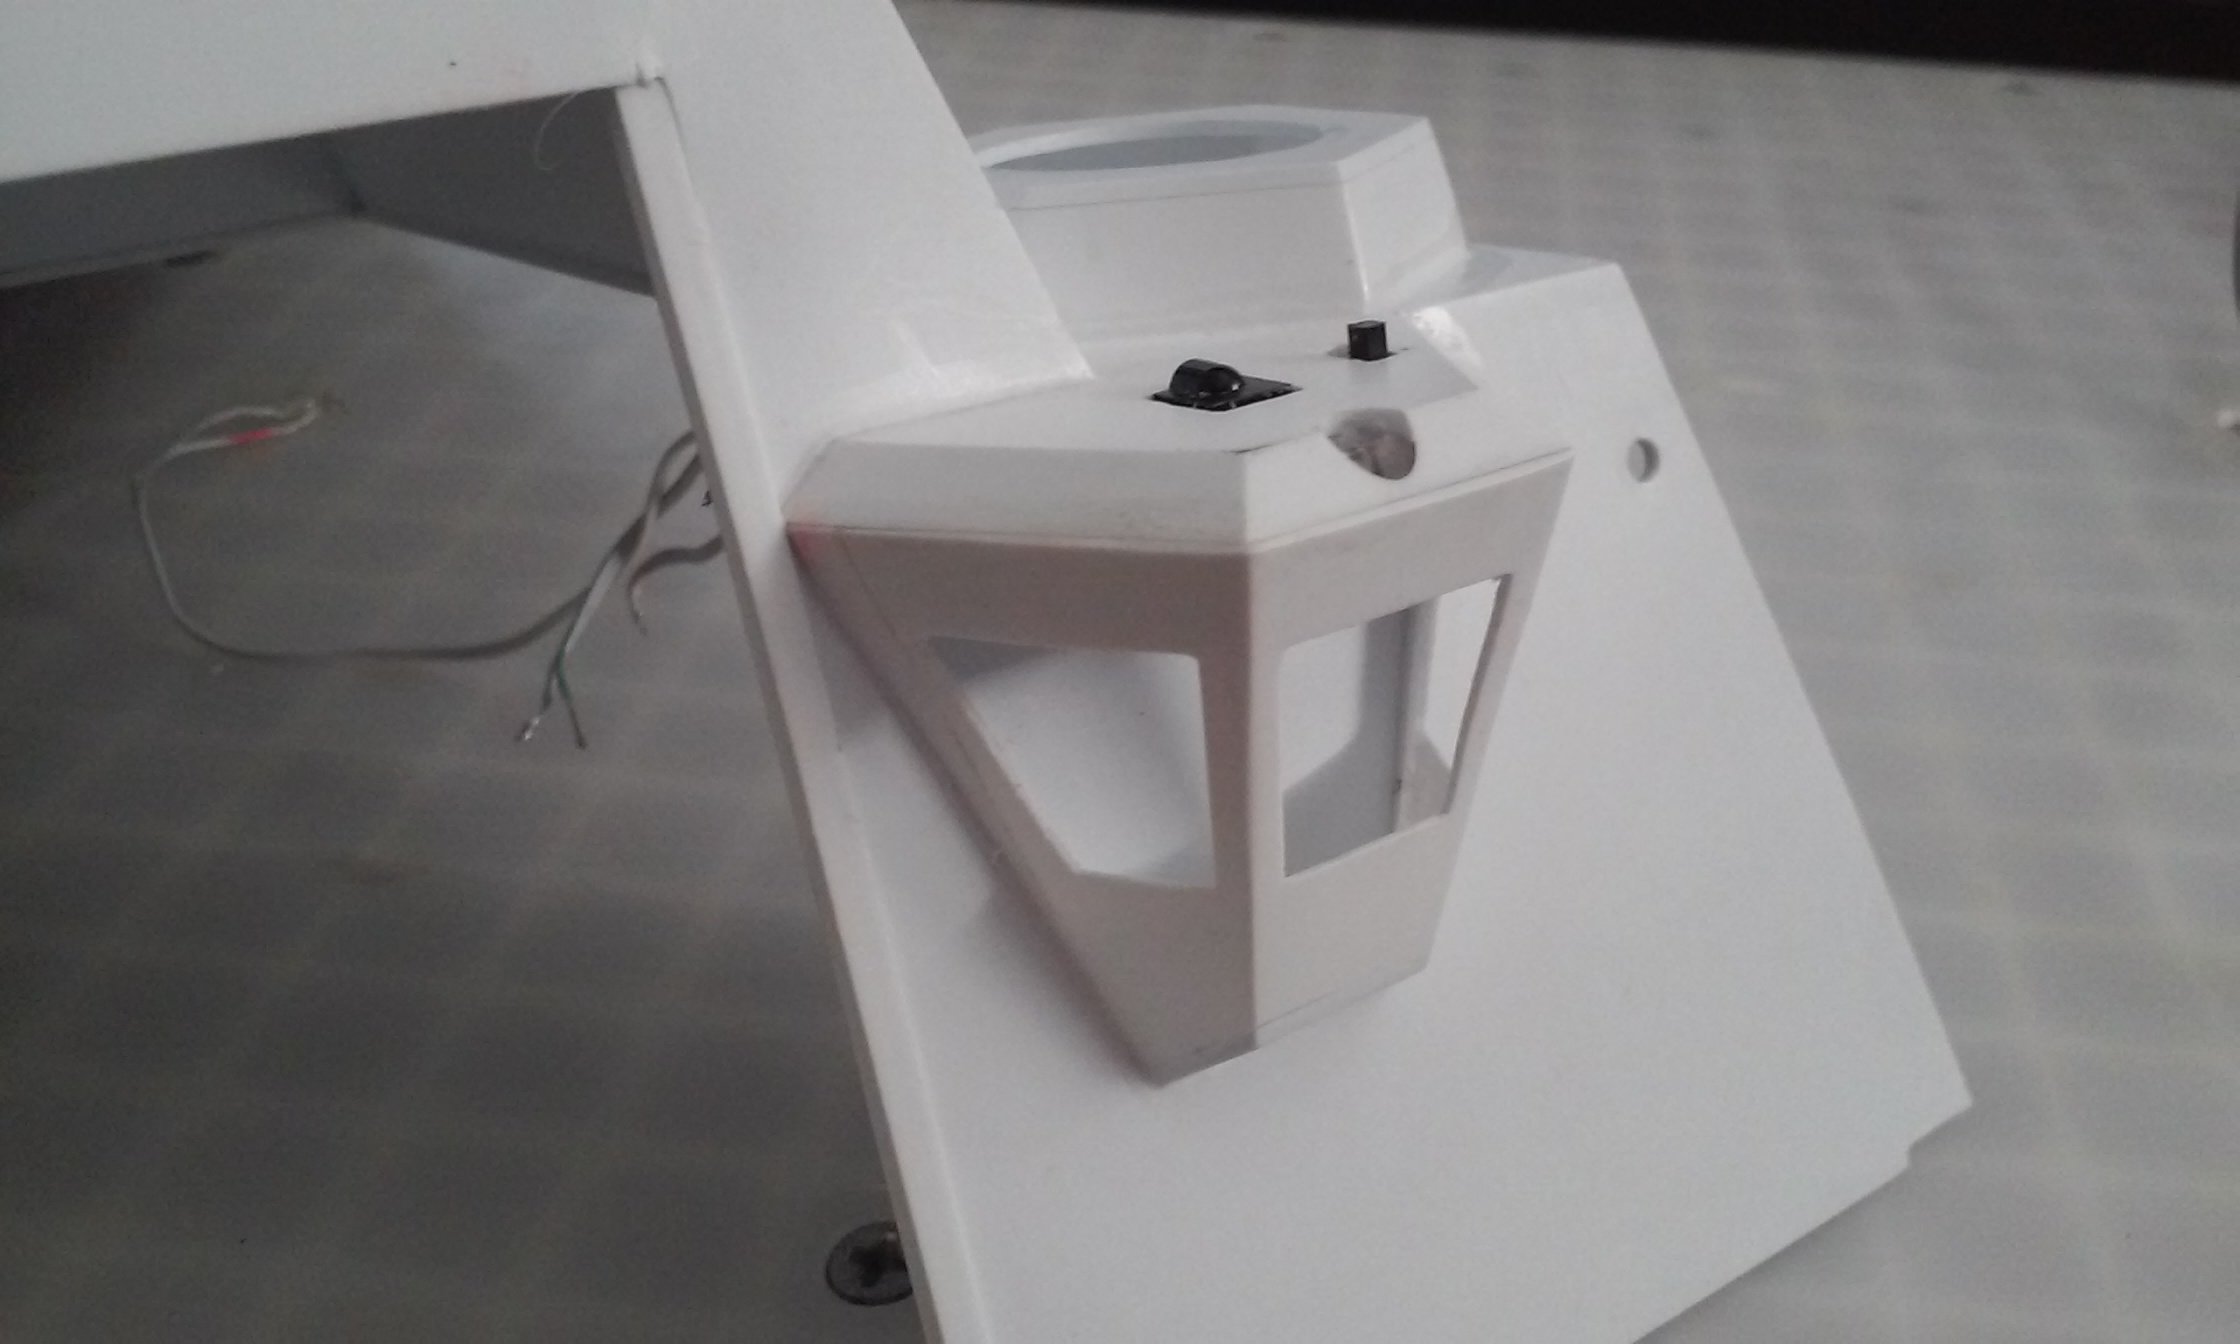
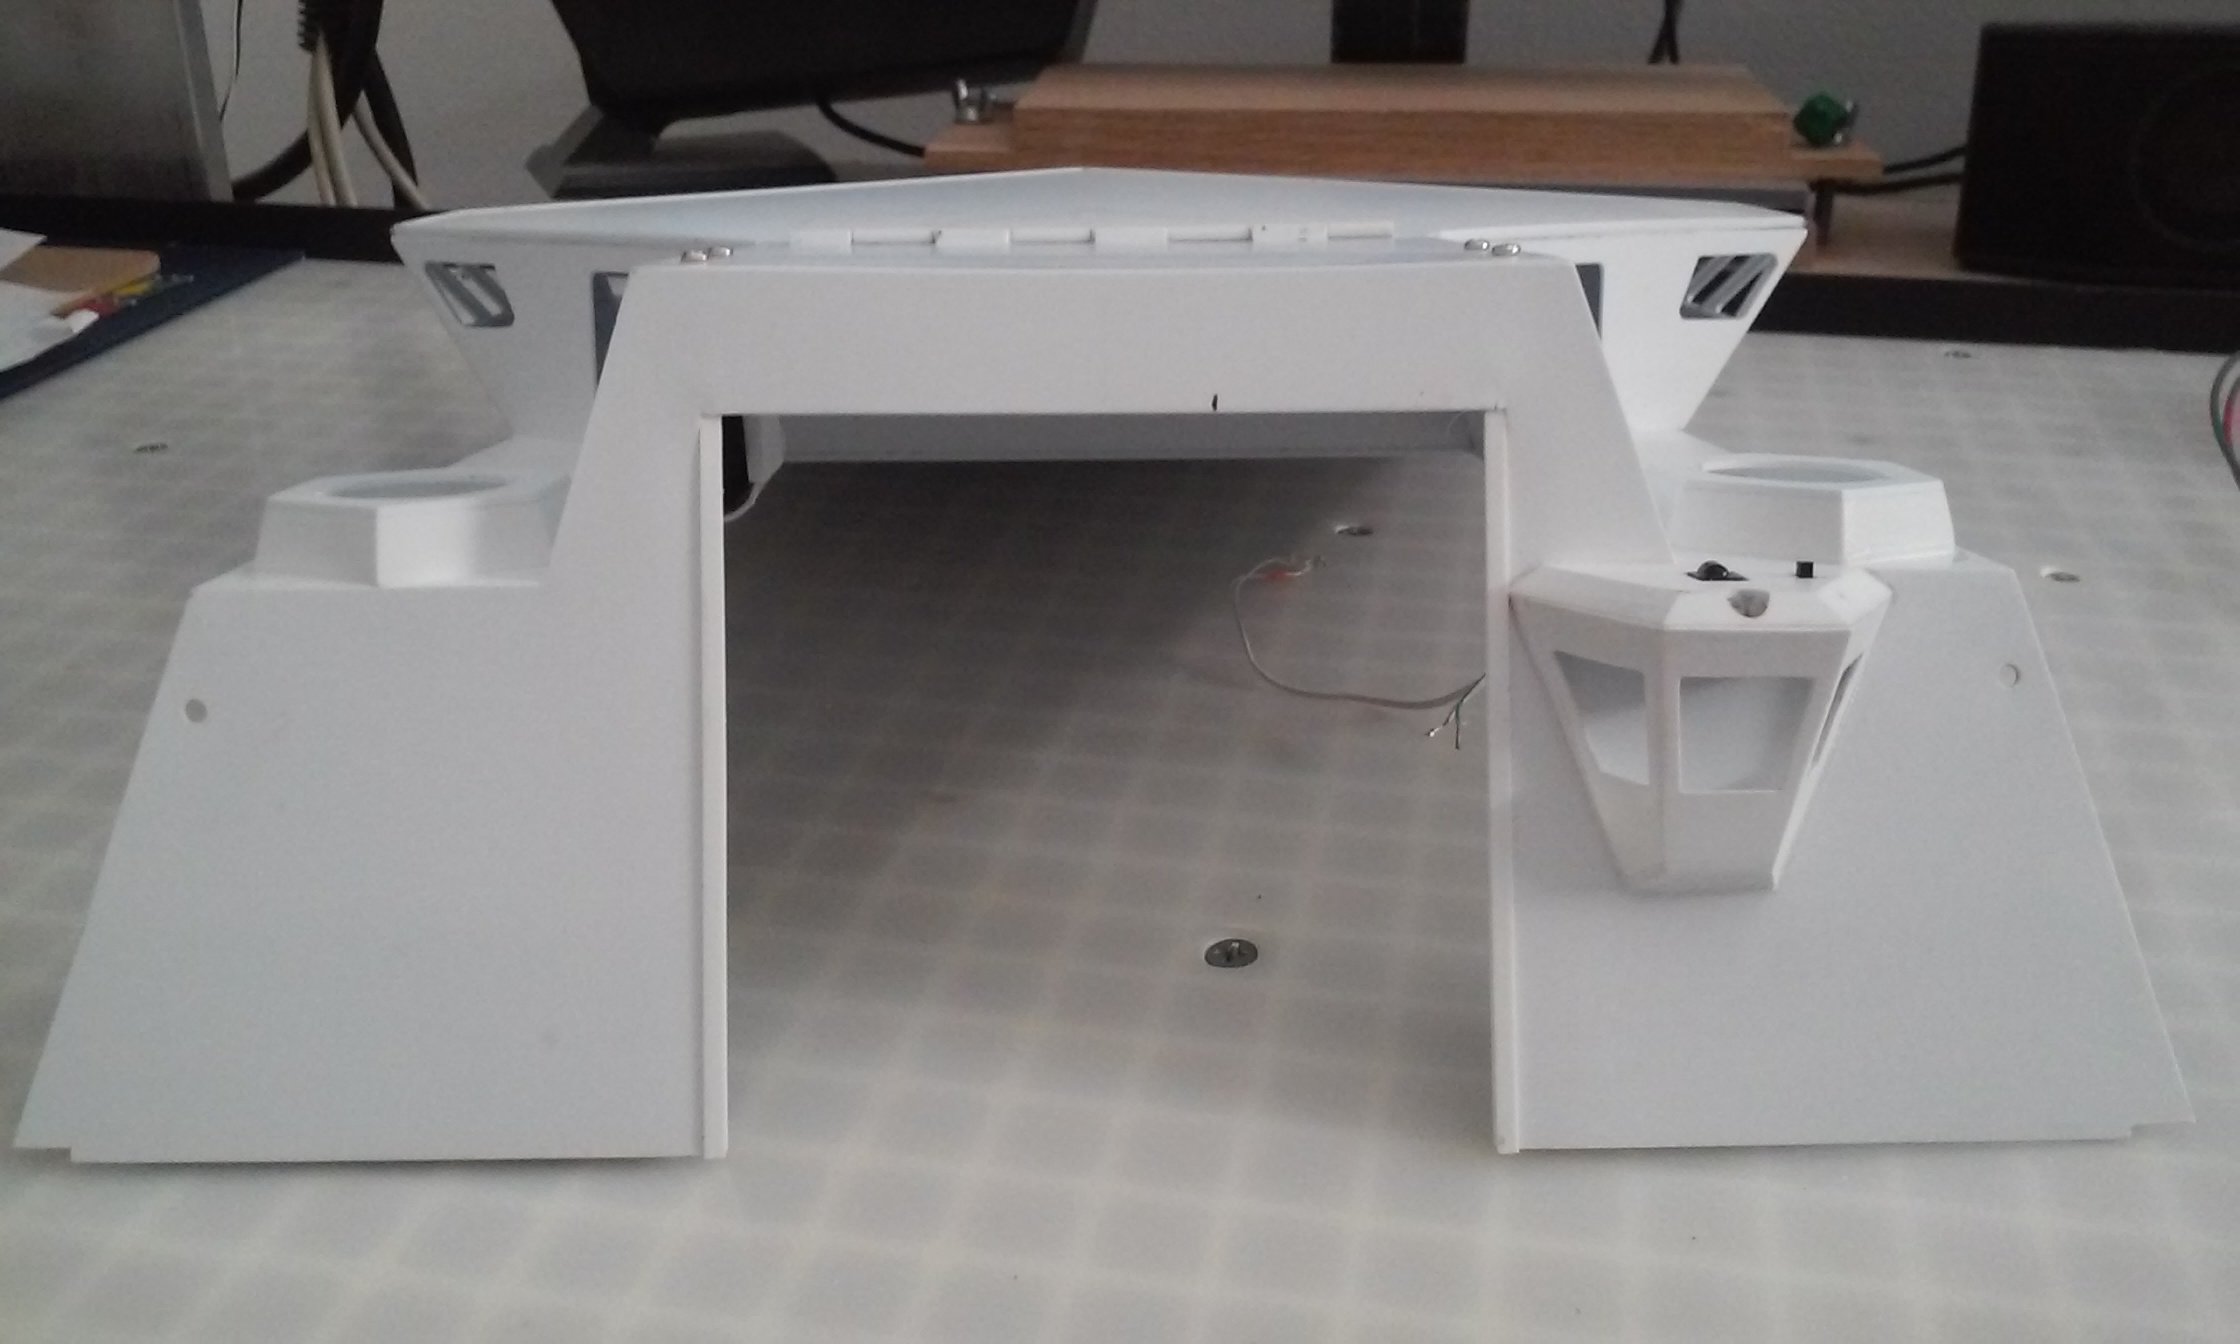
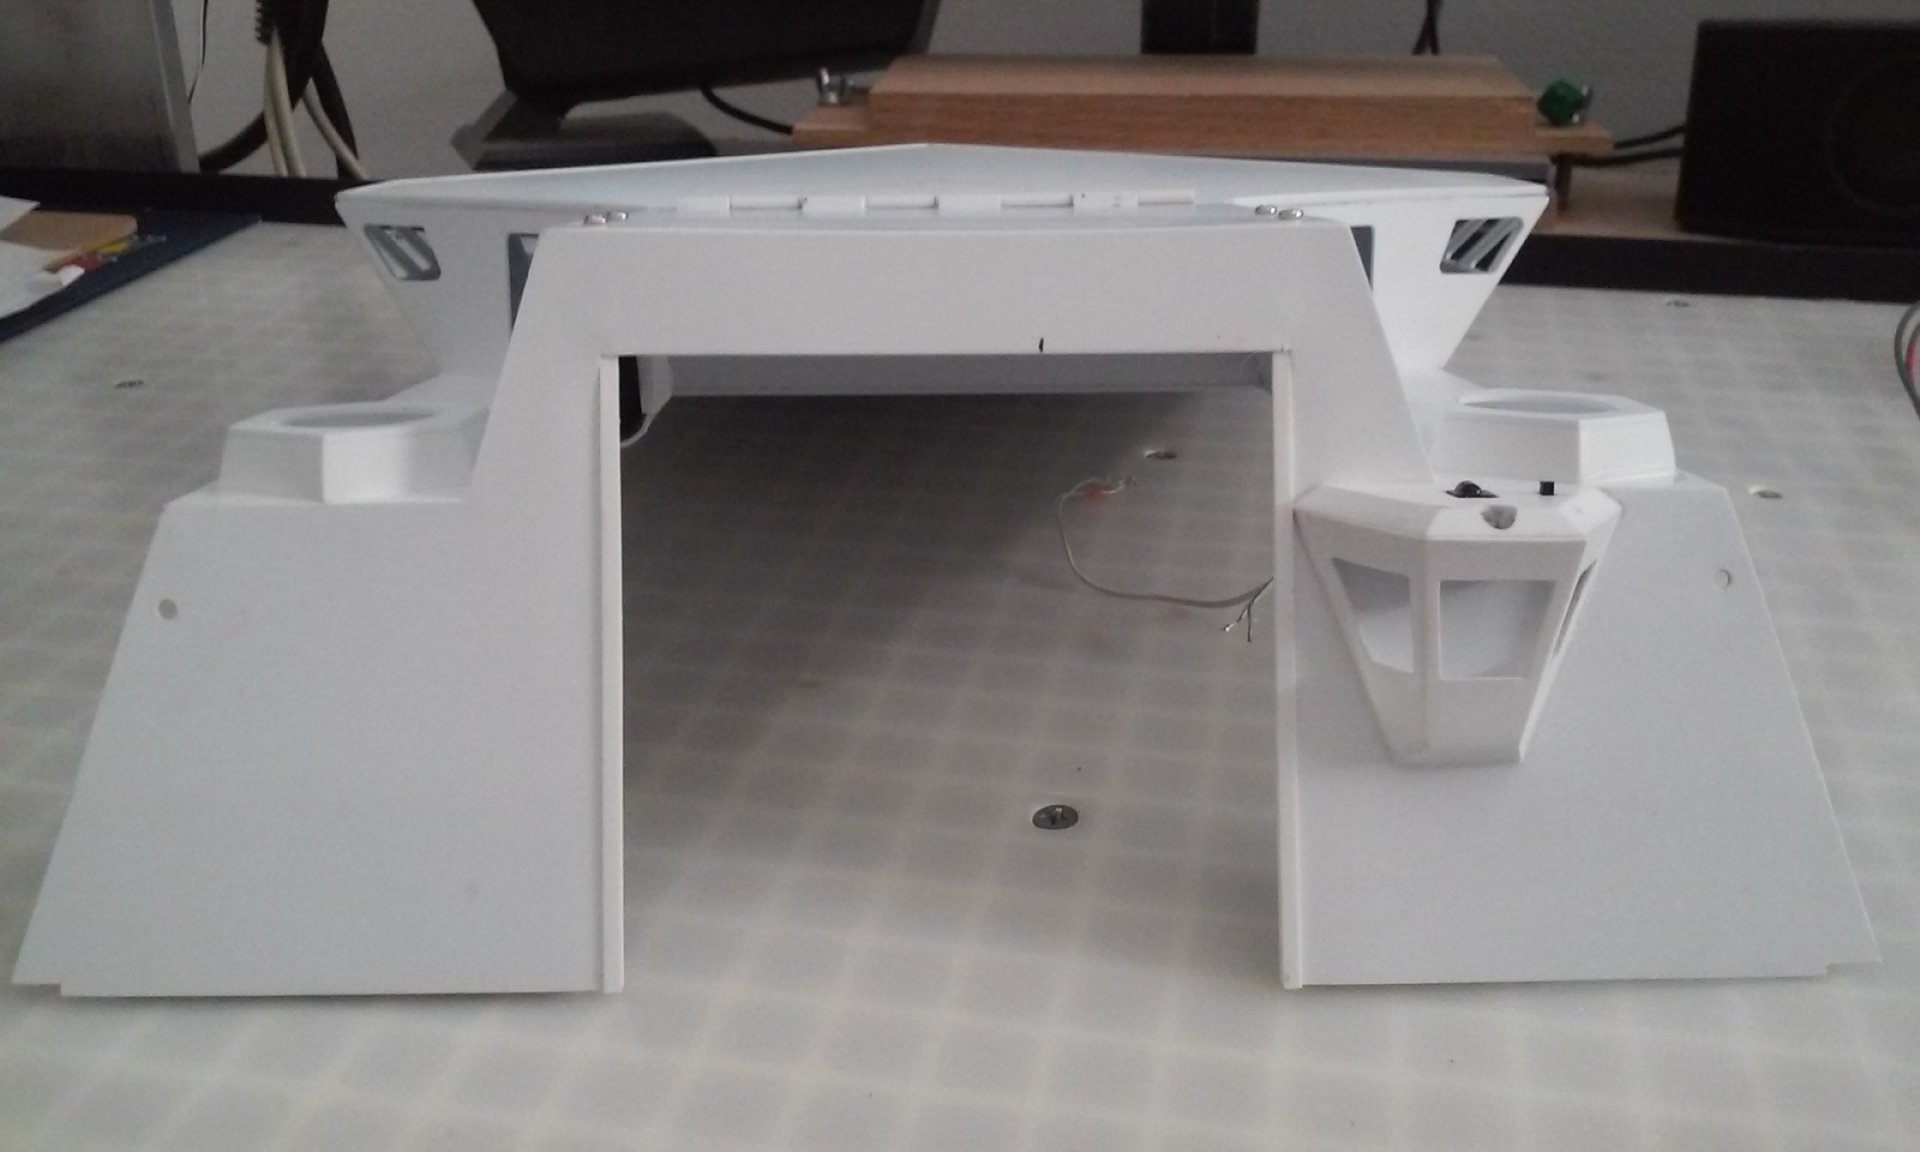
Electric Indigo - Are you cloning Yank pilots and giving them to the Ruskies? Looks like you're putting the jets head to head in a dio? Its slow going due to other things right now, but I got some work done on the control station for the ships flight deck. I took the Hex Bug receiver which is about the size of an American quarter, and added wires and a blinking light to it. The blinking light lets you know its on, otherwise there is no sign. The control station was the best place to hide the board and make it easily visible for the infra red receiver to work. It will be hid in the roof. There is still A LOT of work to be done on the styrene part, but at least the electronics are working. This is what will control the hangar door, the radar and lights. - MT

-
Excellente Chavakaiser! Arbit, yes it has reverse on both channels. In fact, the plan is to take two cheap servos and make them gear motors. Then put diodes across them so they will only go in one direction. That will make the remote three channels. The servos will drive cams to activate micro switches to merely turn stuff on and off. The one untouched up/down channel will power the hangar door. That's my evil plan anyhow. - MT
-
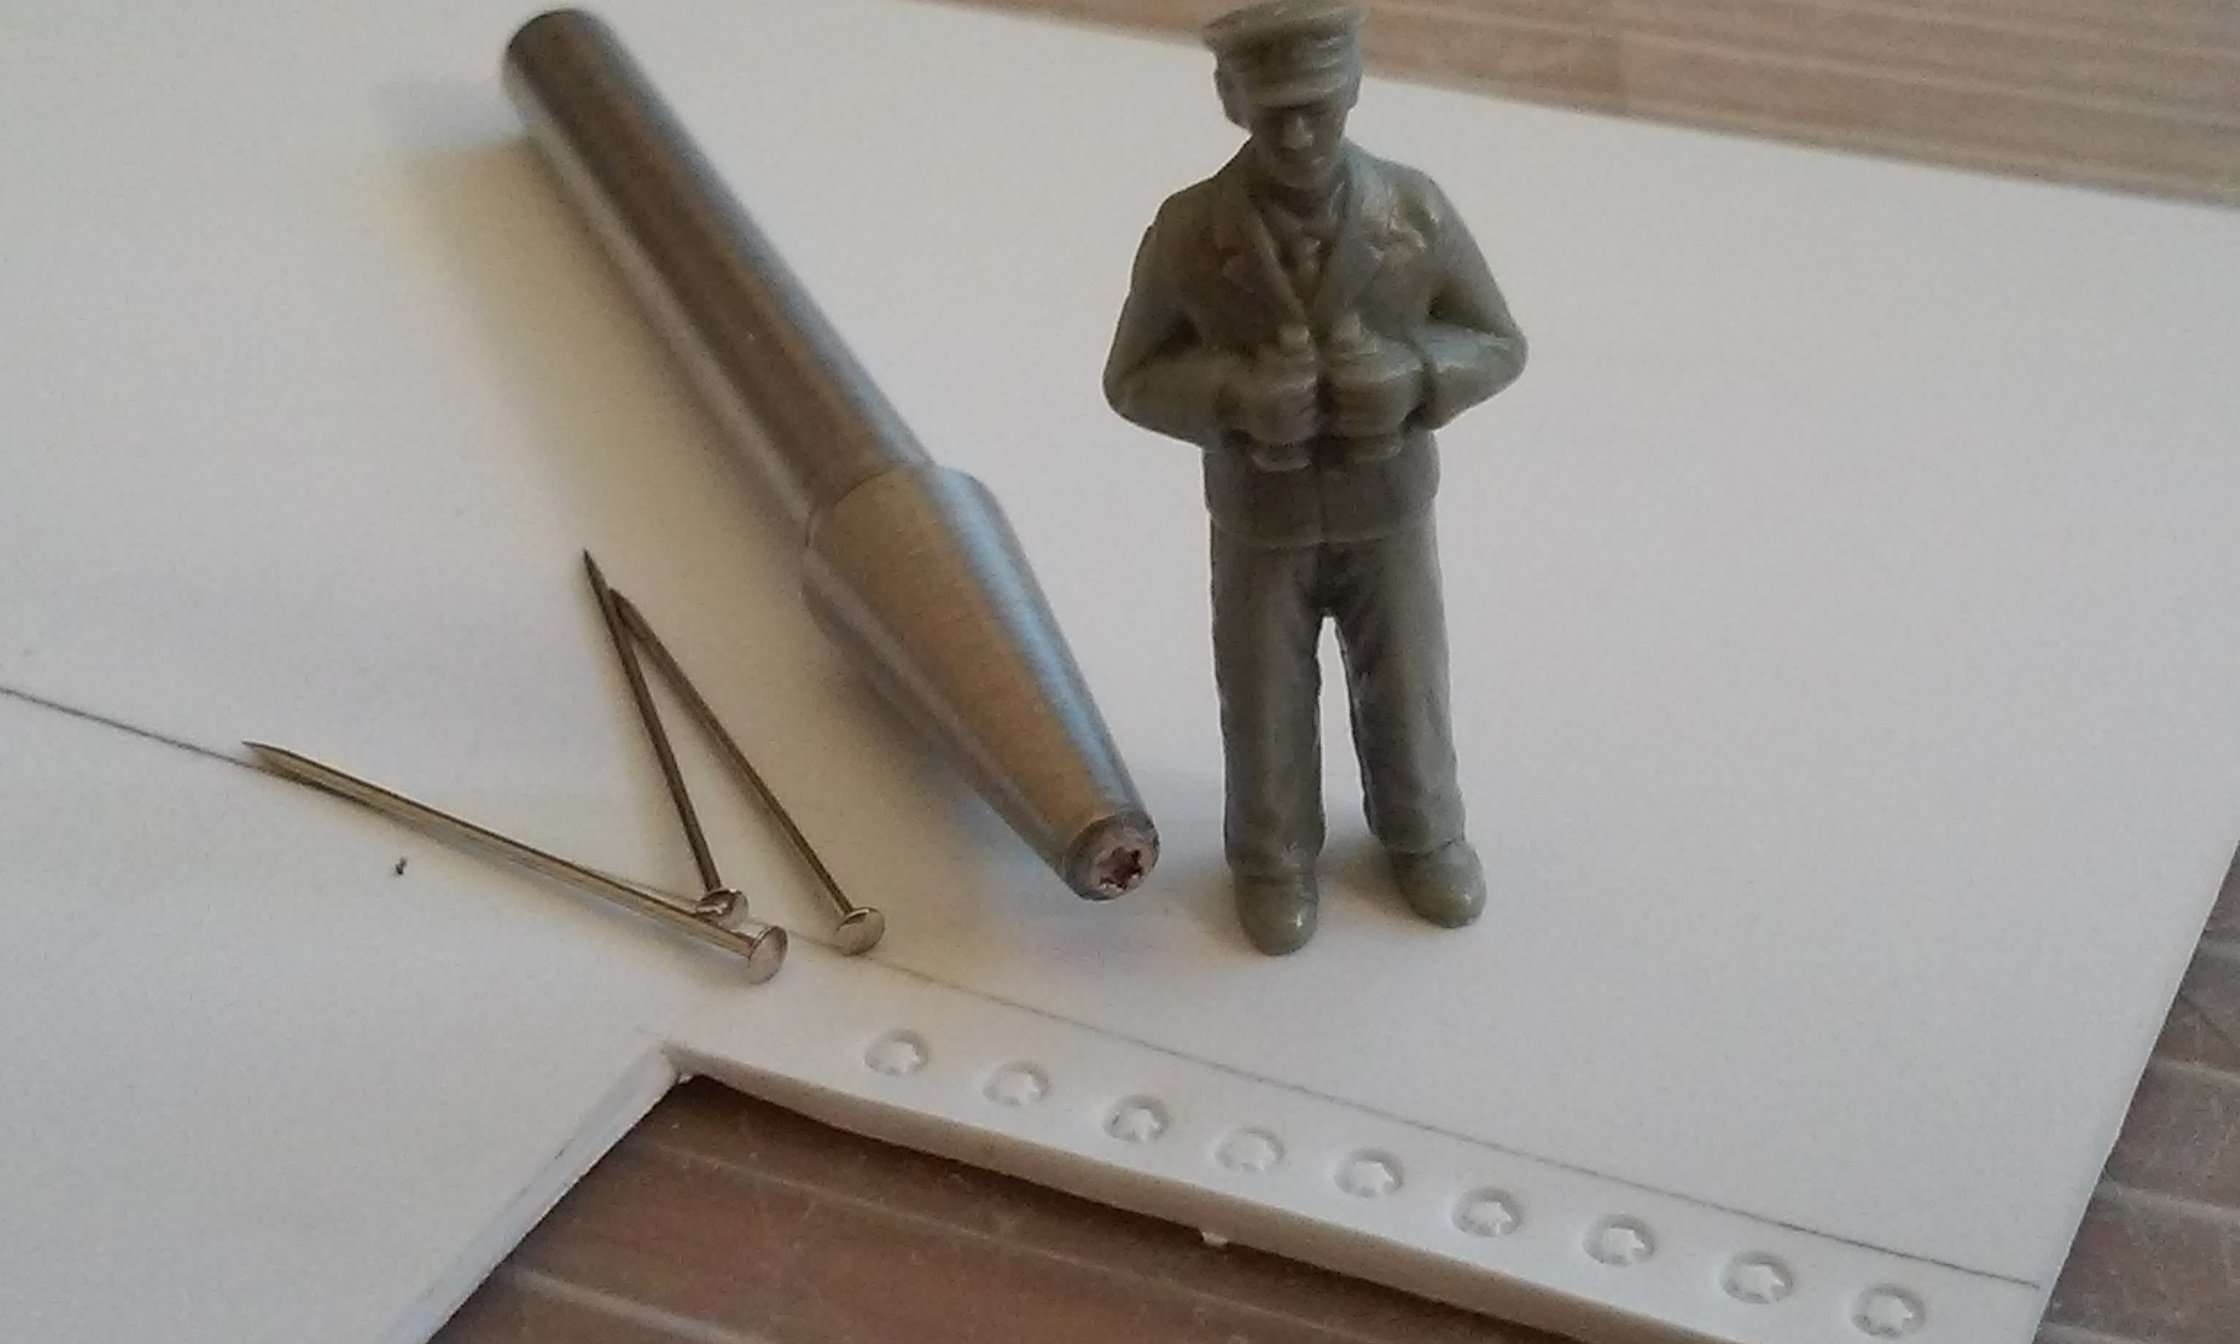
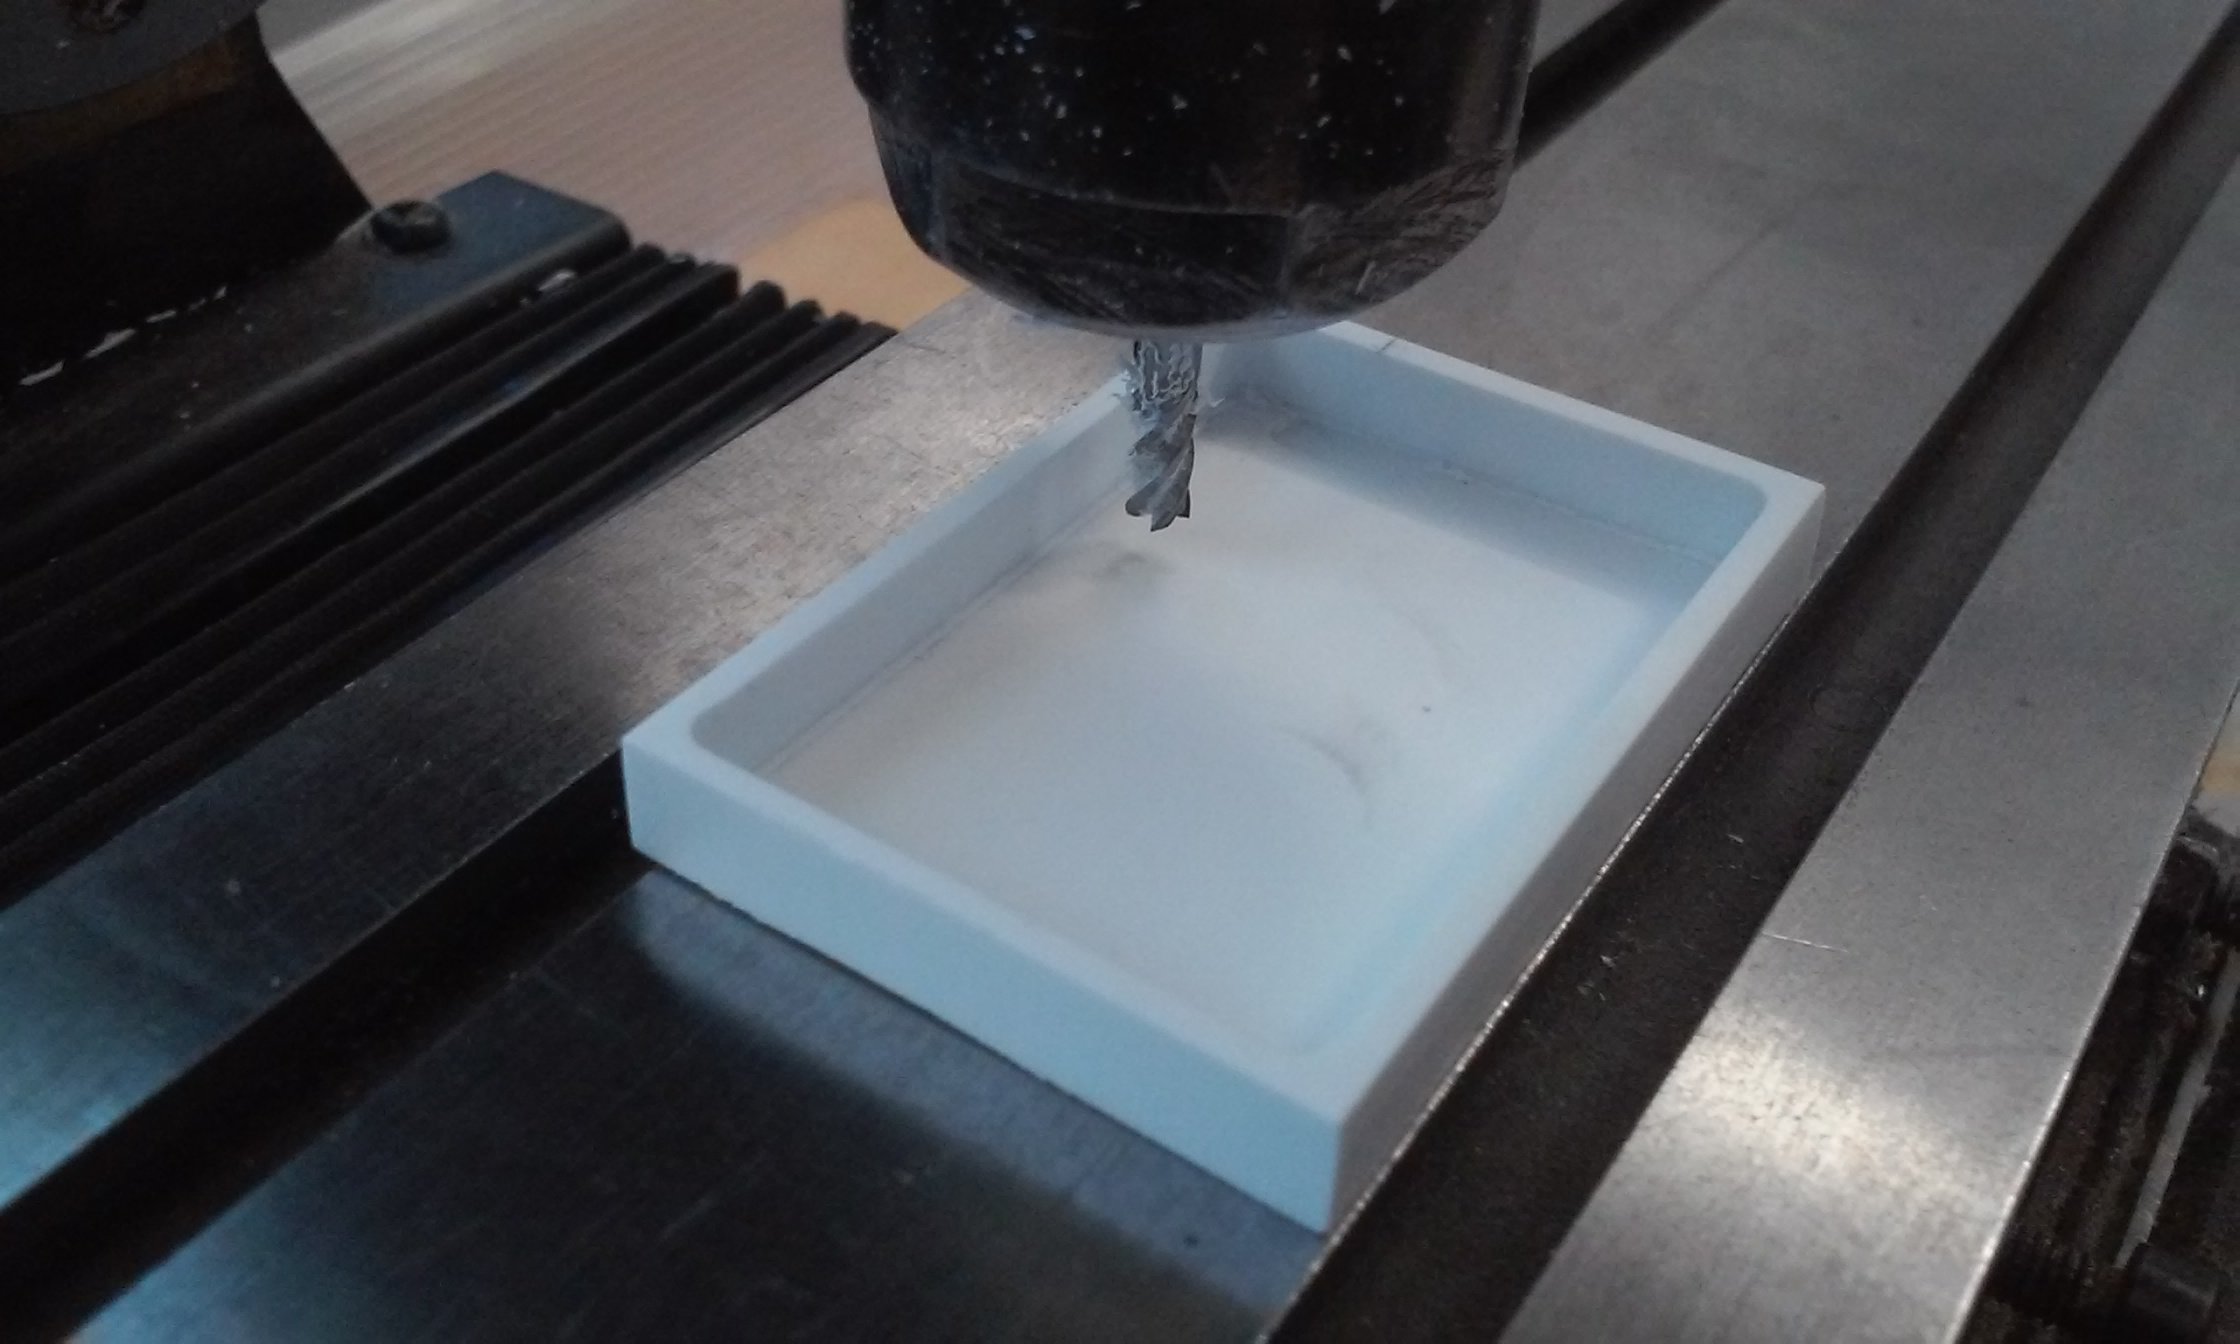
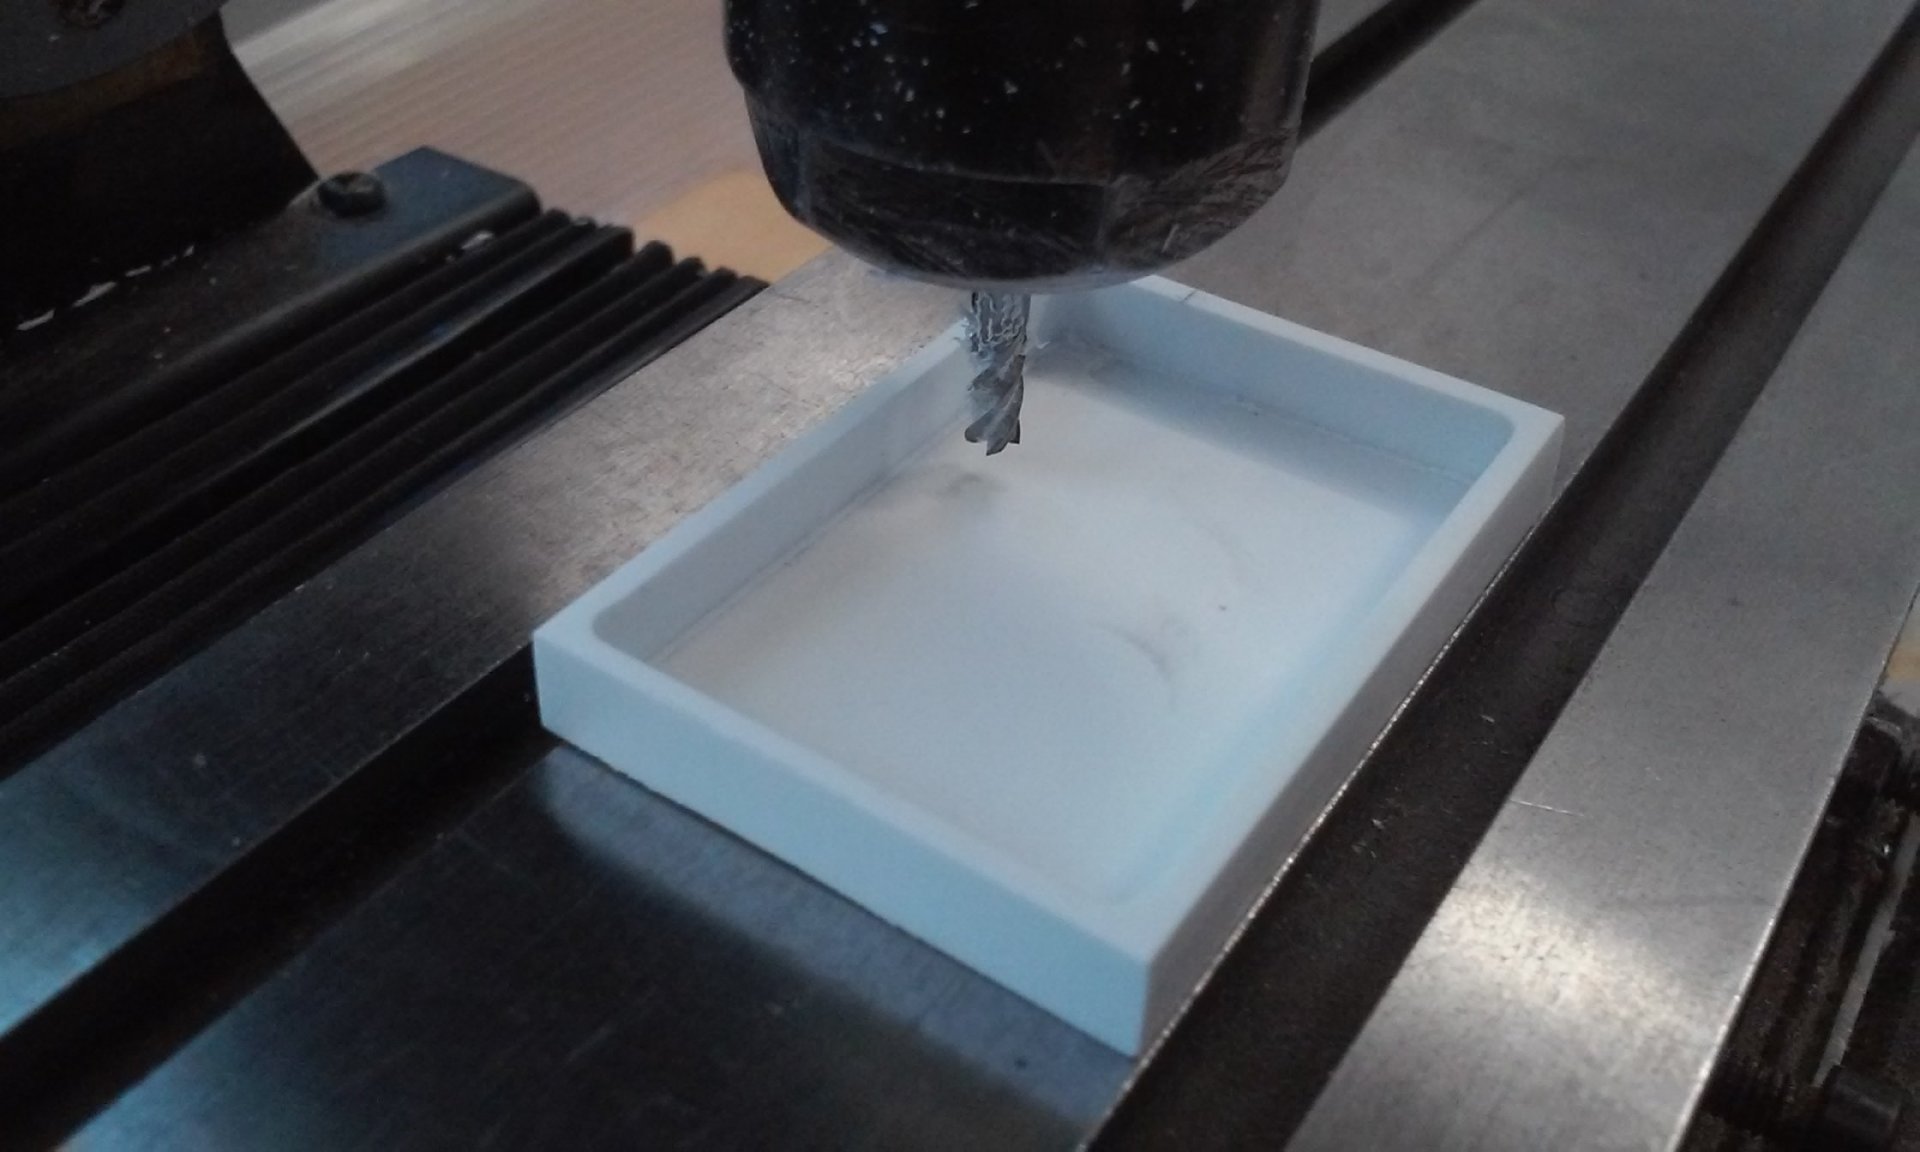
That's cool Derex, thanks for sharing! Its slow going on my ship, but I made some minor progress. The first photo is a die I made for detail on the flight deck (and other models). I took a TINY Torx screw and glued it into the shaft I machined on the lathe. It works great using my drill press as an arbor press. I think I'll shave a bit more off the edges so there is less space around the "bolt head" area. I wanted a tiny remote system for the ships hangar door and other functions. It will stay on the ship so it doesn't get lost somewhere in my home. I made a solid chunk of styrene that I glued together from 3mm (1/8") styrene sheets ( 2 of them) and pocketed it on my mill. Yeah, I could have just glued sheets together to make a box, but it wouldn't have been anywhere near as strong as a solid piece. The guts come from a Hexbug toy. I got three on sale years back for $5 each at Radio Shack. I knew I'd use them someday on something. Instead of the LR44/357 sized batteries, I'm using a 3V CR2032 to make it thinner and smaller. One circuit board worked intermittently so I gave up on it. I prepped a second board and before I could get a good test out of it, it has now failed too. It might be the cold weather and heater drying out the air. I may have blown it with static electricity somehow, despite being careful. - MT

-
That cockpit is beautiful! -MT
-
Great idea and diorama! - MT
-
It just keeps getting better and better! Waitnig on a video with some good lighting to see all the details. These photos are nice and clean too. - MT
-
Pengbuz - Those flame effects look awesome! Don't rush it Rock! It's looking great! Every time I rush things, bad things happen to my projects. That looks awesome Grayson! I think you got a side-hustle going on now. You wanna charge to make some? - MT
-
That's looking awesome Arbit! Did you use reed valves in place of micro switches for your electrical door "stops"? I didn't add any stops to my "garage door," but think it will prevent something from being broken. Better be safe than lazy and break something I can't easily fix after its painted. - MT
-
That is weird! I think Electric Indigo is right. I have that kit and it has a lot of ABS plastic. ABS is great at creating a static electricity charge. - MT
-
Cool Chavakaiser! MUY GRANDE! Cool 505! And yeah, cool painting too! Arbit, That works nice and SMOOTH! The whole thing will be awesome! That's coming along nicely Rock! "I'm Woody, howdy howdy howdy!" That's great Derex! And it looks like you have a new Christmas ornamanent too! Which also came out great. - MT
-
This model looks great! I'm not into SD models, but yours looks great! Nice clean engineering too. - MT