MechTech
-
Posts
4650 -
Joined
-
Last visited
Content Type
Profiles
Forums
Events
Gallery
Everything posted by MechTech
-
@Type R #126 That's cool, thanks for sharing! @Aztek Those are some small joints! You can try these (below) I have them and they work well, but are limited in how many per package you get. The alternative is the second link, but I think they no longer make them. I have both sets and they work. The MSG set has limited movement and can be loose though. - MT https://www.hlj.com/ball-joints-ylsppc-tn28 https://www.ebay.com/itm/KOTOBUKIYA-M-S-G-Pla-Unit-D-101-BALL-JOINT-S-Detail-Up-Parts-Model-Kit-NEW-Japan-/133227389257
-
Sorry about your breaks! If that is ABS plastic, the best glue is simple Acetone. It will melt the plastic like model cement. It will also mess up paint and markings so surgically apply it with a tiny brush or similar tool. Then let it cure a couple of days to solidify. - MT
-
That's looking great! I know what I want for Christmas! Even if it's next year. I think you're using an SLA printer, correct? That's a drag with acrylic based printing - brittleness. And it gets worse with age too. The Hobby Base joints are nice too. I have a few of their sets: - MT https://www.hlj.com/search/?q=hobby+base+ball+joints
-
@arbit That's cool! I would try vacuuming the resin in the cup and in the mold. You may find that the volume of resin changes depending on the mold size and shape. Keep us updated! - MT
-
@Gabe QThanks Gabe! Another classic kit comes to life! @arbit Evil Great minds think alike! I bought one of those fairly recently too at a thrift store for the same exact purpose (my wife got rid of our old one)! I haven't used it (this time around ) yet. I don't think it gets the draw of -29/-30 of mercury that is recommended for casting, but I think it would sure be an improvement! Check this dude's tiny vacuum out: https://hackaday.com/2019/12/19/degassing-epoxy-resin-on-the-very-cheap/ You MUST use slow setting resin though. That stuff with a 5 minute pot life will cure before you can get the air out. That I HAVE tried and failed miserably! Years ago I vacuumed the resin and then mixed it too. Also failed. As soon as you mix it in the air, that 7 plus atmospheric PSI forces air back in during the mix. I even thought of making a mixer/poorer that worked in a vacuum chamber to further minimize bubbles. Another thing to remember is that the molds need to be made that way too. The vacuum will take air bubbles in your cured mold and make them tiny balloons which will distort your shape. The last time I tried was nearly 20 years ago and I also knew little about casting back then. Let us know how it goes! - MT
-
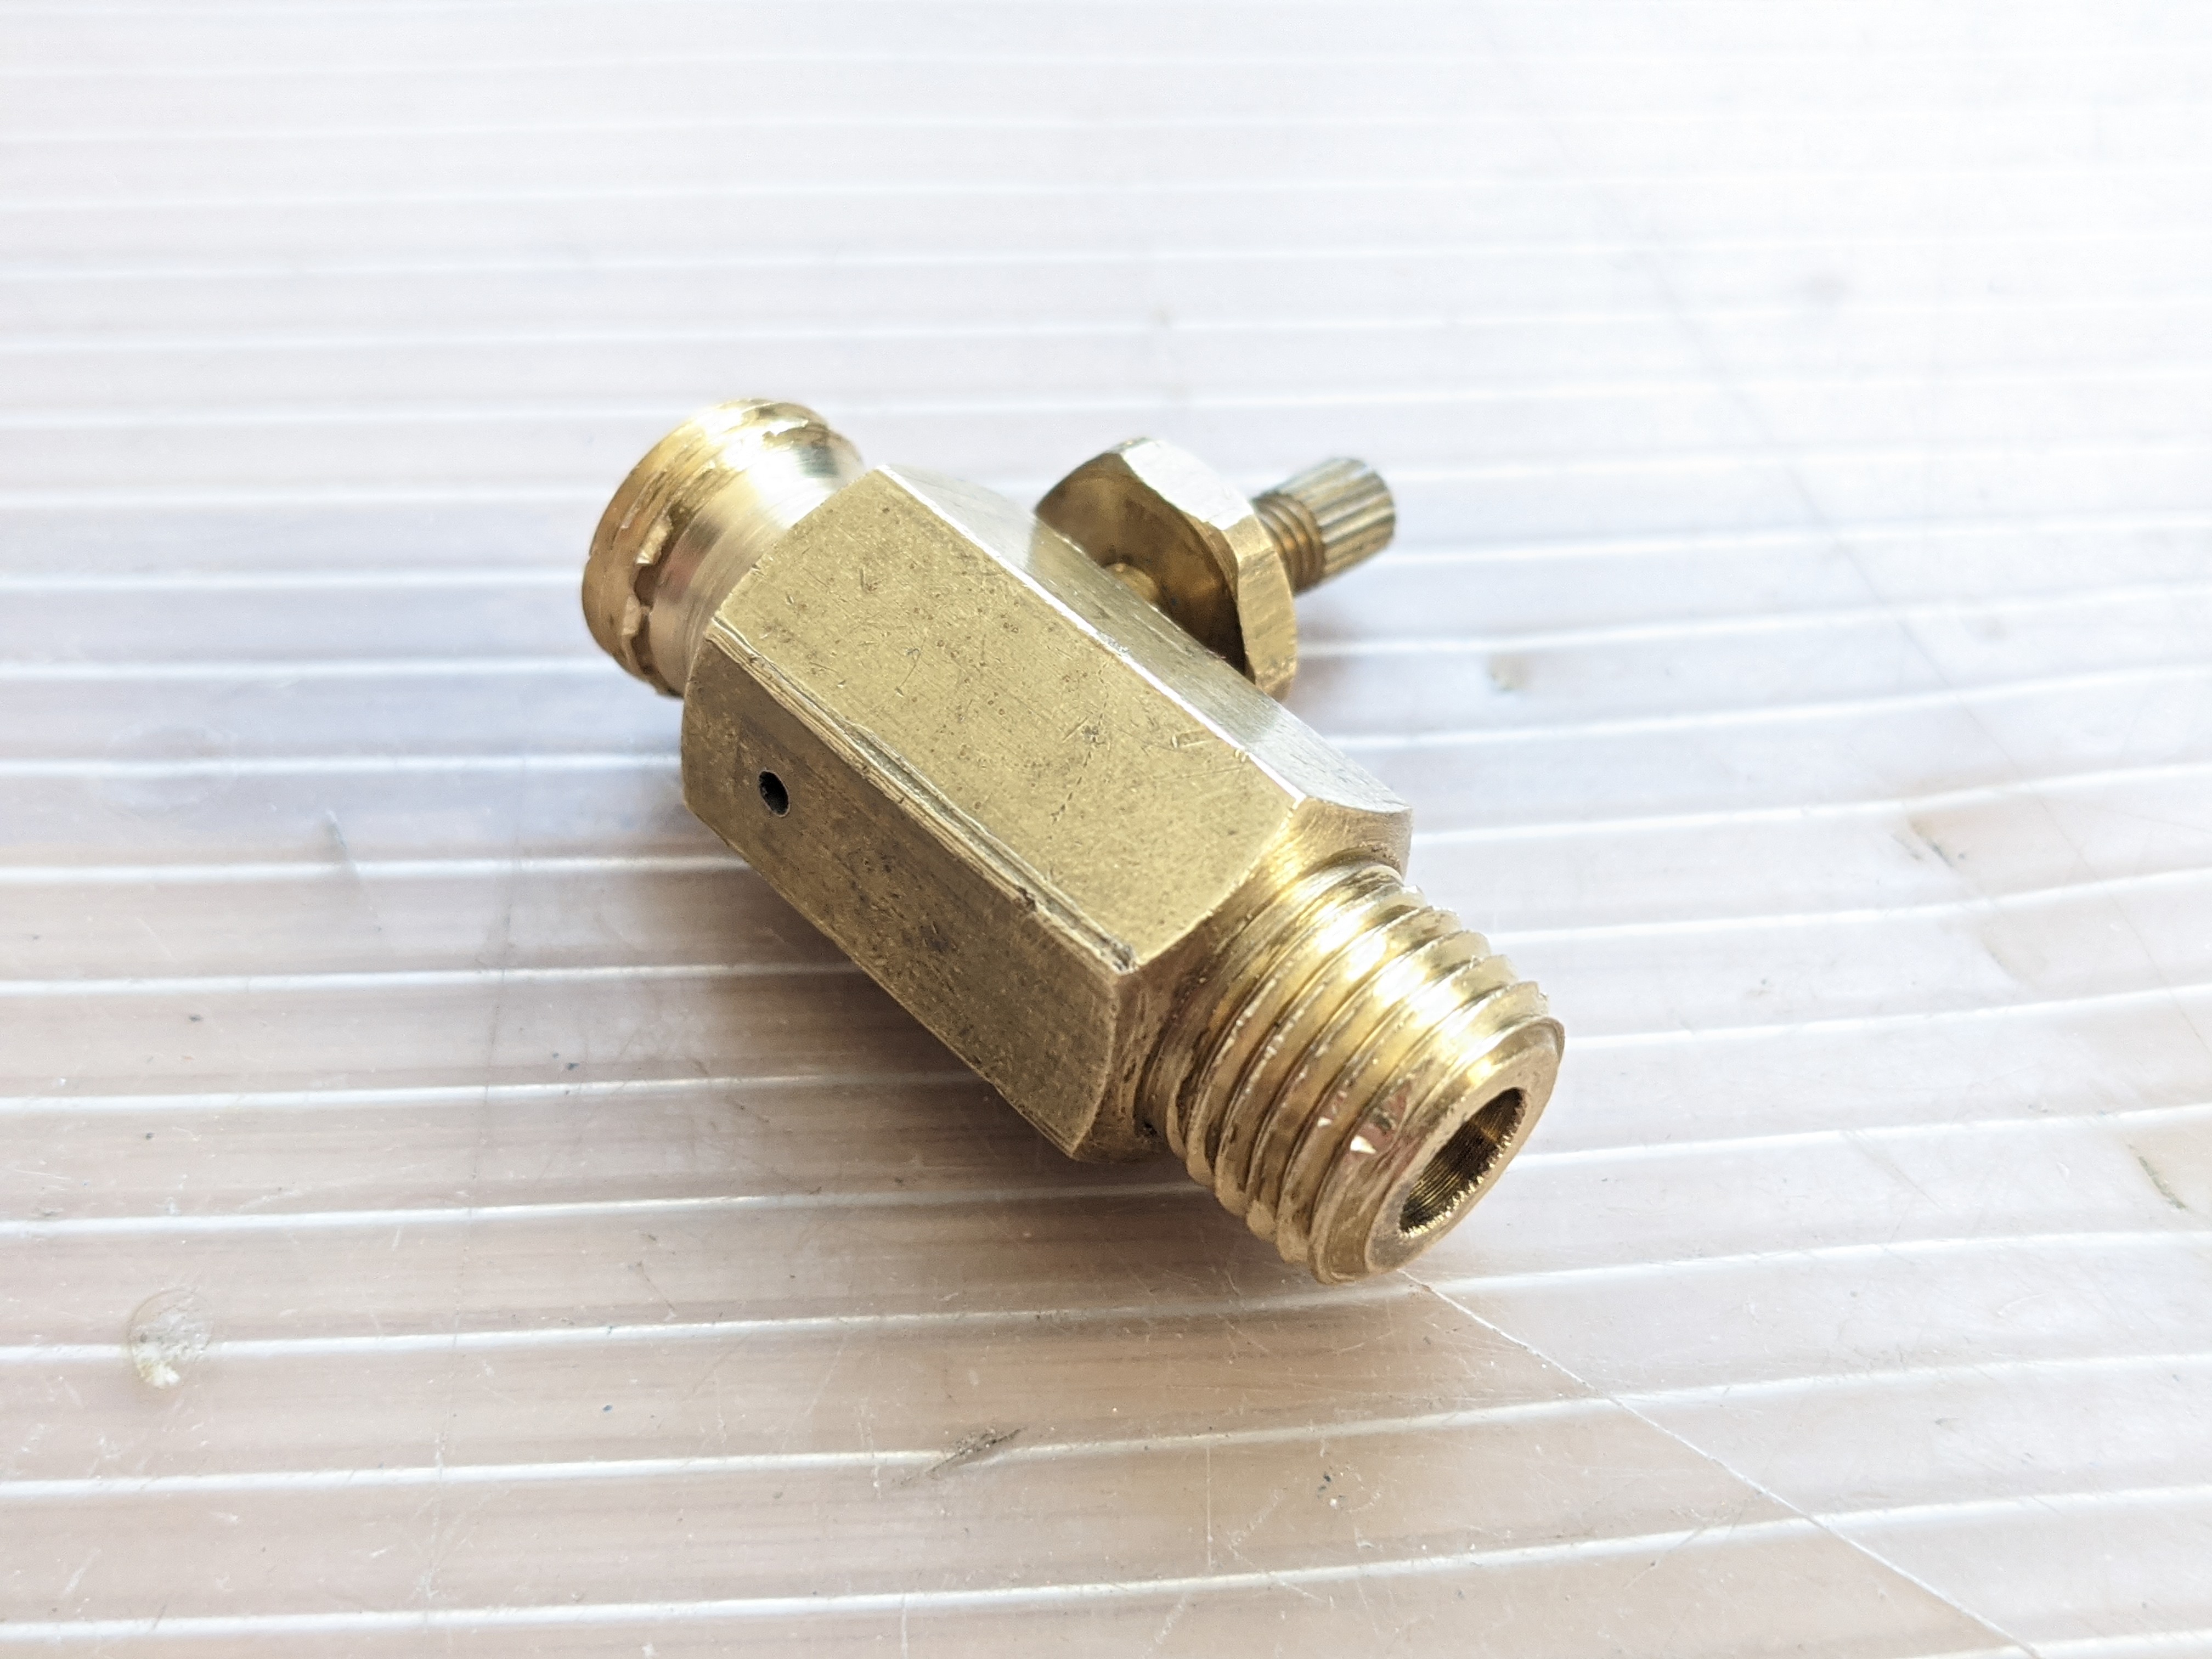
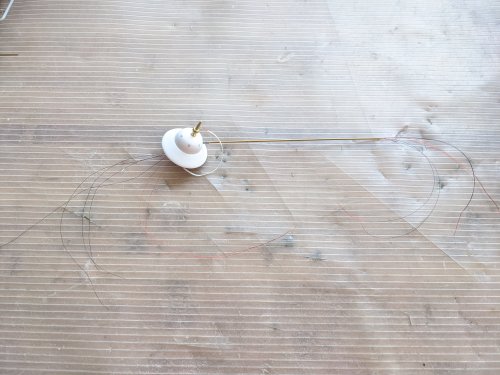
Thank you guys for your inputs and comments! Maybe this should become a tutorial? Decades ago I used to have one of those Badger piston pump airbrush compressors. Two problems with it. 1) it was noisy enough to wake the dead! 2) It pulsed the output air which affects your coverage and spray shape. As you know, piston pumps have so much power they can compress an air cylinder. So you have to have an air regulator or valve to allow some air to bleed-off or it will blow up your air line (or turn your airbrush into a mini-tornado). I also have a small shop air compressor with regulator, but once again, it will wake the dead! There are two QUIET and less expensive air compressors ($20s-$40s new) you can use for airbrushing, Nebulizers and the larger aquarium air pumps. Most nebulizers use a small plastic/rubber piston and most aquarium pumps are usually an electromagnetic armature on a rubber diaphragm. Neither of them can be put under too much strain or they will blow themselves apart! So I am using a bleed valve on this compressor set-up. The attached photo is my bleed valve. Note the hole in the bottom. You can use an aquarium valve to do the same thing with some hose, mine is left over from the Badger. Originally I used the plastic nebulizer line and drilled a hole in it to bleed off as you'll see in the first link. I did a quick search and found some people who did the same thing (saved me taking photos): http://plasticcaffeine.blogspot.com/2010/08/spray-heaven.html http://nelman.blogspot.com/2009/07/poor-mans-modeling-neb-kit-hose-hack.html http://otakuonabudget.blogspot.com/2014/06/poor-mans-airbrush-setup.html You can see in the first post that the lines are not smooth, they are kinda dotted from the pulse. That's OK, I touched up a 1/1 scale Tomahawk cruise missile model and it worked great doing that. It will still work for covering paint over a certain sized area, but it may affect doing fine lines. So you need some sort of air capacitor to absorb the pulse. You can use soda bottles with plumbing (like the last link), or you can use an old tank of some kind. Once again, the air will ALWAYS be bled-off until it goes through the airbrush, so this is low pressure. That's where my tank project came in. It fits inside the nebulizer and SHOULD (I hope) clean up the pulses. All air compressors can put water in your line (bad for lacquers), so a small filter like the second linked guy used is a good idea. My shop compressor has a water trap on it and they do catch a lot of water, especially in humid areas. Winter weather with the heater on making the air dry will greatly reduce the humidity. When I spent hours touching up the Tomahawk there was no condensation in the line and the compressor didn't get hot (like a piston pump would). I'll post more as I get time to work on this. Any ideas or suggestions you guys have are welcome as always! - MT

-
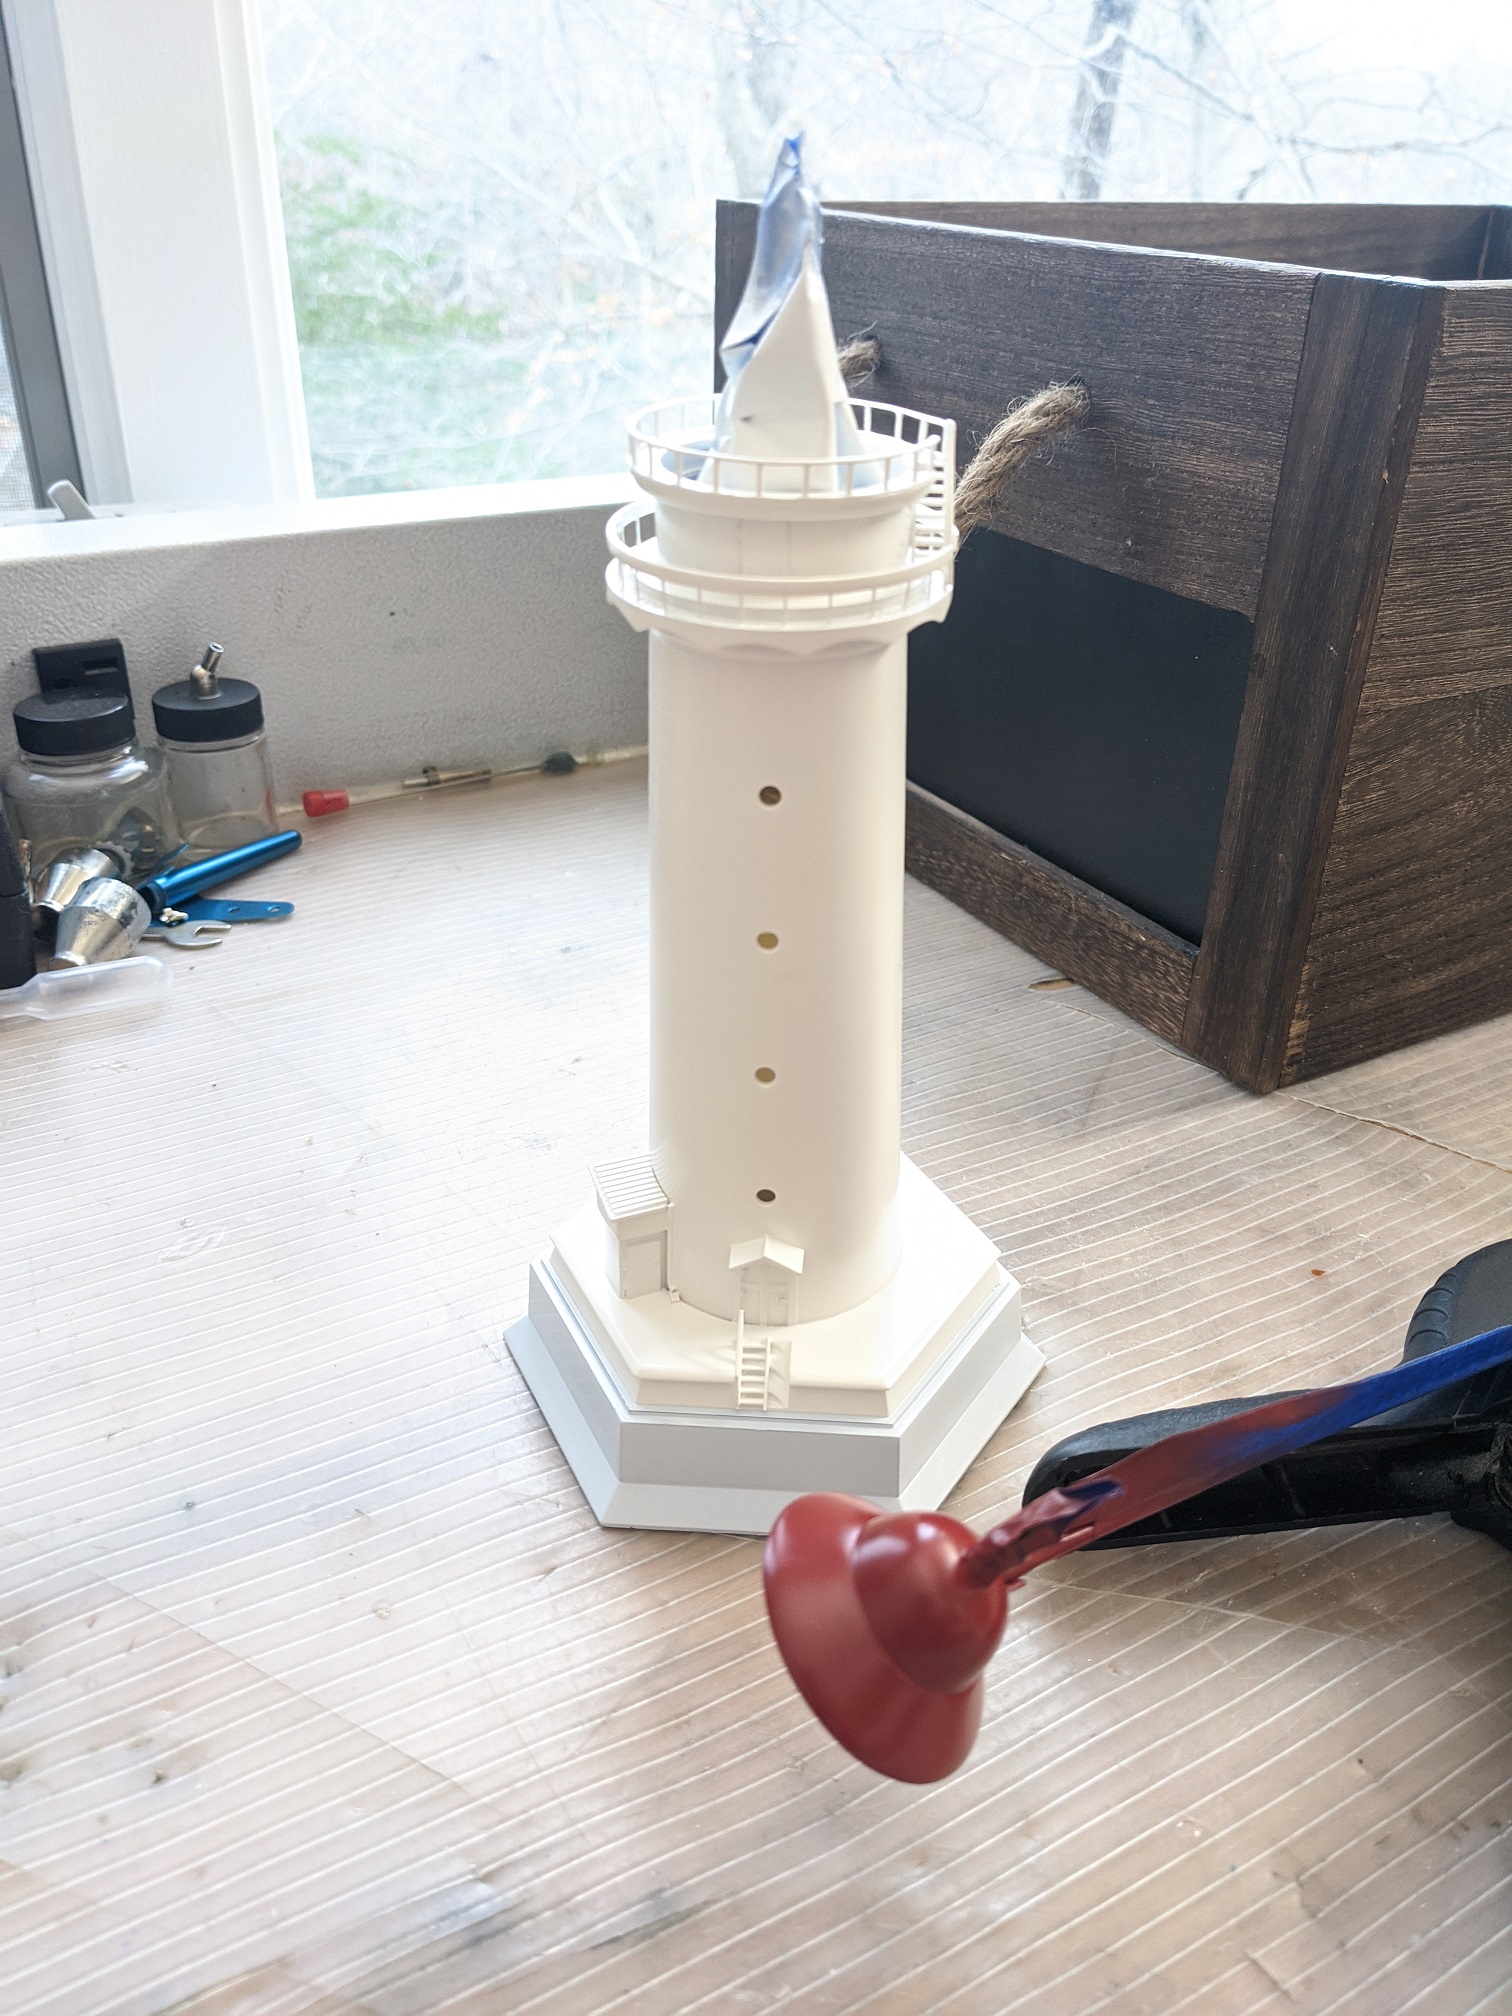
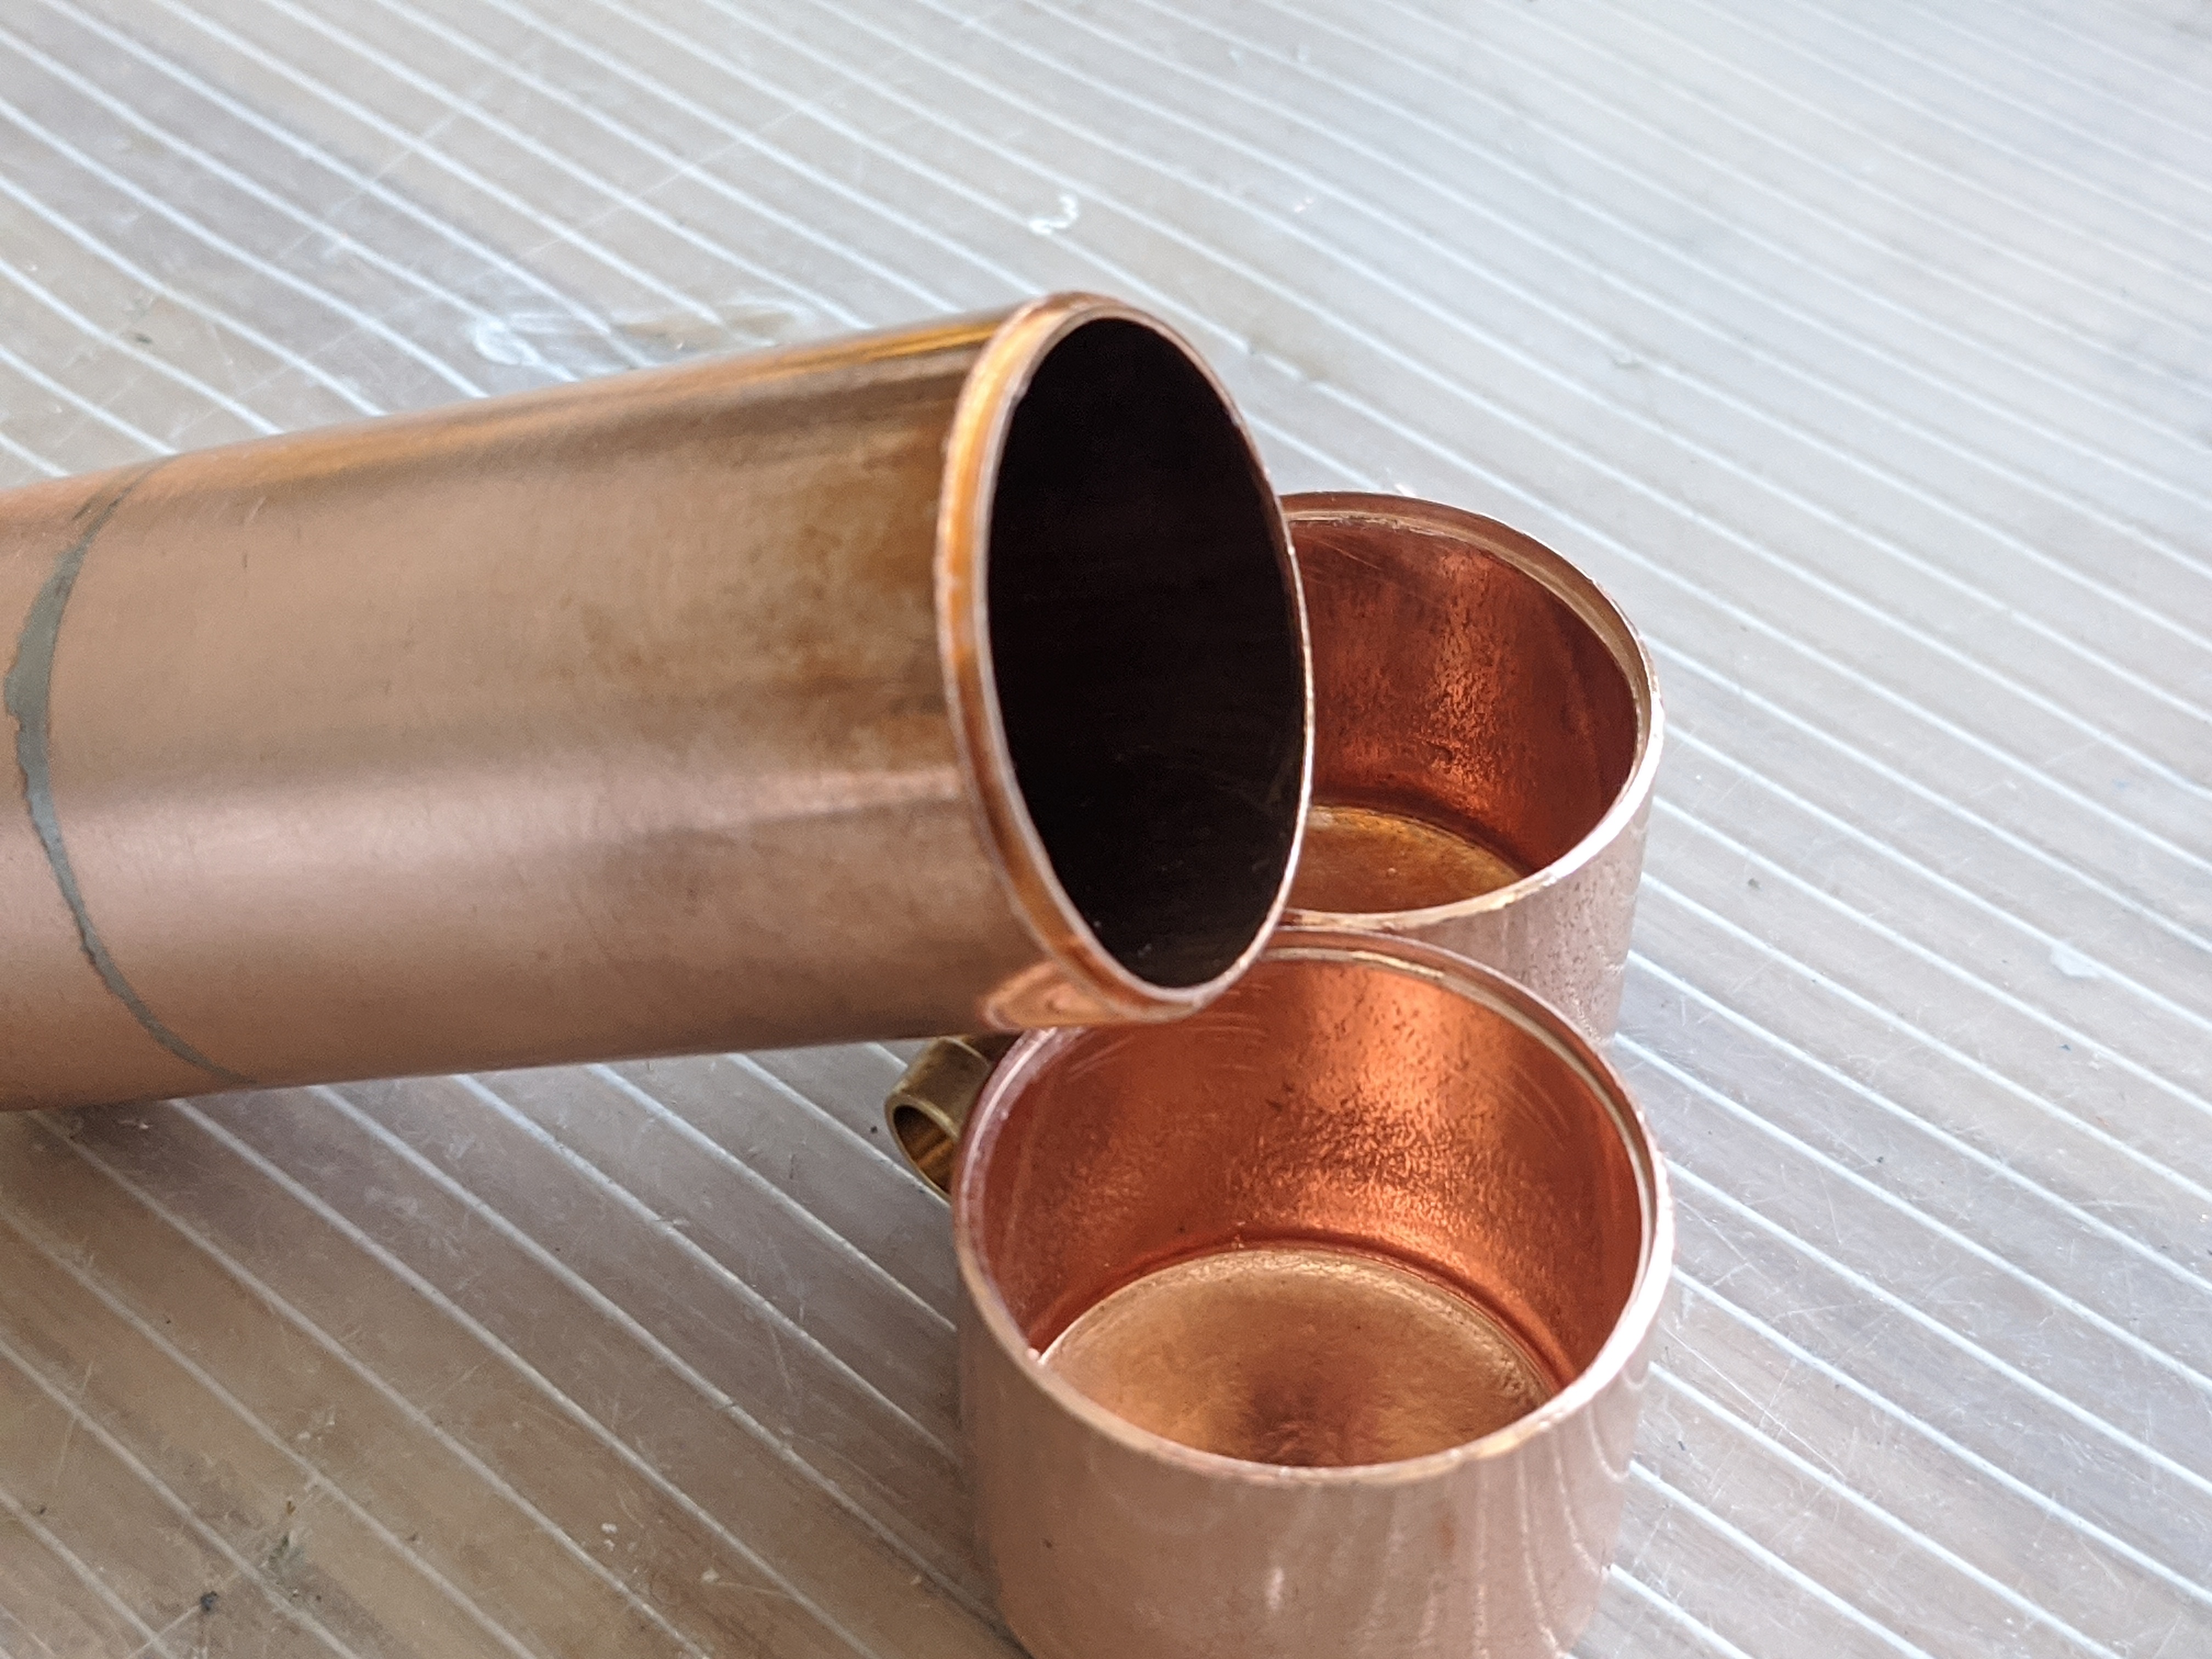
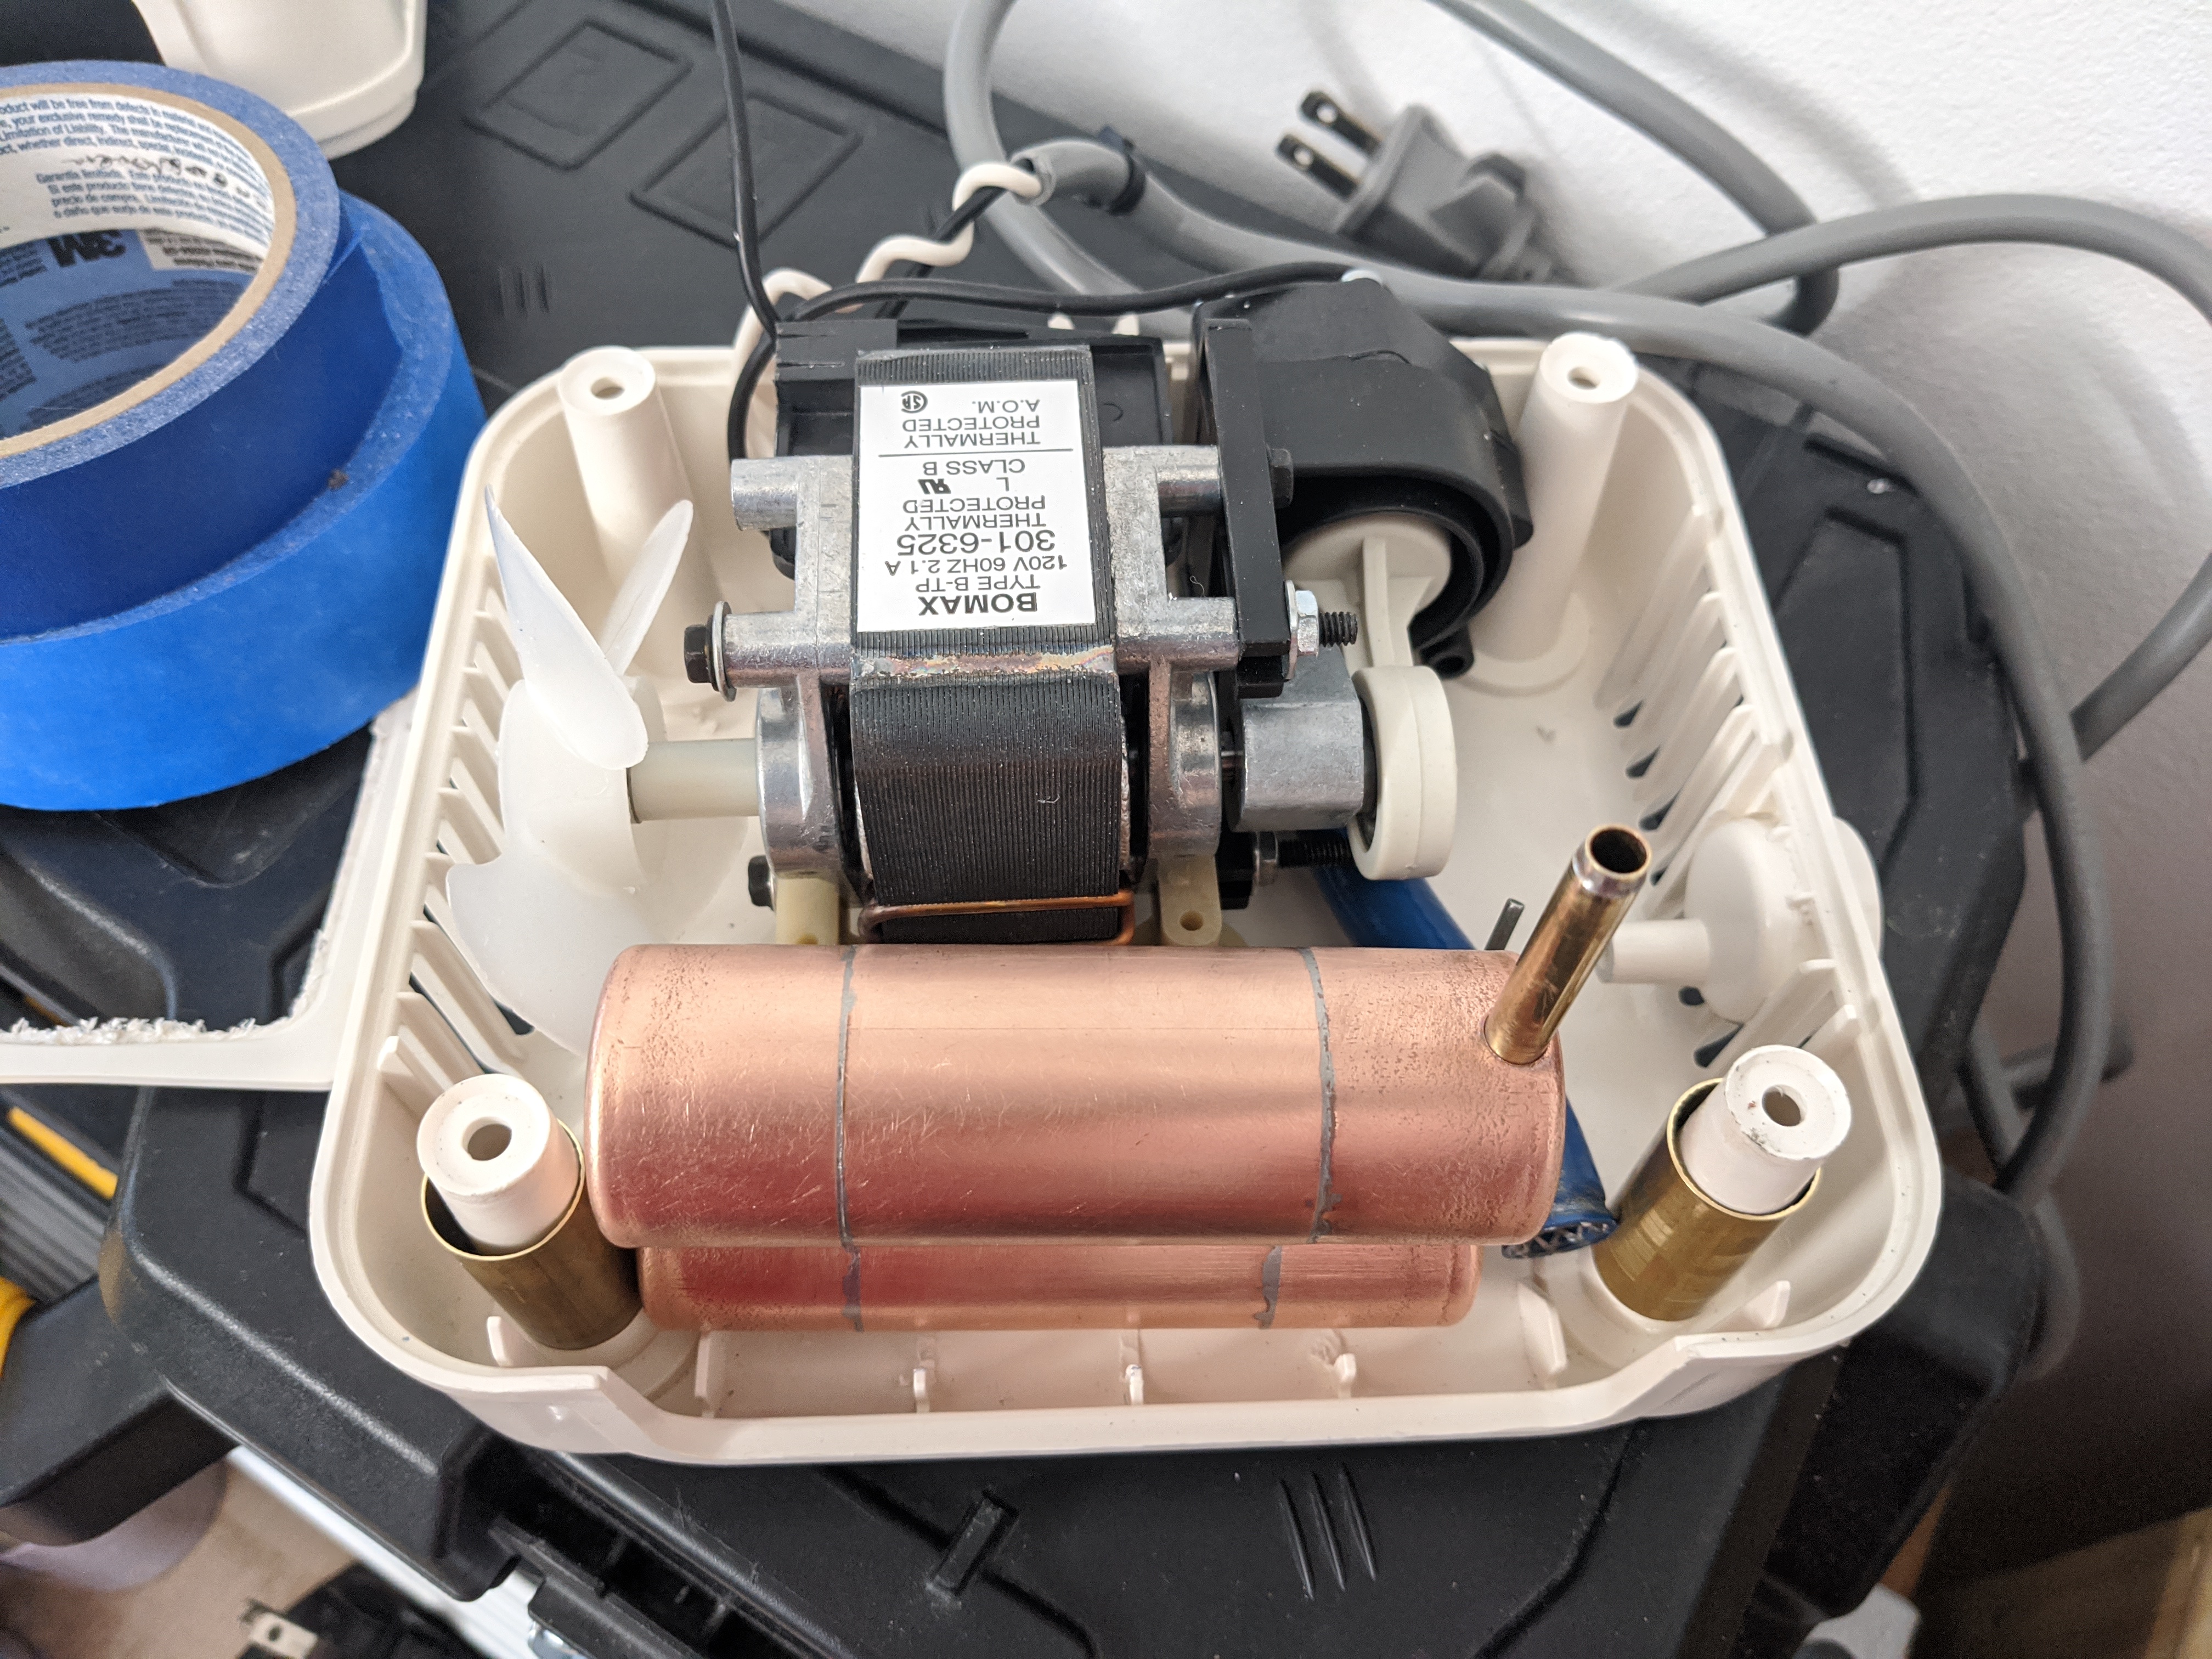
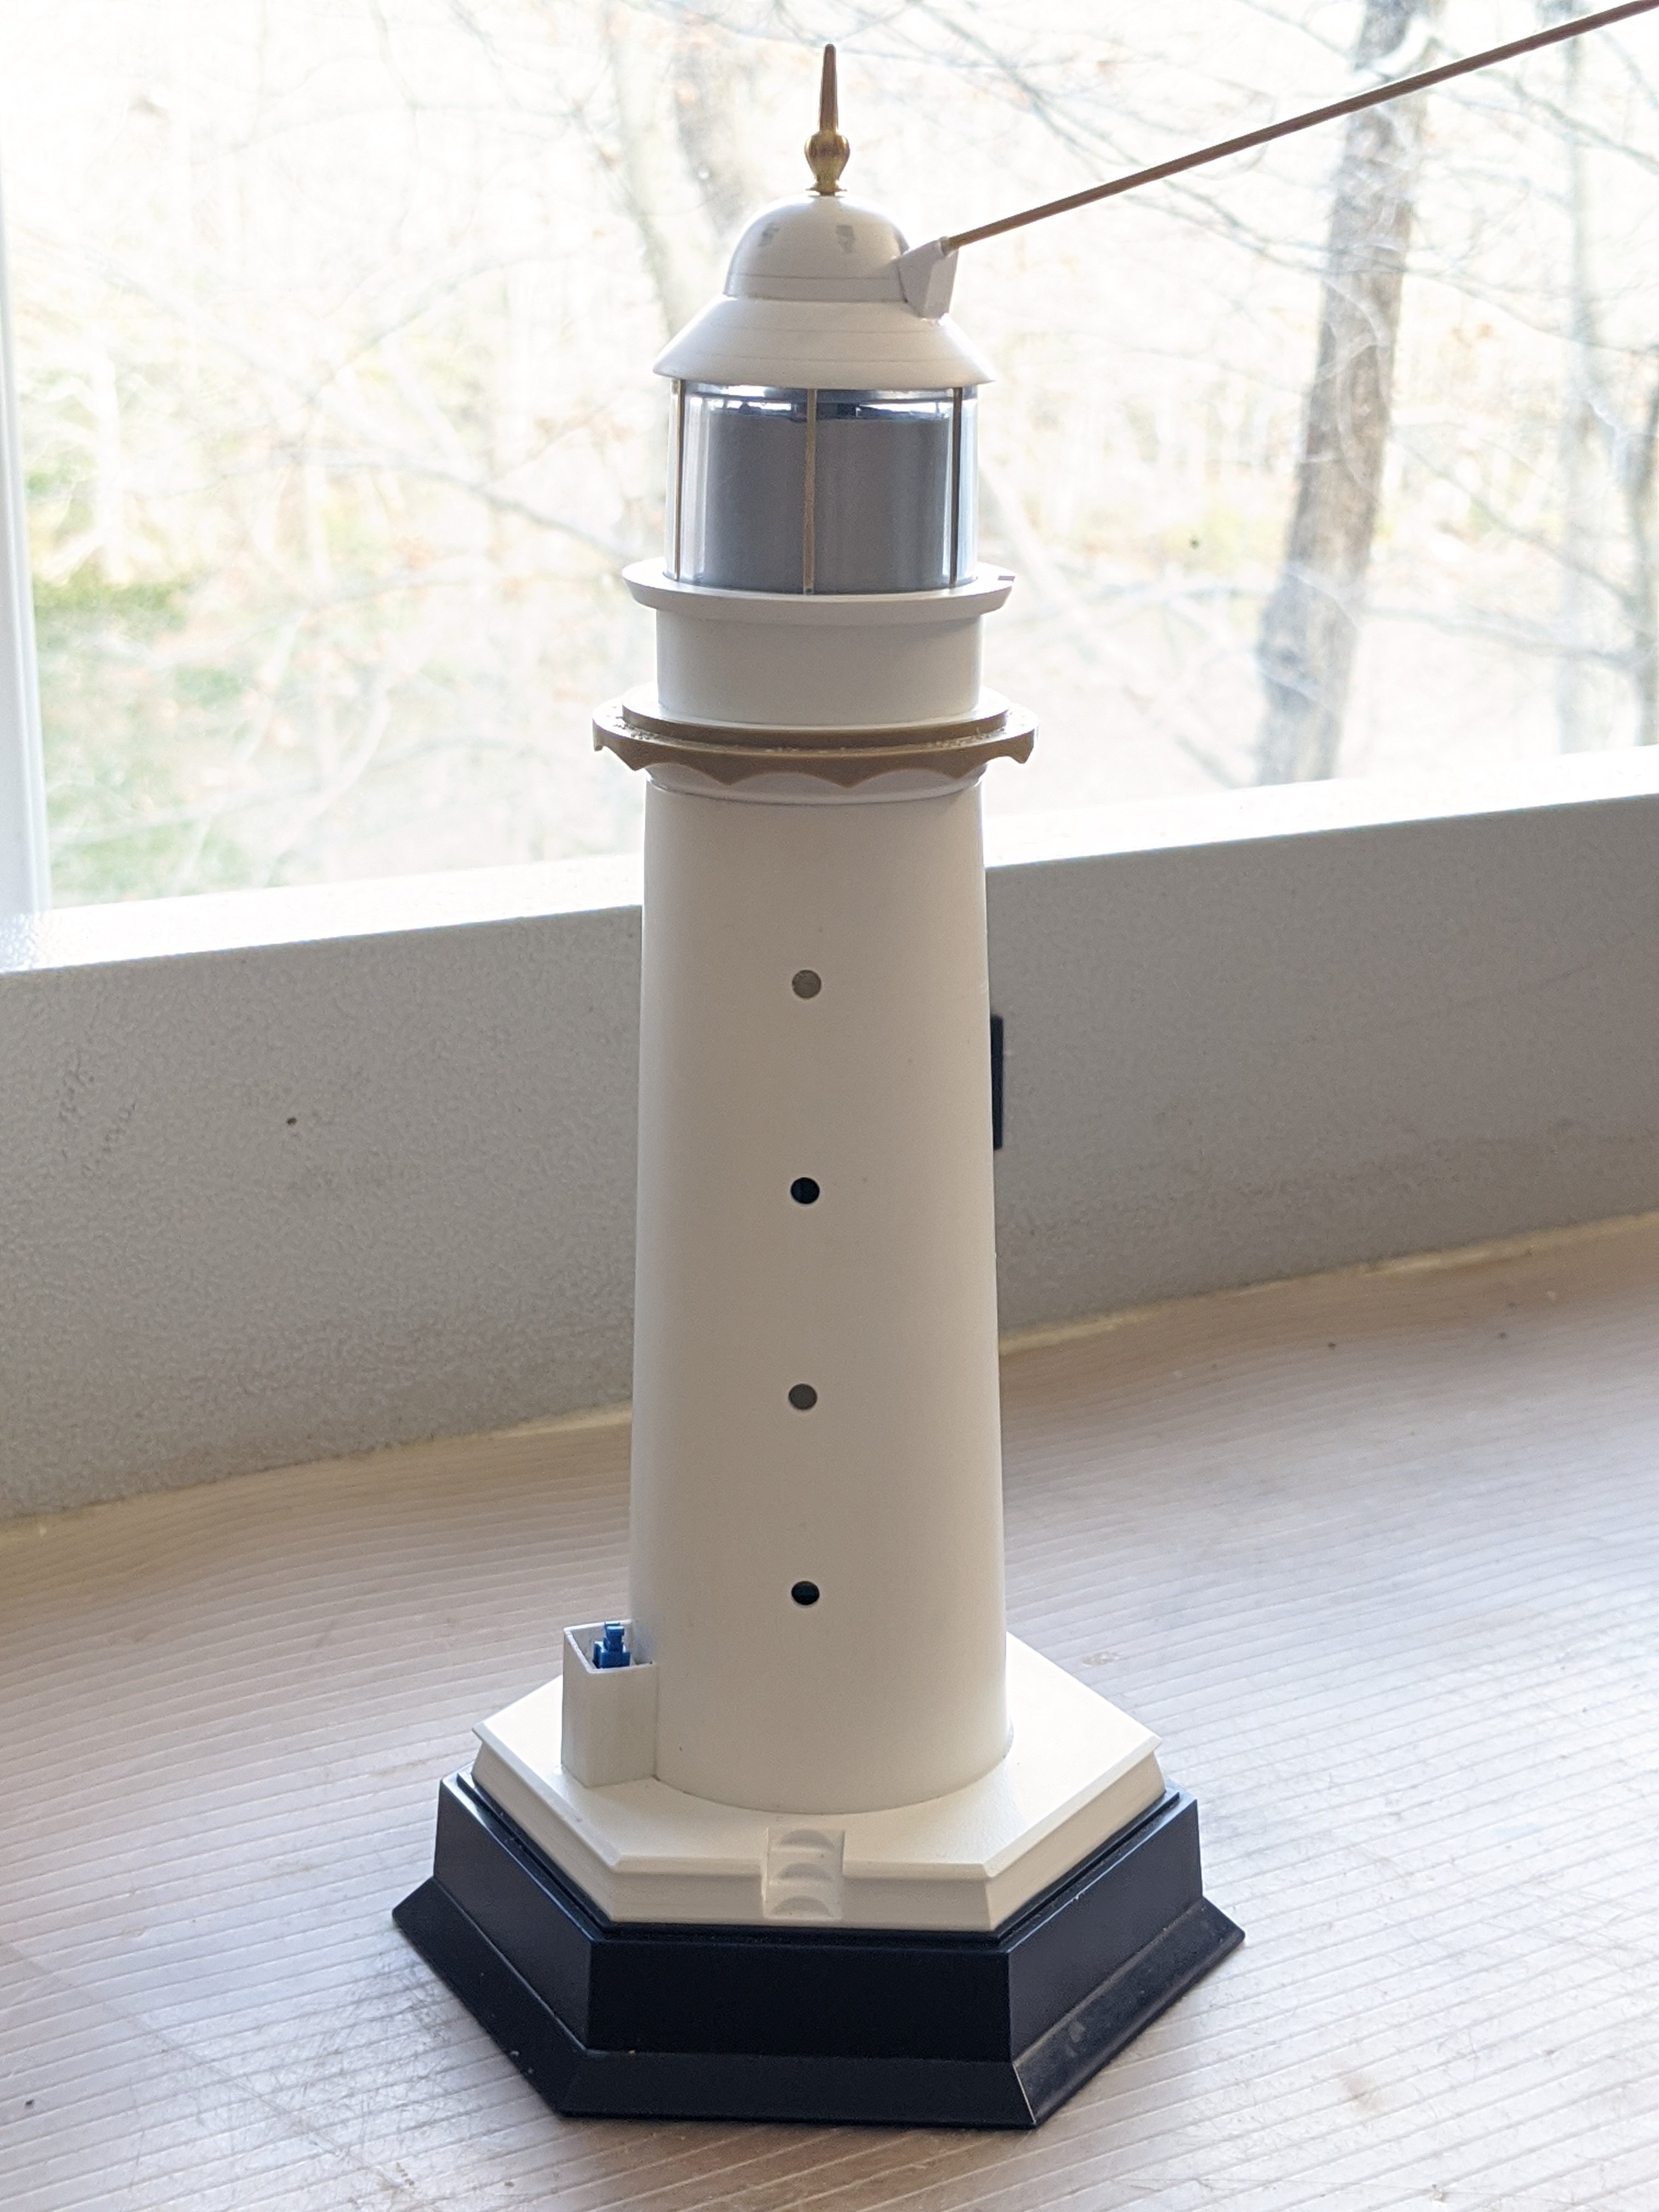
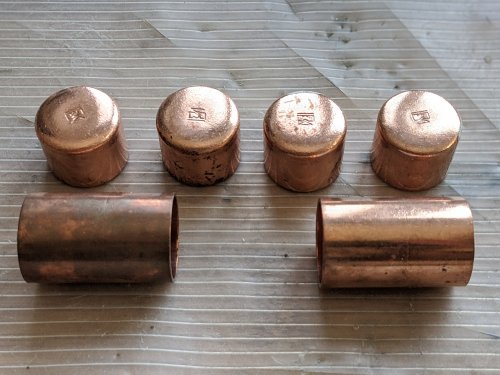
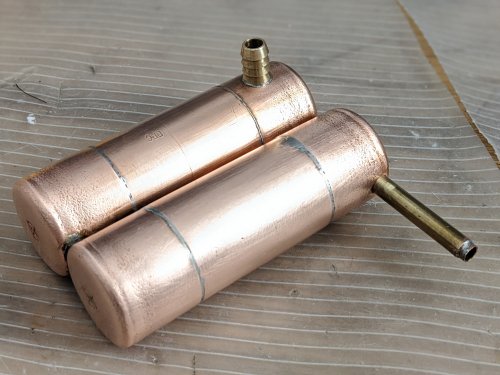
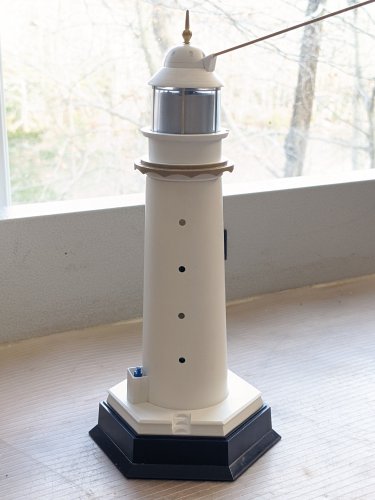
Despite the cold, got a couple of rattle can coats of paint on the lighthouse. Then quickly brought it inside to cure and stink up my shop A long time ago I bought a nebulizer from a thrift store. (if you don't go to thrift stores, I HIGHLY recommend you do). It works awesome as an airbrush compressor. Only problem is I was jerry-rigging the hose for it and it has a slight pulse to the airflow (like most straight compressors do without a tank. With the cold weather, I thought now is a good time to make the compressor work right for its new job. I've seen people add old soda bottles in-line with the airflow to act as a capacitor and eliminate the pulses. So I thought I'd do the same, but more rugged. So I got some 1" copper pipe fittings since they were the cheapest way to make a metal tank (low pressure tank). Then I machined male/female rims into the edges to make them easy to solder together securely. Here are the two tanks joined together with the ribbed inlet and the outlet tube which is rough until I add the fitting to it. The output will always bleed off, so this is a low pressure sett up. There is a tank connector built into the inside end caps. Here is how everything will fit into the existing case. The power switch and outlet will all be on top to make it easier to use. I'm adding a handle to the top to make it tactical too. Thanks for checking in everyone! - MT


-
@neptunesurvey Someone's been busy printin'! Those came out great! Your lighting looks realistic too! @electric indigo Nice-n-clean paint as usual! @derex3592 Looking good! That's a cool way of blacking out and connecting your LEDs. - MT
-
I just told my son about this and he said, "Yeah, don't you remember this. I paused the movie for you to see it." I TOTALLY forgot about it! Thanks for sharing Pontus! - MT
-
@pengbuzz I like your styling and color scheme. It looks great! @Photogirl It's a Christmas miracle you even got that set; they're always out everywhere. @derex3592 Your interior looks great! It will really give people something to look for inside. Now you lifted the bar, the outside has to look as good. @electric indigo Your paint job makes even that gross color look good! The Soviets had some crazy ideas about colors to include their interiors. - MT
-
@Bolt Thanks Bolt! @derex3592 I think you can liken it to Texas. Yeah, Texas. If you ask people what state reminds them of crude oil production, BBQ, and guns, everyone would be like, "Texas." I just asked my teenage son and he said the same things! It's the reputation I suppose and a lot of good model memories. Hasegawa has been around for decades and (most of us) have been building their kits for that long. They have a good reputation for quality. They are not perfect, but have made a lot of cool subjects over the past decades and now Macross kits (which many were excited about when they first started). For example, I have an original 1/72 Hasegawa Kawanishi "Emily" H8K2. It's a big kit originally tooled in 1967! It is still a great kit with lots of extras like a tractor, moving flying surfaces, and the flaps actually extend out on rails like real aircraft. Of course it's outdated and now retooled. Hasegawa's quality has been consistently good over the decades. I am currently building a 1/72 Humber Mk II armored car (on the side) originally tooled in 1975. It has excellent fit and detailing. The axles are metal and the wheels actually spin freely on the axles. It is still probably one of the best models of that subject in that scale. This will be the third time I have built this kit over the years and I forgot how nice it is. Hasegawa has also put out a lot of cool accessories and stuff that no one else did yet like ground crews, weapons and ground support vehicles. Only Tamiya had done that in the earlier days as separately sold accessories. Hasegawa is still doing it with Macross weapons and detailing sets today. Like I said, they are not perfect. Most of my modeling club members say that if you put Tamiya parts in a bad and shake it, it just comes together on its own. Hasegawa probably comes in second along with the high-end Eduard kits. Sorry for the "book," but it is a "story" going back several decades. - MT
-
@TMBounty_Hunter We probably all have Hasegawa kits sitting in our stash or on the workbench originally dating back to the 70's that we're working on. There's another data point for you. Their quality has staying power over the years and they're doing a good job competing with all the variety and cheap kits coming out of China. It's tough managing a hobby company these days. It's not a job I would take (unless it was in R&D). - MT
-

Hachette Collection 1/24 VF-1S (subscription collectable)
MechTech replied to CF18's topic in Model kits
He must be REALLY cold - he's all blue! Looking good. - MT -
Cool! There's no school like old school! - MT
-
@pengbuzz Bert is looking good! Bert always was the grumpy one anyhow @arbit Thanks! The gears are from old printer parts and a spur gear experimenters set. @Thom Thanks! I hate to think what would happen I've already spent waaaaaaay too much time on this thing. - MT
-
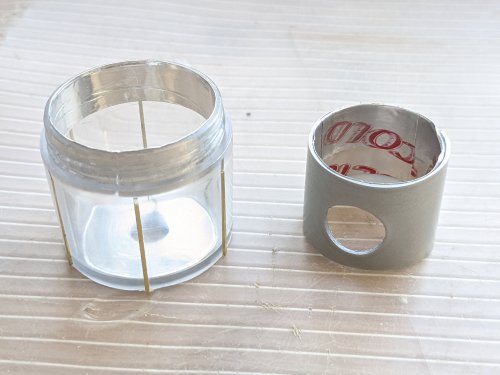
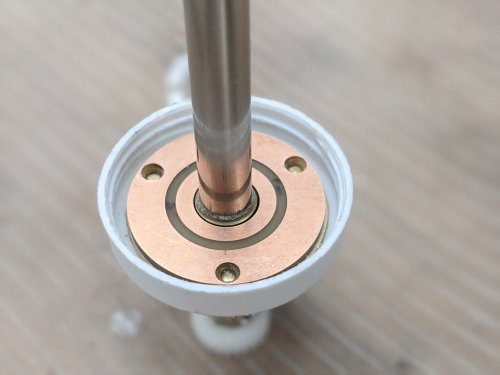
@electric indigo Is good comrade! Is much bedder dan deese: The Soviets didn't have fiberglass yet, so can you believe they built the radar nosecone (radome) out of plywood? That's crazy by today's standards. The lighthouse is getting there! The original belt drive was quiet and acted as a clutch in the event someone hit the plane as it spun around. The problem, the drive slipped all the time! So I built a whole new gearbox and drive train from scratch with brass - instead of styrene. There is a beefy 8mm steel shaft that spins on bearings and a sleeve bearing. The original circuit board ring was recycled from an old stereo circuit board. There were openings on the board that had to be soldered together. The solder while conducting electricity, also was soft and started to get picked up on the brushes causing them to foul and fail. So I broke down and went to Radio Shack for a copper clad board and milled it. The next fun part was the shield to cover the lighting guts and keep the light focused (sleeve on right). It is styrene tubes made from old clear tape cores and glued together. It was cover on the inside with metal foil tape for duct installations. The hole will have a clear lens in it when done. Then I painted it silver. The light window was a clear travel bottle for travel (probably for cream or salve). I was going to make the window panes from styrene, but when the light shined through it, you would see it. So I milled slots into the (bottle) window and placed brass square stock in it and glued it from the top allowing the glue to get in there through capillary action. It took longer to set up the mill than cut the slots! And finally, everything pieced together. More detail work needed like doors, steps and railing. Thanks for checking in! - MT


-
@ulvdemon Your build is looking good! If you're having problems with the paint coming out of your airbrush, it may be too thick. Especially if it splatters or has a texture to the finish. Some of the guys in my club really thin out the paint and use multiple layers to coat their builds. - MT
-
@pengbuzz The Master of Masking Tape strikes again!
-
@derex3592 Your runabout is looking good! I don't know about mixing Star Wars and Star Trek, bad things could happen like a thermonuclear blast ...At the console messing with people's heads! @pengbuzz It's too bad the humidity got your model. Your changes and the light look really good now! - MT
-
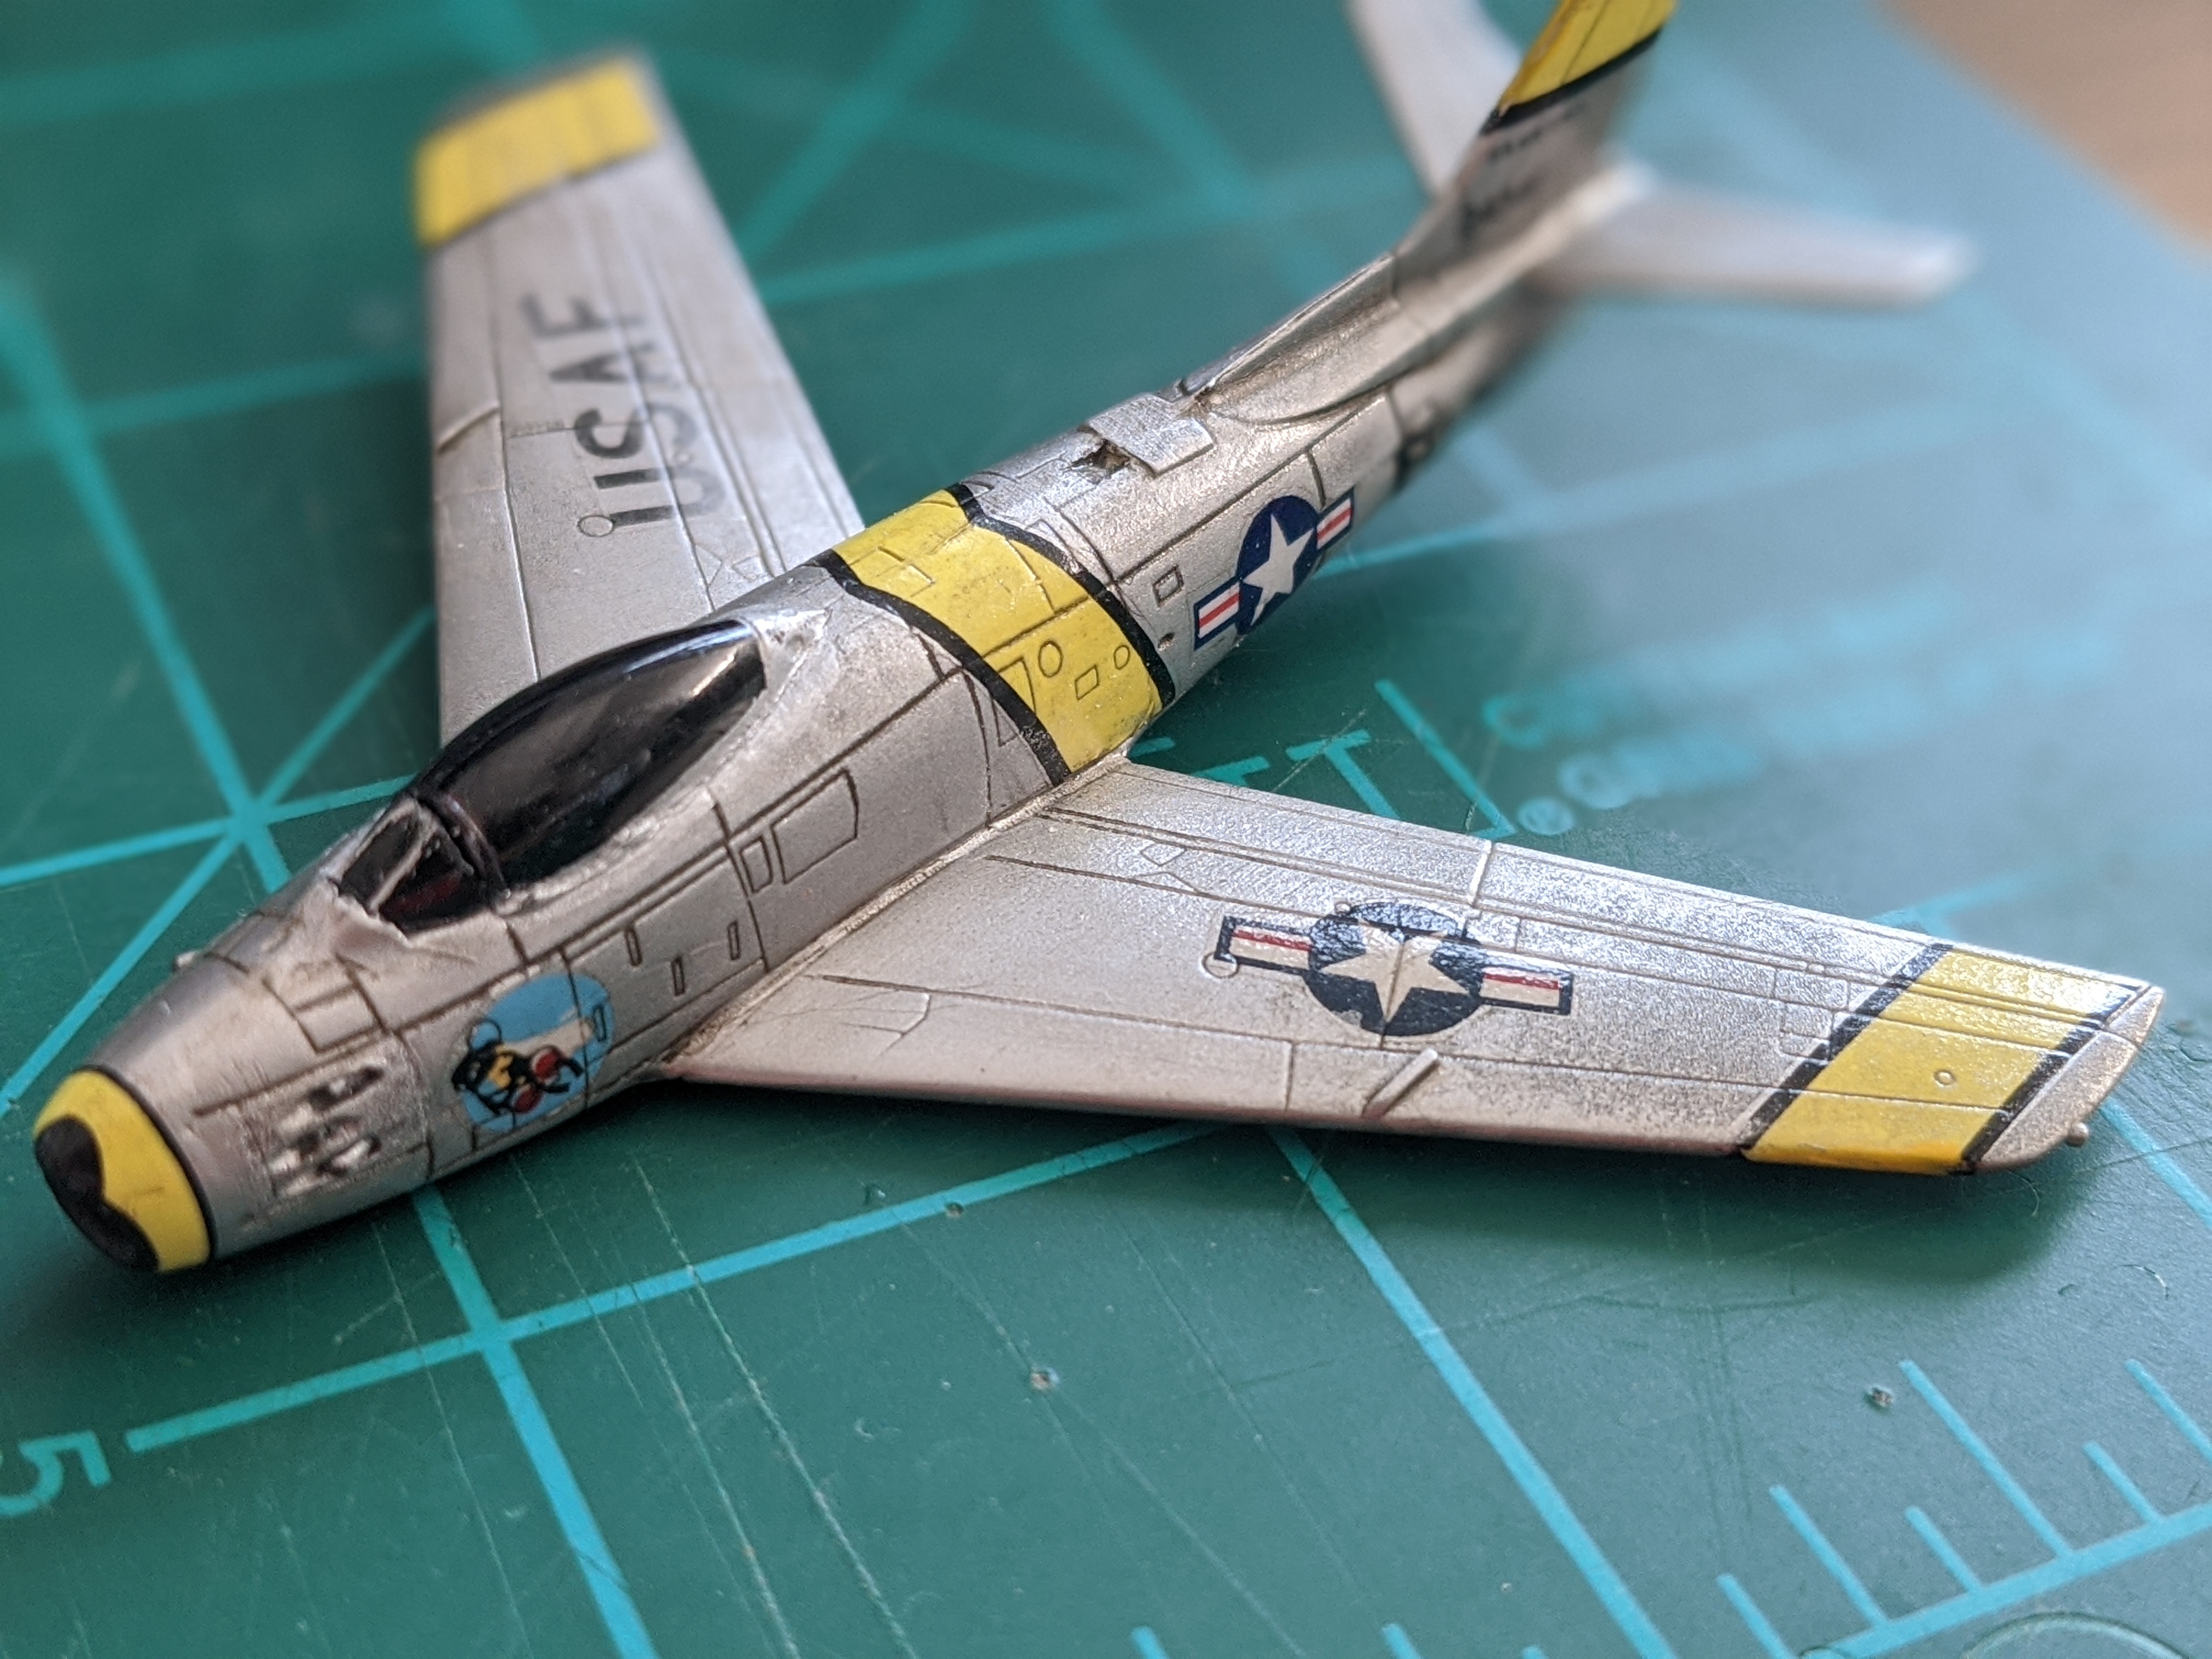
@pengbuzz Your diorama is looking great! Nice save with GBP-1S too. I think it all looks great. The one guy wearing a chem warfare suit next to the guy who isn't is kinda funny. "Yeah, Carl is lactose intolerant and I'm intolerant of his gas!" Made a big rookie error. Used Tamiya AS-12 Silver on my plane and the finish came out AWESOME! I love their rattle can paints. Last time I used it was on my 1/100 Monster about 20 years ago and forgot about how nice they level out. Instead of painting a spoon at the same time to test on, I sprayed Krylon Clear gloss acrylic coating on my plane. The photo says it all! If I had tested it on a spoon or test piece, I would have avoided this problem! It really didn't need a clear coat. I cleaned the wings off and redid the coat and it's better, but not as good as BEFORE I screwed up. The pulley drive on the lighthouse keeps slipping with the strain of the brushes and plane swinging around. So I gave up, scrapped the drive and am in the process of redoing it. Photos of both the plane and the drive to come later. - MT

-
@pengbuzz Sorry man! Been there done that too. It sucks. Now's a good time to work on something else. - MT
-
Thank you guys, I appreciate it! @CrossAir Great paint job. Looks like it might have given you a great headache too with all that splinter cammo masking. @derex3592 Your interior and details look great! The light coming through the window screams for people to look inside. @pengbuzz Great progress on your Sumo. The missiles look cool. I think that is why I started going from conventional aircraft with only a few missiles to the whole Itano Circus thing in anime. - MT
-
If you were a crew chief in the Macross universe.......
MechTech replied to cheemingwan1234's topic in Movies and TV Series
I always thought the verniers might be as simple as the Harriers-ducted exhaust: (pg.19). https://documents.techno-science.ca/documents/CASM-Aircrafthistories-AV-8AHarrier.pdf The F-35B doesn't have all the same nozzles, but still has two that provide 10% of the vertical thrust and some roll control. - MT -
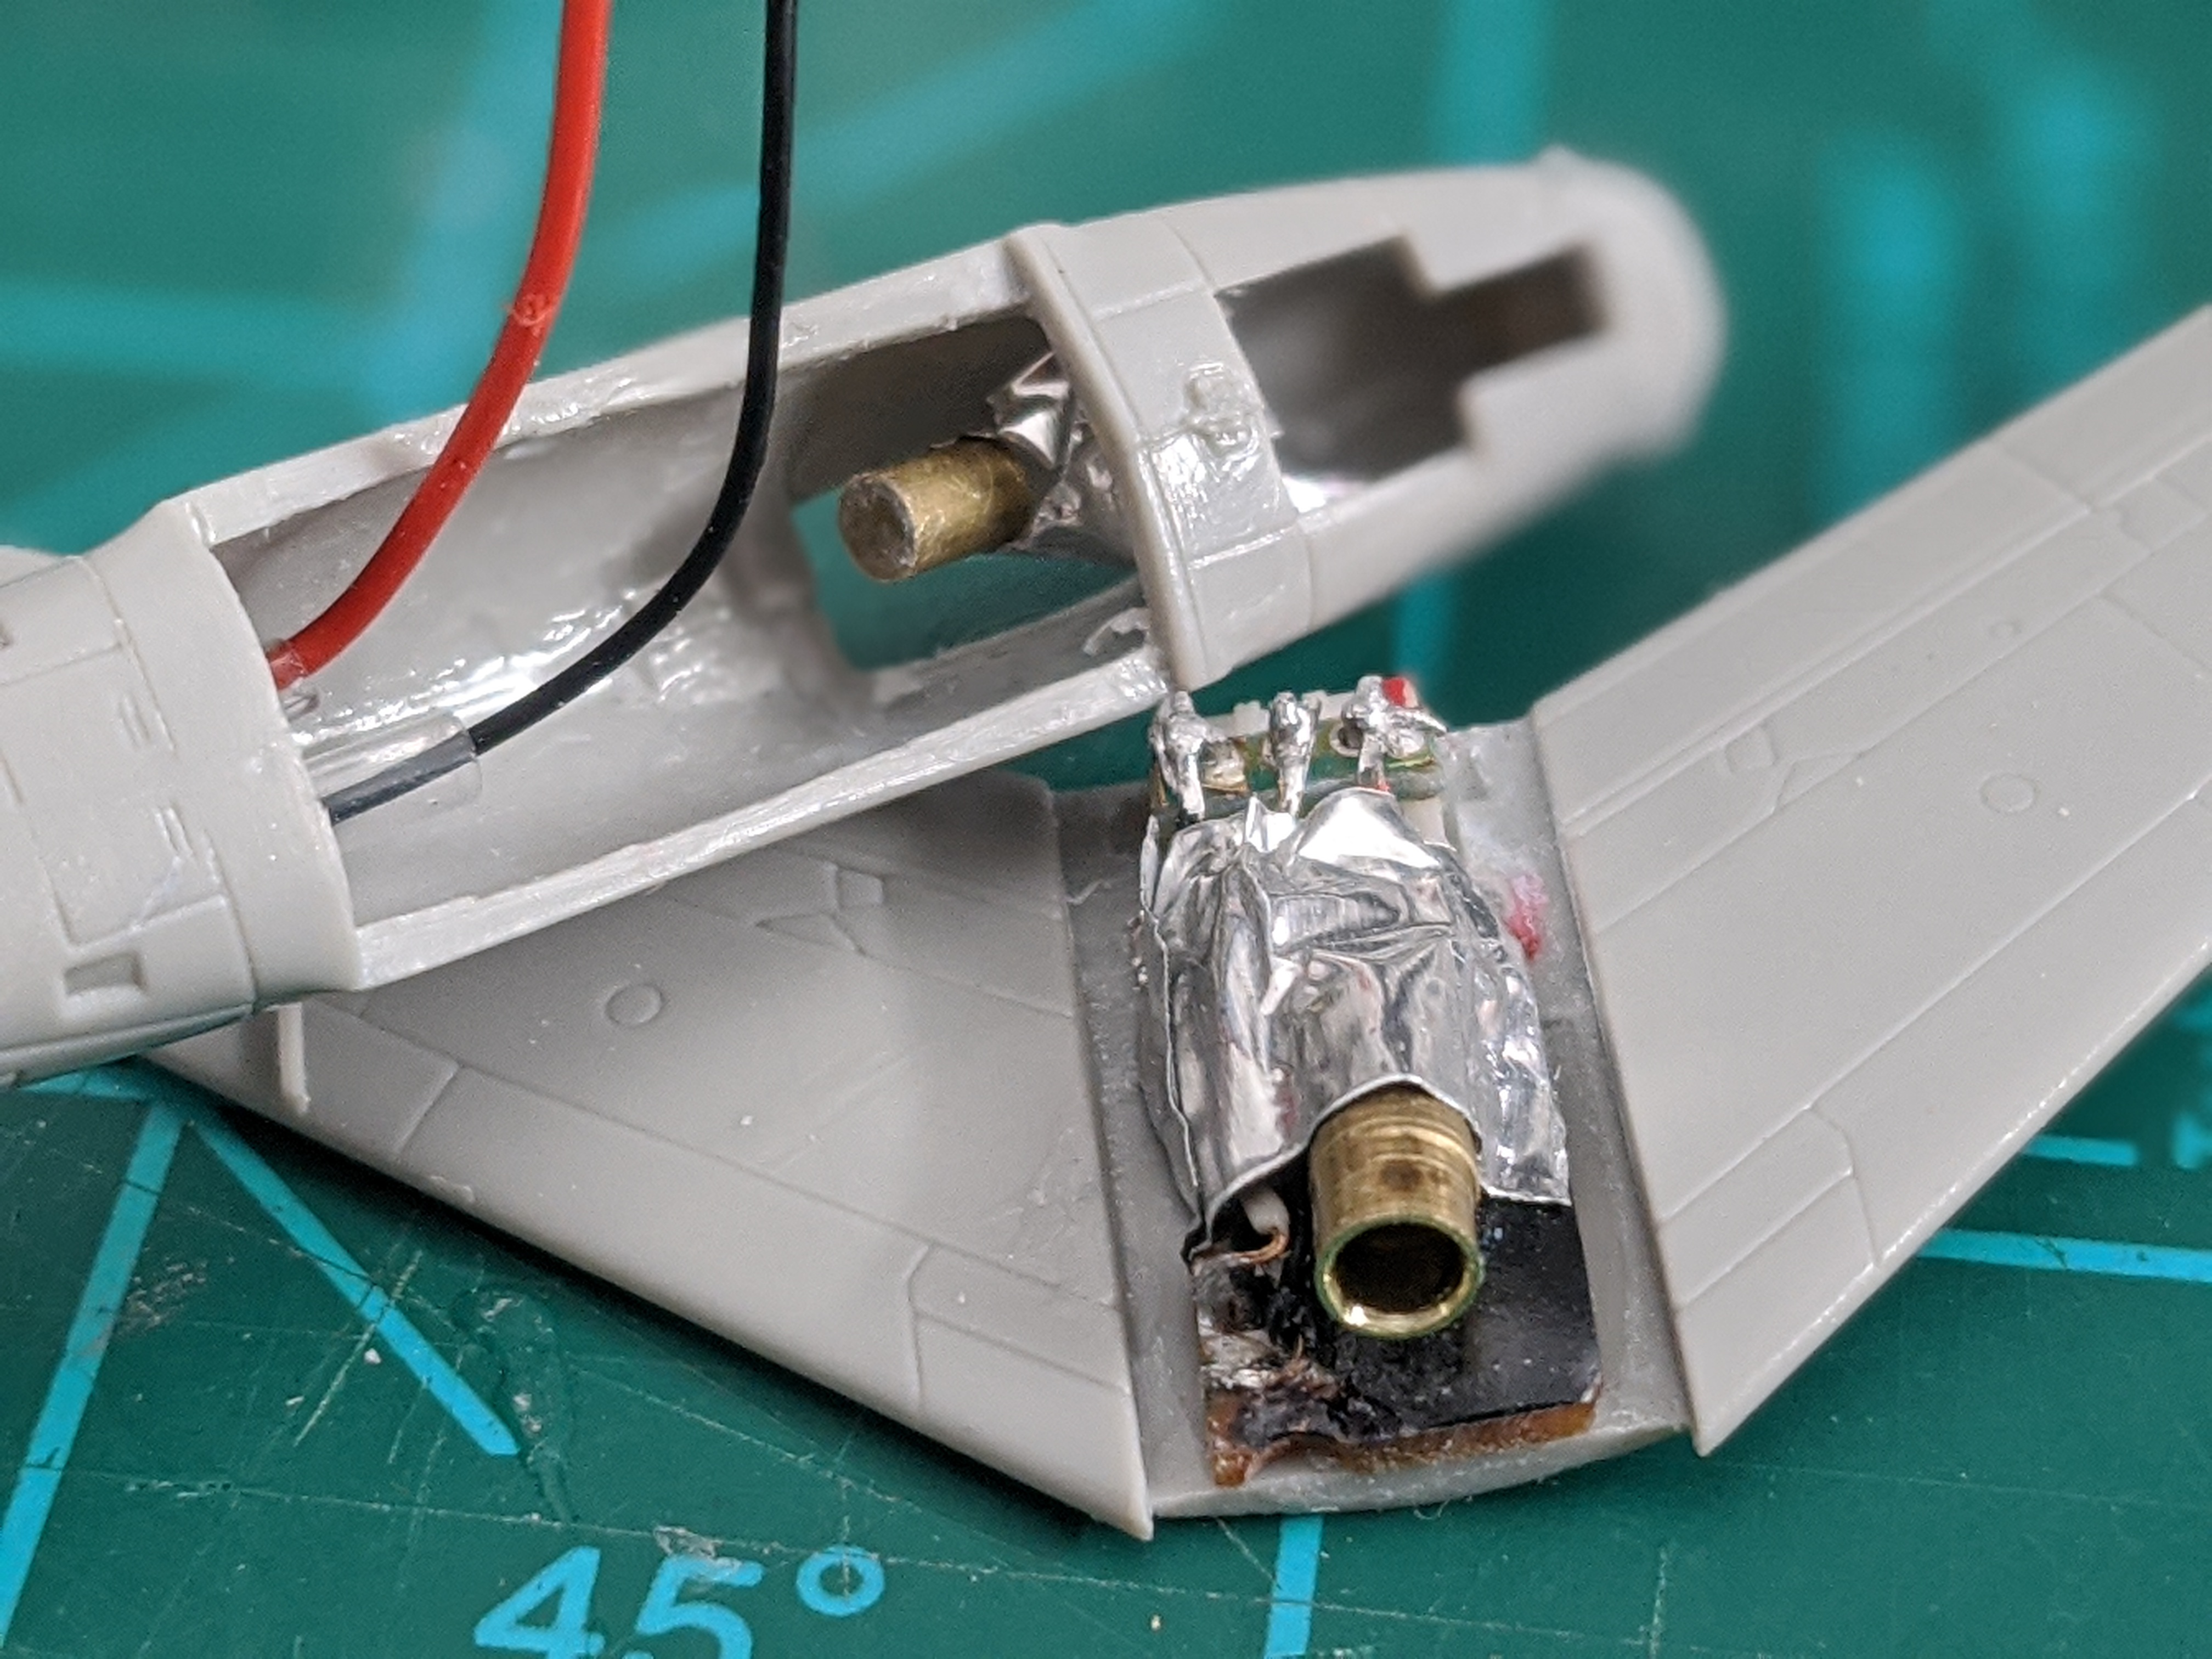
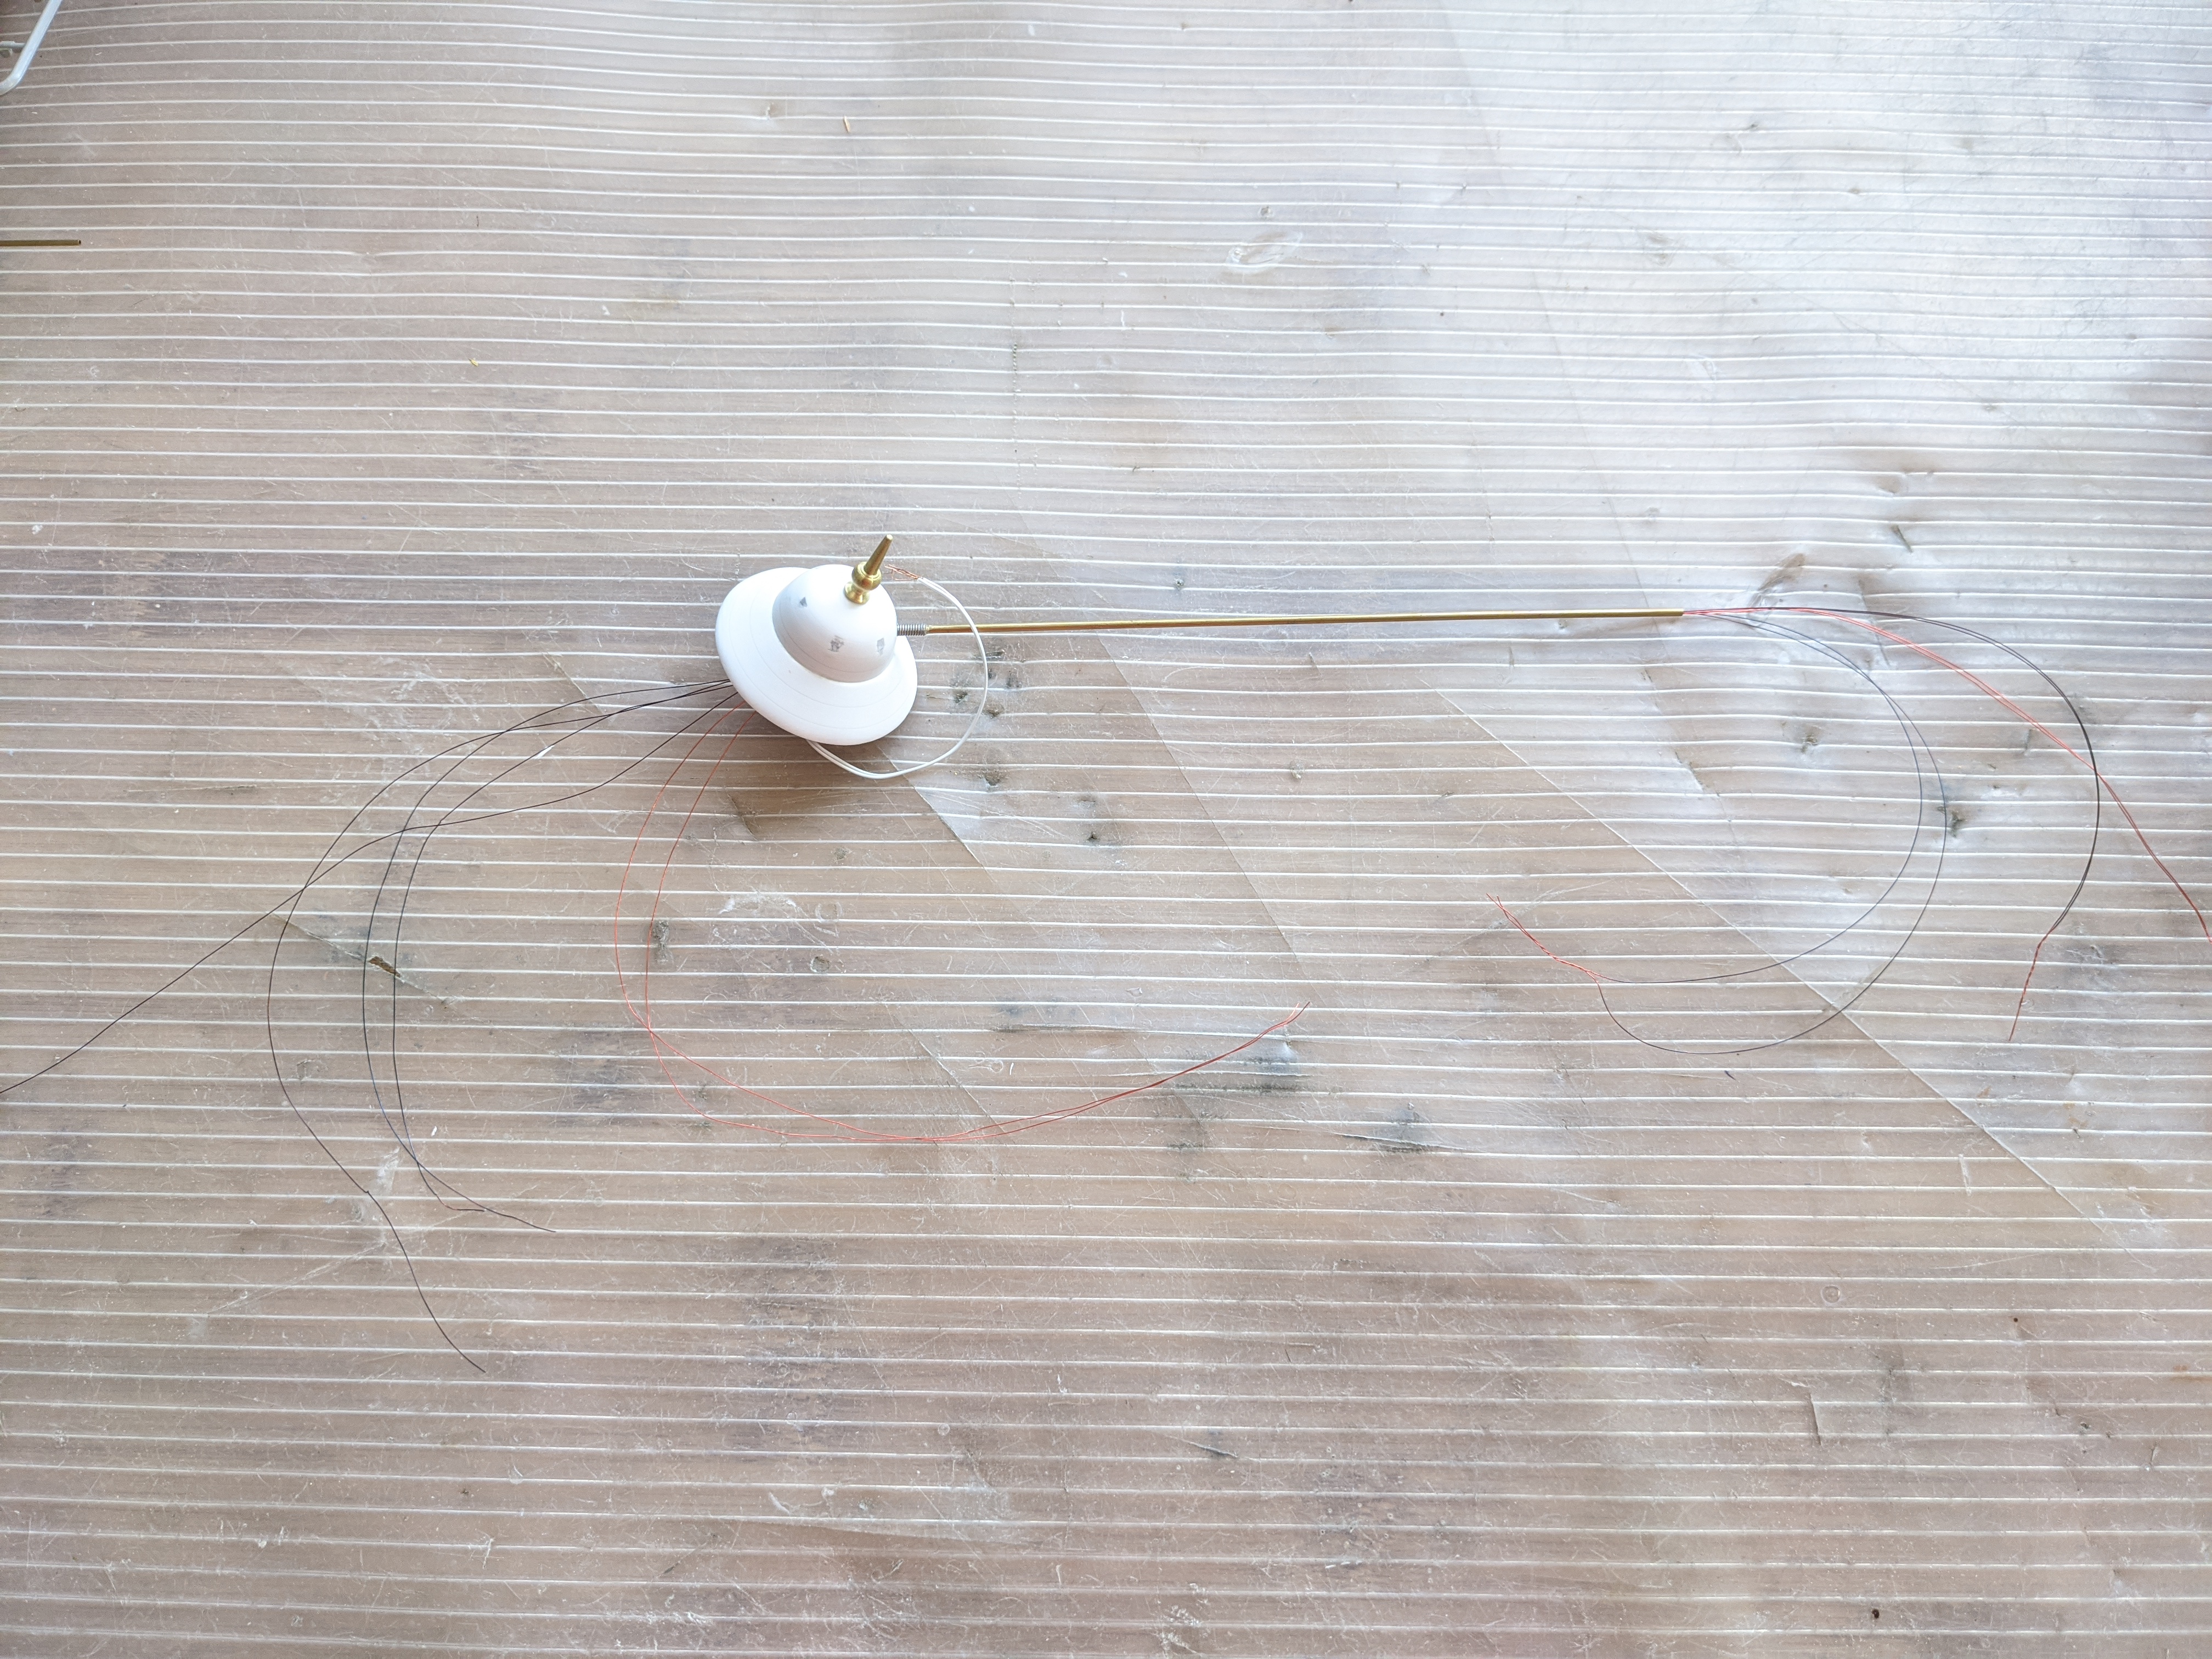
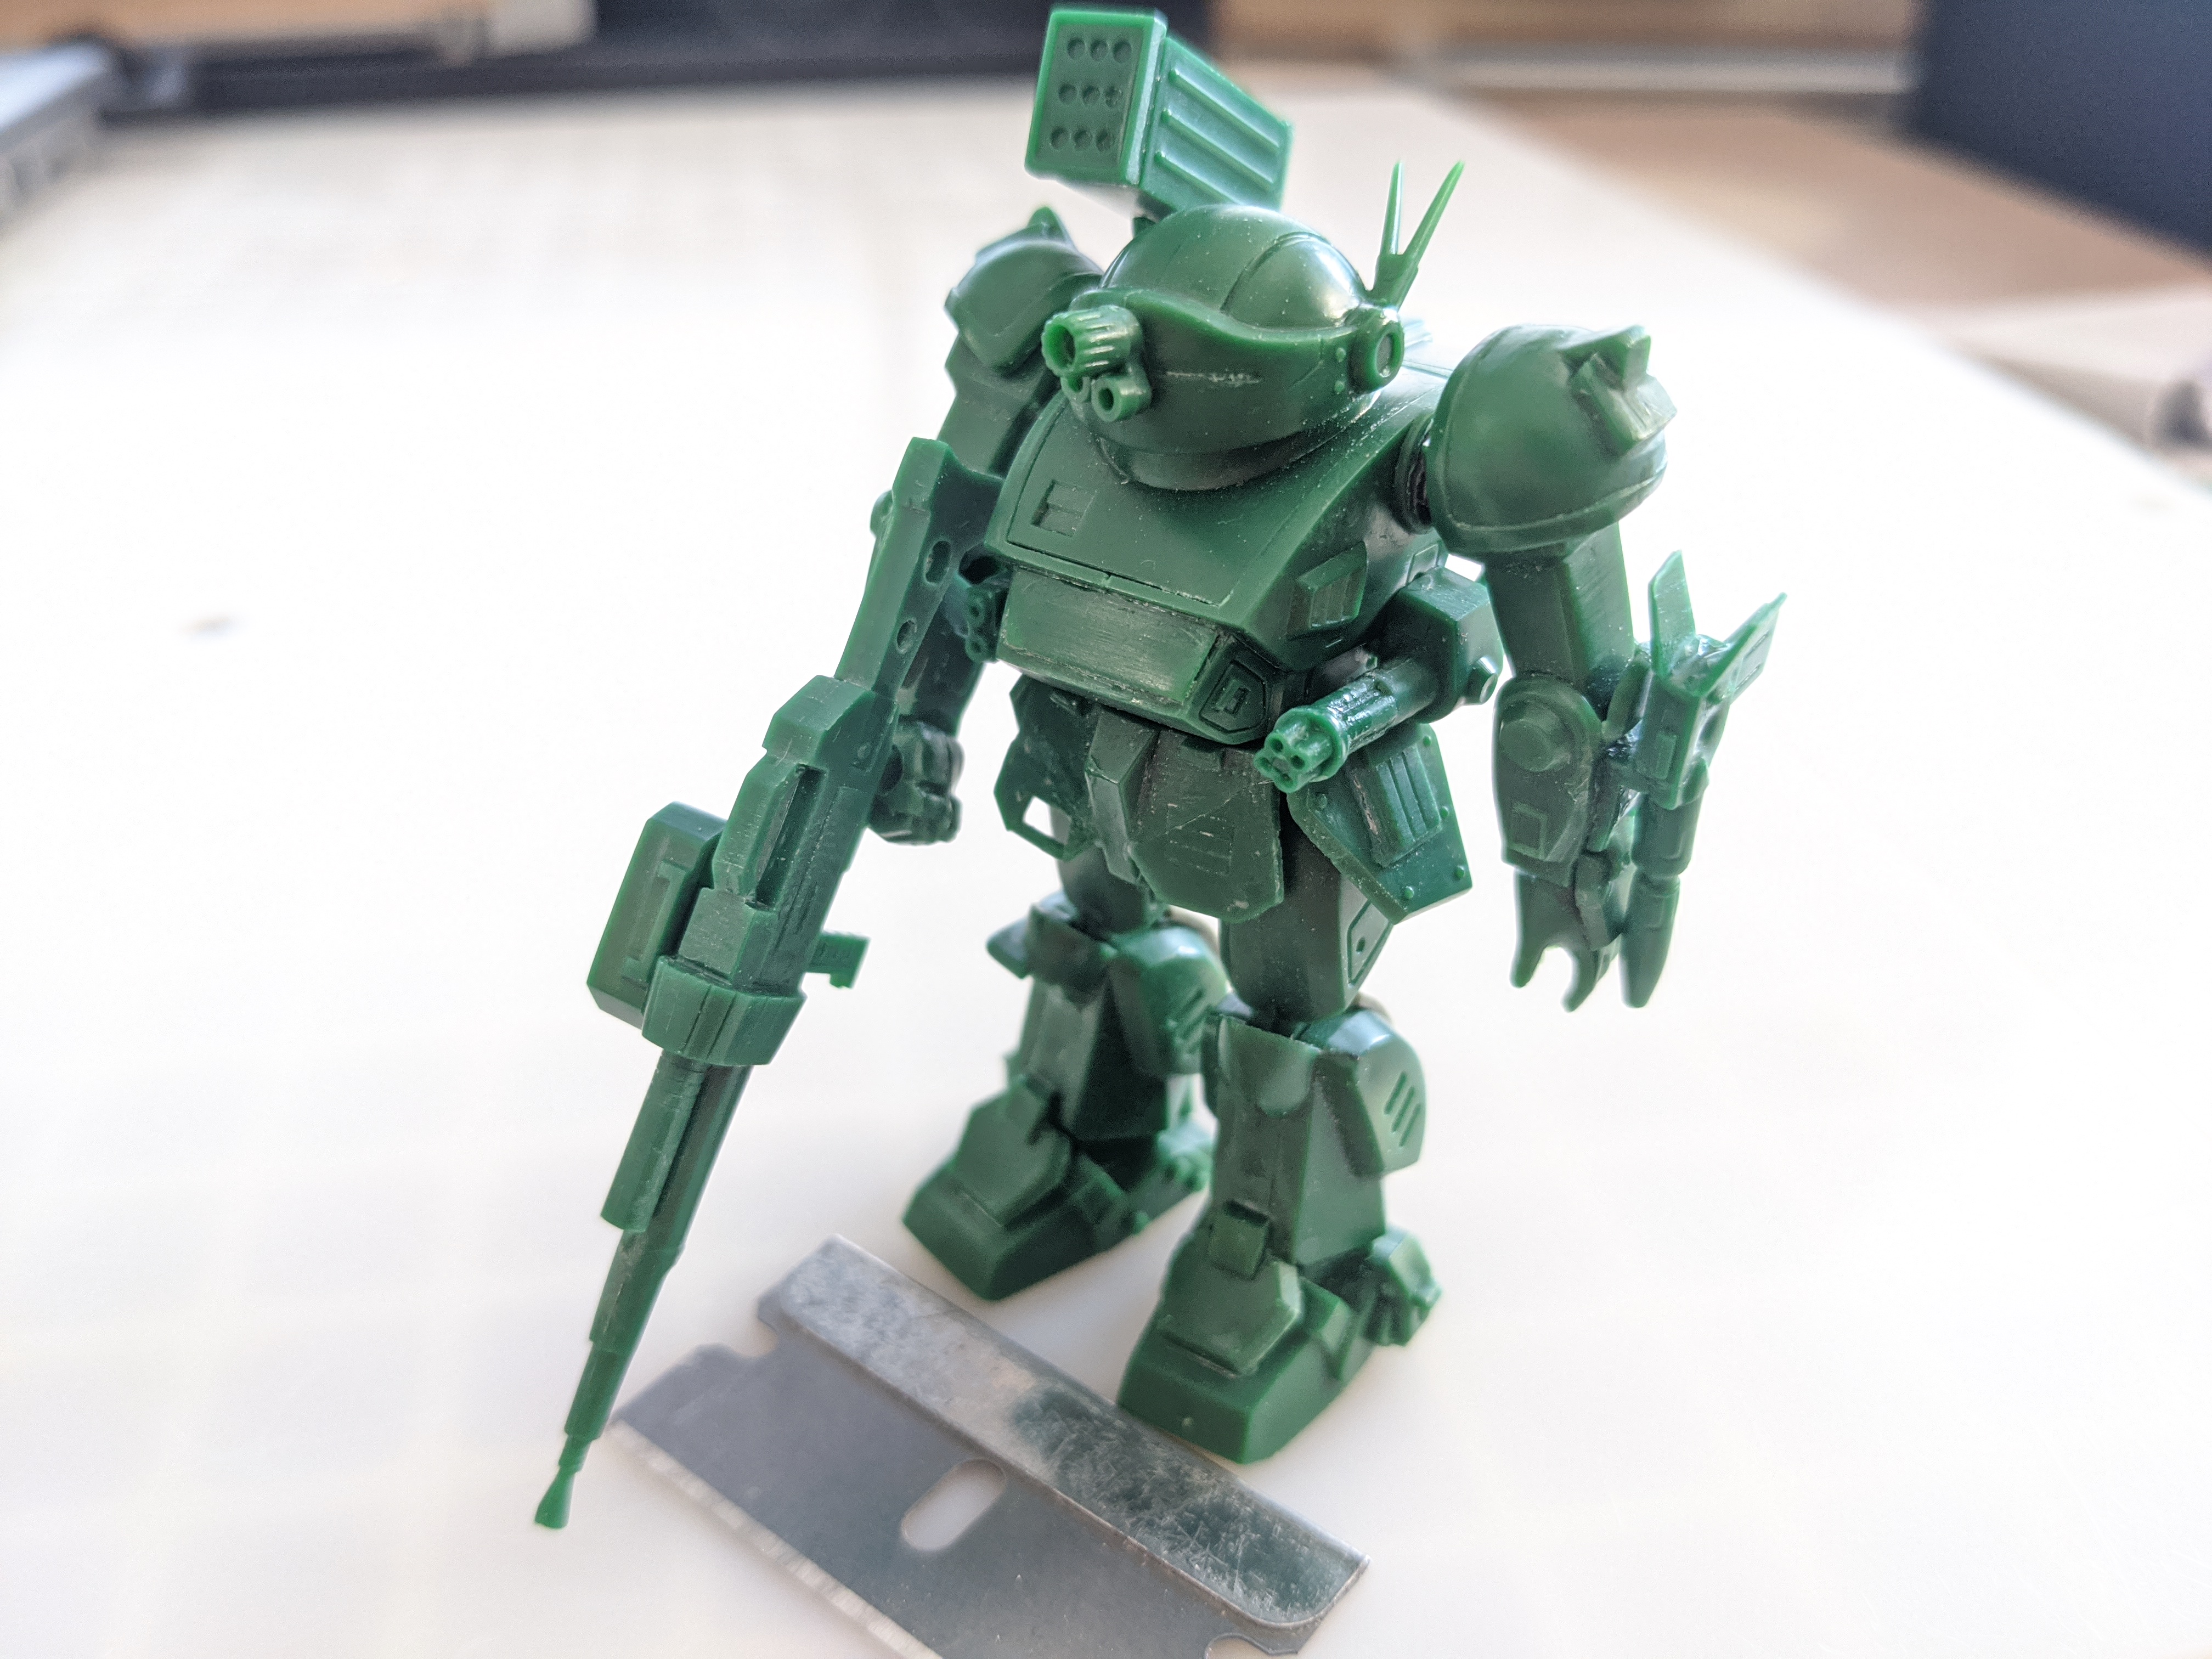
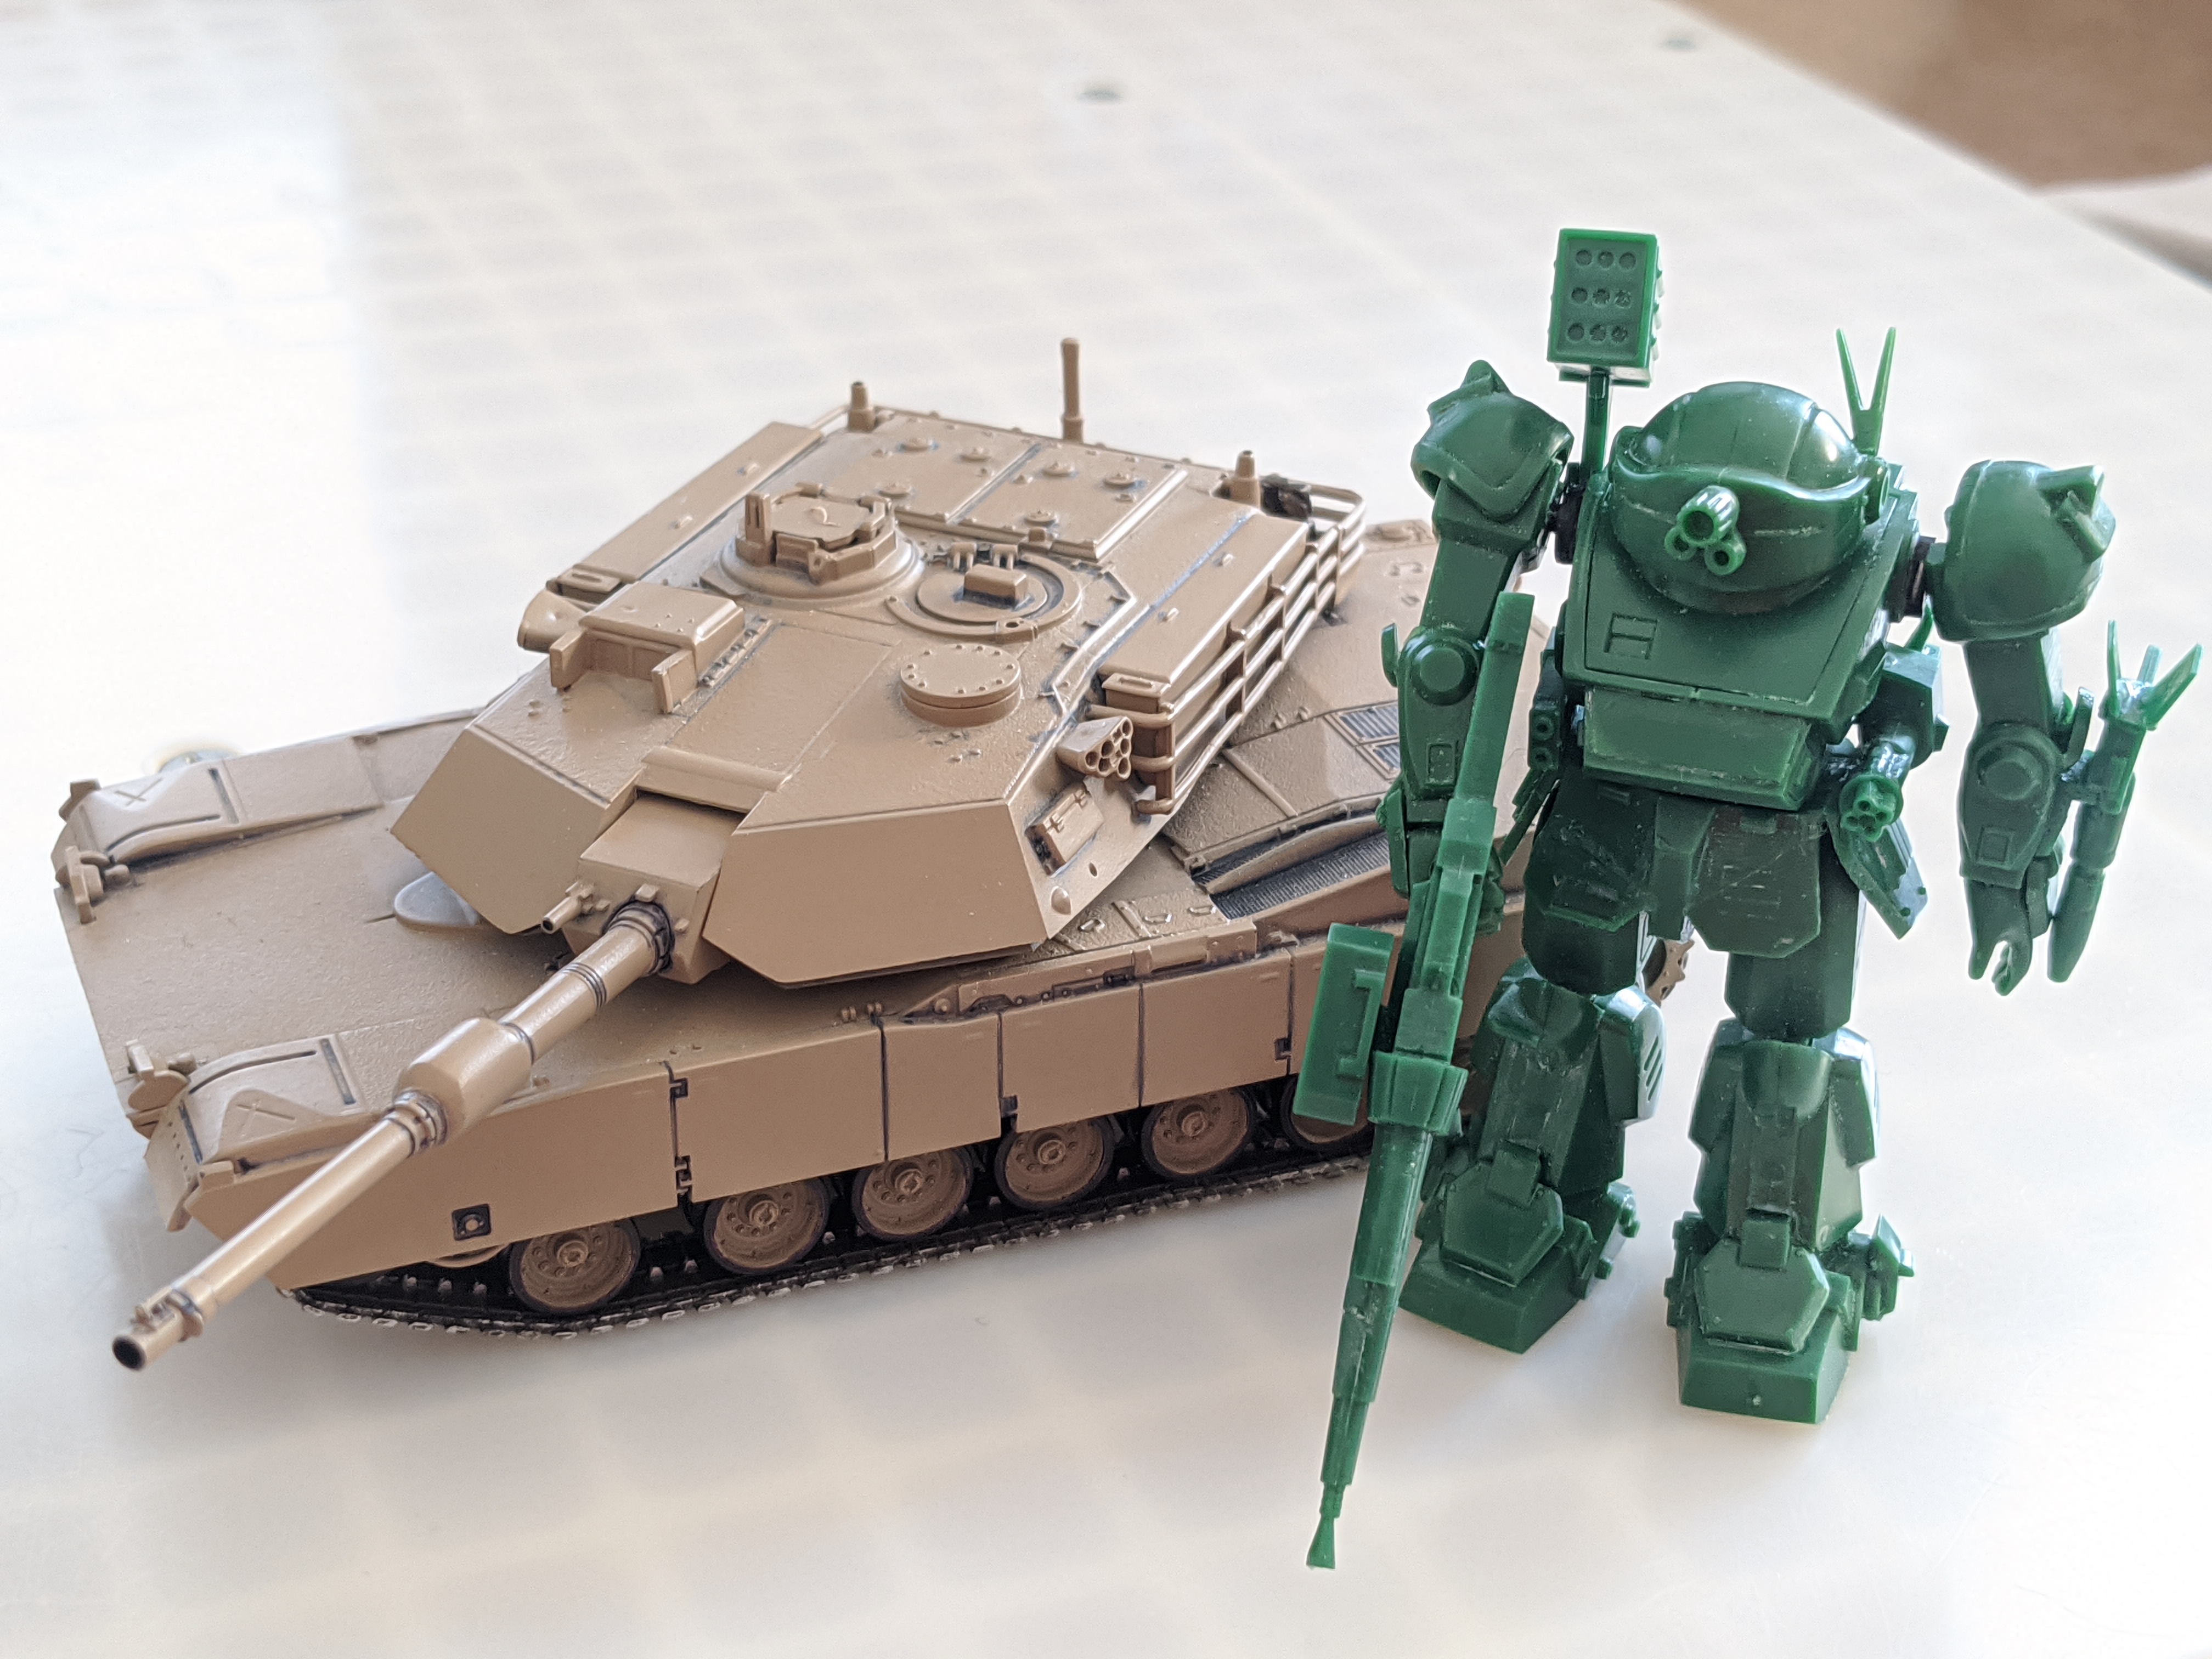
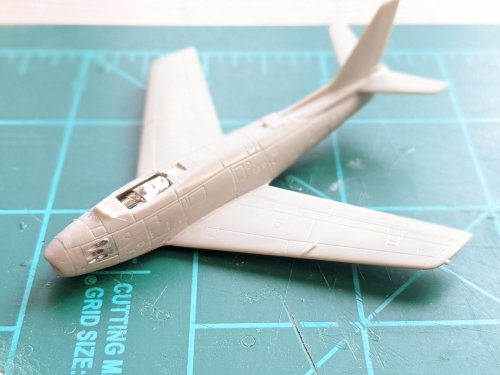
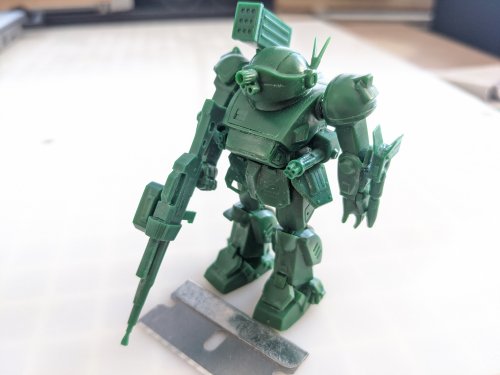
Got a bit more done this weekend on the lighthouse project. I drilled out the six tiny holes for the .50 cal gun ports and angled them to get the fibers through and glued them in place. The fibers were glued into a brass sleeve and mating sleeve was made to cover the LED. You can see my foil work to black out the LEDs. You can just see the "Y" the LED branch of into both sides. Had to do this twice! First LEDs were damaged when glue got on them and cracked the acrylic strands. This also made the gun ports larger. Completed gluing the fuselage together. You can see the metal foil to cover up the LEDs (it breaks up into a "Y" going to both sides). Gonna have to black out the windshield. Got the arm glued on and the wires colored and installed through the arm. Also completed construction on the 1/60 (more like 1/72)) kit that had the VERY brittle plastic (not normal for the kit line). He's gettin' a lot of battle damage to hide all the places I had to glue parts back together. It was like brittle bone syndrome with this particular kit. It's a great sculpt and has great proportions in case anyone is thinking of getting this kit. My other kit from this line has perfect plastic, so I don't know what happened with this kit. Shown with a razor blade for size and an Abram's tank to scale. - MT


-
If you were a crew chief in the Macross universe.......
MechTech replied to cheemingwan1234's topic in Movies and TV Series
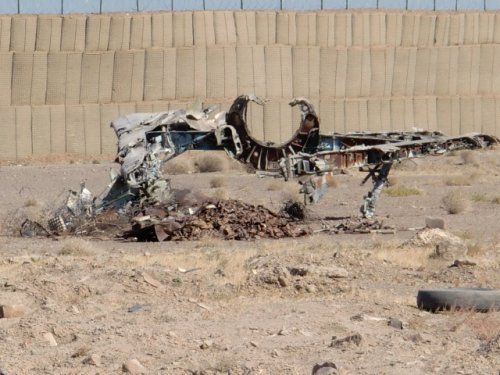
Yeah, the bad part of F-16 crashes. #1 Did the pilot get out OK? #2 Is the hydrazine contained? Ejection seats are another example of equipment that has to be made safe for crews. In Afghanistan we had a guy sit in an abandoned Soviet fighter. He discovered the ejection seat still worked - while sitting in it. That was one reason they didn't allow us to go through the Soviet boneyard. - MT