MechTech
-
Posts
4650 -
Joined
-
Last visited
Content Type
Profiles
Forums
Events
Gallery
Everything posted by MechTech
-
@Urashiman Your F-5 is looking great! I think its worth it. I love that airframe anyhow. I always thought it was elegant and sleek. T-38s fly over my house all the time and I love the sound of those "tiny" turbines. Your Tomcat and Valks are looking good too! You're gonna have an unusual Air Force from this year's builds. @arbit Your Alto figure looks great! Can we have the VF-4 without Alto?😅 Just kidding! @pengbuzz Those are some VERY original mods to the GBP! I love your paint scheme and additional load-out too. Your base is VERY realistic and looks like you sliced a chunk of moon rock for the base. Congrats on another cool and accomplished build! - MT
-
😅😂🤣- MT
-
@Urashiman I forgot to comment on your stuff. I think the Canadians are upset because the VF-19 and 22 pilots look better! They look REALLY good too! - MT
-
@pengbuzz Your Enterprise and special effects painting looks fantastic! The Cassini probe on there is a cool touch too! Great collection photos too. The foil on the probe makes it stand out and definitely look old-school NASA, @arbit Think 80's Glam Rock. I think he needs bigger hair. Also, longer legs if you want to go line-art accurate. That was 70's / 80's anime in a nutshell. Long hair and long legs - for guys and gals. The rings around the cuffs may be too pronounced when printed - I'm not sure. It may detract depending upon how it comes out. Only positive feedback! He looks really good. I've got to get going into 3D stuff. @Rock That stinks about the gaps being so BIG! You'd think a newer kit would not have those issues. - MT
-
Sorry about your car accident! I hope you're feeling better and don't have a pain in the neck leftover. BEAUTIFUL sculpt, Jason! The lines look good and so does the assembly too. I can't wait to see this in plastic! - MT
-
These figures look great - especially in 1/48 scale!!! The detail is really good too! The guys in my model club are talking about using Prisma Cololr pencils for some details. I'm trying it out. I know their metallic pencils (silver and gold) work good. I'm looking at alternates to paintbrushing which is a PAIN. - MT
-
@Thom Your detailing on the Yamato looks good! @electric indigo Despite the issues with painting, it is looking nice and clean! Thank you guys for the feedback! It is basically tied for opinion. I think I'll go with the base painted, weathered and chipped. Working on pieces for it now. - MT
-
That is looking great! The optional pieces are a good idea too! - MT
-

The 'Hey look at this really cool model build I saw' post
MechTech replied to Shawn's topic in Model kits
That's COOoool! Thanks for sharing! - MT -
Absolutely AWESOME Arbit!!! Great detail and even backlighting stuff. Why is Misa looking at the photo from photography bot and why is it on the bridge!😄 Does it have a soundtrack of the bridgecrew gossiping about Misa?😂 You TOTALLY blew this one out of the water! - MT
-
Yeah, sometimes you find the right woman. I guess you could compare the VF-1 series to that😄 "Forty and still fine!"😉 - MT
-
Great color and variation in colors for depth! - MT
-
Looking cool!
-
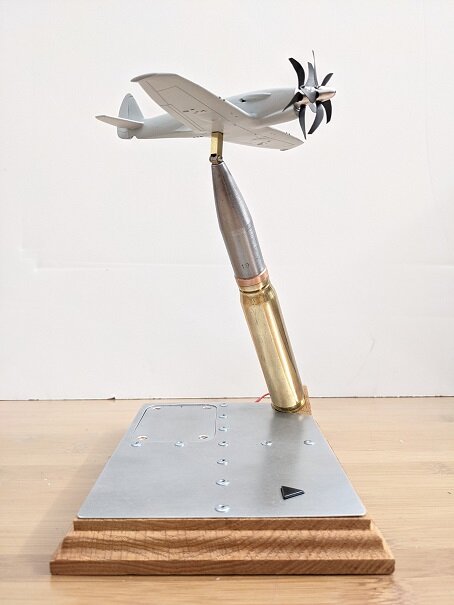
@pengbuzz GREAT looking revamp and restoration of a classic figure! That stand is AWESOME and a GREAT touch to finish off that restoration. I LOVE the nostalgic look of your Enterprise and what a GREAT job you did fixing all those mechanical issues with it too! The colors look great and that Photoshop picture is the icing on the cake! @derex3592 You are doing a TITANIC job of lighting that model! The details to include the lighting are really adding to the look of realism to the model. @Thom The modifications to your Yamato with the stand are well engineered. It should hold up to the weight of it sitting like that. Got a little done this weekend. Made two decal sheets and got everything hooked up. It works! Now its time to finish off the painting and finishing. QUESTION: Do you guys think I should paint the base, or leave it natural aluminum? I'm throwing it around and not sure. The original plan was to paint the base and weather it to look like it came from the actual plane (if it existed). Thanks for your time and feedback! - MT
-
@arbit It looks cool! There are some differences between the lineart and this version I see. Namely the cockpit shape and bulges around the nose area. - MT
-
@pengbuzz WOW!!! You REALLY breathed new life into that! Now he DOES look like Hikaru. Also with less obvious metal joints now too.😄 I haven't seen one of those figures in forever it seems too. - MT
-
@Bolt Looking cool! - MT
-
It's looking GREAT so far! - MT
-
@Photogirl Still THE BEST TV version kit out there decades later! - MT
-
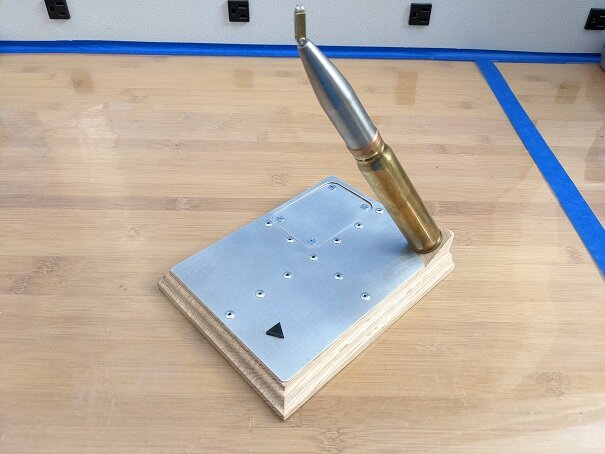
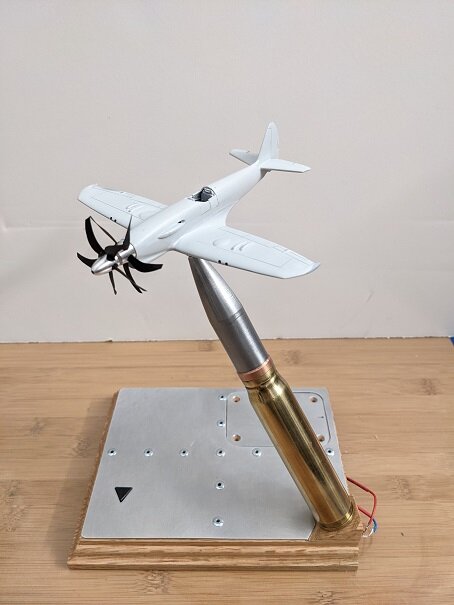
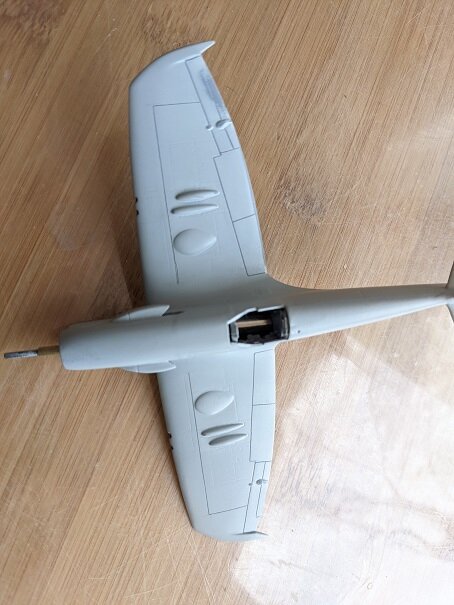
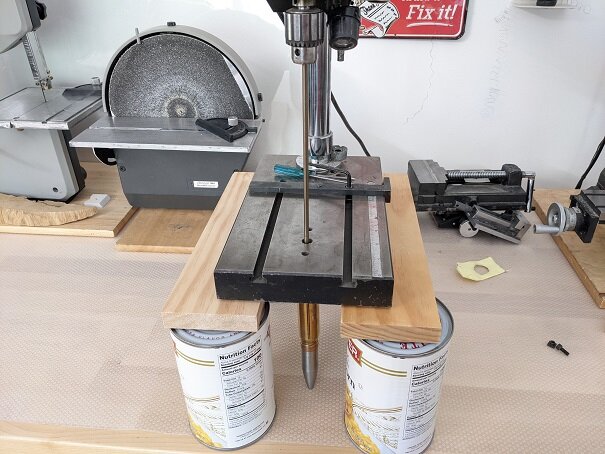
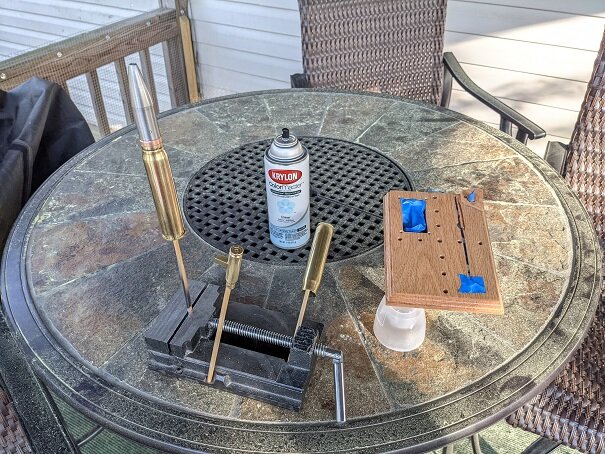
@Photogirl That 1S looks REALLY good! Especially all the details in the cockpit and pilot. @pengbuzz That Enterprise looks 100% better than the stock model!!! Especially with all the corrections and scratch building! You're DANGEROUS with a heat gun! 😄 I've been putting these steps off, but you gotta do what you gotta do! Cut a carefully sized hole in the bottom for the connector. Then glued it in. Then had to clean glue out of the female contacts that somehow got glue in them!🙃 I also re-etched some of the panel lines sanded down with the scratch building. On to the stand! How do you get a 12" in long drill bit into a drill press with only a few inches clearance? BIG cans of vegetable and wood shims! A regular drill bit wouldn't reach all the way through the round, so I had to get a special bit (which thankfully is not expensive). Two things in this photo. I cleaned all the brass and clear coated it along with the base. Second, look at all the yellow pollen on everything from just this week! The diorama I did needs a label on it for the title. So I thought it would be cool to use a real round for it. So I got a 7.65mm casing and cleaned it up, soldered on a holder and machined and inserted a screw into it. It also got clear coated. Attached to the stand. And backed away to see the whole thing. I have to make a clear decal now to put on it for the title. That's it for now. Thanks for checking in! - MT

-
It's looking great! You can leave the main body whole without a seam and just do a "drop-in" landing gear box. It may be easier for pre-and post production of the model. - MT
-
The 'Hey look at this really cool model build I saw' post
MechTech replied to Shawn's topic in Model kits
Thanks for sharing that! Cool! - MT -
That looks cool!!! - MT
-
That's looking beautiful! - MT
-
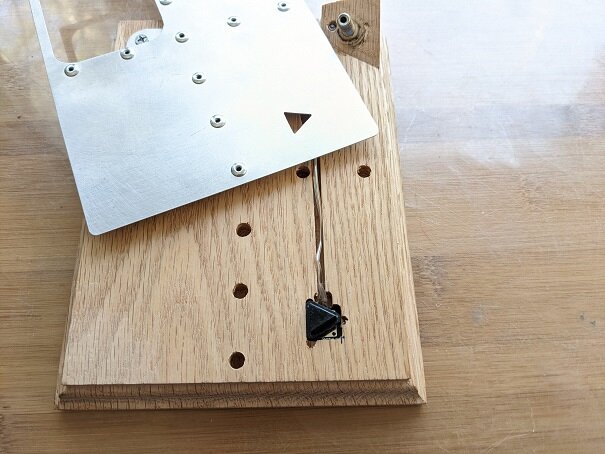
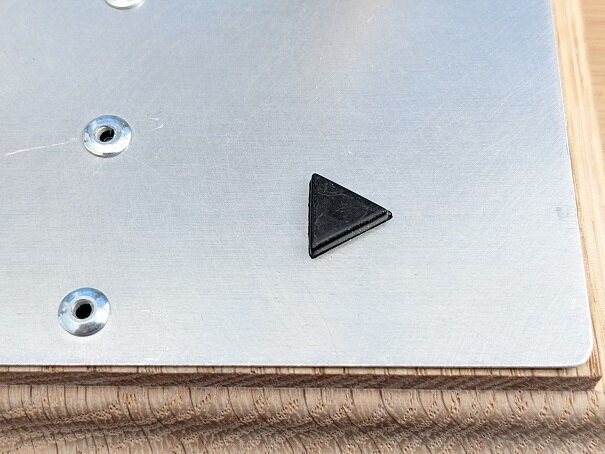
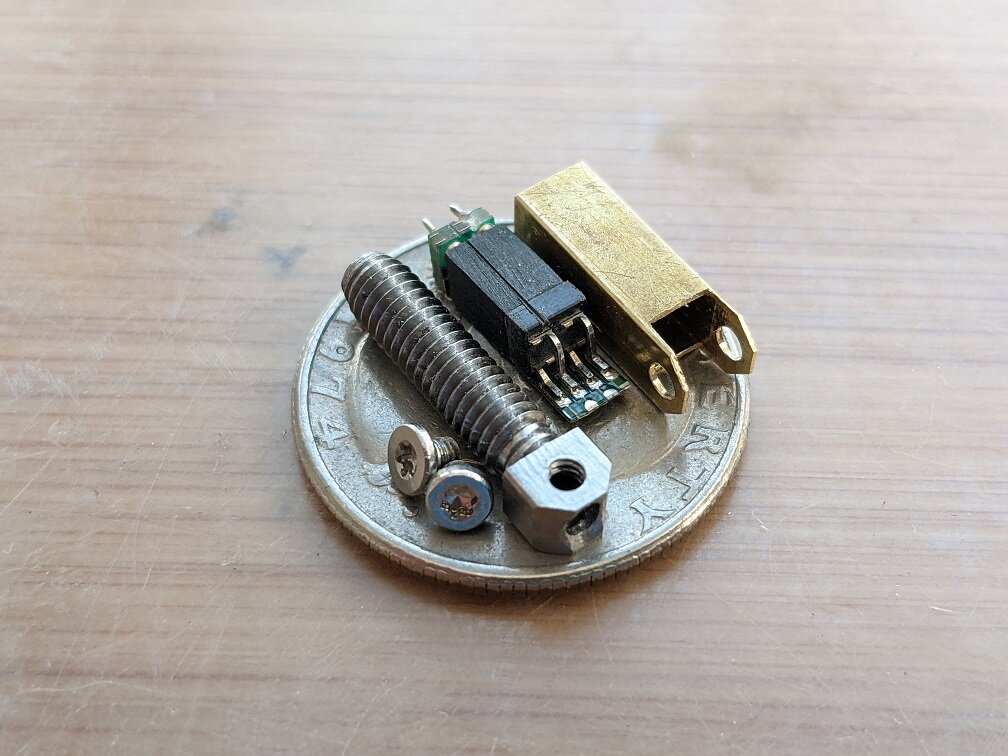
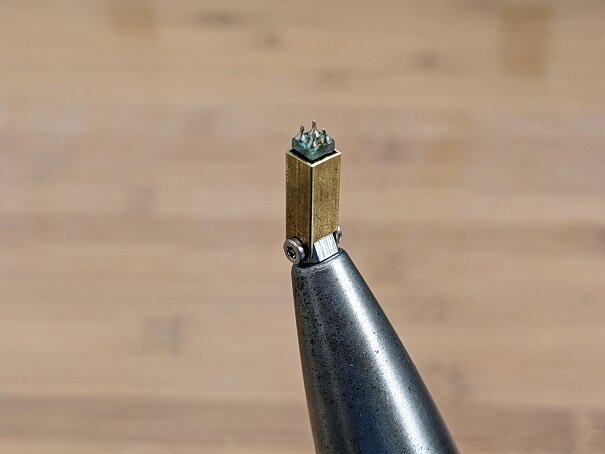
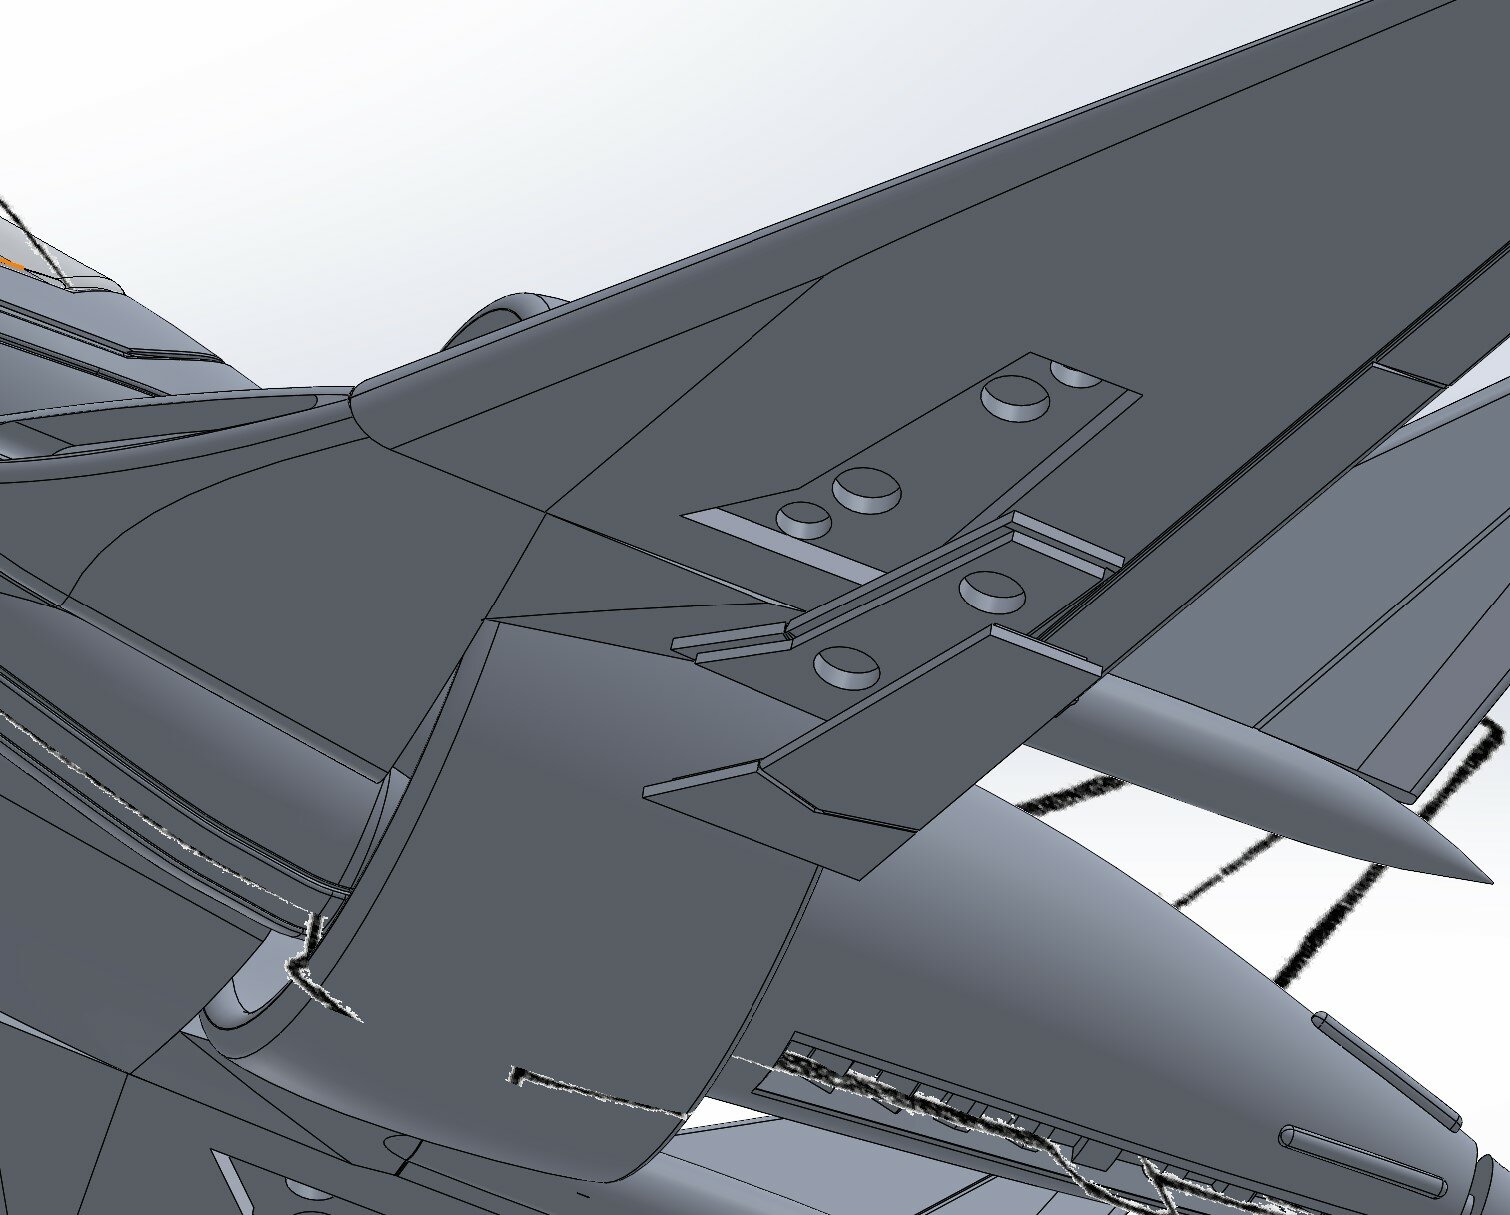
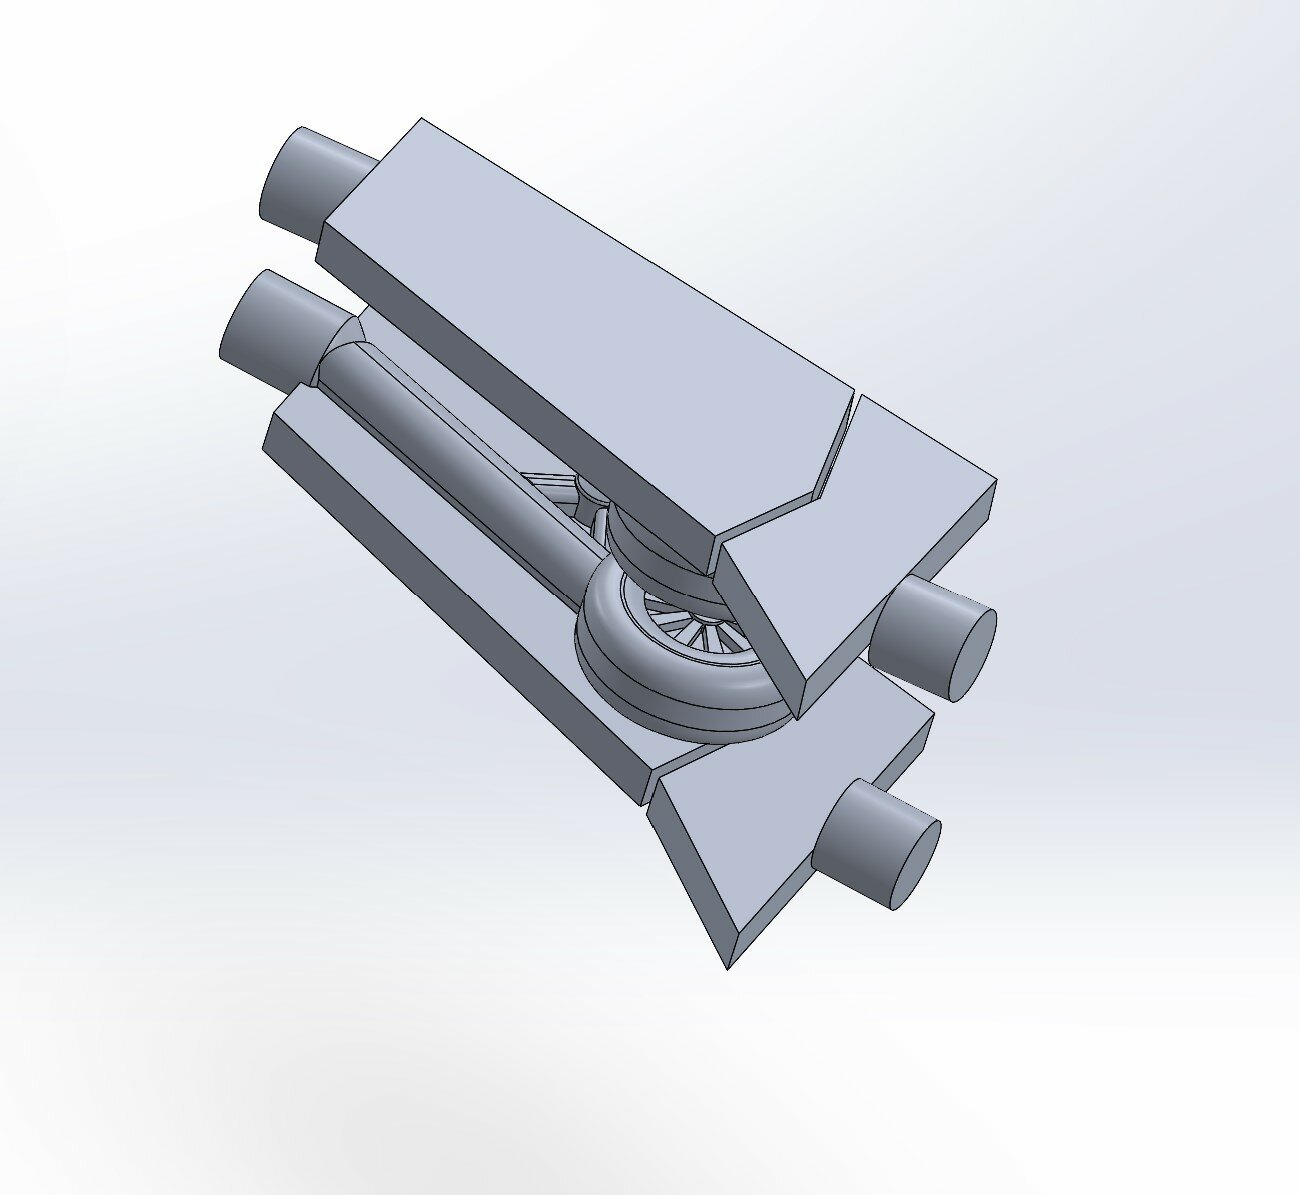
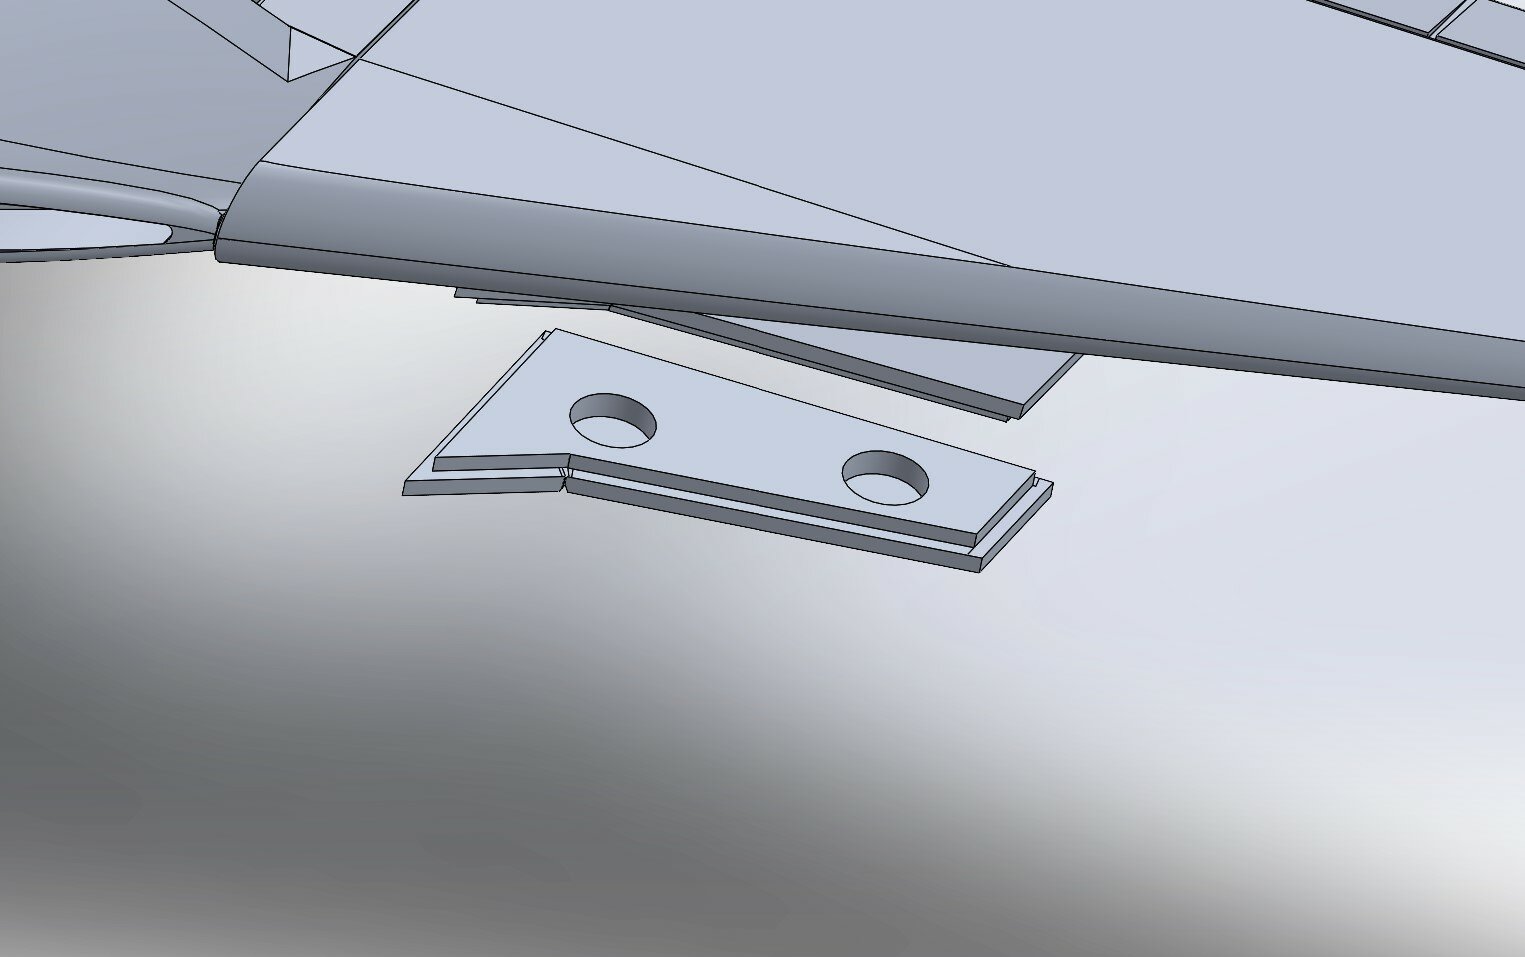
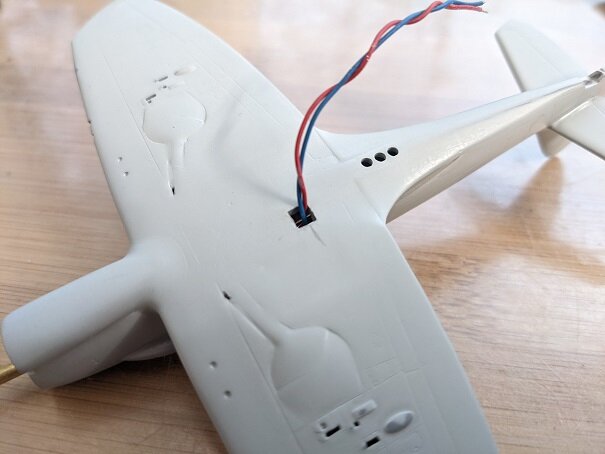
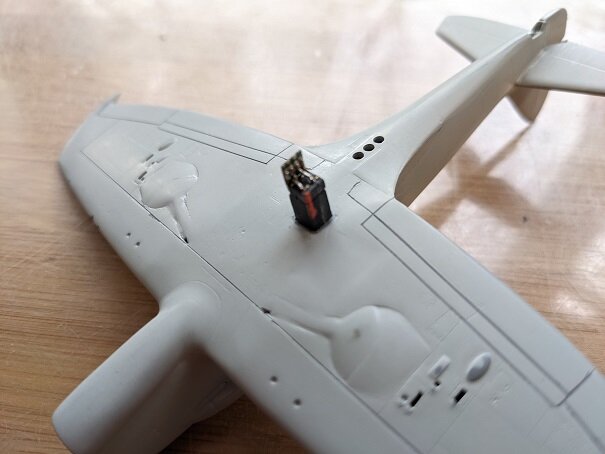
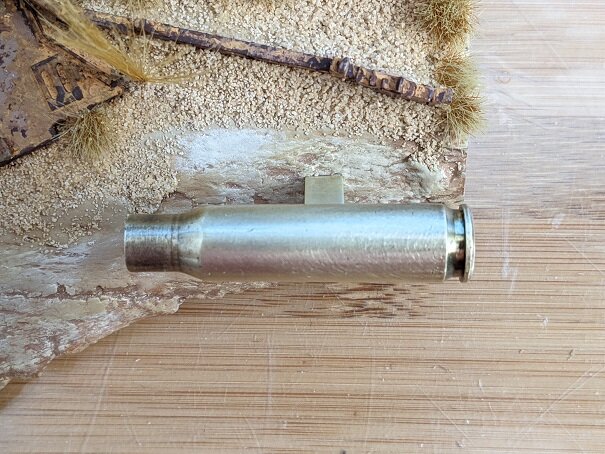
@derex3592 Your Millenium Falcon looks GREAT! The Stormtroopers add a dynamic touch and some action to it the scene too! The Titanic is coming along GREAT too! Nice and clean for such small pain-in-the-neck pieces too! All the rigging on it was a nice segway for the tall sailing ship. Thanks for sharing your sailing and NASA photos with us too! Those rocket engines are HUGE! We have one a the Smithsonian here. I wouldn't want to be anywhere near one of them running! The piggyback shuttle reminds me of when I was in basic training. Our Training Instructor (TI) had us in formation outside waiting for a mass appointment. One of the guys starts turning his head and gets yelled at by the TI to straiten up. The guy says, "Sir, it's the Space Shuttle!" Everyone starts laughing because it sounds so ridiculous. Then somebody else says, "Yeah, there it is!" There it was, piggyback on the back of the 747! Very rare site and cool to see in person. We were ALL looking then! It stopped off to get fuel nearby us. On the building front... I didn't get much done, but I'm happy with what I DID get done at least. First I located the right spot for the push button arrow (salvaged from something a long time ago). Then I carefully drilled corner holes and trimmed it out. Thankfully from the back side. The backside got all scratched up😉 I cut another pocket out for the switch and push button. Then milled out a path for the wires. It was fun getting everything to line-up correctly. If you remember the last connector I made was plastic. I could just see it easily breaking like a toothpick! So I re-thought it out and redid it. I threaded and machined a "T" piece to put a short length of square brass tube on. I machined the tube and got it to fit onto the "T" smoothly. Then redid another connector. This connector fits INTO the square tube. The metal parts will now bare the weight. This version also came out more sleek and less bulky than my original design. Then I drilled out the 20mm projectile top and tapped threads into it. This is what it looks like now. The soldered tabs will be hid up inside the model plane now. And altogether so far... Thank you for checking in guys! - MT