MechTech
-
Posts
4702 -
Joined
-
Last visited
Content Type
Profiles
Forums
Events
Gallery
Everything posted by MechTech
-
Last time took about three months or so If I remember correctly. I of course was wondering the same. I'm hoping they even release it! Sales from the other set don't seem to be as common. - MT
-
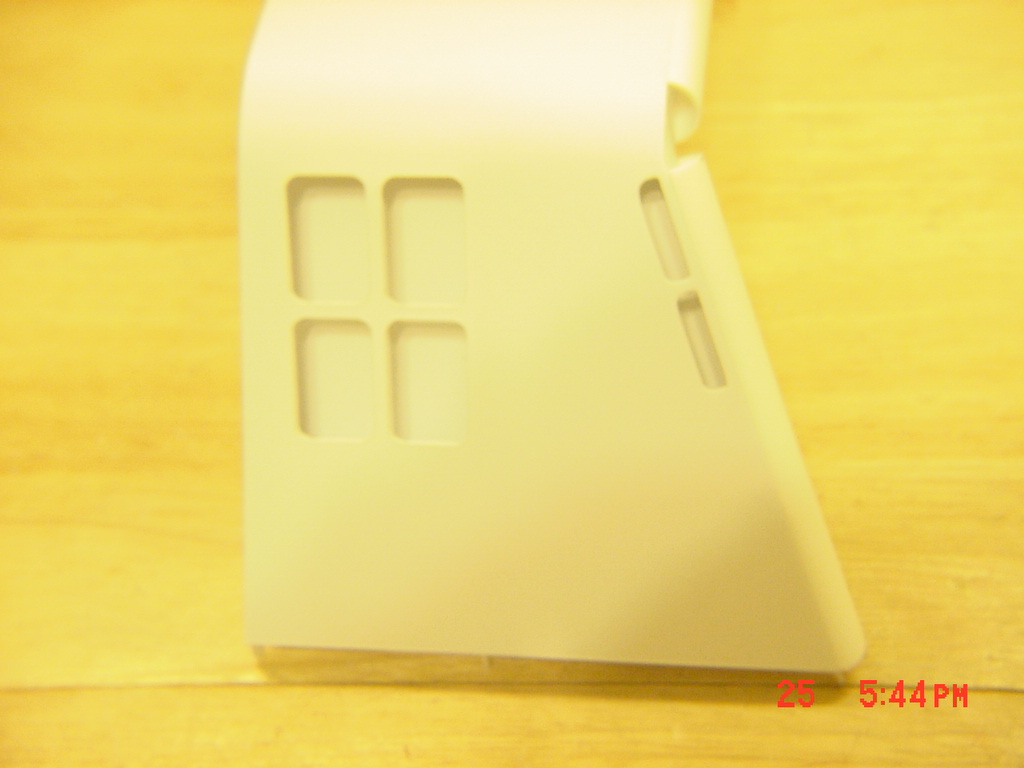
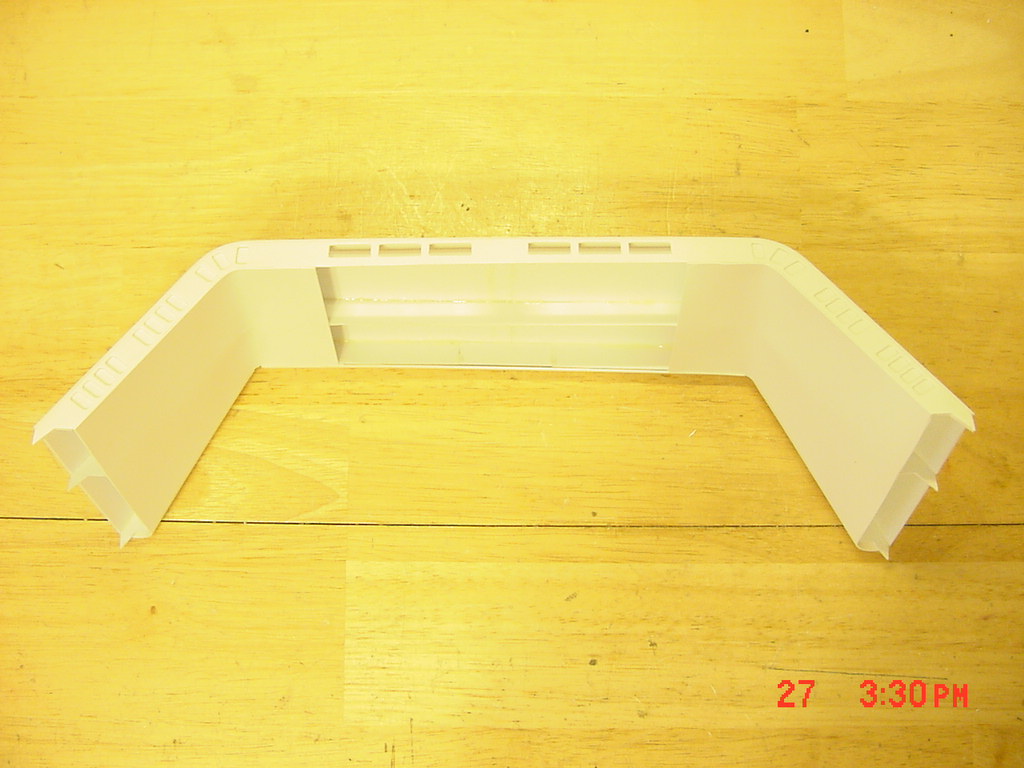
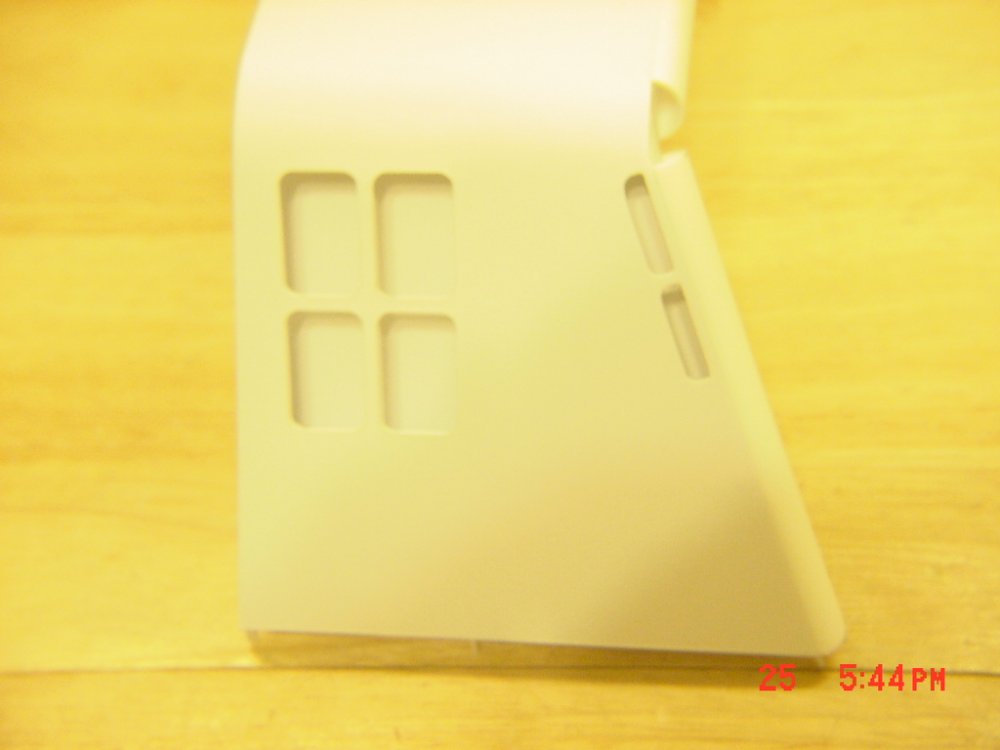
Thanks 505! I'm getting bored building it Pineapple salad - Welcome to MW and thank you! A 1/200 VF-1 standing up is 2.4 inches tall. A figure is about 8mm tall. UPDATE 27 APRIL 09 Most of my work has been on the sail and the funky towers going on top of it. The most complicated (and detailed one) I'm hitting first, the tactical bridge. I'm forming the towers by vacu-form to make them light! These sit at the very top and have to be light to keep the center of gravity down. The sail bottom is left off so I can put the deck with people and crane components in it. Not a lot of pictures, but LOT of sanding and a lot of measuring/shaping. That's it for now. - MT

-
Thanks wolfx! The detail (and cost) lack somewhat to be appreciated. - MT
-
I actually use acrylics for details and enamels for large areas (rattle can when I can). Don't forget there are Acrylic AND Enamel overcoats you can use. If you make decals, you overcoat it normally with an acrylic spray. For overcoats ALWAYS experiment with whatevr will go underneath. Just like not every clothing manufacturer's sizes match, paint manufacturer's formulations vary too! - MT
-
Excellent work! - MT
-
Looks great! The rotors remind me of the EC-135 a little. I'm afraid mine may sit around a while longer. I've got studies AND this six foot long ship to complete! Keep it up, we want to see how it comes out! - MT
-

Whats Lying on your Workbench MKIII
MechTech replied to HWR MKII's topic in Hall Of The Super Topics
Looking great everyone! It's good to see some quality love for the Nichimos TSP! I'm not biased or anything - MT -
Thanks guys! I already have a few of Guliver's 1/200 models. You DO need a magnifying glass to read all the "do not steps" and other details! - MT
-
Whats Lying on your Workbench MKIII
MechTech replied to HWR MKII's topic in Hall Of The Super Topics
Great job Kylwell! The lights and surface add some realism to it! - MT -
Looks great! The weathering is a nice touch. - MT
-
You are definitely talking to the wrong group! There's probably people here that ordered their kit before they checked to see if there was enough money for food left over - MT
-
Vifam7, is that the 1/200 Takara model, or another gashapon? Thanks!- MT
-
That's cool! It's even got a "bottoroid" mode too! - MT
-
Mold release compound is usually an oil or wax based compound. I doubt it's that, though I'm not a total expert on the subject. - MT
-
You have two ways to go with your lighting: 1) Use LEDs and fiber optics. The fiber can be fed from one light and the end lenses can colored to what shade you need. 2) If you want my two cents, go to a thrift shop/charity shop and buy electronics REALLY cheap. You cn use TINY surface mount LED's like you find on electronics boards (think thumb drives, tiny radios). They can be glued right into where you need them and fed with hairline wires. Like Big F said, just etch a channel to fit the wires into and paint over them! I've done lots of LED work on my Daedalus. I've collected a small bag of small surface mount LED's for things like aircraft navigation lights (and red and green are VERY common). - MT
-
Whats Lying on your Workbench MKIII
MechTech replied to HWR MKII's topic in Hall Of The Super Topics
As soon as you can get me the valk money (that much per month - and I don't spend it on a valk) I'm in ! - MT -
Looking great! My son wants the green one and my daughter wants the blue one - MT
-
Three suggestions: 1) Mop up the floor with a DAMP mop, clean it occasionally. 2) Wax or coat the floor with a finish. 3) Get on some protective gear and CAREFULLY clean out your computer which is kicking AND attrarcting dust like crazy! I've got some allergies and these are recomended solutions for some. - MT
-
I gotta say it, "there's no school like the old school!" - MT
-
Sorry I missed this earlier! My children LOVE to watch Macross with me. Do they like it? Whenever mom goes out, they BEG me to play it. Has it influenced their lives, let's see, my daughter has a 1/6 Minmay (green polka dot - cheaper version). It's prominently displayed in her room when not being played with. My son has several 1/200 gashipons, a couple of Legios toys (Robotech), a regult, and three of the 1/72, Matchbox sized destroids (thanks again Godzilla)! He's got an assembled 1/20 Scopedog model too (but we haven't seen Votoms yet). Maybe when he's older! My sister and wife jokingly accuse me of "contaminating" the children. Since Macross came out, my parents knew ALL about it (wether they wanted to or not) What did I get for my 30th birthday (A LONG time ago), a bunch of Macross re-issued models! In my house, if the choice is put up between Star Wars and Macross, "the Force" doesn't stand a chance! - MT
-
I've seen pictures of a young girl selling Dim Sum somewhere else before ... Maybe this is a custom for us "old schoolers." Personally I'd just like to order the Dim sum I'm running out of room for models! - MT
-
Whats Lying on your Workbench MKIII
MechTech replied to HWR MKII's topic in Hall Of The Super Topics
007 - This was my first attempt at casting: latex rubber molds and Polyester resin (think fiber glass) from twelve years ago! It is actually 1/72nd scale. My 1/48th scale one was left 50% done. It is an all styrene poseable model with poly joints. There would be more people making these, but there's that stupid threat of a looming lawsuit. Ask a couple of fellow MWers about that one. If there was a way around it, I'd do it! - MT -
I forgot all about those. It's not in my scale, but I know there WAS a lot of interest! - MT
-
Thanks for that update Jenius! I loved the review on your site and I'm glad we're getting more for our money (though costing more of it) with this wave (I posted accordingly). Waiting on wave three...! - MT
-
Parker, You should be able to find anything modern in 1/48th:http://www.modelzone.co.uk/tamiya_us_modern_elite_infantry_with_accessories-details.htm Don't forget Preiser too! I'm the one who picked a scale that hardly has any new releases (of course my pocketbook complains less too ). - MT