MechTech
-
Posts
4702 -
Joined
-
Last visited
Content Type
Profiles
Forums
Events
Gallery
Everything posted by MechTech
-

Whats Lying on your Workbench MKIII
MechTech replied to HWR MKII's topic in Hall Of The Super Topics
That's one board member that will never rank "Alaska Base Survivor!" Nice work. I too think it looks like the bad guys got the drop on him.- MT -
Neptunesurvey - I hadn't considered casting them on large scale. The other planes are way too large. The VC-33 would not be a problem if there are serious interests. Thanks RuskiiFaussi! - MT
-
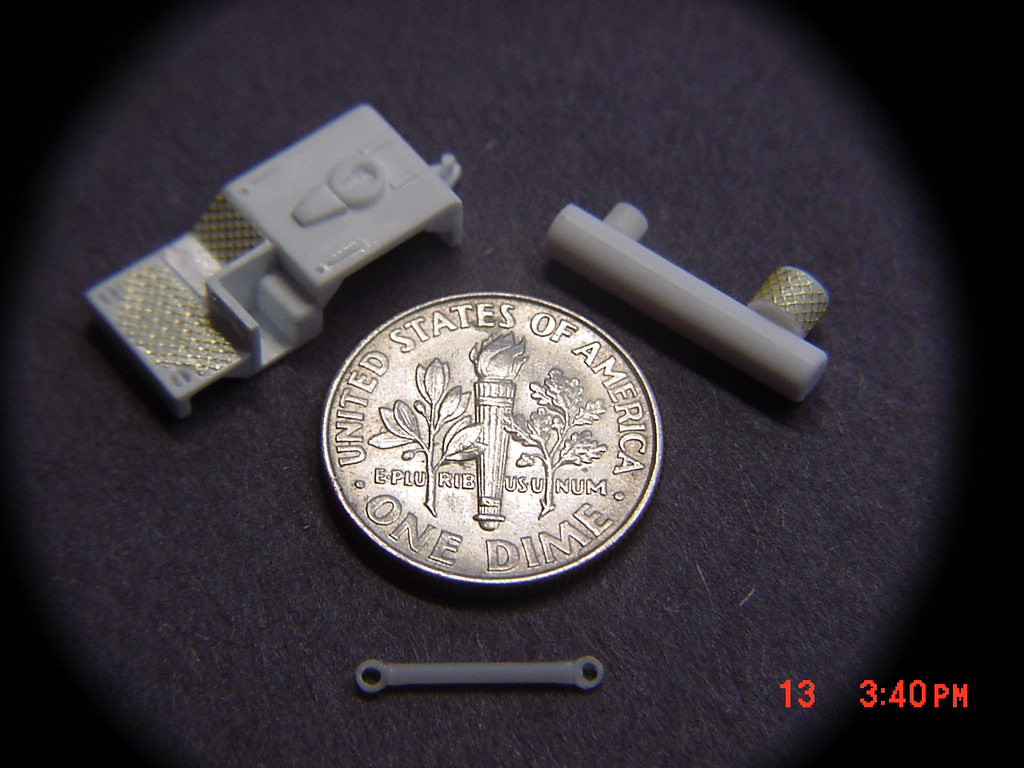
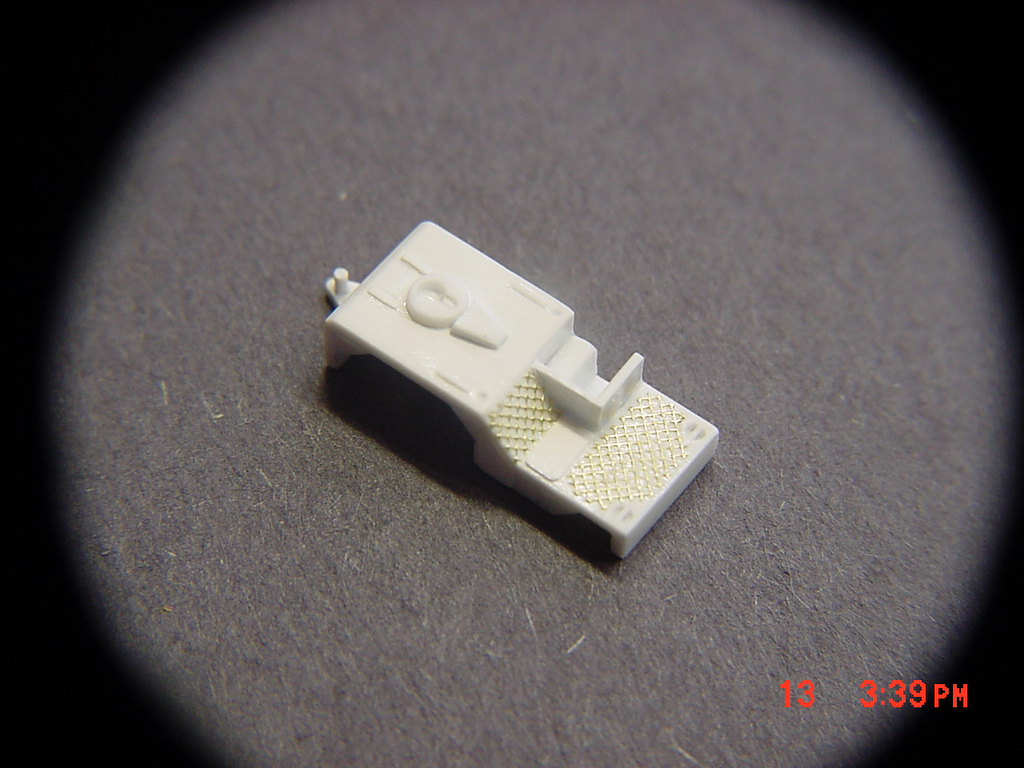
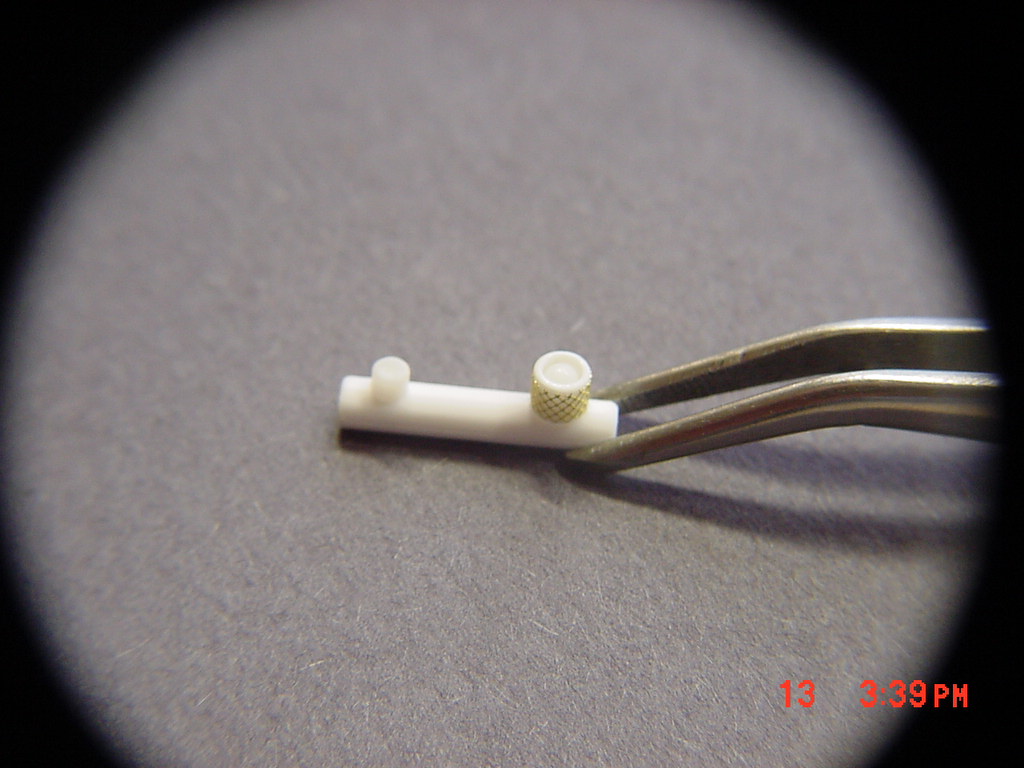
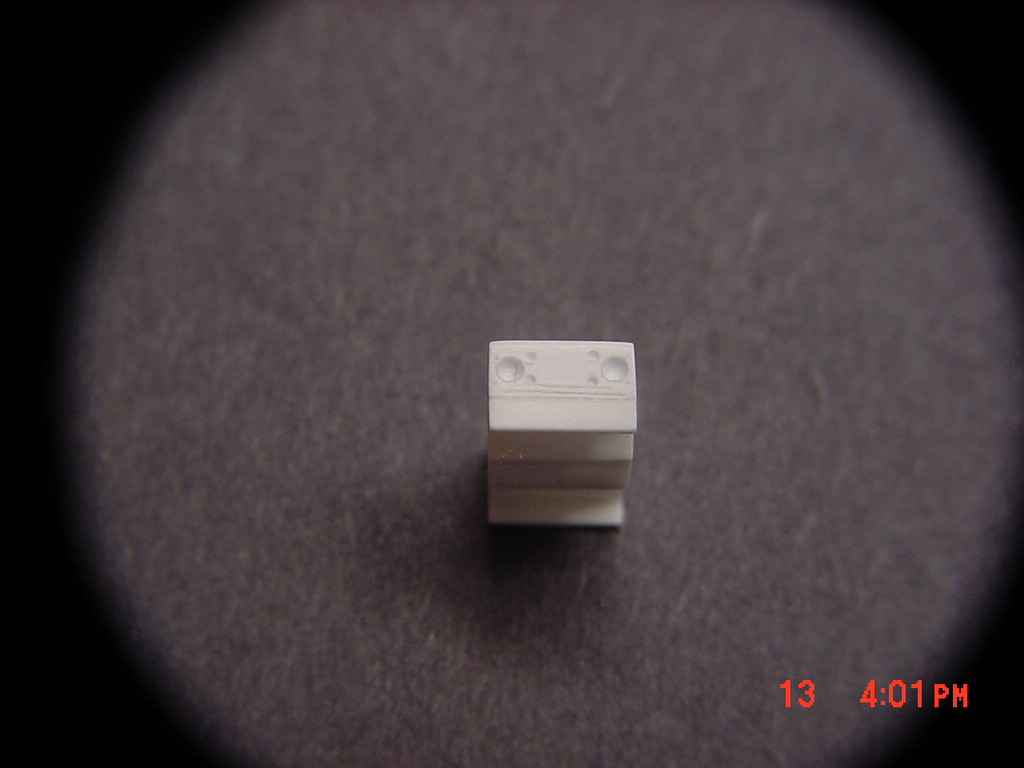
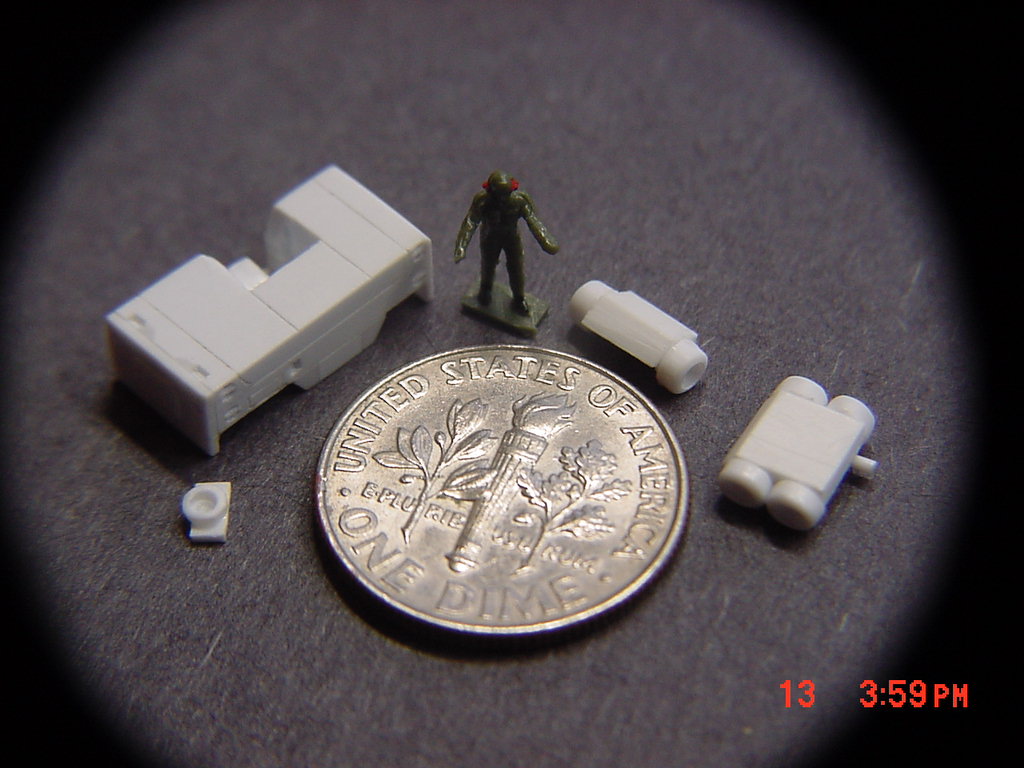
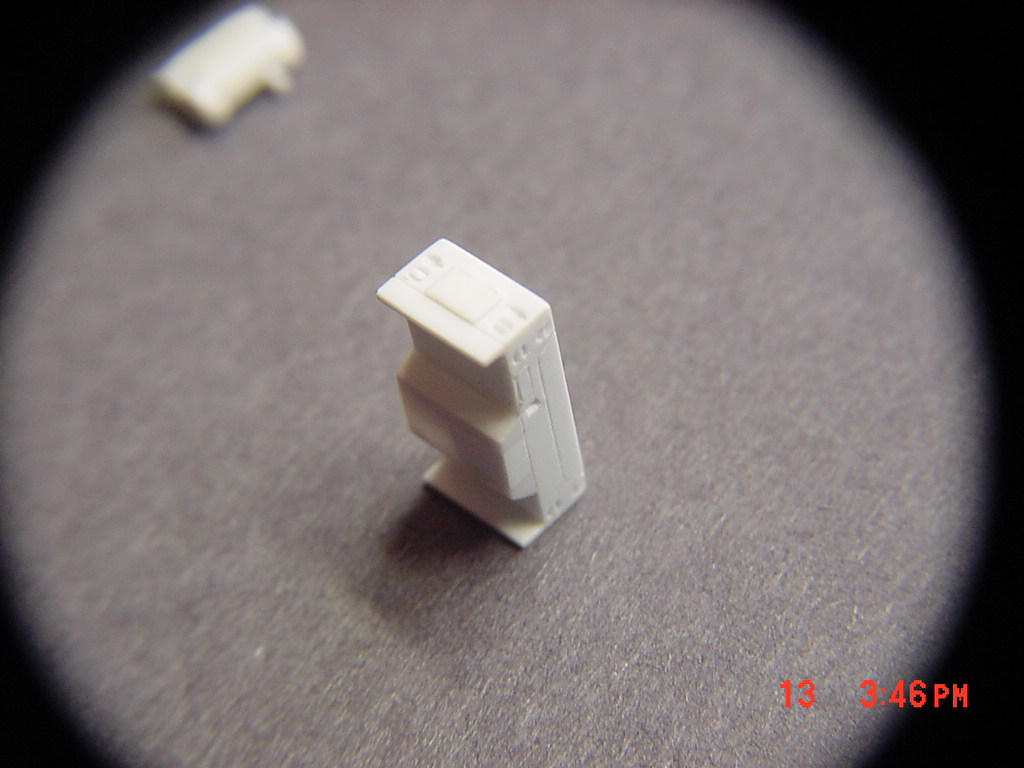
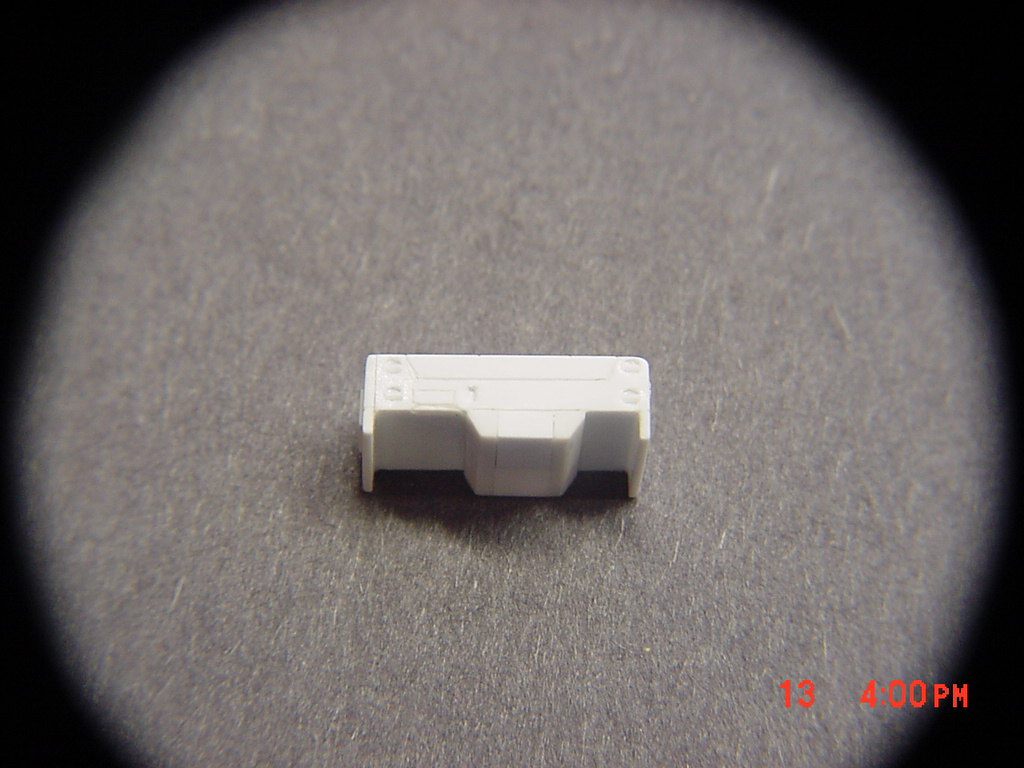
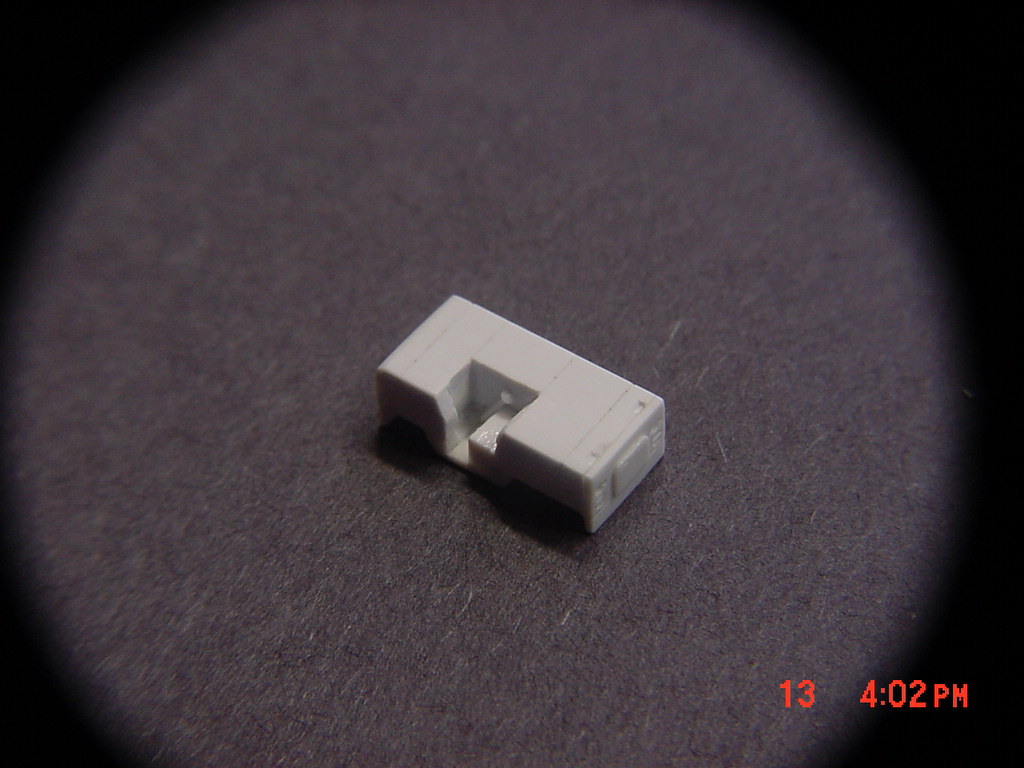
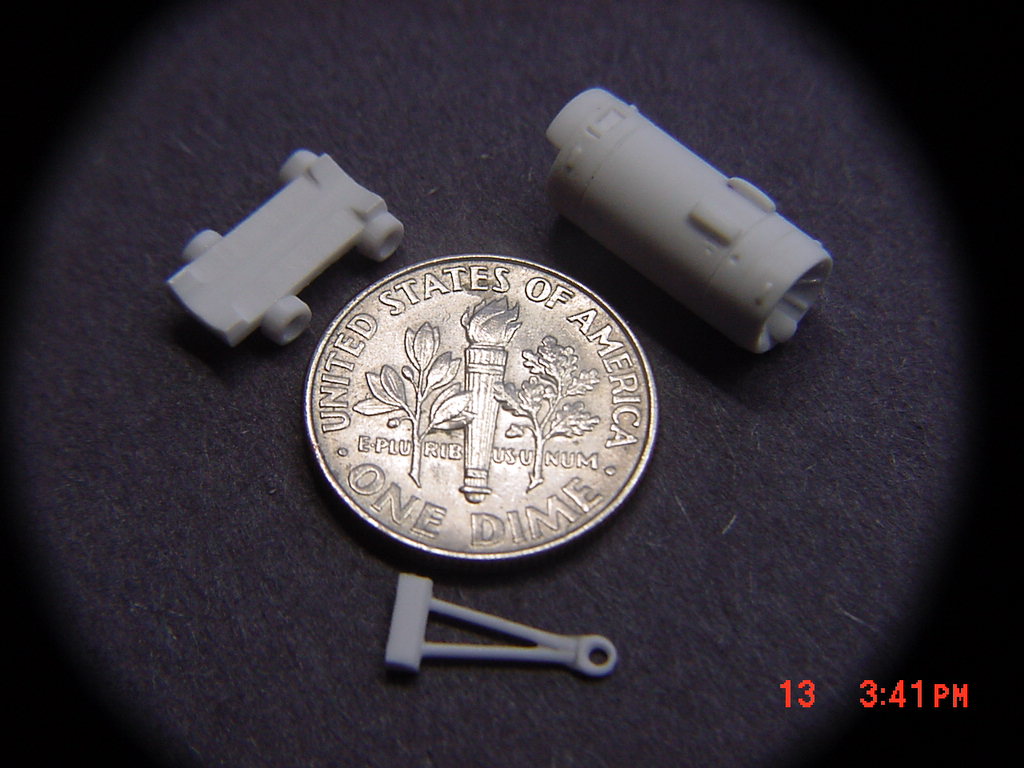
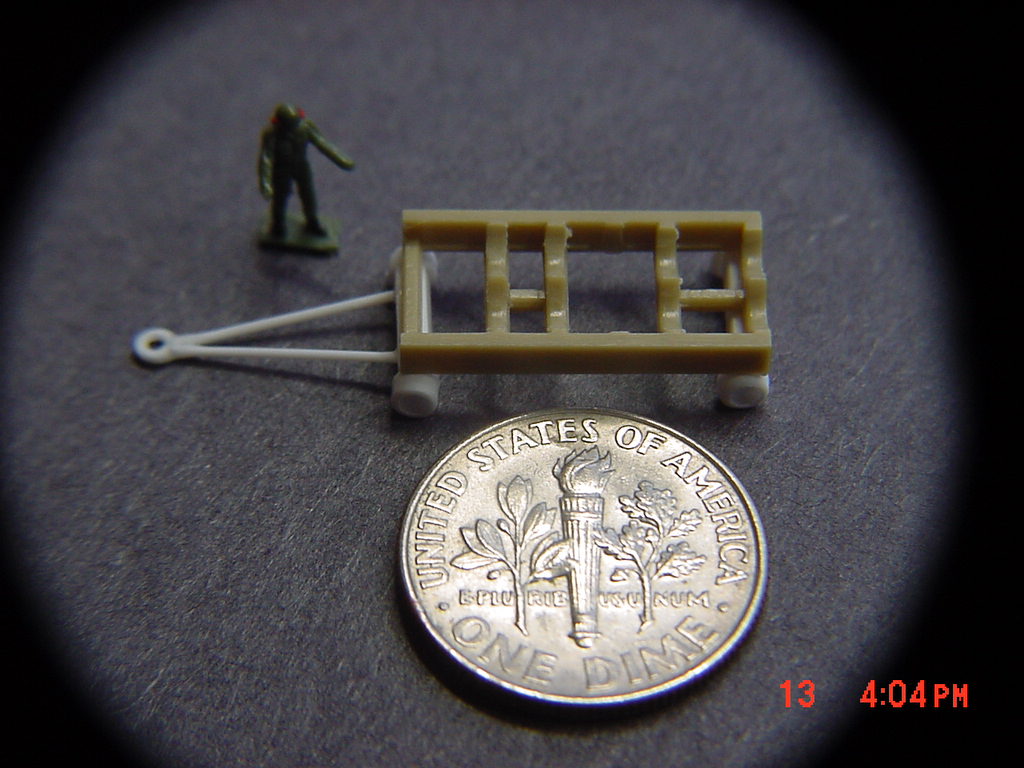
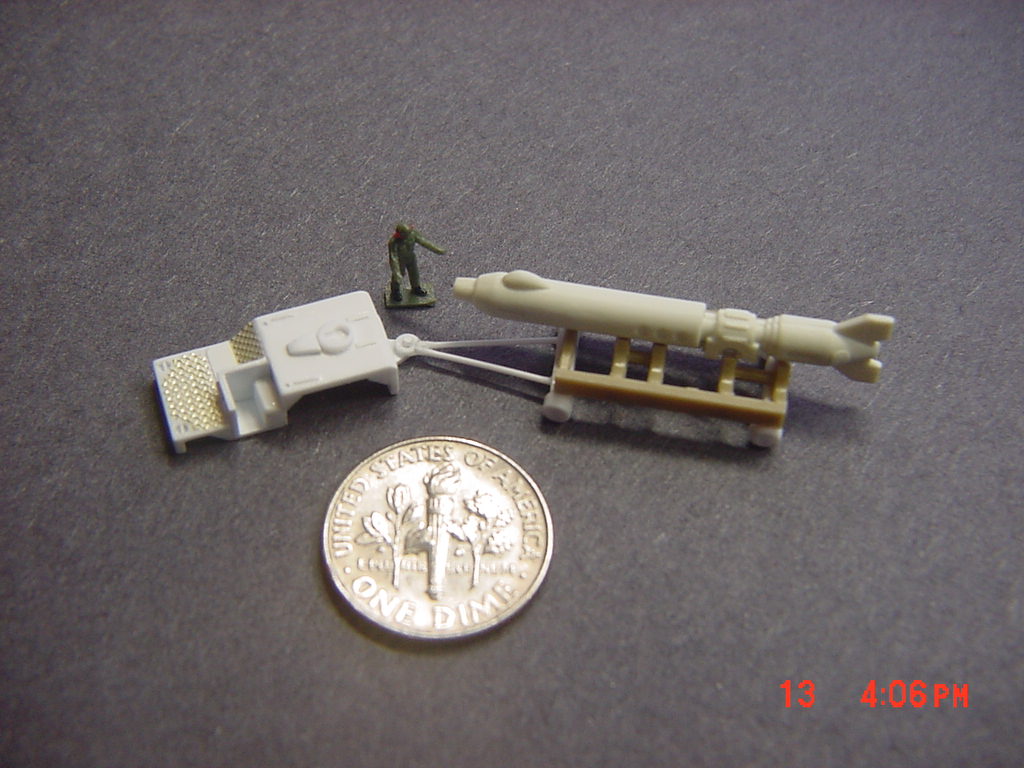
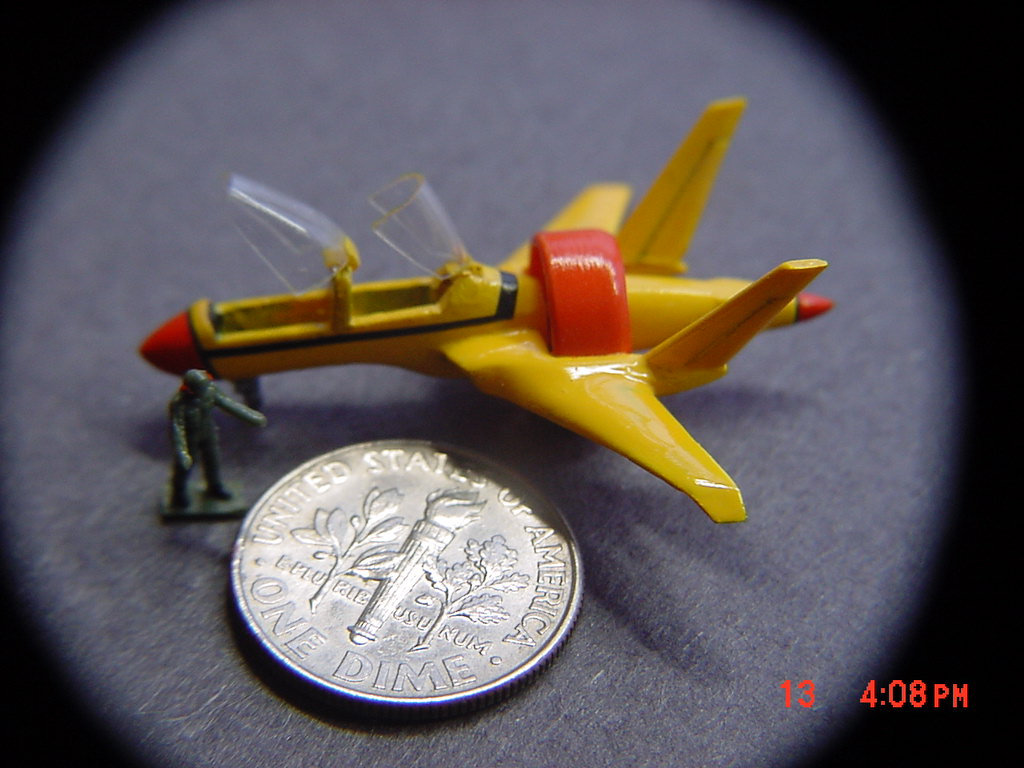
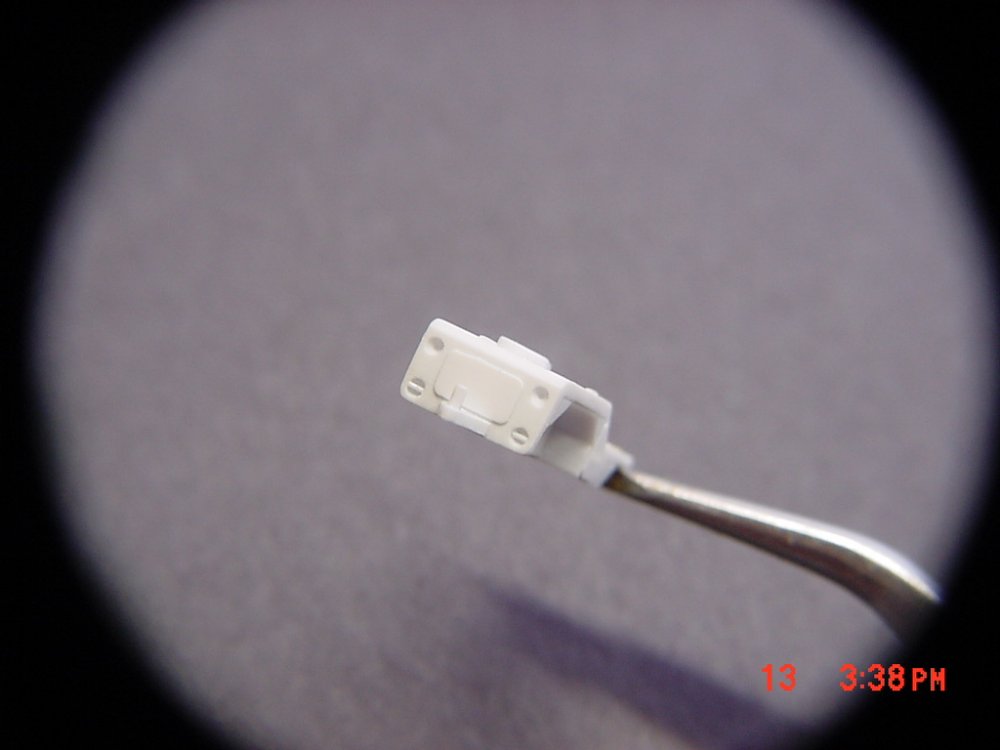
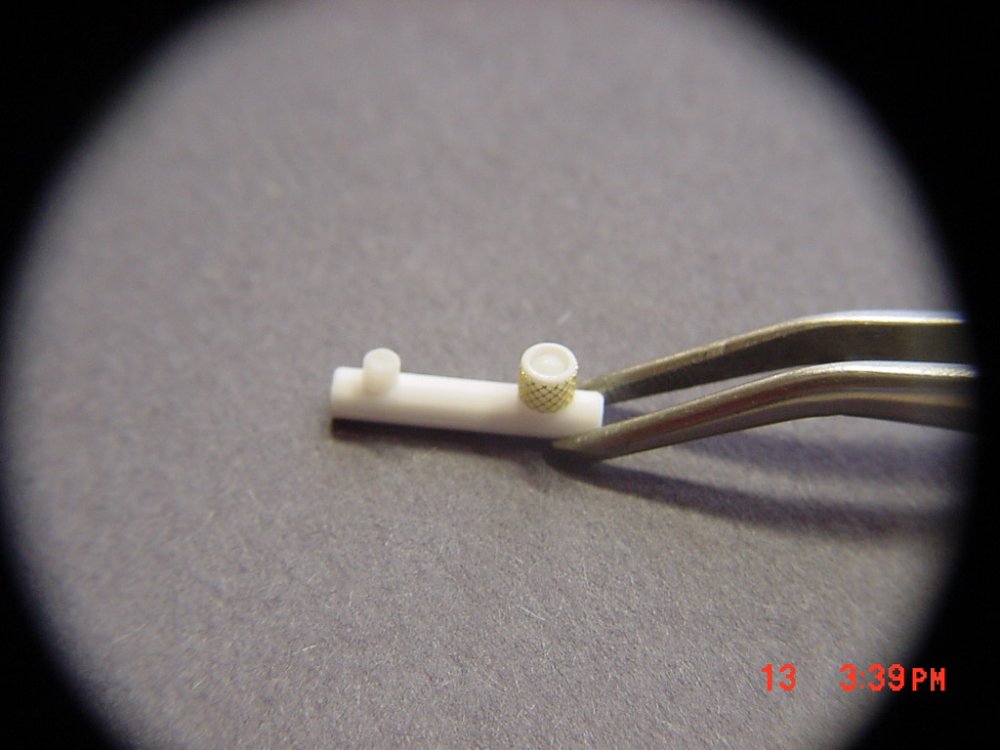
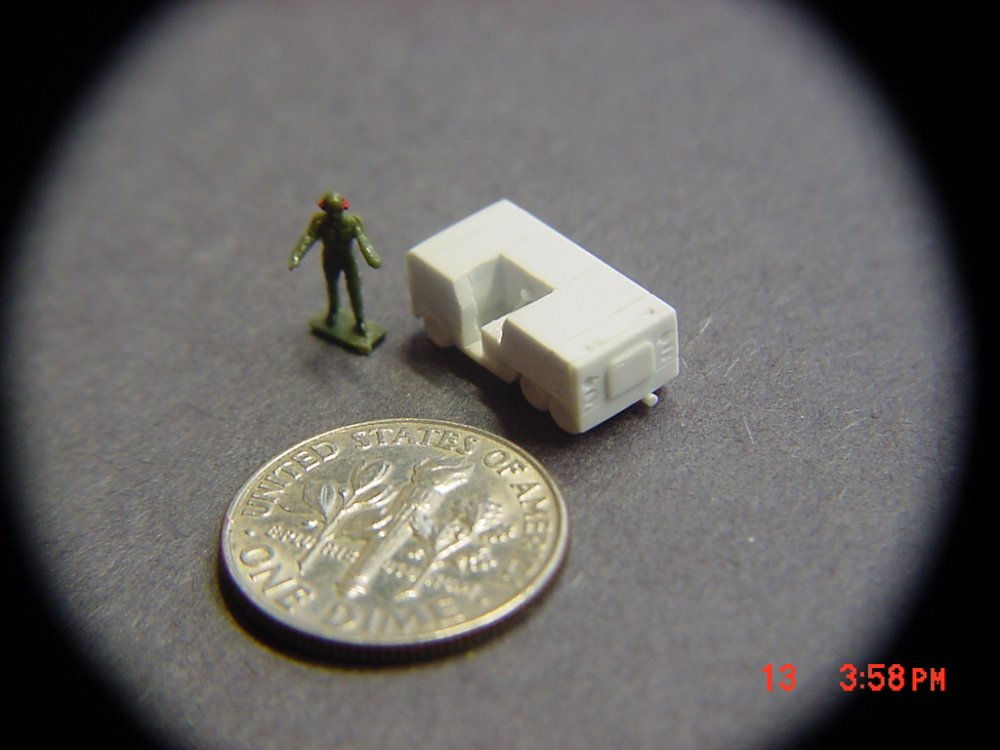
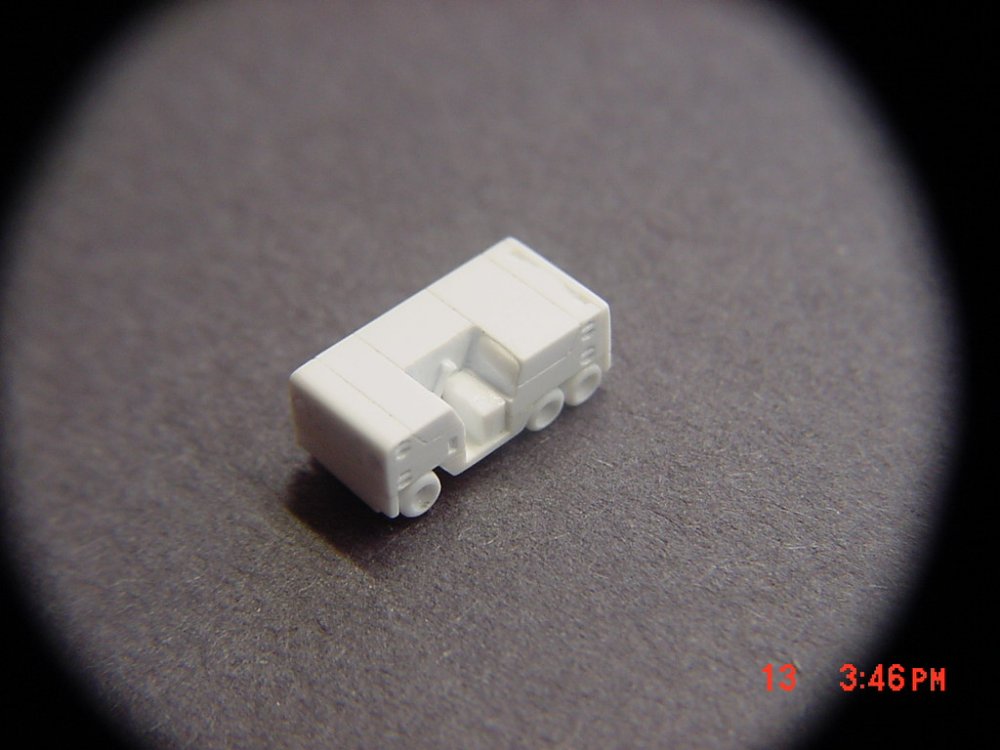
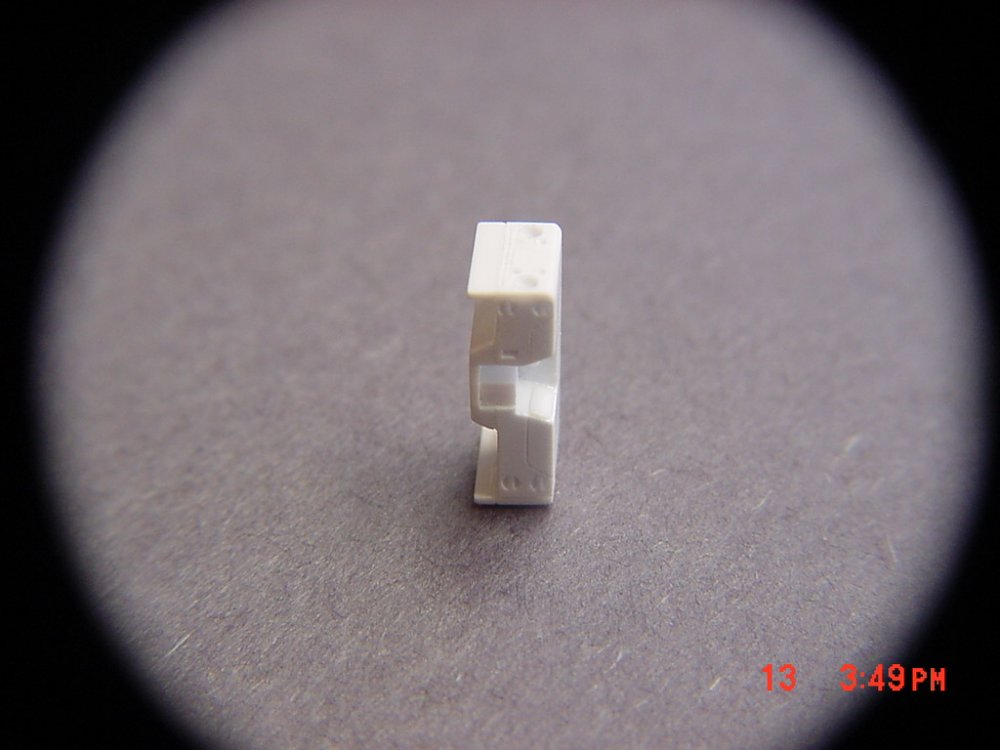
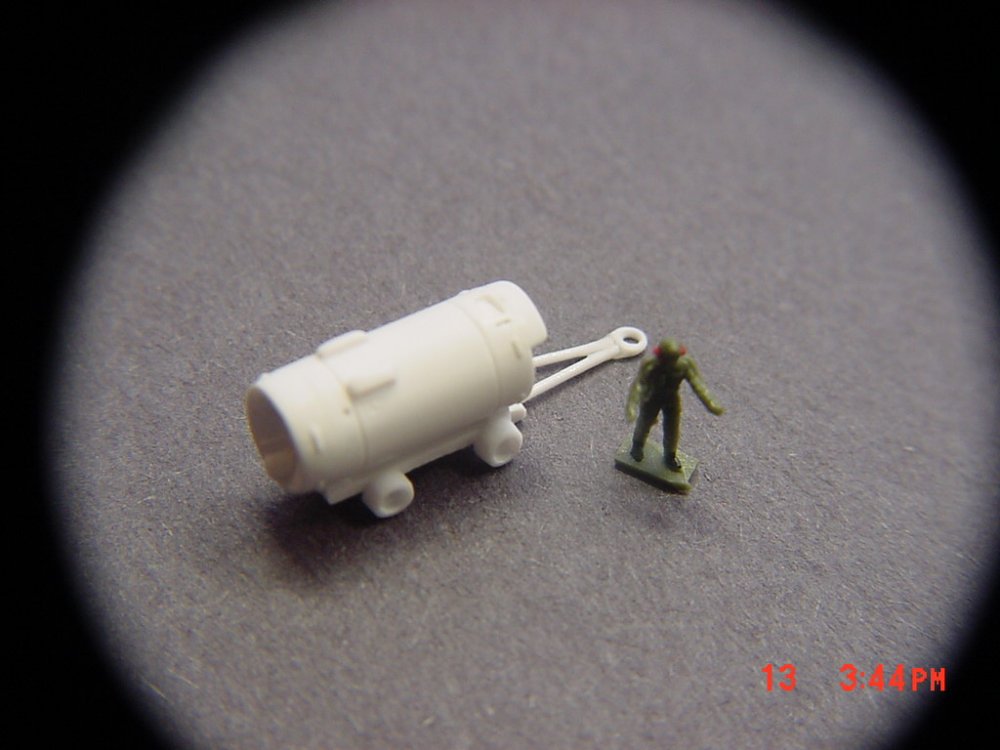
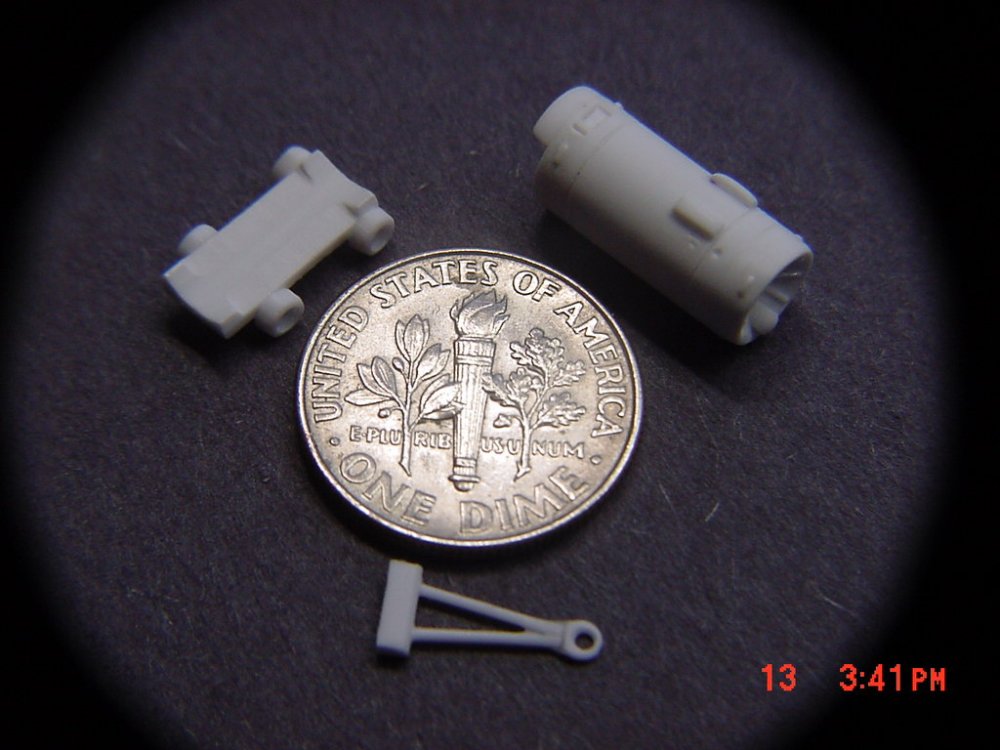
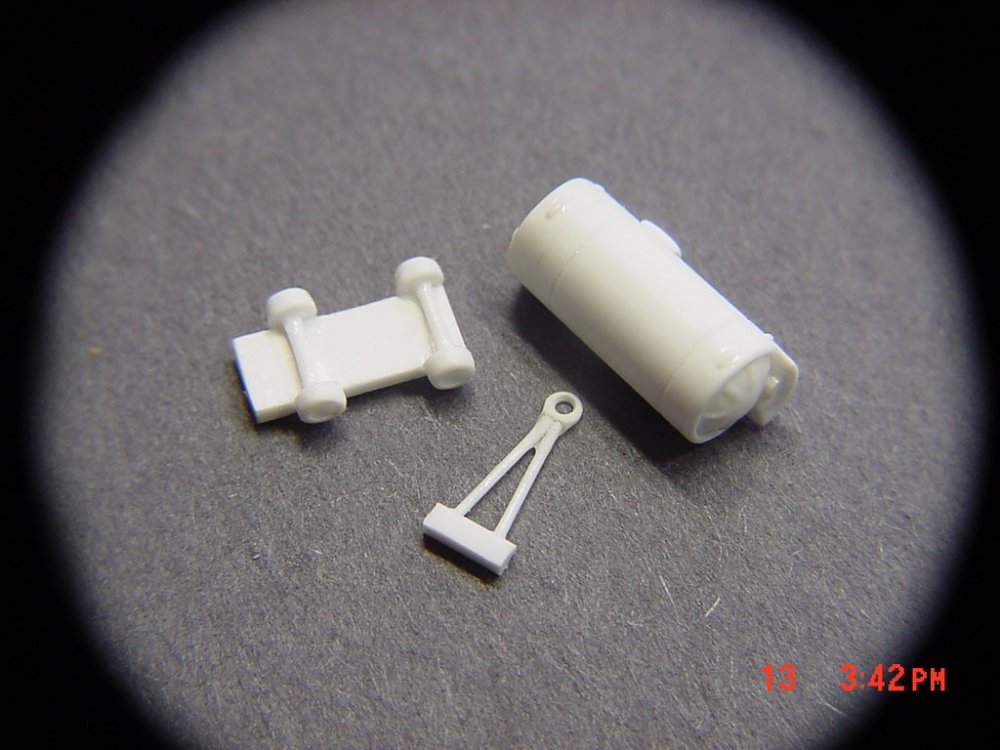
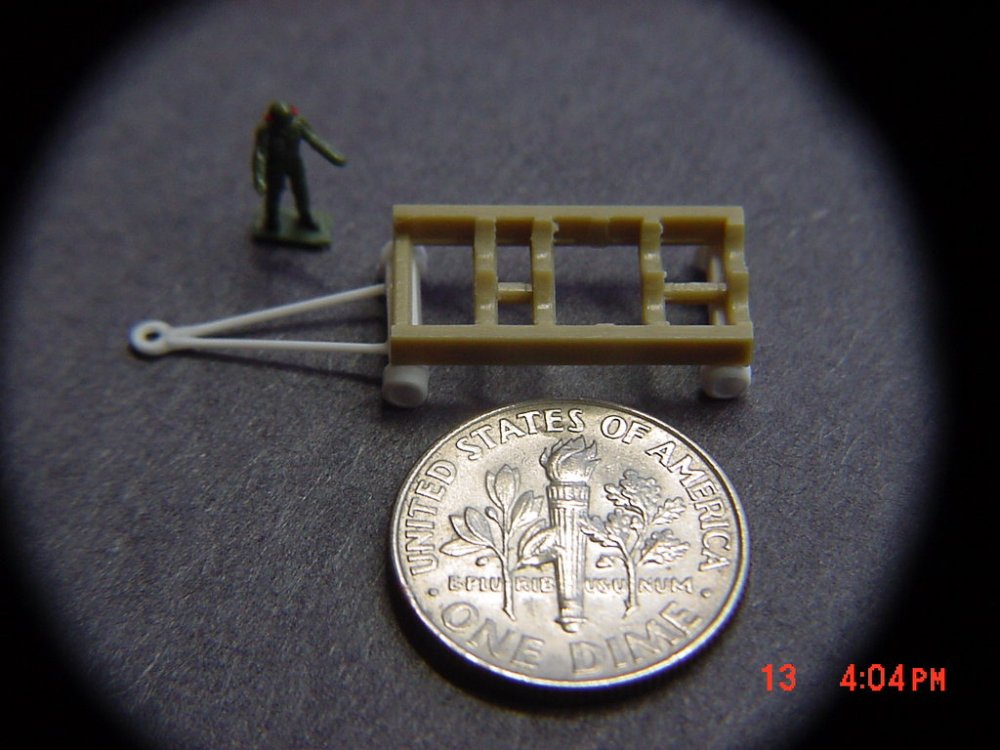
Since no-one is probably ever going to make the ground support vehicles in 1/200 scale, I'm making them for my Daedalus and to accessorize my other models. I will make extras and probably sell them pretty cheap ($15.00 for the set). Please let me know if your interested. These are not primered because the paint would cover the details! So ignore the seem lines, they will NOT show up in molding. I will mold them in color. The question is what colors? The AGE Truck is seen as yellow, red and green in various parts episodes. Production won't be for a couple of months since I'll be on vacation for a while. Here's some photos: The tug steering wheel/dash borad (with indicators) fell on the floor and has vanished ! I'll be making a new one. Note the tow bar goes short-wise across the tug when it is stowed and not in use. The AGE Truck has all the parts intact. I was going to build it with the rear open, but the wires coming out would keep it from sitting on the ground flat! [atta chment=74185:AGE_Truck_Side.JPG] Here's the tank cart (I believe for oxygen). And what would your fighter be without a gunpod? I'll be making a proper gun pod, this one is a Nichimo prop for concept. All of the models have been painstakingly built to the line art. My closeups accentuate the stray marks that you won't see with the naked eye. Sorry, you will have to purchase your own ground crew, but I can direct you to a few vendors. The green dude is a Herpa 1/200 military ground crew member. Any feedback is welcome as always. I'll be in So. California during the holidays. I'll be bringing these with me in case anyone is interested and in the neighborhood. Have a Merry Christmas everyone! - MT


-
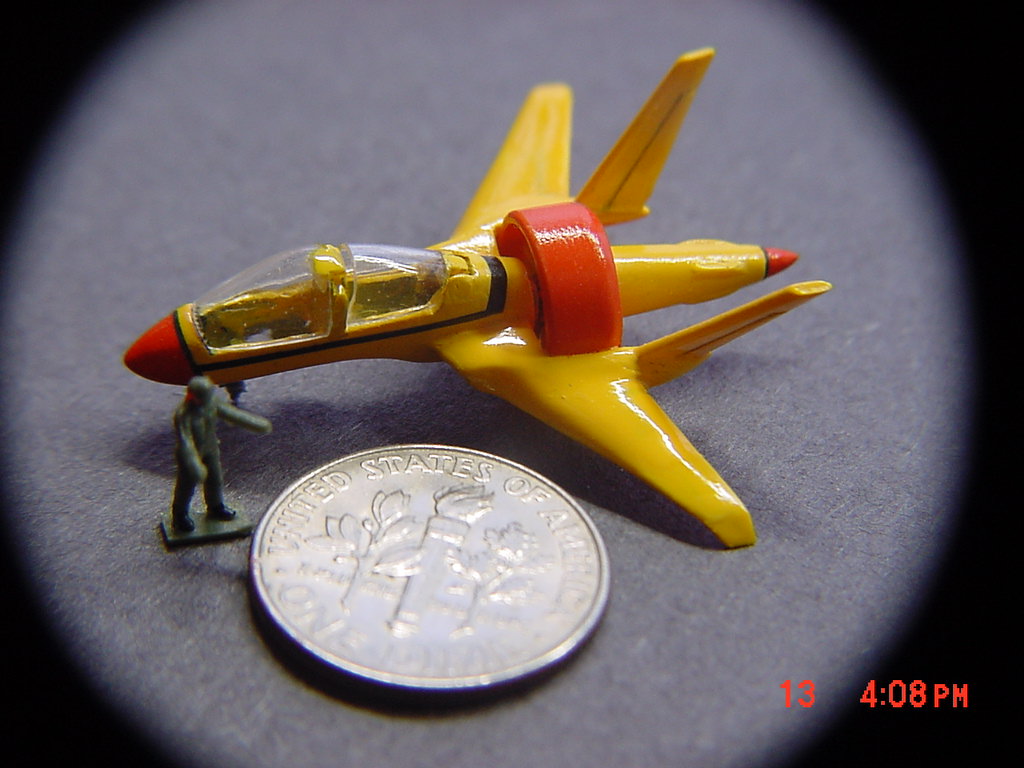
After a couple of years of staring at the yellow pile of pieces called the fan liner ("modifications" done by my daughter), I decided to begin fixing it. I'm still praying Yamato releases the 3rd 1/200 set which is supposed to have one in it (e-mail and beg them ). I still need to do some scribing and redo the landing gear and doors. The canopy height was lowered to make it more accurate. It may not be another couple of months until I get back to it. - MT


-
A MAJOR THANK YOU Graham for checking into this! Let them know there are some fanatics out there in 1/200 scale. In fact, I belong to a group of 1/200 scale modelers. I'll have them put these in there newsletter if they decide to release! I'm working on all the ground vehicles to go with these. I'll post some pictures and hopefully mold some after the holidays. - MT
-
Ditto! I've looked at all the usual places and cannot find any updates still. I'm hoping this has not died. You know, they can still release these in time for Christmas! - MT
-
Whats Lying on your Workbench MKIII
MechTech replied to HWR MKII's topic in Hall Of The Super Topics
Ron - you really did "finish off" that kit - but good! Did you feel better after making all those holes in it Nice affect and more original! You do need some forest animals, some bird poop, ivy. That would look very original. Kinda like the robots laying around in "Castle in the Sky." - MT -
Superb work on the hand tiger striping. I also like the various tiger meet paint jobs. The weapons and evaluations equipment is very believable (besides the whole giant transforming airplane thing). Awesome job over all. - MT
-
I just saw this - Awesome build up. Your model looks great with the clear canopy too. Valks look good in almost any media. Hmmm, old beer bottles and some concrete??? - MT
-
Wow! It's been about eight months! Has anyone heard any news on the 3rd box set yet!? I'm afraid they may drop it and it's probably one of the coolest sets yet! - MT
-
I guess you can just call me a hoarder - PERIOD I haven't sold any of my kits at all. I collect for doing projects (like the Daedalus) and then build them when I get a chance. I usually give away any kits that I don't get to building (ONLY non-Macross kits). I think one of the awesome things about America is the freedom/ability to do what you like with your property. If you want to trade your Yellow Sub 1/48 Perfect Detail Valkyrie for a house, and you find some sucker to trade you for it, that's just fine. Free commerce and competition is what makes a better product. - MT
-
Like Iphinome said. Try looking at Hobby Link Japan for Kotobukiya, Fujimi, and Yellow Submarine joints. They make them in all different shapes/functions. That's what they were designed for - scratchbuilding. Hope that helps. - MT
-
Beautiful rooms and build! VERY NICE! Hang in there with the build! - MT
-
I'm glad you're back on this. It looks awesome! Please finish it off and update us! - MT
-
Those ARE beautiful! And I left 1/100 for 1/200. Maybe 1/100 will take me back in The grass is always greener... - MT
-
I'm glad to see your back on it after a slight break. Out of your numbered list of improvements, I think you need a #8: Optional Garage to put said model in I'm glad to see the posts. Keep 'em coming! - MT
-
So what's the BBQ sauce for? Thanks! I've got an old VT-1 I'm thinking of bleaching out. - MT
-
AWESOME work! I don't do much 1/72 scale anymore, but even I'm interested. - MT
-
Whats Lying on your Workbench MKIII
MechTech replied to HWR MKII's topic in Hall Of The Super Topics
1/60th figures AND the ominous vending machine! That away to make everyone over in Asia jealous - FINALLY! I was wondering when you were going to do that! - MT -
It even looks good on top of the trash can Nice custom. Now you just need a bunch of deck hands waving their bandannas! - MT
-
Nice creativity! I built a 1/72nd Bandai valk similar to that. Just one shoulder cannon though. You can never have enough armament in space - where no one can hear you scream - MT
-
Good news! Everything of mine arrived the thousands of miles safely here and we're in a BRAND NEW HOUSE thank God! The bad news, it's so new, there won't be any communications cables to my house for the next couple of weeks to a month! I'll be working on it though in the mean time! Take care everyone! - MT
-
That thing is basically 1/200. I had the Matchbox model too. It sure weighed enough! That mint green looking color is just not right - MT
-
Whats Lying on your Workbench MKIII
MechTech replied to HWR MKII's topic in Hall Of The Super Topics
Size does matter with Macross! The F-14 looks awesome! Nice shading & lining. - MT -
I scratch built one in 1/100 and YES, this thing will be BIG! The 1/160 kit will not touch this size wise. I love the detail and posability if these proto pictures say anything! It's on my wich list too-always have a spare (even though I build 1/200 mostly). - MT