

wm cheng
-
Posts
4296 -
Joined
-
Last visited
Content Type
Profiles
Forums
Events
Gallery
Everything posted by wm cheng
-
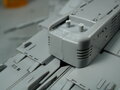
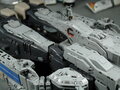
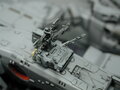
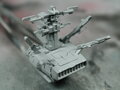
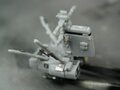
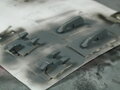
From the album: Wm_cheng's 1/3000 Yamato SDF-1 repaint
-
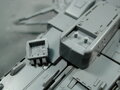
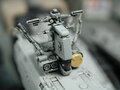
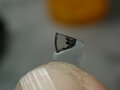
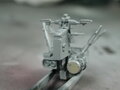
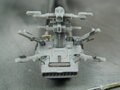
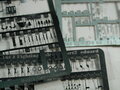
From the album: Wm_cheng's 1/3000 Yamato SDF-1 repaint
-
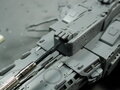
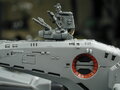
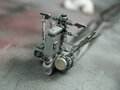
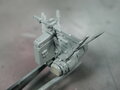
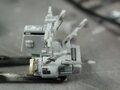
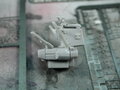
From the album: Wm_cheng's 1/3000 Yamato SDF-1 repaint
-
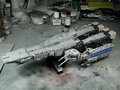
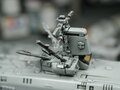
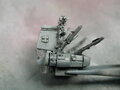
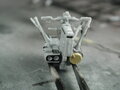
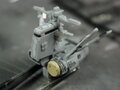
From the album: Wm_cheng's 1/3000 Yamato SDF-1 repaint
-

From the album: Wm_cheng's 1/3000 Yamato SDF-1 repaint
-
From the album: Wm_cheng's 1/3000 Yamato SDF-1 repaint
-
From the album: Wm_cheng's 1/3000 Yamato SDF-1 repaint
-
From the album: Wm_cheng's 1/3000 Yamato SDF-1 repaint
-
From the album: Wm_cheng's 1/3000 Yamato SDF-1 repaint
-
From the album: Wm_cheng's 1/3000 Yamato SDF-1 repaint
-

From the album: Wm_cheng's 1/3000 Yamato SDF-1 repaint
-
From the album: Wm_cheng's 1/3000 Yamato SDF-1 repaint
-
From the album: Wm_cheng's 1/3000 Yamato SDF-1 repaint
-
From the album: Wm_cheng's 1/3000 Yamato SDF-1 repaint
-
From the album: Wm_cheng's 1/3000 Yamato SDF-1 repaint
-
From the album: Wm_cheng's 1/3000 Yamato SDF-1 repaint
-
From the album: Wm_cheng's 1/3000 Yamato SDF-1 repaint
-
From the album: Wm_cheng's 1/3000 Yamato SDF-1 repaint
-
From the album: Wm_cheng's 1/3000 Yamato SDF-1 repaint
-
From the album: Wm_cheng's 1/3000 Yamato SDF-1 repaint
-
From the album: Wm_cheng's 1/3000 Yamato SDF-1 repaint
-
From the album: Wm_cheng's 1/3000 Yamato SDF-1 repaint
-
From the album: Wm_cheng's 1/3000 Yamato SDF-1 repaint
-
From the album: Wm_cheng's 1/3000 Yamato SDF-1 repaint
-
From the album: Wm_cheng's 1/3000 Yamato SDF-1 repaint
