-
Posts
4336 -
Joined
-
Last visited
Content Type
Profiles
Forums
Events
Gallery
Everything posted by wm cheng
-
Argh... I keep getting false alarms (my heart skips a beat when I hear my alarm via Update Scanner) when HLJ keeps updating their Euro pricing...
-
Yes, me too! I want to correct this too, whenever I get to my next 1/72 VF.
-
This whole process is so funny... ok I'm dating myself here now. I remember (in an old fogie's voice) when I was in high school, I'd have no news from Japan whatsoever, but every Saturday morning, right after Robotech aired, my friend and I would take the subway downtown to Silver Snails (local Toronto comic book shop) to see what had come in from Japan and it was an exciting surprise! Most weeks, nothing would happen, nothing would come in, but every so often, something came in and it would be like Christmas!! I remember the first time we saw the Perfect Memory or the Gold Book (first printing!) - we weren't frustrated when nothing came in - but flash forward 27yrs later... THIS VF-25G process, with all the information we are now armed seems so much more frustrating. Argh...
-
THANKS for that great tip!
-
What a wonderful MW community! Any other takers in the Toronto area?
-
Again, too late to this thread... would anyone want to include me on their HLJ group buy list? Thanks.
-
Wow! that's twice MSRP?
-
Thanks Tober! Unfortunately I was too late... they are no longer for sale at the site ;-( Damn! I was spending time with my daughter on the weekend... I guess you can't have a life outside Macross to be a collector nowadays. (I jumped on the DRYL BluRay only to have them offer them up for cheaper a few weeks later... but it seems like they didn't offer up more DXs of the other VF-25s after the initial pre-order). This is just not fun anymore.
-
Damn! Missed this one also... here's hoping for HLJ or some kind soul on these boards here to order an extra (preferably in Toronto - I'll give a tour of my models/collection as incentive ;-)
-
Yes, I designed the robot (Jaeger Conn-Pods) head interiors - the physical sets. Do look for Macross references! I tried to inject as much Japanese Anime sensibilities as I could get away with anyways! Unfortunately, the exteriors were already conceptualized before production started and all the LA concept artists seem to come out of the same school of rendering so everything looks like every other American designed robot. Plus its ILM doing the visual effects, so we've got a bit of that "Transformers" vibe going on - but much better ;-) From an Art Dept. point of view it "looks" amazing! I have some of the concept art, but I am bound by NDAs that will take away my children if I release them! Maybe after the film is released - the new date is July 12, 2013 (on my B-Day!). Everyone go see it - support a fellow MWer... I love iO9's discriptor; "Godzilla + Voltron - Cats = Pacific Rim"
- 1207 replies
-
- Guillermo Del Toro
- Pacific Rim
- (and 10 more)
-
I HOPE TOO!
- 4487 replies
-
- VF-4 Lightning
- Yamato
-
(and 4 more)
Tagged with:
-
I agree, from plan (top) view its too needle-like, but from the side view it looks dead on! I love it so far, except that they aren't doing the FB2012 paint scheme - ok, I'll complain about that!
- 4487 replies
-
- VF-4 Lightning
- Yamato
-
(and 4 more)
Tagged with:
-
Hi all, Joined this party late... just got my very first VF-11B from that HLJ sale! I always wondered why it was more expensive than the other similar sized valkyries, but now I understand why - especially sweet when there was that sale on top. Has no one stickered up theirs and posted photos? Question, I plan on trying to scrunge up enough water slide decals to do this justice (unforunately, I think I'll have to make up the NEW EDWARS T.F.C ones - is it supposed to be NEW EDWARDS - did the Japanese just mis-spelled it?) Second question is the NO STEP stenciling, on the Yamato toy stickers, they are red like all the other VF-1 but on the Hasegawa model, they are black. Is there any "canon" on who is right? Initial impression so far: -great sculpt for fighter mode (also great for battroid which is rare!) -that forward heat shield is a bitch! scratched the paint on that pull up nib - damn! -can't get the rear landing gears out without tweezers - sits a little low or squat -best display in-flight - wish there was a stand -overall grey colour is a bit too dark - it should contrast against the fast packs, not to blend into them Hmm, funny I love this toy so much, but most of the points seem negative, I think the overall shape trumps all these points! I'll just do a quick little oil wash, a bit of weathering and sealing with water slide decals and call it a day. Might re-paint the gunpod into something more a like a military olive though.
-
You'd think FB2012 is the version they'd release on the anniversary eh?! I just don't get it. Oh, well, Graham chime in on how for sure this scheme is? I remember somewhere way back that Yamato only got the licence for VFX and not FB2012 - is that true? I wonder if a 1/72 F-14 jolly rogers decal set would be fine for the white tail skulls for customizing. +1
- 4487 replies
-
- VF-4 Lightning
- Yamato
-
(and 4 more)
Tagged with:
-

Yamato 1/3000 SDF-1 modification and paint up...
wm cheng replied to wm cheng's topic in The Workshop!
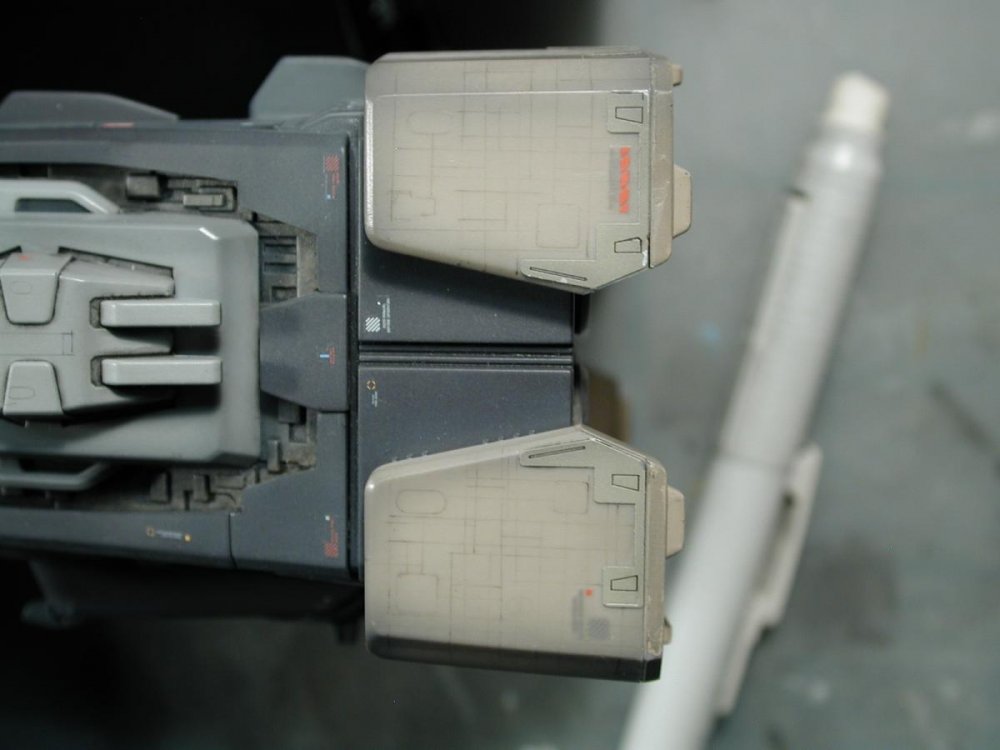
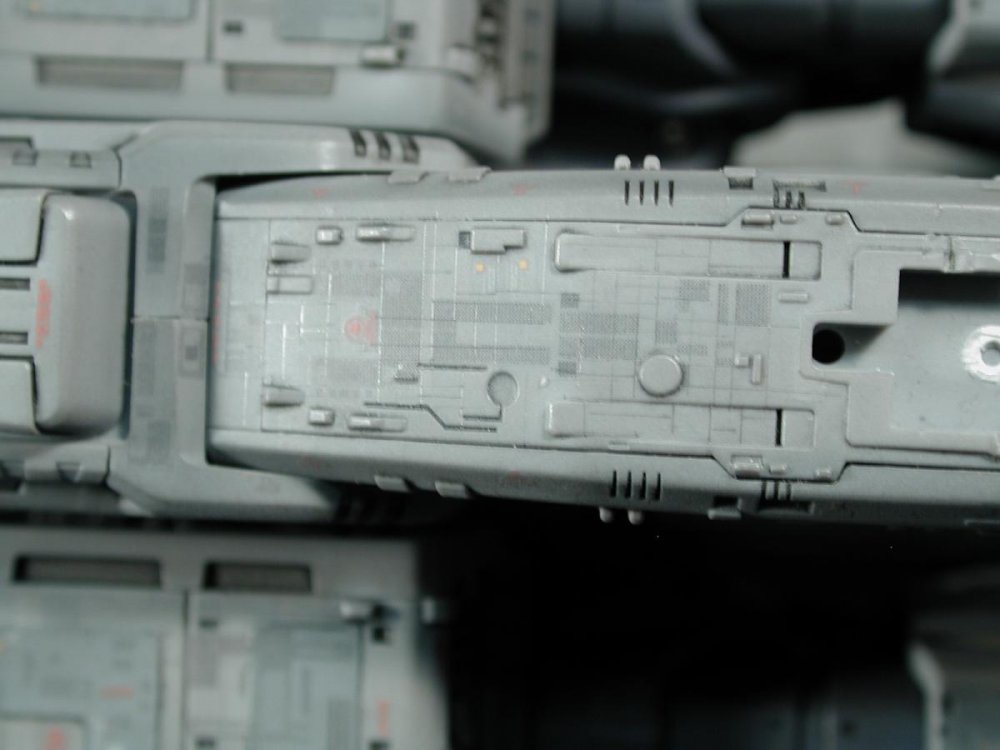
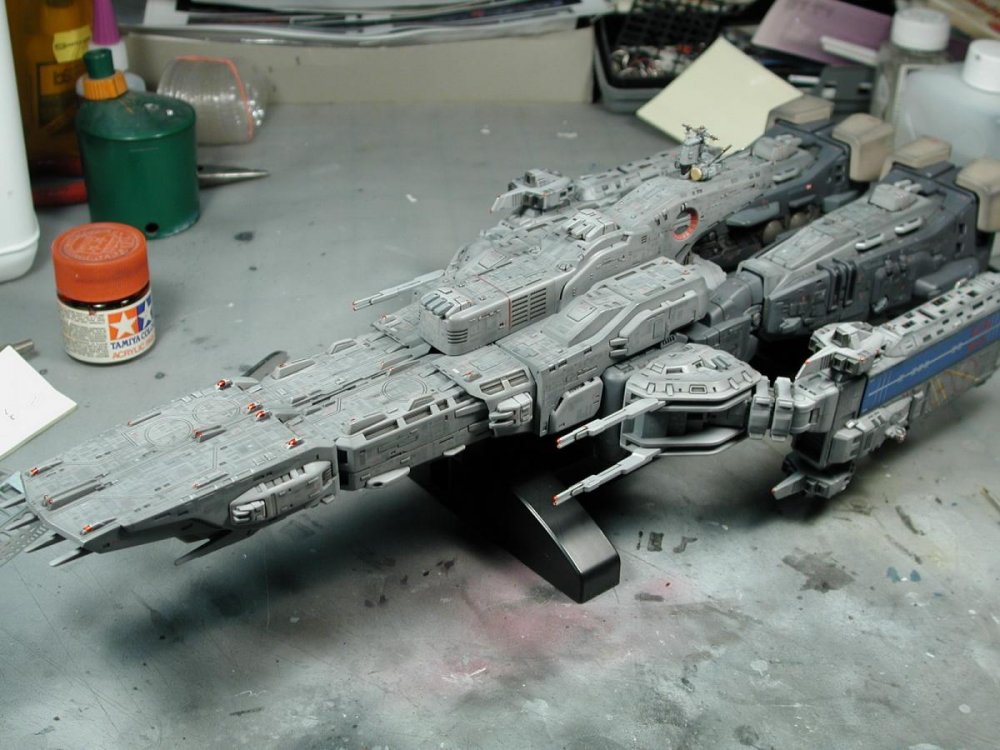
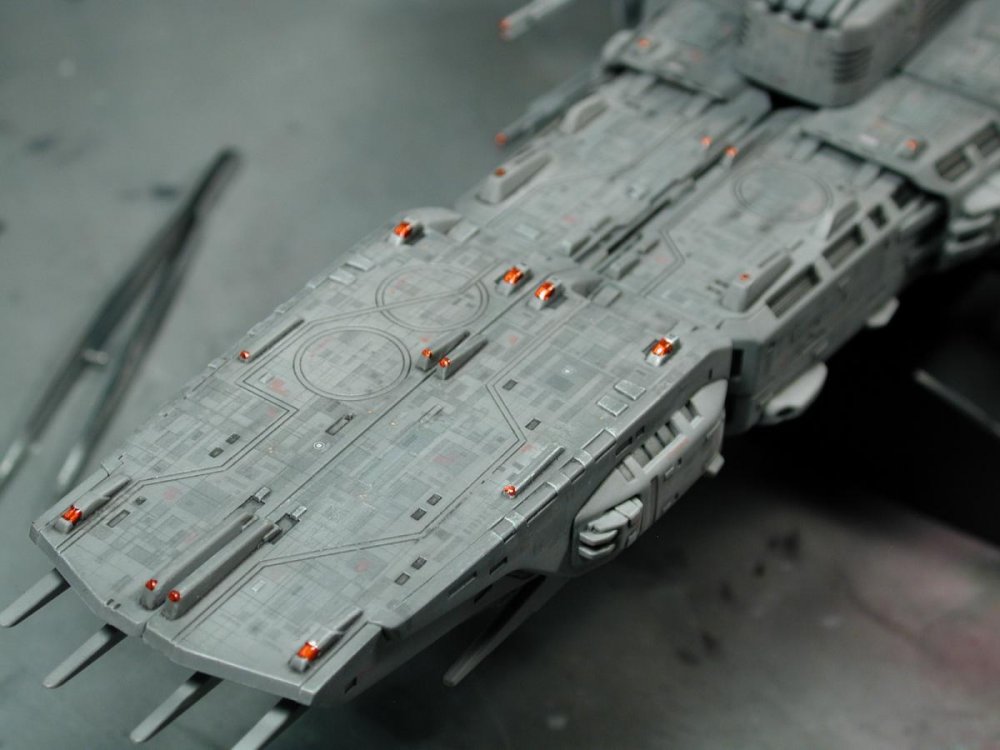
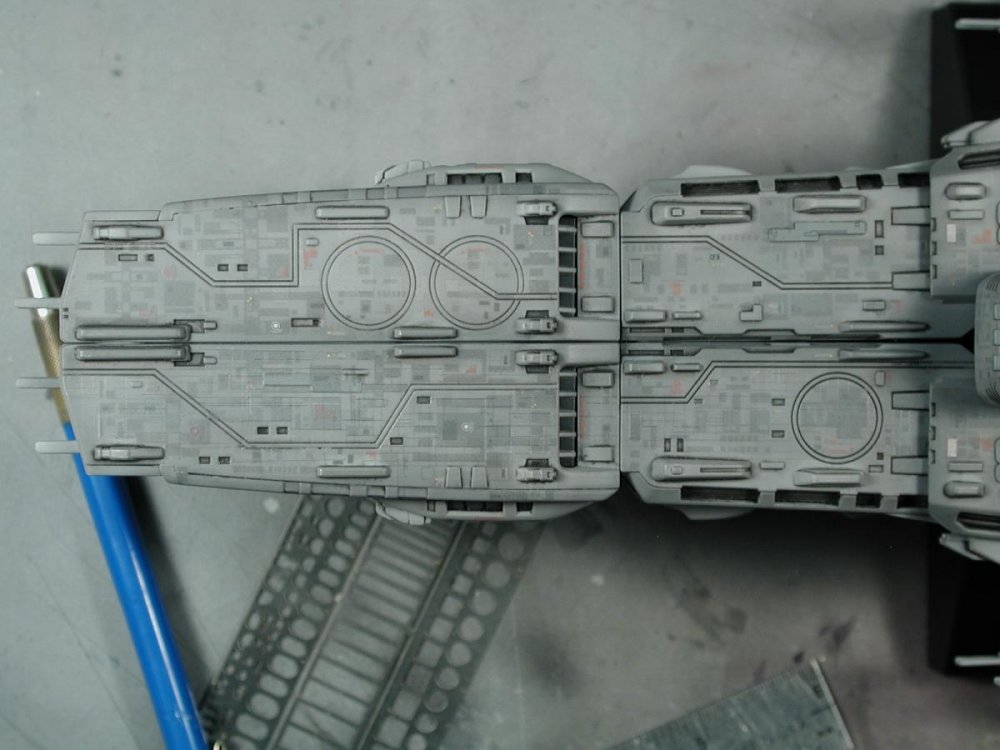
I just used a ruler and a mechanical pencil, very sharp - I usually use a H lead (harder lead) and started to draw on the surface. It works best on a matte surface (which is why I waited till my matte/flat coat) and you have to seal it again afterwards since it will rub off with your fingers. I got the idea from Star Wars - its how they detailed their Star Destroyers. I also use a Photo-etched template that has weird shapes on it for the odd access panel here and there. Gotta do that repair job where the solvent ate away at my paint and touch up some areas where the red lights were a little too large before the Photo-etched Valkryies. Thanks Benson13! -
I'd be happy if it never transformed - just a perfect fighter version! Are you listening Hasegawa?
- 4487 replies
-
- VF-4 Lightning
- Yamato
-
(and 4 more)
Tagged with:
-
That resin sample does look pretty sexy indeed - unfortunately it still has a somewhat "needle-nose" which was why I never fell for the resin garage kits. The side profile looks stunning. Too bad that they aren't doing the FB2012 scheme - how "for-sure" is the scheme on the box art? Is it too early on to be disappointed? I for one would definitely get it regardless (just in case it never makes it into mass production or no re-issues like the VE or VT-1), but it would be a shame to have to modify it to the FB2012 scheme - it seems so odd to me to not do the FB2012 scheme (is it a licensing issue?)
- 4487 replies
-
- VF-4 Lightning
- Yamato
-
(and 4 more)
Tagged with:
-
AH! I didn't know there is a faint click or detent position to the forward heat shield - that must be it! Thanks so much - I really appreciate the pictures - I can't wait to get home from work now to try this. BTW - I love this Valk!! - now I know why its usually more expensive than the rest (but getting it on this sale is sweet!) Is there a super-thread dedicated to the VF-11B (I tried the search and didn't come up with anything) My only criticism is that the overall fuselage grey is a little on the dark side and should contrast more with the fast packs. Thanks everyone, what a great community ;-)
-
I just got my VF-11B from this sale - question to those experts here. How in the heck do you get the bottom portion (smaller) of the heat shield to stay up or lock into the upper portion of the heat shield when in the Battroid mode? It keeps falling back down into the nose cone - is there something I'm missing? Also, the cockpit escape module seems really loose, it doesn't fall out per se, but it does move around as I do barrel rolls!
-

Yamato 1/3000 SDF-1 modification and paint up...
wm cheng replied to wm cheng's topic in The Workshop!
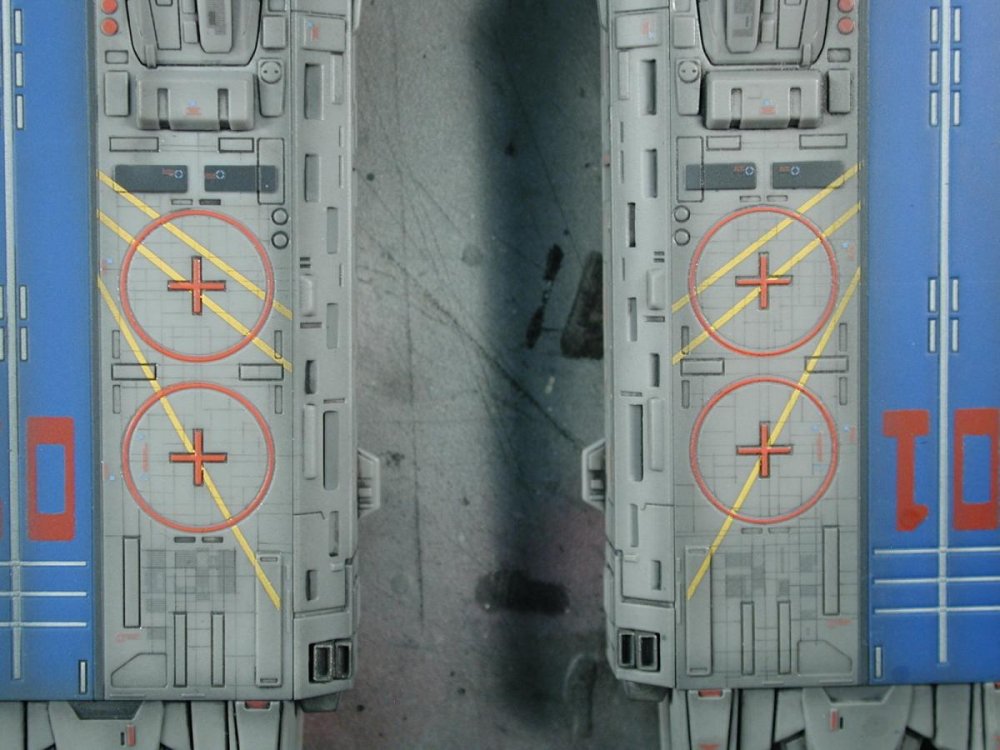
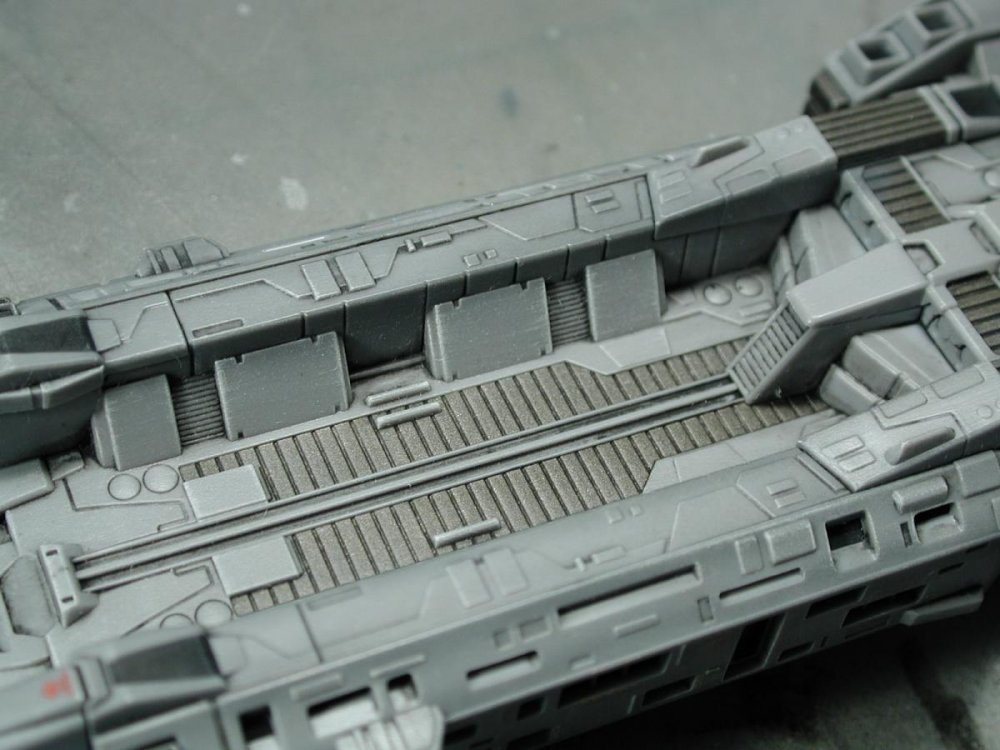
Thanks guys! I'm currently in Germany giving a presentation at the FMX 2012 conference - so I'm out of town! BUT, I'm not really anywhere near done yet, still many loose ends to tie up and those tiny photo-etched Valkyries and launch arms too! -
Yes, I too would love to get more detail on how the buttons are mapped - can't even find a web site that will discuss the stick in any detail!
-

Yamato 1/3000 SDF-1 modification and paint up...
wm cheng replied to wm cheng's topic in The Workshop!
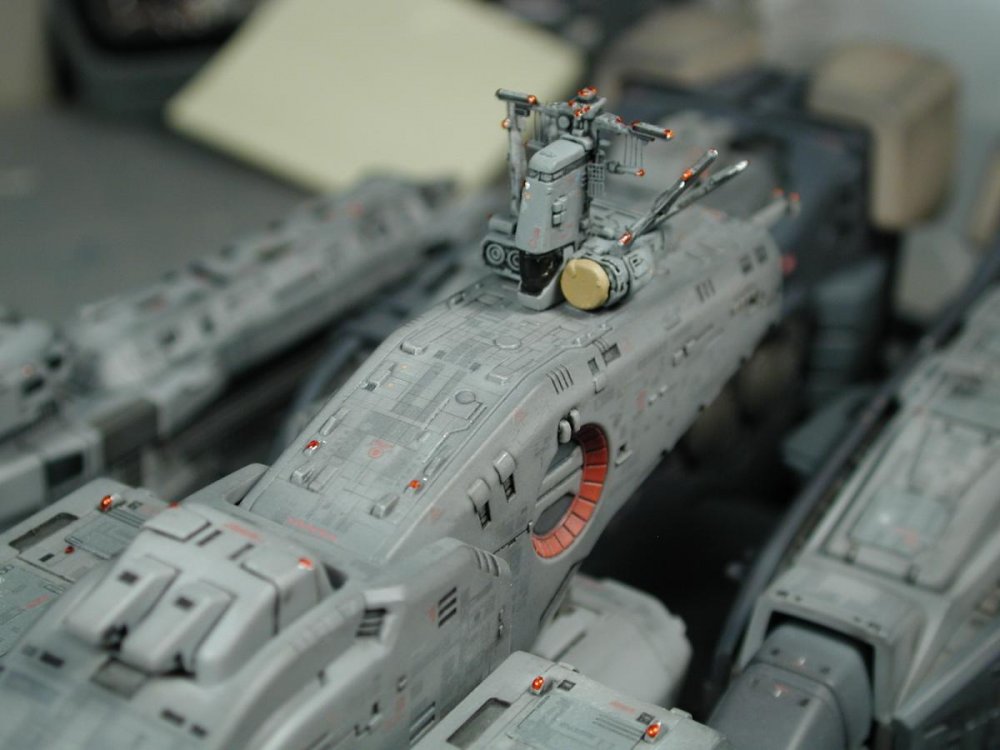
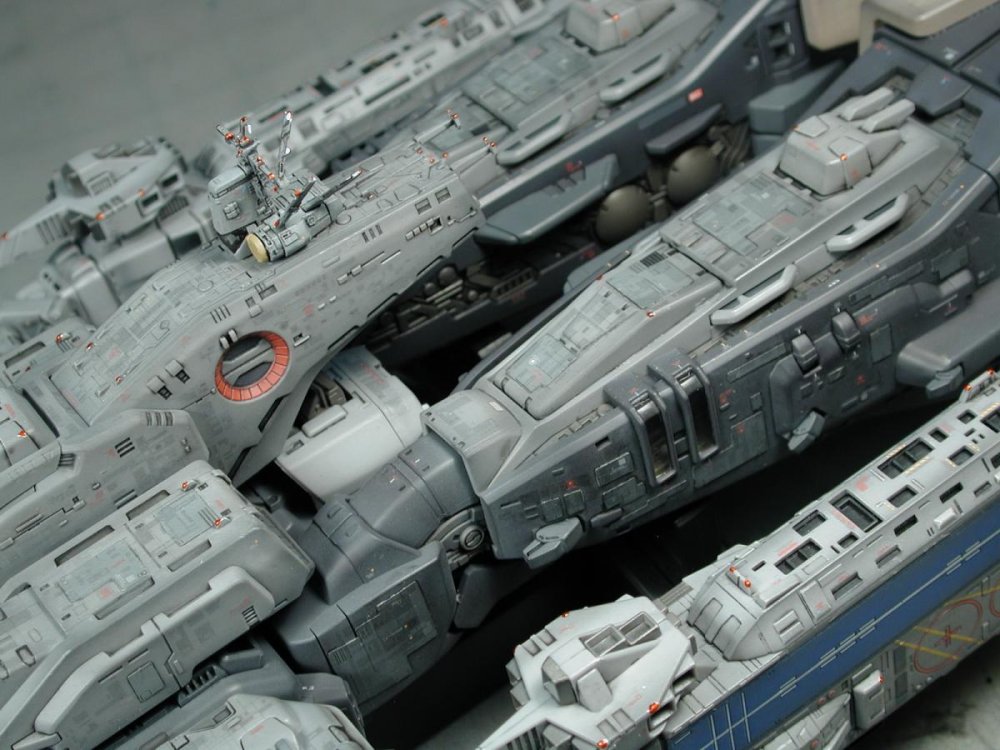
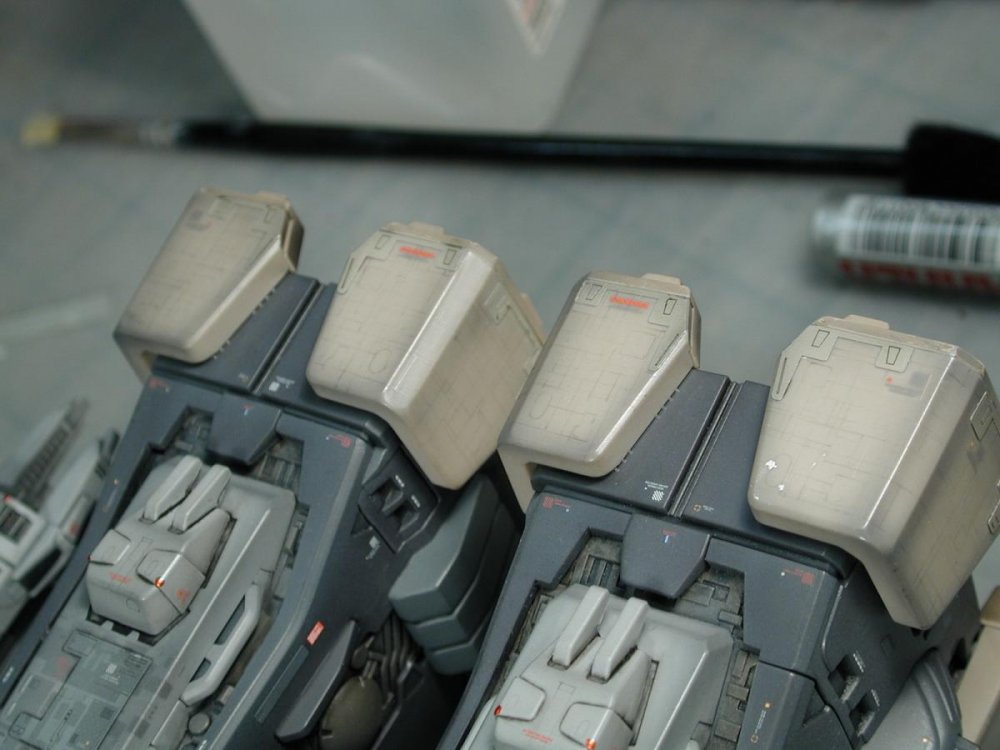
I got a little time to do some pencil panel lines all over the SDF-1 - the key is subtle here! But it was a lot of surface area, at least some of the flatter areas like the rear engine tan portions are a bit more detailed now. Some light grey/white drybrushing to pick out the raised details, Unfortunately, when I started to dab around for the nav lights, I used the Tamiya marker chrome on a fine 000 brush, and didn't realize I got some on my palms! Argh! I accidentally transferred some tiny hits of silver around the toy. I thought, I'd use some organic solvent to wipe away the bits of silver, but unfortunately, the solvent ate through all my layers of clear-coat and greys!! So I've gotta do a bit of a repair job to that tiny section I tested it on - well, one step forward - 2 steps back! I did add the Tamiya red clear over the tiny hits of chrome silver to simulate the red nav lights all over the SDF-1. So here it is for now... still a ways to go!! -
Ah! Don't give me a heart attack like that... Nope, HKC is 12,440Y and HLJ is 9,400Y
-
Yep, got my first VF-11B!! Been waiting for the price to drop, why is this sucker so expensive compared to the others? Yay! at least I'll be able to zoom this around in the near future - I'll grow old if I have to wait till I build my Hasegawa 1/72 kit!

