-
Posts
4305 -
Joined
-
Last visited
Content Type
Profiles
Forums
Events
Gallery
Everything posted by wm cheng
-
Wow, it seems like its going to work! It's working just friction fitted pins without glue so far. I'll crazy glue the pins in tonight and see what happens. Dinner break! How do people build this model?! I feel just too old...
-
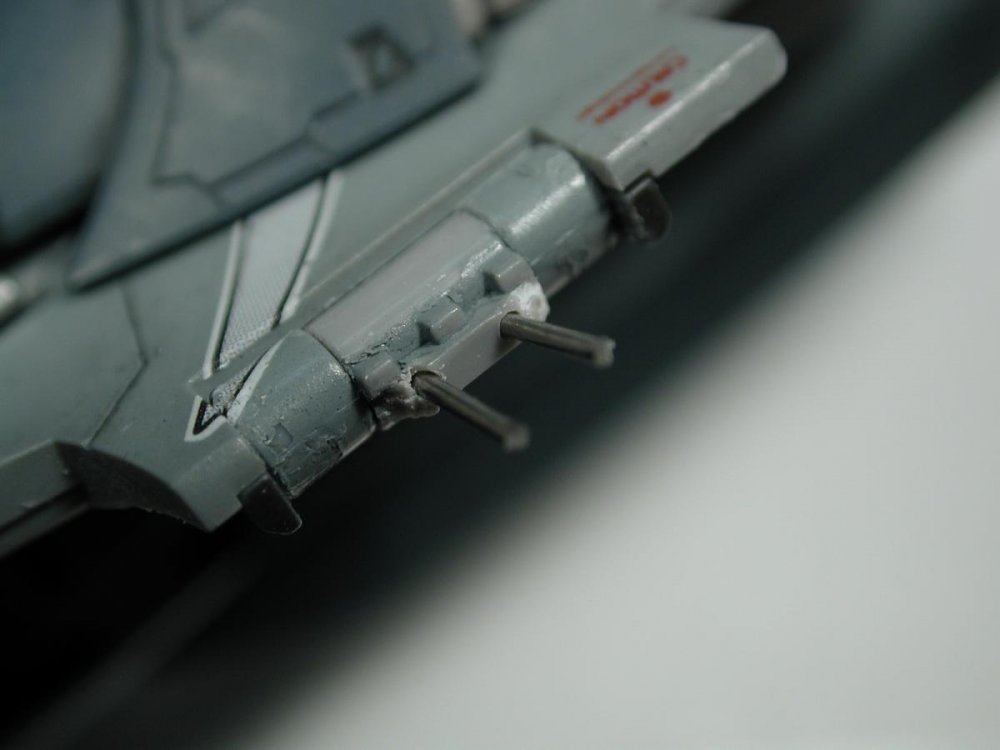
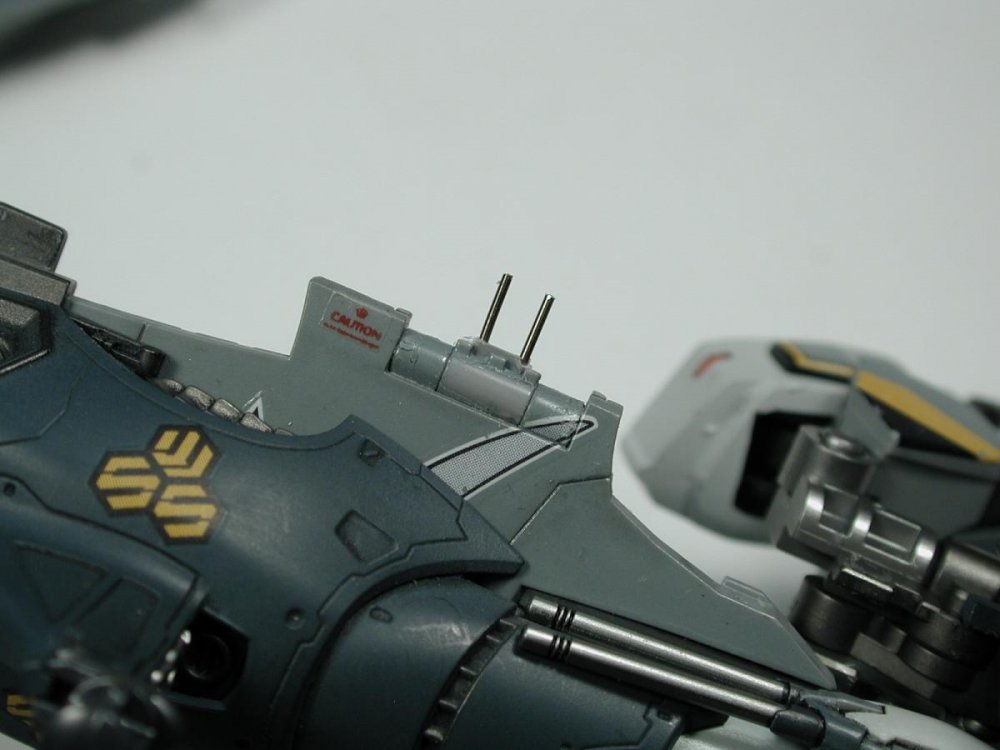
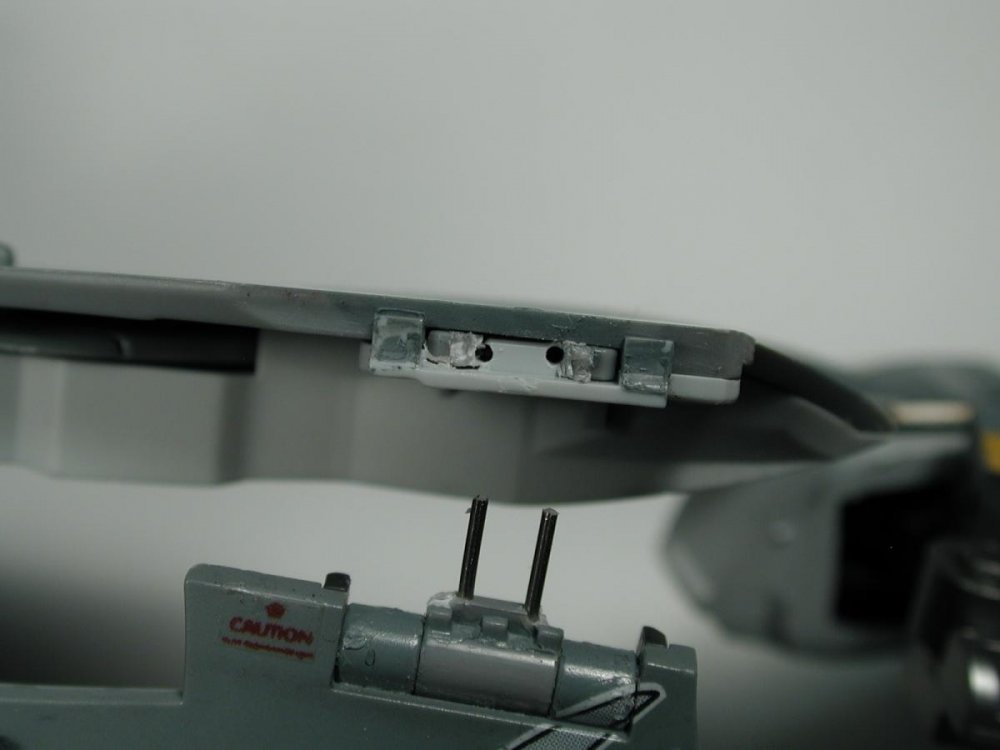
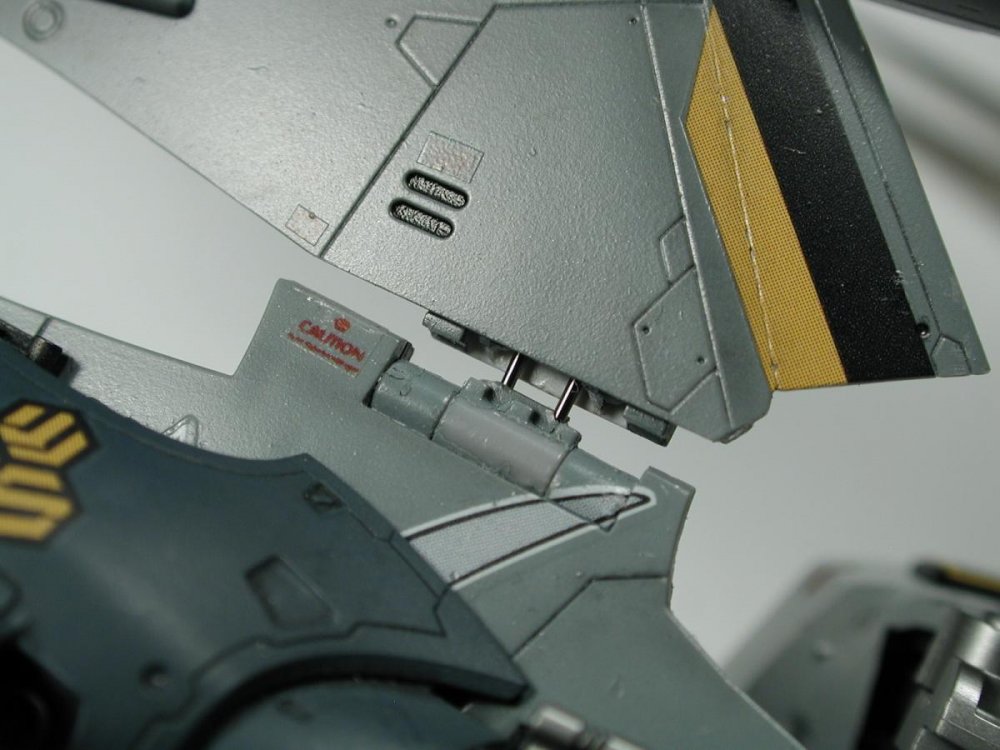
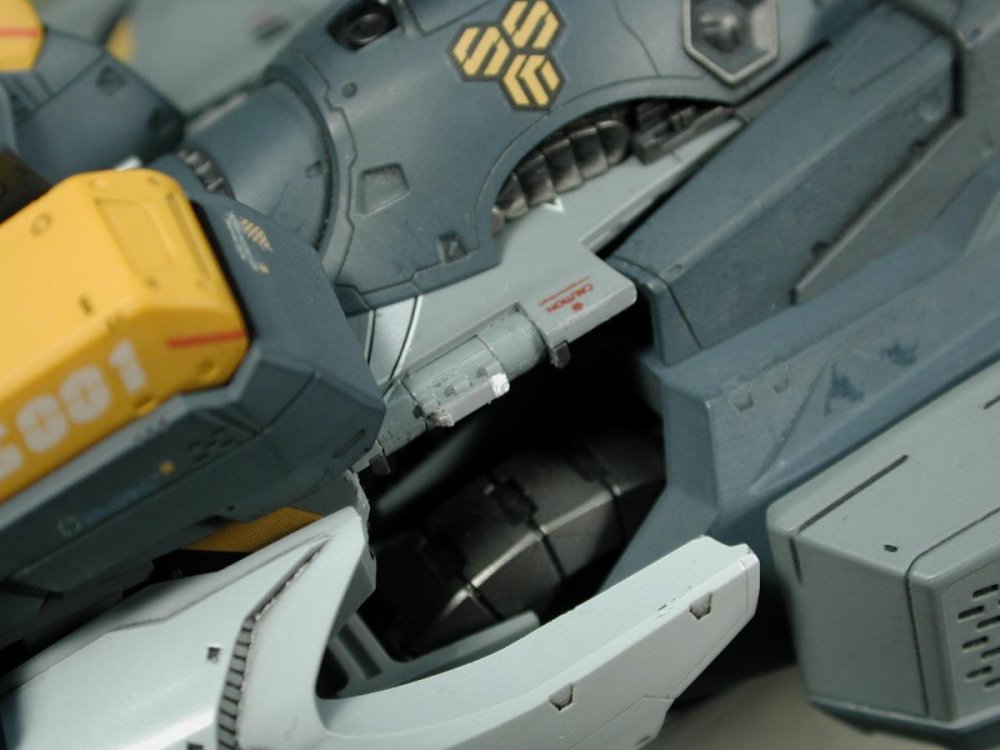
DISASTER STRUCK! Argh... I must be gettin' too old for this... while I was transforming it (very carefully might I add) - I somehow broke the main wing hinge. Its pretty crazy for all this weight to be on those tiny plastic hinges, but they gave way and snapped! I was so close to being finished too. I'm so disheartened... I guess, I'll try to pin the hinge where it broke like a resin model with epoxy and see if I can salvage the hinge. Worst case I can glue it permanently in the aircraft mode - although I've been dying to see it in the battroid mode as well. THIS IS WHY I HATE TRANSFORMING MODELS!!!
-
What is YAJ?
-
Even YA is "not for sale" now at those inflated prices - now I'm thinking I should have grabbed one this 30mins ago (funny how you always want it even more when you miss out on it)
-
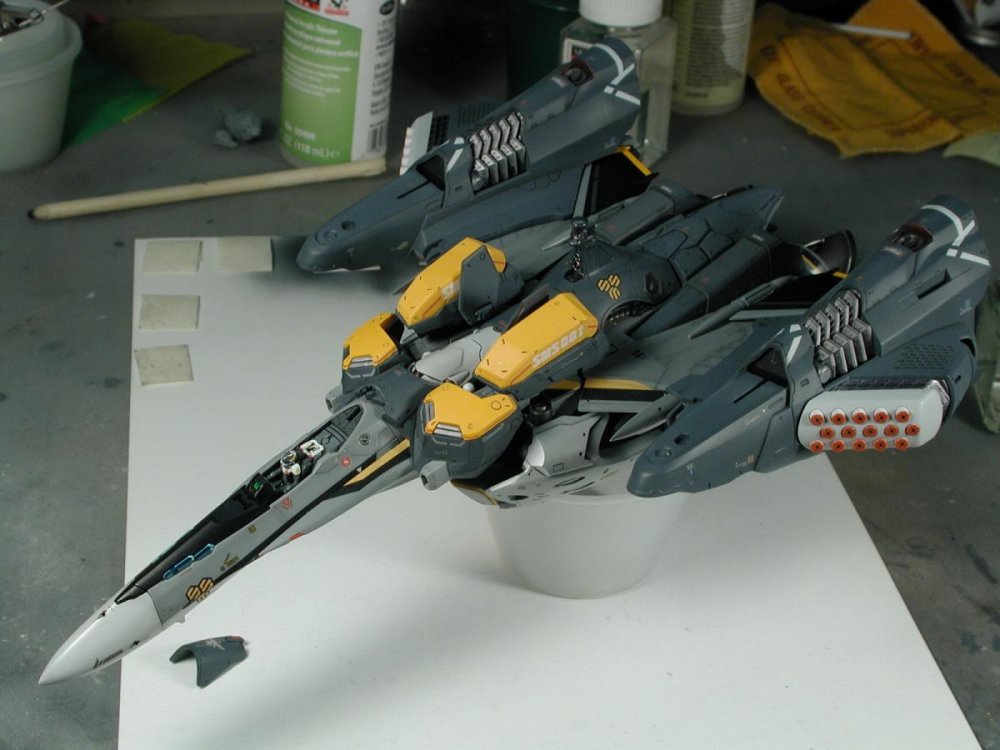
I know, I know... I'm not looking forward to it either. But it was originally intended to be in Battroid mode to show off all its missiles. It's only in this mode because this is the mode you finish off in following the instructions. However I do like it a lot. But I did scrape some paint off the head that I need to repair and I need to dry brush weather the armor packs which is easier in the Battroid mode. I take some pictures before I "REALLY" carefully transform it into the Battroid mode once to give it a chance before I decide which way it will stay. Hopefully the Hasegawa kit comes out soon to replace this in the aircraft mode (but I'm sure its years away, they will probably put out all the aircraft only full squadron first!)
-

Help? Any one with a spare part J23 & J24 for any of the Bandai 1
wm cheng replied to wm cheng's topic in Model kits
THANK YOU! THANK YOU!! THANK YOU!!! Man, I love this community here. MacrossWorld has helped me so much over the years - what a wonderful online treasure. -
Why isn't it anywhere else yet?
-
503 Service Temporarily Unavaliable... ;-(
-
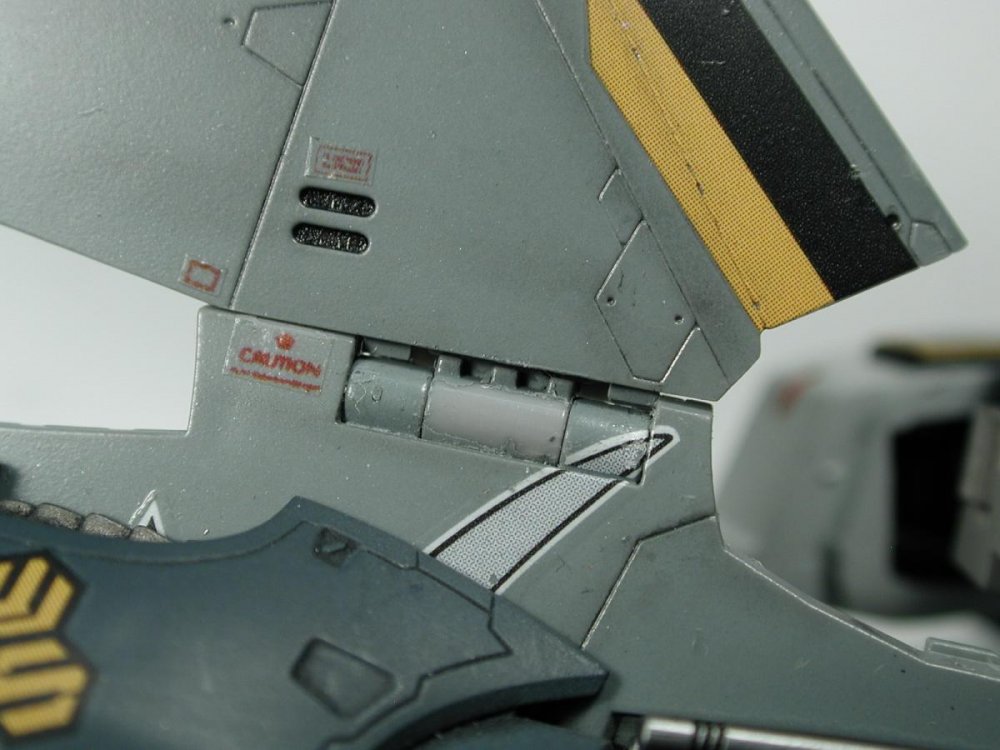
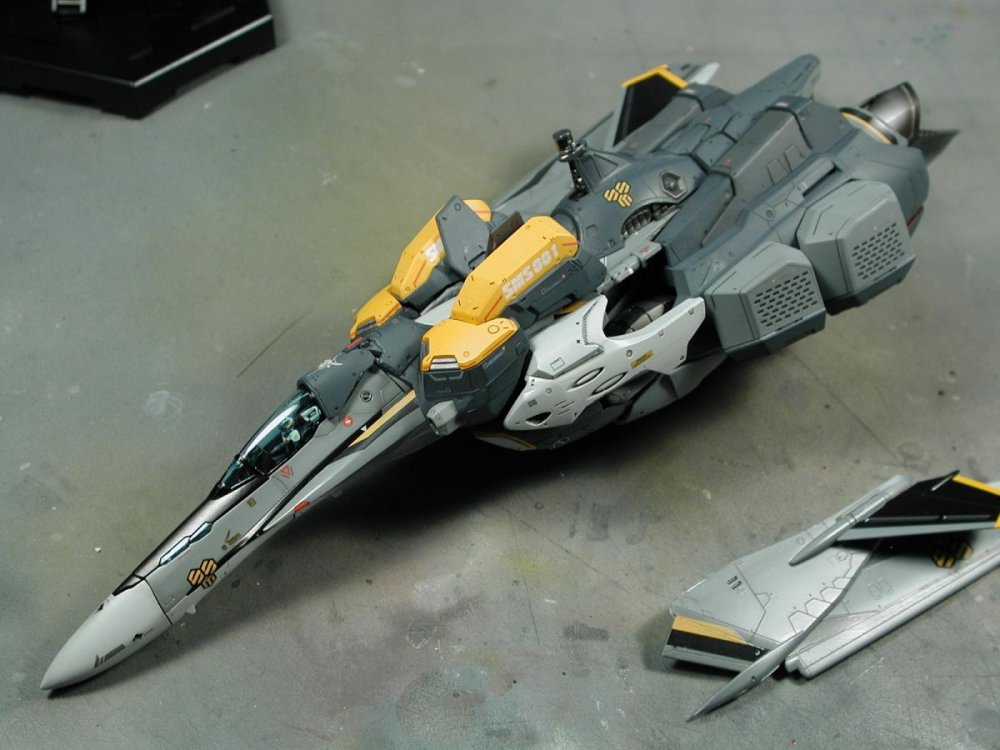
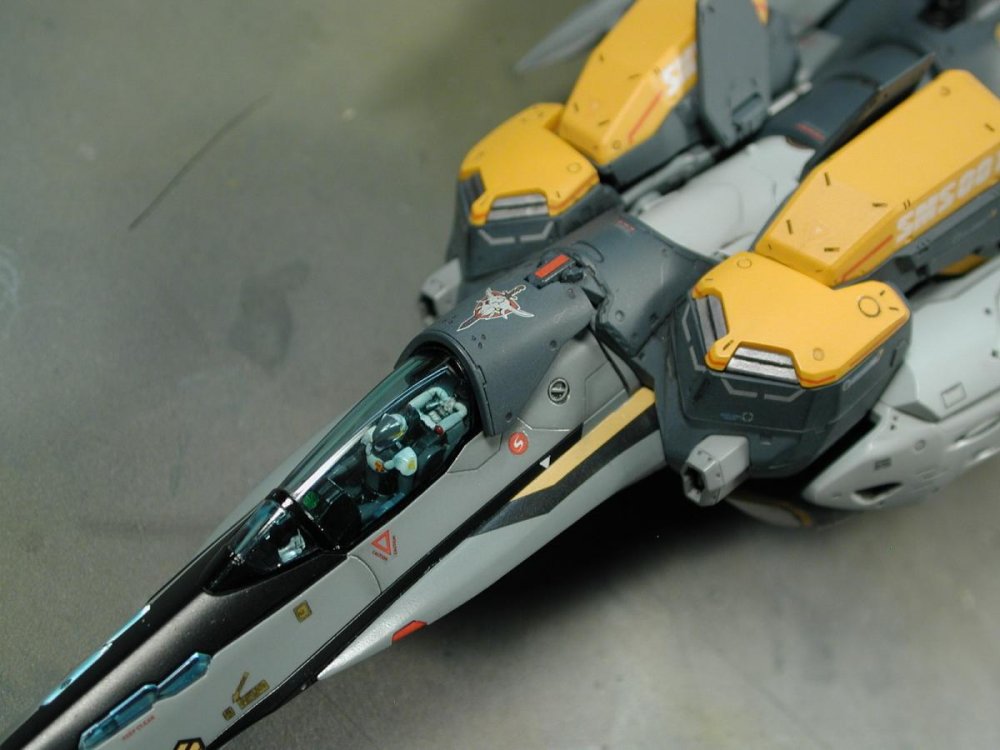
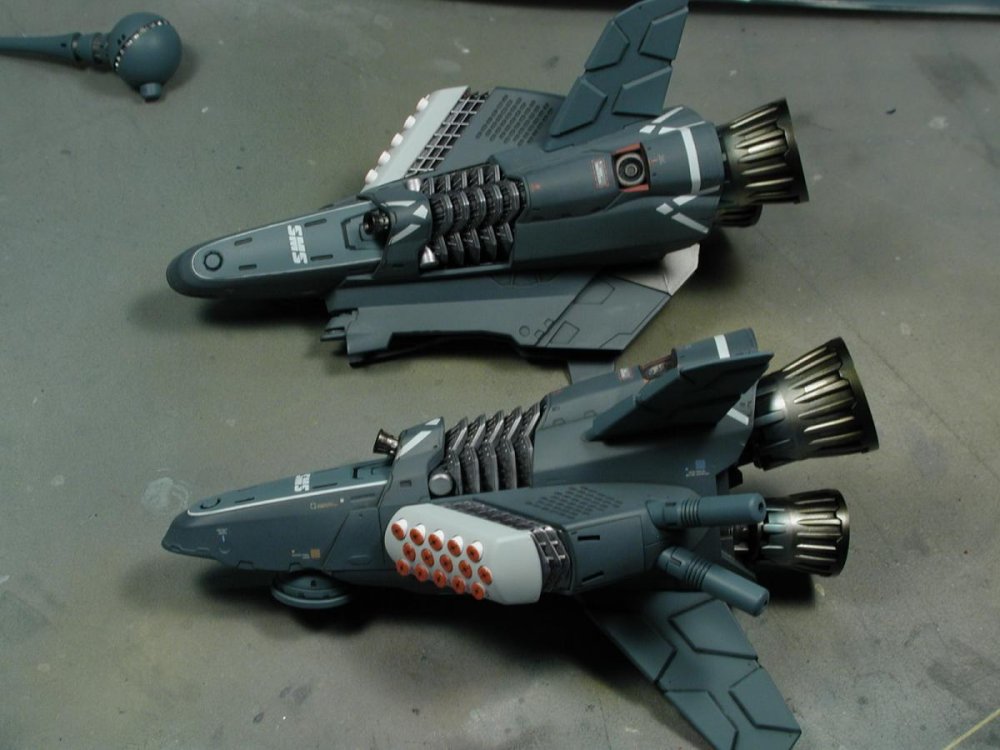
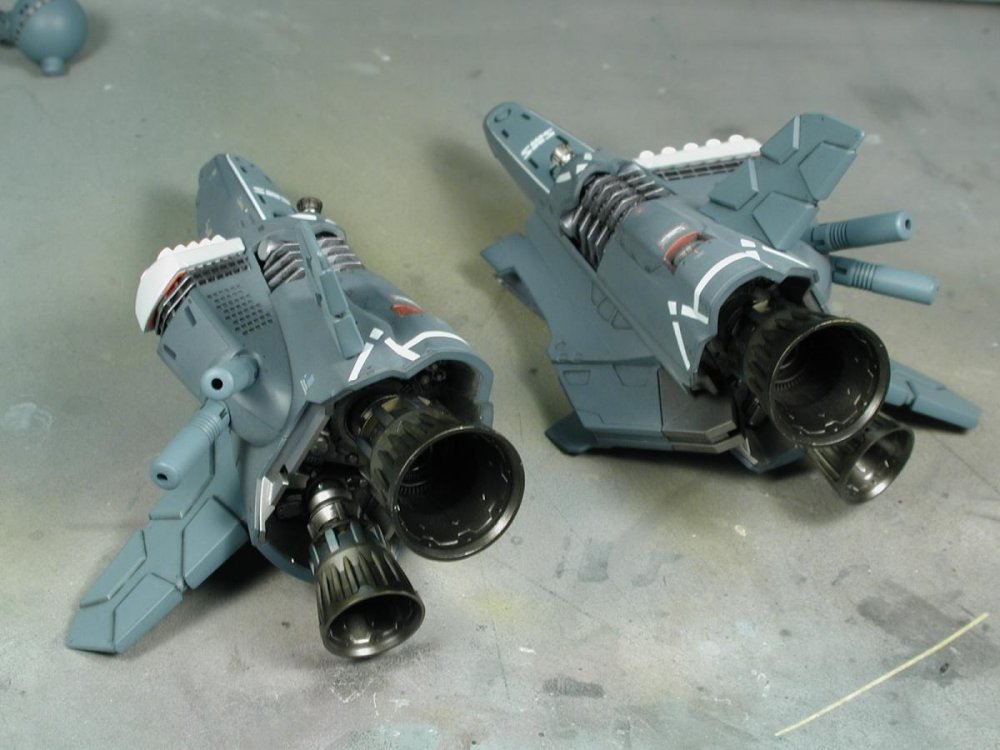
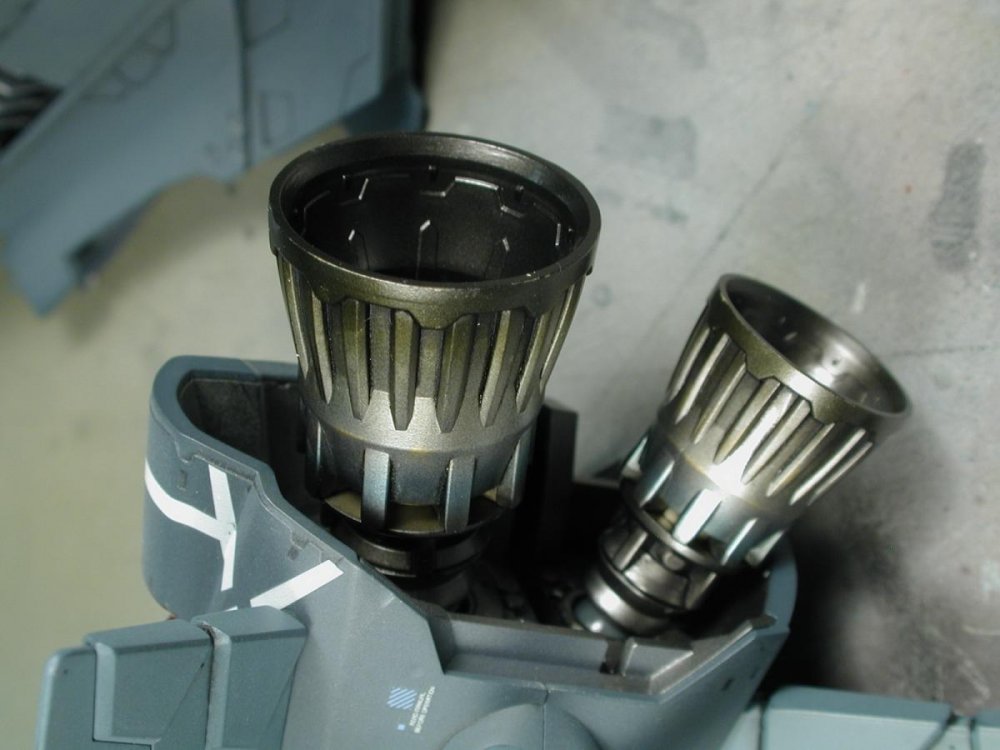
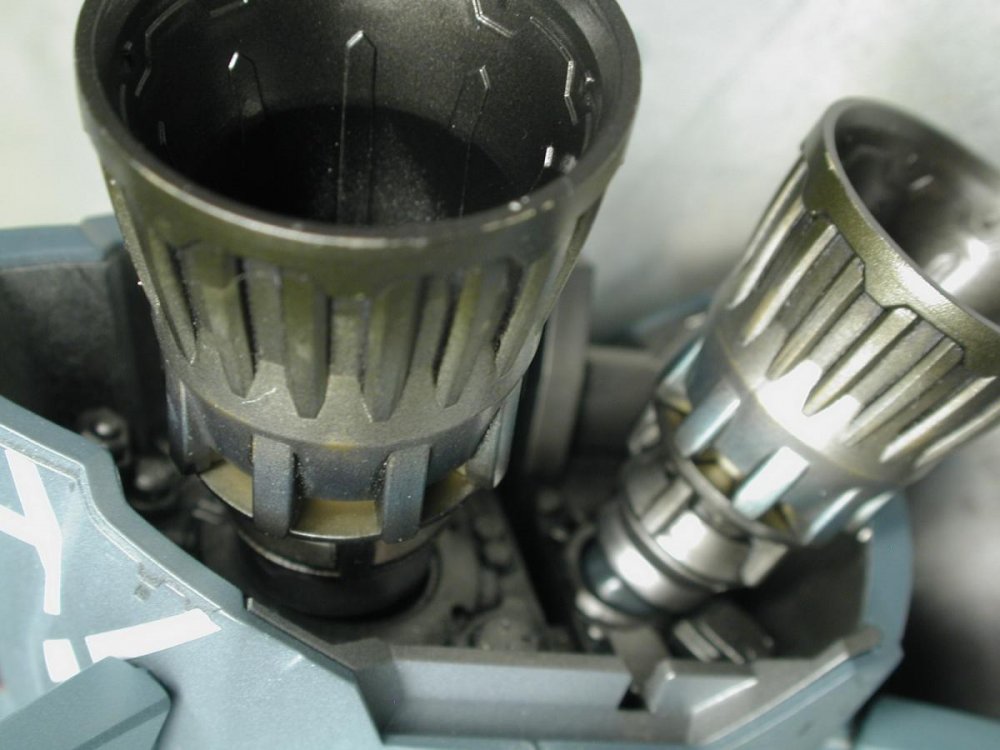
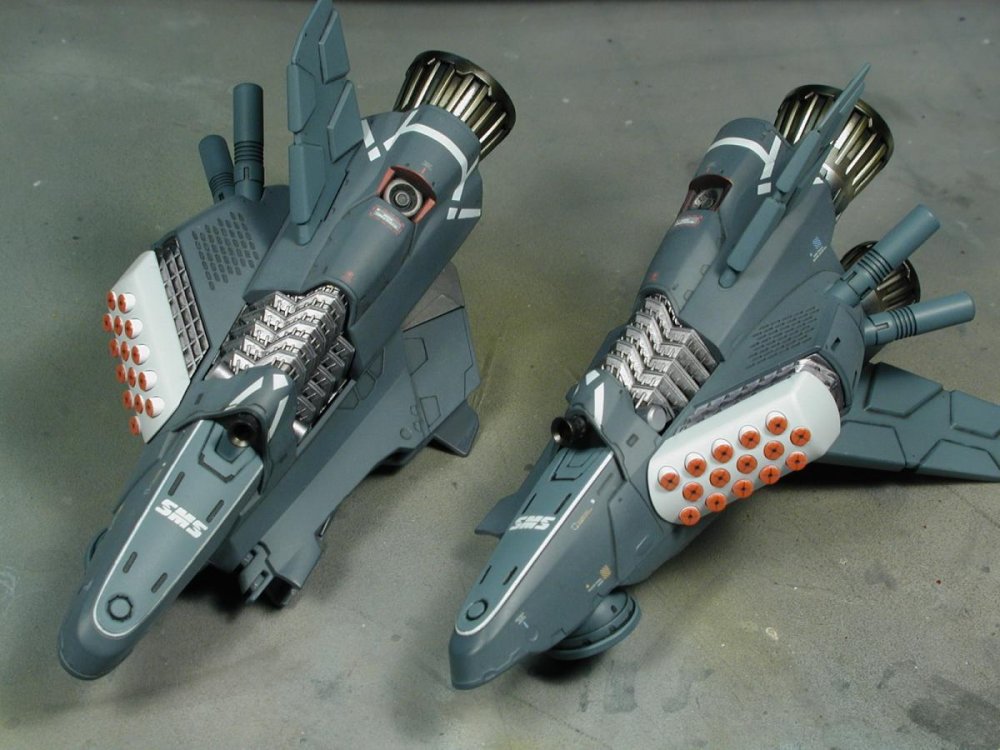
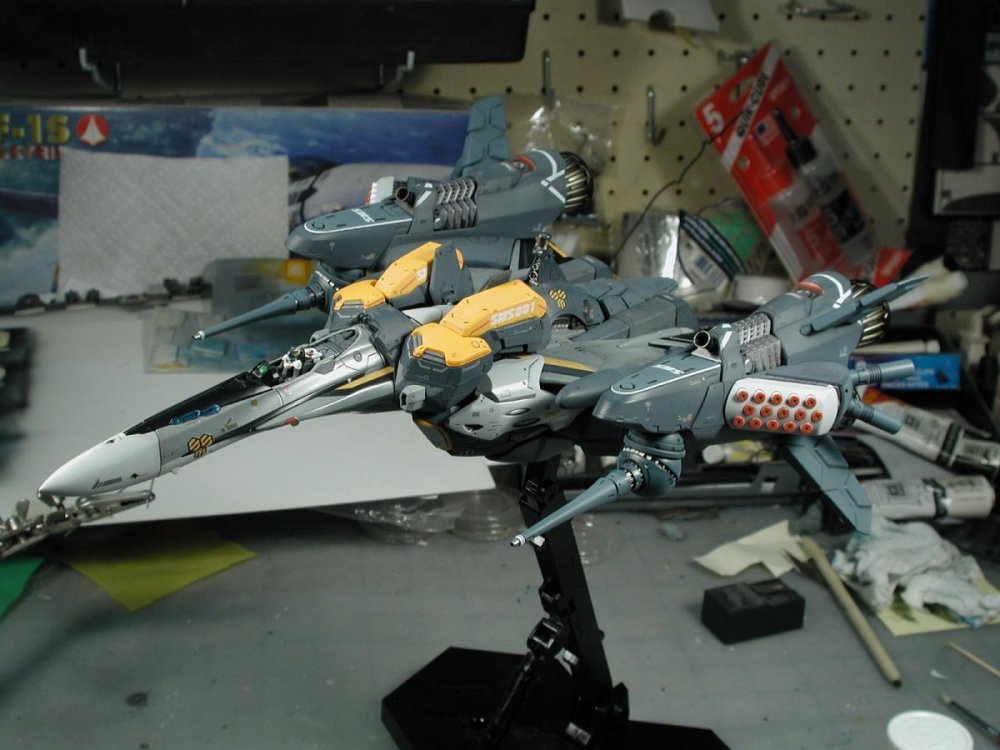
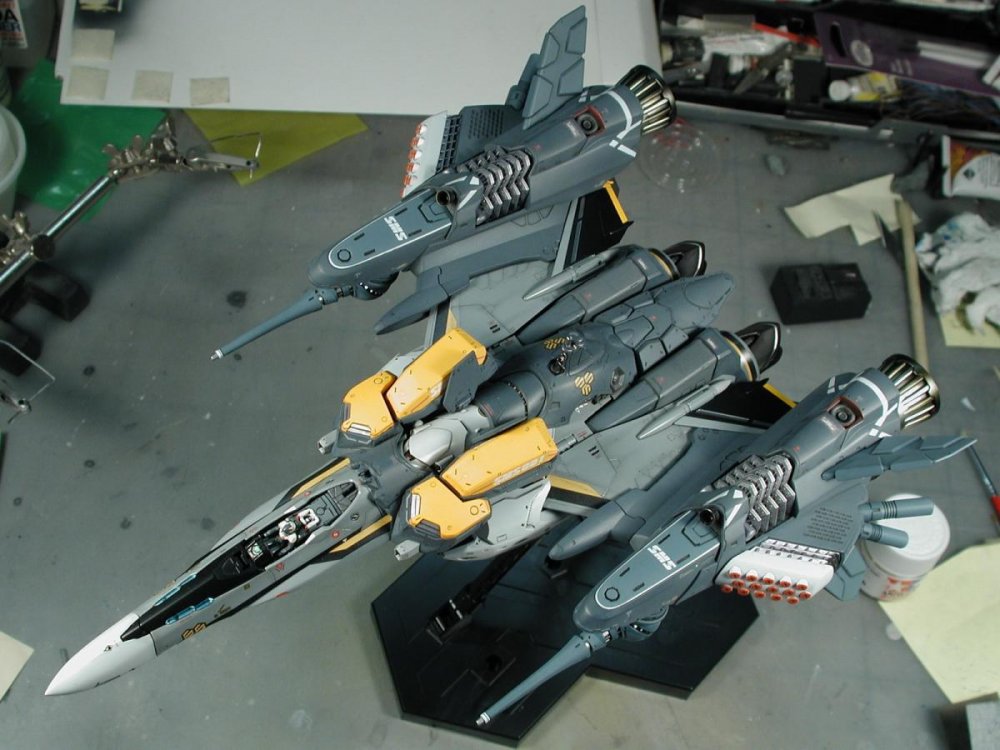
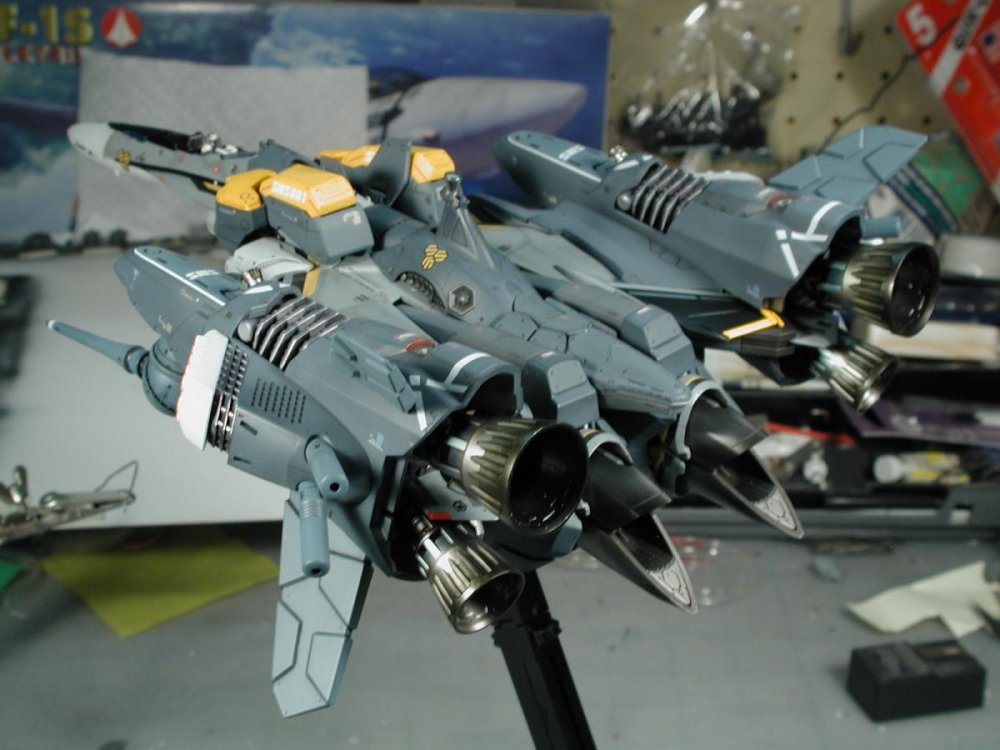
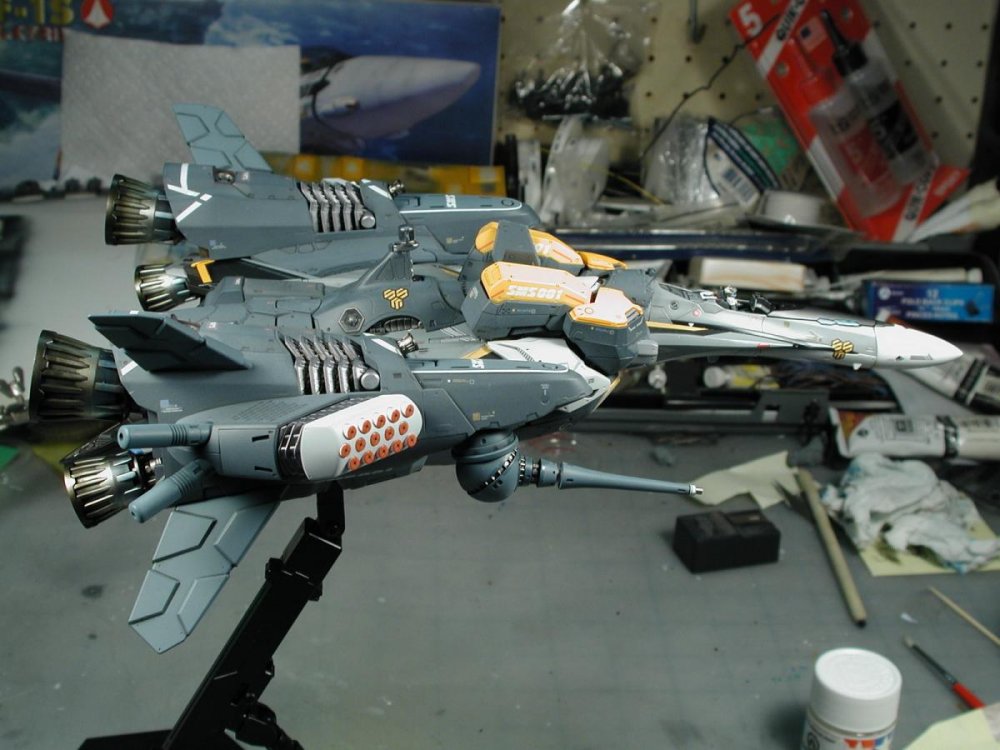
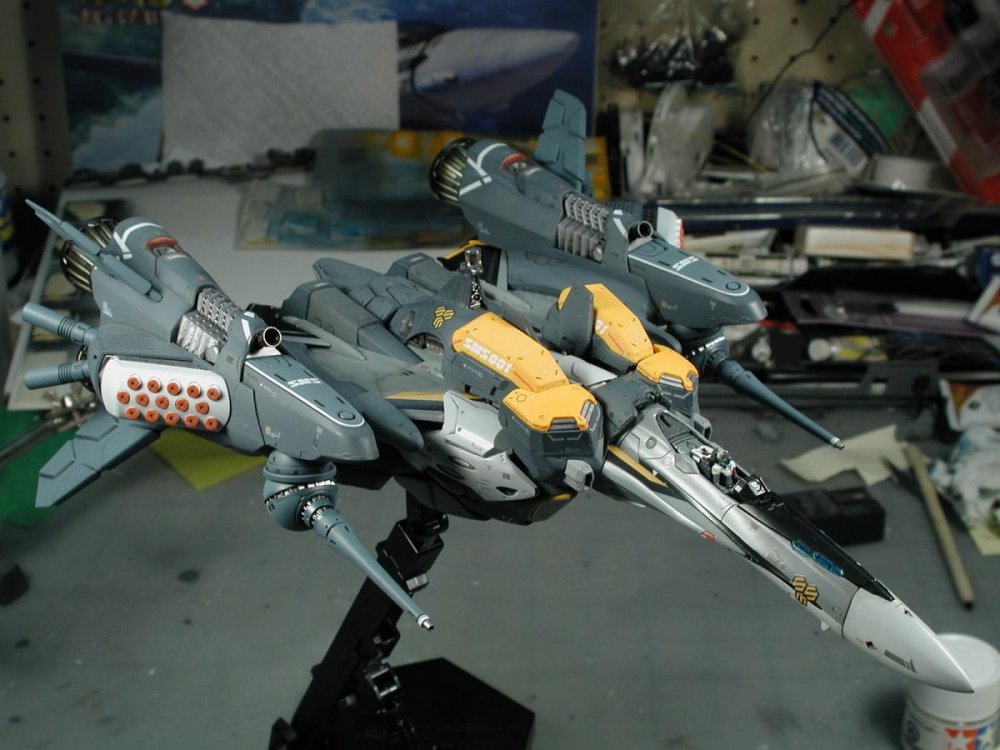
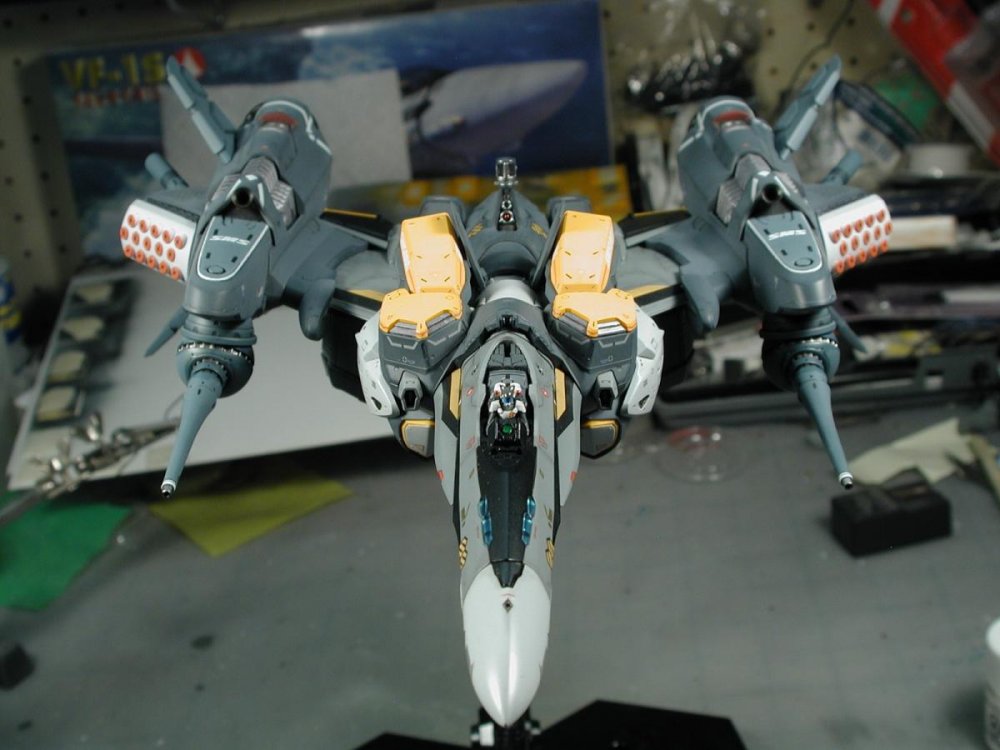
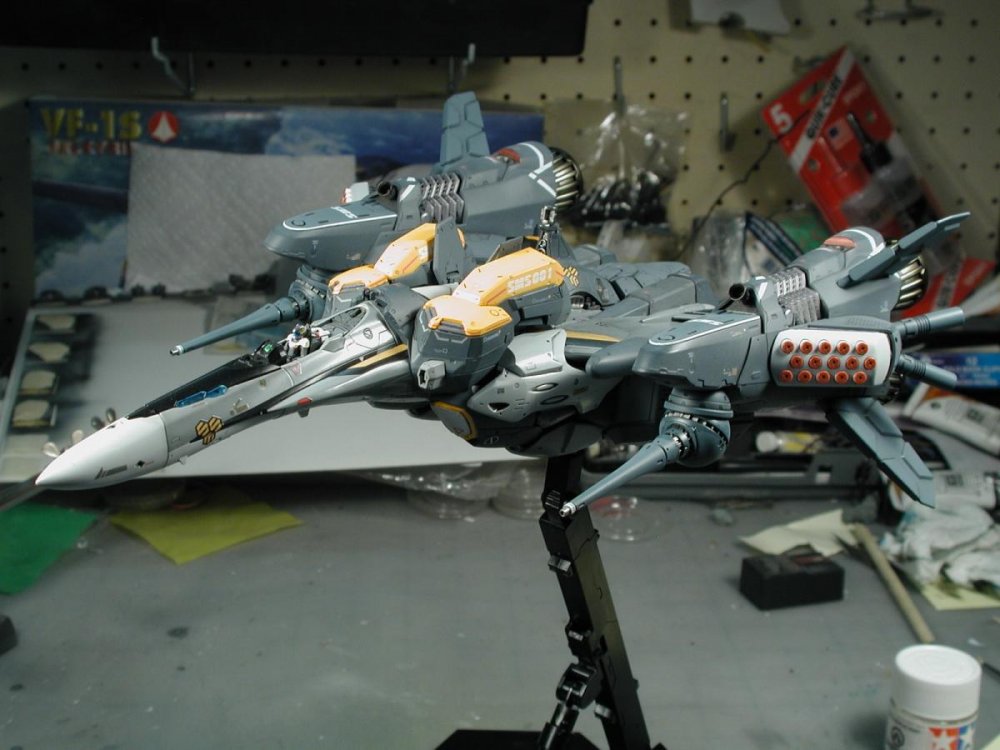
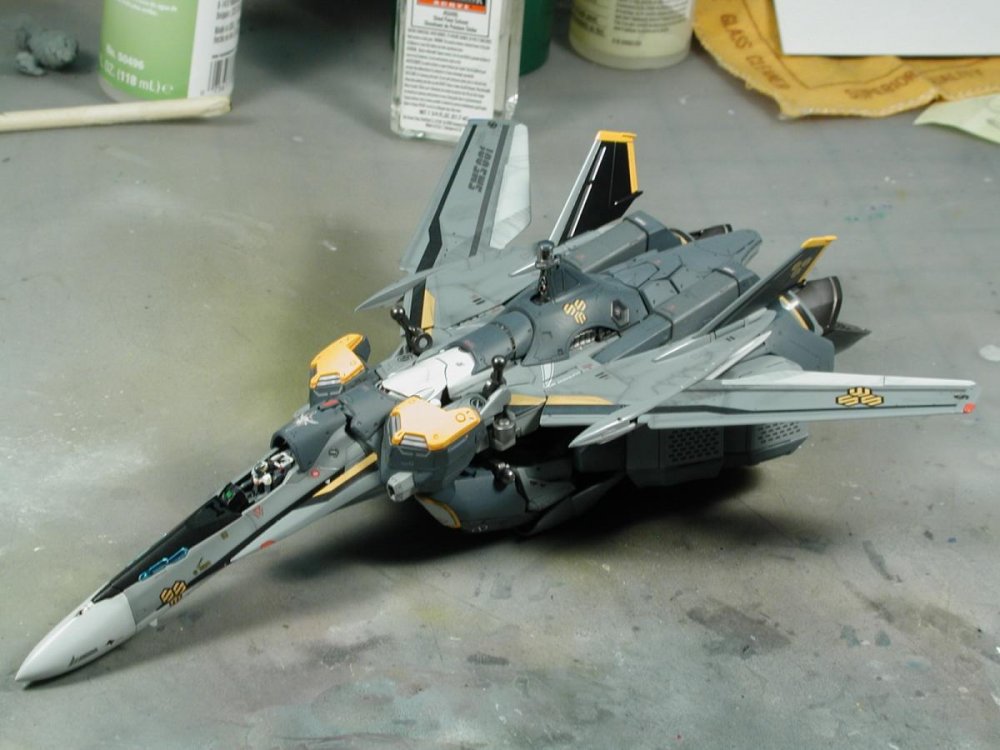
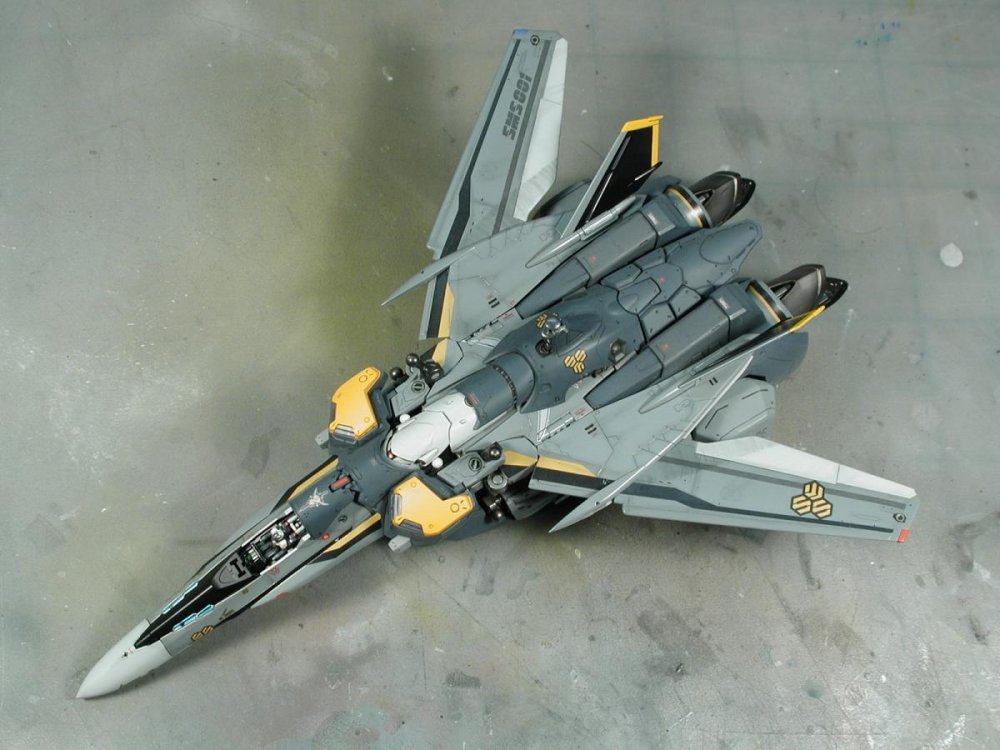
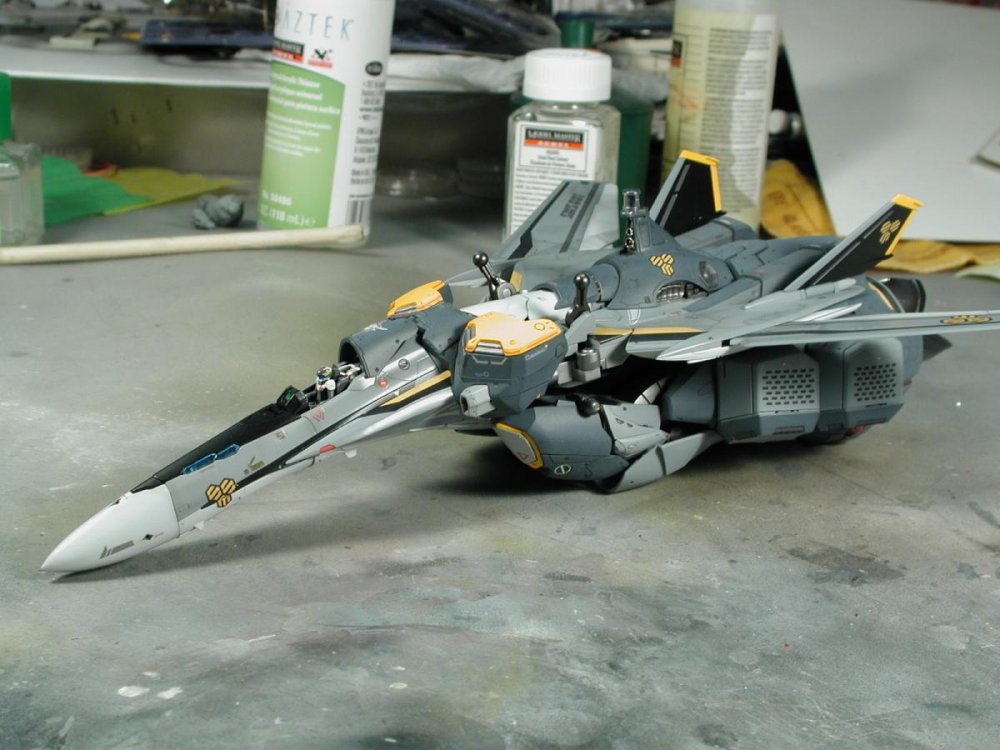
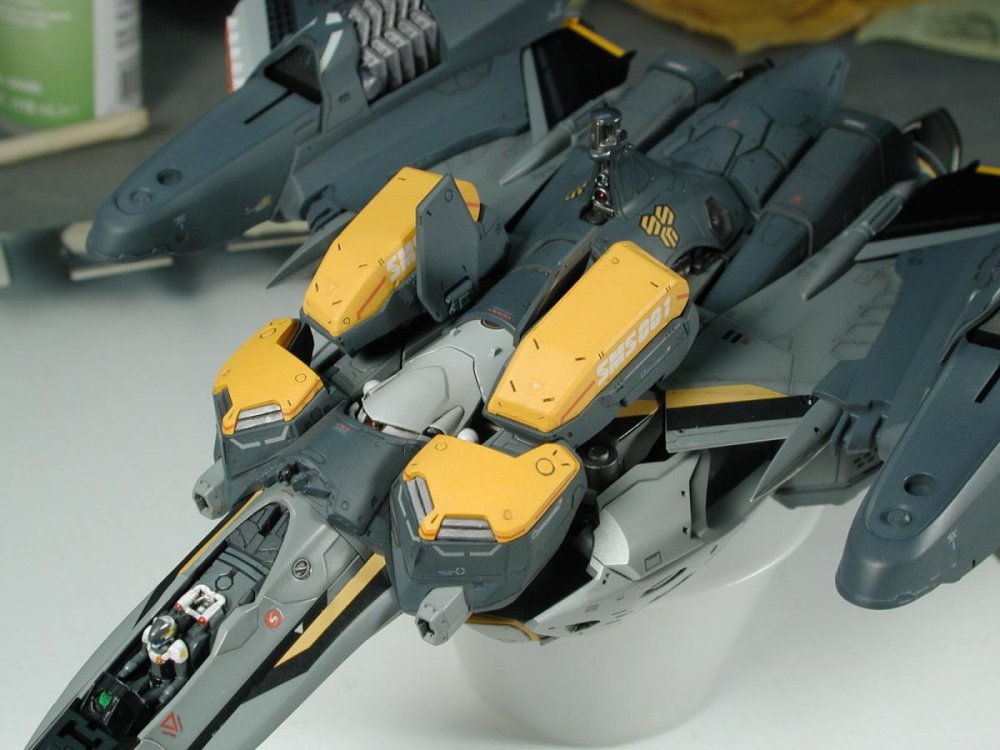
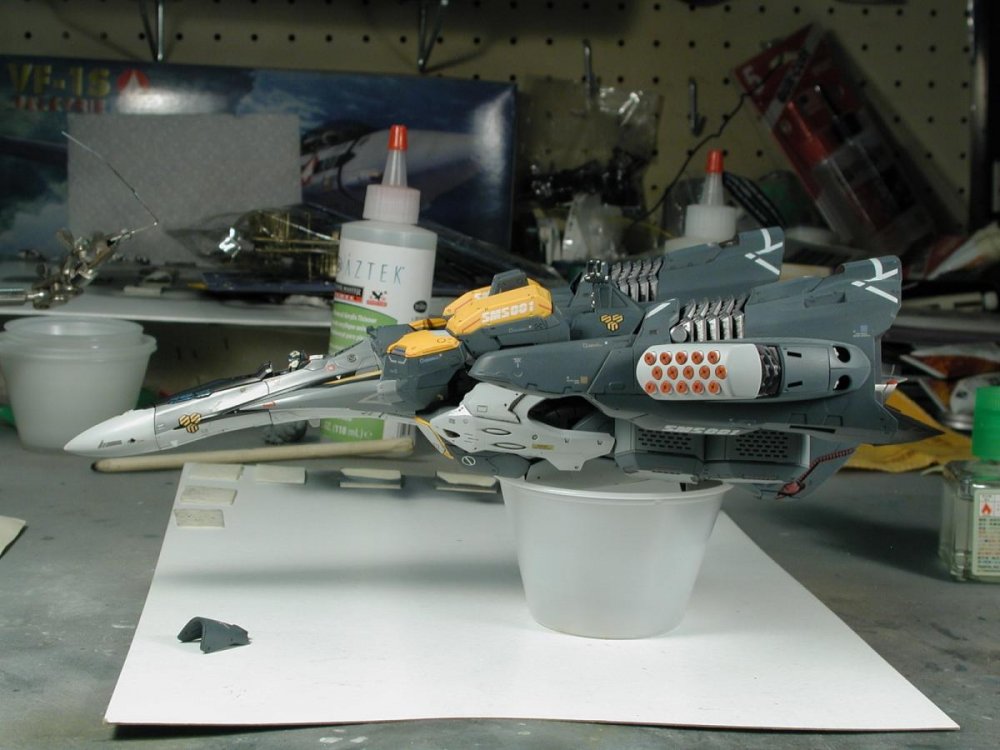
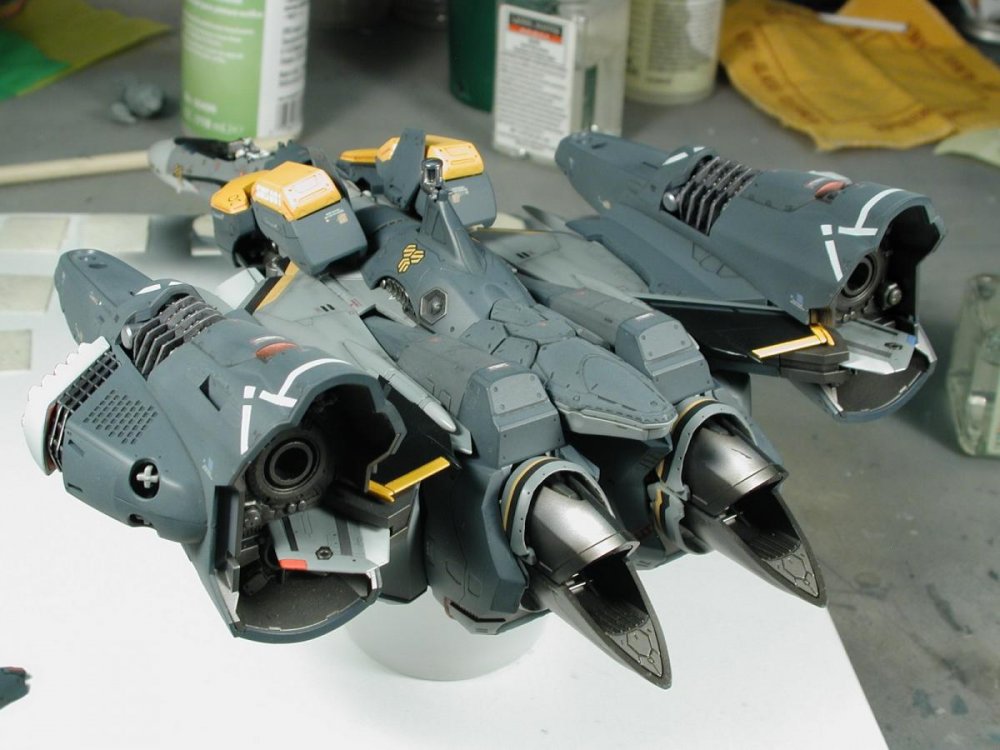
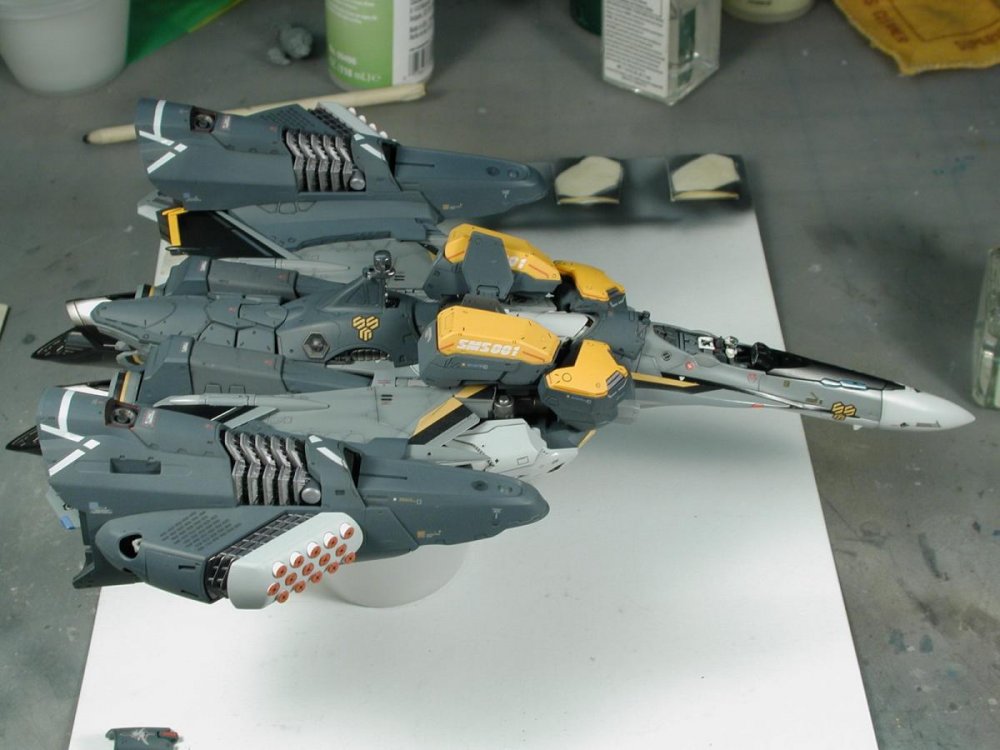
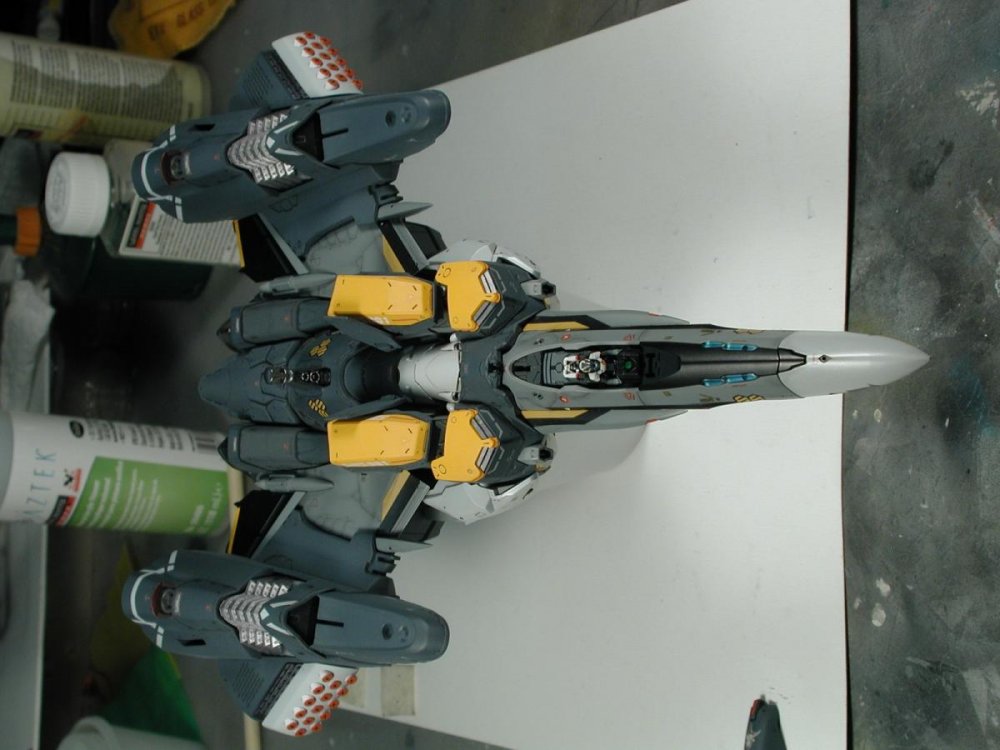
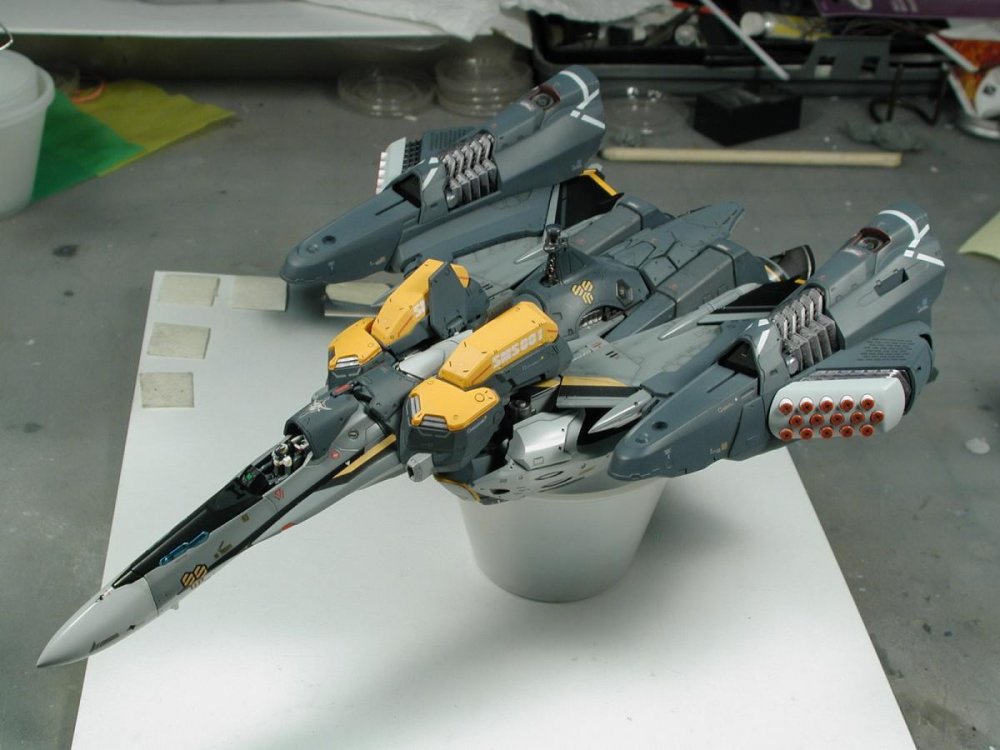
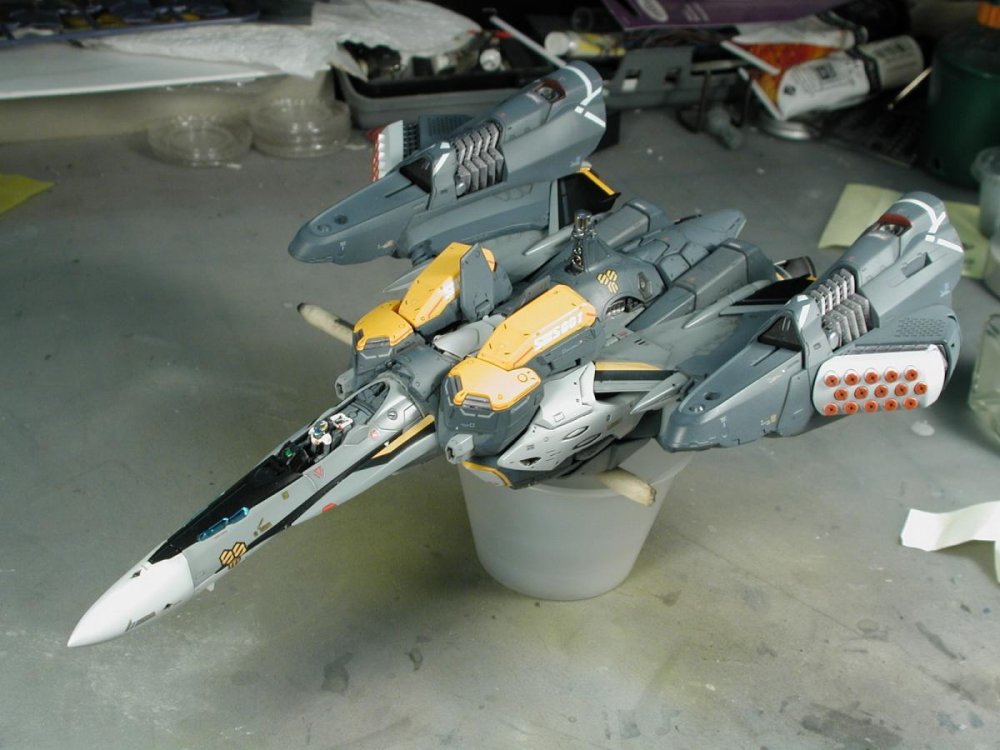
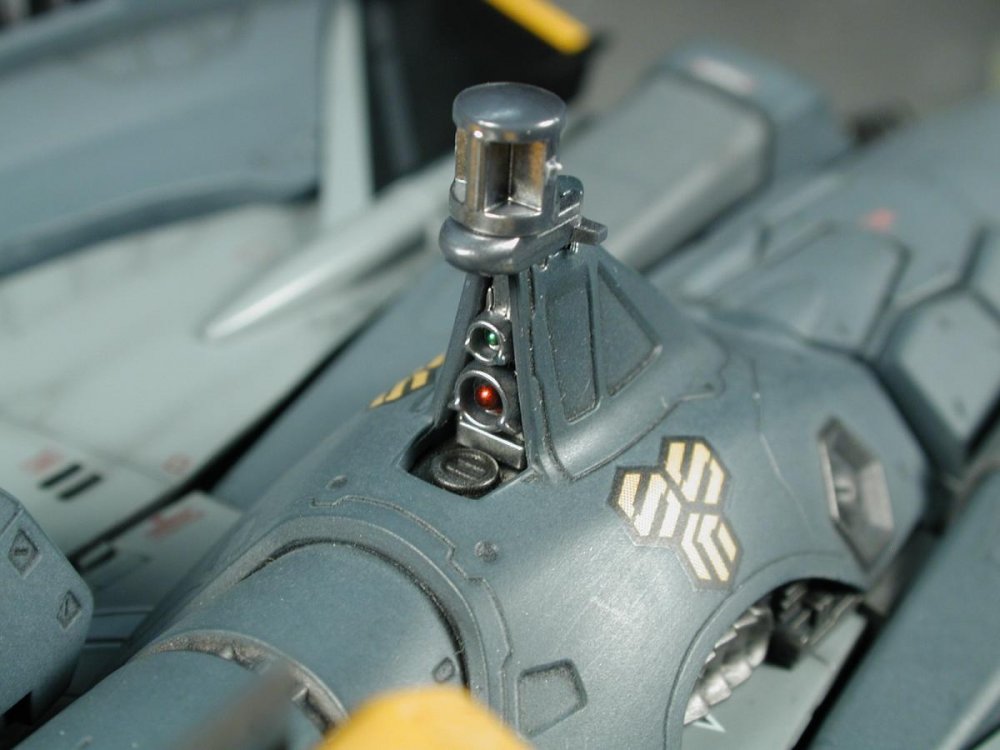
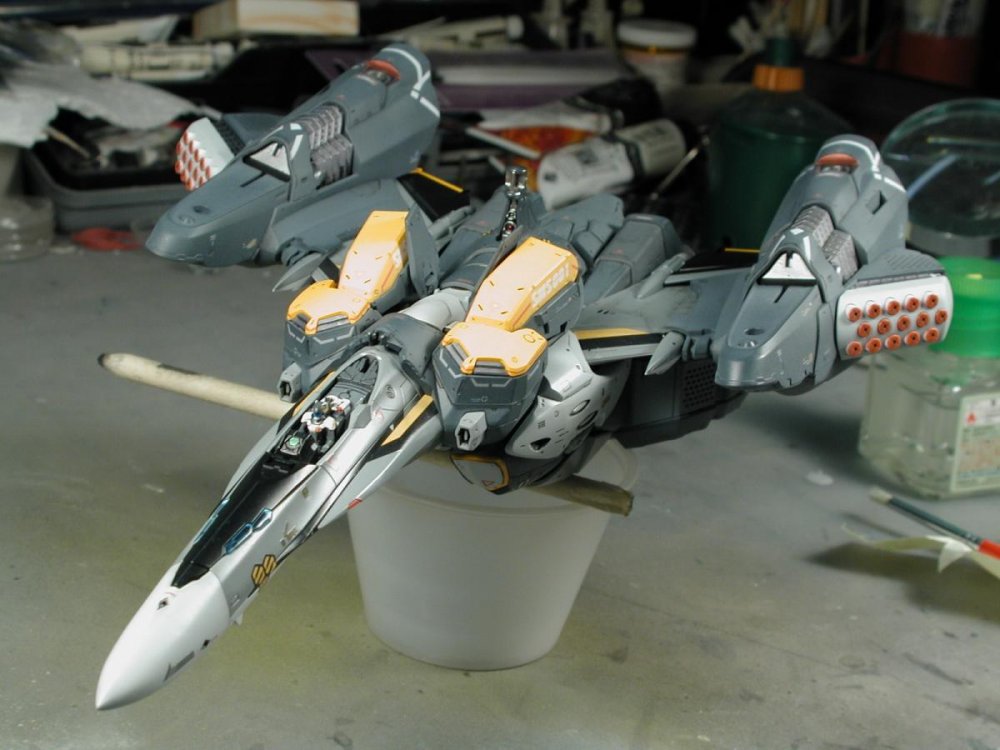
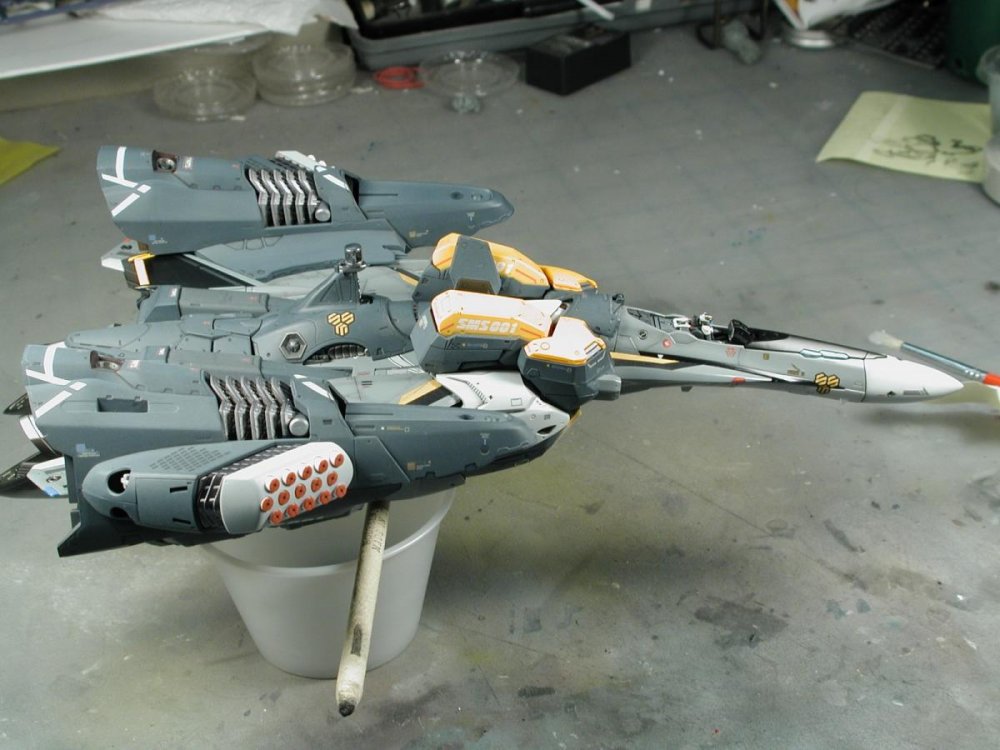
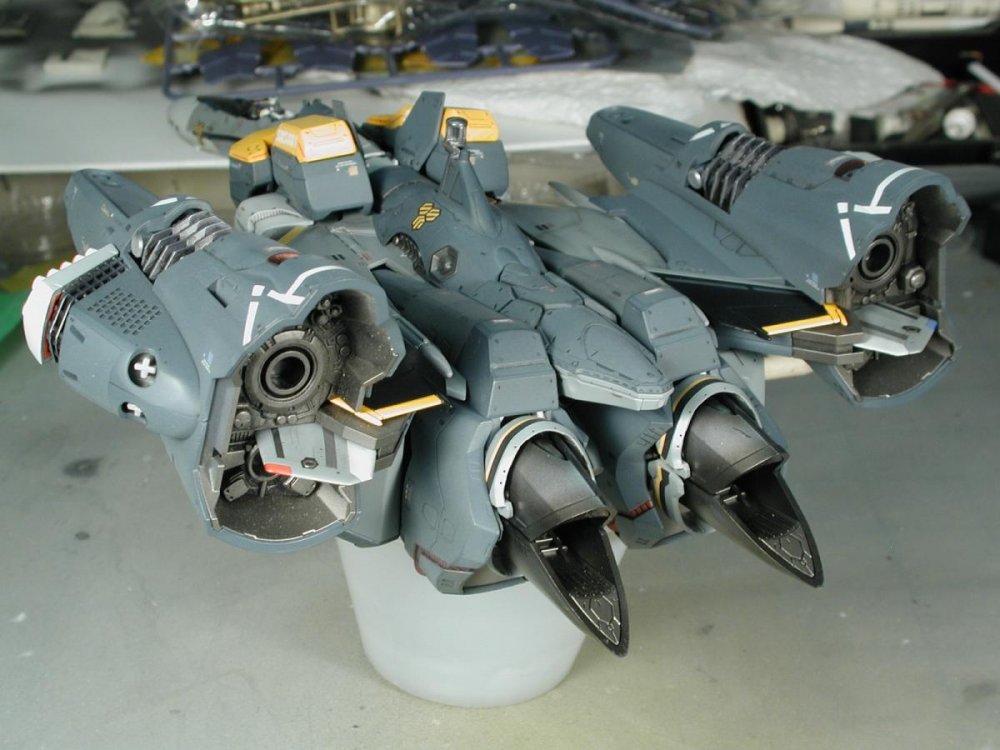
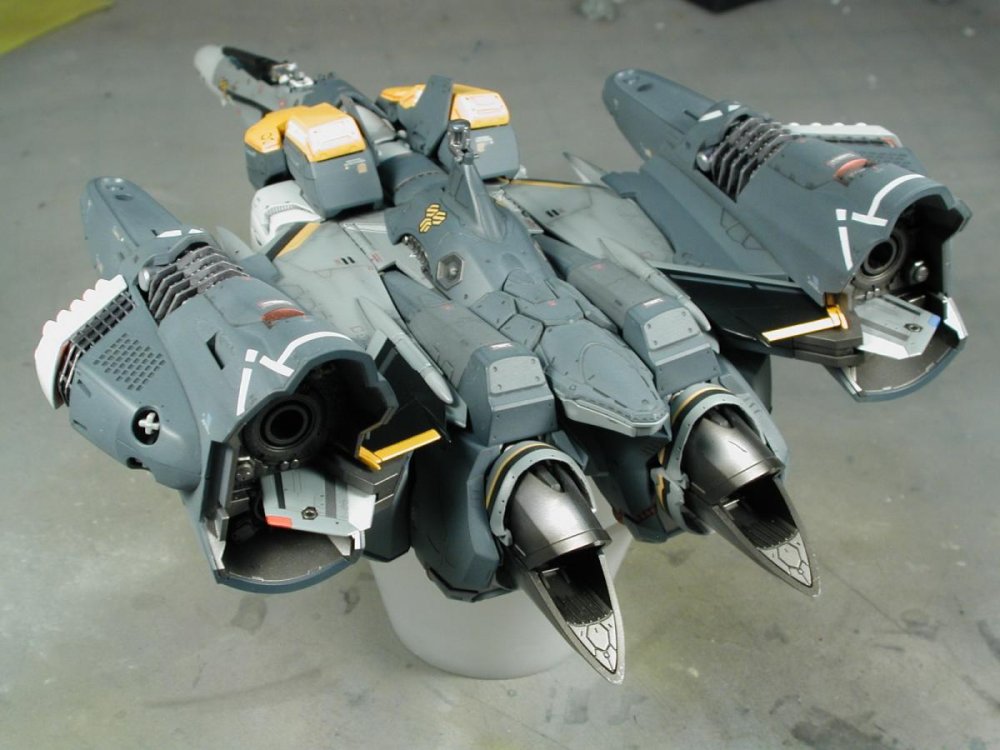
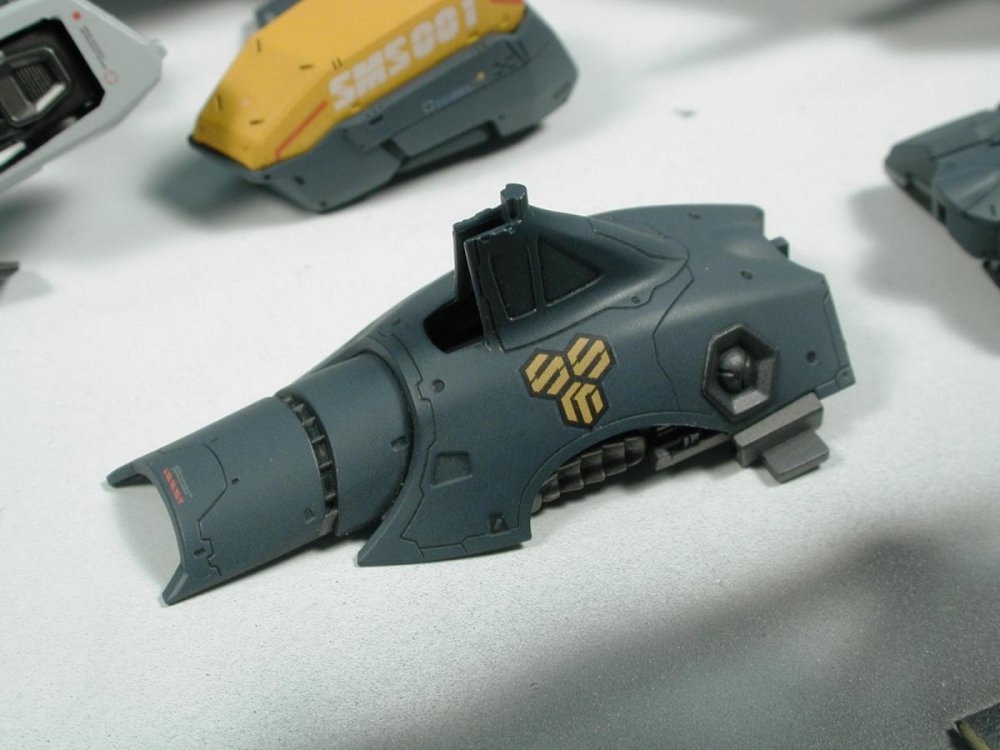
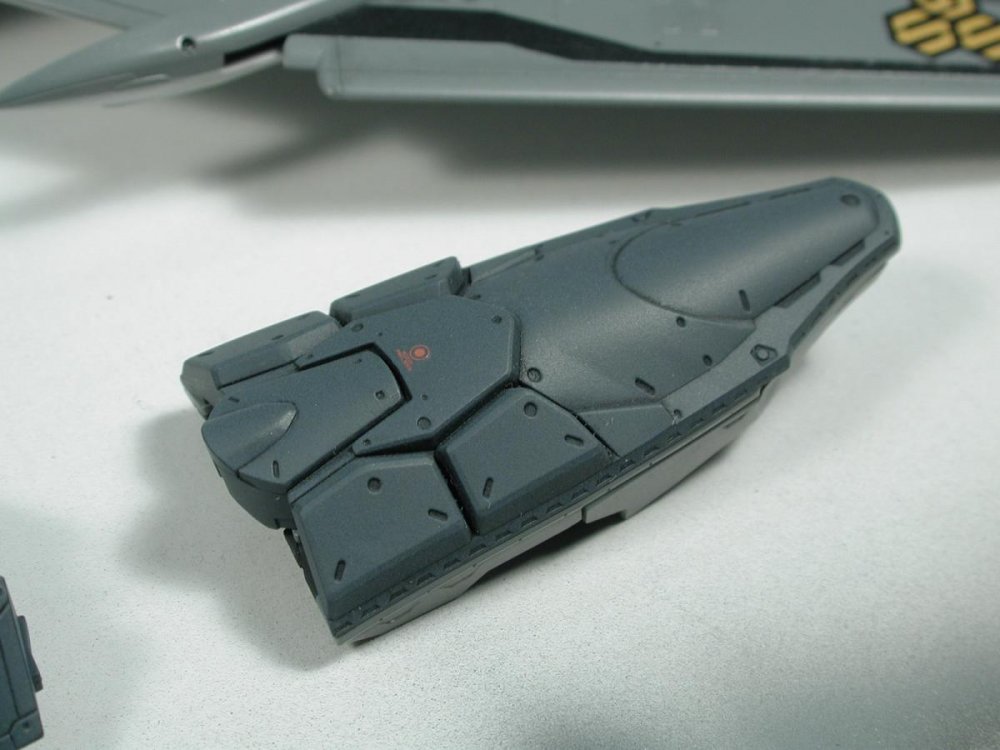
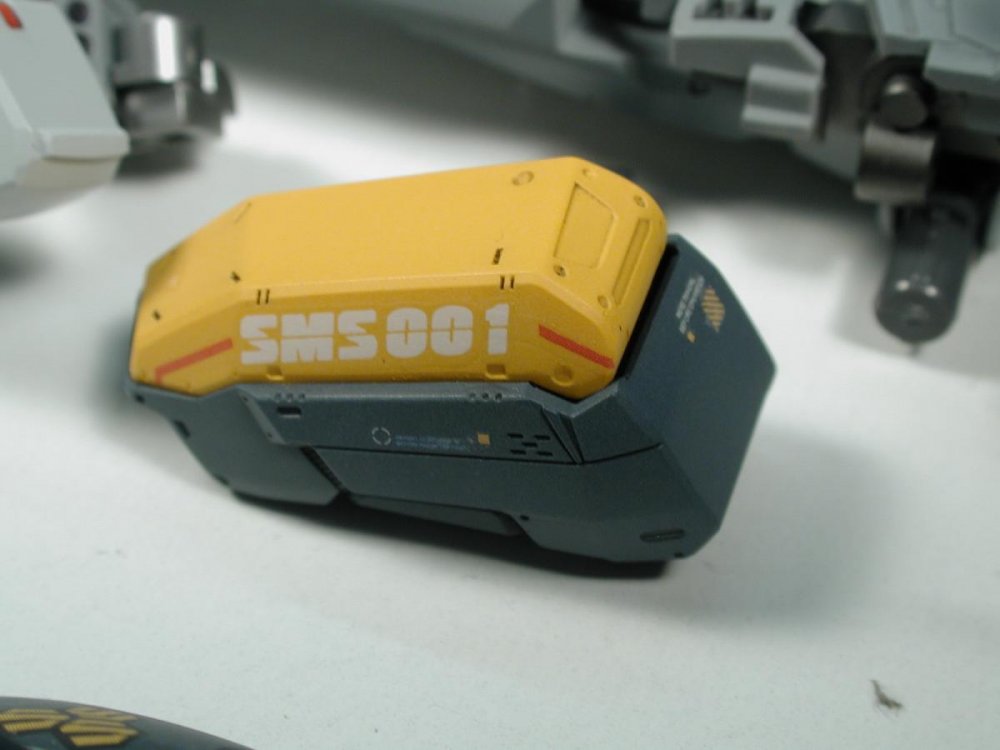
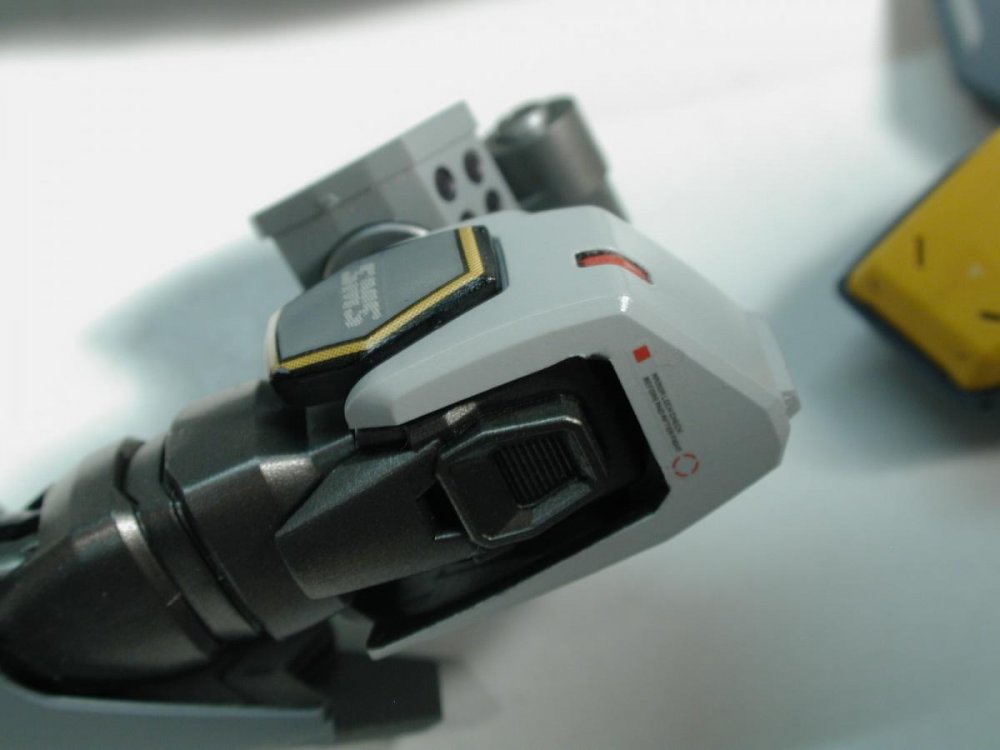
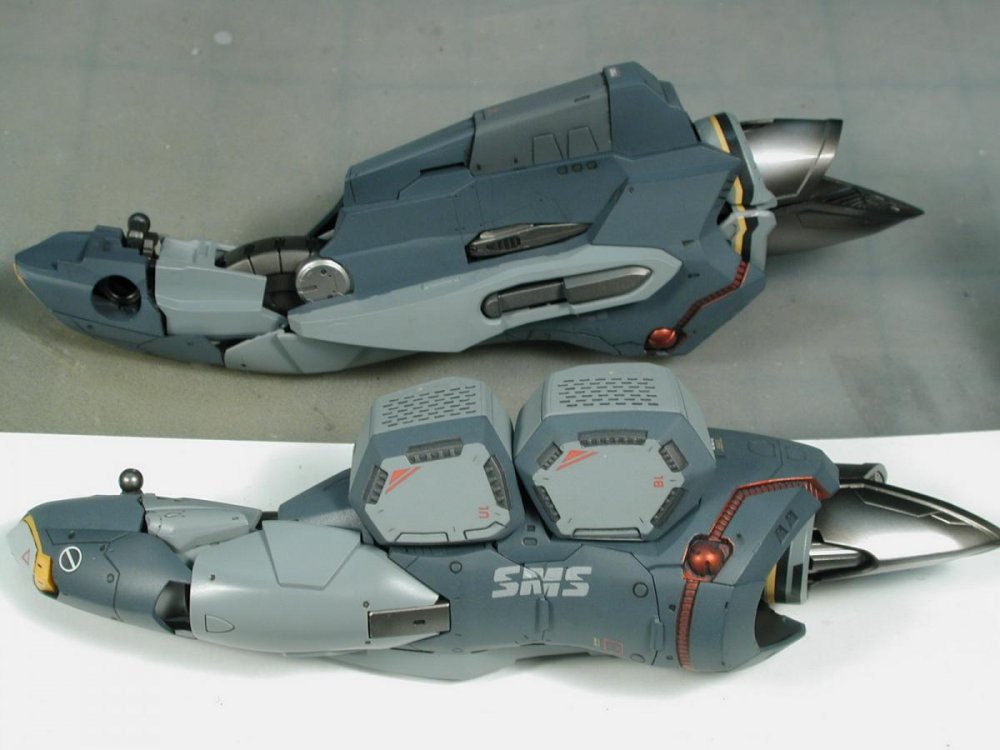
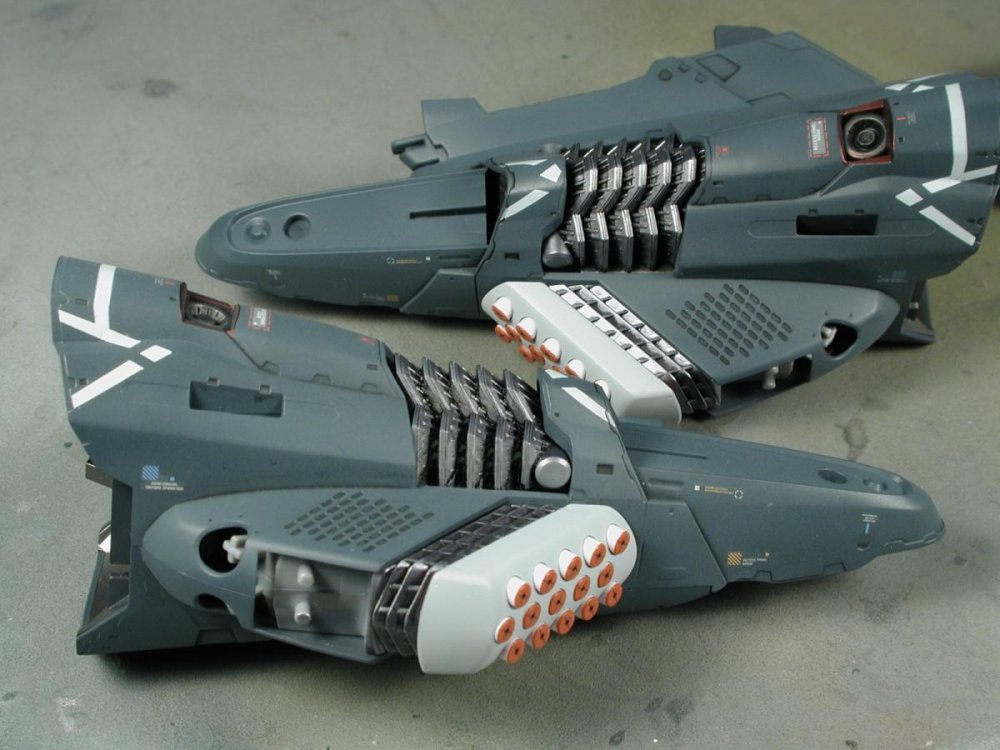
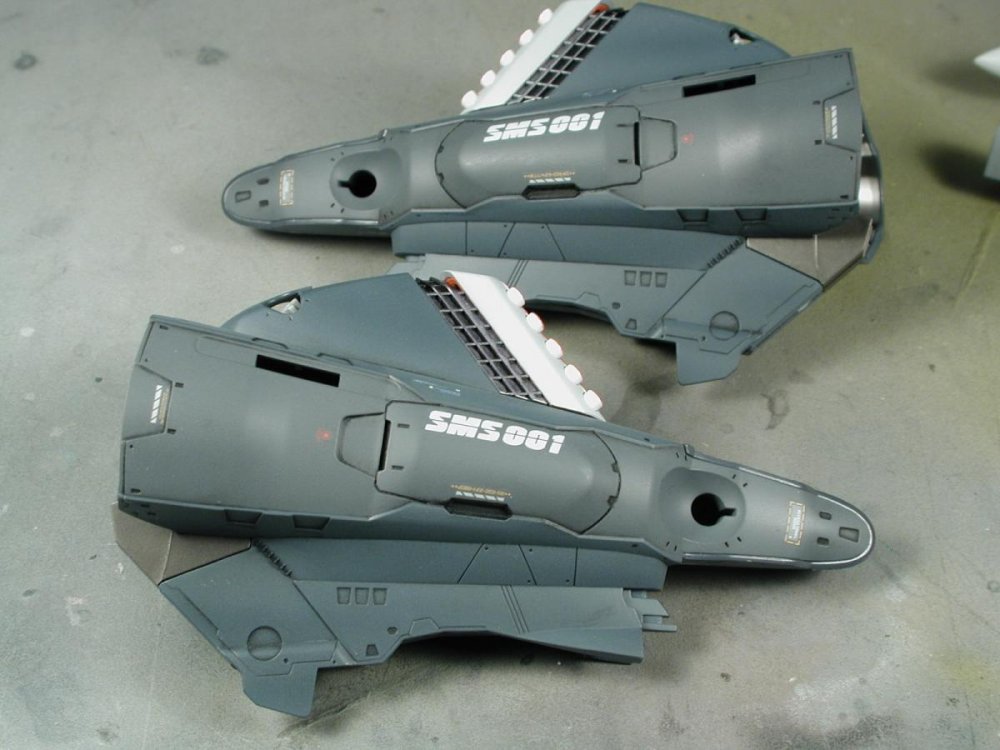
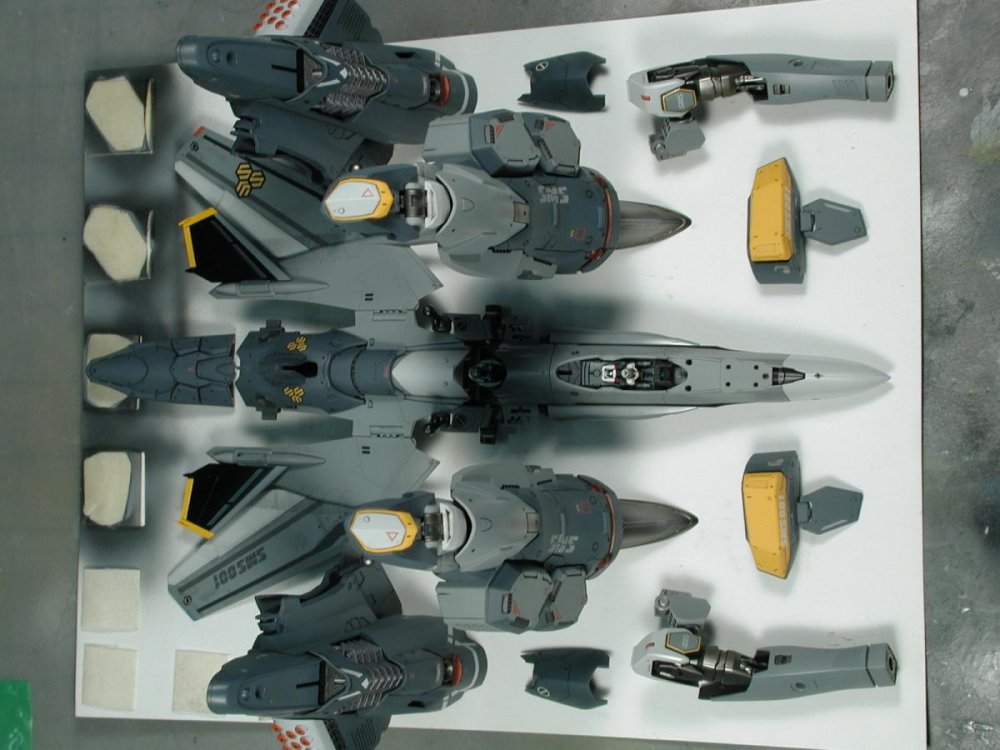
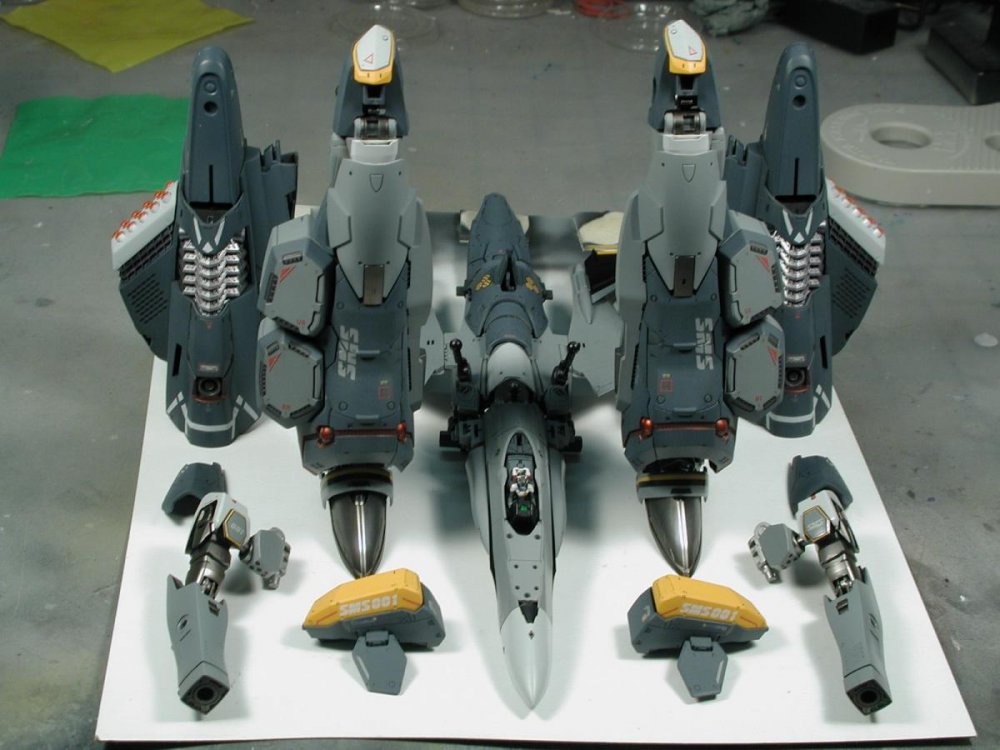
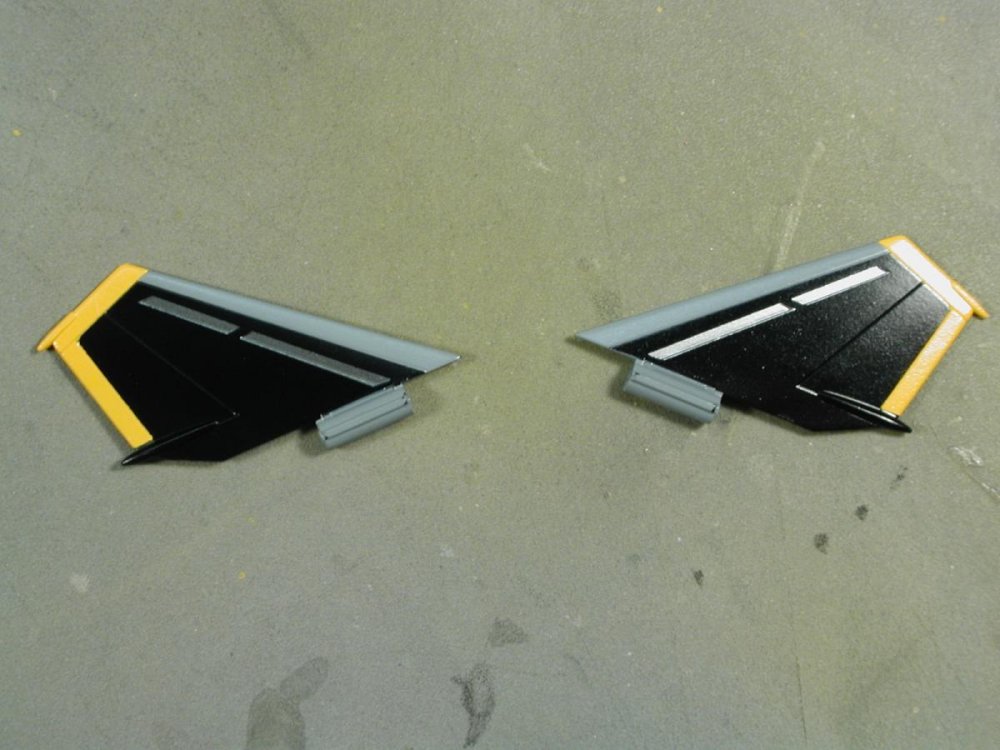
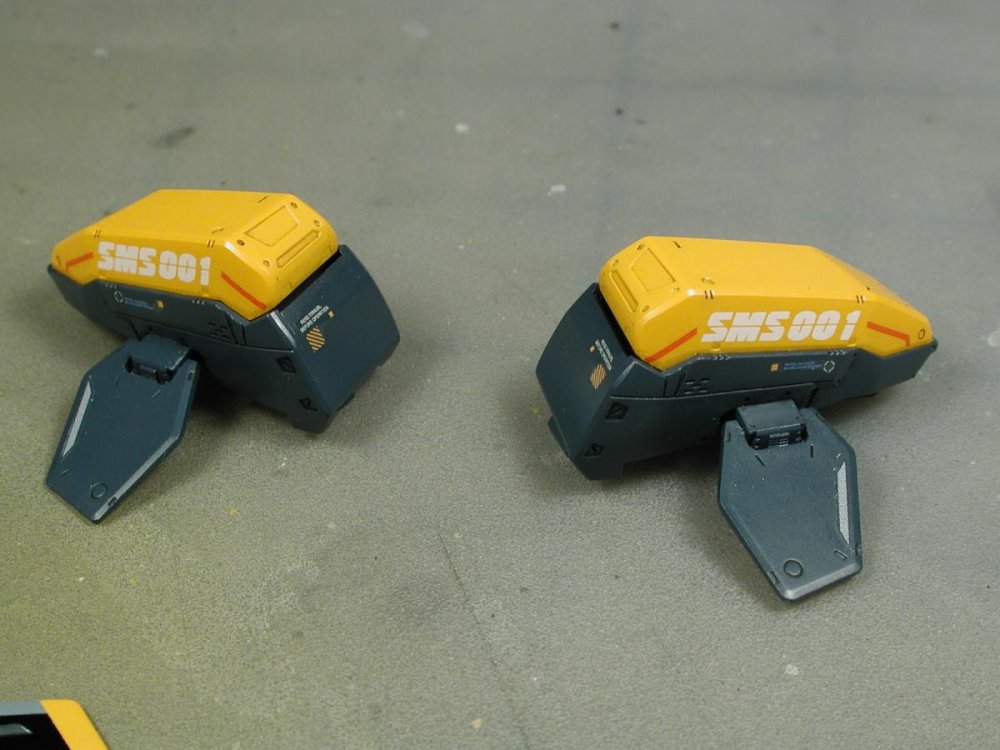
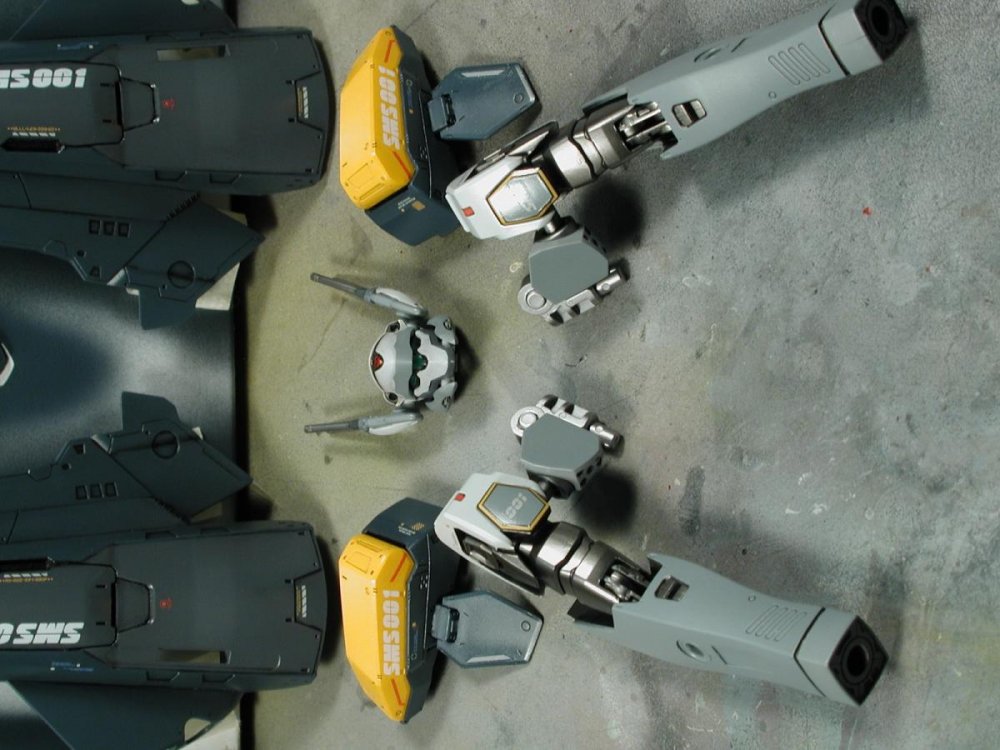
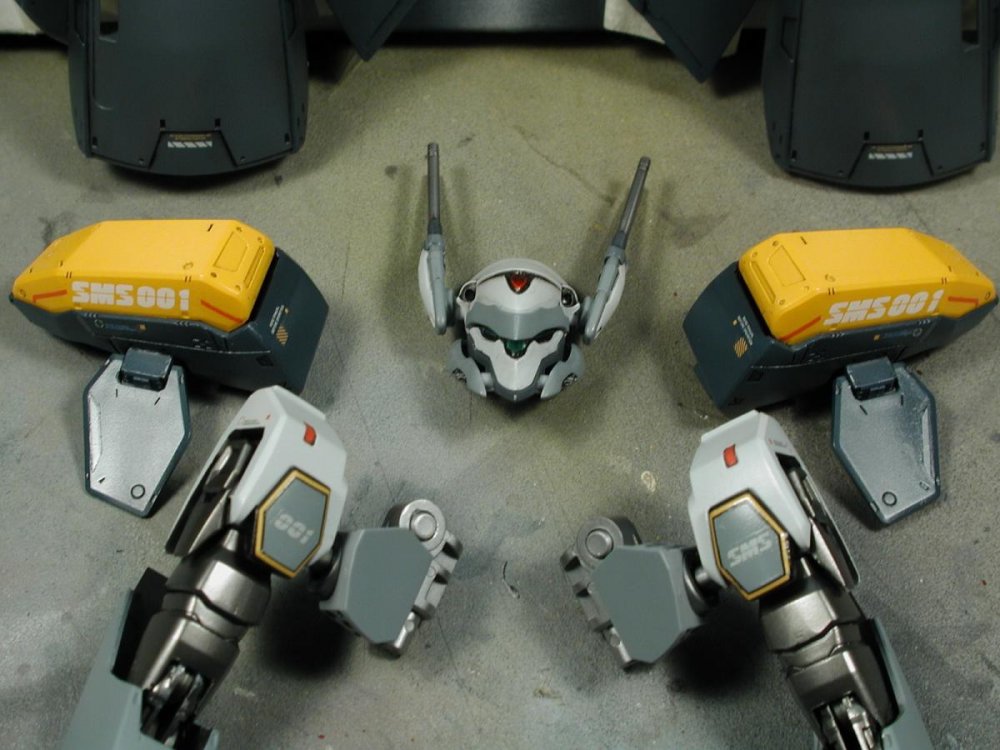
Some masking of the guns... Booster packs (didn't realize that I should of dusted before taking the pictures!) The thin white decal stripe around the blue part of the front of the packs was such a pain - the decal had to sit on a tiny bevel all the way around, I might have masked it next time around (if there is one!). Generally all the decals are such a pain (they really wanted you to use the stickers!). I can't wait for Hasegawa's rendition of this! I didn't go the purple route - I ended up more blue (the fins and guns are supposed to be Tamiya Medium Blue) but ended up being a tad too close to the booster packs - oh well. 78hrs later... (almost a full week behind schedule!) I'm liking the aircraft mode more and more (even with the ridiculous overkill packs). Just the canopy, reaction missiles and a nice light coat of lighter dry-brushing weathering on the packs.
-

Help? Any one with a spare part J23 & J24 for any of the Bandai 1
wm cheng replied to wm cheng's topic in Model kits
David - Yes, the decals really suck! I found that they do not react to MicroSET or MicroSOL, however they do work with Mr. Hobby SOL (almost a little too well) so that might help with adhesion before the gloss coat now. Transformation is always going to be a huge problem with any water-slide decals - that's why I hate transformable models in general. I usually only transform it 2 or 3 times in the model's lifetime. I take like 30mins to transform it with white gloves!! Hopefully when the Hasegawa's come out, I will only keep the Bandai in the Battroid mode forever and ever (unless I actually get my hands on a few more Renewals). That's kind of why I'm building the Bandais now - I know I won't have any patience left in the near future. I must of spent $40 in art supplies trying to find a decent tint for the canopy. I finally found an artist purple ink that I mixed with Future to dip just the outside of the canopy in which produced a satisfactory result. I am using a blue food colouring now mixed with future to blue tint the VF-25S canopy and it seems ok (maybe just a tad blue'green for my liking but it works). Jefuemon - Jefuemon TO THE RESCUE! Thanks so much, I really appreciate it! What a wonderful MW community, I've received so much help and support from these forums. -
Is there an inside cockpit 1st person view? Is it compatible with any flightsticks? (like the HORI: http://www.amazon.com/HORI-PlayStation-3-Flight-Stick/dp/B006IOAJHG/ref=wl_it_dp_o_pdT1_S_nC?ie=UTF8&colid=8Z3PWMSAF4QC&coliid=I7S8TH256LOPL)
-
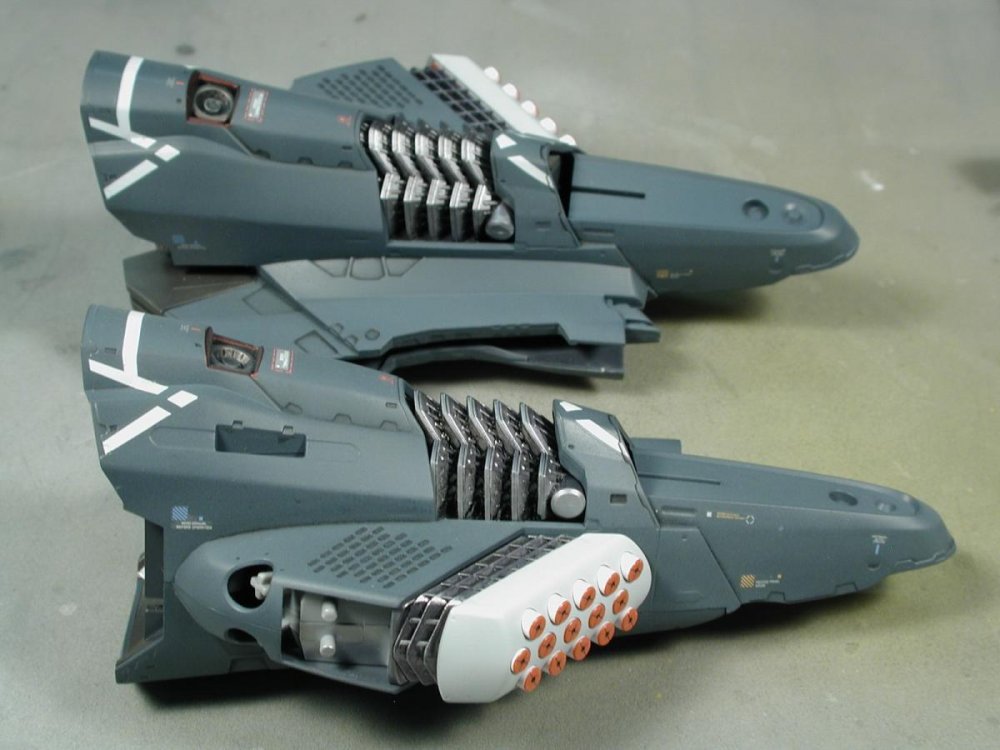
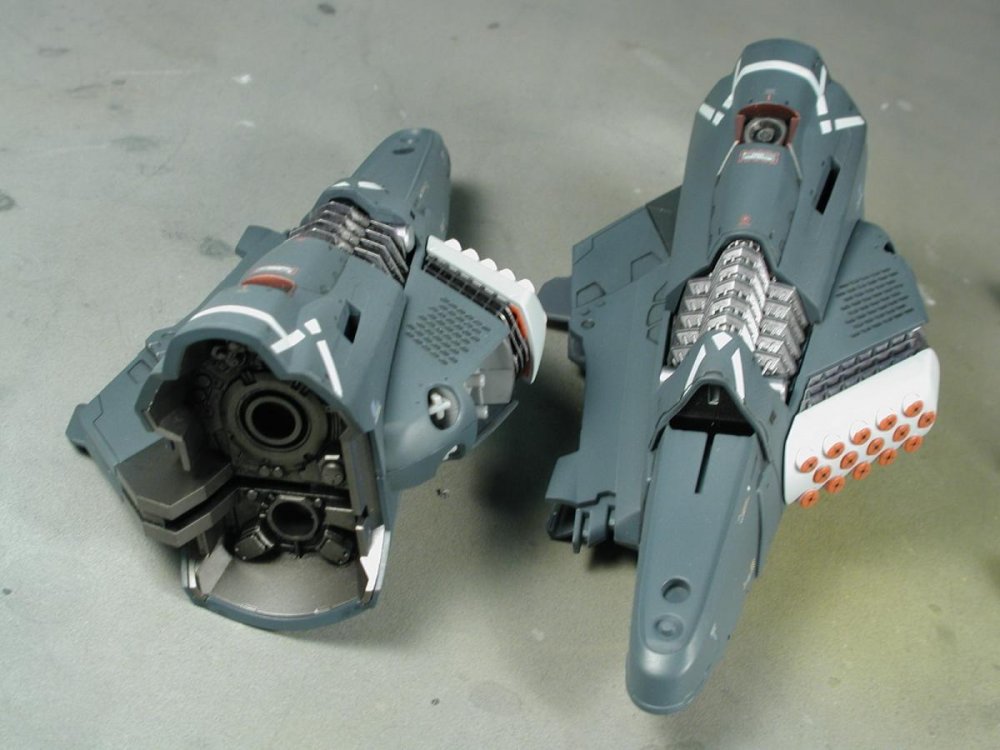
Hey MechTech - I think by the time I'm done with the rear fins, cylinder thingys, and the reaction missiles, I don't think I'd really see the seam that much. I think if I did something with it, it would draw more attention to it - a decal will still show the seam, you'd have to fill and sand it which is what I should have properly done in the first place (oh well!). Ok, I'm at 70hrs so far... not a quick little simple kit to power through in the end! At least I got to finally assemble it together! Hint: don't attach the canopy shield till the end - this is the 2nd time I've broke the tiny hinge on the chest piece that holds onto the tiny red hinge that attaches to the canopy shield - its so damn fragile! Somehow my head doesn't seem to tuck in properly - I can't seem to get it down under the forward fuselage - scrapped the hell out of the nicely finished metallic red light on the forehead though! Finally figured the retractable hinge on the shoulder missile pods (sneaky Bandai!) After lots of fiddling, I finally got the hip covers to go over the wing root. Love the tabs that lock everything in place on this model - but I've scrapped the hell out of the finish trying to get it all together without too many glaring gaps! I'll keep it in the fighter mode while I finish it off so I can weather it, then transform it into the battroid mode to keep (till Bandai renewals get re-issued and I can get my own VF-25S armored) which was its main purpose to hold me over from the "devastating loss" of missing out on that toy. But now that I have it in the fighter mode - its really growing on me! Off to the gun pod, fast pack guns, fins and engine nozzles tomorrow!
-
Great idea!
-
Gorgeous kit! Can't wait to see it built up around here!! Got mine in the private warehouse waiting for the VF-11B with booster restock. Maybe wait for Alpha 2 to come out and get both, one in flight and one folded up. Too bad they're Bandai - wished it were Hasegawa.
- 3378 replies
-
- Space Battleship Yamato
- Yamato
-
(and 3 more)
Tagged with:
-

Help? Any one with a spare part J23 & J24 for any of the Bandai 1
wm cheng replied to wm cheng's topic in Model kits
Thanks for the reponses! Jefuemon - you're right (I was thinking of the older VF-1 where you'd see the head upside down between the legs) - I never have my VF-25 in Gerwalk mode, but now looking at the pictures, all you'd see is the top of the head (same as fighter mode). If you're willing to part with it - I'd love it and would love to pay for it and cover any shipping costs! David - why did you never finish your 99% done VF-25F? You're almost there... I'd still love to see it! You might break the part if you disassemble it - the "hook" that attaches to the collar is REALLY delicate (that's the part that breaks). Thanks for the offer though, I'll let you know if Jefuemon decides to keep his. -
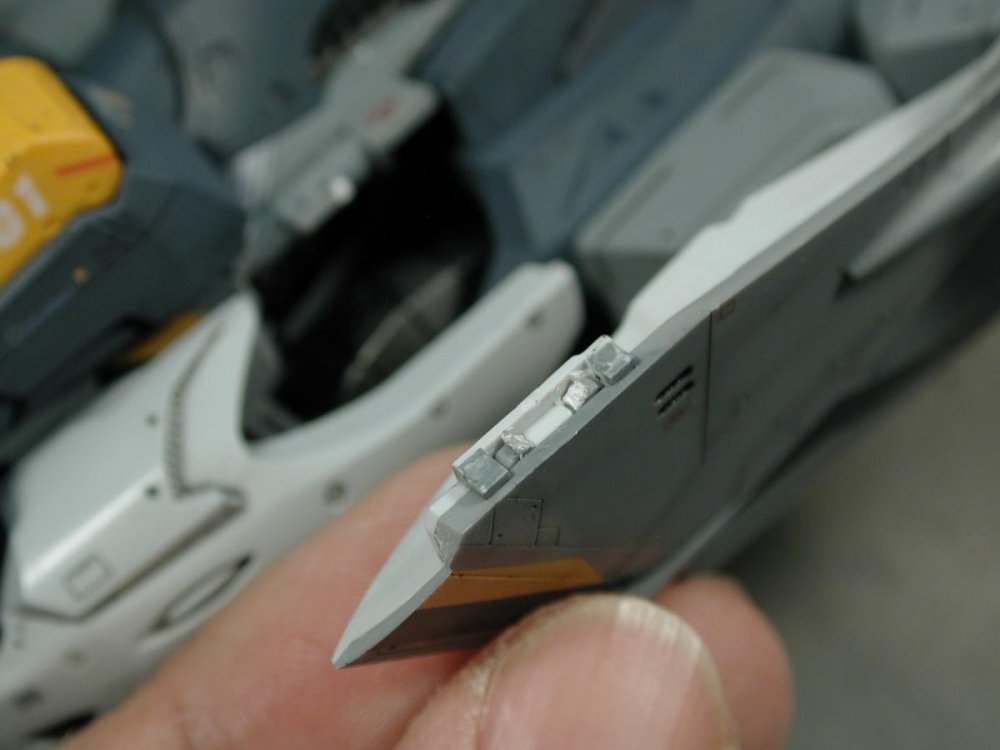
HA! You caught me!! I was debating that seam for days!!! I was trying to weigh the seam against tremendous masking of all the metalized parts and the awkward masking of the rear plate which I wanted in metal, but had to be in as well as the fins before the two parts were glued together. Yes, I hate Bandai parts breakdown when you want to paint it. The other way was to assemble it to this point and spray the whole thing blue/grey, then mask out the blue/grey to spray all the metalized parts, but I couldn't get into all the fins and nooks and crannies properly from this angle. Argh, I loose either way. Unless I had tonnes of time and patience and majorly mask like crazy - I was in a rush and didn't known when I'll start work again.
-
+ a million!
-
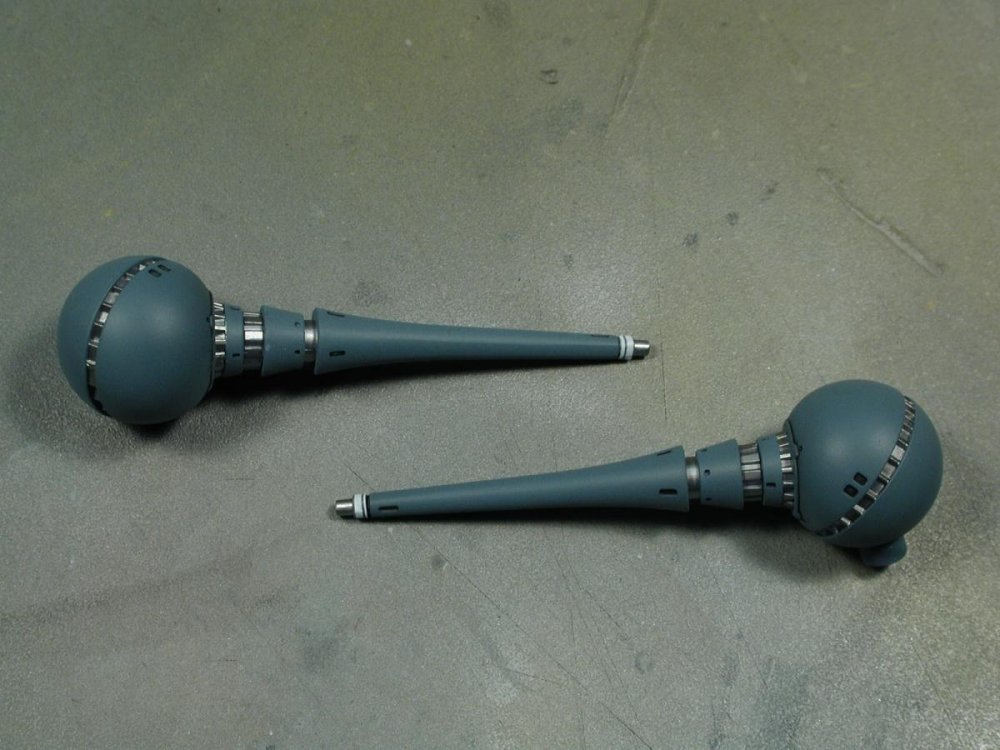
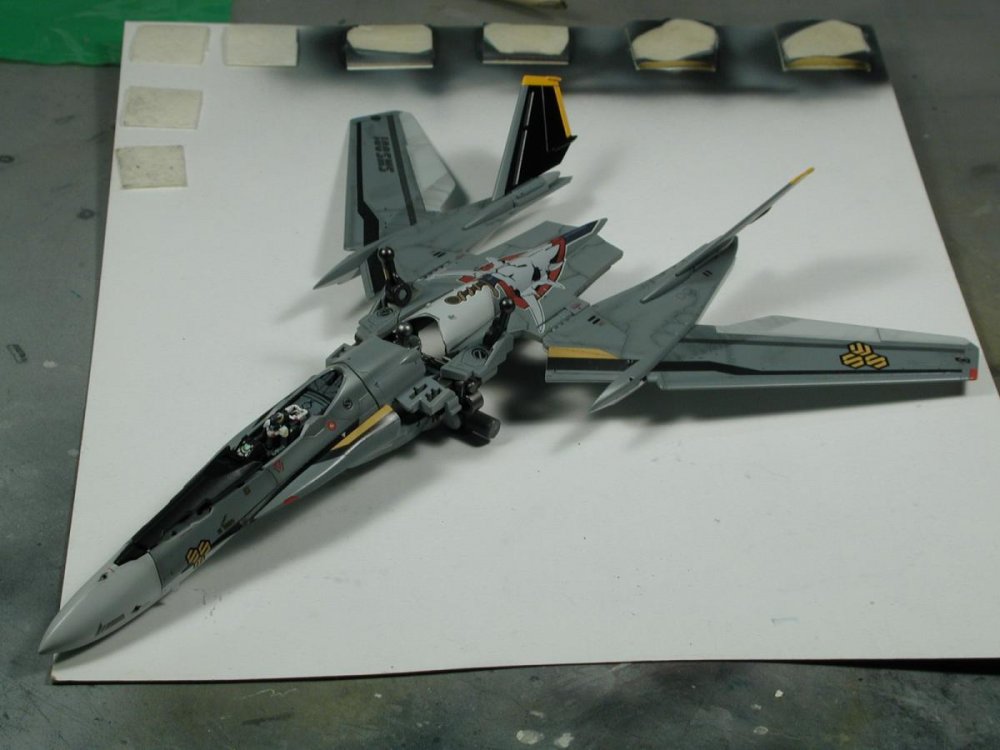
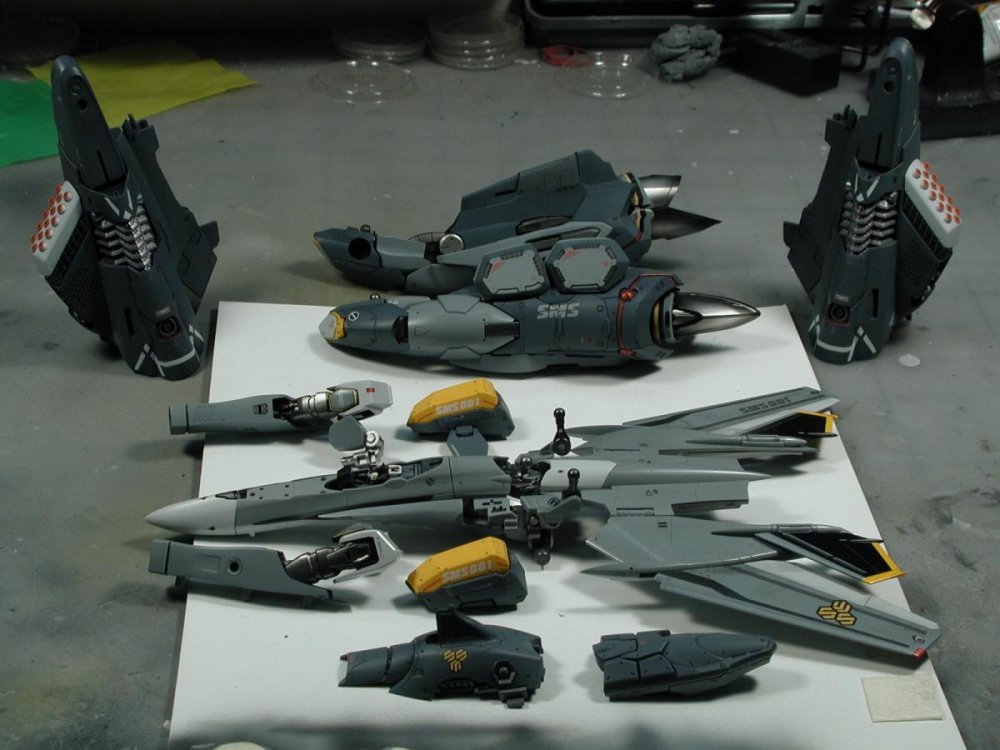
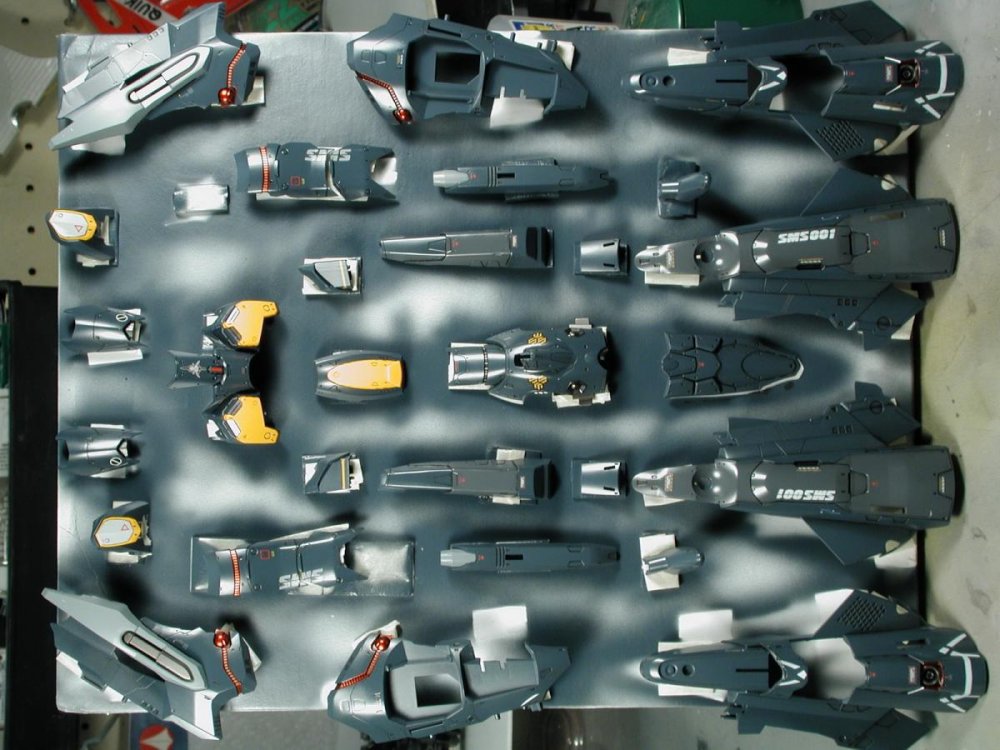
I love ghetto setups! My first air compressor when I started my airbrushing was a junkyard fridge compressor that I rigged up with a sponge on the cylinder head which I kept wet so it would cool it down as it got hot and shut off (right in the middle of some important spray!) Well, finally one of the best parts - I matte/flat clear coat the packs and start assembling the pieces! All this is before the weathering - its pretty much spanking new now. Well, my mid grey turned out a little dark when it dried, the wet paint colour perfectly matched the plastic, but with the additional semi-gloss clear coat it darkened it a tad. Plus the darker fast packs definitely lightened up with the matte/flat coat, not sure if there's enough contrast yet. There's still a lot of other decals to go onto the plane and clear coat that, plus all the missiles, fins, guns, engine nozzles and gak, before I can assemble it and start weathering (I'm worried the weathering will start to tie together all the different shades a greys a little too much).
-

Help? Any one with a spare part J23 & J24 for any of the Bandai 1
wm cheng replied to wm cheng's topic in Model kits
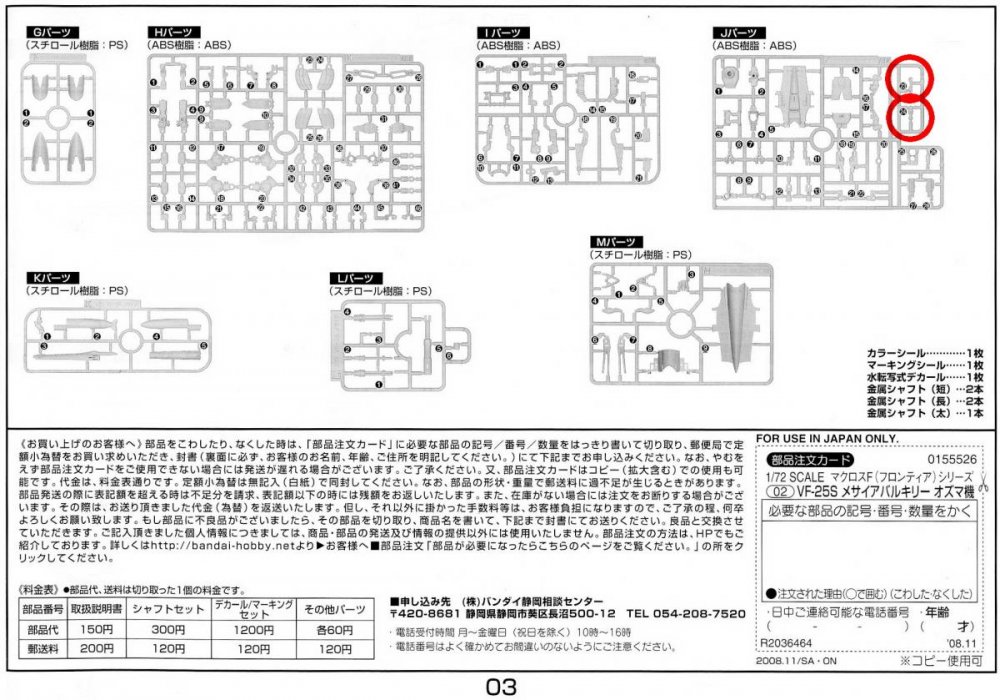
Thanks for the offer Jefuemon, Well, you wouldn't need J-23, but you'd need to fashion a baseplate out of sheet styrene to mount the neck piece within the collar. However, you'd still need J-24 - not for the hinge, but the ball joint to mount the head and allow it to articulate over the neck. Unless you can find a generic ball that will fit into the socket within the bead that can be glued to the top of the neck piece or if you want to fix the head permanently in a certain postion. Now if anyone wants to build a fighter only mode - then they definitely don't need those parts as the head is mostly hidden within the well. Anyone going to build or has built a fighter mode only version? -
PLEASE! Everyone please wear a mask if you airbrush. A real mask (http://www.amazon.com/3M-Low-Maintenance-Half-Mask-Respirator-Assembly/dp/B00004Z4EB) not just one of those white fibre thingys. Make sure you get the filter cartridges for organic solvents - especially if you spray lacquers or any type of metalizer. This applies even if you have a spray booth and ventilation system. (My best friend died at the age of 35 from lung cancer - he never smoked ever! But we built models throughout high school without any type of mask - they're not saying if that's what caused it (cause I'm still alive) but just to be safe!) I get your masking hell Jefuemon - but its worth it in the end, nothing like real paint!
-
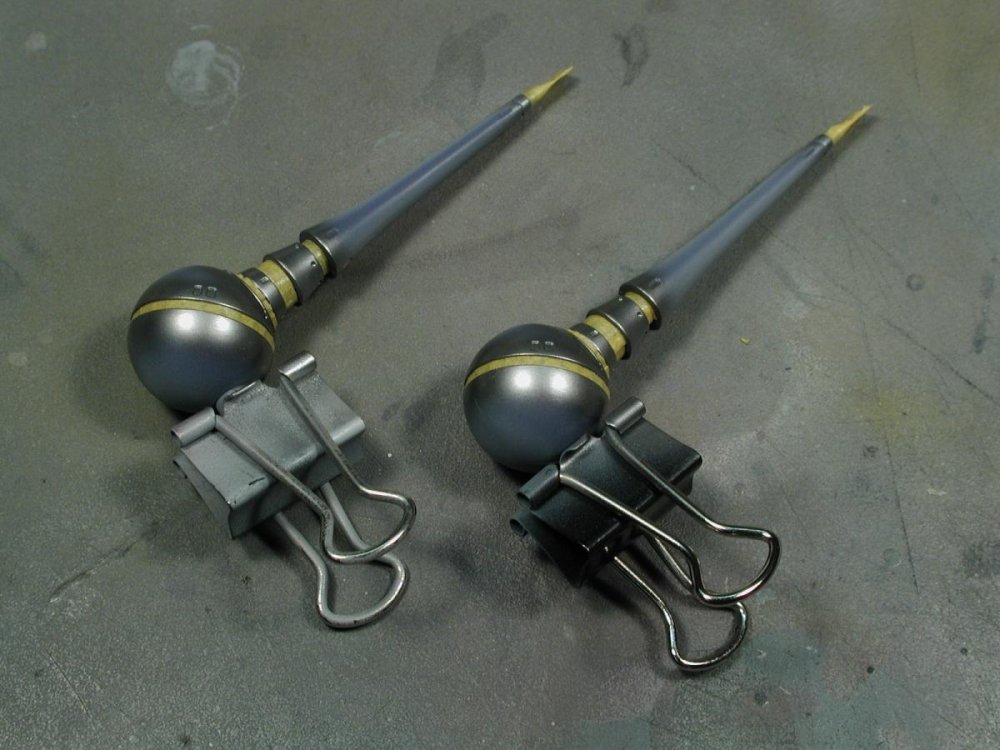
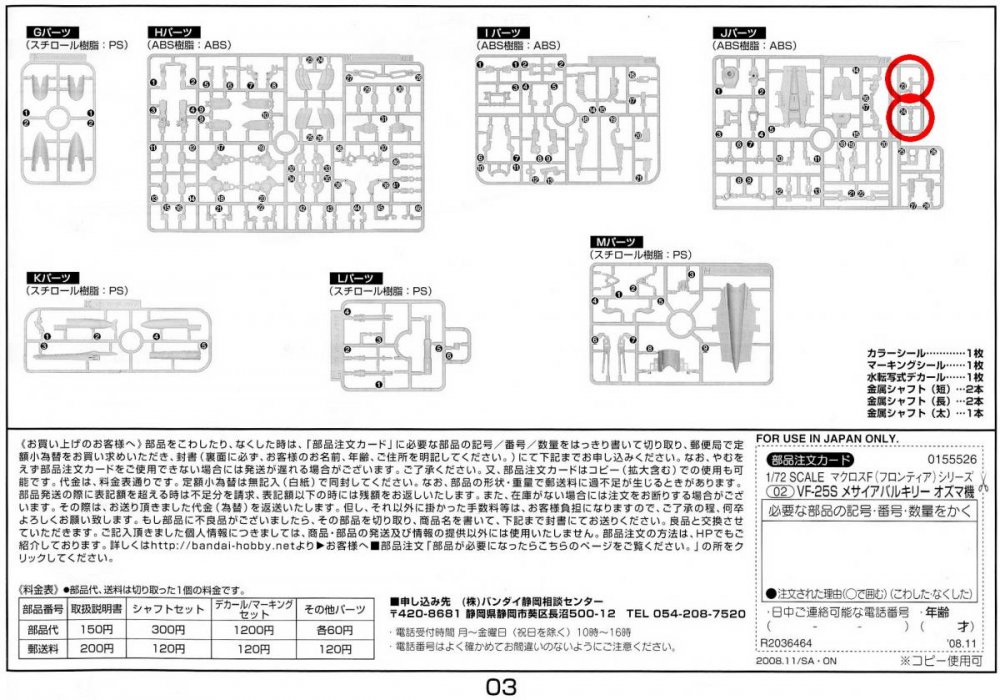
Well, another 12hrs later... more masking... - discovered this Alclad Stainless Steel, if airbrushed onto something with a gloss coat (done for the decals) - it goes on amazingly smooth and reflective - the rudder inset silver is done with this stuff and really glints in the light like real polished metal! Some warning stenciling, in face that's all I've been doing to all the darker armored packs while I have the gloss coat on them. I wanted to get all the data stenciling on before I seal it in with the flat/matte clear coat so I can start assembling them Disaster struck though... I broke those little arms holding up the neck/head to the collar (parts J-23 & J-24) while I was trying to strip them down to repaint them (I seemed to be doing that a lot on this build - I vastly underestimated the scope of this build when I started - it wasn't the easiest kit to get "back in the saddle" with - I've had to re-learn a lot of decal handling and painting) Anyone with a spare part to sell me? http://www.macrossworld.com/mwf/index.php?showtopic=38586 I've pilfered one of my other VF-25 kits in my stash for now - but its a shame to lose one of those kits for these 2 very import parts.
-
Hi all, Huh, the topic title got cut off (I can't seem to edit the topic title) - I am asking about any of the Bandai 1/72 VF-25 models - this part is common to all. Disaster struck! While I was stripping off paint in an effort to re-do a botched pant job on the collar/neck assembly of the VF25S Armored - I broke the two tiny arms that hold up the neck/head which connects it to the collar (parts J23 & J24). I dunked the entire assembly into lacquer thinner to remove the Alclad metalizer which I had sprayed on - for some reason (which I still don't know yet) the paint reacted funny. I guess I must of left it in the lacquer thinner too long to weaken the plastic, because the tiny c-clamp arms and hole just broke apart in my hands - note to self, lacquer thinner and ABS don't mix well. I have e-mailed HLJ about buying a replacement J-Tree - but their FAQ specifically states they will attempt replacement of missing or damaged parts within 10 days, and "...do not accept orders for parts in general." Unfortunately I ordered this model over 4yrs ago. So I'm appealing here in case anyone has a trashed VF-25 or spare parts box (you never know!). Thanks.
-
Yes, I heard that rumour last year... now that's the kit I've been waiting for! I hope its as good as that resin kit that's always out of stock. There's one of my most highly anticipated kits if it ever comes to fruition.
- 700 replies
-
- Battlestar Galactica
- RDM
-
(and 6 more)
Tagged with:
-
Thanks! Yes, I checked the junk mail and its not in there, I am still getting notifications from other threads subscribed - just not this particular one. Thanks, finally making some headway... but still lots of tiny warning data stenciling on the fast packs before I can clear coat them in a matte finish before assembling them - so its still in a million pieces at the moment.
-
Thanks for the words of encouragement... I need it with this kit! That Bandai Renewal (with armor) for $500?! is looking better and better all the time ;-( I'm just not sure how I'm going to keep all the armor matte while the aircraft semi-gloss to play off each other AND weather them at the same time with massive masking in the end. p.s. BTW, I'm not getting any e-mail notifications when this thread gets updated... I have checked my settings and I have e-mail instantly selected for this thread? any one else experience this?

