wm cheng
-
Posts
4346 -
Joined
-
Last visited
Content Type
Profiles
Forums
Events
Gallery
Everything posted by wm cheng
-

Bandai 1/72 fully transform able VF-1 plastic kit for Macross 30th Ann
wm cheng replied to Vi-RS's topic in Model kits
THANK YOU Noyhauser, very well said, and my sentiments exactly. I was just about to give up and unsubscribe to this thread, as there would be nothing I could add that would be constructive to this thread. I'm a bit surprised at how this thread has "de-evolved" into as its not characteristic of MacrossWorld. Thank you for bringing it back. -
Well, its no so clear cut on this one. Let me preface this by saying that I am not a fan of 3D myself, I usually actively seek out the 2D versions of film when available. I find 3D films (either post processed or native) to be generally darker, less contrasty and more blurry than its 2D counterpart. Guillermo did originally say it was going to be 2D and he wasn't a fan of 3D himself before he started shooting. It was shot with 2D cameras, so any live footage was post processed. I'm sure the original intent of the conversion to 3D was a "money grab" by the studios. However, once I saw it in 3D, I was amazed how good it looked. Most of the movie is complete CG (despite over a 100 days of shooting live action!) or so much CG that the majority of elements on screen was naturally in 3D to begin with. Even with films originally shot in 3D, the best shots are the CG shots anyways (I've worked with the 3D cameras used on Avatar - "unfortunately" we had used those cameras for Resident Evil: Afterlife which was shot in 3D and it didn't look as good as Pacific Rim does). I think Guillermo was "won" over during the conversion process - I personally don't believe he would let the 3D version out there if it looked worst than the 2D. He said to the crew that the "best" version of the film is the IMAX digital 3D version - he had just spent the last few months supervising the transfers to the various formats and I would definitely trust his advice. That's what I've already bought tickets for Saturday! This is really a film that is "the bigger the better!" p.s. Everybody who intends to go see this film, really should fight the crowds and see it this opening weekend - there really is nothing like the "energy" of sitting in the theatre with other enthusiastic people on opening weekend. Also, Hollywood judges the success of a film by its opening weekend, if you're complaining about the excessive reboots, remakes, sequels and prequels then support this original film - otherwise you should not be complaining and whining about it later!
-
The amount of tampo printing is pretty amazing though... I think they've gotten everything from the anime.
-
Well, I got mine from HLJ at 11,900Y and it came pretty perfect. I don't see any stress marks on those infamous black NUNS triangles (can't really figure out where the stress will come from either or why it might crumble like some of the photos around here) the part doesn't seem stressed when transforming. I am very happy with it - especially the low price I got it at. It wasn't even a Valk I wanted to buy, but with MacrossJunkie's amazing paint/weathering and the low price, I couldn't resist and now I'm really glad I took the chance. I'm a sucker for dark valks and Bandai really outdone themselves with the tampo printing on this, even the "no steps"! It also looks great in Battroid mode (I'm not even a fan of that mode) - much stockier, muscular than the anorexic VF-25s. Man, its hard to get the arms aligned properly (so many joints!) to fold the arms over the back plate back into aircraft mode! The left shoulder cover always seems slightly higher than the surrounding surface in aircraft mode - something must be slightly mis-aligned, I am assuming its the arm joints underneath. Any tips?
-
Guillermo said he personally supervised the transfers of the film to the various formats and he did say it included 2D IMAX as well as 3D IMAX and IMAX digital - now you just have to find a 2D IMAX close to where you live.
-
1/48+fp's, 1/60+fp's, 1/72, 1/2k, 1/3k,1/100 and now 1/144
wm cheng replied to VF-18S Hornet's topic in Toys
Ah! Acrylic thinner... of course that would work. I've always wondered what to thin that stuff with. My bottle of Future is also about 10yrs old too - they don't make stuff like they used to! I wish I was higher up the food chain to actually get residual cheques or royalties... but all I can hope for is that its a big enough financial hit that they will want to film a sequel back in town and hire me again. -
1/48+fp's, 1/60+fp's, 1/72, 1/2k, 1/3k,1/100 and now 1/144
wm cheng replied to VF-18S Hornet's topic in Toys
So do you use the Future with Tamiya flat straight or do you thin the future with something? I find Future really too thick to spray on its own. I still like use the Model Master Clear Acryl clear coats, but they are delicate. -
I can't wait too (and I've already seen it) - I want to see in IMAX 3D digital... Guillermo said that's the best format.
-
1/48+fp's, 1/60+fp's, 1/72, 1/2k, 1/3k,1/100 and now 1/144
wm cheng replied to VF-18S Hornet's topic in Toys
Beautiful as always!!! Very inspirational. Damn you... there's been several toys I didn't think I wanted until you made it all "purty" - when my daughter has no shoes, I will tell her its your fault ;-) Actually I wasn't into the Bandai renewal line at all, I got one of the v1 VF-25F Tornado (being told it was the best of the bunch) and that along with their model kits really left a bad taste in my mouth. Then I see one of your renewals all weathered up and it was like Damn! Now, I'm totally into the renewals and my wallet is hurtin' How's the matte/semi-gloss clear coat holding up to the transformations? Is any of it scratching/scrapping? What clear coat are you using? -
Hmm... shouldn't there be a VF-25S in September then? I want a Ozma.
-
Yep, another vote for MacII VF-2SS SAP
-
Bandai 1/72 fully transform able VF-1 plastic kit for Macross 30th Ann
wm cheng replied to Vi-RS's topic in Model kits
You my friend are a politician! ... might I add that most model builders would like the new "deviations" to be erroring on the side of realism. That's why we build models. Otherwise we just buy toys to play with. -
I haven't received my VF-171 CF yet (sent out last Thursday though) - so I haven't seen it in person, but the piece seems to be essentially hollow beneath. Would it help relieve the stress if it was filled in and made solid? Has anyone ever used this stuff; JB Weld http://www.jbweld.com/product/j-b-waterweld/ - this waterweld stuff is like steel when it hardens, I used it on my back bumper licence plate holder where the screws stripped the plastic mounts, I rebuilt the plastic with this stuff and re-threaded it and there are a lot of stresses on it, but its holding up amazing (I use it as a handle to open and slam my trunk everytime). I'd love to see some photos on how to remove the part carefully or is it pretty straightforward once you see the part?
-
1/48+fp's, 1/60+fp's, 1/72, 1/2k, 1/3k,1/100 and now 1/144
wm cheng replied to VF-18S Hornet's topic in Toys
Another amazing job MJ!!! Hope to follow suit in a few days too... -
Damn! Missed it even at the NY's marked up price, got sold out as I was checking out. My wife thinks I'm crazy since I'm with the family at Great Wolf Lodge for the holiday weekend and it's 5am and I'm locked away in the bathroom to not disturb them... Like junkie!
-
WoW! I love this bird, a little oil wash does wonders! I'm just not that fond of the minty green. Maybe a bit of weathering and matte coat will take the curse off of it. I do love these Renewals, they are very playable and zoomable (unlike the model counterparts!). Highly recommend them to anyone still on the fence about it. They are becoming my favourite Valk toys - they seem even more durable than the VF-4G.
-
I've never been into the CFs before, but this looks so amazing! Also I'm so impressed with the engineering of the renewals now... this is a must buy, I hope we can get it without all the sleepless nights maybe even at MSRP? I don't dare to hope for below MSRP like the VF-171 ;-)
-
Bandai 1/72 fully transform able VF-1 plastic kit for Macross 30th Ann
wm cheng replied to Vi-RS's topic in Model kits
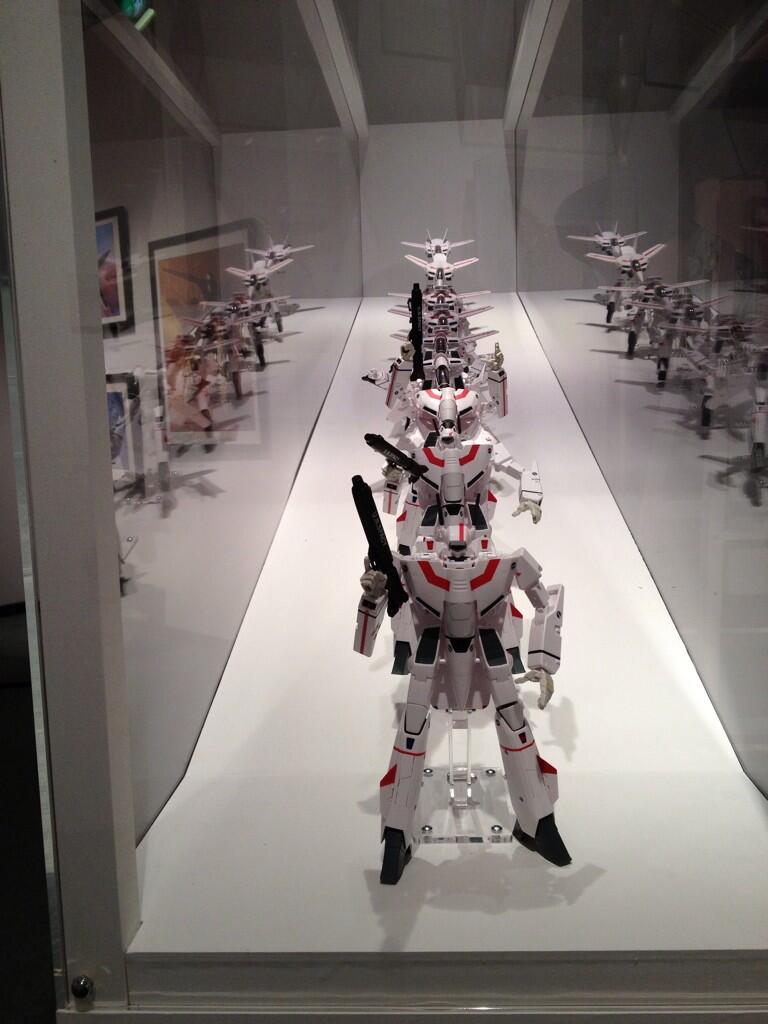
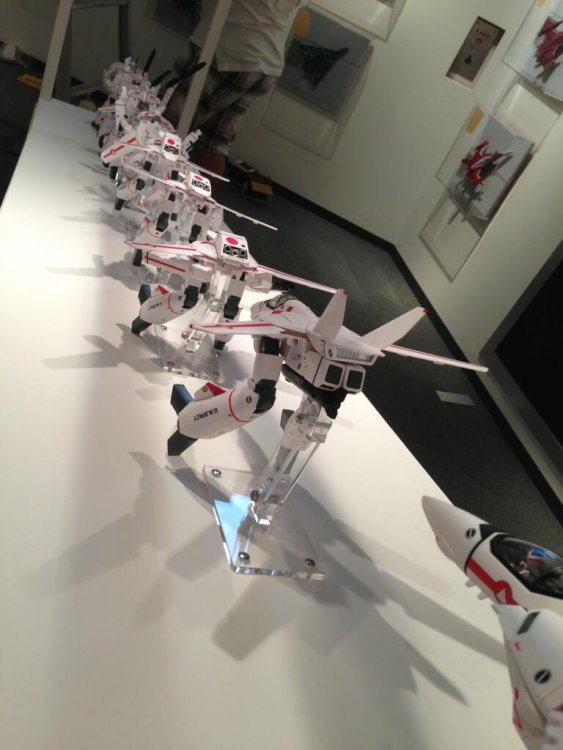
EXACTLY!!! I just don't get these crazy stupid panel lines that go no-where? I'd rather it be smooth than such blatant mistake on the chest piece of all things. That being said, I wonder if this would be a good kit to model in flight transformation? Kind of like what they had at the Macross Museum, but I don't think I could build that many steps as I'm sure the build experience will be similar to the VF-25 - and that just about drove me crazy!
-
I finally found this on their site; "...Any item or combination of items over over 2 kilograms in weight, over 90cm in the combined height x length x width measurement, or over 15,000 yen in value will be shipped by trackable methods even if you request Standard International shipping (SAL)." I guess when I ship everything at once from my Private Warehouse, it must exceed one or all those conditions. Oh, well, now I'll just get my VF-171 2-4 business days.
-
I only see Express EMS & FedEx shipping options in my private warehouse - isn't there a cheaper slower route like registered SAL available? What happened to the standard Intl shipping SAL option that is available when you just purchase items individually?
-
Woohoo! Arrived Tuesday 25th (via registered SAL), picked it up today and no customs or duties. NY only declared 10 euros, but the registered insurance was for 27,000Y - I'm just so happy that I didn't get dinged by the government again. Just took it out and it all looked great - it was somewhat mis-aligned in the box - but a few snaps here and there aligned it up nicely (at least in plane mode). Will transform it tonight when I get home from work to check out the toy, but I think this bird is staying in the aircraft mode for most of its life. The mint green is still an odd choice from a design point of view.
-
Bandai 1/72 fully transform able VF-1 plastic kit for Macross 30th Ann
wm cheng replied to Vi-RS's topic in Model kits
You took the expression right out of my brain! LOL!! -
Ah yes, sorry got my threads mixed up.
-
I paid for registered SAL and it arrived at my door on Tuesday 25th (not bad eh!), but I wasn't home so I gotta get it from the post office now.
-
Thanks! Whew, that's a high markup... here's to hoping some might become available at release date. It's already an expensive one, I like this, but not that much!